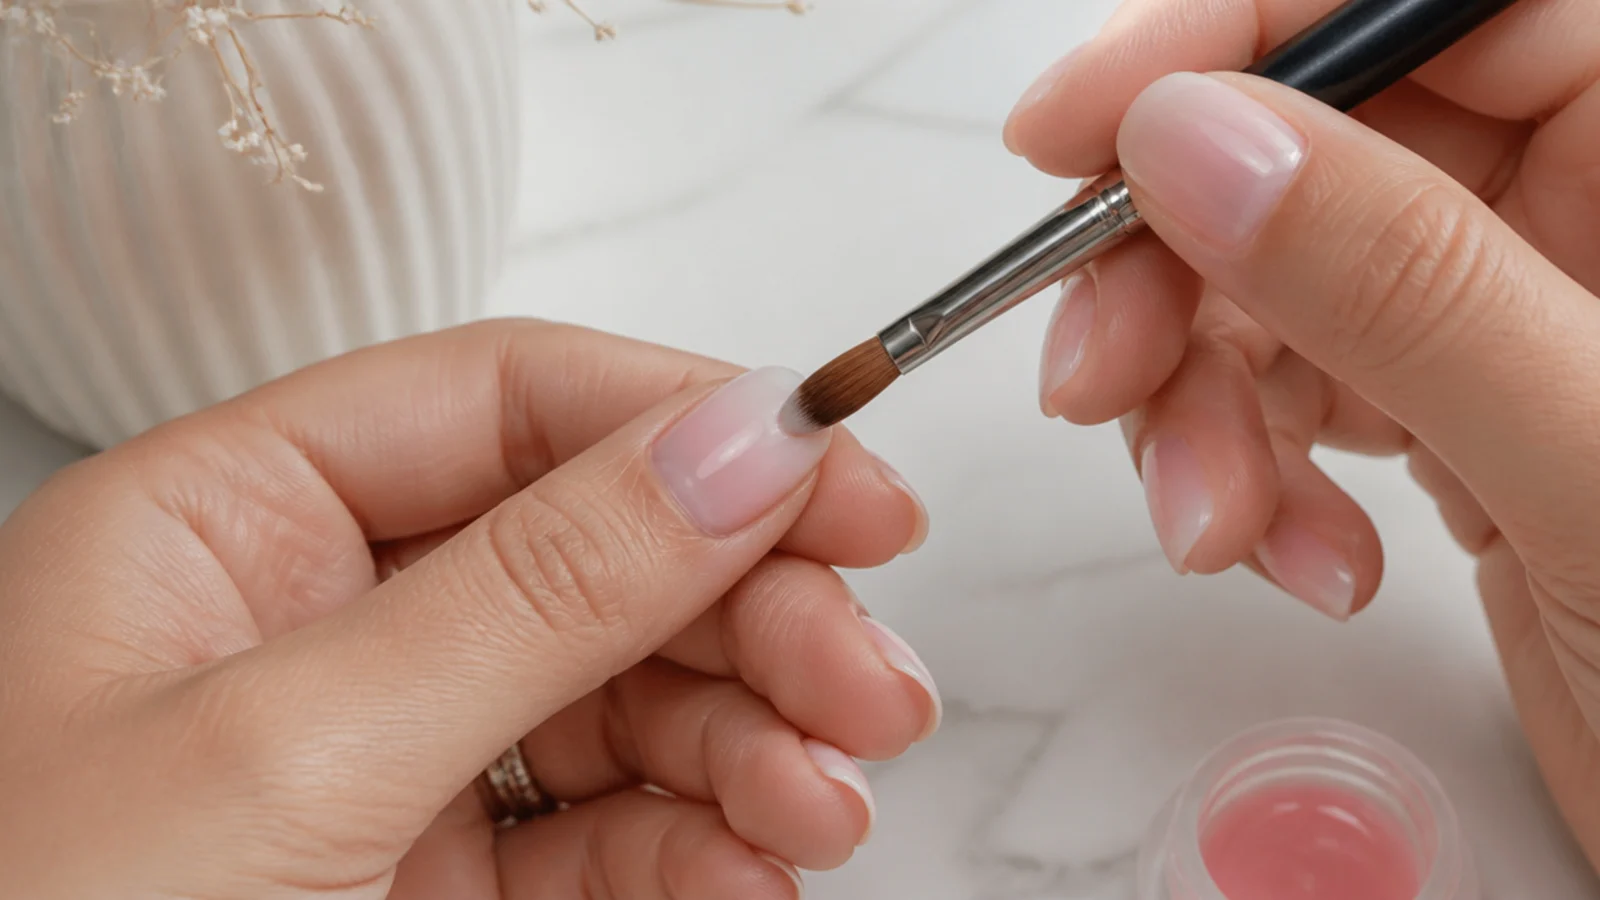
1. Prep Your Nails
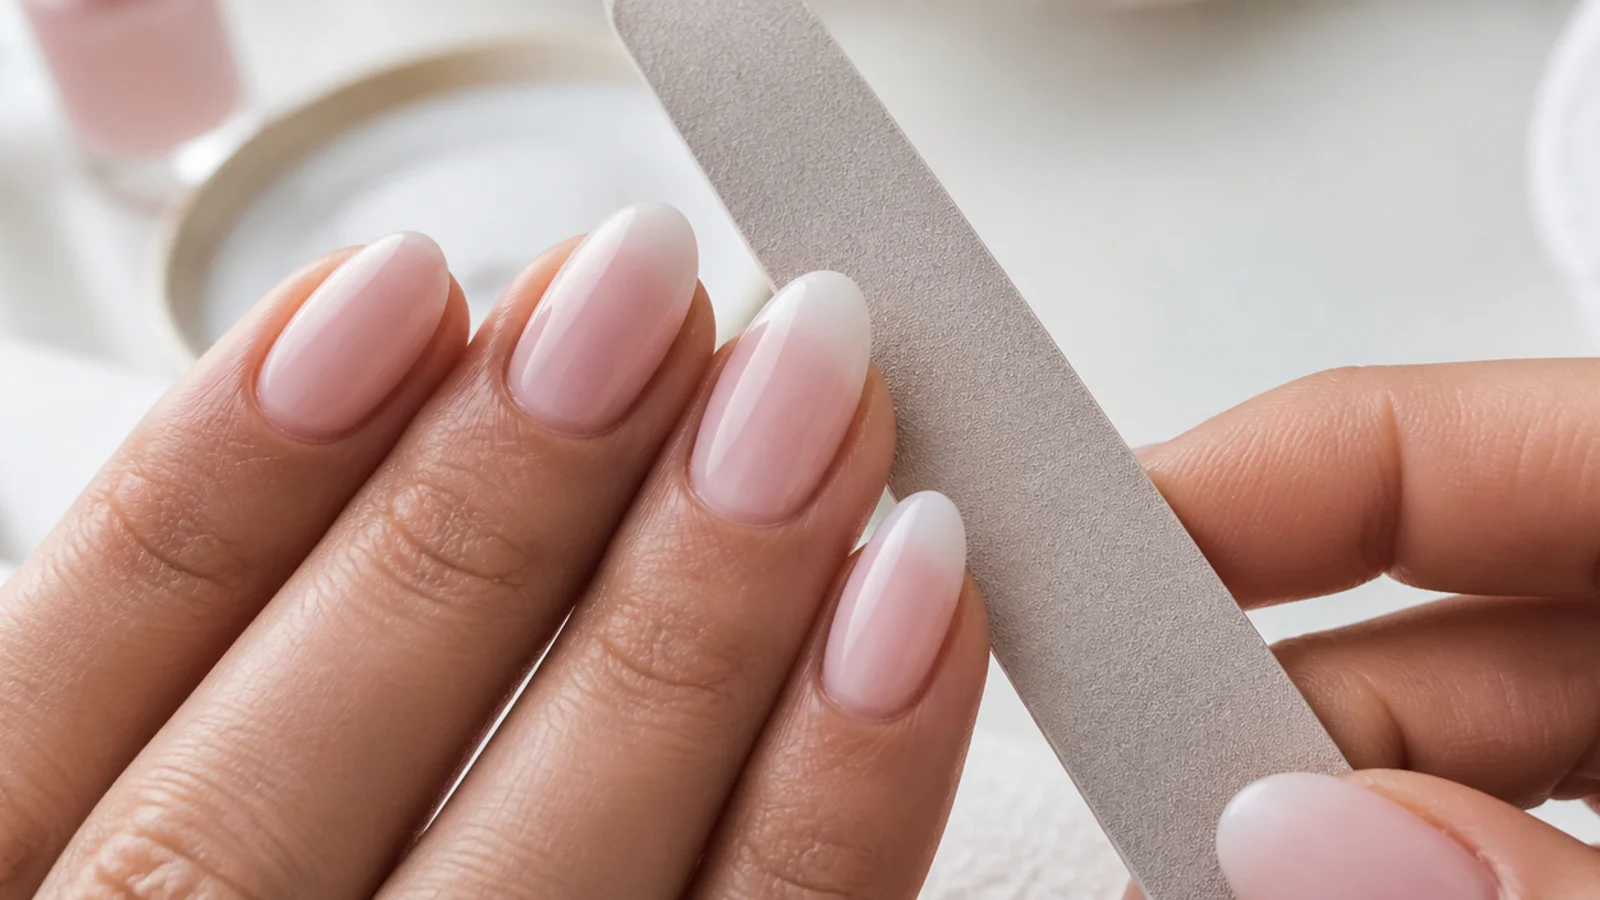
Start with clean, dry nails. Push back your cuticles, lightly buff the surface, shape your nails (almond or square), and wipe with a nail cleanser or alcohol so nothing lifts. Good prep is the foundation of a manicure that lasts.
Common mistake: Skipping cuticle prep or leaving oils on the nail causes lifting and peeling - always cleanse first.
Pro tip: Buff only lightly - over-buffing thins and weakens your natural nail.
2. Apply Base Coat
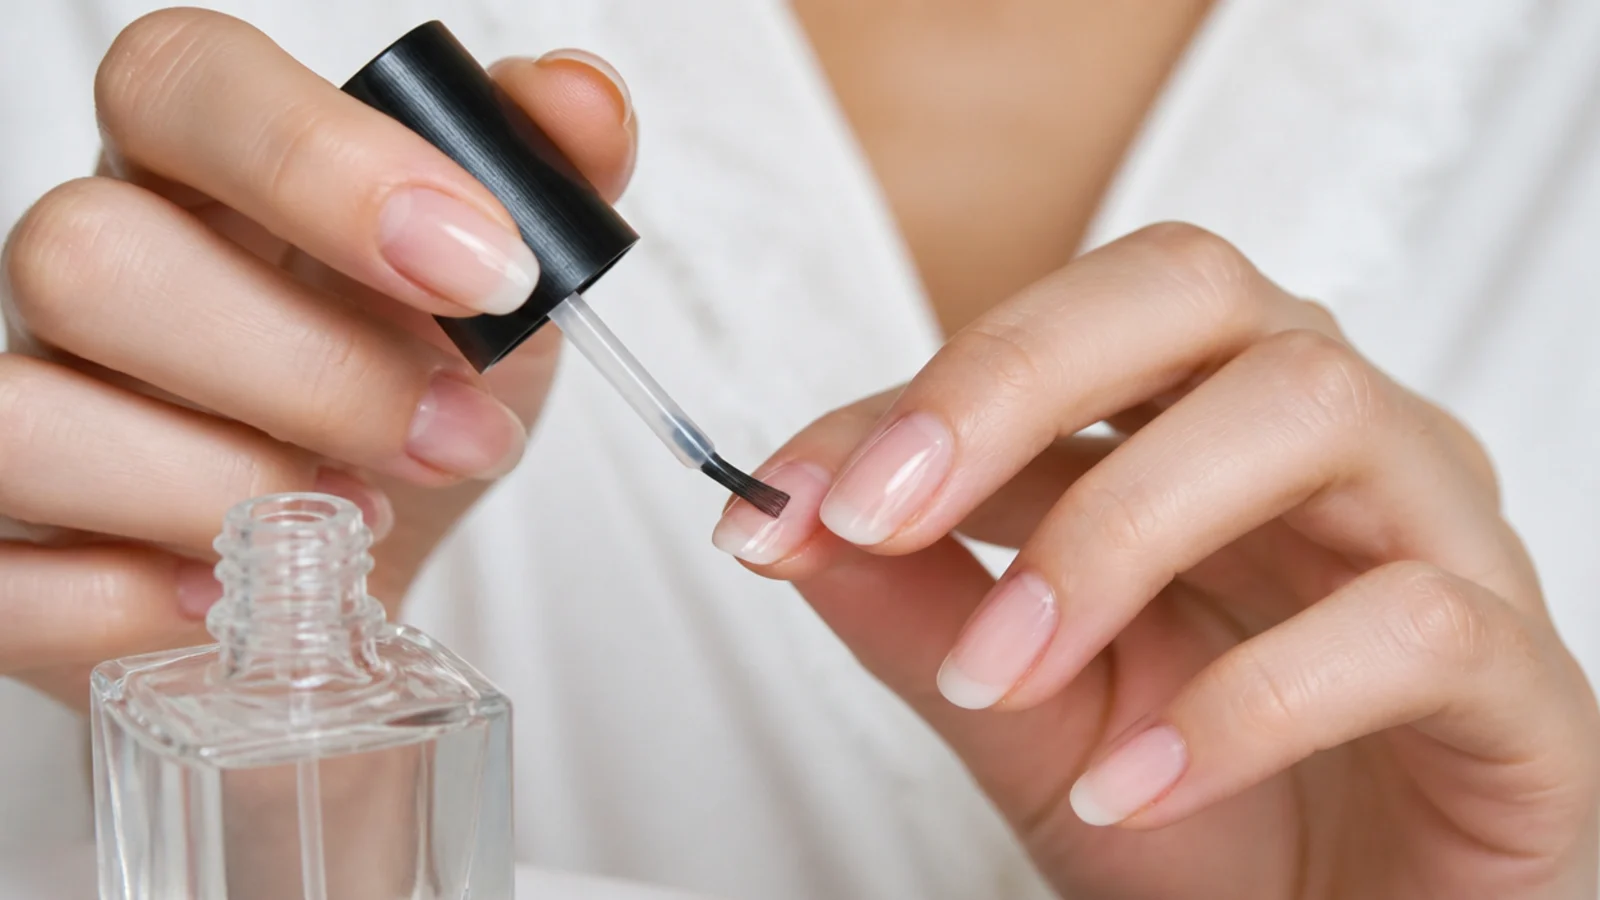
Apply a thin, even base coat to protect your natural nail and help everything adhere. If using gel, cure it under your lamp as directed. The base coat is what keeps your natural nails healthier underneath.
Pro tip: A quality base coat is the most important product for preventing damage and lifting.
3. Lay Down the Pink Base
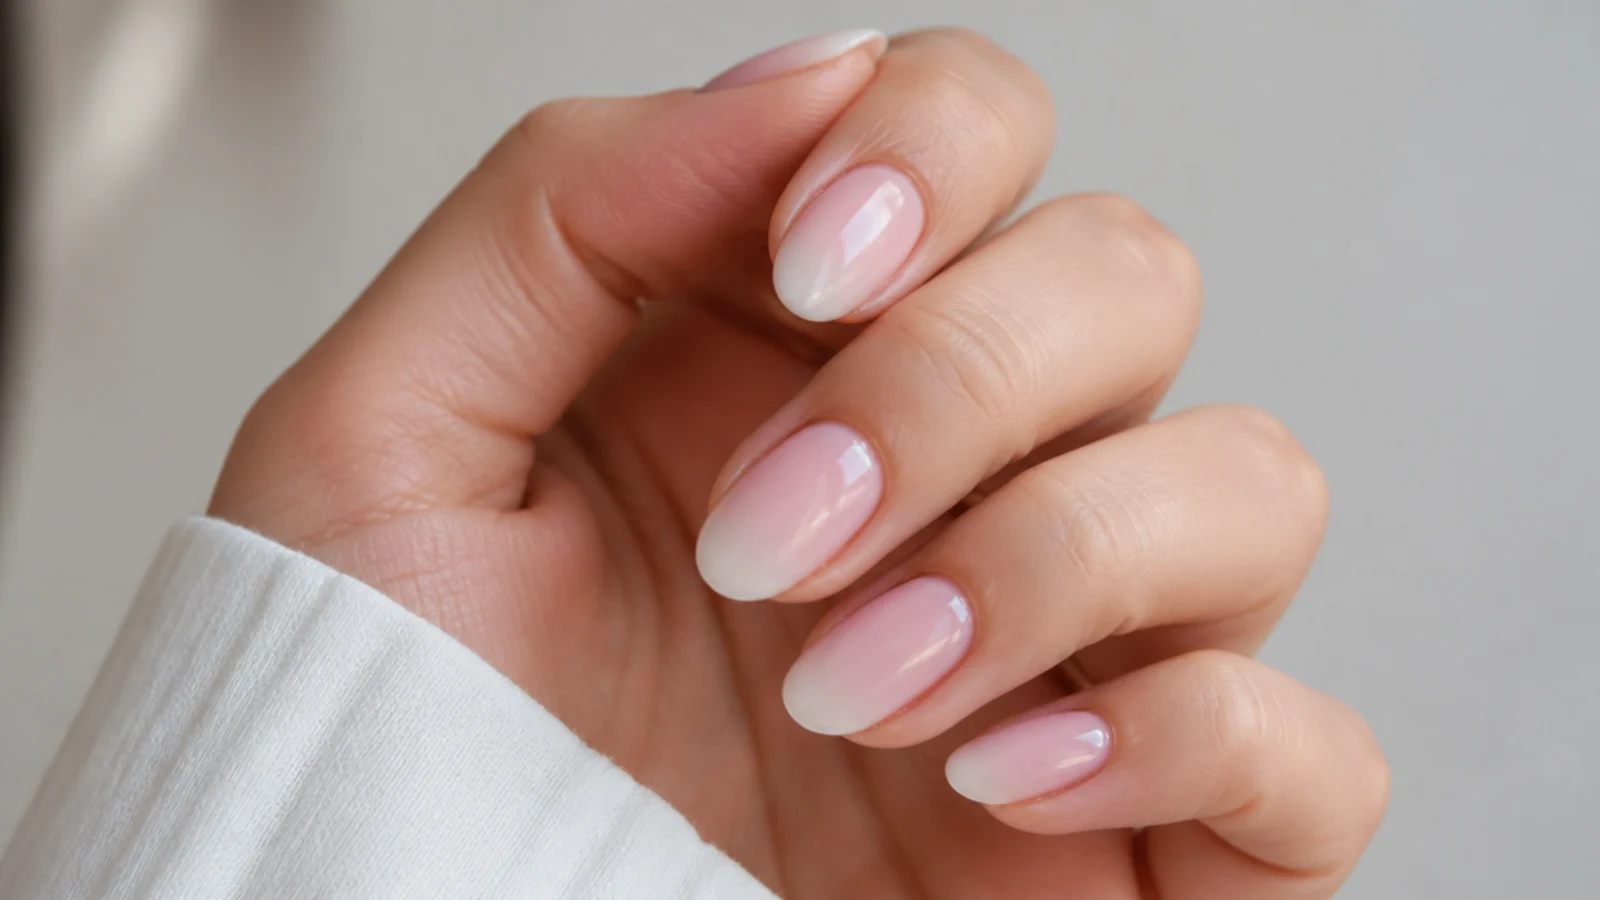
Paint your chosen soft pink over the whole nail as the base of the ombre. Use one or two thin coats for an even, opaque colour, curing between coats if using gel. This pink sets the tone for the whole gradient.
Common mistake: Thick coats look streaky and take longer to dry or cure - always build with thin layers.
4. Prepare Your Sponge
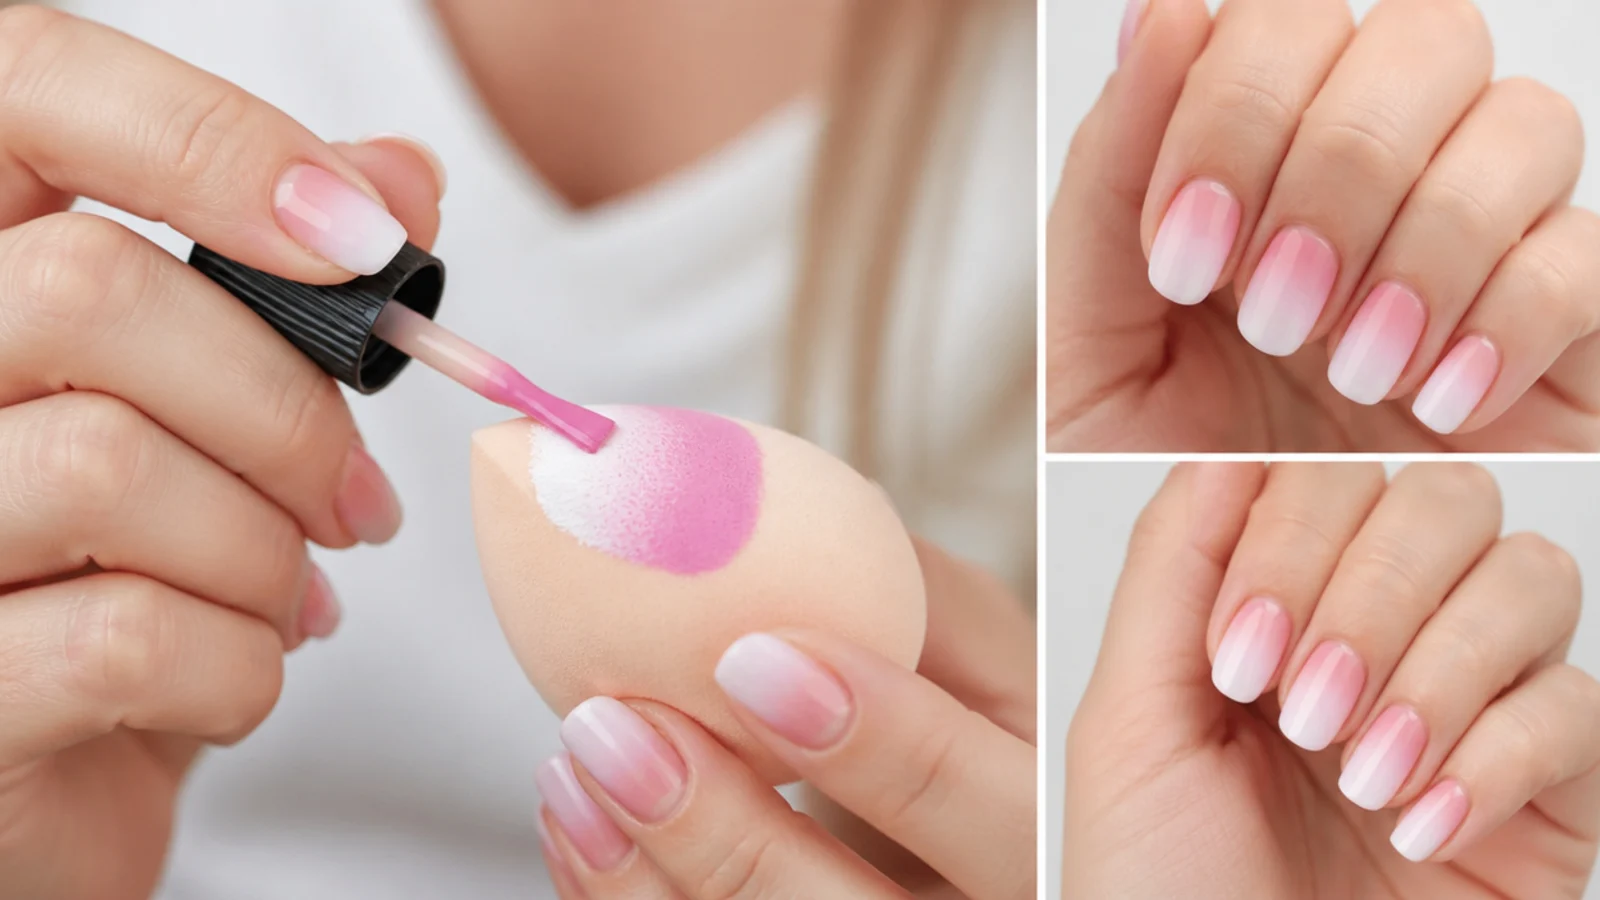
On a small makeup sponge, paint a strip of the pink and a strip of the white right next to each other, overlapping slightly in the middle so they start to blend. This is the tool that creates the seamless gradient.
Pro tip: Dab the sponge on a paper towel once first to remove excess and get a softer, less blotchy transfer.
5. Sponge On the Ombre
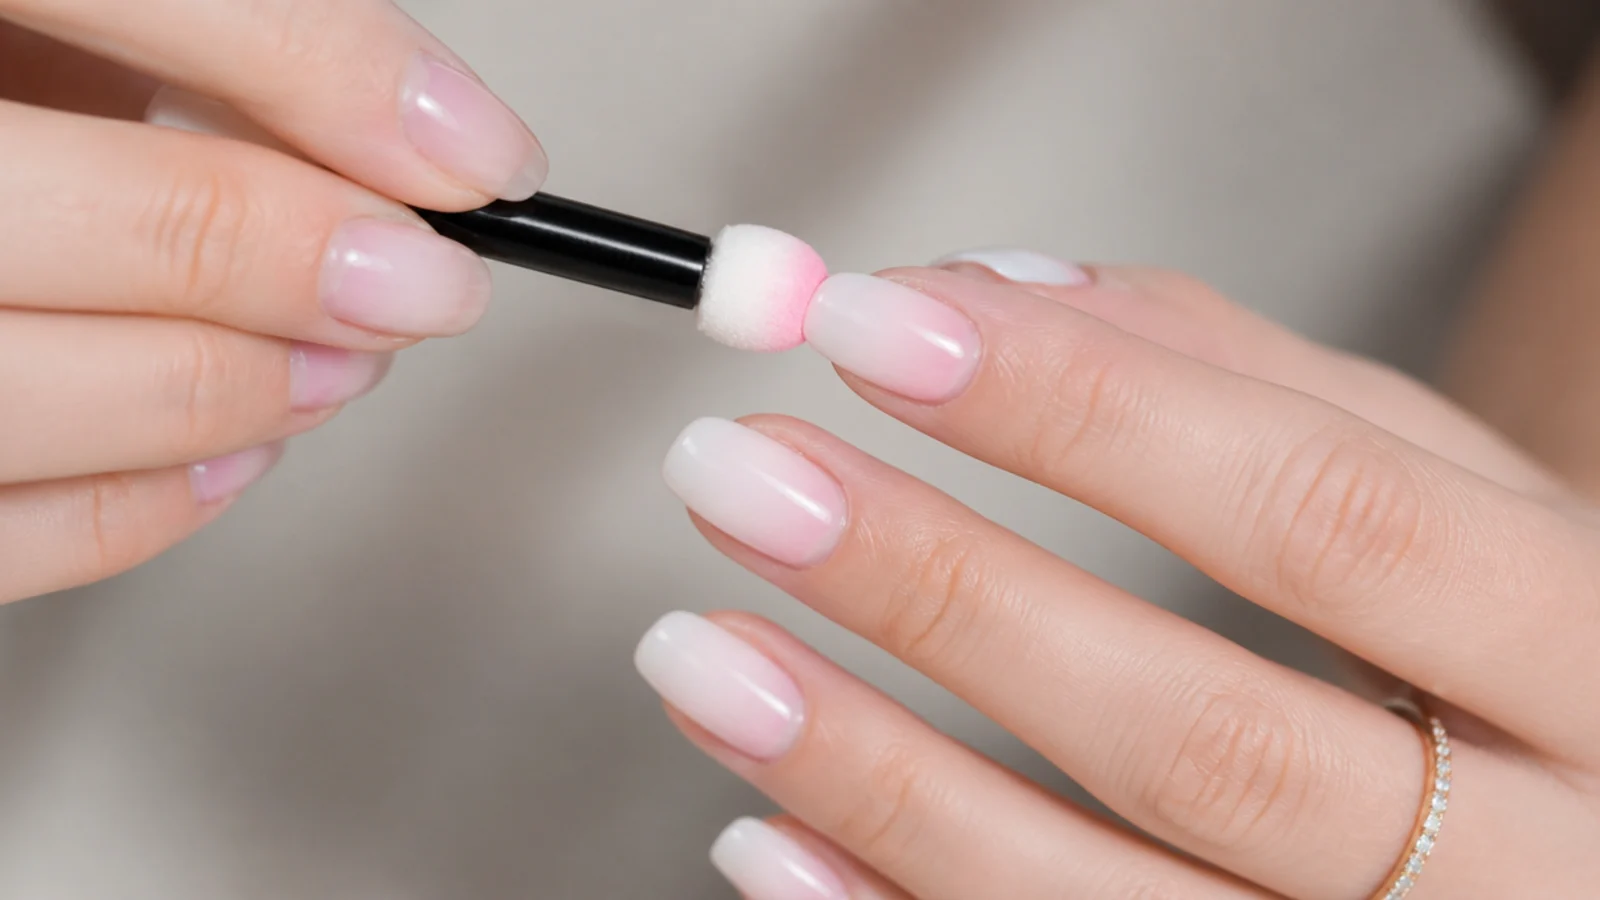
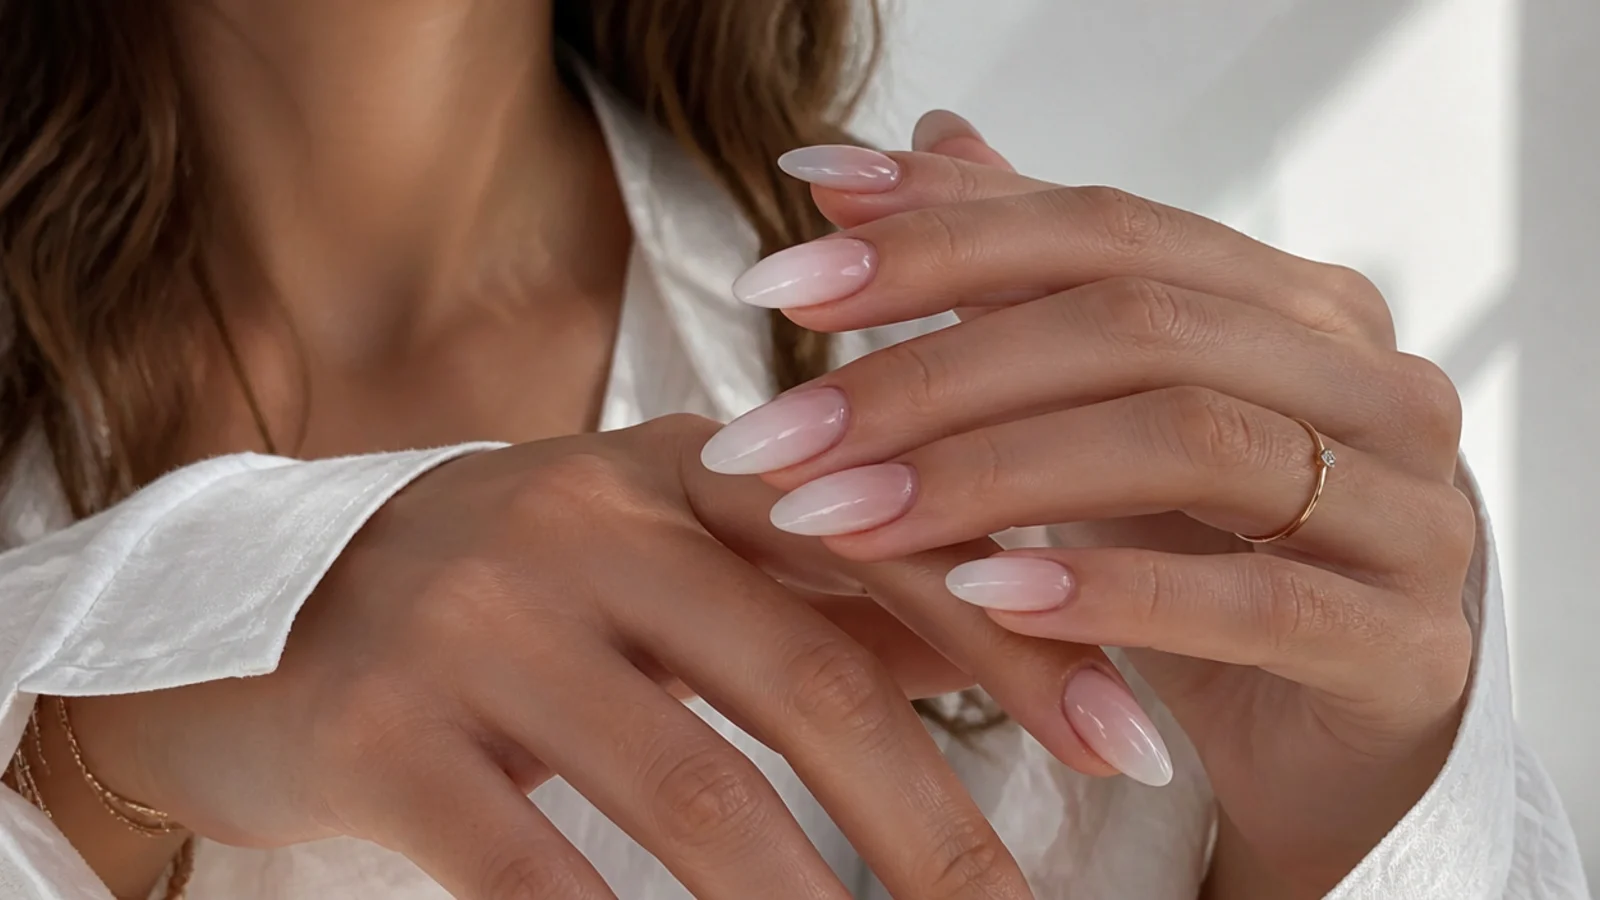
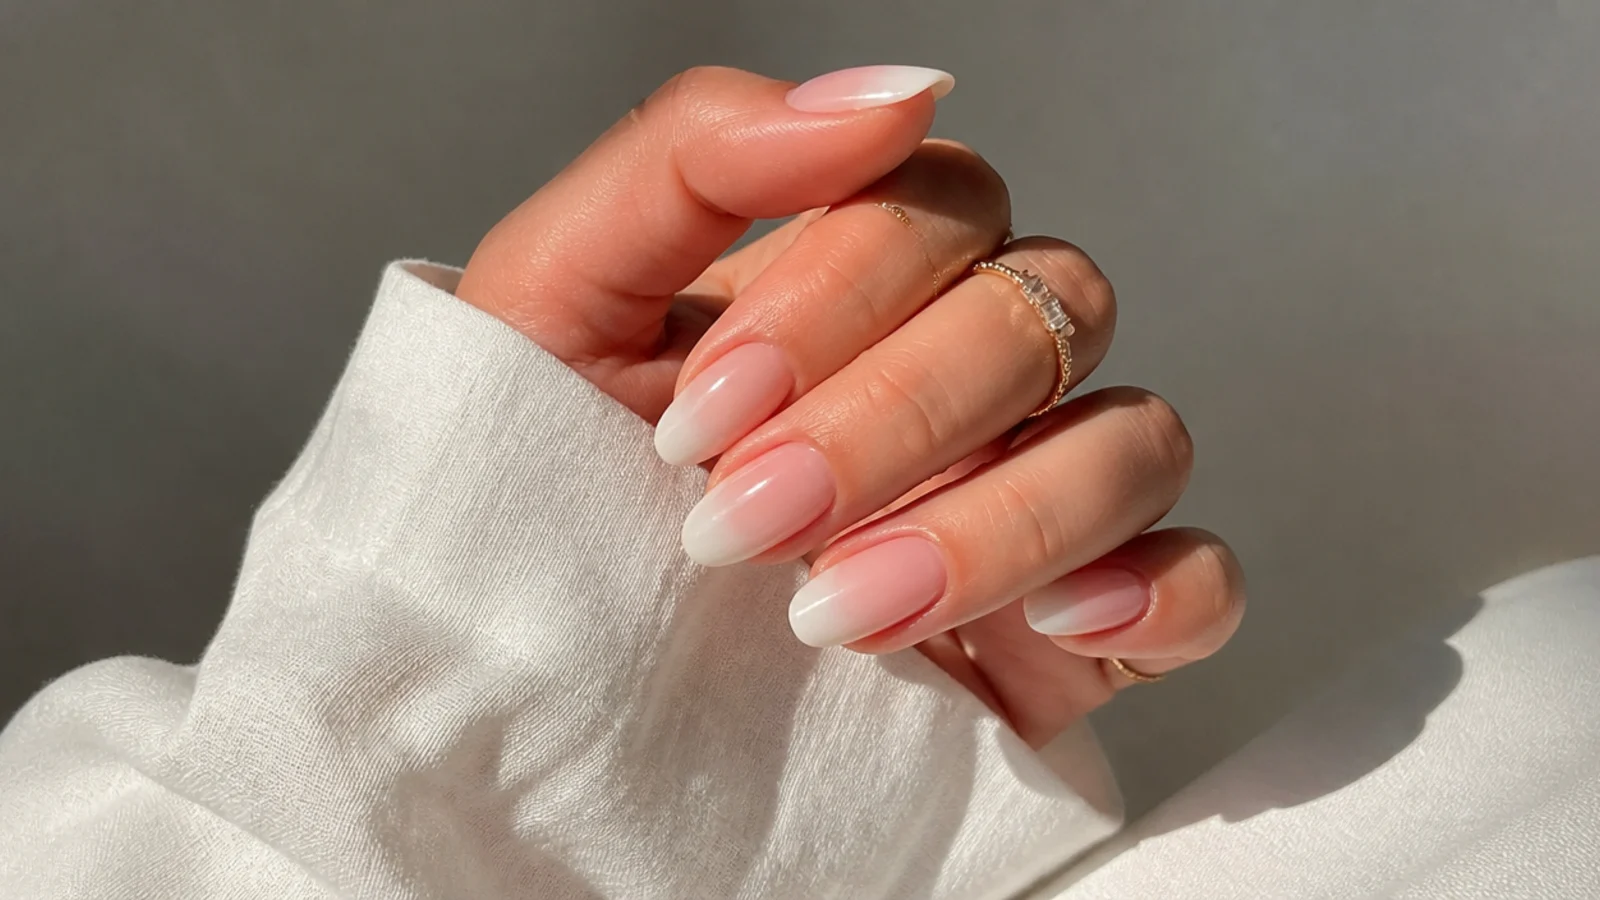
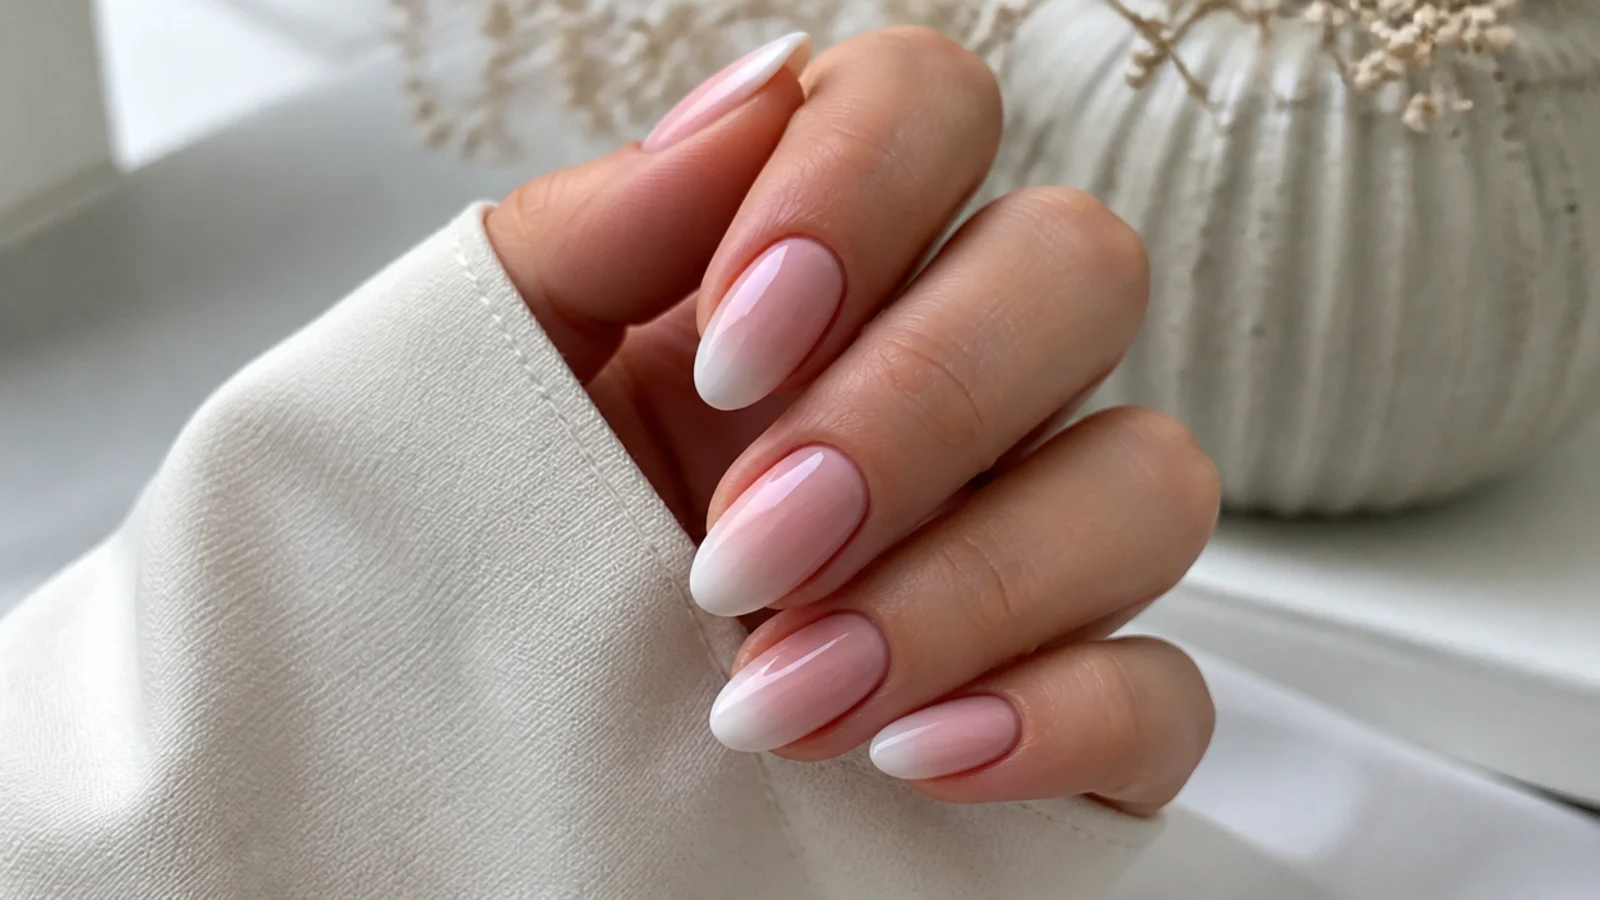
Gently press and dab the sponge onto the tip half of the nail, so the white sits at the tip and blends into the pink toward the middle. Build up the fade gradually with light dabs, re-loading the sponge as needed, until the gradient is soft and seamless.
Common mistake: Pressing too hard or dabbing too few times leaves a harsh line - light, repeated dabs give the softest fade.
Pro tip: Work while the layers are workable, and do one or two nails at a time so nothing dries mid-blend.
6. Refine and Build
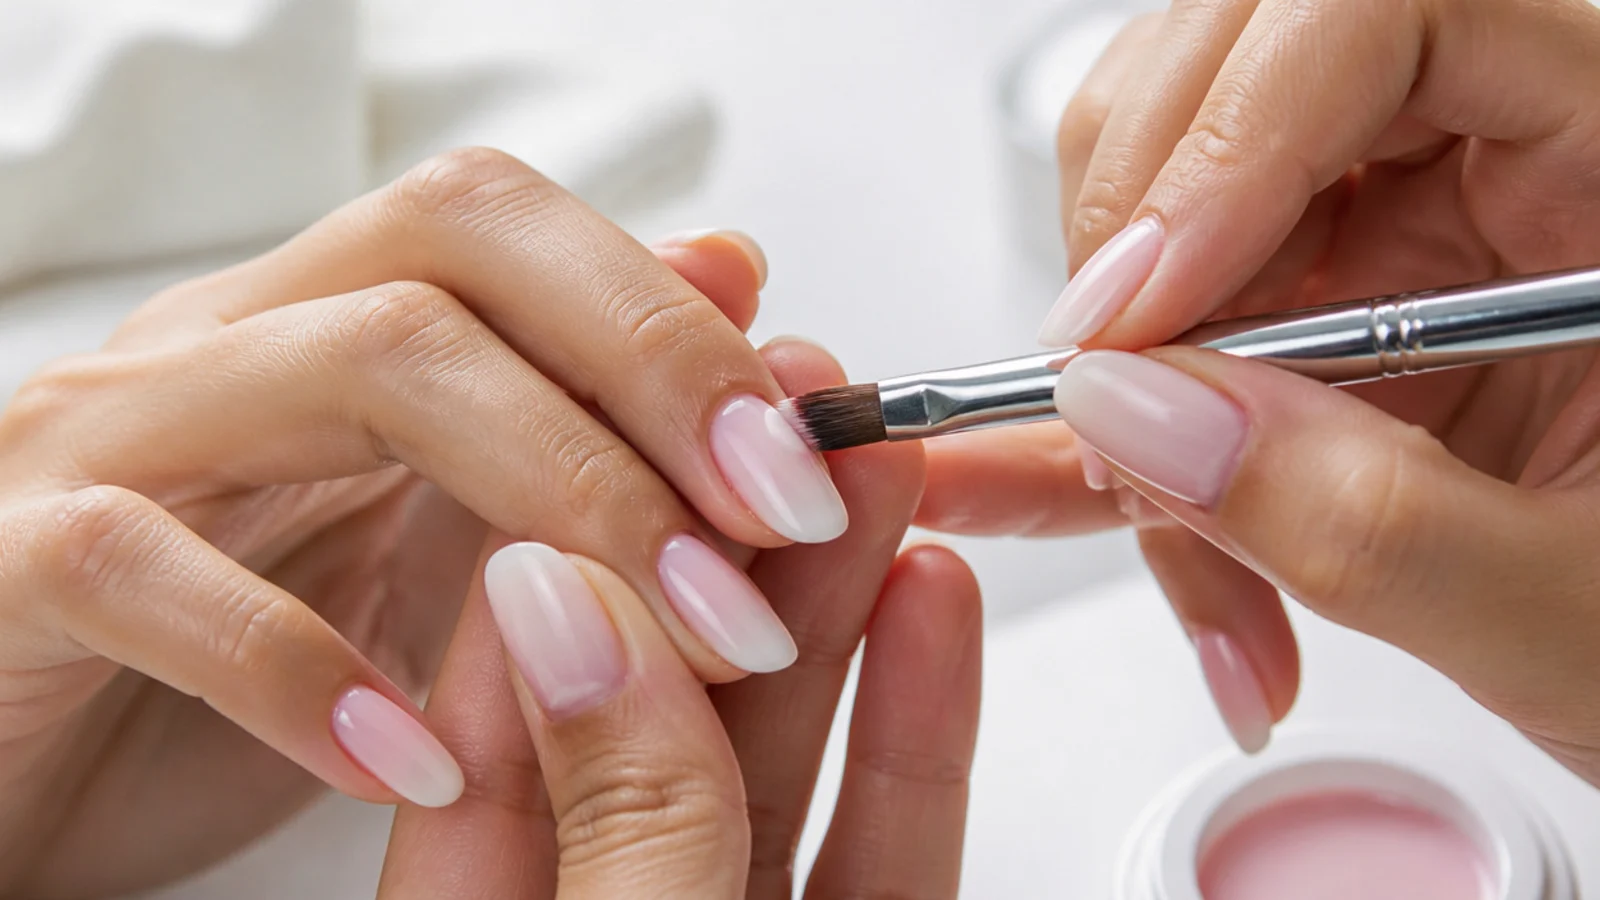
Check the blend and add more dabs of white at the tip or pink toward the base to perfect the gradient. If using gel, cure now. Repeat the sponging on each nail until they all match. Aim for a soft, cloudy transition with no hard edges.
7. Clean Up the Edges
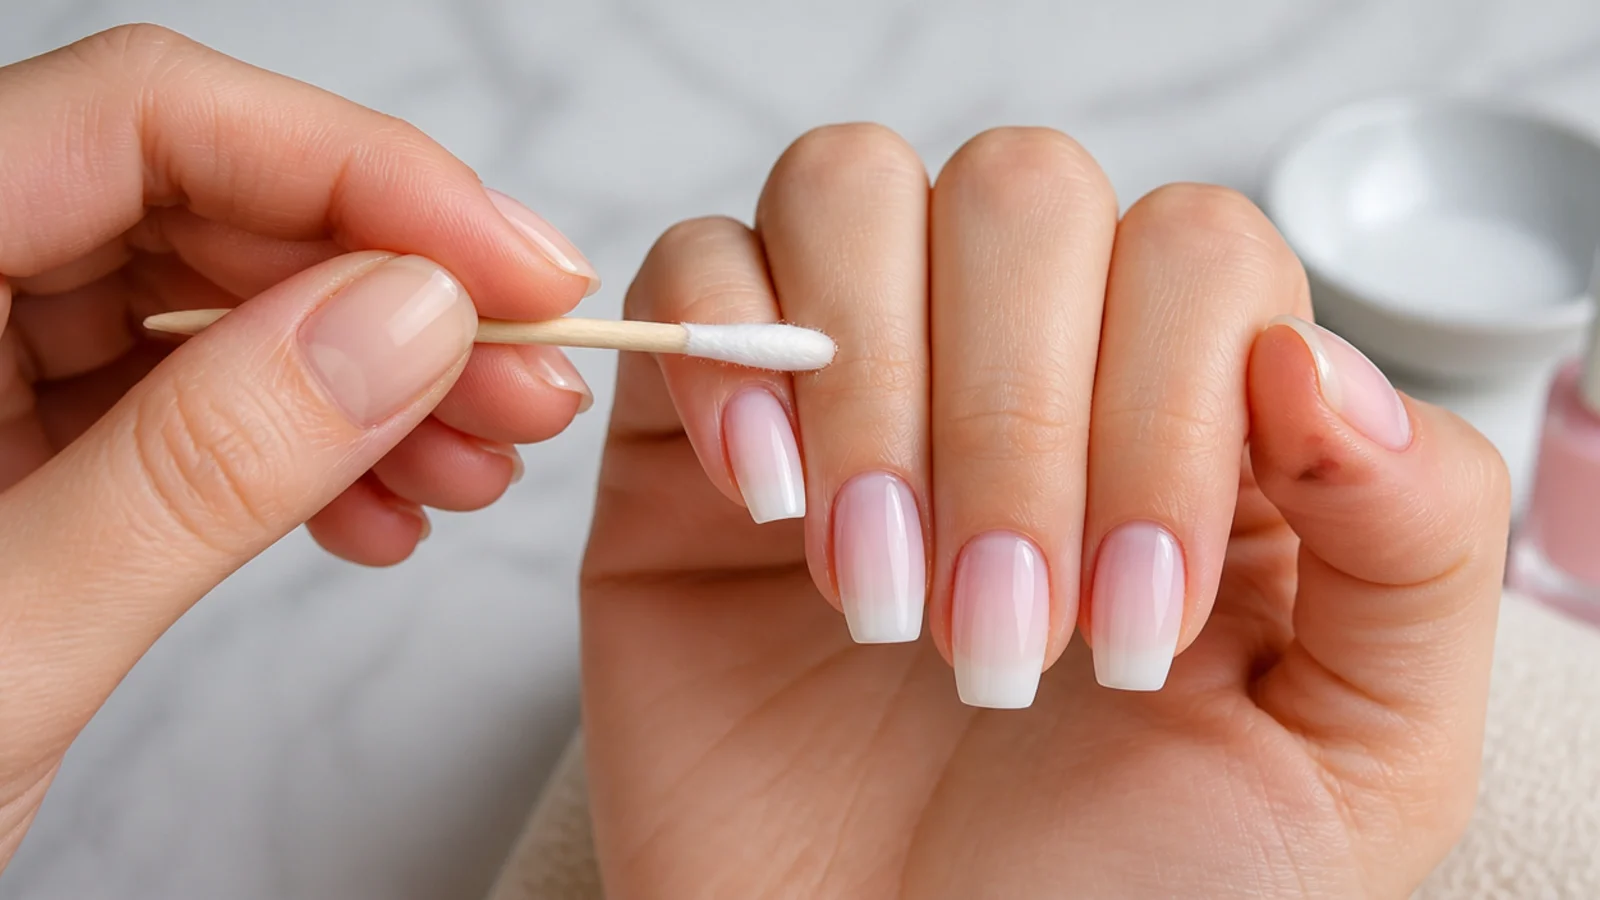
Sponging often leaves colour on the skin around the nail. Use a small brush dipped in remover to clean up the cuticles and sidewalls for a crisp, professional edge. This step makes a DIY manicure look salon-quality.
Pro tip: A little cuticle oil after clean-up (once sealed) tidies the skin and adds shine.
8. Seal With Top Coat
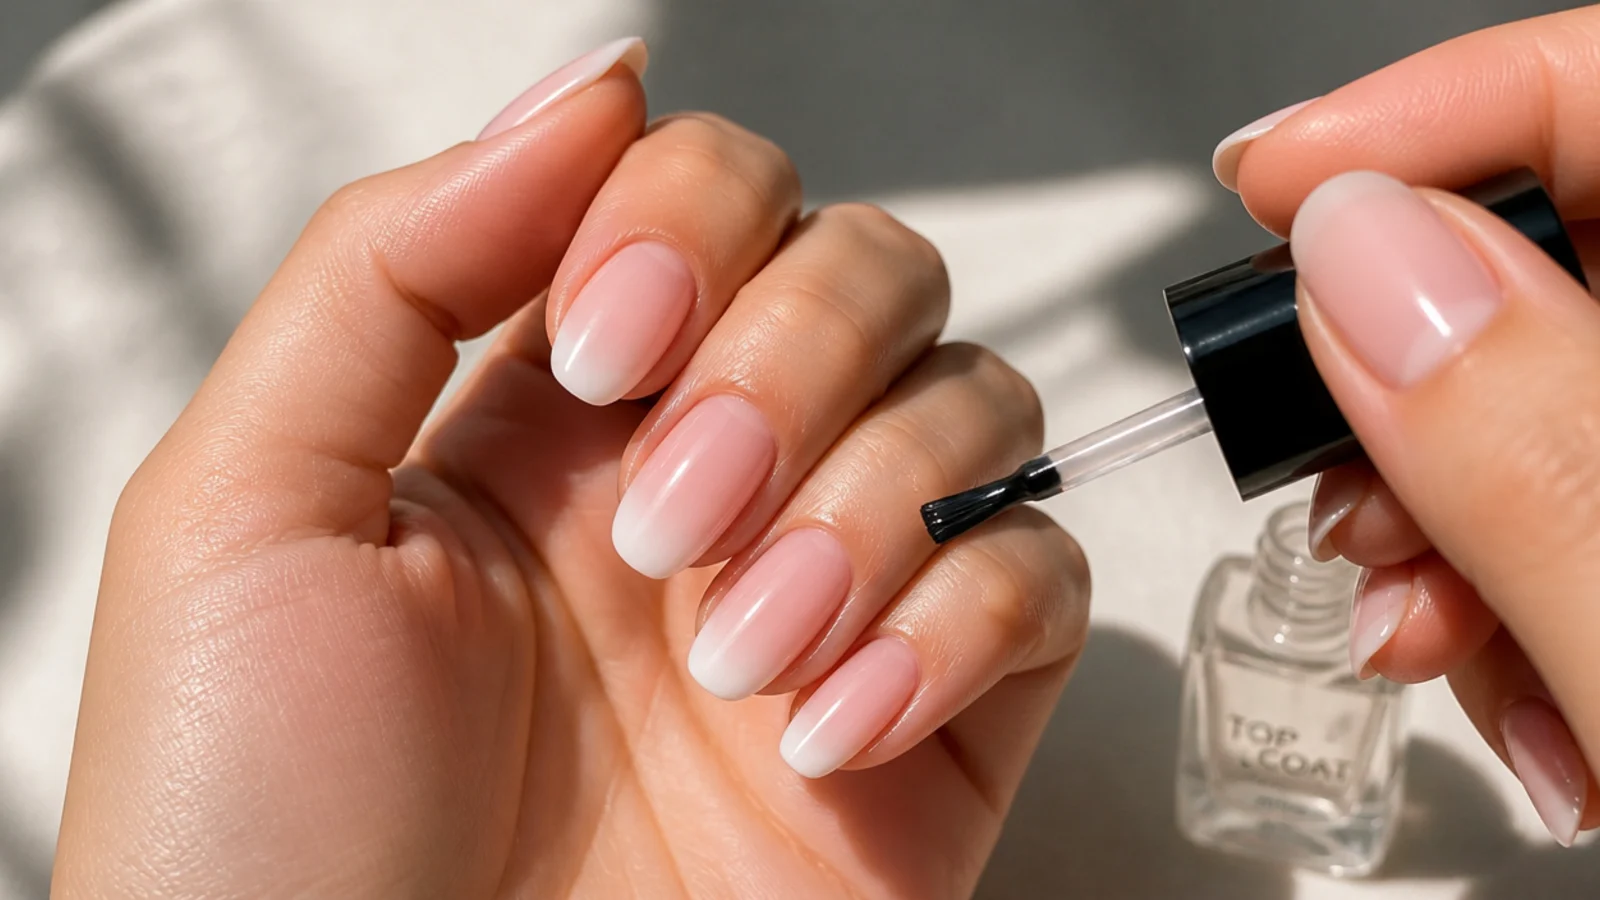
Apply a top coat over the whole nail to seal the gradient and add shine, curing if using gel. Choose glossy for a classic finish or matte for a modern one. The top coat protects the ombre and makes it last.
Common mistake: Forgetting to cap the free edge (running top coat along the tip) lets the ombre chip and wear faster.
Gel vs Regular Polish for DIY Baby Boomers
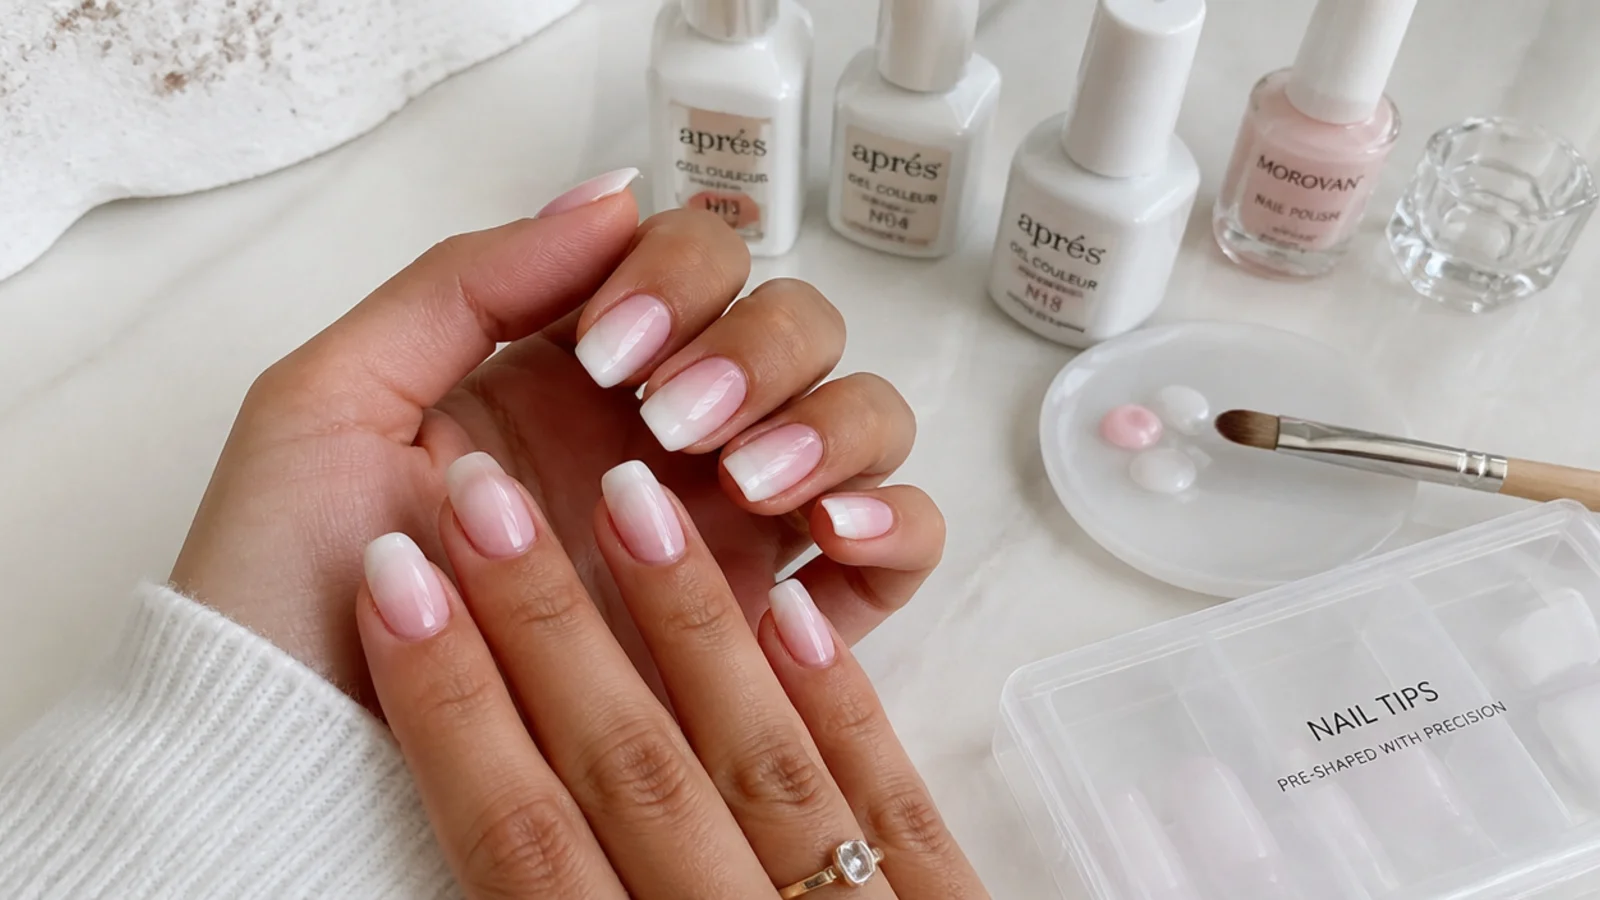
You can do baby boomer nails in gel or regular polish, and each has trade-offs. Gel gives a longer- lasting, harder finish and lets you cure between steps so nothing smudges mid-blend, but it needs a lamp and careful removal - never peel or force gel off, as it takes your natural nail with it. Regular polish is cheaper and easier to remove but chips faster and can smudge while you blend. For a first attempt, regular polish is more forgiving to practise with; once you have the blend down, gel gives a more durable, salon-like result. Whichever you choose, work in thin layers.
Getting a Seamless Blend
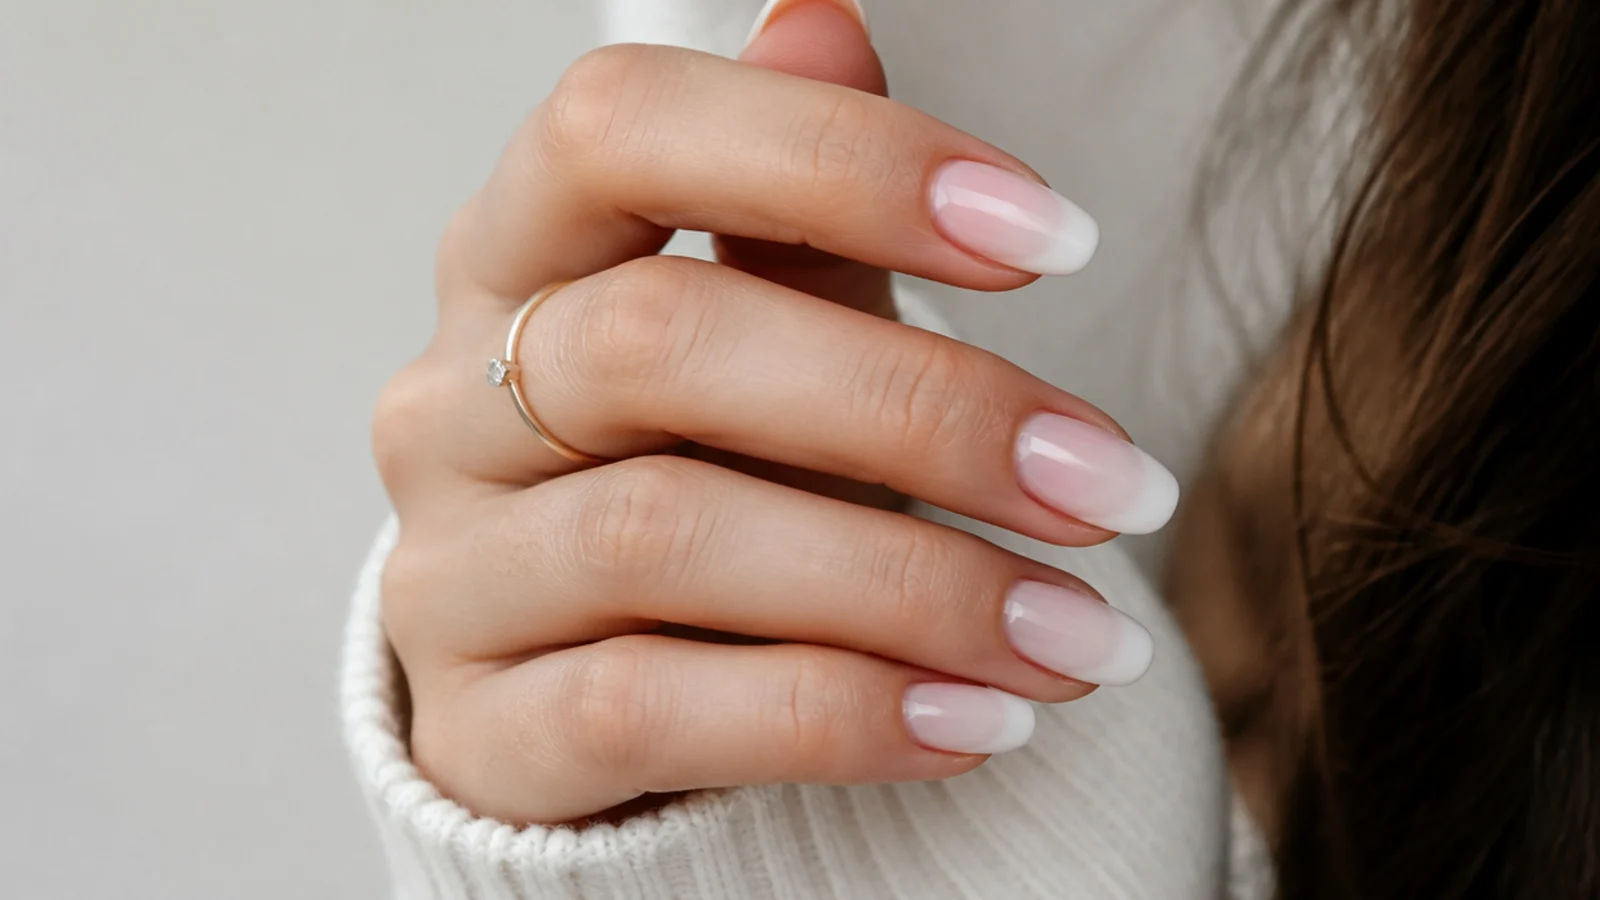
The blend is the whole point of baby boomer nails, and the sponge is the secret. The trick is light, repeated dabs rather than one heavy press - each gentle dab softens the transition a little more. Overlapping the pink and white on the sponge so they merge before they touch the nail helps enormously, and dabbing off the excess first prevents blotchiness. If a line looks harsh, keep dabbing until it softens. Remember, the beauty of the boomer look is that it is soft and cloudy, so small imperfections simply read as part of the gradient.
Protecting Your Natural Nails
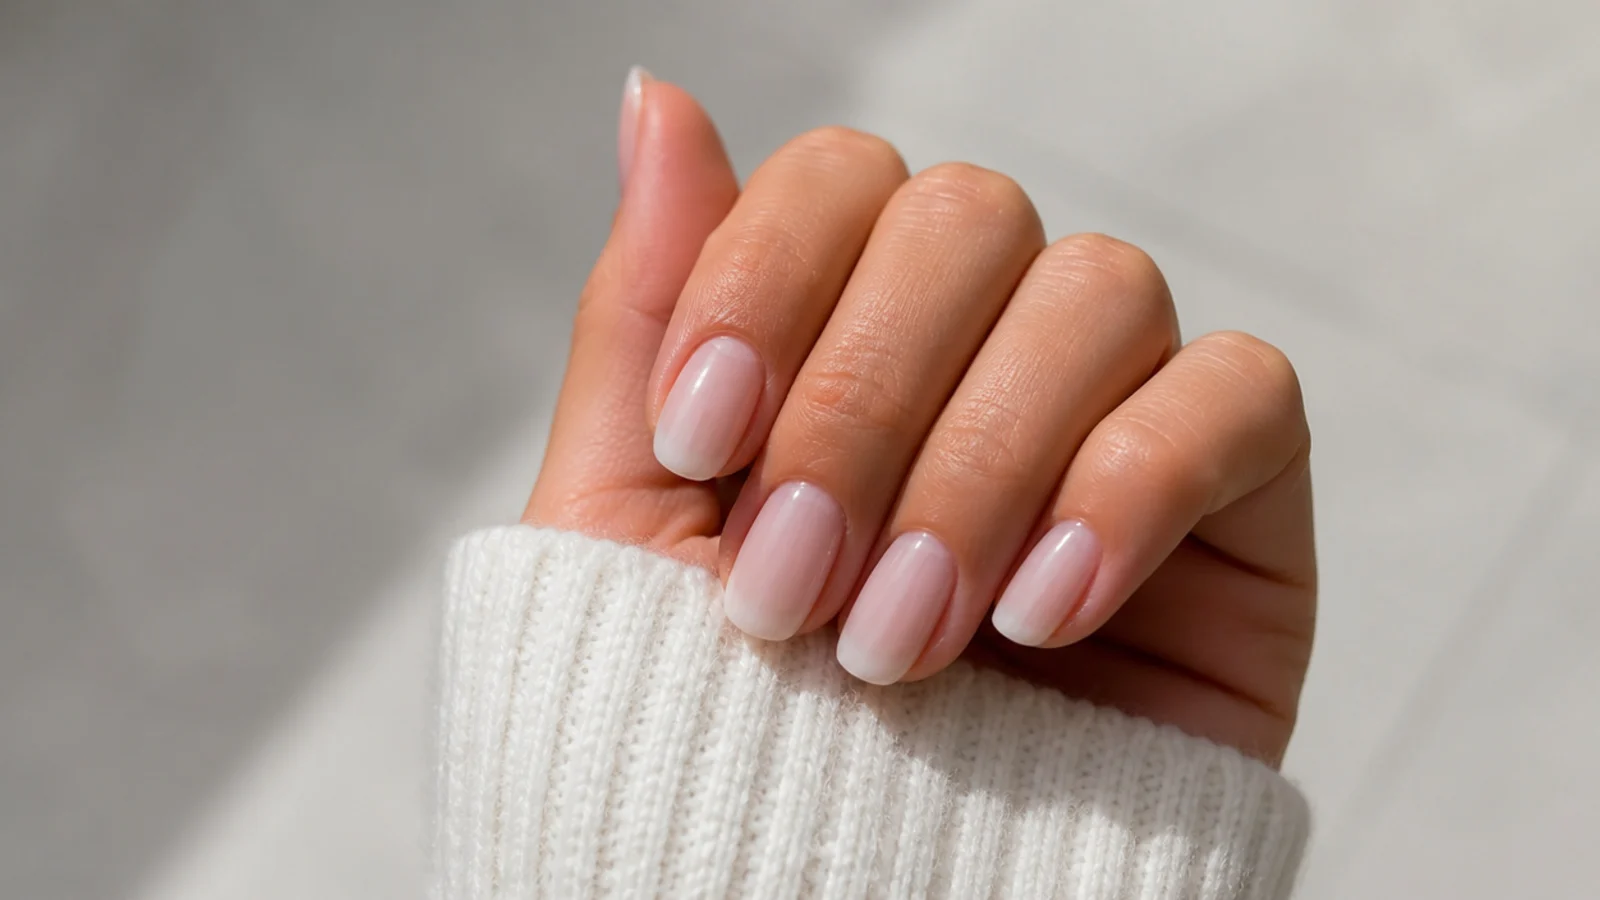
DIY nails are fun, but your natural nail health comes first. Always use a base coat, buff only lightly, and never peel or force off gel or acrylic - soak gel off properly with acetone as directed, or see a nail tech for removal. Give your nails an occasional break between sets, apply cuticle oil daily, and stop if you notice any irritation, pain or lifting. If you want the crispest, longest- lasting result with the least risk to your nails, a licensed nail technician is always the safest choice - use this guide to understand the process and touch up between appointments.
Frequently Asked Questions
How do you do baby boomer nails at home?
Prep and buff your nails, apply base coat, paint a soft pink base, then sponge a pink-to-white gradient onto the tips using a makeup sponge with both colours blended on it. Clean up the edges and seal with top coat. Work in thin layers for the smoothest result.
Are baby boomer nails hard to do yourself?
They are one of the more achievable nail looks because the soft ombre is forgiving - small blend imperfections just read as a gradient. The sponge technique takes a little practice, but regular polish is a forgiving way to start before moving to gel.
What do I need to do baby boomer nails at home?
A base coat, a soft pink and a white gel or polish, a makeup sponge, a top coat, and a small brush with remover for clean-up. If using gel, you will also need a curing lamp. Cuticle oil helps finish and maintain them.
How do I get a seamless ombre blend?
Paint the pink and white overlapping on a makeup sponge so they merge, dab off the excess, then press onto the nail with light, repeated dabs rather than one heavy press. Keep dabbing to soften any harsh lines - the look is meant to be soft and cloudy.
Is doing gel baby boomer nails at home safe for my nails?
It can be if you use a base coat, apply thin layers, and remove gel properly by soaking with acetone rather than peeling or forcing it off, which damages the natural nail. Take breaks between sets and see a nail tech if you have any irritation or want the safest result.
Gel and acrylic application and removal can damage your natural nails if done incorrectly, and lamps and products should be used as directed. For best results and nail health, see a licensed nail technician. Never force-remove enhancements, and stop if you have any irritation or reaction.
Which baby boomer nails look are you saving?
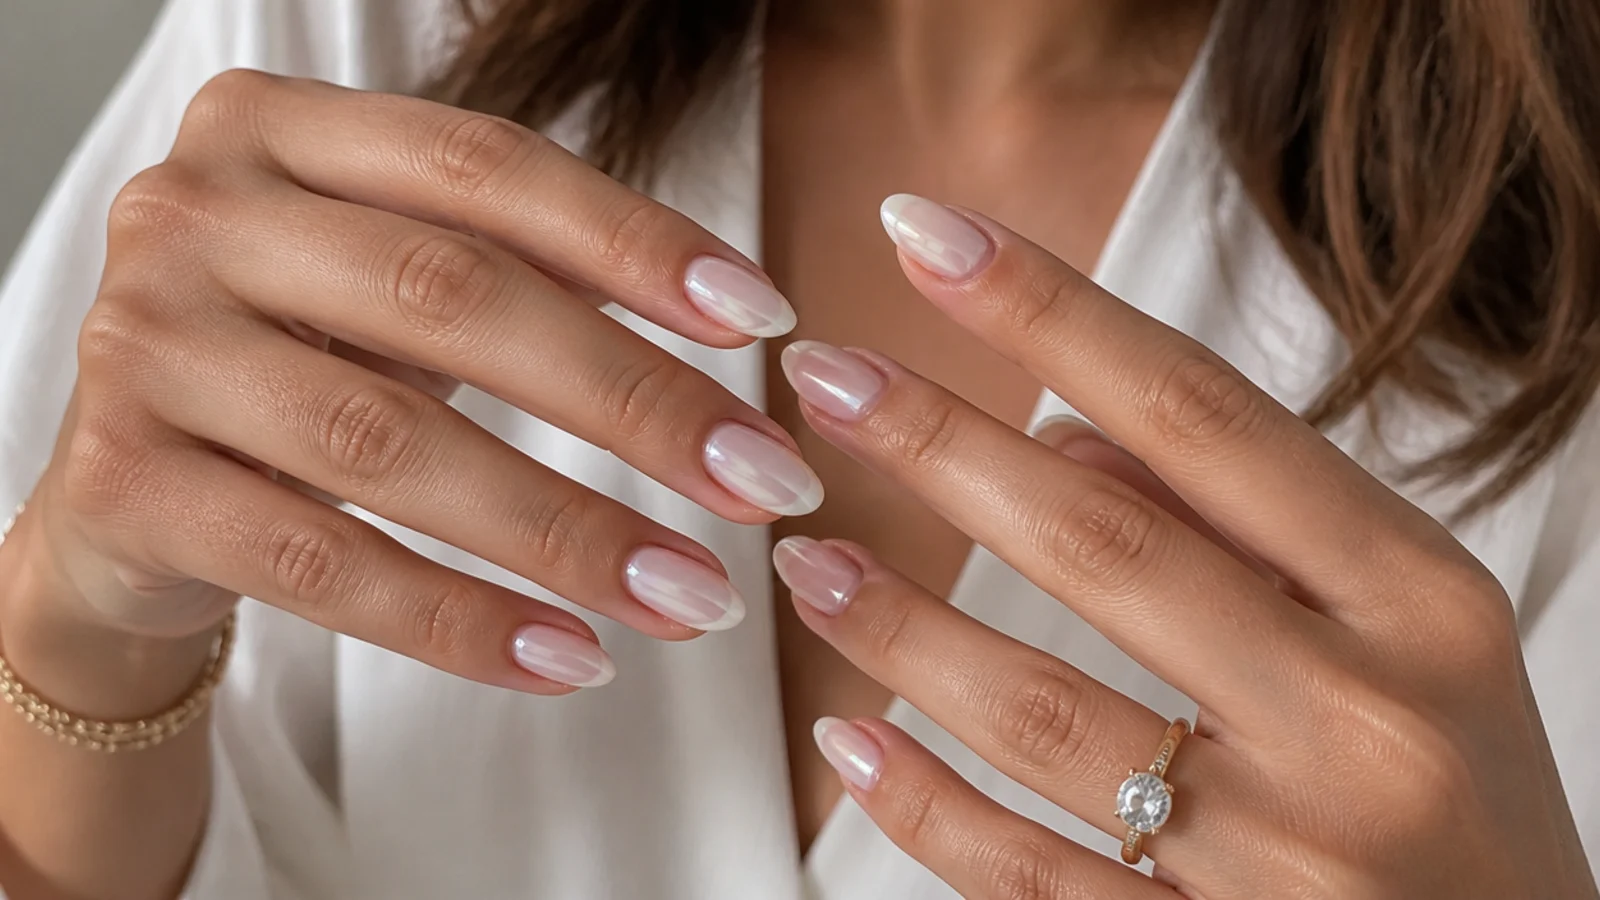
Doing baby boomer nails at home takes a little practice, but the soft gradient is forgiving and the payoff is a salon-look manicure for a fraction of the cost. The keys are good prep, a light hand with the sponge, and sealing well. Be gentle with your natural nails, never force off gel or acrylic, and see a nail tech if you want the crispest result or notice any irritation. Save this guide and refine your blend each time.