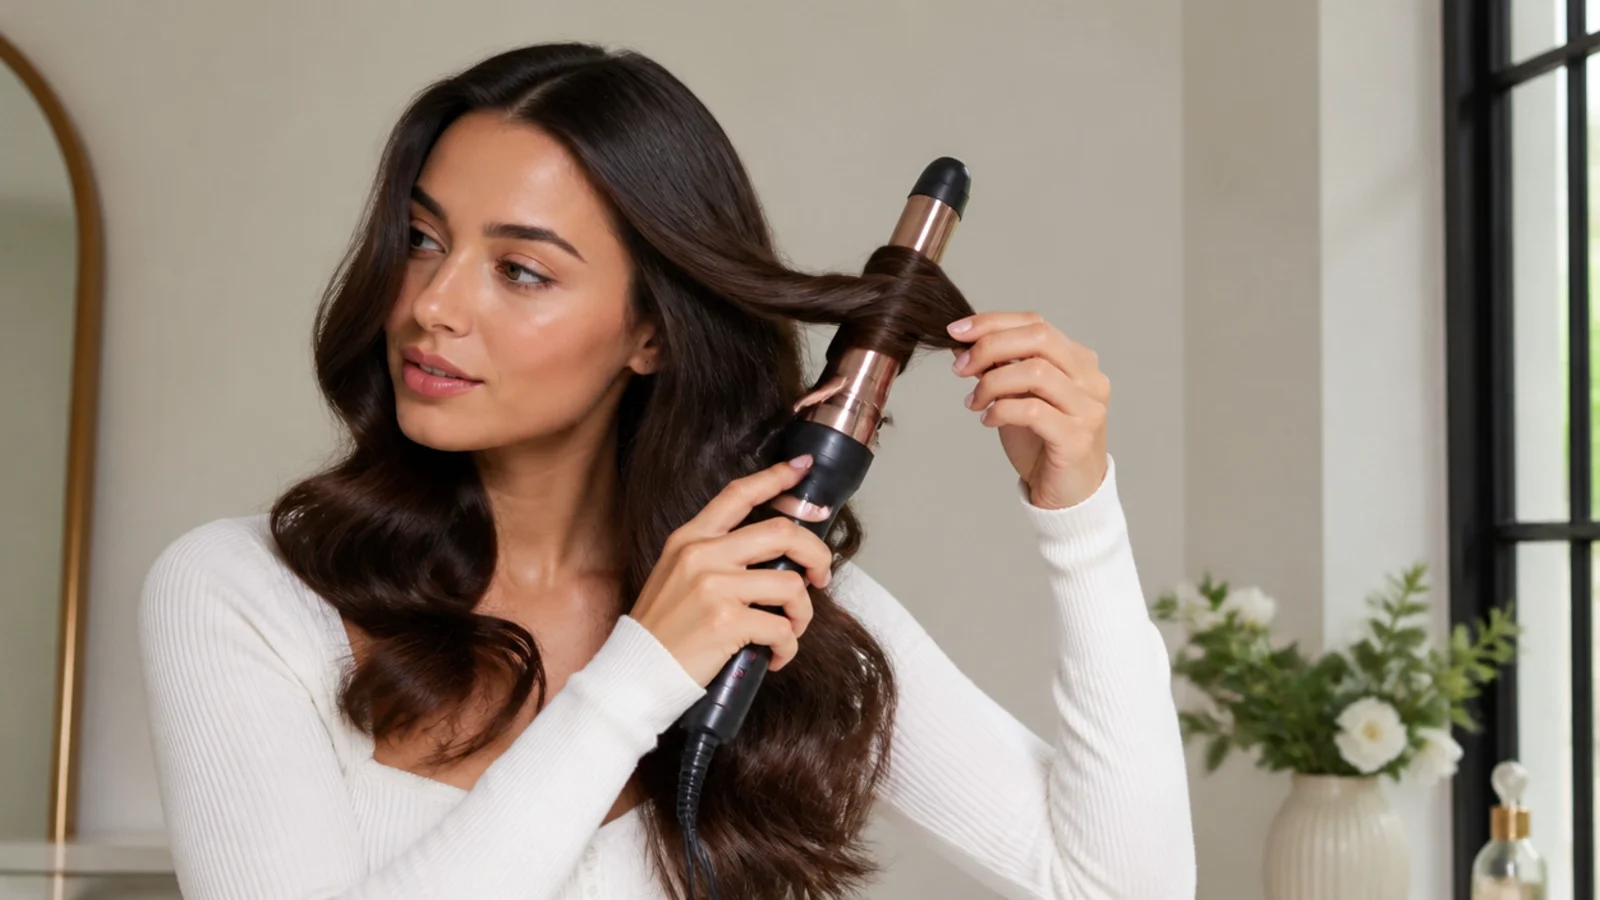
1. Prep and Protect
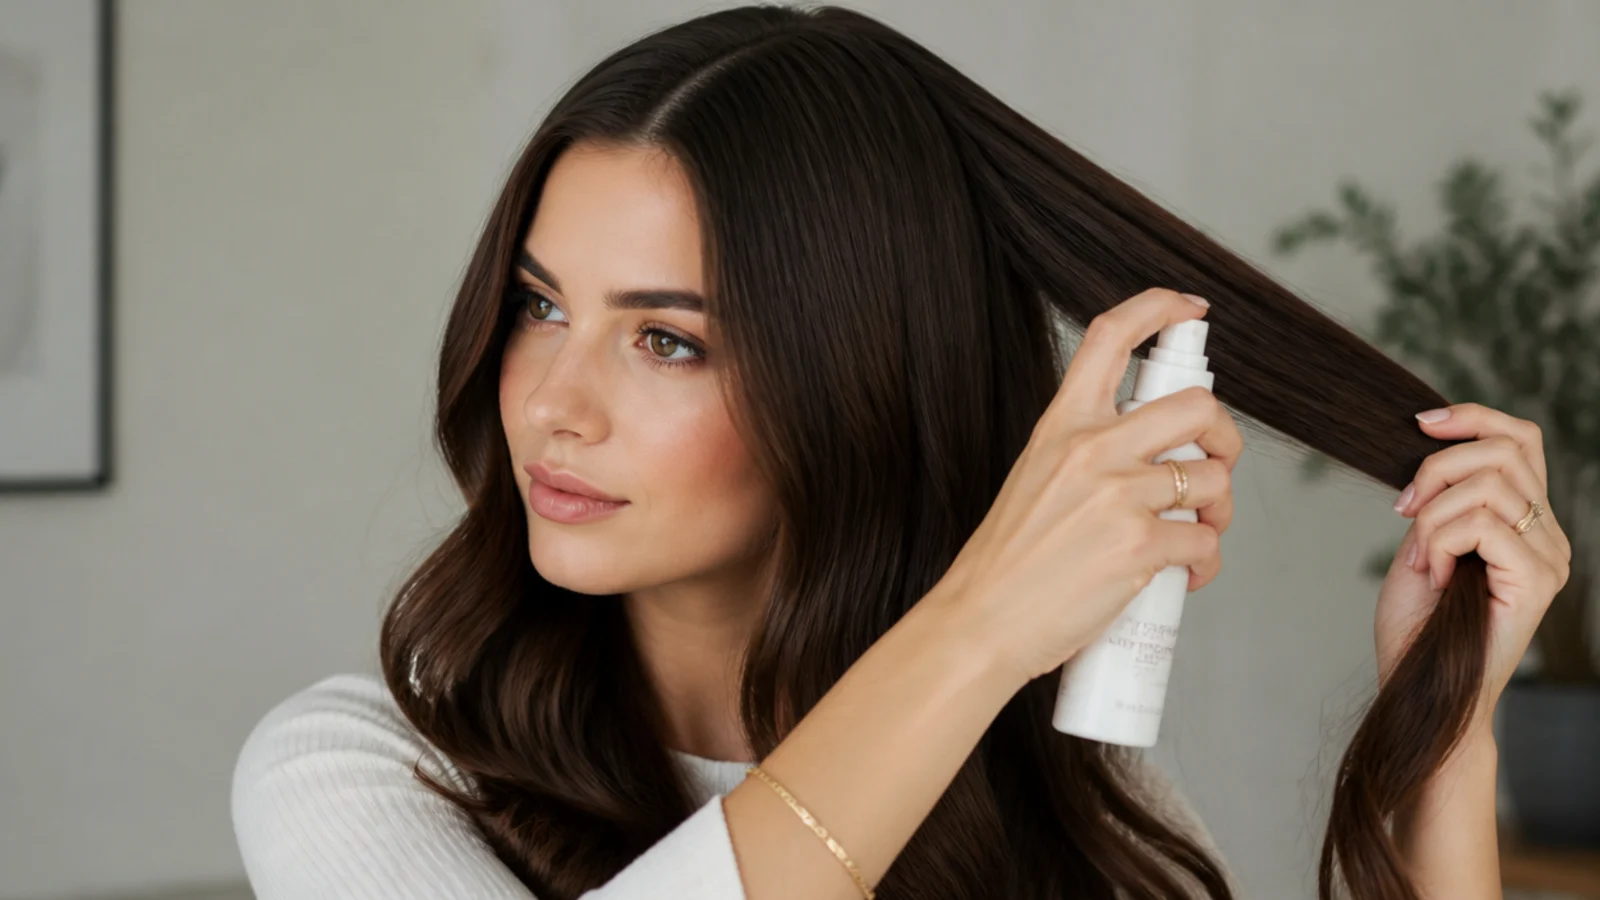
Start with clean, dry, smooth hair. Mist a heat protectant through your lengths and, if your hair is not naturally sleek, run a straightener through it first so the waves sit smooth. Set your deep side or middle part now, before you start curling.
Common mistake: Skipping heat protectant or curling frizzy, un-smoothed hair, which ruins the sleek finish.
Pro tip: A drop of smoothing serum on the mid-lengths gives you a glossier starting canvas.
2. Curl Away from Your Face
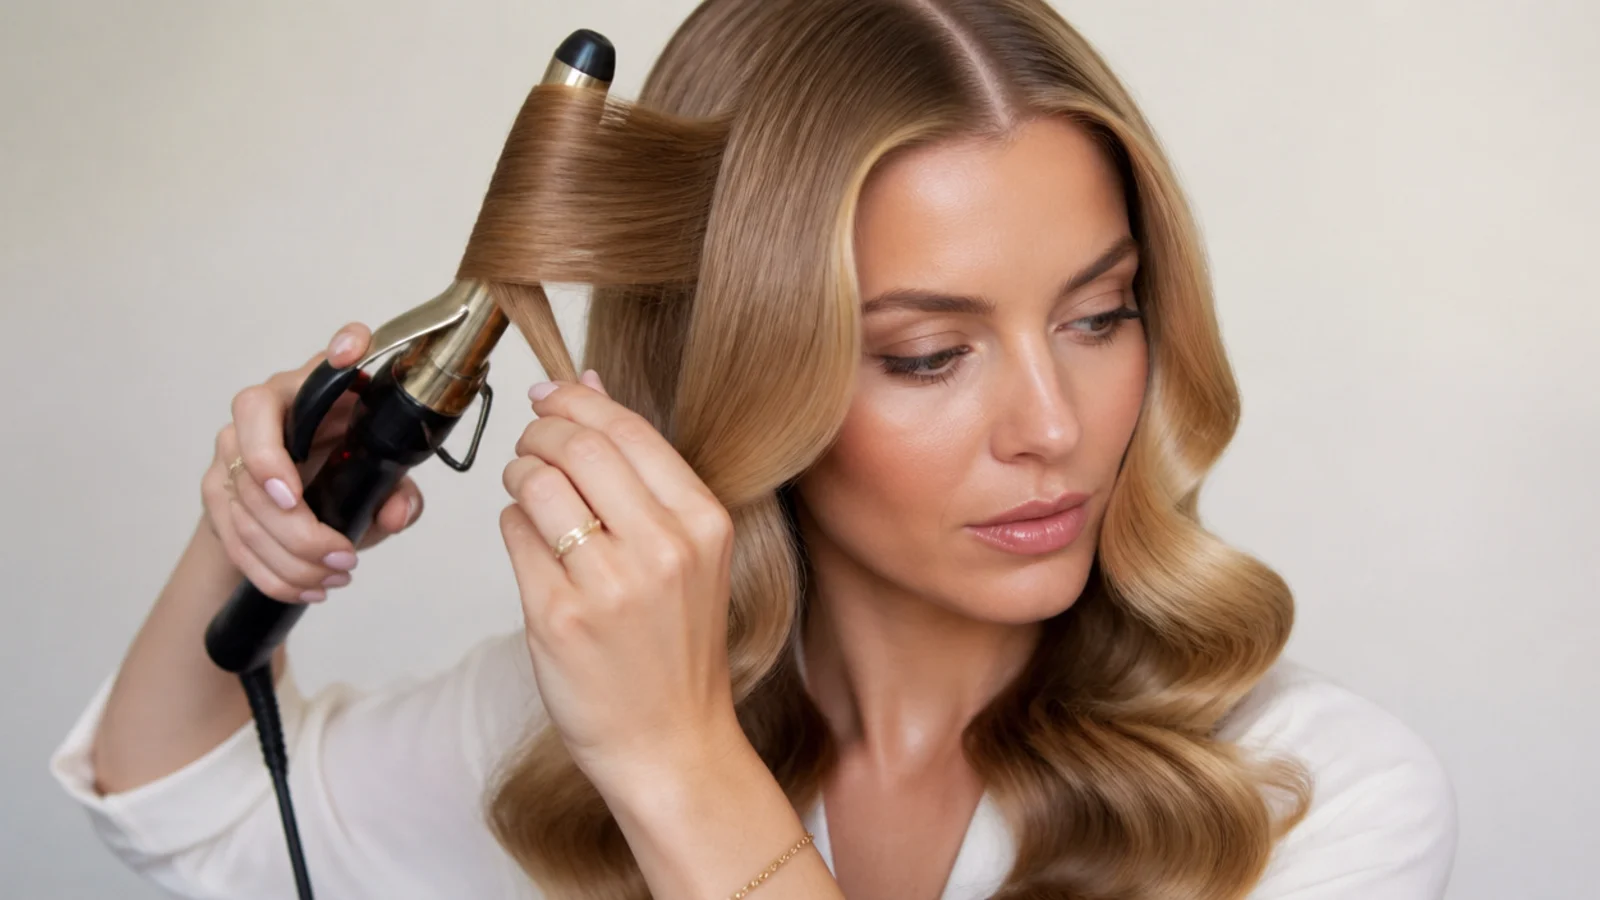
Take one-to-two-inch sections and curl every single one away from your face, keeping the iron horizontal so the waves stack in the same direction. Consistency is everything - curling all sections the same way is what creates the uniform S-wave.
Common mistake: Curling sections in different directions, which breaks up the smooth, connected wave pattern.
Pro tip: Leave the ends out of the iron for a softer, more modern wave, or include them for full vintage glam.
3. Pin and Cool
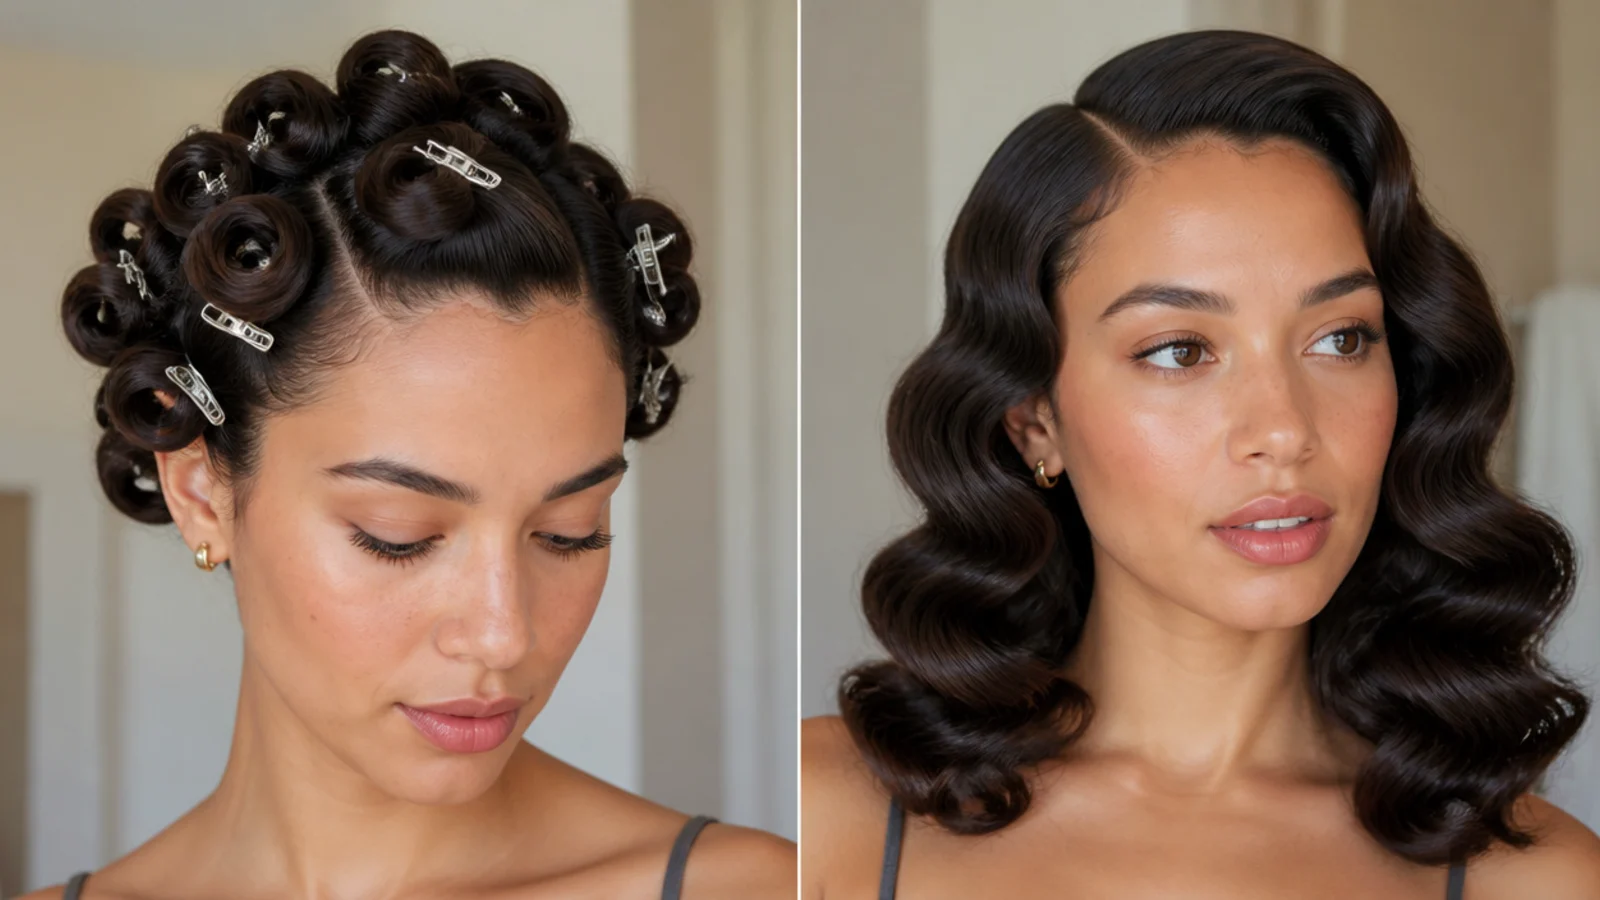
As you finish each curl, roll it up toward your scalp and pin it in place (pin-curl style), then let all the curls cool completely - at least 10 minutes. This step sets the wave so it lasts all evening. Do your makeup while you wait.
Common mistake: Brushing the curls while they are still warm, which collapses them instantly.
Pro tip: Fully cooled curls hold far longer - the longer you leave them pinned, the better the wave.
4. Brush It Out
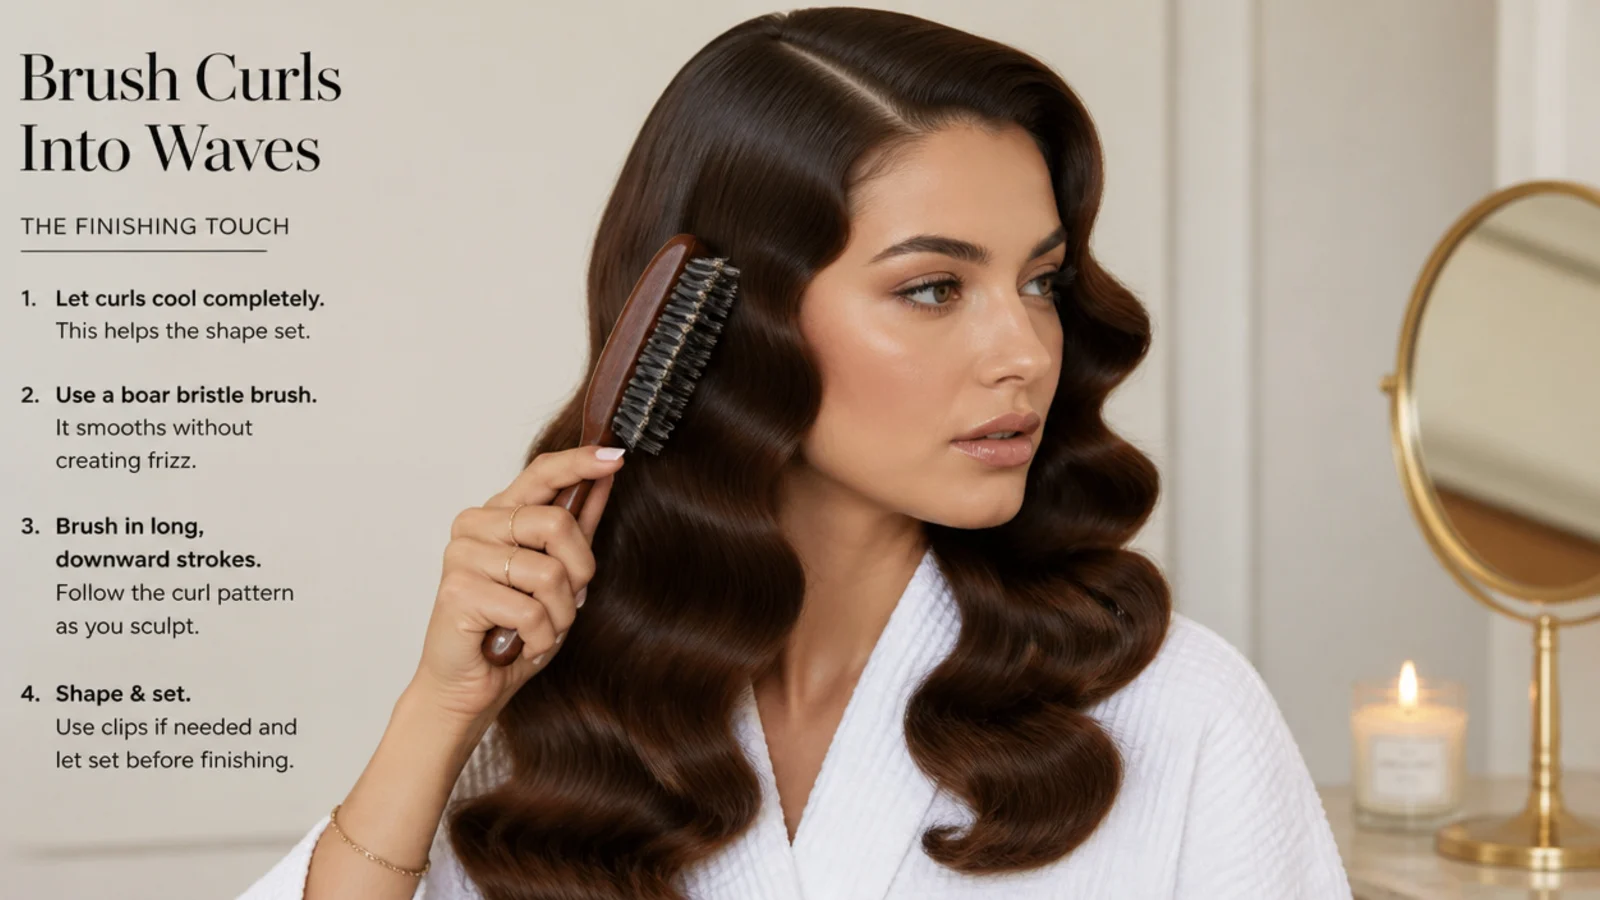
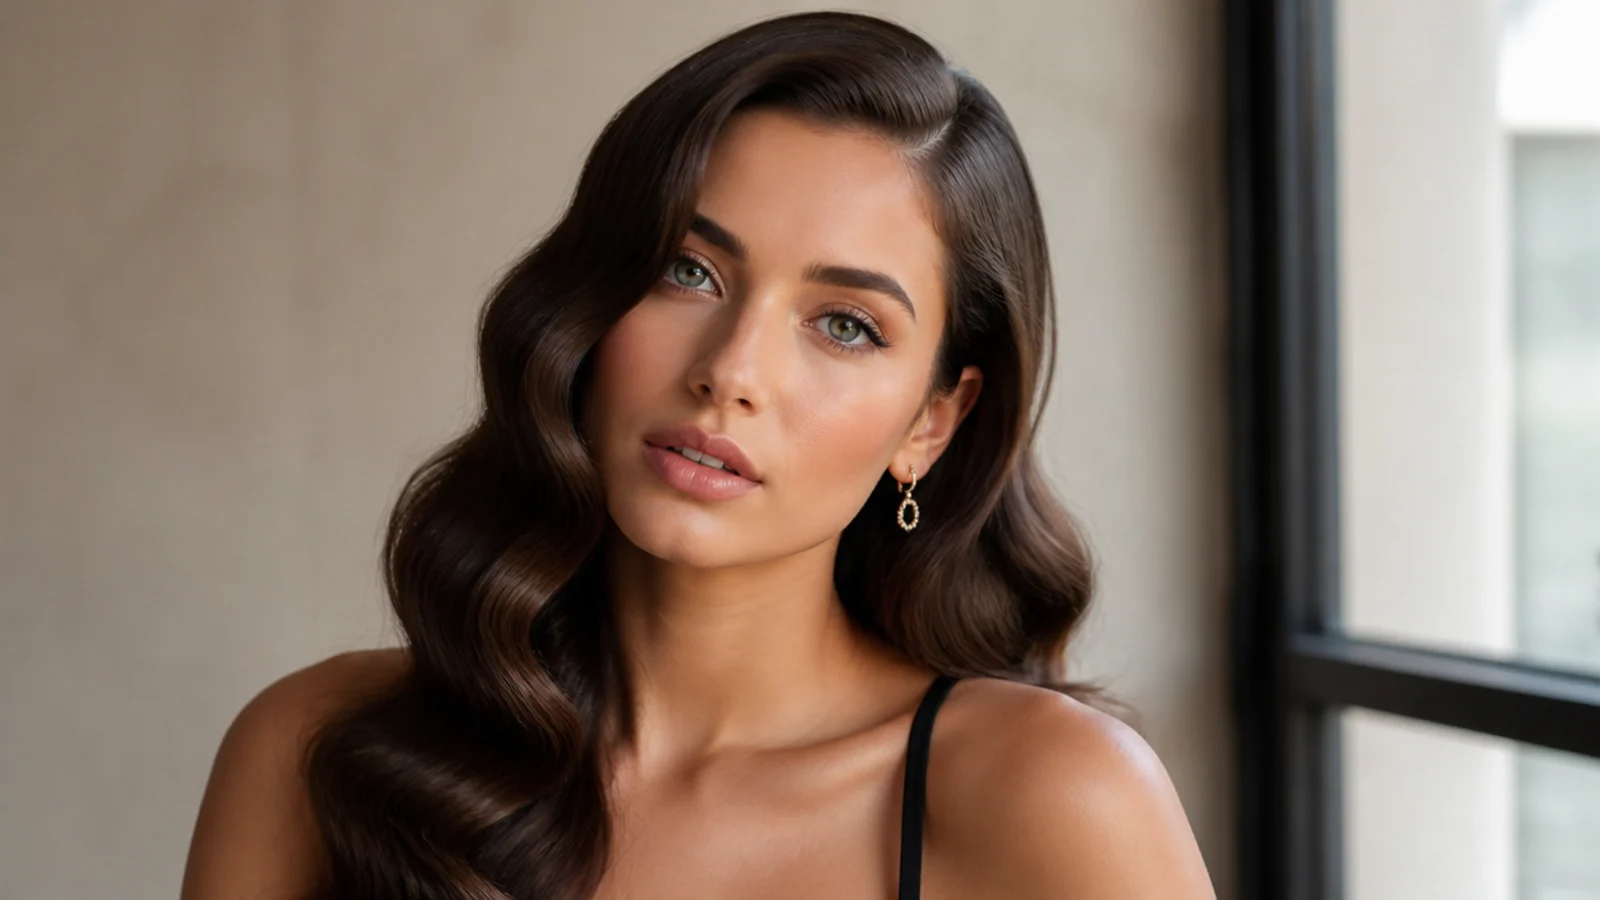
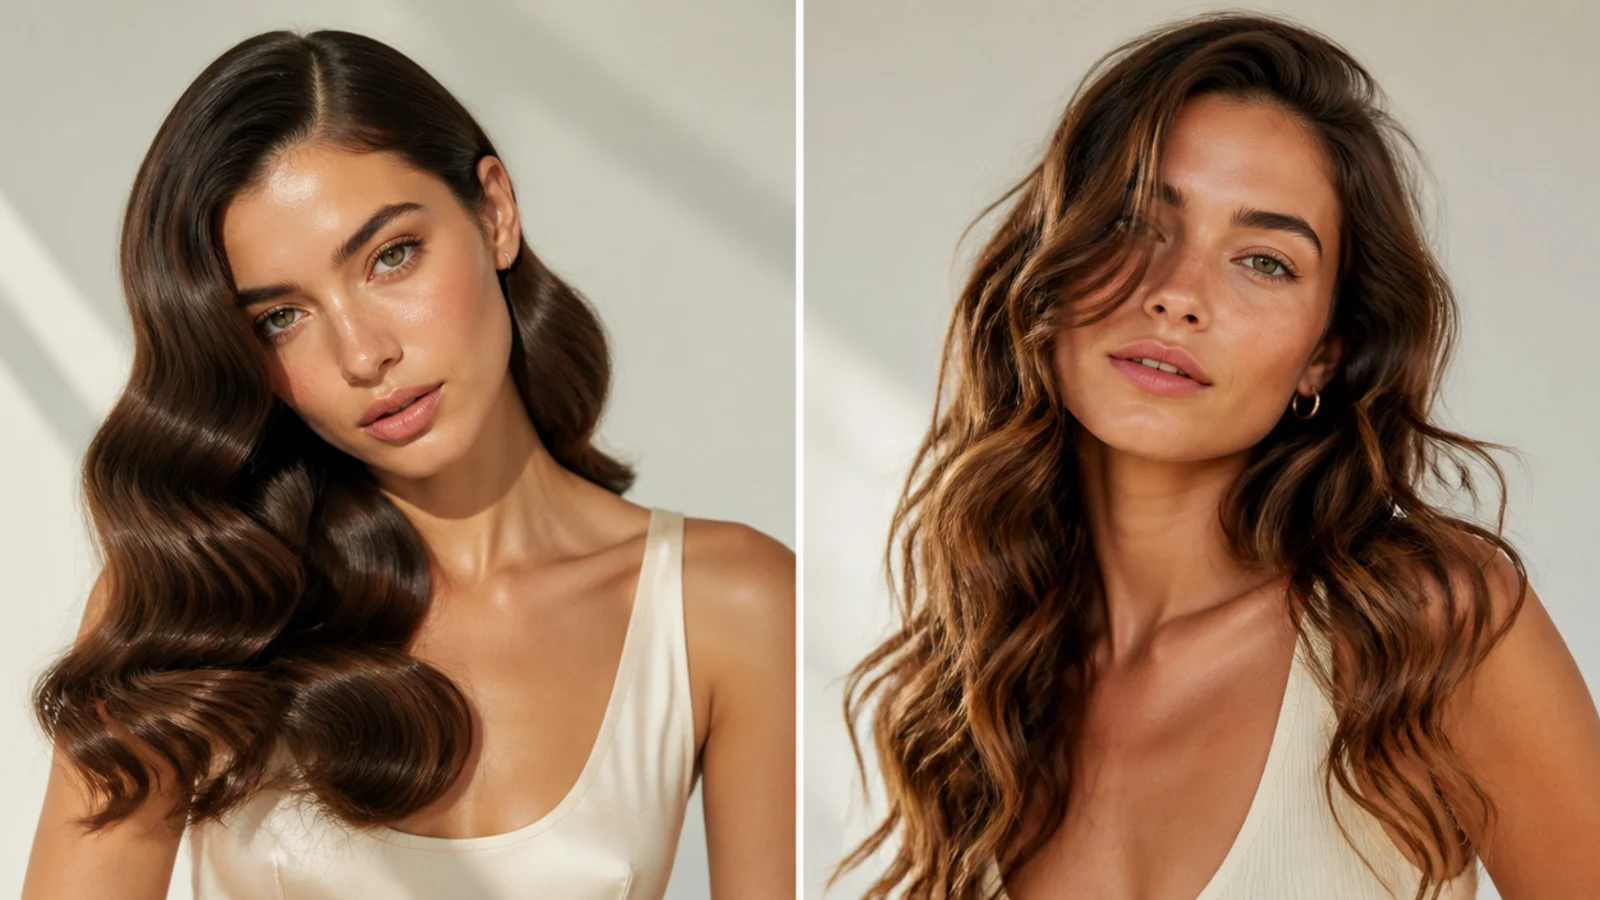
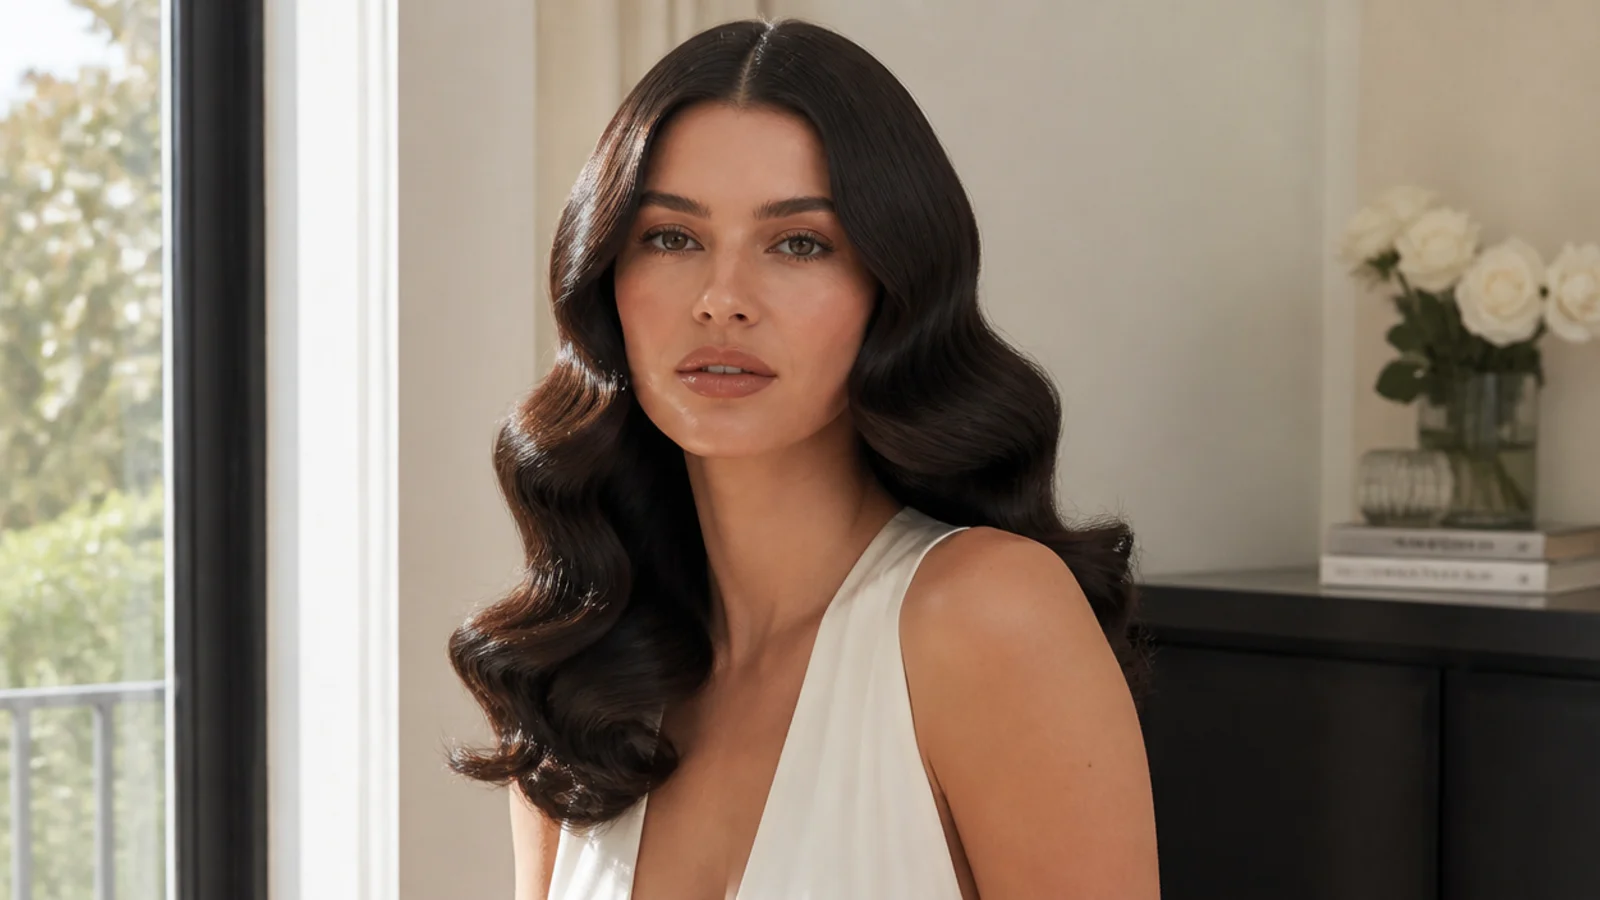
Unpin the fully cooled curls and brush through them from roots to ends with a natural boar-bristle brush, which distributes oils and adds shine as it works. Start at the top and brush in long, smooth strokes, and do not panic when the curls loosen - this is exactly what blends the separate ringlets into soft, connected S-waves, the signature Hollywood finish. Brush more for a smoother, sleeker, more polished look, or less for more defined, sculpted waves. If the waves start to lose their bend, gently pinch and reshape the S-curves with your fingers as you go, then let them settle before you set them in place.
Common mistake: Not brushing at all, which leaves you with ringlets rather than glam waves.
Pro tip: Use a wide-tooth comb or your fingers to shape and pinch the S-bends into place after brushing.
5. Shape and Set
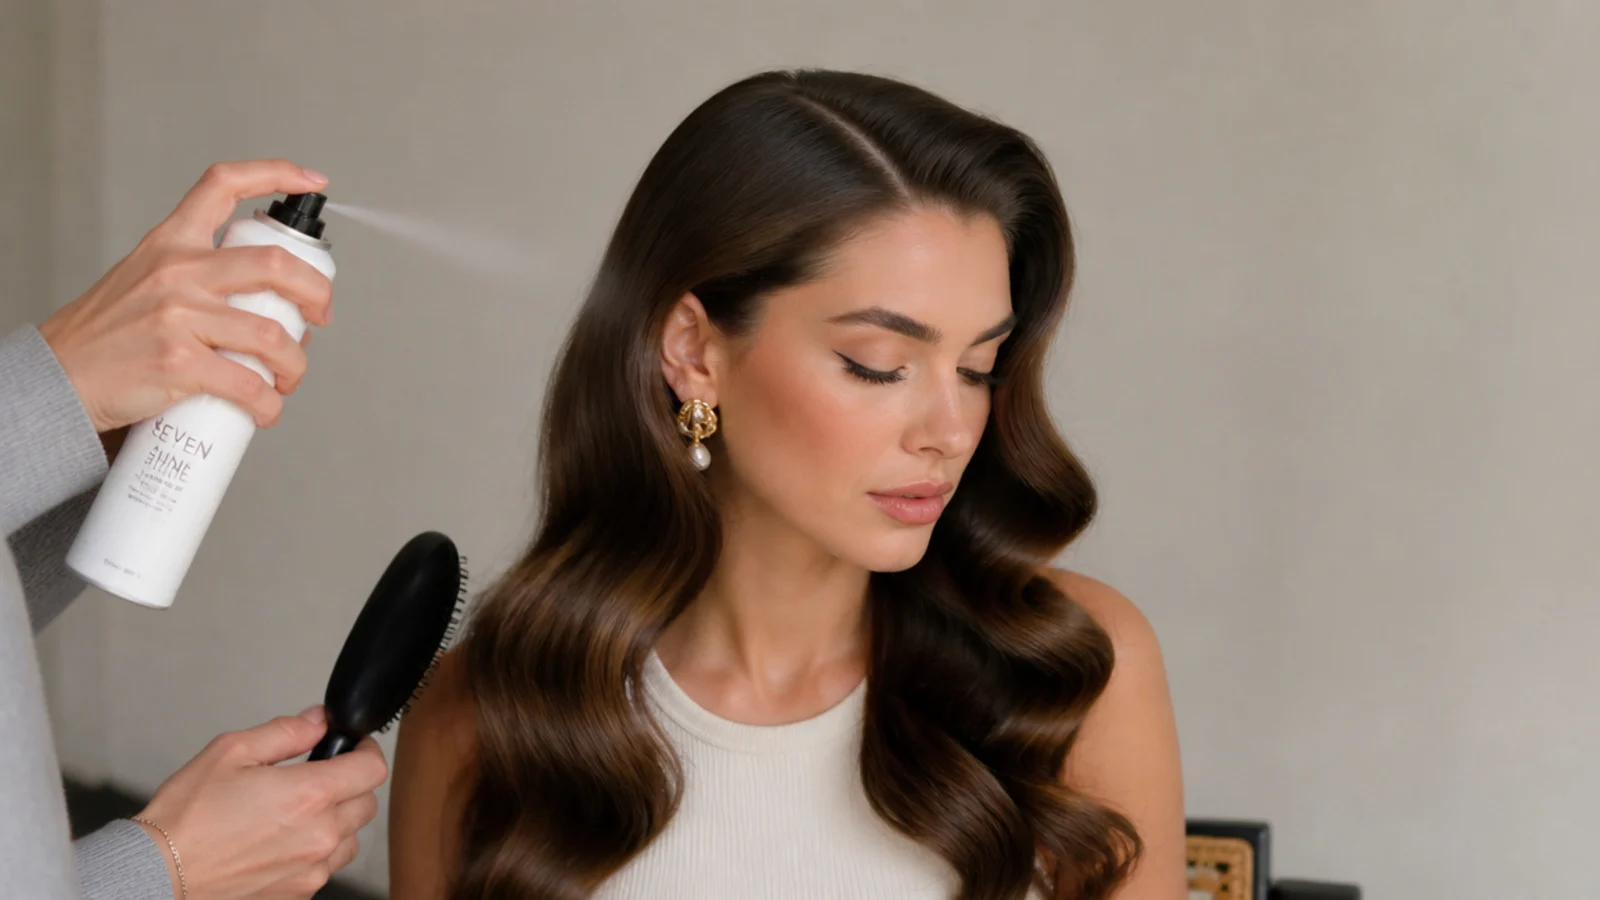
Shape the waves so the S-bends sit where you want them, using a few clips to hold the bends while you spray if needed. Mist with a flexible hairspray to hold, then finish with a shine spray for that glossy, red-carpet gloss.
Common mistake: Using a stiff hairspray that makes the waves crunchy instead of soft and glossy.
Pro tip: Clip the S-bends for a couple of minutes after spraying to lock the shape, then remove the clips.
Best Variations to Try
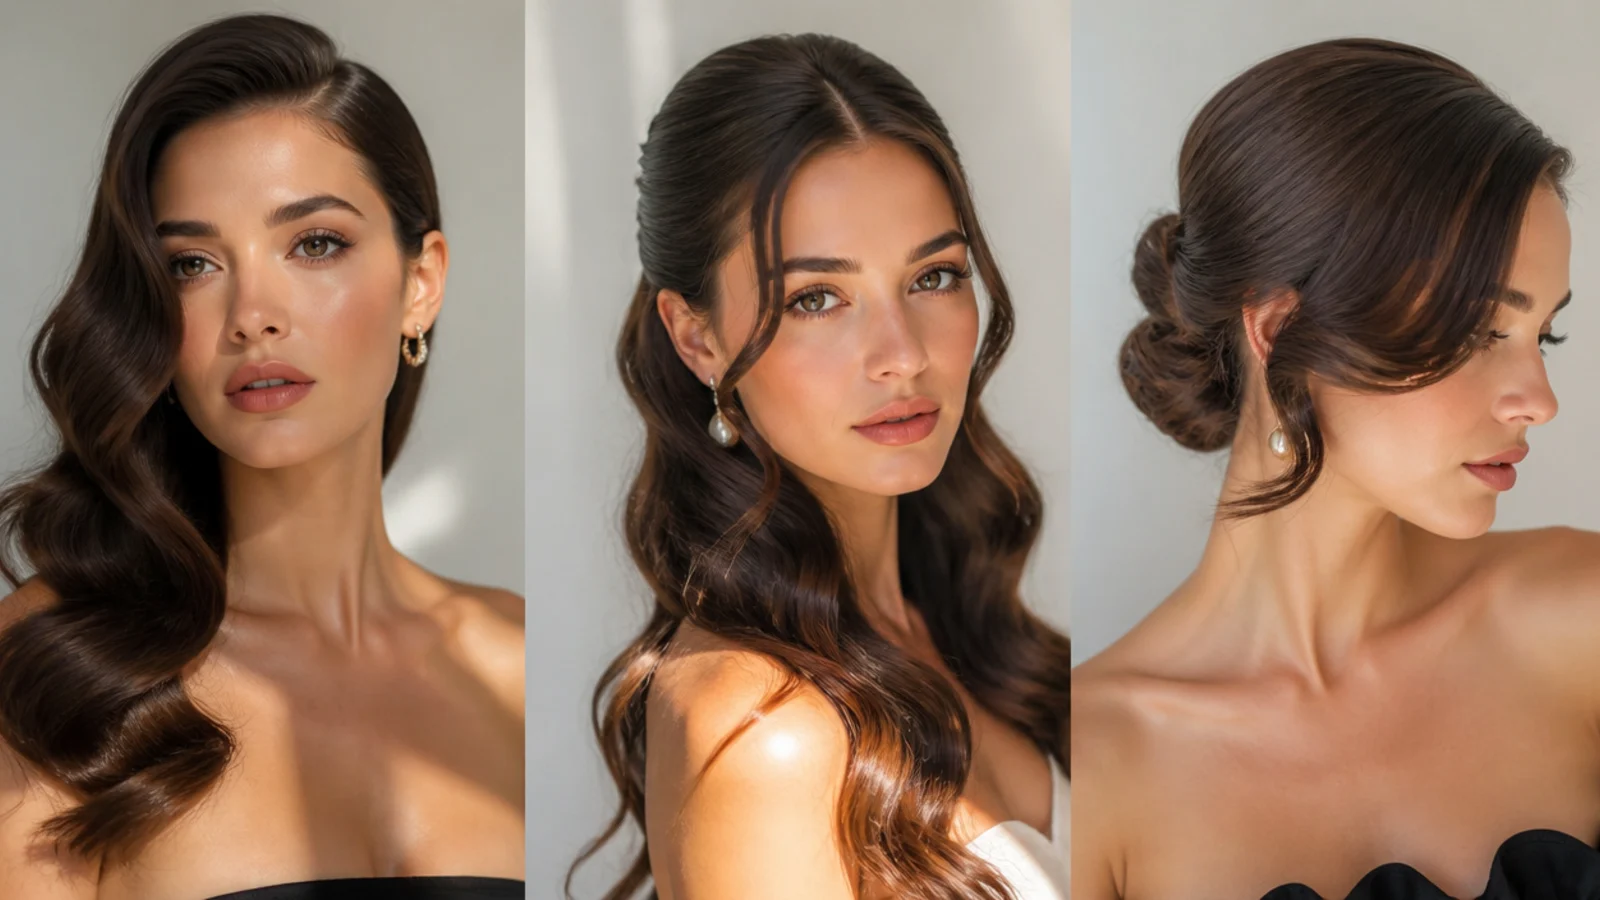
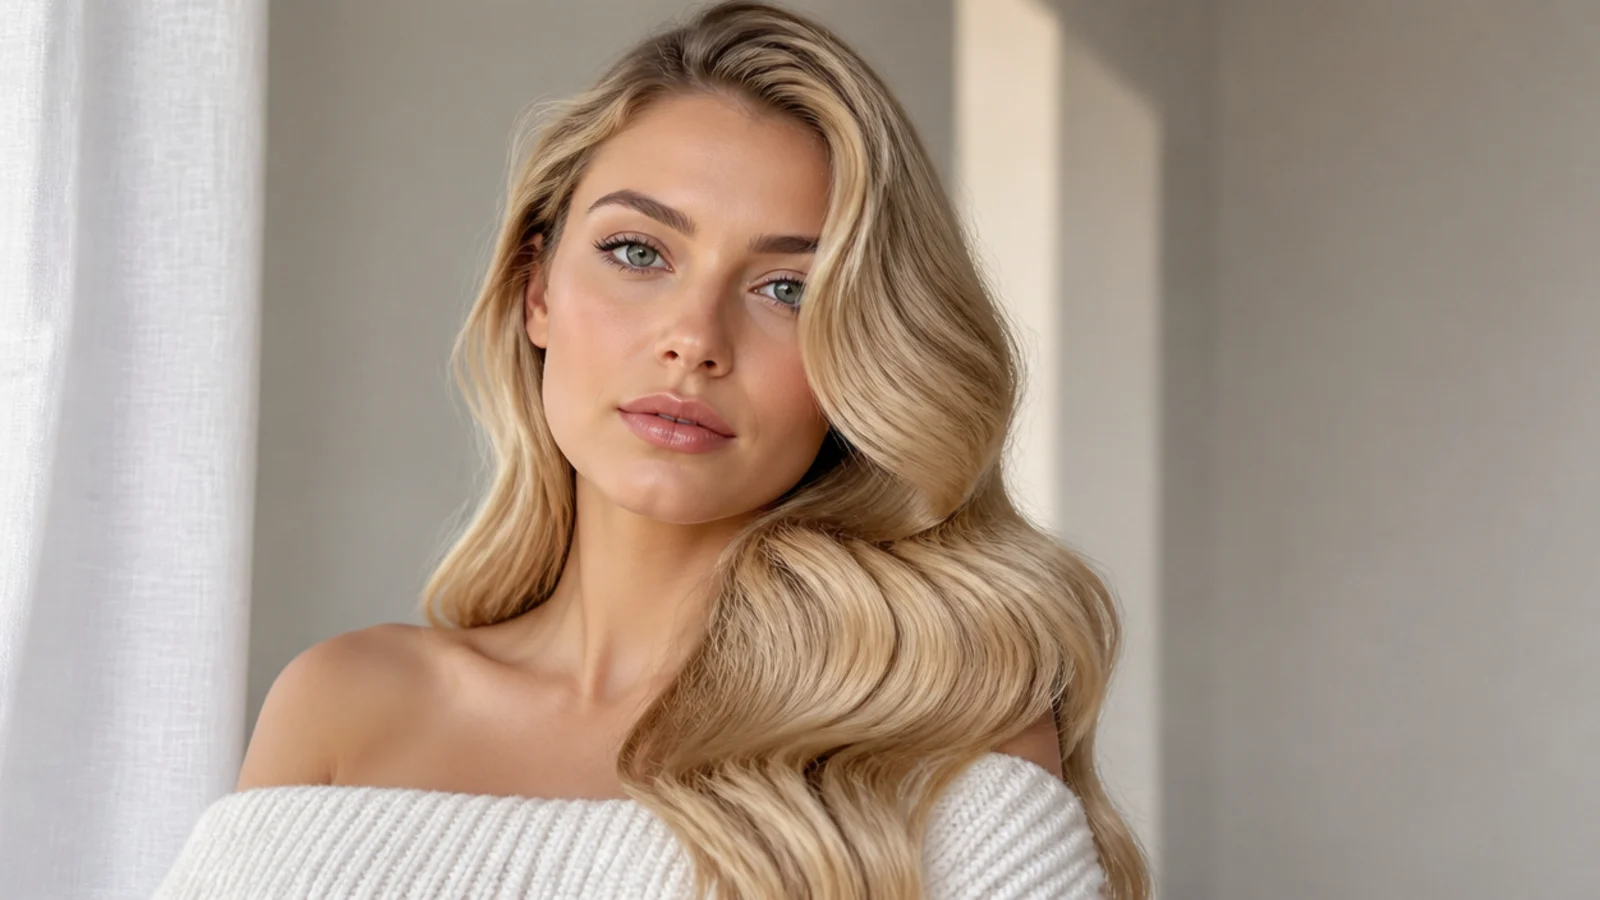
Once you have the basic technique, try sweeping all the waves over one shoulder for a red-carpet pose, or pinning the top back into a half-up glam look. For a softer, more modern finish, break the waves up gently with your fingers instead of a heavy brush-out. On short hair, use a smaller iron and lean into sculpted, finger-wave-style glam. And adding a jeweled clip or vintage headband instantly turns the look into event-ready glamour.
How to Make Them Last
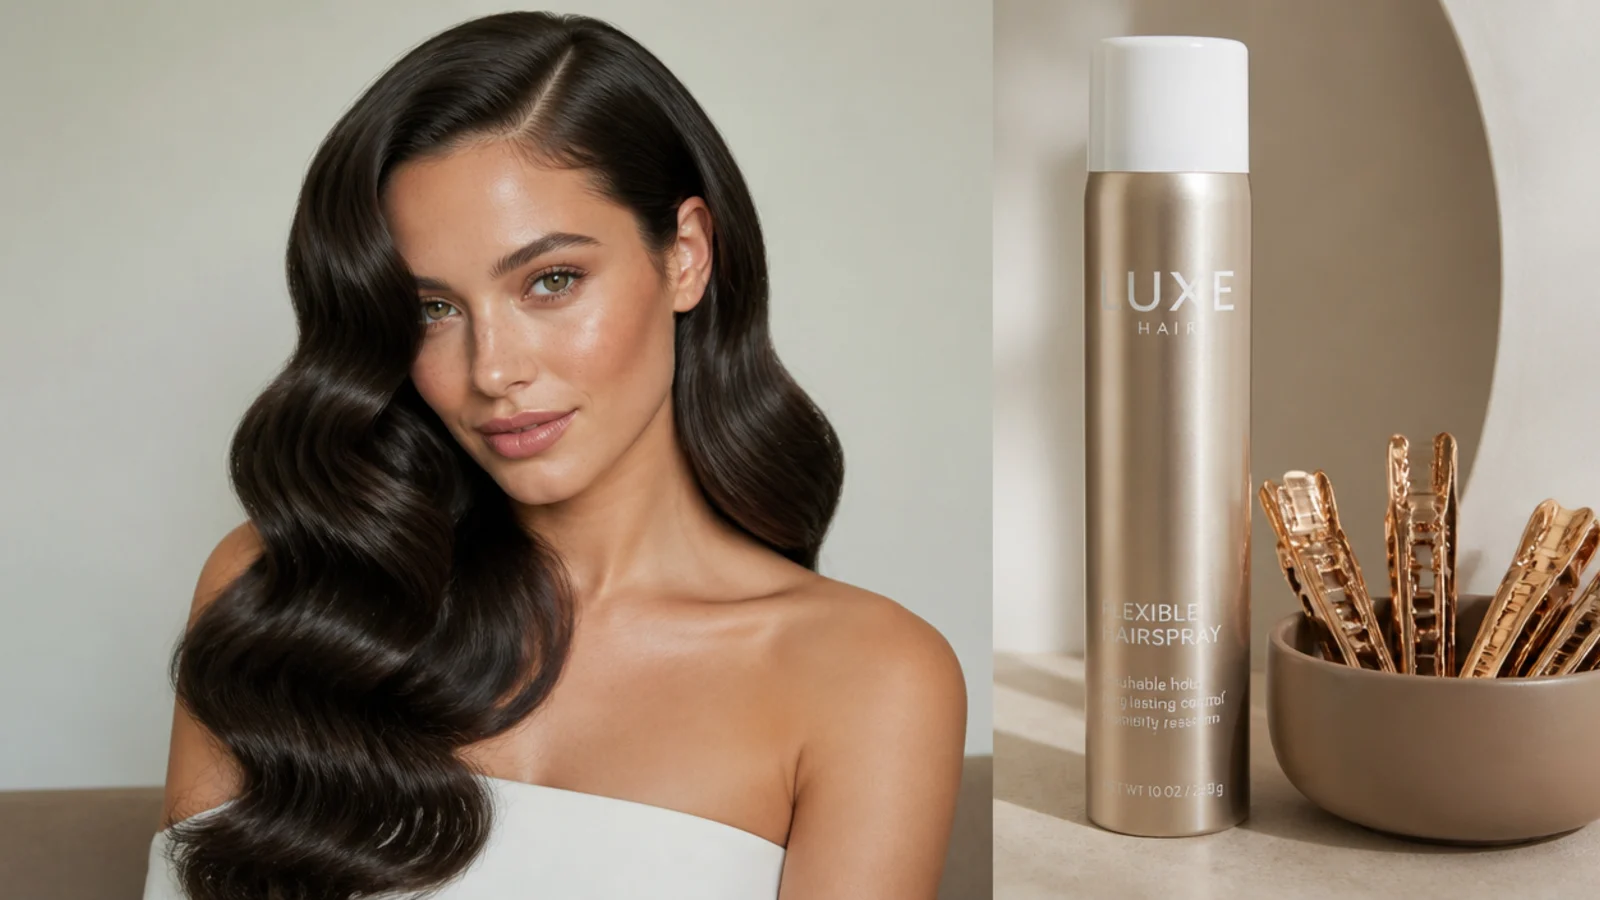
The single biggest factor in longevity is the cool-down: fully cooled, pinned curls hold their shape for hours, while warm curls drop fast. Beyond that, start with clean, dry hair (product-free hair curls and holds best), use a flexible but firm hairspray, and avoid touching the waves too much once set. If you are wearing them all evening, a light re-mist and a quick reshape with your fingers revives any bends that have softened. For overnight hold, loosely pin the waves before bed and sleep on a satin pillowcase.
Frequently Asked Questions
How do you do Hollywood waves at home?
Prep smooth hair with heat protectant and set your part, curl every section away from your face in the same direction, pin the curls and let them cool completely, then brush them out into soft S-waves and set with hairspray and shine spray.
Why do my Hollywood waves fall out?
Usually because the curls were brushed out while still warm, or not cooled long enough. Let each curl cool completely (ideally pinned) before brushing - fully-set, cool curls hold for hours, while warm curls drop within minutes.
What iron is best for Hollywood waves?
A one-to-1.25-inch curling iron or wand works well for medium to long hair; use a smaller barrel for short hair or bobs. The key is curling every section in the same direction, whatever the barrel size.
How do I get my Hollywood waves smooth, not curly?
Brush the cooled curls out thoroughly with a boar-bristle brush - this is the step that turns ringlets into smooth, connected S-waves. Start with sleek, straightened hair, and finish with a shine spray for that glossy look.
How long do Hollywood waves take?
About 25 to 40 minutes depending on your hair length, including the all-important cool-down. Curling takes the most active time; the cooling and brush-out are quick, so do your makeup while the curls set.
Heat styling can damage hair. Always use a heat protectant, keep the iron at a moderate temperature, and give your hair heat-free days to recover.
Which hollywood waves look are you saving?
The difference between ringlets and true Hollywood waves is all in the cool-down and the brush-out - rush either and the glamour is lost. Curl in one direction, let it cool, brush it smooth, and lock in the shine, and you will have red-carpet waves at home. Save this tutorial and give yourself time; the waiting is what makes them last.