1. Prep and Wash Your Hair
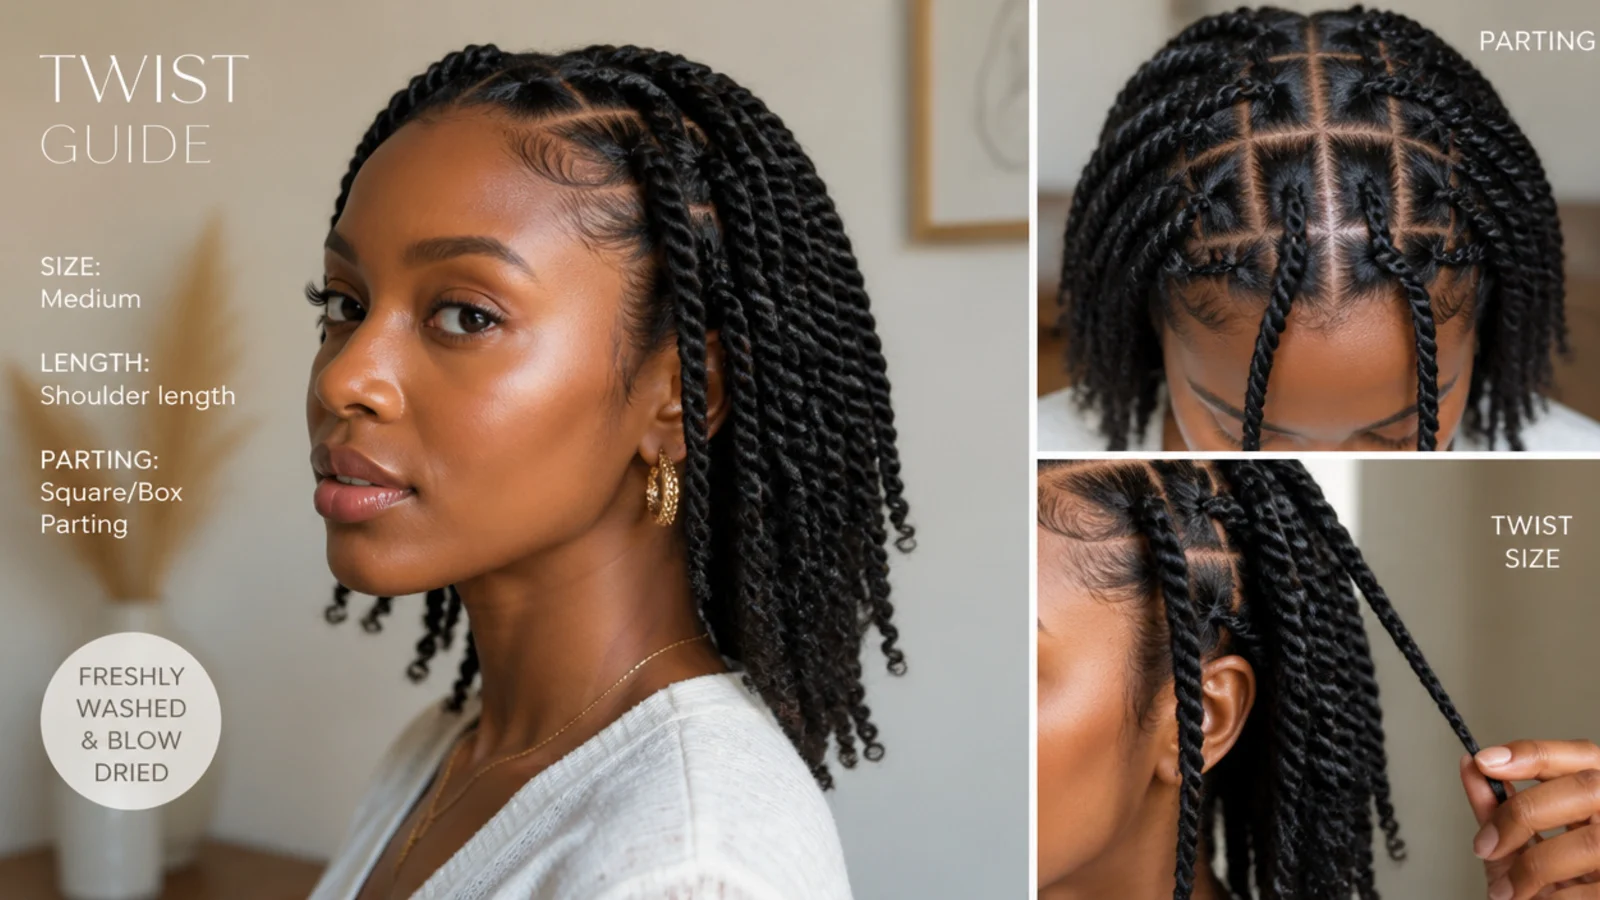
Start with clean, deep-conditioned and fully blow-dried hair. Stretched, detangled hair is much easier to twist and gives a neater result. Moisturise with a leave-in and seal with a light oil, but avoid heavy grease that stops the hair from gripping.
Common mistake: Do not twist on wet or damp hair - it stretches, dries shorter, and can lead to frizz and mildew at the roots.
Pro tip: Blow-drying your roots straight makes sectioning far cleaner and the base of each twist neater.
2. Choose and Prep Your Hair
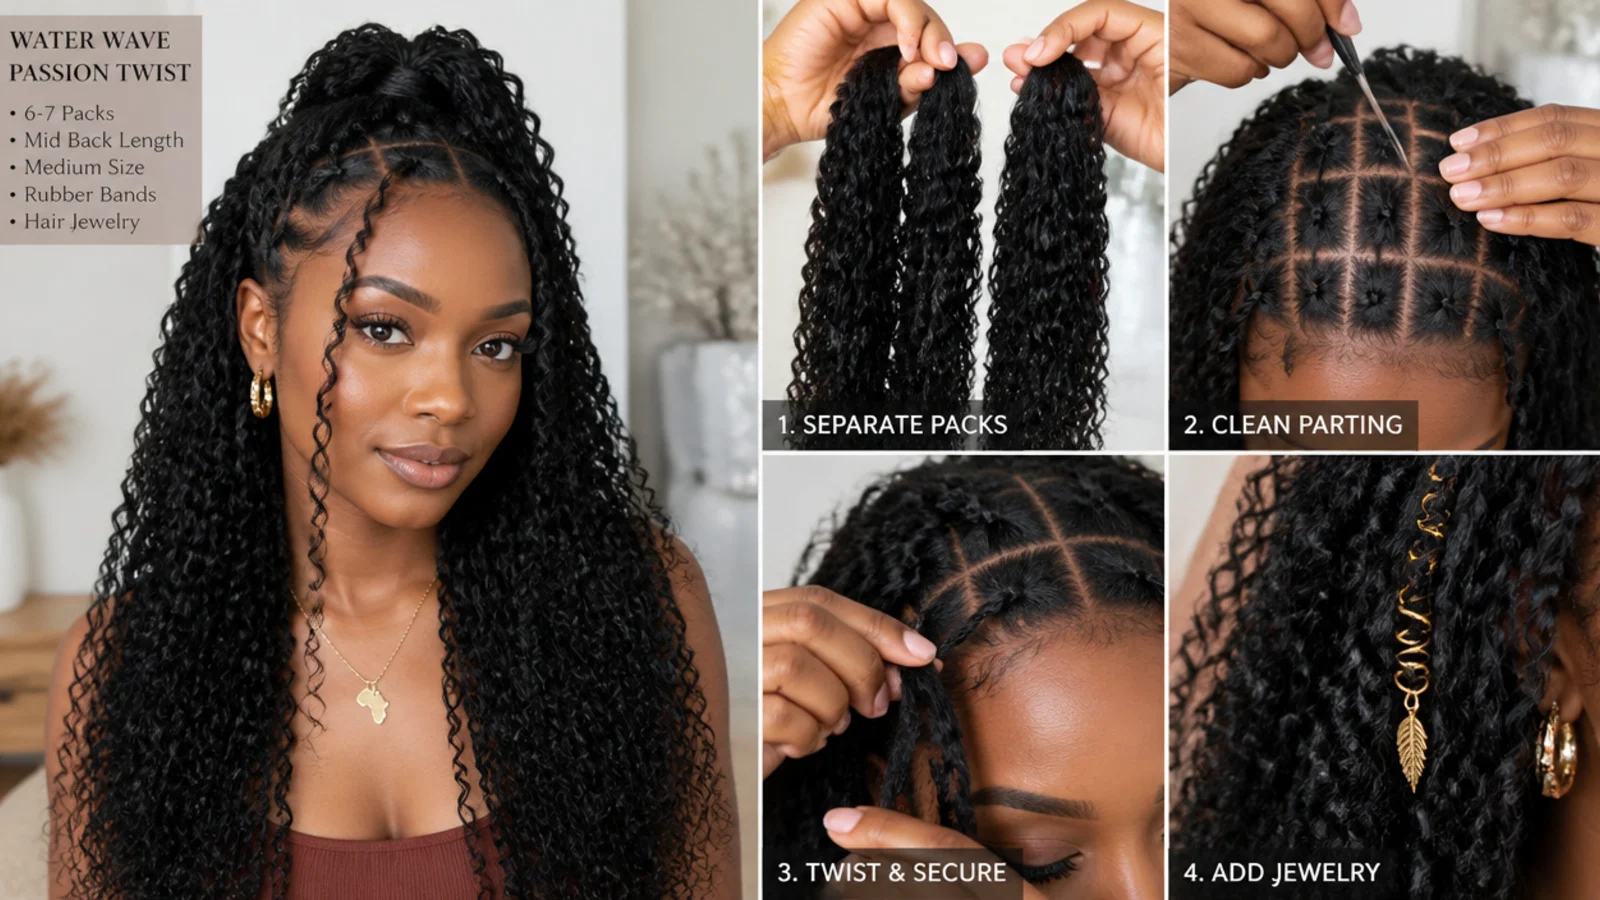
Use water-wave hair - the wavy texture is what makes passion twists soft and boho. Most full heads need six to eight packs. Separate the hair into small, even pieces before you start so you are not fumbling mid-twist, and pre-stretch each piece gently.
Pro tip: Buy an extra pack from the same batch so you never run short partway through.
3. Section Your Hair Neatly
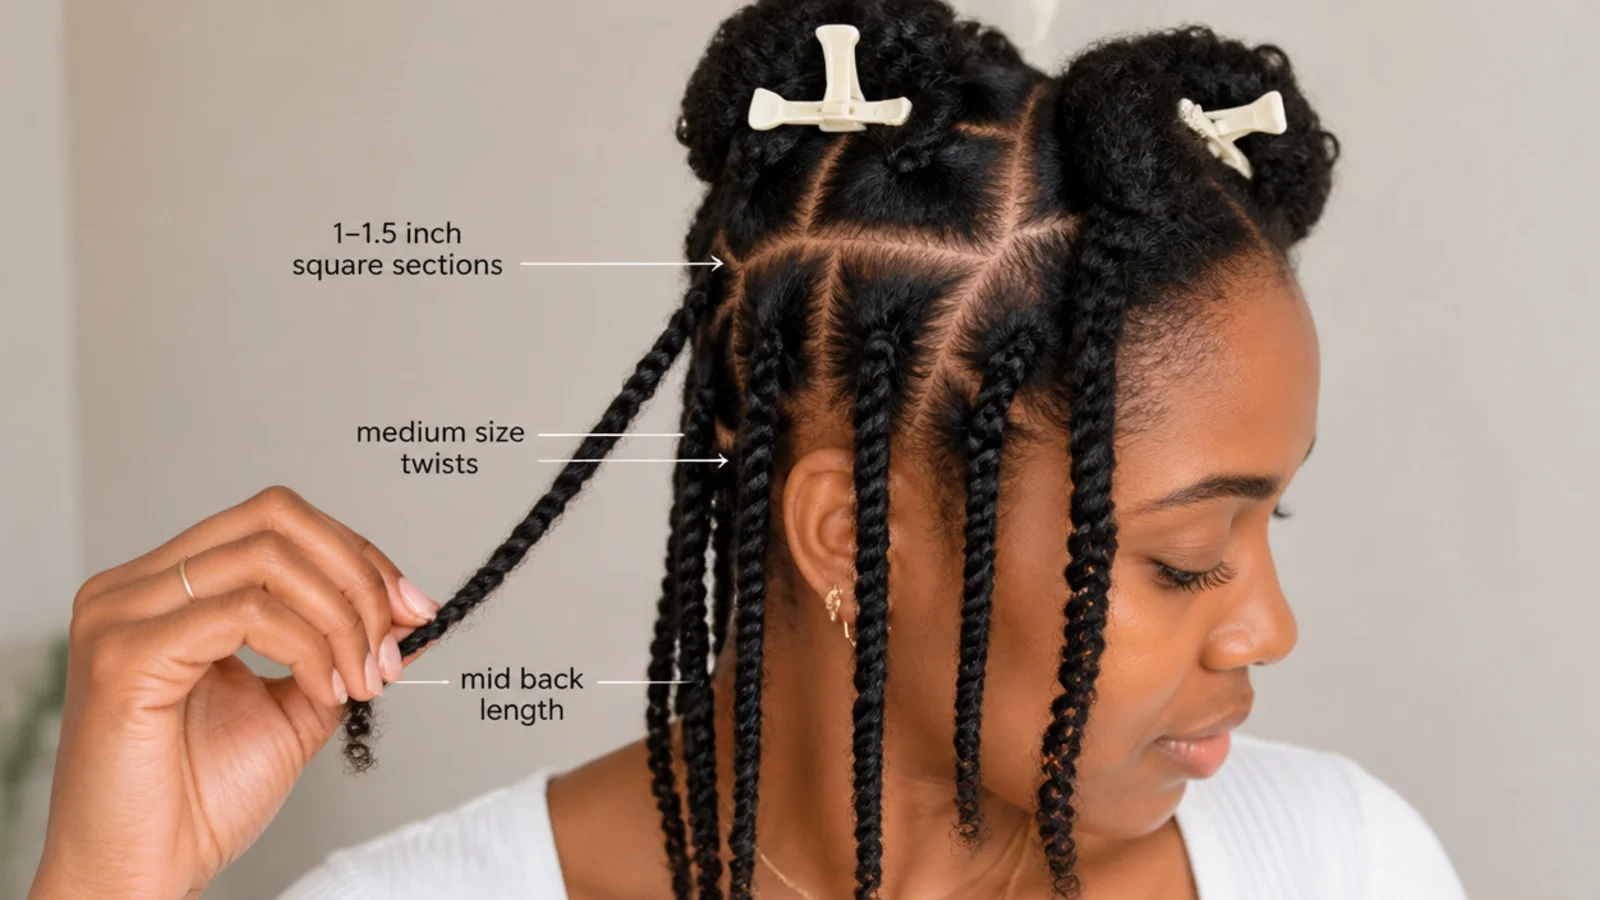
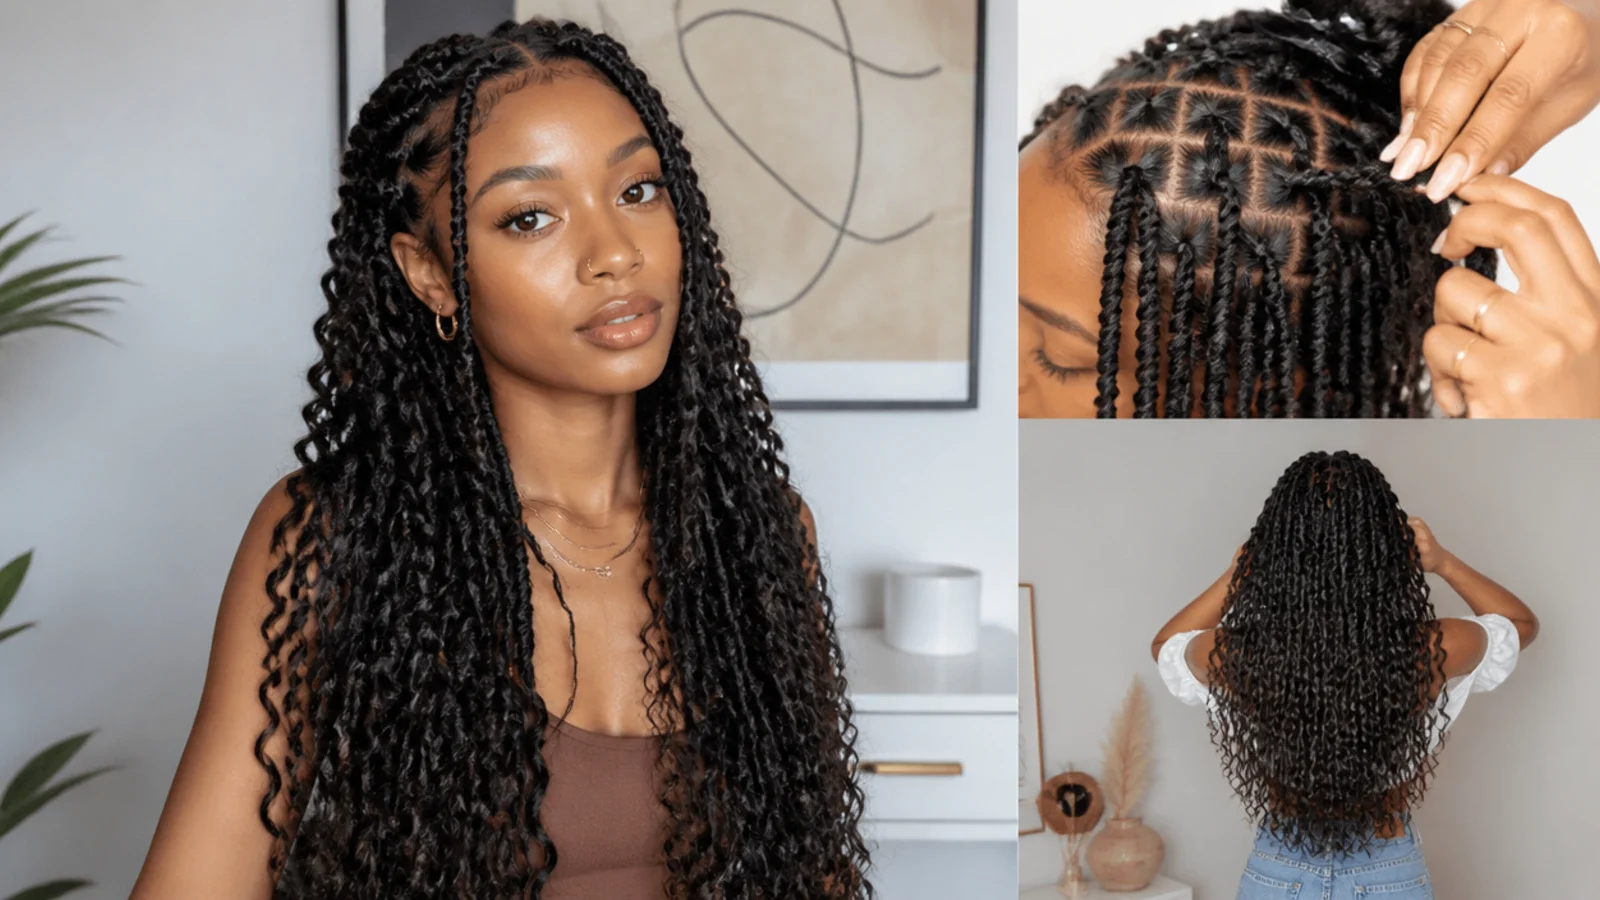
Part your hair into a neat grid, working one horizontal row at a time from the nape up. Clip away the rest. The size of each square section decides your twist size - smaller squares for mini twists, larger for jumbo. Keep sections even for a uniform, professional finish.
Common mistake: Uneven or messy sections are the number-one giveaway of a DIY install - take your time parting with a rat-tail comb.
4. Attach the Hair
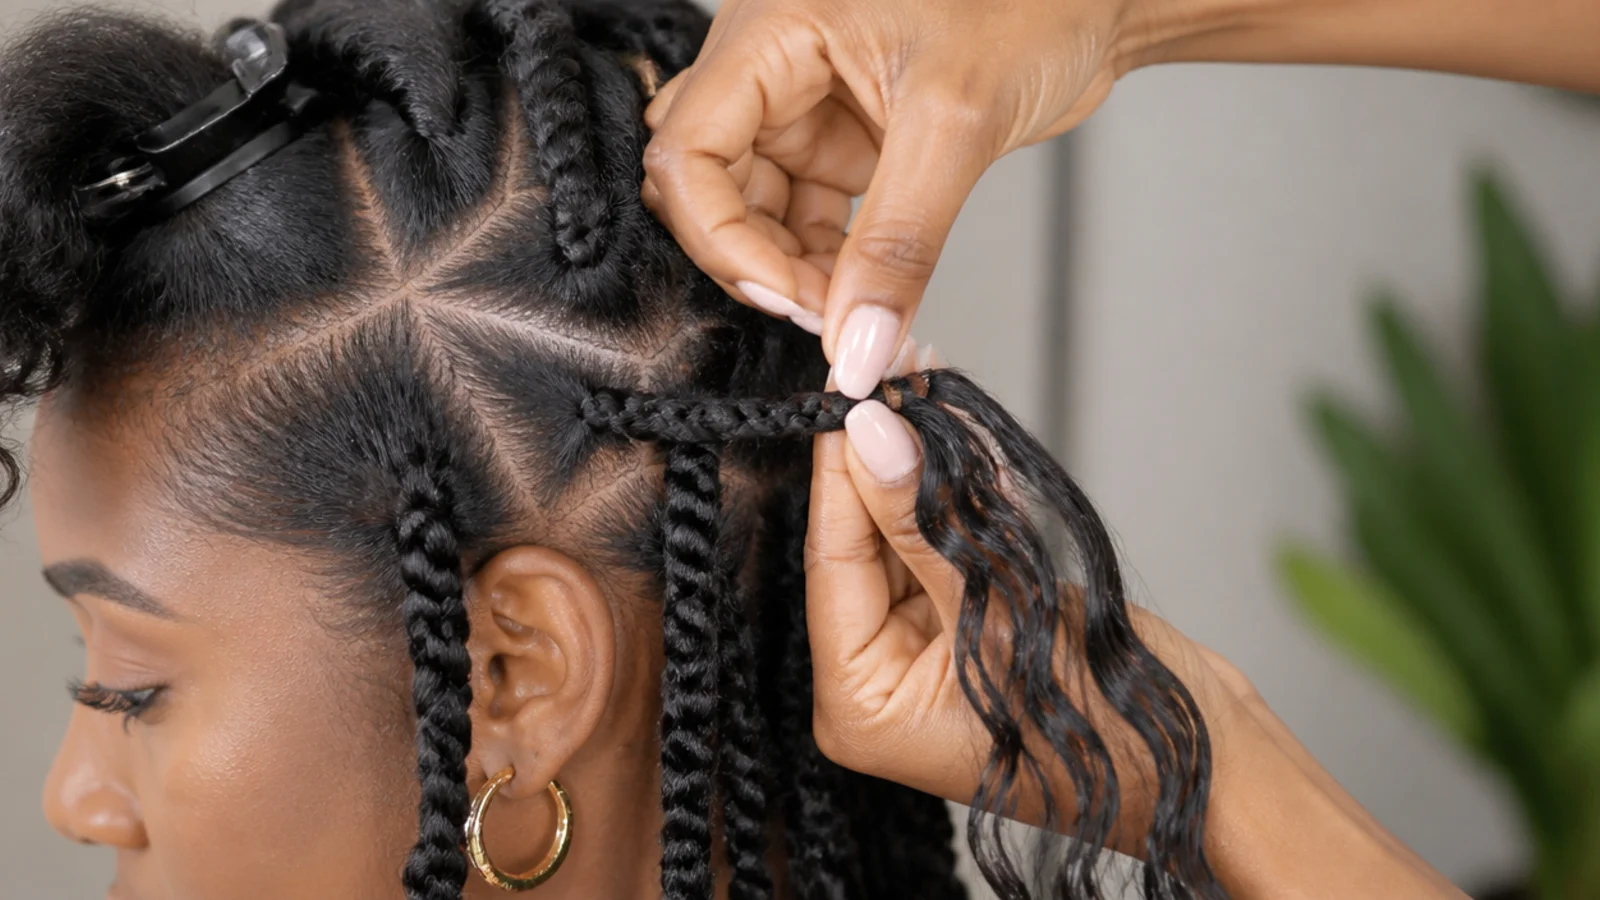
Take a piece of water-wave hair and attach it to your natural section close to the root - either by wrapping it around the base or using the crochet method for a flatter, more secure start. Keep the tension comfortable, not tight, to protect your edges.
Pro tip: The crochet method (looping the hair through with a crochet needle) is faster and gentler on your hairline than wrapping.
5. Two-Strand Twist Down
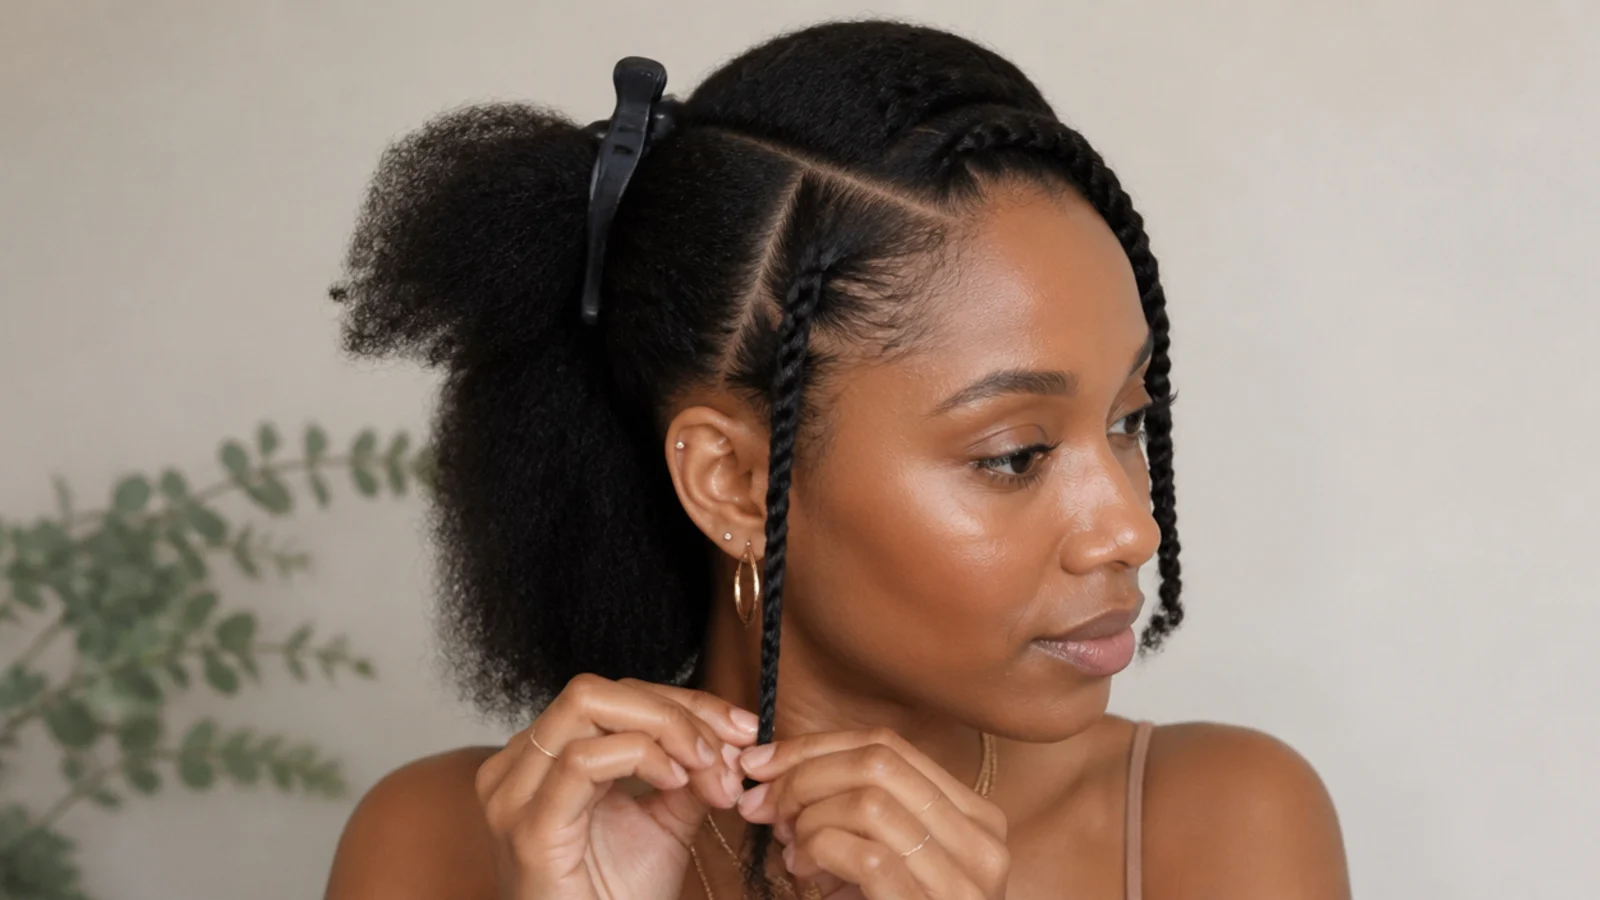
Split the combined hair into two strands and twist them around each other all the way down. Keep the tension even so the twist is uniform from root to tip. Twist in the same direction for every section so they all look consistent.
Common mistake: Twisting too loosely makes twists unravel; twisting too tightly makes them stiff and stresses your scalp. Aim for a firm but comfortable, even twist.
6. Seal the Ends
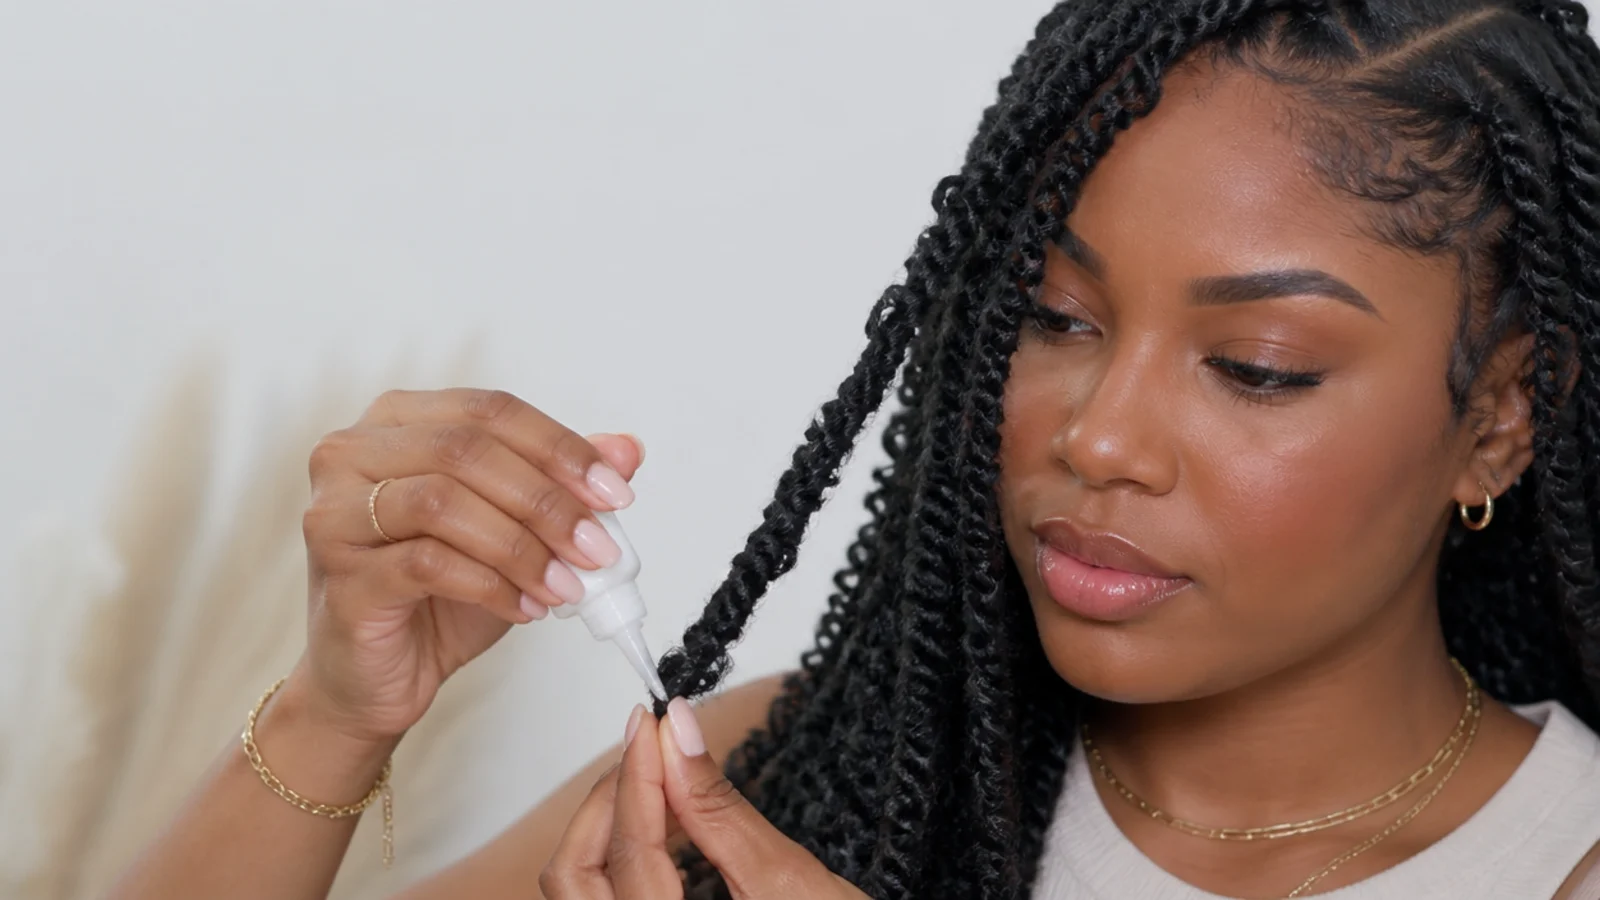
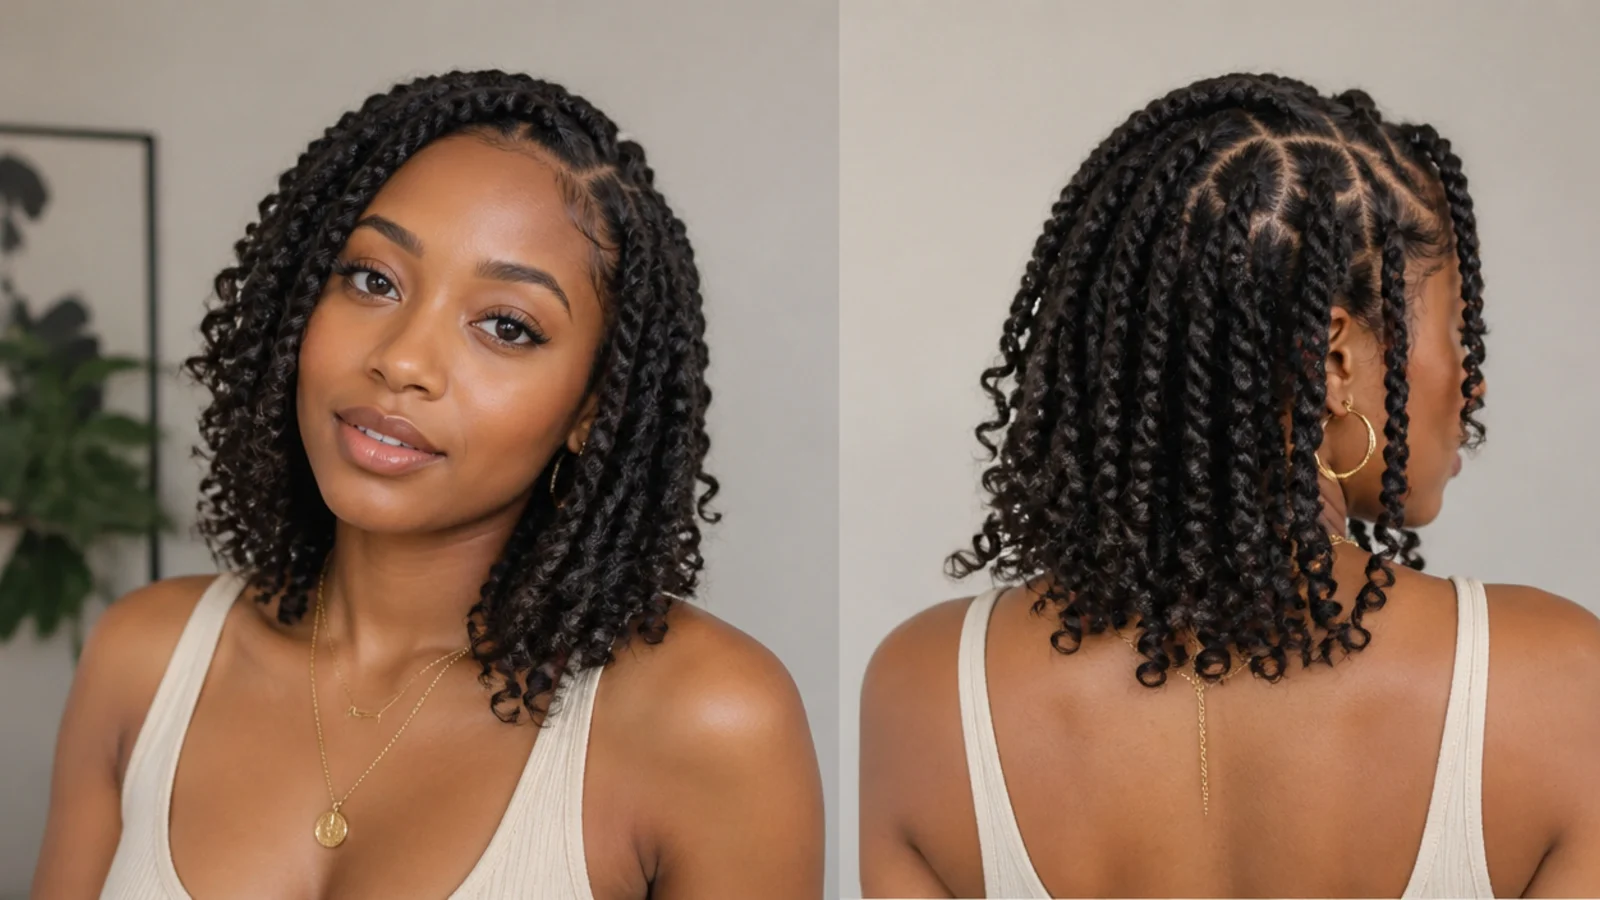
Leave a little wavy hair loose at the end for that boho finish, or seal the very tip by dipping it briefly in hot water (carefully) or rolling it between your palms. Sealing stops the twist from unravelling while keeping the soft, curly end passion twists are known for.
Pro tip: Hot-water dipping sets the ends best - use just-boiled water in a mug and dip for a few seconds, keeping it away from your skin.
7. Work Row by Row

Repeat across each row, working from the nape up to the crown. Take breaks - a full head takes several hours. Check in a mirror that your rows are even and the twists hang uniformly as you go, adjusting section size if needed.
8. Finish and Style

Once every section is twisted, gently separate any twists that are stuck together, add a light oil sheen, and style with a side part, half-up look or accessories. Mist very lightly with water and mousse if you want to revive the wave, then wrap in satin overnight to set.
Pro tip: Dip your whole head of finished twists briefly in warm water to lock the pattern and reduce frizz, then let them dry fully.
How Long Passion Twists Take at Home
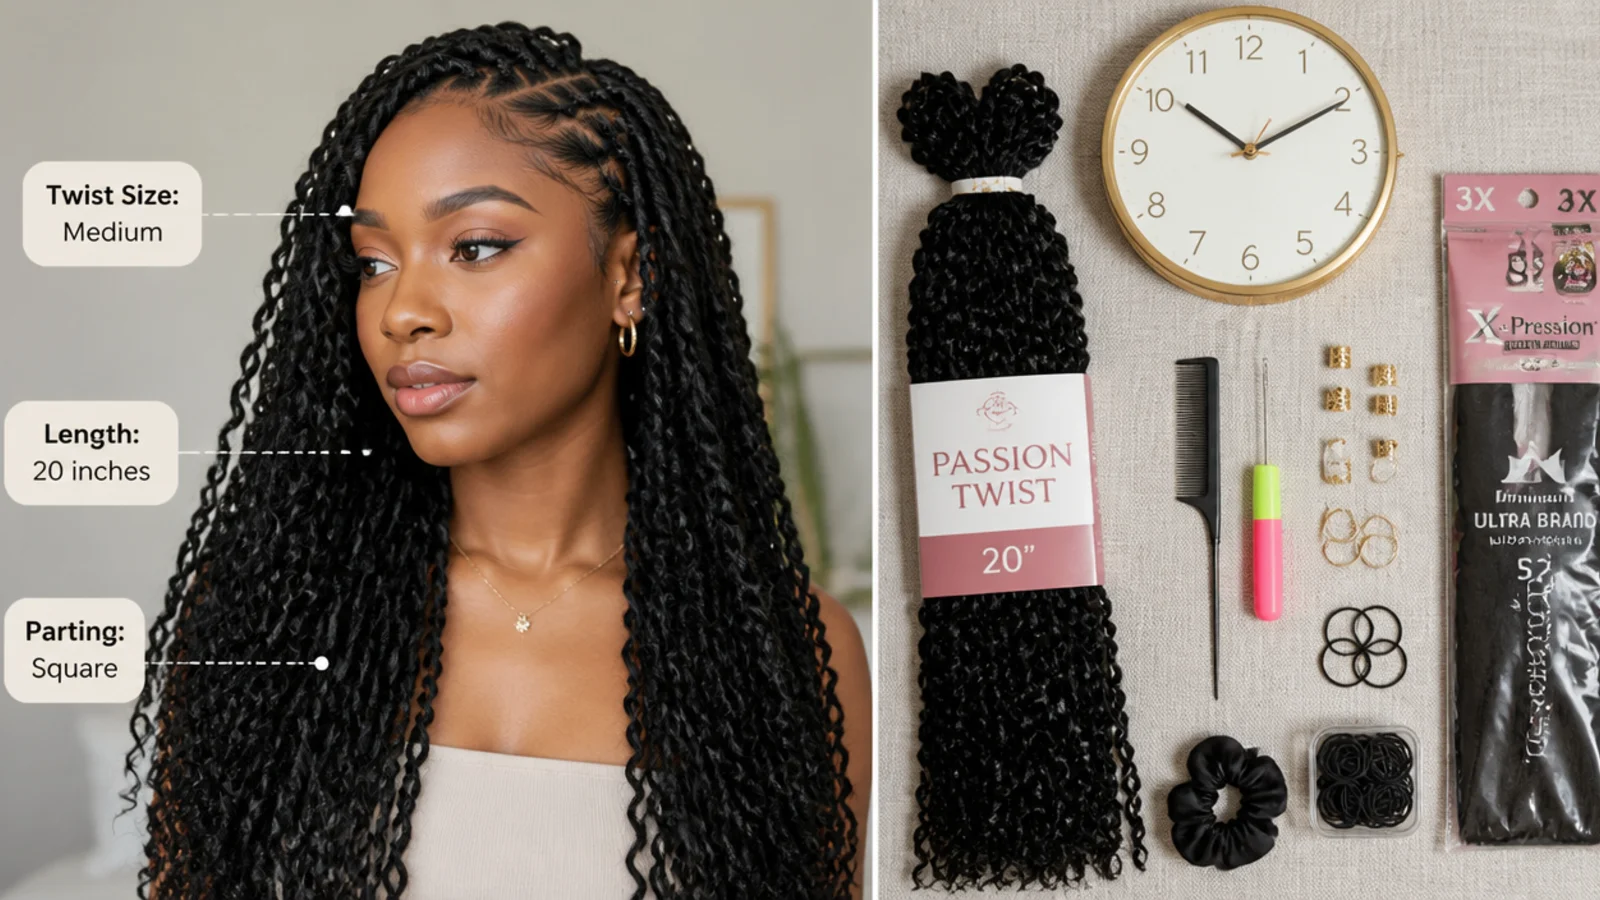
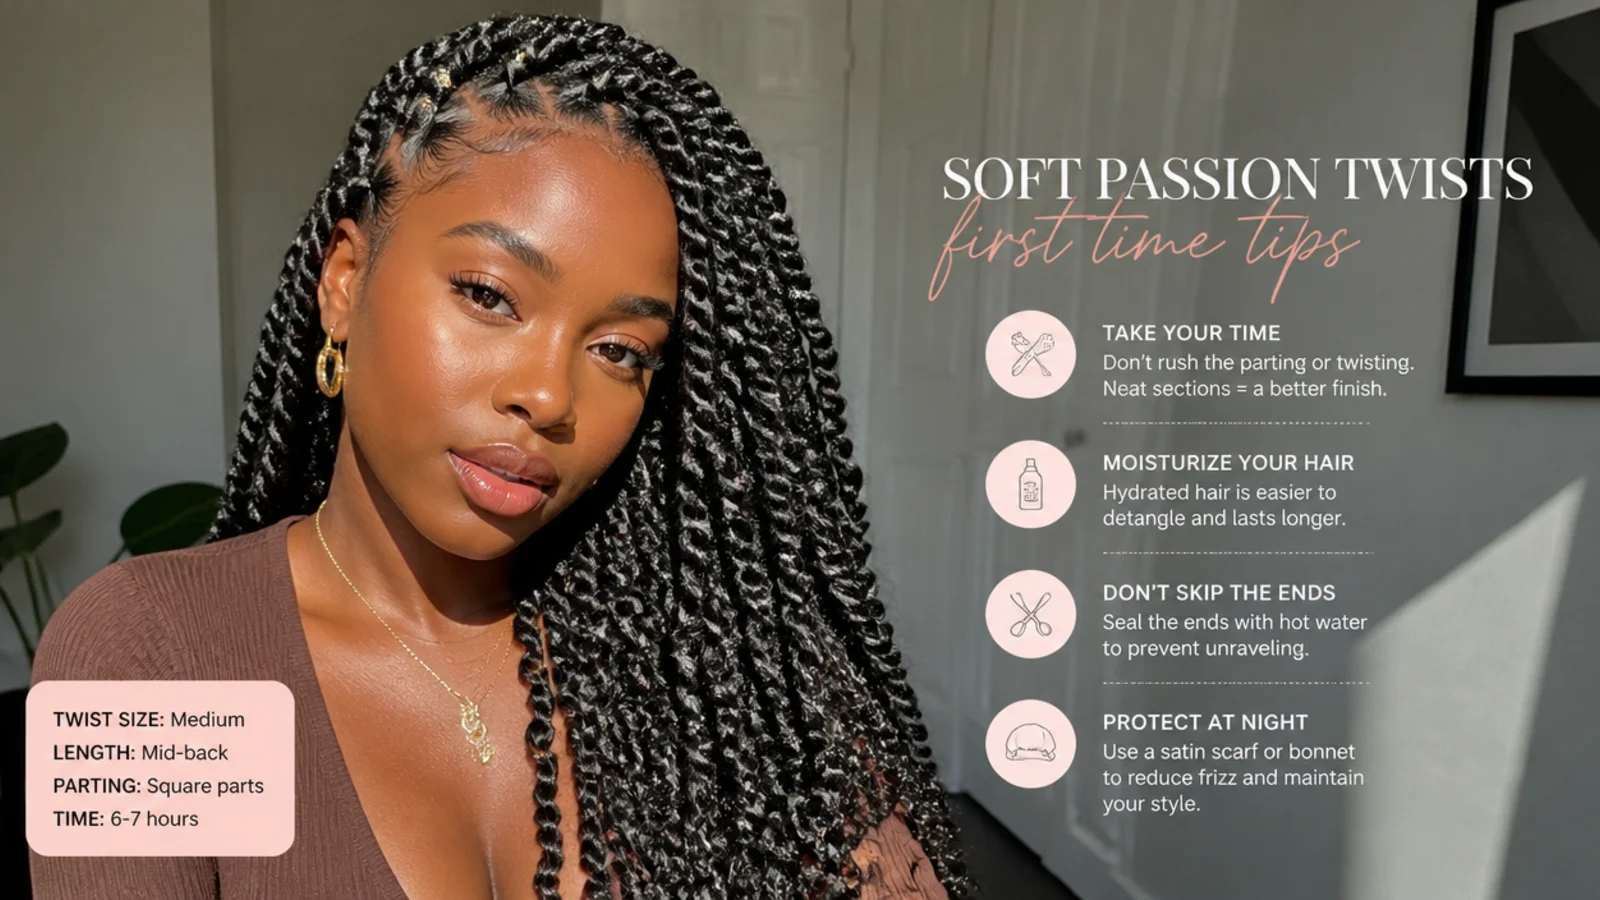
Be realistic about time. A full head of passion twists takes most beginners between four and eight hours, depending on twist size and your speed - jumbo twists are much faster than mini. It is completely normal to split the install across two sittings, especially your first time. Prepping your hair and separating your water-wave hair the night before saves a lot of time on the day. Working in neat rows from the nape up keeps you organised, and taking breaks stops your arms and your scalp from getting sore.
Common Beginner Mistakes

The most common mistakes are uneven sections, tension that is too tight, and twisting on damp hair. Messy sections make the whole install look untidy, so part carefully with a rat-tail comb. Tight tension causes pain and can damage your hairline - it should always feel comfortable. Twisting on damp hair leads to frizz and mildew, so start bone-dry. Finally, running out of hair partway through is avoidable: buy an extra pack from the same batch so your colour and texture match.
Caring for Your Finished Twists
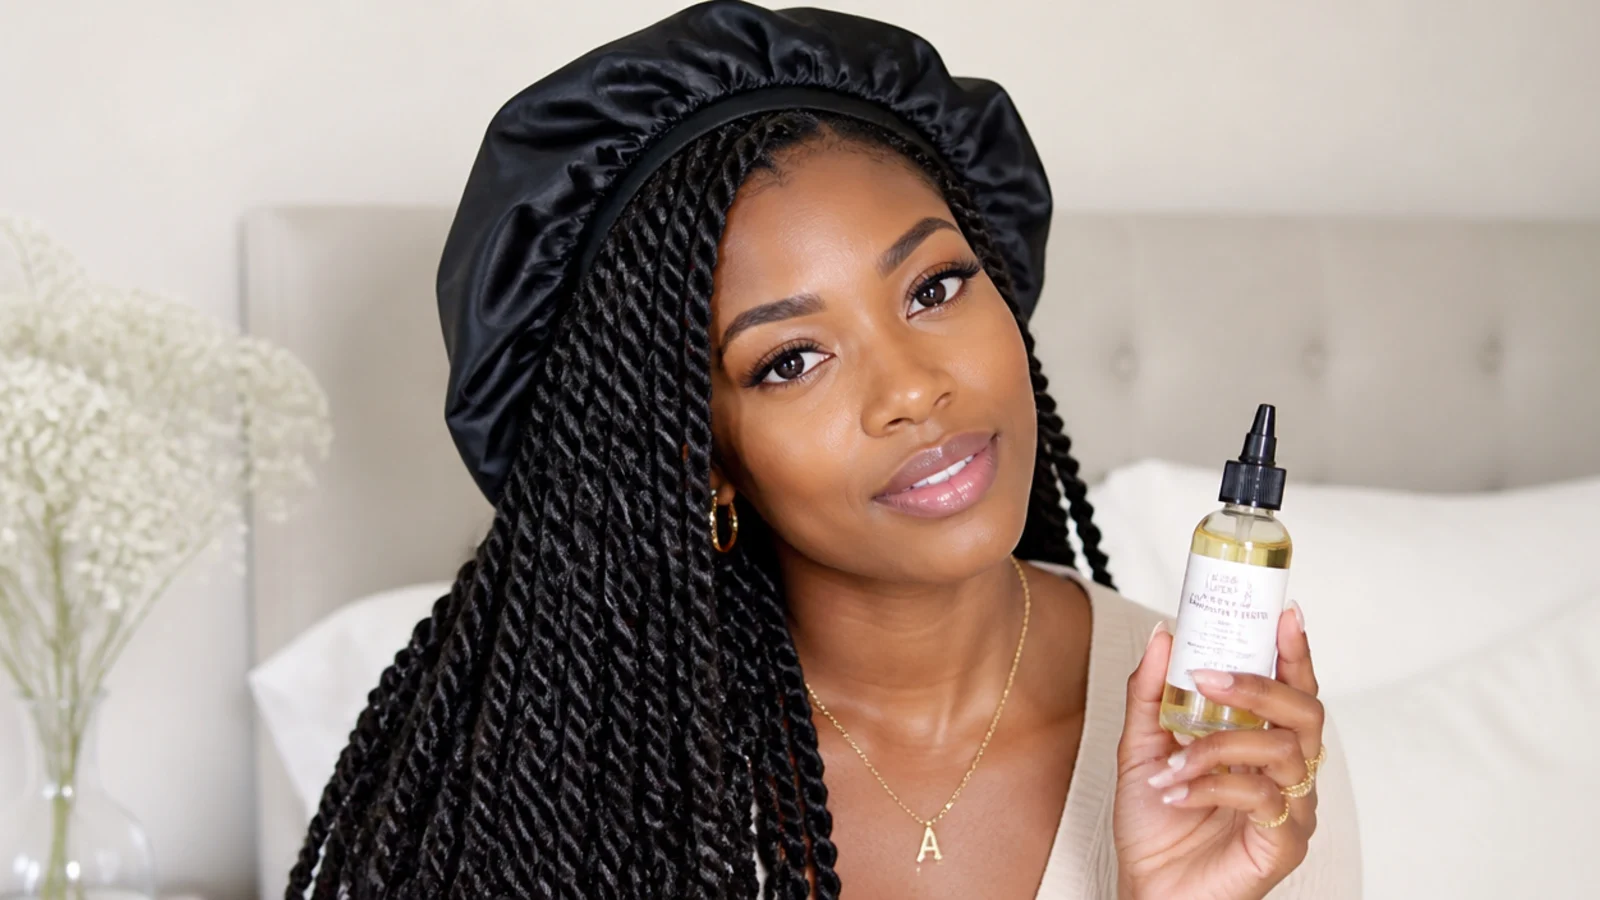
Once your twists are in, care keeps them fresh. Wrap them in a satin scarf or bonnet every night to protect the wave and reduce frizz, cleanse your scalp gently every one to two weeks with a diluted cleanser, and use a light oil on your roots. Let them dry fully after washing. Around week four to six, take them down gently by unravelling each twist and detangling your natural hair with oil, then deep-condition before your next style.
Frequently Asked Questions
Can a beginner do passion twists at home?
Yes, with patience. The two-strand twist method is beginner-friendly once you find the rhythm. Focus on neat sections and comfortable tension, and expect it to take four to eight hours - it is fine to split it across two sittings your first time.
How much hair do I need to do passion twists at home?
Most full heads need six to eight packs of water-wave hair, depending on length and twist size. Buy an extra pack from the same batch so you do not run short partway through and so the colour and texture match perfectly.
How do I stop my passion twists from unravelling?
Twist firmly and evenly in the same direction for every section, and seal the ends by hot-water dipping or rolling between your palms. A brief warm-water dip of the finished twists also sets the whole style and reduces frizz.
Should my hair be wet or dry for passion twists?
Bone-dry and stretched. Twisting on damp hair causes frizz, shrinkage and even mildew at the roots. Wash, deep-condition and fully blow-dry your hair first for the neatest, longest-lasting result.
How long do at-home passion twists last?
With good care, four to six weeks - the same as a salon install. Wrap them at night, cleanse your scalp gently, and take them down by around six weeks to keep your natural hair healthy.
Which passion twists look are you saving?
Installing passion twists at home is a real time commitment, but the payoff is a beautiful, soft protective style at a fraction of the salon cost. The keys are neat sections, comfortable tension and patience - do not rush, and take breaks between rows. Once they are in, wrap them nightly and cleanse your scalp gently to make them last. Save this guide and come back for the care steps as your twists grow out.