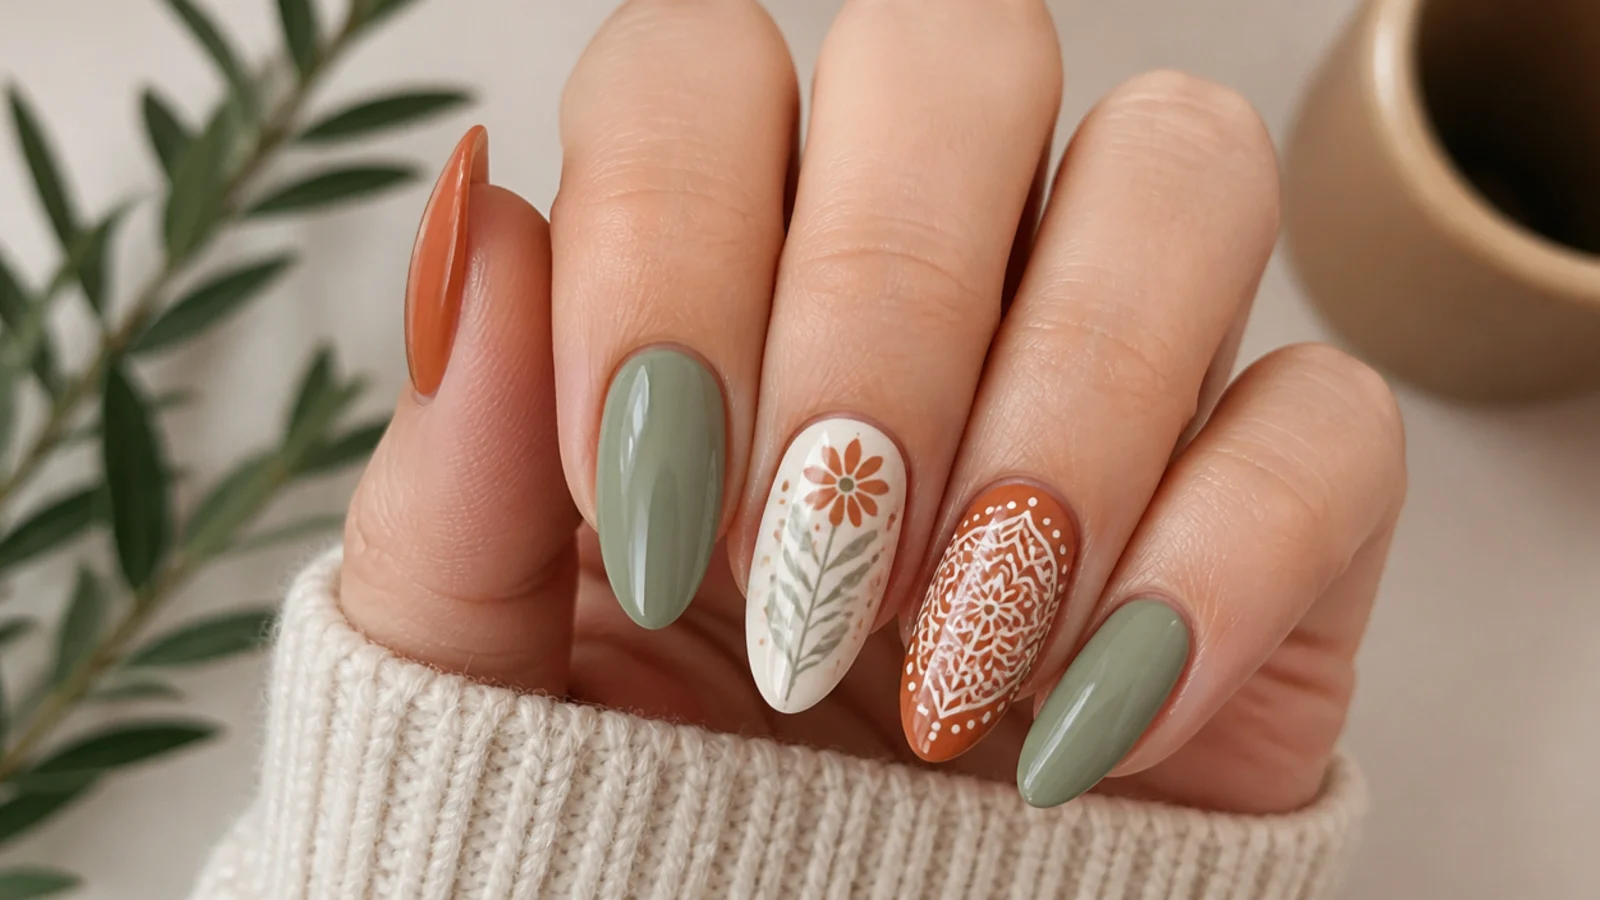
1. Prep, Shape and Choose Your Palette
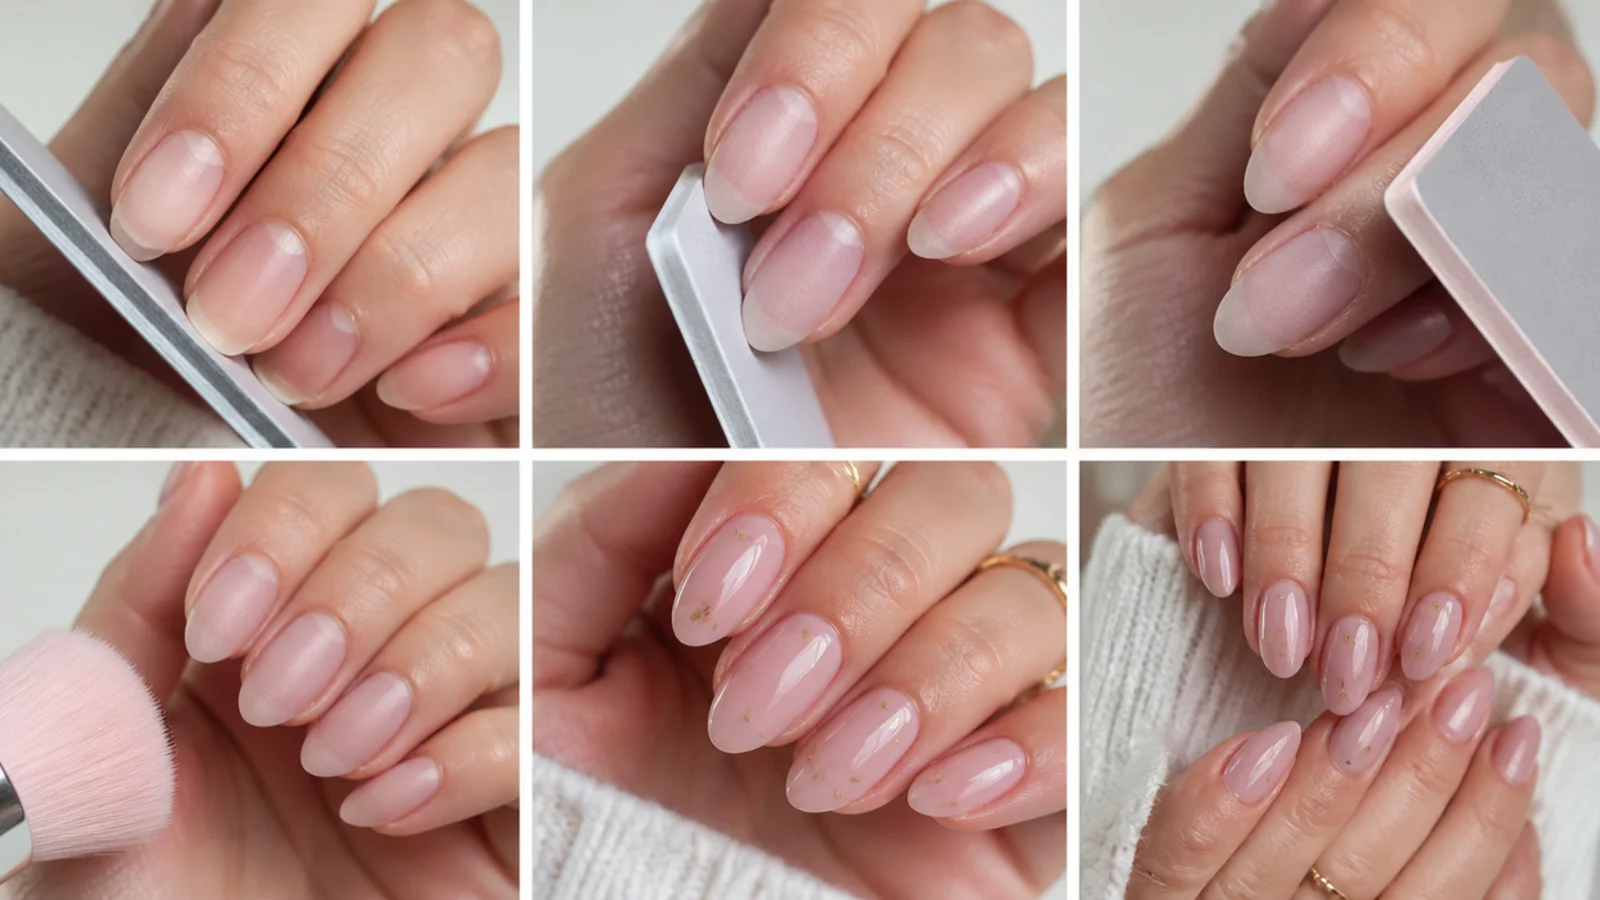
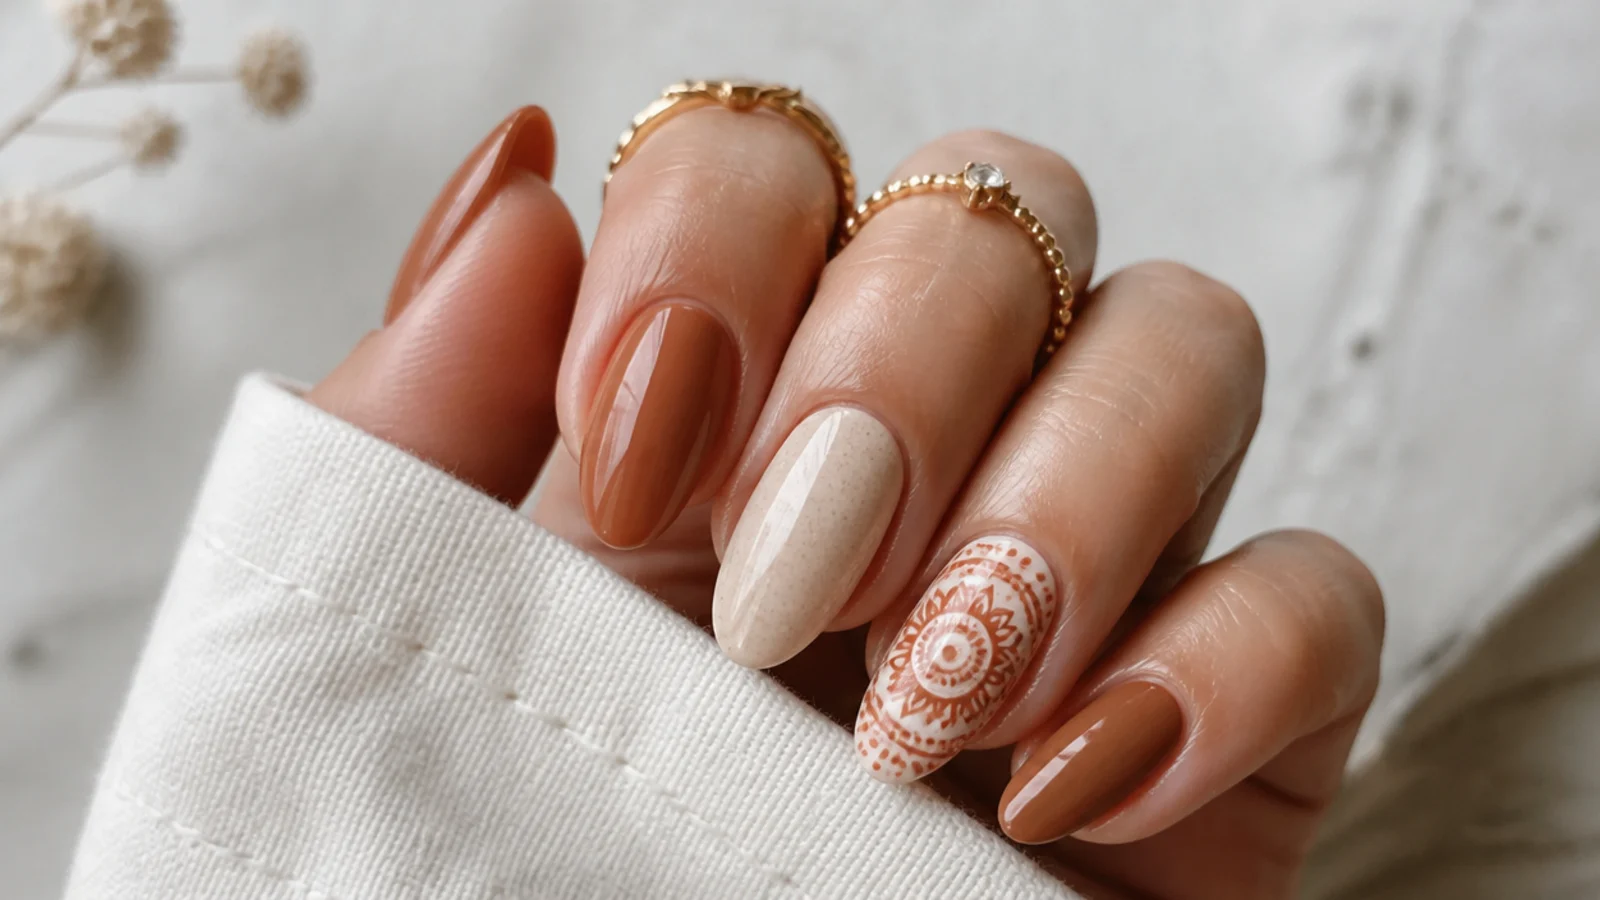
Start with clean, dry nails. Push back the cuticles, lightly buff the surface to a matte finish so gel grips, and shape the free edge to almond, oval or a short round - the shapes that suit boho best. Wipe with a lint-free wipe and cleanser so no oils remain. Now pick your palette: choose two or three warm earth tones like terracotta, sage, tan or cream to keep the whole set cohesive.
Common mistake: Leaving oils or cuticle on the nail causes lifting and early chips - always cleanse before you start.
Pro tip: Pick one accent nail per hand for the busiest motif and keep the rest simple so the set stays balanced.
2. Apply Base Coat and Cure
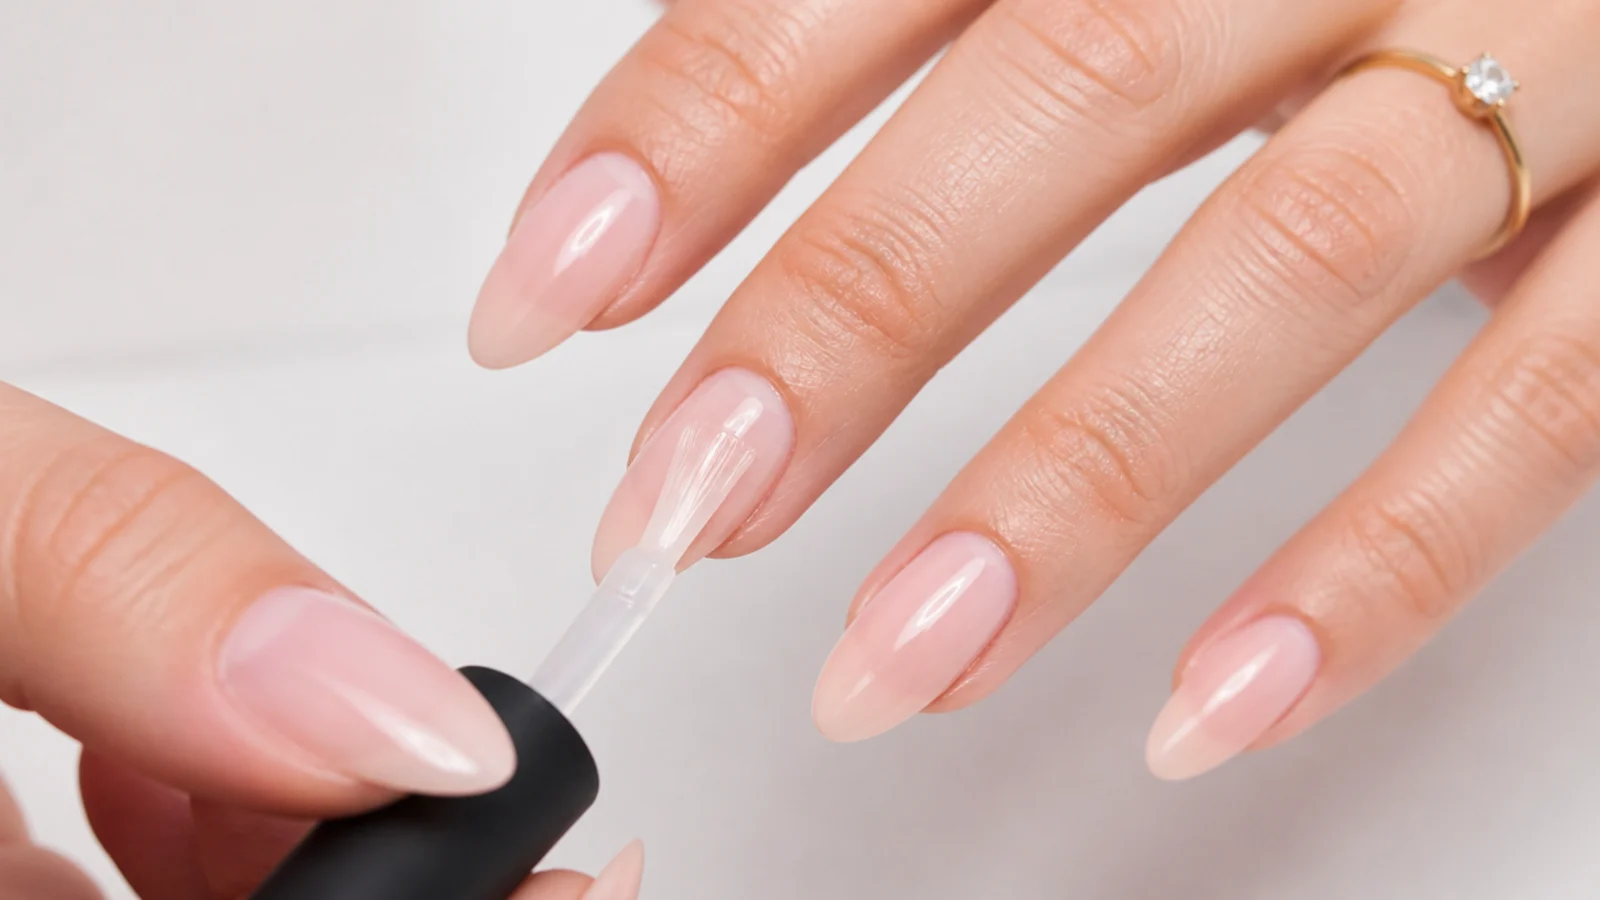
Brush on a thin, even gel base coat and cap the free edge by running the brush along the tip. Cure under your lamp as directed, typically about 30 to 60 seconds under LED or roughly 2 minutes under UV. The base coat protects your natural nail and gives the earth-tone color something to hold onto, which is what keeps a boho set from lifting or peeling early.
Common mistake: Skipping the base coat or applying it thick leads to lifting and a weak foundation for the color.
Pro tip: A quality base coat is the single best product for preventing damage and lifting.
3. Paint Your Earthy Base Colors
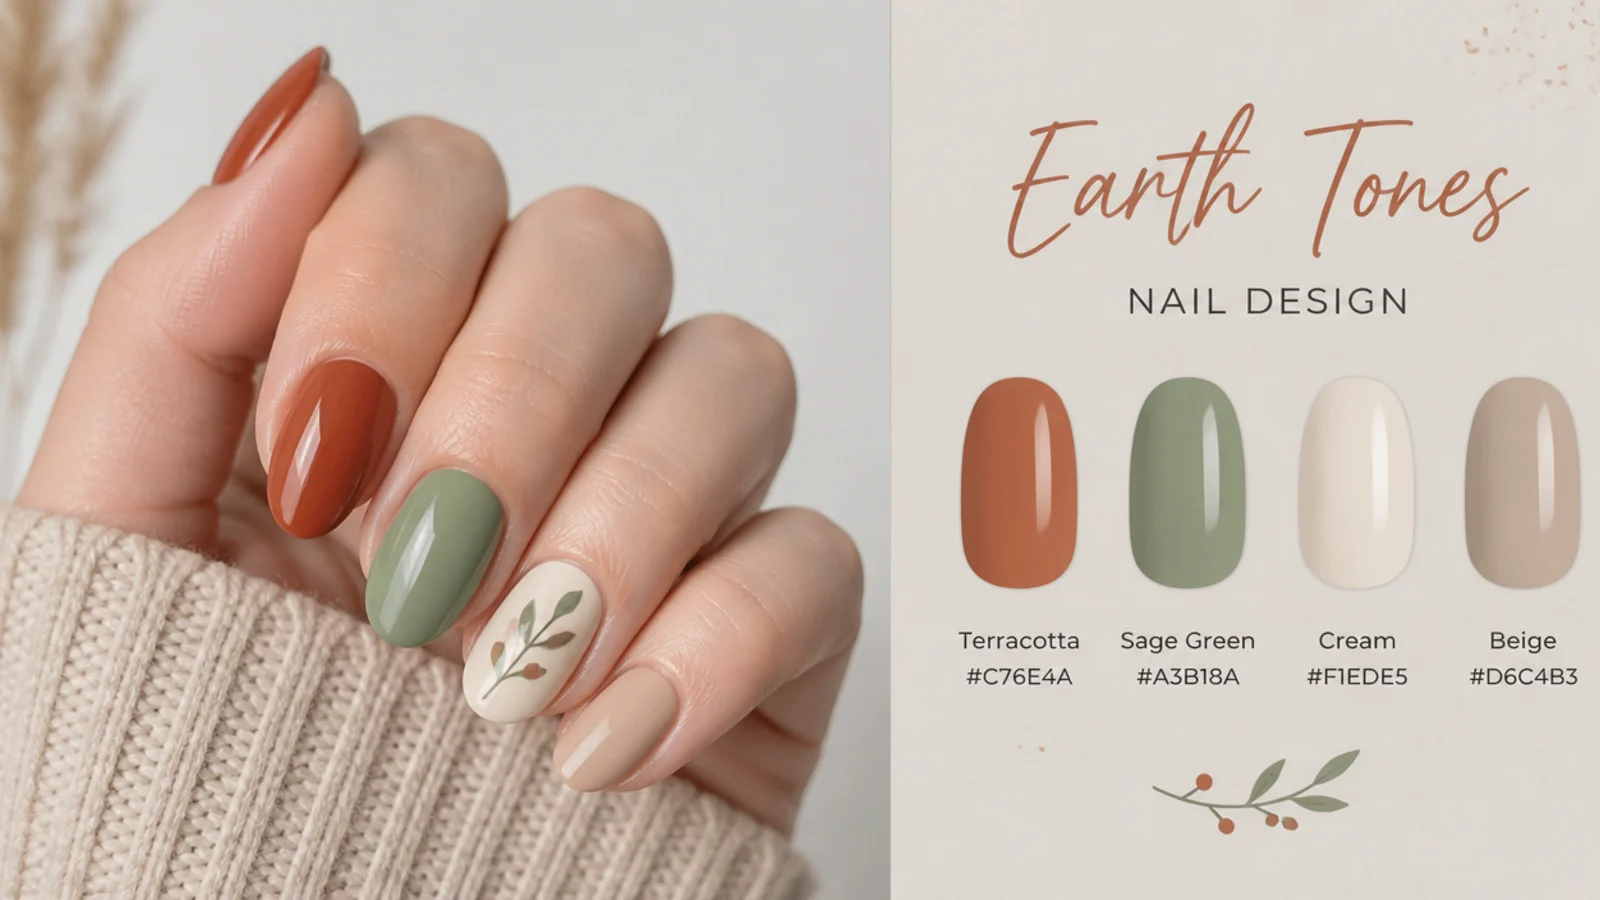
Paint one or two thin coats of your chosen earth tones over the whole nail, curing each coat for about 30 to 60 seconds under LED. Mix it up across the hand - a terracotta on one nail, sage on the next, cream or tan on another - so the set reads as an earthy boho palette rather than one flat color. Keep coats thin and even so they cure fully and stay smooth for the line work to come.
Common mistake: Thick, streaky color coats look patchy and cure unevenly - always build with thin layers.
Pro tip: Leave one or two nails in plain cream or tan as a calm backdrop for your painted accents.
4. Map Out Your Boho Motifs
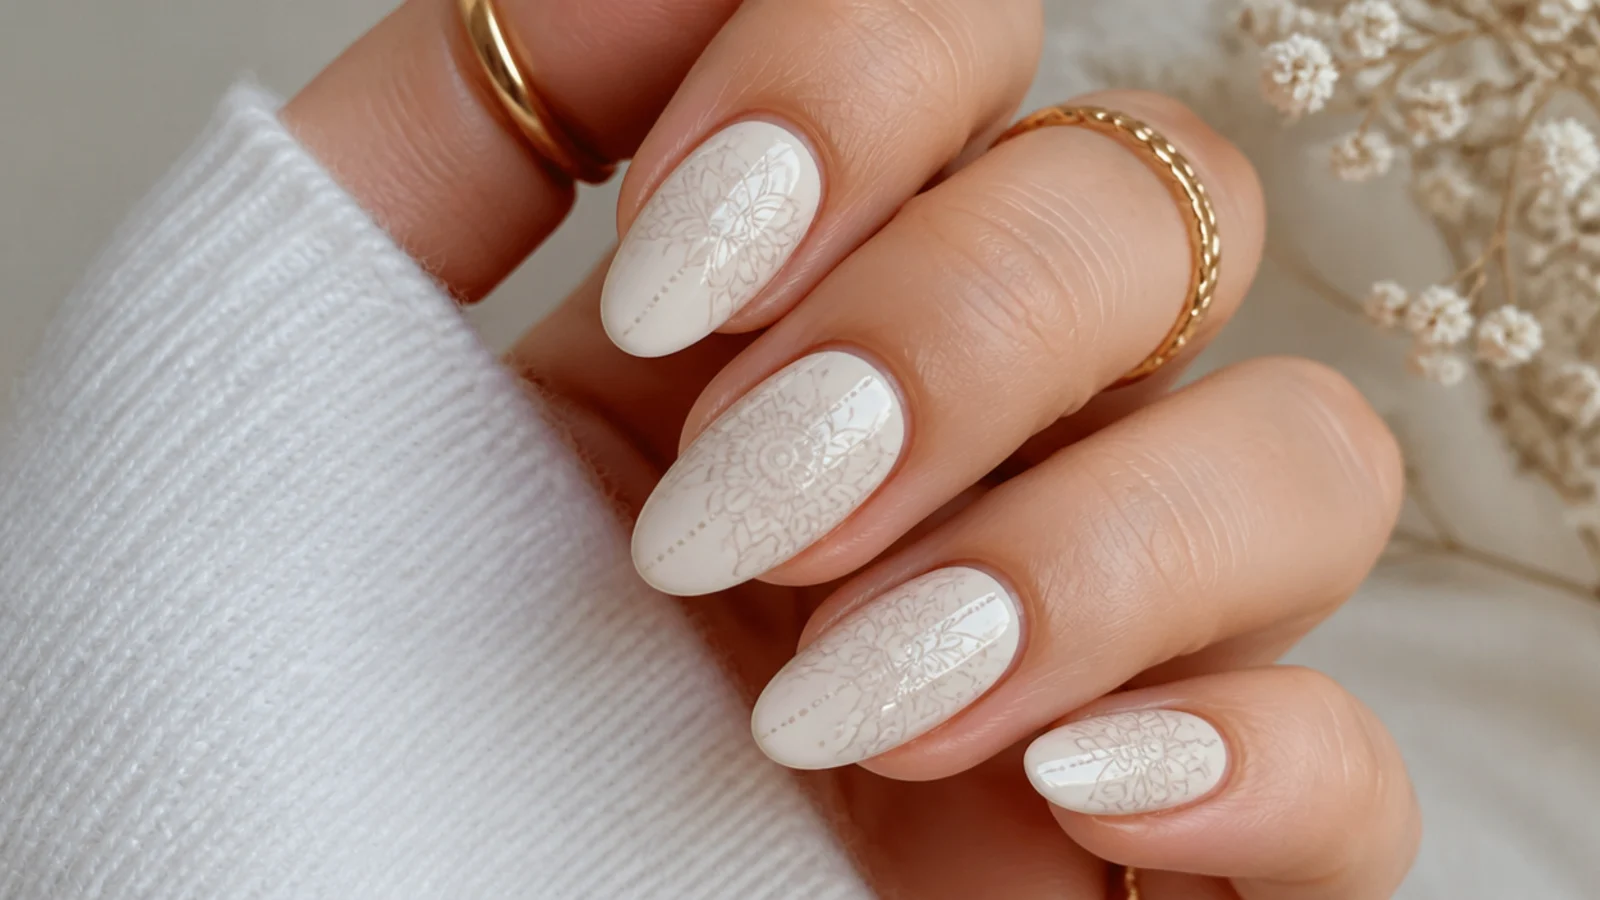
Before painting detail, plan where each motif sits. Decide which nail gets the mandala, which gets florals, and where a rising sun or western and aztec lines will go. Lightly dot a center point for a mandala or mark where a flower stem starts. Mapping first keeps the design from crowding one nail and leaving others bare, and it keeps the loose, effortless boho balance across all ten nails.
Common mistake: Diving into detail with no plan crowds one nail and leaves the set looking unfinished and lopsided.
Pro tip: Odd numbers look natural - three small flowers or a five-point mandala read more organic than even, symmetrical counts.
5. Paint the Line Work - Florals and Mandalas
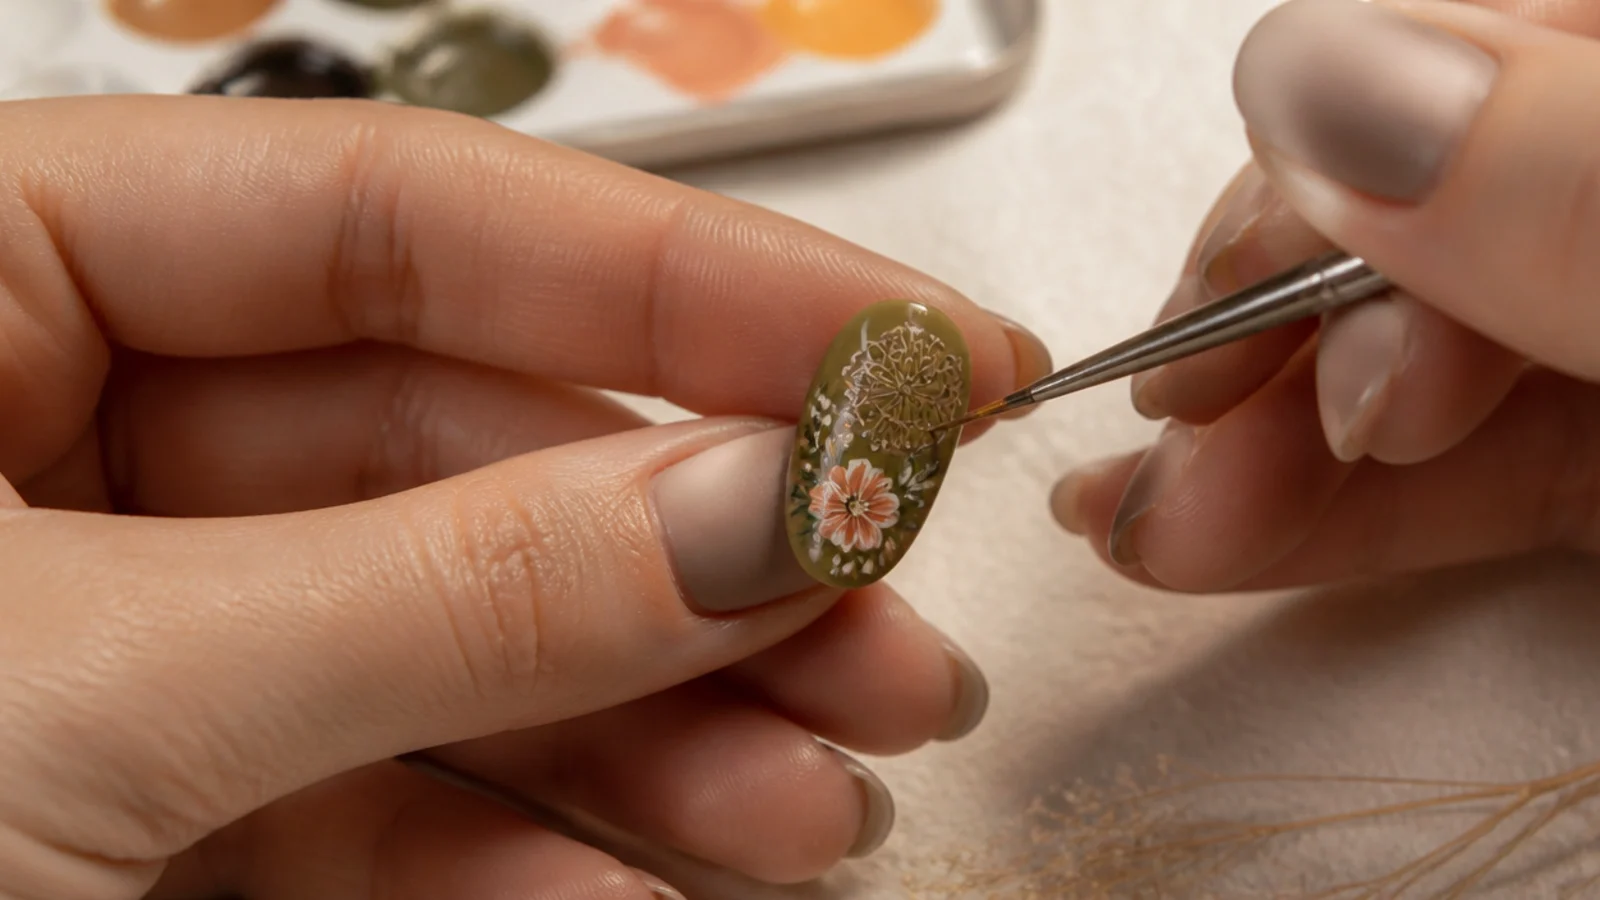
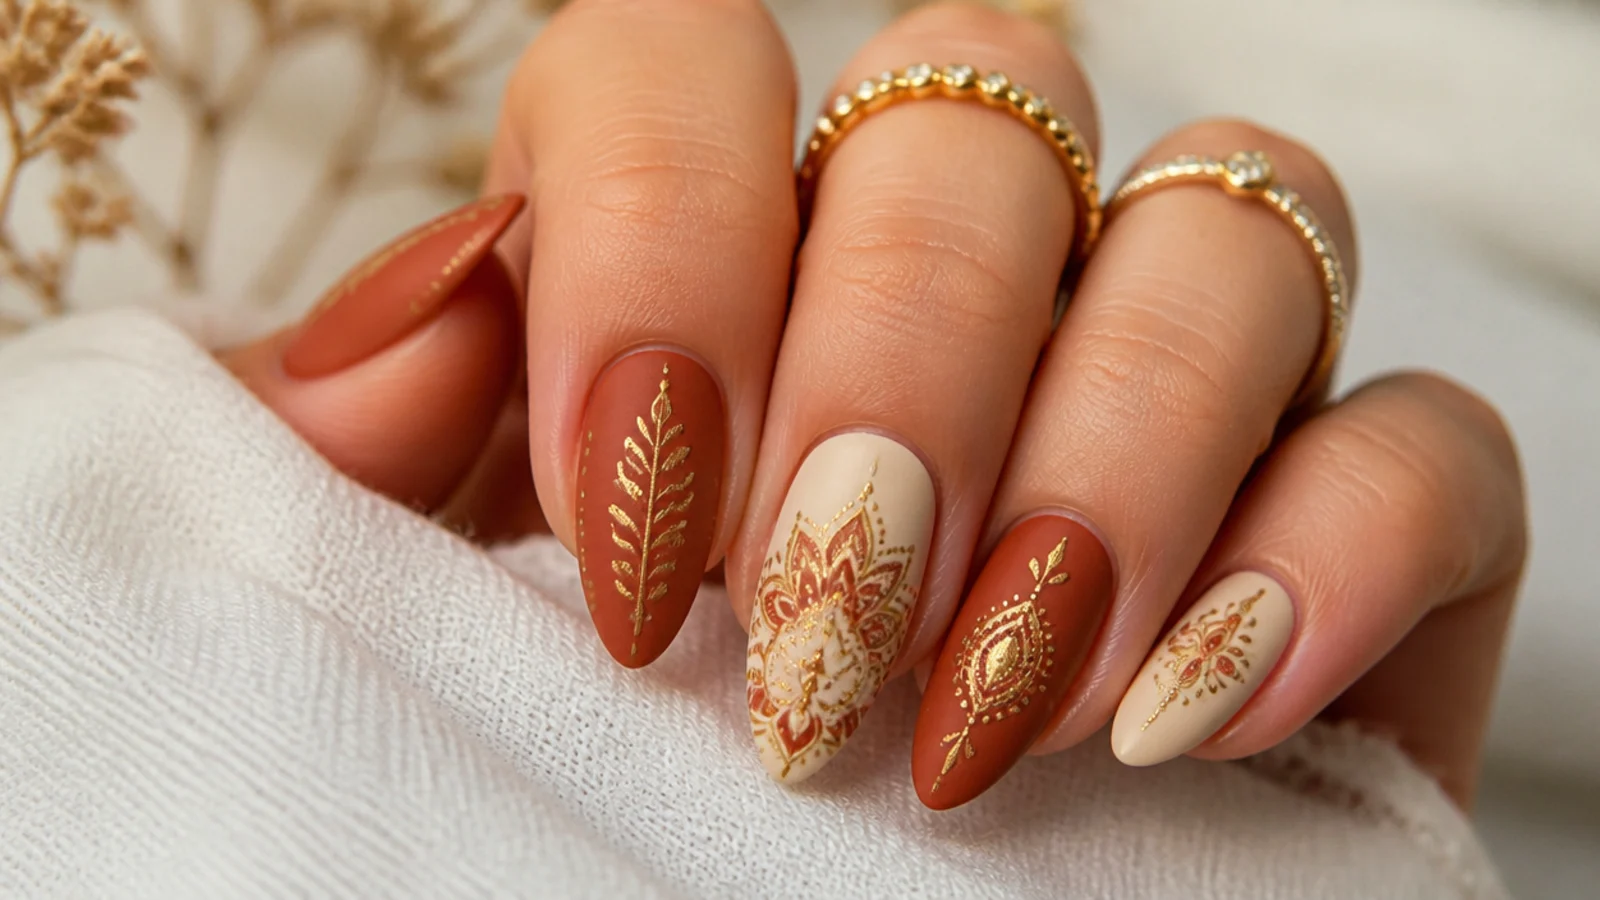
With a thin liner brush and a contrasting earth tone or muted gold, paint your main motifs over the uncured or cured base as you prefer. For florals, pull loose petals outward from a center; for a mandala, work from the center dot outward in rings of small strokes. Keep lines fine and a little imperfect - boho is hand-done, not machine-precise. Cure for about 30 to 60 seconds once each nail's line work looks right.
Common mistake: Overworking every line into perfect symmetry kills the relaxed boho feel - let small wobbles stay.
Pro tip: Thin your gel color slightly on the brush for crisp fine lines; a fully loaded brush blobs and drags.
6. Add Details - Sun, Western and Aztec Accents
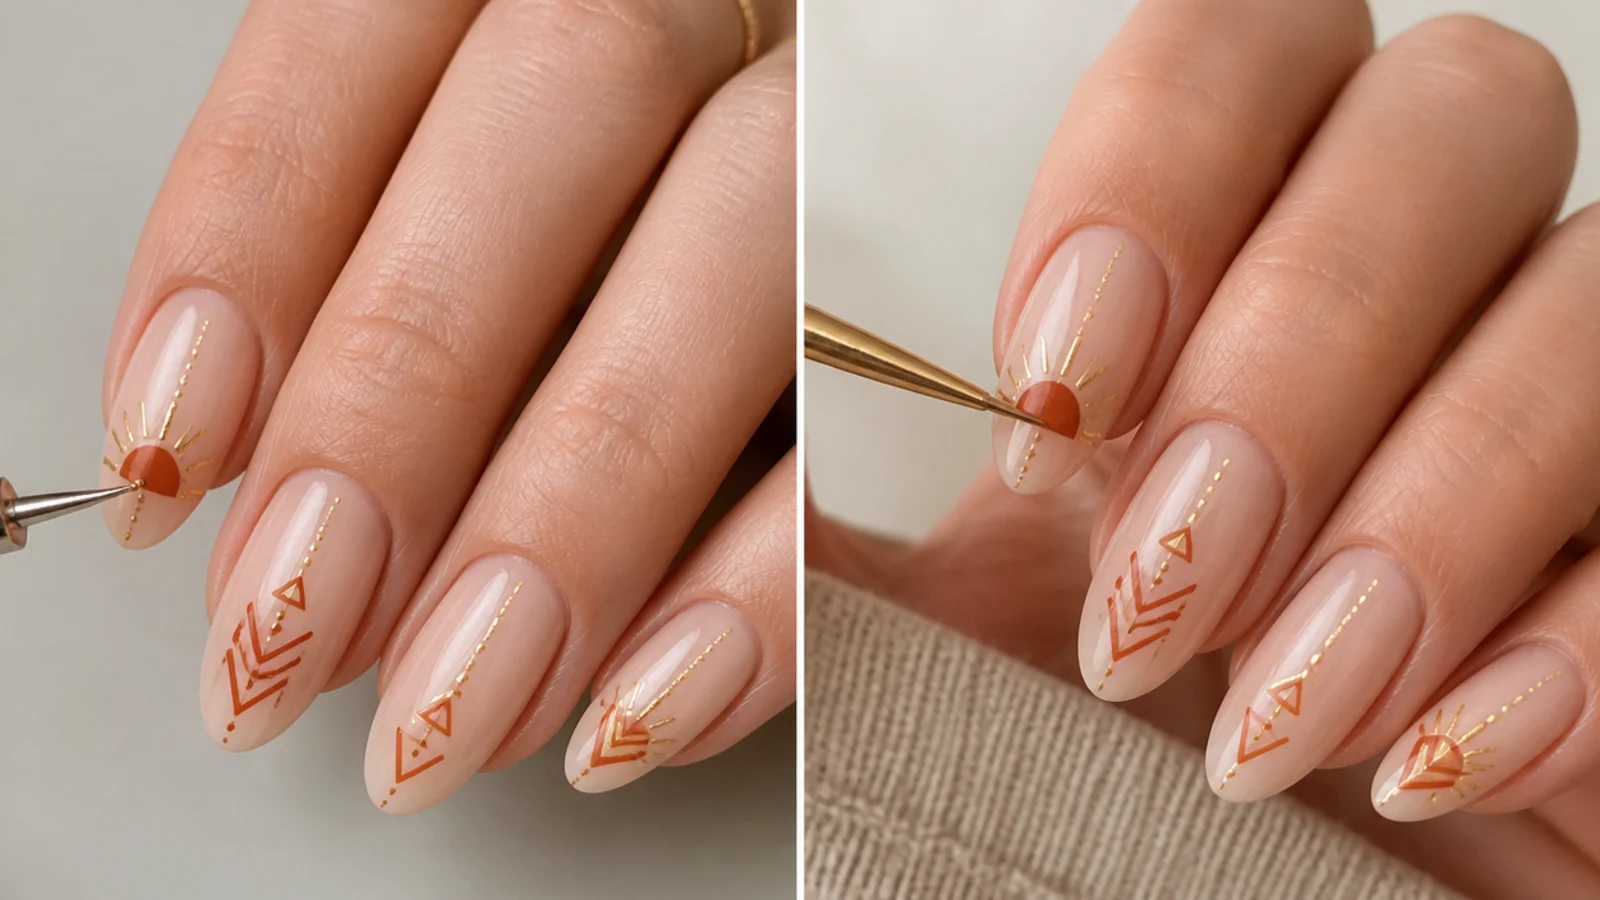
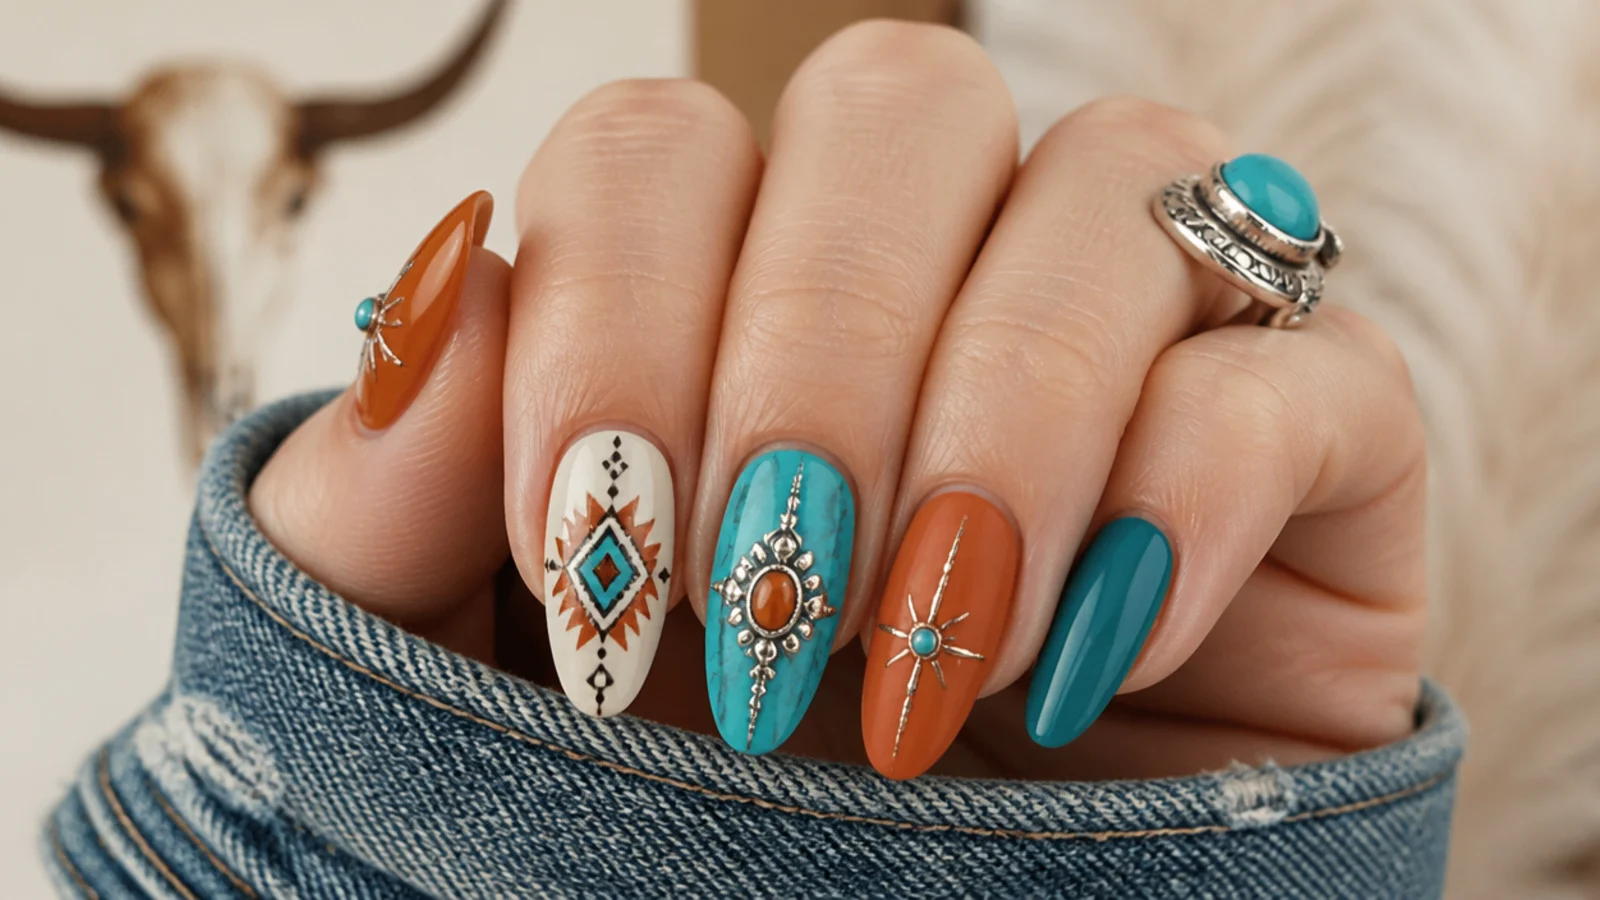
Build the boho story with small accents. Use a dotting tool for flower centers and scattered dots, a fine liner for a rising sun with radiating rays, and a gold striper for thin western or aztec geometric lines. Keep these sparing - one or two accents per nail - so the set stays effortless rather than busy. Cure each nail for about 30 to 60 seconds under LED once its details are placed.
Common mistake: Cramming every motif onto every nail turns earthy and effortless into cluttered and heavy.
Pro tip: A touch of muted gold on just the accent nails ties florals, mandalas and sun motifs into one cohesive look.
7. Seal With a Matte Top Coat and Cure
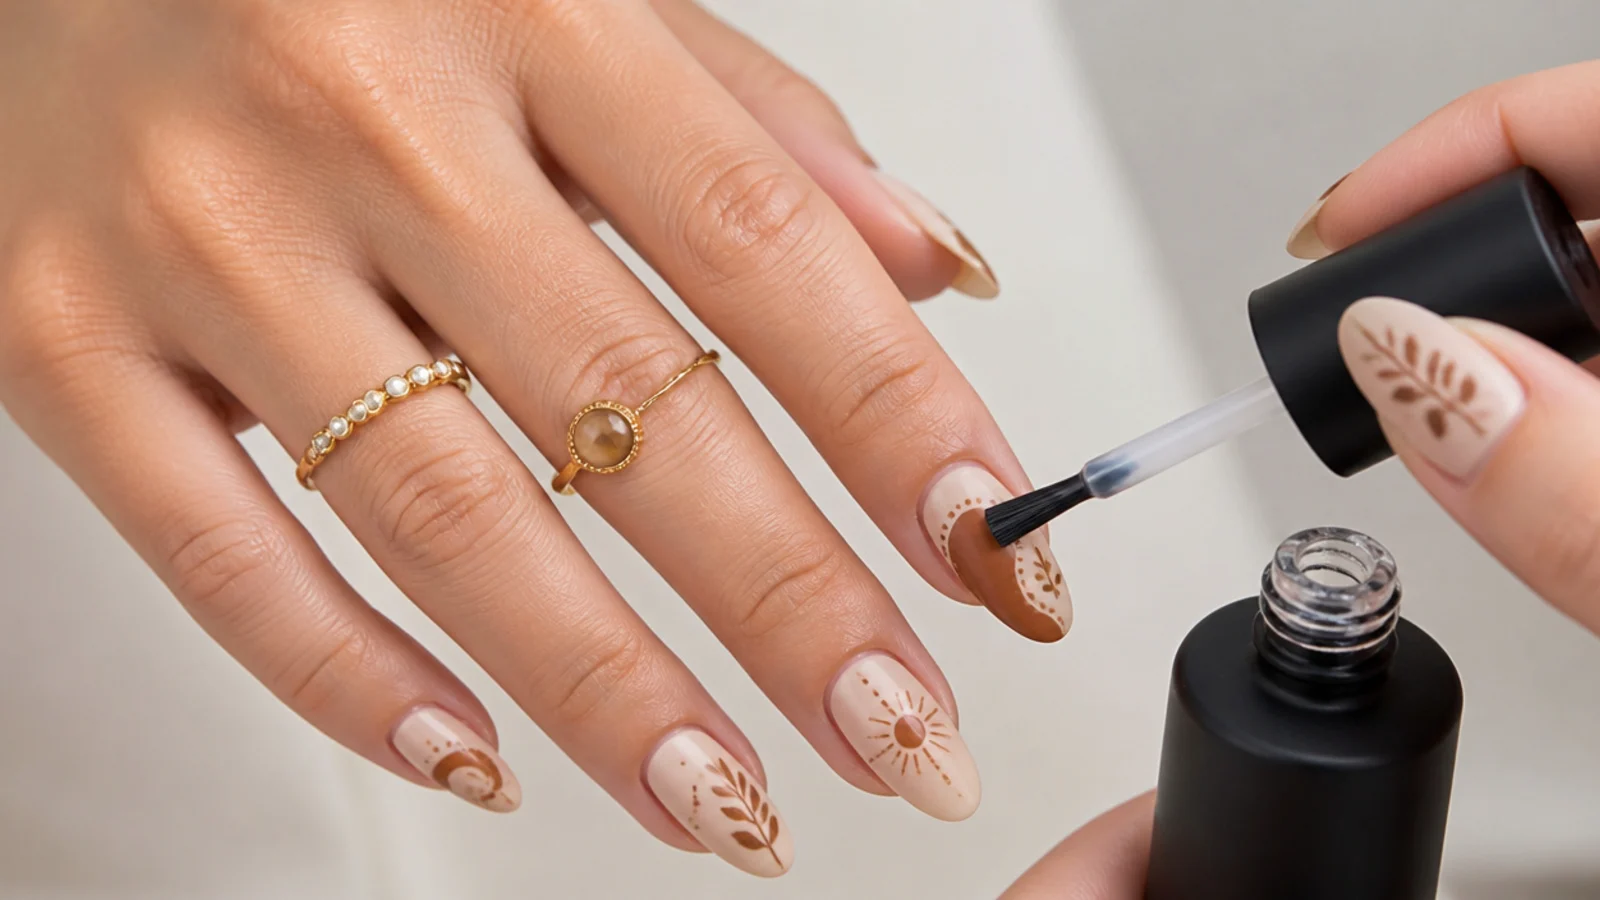
Brush a matte gel top coat over the whole nail and cap the free edge by running it along the tip, then cure for about 30 to 60 seconds under LED. A matte or natural finish is what gives boho nails their soft, un-shiny, earthy look, so reach for matte over glossy here. Capping the edge is what keeps the set from chipping early. If you want subtle contrast, seal just the gold accents in glossy top coat instead.
Common mistake: Forgetting to cap the free edge lets the design chip and peel back within days.
Pro tip: A glossy top coat on one accent motif against an all-matte set adds quiet dimension without losing the boho vibe.
8. Finish With Cuticle Oil
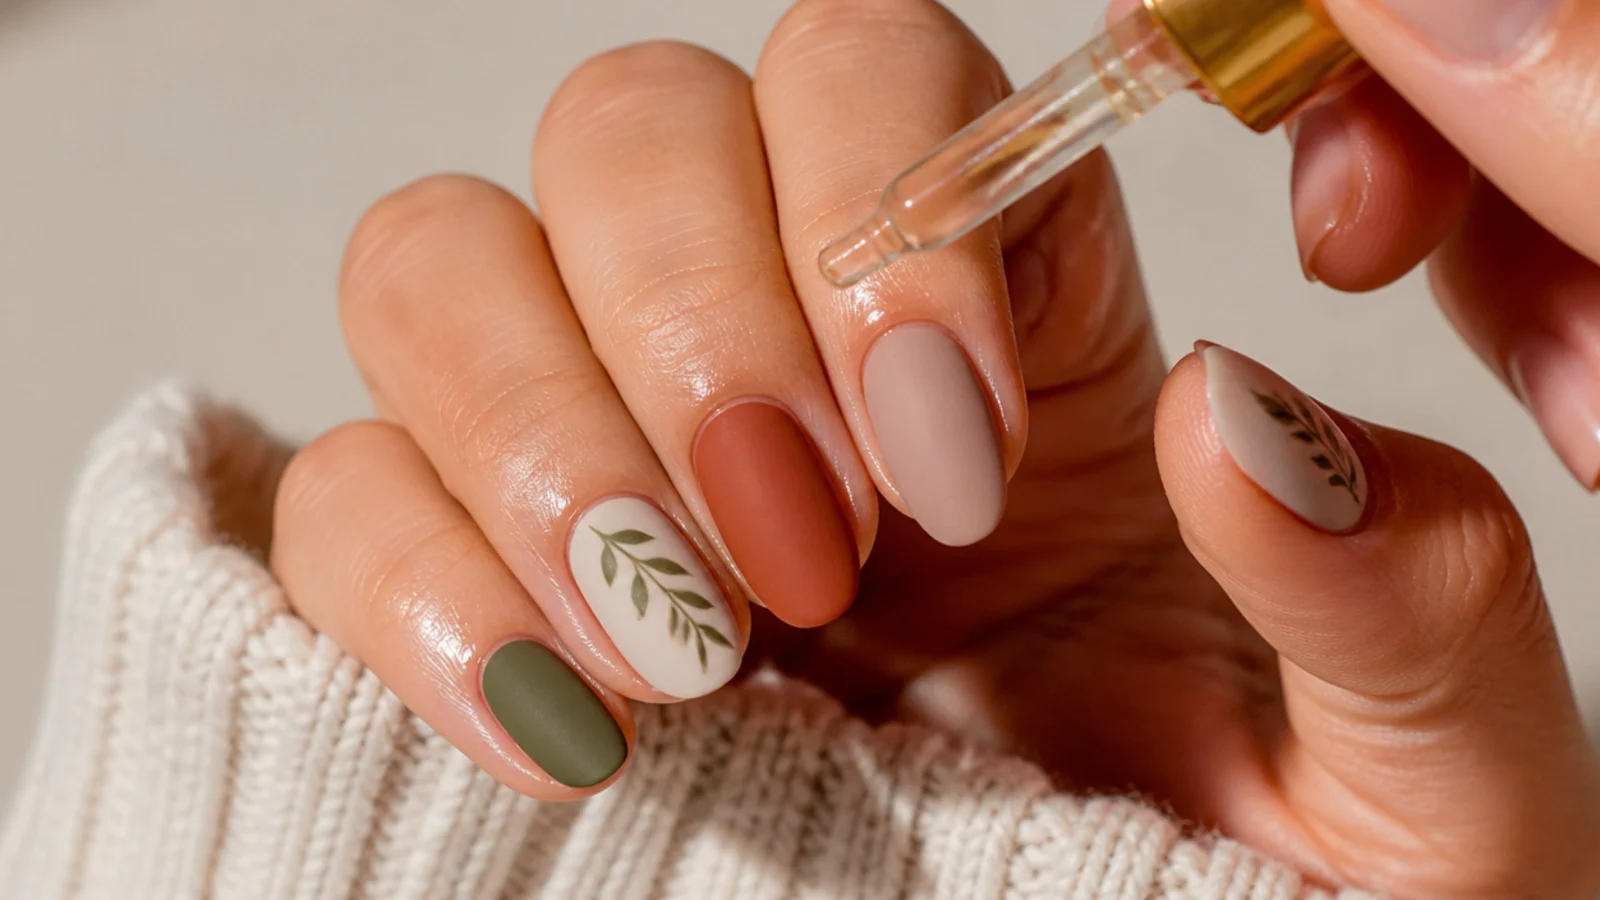
Wipe off any sticky residue if your top coat needs it, then massage cuticle oil around each nail and into the skin. This finishes the set, protects the surrounding skin, and keeps the gel flexible so it wears the full two to three weeks. Daily cuticle oil from here on is the simplest habit for stretching your boho set closer to that three-week mark without lifting or peeling at the edges.
Common mistake: Skipping cuticle oil leaves the skin dry and the set more prone to lifting and early wear.
Pro tip: Reapply cuticle oil every day and wear gloves for dishes and cleaning to get the most wear from the set.
Supplies You Need for Boho Nails
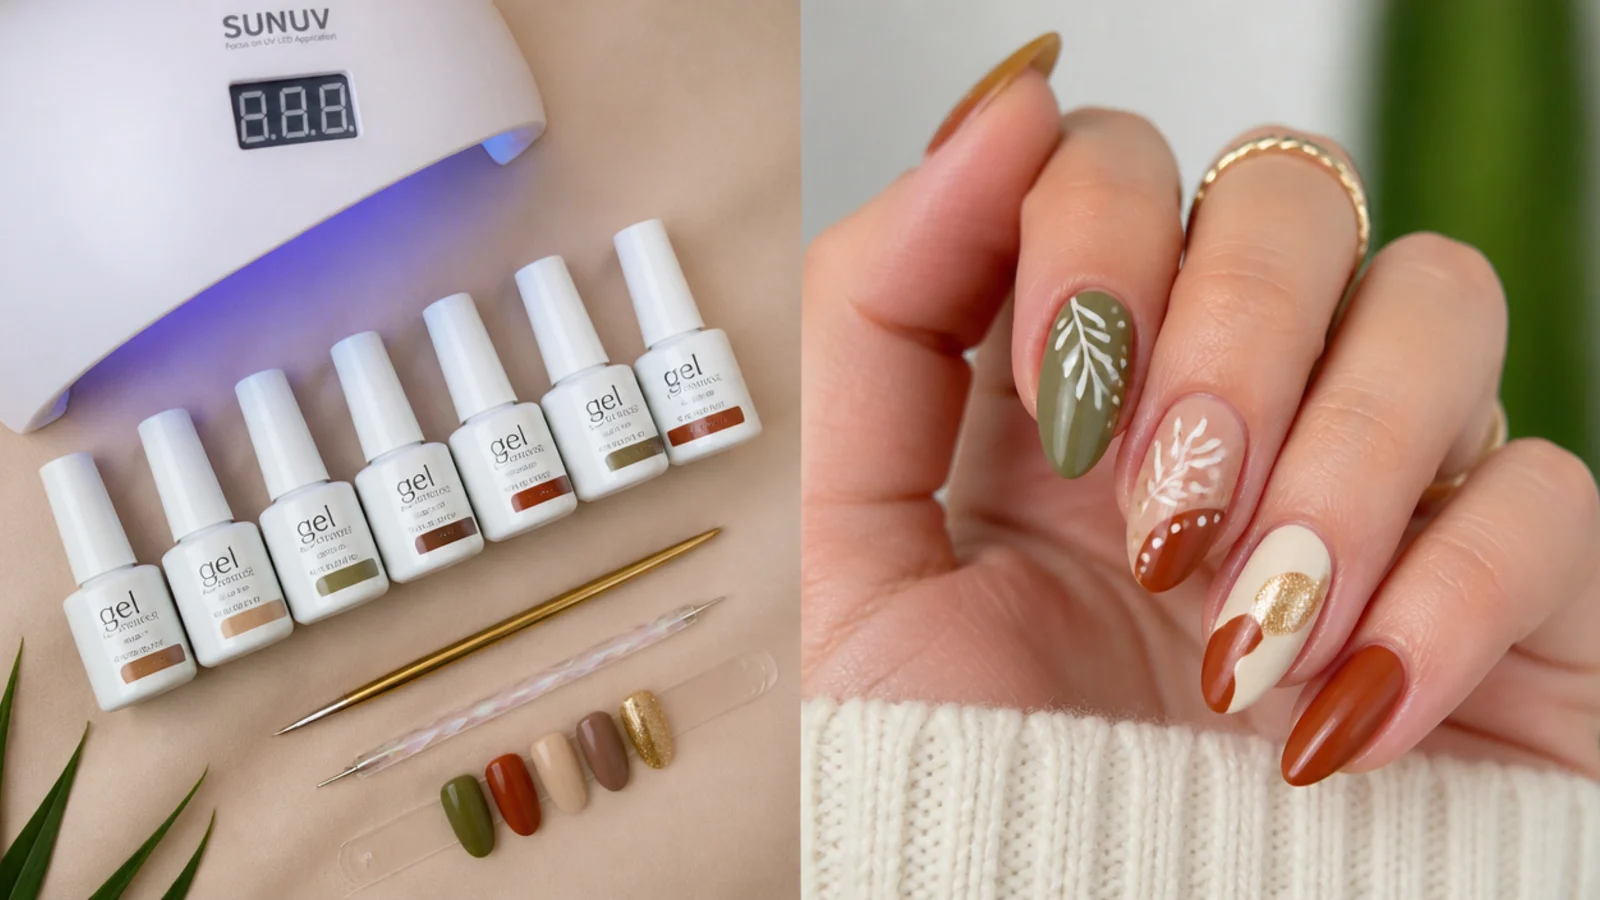
Boho nails use standard gel-manicure supplies plus a few art tools. You will need a gel base coat, a spread of earth-tone gel colors - terracotta, rust, olive, sage, cream, tan, brown and a muted gold - and both a matte and a glossy gel top coat. For curing you need an LED or UV lamp, since gel will not set without one. For the art itself, a thin detail or liner brush handles florals and mandalas, a dotting tool makes flower centers and scattered dots, and a fine gold striper draws western and aztec lines. Round out the kit with lint-free wipes, cuticle oil for finishing, and 100% acetone with cotton and foil for removal later. A starter set of a few earth-tone gels, a matte top coat and a small lamp runs a modest one-time cost and pays back fast against salon prices. At a salon, expect a gel manicure around $30 to $55 plus roughly $5 per painted accent nail.
Common Boho Nail Mistakes to Avoid
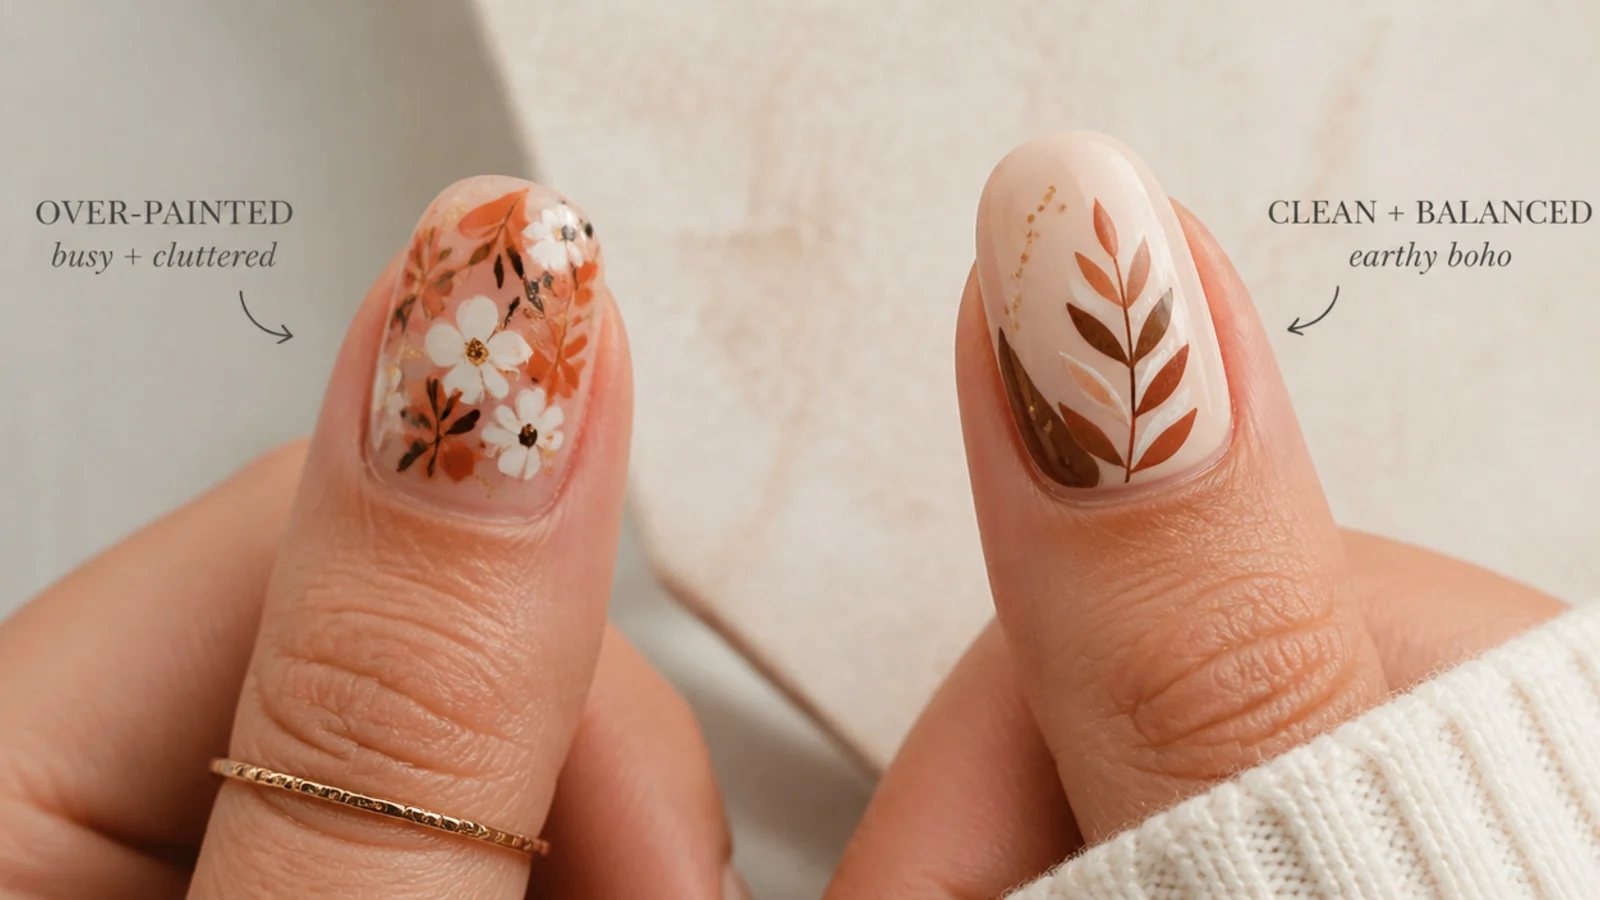
Most boho nail problems trace back to a handful of fixable errors. The biggest is overcrowding - piling every motif onto every nail turns earthy and effortless into busy and heavy, so keep one busy accent nail per hand and let the rest stay simple. The second is a cold or clashing palette; boho lives on warm earth tones, so a bright neon or icy blue breaks the whole mood. Chasing machine-perfect symmetry is another trap, since a slightly imperfect, hand-done petal or mandala is exactly what makes boho read as boho. On the technical side, thick color coats cure unevenly and go patchy, so build in thin layers, and skipping base prep or not capping the free edge causes lifting and early chips. Finally, a high-gloss top coat can fight the soft, natural feel - reach for matte to keep the earthy look. If a motif goes wrong, cure it, add a thin layer over the top, and simply repaint.
How to Make Boho Nails Last and Remove Them Safely
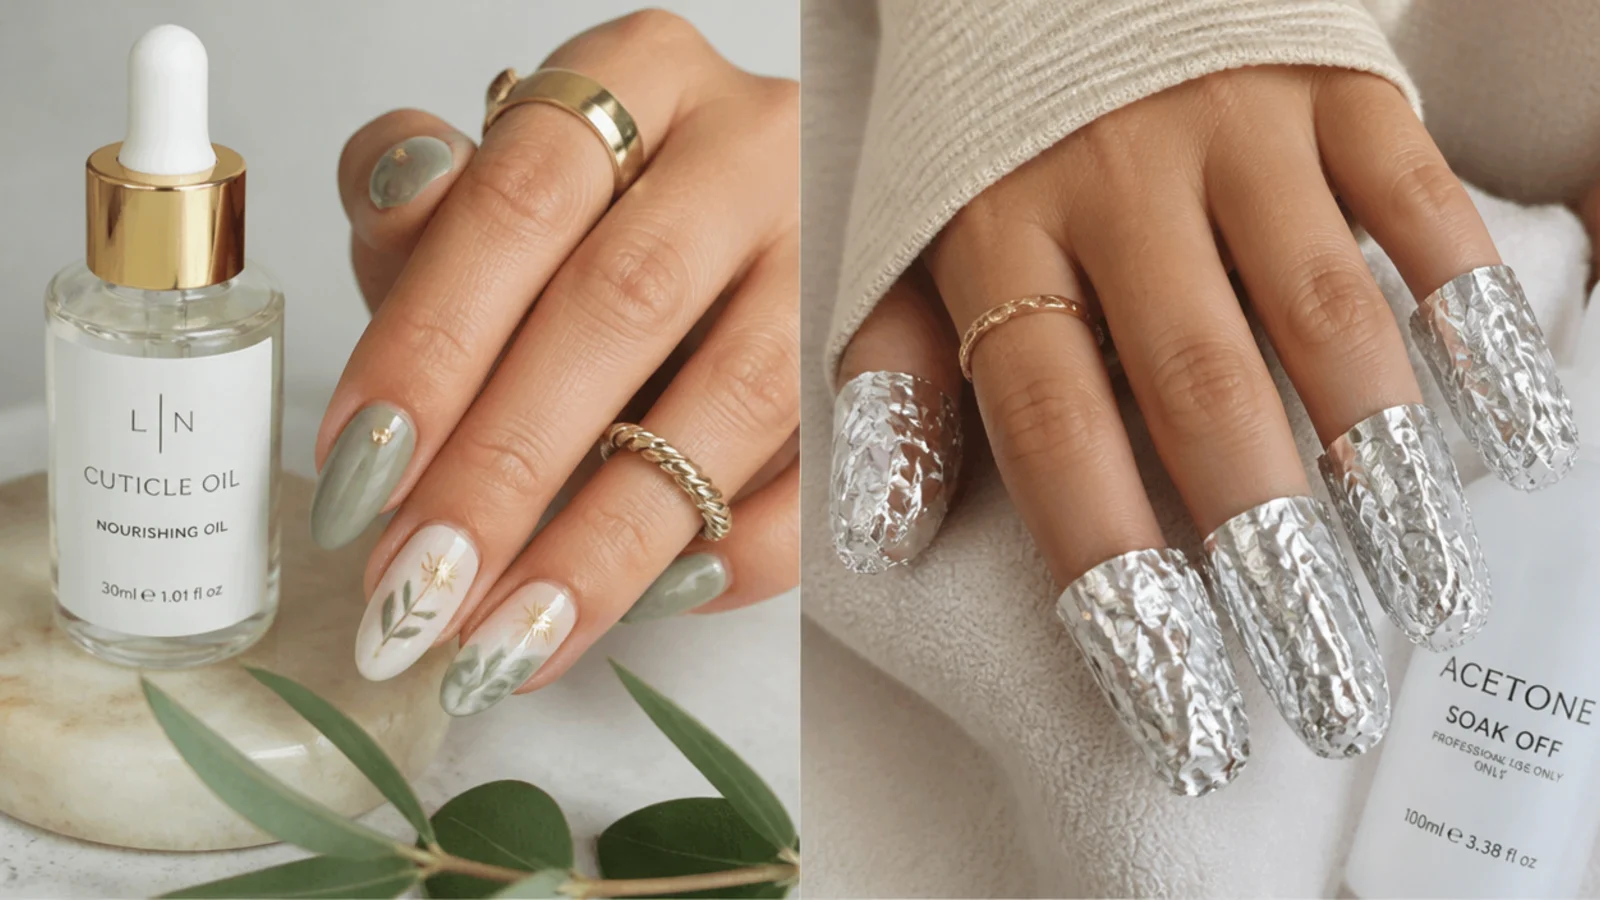
Because this is a gel technique, a boho set lasts about two to three weeks, and up to four with solid prep, capped edges and daily cuticle oil - far longer than regular polish, which only holds 5 to 7 days. To stretch the wear, apply cuticle oil every day, wear gloves for cleaning and dishes, and avoid using your nails as tools. When it is time to remove it, do it as a proper soak-off: lightly file the top coat to break the seal, soak cotton in 100% acetone, press it to each nail, wrap in foil for 10 to 15 minutes, then gently push the softened gel off with a wood stick. Detailed line work and gold accents need no special removal - the acetone soak lifts them with the rest of the gel. Never peel or pry it off, since that takes layers of your natural nail with it. Give your nails an occasional break between sets, and see a nail tech if you notice any lifting, pain or irritation.
Frequently Asked Questions
What makes a nail design boho?
A boho nail design blends 60s and 70s hippie style with modern romantic detail. It leans on a warm earth-tone palette - terracotta, rust, olive, sage, cream and muted gold - plus loose motifs like florals, mandalas, a rising sun or western and aztec details. The look is meant to feel effortless and a little imperfect, usually in a matte or natural finish rather than high shine.
What colors are boho nails?
Boho nails use warm, earthy tones rather than bright or icy shades. The core palette is terracotta, rust, olive, sage green, cream, tan, brown and a muted gold. These colors read as natural and grounded, which is the whole boho mood. Mix two or three across the hand and save gold for accents to keep the set cohesive rather than busy.
What occasions suit boho nails?
Boho nails work for festivals, outdoor and boho-themed weddings, and everyday earthy style. The exact motif sets the occasion: neutral, minimal boho in cream and tan is work-appropriate, while bolder western and mandala designs suit festivals and events. Because the palette is warm and natural, a boho set pairs easily with flowy, earthy outfits year round.
What is the best nail shape for boho nails?
Almond, oval and short nails suit boho best. Almond and oval give a soft, natural, romantic edge that fits the hand-painted florals and mandalas, while a short round keeps things low-key and everyday. All three leave enough surface for line work without feeling dramatic, which matches the effortless, un-fussy boho feel.
Can you do boho nails at home?
Yes. Boho nails are very DIY-friendly because the look is meant to be loose and a little imperfect, so small wobbles read as charm. Prep and base your nails in earth tones, then hand-paint florals or a mandala with a thin liner brush and a dotting tool, add sparing gold accents, and seal with a matte top coat. Build it in gel for two to three weeks of wear.
Are boho nails good for weddings?
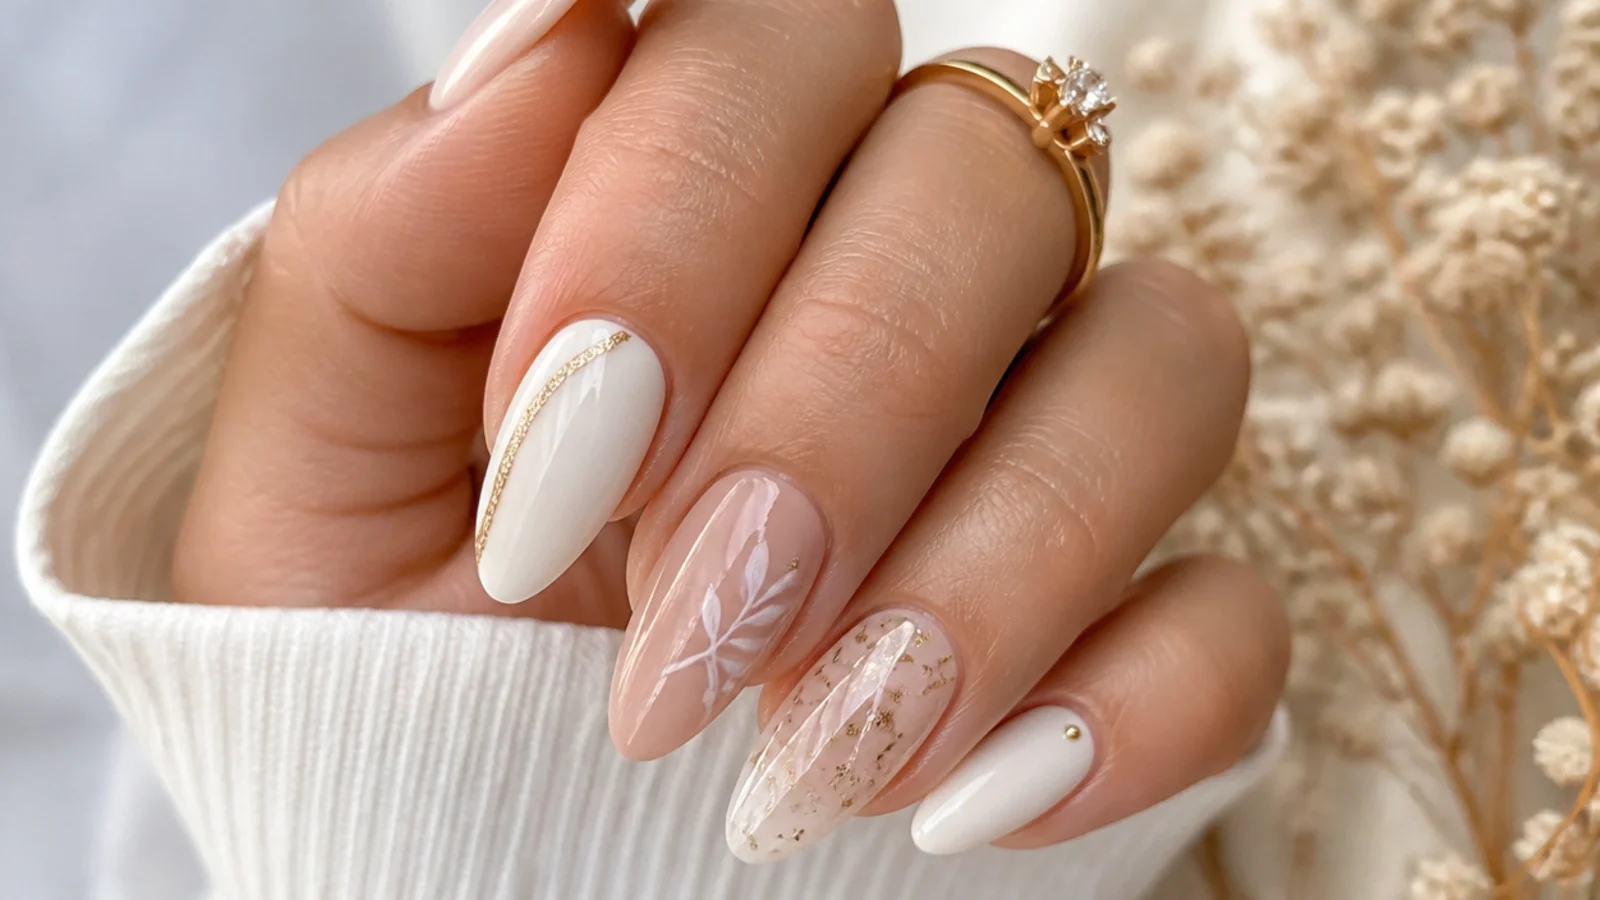
Yes, especially for boho and outdoor weddings. For a bride, keep it soft - a cream or nude base with a delicate floral or fine gold detail on one accent nail suits an earthy, romantic wedding. Bolder mandala or western designs fit festival-style celebrations. Because it is gel, a bridal boho set holds up for two to three weeks through the event and honeymoon.
How long do boho nails last?
Done in gel, a boho set lasts about two to three weeks, and up to four with good prep, a capped free edge and daily cuticle oil. That is far longer than regular non-gel polish, which chips in about 5 to 7 days. Wear gloves for chores and avoid using your nails as tools to get the most wear from the painted detail.
How do you remove detailed nail art safely?
Remove detailed gel art as a proper soak-off. Lightly file the top coat to break the seal, soak cotton in 100% acetone, press it to each nail and wrap in foil for 10 to 15 minutes, then gently push the softened gel off with a wood stick. The line work and gold accents lift with the rest of the gel. Never peel, pry or scrape it off, since that damages your natural nail.
Gel application and removal, lamps, and 100% acetone should be used as directed. Curing gel improperly or force-removing it can damage your natural nails. For best results and nail health, see a licensed nail technician, and stop if you have any irritation or reaction.
Which boho nails look are you saving?
Boho nails come down to one idea: keep the palette warm and earthy, keep the motifs loose, and lean into the slightly imperfect, hand-done feel. Build your color and your line work in thin gel layers rather than flooding one heavy coat, seal the free edge so your set makes the full two to three weeks, and finish with a matte top coat and cuticle oil for that natural, un-shiny look. Your first mandala may go a little crooked - that is boho, not a mistake, and a lighter hand refines it next time. Be gentle with your natural nails, never peel or pry gel off, and see a nail tech if you want the crispest detail or notice any irritation. Save this guide and refine your boho set each time.