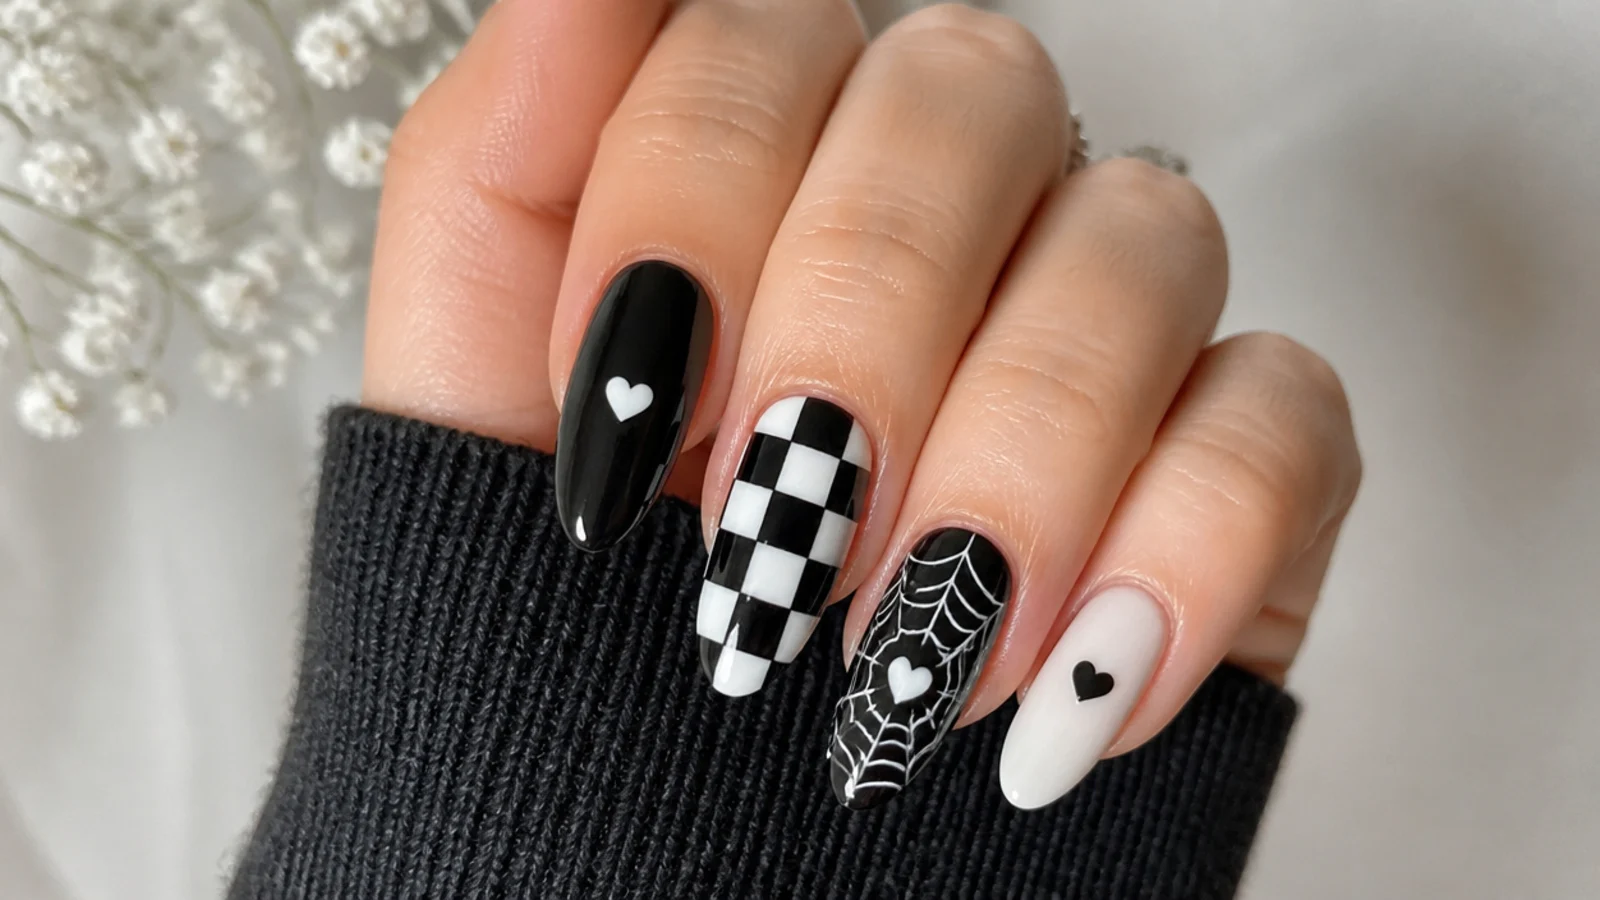
1. Prep, Shape and Choose Your Edge
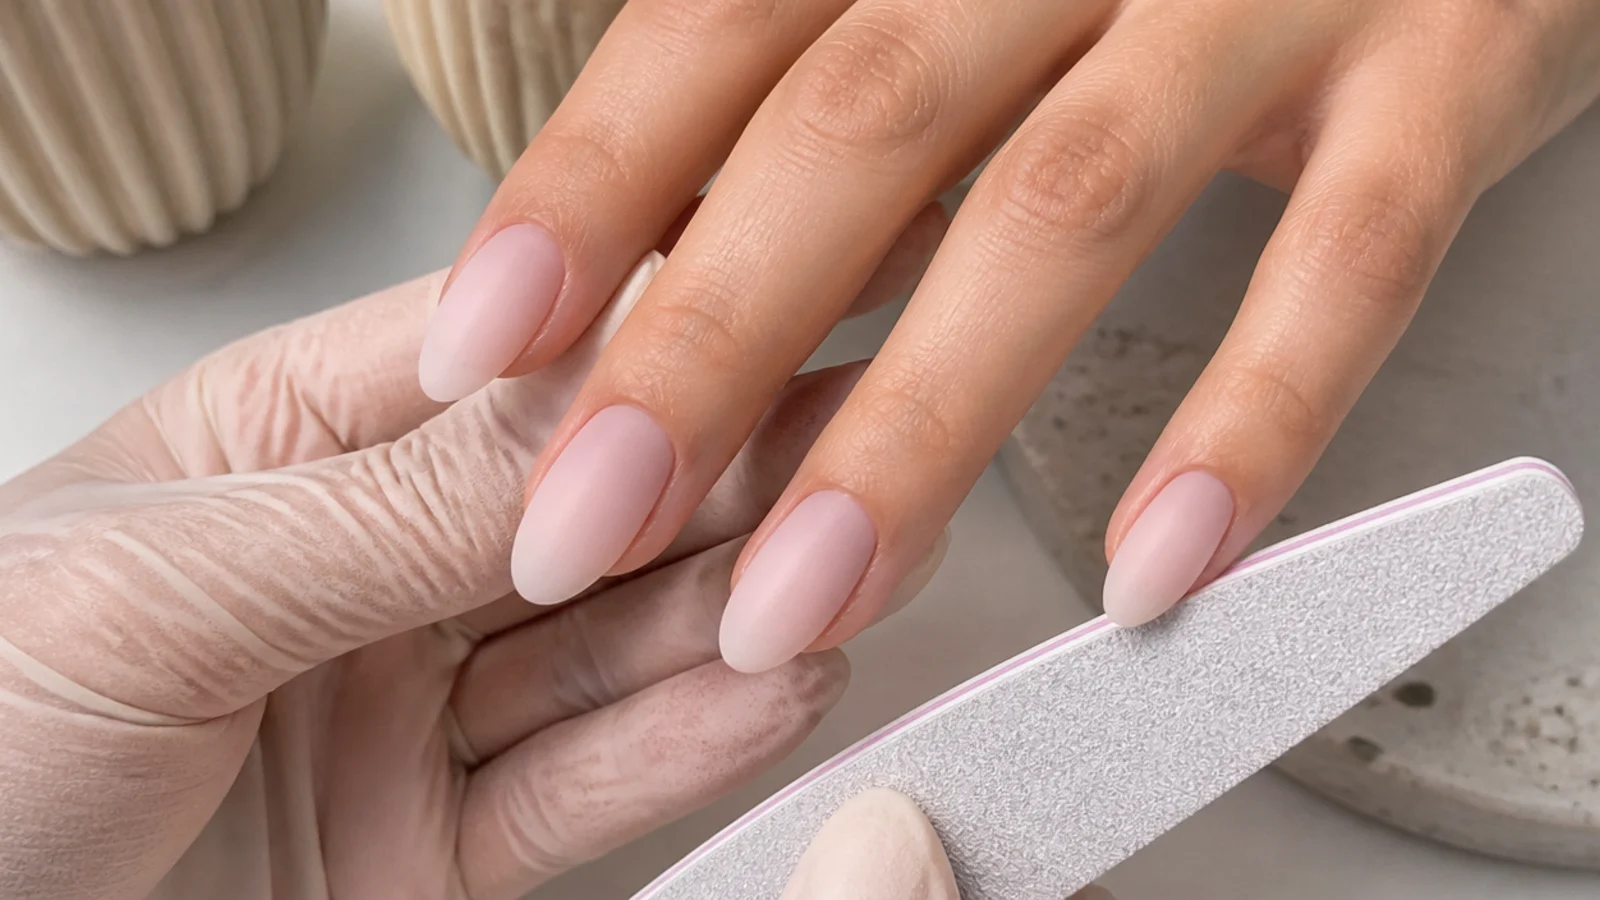
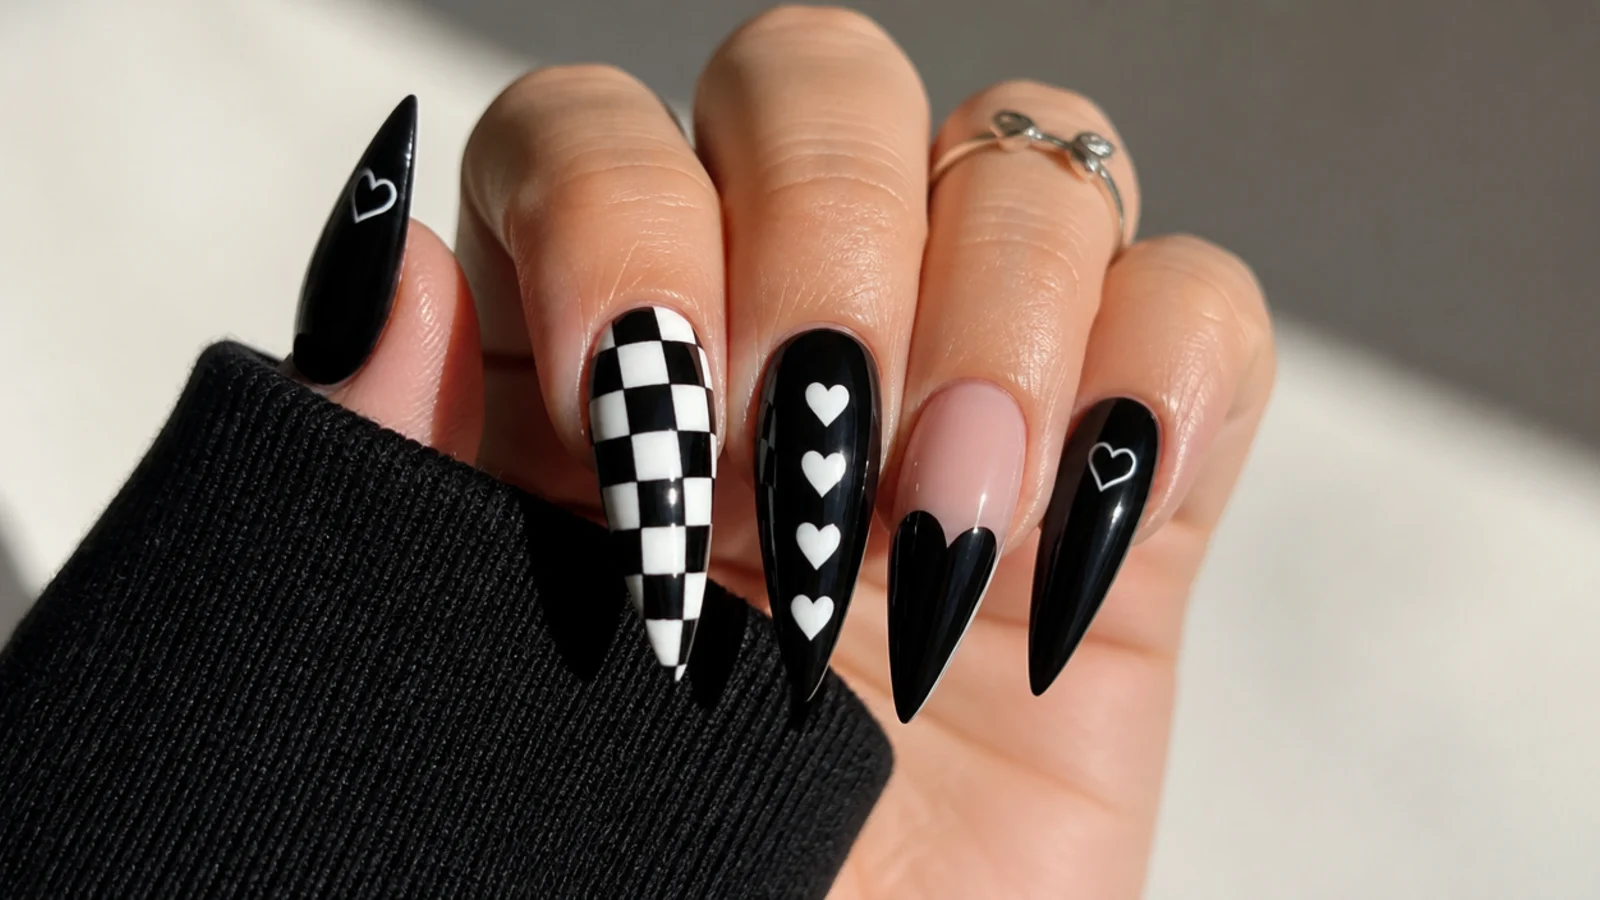
Start with clean, dry nails. Push back the cuticles, lightly buff the surface to a matte finish so gel grips, then shape the free edge - almond, stiletto or coffin lean edgy, while a short round or squoval keeps the look subtle and work-friendly. Wipe with a lint-free wipe and cleanser or alcohol so no oils remain. Good prep is what keeps a detailed set from lifting before you have even finished the art.
Common mistake: Leaving oils or cuticle on the nail causes lifting and early chips - always cleanse before you start.
Pro tip: Pick your shape by mood: stiletto reads full-dark emo, short almond reads soft-grunge and passes at work.
2. Apply Base Coat and Cure
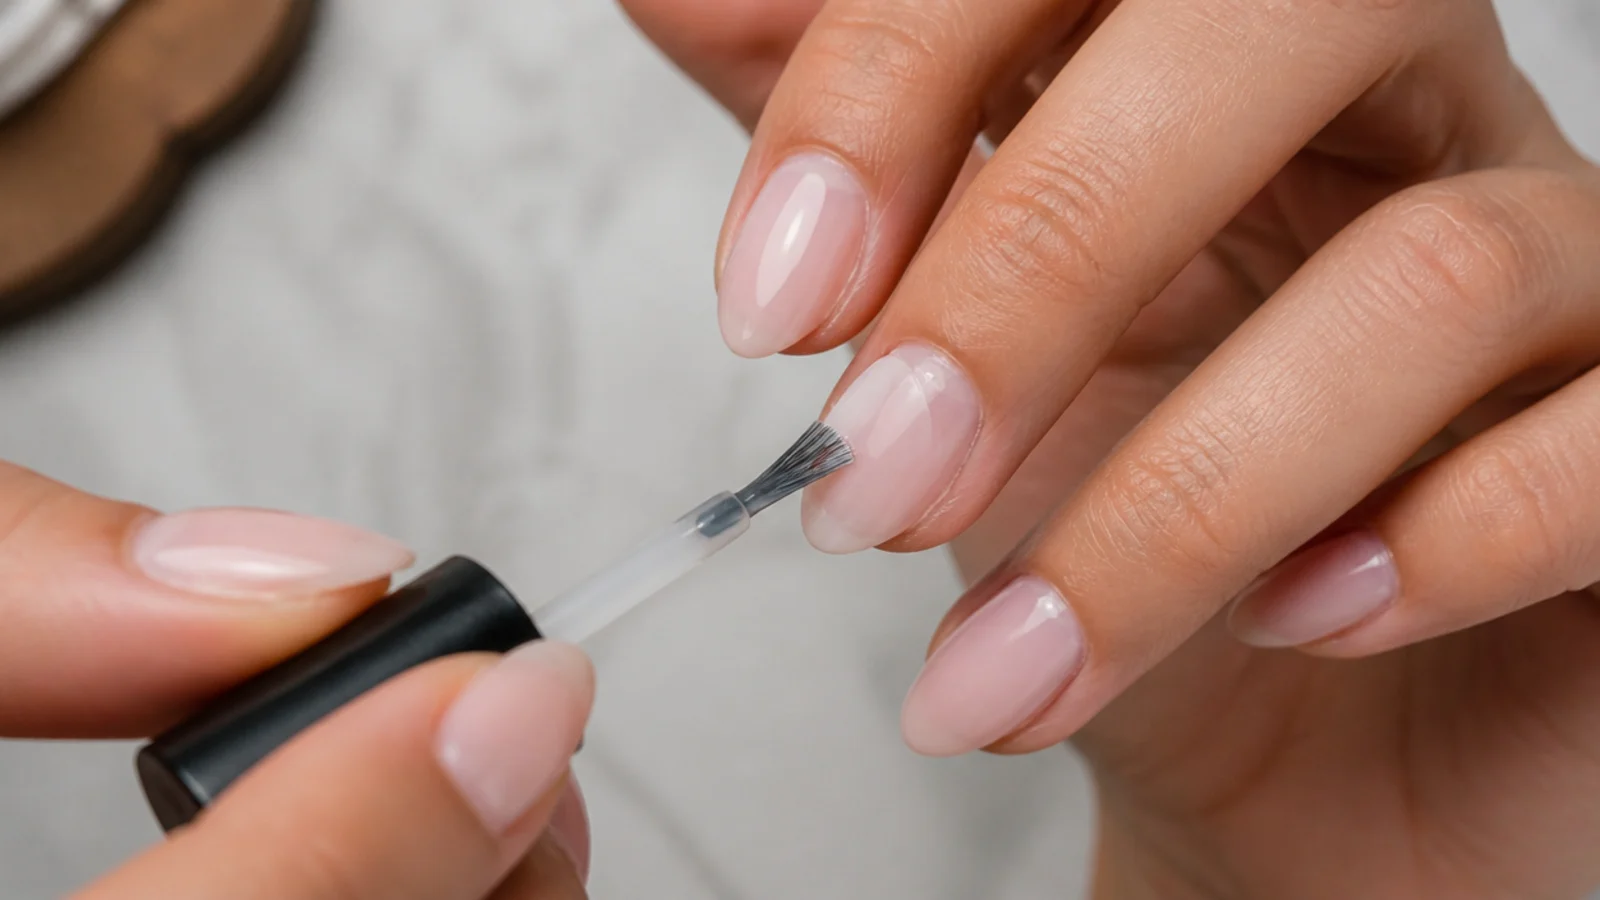
Brush on a thin, even gel base coat and cap the free edge by running the brush along the tip. Cure under your lamp as directed, typically about 30 to 60 seconds under LED or roughly 2 minutes under UV. The base coat protects your natural nail and gives the black or pink layer above something to hold onto, which matters even more with dense art that you do not want to redo.
Common mistake: Skipping the base coat or applying it thick leads to lifting and a weak foundation for the color.
Pro tip: A quality base coat is the single best product for preventing damage and lifting under heavy art.
3. Paint Your Emo Base Color
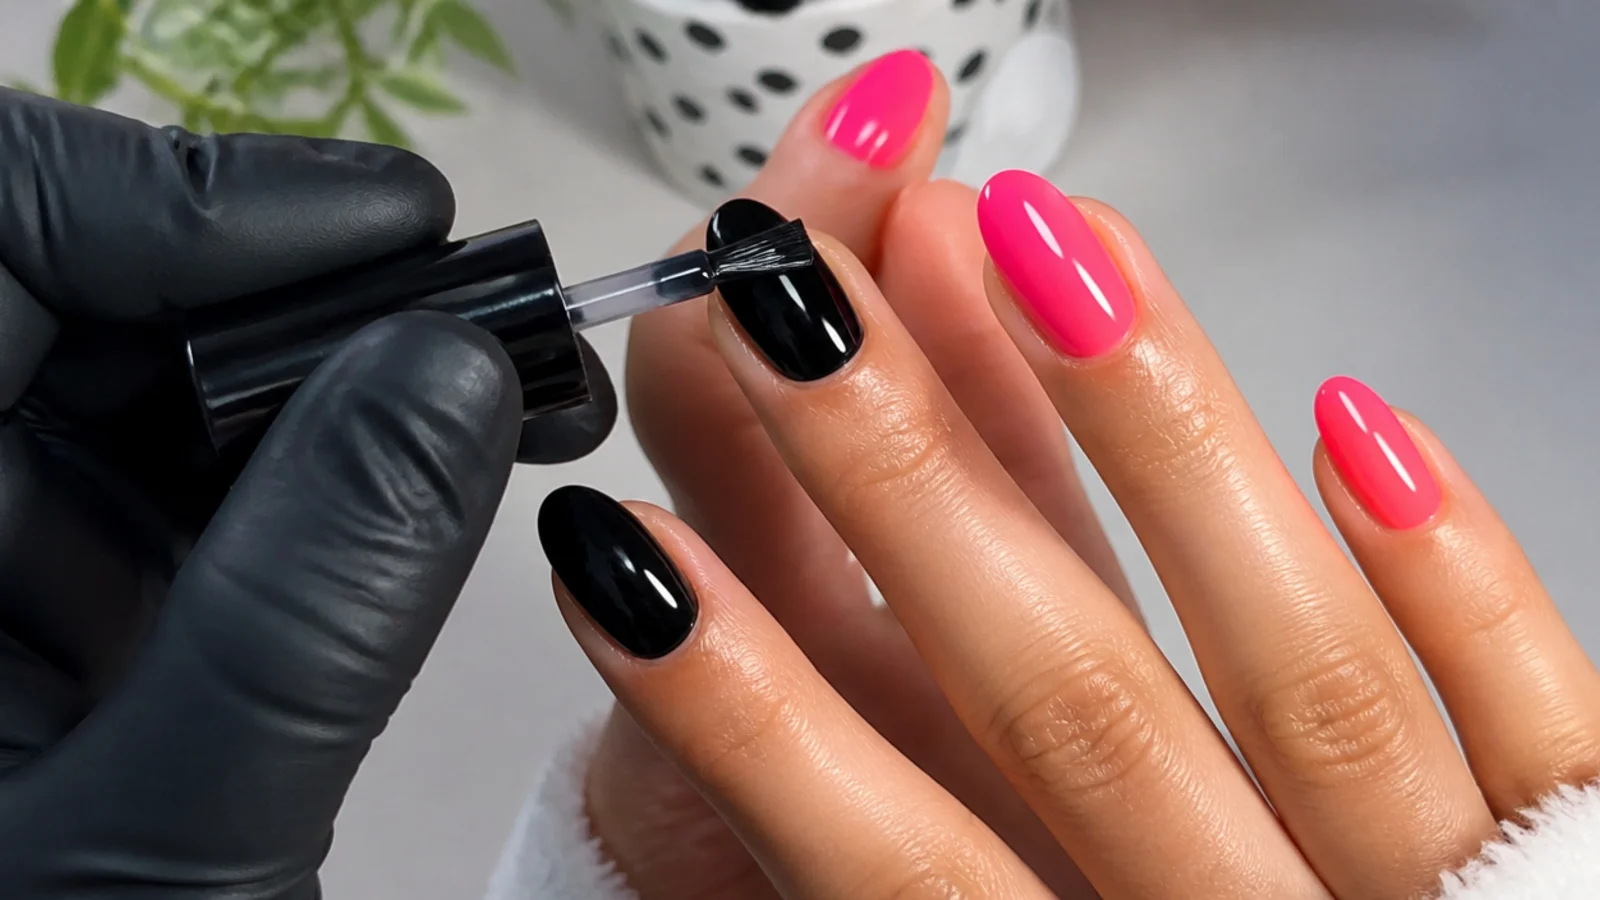
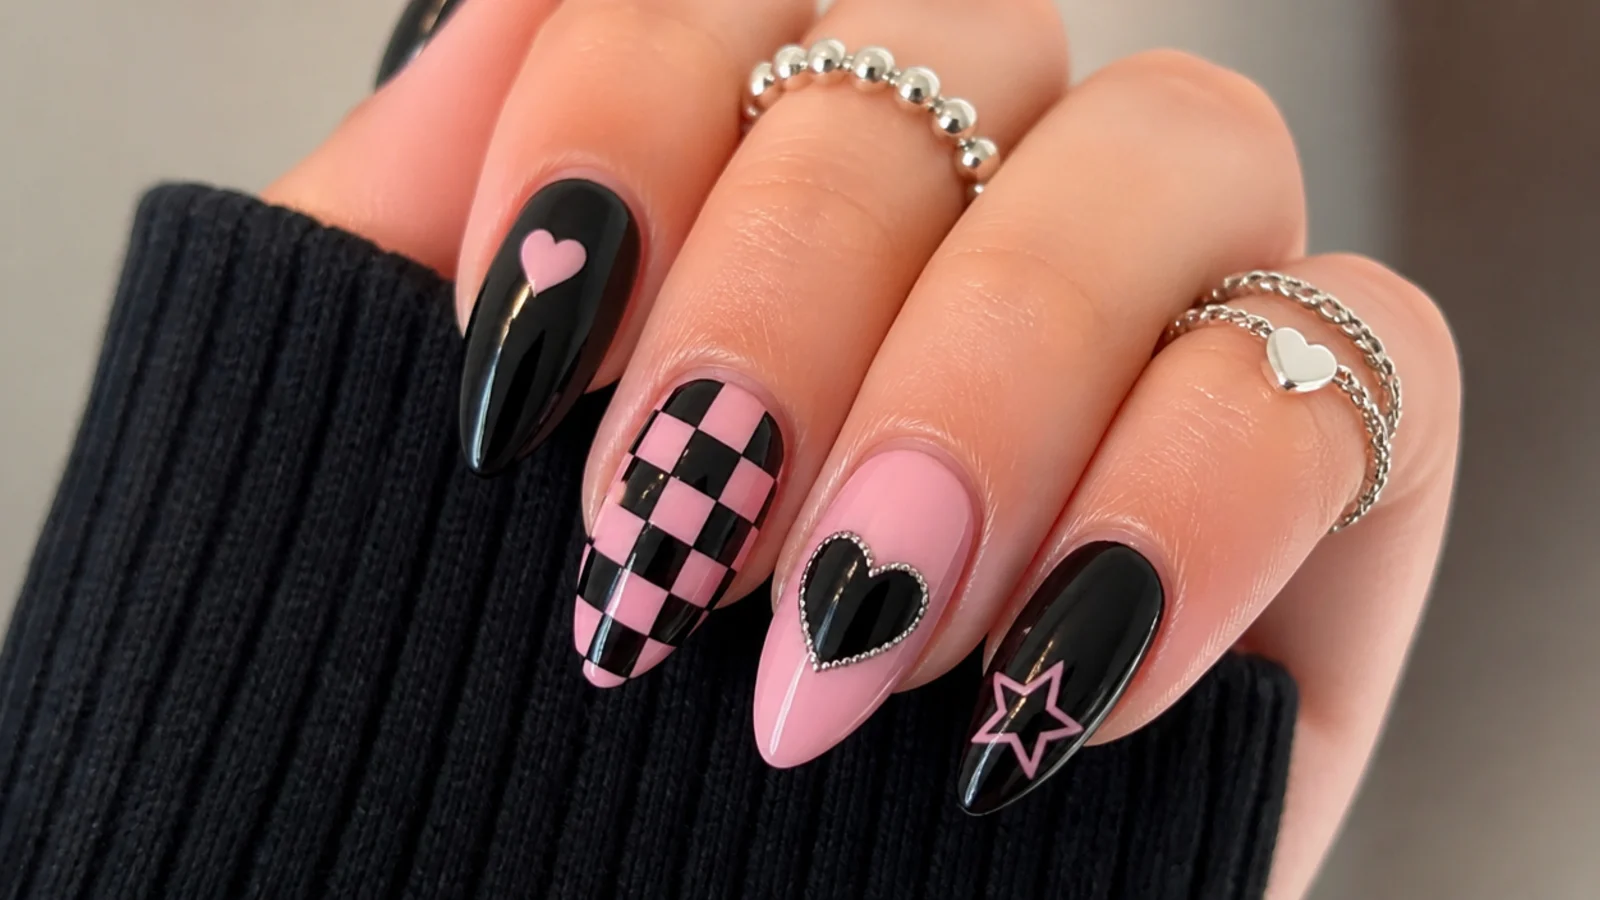
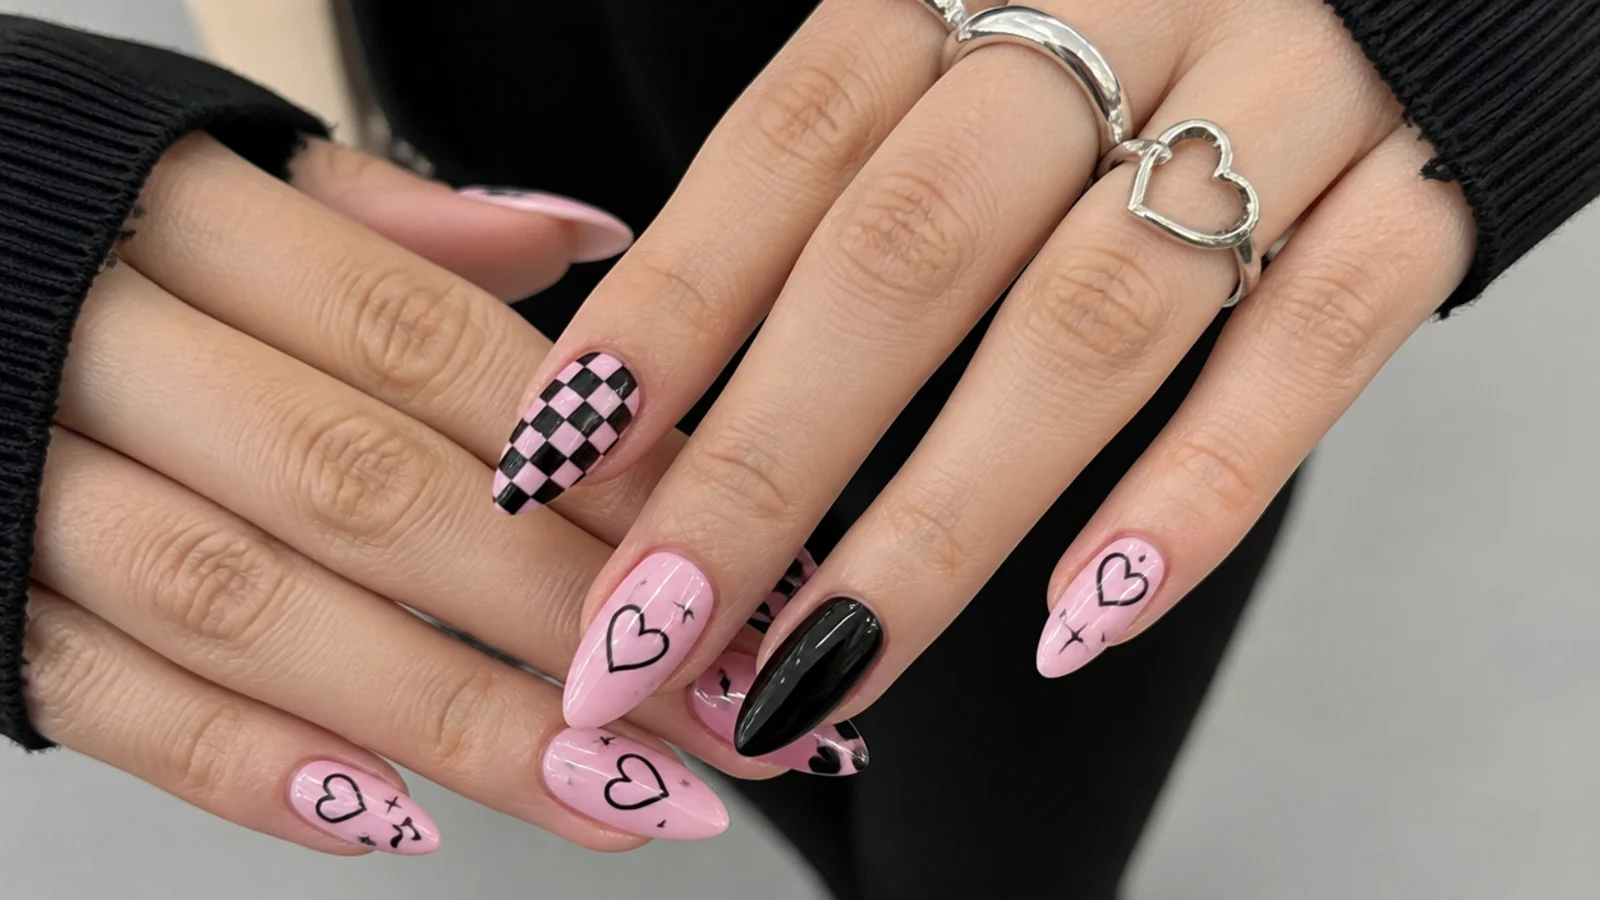
Choose your base: solid black for full-dark emo, hot pink or red for a Y2K pop, or a milky pink for the soft-grunge-cute version. Paint two thin coats over the whole nail, curing each for about 30 to 60 seconds under LED so the color is fully opaque. Many emo sets mix bases - black on some nails, pink or red on the accent nails - so plan which fingers carry which color before you start.
Common mistake: One thick coat of black looks patchy and cures unevenly - build opacity with two thin layers instead.
Pro tip: A pink or red accent nail beside black nails is what makes an emo set read Y2K rather than plain goth.
4. Map Out Your Motifs
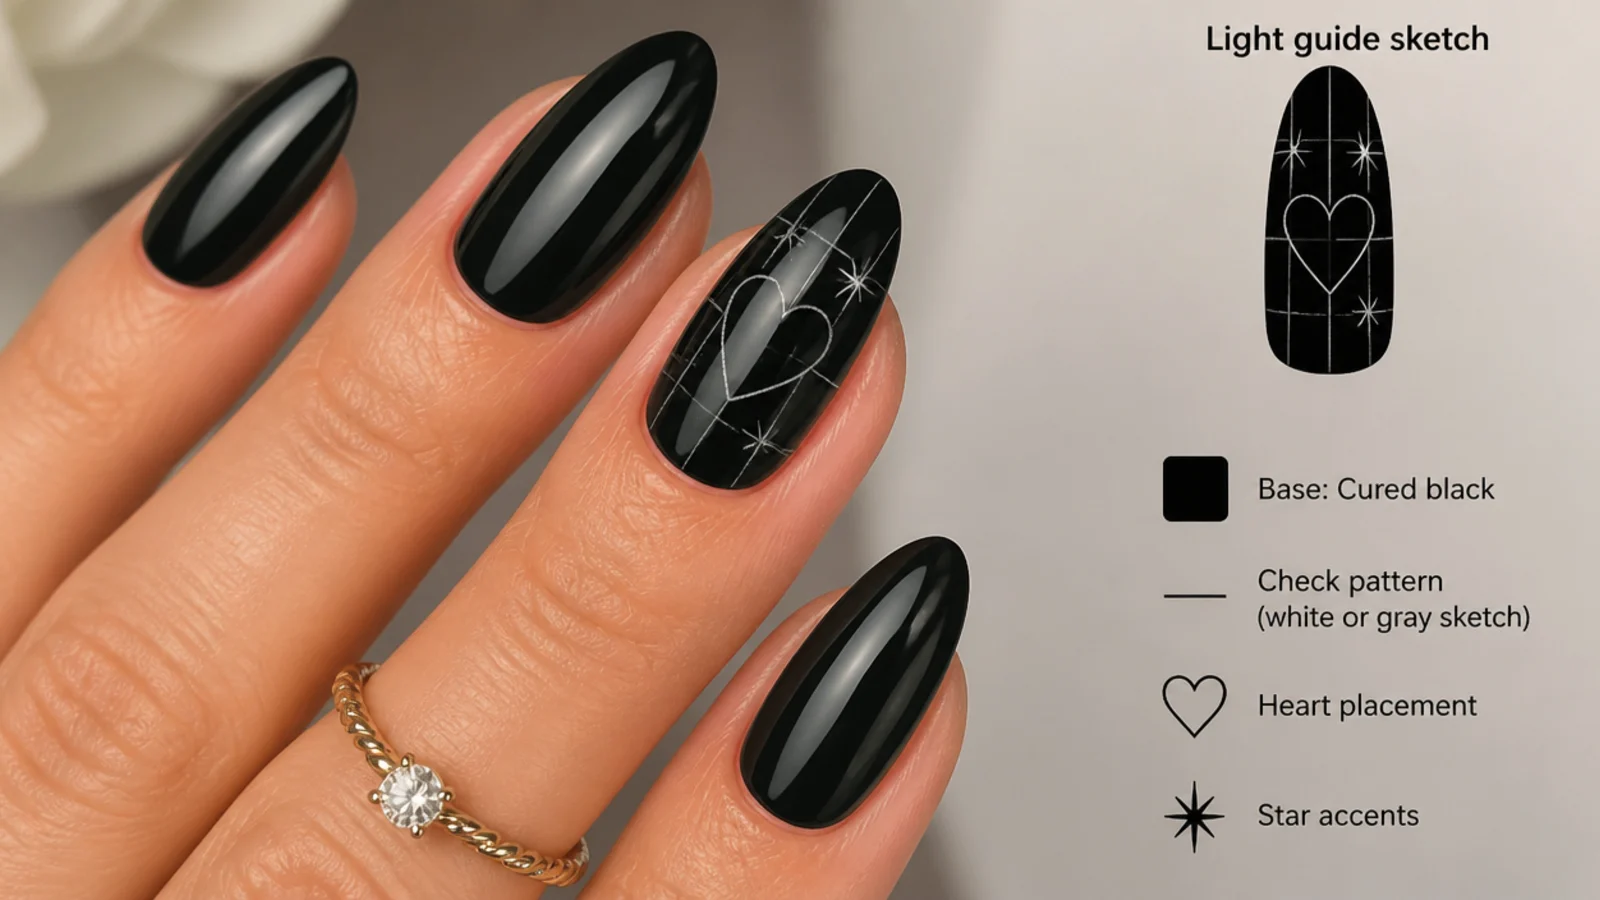
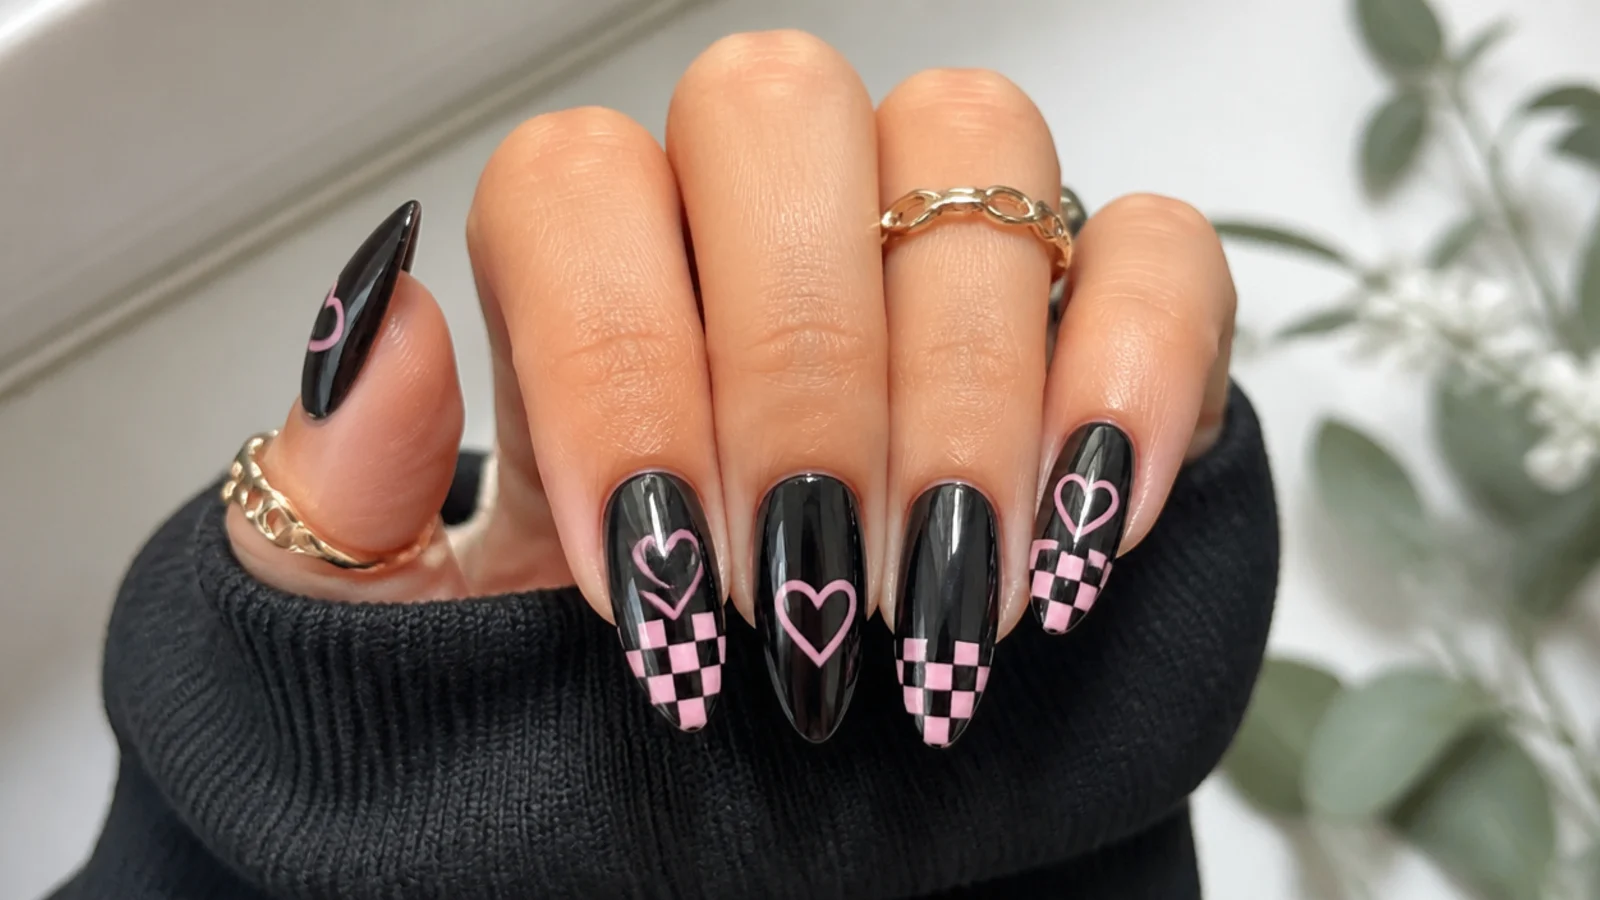
Before you commit paint, plan which motif goes where - checkerboard on one nail, a spiderweb from the corner of another, tiny hearts or stars scattered on a third, and drips down an accent nail. Lightly mark grid lines or a web center with a thin brush and un-cured top coat or a light pencil pass so spacing stays even. Mapping first is what separates a crisp emo set from a crowded, off-center one.
Common mistake: Freehanding a checkerboard with no guide lines gives crooked, uneven squares that pull the whole nail off.
Pro tip: Odd numbers look intentional - three hearts or five stars read better than a symmetrical even count.
5. Paint the Checkerboard and Spiderweb
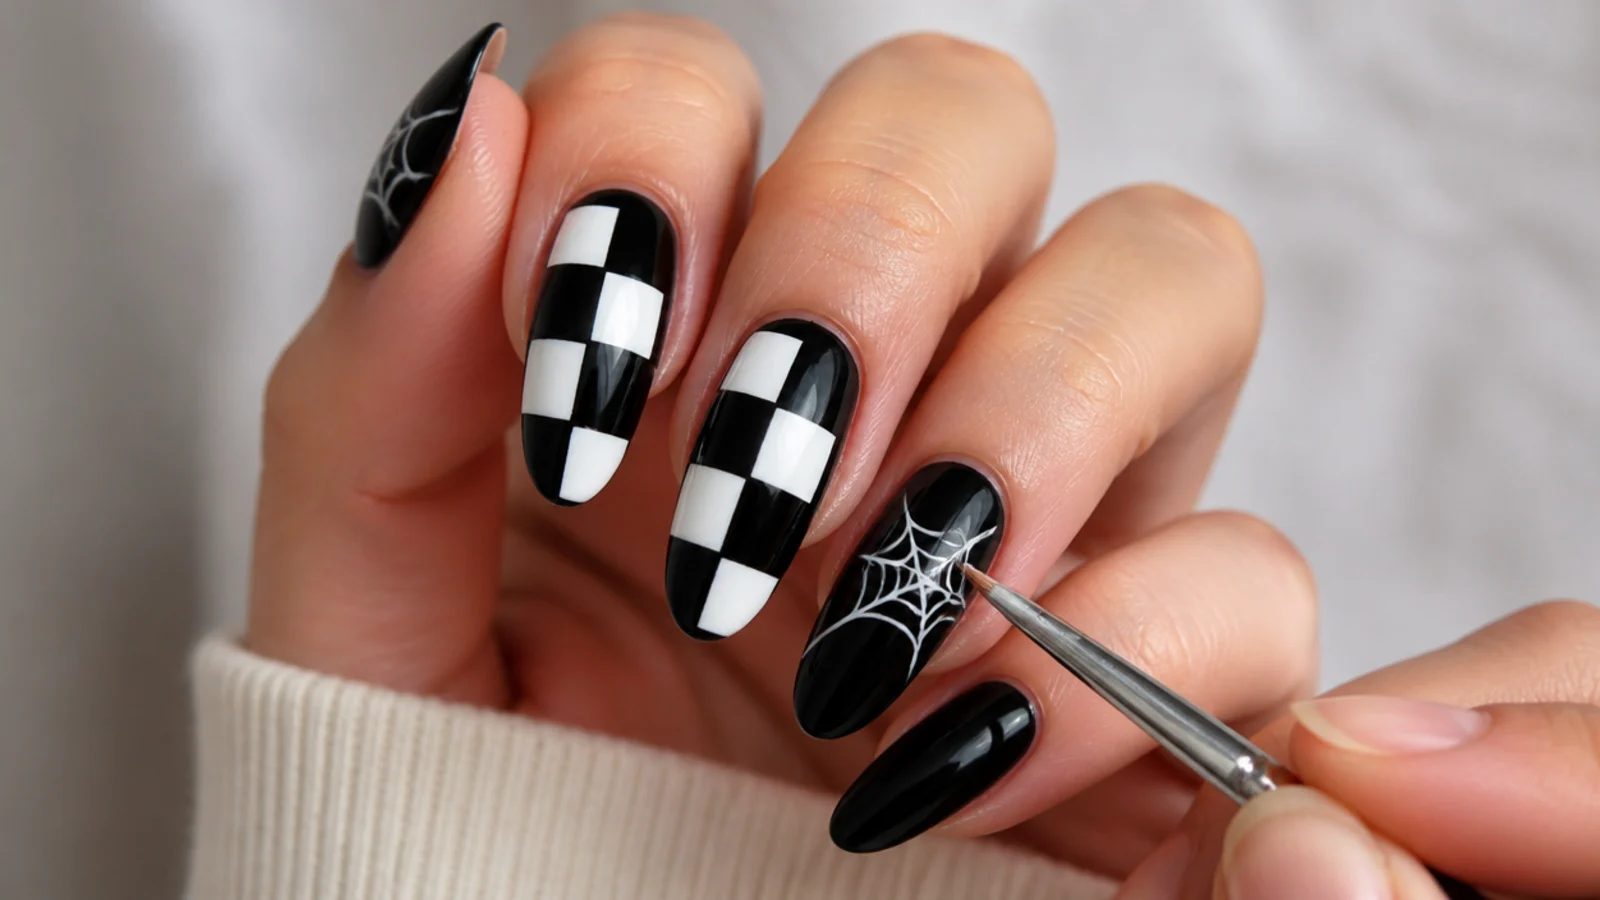
With a thin detail or liner brush and white gel, paint your structural art first. For checkerboard, lay two sets of crossing lines then fill alternating squares; for a spiderweb, drag a few lines out from one corner then connect them with curved threads. Keep the brush lightly loaded so lines stay fine, and cure for about 30 to 60 seconds once the linework looks clean. Structural motifs go down before small accents so you can space the accents around them.
Common mistake: Overloading the brush floods thick, bleeding lines - wipe excess on a wipe so each stroke stays crisp.
Pro tip: Steady your painting hand against the table edge and pull each line in one confident stroke, not short dabs.
6. Add Hearts, Stars and Y2K Accents
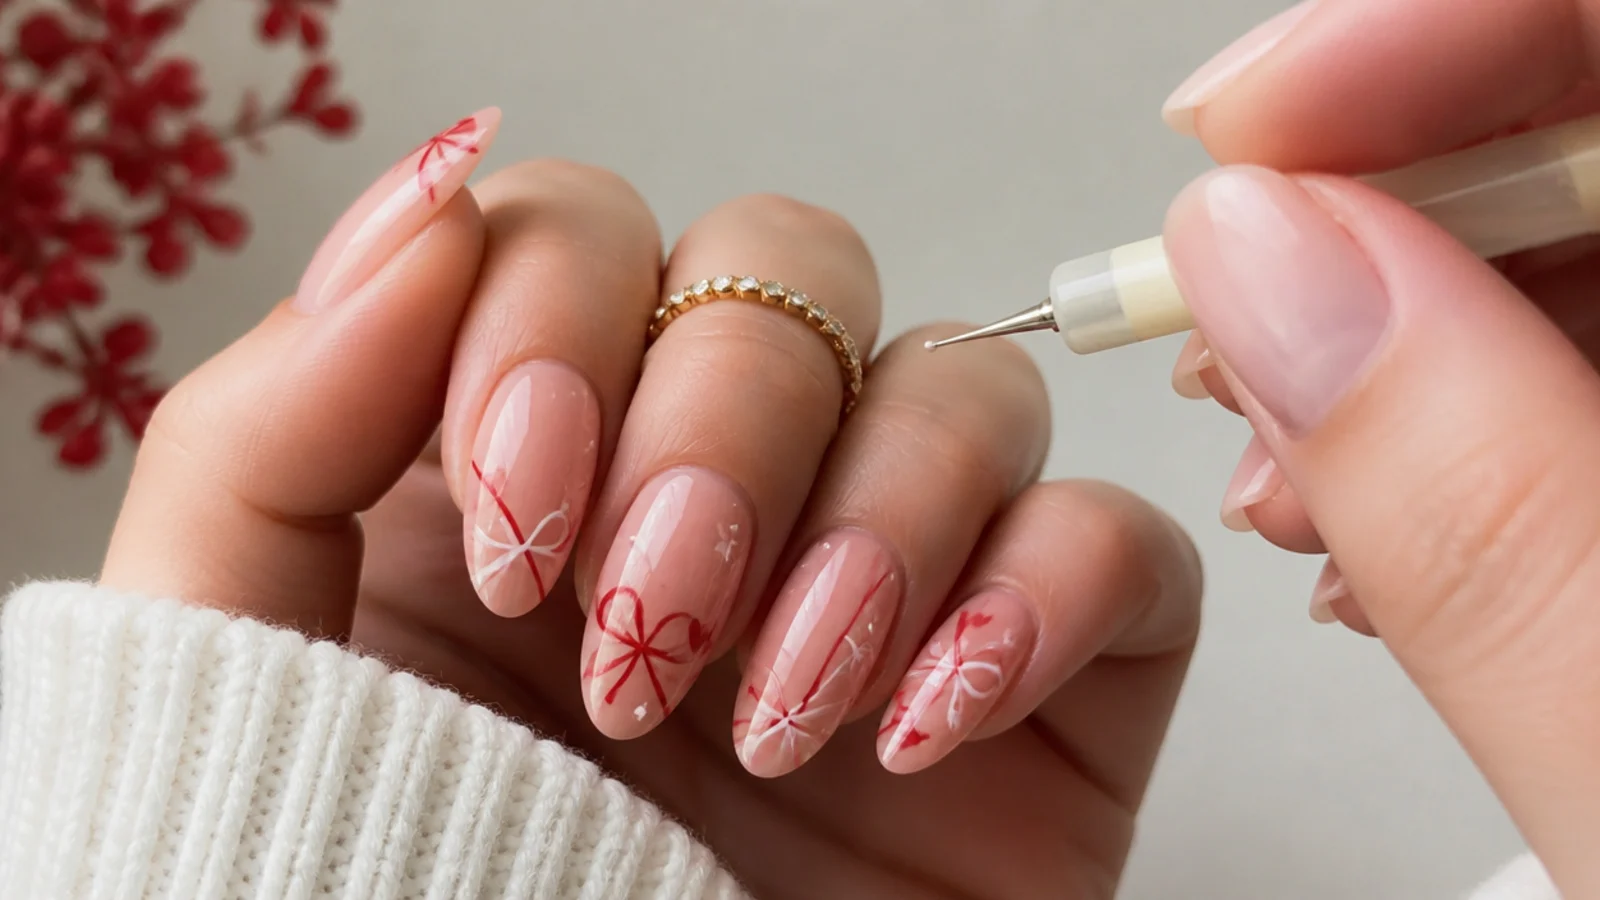
Switch to a dotting tool for the small motifs. Two dots pulled together into a point make a tiny heart; a few crossing strokes make a star; single dots become polka accents. Use white on black nails, and black or red on pink nails, placing them in the gaps you mapped. Cure for about 30 to 60 seconds. These little emo motifs are what carry the soft-grunge-cute mood, so keep them small and slightly irregular rather than machine-perfect.
Common mistake: Crowding too many hearts and stars turns a clean emo nail into visual noise - leave breathing room.
Pro tip: Make a heart by dropping two dots side by side, then dragging their bottoms together into a point.
7. Add Drips, Chrome or a Grunge Finish
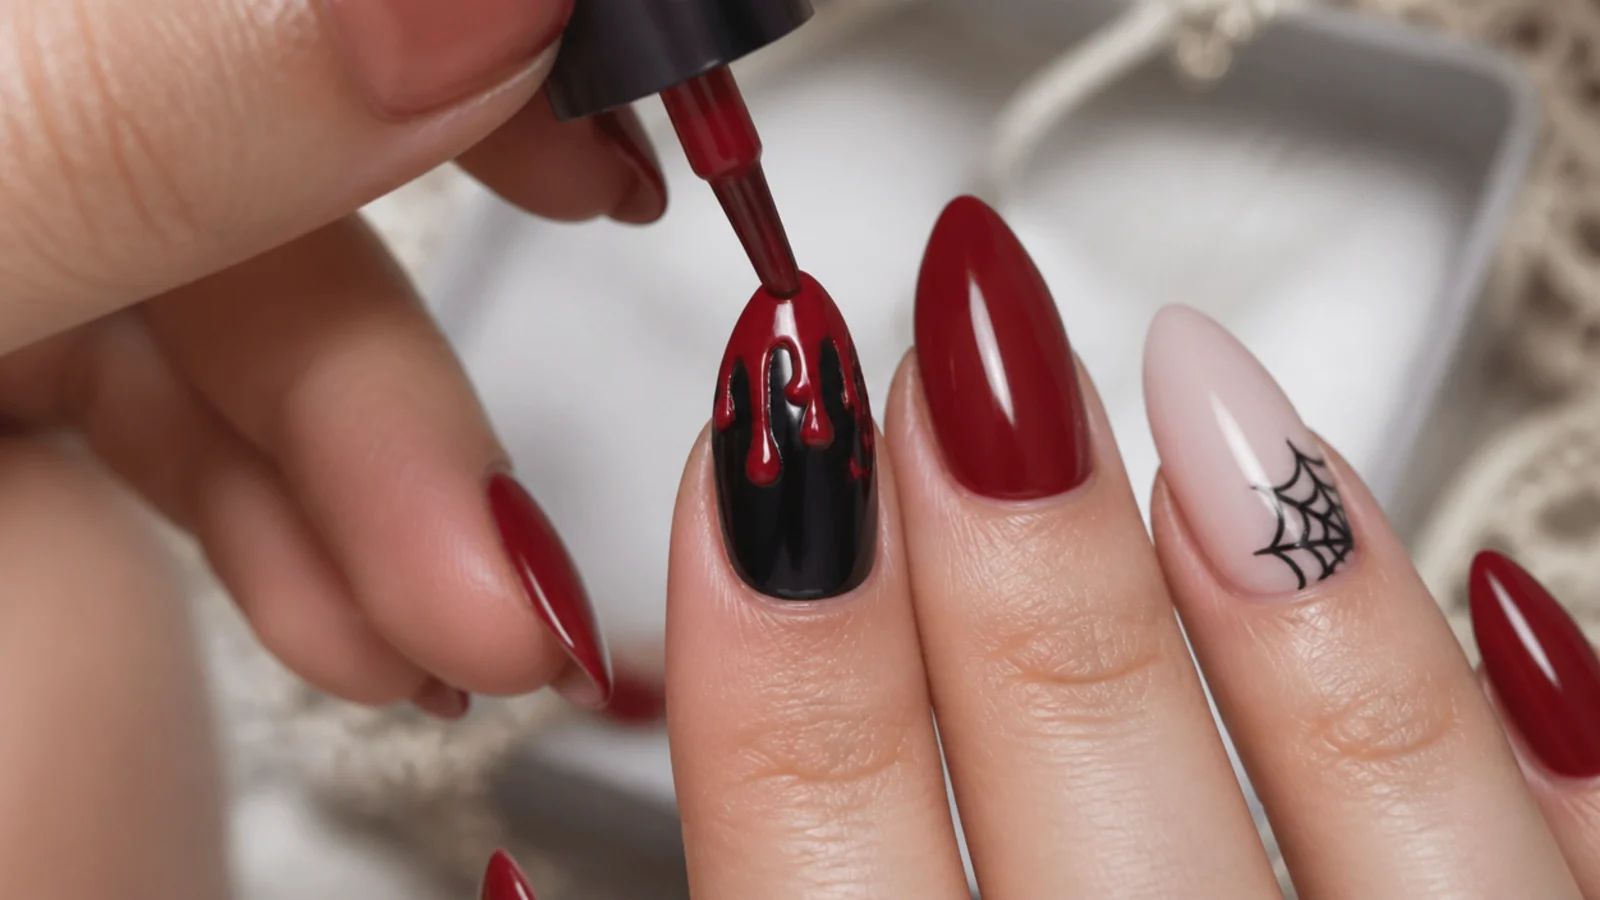
For extra edge, paint a drip motif - fine wavy lines from the cuticle down the nail with rounded blob ends - in red or white on an accent nail, or press chrome powder over a no-wipe layer for a Y2K metallic pop. If you want full-dark grunge, plan to finish that nail matte later. Cure any painted drips for about 30 to 60 seconds. This optional step is where a set tips from cute toward vampy, so use it on one or two accent nails, not all ten.
Common mistake: Dripping every nail overwhelms the design - one or two accent nails keep the drips looking deliberate.
Pro tip: Round the ends of each drip with a dotting tool so they read as melting blobs, not straight lines.
8. Seal With Top Coat, Cure and Oil
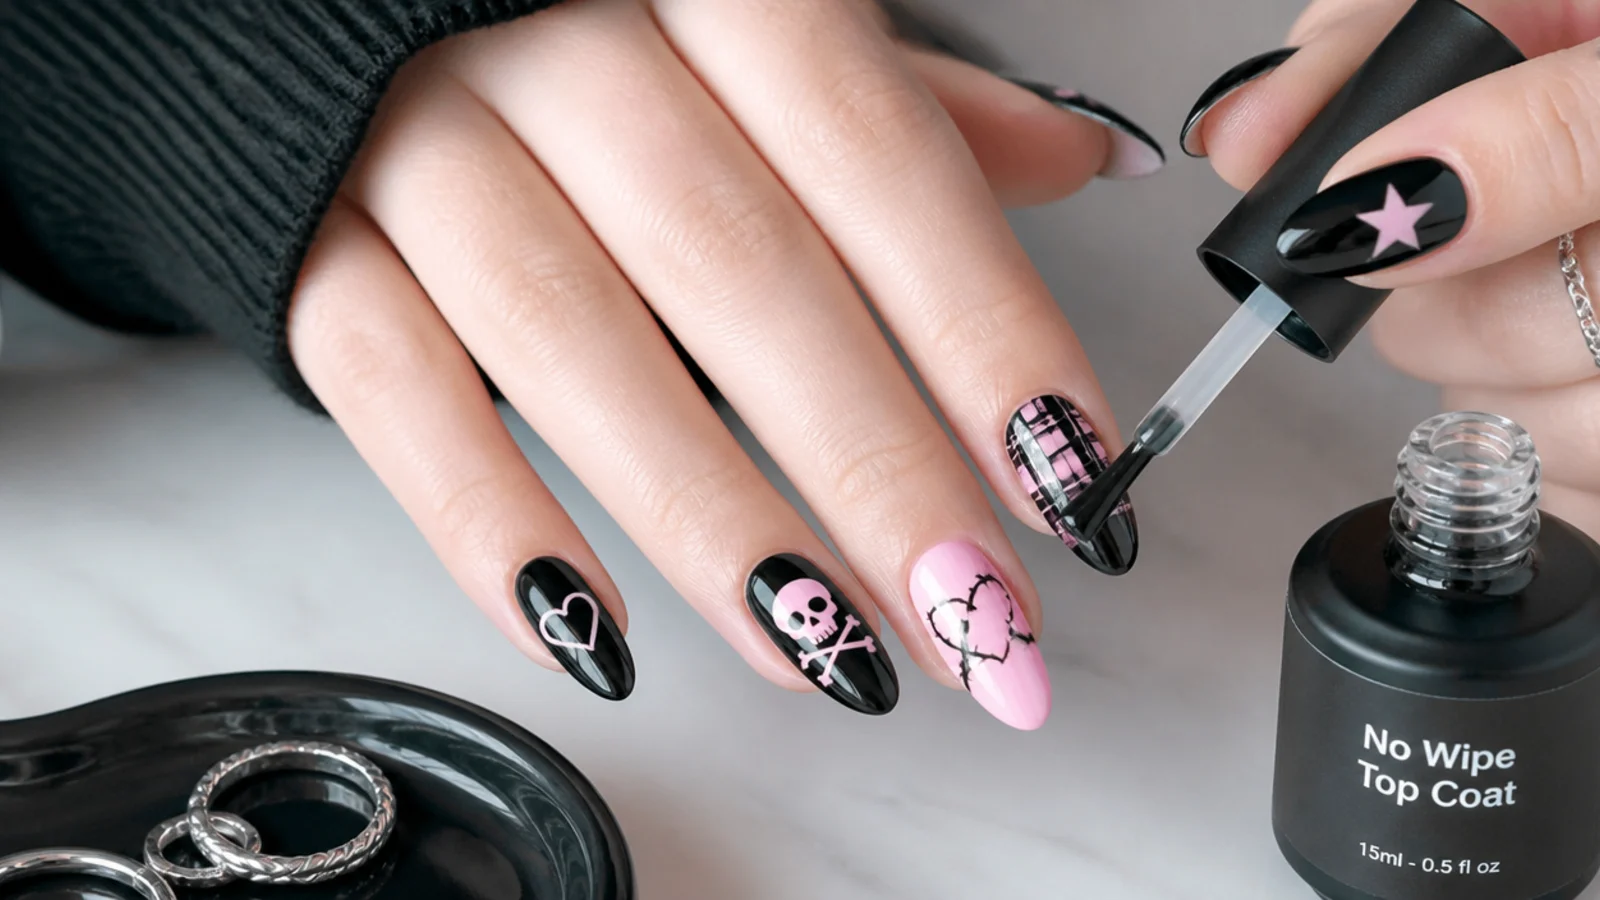
Brush a no-wipe gel top coat over the whole nail, going gently over raised art so you do not drag it, and cap the free edge by running the coat along the tip. Cure for about 30 to 60 seconds under LED. For a grunge look, swap a matte top coat on the darkest nails. Capping the edge is what keeps a detailed emo set from chipping early. Wipe any sticky residue, then massage cuticle oil around each nail to finish and protect the skin.
Common mistake: Forgetting to cap the free edge lets the art chip and peel back within days.
Pro tip: Daily cuticle oil keeps the set flexible and stretches it closer to the full three weeks.
Supplies You Need
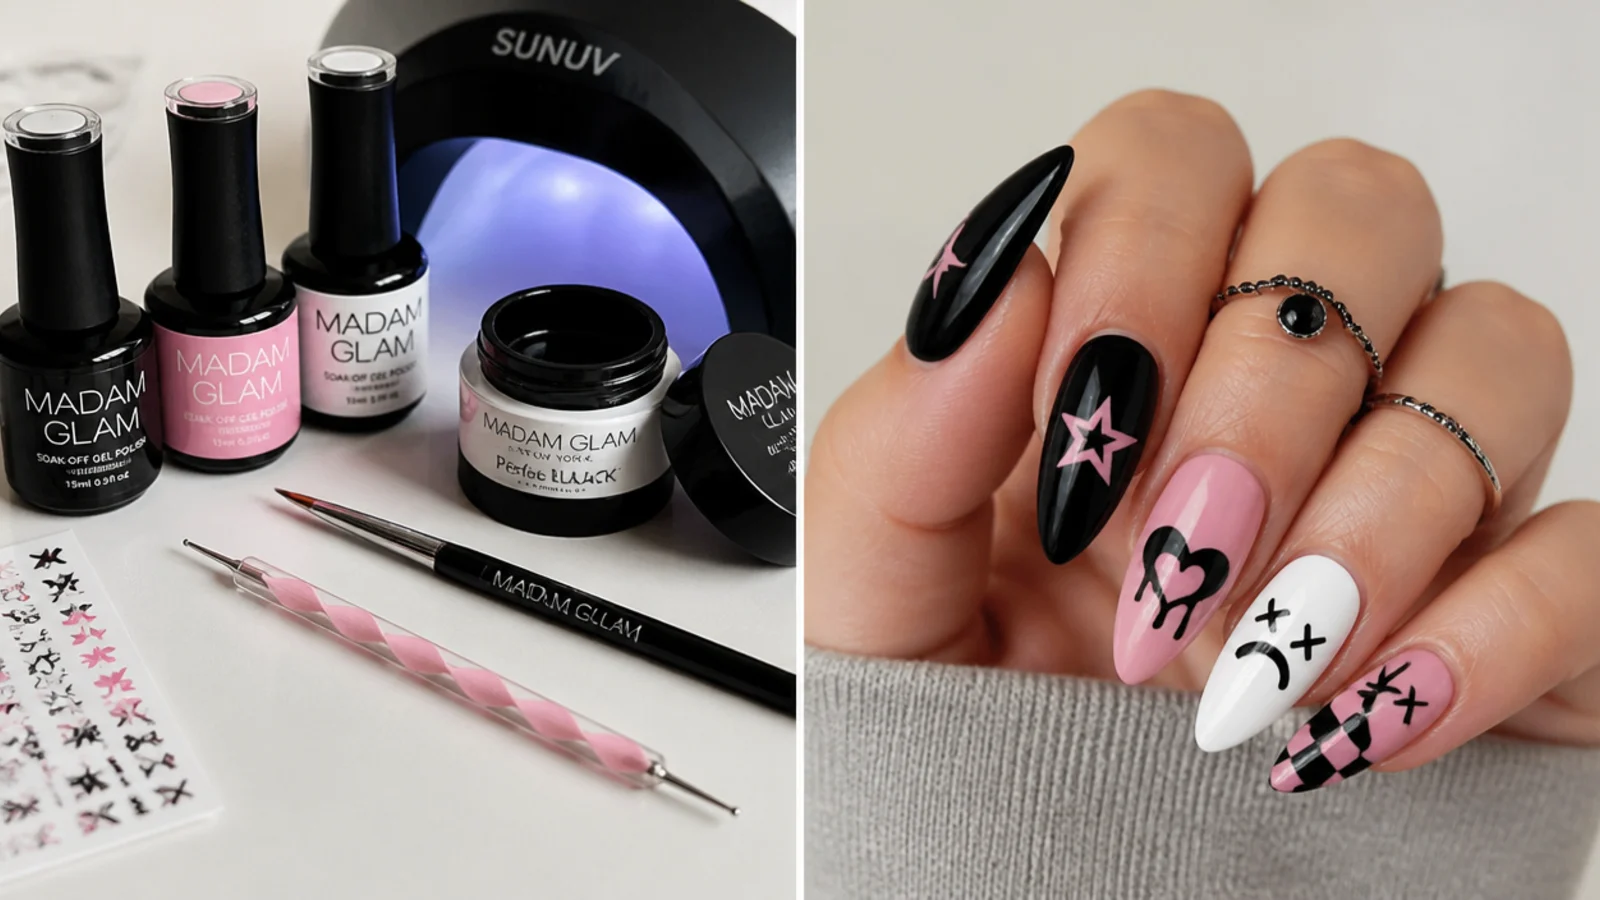
Emo nails use standard gel-manicure supplies plus a couple of art tools. You will need a gel base coat, a black gel polish, a hot pink or red gel for accents and Y2K pops, a white gel for checkerboard, webs and hearts, and a no-wipe gel top coat - keep a matte top coat on hand if you want a grunge finish. For curing you need an LED or UV lamp, since gel will not set without one. For the art, a thin detail or liner brush draws checkerboard lines and spiderwebs, and a dotting tool makes tiny hearts, stars and drips. Round out the kit with lint-free wipes to keep brushes clean, cuticle oil for finishing, and 100% acetone with cotton and foil for a safe soak-off later. A starter set of a few gel colors, two brushes, a dotting tool and a small lamp is a modest one-time cost that pays back fast against salon art prices, where design add-ons run about $5 per accent nail.
Common Emo Nail Mistakes to Avoid
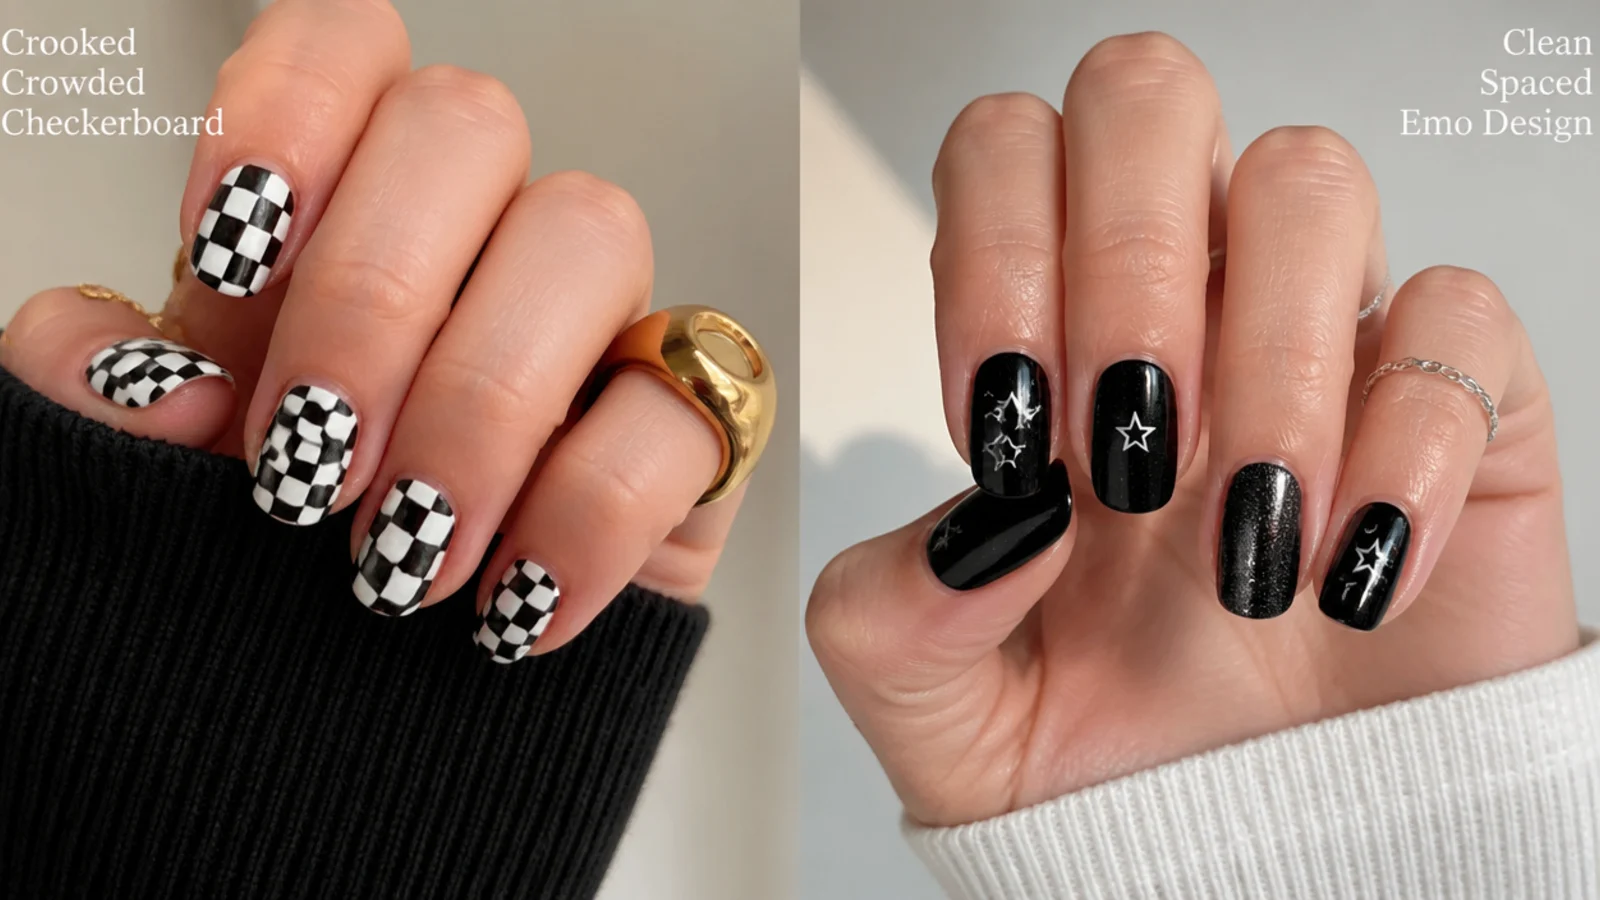
Most emo-nail problems trace back to a few fixable errors. The biggest is freehanding structural art like checkerboard with no guide lines, which gives crooked, uneven squares - map grid lines first. The second is overloading the detail brush, which floods thick lines that bleed into the black base; wipe excess off so each stroke stays fine. Crowding too many hearts, stars and drips onto one nail turns crisp art into visual noise, so leave breathing room and use odd numbers. Painting a thick single coat of black instead of two thin ones looks patchy and cures unevenly. Skipping curing between the base and the art lets wet layers smear together. Finally, not capping the free edge causes early chips on a set you spent an hour on. If a line goes wrong, cure the nail, add a thin clear layer, and simply repaint the motif over the top.
How to Make It Last and Remove It Safely
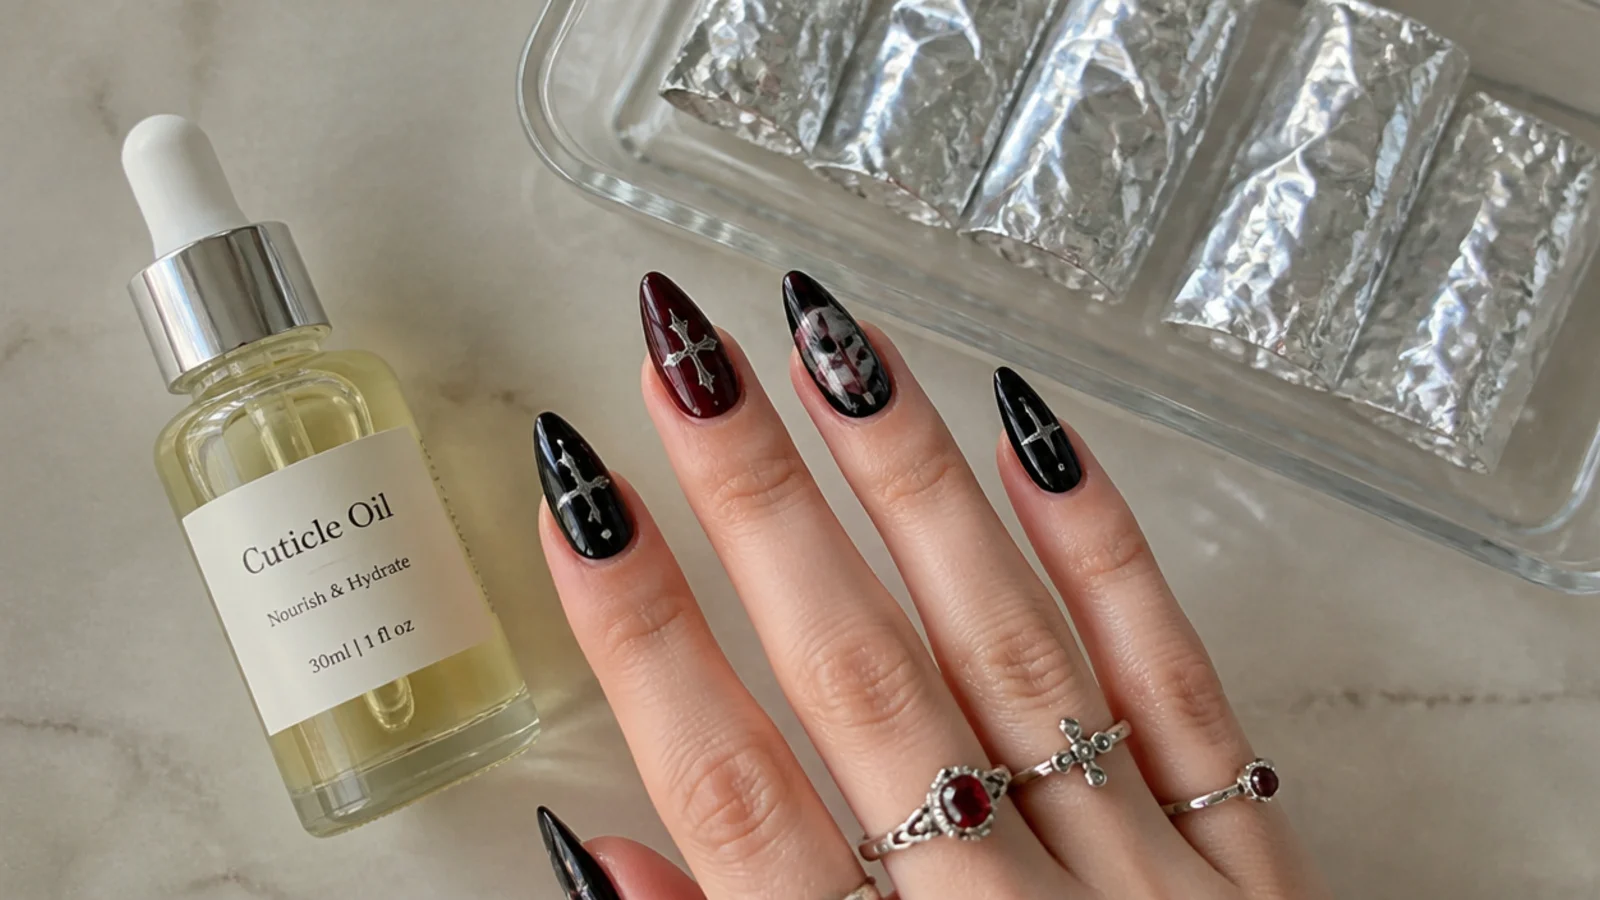
Because this is a gel technique, an emo set lasts about two to three weeks, and up to four with solid prep, capped edges and daily cuticle oil - far longer than regular polish art, which only holds 5 to 7 days. To stretch the wear, apply cuticle oil every day, wear gloves for cleaning and dishes, and avoid using your nails as tools. Detailed art needs an especially careful removal: never peel or pry it, since that takes layers of your natural nail and the design with it. Instead, lightly file the shiny top coat to break the seal, soak cotton in 100% acetone, press it to each nail, wrap in foil for 10 to 15 minutes, then gently push the softened gel off with a wood stick, re-soaking any stubborn art rather than forcing it. Ventilate the room, give your nails an occasional break between sets, and see a nail tech if you notice lifting, pain or irritation.
Frequently Asked Questions
What makes nails emo?
Emo nails borrow the early-2000s emo and scene aesthetic - lots of black plus checkerboard, hearts, stars, spiderwebs, drips and Y2K motifs painted over black, hot pink or red bases. The look ranges from soft-grunge-cute, like tiny white hearts on milky pink, to full dark, like a matte black stiletto with a white web and a red drip.
Are emo nails still trending in 2026?
Yes. The Y2K and emo revival keeps this look current, and it shows no sign of fading. The soft pink-and-black version in particular reads cute and wearable rather than costume, which has pushed emo motifs like checkerboard, hearts and tiny stars well into the mainstream. You can wear a subtle version everyday or go full-dark for concerts and Halloween.
Are emo nails work-appropriate?
It depends on scale and shape. Small motifs - a few tiny hearts or a fine checkerboard accent - on short round or squoval nails read subtle and pass in most workplaces. Long stiletto or coffin nails with heavy black, drips and spiderwebs lean edgy and stand out more. For a conservative office, keep to one accent nail and a soft pink base.
What nail shape works best for emo nails?
Almond, stiletto and coffin shapes suit the edgy emo look best, giving room for webs, drips and checkerboard. Stiletto and coffin read the most dramatic and full-dark. If you want something softer or more work-friendly, a short round or squoval nail keeps the same motifs subtle and easy to wear day to day.
What colors are emo nails?
Black is the anchor color, usually paired with white for checkerboard, webs and hearts. Hot pink and red are the classic accent bases that give the look its Y2K and soft-grunge energy. A milky or pastel pink base reads cute, while all-black with matte finish reads vampy and dark. Most sets mix a black base with a pink or red accent nail.
Can you do emo nails at home?
Yes. Emo nails are very DIY-friendly with a steady hand. Build a solid gel base, then add motifs one thin layer at a time with a detail brush and a dotting tool, curing as you go. Structural art like checkerboard and spiderwebs goes down first, then small hearts and stars, then optional drips. Map your spacing before you paint for the cleanest result.
How do you remove detailed nail art safely?
Never peel or pry detailed art off, since it takes layers of your natural nail with it. Lightly file the shiny top coat, soak cotton in 100% acetone, press it to the nail and wrap in foil for 10 to 15 minutes, then gently push the softened gel off with a wood stick. Re-soak stubborn art rather than forcing it, and ventilate the room while you work.
How long do emo nails last?
Because it is a gel technique, an emo set lasts about two to three weeks, and up to four with good prep, a capped free edge and daily cuticle oil. That is far longer than regular non-gel polish art, which chips in about 5 to 7 days. Wear gloves for chores and avoid using your nails as tools to get the most wear from detailed art.
How do you paint a checkerboard on nails?
Start over a cured base, ideally black or white. Lightly map grid lines first, then use a thin detail brush to lay two sets of crossing lines and fill alternating squares with your contrast color. Keep the brush lightly loaded so lines stay fine, steady your hand against the table, and cure once the pattern looks clean. Map the grid before you paint to keep squares even.
Gel application and removal, lamps, and 100% acetone should be used as directed. Curing gel improperly or force-removing detailed nail art can damage your natural nails. For best results and nail health, see a licensed nail technician, and stop if you have any irritation or reaction.
Which emo nails look are you saving?
Emo nails come down to a bold base and clean, confident motifs: keep every layer thin, cure between the base and the art so nothing smears, and let a dotting tool do the tiny hearts and checkerboard squares. Seal the free edge so the design makes the full two to three weeks, and finish with cuticle oil. Your first checkerboard may wobble - that is normal, and a fresh top-coat layer to paint over fixes crooked lines. Be gentle at removal, never peel or pry detailed art off, and see a nail tech if you want the crispest lines or notice any irritation. Save this guide and refine your emo set each time.