Quick Comparison
| Regular Polish | Gel Polish | |
|---|---|---|
| Startup cost | Under 30 dollars for base, color and top coat | 50 to 80 dollars once you add a UV or LED lamp |
| Dry time | Air-dries, 10 to 20 minutes and stays soft longer | Cures hard under a lamp in 30 to 60 seconds |
| Ease of nail art | Harder; layers stay wet and smear each other | Easier; each cured layer is instantly solid |
| Beginner mistakes | Forgiving; wipe it off and start over anytime | Less forgiving; a cured mistake must be filed off |
| How long it lasts | About 5 to 7 days before chipping | About 2 to 3 weeks without chipping |
| Removal | Wipe off with acetone in under a minute | Soak in acetone and foil for 10 to 15 minutes |
| Damage risk | Very low; sits on top and wipes away | Comes from peeling it off, not from wearing it |
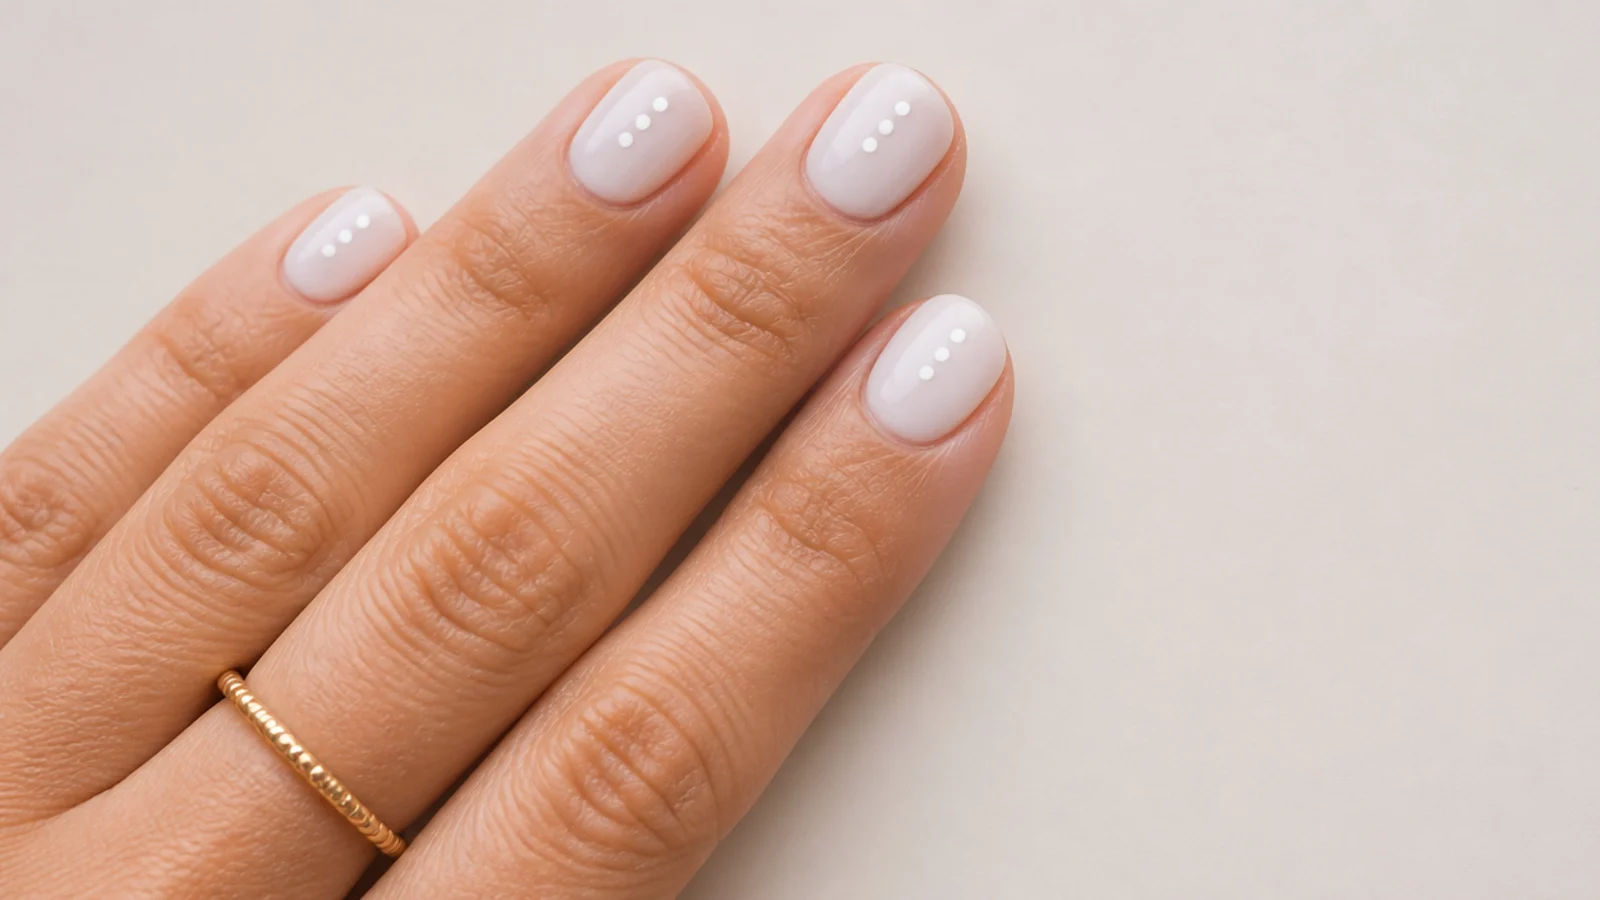
| Best design types | Single colors, dots and quick tape stripes | Chrome, cat-eye, glazed finishes and layered art |
| Best for | True beginners testing the water cheaply | Anyone wanting chrome, magnetic gel or long wear |
1. Prep, Shape and Push Back Your Cuticles
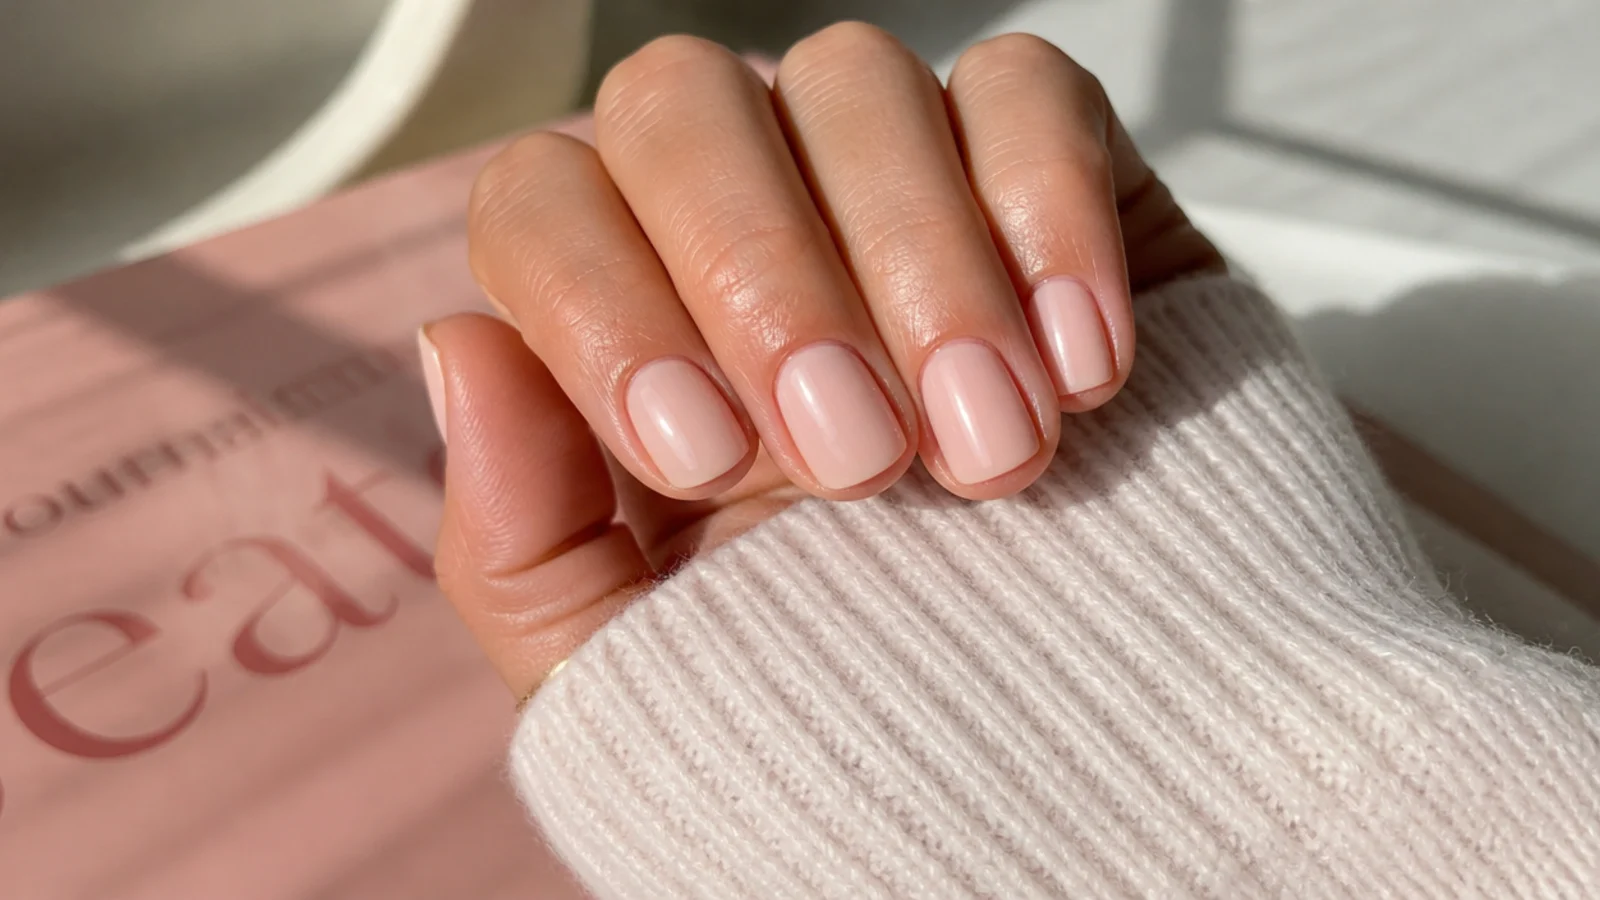
Remove any old polish, wash and dry your hands, then file all ten nails to one matching shape and length. File in one direction rather than sawing back and forth. Push the cuticles back gently with a wood stick so your polish has the full nail plate to sit on, and wipe each nail with acetone or alcohol to strip oil. Clean, oil-free nails are the single biggest reason a manicure lasts, and it is the step beginners skip most. Match the shape across both hands, not just within one.
Common mistake: Painting over natural nail oils, which makes polish bubble, peel and lift within a day.
Pro tip: File dry, never straight after a bath; wet nails are soft and tear instead of cutting clean.
2. Always Start With a Base Coat
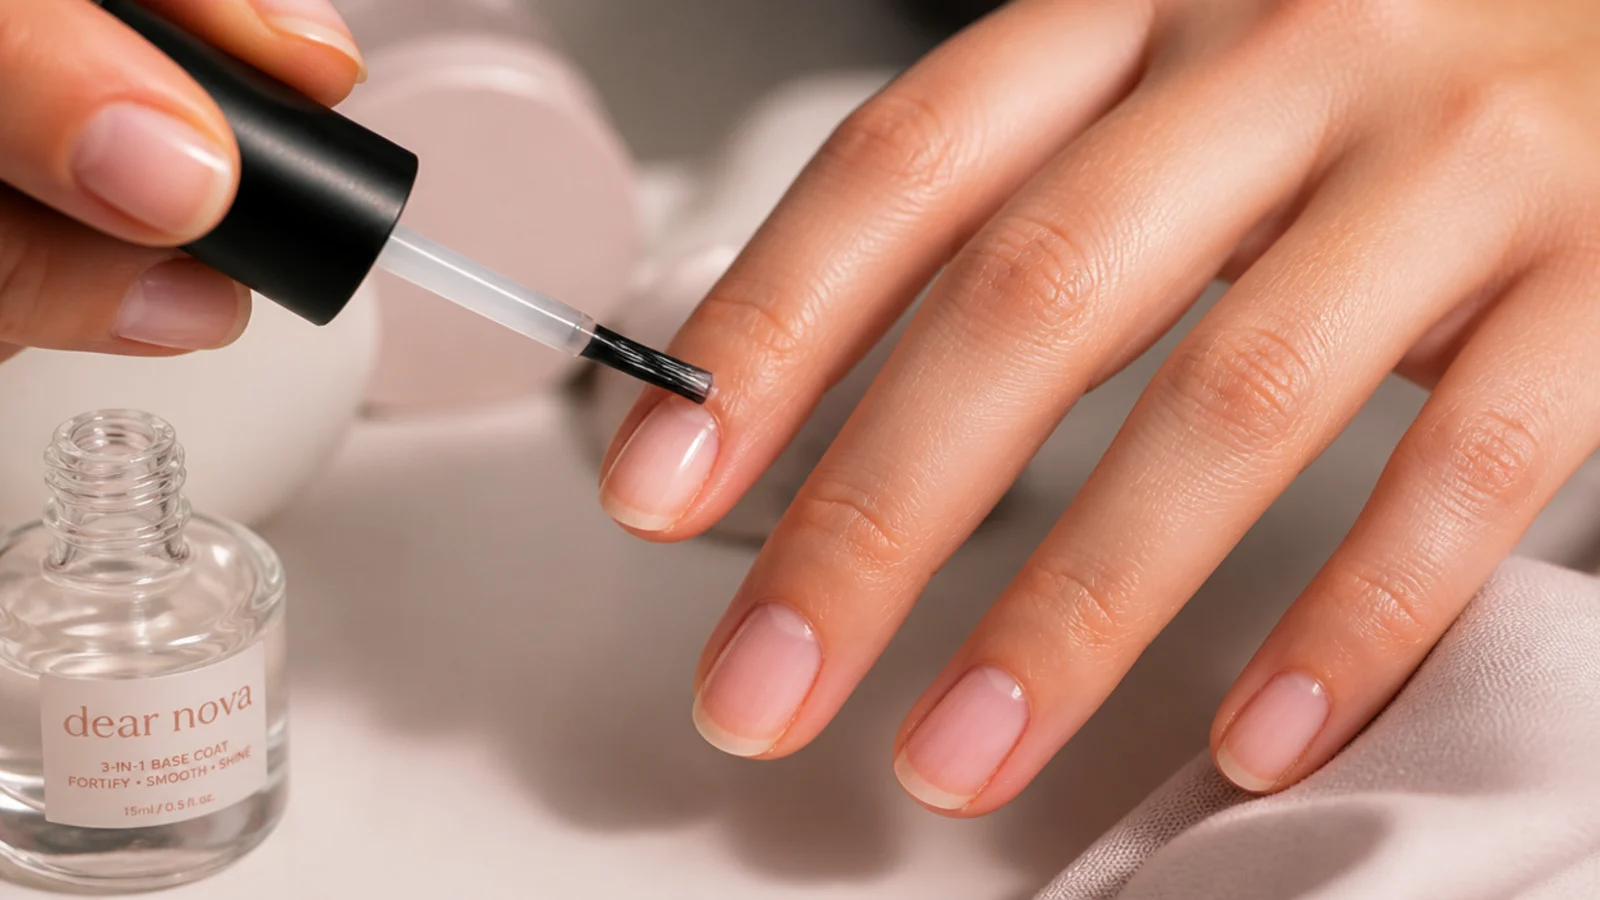
Brush on one thin coat of clear base coat and let it dry until it is no longer tacky, about two minutes. Base coat does two jobs beginners underrate: it grips the color so it lasts longer, and it stops dark and red pigments from staining your natural nail yellow. It also fills tiny ridges so color goes on smoother. Do not skip it to save time. One thin, even layer edge to edge is all you need before color.
Common mistake: Skipping base coat, then wondering why red or blue leaves a stain after removal.
Pro tip: A ridge-filling base coat doubles as a smoothing layer if your nails are naturally uneven.
3. Paint Two Thin Coats of Color
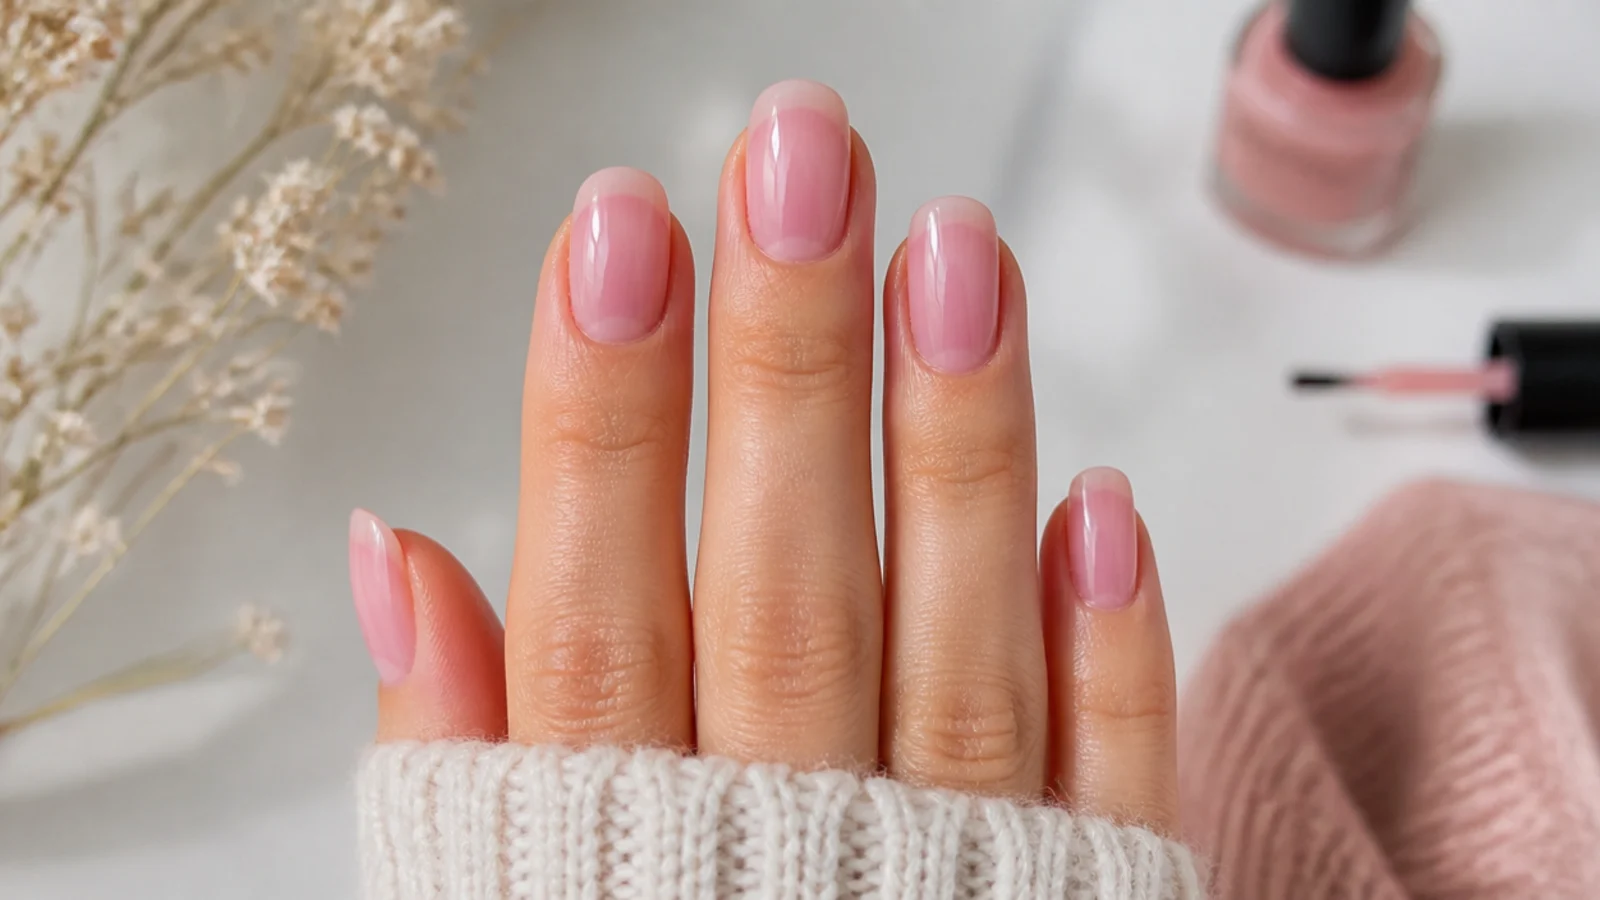
Wipe most of the polish off the brush on the bottle neck, then paint in three strokes: one down the center, then one on each side. Let the first coat dry a full two minutes, then add a second. Two thin coats always beat one thick coat, because thick polish never dries in the middle and that trapped wet layer is what dents and smudges hours later. The first coat can look streaky and patchy; the second evens it out, so resist the urge to overload it.
Common mistake: Loading one thick coat to get instant opacity, which stays soft and dents overnight.
Pro tip: If a shade needs three coats to cover, that is normal for sheers and pastels, so go thinner still.
4. Let the Base Color Dry Before Any Art
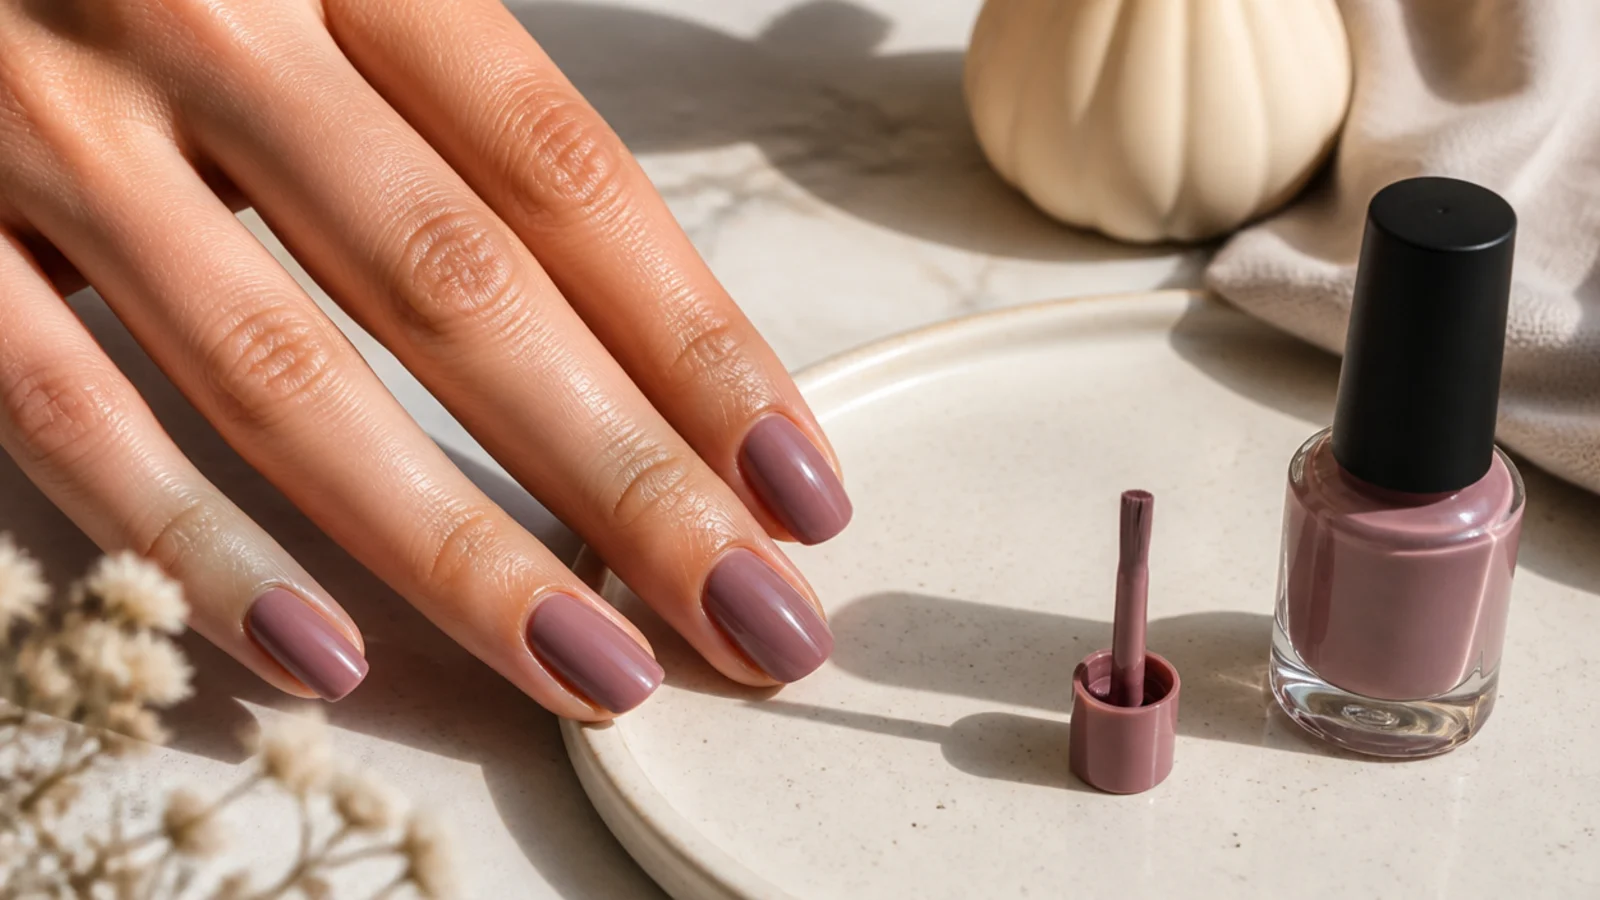
This is the step that separates clean nail art from smeared nail art: your base color must be completely dry, not just touch-dry, before you add dots, tape or lines. Give regular polish at least ten to fifteen minutes, longer for dark or thick colors. If you tape or press a sponge onto a base that is still soft underneath, it lifts and drags. Gel skips this because it cures hard under a lamp in seconds, which is why gel is easier for layered designs.
Common mistake: Laying tape or dotting onto a base that feels dry on top but is still soft underneath.
Pro tip: Press a knuckle gently to a painted nail; if it leaves a mark, the layers below are still wet.
5. Add Your Simple Design
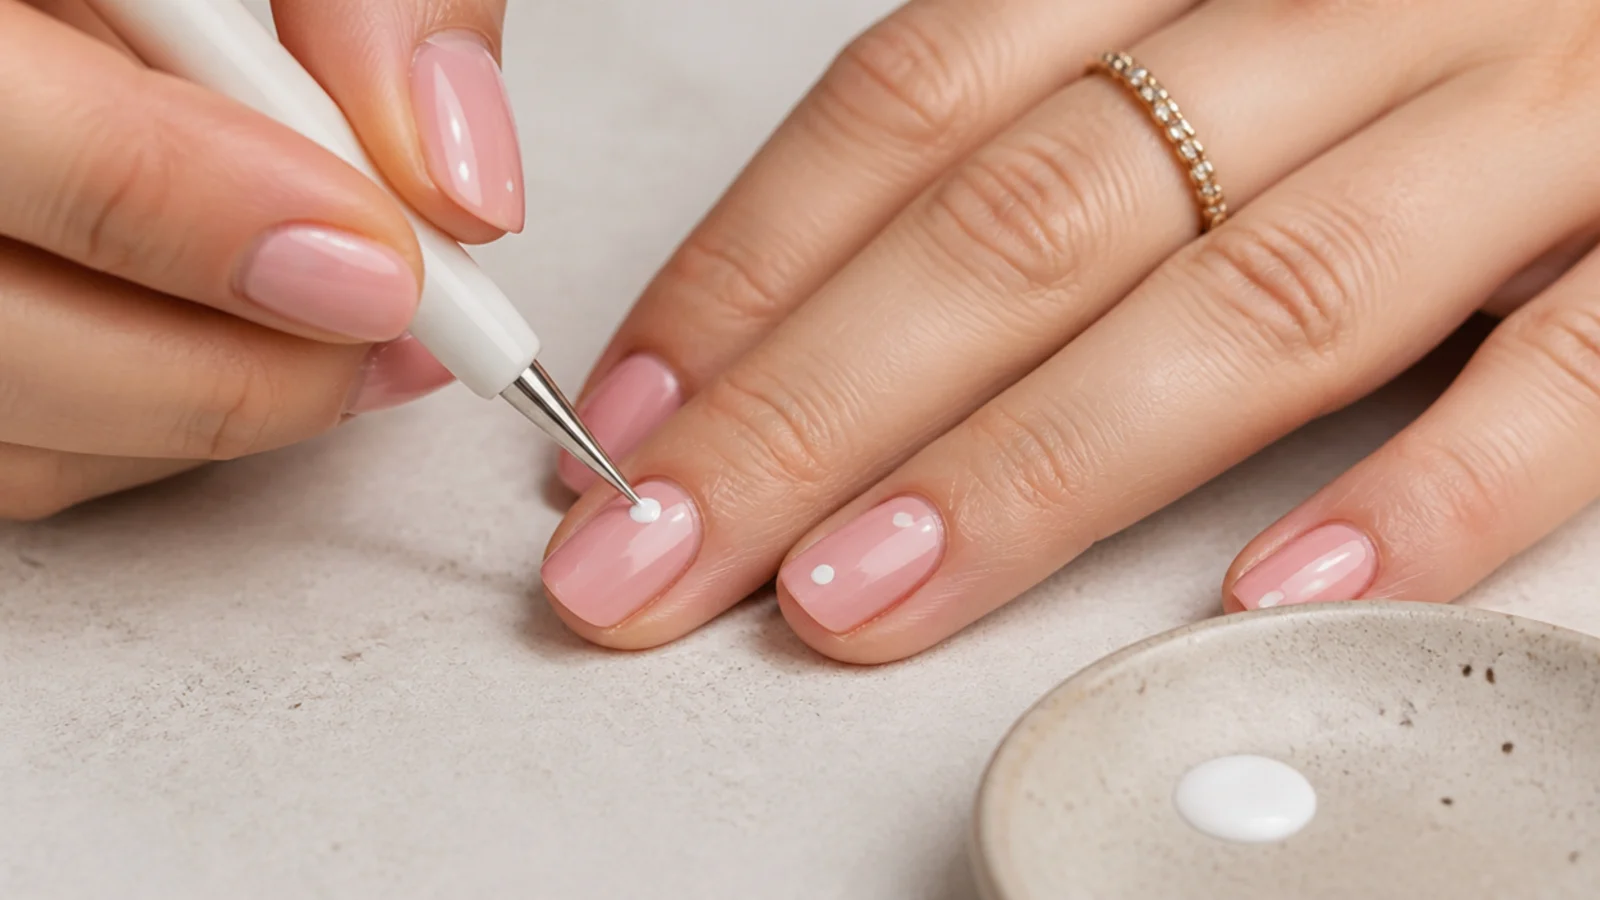
Now build one of the three beginner techniques. For dots, dip a dotting tool or bobby pin and re-dip after every single dot so they stay uniform. For stripes, lay striping tape on the dry base, paint over the gaps, and peel the tape while the paint is still wet. For a French or color block, use guide stickers or tape as your edge and paint only the exposed part. Keep art to one, two or three accent nails so a first attempt never looks overworked.
Common mistake: Covering all ten nails in art on a first try, which multiplies every small flaw by ten.
Pro tip: Peel tape while wet and pull it back over itself, not straight up, for the crispest edge.
6. Clean Up the Edges With a Brush
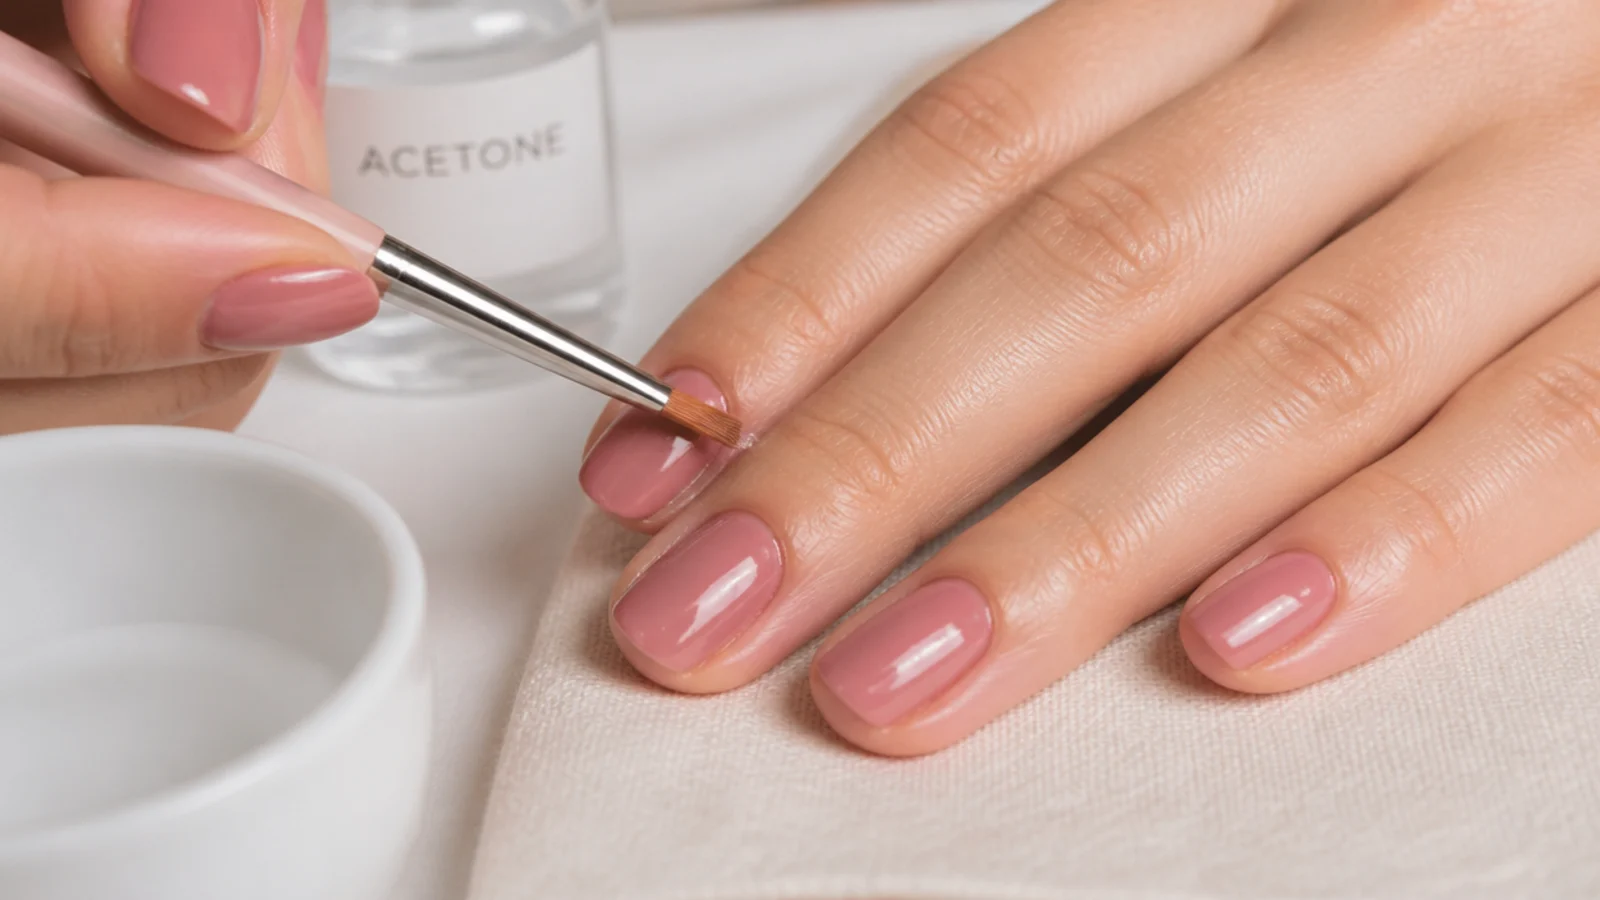
Dip a small flat or angled brush in 100 percent acetone and run it around the cuticle and sidewalls to erase any polish that flooded onto the skin. This one move is what makes a home manicure look salon-done, and it is far more precise than a cotton wipe. An old eyeliner brush or a cheap nail-art brush works. Tidy edges read as skill more than the design itself does, so do not rush this. Reload the brush with acetone as it dries out.
Common mistake: Trying to fix flooded edges with a cotton bud, which drags fibers into the wet polish.
Pro tip: Wait until the polish has set slightly; cleaning up truly wet polish just smears it wider.
7. Seal With Top Coat and Wrap the Tips
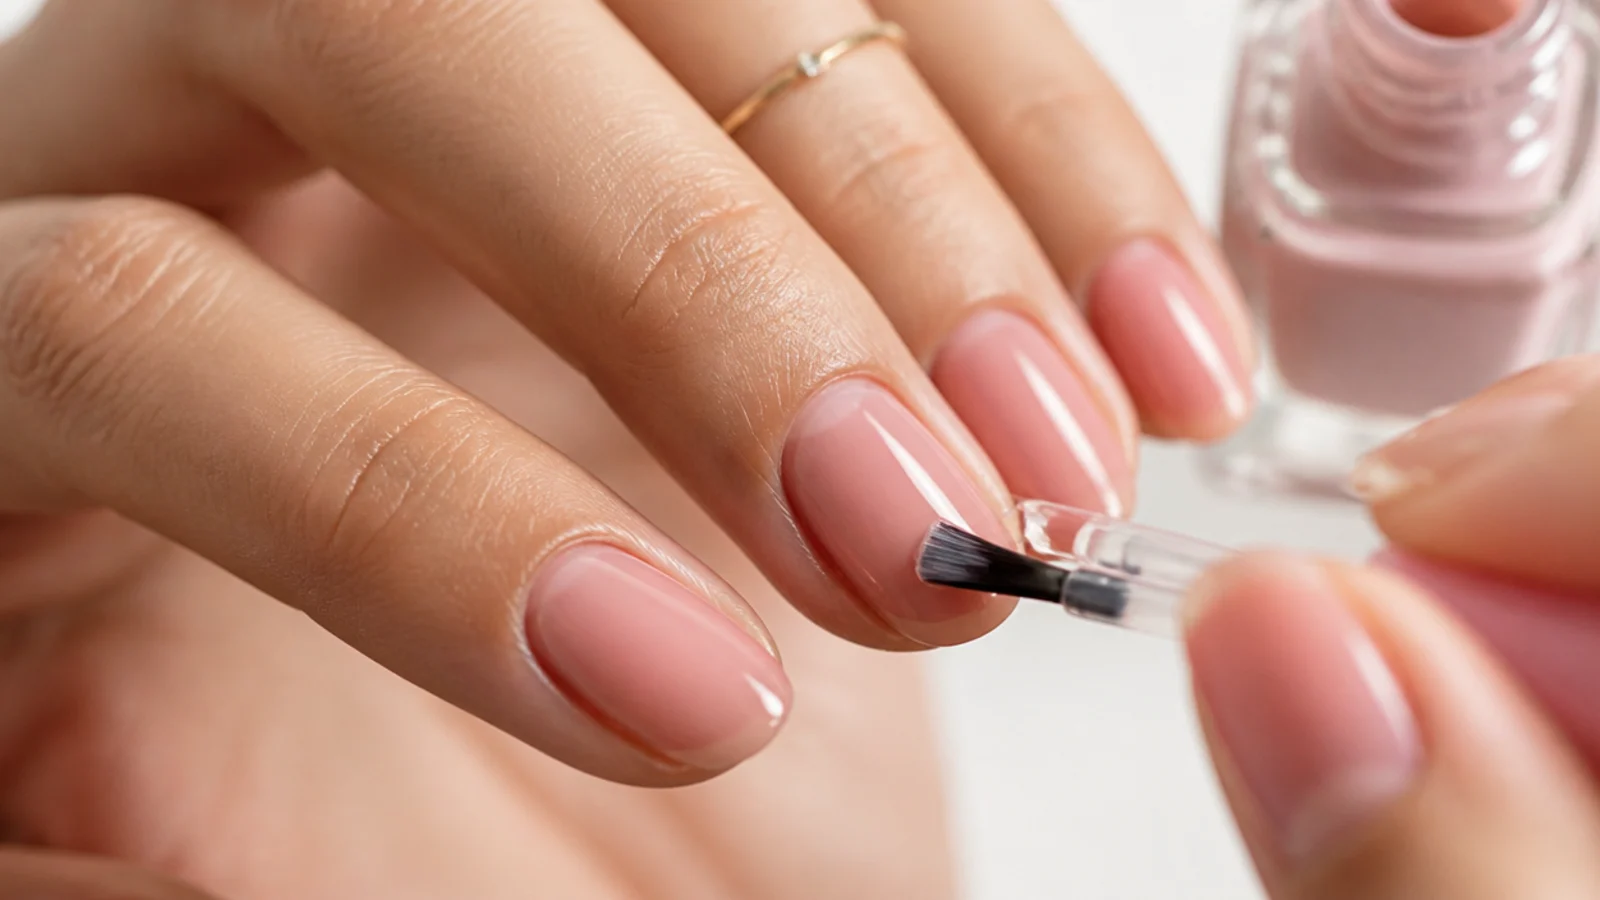
Finish with one coat of top coat over the whole nail, and drag the brush along the very tip edge, called capping or wrapping the tip. Sealing the free edge is what stops polish chipping and peeling there first. A glossy top coat also fuses your dots, stripes and base into one smooth surface so nothing catches. For a flat finish, use a matte top coat instead. Give the top coat its own drying time before you touch anything, ideally twenty minutes.
Common mistake: Not capping the tips, so the manicure chips at the free edge within a day or two.
Pro tip: Reapply a fresh top coat every two or three days to add days of wear to any manicure.
What Are the Easiest Nail Designs to Do at Home?
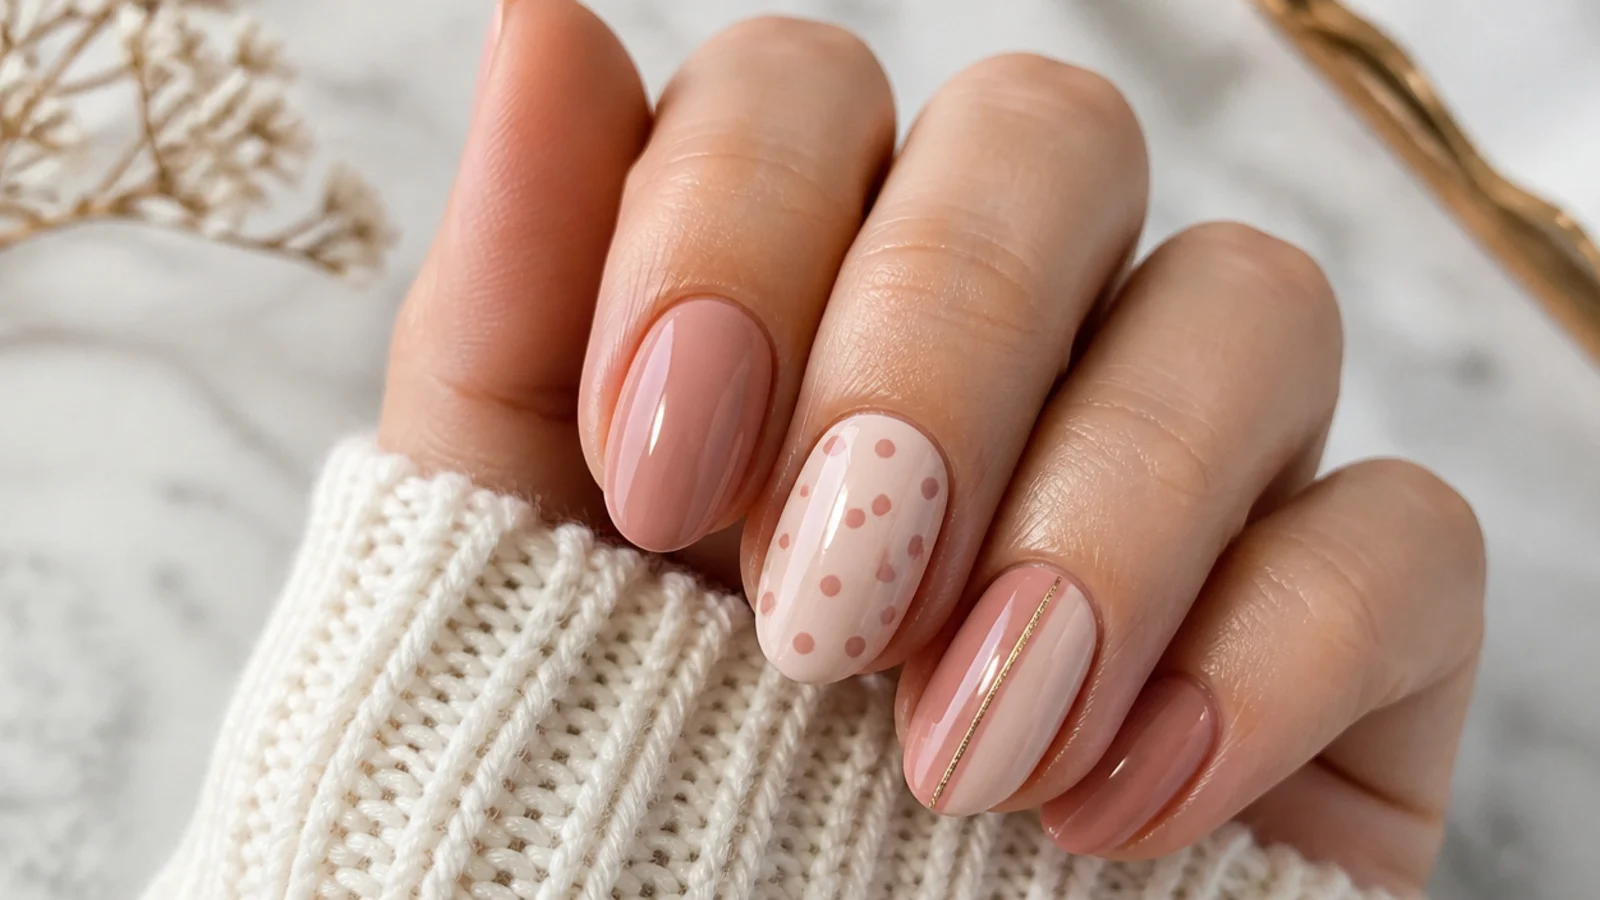
The easiest designs all avoid freehand painting, because a steady drawing hand is the one skill beginners do not have yet. Three techniques carry almost everything on this list. A single color done in two thin coats is the true starting point, since it teaches brush control with nothing to line up. Dots come next: a dotting tool or a bobby pin makes perfectly round shapes with zero drawing, and you re-dip for each one so they stay even. Tape stripes are the third, letting you lay down straight lines and sharp edges that no beginner could paint by hand, then peel the tape while wet. Everything harder, like ombre or checkerboard, is just these basics combined. If you start with a clean single color and layer on dots and tape from there, you will cover the vast majority of simple nail art without ever needing to freehand a line. More quiet, easy looks live in nail design ideas.
The Beginner Nail Tool Kit: What You Actually Need
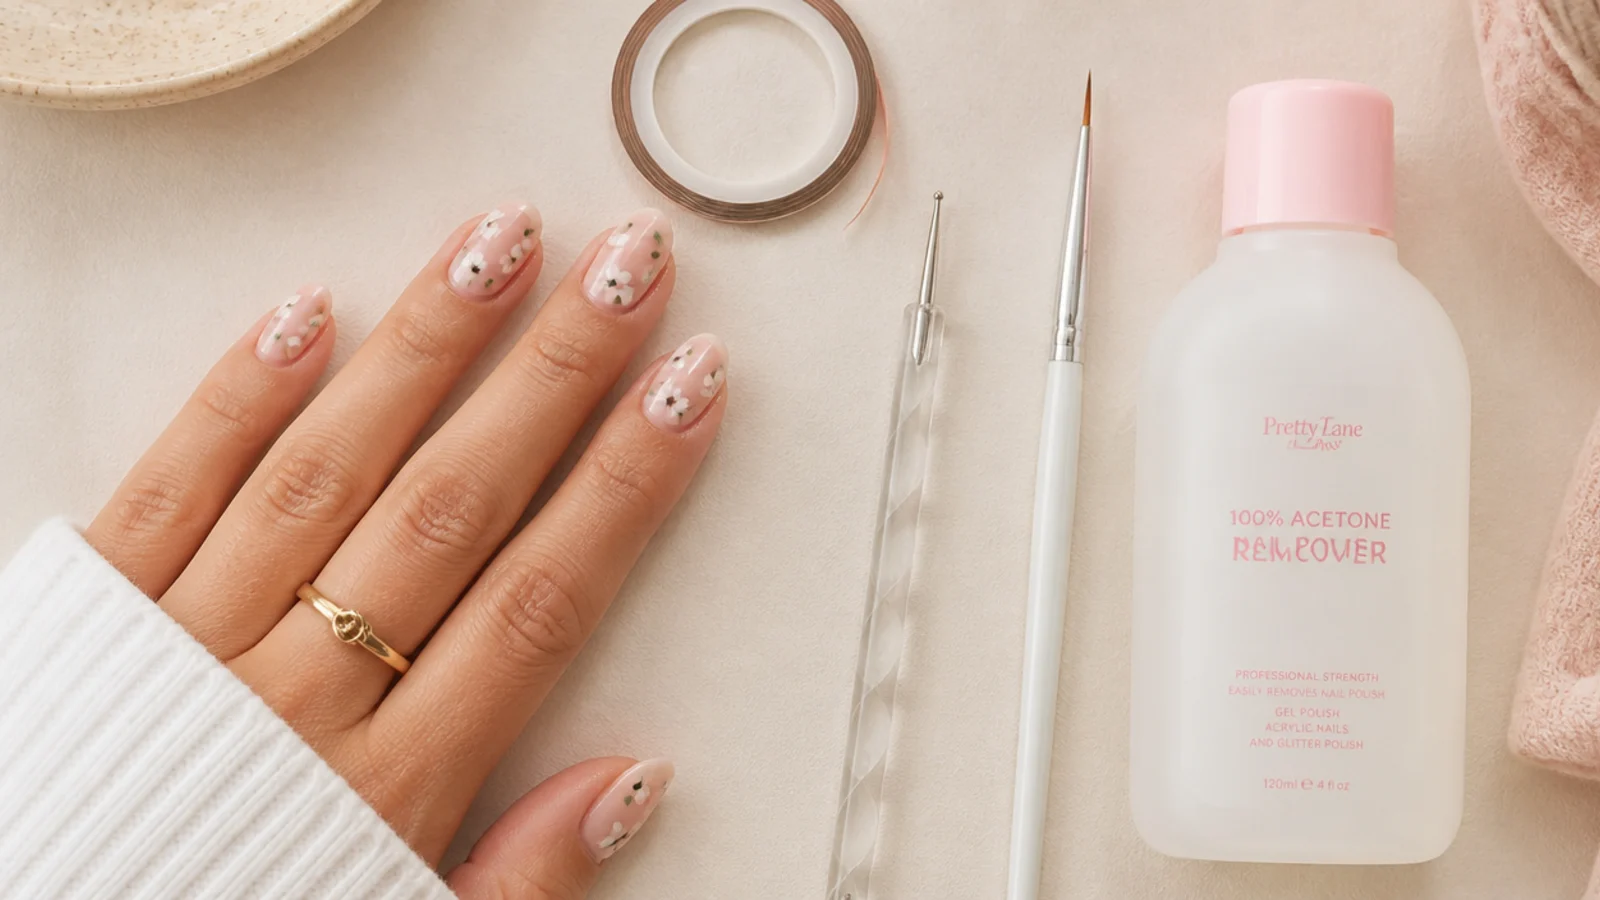
You need far less than a nail-supply store wants to sell you. The non-negotiables are a clear base coat, a glossy top coat, a nail file, and 100 percent acetone with a small brush for cleanup. For art, one double-ended dotting tool and a roll of striping tape cover most of these 30 designs, and a bobby pin substitutes for the dotting tool in a pinch. Add a thin striping brush for lines and a makeup sponge for gradients. That is a complete kit for under 30 dollars. French guide stickers are worth a few dollars if you love the tip look, and they come bundled in French tip nail kits for beginners. Only step up to a gel lamp, powders and no-wipe top coat once you want chrome, cat-eye or glazed finishes, since those genuinely need curing. Pre-curated beginner sets are compared in cute nail kits for beginners. Skip the drill entirely; you do not need one.
What Are Rich Girl Nails?
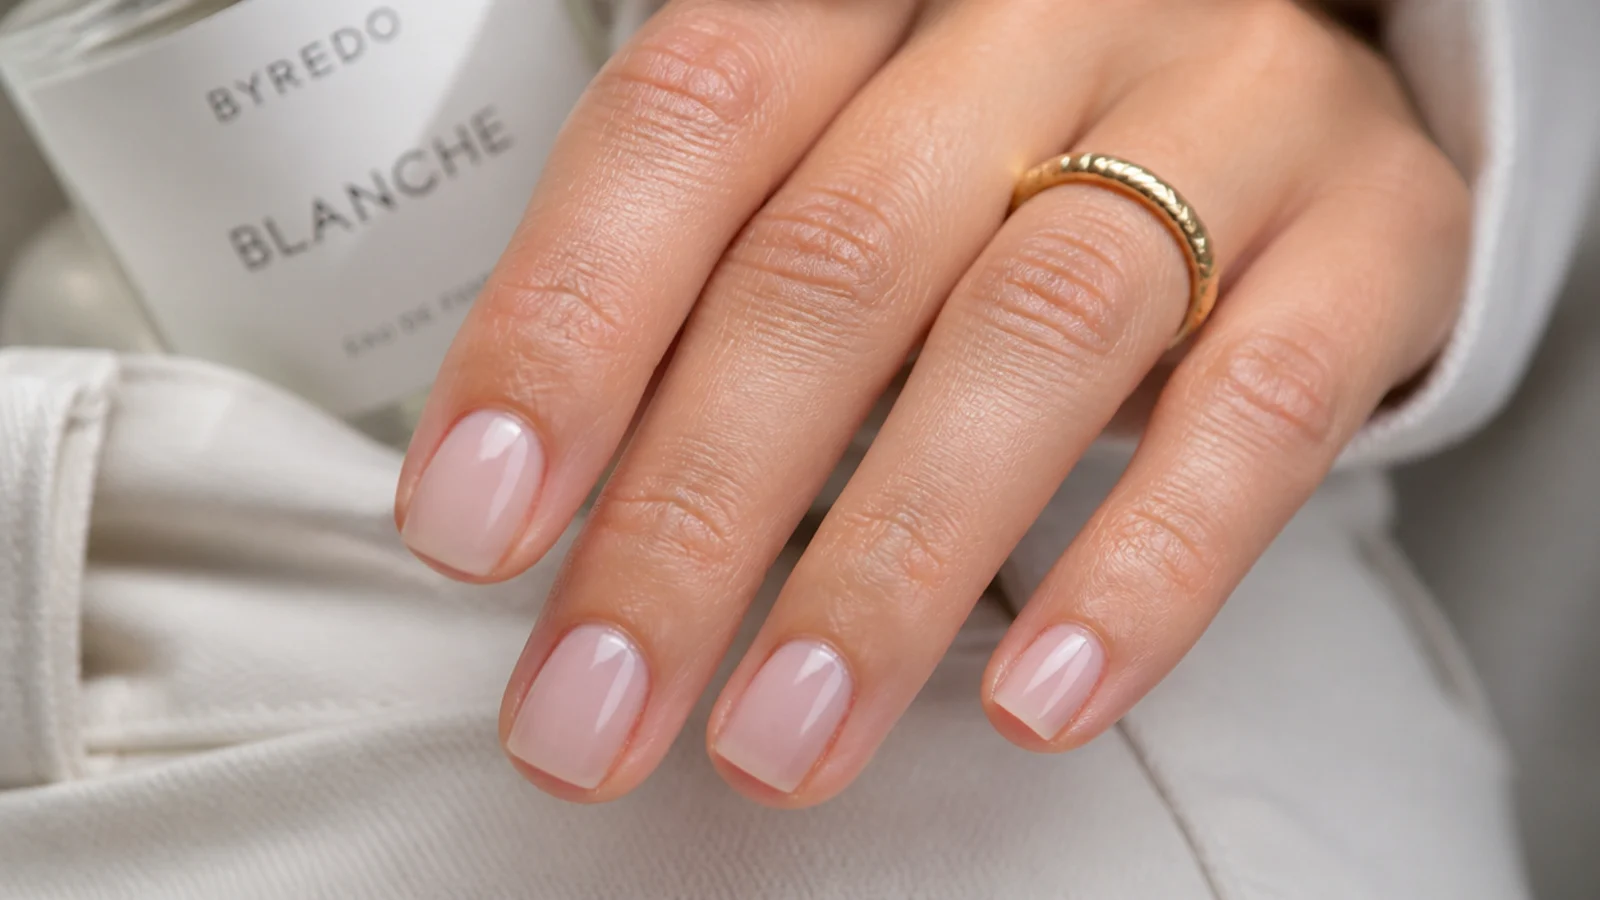
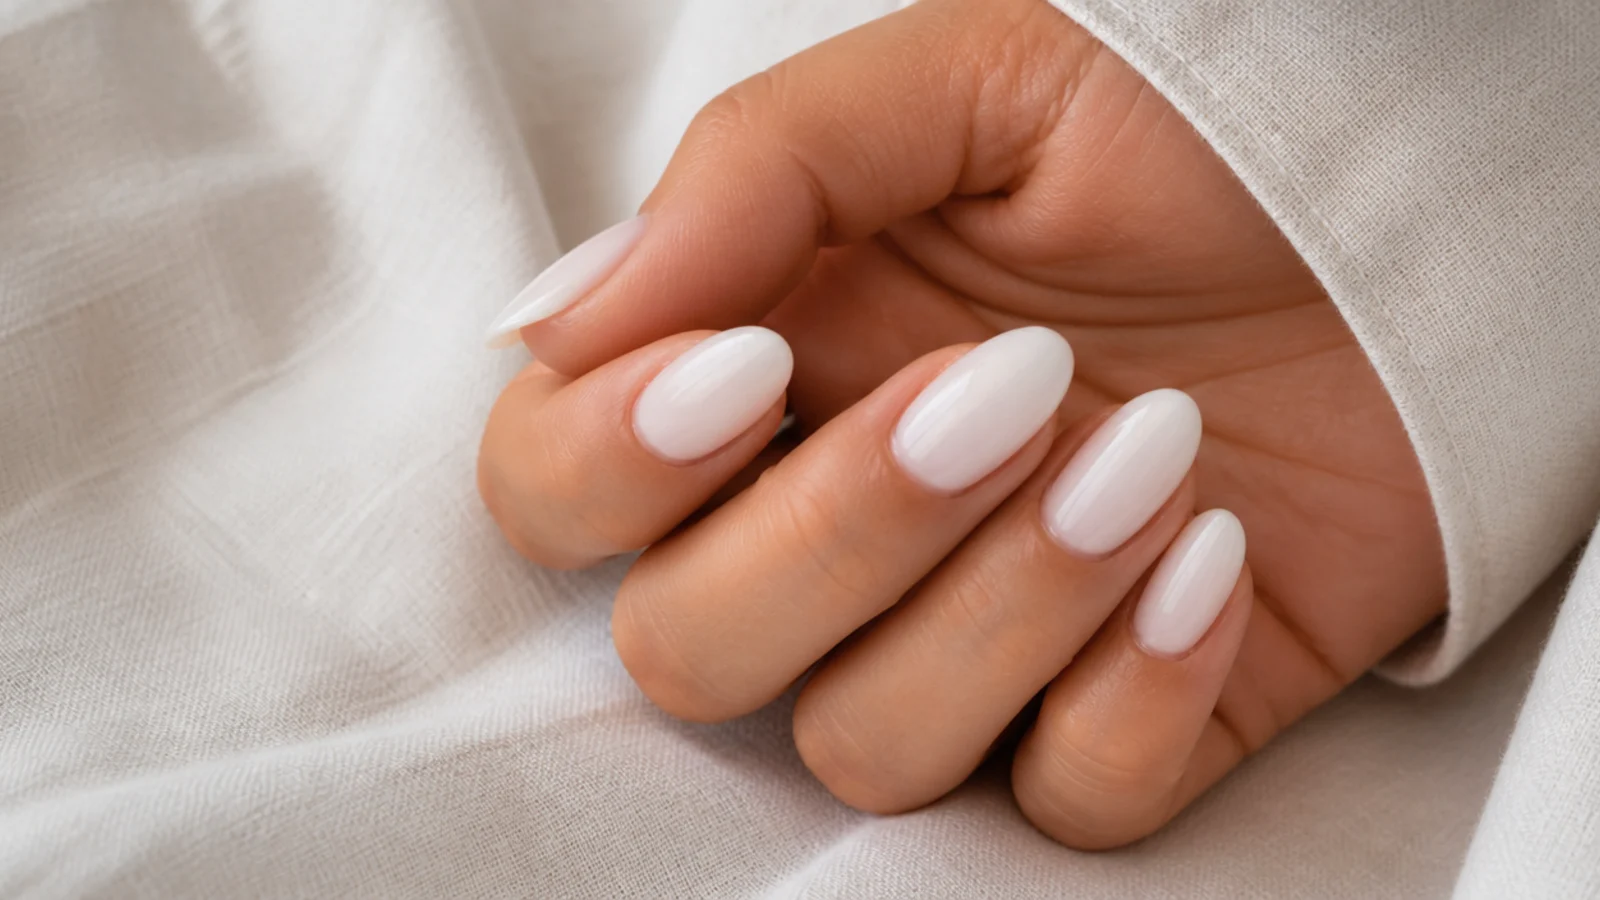
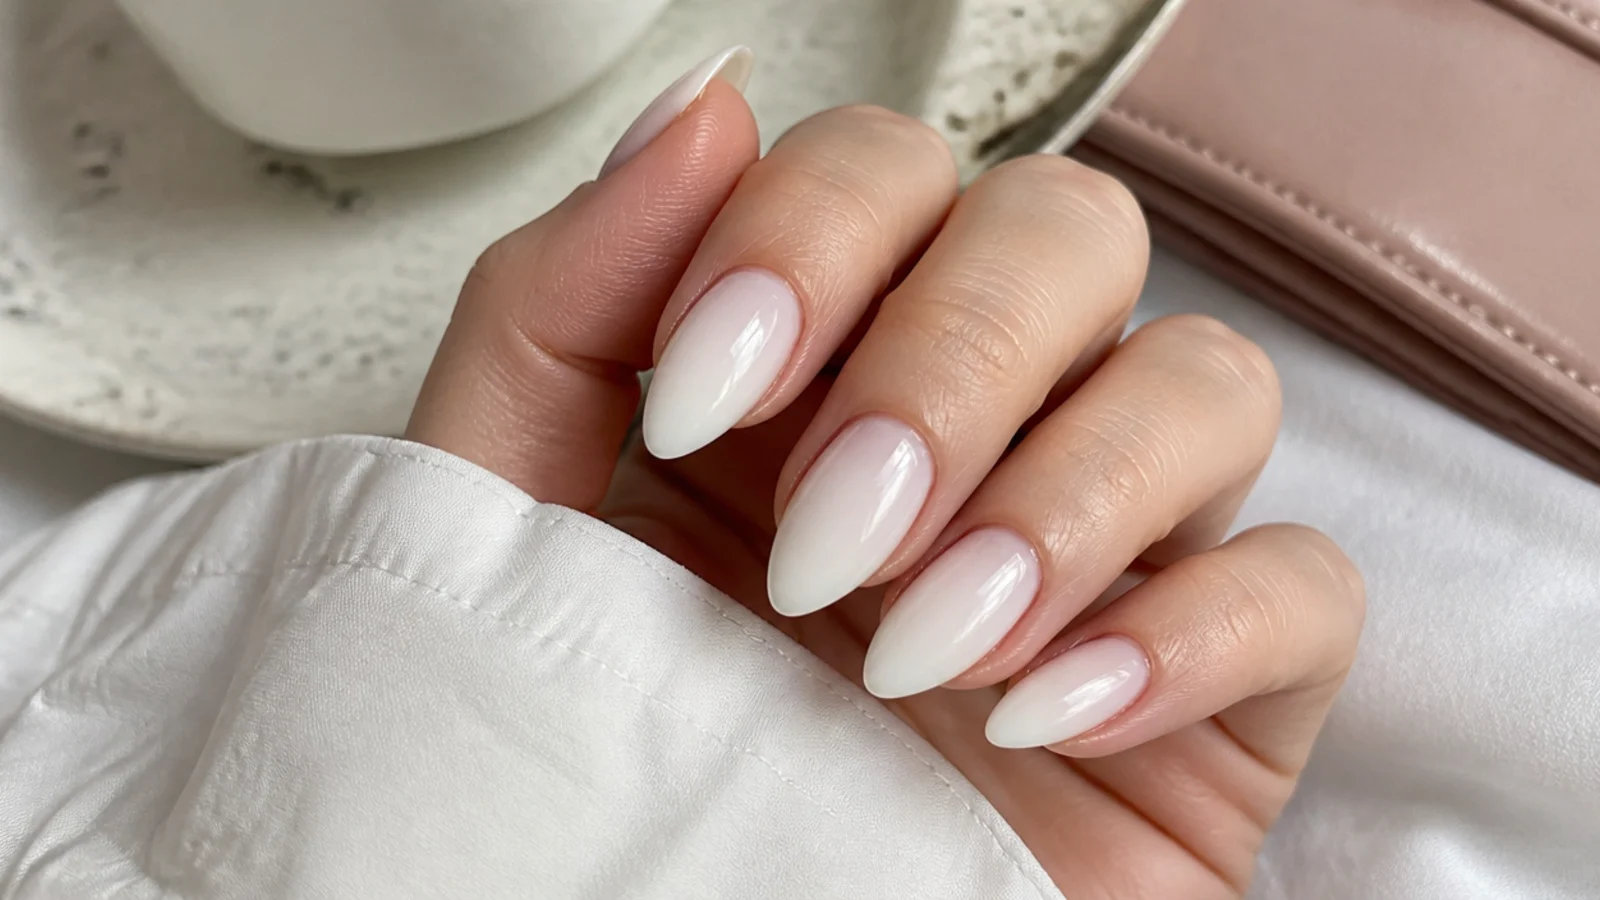
Rich girl nails, sometimes called clean-girl or quiet-luxury nails, describe an expensive-looking manicure that is actually one of the simplest to do: a sheer milky nude or soft pink, applied over immaculately groomed nails, with a high-gloss finish and nothing else. The look is not about art, it is about grooming. What signals money is the detail around the color: perfectly pushed-back cuticles, oiled skin, a smooth even coat with no streaks, and a shape that matches on all ten nails. Shades like OPI Bubble Bath, Essie Sugar Daddy or a your-nails-but-better beige are the usual picks. Because there is no design to mess up, it is genuinely one of the best looks for a beginner to nail, as long as you spend your effort on cleanup and cuticle oil rather than color. It works at short length, which makes it practical too. The same polished, understated idea runs through classy nude nails for any occasion.
Trendy Short Nail Ideas for 2026
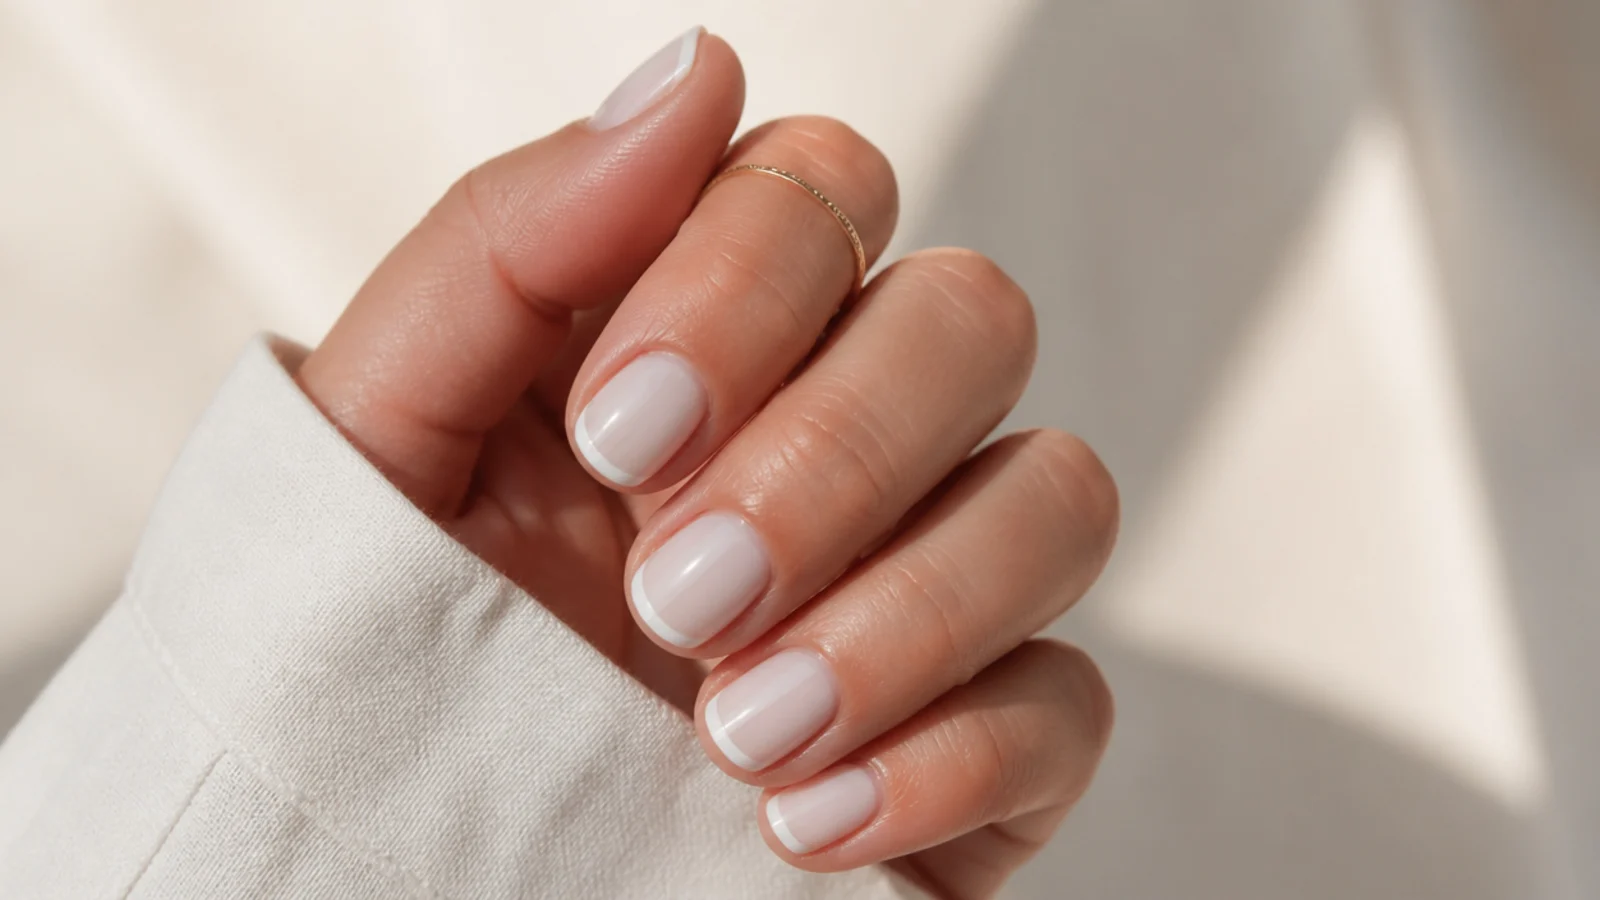
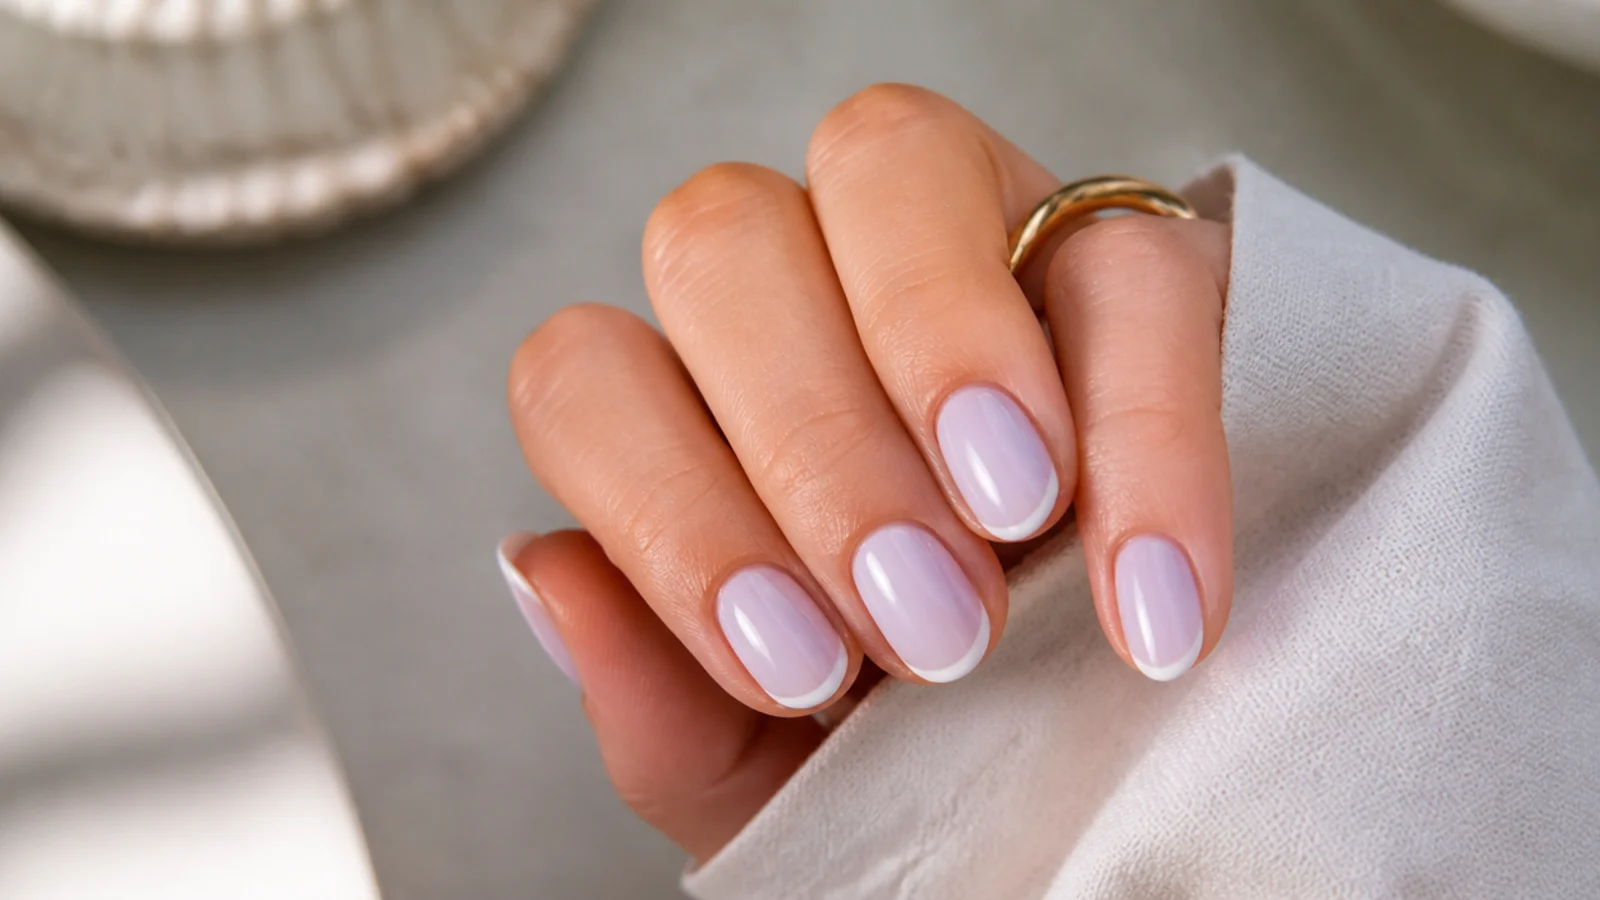
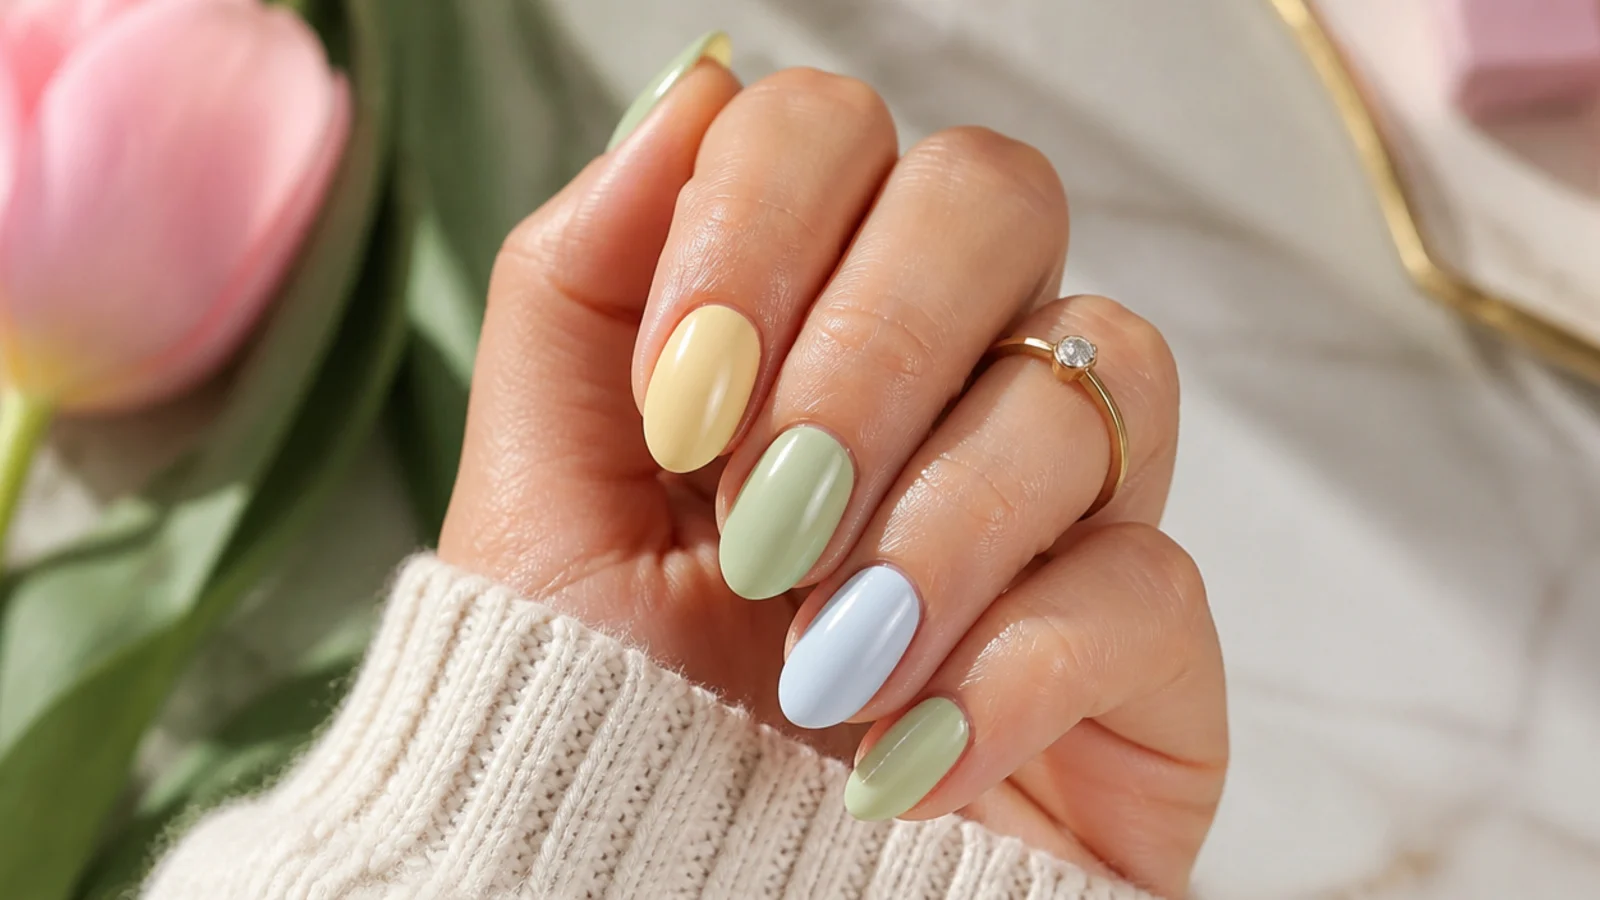
Short nails are having a moment, and the 2026 looks are all beginner-friendly because there is less surface to keep neat. Micro French tips, the hairline version rather than the thick classic band, are the defining short-nail trend and read modern and expensive. Milky and sheer washes in white, pink and peach suit short nails because they stretch the finger instead of cutting it with contrast. Negative space, where most of the nail stays bare with one thin line or small shape, looks intentional on short nails and grows out gracefully. Chrome and glazed accents on one or two nails add shine without art. What is out is anything that needs length to read, like long hand-painted scenes. For a whole gallery built for this length, see simple short nail ideas for everyday and short nail ideas that look expensive. Pastels lead the color story, covered in pastel nail designs for spring.
What Goes Wrong: Fixing Smudges, Streaks and Thick Polish
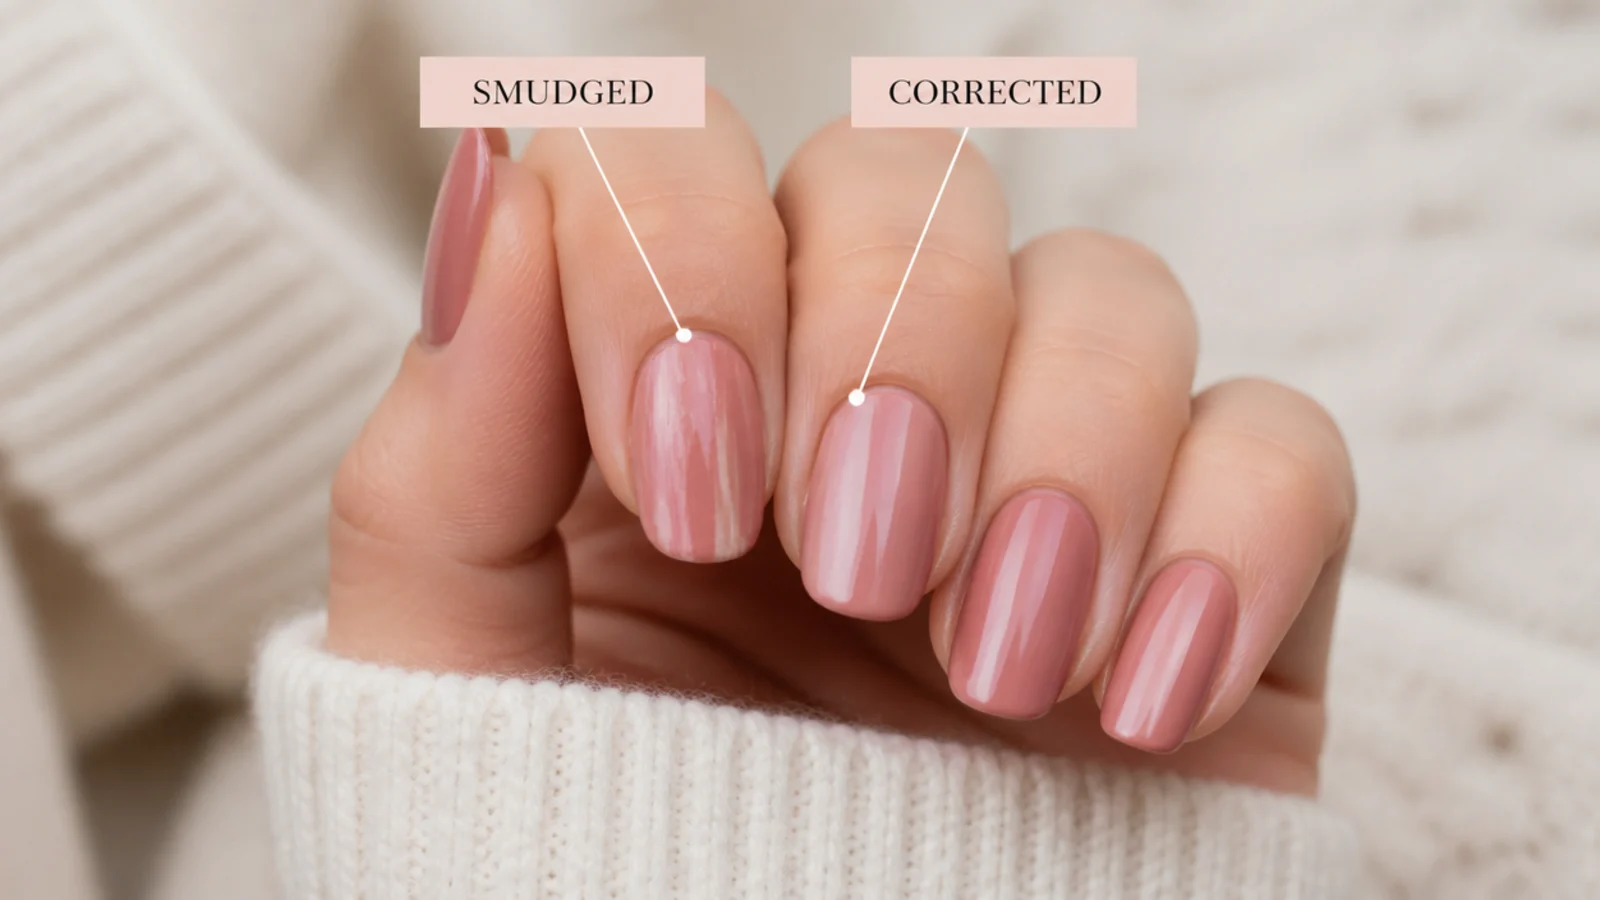
Four things go wrong for beginners, and each has a cause and a fix. Smudging hours after painting means your coats were too thick and stayed soft underneath, so paint thinner and wait longer between coats. Streaky color, most common with reds and pastels, means either not enough coats or dragging the brush back over half-set polish, so add a thin third coat and never rework a drying one. Thick, gloopy polish that will not lie flat means the bottle has thickened, so add a few drops of polish thinner, never acetone, which ruins it. Polish that floods the cuticle is fixed after the fact with a small brush dipped in acetone, run around the edges. Dents and dings within an hour almost always trace back to one coat that was too thick. When a whole nail goes wrong, it is faster to wipe that one nail and repaint it than to patch it. The same care applies to matte, and its specific pitfalls are in matte nails mistakes.
Frequently Asked Questions
What are the easiest nail designs to do at home?
The three easiest are a single color painted in two thin coats, polka dots made with a dotting tool or bobby pin, and stripes laid down with striping tape. None require freehand drawing. Dots stay uniform because you re-dip for each one, and tape gives you straight lines and sharp edges you could never paint by hand as a beginner.
What are some trendy short nail ideas for 2026?
Micro French tips, the hairline version rather than the thick classic band, are the defining short-nail look for 2026. Milky and sheer washes in white, pink and peach stretch the finger, and negative space with one thin line reads modern and grows out gracefully. Small chrome or glazed accents add shine without needing any art skill.
What are rich girl nails?
Rich girl nails are a sheer milky nude or soft pink over immaculately groomed nails with a high-gloss finish and no design at all. The expensive look comes from pushed-back cuticles, oiled skin and a smooth streak-free coat, not from art. Shades like OPI Bubble Bath or Essie Sugar Daddy are typical, and it works well at short length.
How do you make nail dots without a dotting tool?
Use the rounded head of a bobby pin, the end of a hairpin, or a toothpick for tinier dots. Dip it in polish, press straight down onto a dry base, and re-dip before every dot so they all stay the same size. A bobby pin makes an identical dot to a store-bought dotting tool, so you do not need to buy anything.
Why does my nail polish keep smudging after it dries?
Because the coats were too thick. Polish dries from the top down, so a thick layer looks dry on the surface while staying soft underneath, and that soft layer smudges or dents hours later. Paint two or three thin coats instead of one thick one, wait two minutes between each, and cap the tips with top coat to seal everything.
How long should nail polish dry between coats?
Give each coat of regular polish at least two minutes, and let the full color dry ten to fifteen minutes before adding tape, dots or a top coat. Dark and thick shades need longer. If a knuckle pressed gently to the nail leaves a mark, the layers underneath are still wet, so wait before you touch or layer anything on top.
Do you really need a base coat and a top coat?
Yes, both earn their place. Base coat grips the color so it lasts longer and stops dark or red pigments from staining your nail yellow. Top coat seals the design, adds gloss and, when you cap the free edge with it, stops chipping at the tip. Skipping either is the fastest way to a manicure that peels within a day.
What's in style for nails right now?
Quiet, groomed looks lead: milky nudes and rich girl nails, hairline micro French tips, and negative-space designs with one thin line. Glazed-donut chrome and cat-eye magnetic gel are the shiny trend picks, and pastels drive the color story. Short nails are firmly in style, which is good news for beginners since short lengths are the easiest to keep neat.
How do you fix streaky nail polish?
Streaks usually mean too few coats or reworking polish that has started to set. Add one more thin coat and let it self-level rather than brushing back over a drying layer. If the polish itself is thick and streaky, add a couple of drops of polish thinner, never acetone. Sheer and pastel shades naturally need a third thin coat for even color.
Acetone, dotting tools and nail files should be used carefully and as directed. Stop if you notice pain, splitting or irritation, and see a licensed nail technician for enhancements or removal.
Which nail design ideas 2026 look are you saving?
If you only take one thing from these 30 designs, make it the two-thin-coats rule: thick polish never dries in the middle, and that trapped wet layer is what smudges an hour later and dents overnight. Master a clean milky nude or a single red first, then add dots, then tape stripes, and you will have covered most of what people call nail art. Keep a small brush and a bottle of acetone next to you for cleanup, because tidy edges read as skill more than any design does. When you want your next step up, try a full set of white nail design ideas or browse the whole nail design ideas 2026 hub.