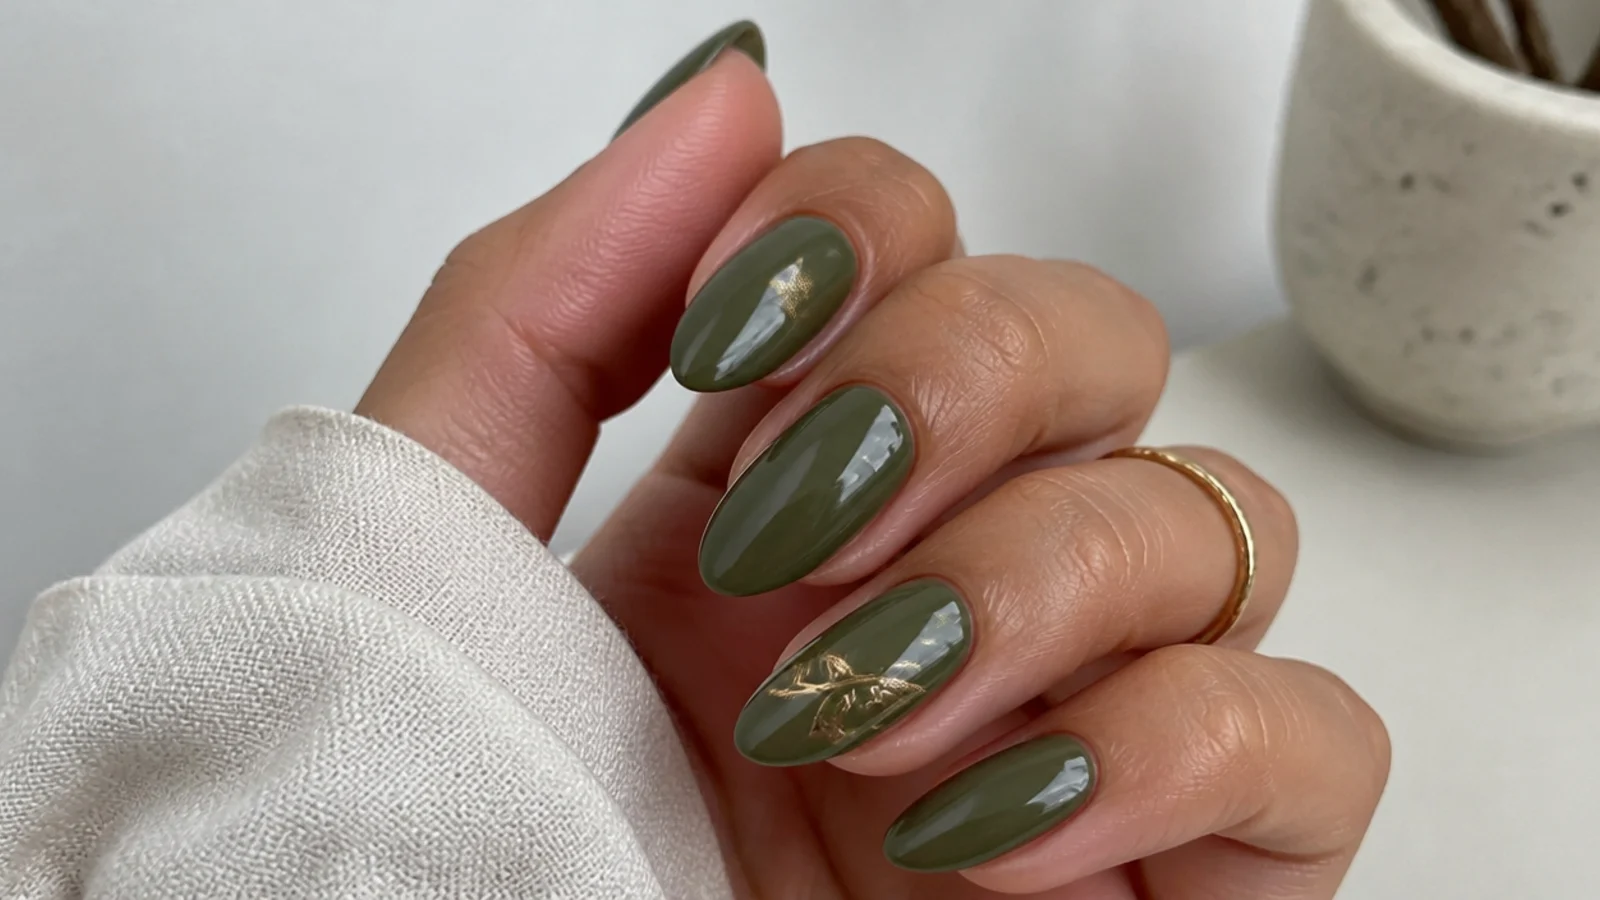
1. Prep and Shape Your Nails
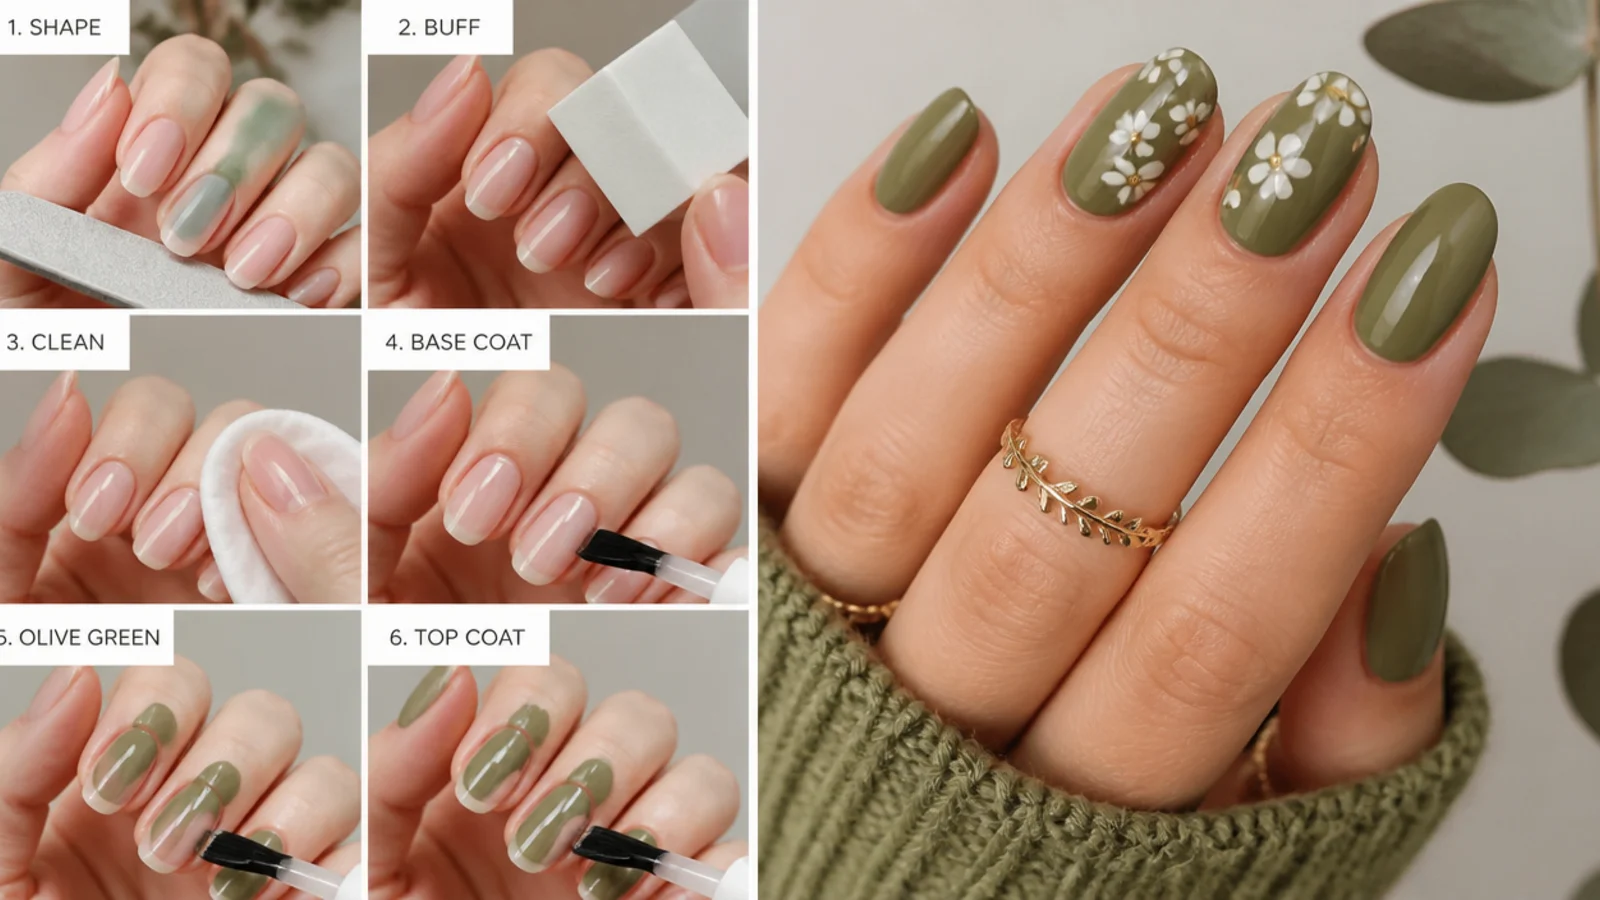
Start with clean, dry nails. Push back the cuticles, lightly buff the surface to a matte finish so gel grips, shape the free edge - almond and squoval flatter olive best - and wipe with a lint-free wipe and cleanser or alcohol so no oils remain. Good prep is what keeps a gel set from lifting or peeling early, and a smooth surface lets a muted color like olive stay even and rich.
Common mistake: Leaving oils or cuticle on the nail causes lifting and early chips - always cleanse before you start.
Pro tip: Almond and squoval elongate the finger and suit olive's earthy, elegant vibe; squoval is the safe universal shape.
2. Match Your Olive Shade to Your Skin Tone
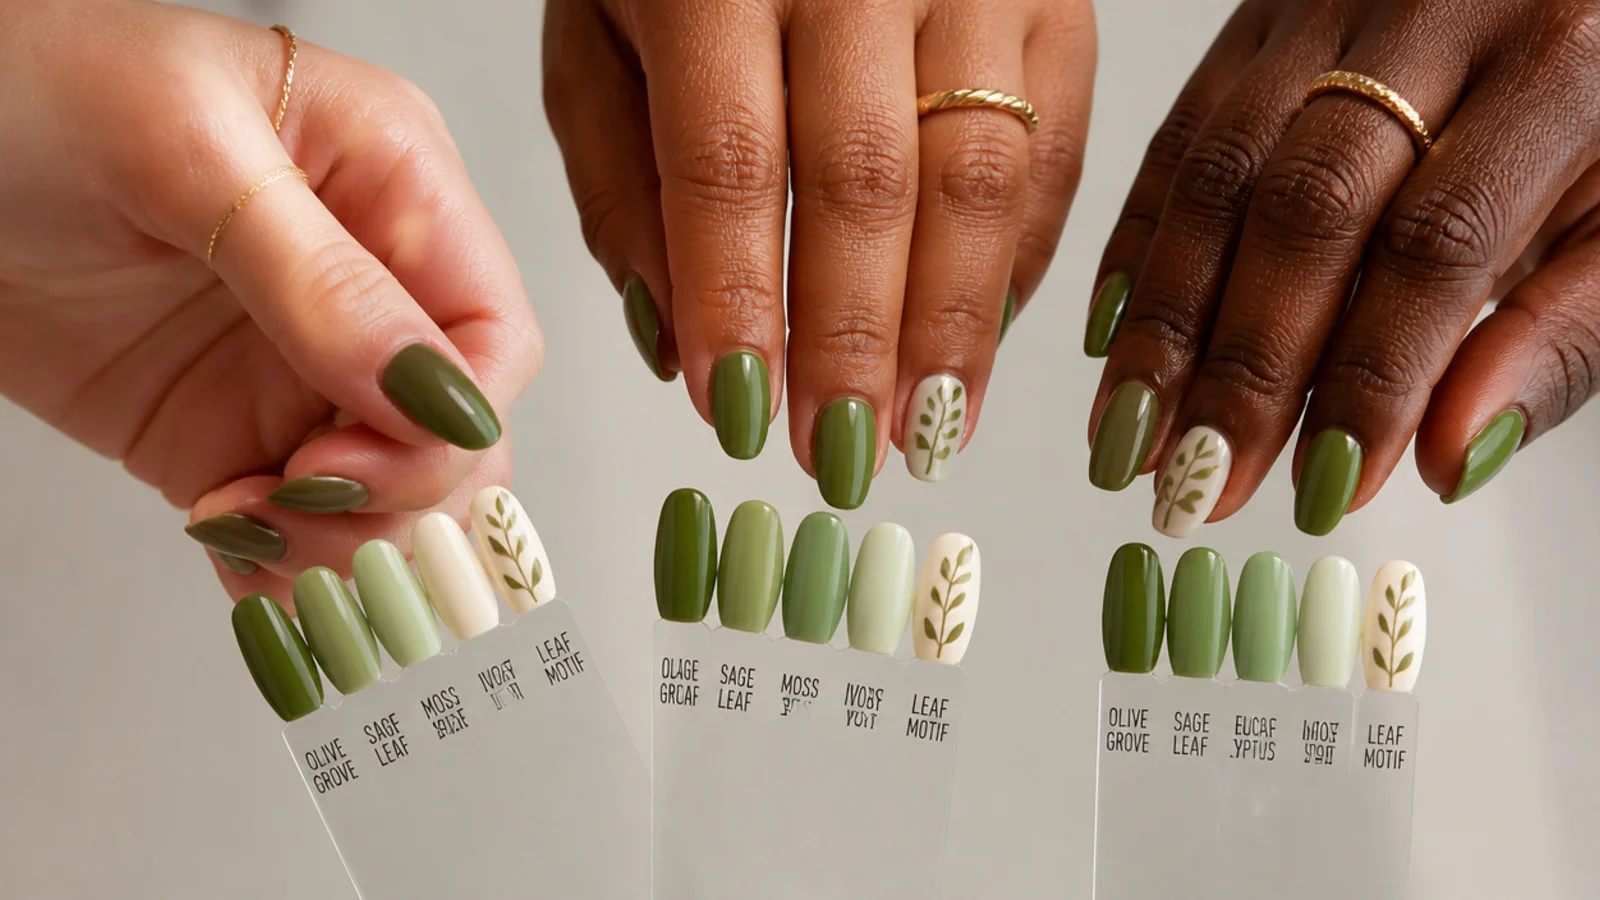
Choose your olive by undertone before you paint. Warm and tan skin looks best in a rich, golden-leaning olive that echoes its own warmth. Fair skin wears a lighter, grayed olive so the color does not overpower. Deep skin can carry a saturated, true olive that pops against the skin. Swatch a stripe on a nail or paper and hold it near your wrist in daylight - the right olive makes your skin look warmer and healthier, not sallow.
Common mistake: Grabbing the first green bottle without swatching often lands too bright or too yellow for your undertone.
Pro tip: If a swatch makes your skin look green or tired, gray it down a step; if it looks flat, add warmth with a touch of brown.
3. Apply Base Coat and Cure
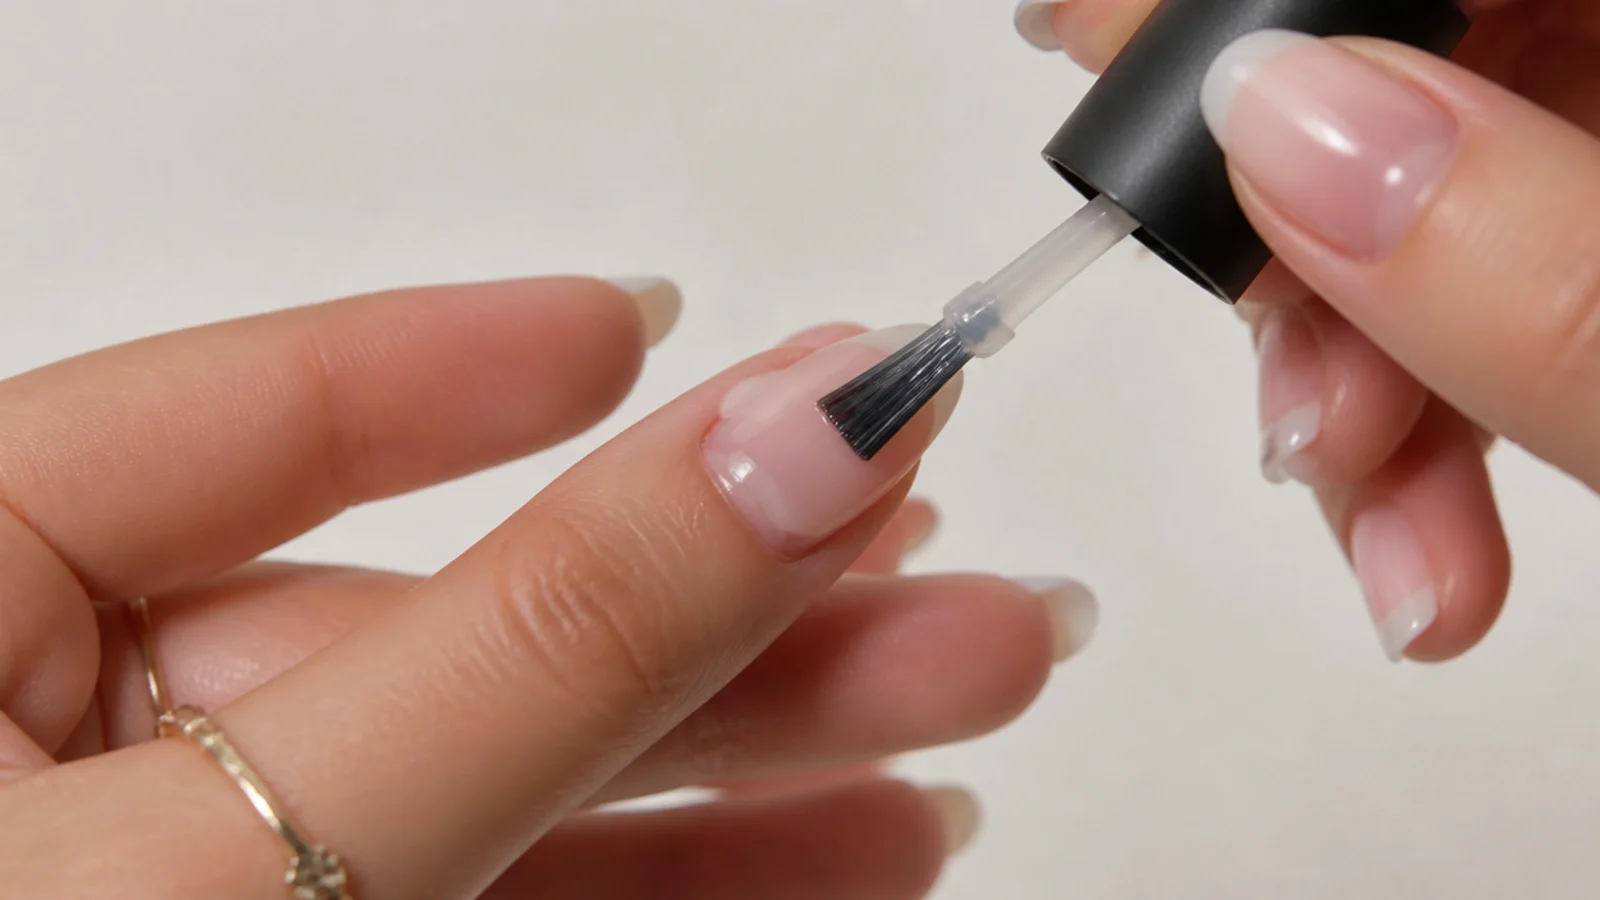
Brush on a thin, even gel base coat and cap the free edge by running the brush along the tip. Cure under your lamp as directed, typically about 30 to 60 seconds under LED or roughly 2 minutes under UV. The base coat protects your natural nail, prevents staining from pigment-heavy greens, and gives the olive color something to hold onto so it does not lift.
Common mistake: Skipping the base coat lets green pigment stain the nail and leaves a weak foundation that chips.
Pro tip: A quality base coat is the single best product for preventing damage, lifting and green staining.
4. Mix and Paint Your First Olive Coat
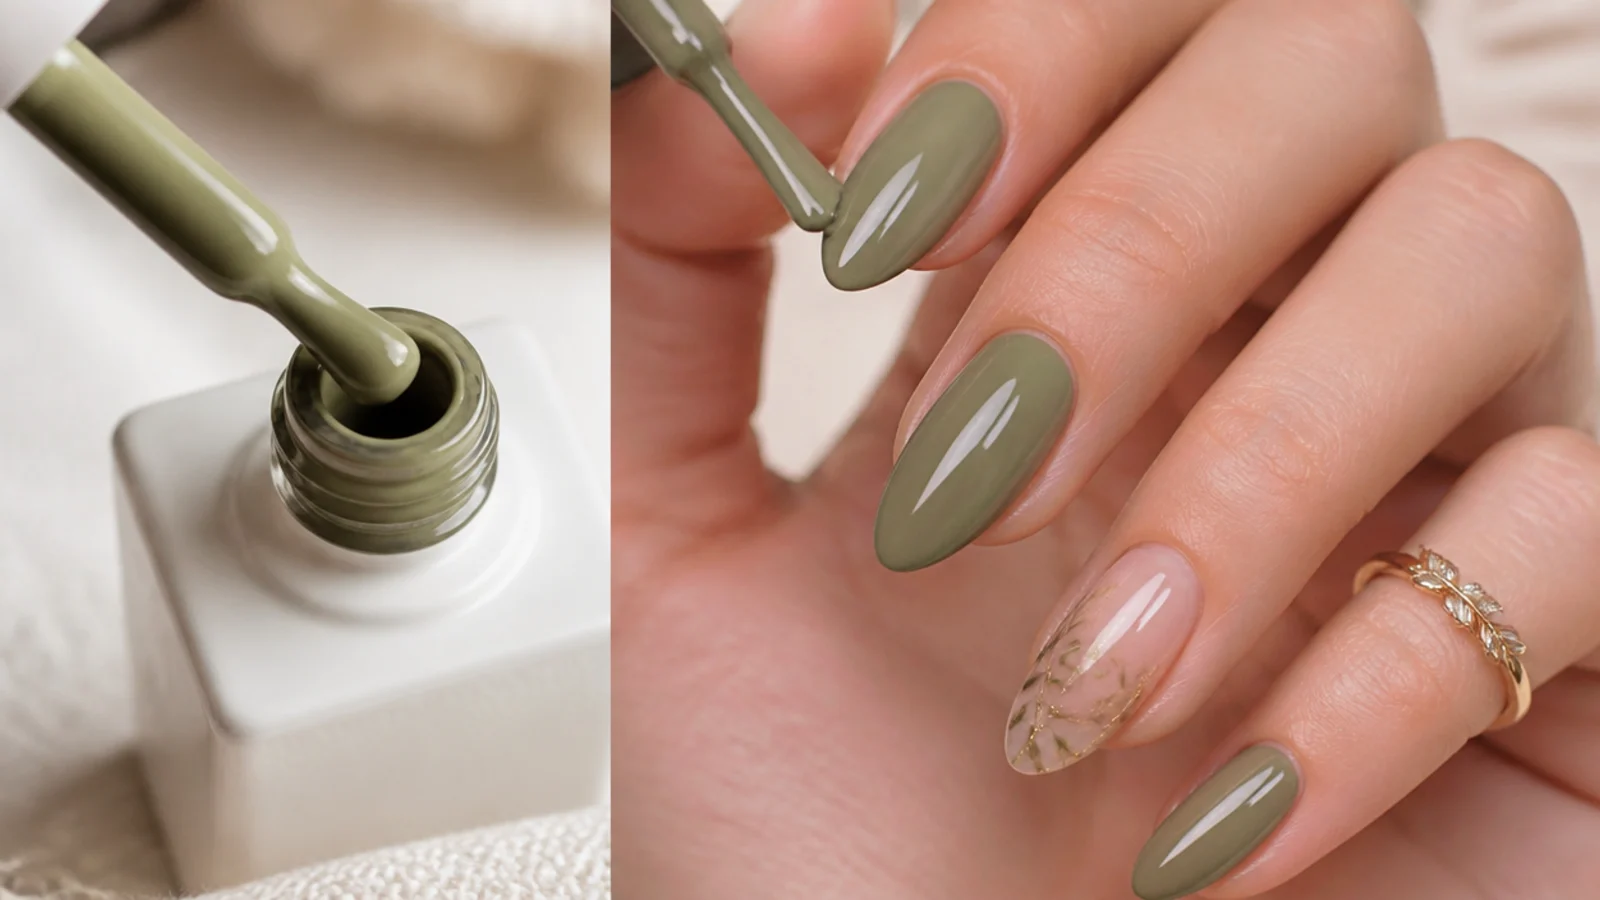
If you do not have a perfect bottle, mix your own: start with a green or khaki gel and add a small touch of brown to warm it or gray to mute it until you hit that earthy, grayed olive. Mix on a palette, not in the bottle. Paint one thin, even coat over the whole nail, keeping the layer sheer, and cure for about 30 to 60 seconds under LED. One thin coat will look patchy - that is expected, since the depth comes from layering.
Common mistake: Loading one thick coat to reach full color bubbles, cures unevenly and looks flat instead of rich.
Pro tip: Mix a little extra of your custom olive and cap the palette so every nail matches exactly.
5. Build a Second Olive Coat for Depth
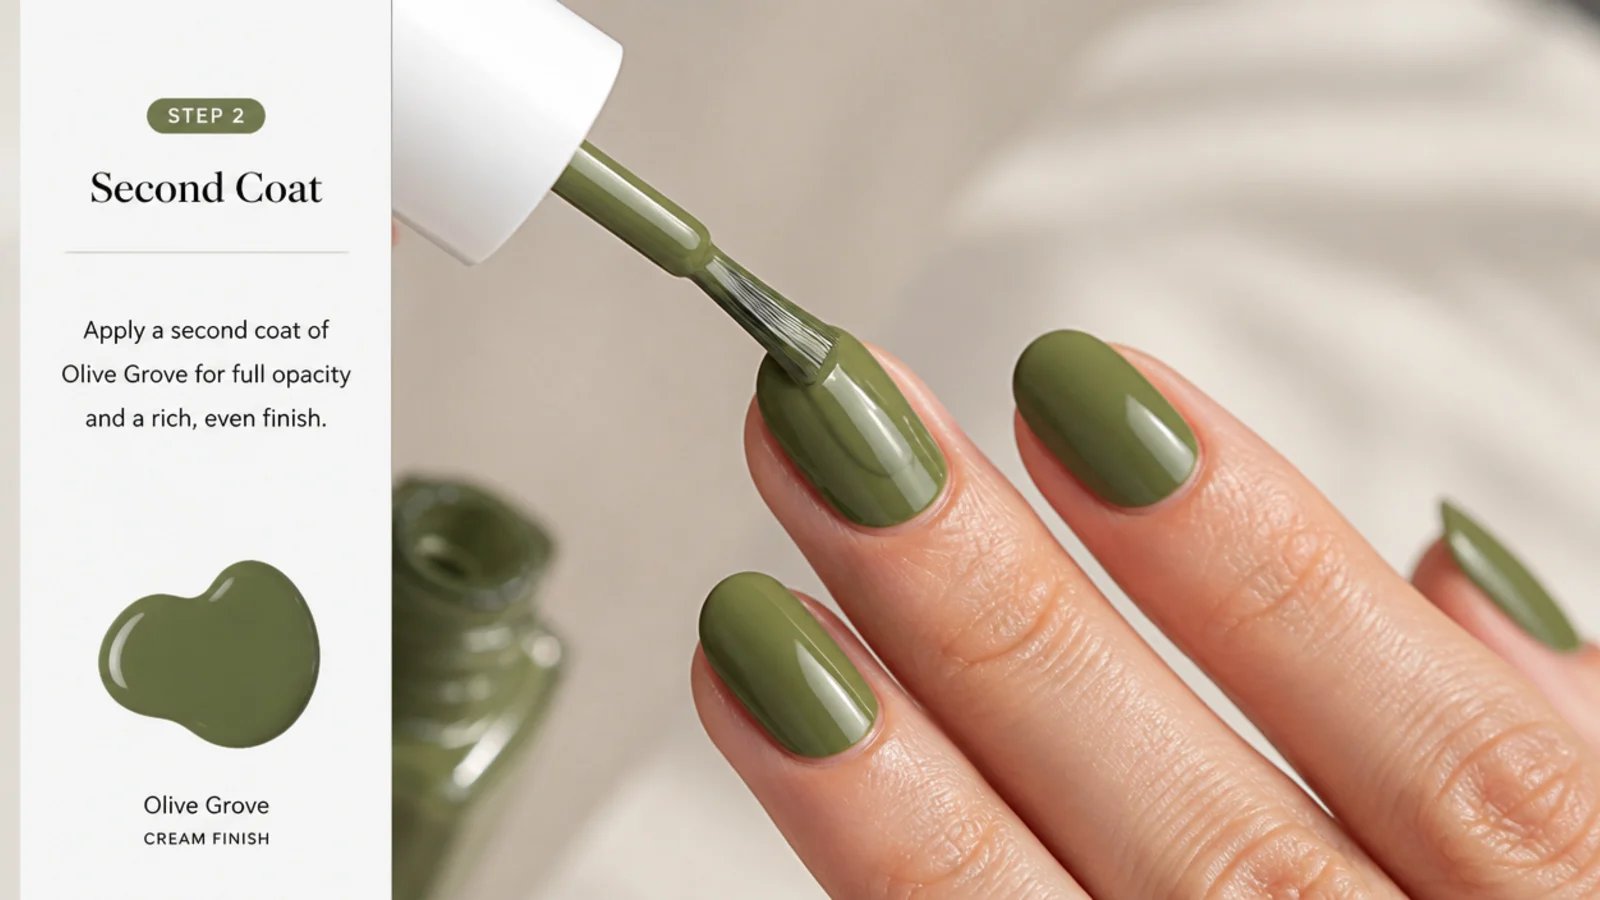
Brush on a second thin coat of the same olive to reach full, even opacity, capping the free edge again, and cure for another 30 to 60 seconds under LED. Two thin coats give olive its deep, dimensional look - the color reads like rich moss or army green rather than a flat, single-note wash. Add a third thin coat only if a nail still looks sheer; thin layers cure clean and stay put far better than thick ones.
Common mistake: Stopping at one sheer coat leaves the olive looking washed out and streaky in the light.
Pro tip: Cap the free edge on every color coat so the tip color does not wear away before the rest of the set.
6. Add a Finish - Chrome, Matte or French
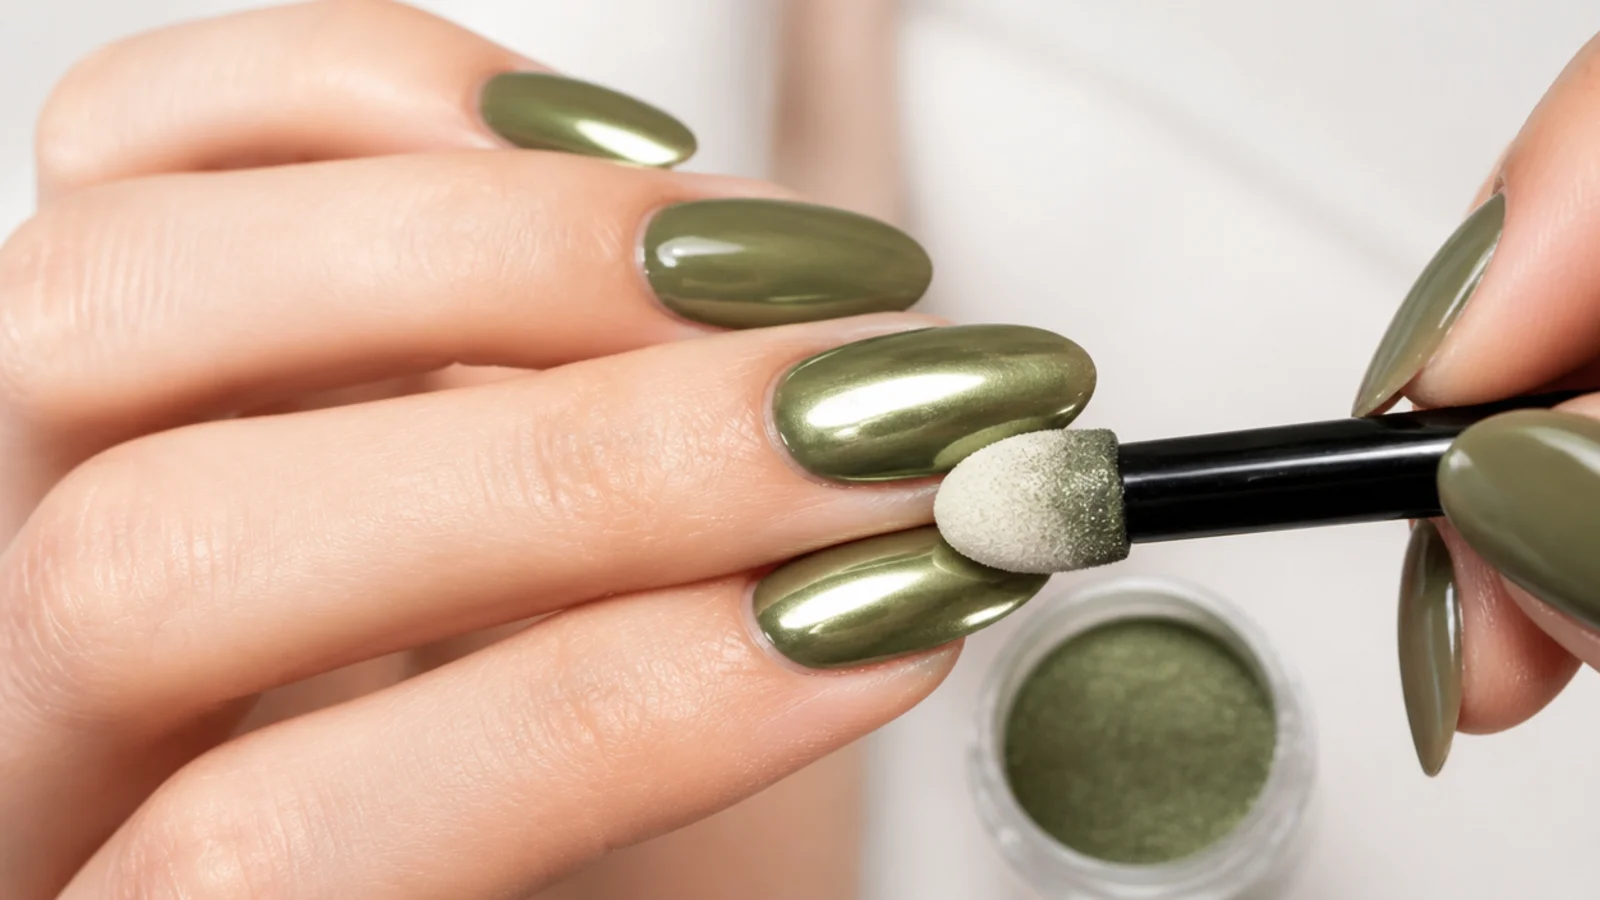
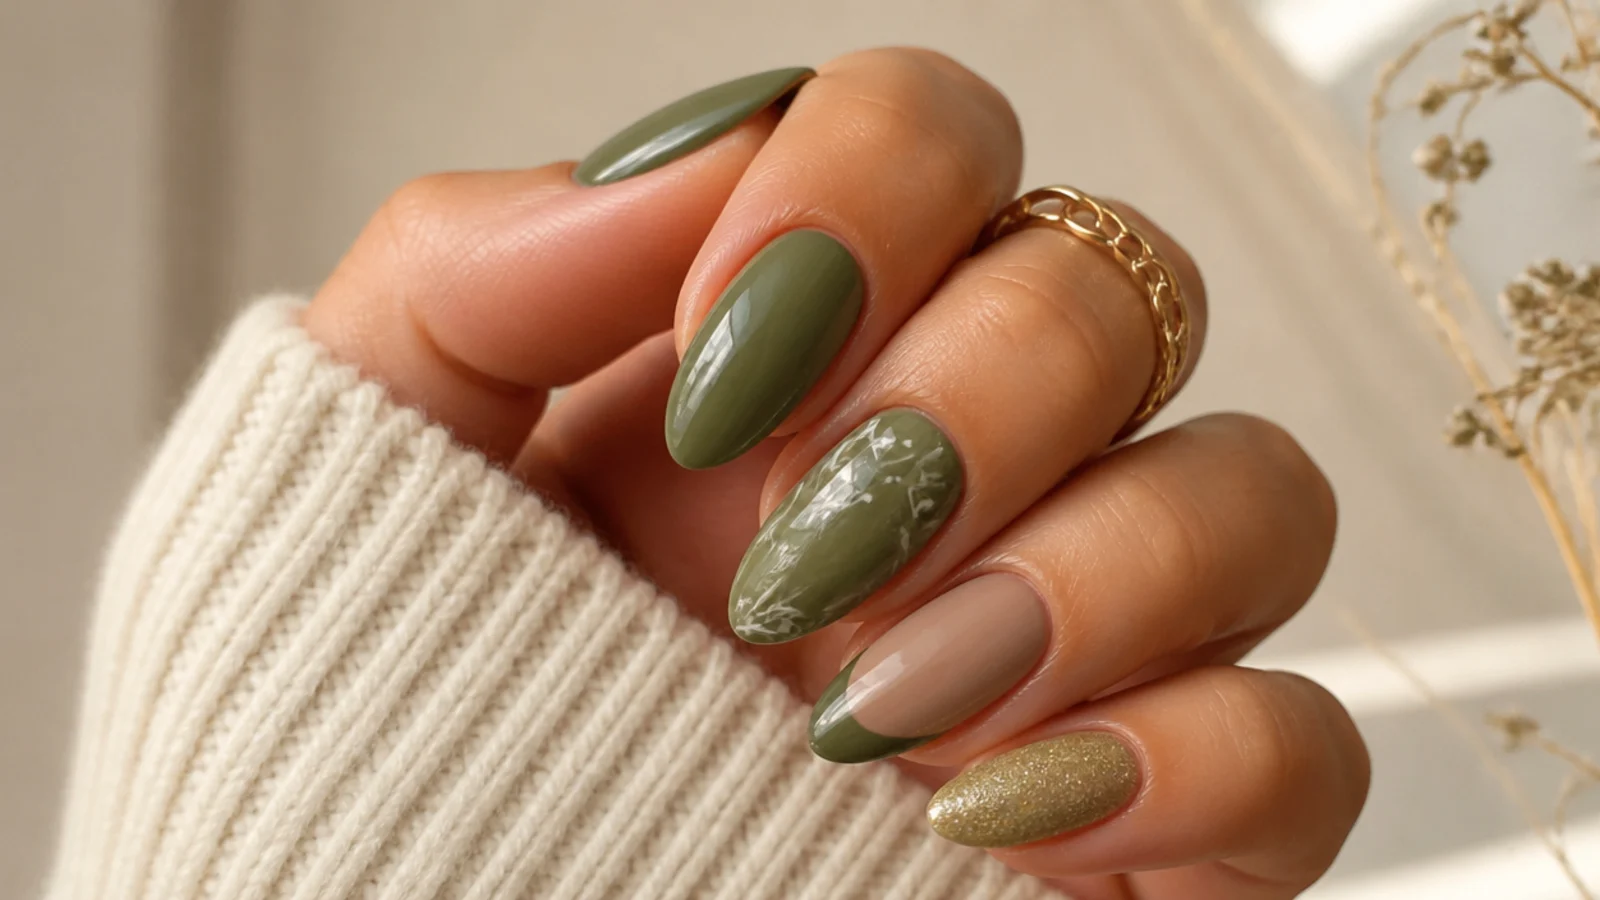
Choose your finish while the color is cured but before top coat. For glossy, skip ahead. For chrome, rub chrome or aurora powder over a cured no-wipe layer for a metallic olive. For matte, plan to use a matte top coat at the end. For a French, paint a thin olive or gold tip over a sheer base and cure. Olive suits all four, and each reads differently - chrome is modern, matte is earthy, gloss is classic, French is soft.
Common mistake: Applying chrome powder over a tacky, uncured layer smears it instead of giving a mirror finish.
Pro tip: A matte top coat leans olive earthy and boho; chrome leans it luxe - pick the finish to match your outfit.
7. Add a Gold or Cream Accent Nail
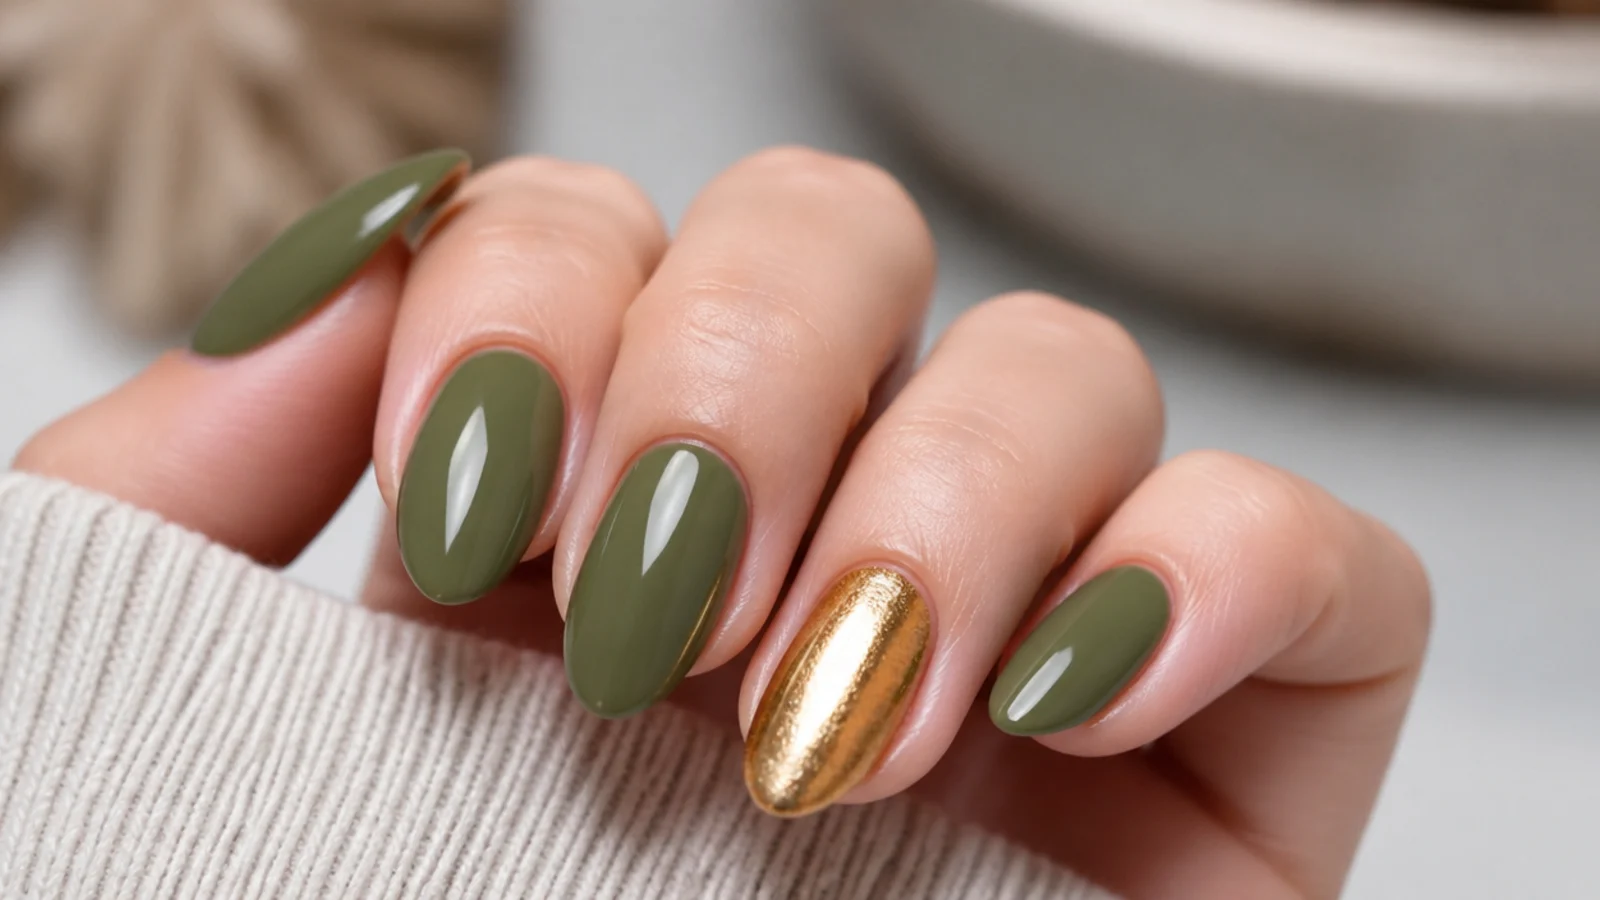
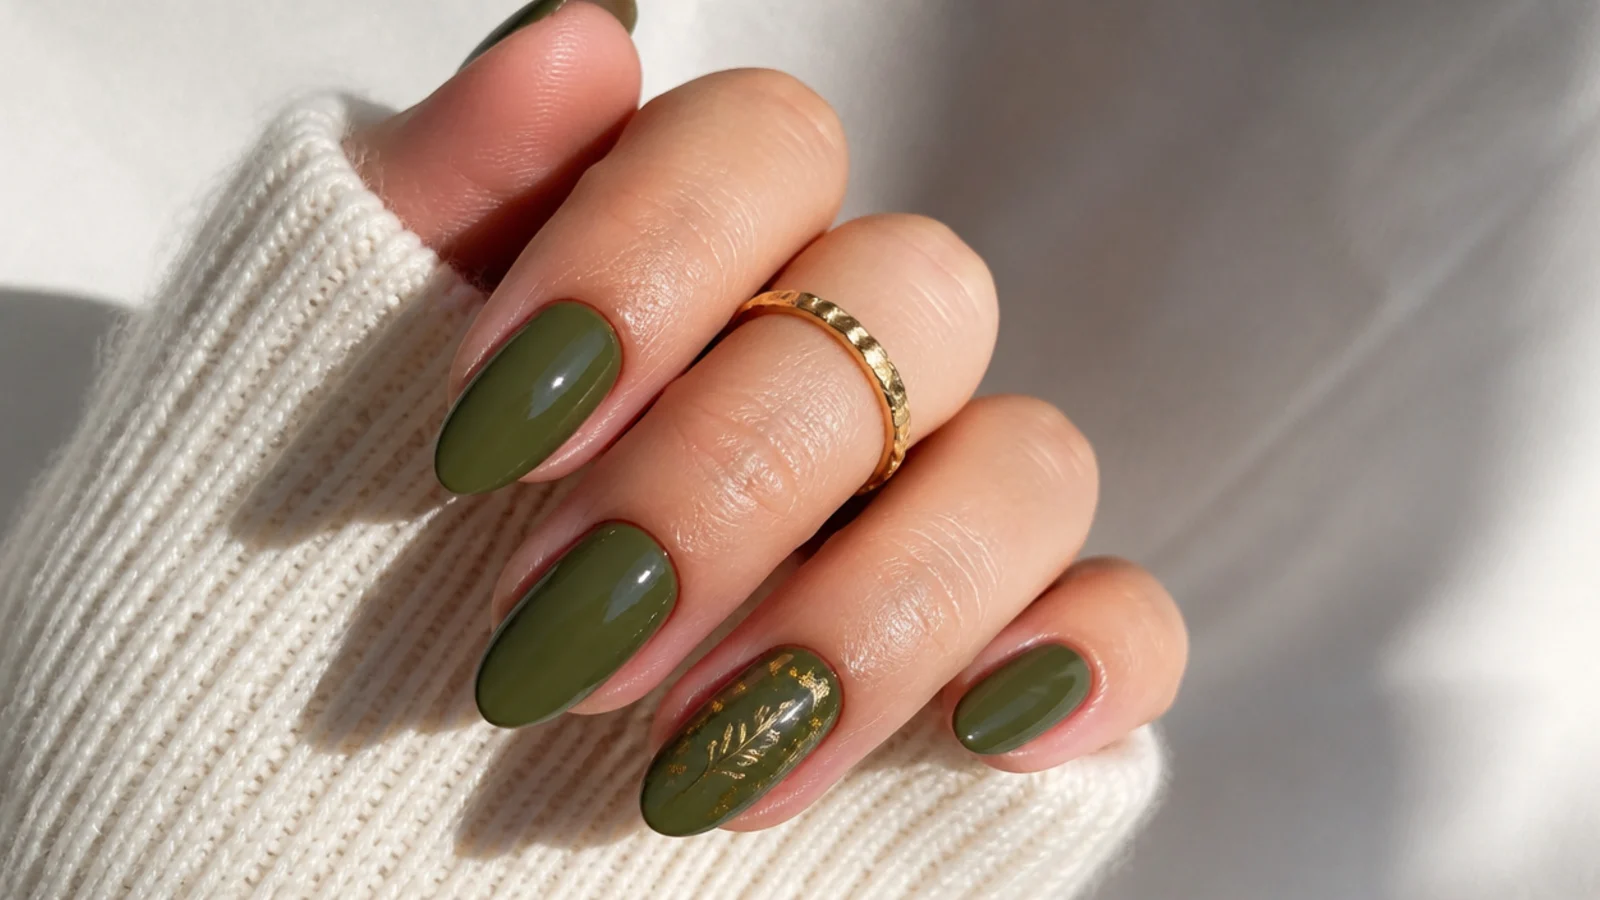
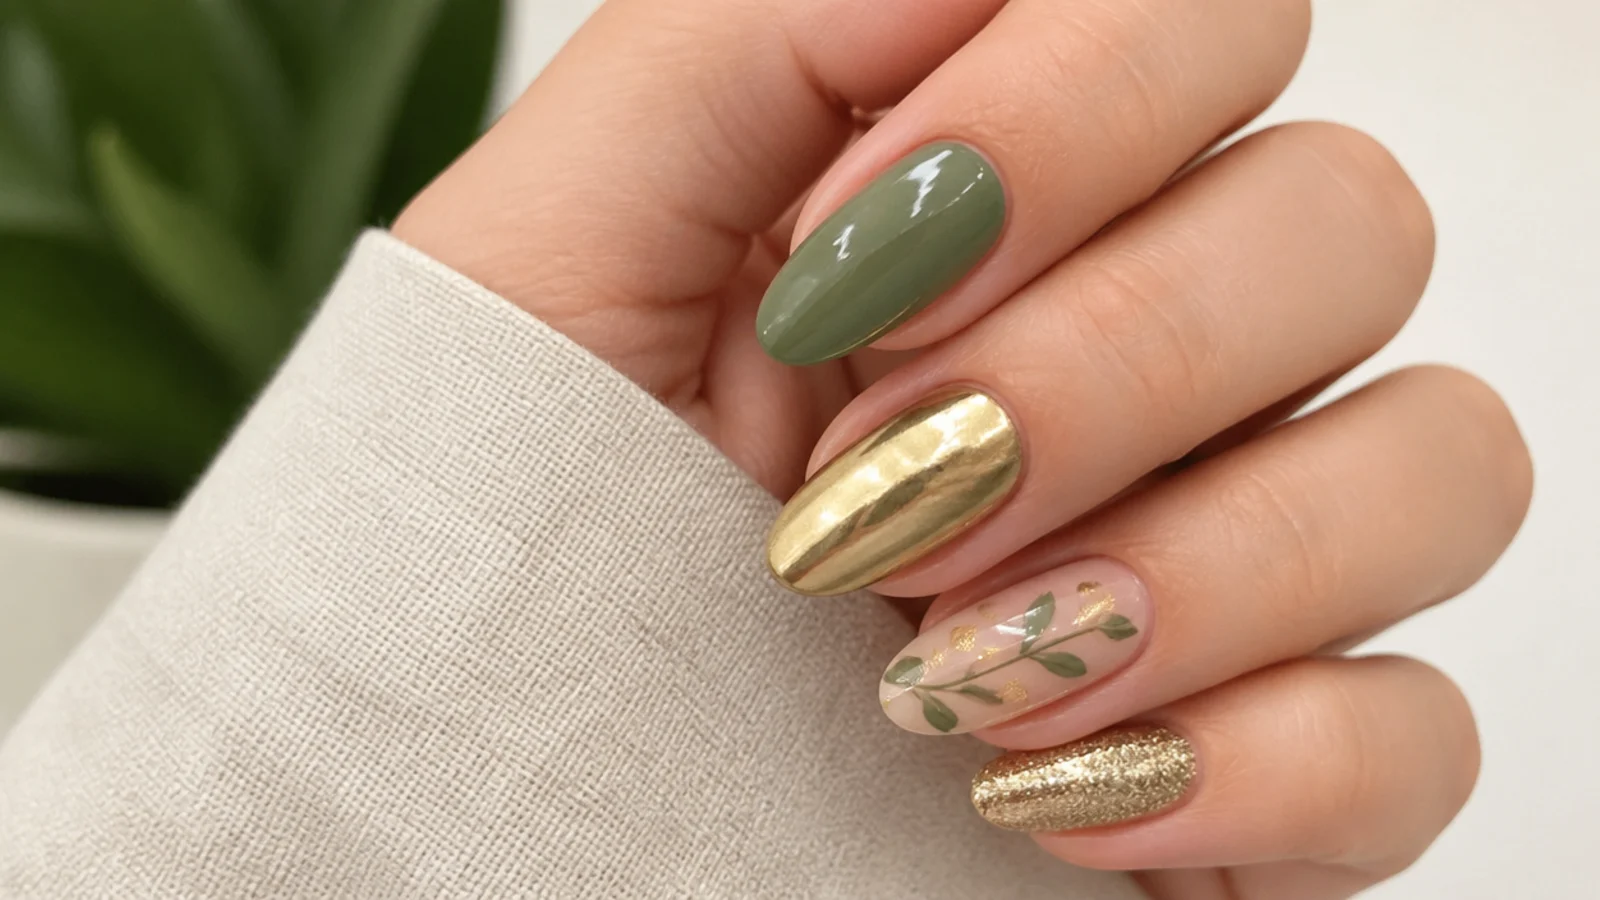
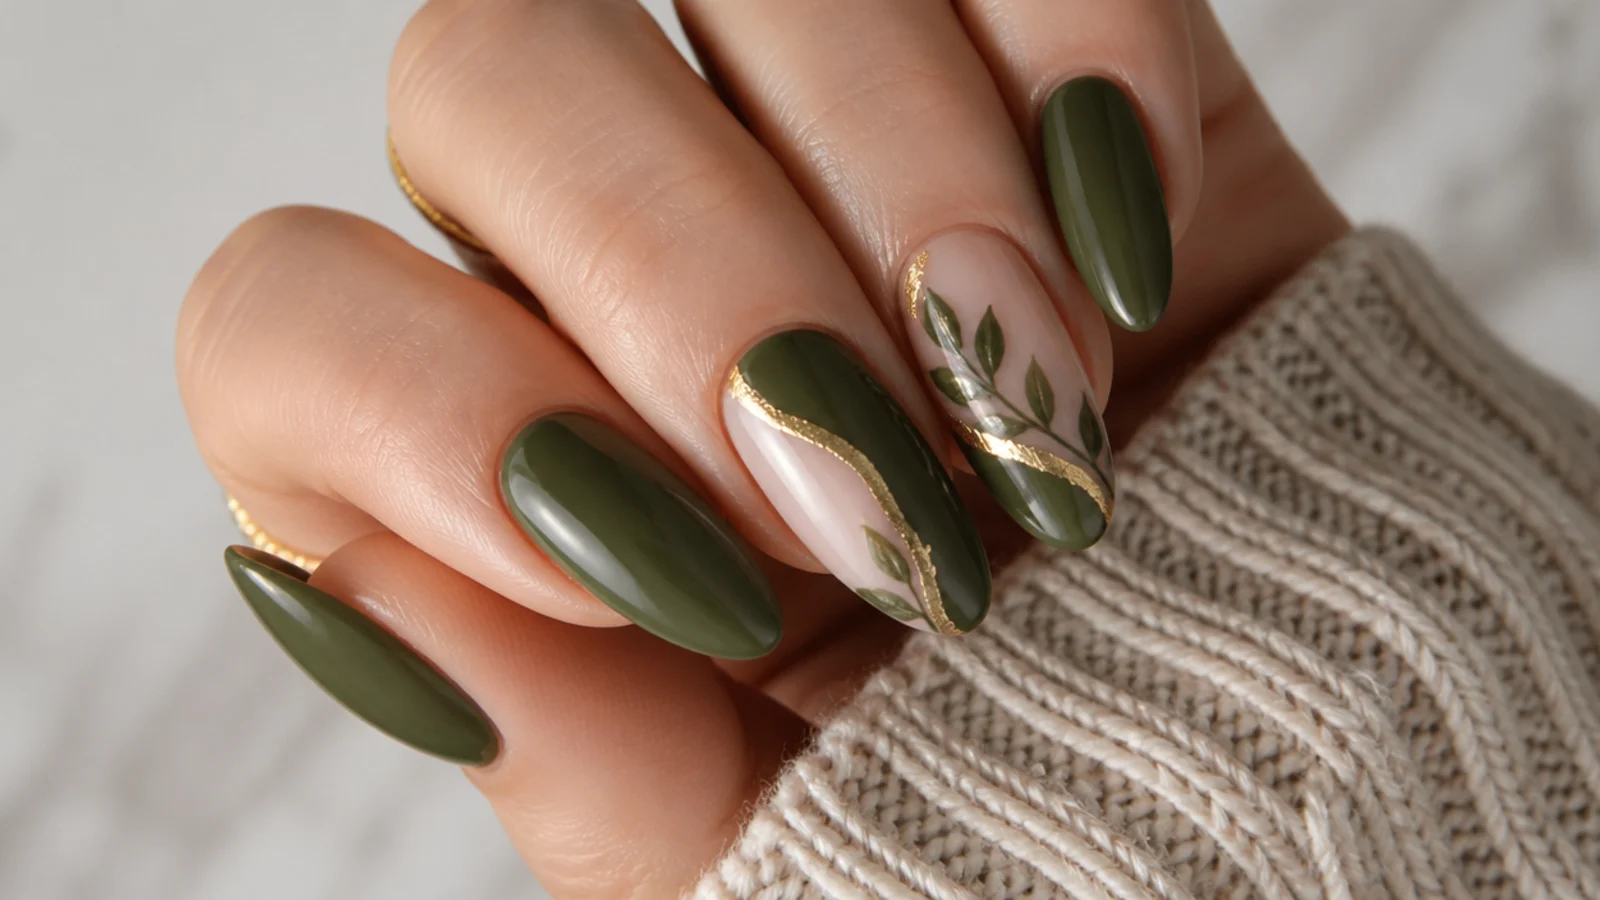
For that boho-earthy look olive is known for, paint one or two accent nails in gold, cream or soft pink, or add a thin gold foil line, and cure. Gold echoes olive's warm undertone and makes the set look expensive; cream keeps it soft and neutral; soft pink adds a feminine contrast. Keep accents to one or two nails so the earthy olive stays the star rather than competing with the accent.
Common mistake: Accenting every other nail turns the set busy and buries the olive - one or two accents is plenty.
Pro tip: Gold chrome or foil on the ring finger is the fastest way to make olive read boho and high-end.
8. Seal With Top Coat, Cure and Oil
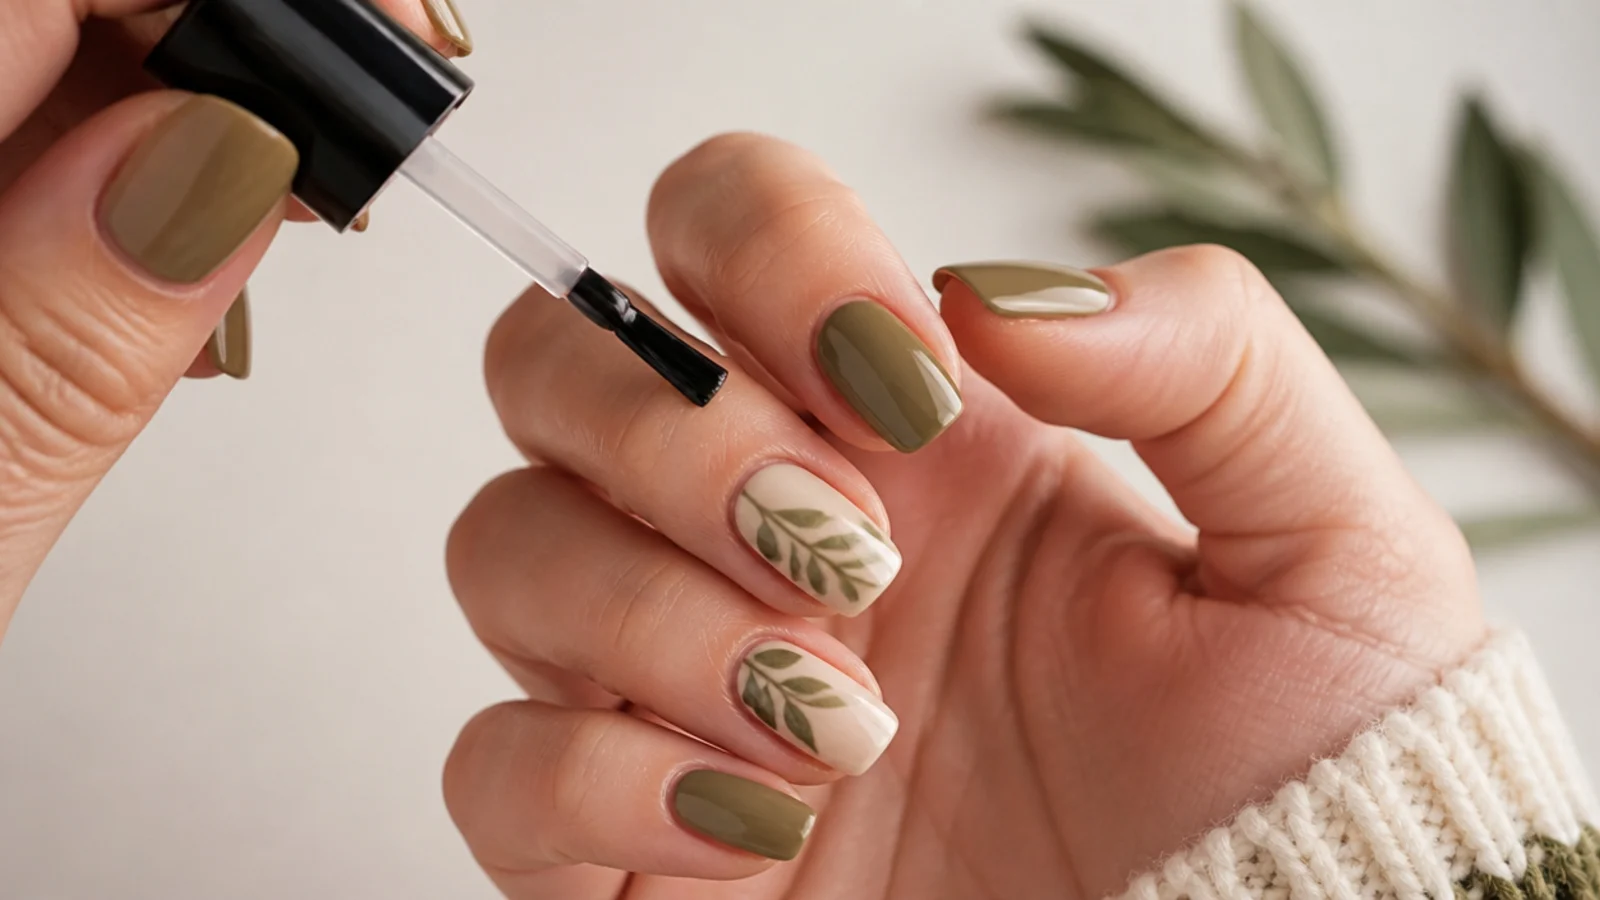
Brush your chosen gel top coat - glossy or matte - over the whole nail and cap the free edge by running it along the tip, then cure for about 30 to 60 seconds under LED. Capping the edge is what keeps an olive set from chipping early. Wipe off any sticky residue if your top coat needs it, then massage cuticle oil around each nail to finish and protect the skin. The oil also keeps the earthy color looking fresh.
Common mistake: Forgetting to cap the free edge lets the olive chip and peel back within days.
Pro tip: Daily cuticle oil keeps the set flexible and stretches it closer to the full three weeks.
Which Olive Green Suits Your Skin Tone
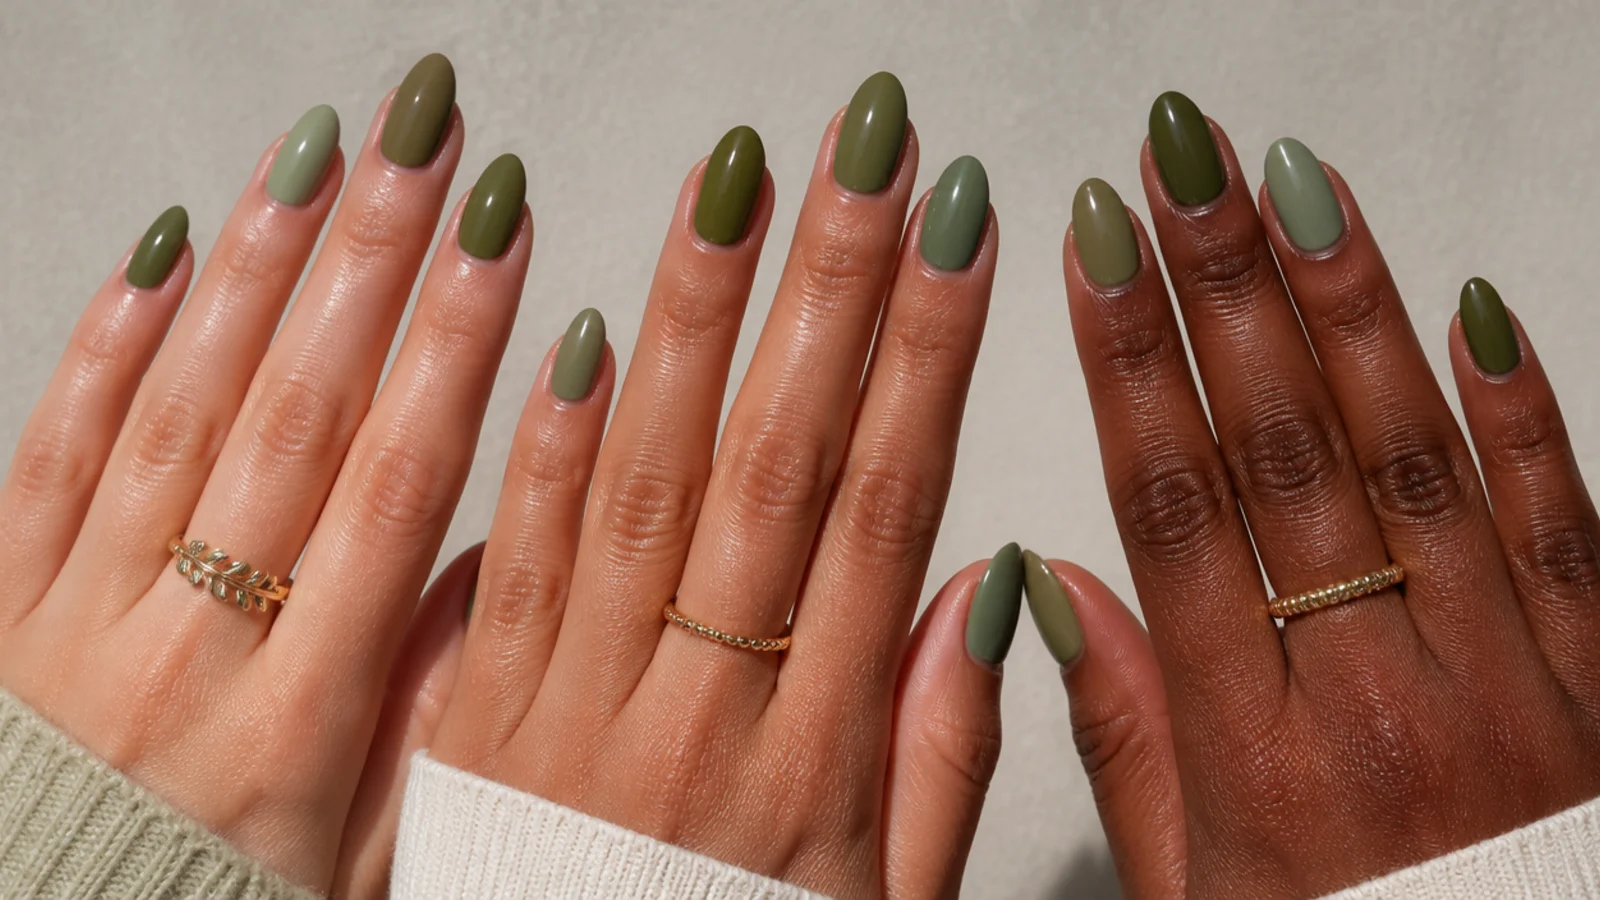
Skin-tone matching is what separates a flattering olive from a muddy one, and because olive is a warm-muted green, it already plays nicely with most complexions. Warm and tan skin is olive's best match: a rich, golden-leaning olive echoes the skin's own golden undertones and looks effortless. Fair skin looks best in a lighter, grayed olive - too saturated a green can overpower pale hands, so mute it a step. Deep skin can carry a bold, saturated true olive that pops beautifully against the skin, so go richer rather than lighter. Cool undertones can still wear olive; just lean toward a grayer, cooler olive rather than a yellow-heavy one. The quick test: swatch a stripe and hold it near your wrist in daylight. The right olive makes your skin look warmer and healthier; the wrong one makes it look green, yellow or tired. When in doubt, gray it down - a muted olive flatters far more people than a bright one.
Supplies You Need and How to Mix the Shade
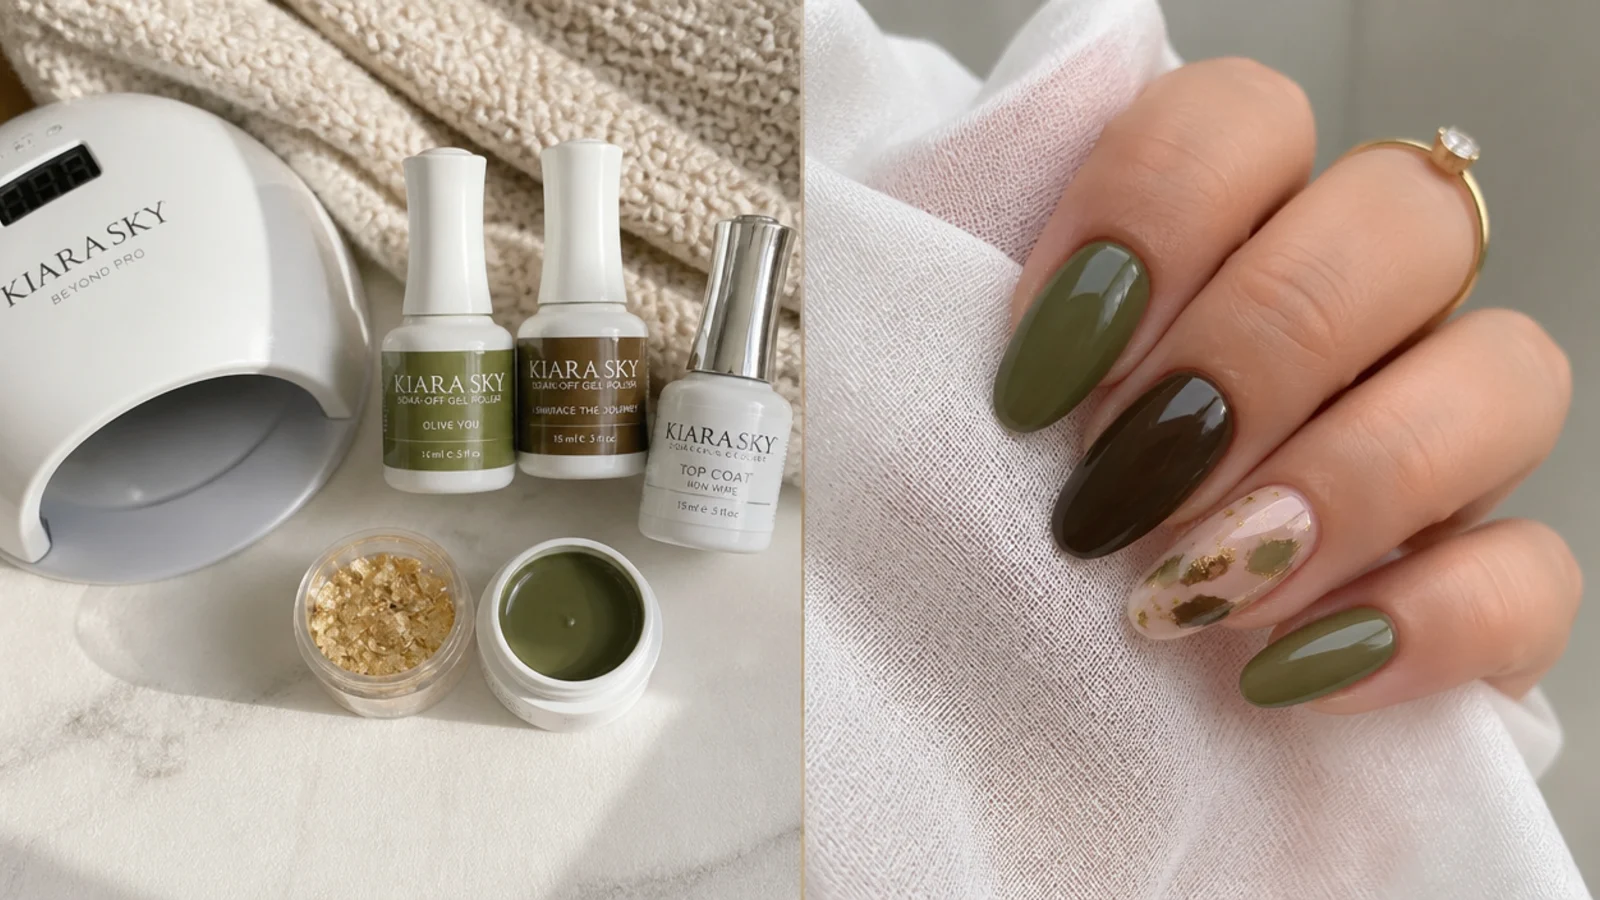
Olive green nails use standard gel-manicure supplies plus a way to mix the exact shade. You will need a gel base coat, a green or khaki gel color, a small bottle of brown or gray gel to warm or mute it, an accent color like gold or cream, and a gloss or matte gel top coat. For curing you need an LED or UV lamp, since gel will not set without one. Add lint-free wipes, a small palette for mixing, cuticle oil for finishing, and 100% acetone with cotton and foil for removal later. To hit that earthy olive, start with green and add a touch of brown for warmth or gray to mute the brightness, mixing on the palette rather than in the bottle so you can adjust. Layer the mixed color in two or three thin coats for depth. A salon gel mani with a custom color runs about $30 to $55; a home kit is a modest one-time cost that pays back after a set or two.
Common Olive Green Nail Mistakes to Avoid
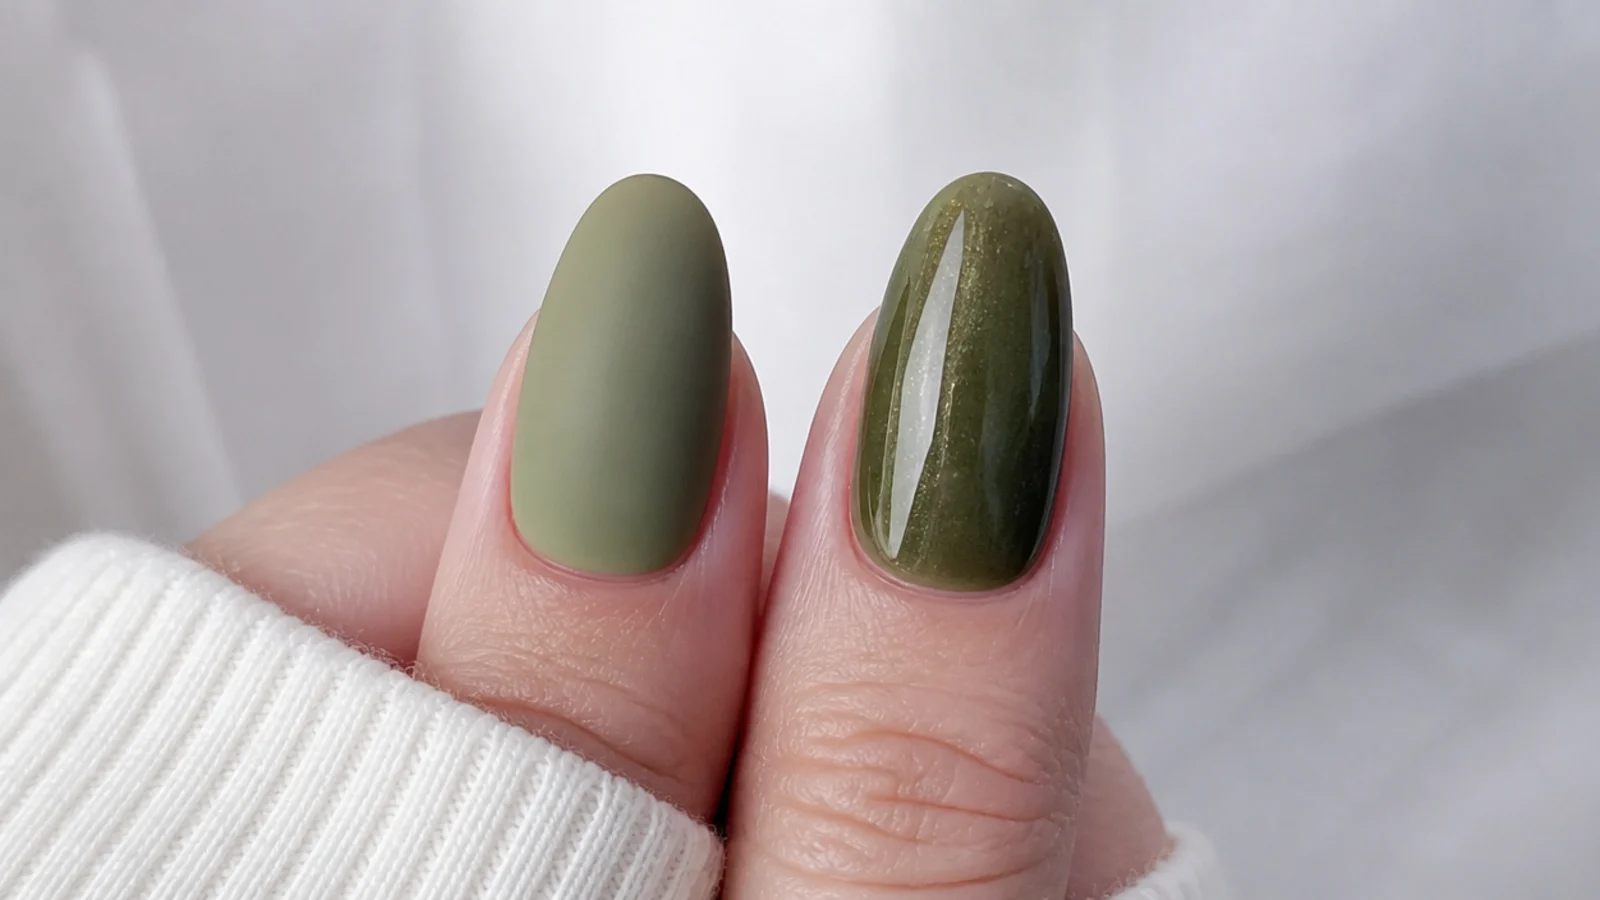
Most olive problems trace back to a few fixable errors. The biggest is choosing a green that is too bright or too yellow for your undertone - always swatch and gray it down until it flatters your skin. The second is applying one thick coat to reach full color, which bubbles, cures unevenly and looks flat; olive needs two or three thin coats to read deep and dimensional. Skipping the base coat lets pigment-heavy green stain the natural nail, so never paint color straight onto bare nail. Not capping the free edge causes early tip chips, and accenting too many nails buries the olive under gold or cream, so keep accents to one or two. Finally, overworking a custom mix in the bottle wastes product - mix small amounts on a palette. Fix a flat set by adding one more thin coat and a richer top coat rather than starting over.
How to Make Olive Green Nails Last and Remove Them Safely
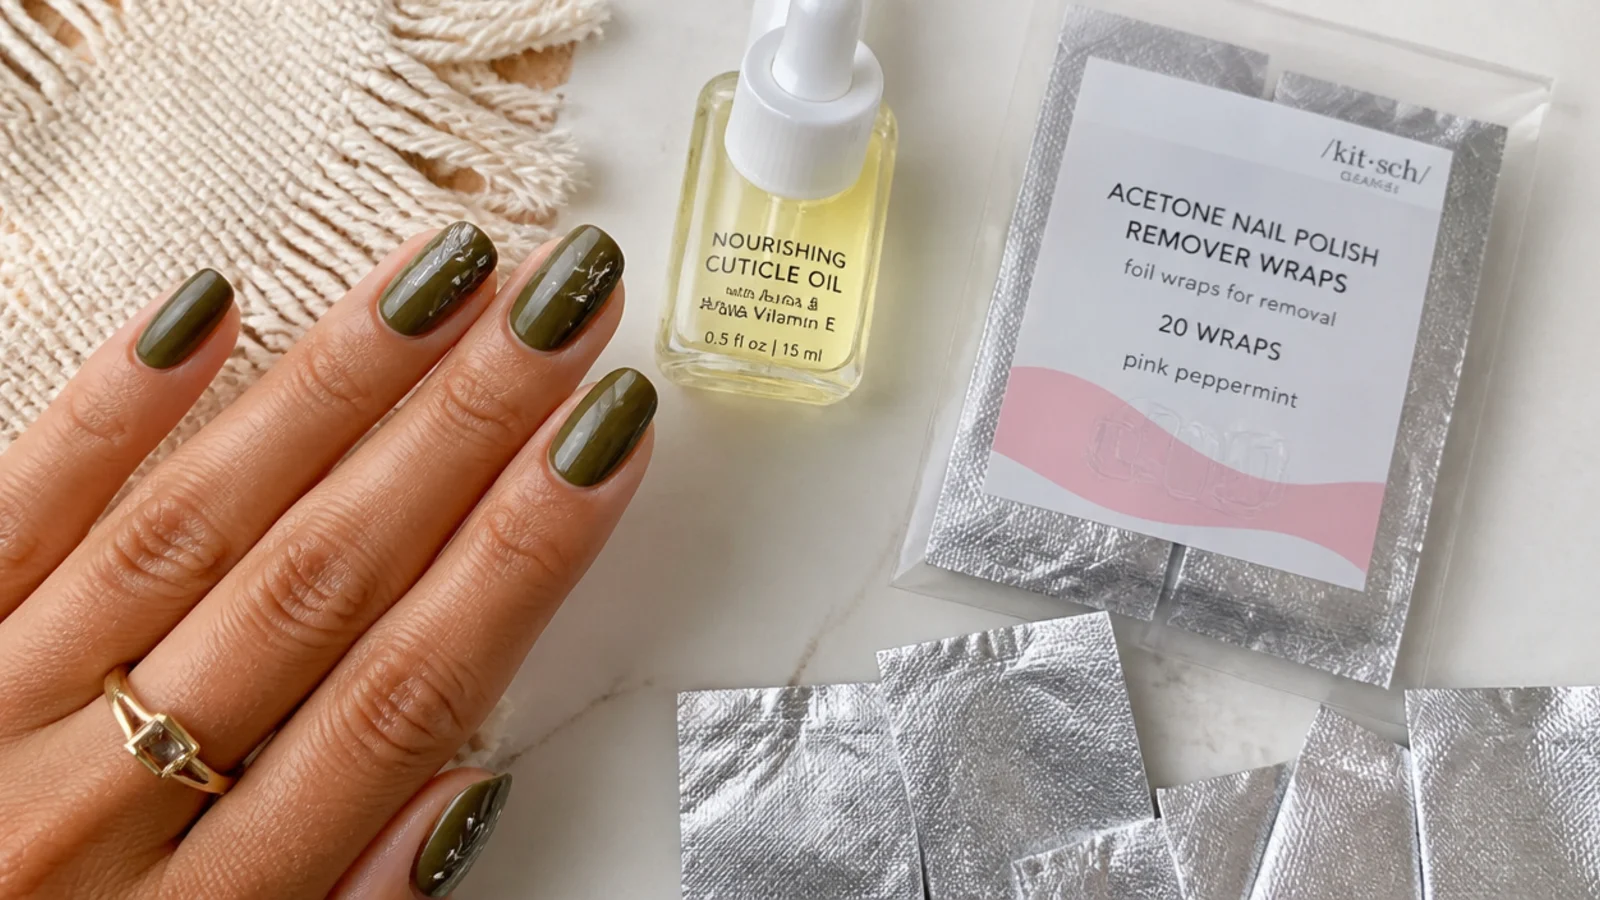
Because this is a gel technique, an olive green set lasts about two to three weeks, and up to four with solid prep, capped edges and daily cuticle oil - far longer than regular polish, which holds only 5 to 7 days. To stretch the wear, apply cuticle oil every day, wear gloves for cleaning and dishes, and avoid using your nails as tools. When it is time to remove it, do it as a proper soak-off: lightly file the shiny top coat to break the seal, soak cotton in 100% acetone, press it to each nail, wrap in foil for 10 to 15 minutes, then gently push the softened gel off with a wood stick. Never peel or pry it - that takes layers of your natural nail with it, and green pigment can stain a bare nail. Give your nails an occasional break between sets, and see a nail tech if you notice any lifting, pain or irritation.
Frequently Asked Questions
What skin tones suit olive green nails?
Olive flatters most skin tones because it is a warm-muted green rather than a bright one. Warm and tan skin looks best in a rich, golden-leaning olive that echoes its undertones. Fair skin suits a lighter, grayed olive so the color does not overpower. Deep skin can carry a bold, saturated true olive beautifully. Swatch and gray it down if it makes your skin look sallow.
What colors go with olive green nails?
Olive pairs beautifully with gold, cream, soft pink, brown and chrome for that boho-earthy look. Gold echoes olive's warm undertone and reads expensive, cream keeps it soft and neutral, and soft pink adds a feminine contrast. For accents, keep gold or cream to one or two nails so the earthy olive stays the star of the set.
Are olive green nails a fall color?
Olive peaks in fall - its earthy, warm-muted tone sits perfectly alongside browns, rust and gold sweater-weather palettes. That said, it wears year-round: paired with cream it feels fresh in spring, and with chrome it reads modern in any season. Olive is one of the most versatile greens, so you are not limited to autumn.
How do you get the exact olive green shade?
Rarely does one bottle nail it, so mix your own. Start with a green or khaki gel and add a small touch of brown to warm it or gray to mute the brightness until you reach that earthy, grayed olive. Mix on a palette, not in the bottle, and build it in two or three thin layers so the color reads deep rather than flat.
Should I use gel or acrylic for olive green nails?
Gel is the easiest at home and gives olive a rich, glossy or matte finish that lasts about two to three weeks. Acrylic adds length and strength and lasts three to four weeks with fills, but is harder to do yourself. For a DIY olive mani, gel polish or builder gel is the most beginner-friendly and shows the muted color best.
How long do olive green nails last?
As a gel set, olive green nails last about two to three weeks, and up to four with good prep, a capped free edge and daily cuticle oil. That is far longer than regular non-gel polish, which chips in about 5 to 7 days. Wear gloves for chores and avoid using your nails as tools to get the most wear out of the set.
What is the difference between olive green and dark green nails?
Olive is a warm-muted, grayed green with yellow and brown in it, so it reads earthy and soft. Dark green - like emerald, forest or hunter - is a deeper, cooler, more saturated green that reads rich and dramatic. Olive flatters warm skin and suits boho, earthy looks; dark green makes a bolder, more formal statement.
Do olive green nails work on short nails?
Yes. Olive's muted, earthy tone looks elegant on short nails and does not overwhelm a small nail bed the way a bright color can. A squoval or short almond shape keeps things flattering, and a glossy or chrome finish adds interest without length. Short olive nails read chic and low-maintenance, especially with a single gold accent.
Gel application and removal, lamps, and 100% acetone should be used as directed. Curing gel improperly or force-removing it can damage your natural nails. For best results and nail health, see a licensed nail technician, and stop if you have any irritation or reaction.
Which olive green nails look are you saving?
Earthy olive green nails come down to two things: mute the green until it flatters your skin tone, and build it in thin gel layers so the color reads deep instead of flat. Warm and tan skin leans golden olive, fair skin wants a grayer olive, and deep skin can go rich and saturated. Add a gold, cream or chrome accent for that boho-earthy finish, seal the free edge so your set makes the full two to three weeks, and finish with cuticle oil. Be gentle with your natural nails, never peel or pry gel off, and see a nail tech if you want the crispest result or notice any irritation. Save this guide and dial in your perfect olive each set.