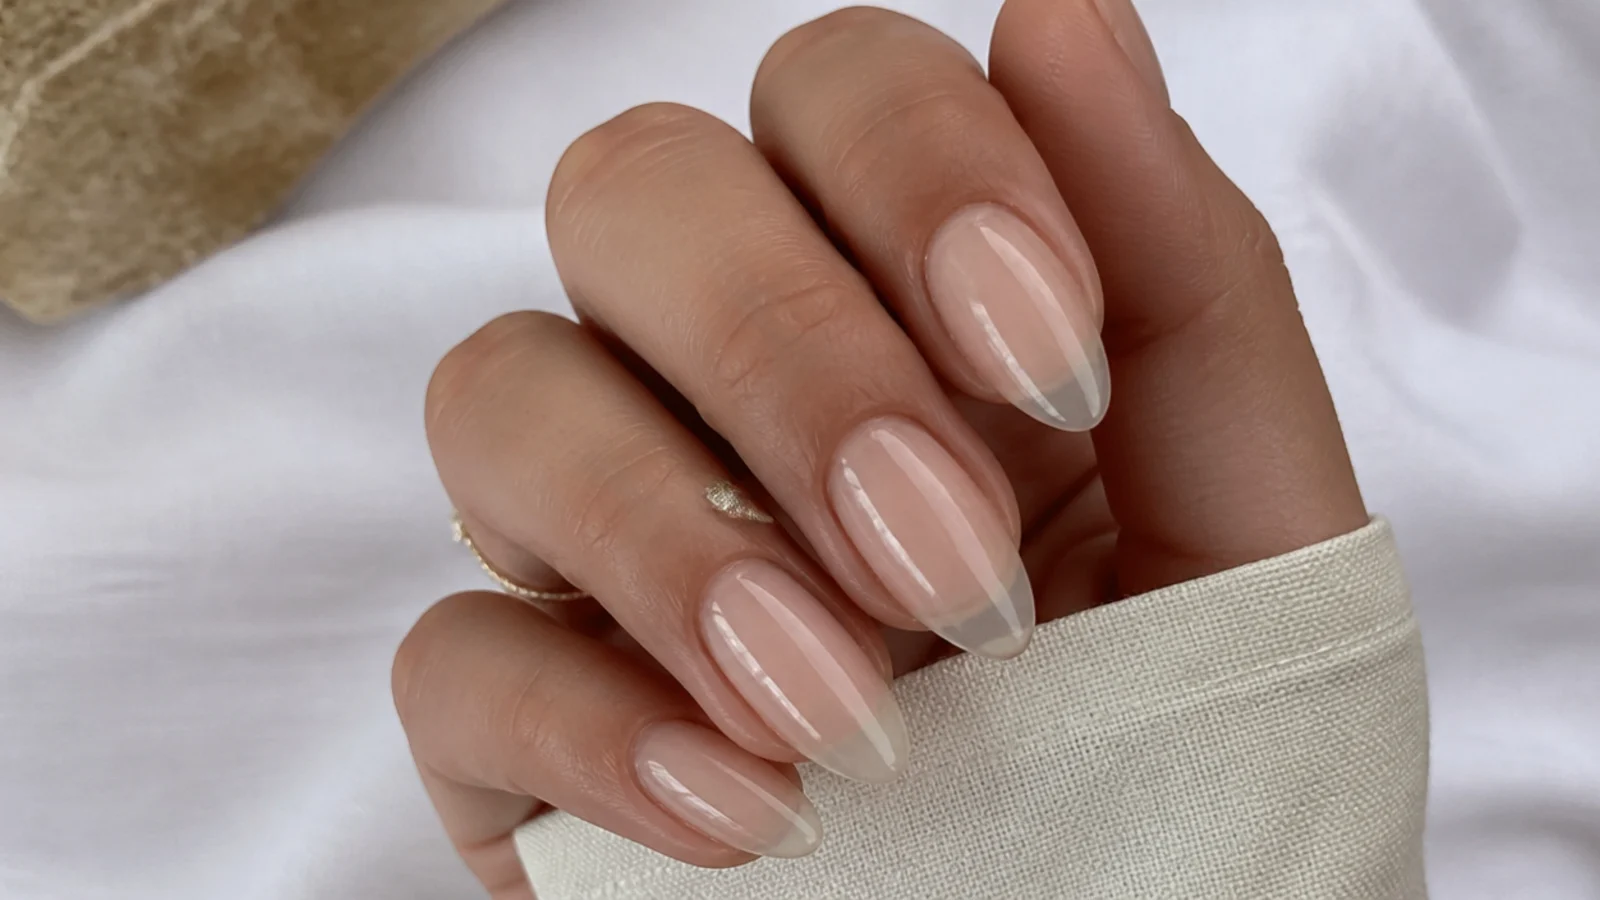
1. Prep, Shape and Push Back Cuticles
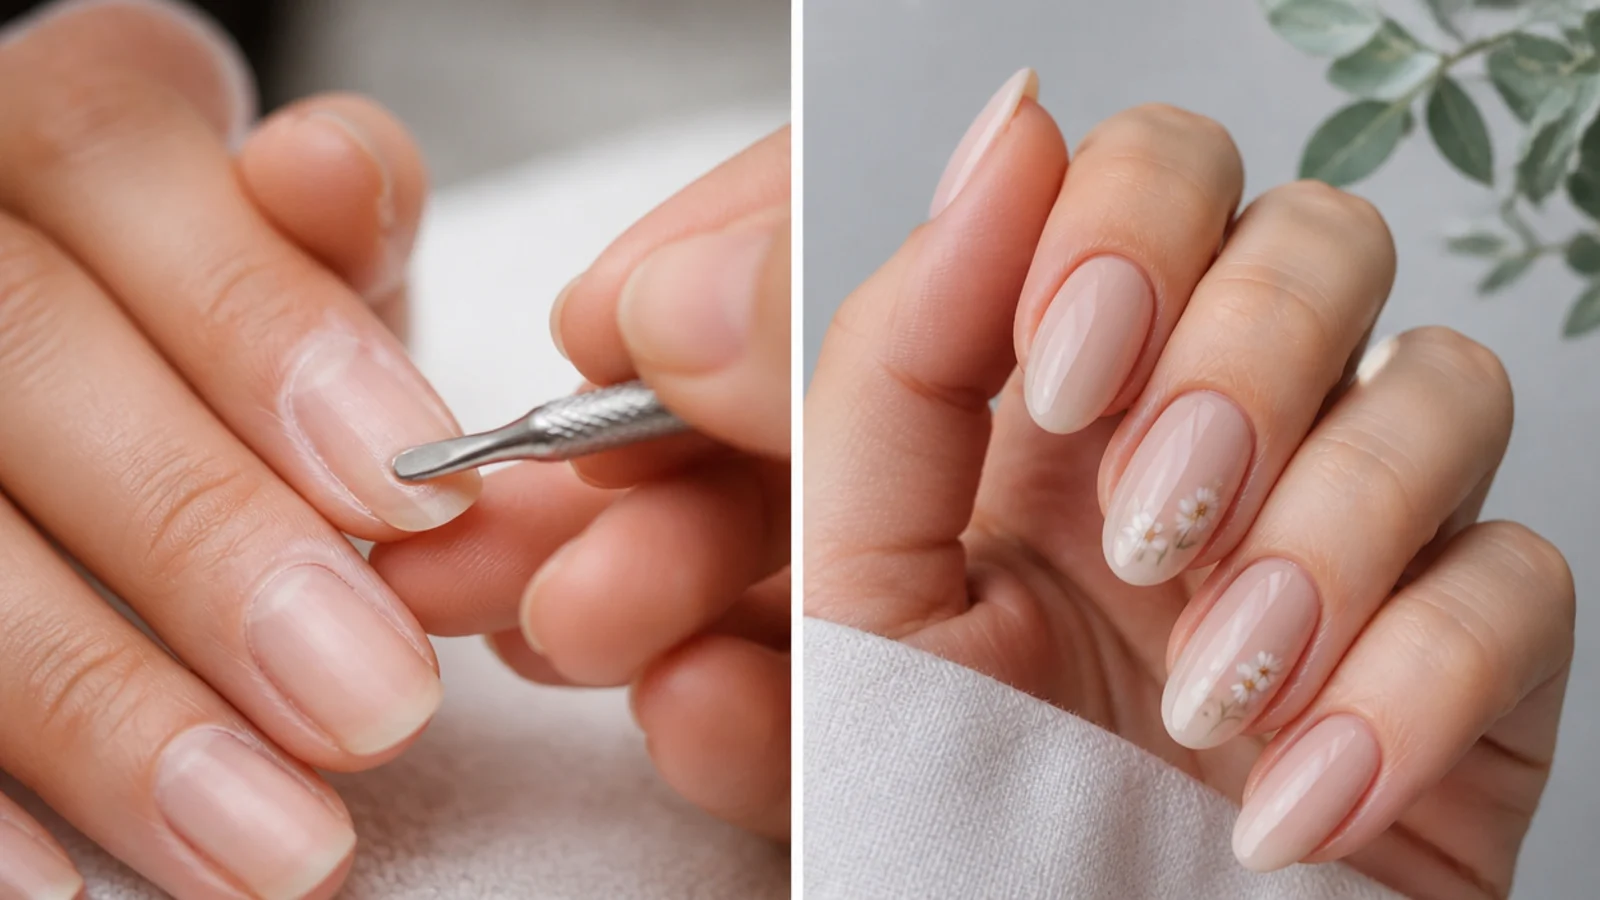
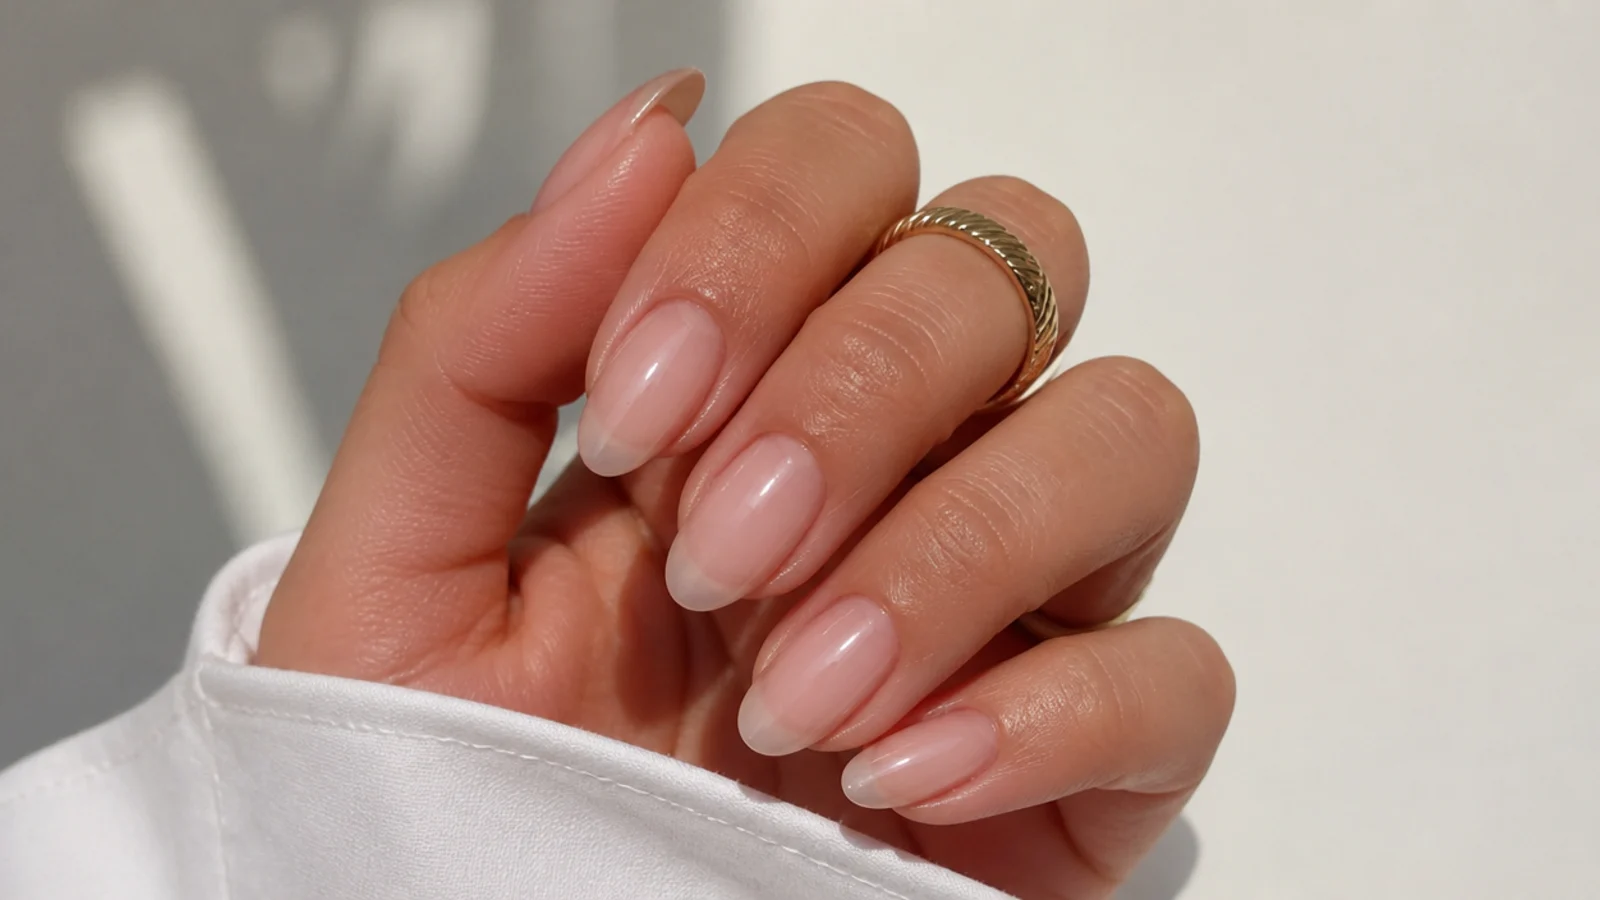
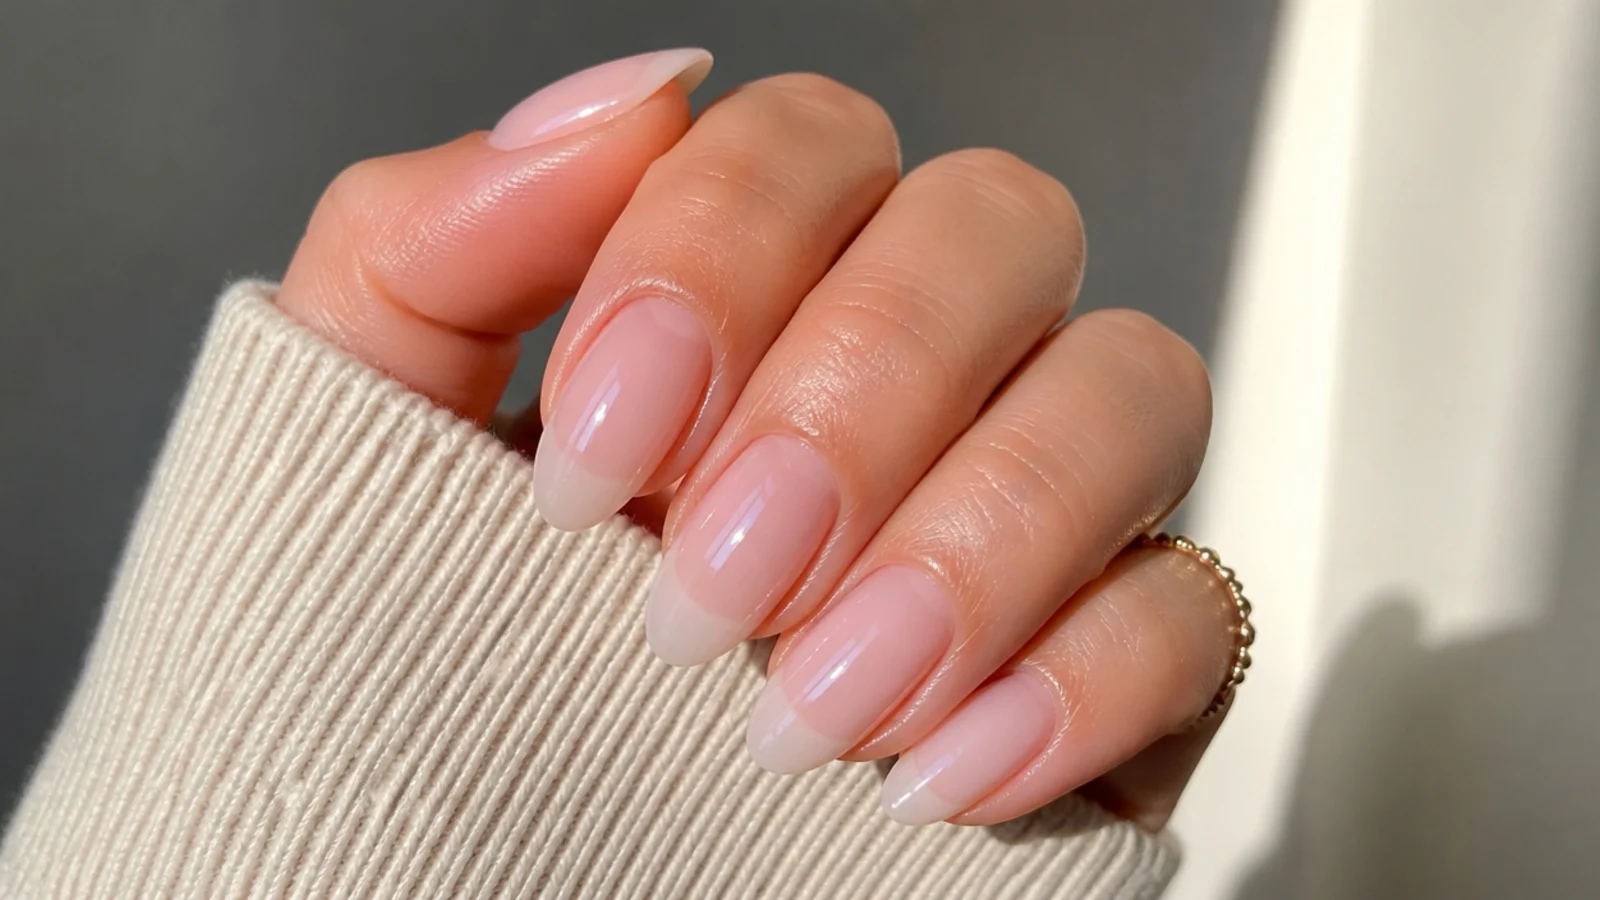
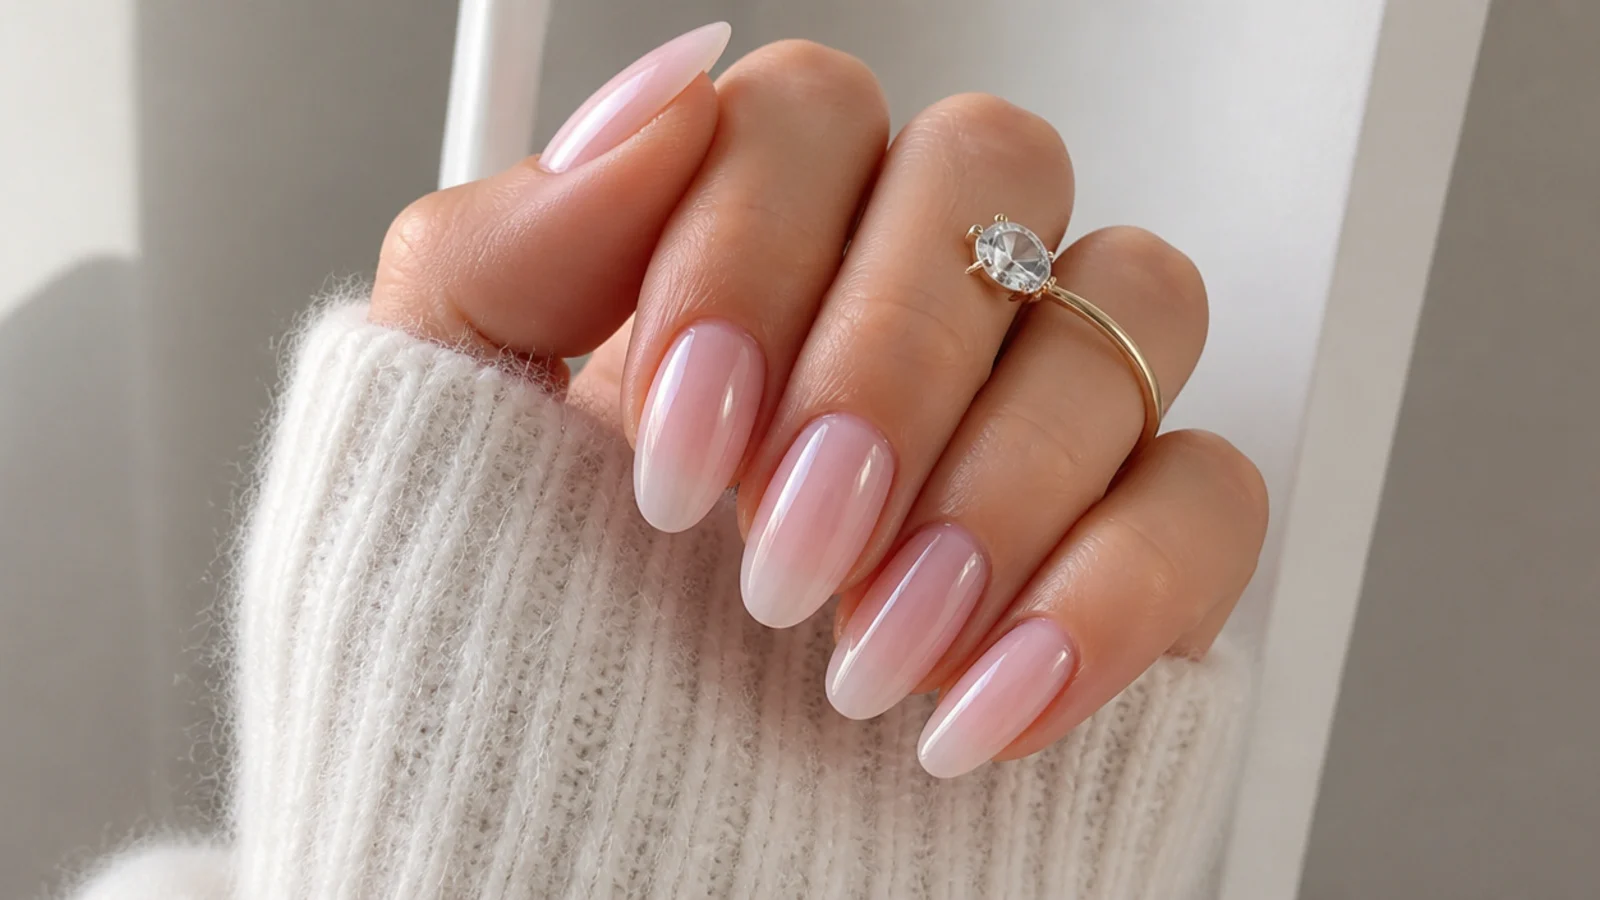
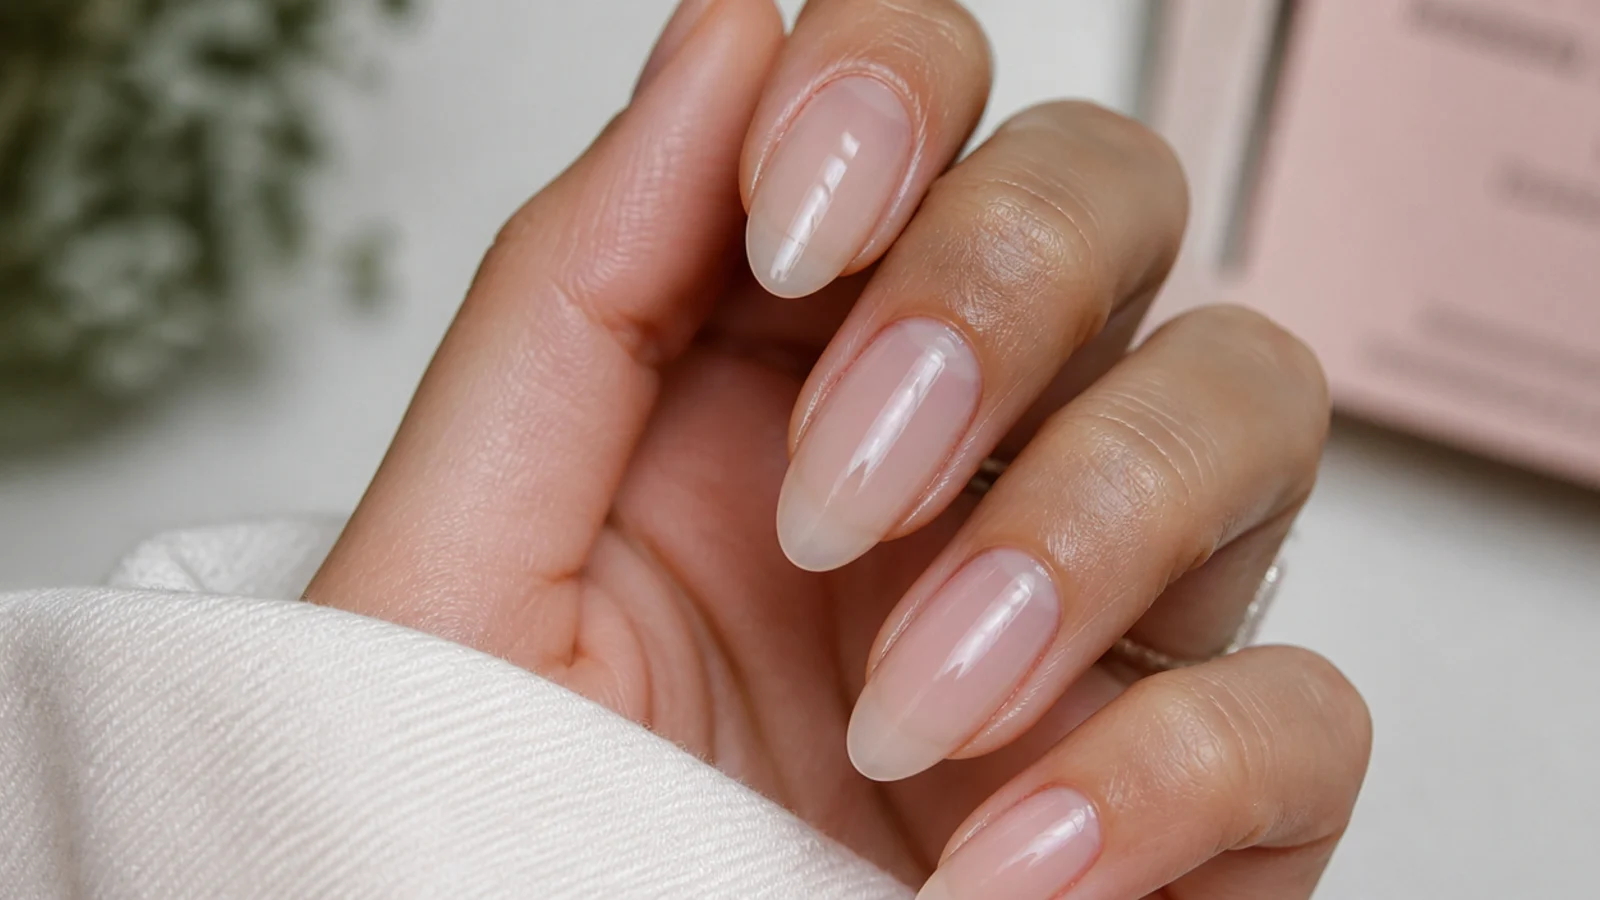
Start with clean, dry nails. Push back and tidy the cuticles, then shape the free edge - almond, oval or a short squoval all show the soap-nail translucency best. Because the finish is sheer, the shape and the cuticle line are what people actually see, so take your time here. Wipe away any dust so nothing sits under the color.
Common mistake: Ragged cuticles and an uneven free edge show straight through a sheer finish - clean them up first.
Pro tip: Almond and oval elongate short fingers; a neat short squoval reads clean and modern.
2. Lightly Buff the Nail Surface
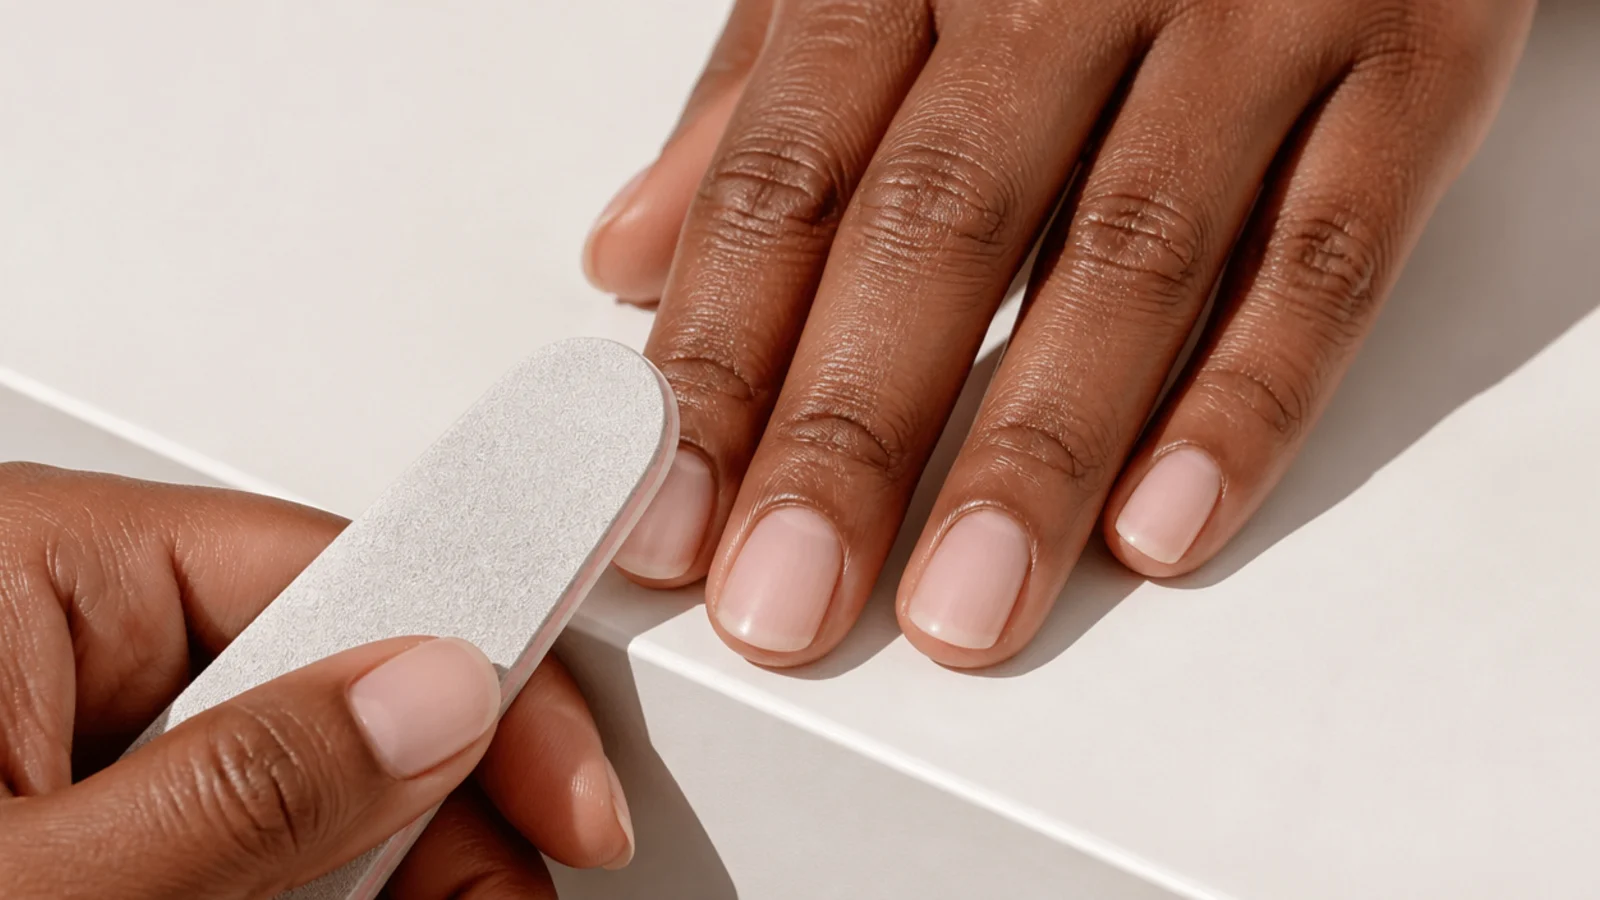
Lightly buff the whole nail plate to knock off shine and even out ridges, then wipe with a lint-free pad and isopropyl alcohol so no oils remain. A smooth, even surface is what makes a sheer coat read as glassy rather than patchy, since translucency exposes every bump. Buff gently and evenly - you are refining the surface, not thinning the nail.
Common mistake: Over-buffing thins and weakens the natural nail and can leave scratches that show through the sheer color.
Pro tip: Buff only until the shine is gone; a few light passes are plenty for a clean canvas.
3. Apply Dehydrator and a Thin Base Coat
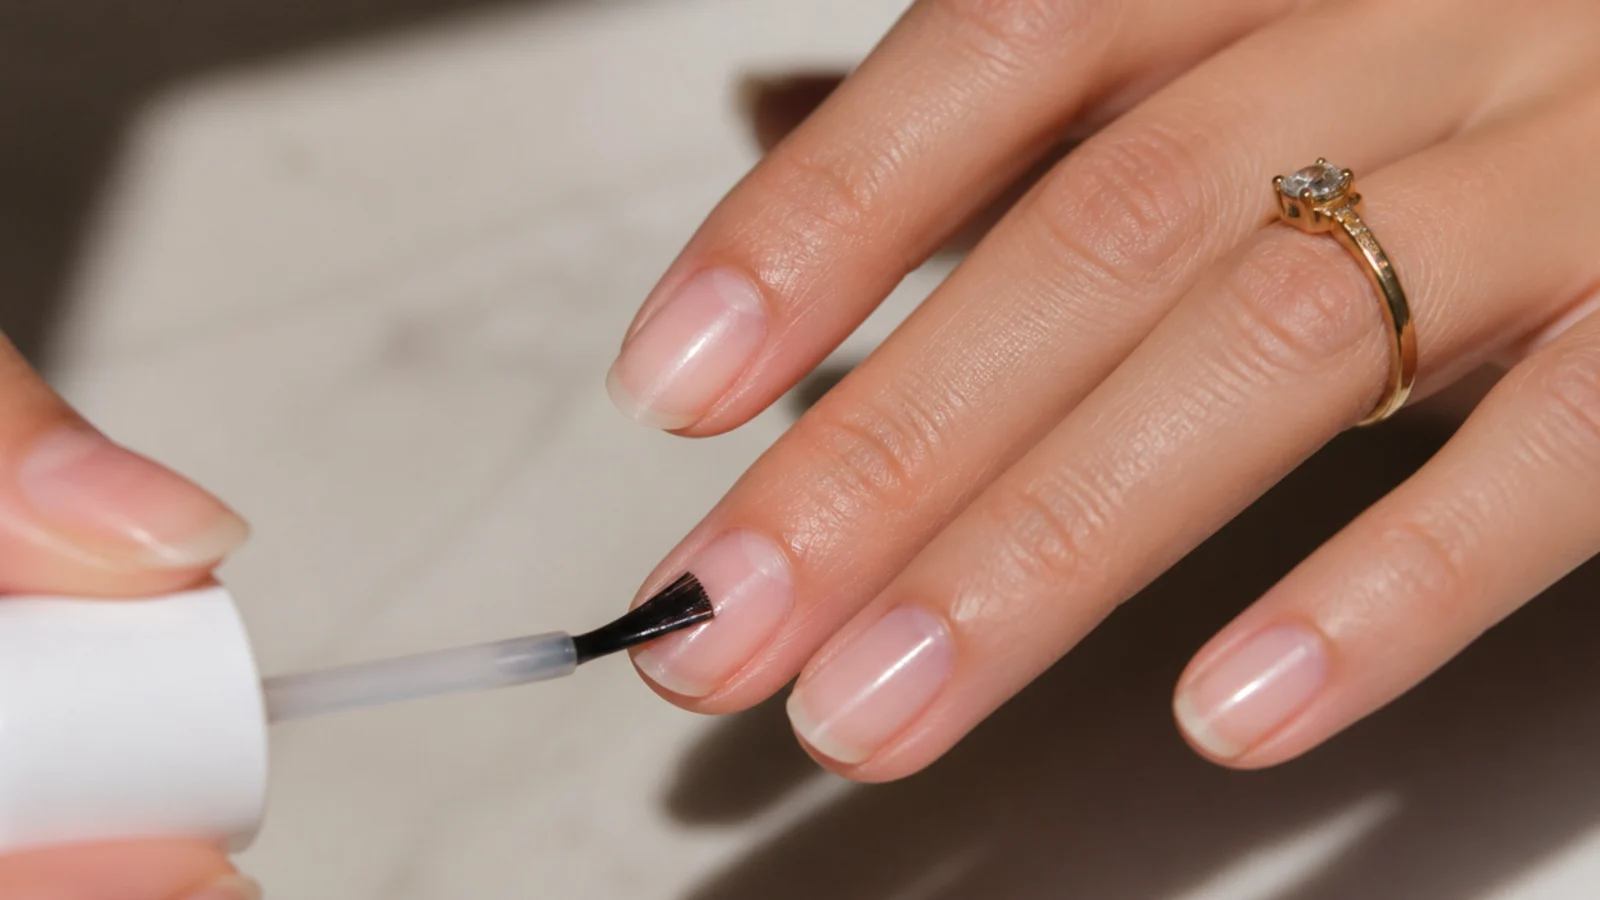
Wipe on a nail dehydrator or primer, then brush a thin, even gel base coat and cap the free edge by running the brush along the tip. Cure as directed - about 30 to 60 seconds under LED or roughly 2 minutes under UV. The base protects your natural nail, boosts adhesion, and gives the sheer color a clean, clear foundation so it does not grab unevenly.
Common mistake: Skipping the base or applying it thick causes lifting and can cloud the clarity of a sheer finish.
Pro tip: A quality base coat is the single best product for preventing lifting and natural-nail damage.
4. Choose Your Sheer Shade
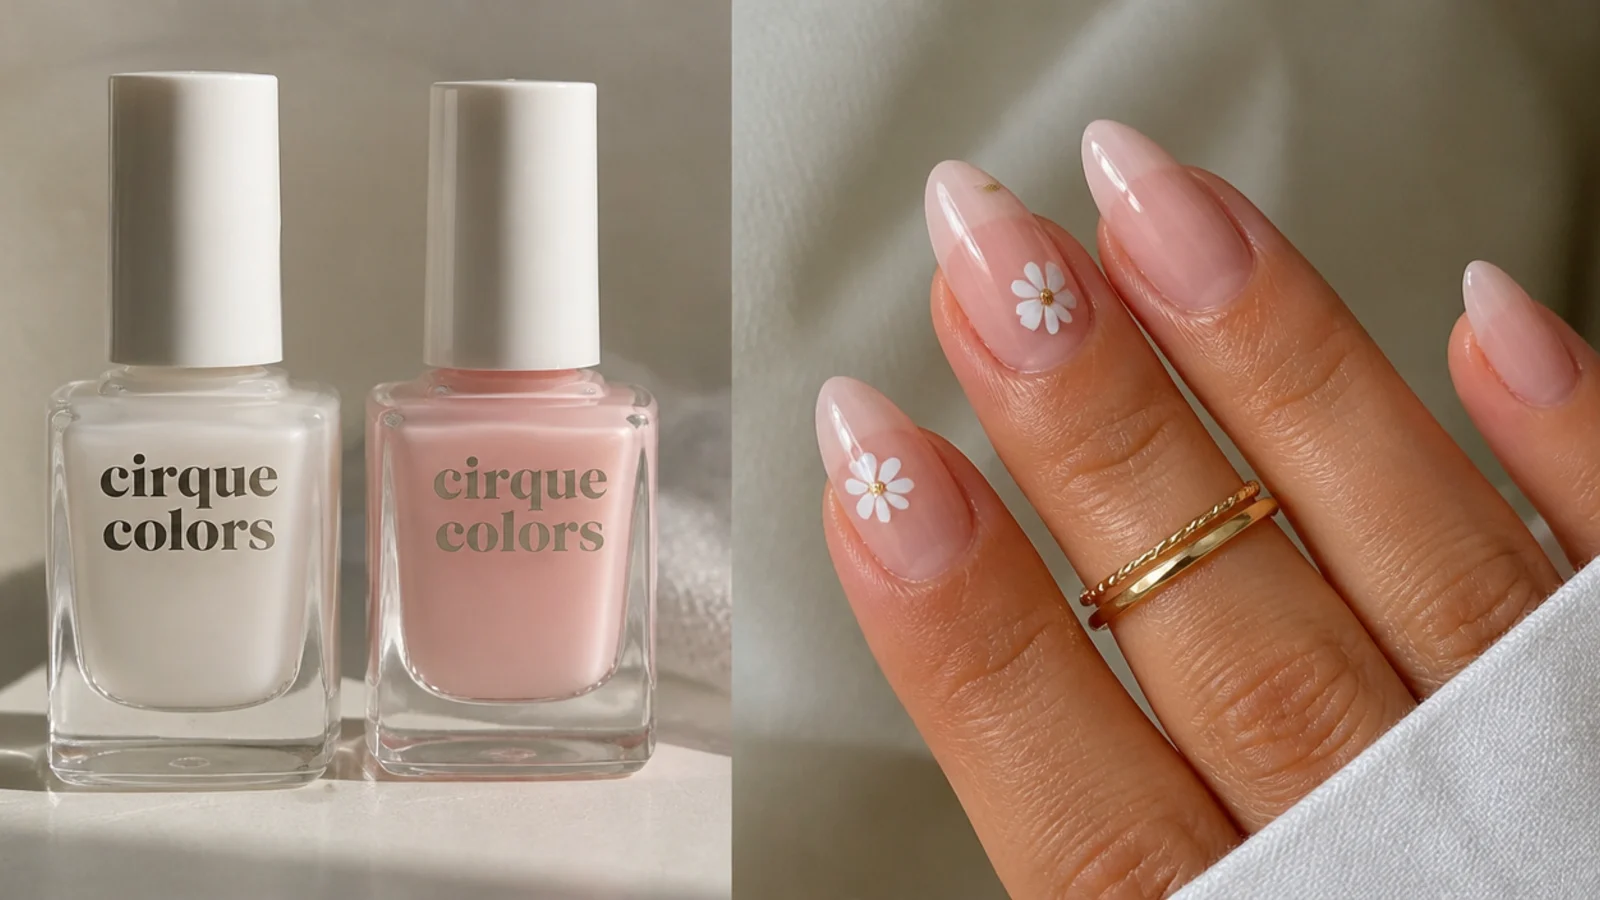
Pick a translucent shade, not an opaque one - a milky-clear or a barely-there sheer pink is the classic soap-nail color. OPI sheers like Funny Bunny and Bubble Bath are go-to picks, and any jelly or sheer wash works. Aim for a shade the natural nail still shows through; if it fully covers in one coat it will read as milky, not soap. This is the choice that defines the whole look.
Common mistake: Reaching for an opaque nude or white turns the look into milky nails instead of sheer soap nails.
Pro tip: Test one swipe on a nail first - if the free edge still peeks through, the sheerness is right.
5. Apply the First Thin Sheer Coat
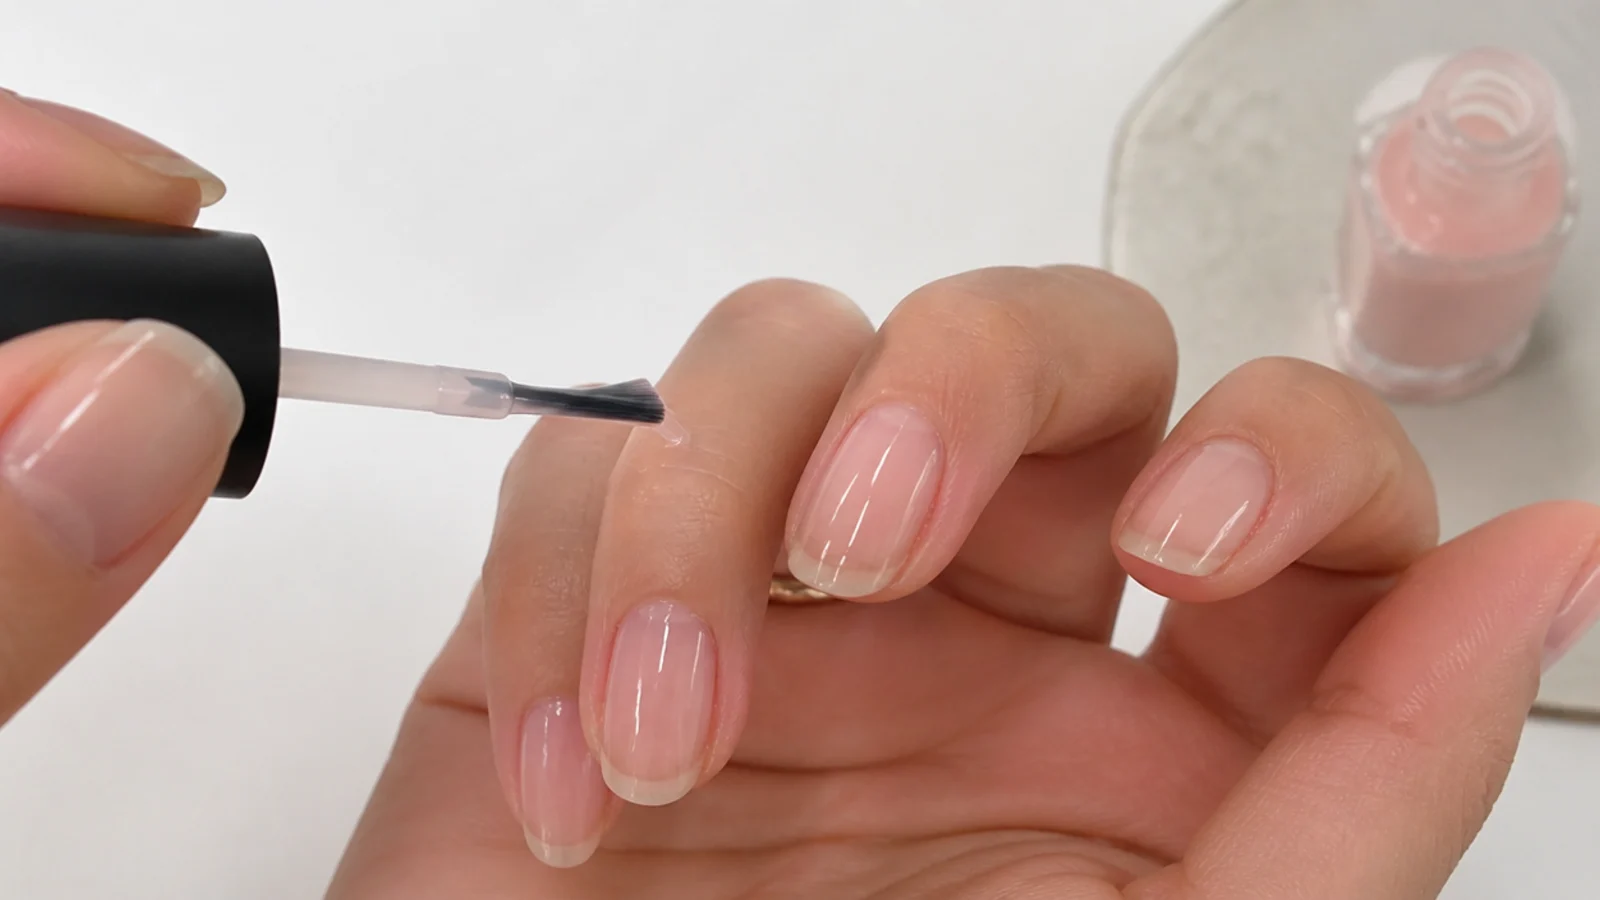
Float on one thin, even coat of your sheer color, cap the free edge, and cure for about 30 to 60 seconds under LED. Keep the coat light and let it stay see-through - you should still read the natural nail and the paler free edge underneath. Work with a nearly-dry brush so the color lays down smooth and does not pool at the cuticle or sidewalls.
Common mistake: A thick, floody first coat cures streaky and kills the translucency the whole look depends on.
Pro tip: Wipe most of the color off the brush before you start; sheer polishes go on best barely loaded.
6. Add a Second Coat Only If Needed
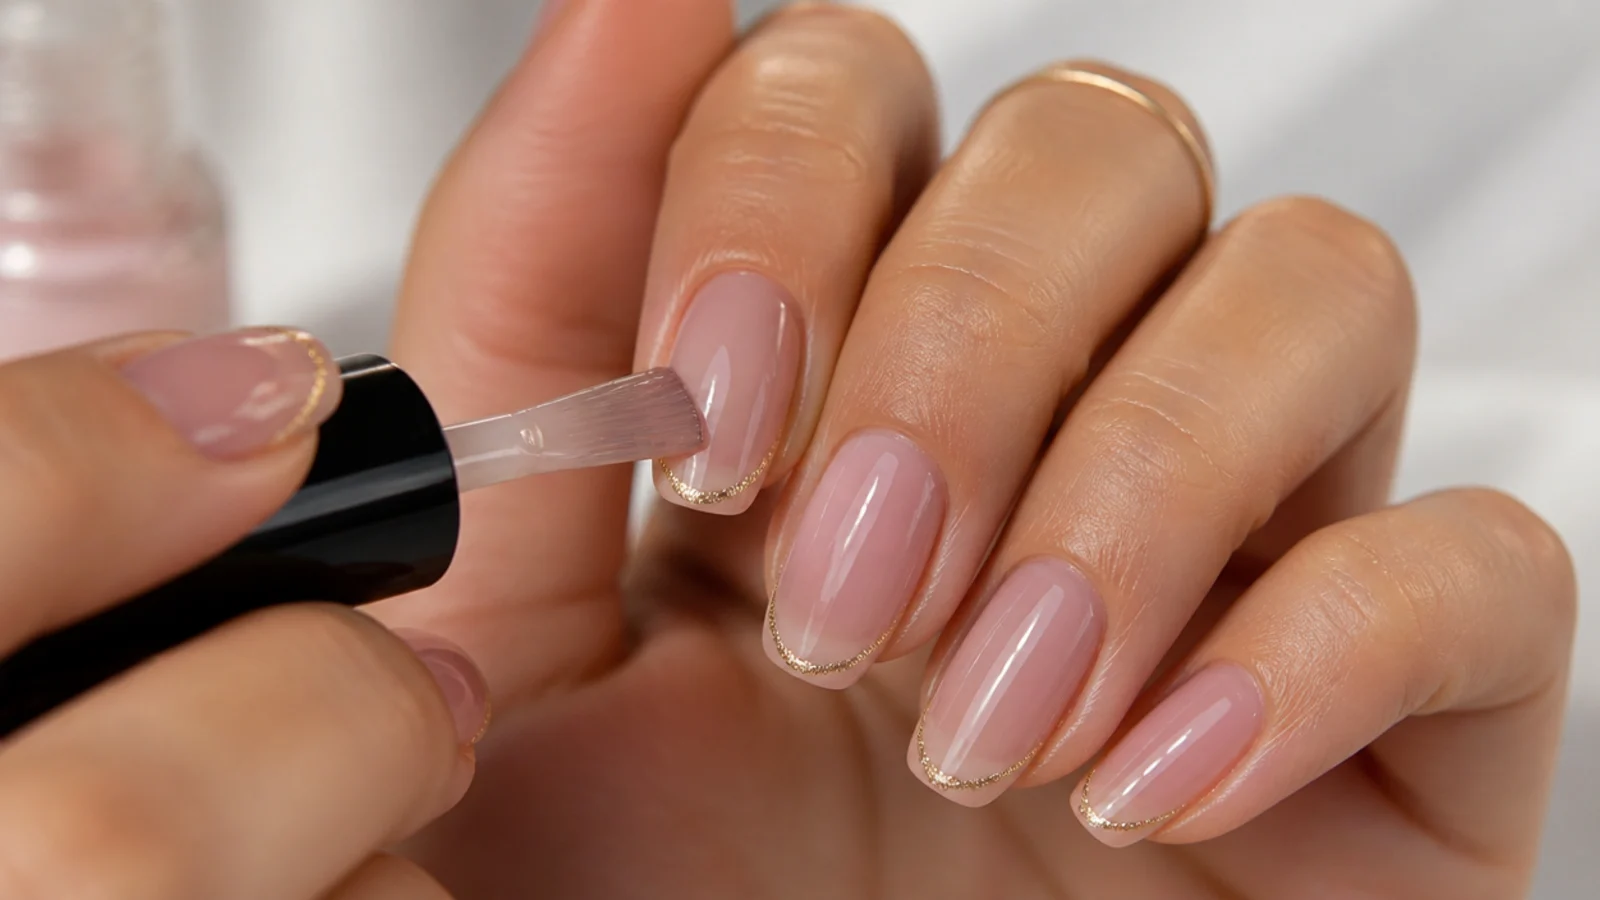
Assess after the first coat. If the wash looks even and glassy, stop there for the sheerest result. If it is patchy, add one more thin coat to even the tone and cure again for 30 to 60 seconds. One to two thin coats is the cap - a third pushes soap into opaque milky-nail territory. Keep the free edge visible through the color the whole time.
Common mistake: Adding a third or fourth coat to build color loses the sheer, just-washed effect entirely.
Pro tip: If you want the faintest hint of warmth, one sheer pink coat plus one clear is glassier than two pink.
7. Seal With a High-Shine Top Coat
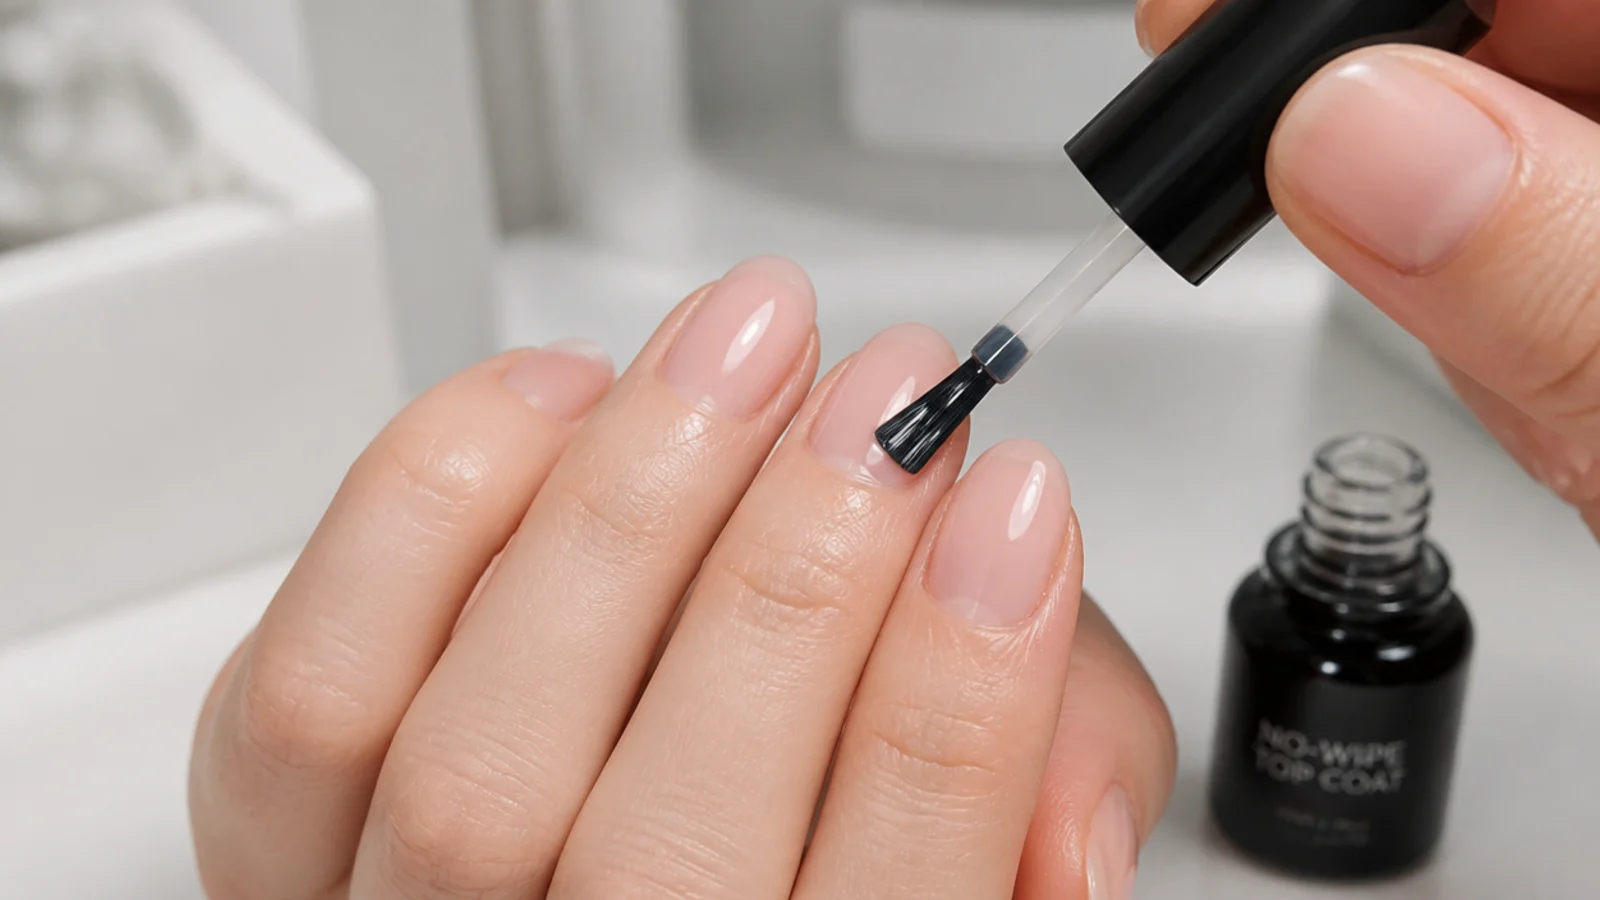
Brush a no-wipe glossy gel top coat over the whole nail and cap the free edge, then cure for about 30 to 60 seconds under LED. The high-shine top coat is what gives soap nails their signature wet, glassy finish, and capping the edge is what keeps the set from chipping early. Wipe off any sticky residue if your top coat needs it once it is cured.
Common mistake: A matte or skipped top coat leaves the look flat and dull instead of glassy and just-washed.
Pro tip: For an even glossier finish, a second thin top-coat layer deepens the wet-look shine.
8. Finish With Cuticle Oil
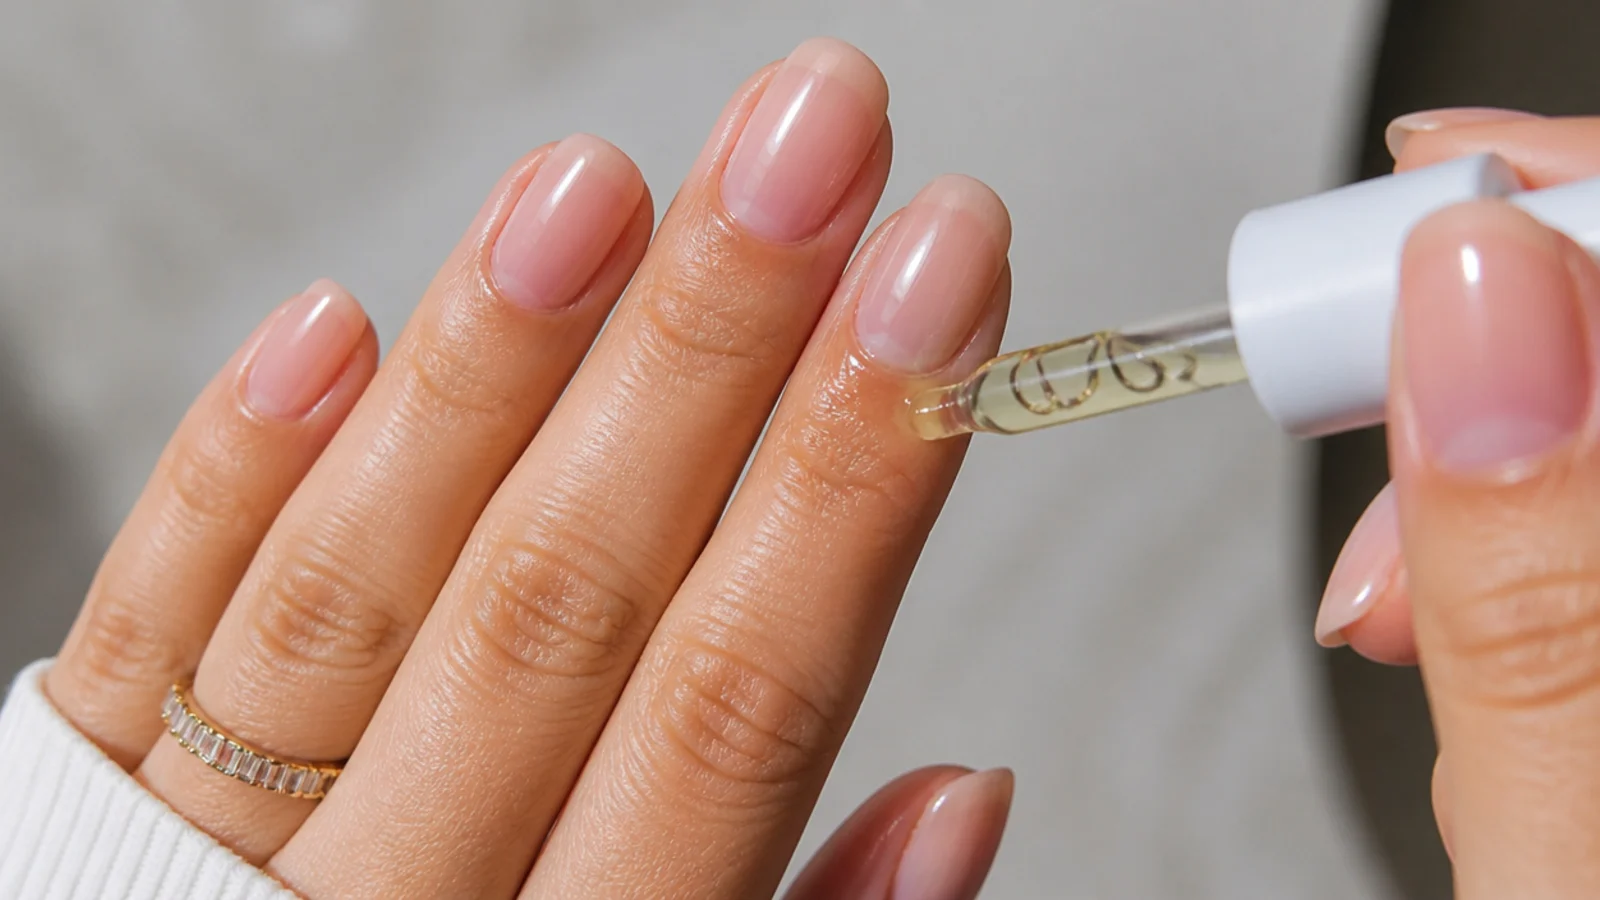
Massage cuticle oil around each nail and into the skin to finish. Because soap nails are all about that clean, cared-for just-washed feel, healthy hydrated cuticles complete the look as much as the color does. Oil daily from here on - it keeps a gel set flexible, stretches wear closer to the full three weeks, and keeps the clean-girl finish looking fresh.
Common mistake: Dry, flaky cuticles undercut the whole clean-girl effect no matter how nice the sheer color looks.
Pro tip: Keep a small bottle of cuticle oil at your desk and reapply once a day for the healthiest finish.
Supplies You Need
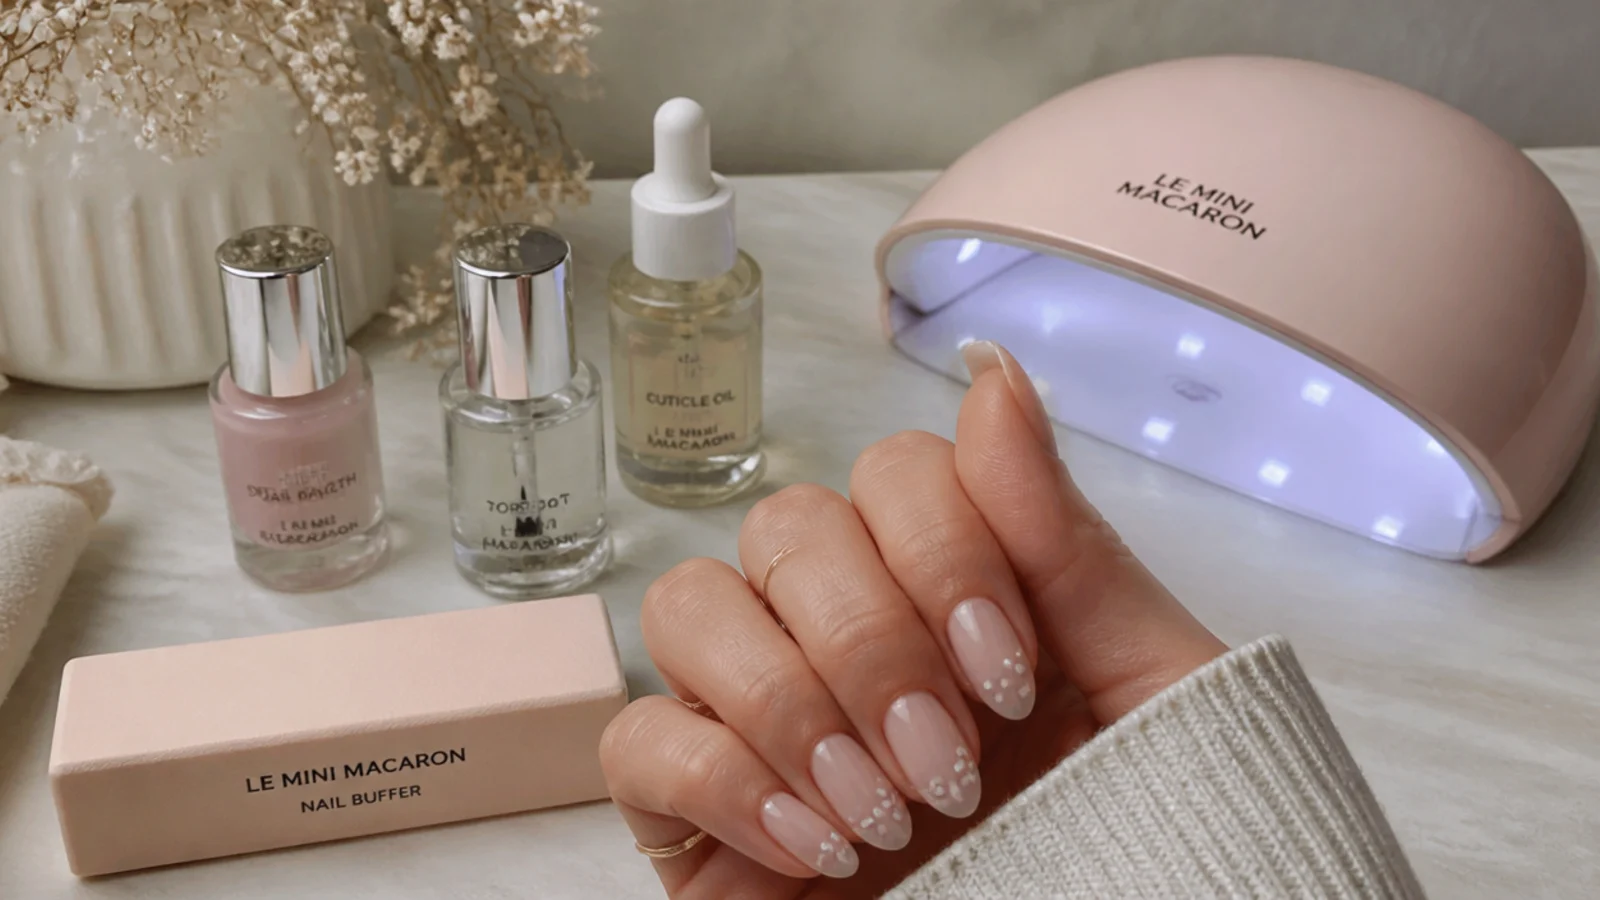
Soap nails use a standard gel-manicure kit, and the star is a single sheer color. You will need a buffer and cuticle pusher for prep, a nail dehydrator or primer, a gel base coat, one translucent shade - a milky-clear or a barely-there sheer pink such as OPI Funny Bunny or Bubble Bath - and a glossy no-wipe gel top coat. For curing you need an LED or UV lamp, since gel will not set without one. Round out the kit with lint-free wipes, isopropyl alcohol, cuticle oil, and 100% acetone with cotton and foil for removal later. You can also do this look in regular sheer polish with no lamp, trading the 2 to 3 week gel wear for about 5 to 7 days. Whichever route you pick, the sheerness of the shade matters more than the brand - if the natural nail shows through, it will read as soap.
Common Soap Nail Mistakes to Avoid
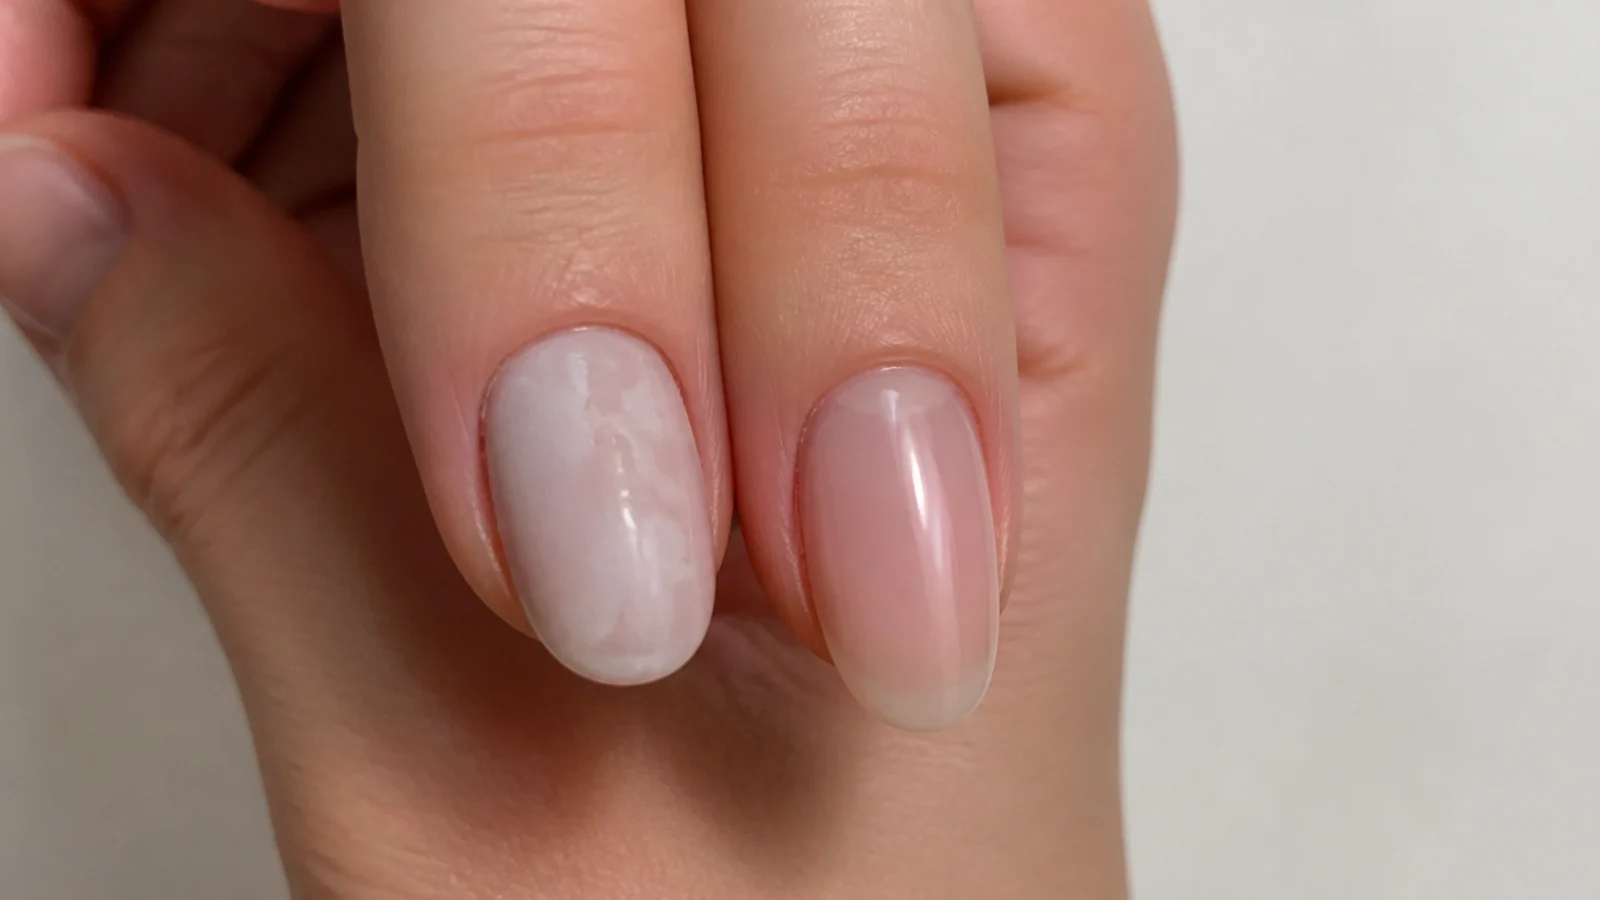
Most soap-nail problems come from losing the sheerness. The biggest mistake is reaching for an opaque nude or white or piling on too many coats - two thin coats is the ceiling, and a third turns soap nails into cloudy milky nails. The second is skimping on prep: because the finish is translucent, ridges, leftover cuticle and an uneven free edge all show straight through, so buff smooth and tidy the cuticle line first. Floody, thick coats are the third culprit, curing streaky and patchy where a nearly-dry brush would have laid down glassy. Skipping the high-shine top coat leaves the look flat instead of wet-glossy, and forgetting to cap the free edge invites early chips. Finally, dry cuticles undercut the clean-girl effect no matter how pretty the color - keep them oiled. Fix a coat that went too opaque by soaking off and restarting thinner rather than layering more on top.
How Long They Last, What They Cost and Removal
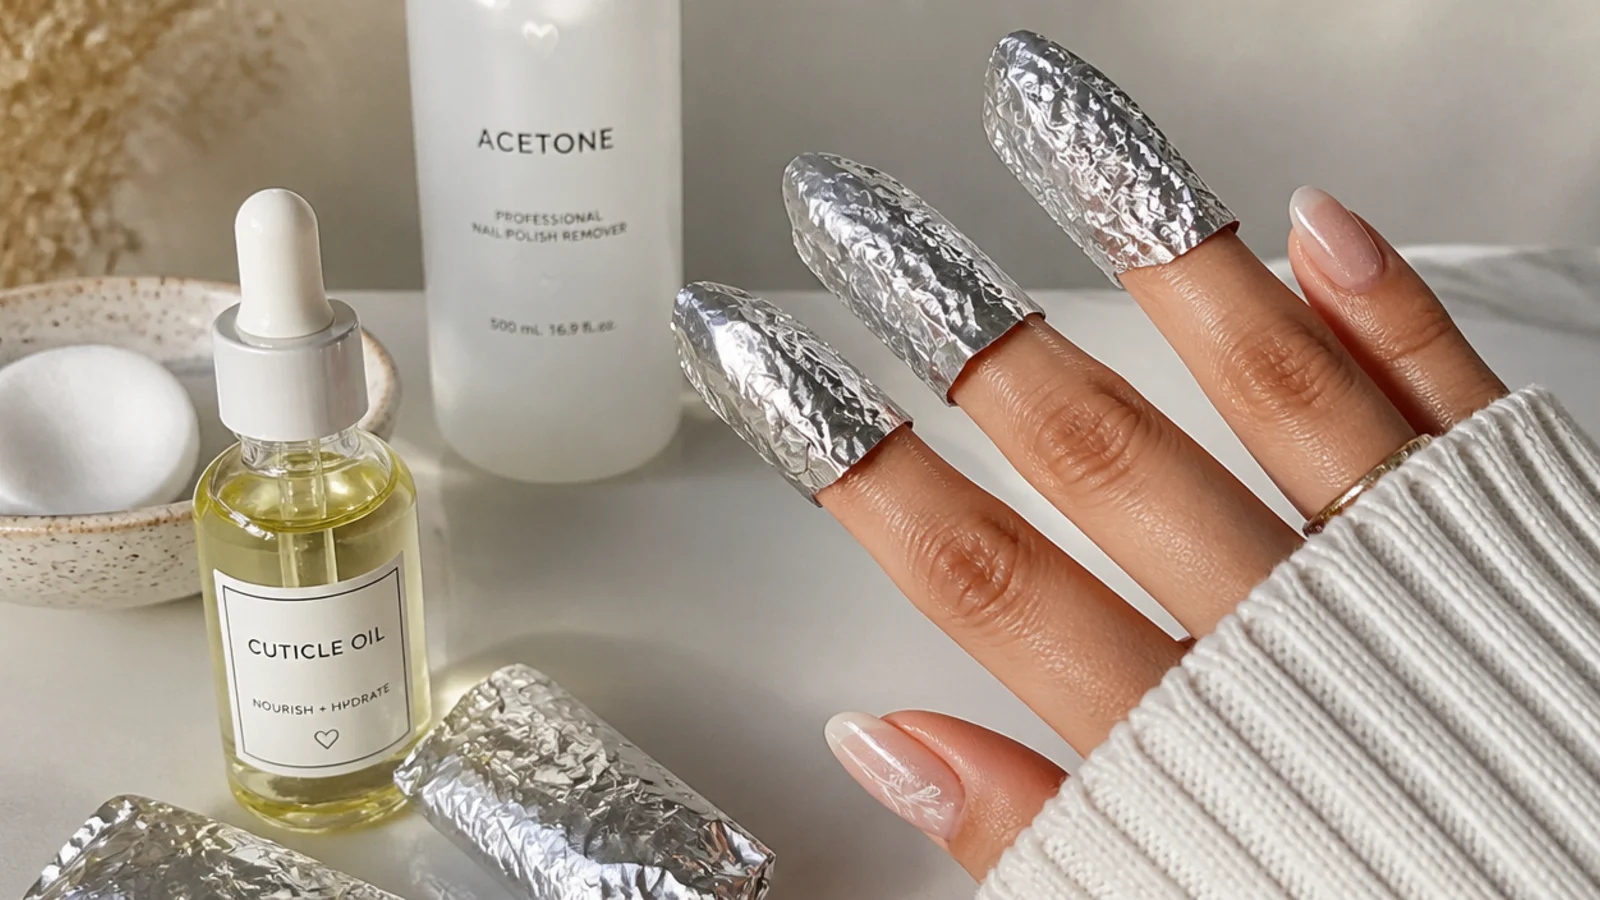
How long soap nails last depends on the formula. In gel, a soap-nail set holds about 2 to 3 weeks, and up to 4 with solid prep, capped edges and daily cuticle oil; in regular sheer polish it is closer to 5 to 7 days. At a salon, a sheer gel manicure runs about $30 to $45, while doing it at home with a DIY kit is a modest one-time cost that pays back after a set or two. To stretch the wear, oil daily, wear gloves for dishes and cleaning, and never use your nails as tools. When it is time to remove gel, do a proper soak-off: lightly file the shiny top coat to break the seal, soak cotton in 100% acetone, press it to each nail, wrap in foil for 10 to 15 minutes, then gently push the softened gel off with a wood stick. Never peel or pry it - that strips layers of your natural nail. Give nails an occasional break between sets, and see a nail tech if you notice lifting, pain or irritation.
Frequently Asked Questions
What are soap nails?
Soap nails are an ultra-sheer, translucent, glassy nail look that mimics freshly washed bare nails. You apply just one or two thin coats of a milky-clear or barely-there pink over well-prepped, buffed natural nails, so the nail plate and the free edge still show through. The finish is topped with a high-shine top coat for that clean, just-washed glow.
How are soap nails different from milky nails?
It comes down to opacity. Soap nails are sheerer and more translucent, so the natural nail shows through, while milky nails are more opaque and cloudy, reading as a soft solid white or nude. Glazed nails are a third look, adding a pearly chrome sheen. If you can still see the free edge through the color, it is soap, not milky.
How do you get the soap nail look?
Buff and prep the natural nail, push back the cuticles, then apply a base coat. Float on one thin coat of a sheer milky-clear or soft pink, cure or dry it, and add a second thin coat only if you need to even the tone. Seal with a glossy top coat and finish with cuticle oil. Keeping every coat thin is what preserves the sheerness.
What are the best OPI soap nail colors?
OPI Funny Bunny and Bubble Bath are the classic soap-nail picks - both are sheer, buildable whites and soft pinks that stay translucent in one or two coats. Other sheer or jelly washes in barely-there pink and milky-clear work too. The key is choosing a shade the natural nail still shows through rather than a fully opaque nude.
Do soap nails work on short nails?
Yes. Soap nails look great on short nails because the sheer, natural finish suits a low-key everyday shape and keeps short nails looking clean rather than bare. A short squoval, oval or almond all work well. The translucency actually flatters short natural nails, since it enhances what you have instead of covering it up.
Are soap nails gel or polish?
Either works. In gel, soap nails last about 2 to 3 weeks and cure hard and glassy under an LED or UV lamp. In regular sheer polish, they last about 5 to 7 days and need no lamp. Gel gives the more durable, higher-shine result, but a sheer regular polish achieves the same translucent soap look for a quicker, cheaper version.
How long do soap nails last?
A gel soap-nail set lasts about 2 to 3 weeks, and up to 4 with good prep, a capped free edge and daily cuticle oil. Done in regular sheer polish, expect closer to 5 to 7 days before chips show. Wear gloves for chores, oil your cuticles daily, and avoid using your nails as tools to get the most wear from either version.
Are soap nails good for the clean-girl look?
Yes - soap nails are the quiet backbone of the clean-girl aesthetic. The sheer, glassy, just-washed finish looks effortless and cared-for rather than done, and it pairs with any outfit. Because it barely adds color, it flatters every skin tone. Keep the cuticles neat and oiled and the shine high, and it reads as polished minimalism.
Gel application and removal, lamps, and 100% acetone should be used as directed. Curing gel improperly or force-removing it can damage your natural nails. For best results and nail health, see a licensed nail technician, and stop if you have any irritation or reaction.
Which soap nails look are you saving?
Soap nails come down to one idea: keep it sheer and let the natural nail show. Prep and buff well so the finish reads glassy rather than dull, use a translucent milky-clear or soft pink, and stop at one or two thin coats before it turns opaque and tips into milky-nail territory. In gel the set holds 2 to 3 weeks; in regular polish expect 5 to 7 days. Cap the free edge, finish with a high-shine top coat and daily cuticle oil, and the just-washed look stays clean for the life of the set. Be gentle with your natural nails, never peel or pry gel off, and see a nail tech if you want the crispest result or notice any irritation. Save this guide and keep every layer thin.