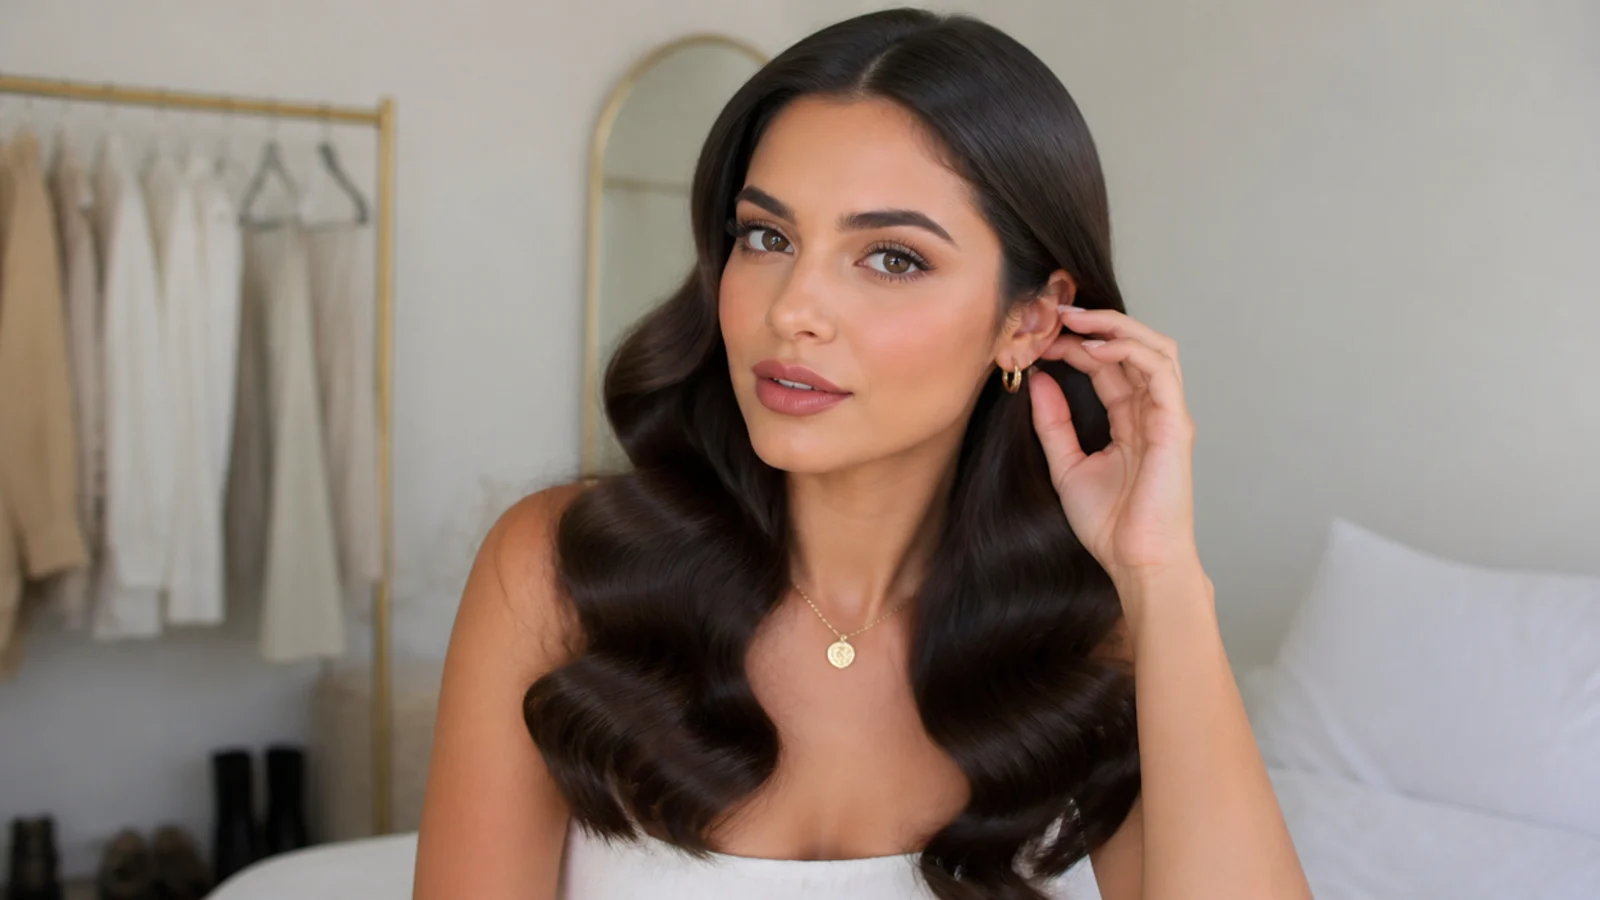
1. Cooling the Curls Is the Whole Secret
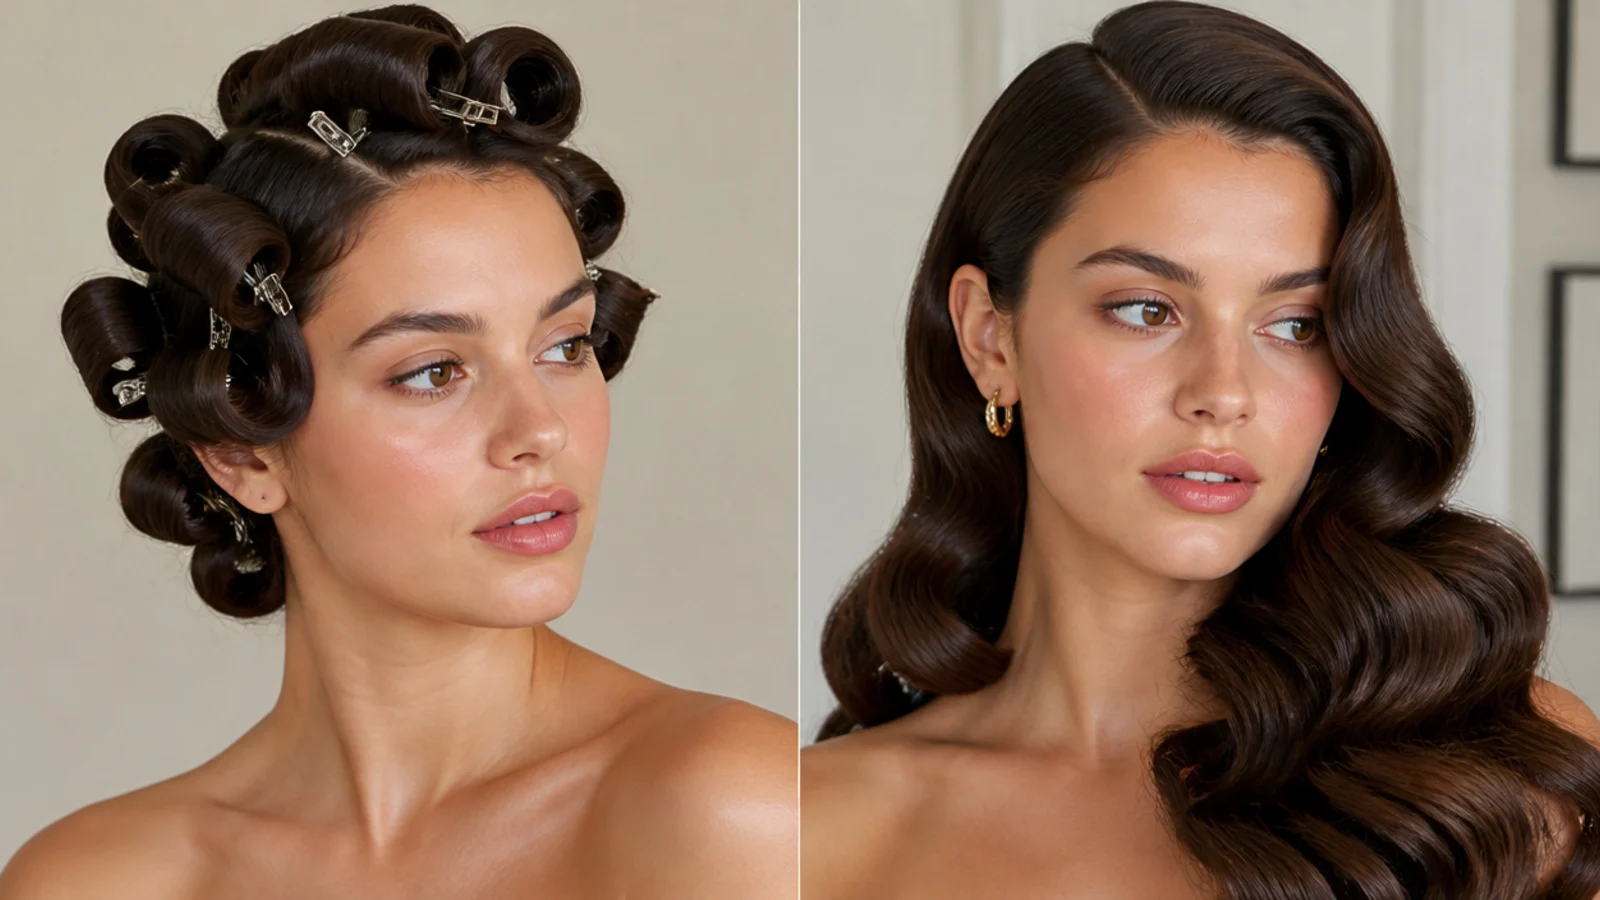
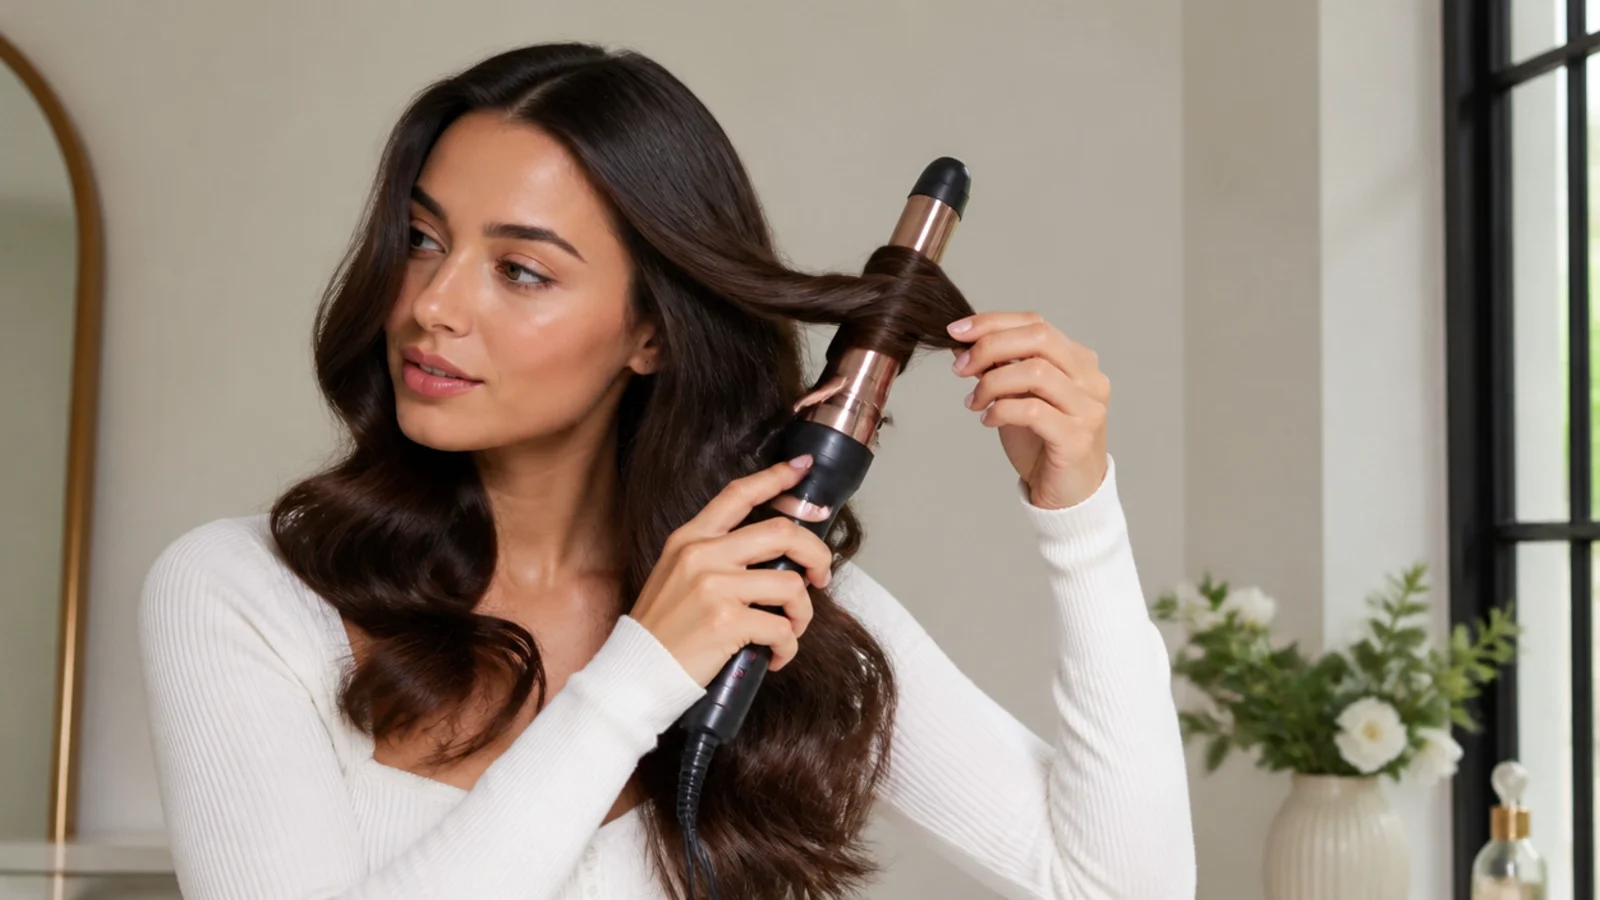
My biggest mistake was impatience. I would curl my hair and immediately brush it out, and the waves would fall flat within twenty minutes. The fix that changed everything was letting the curls cool completely before touching them - ideally pinned up in pin curls for ten minutes or more. Cool, fully-set curls hold their shape for hours; warm ones drop almost instantly. Now I curl, pin, and do my makeup while they set. It is the single most important step, and it is free.
2. You Have to Brush Them Out
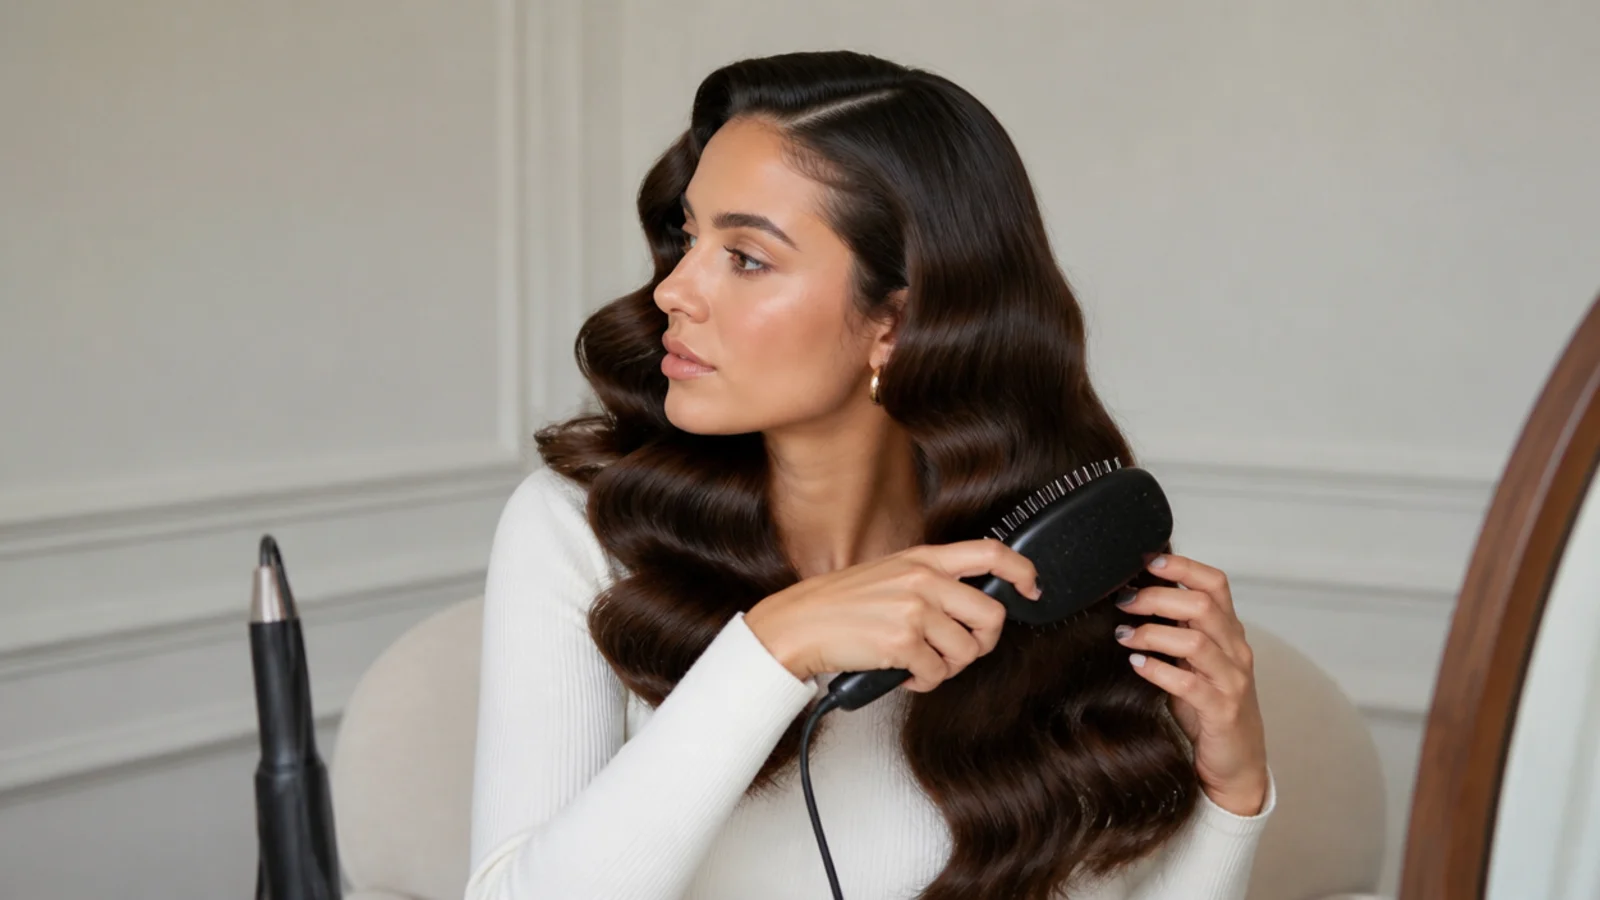
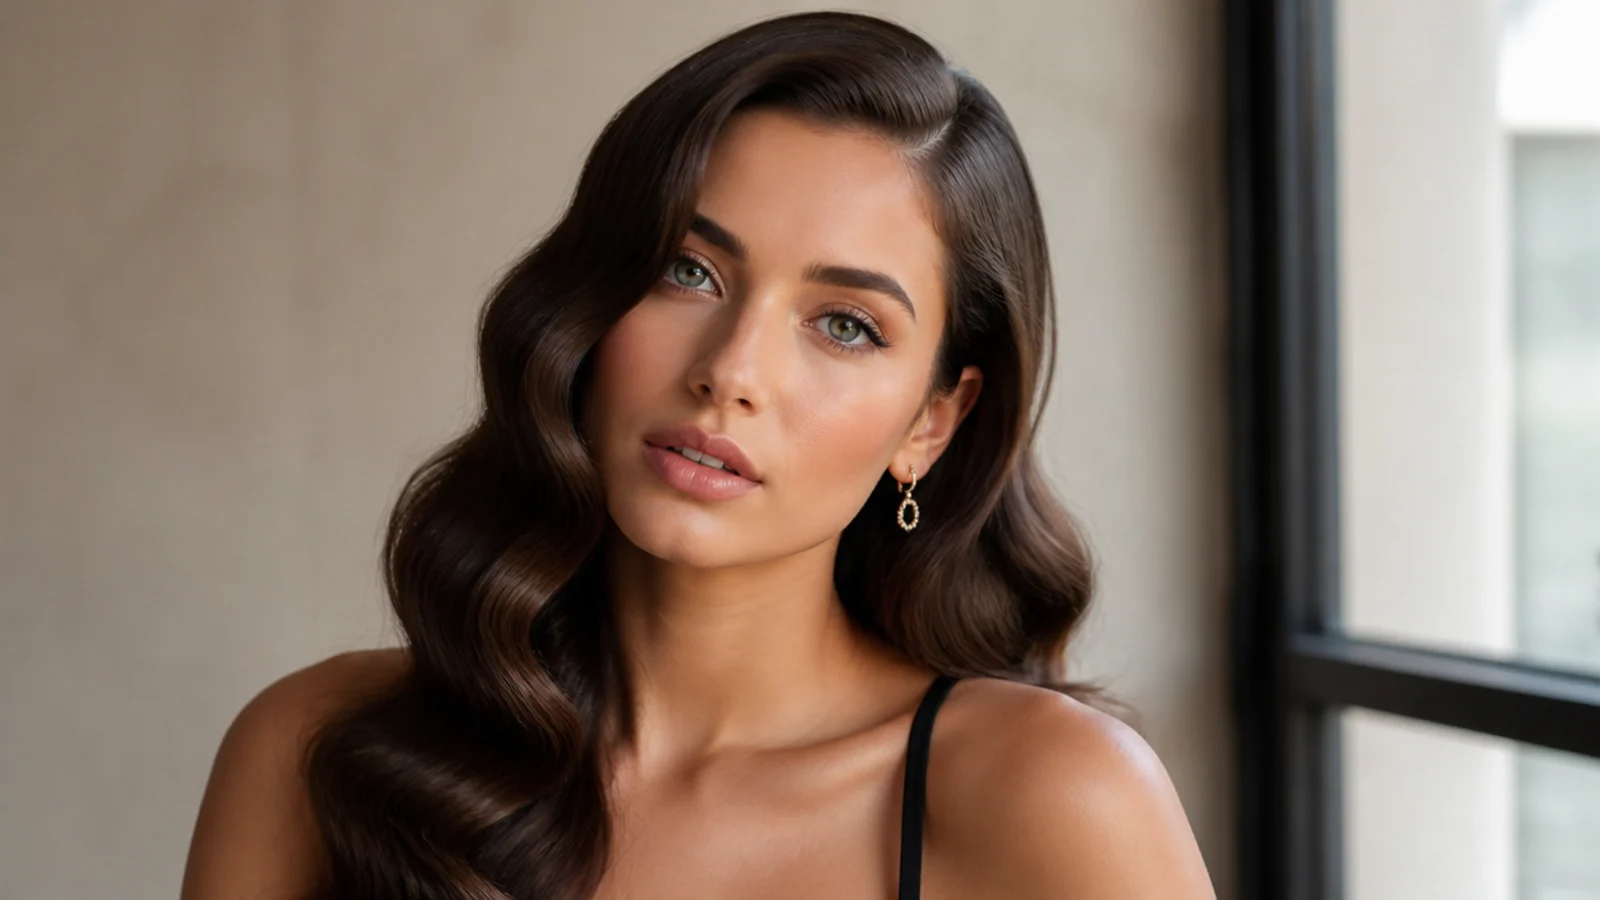
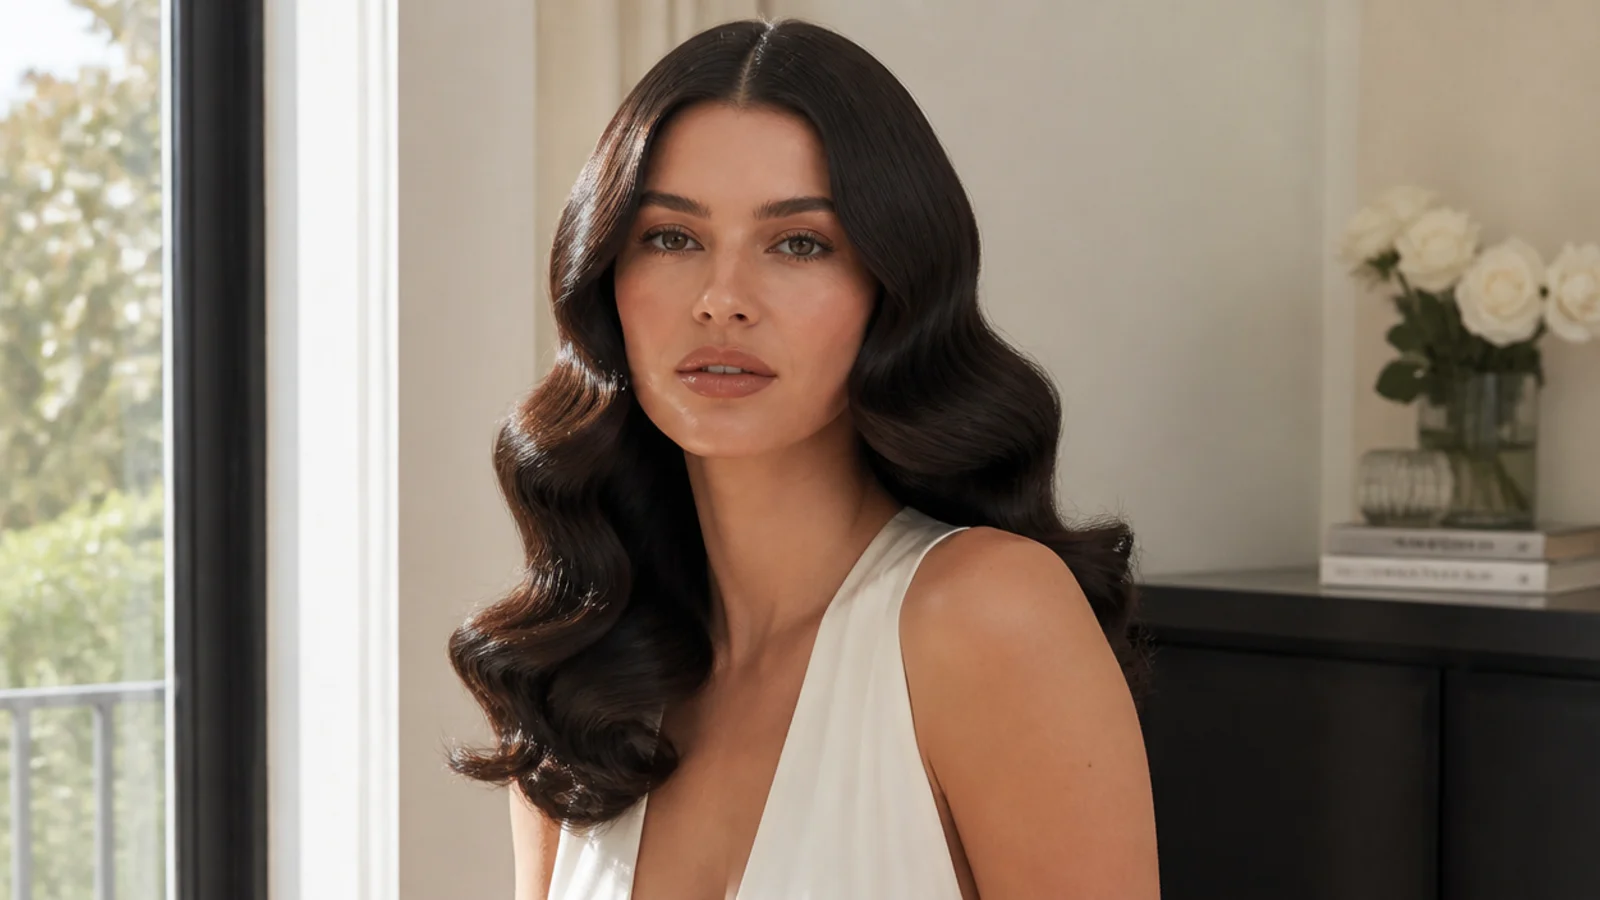
For ages I ended up with ringlets and could not understand why my waves did not look like the smooth, glossy ones online. The answer was that I was scared to brush them out. Brushing cooled curls with a boar-bristle brush is exactly what turns separate curls into connected, satiny S-waves - it is the defining step of Hollywood waves. It feels like you are ruining them, but you are not; you are making them. Brush more for smoother, less for more definition.
3. Curl Every Section the Same Way
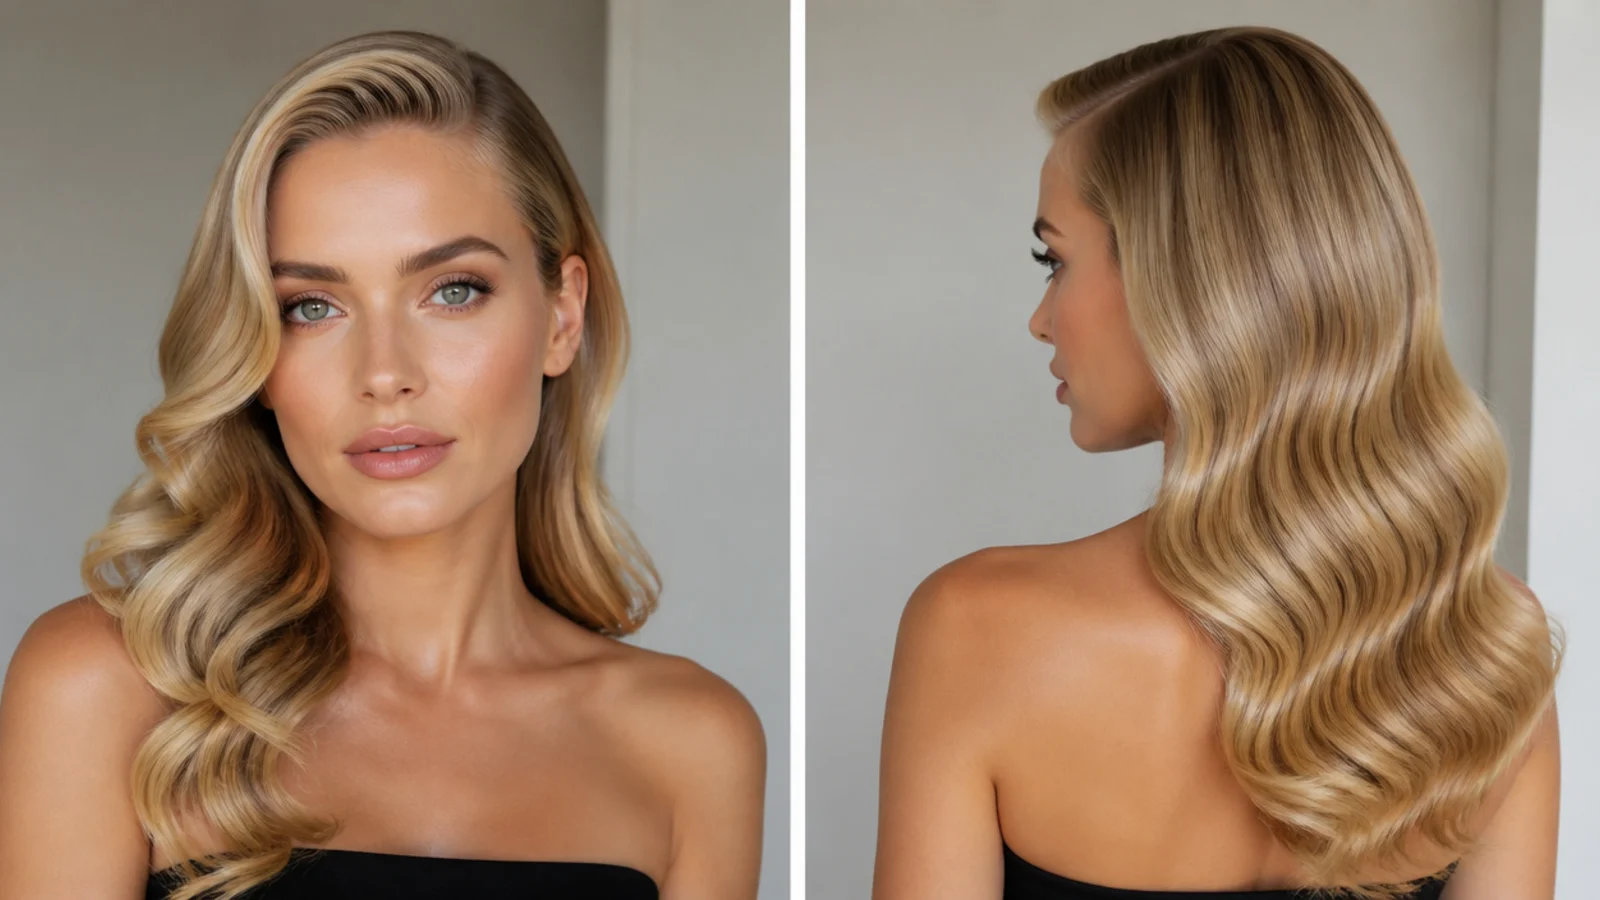
My early waves looked messy and uneven, and it was because I was curling random sections in random directions. Hollywood waves need every section curled the same way - away from your face - so the waves stack into one uniform S-pattern when you brush them out. Once I started curling consistently in one direction, the waves suddenly looked polished and intentional instead of tousled. Consistency, not skill, is what makes them look expensive.
4. Sleek Hair First, Shine Spray Last
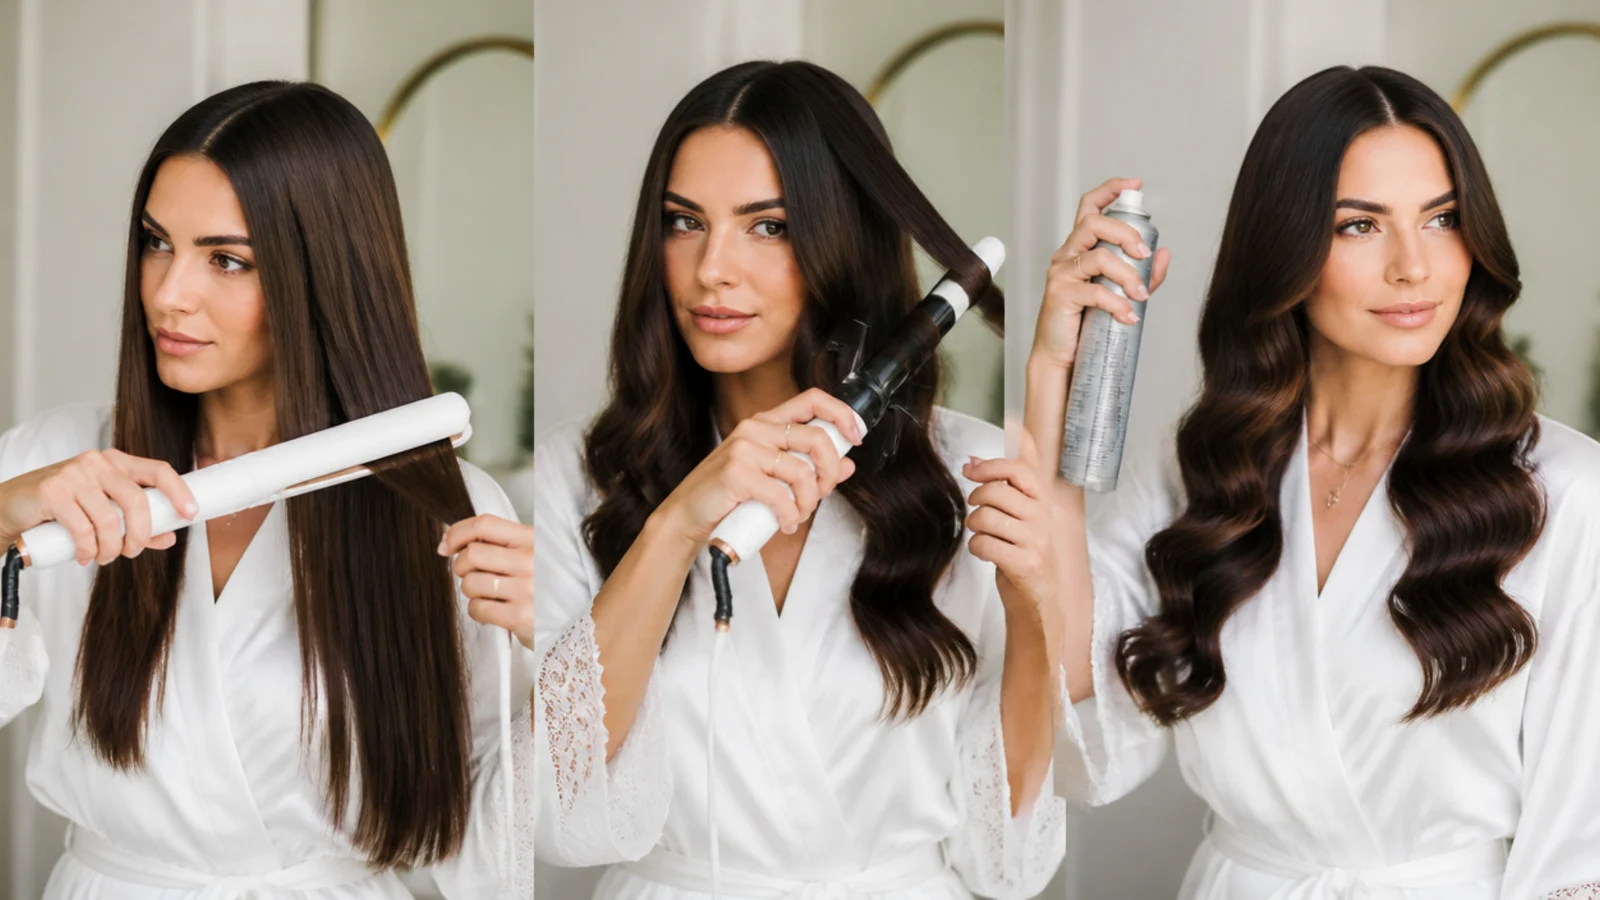
I used to curl straight from air-dried, slightly frizzy hair and wonder why my waves looked dull. Two things fixed it: starting with smooth hair (a quick pass with a straightener if needed) so the waves sit sleek, and finishing with a shine spray. That final gloss is what gives Hollywood waves their red-carpet, expensive look. A little smoothing serum before curling and shine spray after made a bigger difference than any new tool.
5. Set It Softly, Not Stiffly
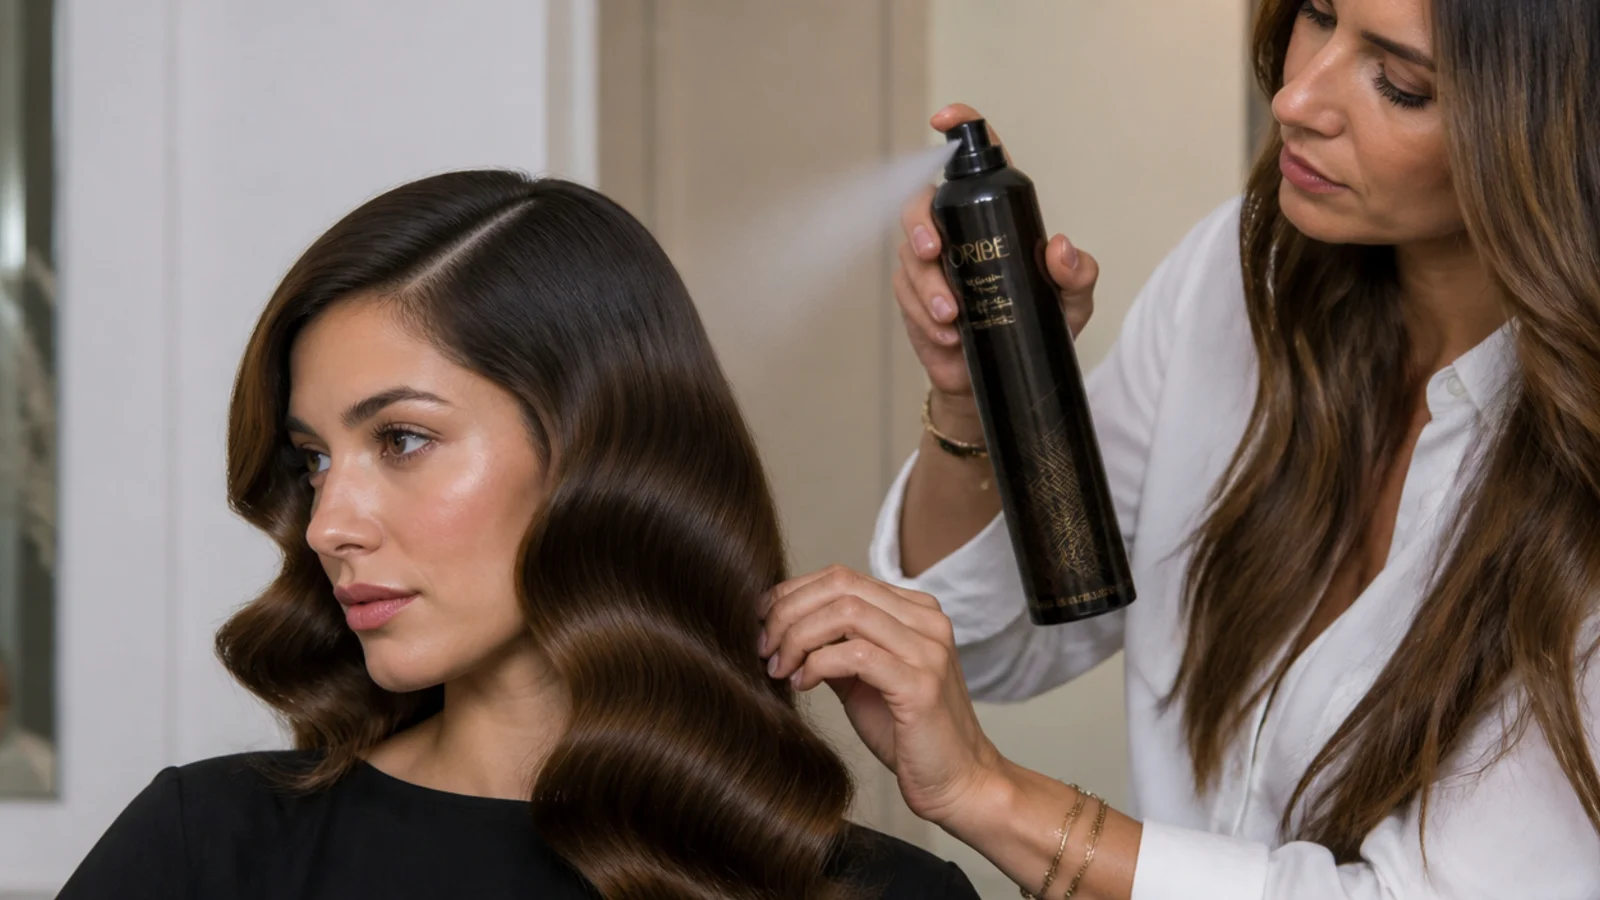
When I finally got waves I loved, I would drown them in strong hairspray to make them last, and end up with crunchy, stiff hair that looked dated. The trick is a flexible hairspray that holds without freezing the waves solid, applied lightly. If I want extra staying power, I clip the S-bends for a couple of minutes after spraying, then remove the clips - it locks the shape without the crunch. Soft, movable, glossy waves always look more expensive than stiff ones.
Frequently Asked Questions
Why do my Hollywood waves fall out so fast?
Almost always because the curls were brushed out or handled while still warm. Let each curl cool completely - ideally pinned up - before brushing. Fully-set, cool curls hold for hours; warm curls drop within minutes.
Why are my Hollywood waves curly instead of smooth?
Because they have not been brushed out. Brushing the cooled curls with a boar-bristle brush blends them into smooth, connected S-waves. Starting with sleek, straightened hair and finishing with shine spray also helps them look smooth and glossy.
Why do my waves look messy and uneven?
Usually because sections were curled in different directions. Curl every section away from your face in the same direction so the waves stack into one uniform S-pattern when you brush them out. Consistency is what makes them look polished.
How do I make my Hollywood waves shiny?
Start with smooth, frizz-free hair (straighten it first if needed), and finish with a shine spray or a drop of smoothing serum. The gloss is what gives Hollywood waves their signature red-carpet look.
How do I keep Hollywood waves soft, not crunchy?
Use a flexible hairspray applied lightly rather than a strong, freezing hold. For extra staying power, clip the S-bends for a couple of minutes after spraying, then remove the clips - it sets the shape without making the waves stiff.
Heat styling can damage hair. Use a heat protectant, keep the iron at a moderate temperature, and take heat-free days to let your hair recover.
Which hollywood waves look are you saving?
Hollywood waves are all about patience and finish, not fancy tools - cool the curls, brush them out, curl one way, and add shine. None of it is difficult once you stop rushing. Save this so your next set of glam waves comes out smooth and lasts all evening. It genuinely gets easy with a little practice.