Quick Comparison
| Easy Mermaid Braid (Pancaked Fishtail) | Classic Three-Strand Braid | |
|---|---|---|
| Sections to hold | Two, one in each hand | Three, with one always swapping hands |
| Piece size | Quarter inch to half inch from the outer edge | Whole strand crossed over the middle |
| Time on mid-back hair | 8 to 12 minutes, plus 3 for pancaking | 3 to 5 minutes total |
| Finished width | 3 to 6 inches once pancaked | 1 to 2 inches unless pancaked too |
| Pattern it makes | Fine V-shaped weave that fans like a tail | Chunky rope of three interlocking strands |
| Minimum length | About 12 inches, or 10 for a half-up | About 6 inches |
| Grip needed | High; needs day-two hair or texture spray | Low; works on clean hair |
| Difficulty on yourself | Beginner, easiest over one shoulder | Beginner, easy blind down the back |
| Best for | Photos, events, faking thickness on fine hair | Gym, sleep, and fast everyday tying back |
1. Start With Day-Two Hair and Texture Spray
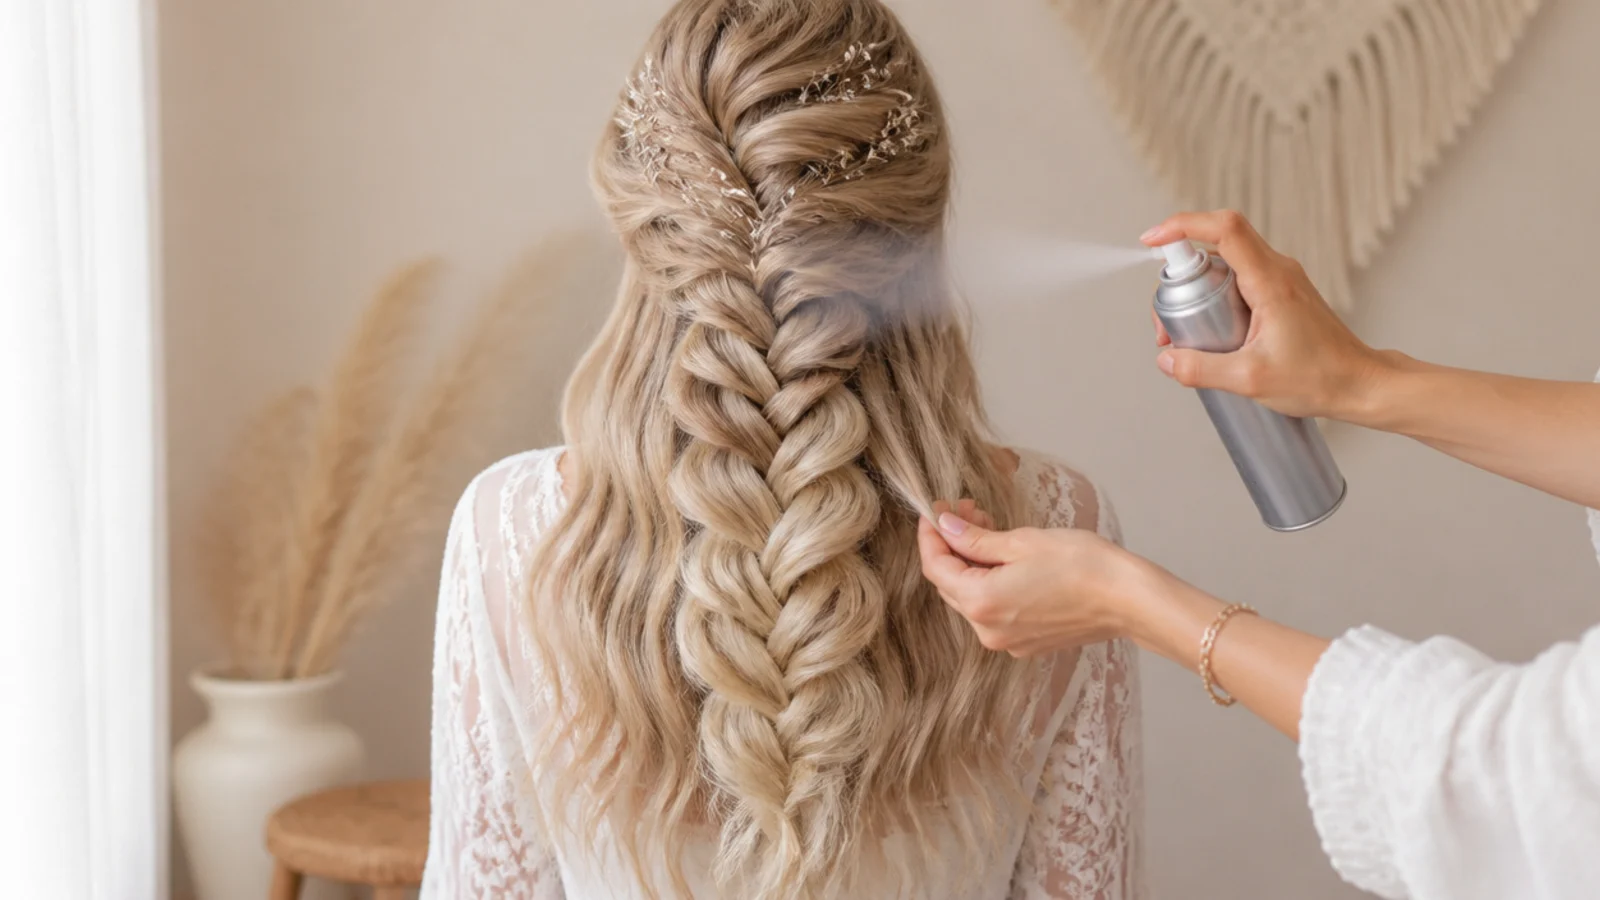
Clean, freshly washed hair is the single most common reason a beginner mermaid braid falls apart, because the cuticle is smooth and the crossovers slide free the moment you let go. Braid on day-two hair instead. If today is wash day, mist texture spray or dry shampoo through the mid-lengths and ends, then scrunch it in with your fingers for ten seconds so the grit sits along the strand rather than in a patch. Skip conditioner on the lengths the night before if you know you are braiding.
Common mistake: Using a smoothing serum or oil first, which makes the hair even slipperier than clean hair alone.
Pro tip: A cheap sea-salt spray works, but keep it off the roots or the braid looks dusty in photos.
2. Brush Out Every Tangle, Then Decide on Placement
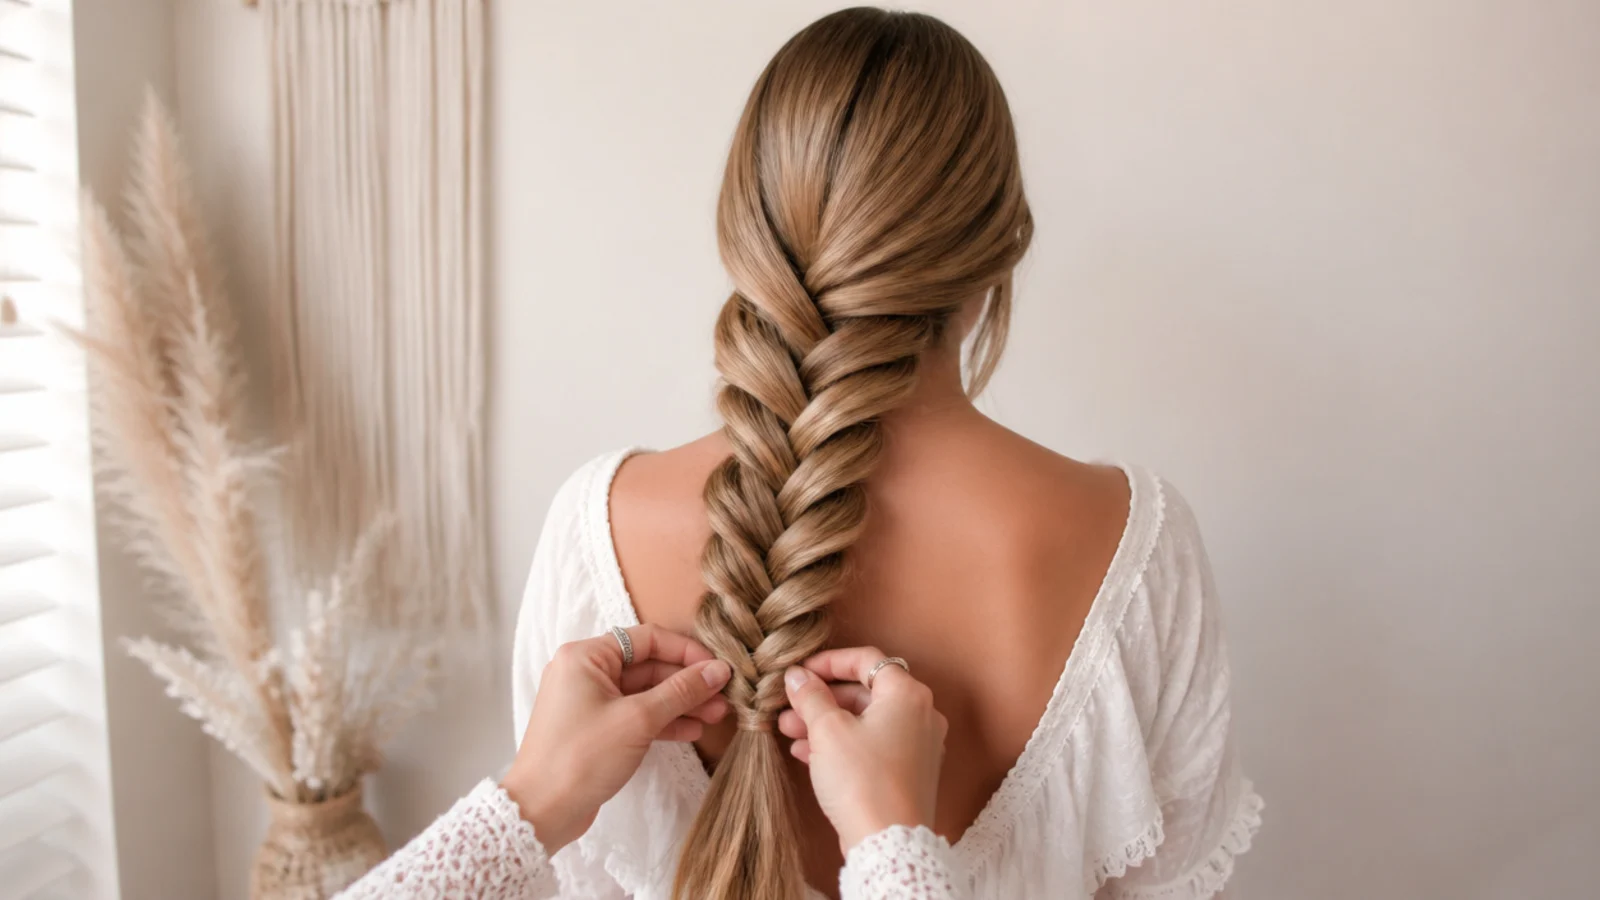
Run a paddle brush from ends to roots until there is not a single knot left, because a fishtail passes the same hair back and forth dozens of times and every tangle becomes a lump you cannot hide. Then choose placement. Straight down the back looks the most dramatic but is the hardest to reach on yourself. Over one shoulder from a deep side part is the beginner-friendly choice and the base of most side mermaid braids, because you can see what your hands are doing.
Common mistake: Braiding blind down the center on the first attempt, which usually ends in an uneven, lopsided plait.
Pro tip: Stand with your back to one mirror and a hand mirror in front to check the fan as you go.
3. Split Into Two Sections, Not Three
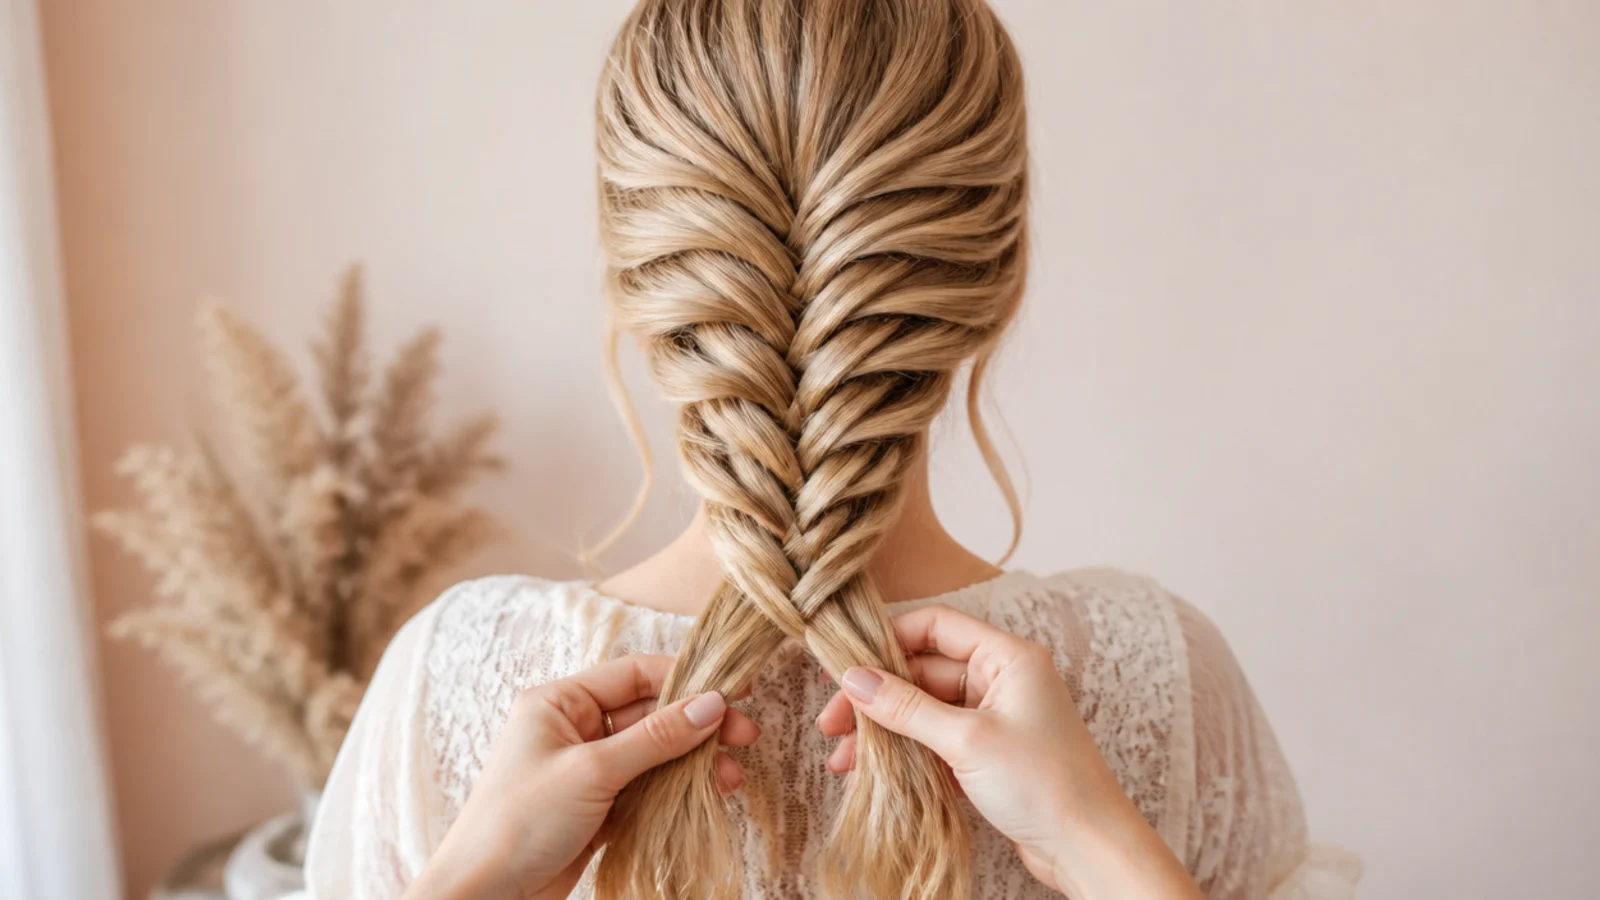
Gather the hair where you want the braid to begin and split it into two equal halves. That is the whole setup. There is no third strand to lose track of, which is exactly why a fishtail is easier than a three-strand or French braid for most beginners. If you want a cleaner start, tie a clear elastic at the top and cut it out at the end. Hold one section in each hand with your thumbs on top so your fingers stay free to pick pieces.
Common mistake: Making the two halves unequal, which pulls the finished braid crooked to one side.
Pro tip: For a low ponytail version, secure a ponytail first and split that, so nothing loosens at the crown.
4. Cross Half-Inch Pieces From the Outside In
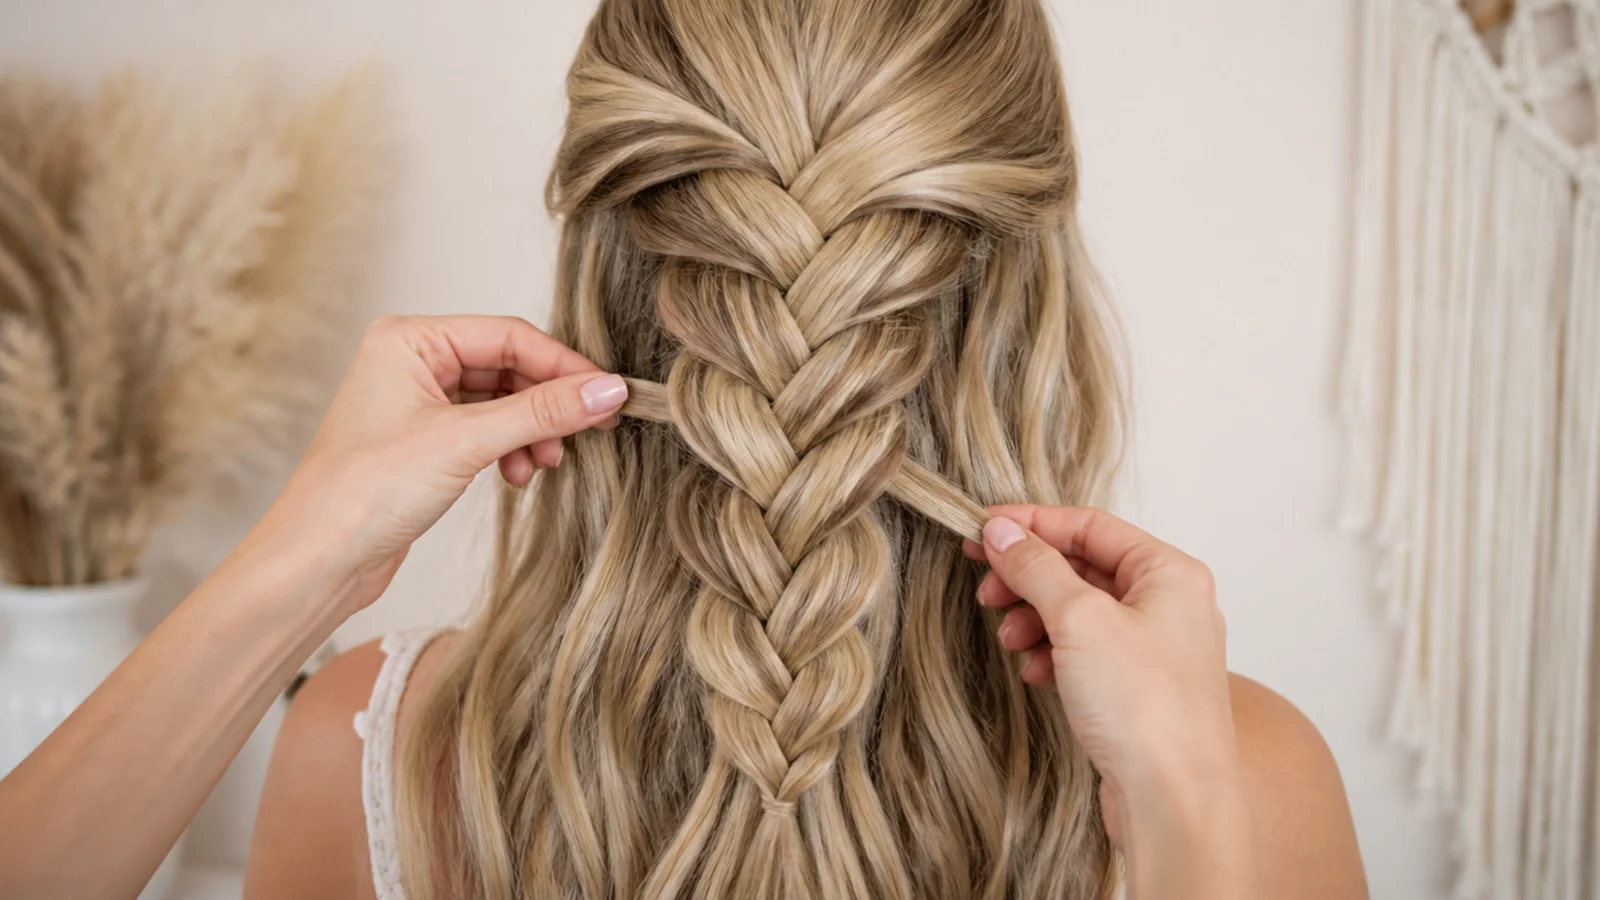
Take a half-inch piece from the outer edge of the left section, bring it across the top and add it to the inner edge of the right section. Then do the mirror image from the right. Alternate, and that is the entire fishtail. Keep the pieces consistent: about a half inch gives you a visible V pattern, a quarter inch gives you a finer, more intricate weave that takes twice as long, and an inch reads chunky and loose, which is the fastest route to an easy braid.
Common mistake: Grabbing pieces from the middle of the section instead of the outer edge, which blurs the V pattern.
Pro tip: Say left, right, left out loud for the first ten crossovers until the rhythm becomes automatic.
5. Keep Tension Even All the Way to the Ends
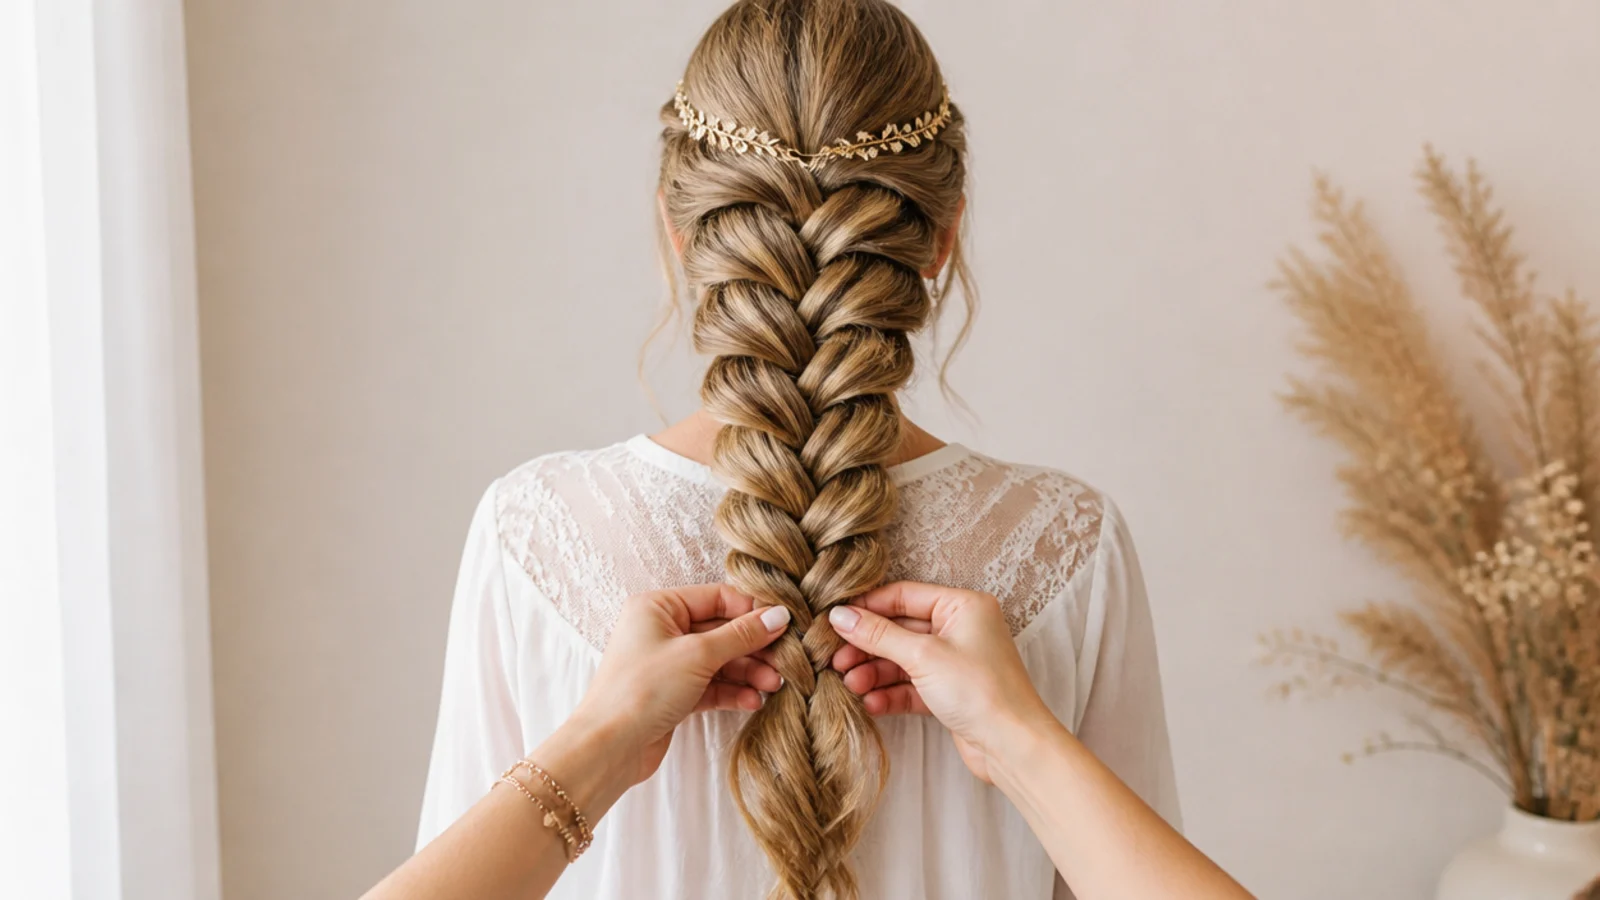
Pull each crossover snug against the one above it before you pick the next piece, and keep both hands at roughly the same height. Uneven tension is why home braids bulge in the middle and taper at the top. Braid all the way to the last two inches even if you plan a messy finish, because you cannot pancake a section that was never braided. On layered hair, shorter pieces will pop out around the crown, which is normal and reads intentional once the braid is widened.
Common mistake: Braiding tighter as you tire, which makes the lower half thin out just where you want the fan widest.
Pro tip: If the braid loosens halfway, do not restart. Pinch it flat at that point and keep going.
6. Tie Off With a Clear Elastic
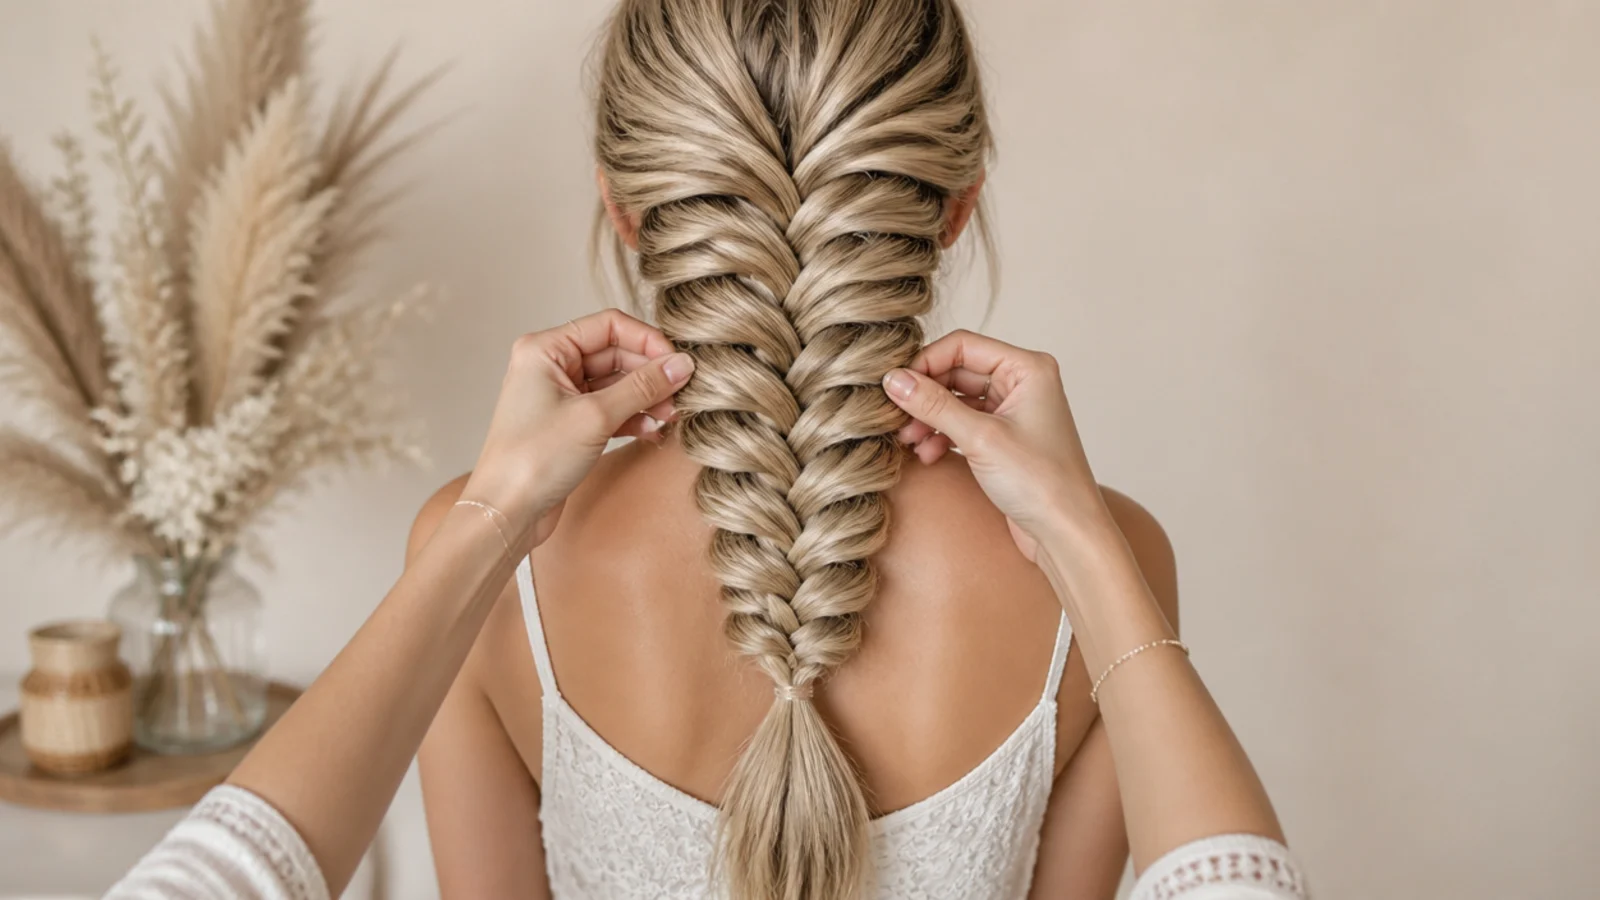
Finish with a small clear elastic rather than a black or colored one. A clear elastic effectively disappears in photos, so the eye reads the braid as flowing straight into the loose ends instead of stopping at a hard band, which is most of why professional mermaid braid photos look endless. Wrap it two or three times only. Leave one to two inches of loose hair below it, and if that tail is very fine, curl it with a one-inch wand for a bit of body.
Common mistake: Winding the elastic four or five times, which creates a visible pinch the pancaking cannot hide.
Pro tip: Tie the elastic loosely at first so you can slide it up an inch after pancaking shortens the braid.
7. Pancake From the Bottom Up to Fan It Out
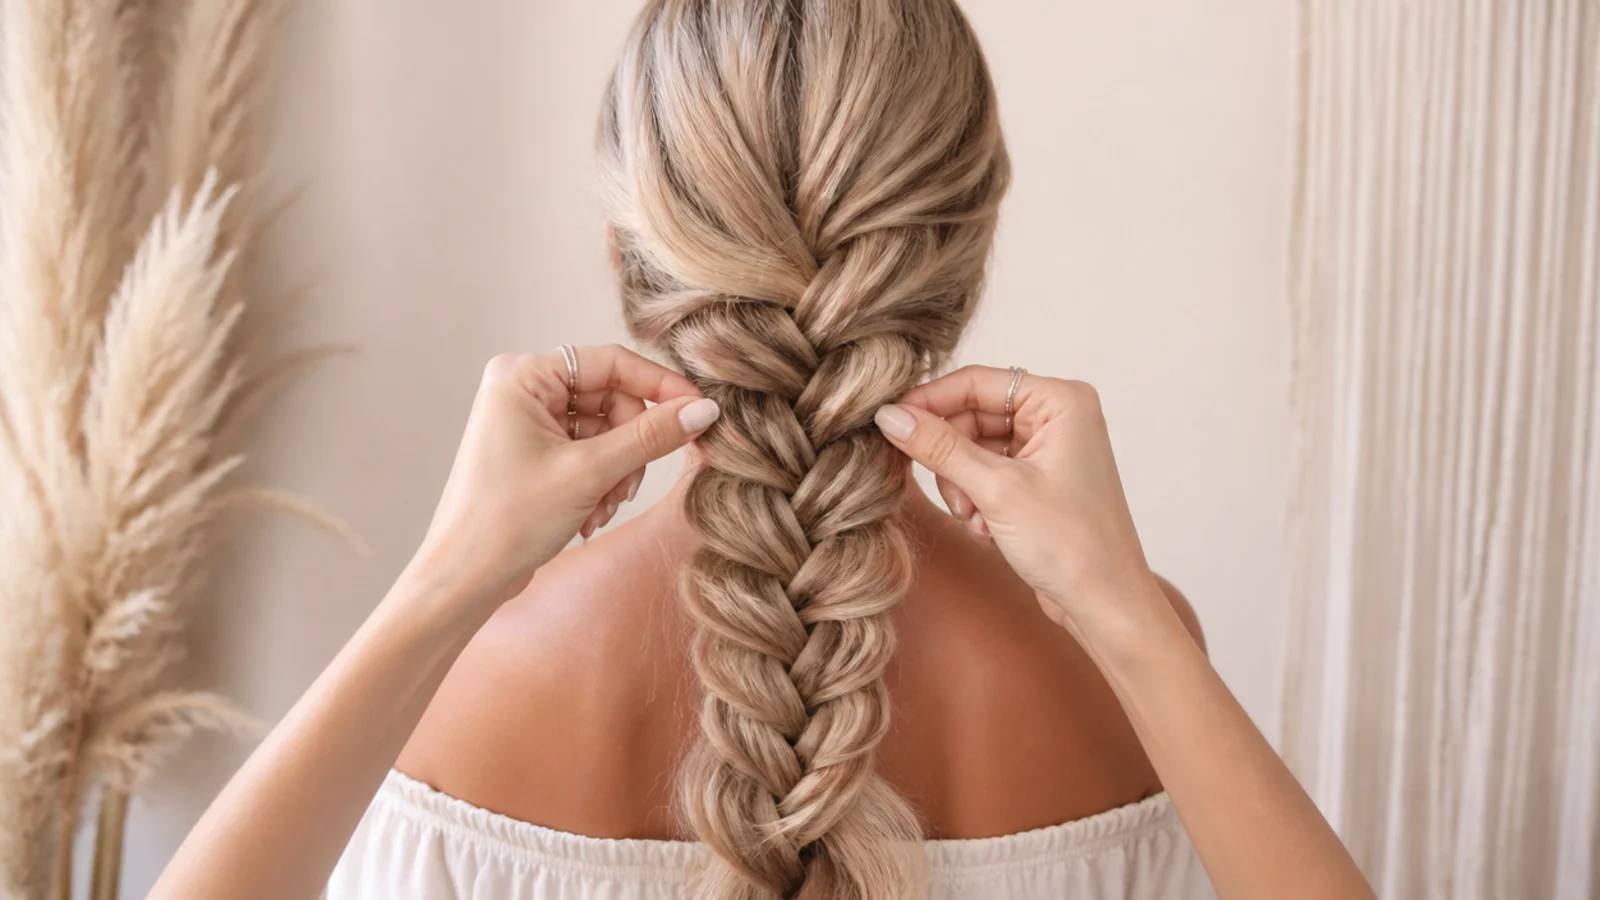
Hold the elastic in one hand so the braid cannot unravel, then use your thumb and forefinger to tug the outer edge of each crossover outward a few millimeters at a time. Work from the bottom up, doing every loop on one side first, then the other. Go around twice rather than pulling hard once. A finished easy mermaid braid should measure roughly three to four inches across on shoulder-length hair and five to six on waist-length hair.
Common mistake: Yanking a full centimeter on the first pass, which collapses the weave into a flat, shapeless ribbon.
Pro tip: Mist flexible-hold hairspray after the first pass, then pancake again so the width sets in place.
What a Mermaid Braid Actually Is
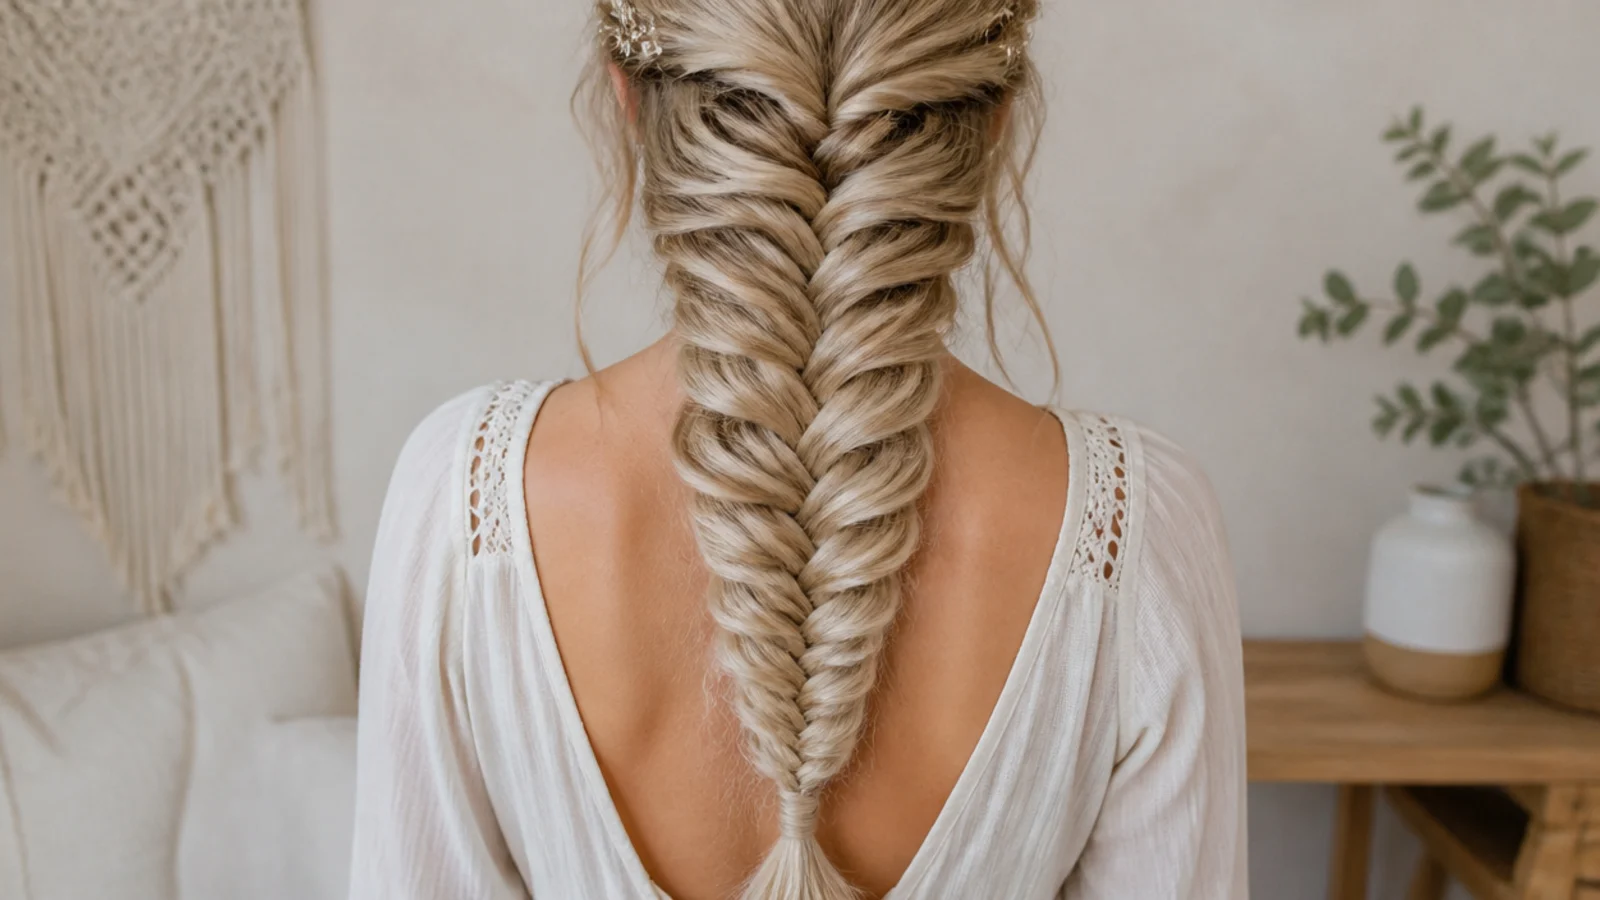
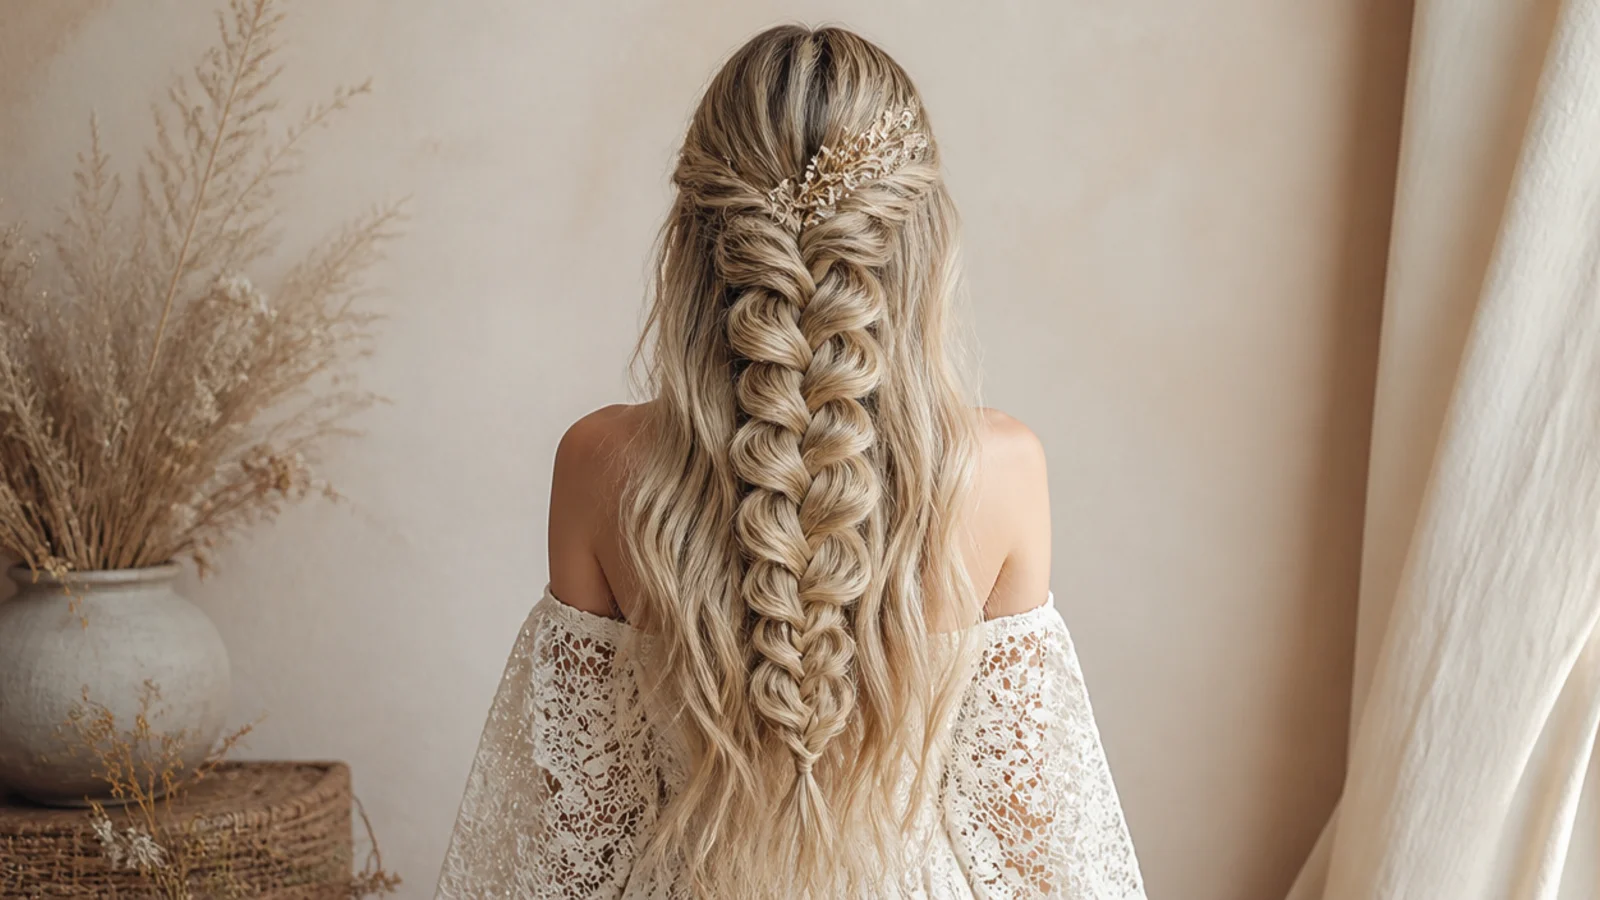
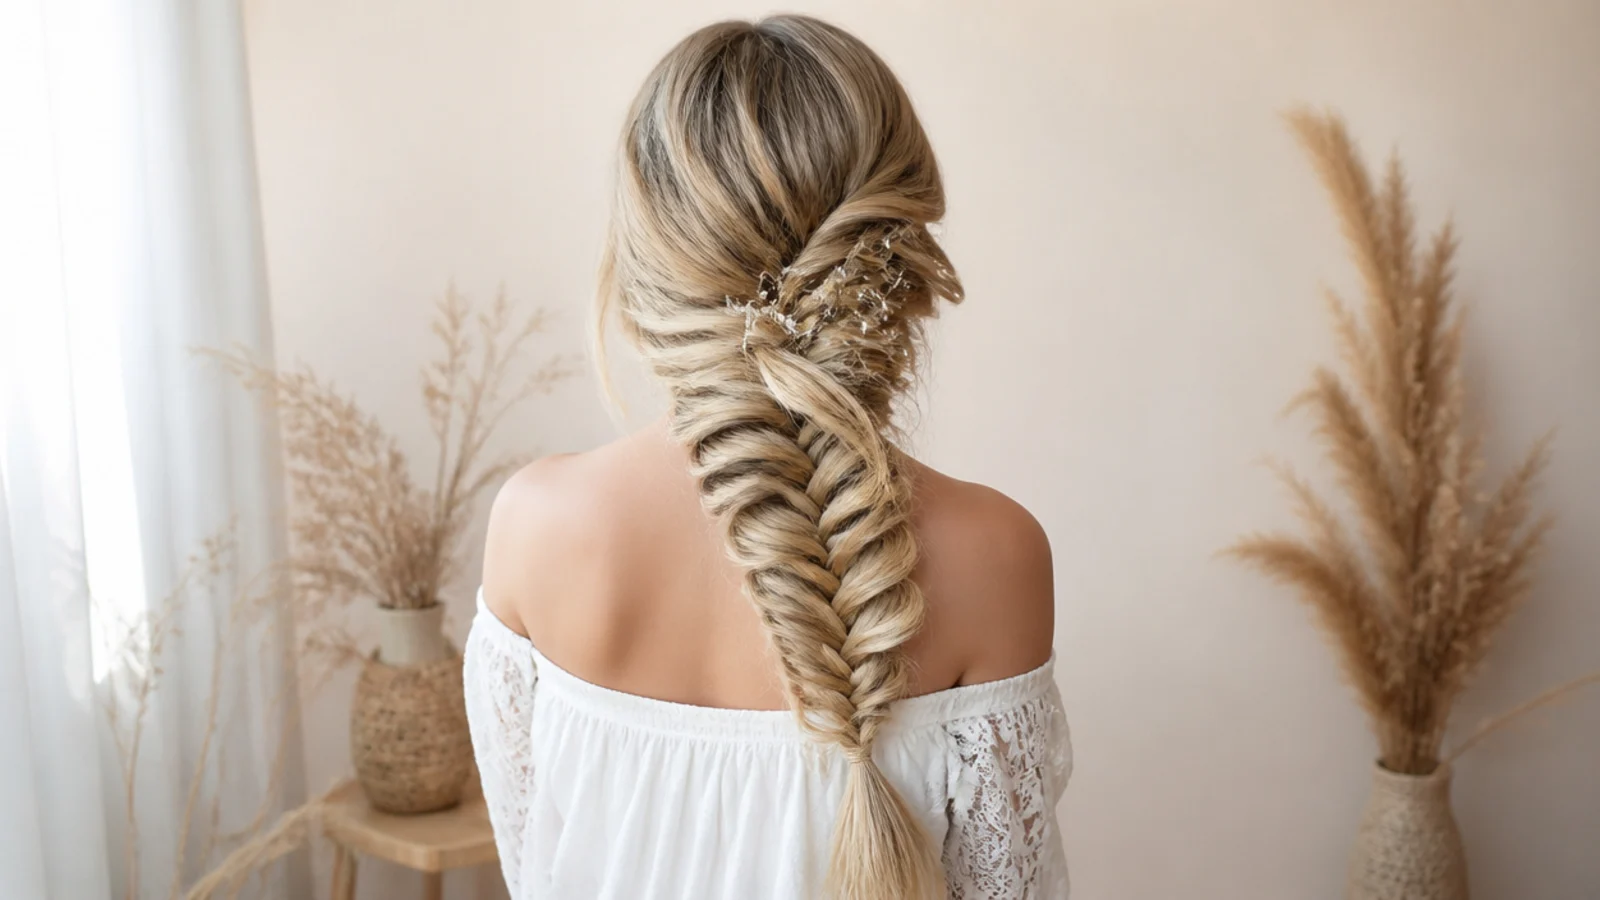
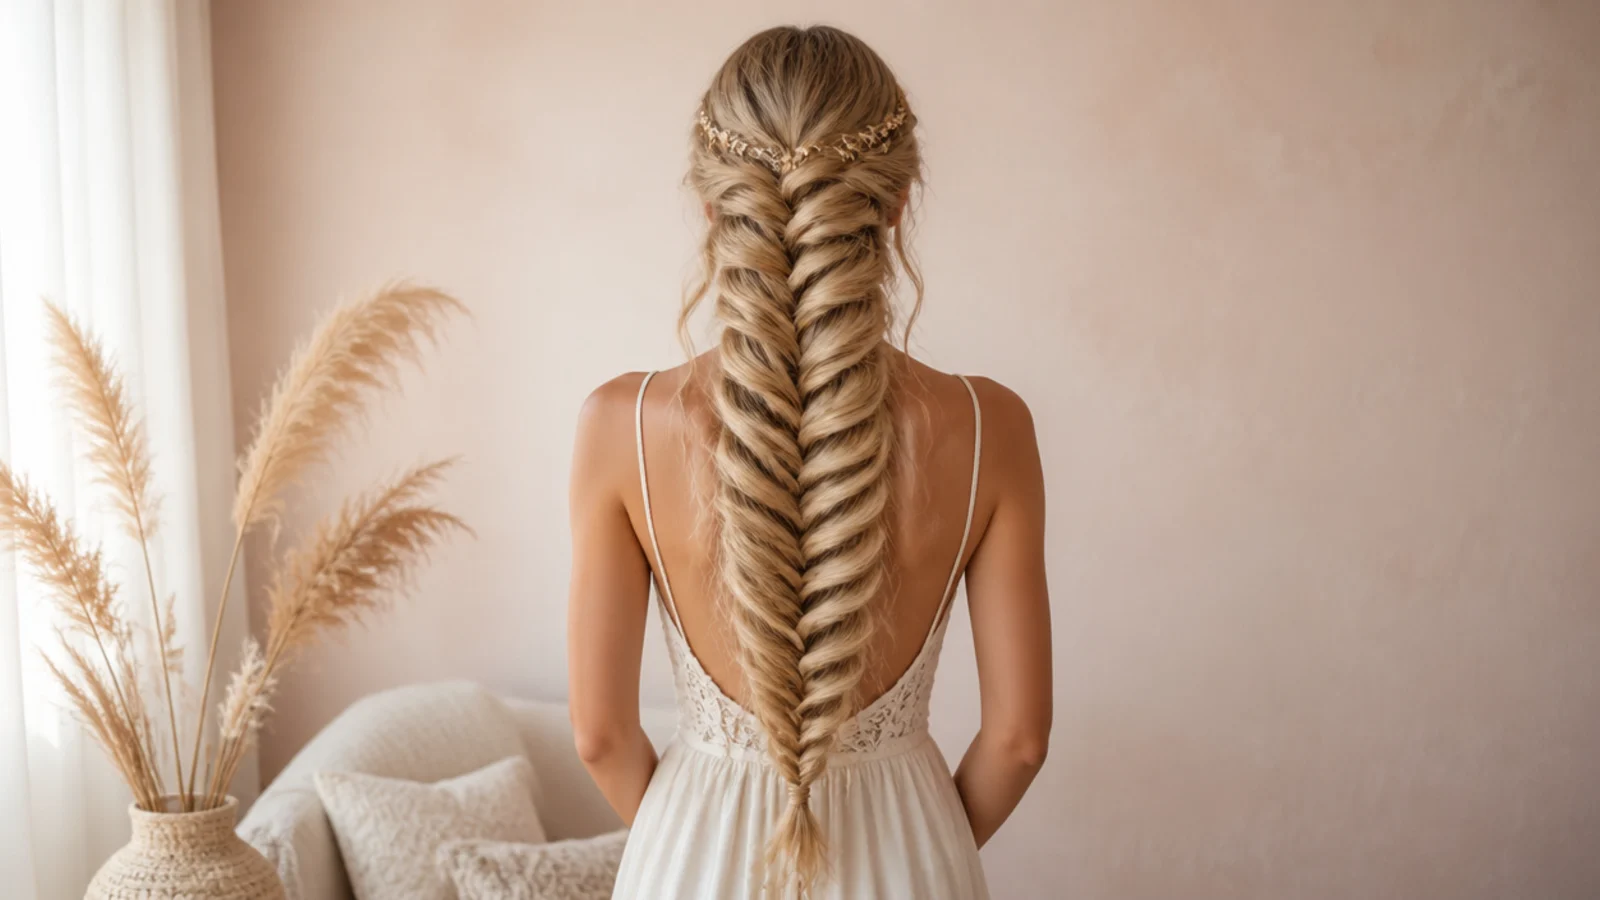
A mermaid braid is a fishtail braid that has been pancaked wide so it fans out like a tail. That is the whole definition, and knowing it removes most of the intimidation, because the fishtail underneath uses two sections rather than three. You take a small piece from the outer edge of one section, cross it to the inside of the other, and alternate. The result is a fine V-shaped weave rather than the rope-like look of a three-strand plait. Pancaking is the second half of the technique and the part almost every short tutorial skips: you tug the outer edge of each crossover loose a few millimeters at a time so the braid widens without unraveling. One caution on the search term itself. Mermaid braids can also mean an extension-based protective style installed with a crochet method over four to six hours in a salon. This guide covers the DIY braid you do on your own hair in about ten minutes. If you want the wider gallery of both, start at the mermaid braids hub.
Easy Mermaid Braids by Hair Length and Thickness
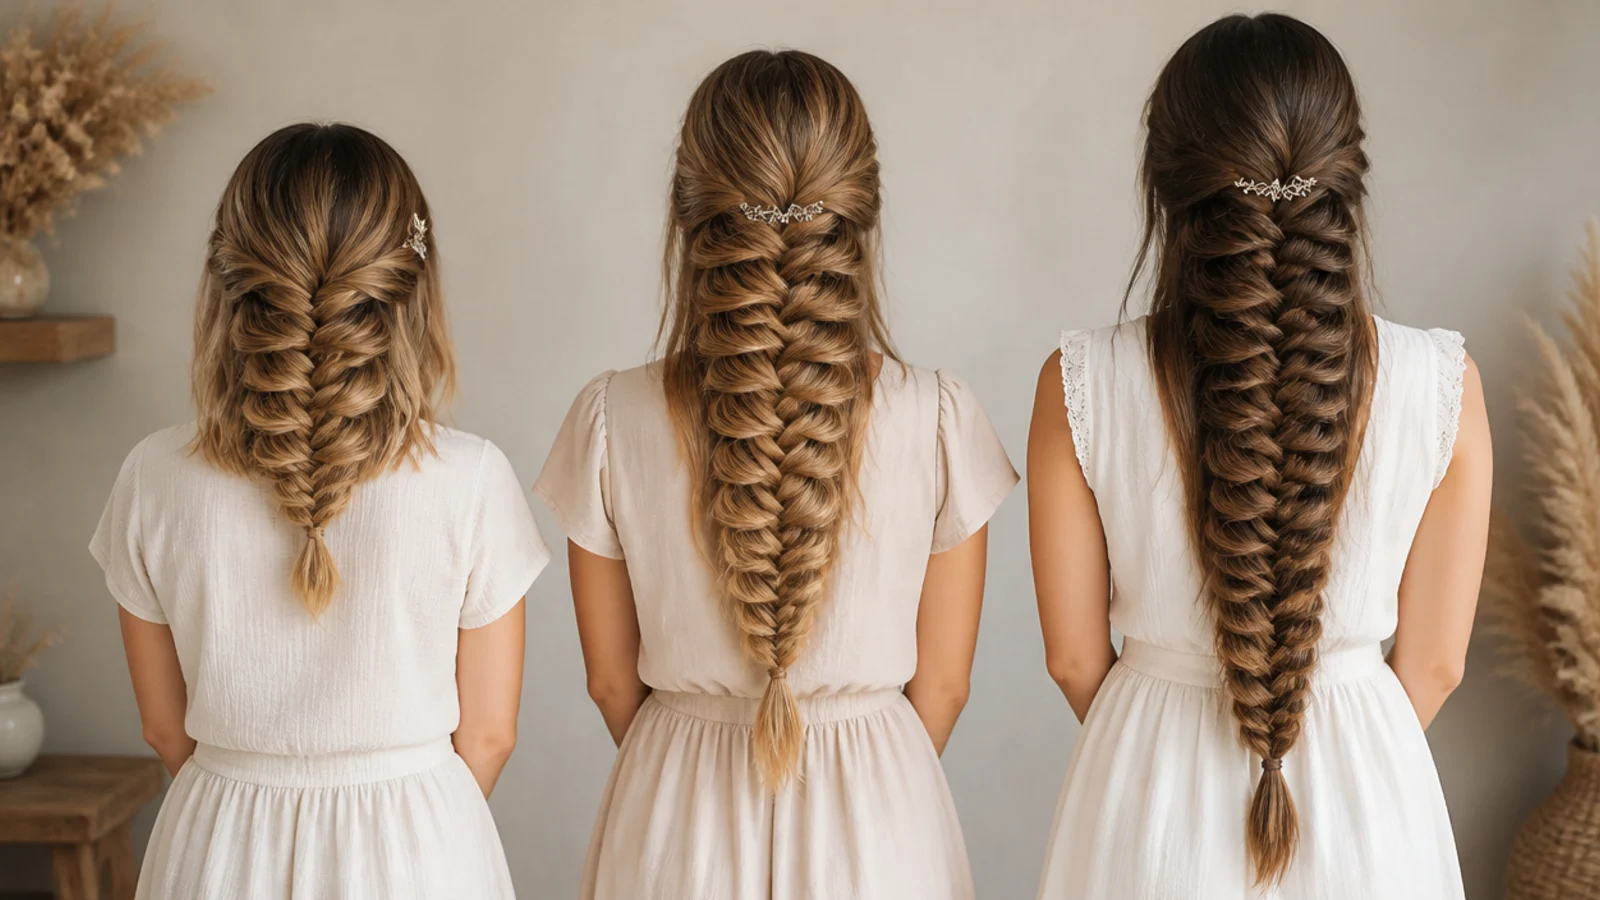
Length decides how many crossovers you get, and crossovers are what you pancake. Around ten inches, a full mermaid braid reads as a short rope, so run a half-up version instead and put all the fan into a four-inch braid at the crown. From twelve to sixteen inches, start the braid high at the crown to buy extra length and use quarter-inch pieces so you gain more loops to widen. From mid-back to waist, roughly 20 to 26 inches, you get sixty or more crossovers and the fan can reach five inches across, which is where the look is at its most dramatic and where most of the saved photos come from. See what changes past that in long mermaid braids. Thickness works the opposite way to what you would expect. Very thick hair makes a heavy braid that drags itself off center, so anchor it in a low ponytail first. Fine hair pancakes wider per gram than thick hair because there is less weight pulling the loops closed.
How to Pancake a Mermaid Braid Without Collapsing It
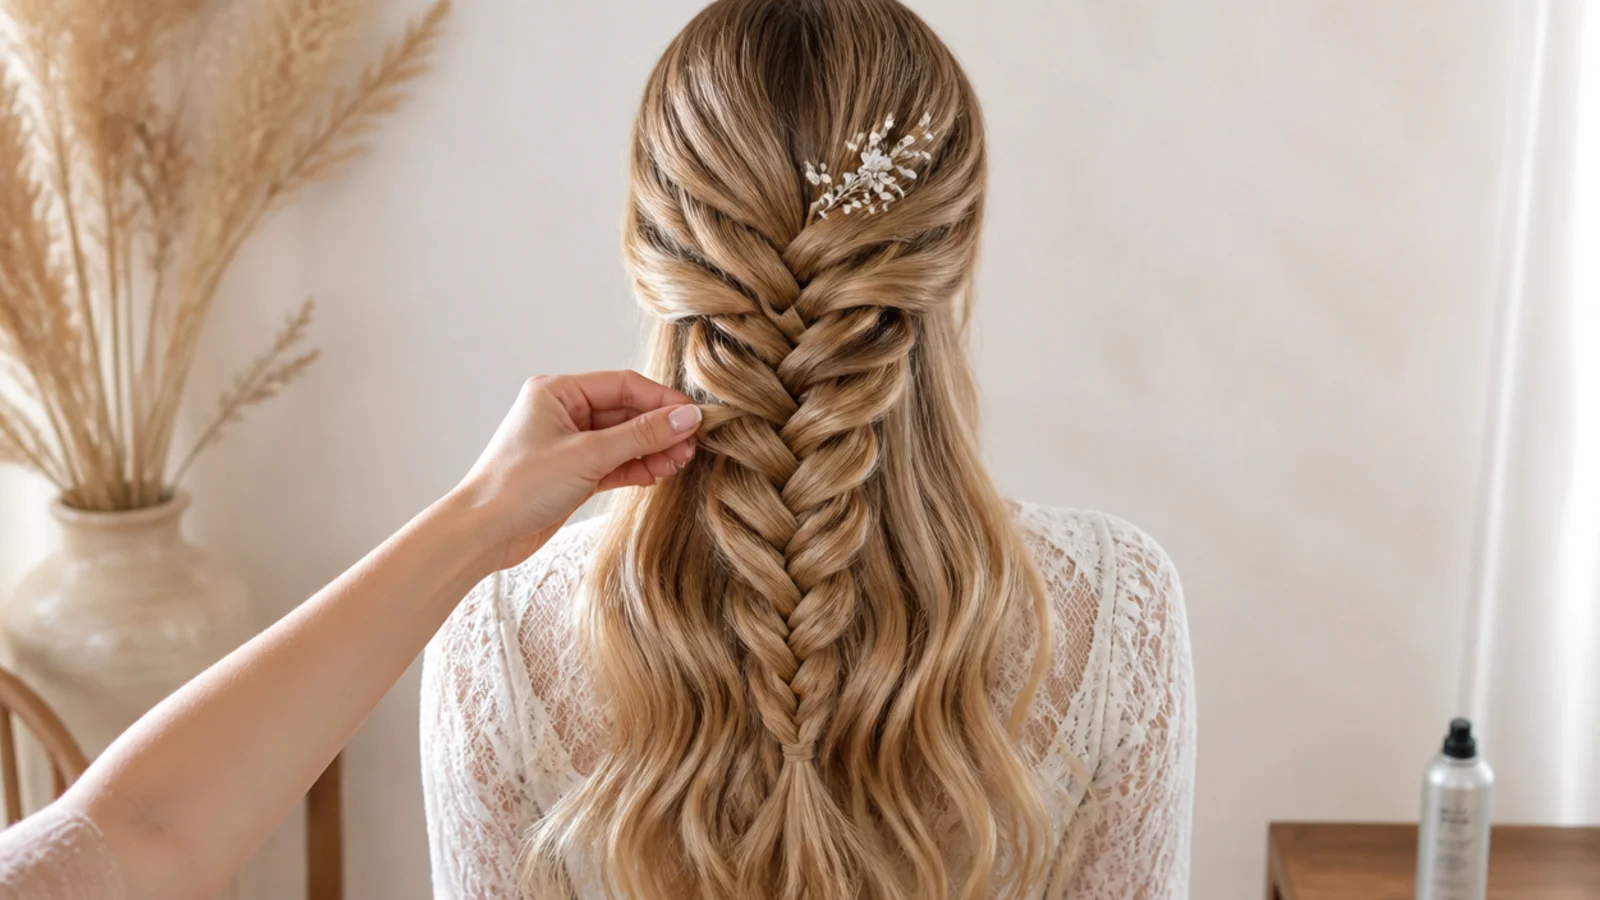
Pancaking is where easy mermaid braids are won or lost. Hold the bottom elastic firmly in one hand so the braid cannot unravel from the ends, then pinch the outer edge of the lowest crossover between thumb and forefinger and tug outward two or three millimeters. Move up one loop and repeat. Do one entire side first, then the other, then go back and do a second pass on both. Two gentle passes always beat one hard pull, which is what collapses the weave into a flat shapeless ribbon with no visible V pattern left. Braid slightly tighter than feels comfortable to begin with, since pancaking loosens everything by design and you need that slack in reserve. Mist a flexible-hold hairspray after the first pass and pancake again through the tacky spray so the width sets in place. Skip freeze-hold formulas, which crackle and make the fan look brittle rather than soft.
Easy Mermaid Braids on Fine or Slippery Hair
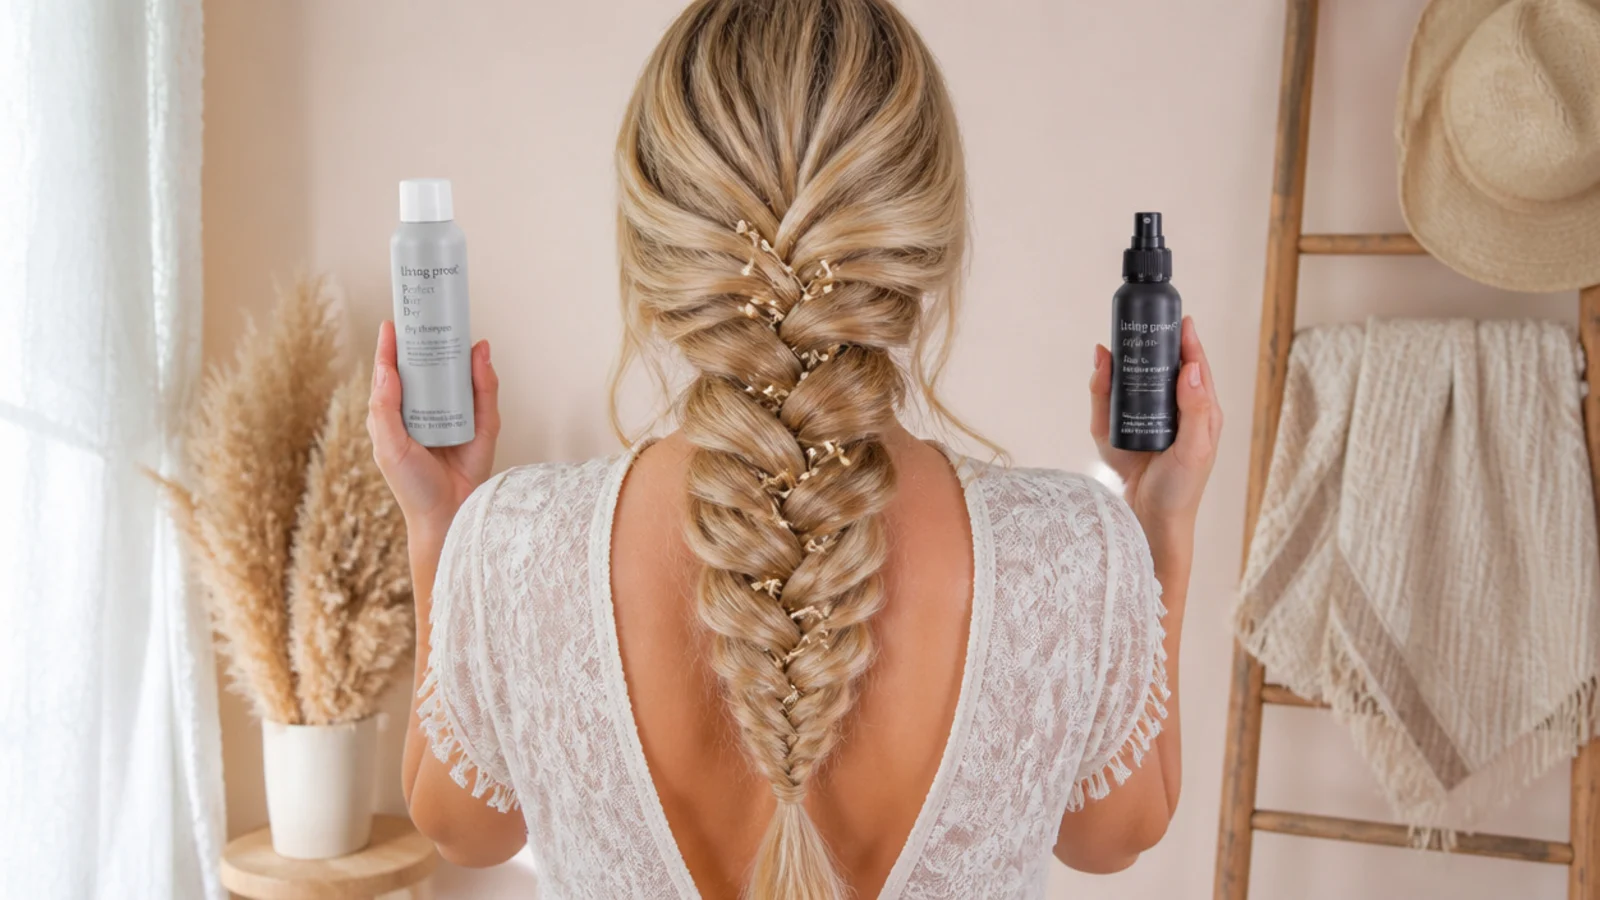
If your braid keeps sliding apart before you reach the ends, the problem is grip, not technique. Fine or freshly washed hair slips because the cuticle is smooth and there is nothing for the crossovers to catch on. The fix is day-two hair, or texture spray and dry shampoo misted through the mid-lengths and ends and scrunched in with your fingers. Avoid smoothing serums and hair oils entirely on braid days. Beyond grip, three habits help. Use quarter-inch pieces instead of half-inch, so you build more crossovers and each one carries less load. Anchor the braid in a low ponytail or start it Dutch at the scalp so the top cannot loosen while you work down. And weave in a quarter-inch ribbon, which adds real friction while looking purely decorative. Loose curls before braiding also help, since bent hair grips itself and reads thicker once pancaked.
Waves, Accessories and an Easy Boho Finish
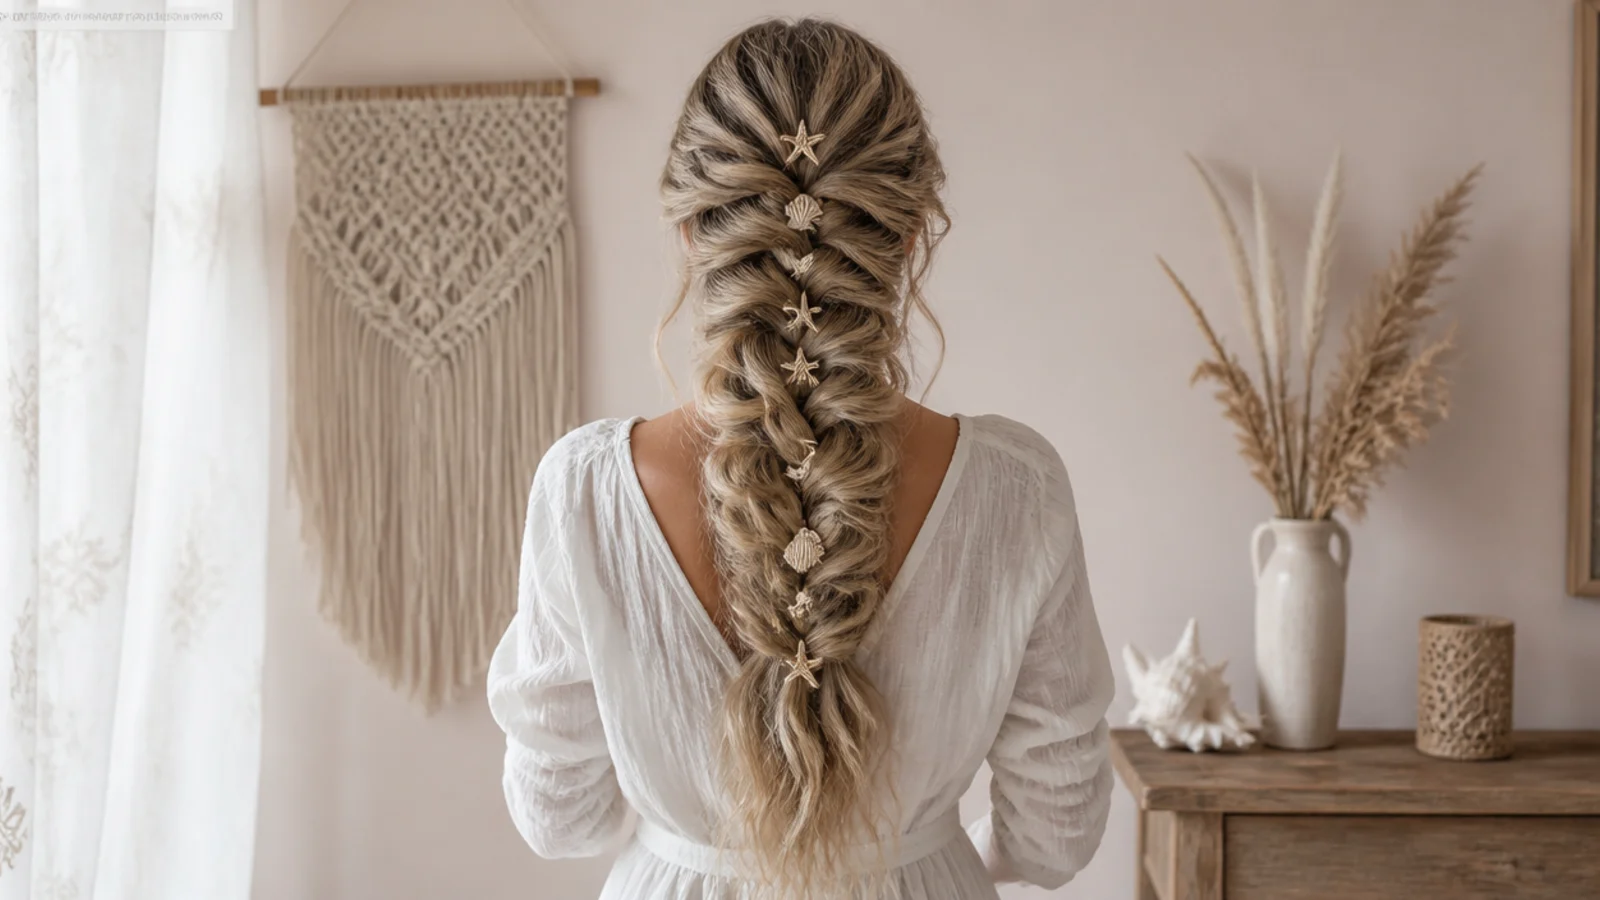
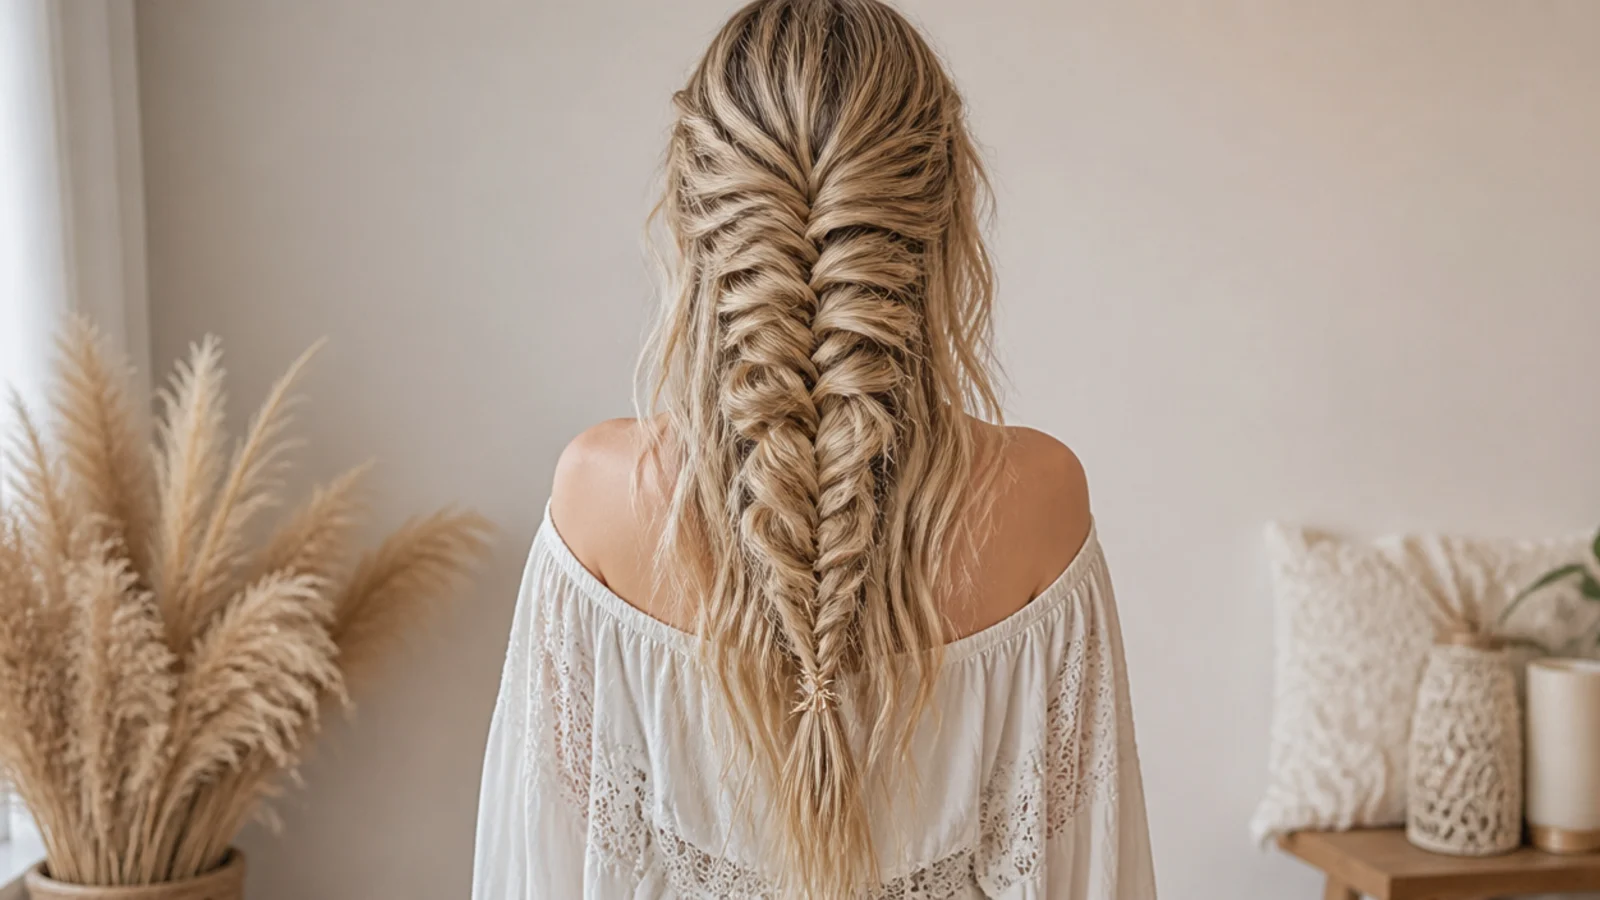
Texture underneath is what makes a braid look like a stylist did it. Curl the hair with a one-inch wand before braiding, or braid it damp the night before and unravel in the morning for heatless waves, then braid on that texture. A pancaked braid over waves looks fuller because the curl fills the gaps that opened when you widened the loops. For accessories, keep the count low and the scale small: two or three pearl pins tucked into the crossovers, a quarter-inch ribbon woven down the length, or a few tiny shell pins near the nape. Clear elastics stay at both ends so nothing interrupts the flow. For a boho finish, pull two face-framing tendrils free before you start braiding, curl them away from the face, and leave the braid deliberately loose. The same softness carries into event styling like braided graduation hairstyles and half-up graduation hairstyles.
Making an Easy Mermaid Braid Last All Day and Overnight
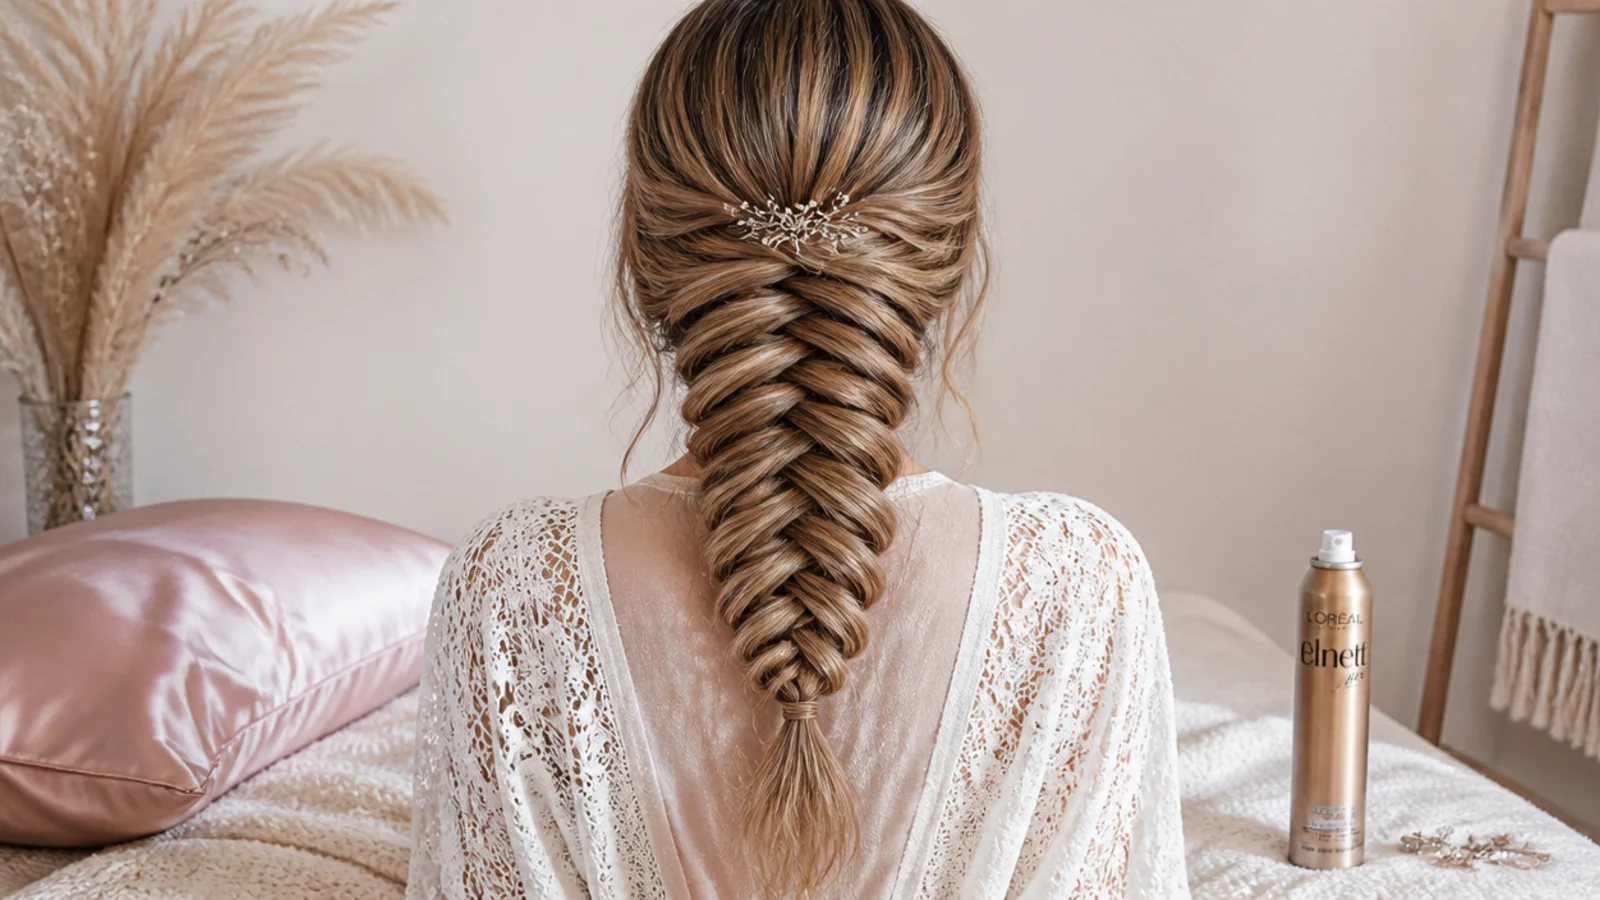
A properly gripped mermaid braid holds eight to twelve hours without touching it. To get there, braid on day-two hair, tie off with a clear elastic, cross two bobby pins into an X at the top of the braid if you started it high, and finish with flexible-hold hairspray rather than a stiff freeze spray so the fan keeps moving. Carry two spare clear elastics, because the top band is what usually fails. Overnight, loosen the braid rather than tightening it, sleep on a satin pillowcase to cut friction and frizz, and unravel with your fingers in the morning for mermaid waves you can rebraid or wear loose. On the DIY version expect the braid itself to look good for one day and the resulting waves for another, which is a very different timeline from the extension version that lasts six to eight weeks. Try the technique again with waterfall mermaid braids once the basic fishtail feels automatic.
Frequently Asked Questions
How do you do a mermaid braid step by step?
Brush day-two hair smooth, sweep it over one shoulder, and split it into two equal sections. Take a half-inch piece from the outer edge of the left section and cross it into the inner edge of the right, then mirror it from the right. Alternate to the ends, tie off with a clear elastic, and pancake each crossover a few millimeters at a time from the bottom up.
What is the easiest mermaid braid for beginners?
A side mermaid braid over one shoulder from a deep side part. Everything happens in front of you where you can see it, your arms stay low so they do not ache, and mistakes in the top few crossovers disappear once you pancake. If even that feels hard, use the stacked-elastic cheat version, which fakes the same fanned look with no braiding at all.
Is a mermaid braid the same as a fishtail braid?
A mermaid braid is a fishtail braid that has been pancaked wide so it fans out like a tail. The weaving technique is identical. The difference is entirely in the finish: a fishtail left tight reads as a neat narrow rope, while tugging the outer edge of every crossover loose turns that same braid into the wide, flowing mermaid version.
How do you make a mermaid braid look thicker?
Pancake it properly, which means tugging the outer edge of each crossover outward two or three millimeters at a time from the bottom up, doing two gentle passes rather than one hard pull. Curling the hair with a one-inch wand before braiding adds volume that fills the widened gaps, and clip-in wefts add density at the ends where hair naturally thins.
Why does my mermaid braid keep falling apart?
Almost always because the hair is too clean and slippery. Freshly washed hair has a smooth cuticle with nothing for the crossovers to catch on. Braid on day-two hair, or mist texture spray or dry shampoo through the mid-lengths and scrunch it in. Skip serums and oils, use smaller quarter-inch pieces, and anchor the braid in a low ponytail first.
Can you do a mermaid braid on short hair?
Below about ten inches a full mermaid braid reads as a short rope rather than a fanned tail. Do a half-up version instead, braiding only the top third of the hair from temple to temple, and pancake that small braid hard. On a lob around twelve to sixteen inches, start the braid high at the crown to gain extra length.
How long does a mermaid braid last?
A DIY mermaid braid on your own hair holds eight to twelve hours, and up to a full day if you braid on day-two hair, pin the top with crossed bobby pins and use flexible-hold hairspray. Sleep in it loosely and you get another day of mermaid waves after you unravel it. The extension version installed at a salon is a different style that lasts six to eight weeks.
Do you braid mermaid braids on wet or dry hair?
Dry, for a braid you plan to wear that day, because wet hair stretches and the braid loosens as it dries. The exception is the overnight version: braid on damp, not soaking, hair before bed and unravel it in the morning for heatless mermaid waves. Wet hair braided tight overnight often stays damp and leaves a hard kink at the crown.
Which mermaid braids look are you saving?
Two things decide whether an easy mermaid braid works: grip and patience. Grip comes from day-two hair or a good texture spray, because freshly washed strands slide out of the crossovers before you reach the ends. Patience comes at the pancaking stage, where widening the braid from the bottom up, a few millimeters per tug, is the entire difference between a thin rope and a fanned tail. Keep your pieces roughly a half inch, finish with a clear elastic, and mist flexible-hold hairspray rather than a stiff freeze spray so the fan stays soft. Save the versions you want to try, then browse the whole mermaid braids hub or take the look longer with long mermaid braids.