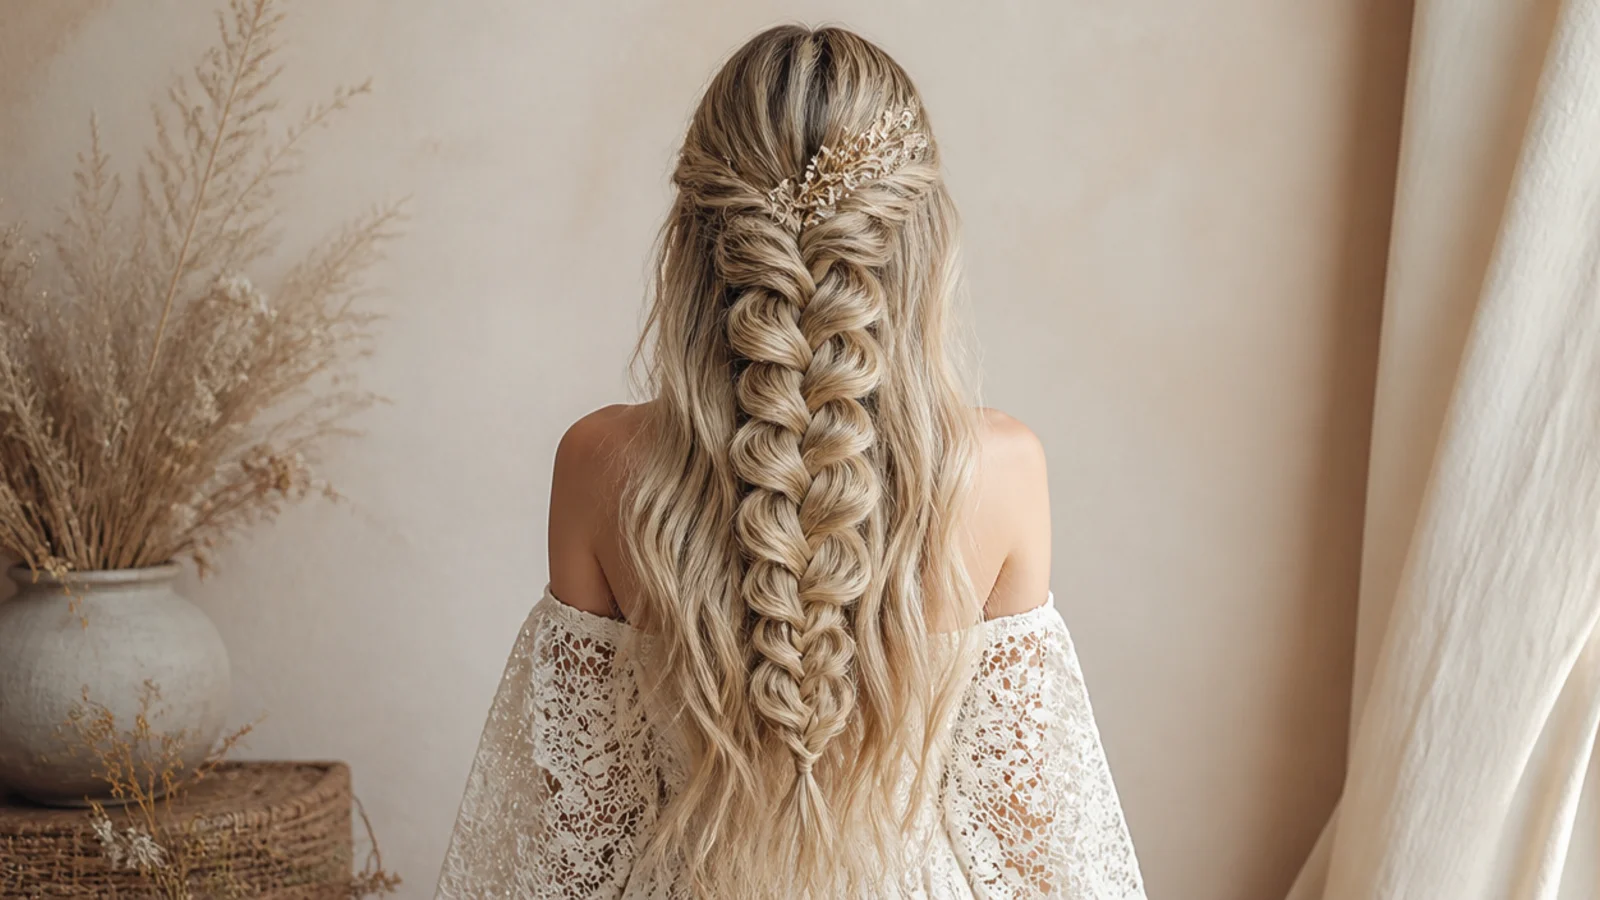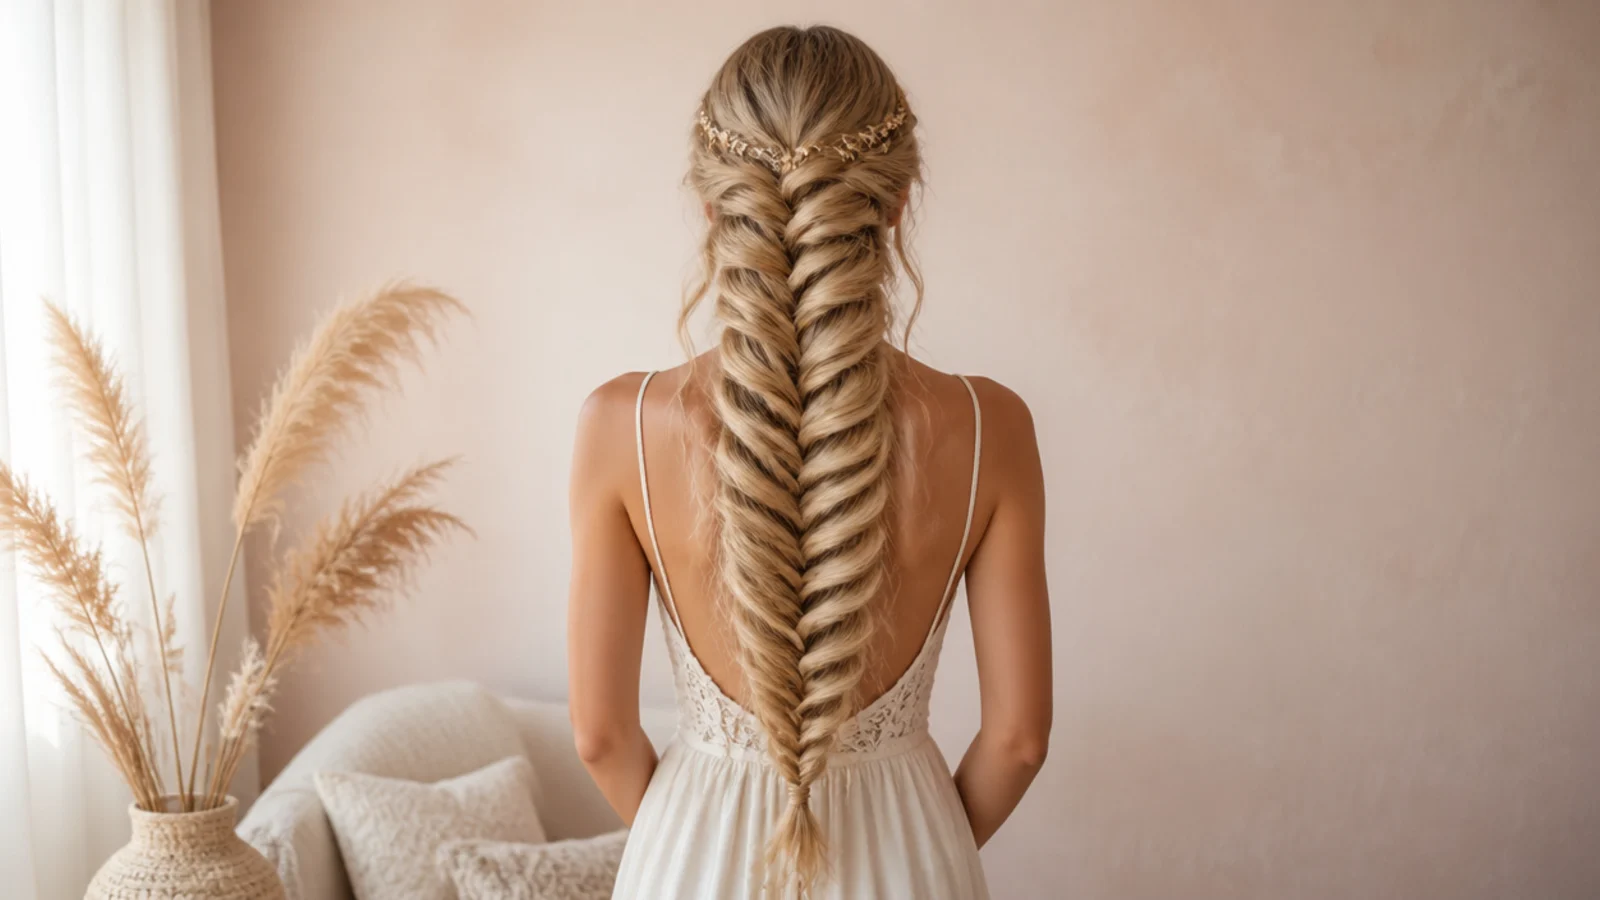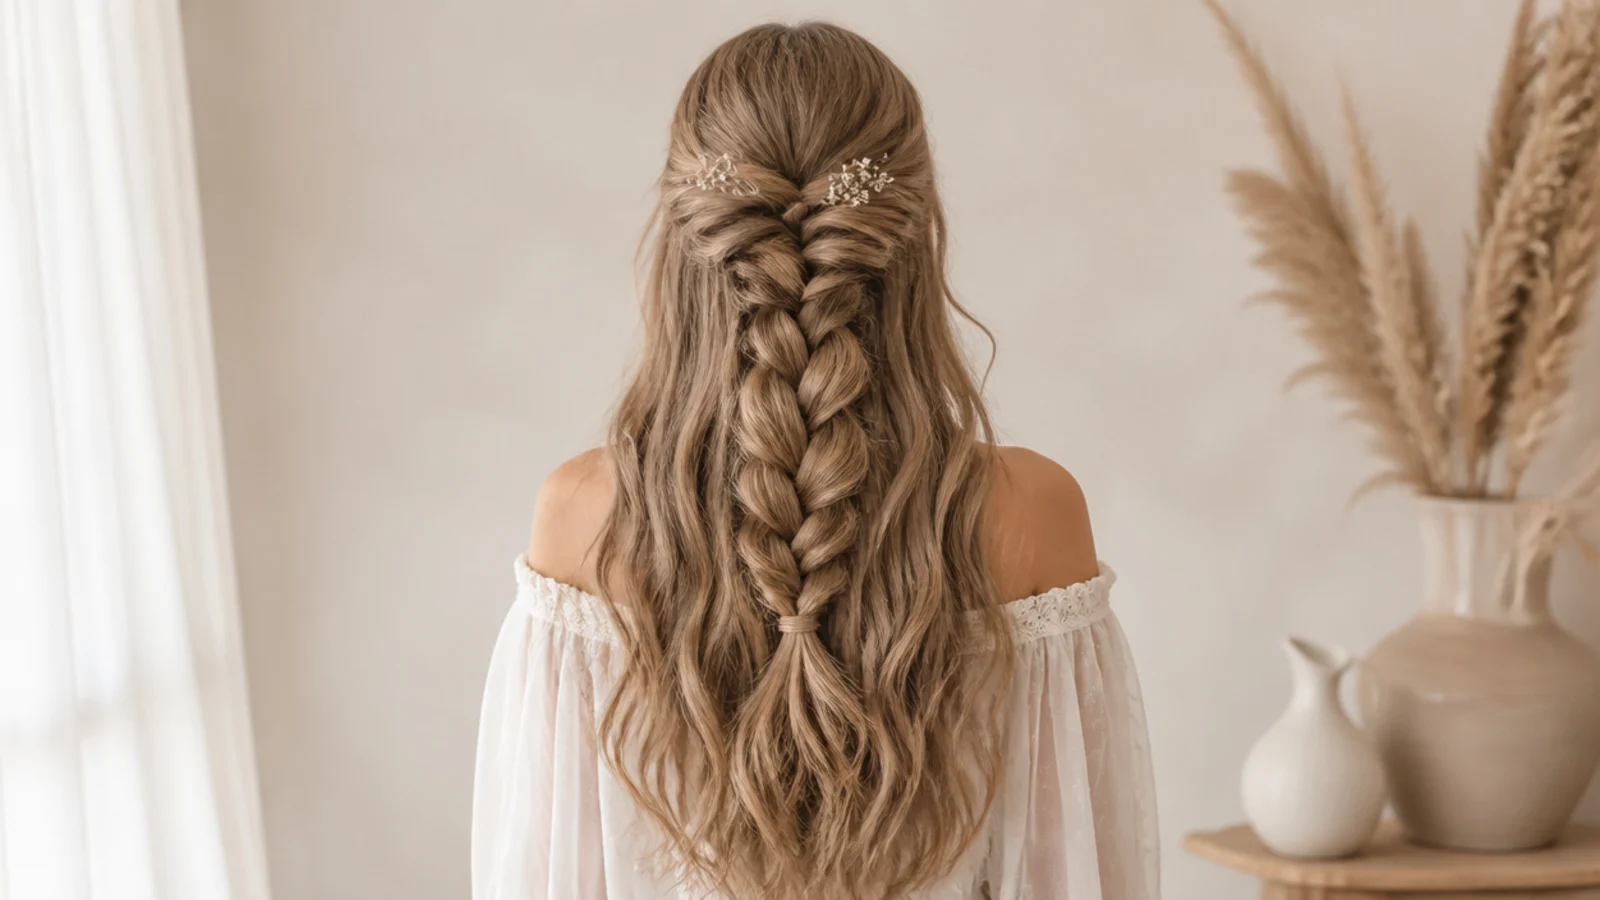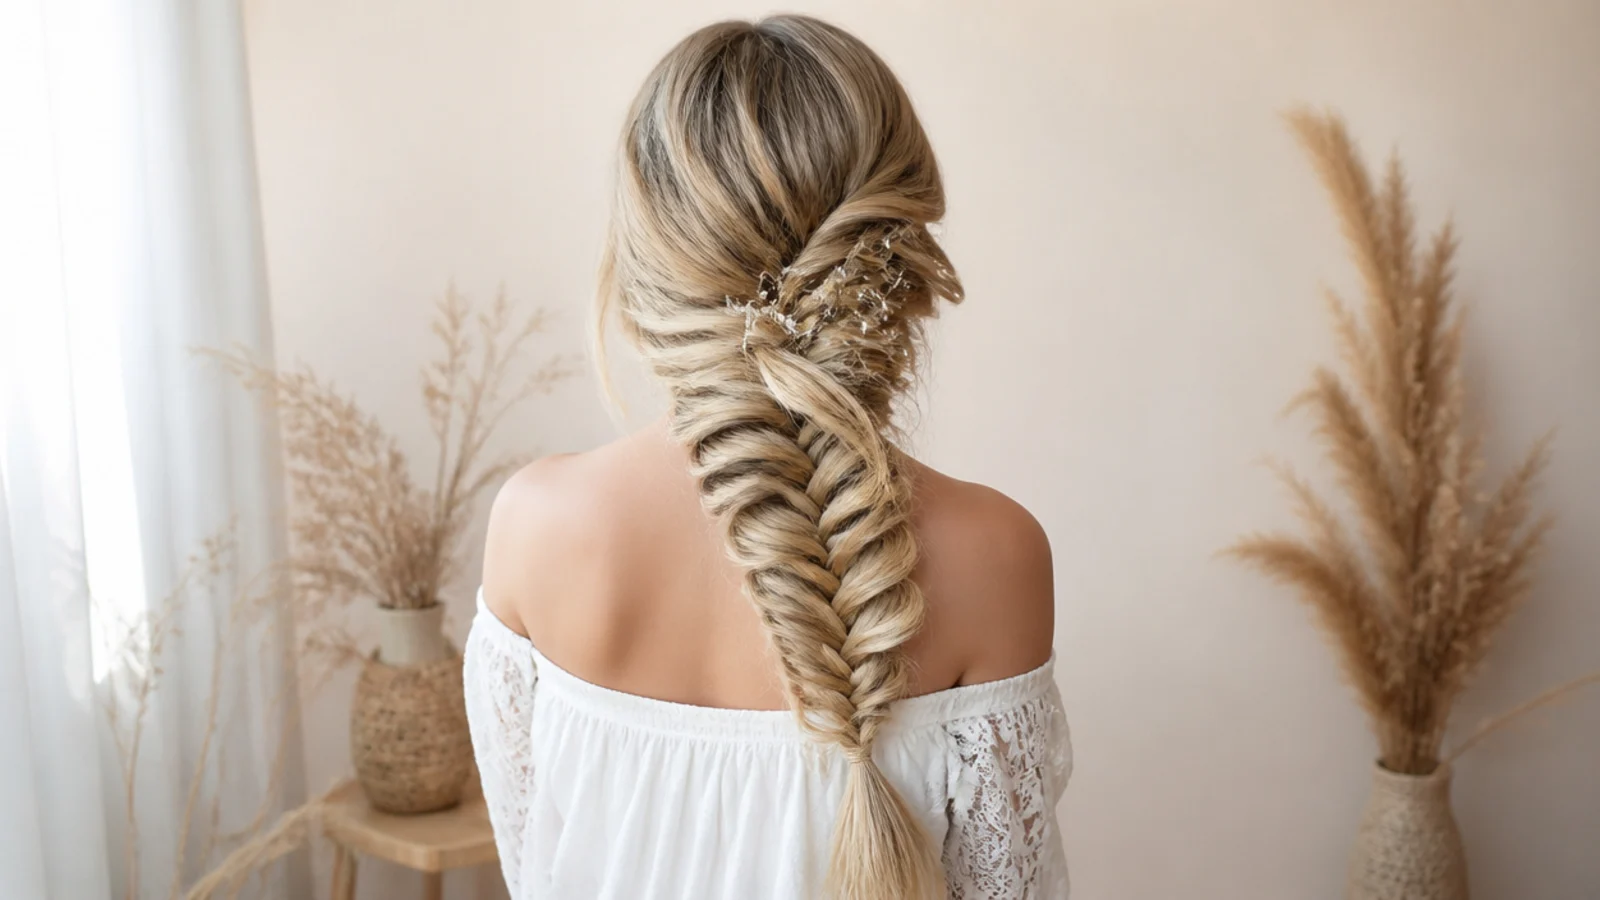
Quick Comparison
| Side Mermaid Braid | Classic Side Fishtail Braid | |
|---|---|---|
| Finishing step | Pancaked wide so each crossover fans out | Left tight; the weave stays fine and flat |
| Apparent thickness | Reads about twice as wide as the hair actually is | Reads true to your natural density |
| Hair length needed | About 14 inches so there is tail to fan | Works from 10 inches, chin length and up |
| Best hair texture | Day-two, waved or texture-sprayed hair | Smooth, clean hair shows the chevron pattern |
| Time to do | 15 to 25 minutes including pancaking | 10 to 15 minutes on yourself |
| How long it holds | 8 to 10 hours; the fan softens as it drops | All day; less to come loose |
| Best occasion | Weddings, festivals, photos and events | Work, gym and everyday wear |
| Fine hair verdict | The better choice; pancaking fakes density | Can look thin and ropey on fine hair |
| Next-day waves | Soft, wide mermaid waves after sleeping in it | Tighter, more defined crimped waves |
1. Deep Side Part Mermaid Braid Over One Shoulder
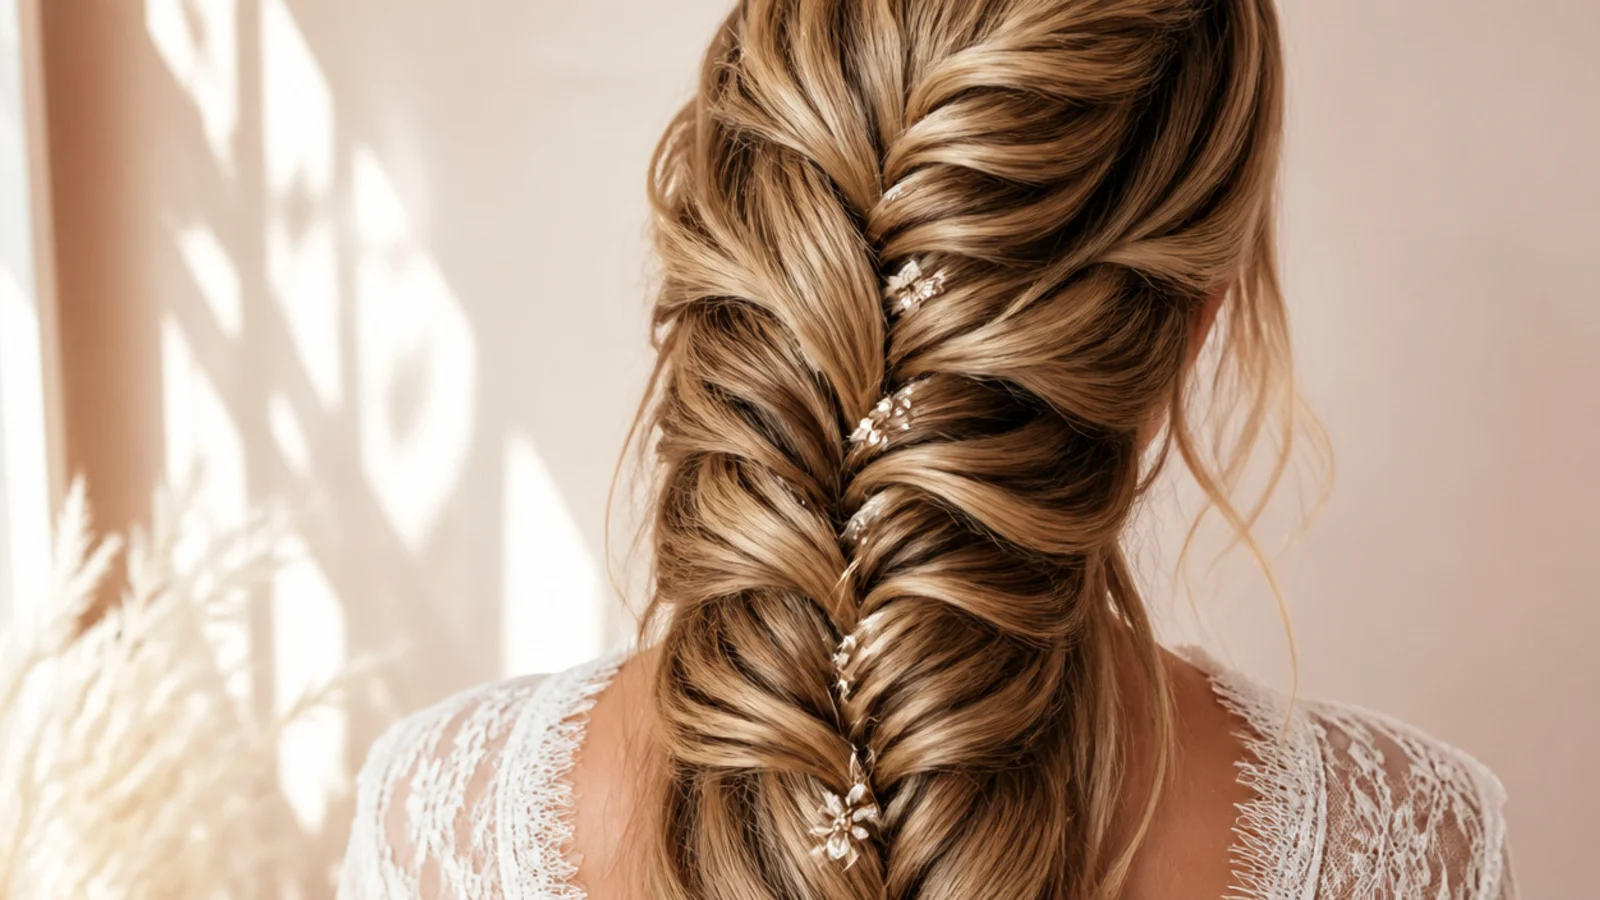
The baseline version and the one worth learning first. Part deep, roughly two inches over from center, sweep everything to the opposite shoulder, then fishtail down and pancake. The deep part is what gives the crown height, because all the hair on the heavier side has to lift and cross over before it joins the braid. Works on anything from 14 inches down. Finish with a clear elastic so the braid reads as one continuous fan rather than a braid plus a hair tie.
Who it suits: First-timers and anyone with straight, one-length hair.
Tip: Part on the opposite side to your natural part; the hair fights back and that resistance is the volume.
2. Dutch Side Mermaid Braid That Sits Proud of the Head
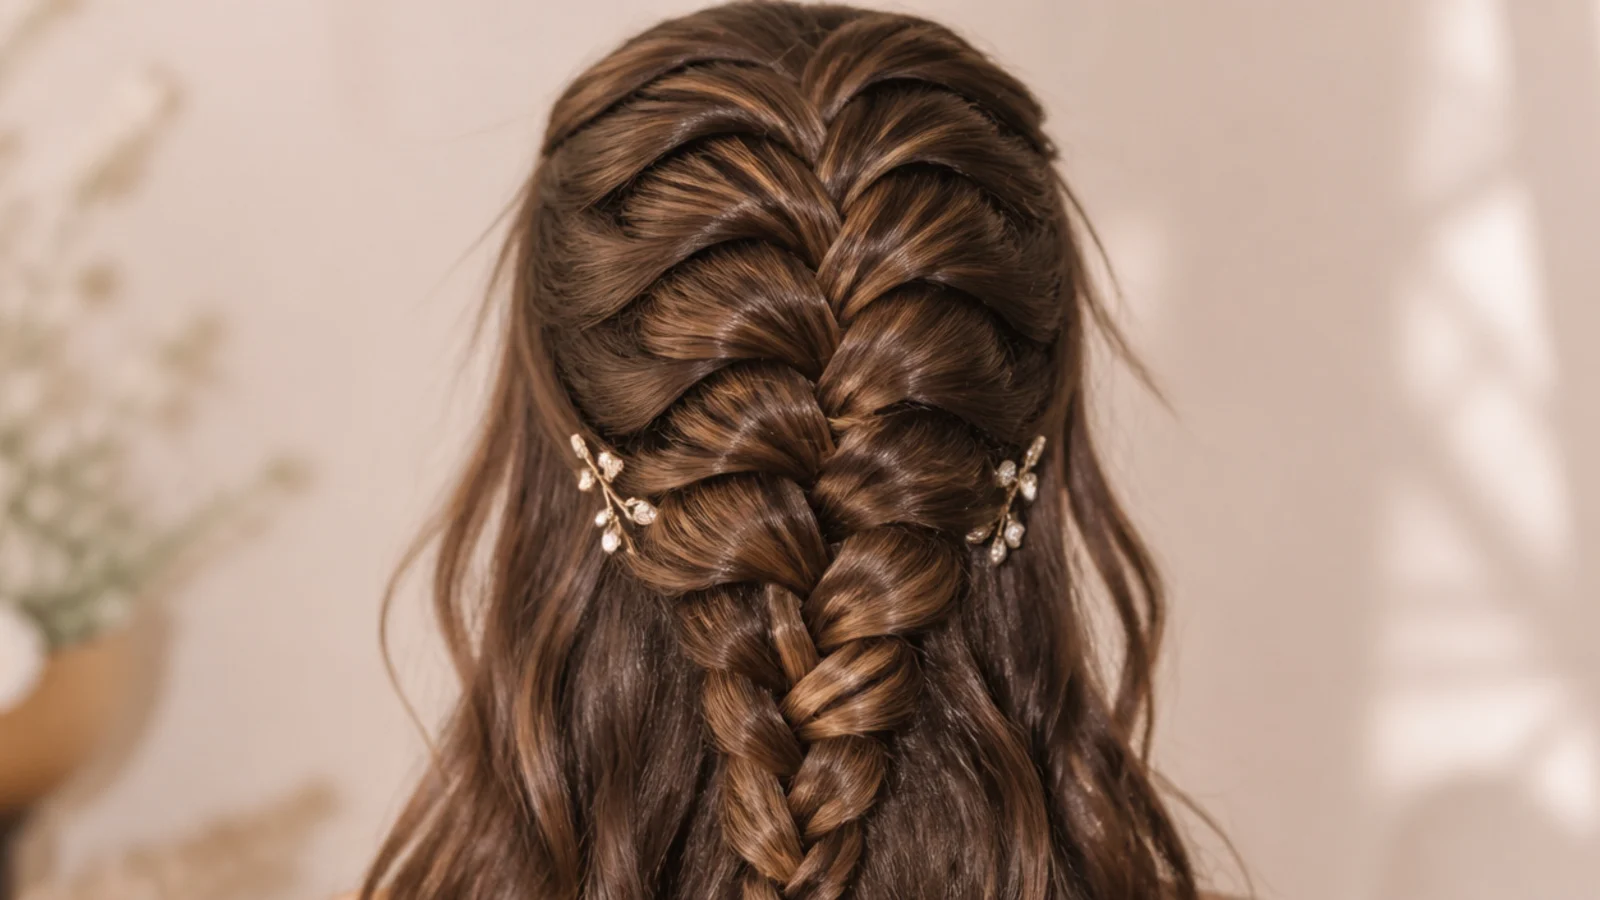
Start with a Dutch braid at the temple, crossing strands under instead of over, then release into a fishtail once you reach the nape and pancake from there. Because the Dutch section sits on top of the hair rather than sinking into it, the braid appears raised and casts its own shadow, which reads far thicker in photos. It is the single biggest upgrade to a side braid on medium-density hair. Add about five minutes while you learn the under-crossing rhythm, and see the dropped-strand cousin in waterfall mermaid braids.
Who it suits: Medium to thick hair, and anyone whose braids look flat.
Tip: Keep the Dutch section tight and save all the pancaking for the fishtail below the nape.
3. Side Mermaid Braid on a Round Face
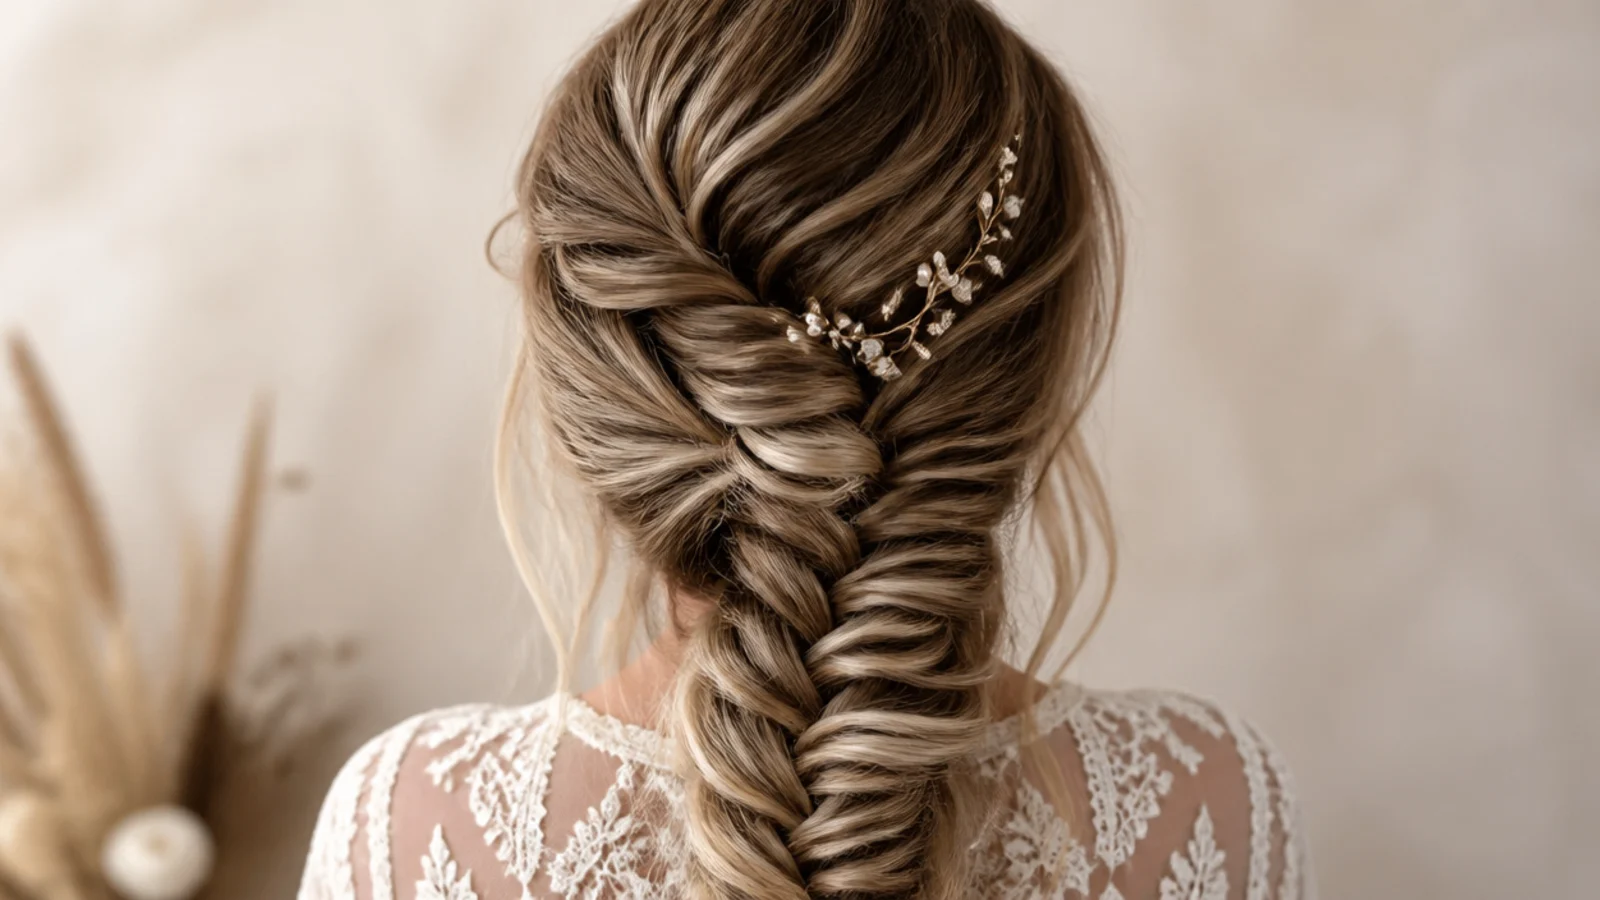
The reason people search for a side braid rather than a center one is usually asymmetry. On a round face, a deep side part starting above the arch of one eyebrow breaks the horizontal line across the cheeks, and the braid falling on one side draws the eye down a diagonal. Keep the crown volume and let two thin pieces fall in front of the ears. Avoid pulling the sides flat to the scalp, which widens the face rather than lengthening it.
Who it suits: Round and heart-shaped faces.
Tip: Leave the first inch of hair at the temple untouched so the braid does not tighten across your cheek.
4. Low Side Mermaid Braid Starting at the Nape
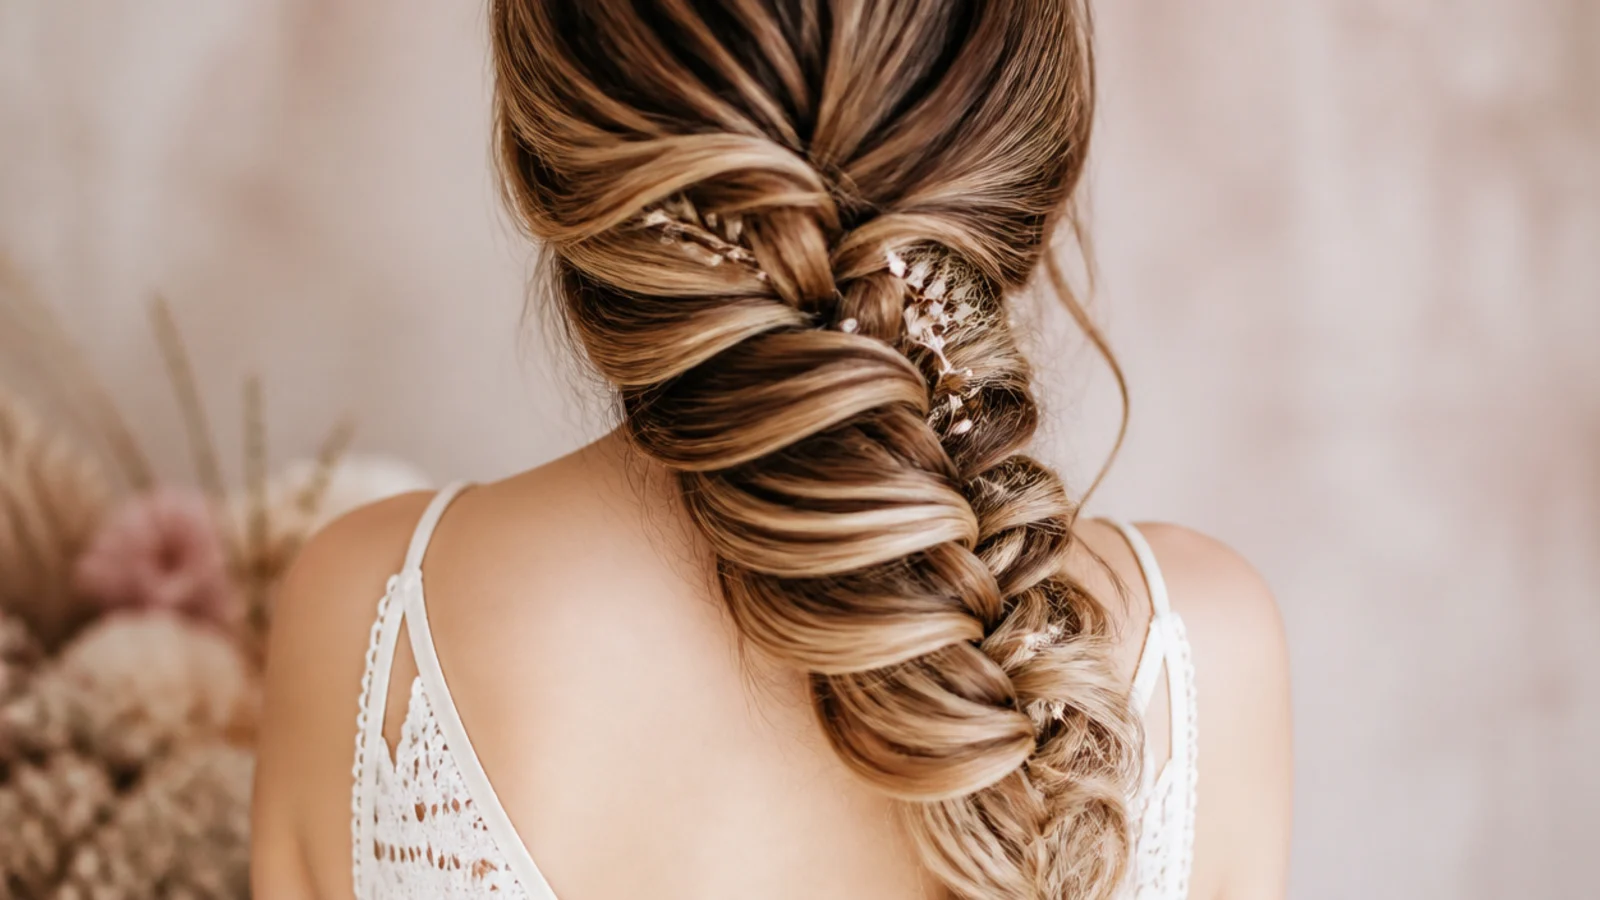
Skip the scalp braiding entirely. Gather everything into a low side gathering just behind one ear, secure it invisibly with a small clear elastic, then fishtail from there and pancake the whole length. It is the easiest side mermaid braid to do on yourself because your hands never leave your field of vision, and it takes about ten minutes, less than a 5 minute everyday hairstyle allows. The gathered start also lets you pull the crown up separately for height, which a scalp braid locks in place.
Who it suits: Beginners, layered cuts and anyone braiding one-handed.
Tip: Hide the starting elastic by wrapping one thin strand around it and pinning the end underneath.
5. Side Mermaid Braid With Face-Framing Tendrils
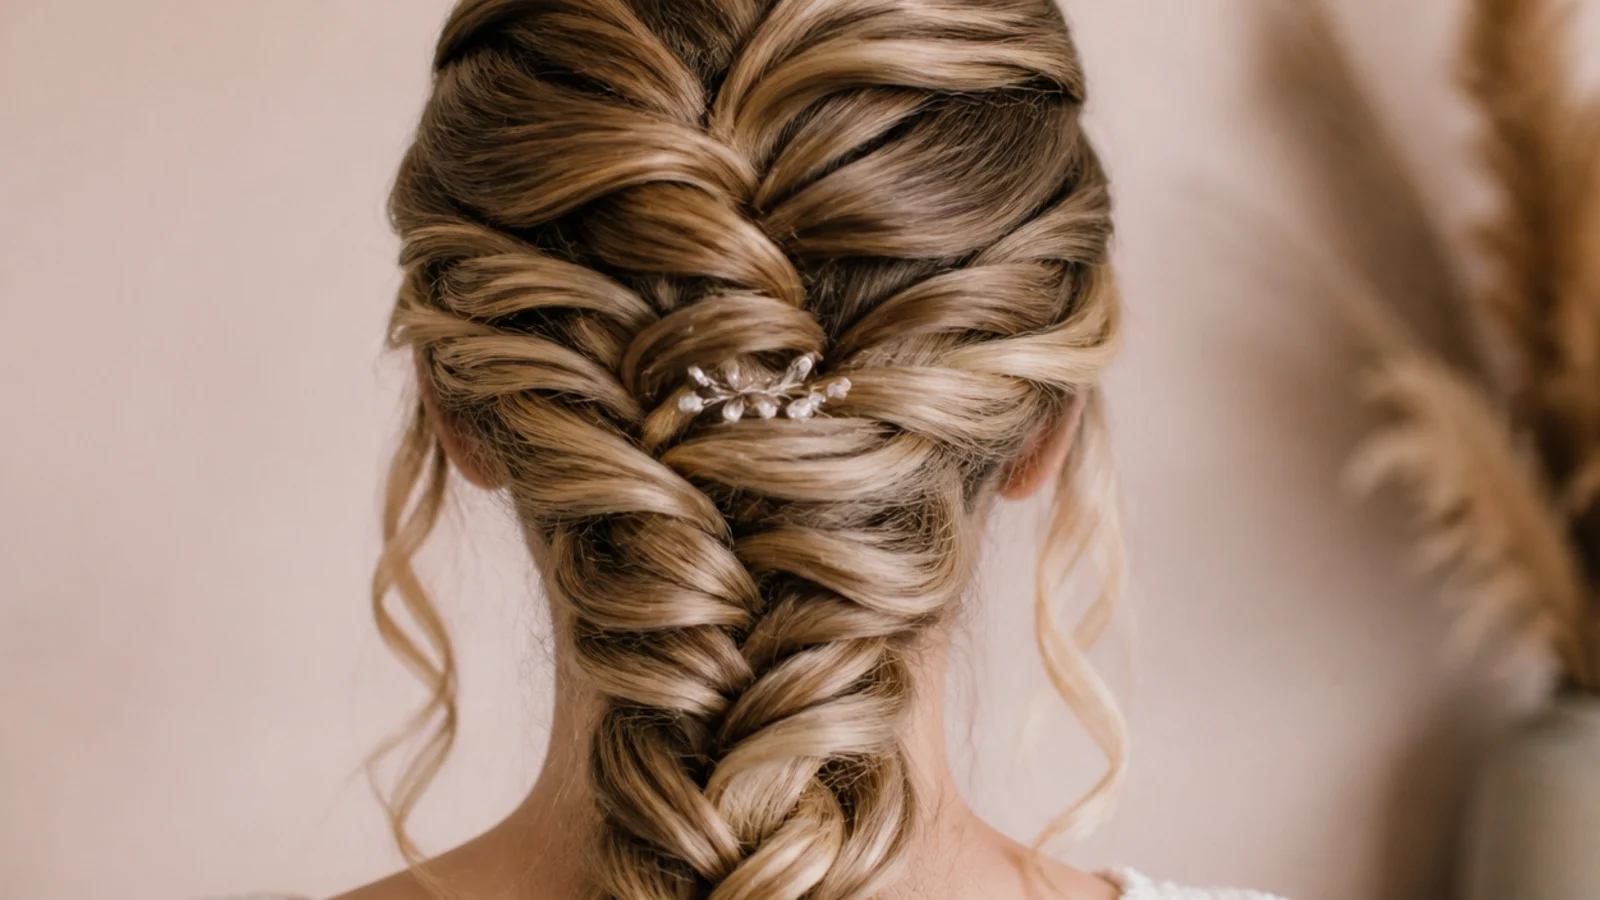
Pull two half-inch sections free at the temples before you braid, then curl them away from the face with a one-inch iron once the braid is finished. Curling after braiding matters, because a pre-curled tendril flattens under the tension of the first few crossovers. Two pieces is the number; four starts to look like the braid is falling apart. This is the finishing move that turns a plain fishtail into the soft, undone look that also carries over to braided graduation hairstyles.
Who it suits: Everyone, and especially long faces that need width at the cheekbone.
Tip: Mist the tendrils with a flexible-hold spray from six inches away so they move rather than crunch.
6. Half-Up Side Mermaid Braid for Medium Hair
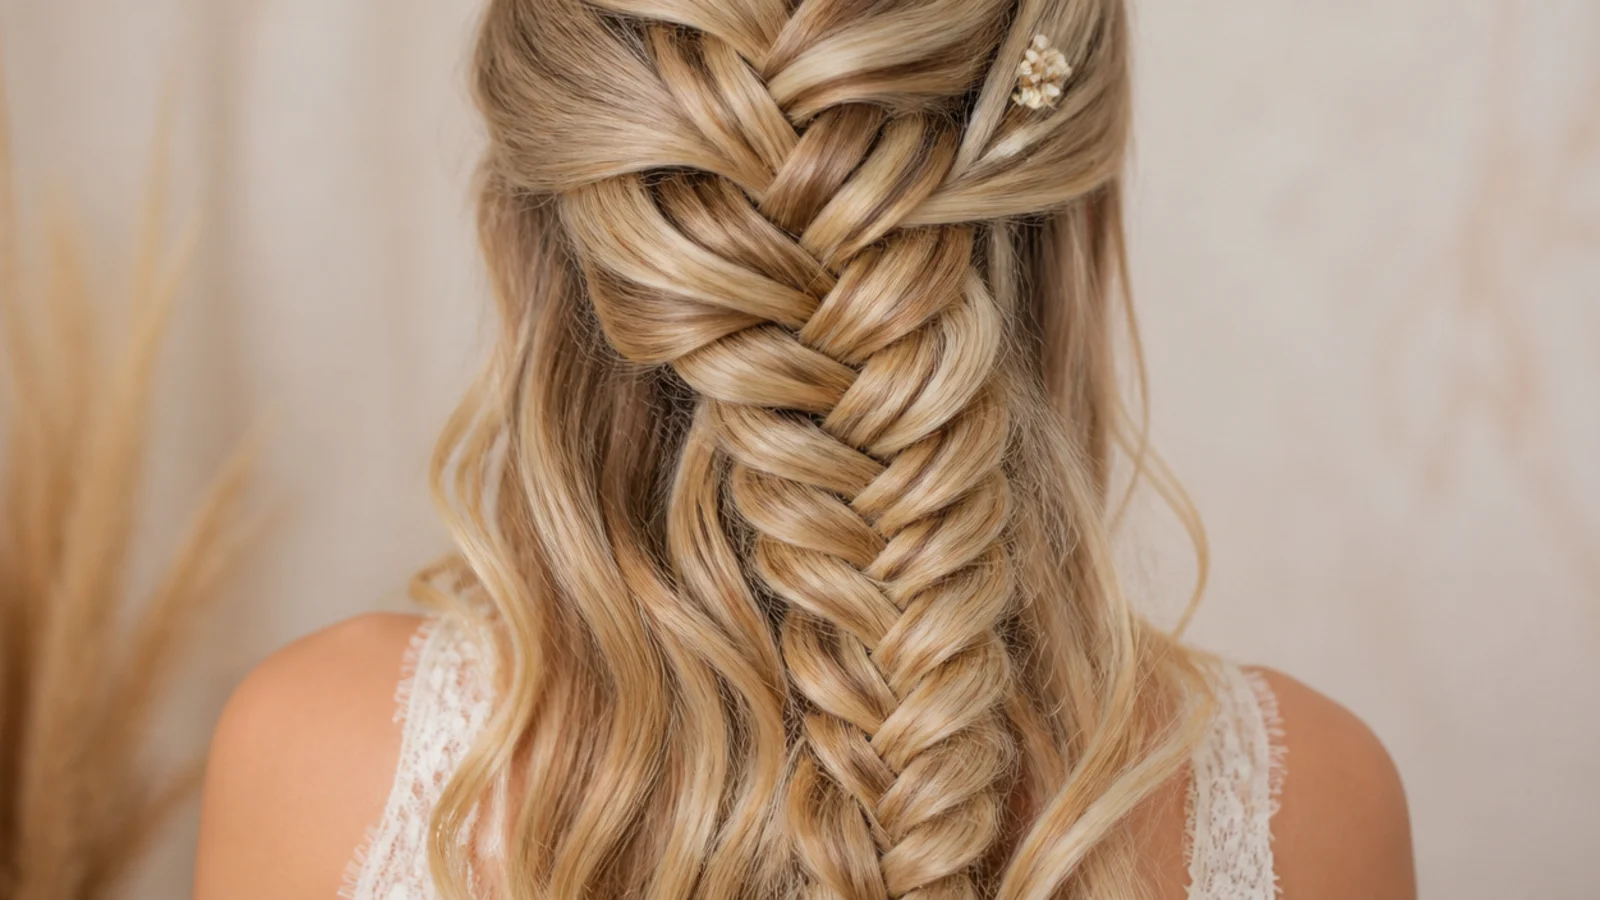
Take only the top third of the hair, fishtail it diagonally toward one shoulder, pancake it, and leave the rest loose and waved underneath. It is the answer for hair between 12 and 16 inches, where a full braid runs out of length before the fan gets going. The braid finishes around the collarbone and sits on top of the loose hair, so you get the mermaid width without needing the length. More versions live in half-up mermaid braids.
Who it suits: Shoulder to collarbone length and heavily layered cuts.
Tip: Secure the braid end with a clear elastic, then hide it inside the loose hair with two pins.
7. Side Mermaid Braid on Fine or Slippery Hair
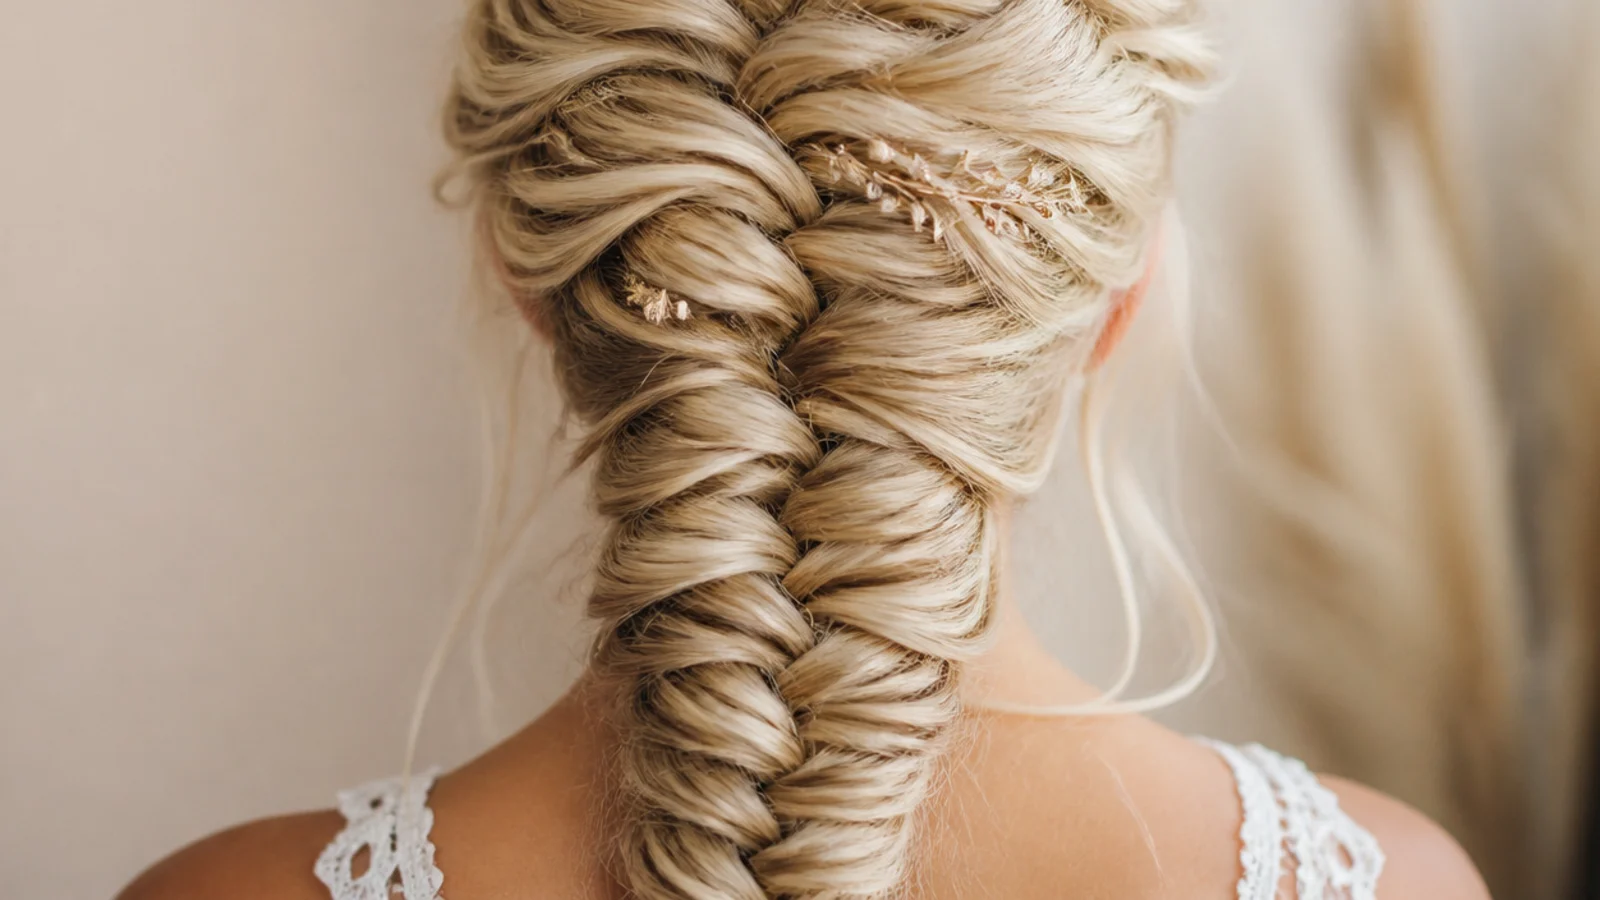
Fine hair slips out of a fishtail faster than any other type, and freshly washed hair is the worst offender. Work a dry texture spray through the mid-lengths, or simply braid on day-two hair, then take smaller strands than feel natural, about a quarter inch each. Smaller strands mean more crossovers per inch, and more crossovers is what gives fine hair something to grip. Pancake gently, a millimeter at a time, or the whole braid will unravel from the bottom.
Who it suits: Fine, straight and freshly washed hair.
Tip: Backcomb the last two inches before you tie off so the elastic has something to bite into.
8. Side Mermaid Braid With Loose Beach Waves
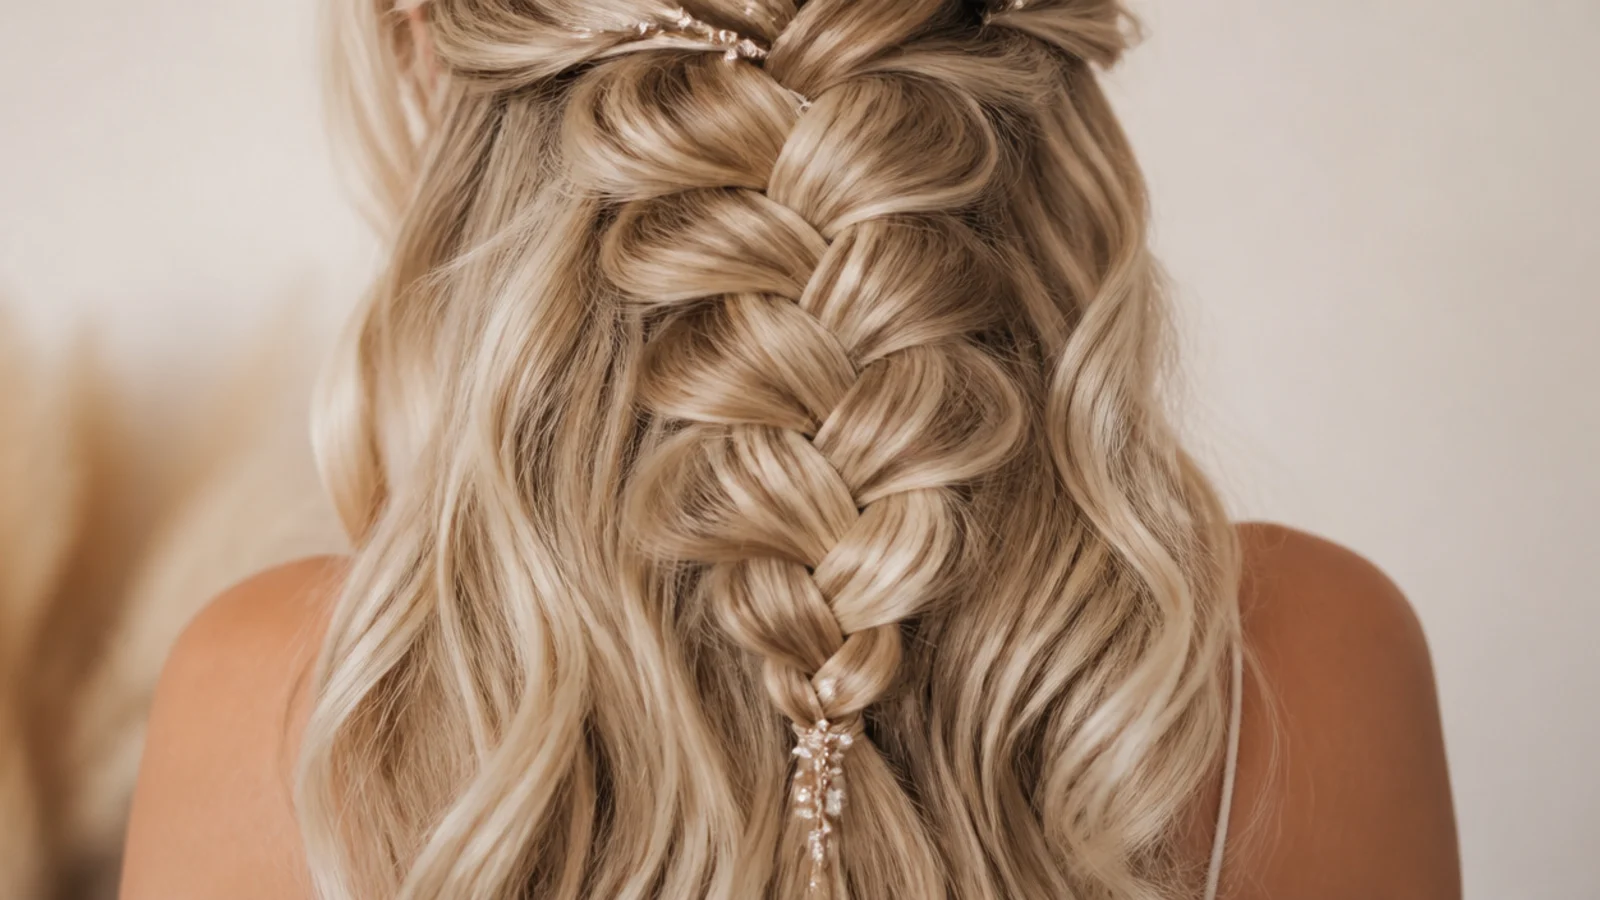
Curl the hair on a one and a quarter inch iron first, brush the curls out into soft waves, and then braid. Waved hair braids thicker than straight hair because each crossover holds air inside it, so the same head of hair fans noticeably wider. It is the single easiest way to fake density. The pre-wave also means the braid looks intentional rather than neat, which is the whole point of the mermaid finish. See more wave pairings in beach hairstyles.
Who it suits: Anyone whose hair is too smooth to hold a braid.
Tip: Let the curls cool completely before brushing them out or they will drop within the hour.
9. Boho Side Mermaid Braid With a Woven Ribbon
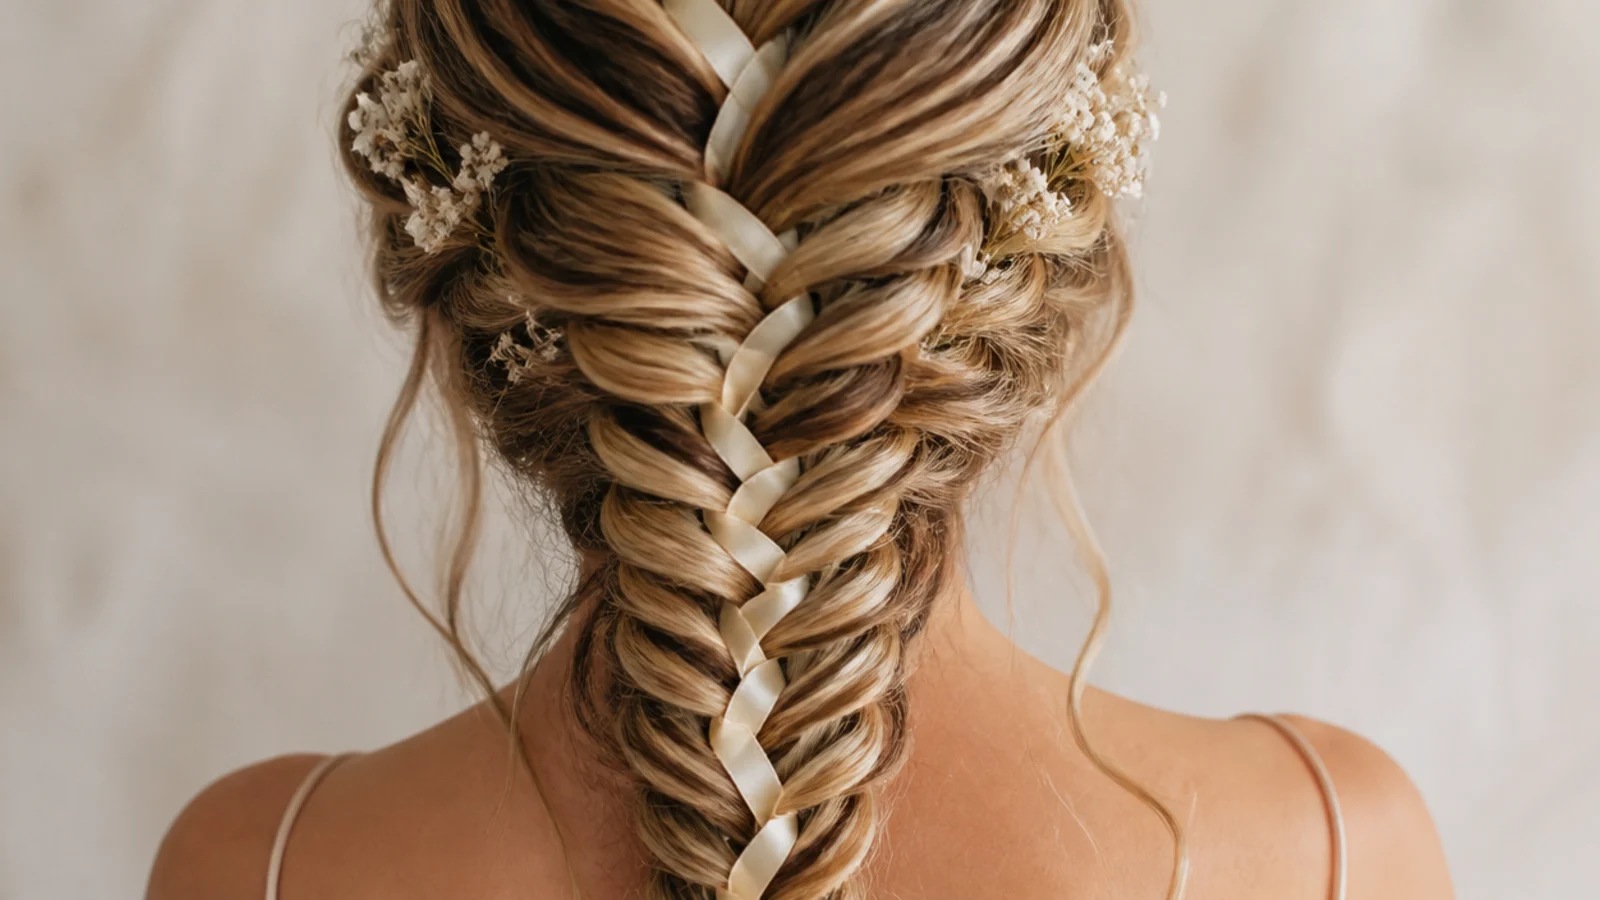
Lay a half-inch silk or velvet ribbon against the hair at the start of the braid and treat it as part of one strand, so it appears and disappears down the length. Cream, sage and dusty blue read boho; satin white reads bridal. The ribbon also does structural work on fine hair, adding grip that stops the braid loosening. Tie the ends in a small knot rather than a bow. The full look is broken down in boho mermaid braids.
Who it suits: Festivals, garden parties and boho weddings.
Tip: Cut the ribbon about eight inches longer than your hair so you never run out mid-braid.
10. Side Mermaid Braid for Hair Past the Waist
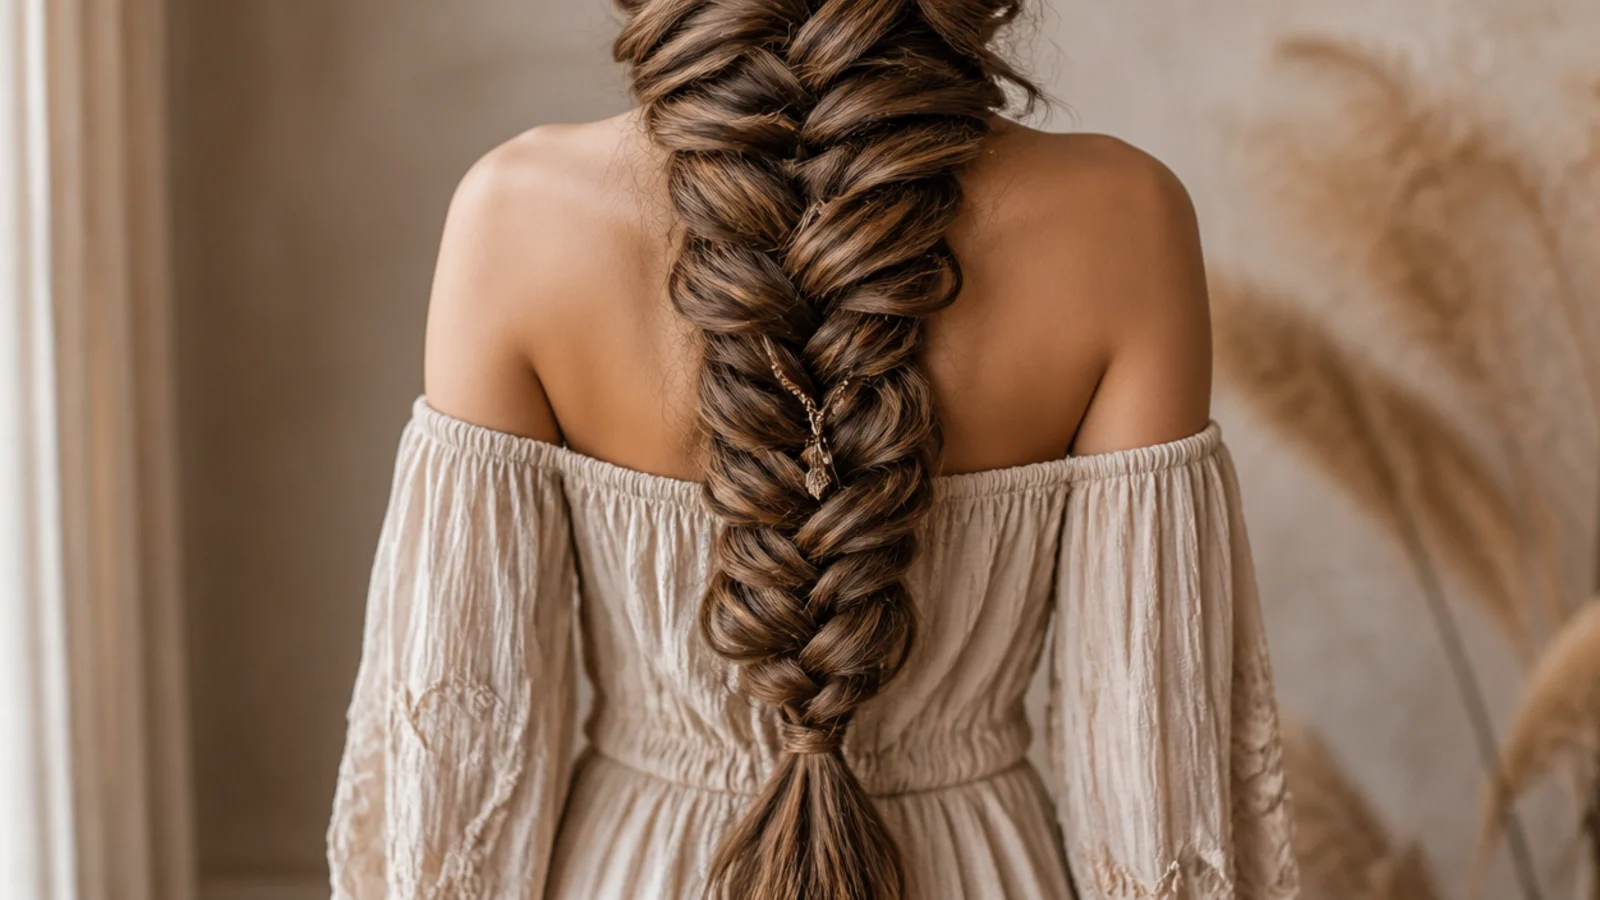
Past about 30 inches, a side mermaid braid becomes a genuinely heavy object, and the weight pulls the crown flat within an hour. The fix is two clear elastics: one at the nape holding the gathered start and one at the end, so the tension is shared instead of hanging off your scalp. Pancake the bottom two thirds hard and the top third barely at all, which keeps the silhouette tapered like a tail. Full guidance in long mermaid braids.
Who it suits: Waist length and longer, 30 inches and up.
Tip: Braid over the shoulder you do not sleep on so the fan is not crushed by morning.
11. Bridal Side Mermaid Braid With Pearl Pins
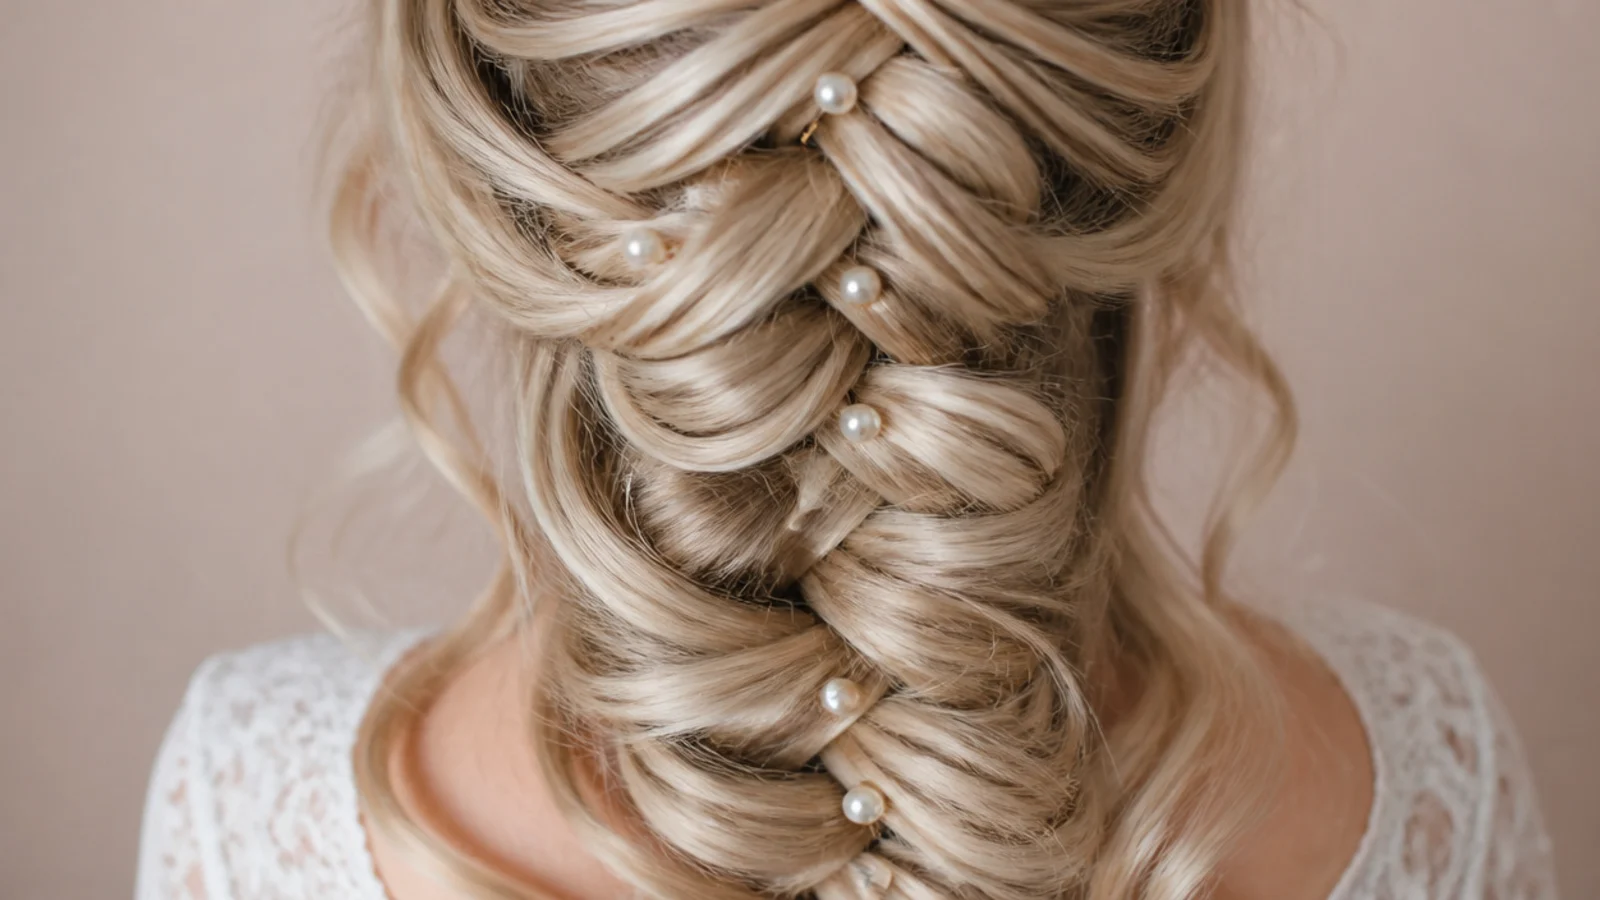
Take a standard deep-part side mermaid braid and push five to seven pearl-tipped pins into the gaps the pancaking opens up, spacing them irregularly so it reads scattered rather than lined up. Pearl sits better than crystal against a fanned braid because it catches soft light instead of throwing hard sparkle across the photos. A side braid also clears one shoulder completely, which matters with an off-shoulder or asymmetric neckline. More in mermaid braids for your wedding day.
Who it suits: Brides, bridesmaids and off-shoulder necklines.
Tip: Push each pin in against the direction of the braid so it grips instead of sliding out.
12. Messy Side Mermaid Braid on Day-Two Hair
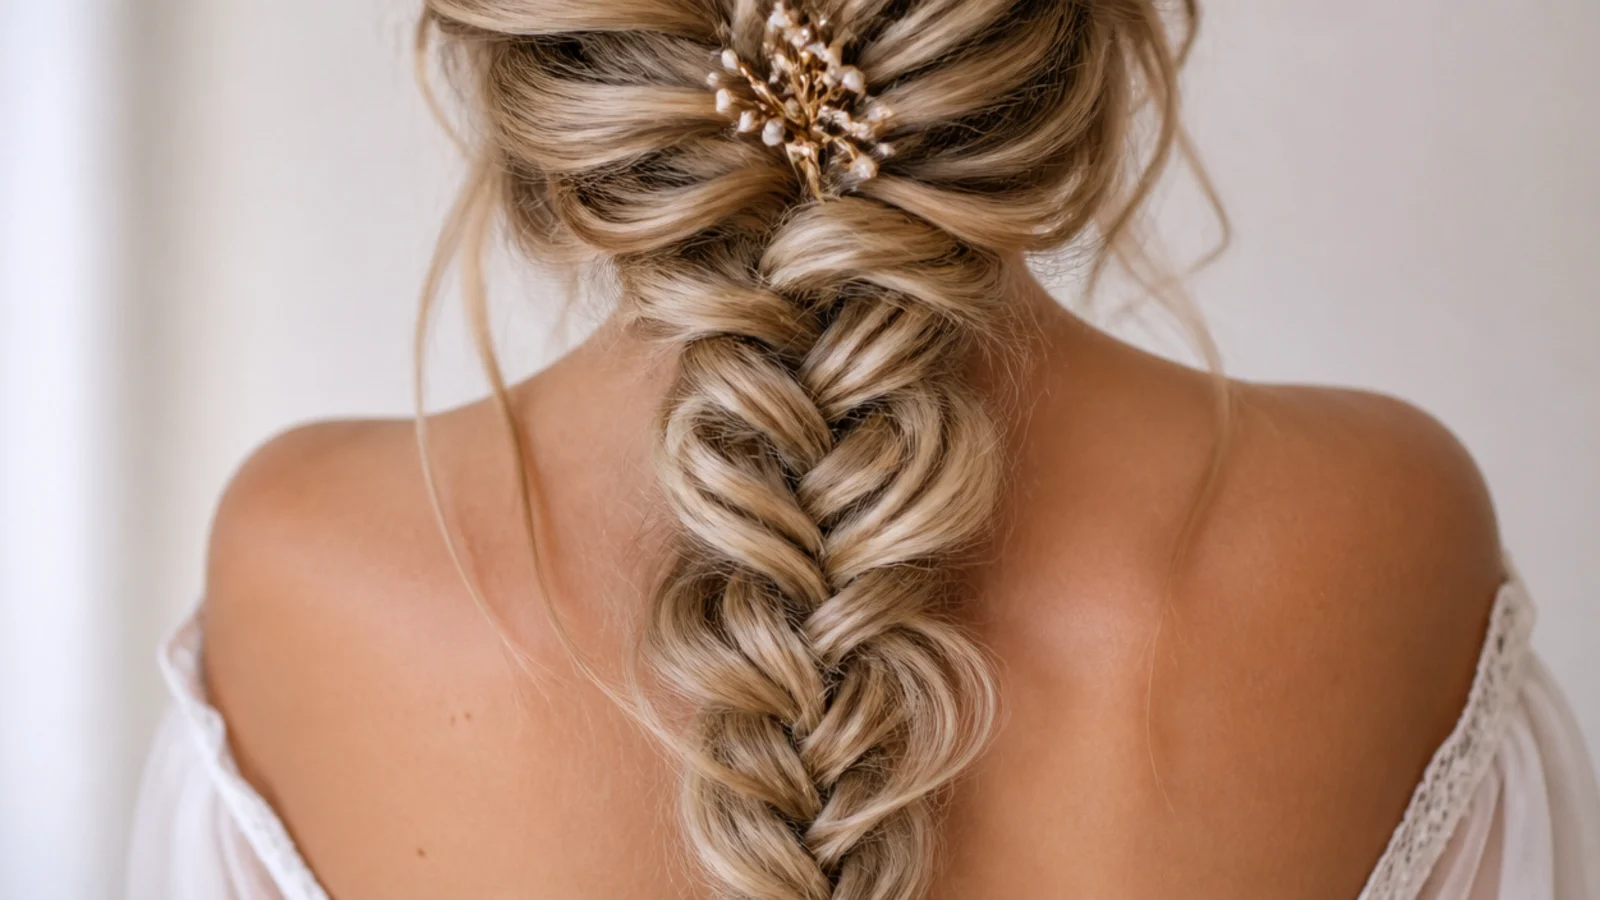
Braid on unwashed day-two hair, pancake aggressively, and then pull five or six random half-inch pieces free along the length. Day-two oils give the braid the grip that lets you loosen it this far without it collapsing, which is exactly why the messy version never works on clean hair. Keep the pulled pieces on the outside edge of the braid, not the top, so the fan stays visible. This is the five-minute weekday version. See also easy braided hairstyles for everyday.
Who it suits: Second and third day hair, and anyone in a hurry.
Tip: Pull pieces from the crossovers you already pancaked so the gaps look deliberate.
13. Side Mermaid Braid With Curtain Bangs
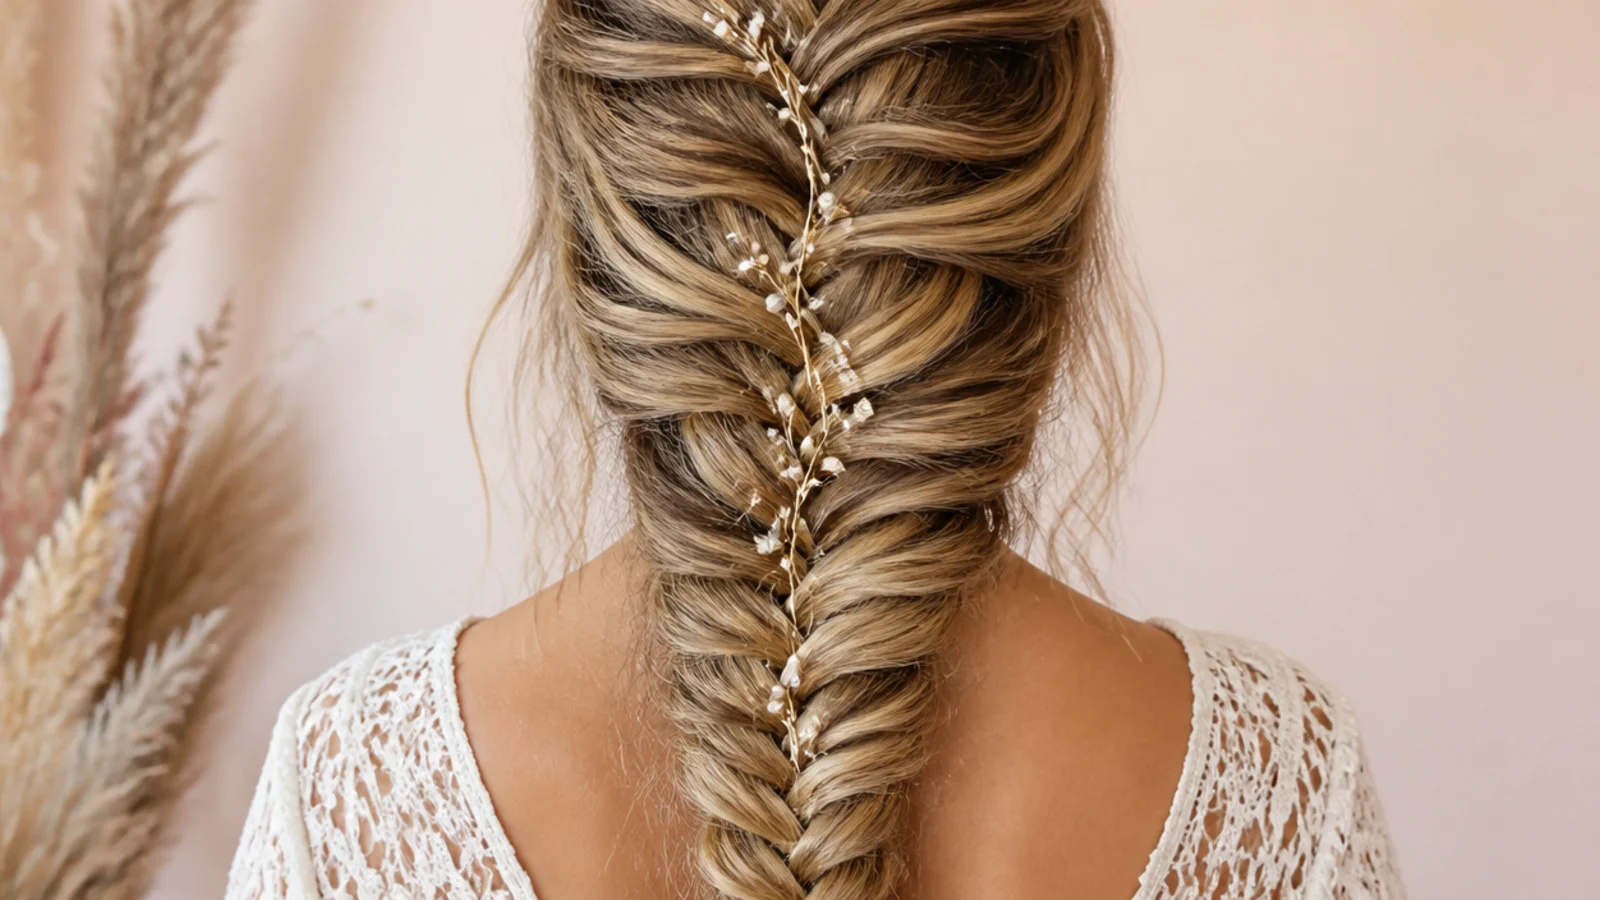
Curtain bangs and a side part fight each other unless you set the split first. Style the bangs away from the face with a round brush, then take your deep part behind them, so the braid starts an inch back from the fringe and the bangs stay independent. The braid gives the length structure while the bangs keep width at the cheekbone, which is the combination that softens a long or narrow face. Retouch the bangs after braiding, never before.
Who it suits: Curtain bangs, long faces and grown-out fringes.
Tip: Keep hairspray off the bangs entirely; the braid needs hold and the fringe needs movement.
14. Double Side Mermaid Braids Pulled to One Shoulder
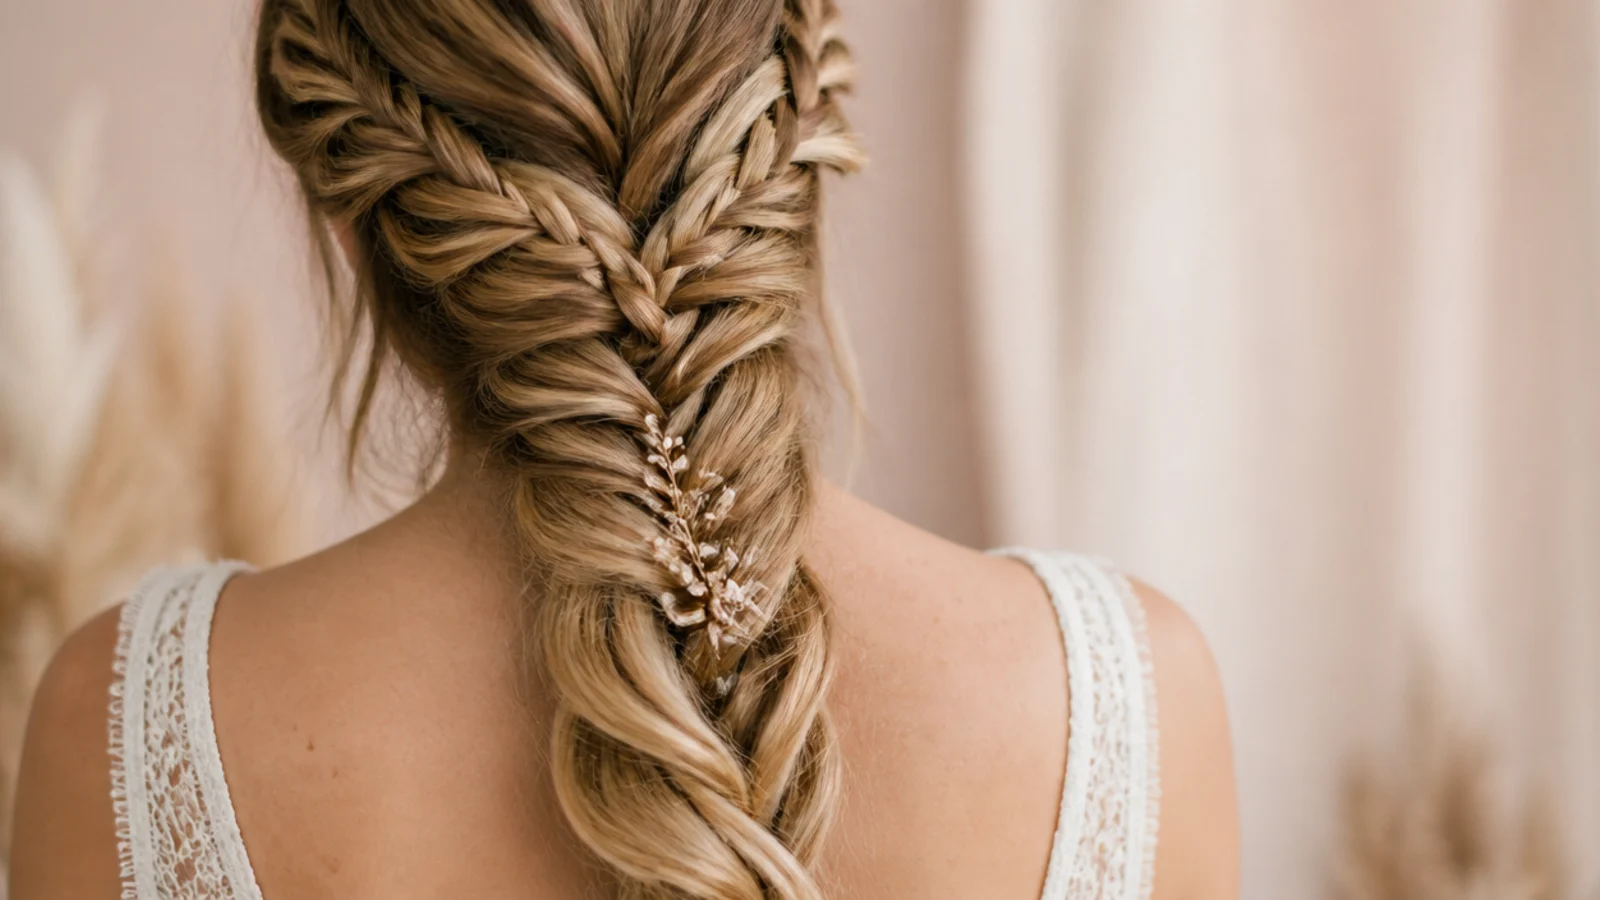
Split the hair into two sections at the side part, fishtail each one separately, pancake both, and then let them fall together over the same shoulder. Two narrow fans sitting side by side read wider than one thick braid, and the split gives thick or coarse hair somewhere to go instead of forming a rope you cannot pancake. Join the ends with a single clear elastic about three inches from the bottom so they stay together.
Who it suits: Thick, coarse or very dense hair.
Tip: Make the back braid slightly tighter than the front one so the front sits on top and reads fuller.
15. Side Mermaid Braid With Clip-In Extensions
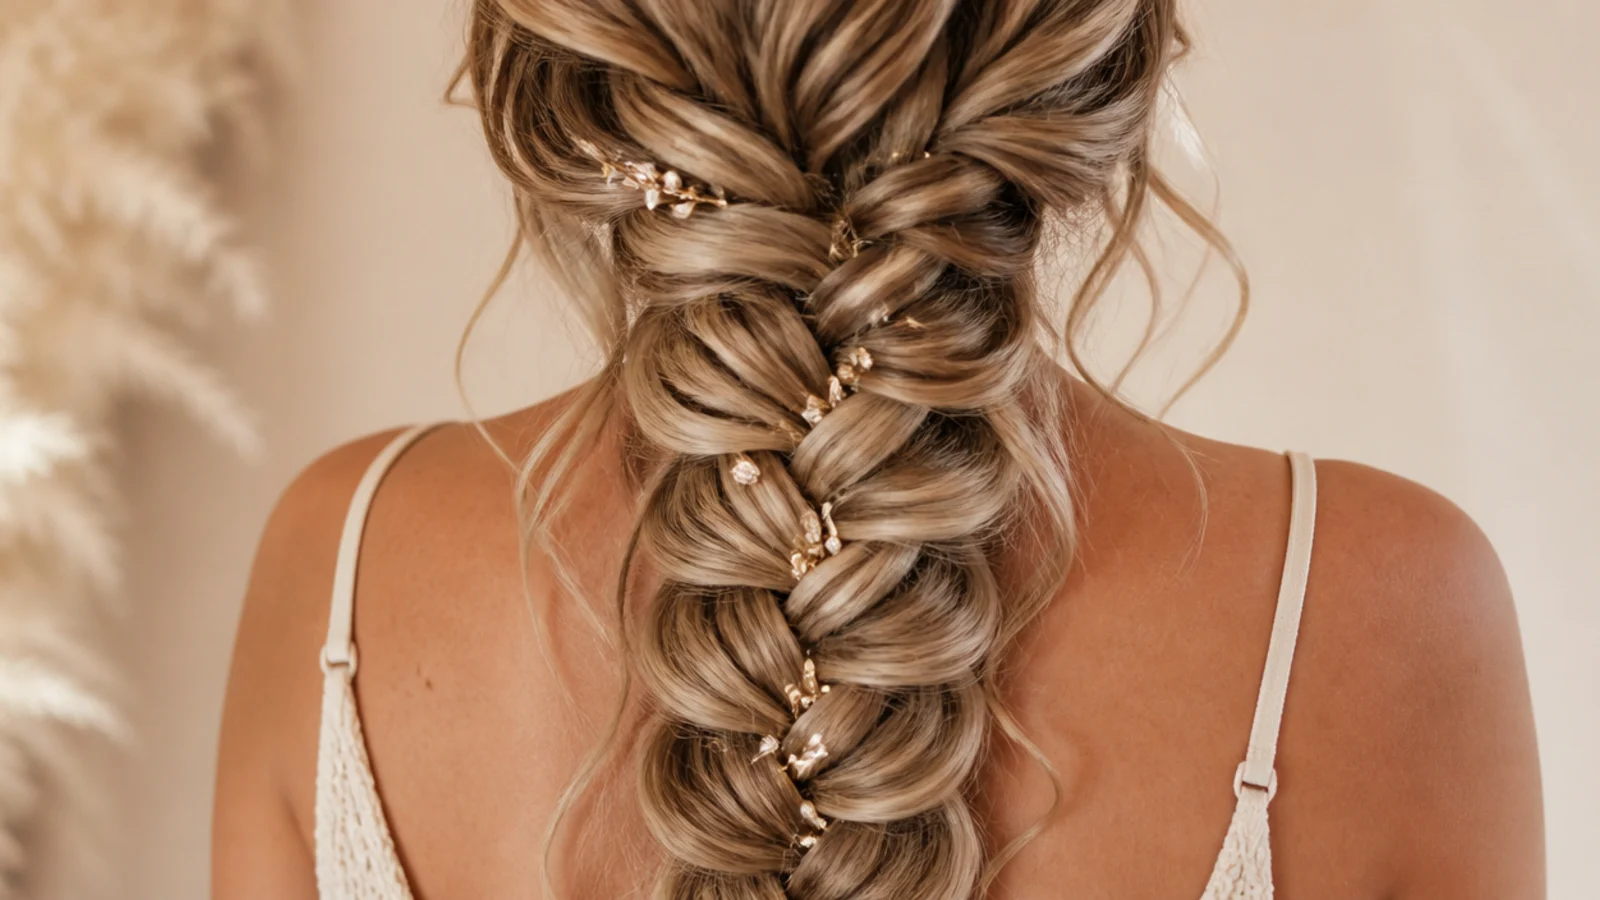
Two or three clip-in wefts placed low, around the occipital bone, add both the length and the density a fanned braid needs. Place them lower than you would for loose hair, because a side braid pulls everything forward and a high weft will show at the part. Clip them in before you part, and match the wave pattern to your own or the braid will show a visible texture change halfway down. Expect the braid to sit two to four inches longer, which puts you into long mermaid braids territory.
Who it suits: Shorter or fine hair wanting mermaid-length drama.
Tip: Backcomb the natural hair at each clip point so the weft has something solid to grip.
What a Side Mermaid Braid Is and How It Differs From a Fishtail
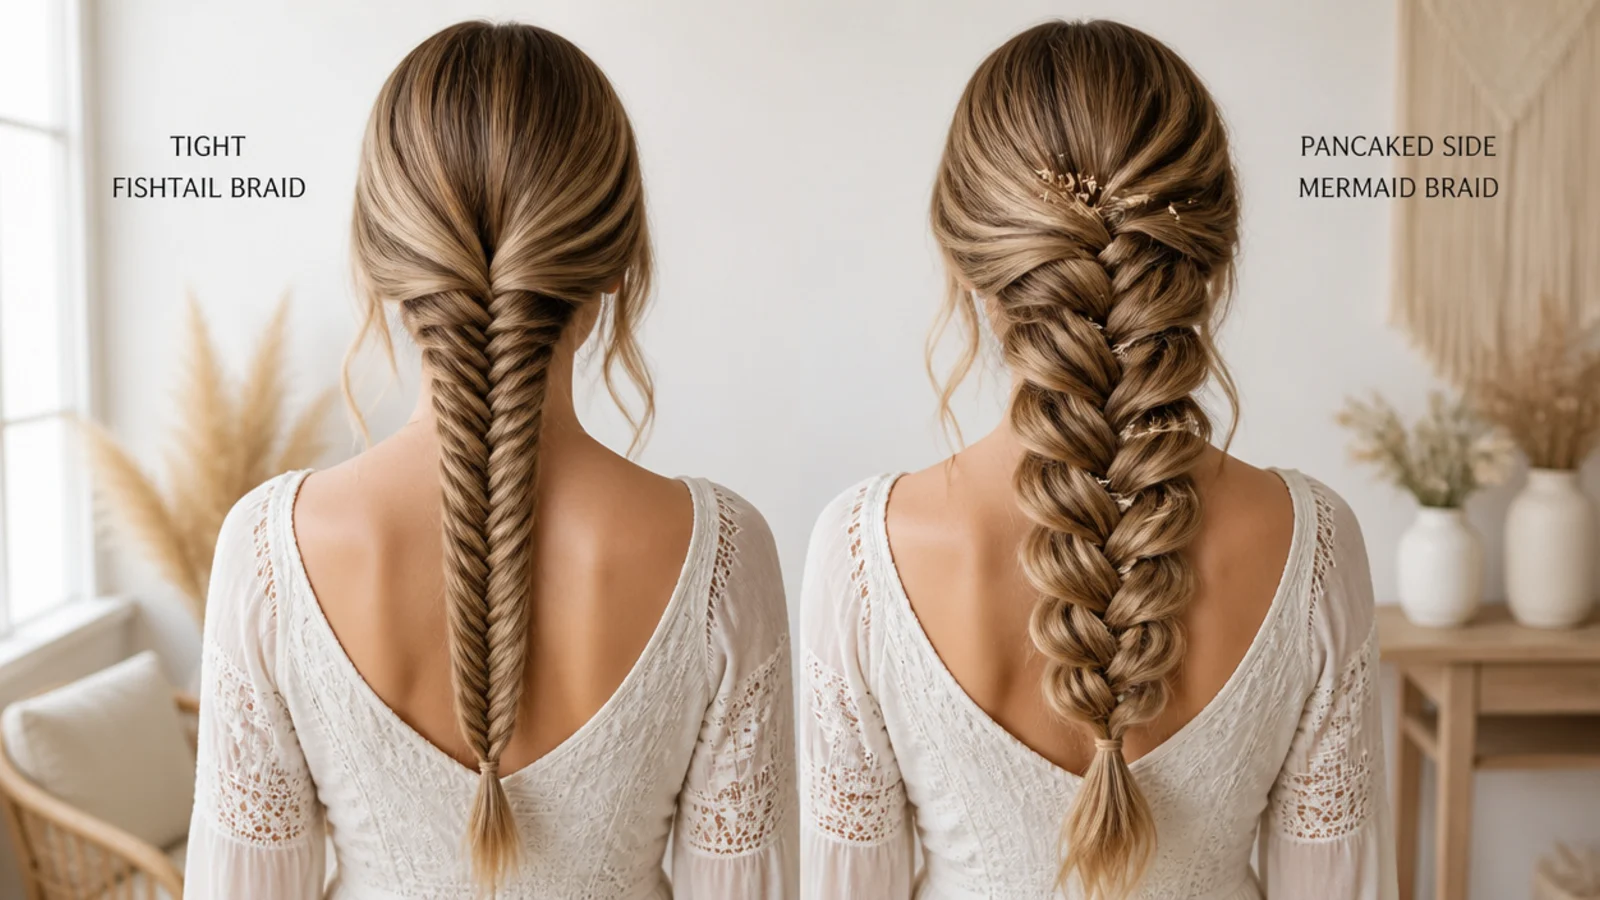
A mermaid braid is a fishtail braid that has been pancaked wide, so the crossovers fan outward and the whole braid tapers like a tail. That is the entire distinction. A fishtail is built by taking a thin strand from the outside of one half and crossing it over to join the other half, repeating side to side, which produces the fine woven chevron pattern. Left tight, that is a fishtail. Once you go back and tug the outer edge of each crossover to open it out, it becomes a mermaid braid. The side version simply moves the whole thing over one shoulder from a deep part, which is what makes the fan visible from the front instead of hidden down your back. Nothing about the braiding technique changes, so if you can fishtail, you can already do this. Start with the technique breakdown in mermaid braids, then come back for the side placement. It also helps to know what a side mermaid braid is not: it is not a Dutch braid, not a rope twist, and not the extension protective style that shares the name.
Which Side to Part On, and Which Face Shape a Side Braid Suits
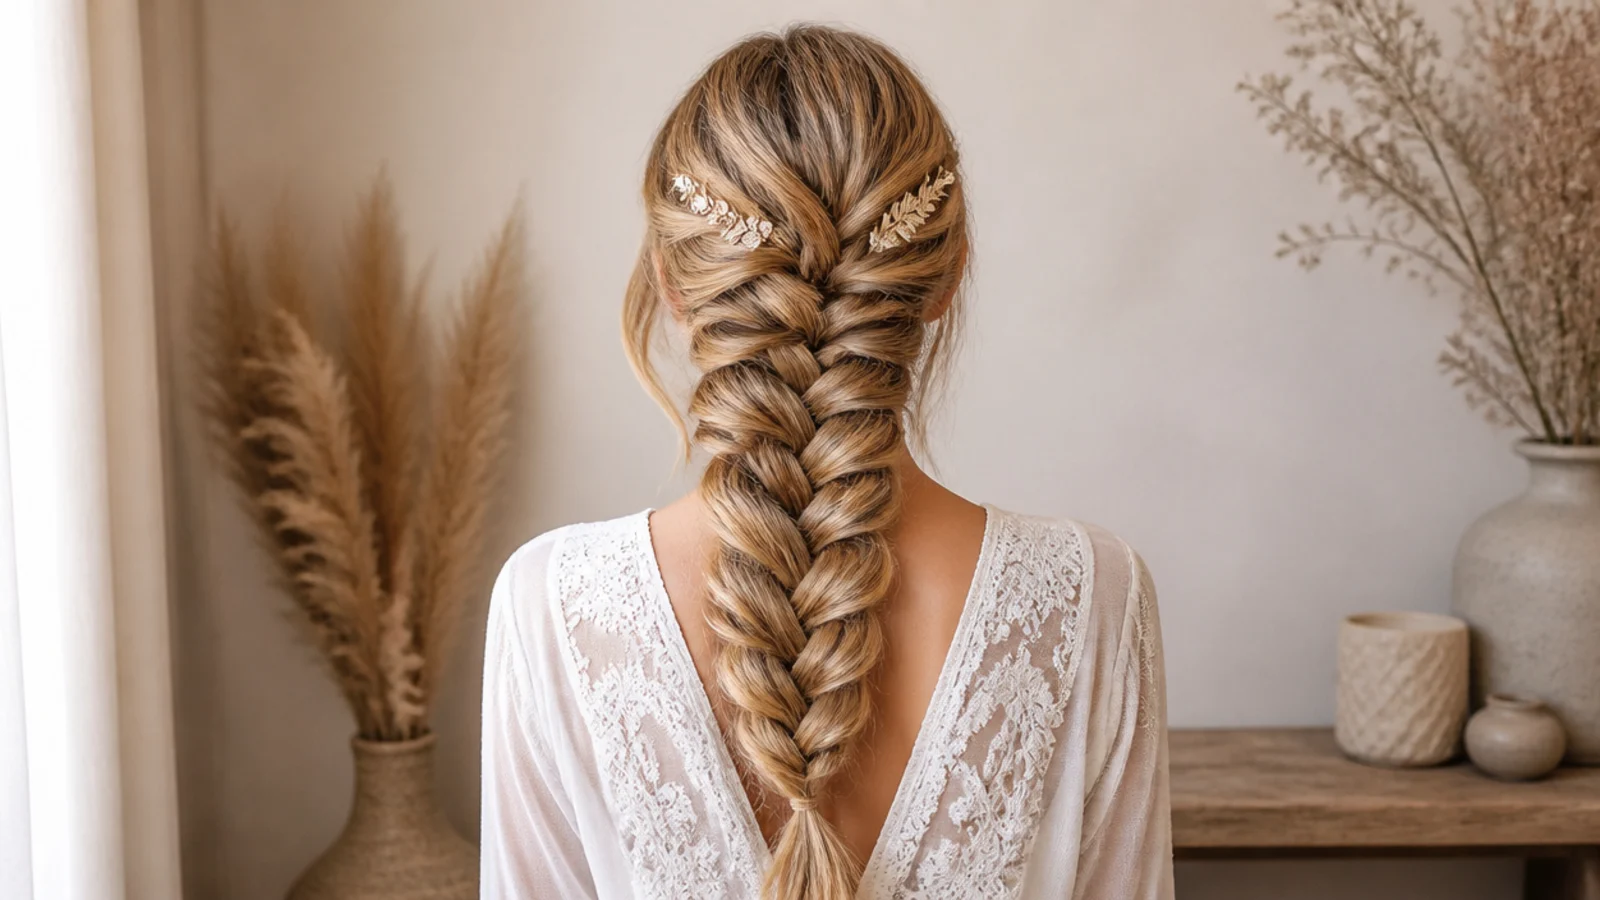
This is the question the older side-braid tutorials skip entirely, and it decides how the finished braid looks more than any braiding detail does. Part on the opposite side to your natural part, about two inches over from center, in line with the arch of one eyebrow. Hair that has spent years falling one way resists the switch, and that resistance is free volume at the crown that no amount of backcombing replicates. Then sweep the braid to the side opposite the part, so the heavier curtain of hair crosses the top of your head. On face shape, a deep side part and an off-center braid create a diagonal line, which is what breaks up the horizontal width of a round or square face. Long and narrow faces want the opposite handling: a shallower part, face-framing pieces left out at the cheekbone, and the braid started lower at the nape so it does not add height. Heart-shaped faces get the best of it, since the width of the fan at chest level balances a narrower chin. If you are unsure which category your texture falls into before you commit, start with the right hairstyle for your hair type.
How to Pancake a Side Mermaid Braid Without It Collapsing
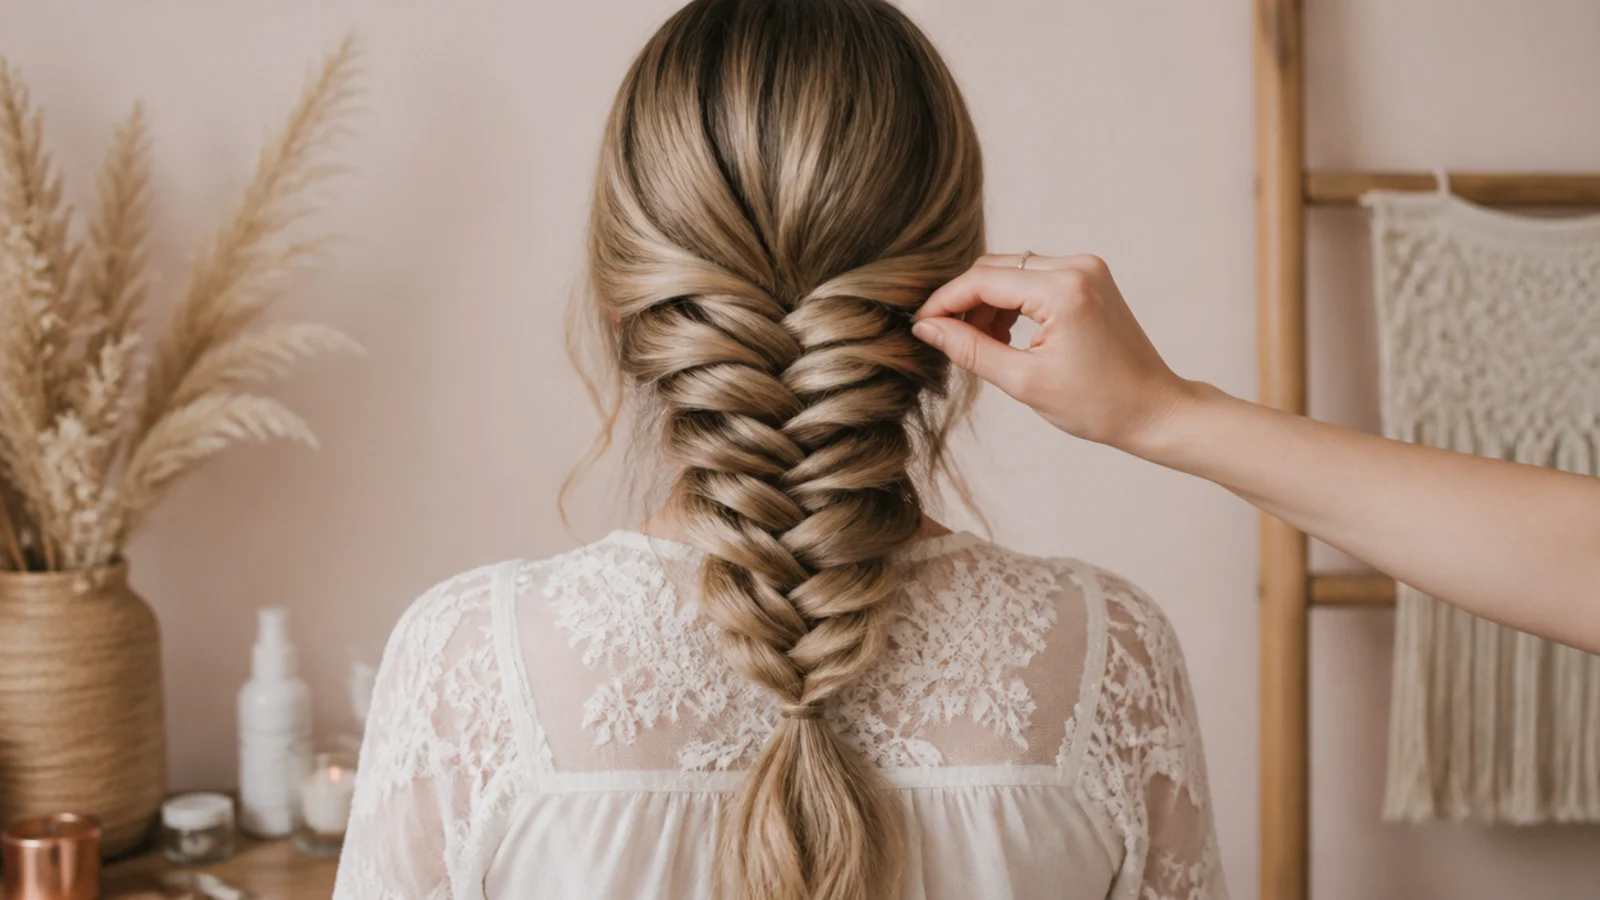
Pancaking is where most side mermaid braids fall apart, and the failure is almost always order and distance. Work from the bottom of the braid upward, never top down, because pulling at the top first releases the tension that everything below it depends on. Pinch the very outer edge of one crossover between thumb and finger and tug it outward by a few millimeters only, then move to the crossover on the opposite side and repeat, alternating all the way up so the braid widens evenly instead of lopsidedly. If you pull a full centimeter at once, the strand slides out of the weave and you lose it. Do two passes. The first opens the braid roughly, the second evens out anything that fanned wider than its neighbors. Hold the braid still with your other hand about an inch below wherever you are pulling, which stops the whole thing untwisting as you work. If a section pulls out entirely, do not rebraid the lot: tuck the loose piece back under the nearest crossover and pin it flat underneath.
Side Mermaid Braids on Fine, Slippery or Freshly Washed Hair
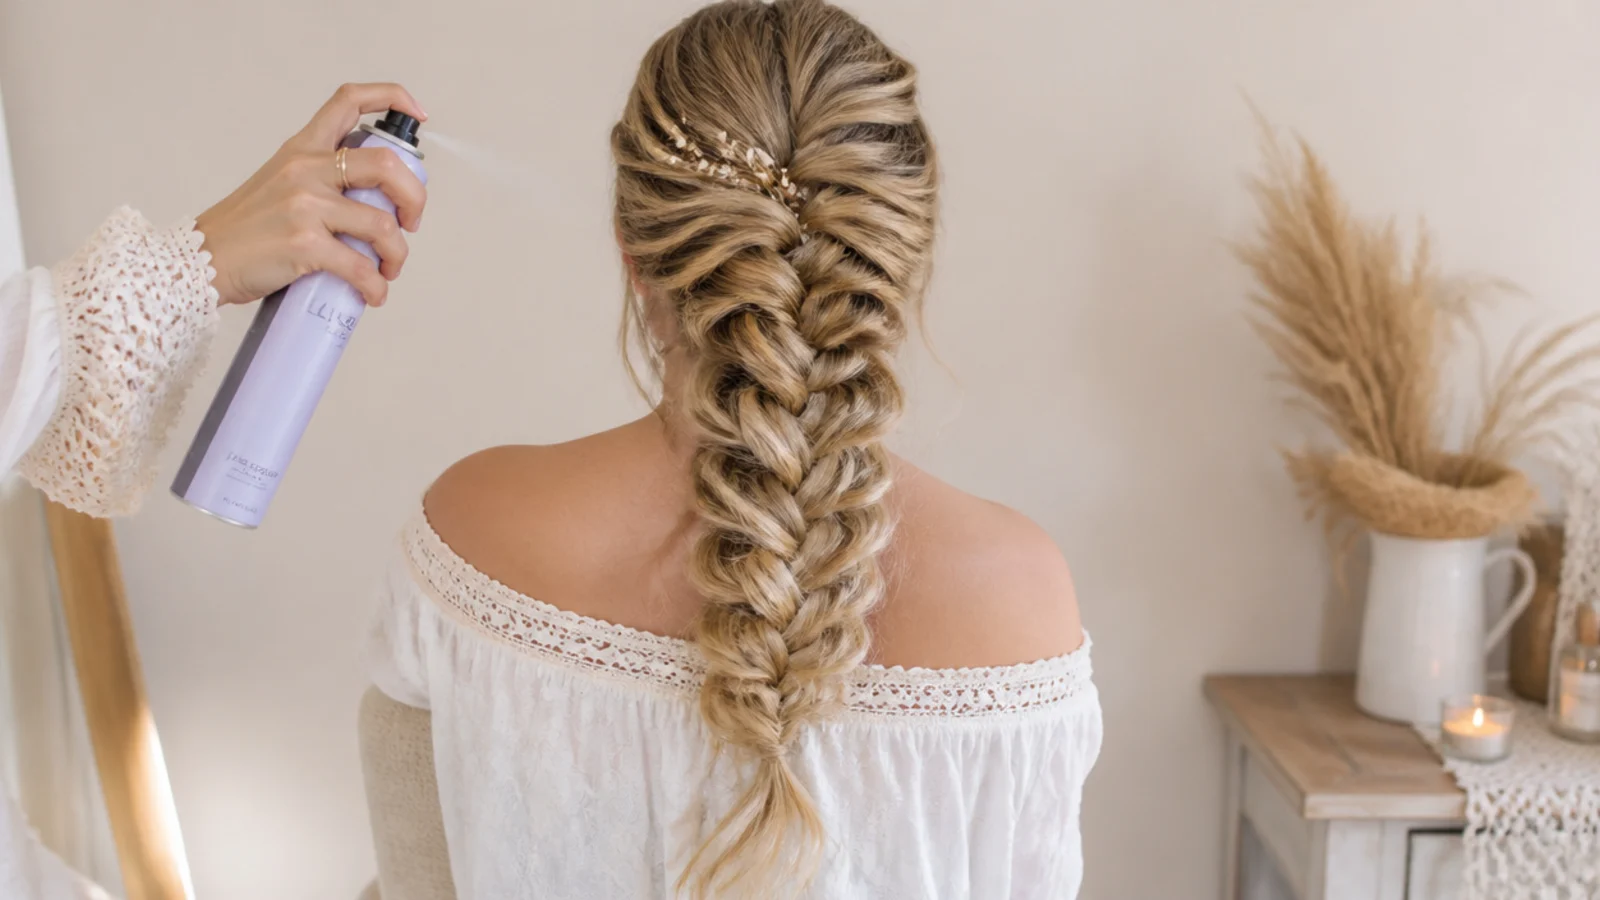
Freshly washed hair is the enemy of this braid. Clean cuticles are smooth, smooth strands slide past each other, and a fishtail with nothing to grip will loosen from the bottom the moment you start pancaking. There are two fixes and you can use both. First, braid day-two hair, where the natural oils have given every strand a light coating of texture. Second, work a dry texture spray or a light dusting of dry shampoo through the mid-lengths and ends before you start, not after, and scrunch it in with your fingers rather than brushing it through. Beyond product, technique matters: take quarter-inch strands rather than half-inch ones, since more crossovers per inch means more friction holding the braid together. Fine hair also benefits from backcombing the last two inches before you tie off, so the elastic has bulk to grip. If your hair is fine as well as short, the half-up version is the more reliable choice, and there is more on styling limp hair in how to style short fine hair.
Side Mermaid Braids by Hair Length and Thickness
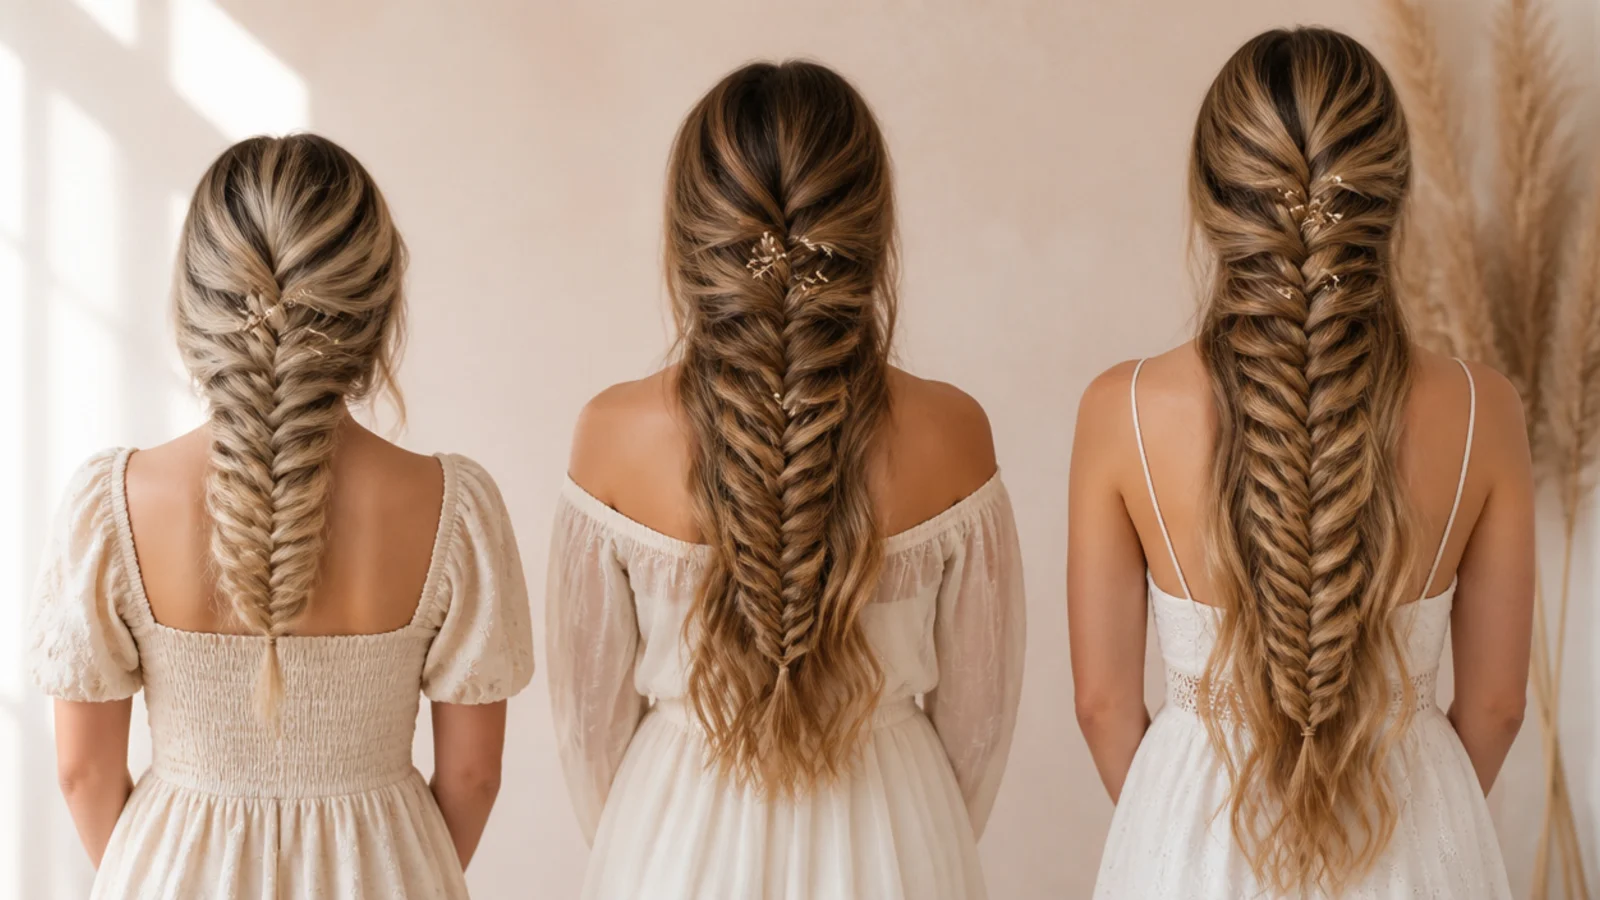
Length sets what is possible. Below about 14 inches, roughly collarbone, a full side mermaid braid runs out of hair before the fan develops, so take the half-up route and braid only the top third. At 14 to 20 inches, mid-back, a full side braid works and the fan lands right across the chest, which is the most photographed proportion on this whole board. At 20 to 30 inches you get a genuine tapered tail and can afford to pancake the lower two thirds hard. Past 30 inches, weight becomes the problem and the crown flattens, so share the tension between a nape elastic and an end elastic. Thickness cuts the other way. Fine hair needs texture and small strands. Medium hair is the easy case. Very thick or coarse hair often resists pancaking because the strands are too stiff to fan, and the answer is to split into two braids that sit side by side rather than fighting one rope, the same density logic behind long hair updos that last. Layered cuts sit between the two: layers shed out of the weave, so start the braid lower at the nape and pin the escapees rather than rebraiding.
Making a Side Mermaid Braid Last All Day and Overnight
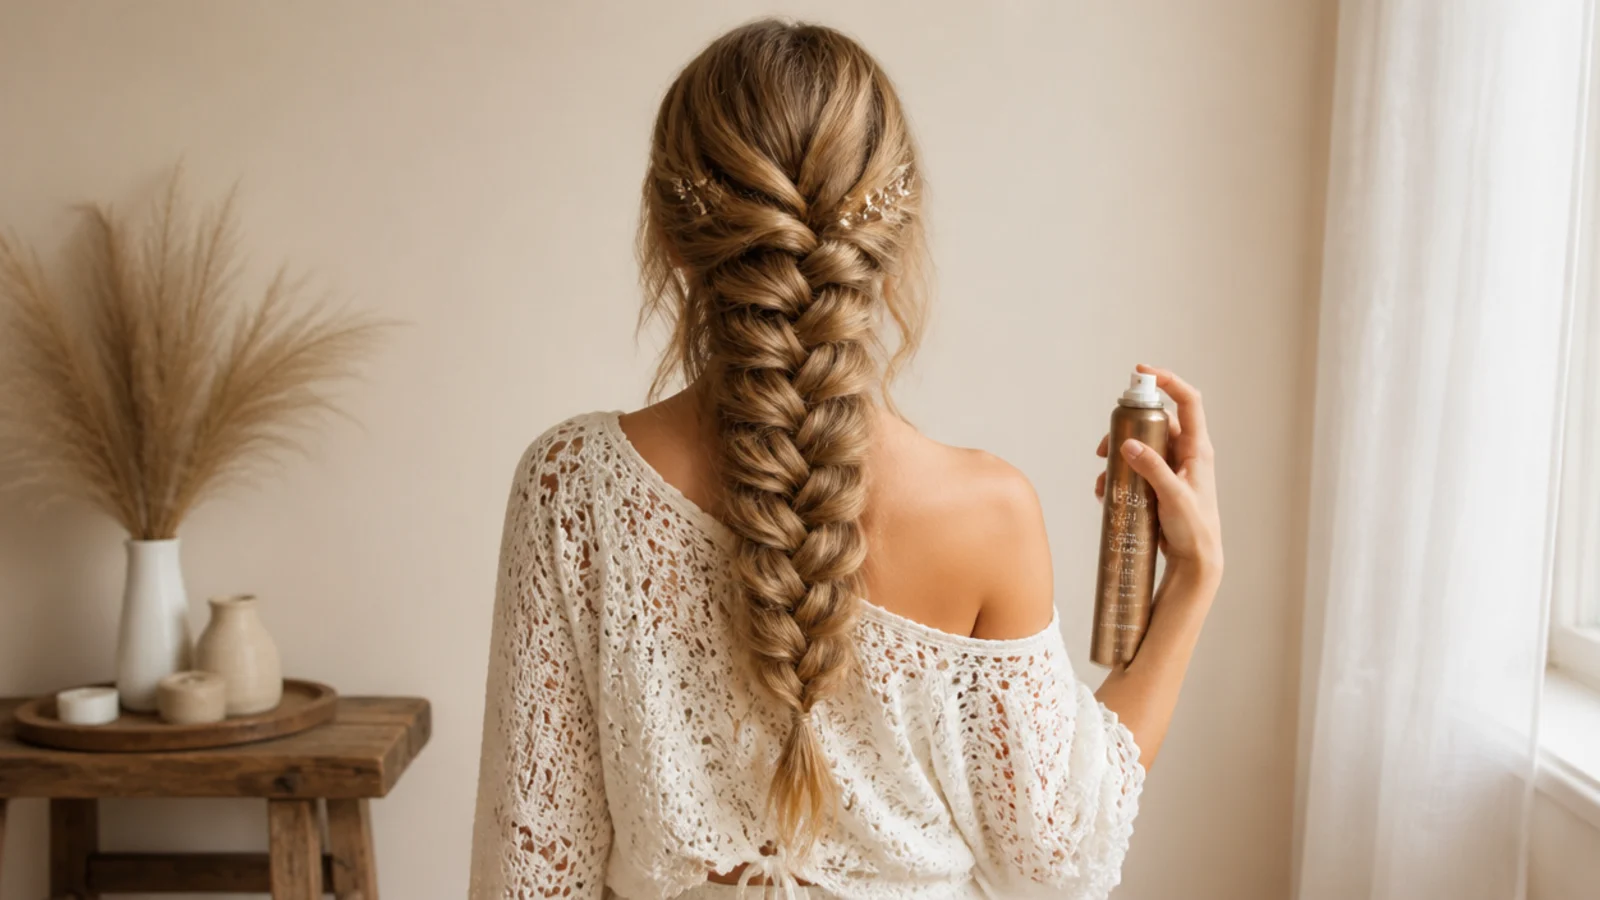
Hold comes from what you do before the braid, not after. Texture spray at the roots and mid-lengths gives the weave grip that hairspray sprayed over a finished braid never will, because spray on the outside only glues the surface while the inside keeps slipping. Secure with a small clear elastic, which disappears in photographs in a way that a black band never does, and place two or three bobby pins into the underside of the braid at the nape, pushed in against the direction of the hair so they bite. Expect eight to ten hours before the crown drops. If you are wearing it through an evening, carry two spare pins and re-pin at the nape rather than trying to repancake in a bathroom mirror. Overnight, the braid becomes a tool: loosen the elastic, sleep in it braided but not tight, and by morning you have soft mermaid waves without heat. A satin pillowcase cuts the frizz that cotton creates against the fanned sections, the same overnight logic behind heatless curl tools compared. For more looks built to survive a full day, see cute hairstyles that last all day.
Frequently Asked Questions
What are side mermaid braids?
A side mermaid braid is a fishtail braid worn over one shoulder from a deep side part, then pancaked so each crossover is tugged outward and the braid fans wide like a mermaid tail. The braiding itself is an ordinary fishtail. The fanning and the side placement are what turn it into a mermaid braid.
How do you do a side mermaid braid step by step?
Part deep on one side, sweep all the hair over the opposite shoulder, and split it in two. Take a thin quarter-inch strand from the outer edge of one half, cross it over to join the other half, then repeat on the opposite side, alternating to the ends. Tie off with a clear elastic, then pancake each crossover from the bottom upward.
Which side should you part your hair for a side braid?
Part on the opposite side to your natural part, roughly two inches from center and in line with one eyebrow arch. Hair that usually falls the other way resists the change, and that resistance lifts the crown. Then braid over the shoulder opposite the part, so the fuller curtain of hair crosses the top of your head.
How do you make a mermaid braid look thicker?
Pancake it. Pinch the outer edge of each crossover and tug it a few millimeters at a time, working from the bottom of the braid upward and alternating sides. Loose curls put in before you braid help too, because waved hair traps air inside each crossover. Two gentle passes fan the braid wider than one hard pull ever will.
Why does my mermaid braid keep falling out?
Almost always because the hair is too clean. Freshly washed strands are smooth and slide out of the weave as soon as you pancake. Braid day-two hair, or work a dry texture spray through the mid-lengths first, and take smaller strands so there are more crossovers gripping each other. Backcomb the last two inches before tying off.
How long does your hair need to be for a side mermaid braid?
About 14 inches, or collarbone length, is the practical floor for a full side braid, since you need enough tail below the nape for the fan to develop. Between 12 and 16 inches, the half-up version works better: braid only the top third diagonally toward one shoulder and leave the rest loose and waved underneath.
How long does a side mermaid braid last?
Eight to ten hours before the crown drops and the fan softens, assuming you used texture spray before braiding and pinned the underside at the nape. Re-pinning at the nape restores most of it. Slept in loosely, the same braid gives you soft mermaid waves the next morning, so the second day is a style in itself.
Are side mermaid braids the same as the mermaid braids with extensions?
No, and this is the confusing part of the keyword. The DIY side mermaid braid here is a pancaked fishtail done on your own hair in under half an hour. The other mermaid braids are a protective style installed with extensions, where loose wavy hair is left out so the braids are not braided to the ends. Different techniques entirely.
Can you do a side mermaid braid on yourself?
Yes, and the side placement is what makes it possible. Pulling everything over one shoulder puts the braid in front of you where both hands can reach it and you can see the weave without a second mirror. Starting low, with a gathered section at the nape rather than a scalp braid, makes it easier again.
Which mermaid braids look are you saving?
If you take one thing from these 15 side mermaid braids, make it the order of operations: texture first, fishtail second, pancake last, from the bottom of the braid upward. Almost every flat, sad side braid on the internet is a clean-hair fishtail that was pancaked from the top down until it collapsed. Choose your part on the opposite side to your natural one for lift, sweep everything over the shoulder that faces the camera, and use a clear elastic so nothing competes with the fan. Then loosen it and sleep in it for next-day waves. Browse the rest of the mermaid braids hub, or go straight to long mermaid braids if your hair falls past your waist.