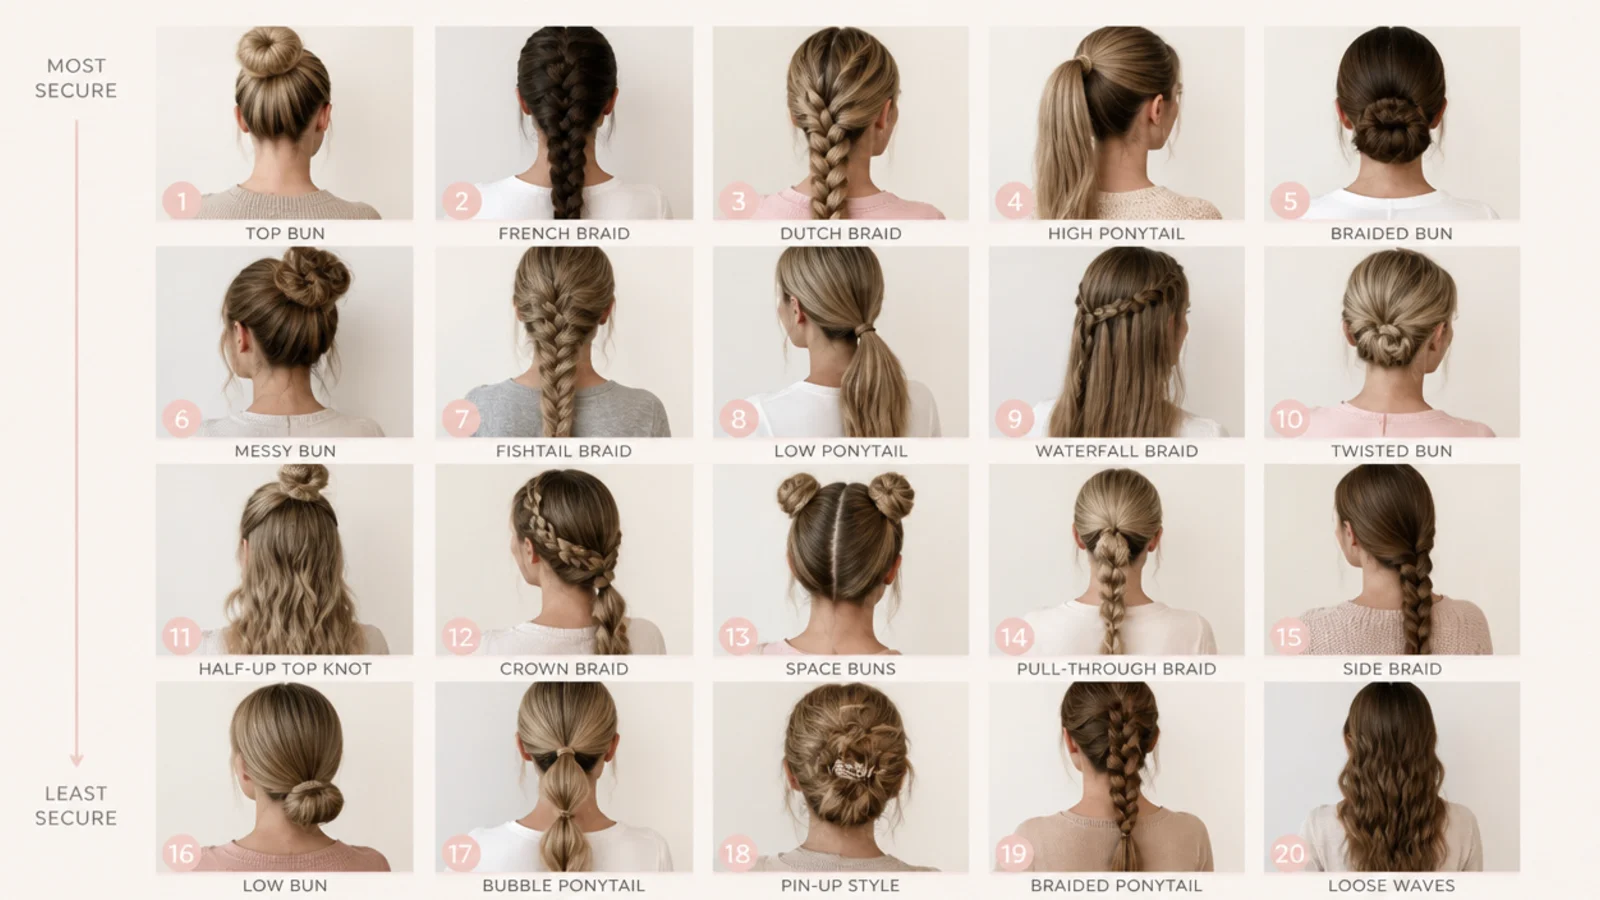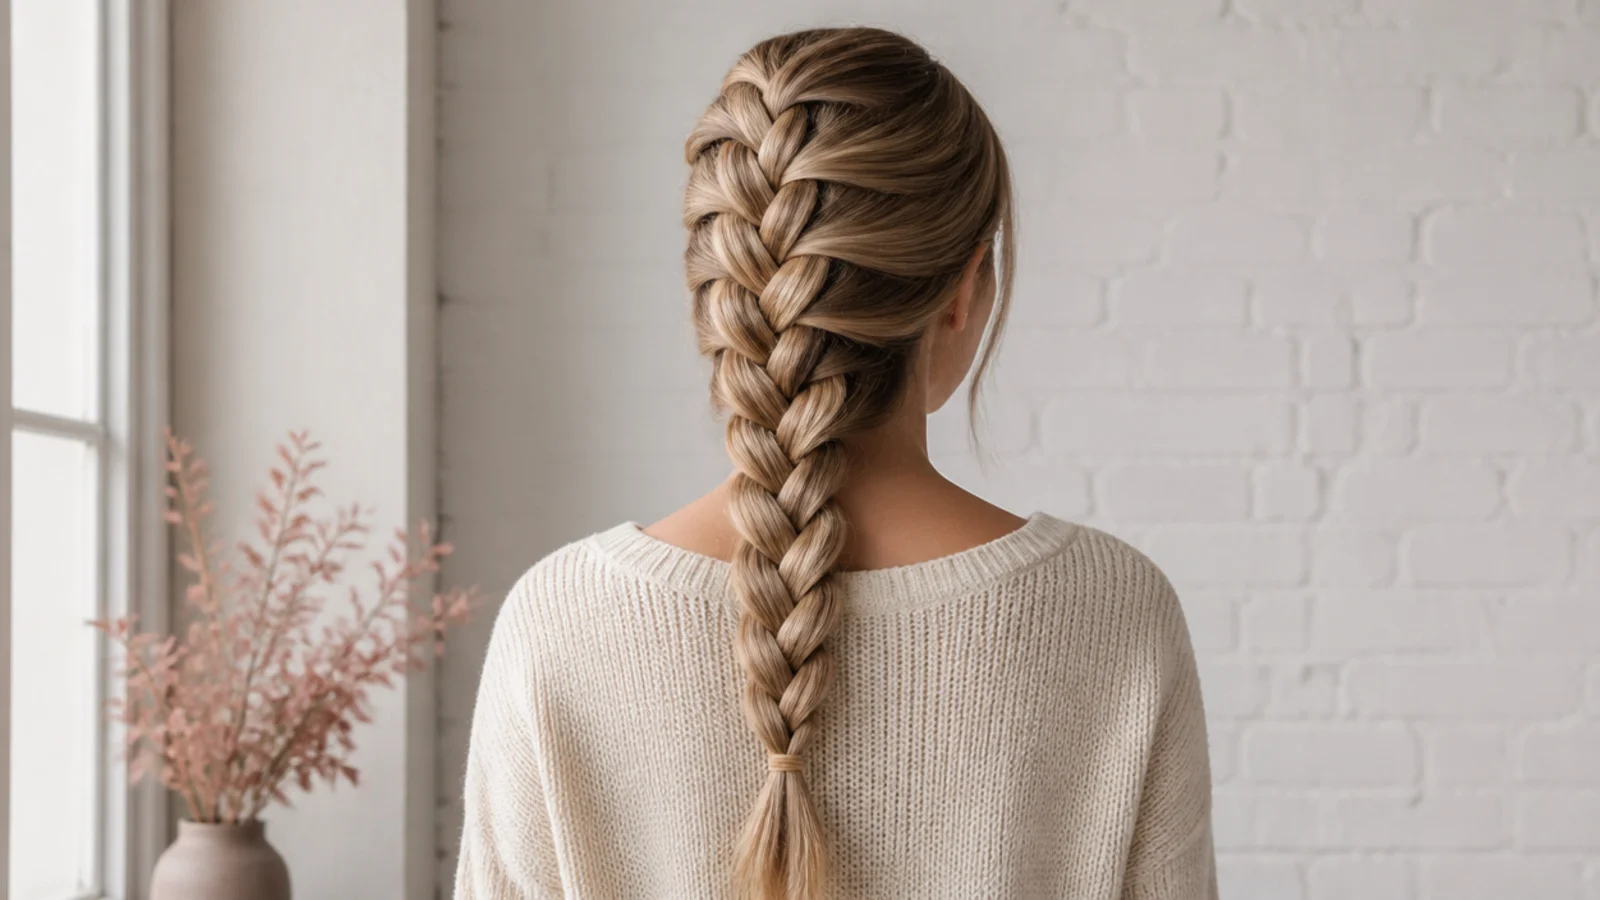
Quick Comparison
| French Braid | Dutch Braid | |
|---|---|---|
| Cross direction | Outer strands cross over the middle | Outer strands cross under the middle |
| How it sits | Lies flat and smooth against the head | Stands raised and pops off the head |
| Best everyday use | Polished, office-friendly, understated | Bolder gym, errand and boxer-braid base |
| Beginner difficulty | Easier; the over motion feels natural | Slightly harder; the under motion is awkward at first |
| Shows lumps | Hides minor unevenness flat | Shows uneven tension as raised bumps |
| Volume payoff when pancaked | Modest; widens the flat braid | High; the raised braid pancakes very full |
| Time on second-day hair | 4-6 minutes | 5-7 minutes |
| Hold through a workday | Strong when tension stays even | Strong and very visible when done neatly |
| Best for | Everyday polish and fine-to-medium hair | Statement braids, boxer braids and medium-to-thick hair |
1. Classic Three-Strand Braid
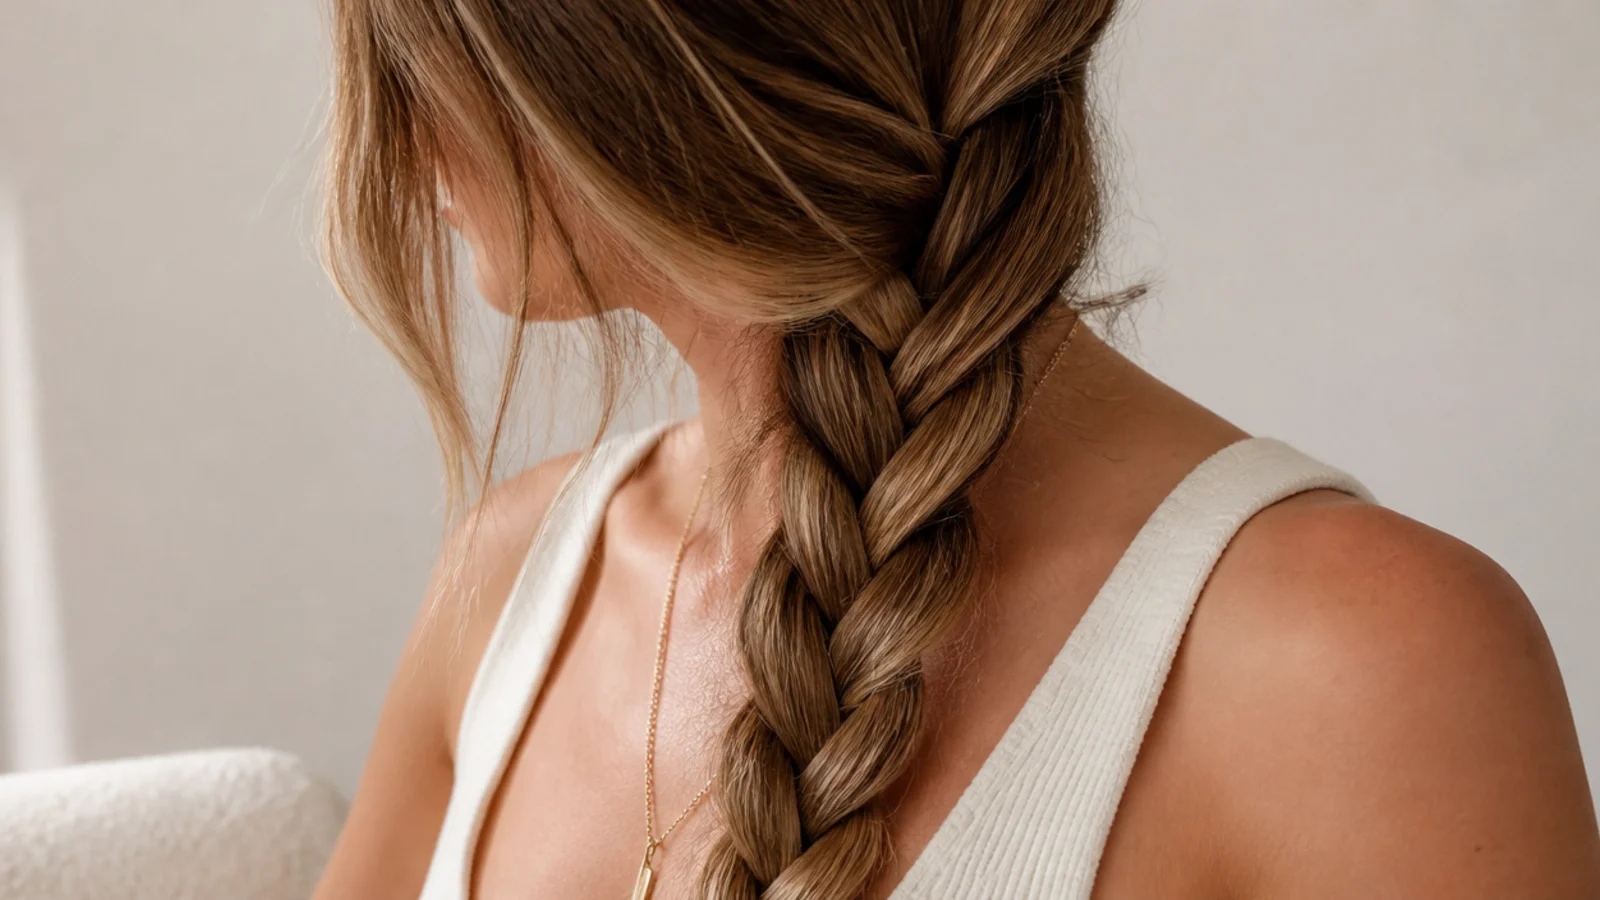
The plain three-strand braid is the foundation every other style is built on, so learn it until your fingers do it without looking. Split a low ponytail into three equal sections, then cross the right section over the middle, the left over the middle, and repeat to the ends. It suits any length past the shoulders and any texture, and it is the fastest way to keep hair off your face on a busy day.
Keep your three sections even in size; unequal strands are the number one reason a braid looks messy rather than neat.
2. Basic French Braid
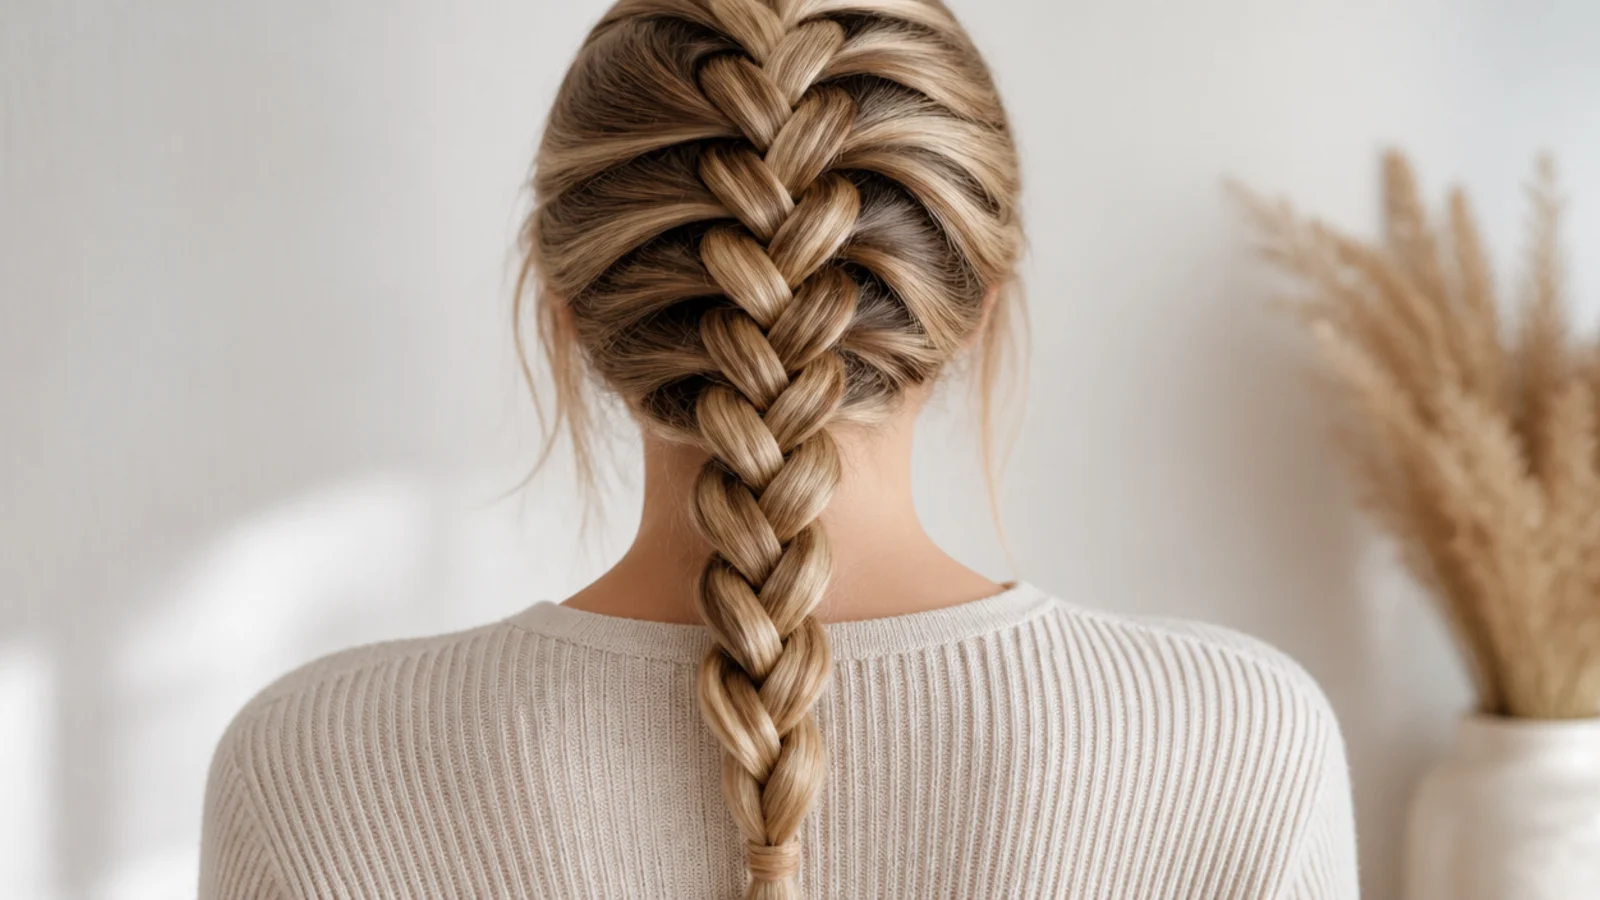
A French braid keeps the whole style flat against the head, which is why it survives a workday better than a low braid. Take a section at the crown, split it in three, and cross the outer strands over the middle, adding a small piece of loose hair to each outer strand before every cross. Keep going down to the nape, then finish as a normal three-strand braid. It works on hair past chin length and reads polished enough for the office.
Add the same small amount of hair to each side every pass; uneven pickups are what makes a French braid wander off-center.
3. Dutch Braid (Inside-Out Braid)
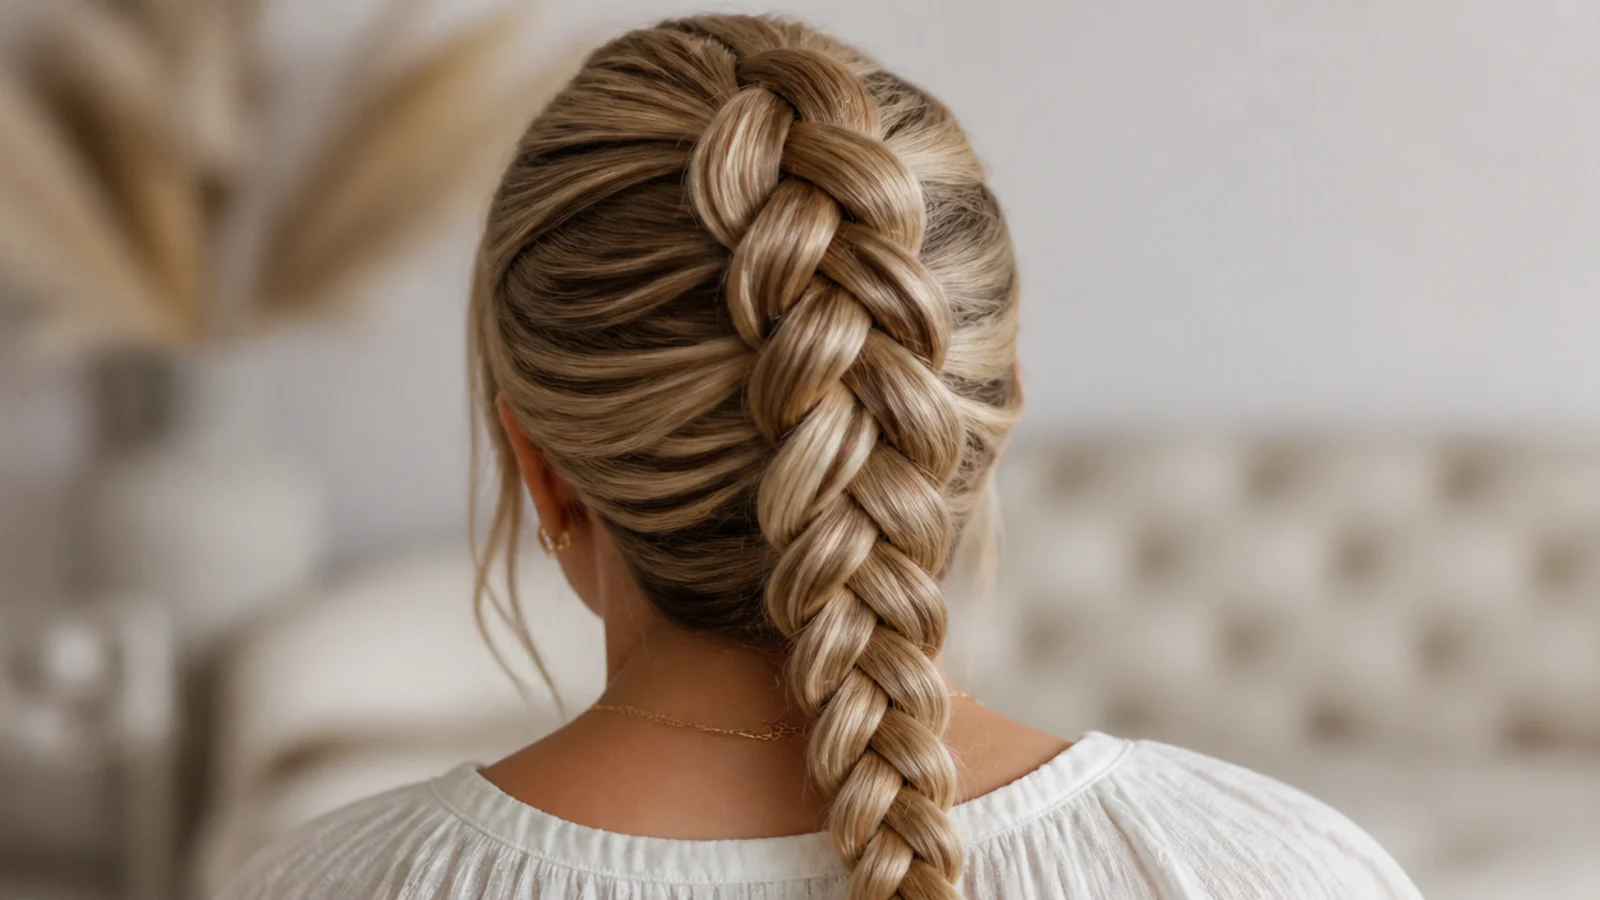
The Dutch braid is a French braid worked in reverse, so it sits raised off the head instead of flat, which reads bolder and photographs well. Everything is the same as a French braid except you cross the outer strands under the middle rather than over. That single change is what makes it pop up. It suits medium to long hair and is the base for boxer braids and most gym styles. See the fix for lumpiness in the troubleshooting section below.
Cross under, never over, and pull each strand out to the side as you go so the braid climbs straight up the center.
4. Milkmaid Braid (Crown Wrap)
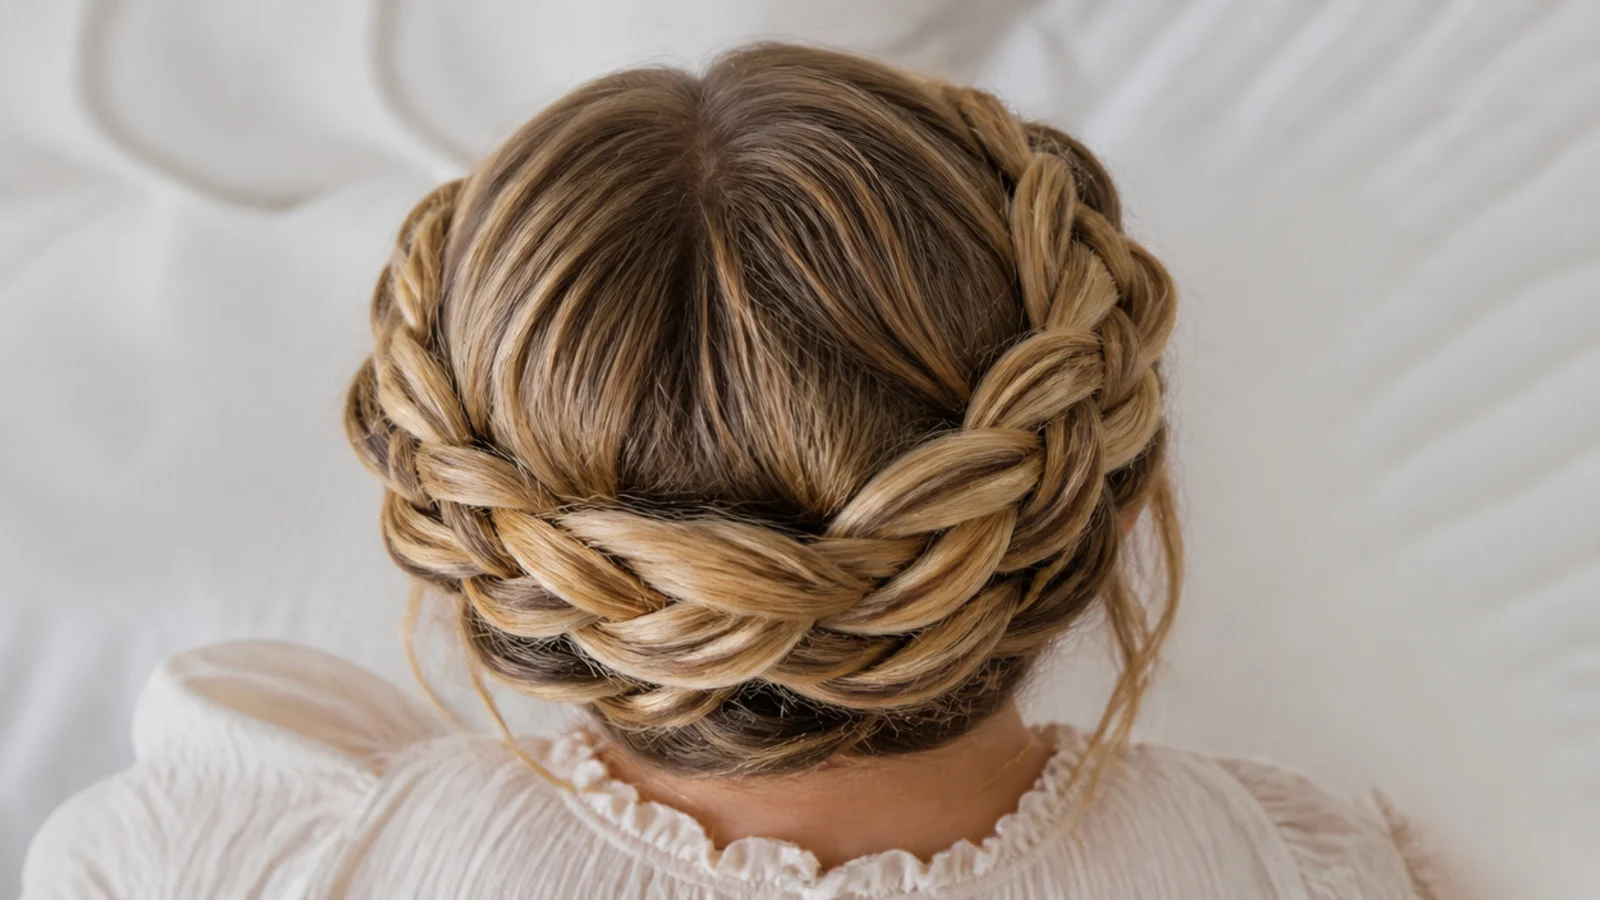
A milkmaid braid wraps braids up and over the crown like a halo, and it is far easier than it looks because it uses only the plain three-strand braid. Part your hair down the middle, braid each side into a simple plait, then lift the right braid over the top of your head and pin it behind your left ear, and do the same with the left braid. It suits long, one-length hair best and keeps everything off your neck on a hot day.
Cross the ends slightly past your ears before pinning so no stray tail pokes out at your temple.
5. Pull-Through Braid (No-Braid Braid)
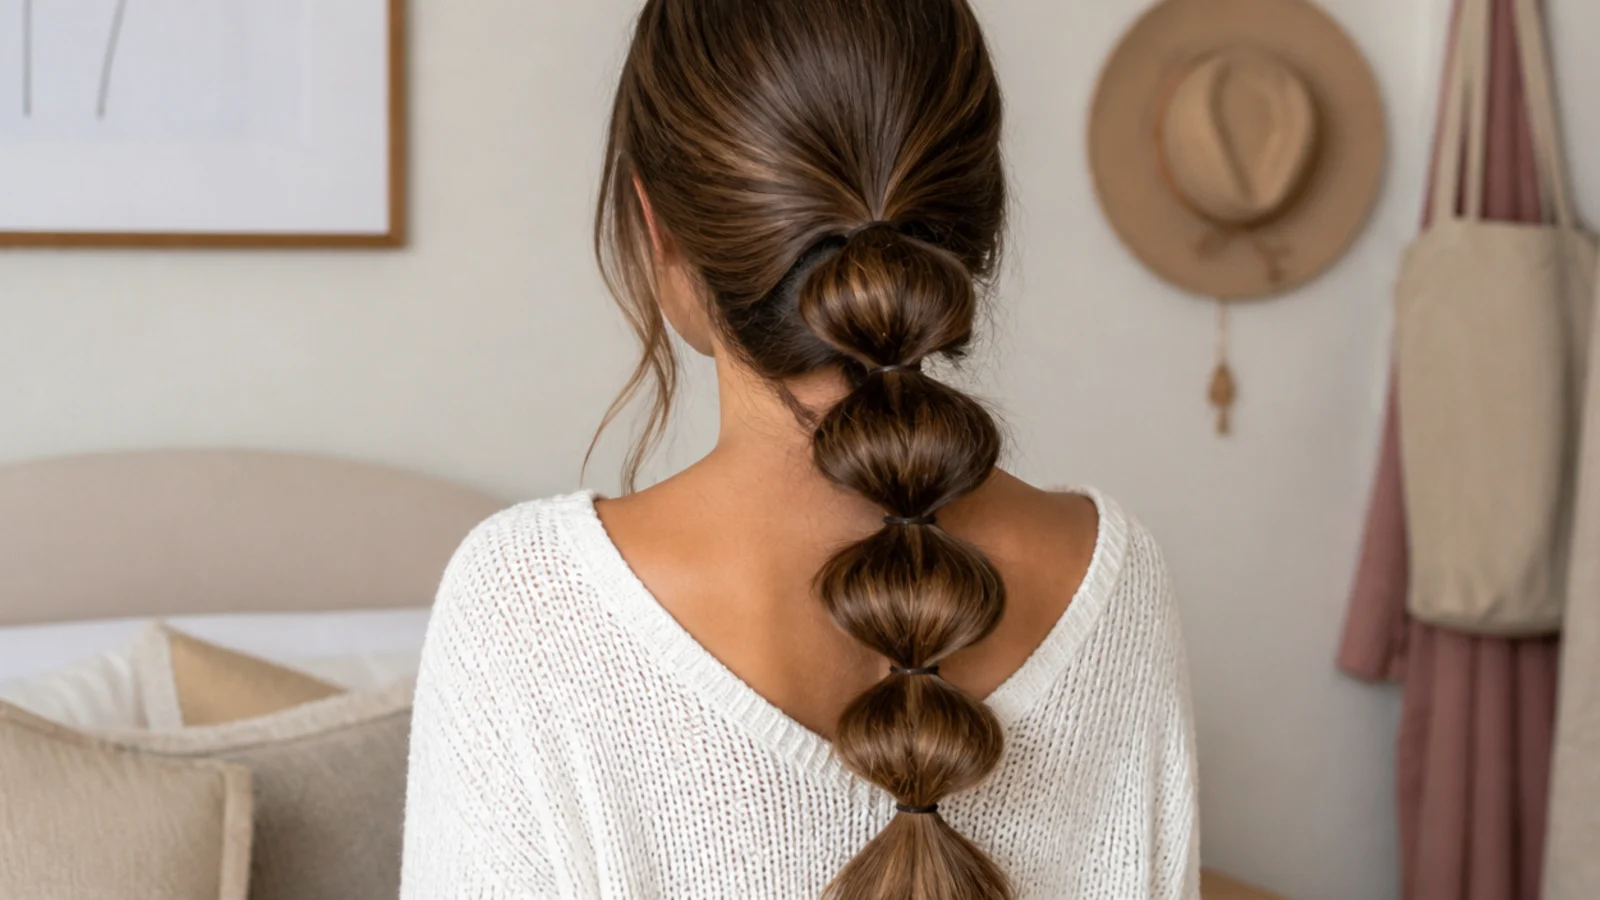
The pull-through braid gives the fullest, most impressive result with zero braiding skill, which makes it the best everyday option for beginners. You build it entirely from small ponytails: tie one, split it in two, tie a new ponytail below, then flip the top halves down through the gap. Repeat down the head and pancake the loops wide. It suits fine hair especially well because pancaking fakes volume. Full beginner steps are in the tutorial below.
Use clear elastics and gently tug each bubble outward at the end so the elastics disappear and the braid looks solid.
6. Fishtail Braid
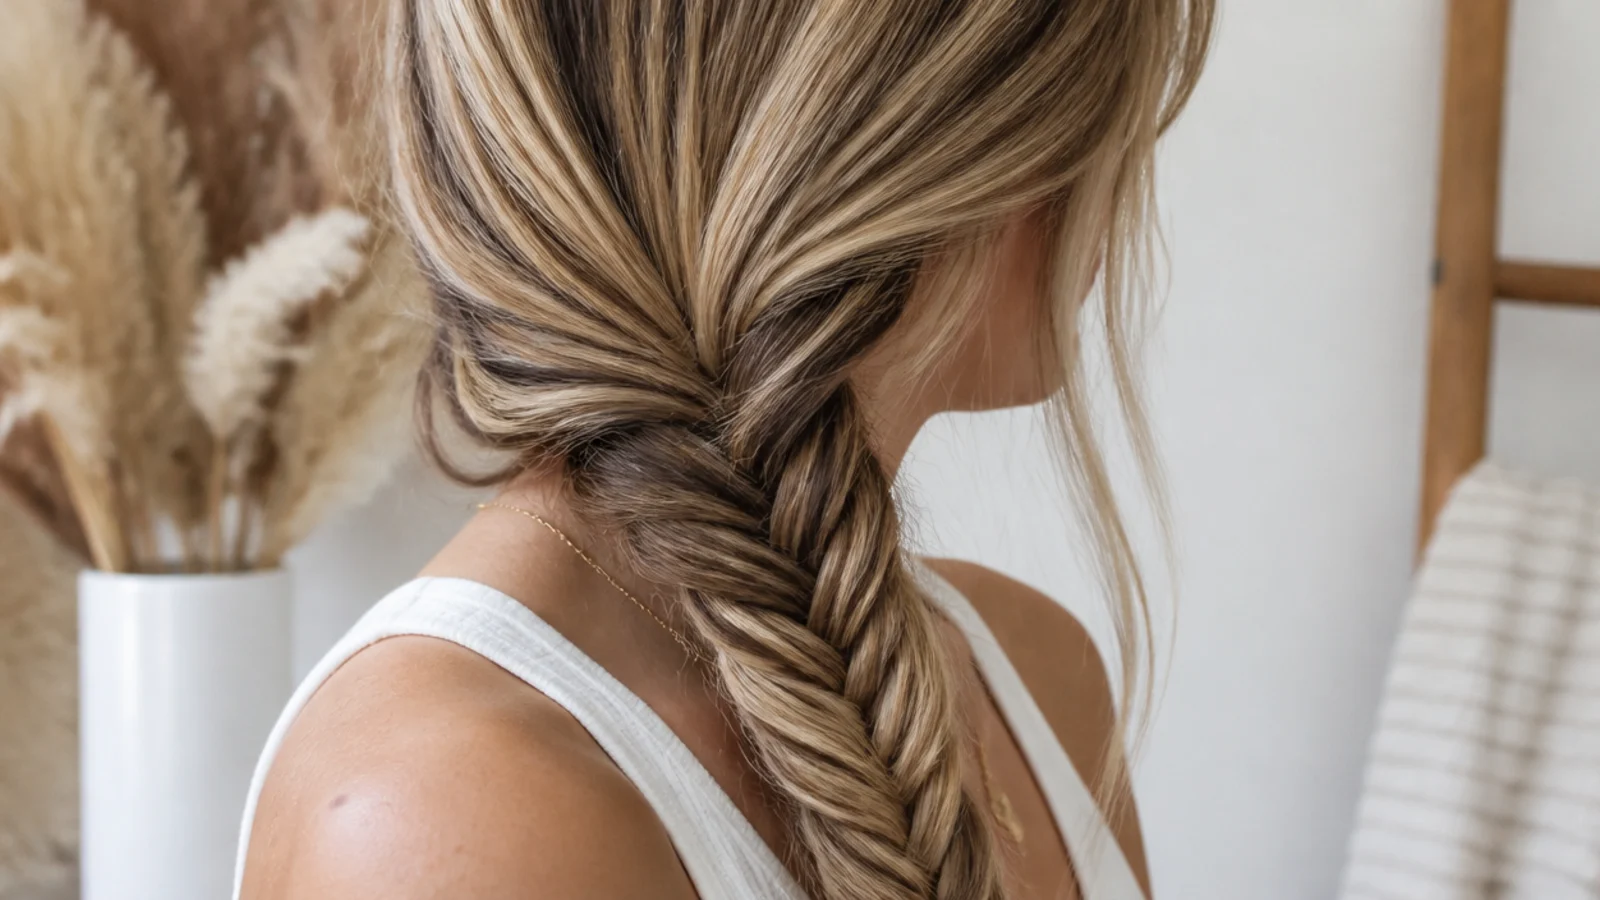
A fishtail braid looks intricate but uses only two strands, so once you have the rhythm it is genuinely easy. Split a low ponytail in two, cross a thin piece from the outer edge of the right strand over to join the left, then a thin piece from the outer left over to the right, and keep alternating. The thinner the crossing pieces, the finer the weave. It suits medium to long hair and looks best slightly loosened at the end.
Keep the crossing pieces small and consistent; thick pieces turn the delicate fishtail weave into a chunky mess.
7. Side Braid Over One Shoulder
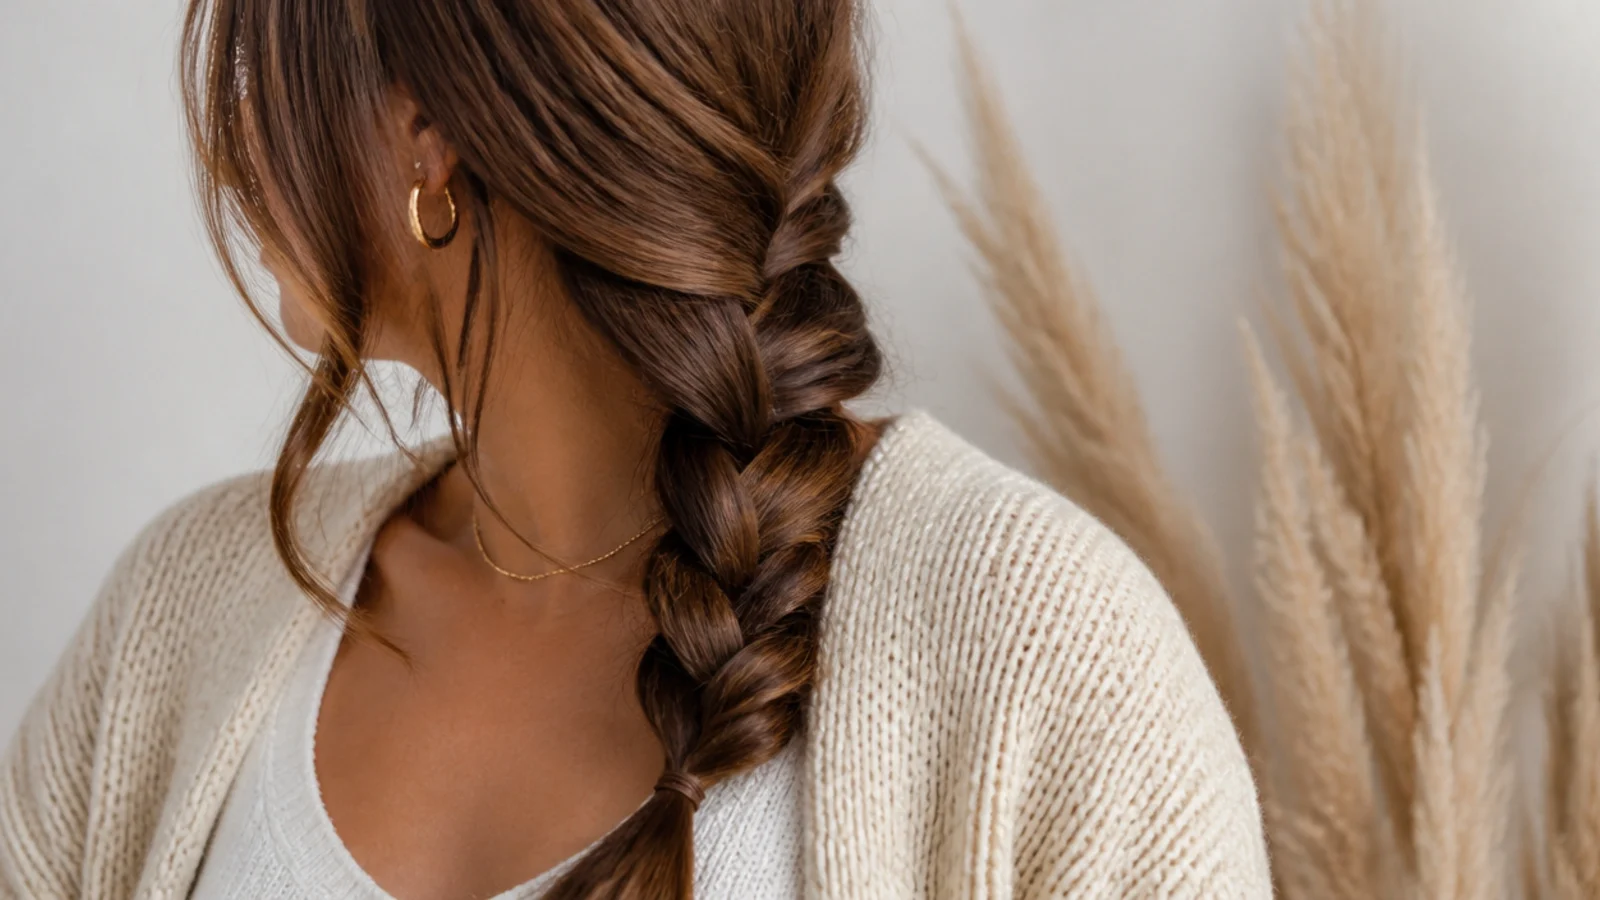
A side braid is the softest, most relaxed everyday braid and takes under three minutes. Gather all your hair over one shoulder, split it into three, and work a plain three-strand braid down the length while keeping the tension loose. Because it sits forward, it stays comfortable against a car seat or a chair back all day. It suits shoulder-length hair and longer and pairs well with a middle or deep side part.
Braid loosely and then gently pull the edges of each cross outward to make a thin braid look thick and lived-in.
8. Half-Up Crown Braid
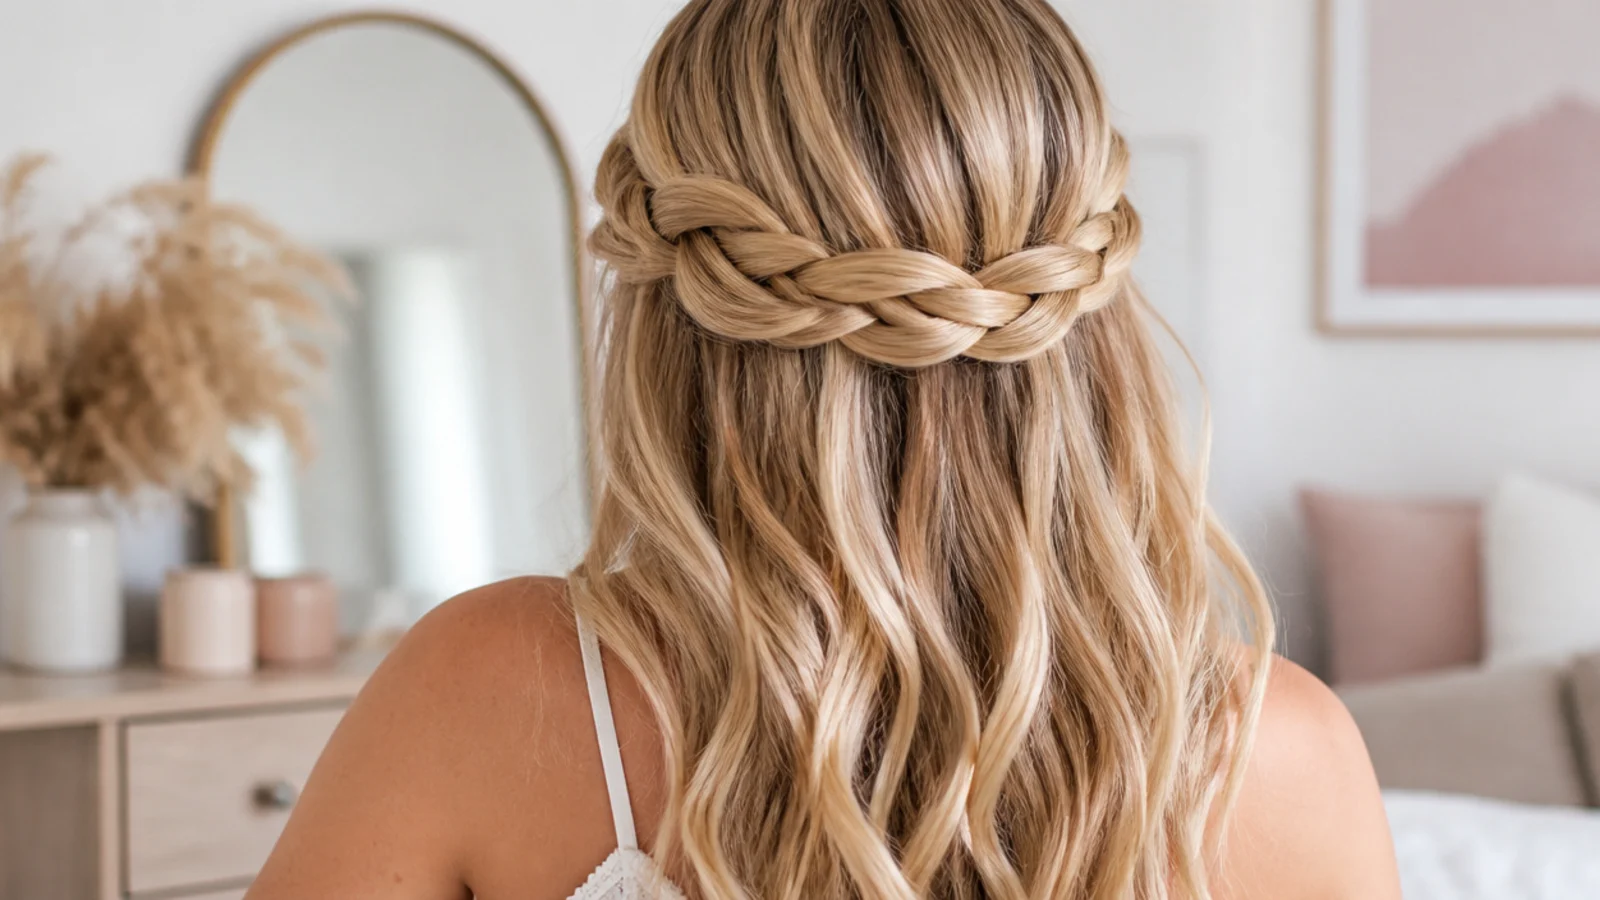
The half-up crown braid keeps hair out of your eyes while leaving length down, which makes it the ideal grow-out and desk-work style. Take a section above each ear, French or three-strand braid each one back toward the crown, then join the two braids in the middle with a small clear elastic. The loose hair underneath hides the join. It suits every length past the chin and every texture, and it is gentler on fine hairlines than a tight full braid.
Anchor the center join with one crossed bobby pin under the elastic so the braids do not sag apart by afternoon.
9. Braided Low Bun
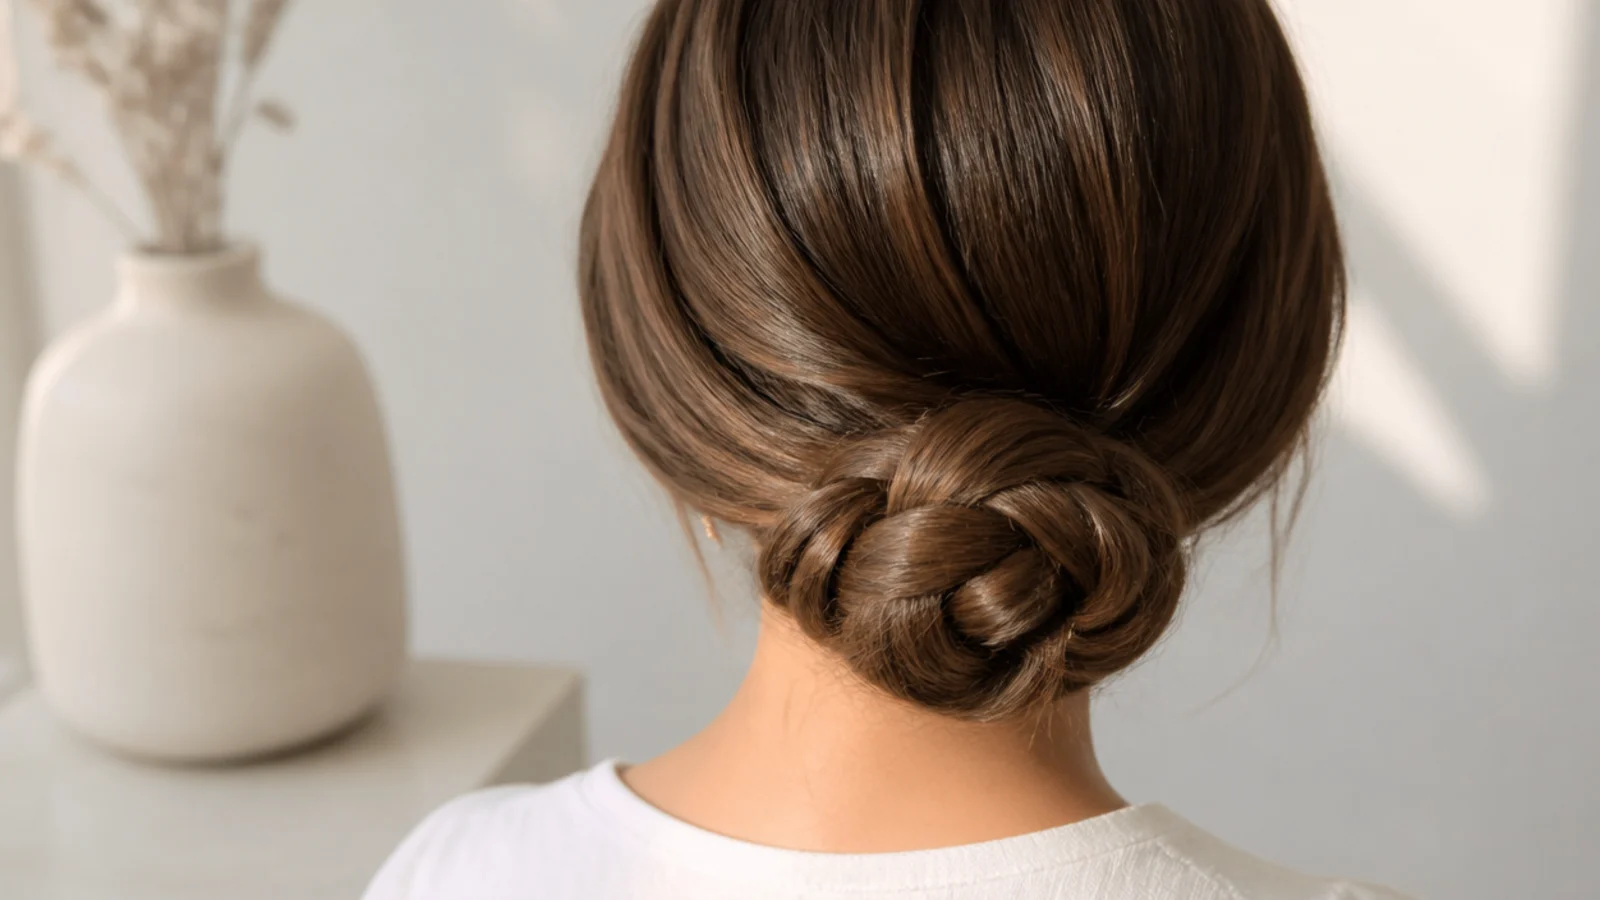
A braided low bun is the most secure everyday updo because the braid gives the coil something to grip, so it does not slither loose the way a plain bun does. Braid a low ponytail into a simple three-strand plait, wrap the braid around its base into a coil, and pin it down at three points. It suits medium to long hair and reads polished enough for work or an event. The braid texture also holds pins far better than smooth hair.
Pin into the braid itself, not just the surface, crossing two bobby pins in an X at each anchor for a hold that lasts.
10. Twisted Rope Braid Ponytail
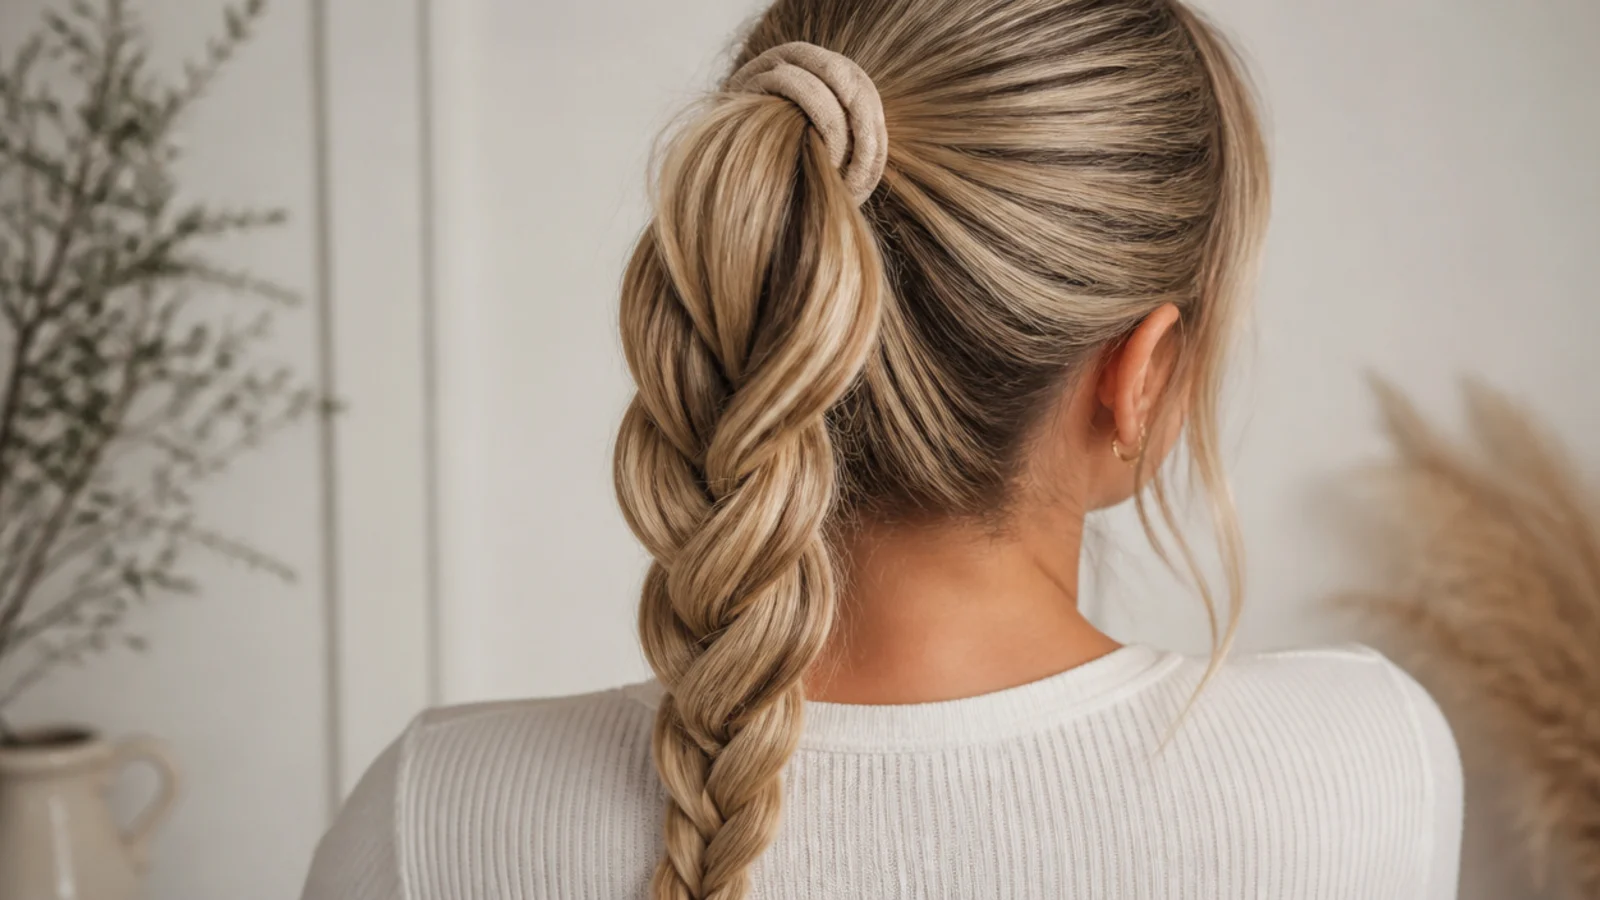
The rope braid is a two-strand twist that looks like a braid and takes about two minutes on a ponytail. Tie a ponytail, split it in two, twist each half clockwise on its own, then wrap the two twists around each other counterclockwise and secure the end. The opposing twist directions are what lock it so it does not unravel. It suits any length long enough to ponytail and dresses up a plain pony without any real braiding.
Twist each strand hard in the same direction first, then cross them the opposite way; matching both directions makes the rope fall apart.
11. Two Dutch Braids (Boxer Braids)
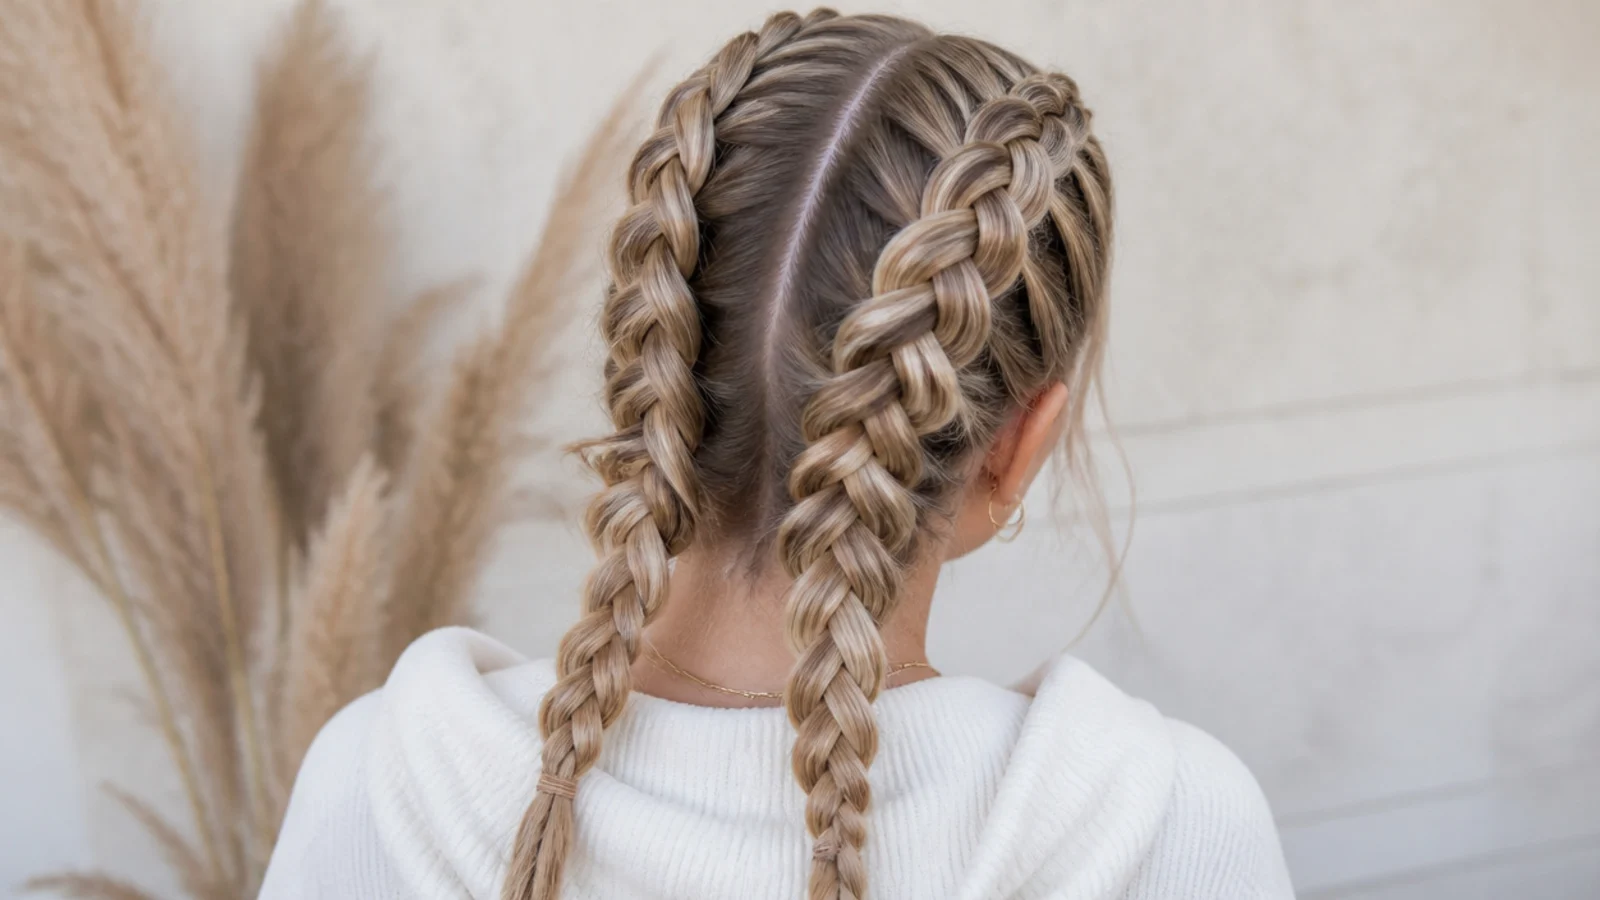
Two Dutch braids, also called boxer braids, are the everyday gym and errand style because they hold hair down flat and survive sweat and movement. Part your hair straight down the middle, clip one side away, and Dutch braid the other from hairline to nape, then repeat on the second side. Keeping the parts clean is what makes them look sharp. They suit medium to long hair and last through a full active day without slipping.
Use a rat-tail comb for a dead-straight center part; a crooked part is the first thing that makes boxer braids look sloppy.
12. Braided Headband (Lace Braid)
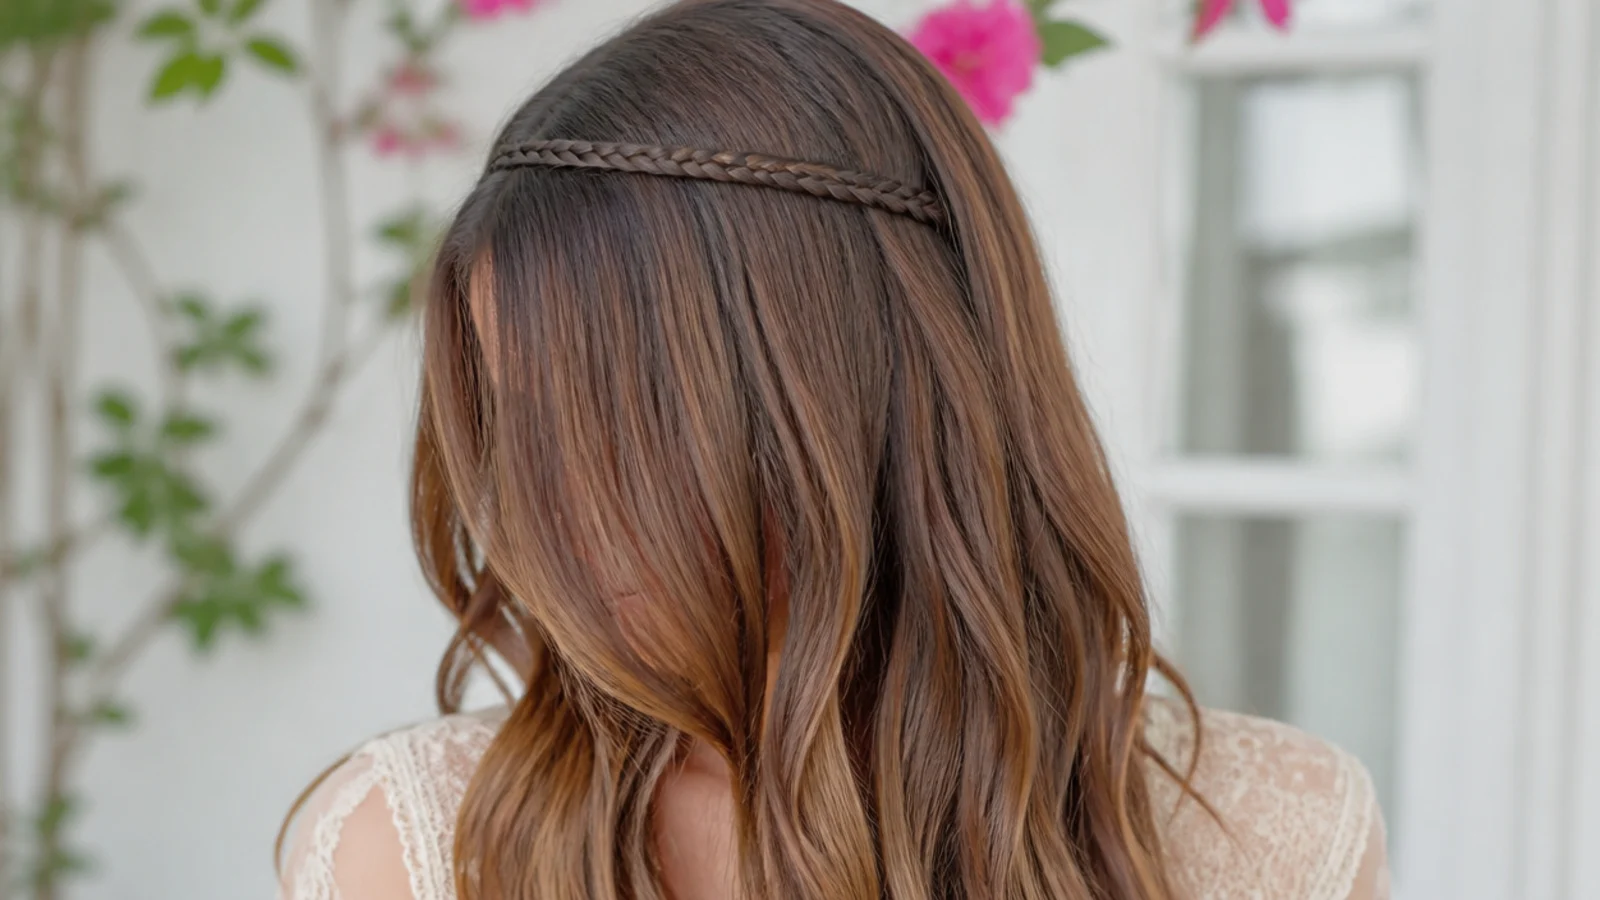
A braided headband runs a thin braid across your hairline from ear to ear, holding front pieces back while the rest of your hair stays down. Take a small section at one temple and Dutch braid across the front, picking up hair only from the hairline side, then pin the tail behind the opposite ear and hide it under loose hair. It suits every length, even a grow-out fringe, and is the fastest way to manage bangs on a bad hair day.
Pick up hair only from the face side of the braid so it hugs the hairline instead of drifting up onto the crown.
1. Prep With Texture, Not Slip
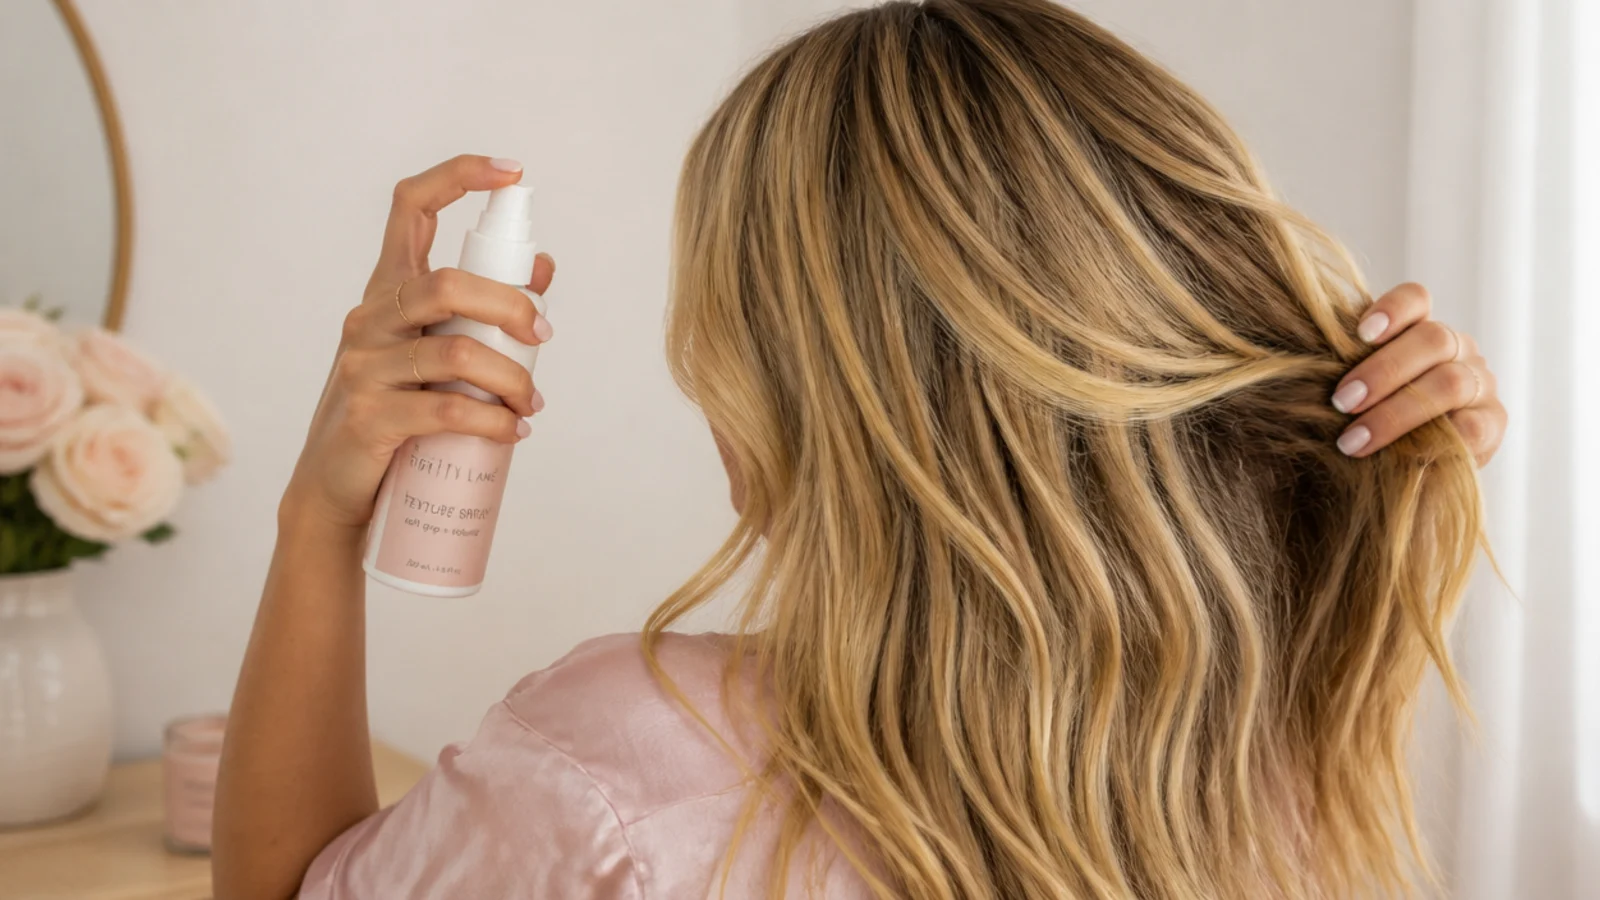
Braids grip texture, not slippery clean hair, so start on second-day hair or add grip to fresh hair. Mist dry shampoo at the roots and a texture or sea-salt spray through the mid-lengths, then work it in with your fingers. Brush through once with a wide-tooth comb to remove tangles without stripping the grit back out. This single step is why a braid holds all day instead of slithering loose by lunch.
Common mistake: Braiding freshly washed, conditioned hair with no product is the top reason braids slip out within an hour.
Pro tip: No dry shampoo on hand? A pea of styling cream or a light mist of hairspray on your palms adds the same grip.
2. Detangle and Set Your Part
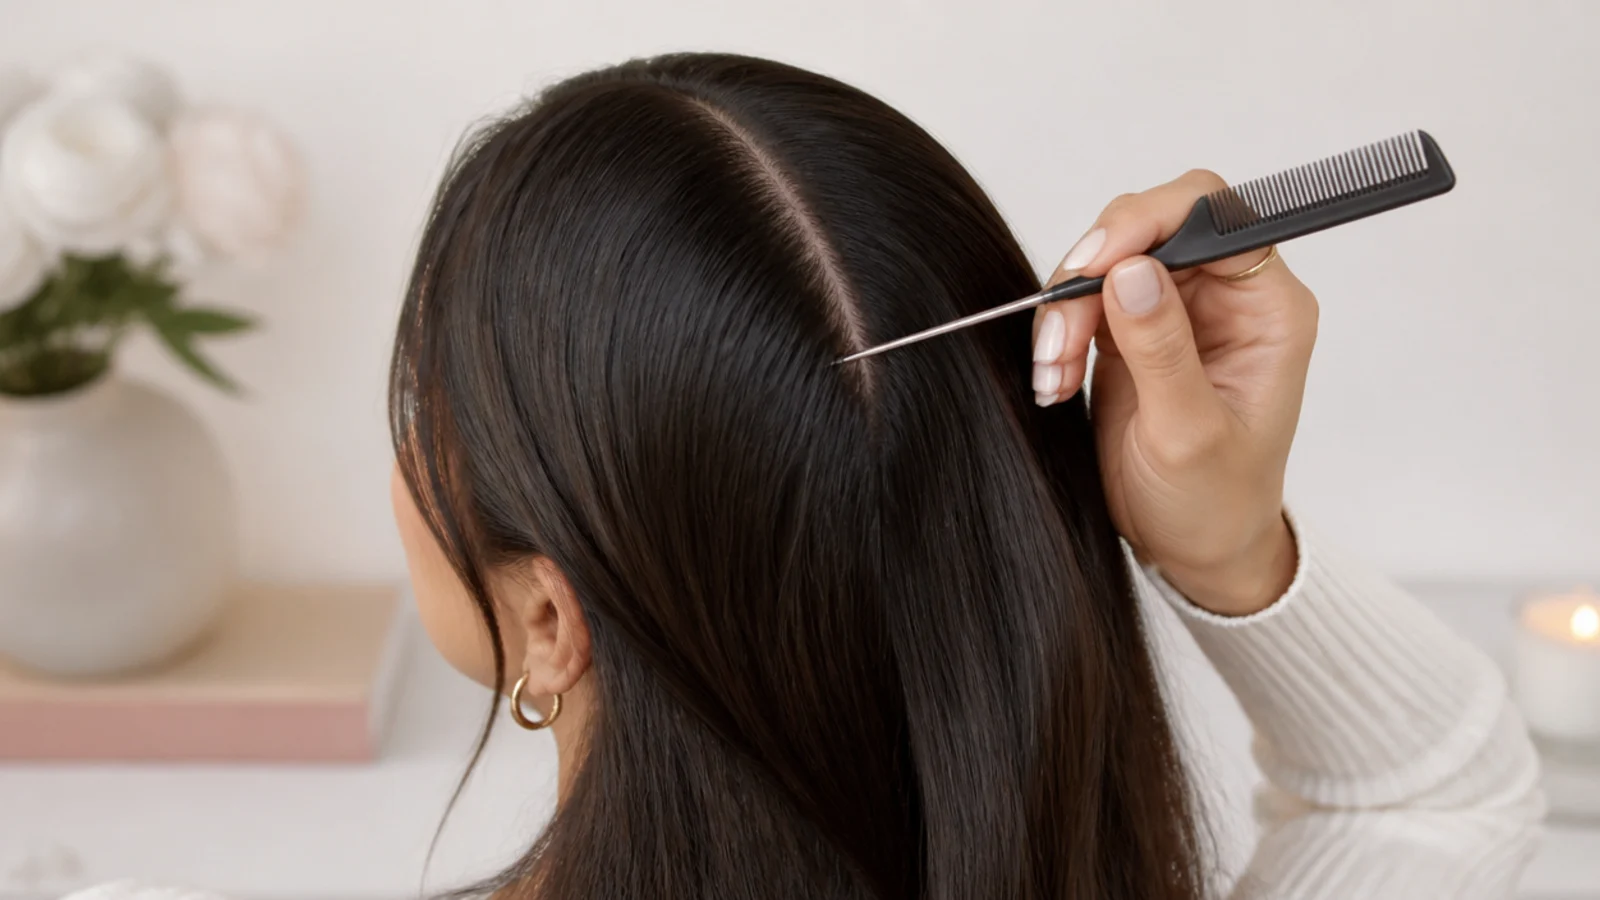
Comb hair fully smooth from ends to roots so no knot interrupts your braid halfway down. Decide your part now with the pointed end of a rat-tail comb, since a clean, straight part is what separates a sharp braid from a sloppy one, especially for boxer braids or a milkmaid. Clip away any sections you are not braiding yet so stray pieces do not get caught into the wrong strand.
Common mistake: Skipping the detangle means you hit a knot mid-braid, lose your tension, and have to start over.
Pro tip: Part along the natural break in your hairline rather than forcing a new line, and it will lie flatter all day.
3. Split Three Even Strands
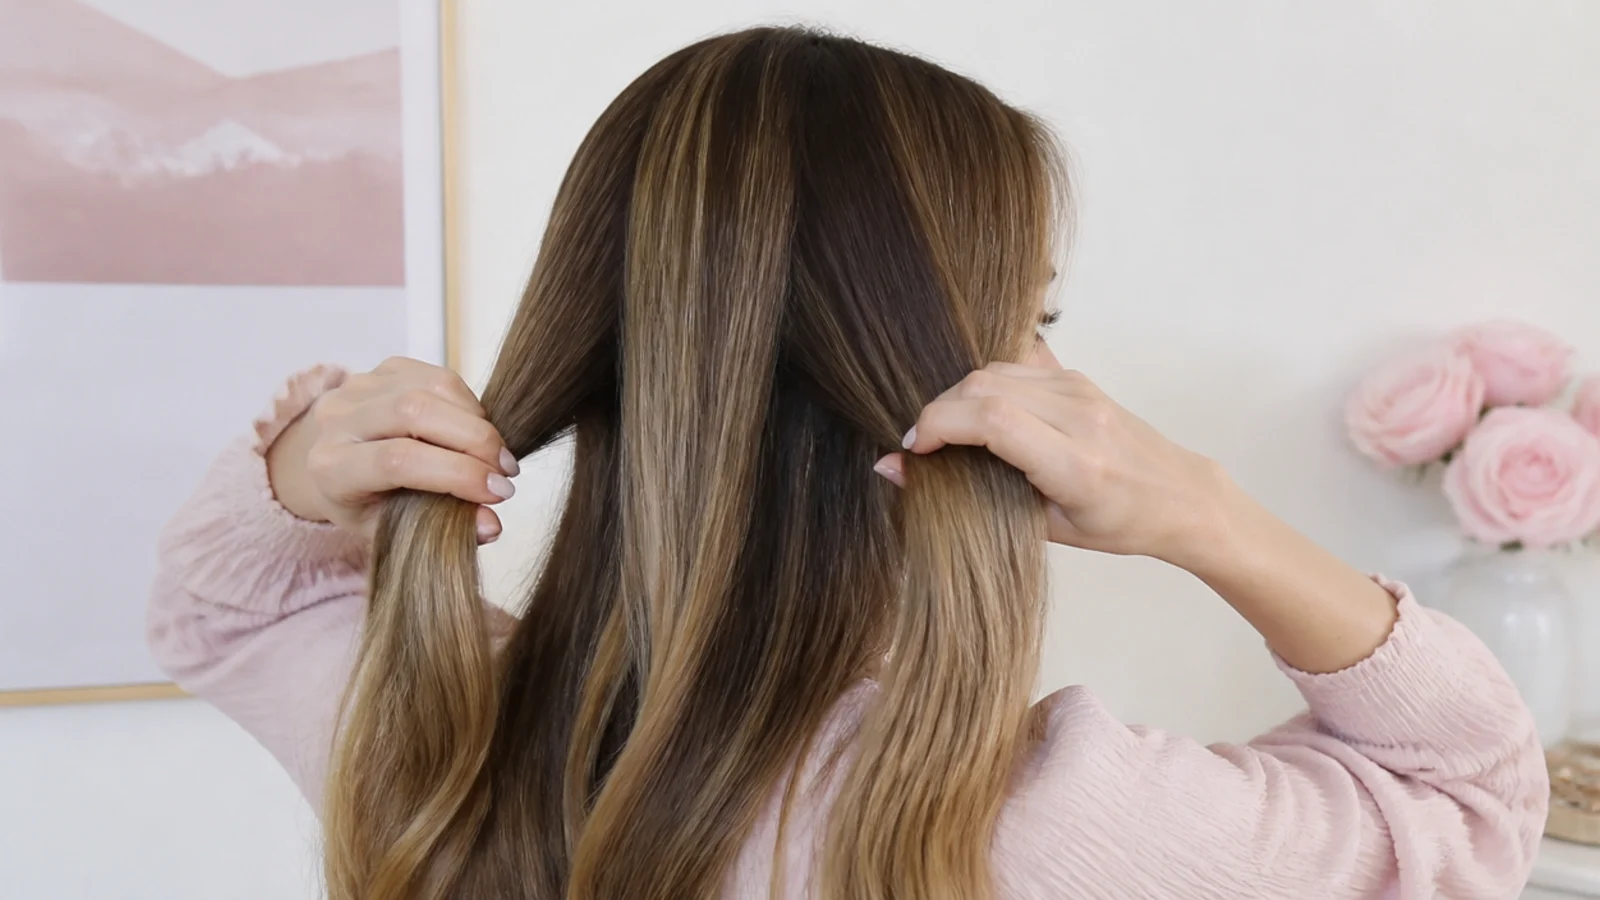
Take your starting section and divide it into three strands of equal thickness. Hold the left and right strands in your left hand and the middle in your right, or whatever grip feels natural, but keep the three sizes matched. Even strands are the difference between a smooth braid and a lumpy one. Get comfortable feeling the three pieces without looking, because that muscle memory is what lets you braid the back of your own head.
Common mistake: Unequal strands make one side of the braid bulge and the other thin, which reads as messy no matter how neat your crosses are.
Pro tip: Pinch each strand flat between two fingers rather than bunching it into a rope; flat strands weave neater.
4. Cross Over for French, Under for Dutch
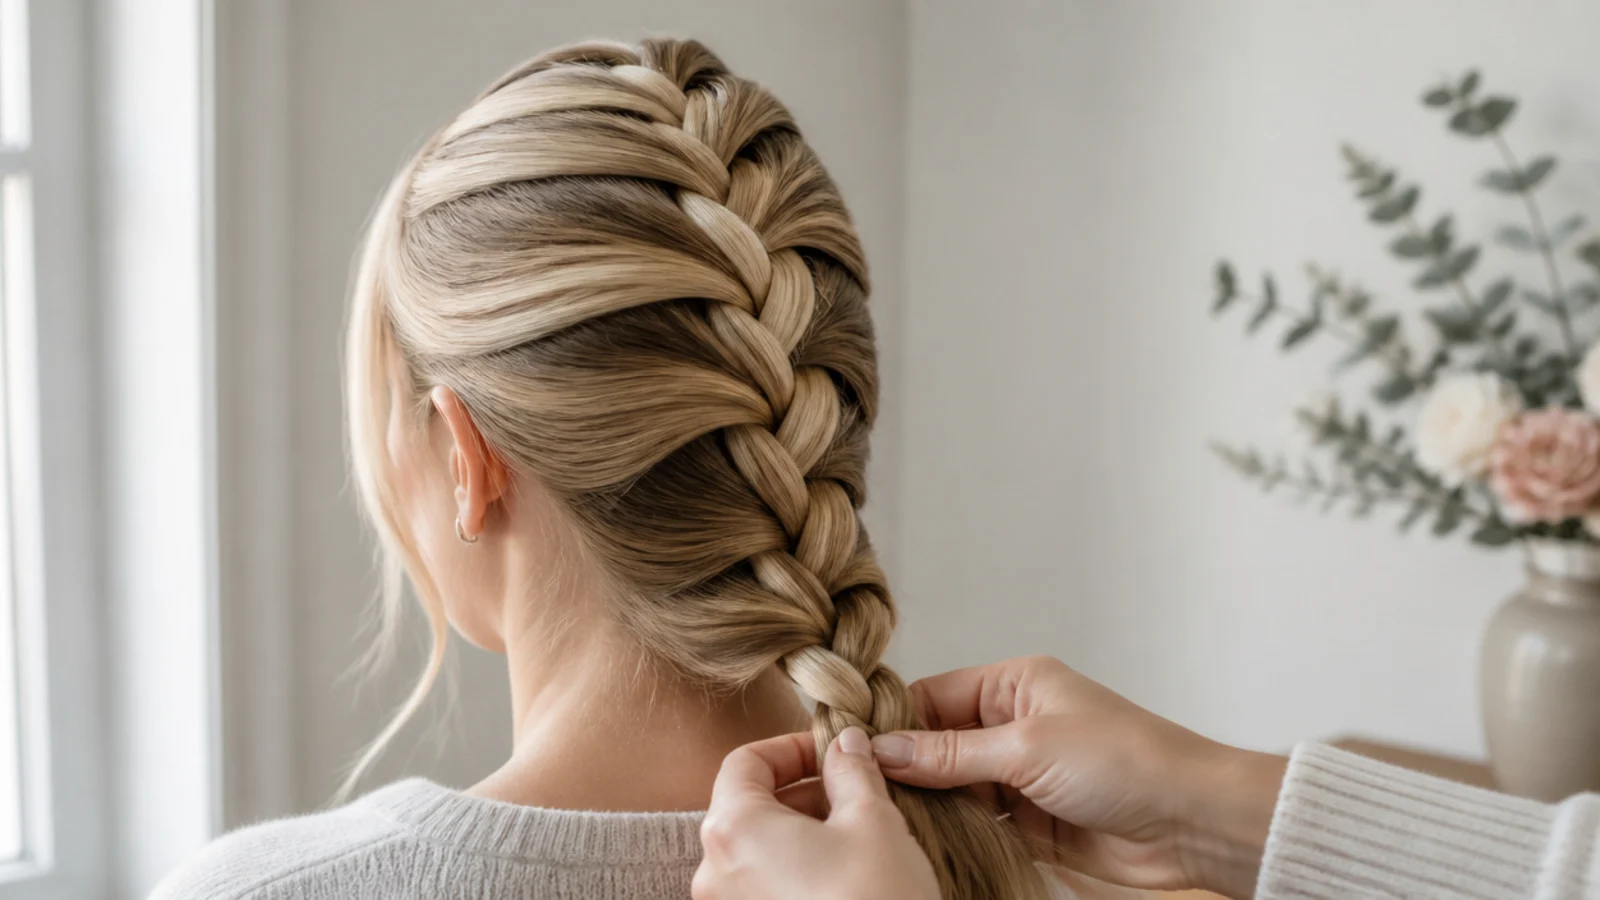
For a flat French braid, cross the right strand over the middle, then the left strand over the middle. For a raised Dutch braid, cross under instead of over; that one change makes the braid stand off the head. Keep your crosses close to the scalp and your tension firm and even. Loose, high crosses are what let a braid unravel, so pull each strand snug against your head as you set it.
Common mistake: Mixing over and under crosses in the same braid gives an uneven, twisting plait that will not sit straight.
Pro tip: Say over-over or under-under out loud the first few times so your hands lock the pattern before you speed up.
5. Add Even Pickups Down the Head
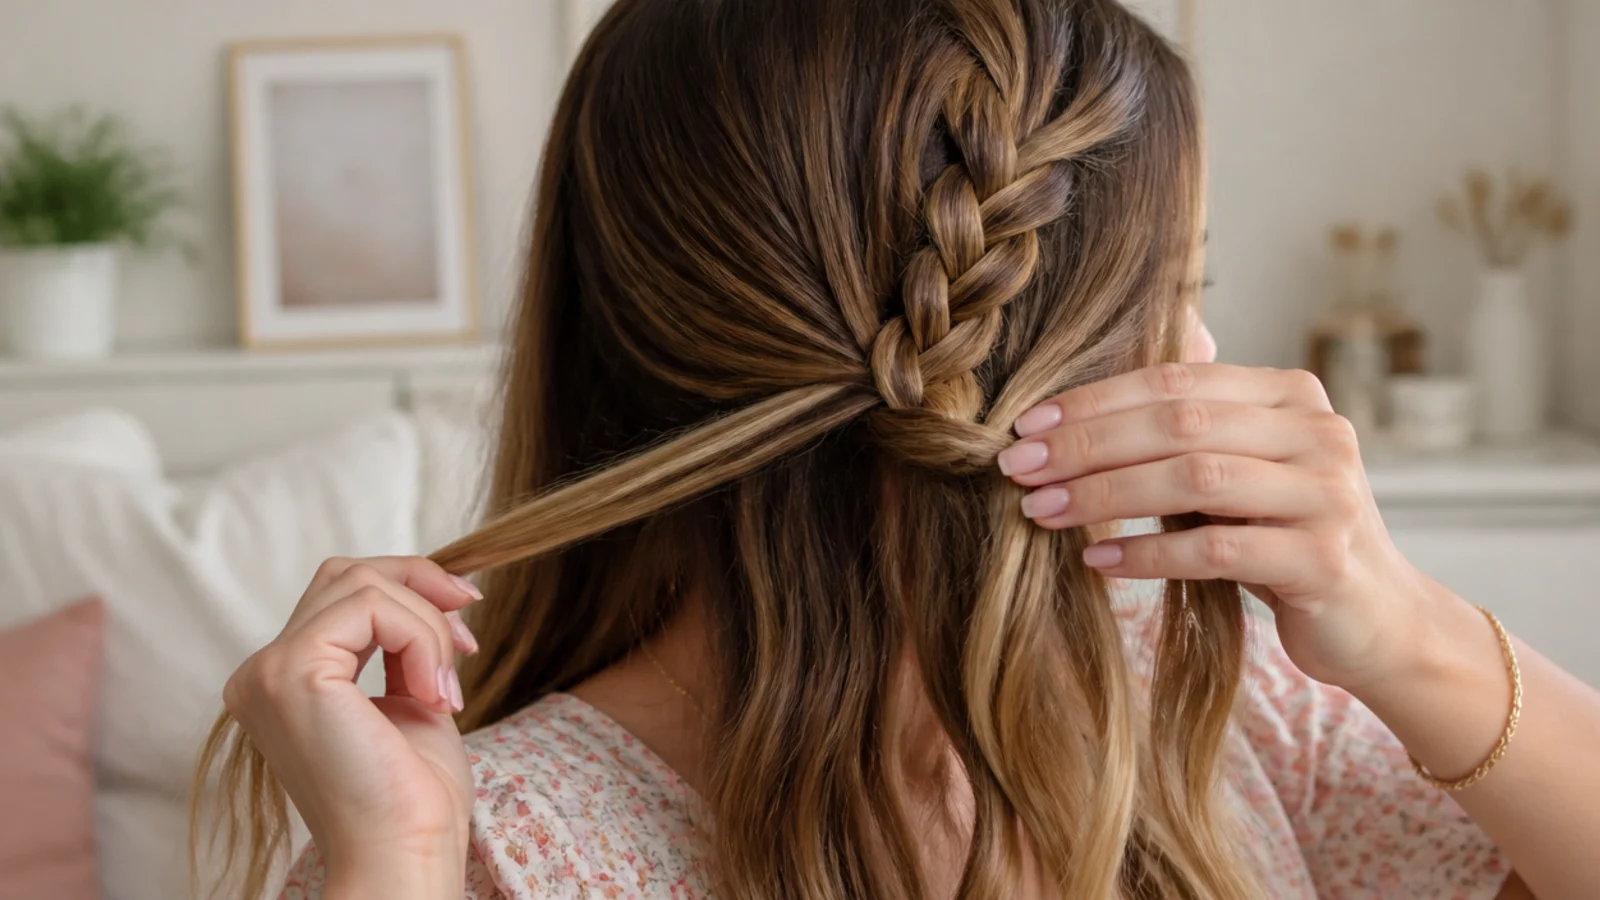
To turn a plain braid into a French or Dutch braid, gather a small section of loose hair into each outer strand just before you cross it in. Take the same small amount from each side every single time, working from the hairline down. Consistent pickups keep the braid centered and even. Once you run out of loose hair to gather at the nape, switch to a plain three-strand braid to the ends and finish.
Common mistake: Grabbing a fat pickup on one side and a thin one on the other drags the braid off-center and creates gaps.
Pro tip: Use the tip of your finger to scoop each pickup so the amount stays tiny and equal on both sides.
6. Keep Tension Firm and Consistent
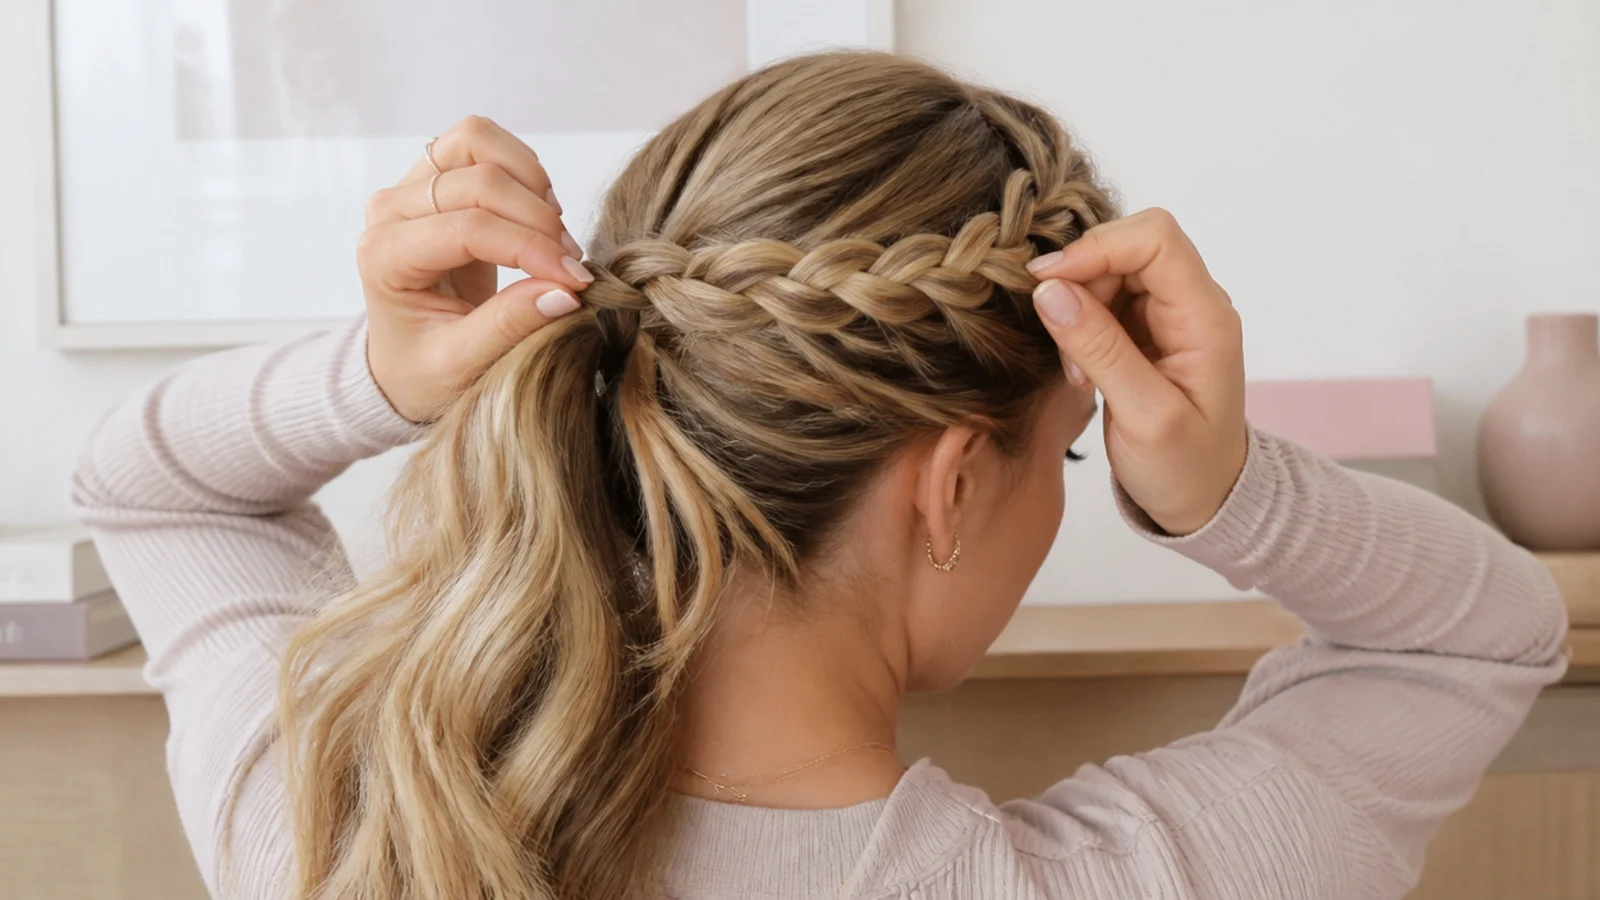
Pull each strand firmly toward your head as you cross it, keeping the tension identical from top to bottom. Braid slightly tighter than looks right in the mirror, because every braid loosens as you move through the day. Do not yank at your hairline though, since painful tension on fine edges can cause breakage over time. The goal is snug and even, not painful; aim for a braid that feels secure when you gently push it side to side.
Common mistake: Tension that starts tight and drifts loose halfway down leaves the bottom of the braid baggy and quick to fall out.
Pro tip: If your arms tire and tension slips, pause and clip the braid to your head, rest, then resume rather than finishing loose.
7. Secure the End and Pancake if Wanted
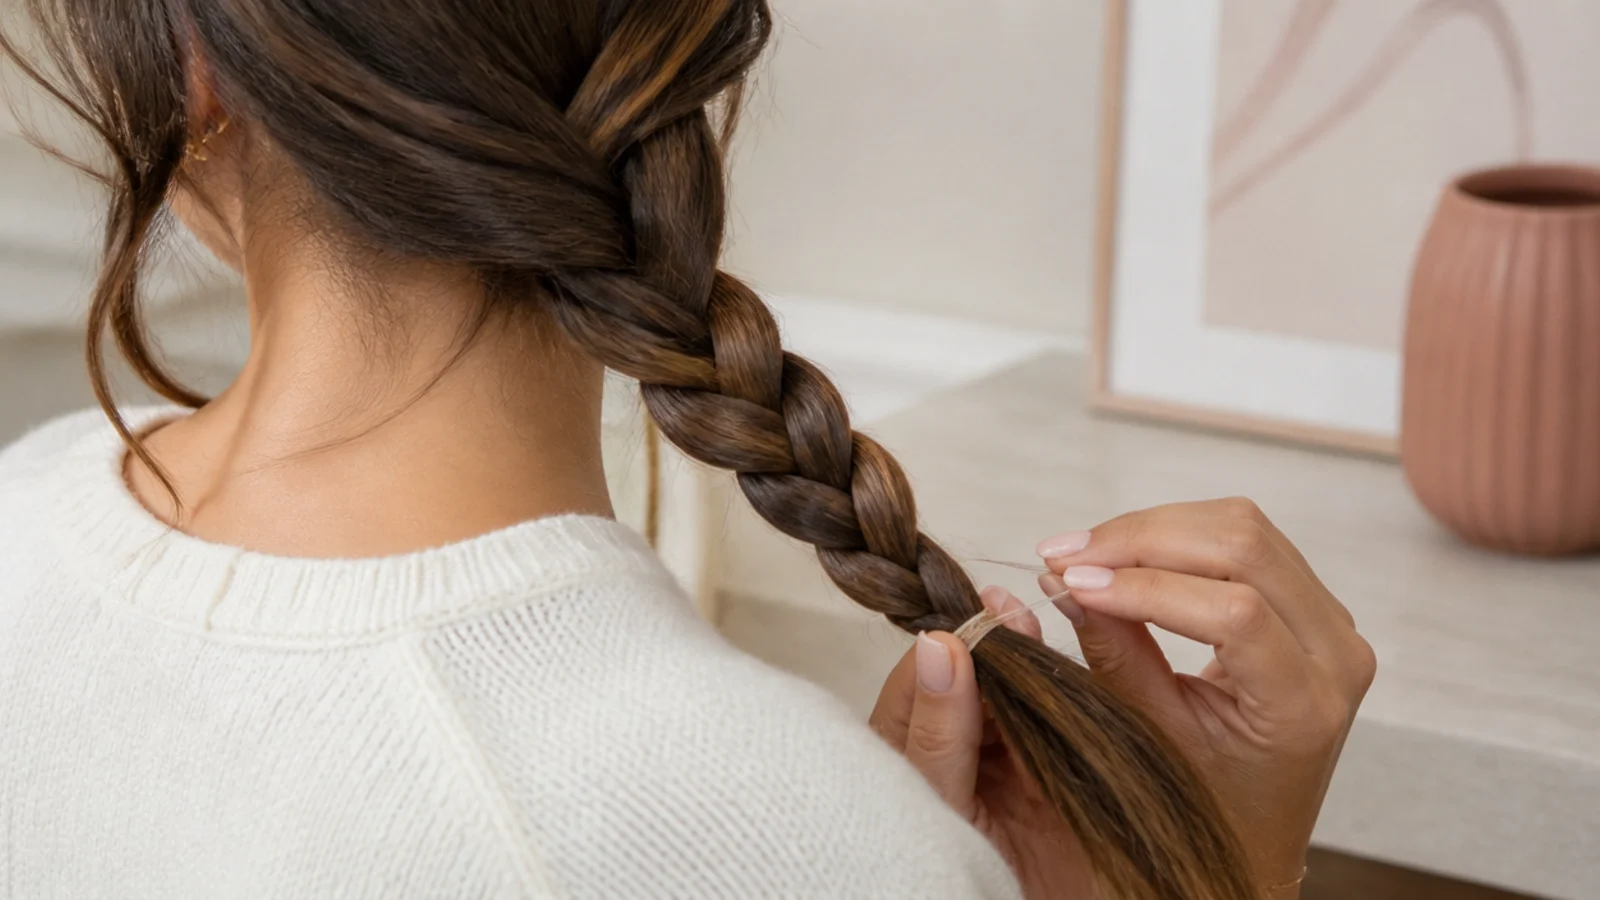
Tie off the tail with a small clear elastic wrapped until it grips. For a fuller look, gently tug the outer edges of each cross outward from top to bottom; this pancaking widens a thin braid and hides the elastic. Fine hair benefits most from pancaking because it fakes real volume. Hold the elastic steady with one hand while you tug with the other so you loosen the braid without pulling the whole thing out.
Common mistake: Pancaking too aggressively near the elastic loosens the tie and the braid slides apart within minutes.
Pro tip: Pull only the outer loop of each cross, working one side at a time, for even width without collapsing the braid.
8. Lock It With a Light Mist
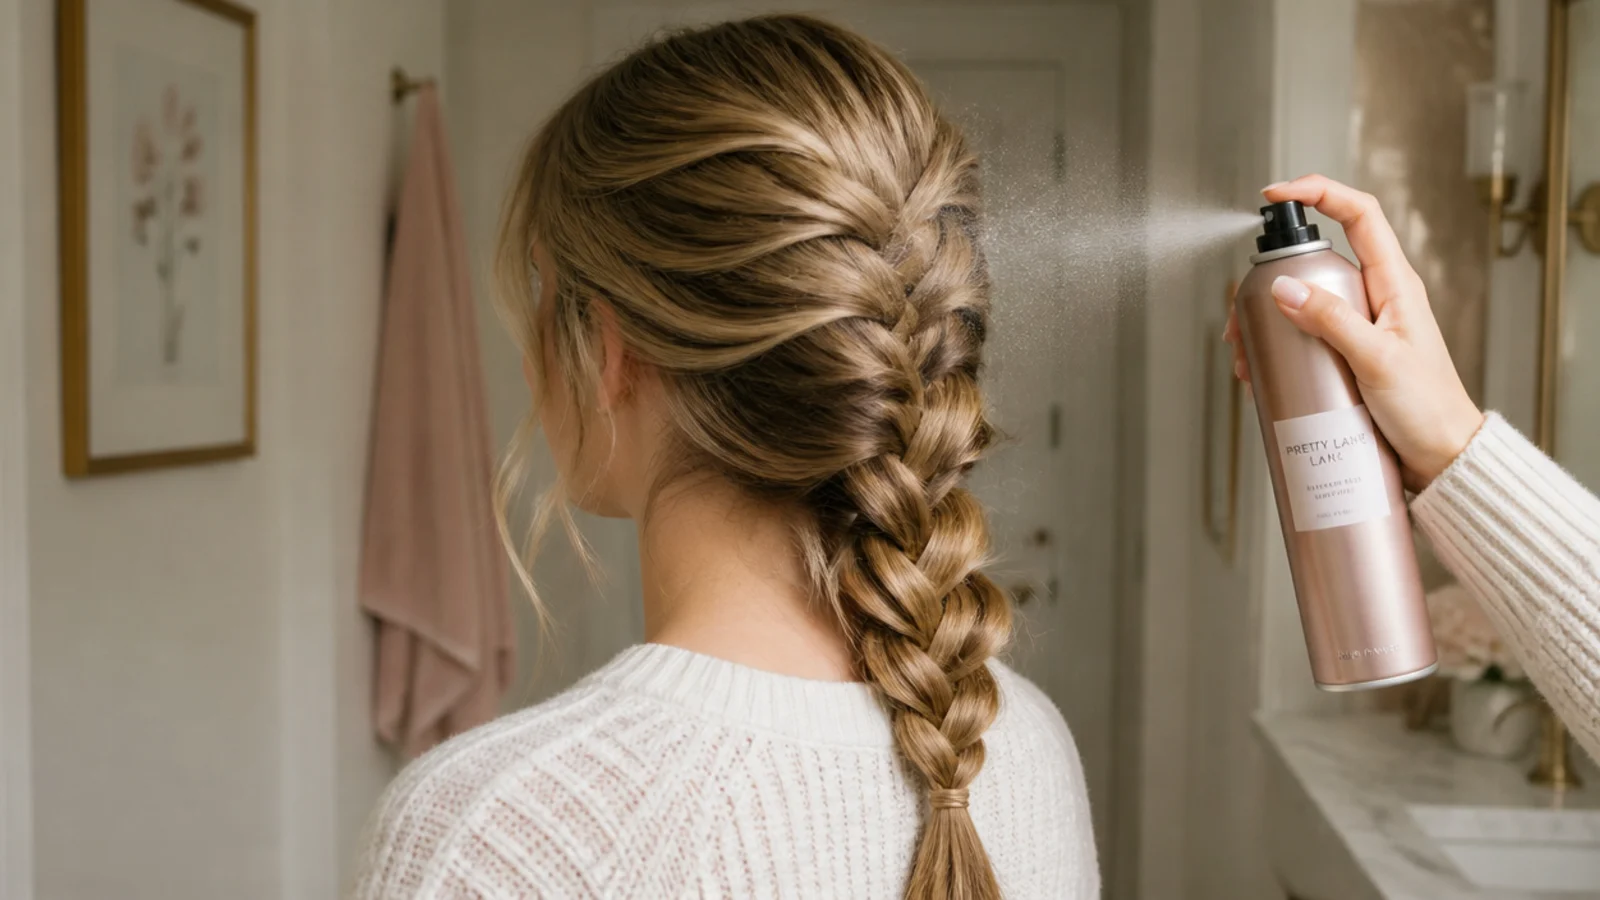
Finish with a light-hold hairspray held about ten inches away, misting the whole braid and smoothing flyaways with your palm. A light hold locks the shape without turning the braid crunchy or stiff. Tuck any stray tail from a crown or headband braid under loose hair and pin it flat. This final set is what carries an everyday braid through a backpack strap, a car headrest and a full workday without needing a redo.
Common mistake: Drenching the braid in strong-hold spray makes it stiff and shows white flakes when it dries.
Pro tip: Mist a boar-bristle brush and smooth it over the surface for a sleek finish without spraying product straight onto skin.
Why Your Braid Keeps Slipping
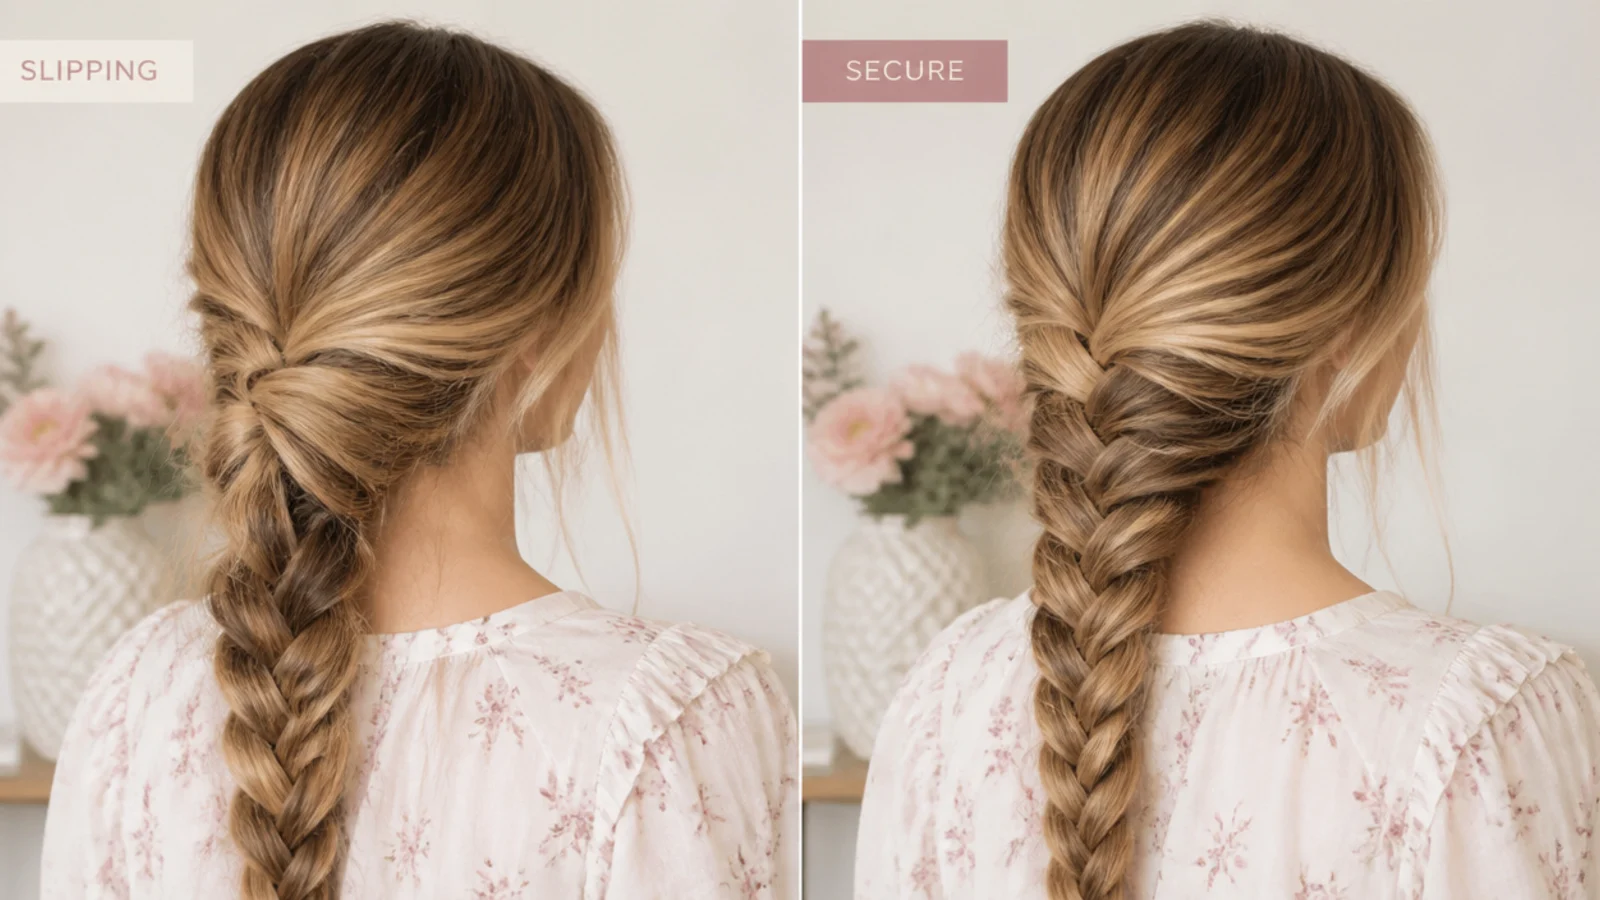
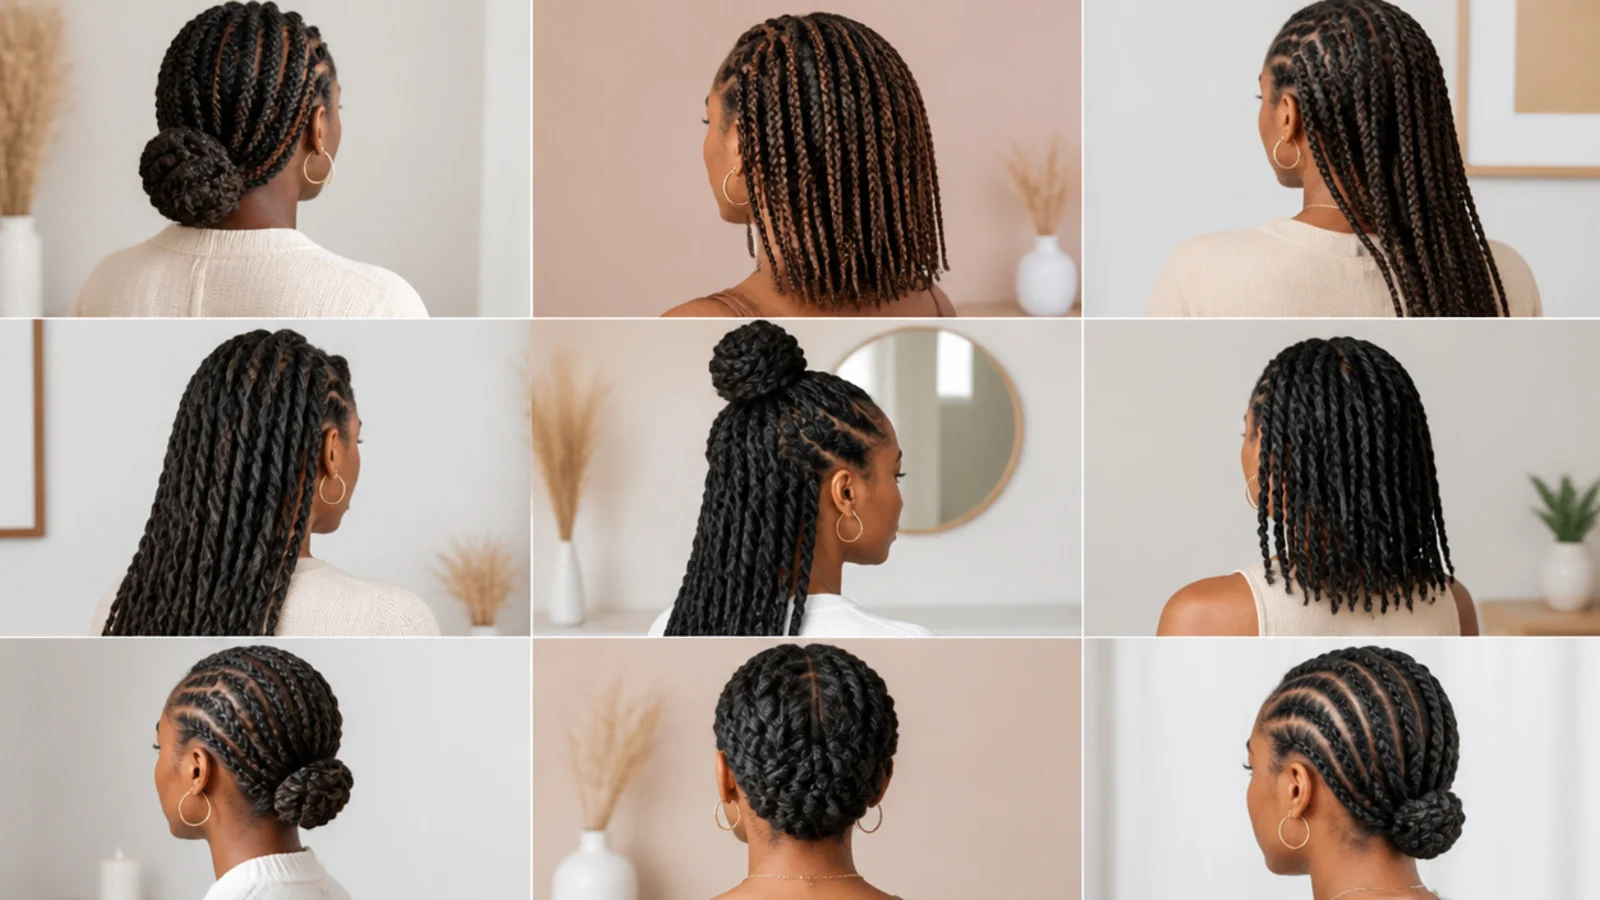
A braid that slides out by lunchtime almost always comes down to hair that is too clean and too slippery for the strands to grip. Freshly washed and conditioned hair is silky, and silk does not hold a braid. The fix is texture: braid on second-day hair, or add dry shampoo at the roots and a sea-salt or texture spray through the lengths before you start. The second cause is uneven or loose tension. If you braid snug at the top and let the crosses drift loose toward the ends, the bottom third slips first. Braid slightly tighter than looks right, because every braid loosens as you move. The third cause is a weak finish: a thick elastic slides off fine ends, so use a small clear elastic wrapped until it truly grips, then set the whole braid with a light-hold hairspray. If you have fine hair specifically, pancaking the braid slightly gives it more body to hold itself in place. For fine and fragile textures, the gentler styling notes in protective styles for fine 4C hair also apply to keeping edges intact.
Why Does My Dutch Braid Look Lumpy
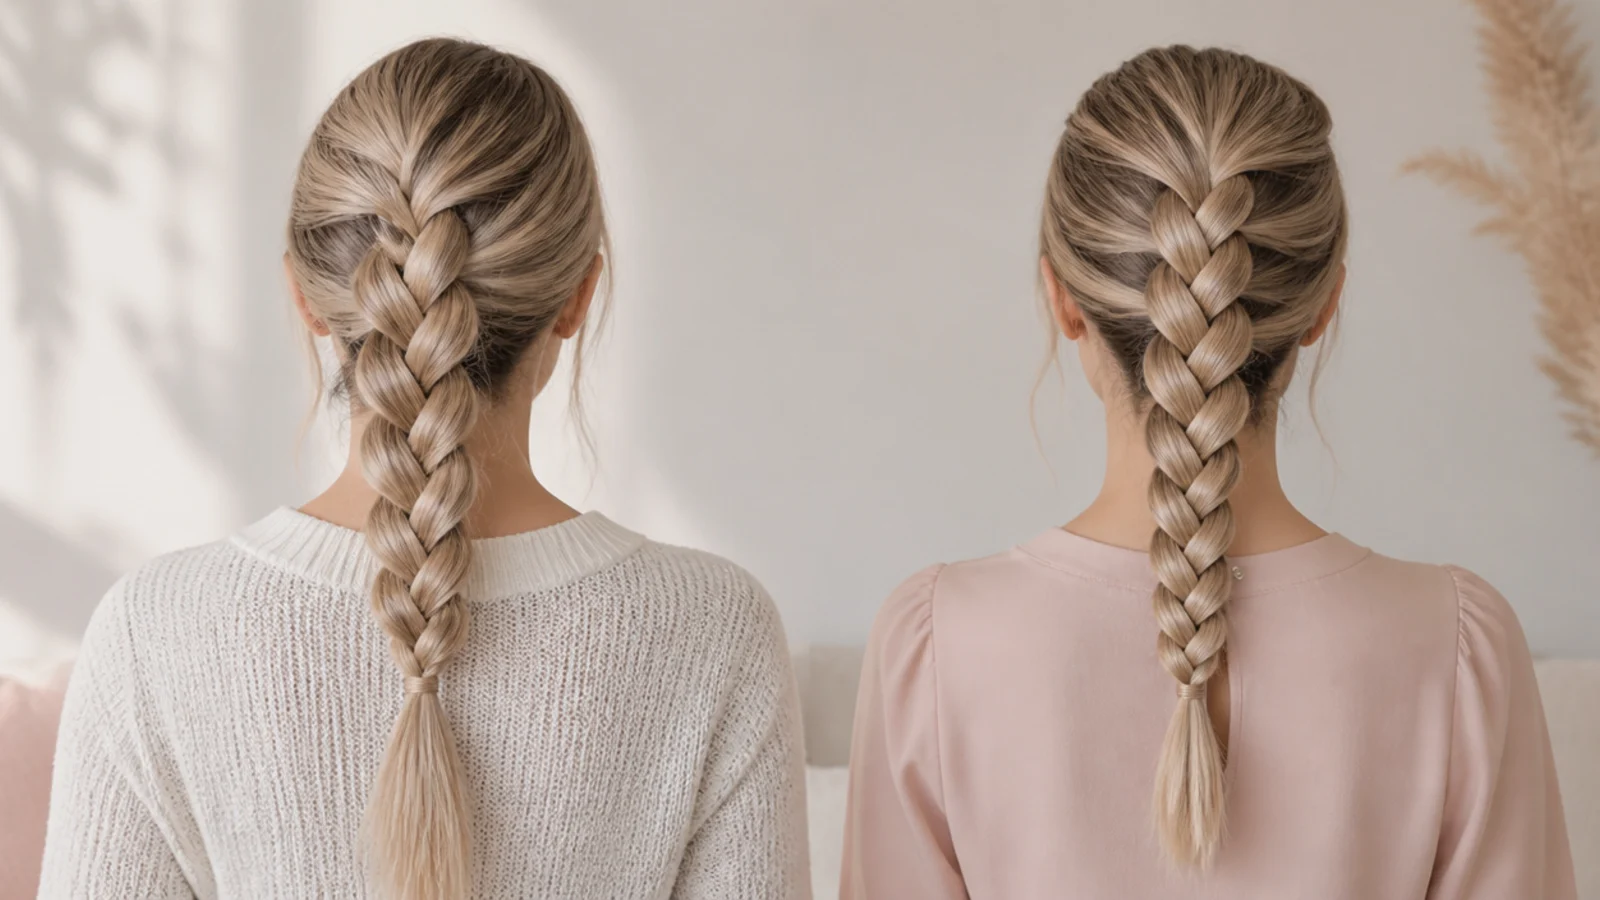
A lumpy Dutch braid usually has three causes, and all three are fixable. First, uneven strand sizes: if your three sections are not equal, the braid bulges where a fat strand crosses and pinches where a thin one does. Divide carefully and keep the three matched all the way down. Second, inconsistent pickups. When you gather more loose hair into one outer strand than the other, the Dutch braid swells on the heavy side and gaps on the light side. Take the exact same small amount from each side on every cross, and use your fingertip to keep the pickups tiny. Third, tension that changes as you go. A Dutch braid crosses under the middle, so any slack immediately shows as a raised lump rather than hiding flat like it would in a French braid. Keep firm, identical tension from crown to nape. One more trick: smooth each strand with your fingers before you cross it so no loose bump gets trapped inside the braid. Practice on second-day hair where the extra grip makes even tension much easier to hold.
Braiding Second-Day Hair (and Why It Works Better)
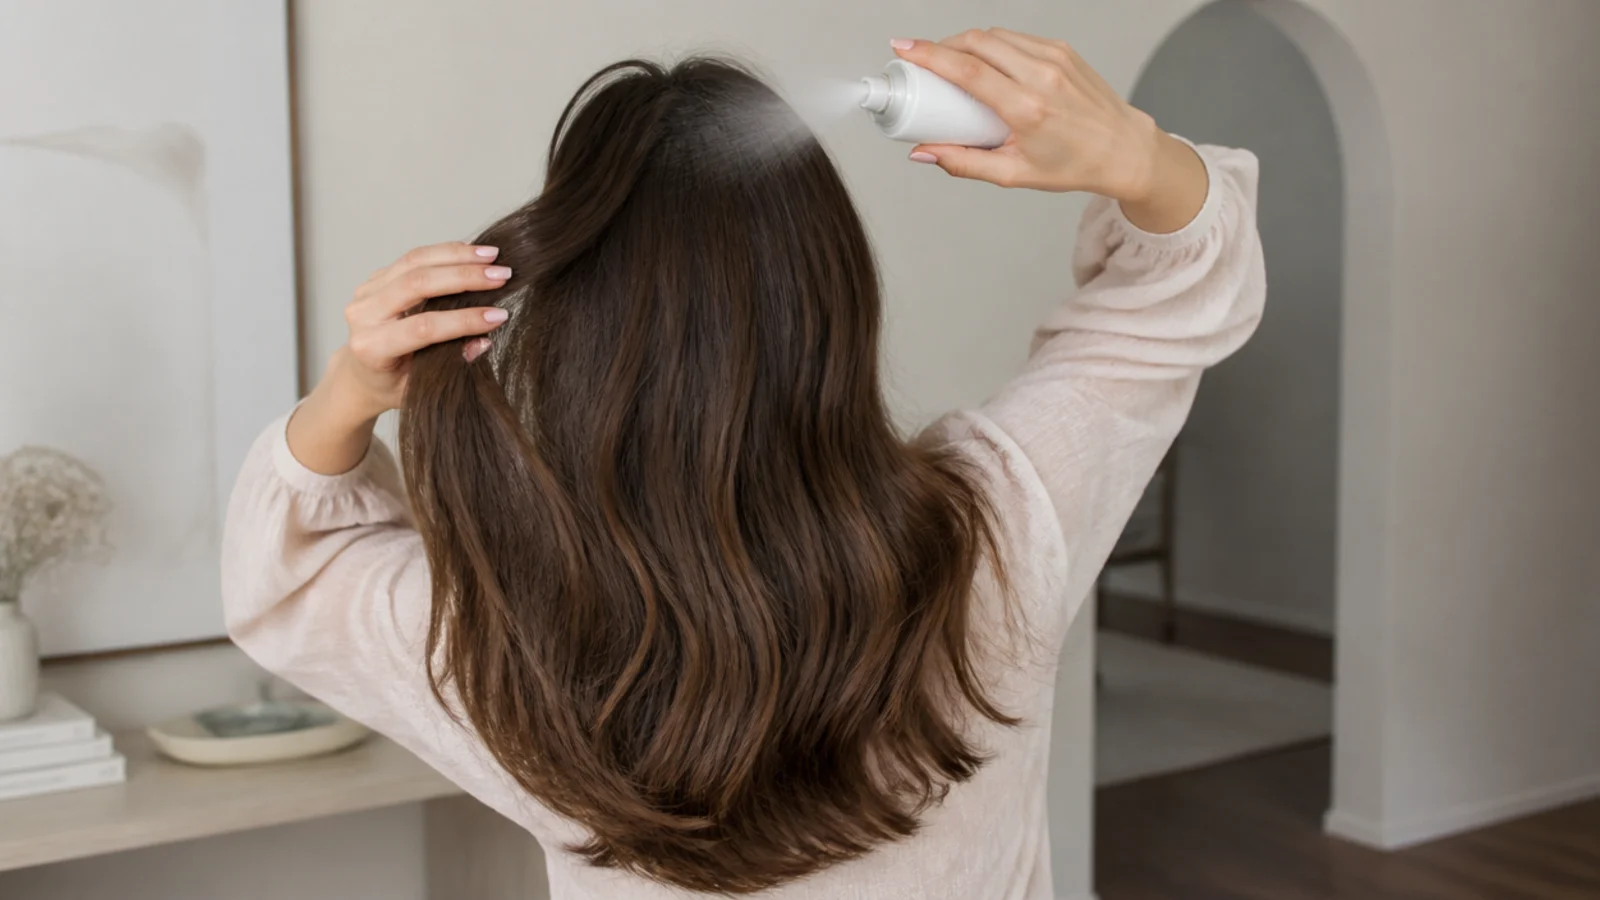
Second-day hair is the ideal braiding canvas because the day-old natural oils and lingering product give strands grip and flexibility that squeaky-clean hair lacks. If your hair still feels a little limp on day two, revive it: mist dry shampoo at the roots for lift and oil control, add a light texture spray through the lengths, and flip your head to shake it out before combing smooth. Refresh yesterday's part with a rat-tail comb, and if you slept on a braid or bun, the soft bend that leaves behind actually helps a new braid sit better. Avoid heavy oils or leave-in creams on braiding day, since too much slip undoes the grip you are after. This is also why braids are such a good day-two or day-three option in a low-wash routine: they look intentional, they extend the time between washes, and they protect your ends from friction. For more no-wash-morning ideas that lean on the same grip principle, see easy hairstyles for school and the low-effort looks on the hairstyles hub.
Tools and Products That Actually Hold
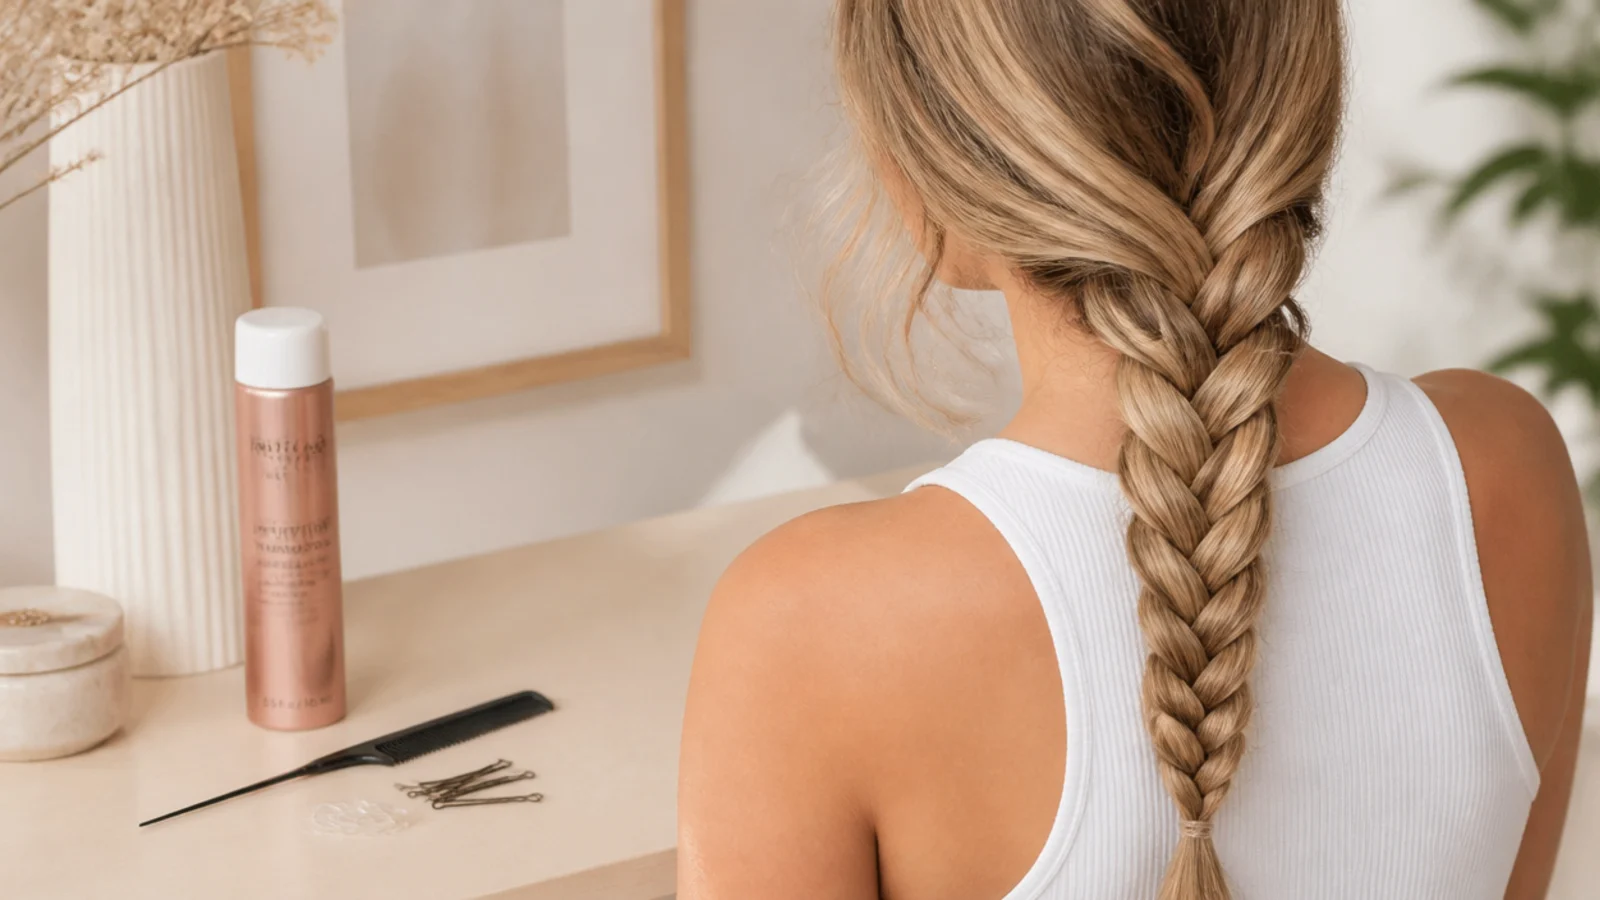
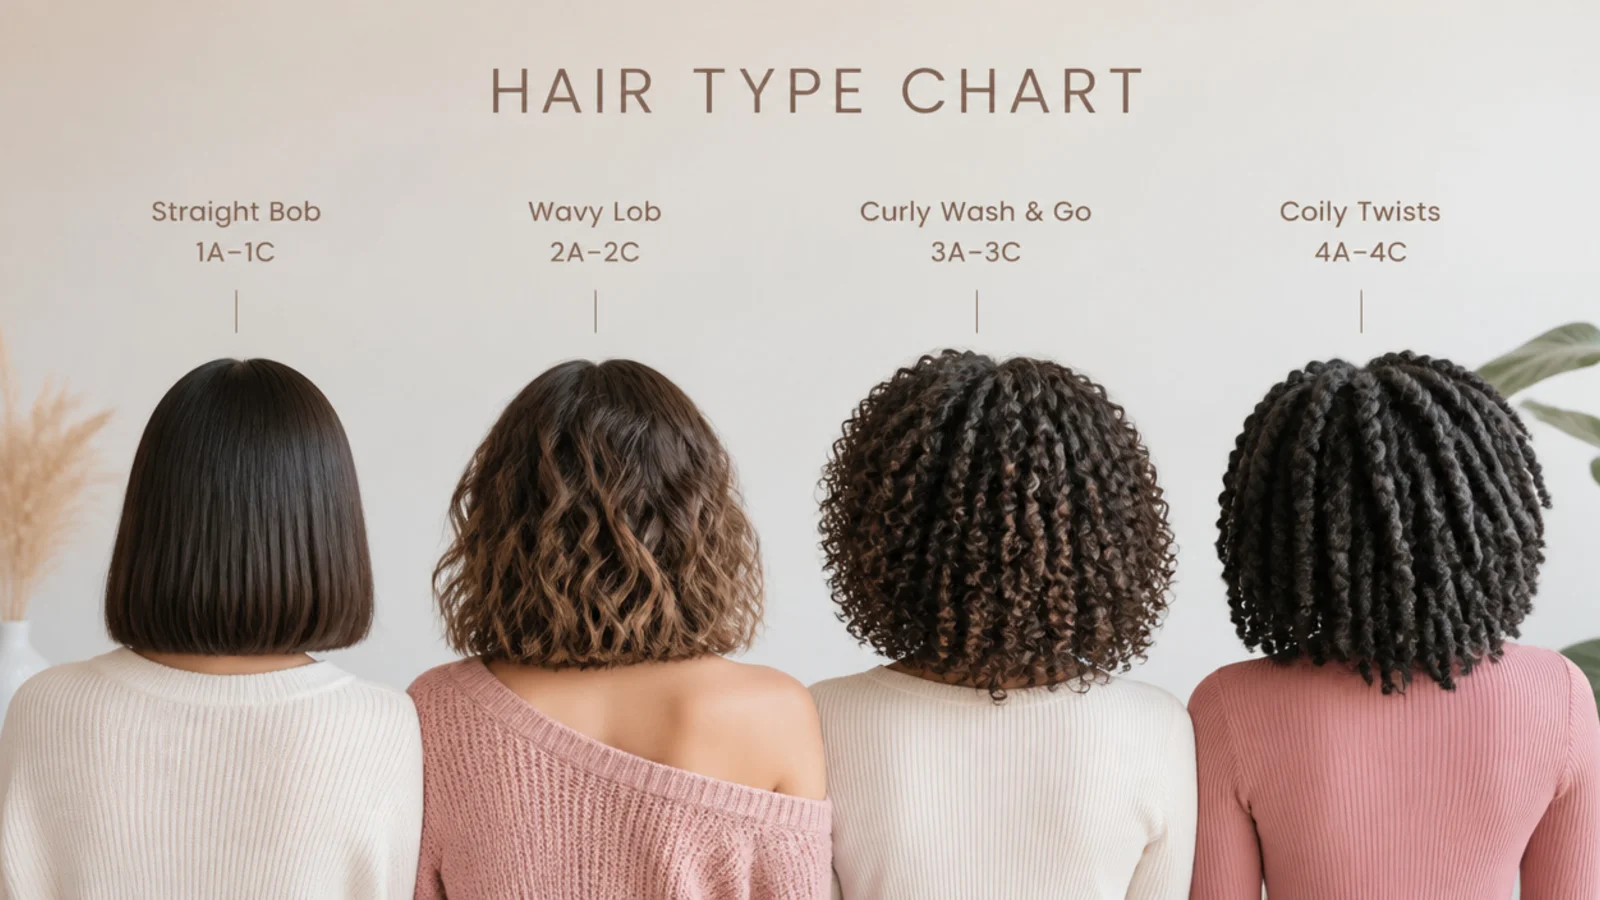
You need very little to braid well, but a few specific items make the difference between a braid that holds and one that does not. A fine-tooth rat-tail comb gives you clean, straight parts, which is what makes boxer braids and milkmaid braids look sharp. Small clear elastics grip fine ends far better than thick fabric ties and disappear into the braid. Two to three inch bobby pins, opened and crossed in an X, anchor crown braids and braided buns into the braid itself rather than sliding off the surface. On the product side, dry shampoo adds root grip and texture spray or sea-salt spray adds hold through the lengths; a light-hold hairspray sets the finished shape without stiffness. Skip heavy serums and rich oils on braiding day, because slip is the enemy of hold. If your hair is very fine, a whisper of mousse at the roots before braiding builds enough body for the braid to hold its own weight. Match the braid to your texture using hairstyle for your hair type so you are not fighting your hair.
Which Everyday Braid Suits Your Length and Time
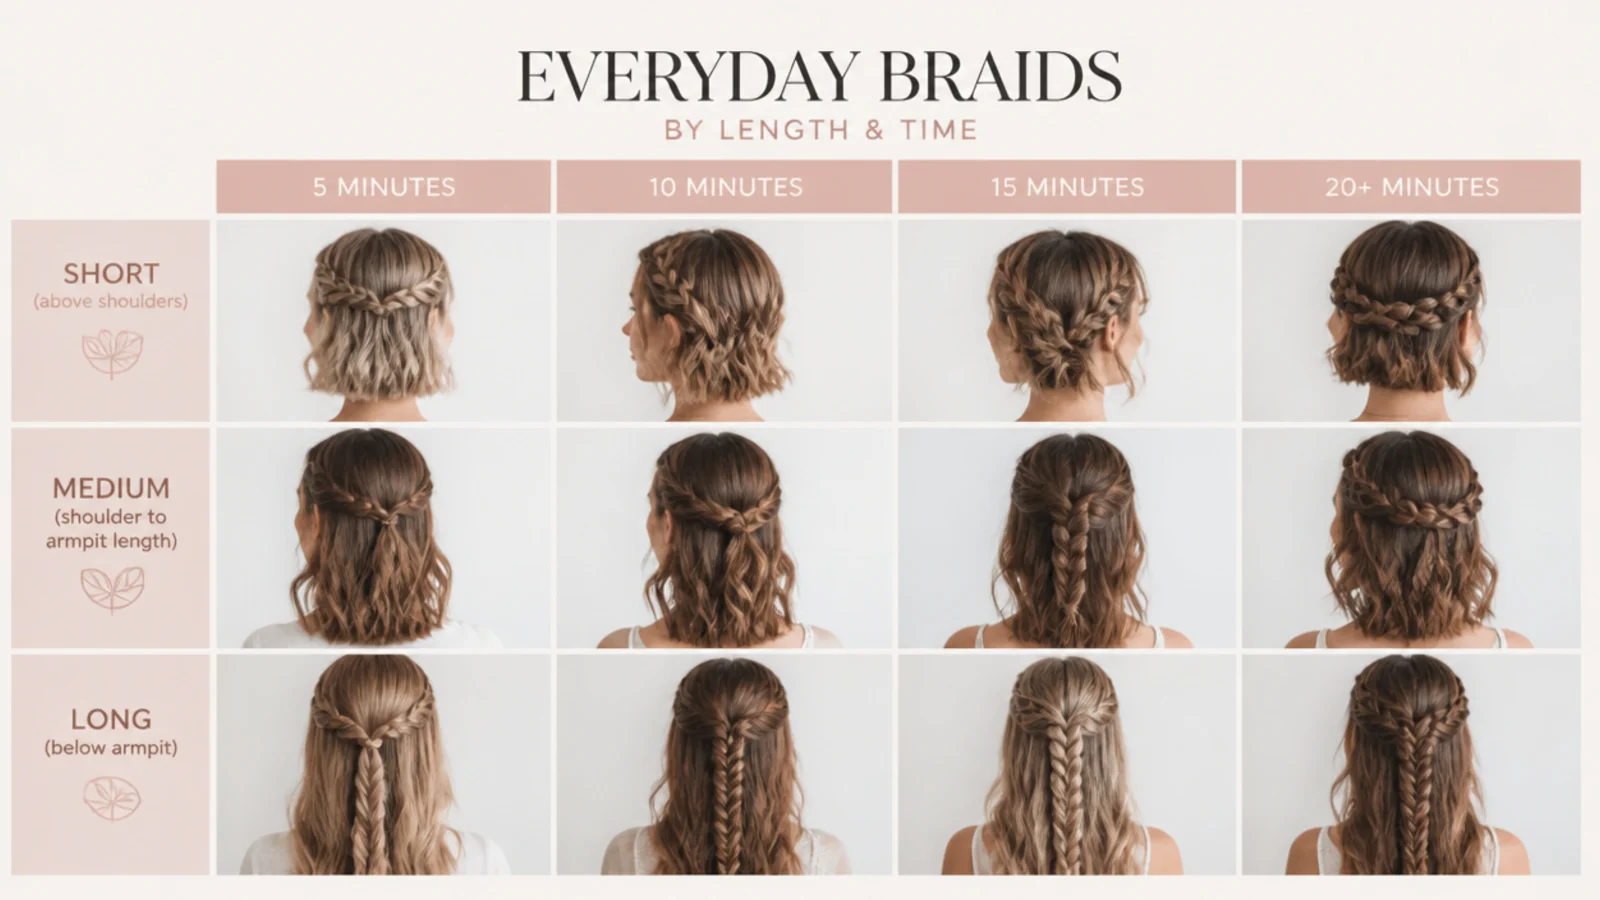
Match the braid to the time you have and the length you are working with, and you will stop abandoning styles halfway. If you have under three minutes, reach for a side braid, a rope braid ponytail or a braided headband, all of which need almost no skill. With five minutes, a French braid, a pull-through braid or a half-up crown braid is realistic once you can three-strand braid. Reserve boxer braids, a full Dutch braid or a milkmaid for the days you have closer to eight minutes and want the sharpest result. On length, chin to shoulder hair does best with a headband braid, a half-up crown or a single short French braid, while milkmaid and boxer braids really want hair past the shoulders to look right. Very fine hair should lean on the pull-through braid and pancaking to fake fullness, and thick hair holds every style here easily but needs firmer tension so the braid does not feel bulky. When you want the hair down but out of your face, the half-up crown is the most forgiving starting point for any length.
Main Differences
- Direction: a French braid crosses the outer strands over the middle, while a Dutch braid crosses them under, and that one change is the whole difference.
- Profile: the French braid lies flat against the head, while the Dutch braid stands raised and shows more prominently in photos.
- Difficulty: most beginners find the French braid easier because the over motion feels natural, while the under motion of a Dutch braid takes practice.
- Forgiveness: a flat French braid hides minor unevenness, while a Dutch braid displays any uneven tension as visible lumps.
- Volume: both pancake fuller, but the raised Dutch braid gains the most body, which helps fine hair look thicker.
- Everyday fit: reach for a French braid when you want understated polish, and a Dutch braid or boxer braids when you want a bolder, sportier look that holds through movement.
Frequently Asked Questions
Why does my braid keep slipping out?
Almost always because your hair is too clean and slippery to grip. Braid on second-day hair, or add dry shampoo at the roots and texture spray through the lengths first. Also keep tension firm and even from top to bottom, secure the end with a small clear elastic wrapped until it grips, and set the whole braid with a light-hold hairspray.
Why does my Dutch braid look lumpy?
Three usual causes: uneven strand sizes, inconsistent pickups, and tension that changes as you go. Because a Dutch braid crosses under the middle, any slack shows as a raised bump instead of hiding flat. Keep your three strands matched, take the same tiny pickup from each side every cross, hold firm even tension, and smooth each strand before crossing it in.
How do you do a pull-through braid for beginners?
Tie a small ponytail at the crown, split it in two, then tie a second small ponytail just below using hair from the split plus a little new hair. Flip the top two halves down through the gap between them. Repeat down the head, tying and flipping, then gently pancake each bubble wide. It uses only ponytails and clear elastics, so no real braiding skill is needed.
Can you braid second-day or unwashed hair?
Yes, and it usually holds better than fresh hair. Day-old natural oils and leftover product give strands the grip a braid needs. Refresh limp second-day hair with dry shampoo at the roots and a light texture spray through the lengths, comb smooth, then braid. Avoid heavy oils or rich creams on braiding day, since too much slip undoes the grip you want.
How do you do a milkmaid braid step by step?
Part your hair down the middle and make a plain three-strand braid on each side, tying each end with a clear elastic. Lift the right braid up and over the top of your head and pin it behind your left ear, then bring the left braid over and pin it behind your right ear. Tuck the tails under and mist with light-hold hairspray. It works best on long, one-length hair.
What is the easiest braid for beginners?
The pull-through braid, because it is built entirely from small ponytails and needs no braiding technique at all, yet looks the fullest. After that, learn the plain three-strand braid until your fingers do it without looking, since every other braid builds on it. Once the three-strand feels automatic, the French and Dutch braids come much faster.
How do I make a thin braid look fuller?
Pancake it. After you tie off the end, gently tug the outer loop of each cross outward, working one side at a time from top to bottom. This widens the braid and hides the elastic. Fine hair benefits most. A whisper of mousse at the roots before braiding, or a texture spray through the lengths, also builds body so the braid holds its widened shape.
My arms get tired braiding my own hair. Any fix?
Arm fatigue is normal when braiding the back of your head. Rest your elbows on a shelf or a high counter to support your arms, and work in front of two mirrors so you are not craning. If tension slips as you tire, pause and clip the braid to your head, rest a moment, then resume rather than finishing loose. Practice the pattern on the easier front-facing side braid first.
How long do everyday braids last?
A well-secured braid on textured or second-day hair easily lasts a full day and often into the next morning if you sleep on a loose braid or wrap it in silk. French and Dutch braids that lie against the head hold longest. Refresh a slept-in braid with dry shampoo and a few pins rather than redoing it, and it can carry a second day of wear.
Are braids bad for fine or fragile hair?
Not if you avoid tight tension at the hairline. Braid snug through the lengths but keep the edges comfortable, since painful pulling on fine edges can cause breakage over time. Choose lower-tension styles like the half-up crown, pull-through braid or a loose side braid. For fine and fragile textures, the tension-safe guidance in protective styles for fine 4C hair applies to keeping edges healthy.
Which everyday braid are you practicing first?
The single upgrade that fixes most everyday braids is texture: work dry shampoo or texture spray through clean or second-day hair before you start, keep tension even, and braid slightly tighter than looks right because every braid loosens as you move. Master the plain three-strand braid first, add the pull-through for a no-skill full look, then graduate to French and Dutch once your fingers know the pattern. Seal each one with a small clear elastic and a mist of light-hold hairspray so it survives a backpack strap or a workday. For more low-effort options, see the hairstyles hub or the school-morning styles in easy hairstyles for school. Save this and practice one braid a week.