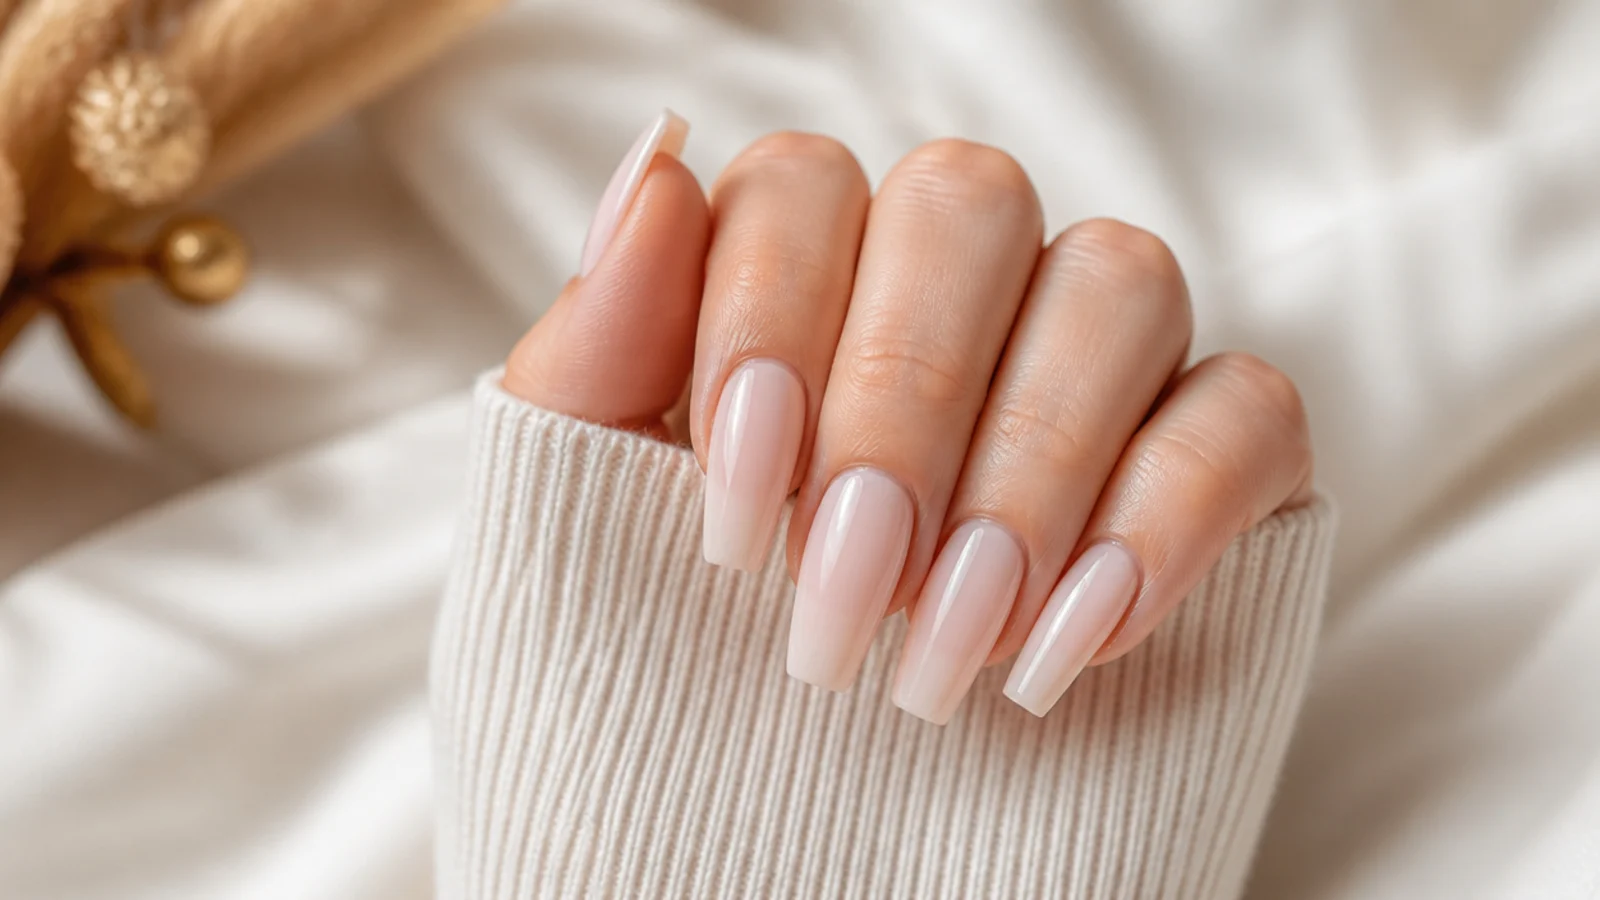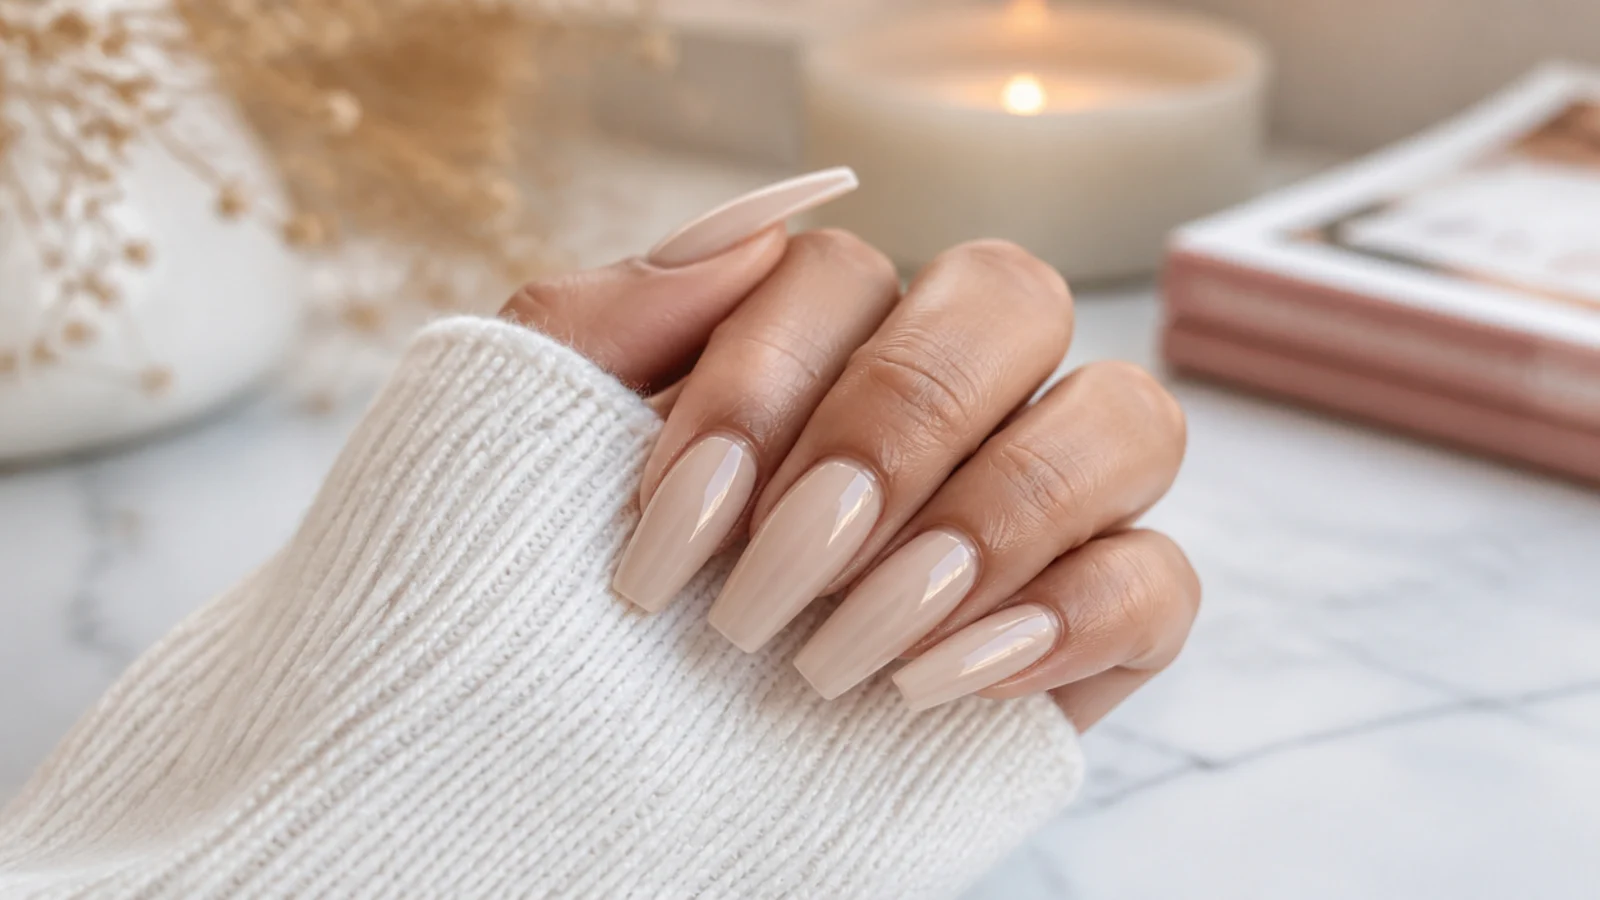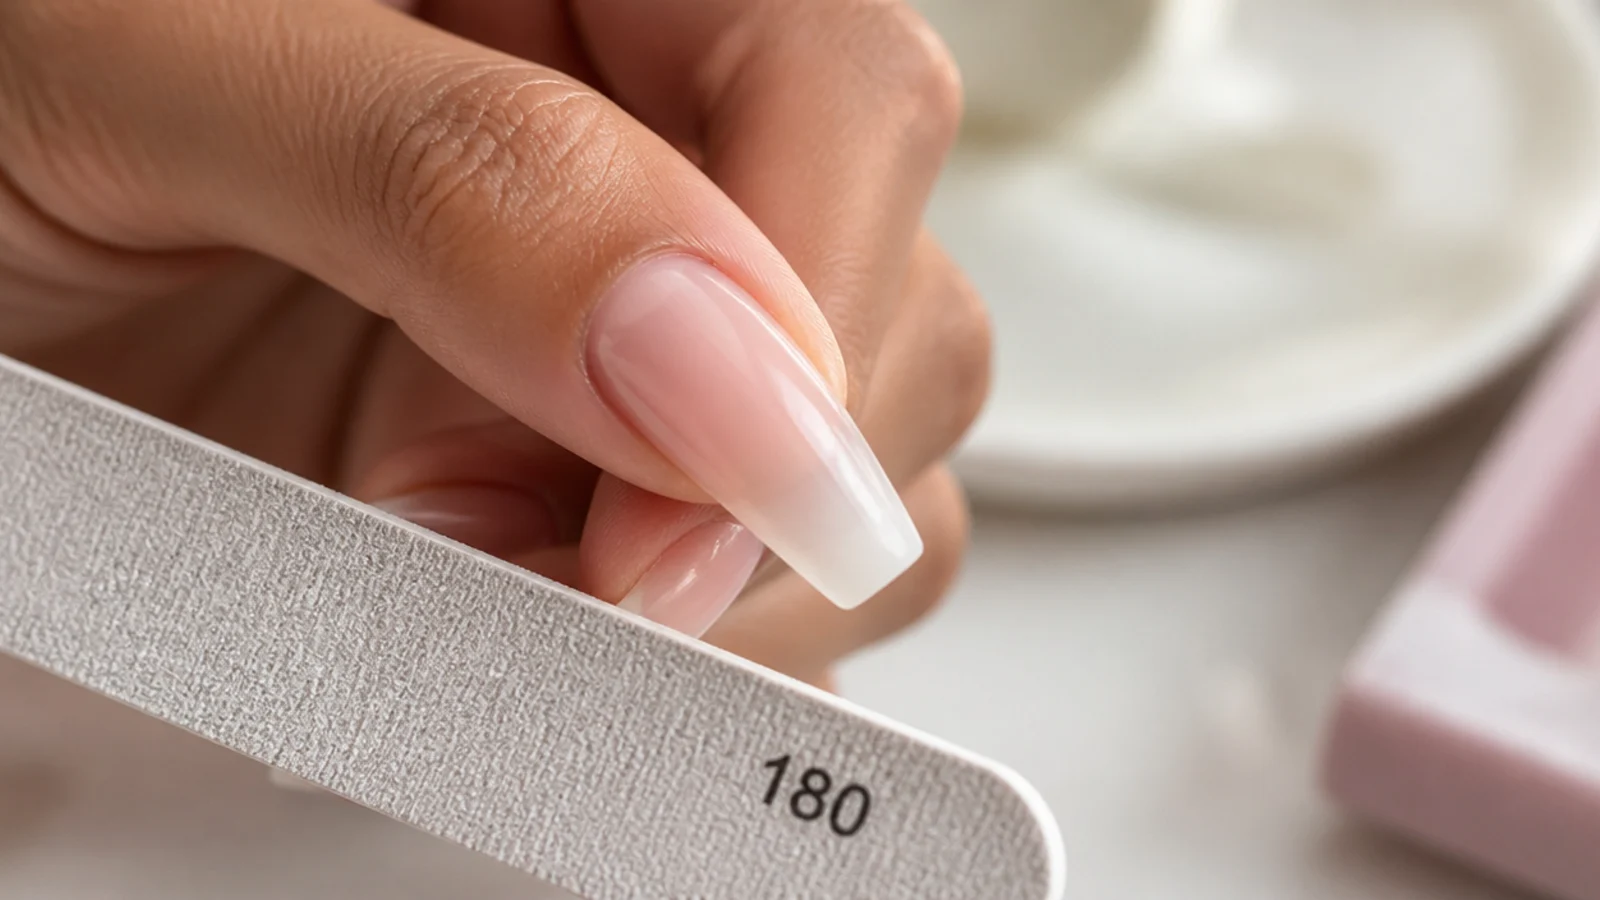
Quick Comparison
| Coffin on Natural Nails at Home | Coffin on Acrylic at a Salon | |
|---|---|---|
| Length possible | About 3 to 6mm of free edge | 8mm and beyond, any length you ask for |
| Tools needed | 180 grit file, 240 grit file, buffer, clipper | E-file, acrylic liquid and powder, forms or tips |
| Time | 20-30 minutes for all ten nails | 90-120 minutes for a full set |
| Cost | Under 20 dollars for the files and oil | 60 to 120 dollars and up, plus fills |
| How long the shape holds | 7-10 days before the tip needs a refile | 3-4 weeks with a fill appointment |
| Breakage risk | Low at 3-5mm, high if you over-taper | Moderate; the flat tip loads the stress point |
| Skill needed | Beginner, once you square before tapering | Licensed tech; not a first DIY project |
| Damage risk | Thinning walls from over-filing | Damage comes from removal, not from wear |
| Best for | Everyday, office-safe, low upkeep | Long dramatic sets and detailed nail art |
1. Prep, Remove Polish and Check Your Free Edge
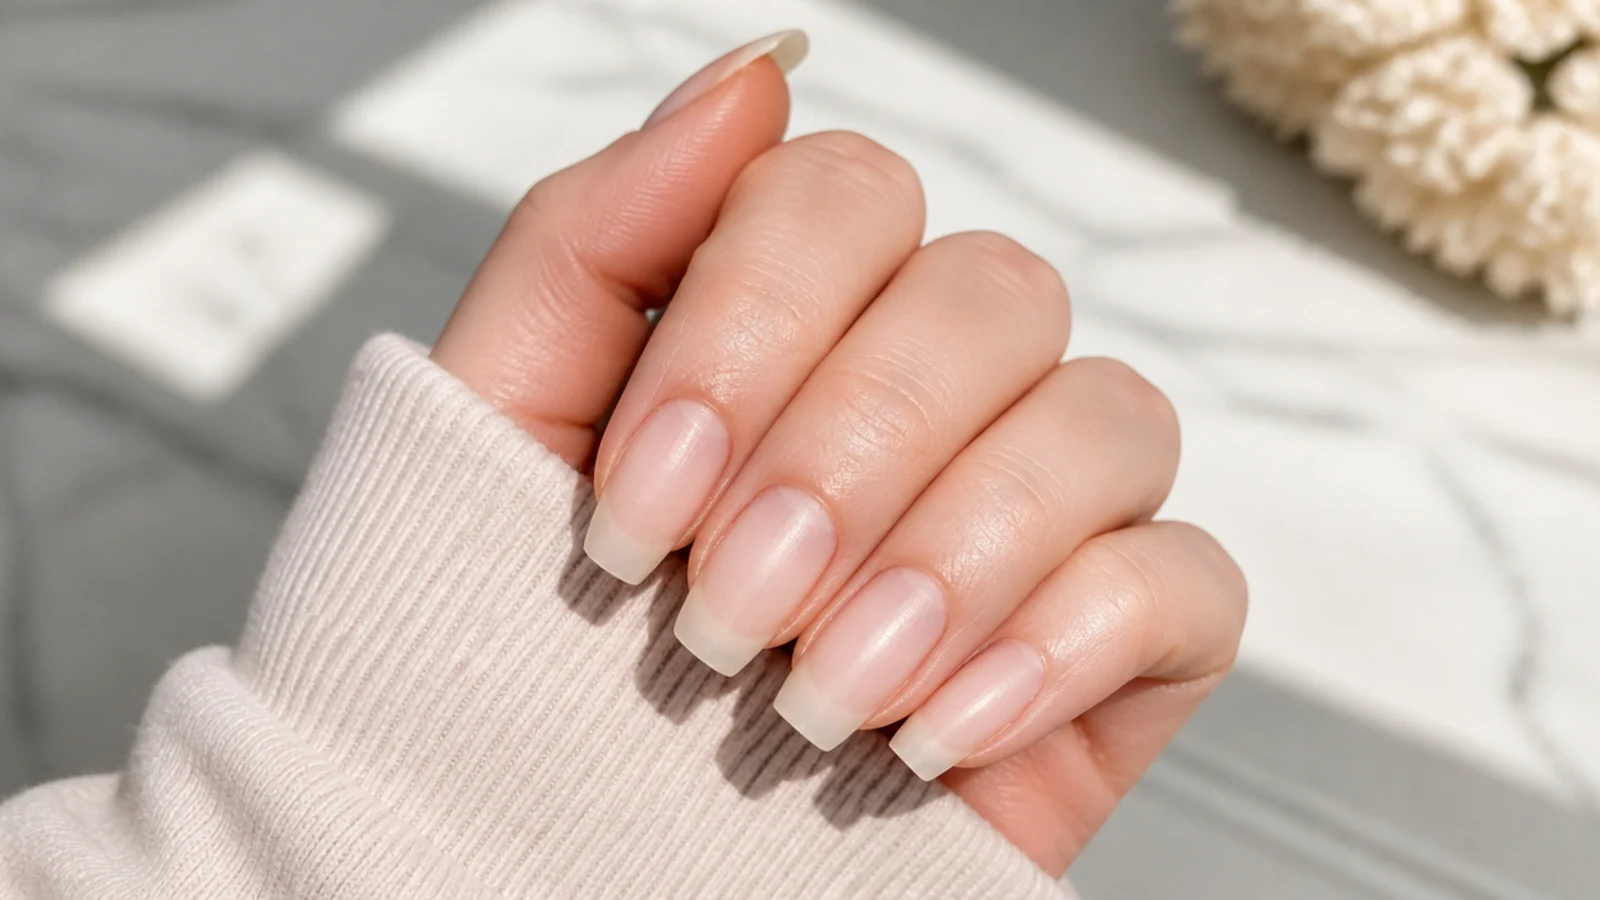
Take off all polish with acetone, wash and dry your hands, then push the cuticles back with a wood stick so you can see where the nail plate really ends. Now measure the white free edge against a ruler or your fingertip. You need about 3mm past the flesh line for a coffin taper to be visible, and 4 to 5mm for it to read clearly. Anything shorter and you are filing a narrow square no matter how carefully you angle the sides, so grow another week first and save designs from the coffin nails hub meanwhile.
Common mistake: Shaping over old polish hides the true edge line and you file one nail shorter than the rest.
Pro tip: File dry, never after a soak - wet nails are soft and tear rather than cut.
2. Square the Free Edge Completely Flat
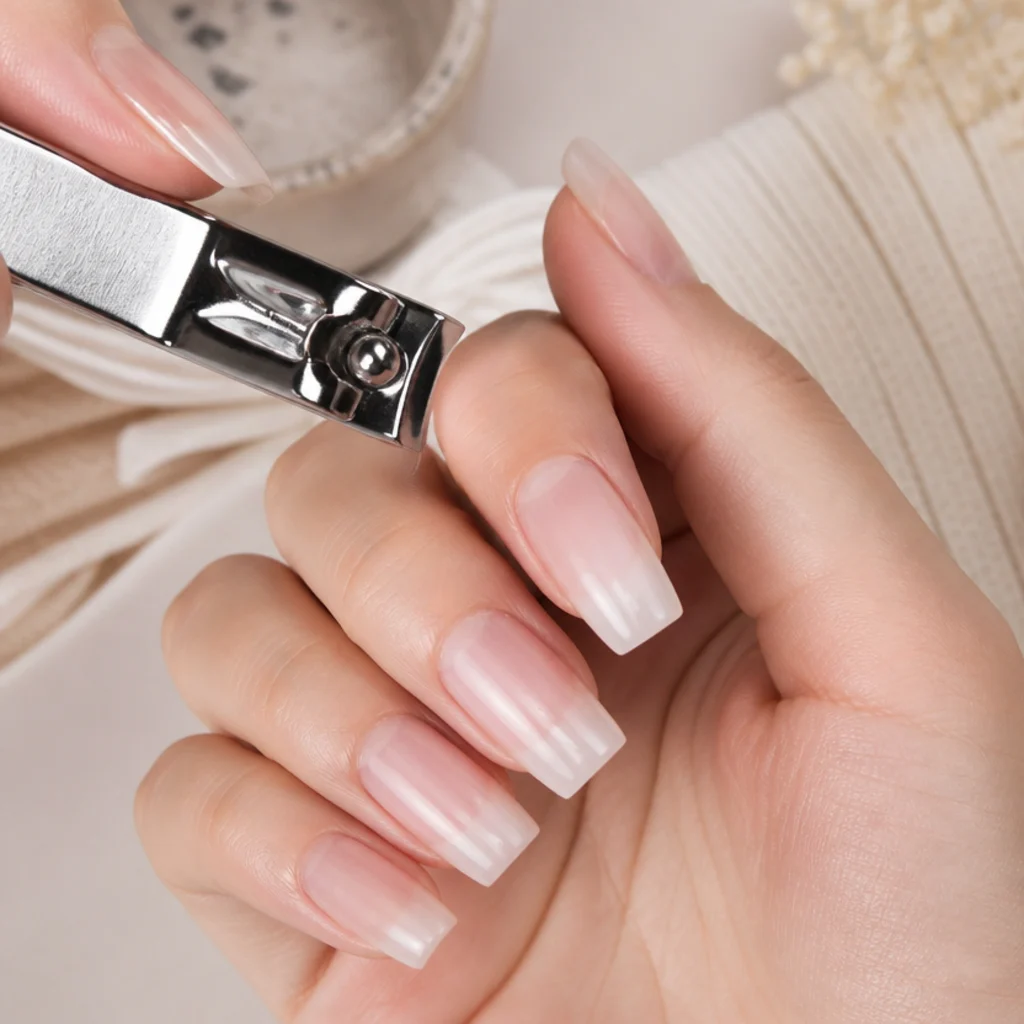
Clip or file the tip straight across so you have a true square with two 90 degree corners. This flat edge becomes the coffin tip, so its width now decides how blunt or how narrow the finished shape looks. Hold the file at a right angle to the nail and take short, even strokes across the edge until a ruler laid on the tip touches it end to end with no gap. Everything after this is subtraction from the sides, never from the tip.
Common mistake: Rounding the corners here is the number one cause of a coffin that ends up looking almond.
Pro tip: Leave the square edge slightly wider than your goal - you can narrow it in step five.
3. Angle the First Sidewall Toward the Tip
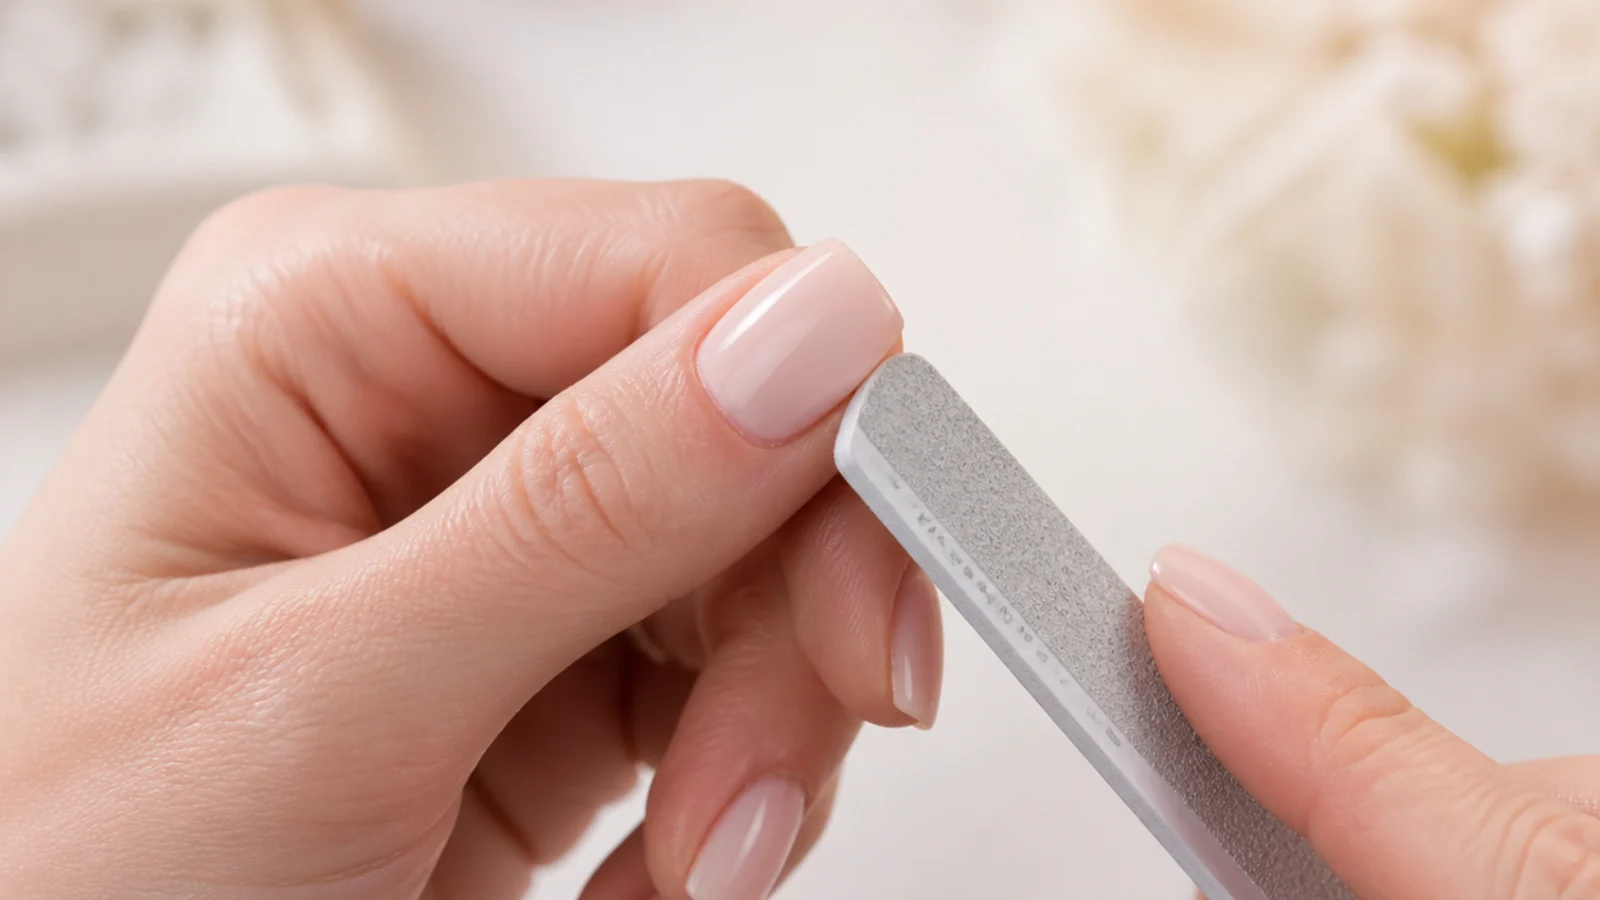
Take a 180 grit file and place it against one sidewall at the point where the free edge leaves the finger. Angle it inward so the stroke line runs from that point to the outer corner of your flat tip, then file in one direction only, lifting the file on the return. Six to eight strokes usually cuts the taper on a natural nail. You are aiming for a dead straight line from sidewall to tip corner, not a curve. That straight line is the whole difference from the soft continuous curve of an almond shape.
Common mistake: Sawing back and forth shreds the keratin layers and starts the peeling that splits the wall later.
Pro tip: Count your strokes out loud - you will need the exact same number on the other side.
4. Mirror the Second Sidewall Stroke for Stroke
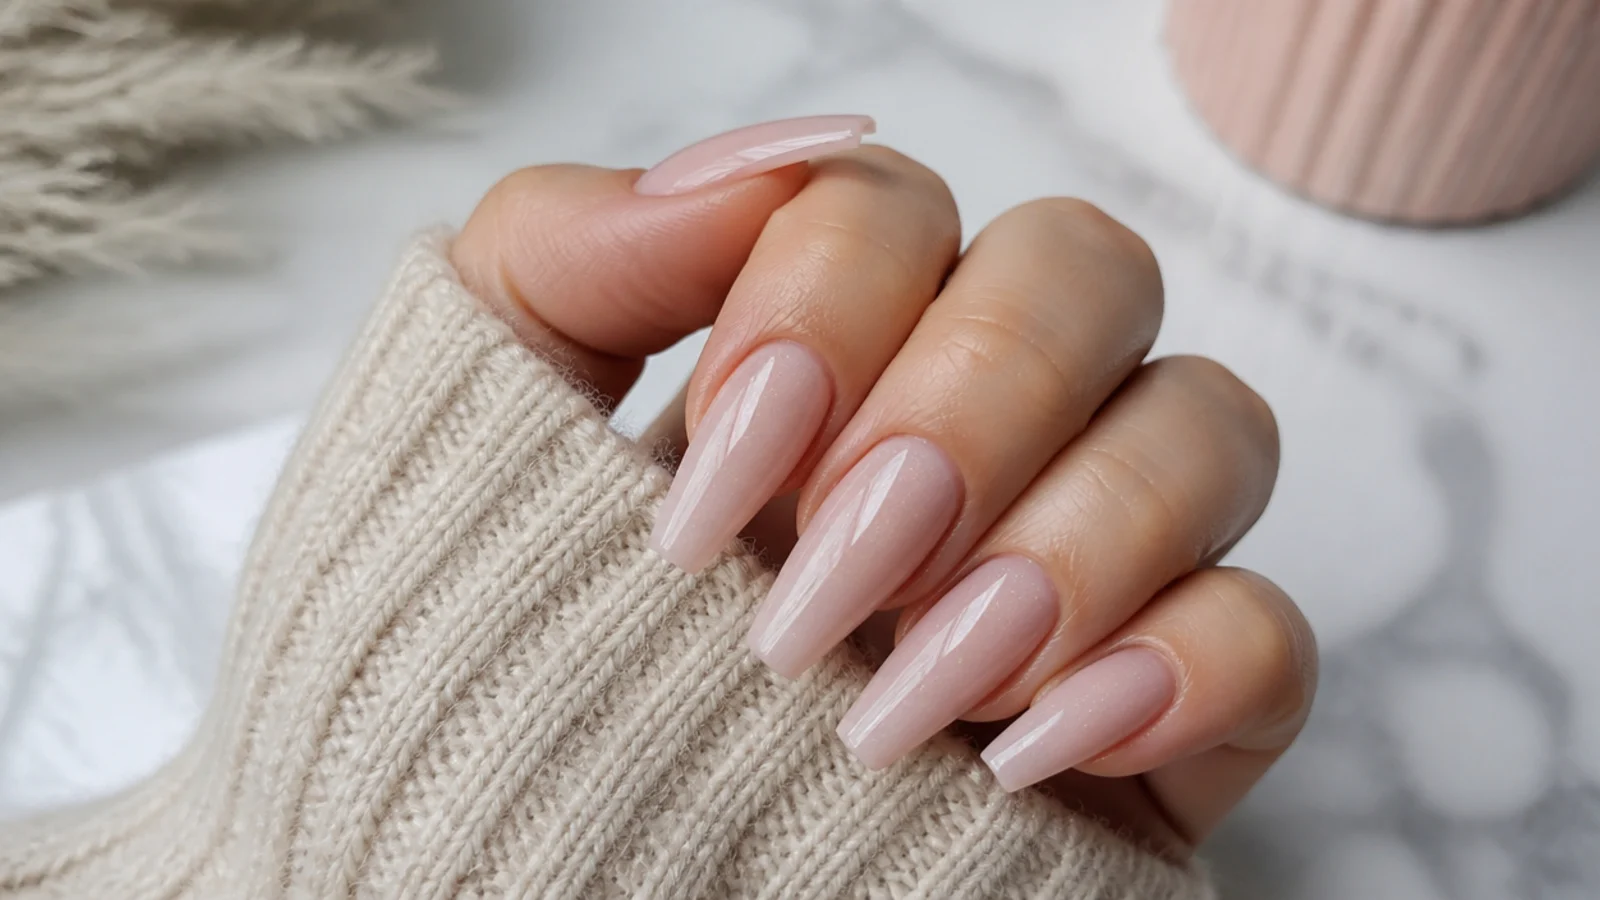
Repeat the same angle and the same stroke count on the opposite wall. Then flip your hand over and look at the nail from the palm side, which shows asymmetry your eye edits out from above. The two taper lines should look like they would meet at a point somewhere past your fingertip. If one wall is steeper, do not deepen the other to match - take one or two light strokes off the shallow side instead, because the fix that removes less nail always wins.
Common mistake: Over-tapering to force symmetry thins the stress point and that corner snaps within days.
Pro tip: Compare the nail against its twin on the other hand, not against the finger beside it.
5. File the Tip Flat and Check at Eye Level
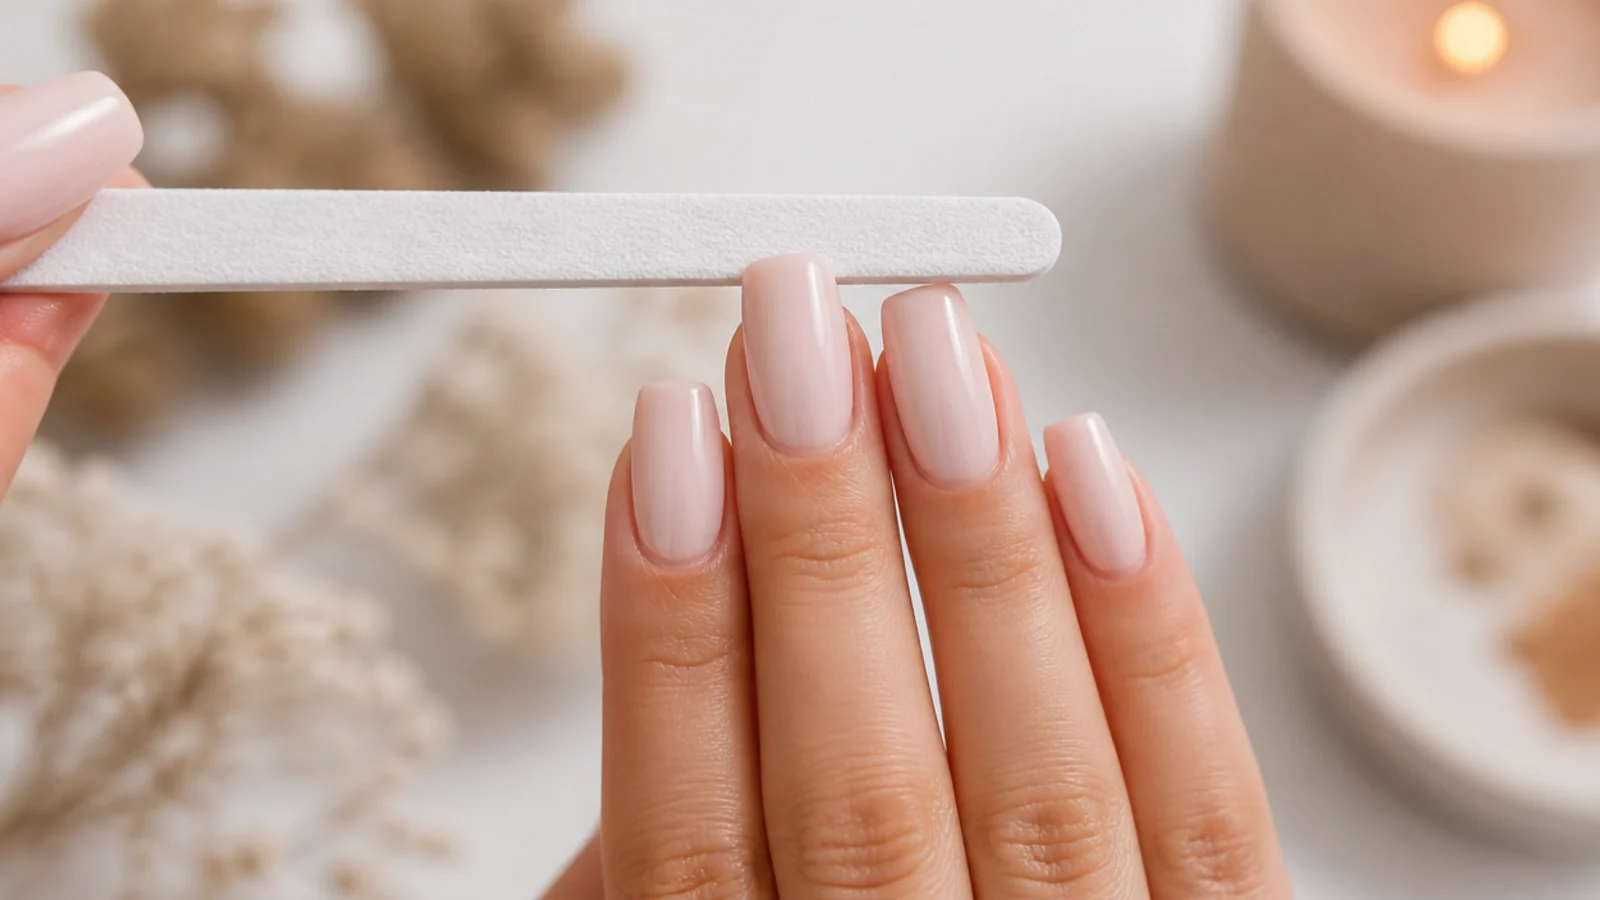
Tapering the sides always drags a little curve back into the tip, so lay the file flat across the free edge and take three or four horizontal strokes to true it up. Raise the nail to eye level with the tip pointing at you: the edge should be a clean straight bar with two crisp corners. Do this after every four or five sidewall strokes rather than only at the end, because a curve caught early costs one stroke and a curve caught late costs length.
Common mistake: Skipping this pass leaves a soft rounded tip, which is why home coffins so often read as almond.
Pro tip: Narrow the tip now if you want a sharper coffin, like the crisp edges on short white chrome nails, one stroke per side.
6. Refine With 240 Grit, Buff and Oil
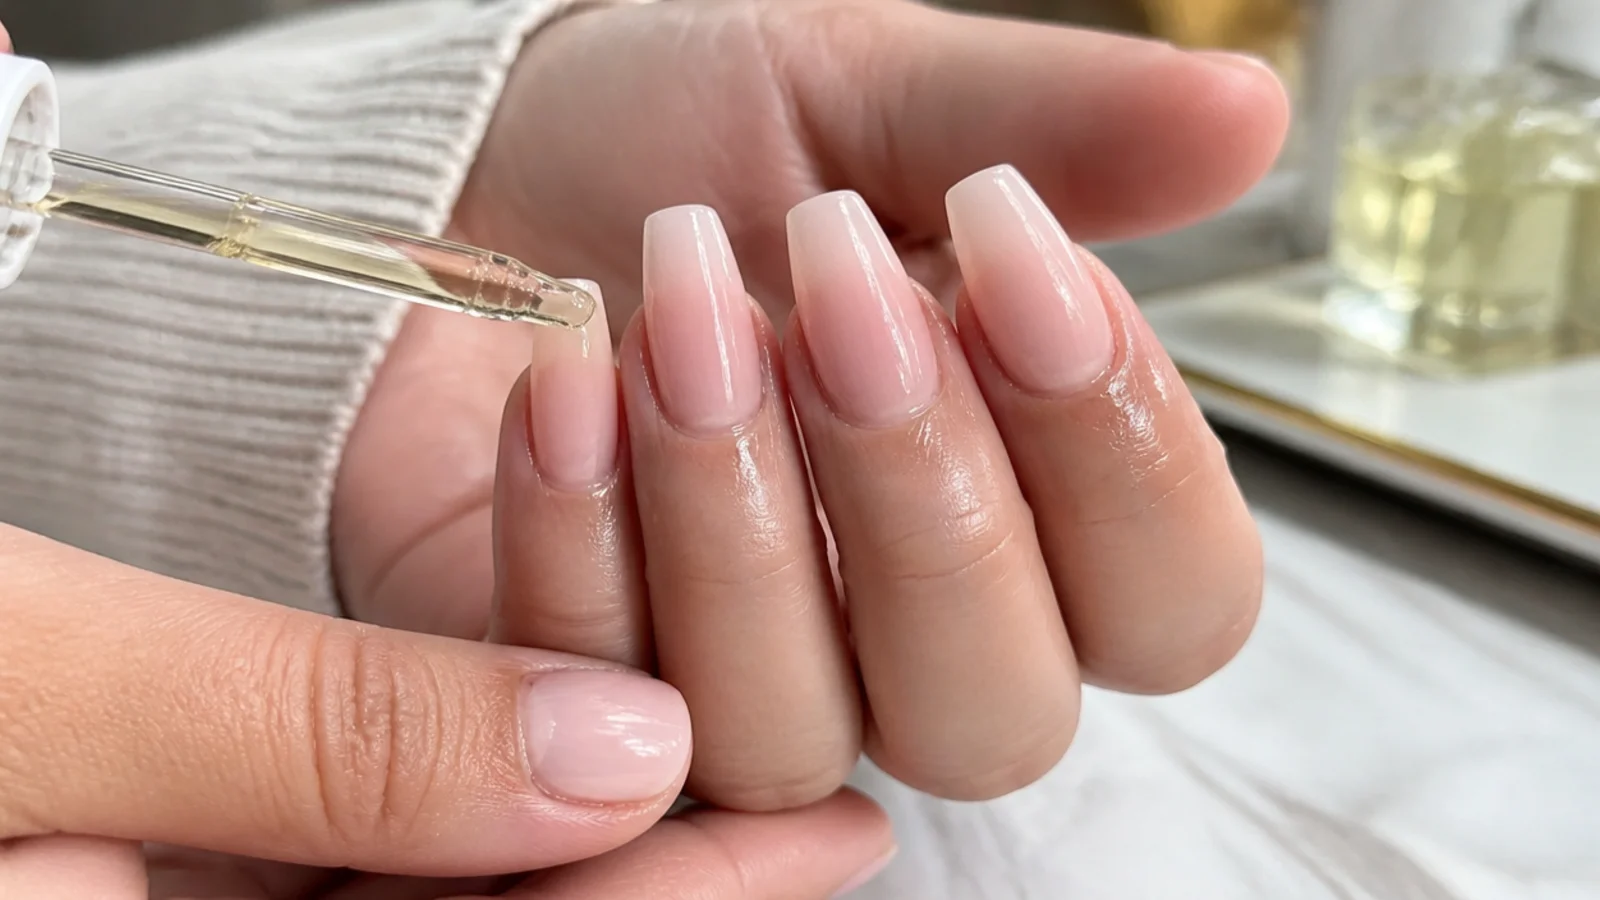
Switch to a 240 grit file and run it lightly along both walls and the tip to smooth the cut marks, then seal the free edge by drawing a fine buffer down across it at a slight angle a couple of times. Sealing is what stops layers separating and peeling at the corners. Finish with cuticle oil massaged into the sidewalls and eponychium. Your shape is done and ready for color, whether that is a matte finish or a glossy French tip.
Common mistake: Buffing the shiny surface of the nail plate thins it and makes the walls flex and crack.
Pro tip: Oil twice a day - flexible nails hold a sharp coffin corner far longer than dry ones.
Tools, File Grits and How Long It Takes
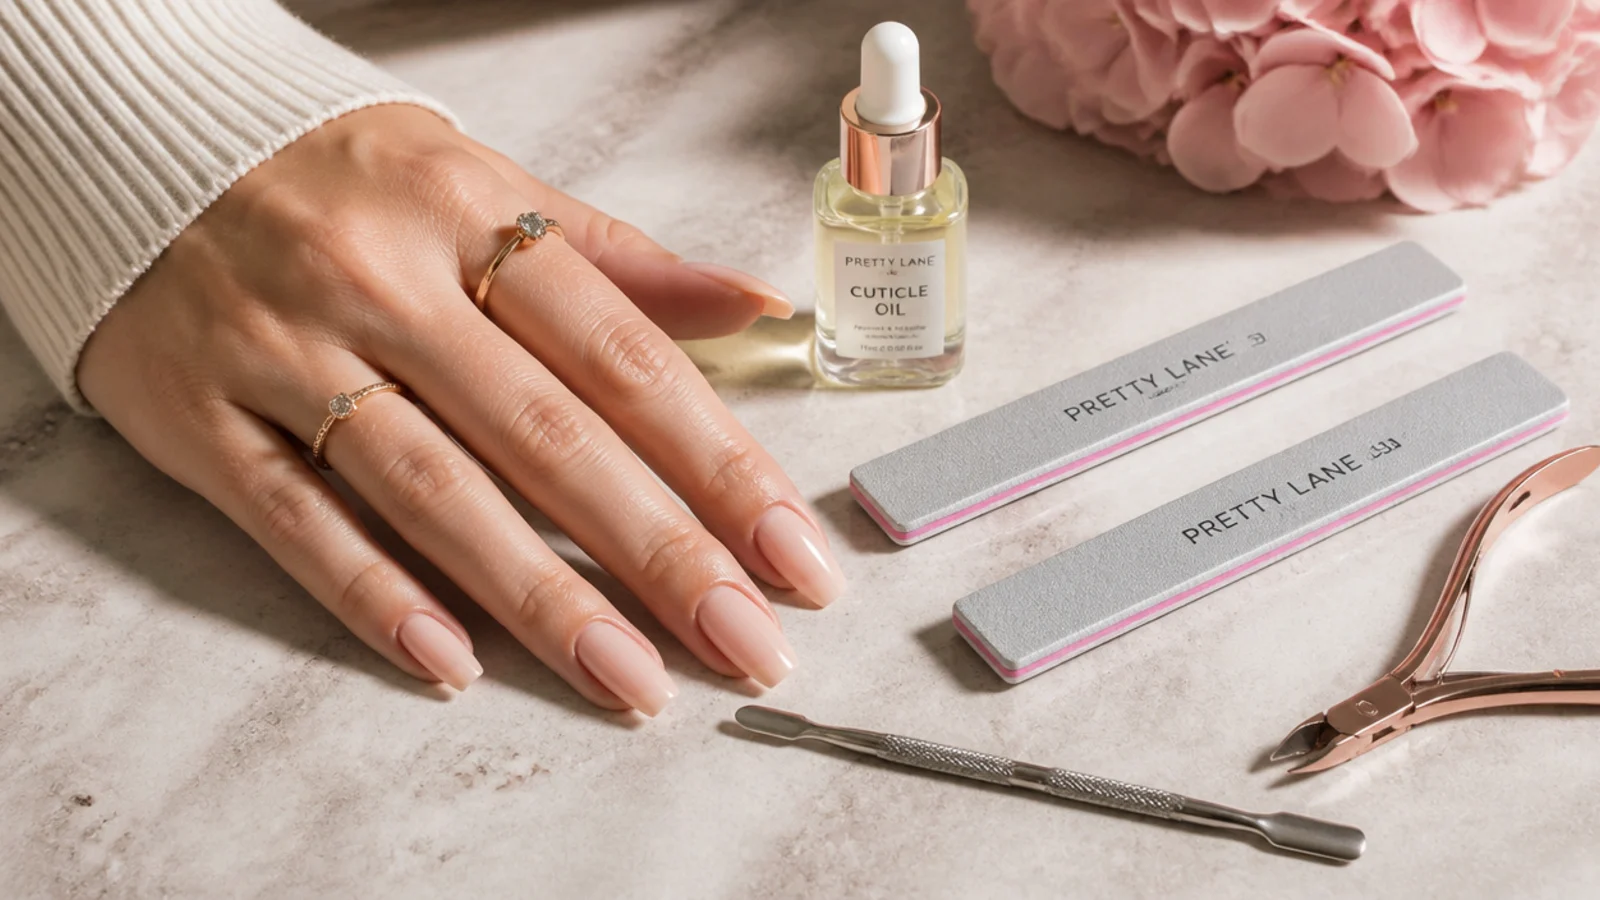
You need less than you think. A 180 grit file does the shaping, a 240 grit file refines, a fine buffer seals the edge, and a clipper, wood cuticle pusher and cuticle oil round it out. Grit choice is the part people get wrong: 100 or 150 grit is meant for acrylic and hard gel and will chew a natural nail into layers, while anything above 240 is too soft to cut a taper and you will file for ten minutes with nothing to show. If you plan to add a gel overlay after, keep this order - shape first, then prep and cure, the same as any gel art technique. Glass files seal the edge as they cut and suit thin or peeling nails, though they are slow at a fresh taper. Budget 20 to 30 minutes for all ten nails the first time and around 15 for upkeep. No drill is needed, and the pre-shaped tips in most coffin nail kits for beginners only need blending in.
How Much Free Edge a Coffin Shape Actually Needs
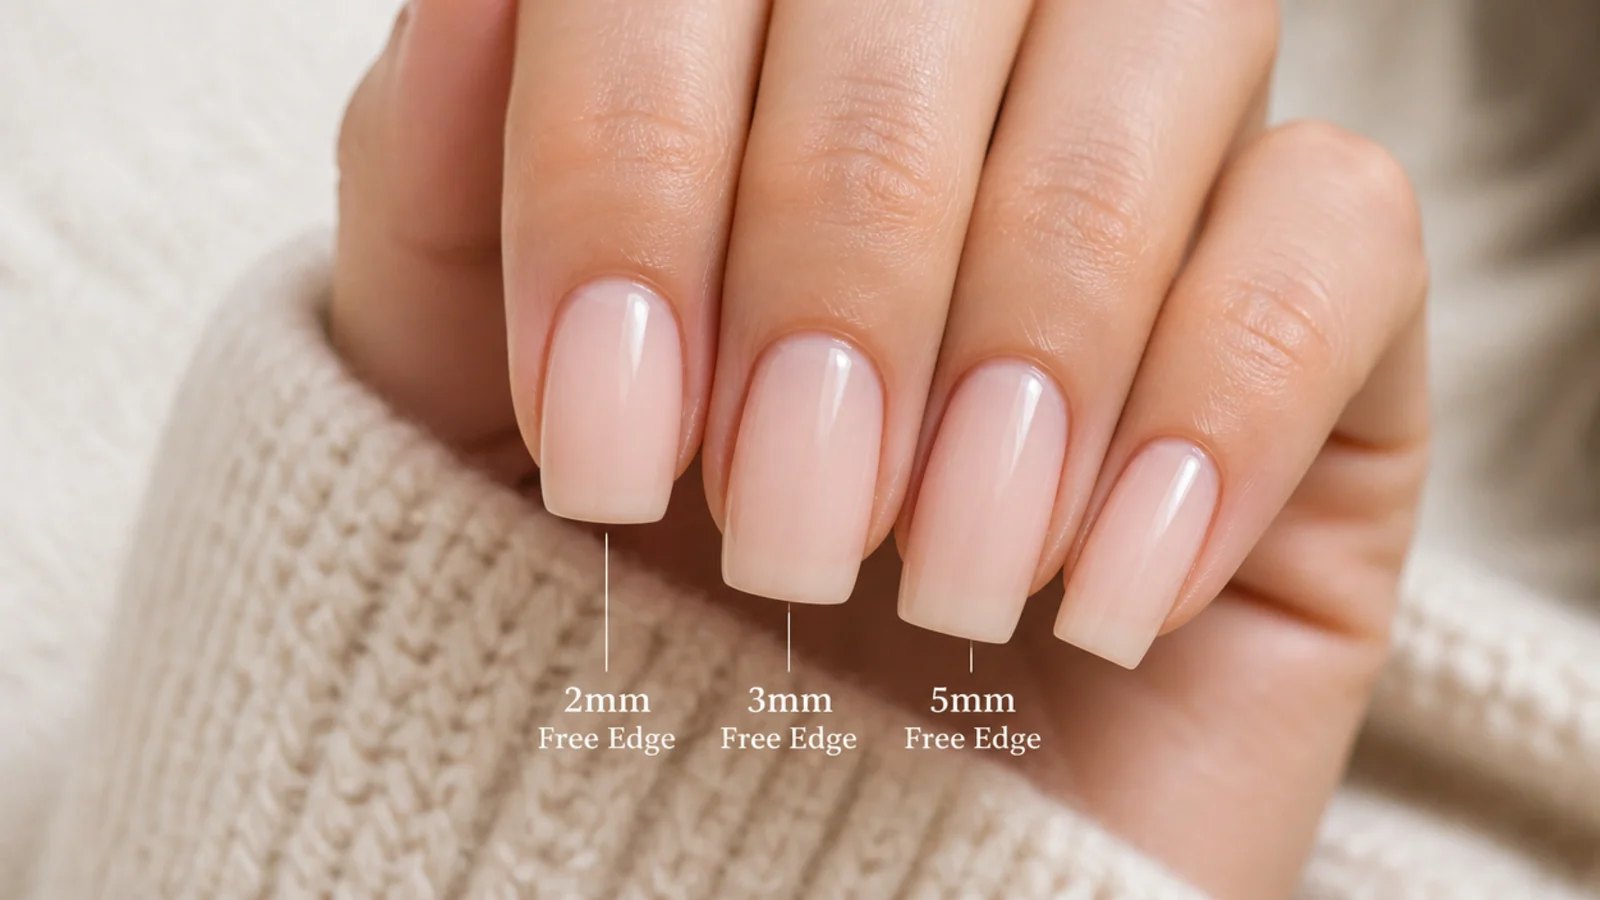
The taper has to happen somewhere, and that somewhere is the free edge. At 2mm the sidewalls can only angle a degree or two before they run out of nail, so the result reads as a narrow square to anyone looking, closer to the blunt walls of square nails than to a coffin. At about 3mm the converging lines become visible and it genuinely starts to read coffin. Between 3mm and 5mm you get a clear shape that still types and buttons a shirt, which is the zone most of the designs in short coffin nail ideas live in. Past 6mm you are into medium and long coffin, where the shape is unmistakable but a natural plate rarely carries it without splitting. Nail bed width matters too: a wide plate needs the top of that range before the walls look like they are converging on anything, while narrow beds read coffin from 3mm easily. If you are shorter than 3mm today, wait a week rather than over-tapering, which is the fastest route to a broken corner.
Natural Nails vs Acrylic, Hard Gel and Press-Ons
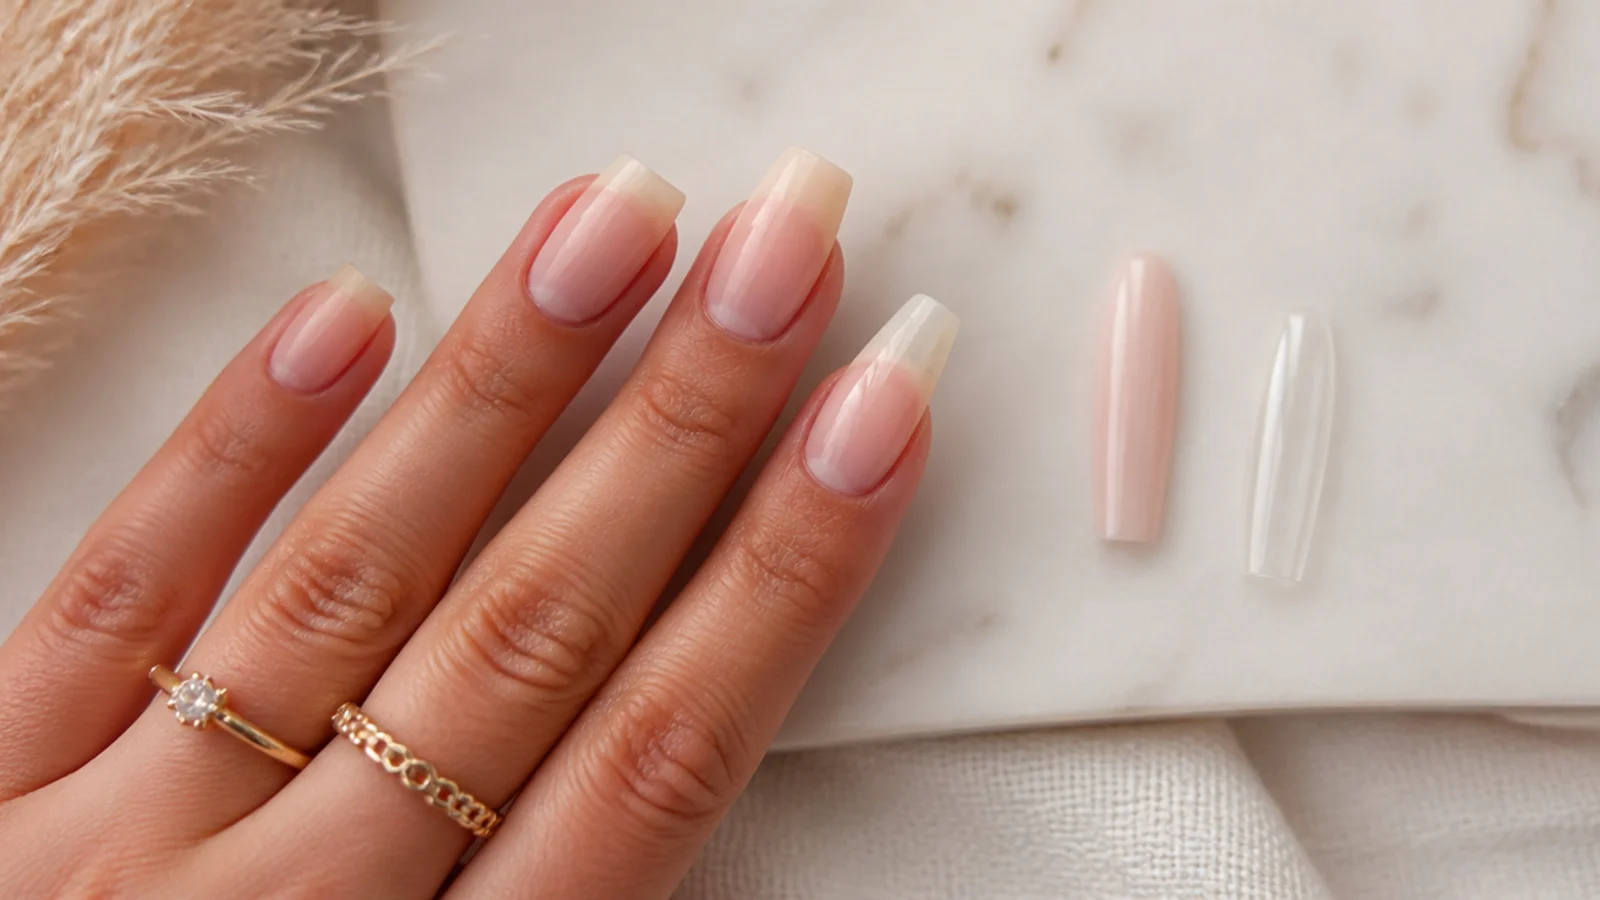
On natural nails a coffin is a filing job and nothing more - no product, no lamp, about 3 to 5mm of length, and it grows out with you. A gel overlay on top adds rigidity and buys you a millimeter or two of extra length without extensions, and it wears 2 to 3 weeks like any gel manicure. Acrylic is the system behind almost every long coffin you have saved: it holds 8mm and beyond, needs fills every 3 to 4 weeks, and runs 60 to 120 dollars or more for a full set. Hard gel sits between the two, lighter and more flexible than acrylic but less forgiving to refile. Press-ons and soft-gel tips come pre-shaped, so your only filing job is blending the sidewall where the tip meets your natural nail, which is how most of the sets in cute coffin nail ideas I tried were built. Whichever route you take, the geometry is identical across red coffin nail ideas and blue coffin nail ideas alike.
Troubleshooting Asymmetric Sides and Curved Tips
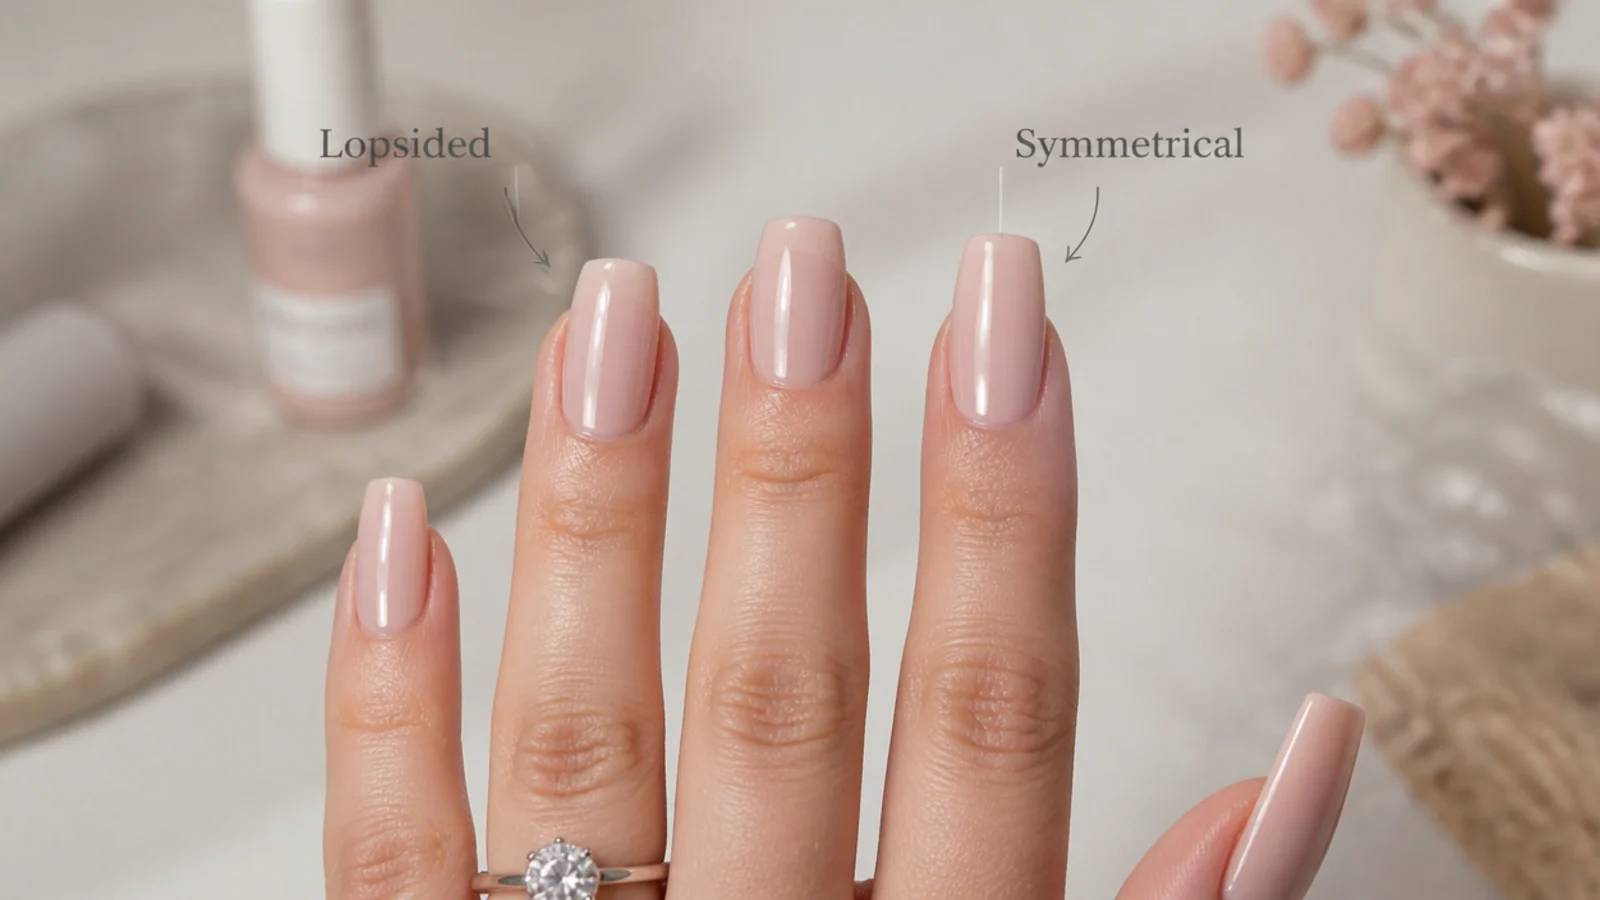
Four failures cover almost everything. Lopsided walls: fix by taking one or two strokes off the shallower side only, never by deepening the steeper one, and check from the palm side. A tip that keeps going curved: you are tapering before squaring, so re-flatten the edge with horizontal strokes and taper again into that line. Walls so thin they snap at the corner: you over-tapered, and the only real repair is filing the whole nail down a couple of millimeters and rebuilding the taper shorter, or having a tech overlay it. Peeling and layering along the free edge: you sawed back and forth, so switch to one-direction strokes and seal the edge with a fine buffer, the same discipline that prevents the streaking listed in matte nails mistakes. If one nail breaks below the others, file every nail to match rather than living with one odd length - a consistent short coffin looks deliberate, and mismatched lengths never do. Persistent splitting at the sidewall means stop filing and see a tech.
Keeping the Shape, Costs and When to See a Tech

Nails grow roughly 3mm a month, so the flat tip drifts out of true within about 10 days. Run two or three horizontal strokes across each tip every 7 to 10 days and the shape holds for the whole life of the manicure - about 5 to 7 days on regular polish, 2 to 3 weeks on gel, and 3 to 4 weeks on acrylic with a fill. Removal matters as much as wear: soak gel off with 100 percent acetone on cotton wrapped in foil for 10 to 15 minutes and push it off gently, because peeling takes plate layers with it and leaves you too thin to taper next time. A gel manicure filed to coffin runs about 40 to 70 dollars and a full acrylic set 60 to 120 dollars and up. Ask for coffin, or ballerina if your tech uses that word, and say the length in millimeters. Book a tech if your nails split repeatedly or after a break exposes the bed. Then style it with fall coffin nail ideas or pink coffin nail ideas.
Frequently Asked Questions
How do you shape coffin nails at home step by step?
Remove polish and push cuticles back, then file the free edge straight across into a true square. Angle a 180 grit file along one sidewall toward the tip corner, count your strokes, and mirror that exact count on the other wall. File the tip flat again to kill any curve, refine with 240 grit, seal the edge and oil.
What file grit do you use for coffin nails?
Use 180 grit to cut the taper on natural nails and 240 grit to refine and smooth. Save 100 and 150 grit for acrylic and hard gel, because those coarse grits tear natural keratin into layers. Anything finer than 240 is too soft to shape and only polishes the edge you already cut.
Can you get coffin nails on natural nails?
Yes, as long as you have about 3mm of free edge. Natural coffin tops out around 5 or 6mm before the sidewalls get too thin to hold, and a gel overlay adds rigidity if you want the upper end. Beyond that you need acrylic or hard gel extensions, which is what most long coffin sets actually are.
How long do coffin nails need to be to shape them?
About 3mm of free edge is the honest minimum, because the taper has to happen somewhere. At 2mm the sides can barely angle and the nail reads as a narrow square. The everyday sweet spot is 4 to 5mm, and wide nail beds want the top of that range before the walls visibly converge.
Are coffin and ballerina nails the same shape?
Yes, they are two names for one shape: tapered sidewalls meeting a flat, squared-off tip, like a ballet pointe shoe viewed from above. Salons and techs more often say ballerina, while most people search coffin. If you ask for either at an appointment, you will get the same filing, so use whichever word your tech uses.
Do coffin nails break easily?
They break more than almond or round because the flat tip concentrates force on two corners rather than spreading it along a curve. Short coffin at 3 to 5mm rarely breaks. Long coffin snaps at the stress point where the nail leaves the finger, so keep an apex, do not over-taper the walls, and open cans with your fingertips.
Why do my coffin nails look curved instead of flat?
Because you tapered the sidewalls before squaring the tip, or you never went back to true it up. Tapering always drags a slight curve into the edge. Lay the file flat across the free edge and take three or four horizontal strokes every four or five sidewall strokes, then check at eye level with the tip pointing toward you.
How much does a coffin shape cost at a salon?
Shaping alone is usually included in the manicure price rather than charged separately. A gel manicure filed to coffin runs about 40 to 70 dollars, and a full acrylic coffin set runs 60 to 120 dollars or more depending on length and art. Fills every 3 to 4 weeks cost less than the original set.
Can you shape press-on nails into a coffin?
Most coffin press-ons and soft-gel tips arrive pre-shaped, so you only blend the sidewall where the tip meets your nail. If a tip is too wide it lifts at the corners, so size down and file the sides rather than forcing the fit. You can shorten a press-on with 180 grit, then re-flatten the tip.
Filing, e-files and 100% acetone should be used carefully and as directed. Over-filing the sidewalls or force-removing enhancements can damage your natural nails. For the crispest result and for nail health, see a licensed nail technician, and stop if you notice pain, splitting or irritation.
Which coffin nails look are you saving?
The single thing that changes your result is the order: flatten the tip first, then taper into it, and check at eye level every four or five strokes instead of at the end. Mirror your stroke count on both sidewalls, keep the file moving in one direction, and stop tapering while the walls still have visible thickness left. Refile the flat tip every 7 to 10 days and the shape stays crisp for the whole 2 to 3 weeks of a gel set. If your nails split at the sidewall, book a tech rather than filing deeper. Then pick a design from short coffin nail ideas or browse the whole coffin nails hub.