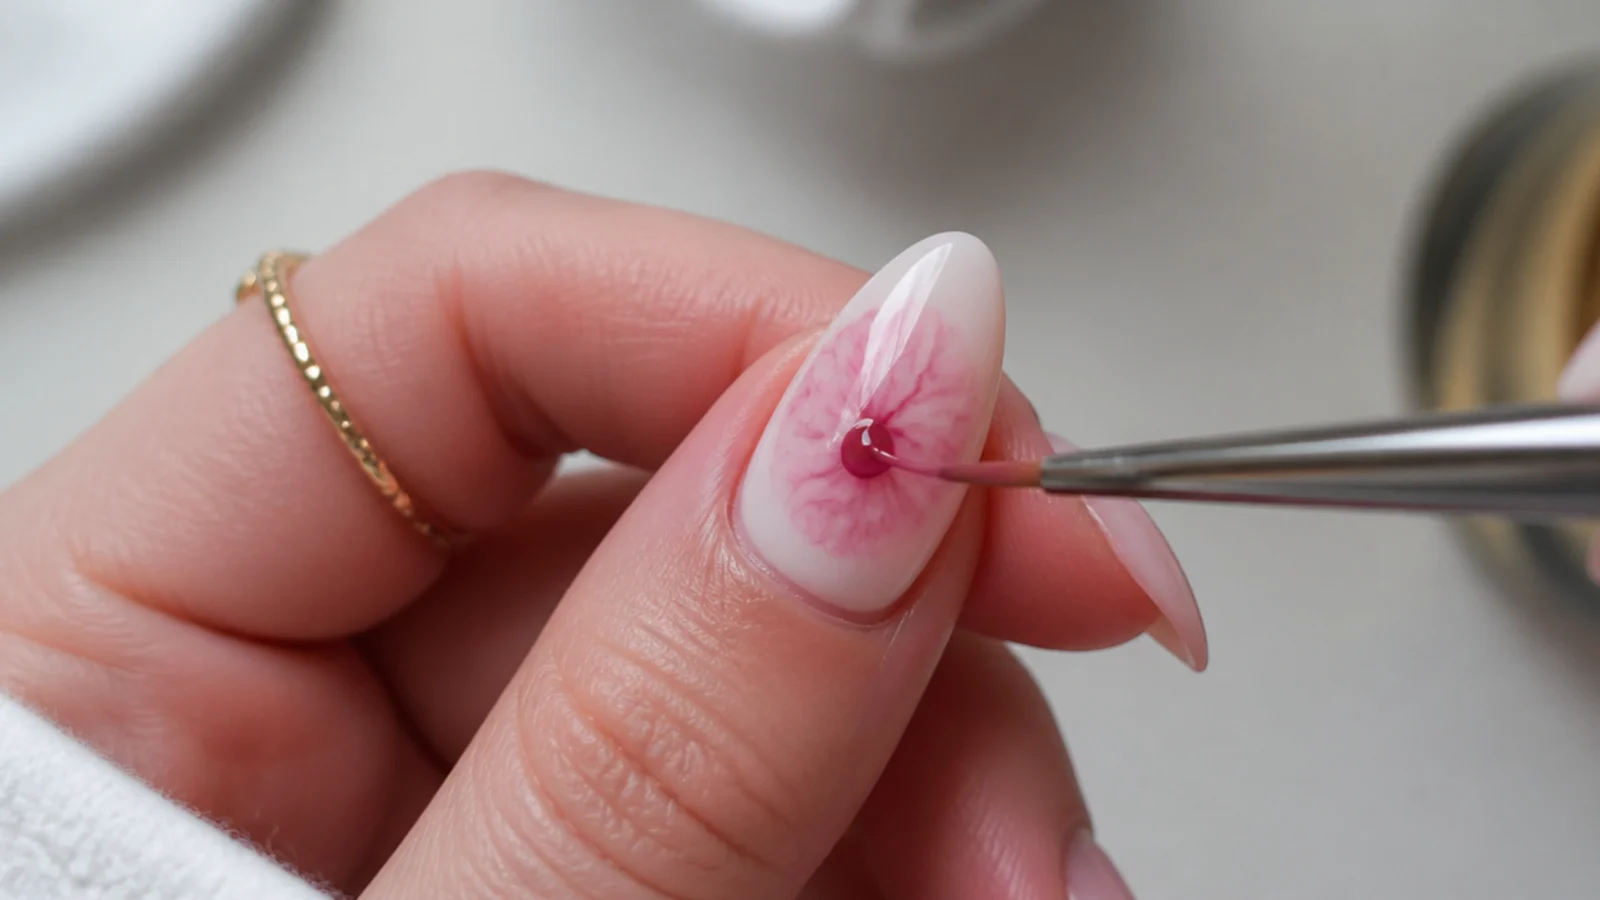
1. Prep and Shape Your Nails
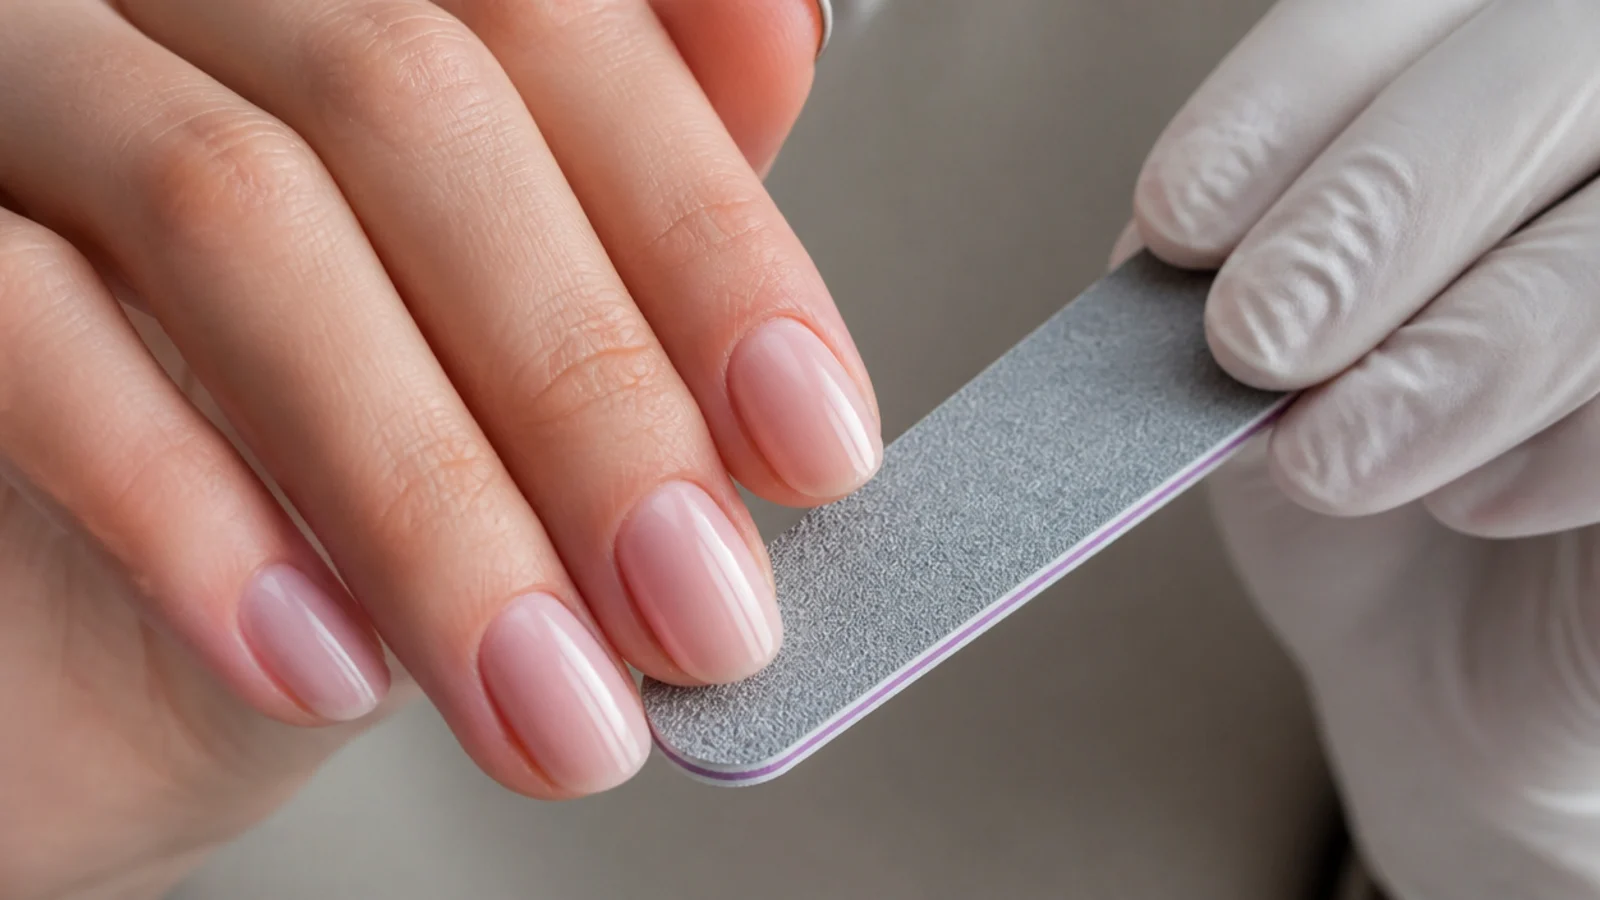
Start with clean, dry nails. Push back the cuticles, lightly buff the surface to a matte finish so gel grips, shape the free edge, and wipe with a lint-free wipe and cleanser or alcohol so no oils remain. Good prep is what keeps a gel set from lifting or peeling early, and it gives the bloom a smooth canvas.
Common mistake: Leaving oils or cuticle on the nail causes lifting and early chips - always cleanse before you start.
Pro tip: Buff only lightly; over-buffing thins and weakens the natural nail.
2. Apply Base Coat and Cure
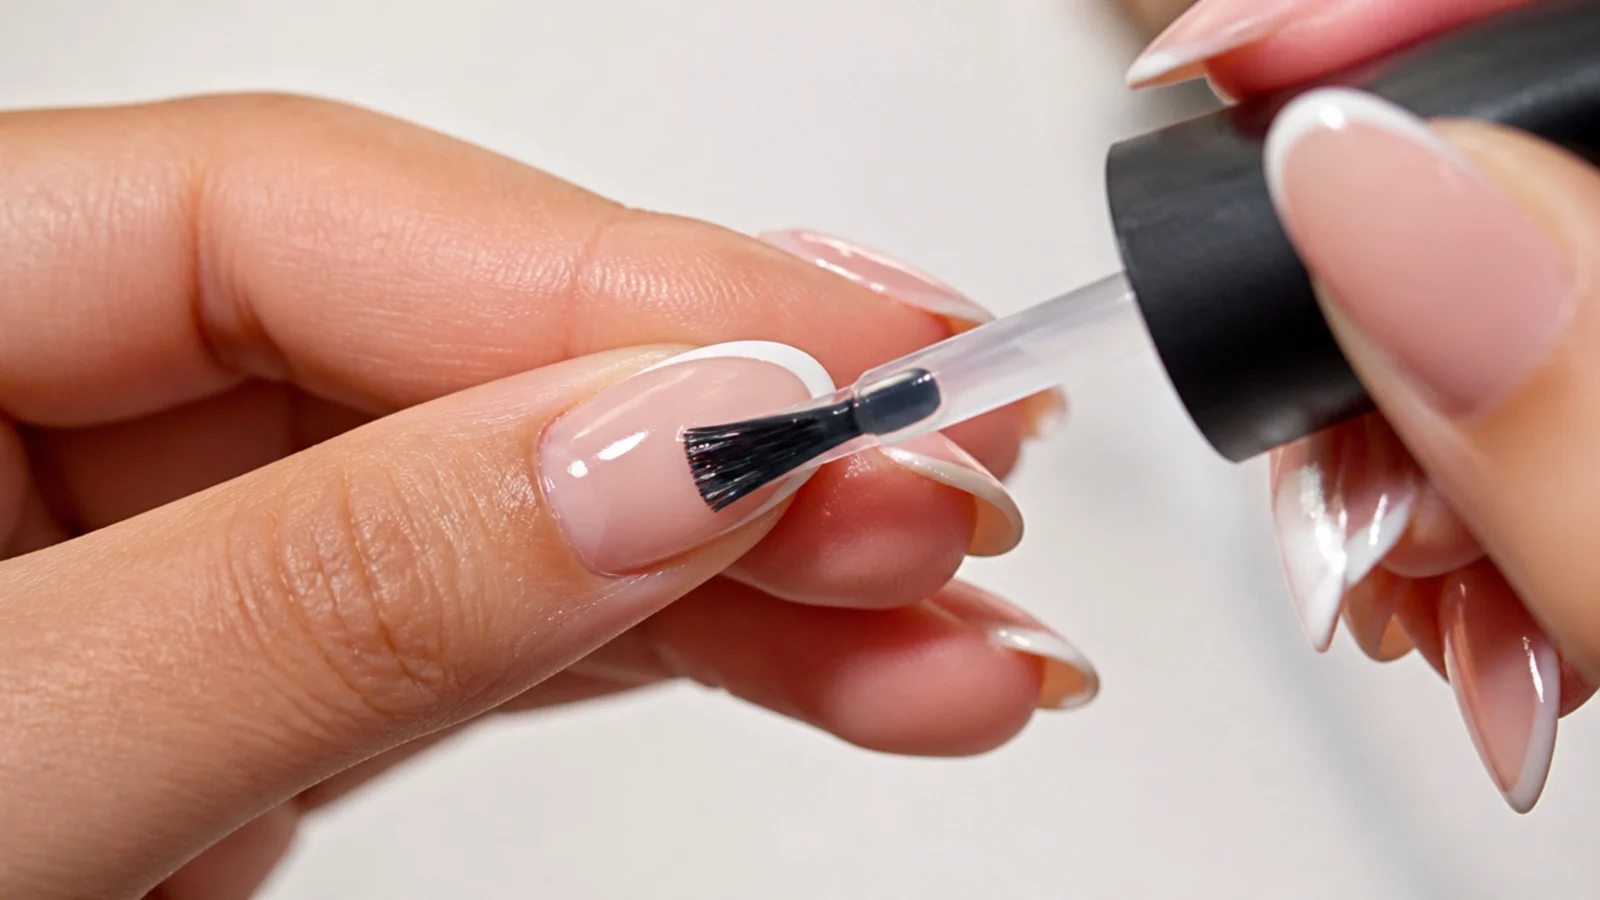
Brush on a thin, even gel base coat and cap the free edge by running the brush along the tip. Cure under your lamp as directed, typically about 30 to 60 seconds under LED or roughly 2 minutes under UV. The base coat protects your natural nail and gives everything underneath something to hold onto.
Common mistake: Skipping the base coat or applying it thick leads to lifting and a weak foundation for the color.
Pro tip: A quality base coat is the single best product for preventing damage and lifting.
3. Paint and Cure Your Color Base
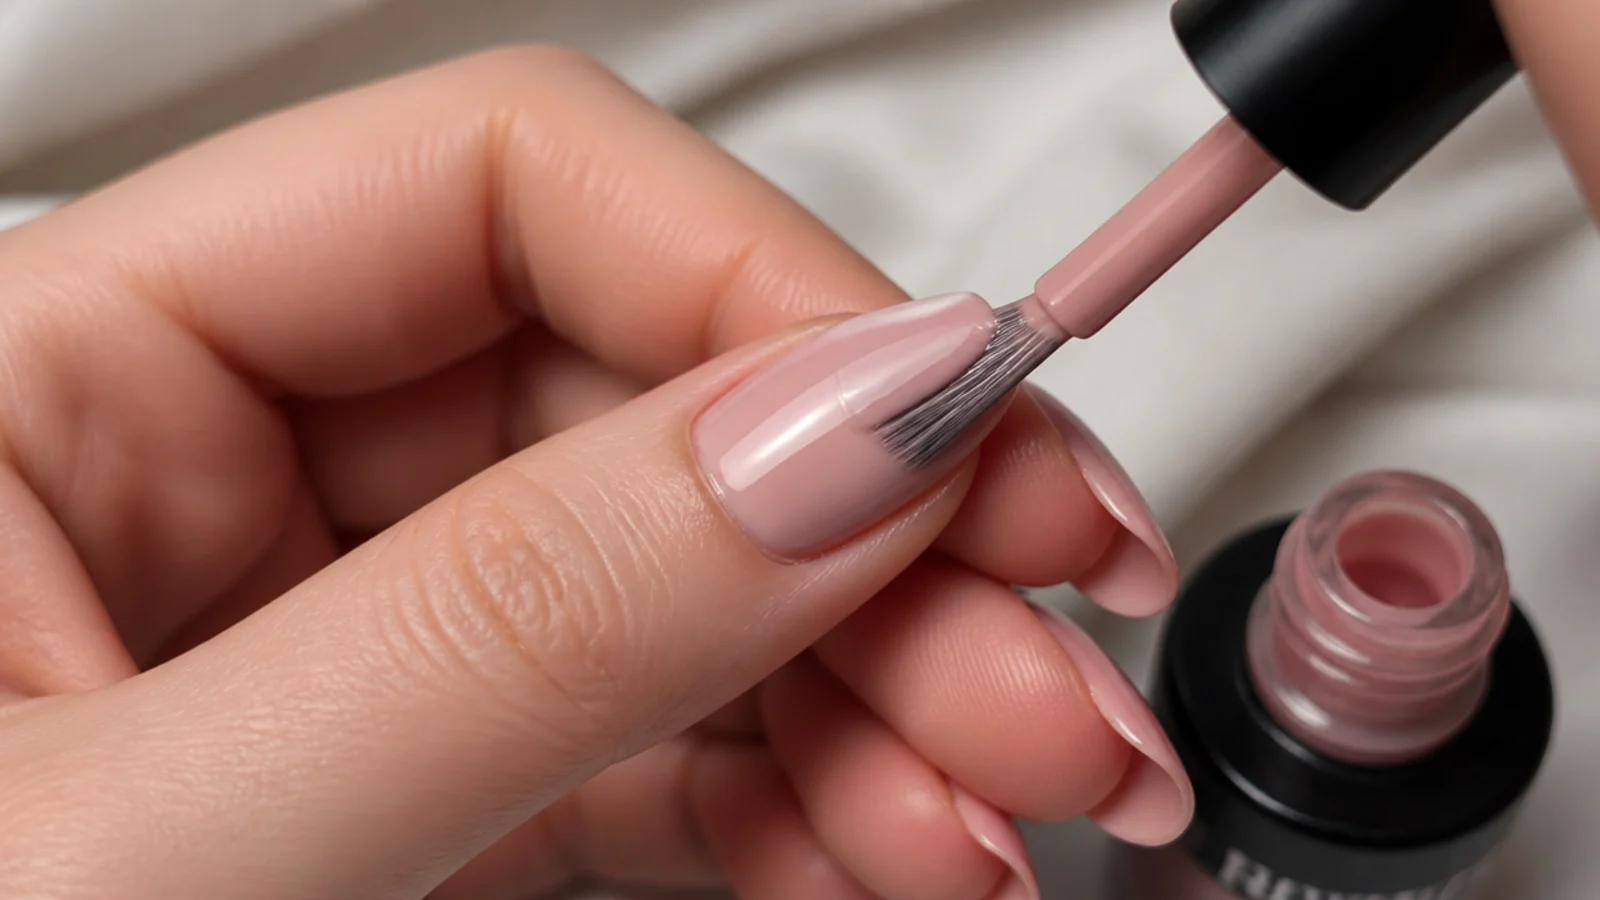
Paint one or two thin coats of your background gel color over the whole nail - a soft white, nude or pale pink shows the bloom best - curing each coat for about 30 to 60 seconds under LED. This cured, solid base is what the blooming design will sit on and contrast against, so let it be fully opaque and smooth before you move on.
Common mistake: Thick, streaky color coats look patchy and cure unevenly - always build with thin layers.
Pro tip: A pale base makes diffused colors read as watercolor rather than muddy.
4. Brush On a Thin Layer of Blooming Gel
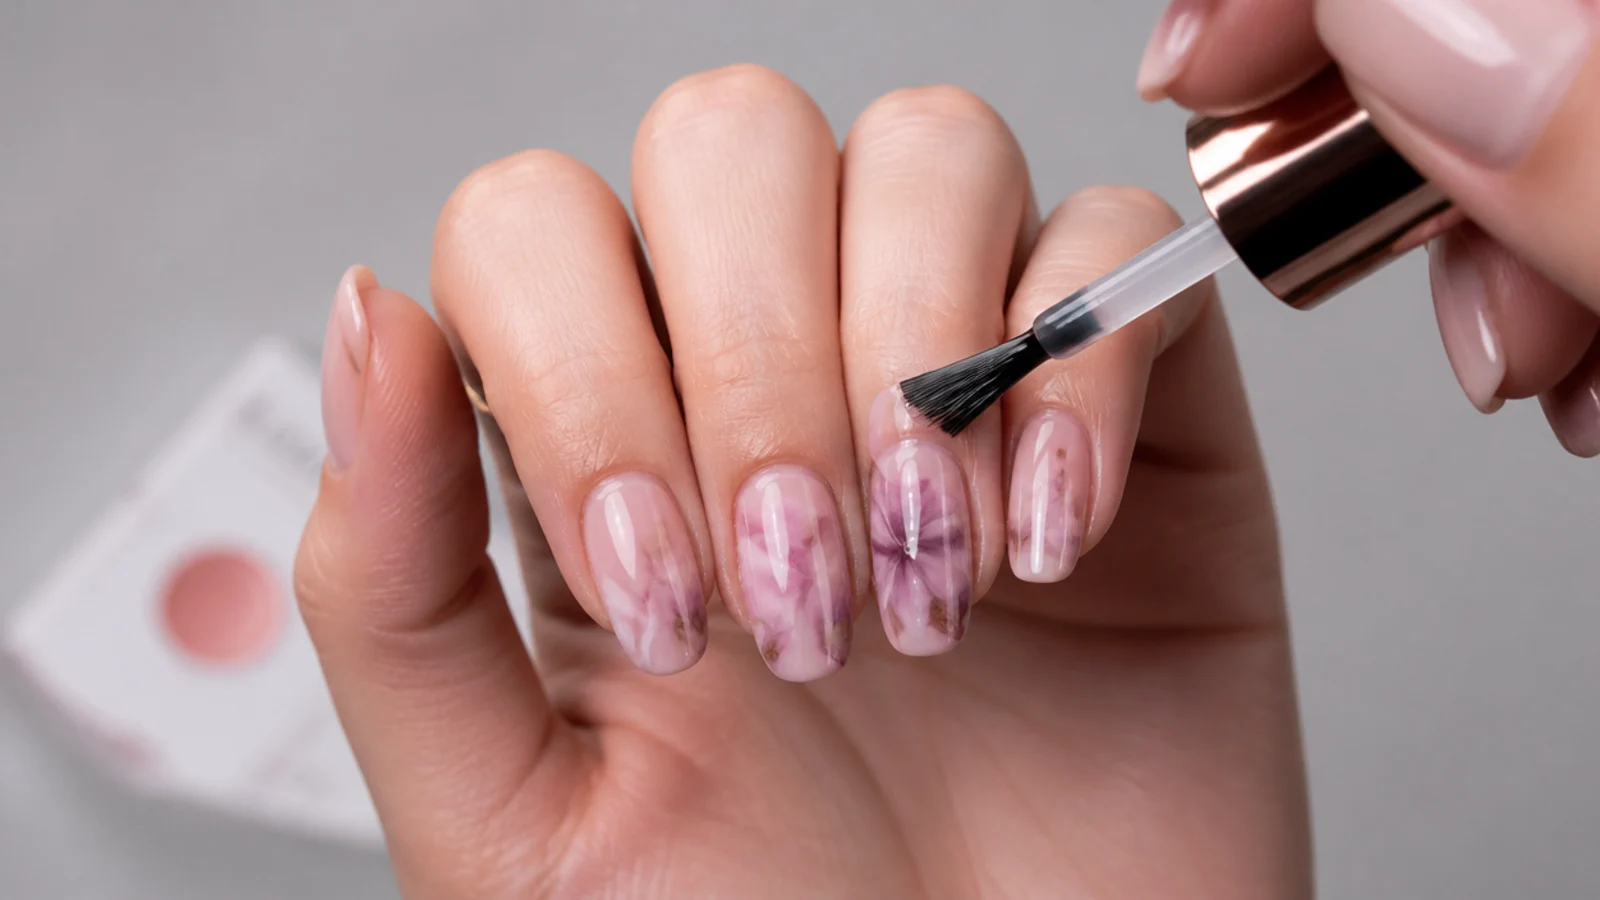
Brush a thin, even layer of clear blooming gel over the cured color base and do not cure it. This wet, uncured layer is the whole trick - it is what lets the color spread. A thinner layer gives more spread and softer diffusion, while a thicker layer holds the color tighter, so keep it thin for a true watercolor bloom and work one or two nails at a time.
Common mistake: Curing the blooming gel now kills the effect - it must stay uncured until after the color blooms.
Pro tip: Wipe excess off the brush first so the layer goes on thin and even, not pooled.
5. Drop or Draw Color to Bloom
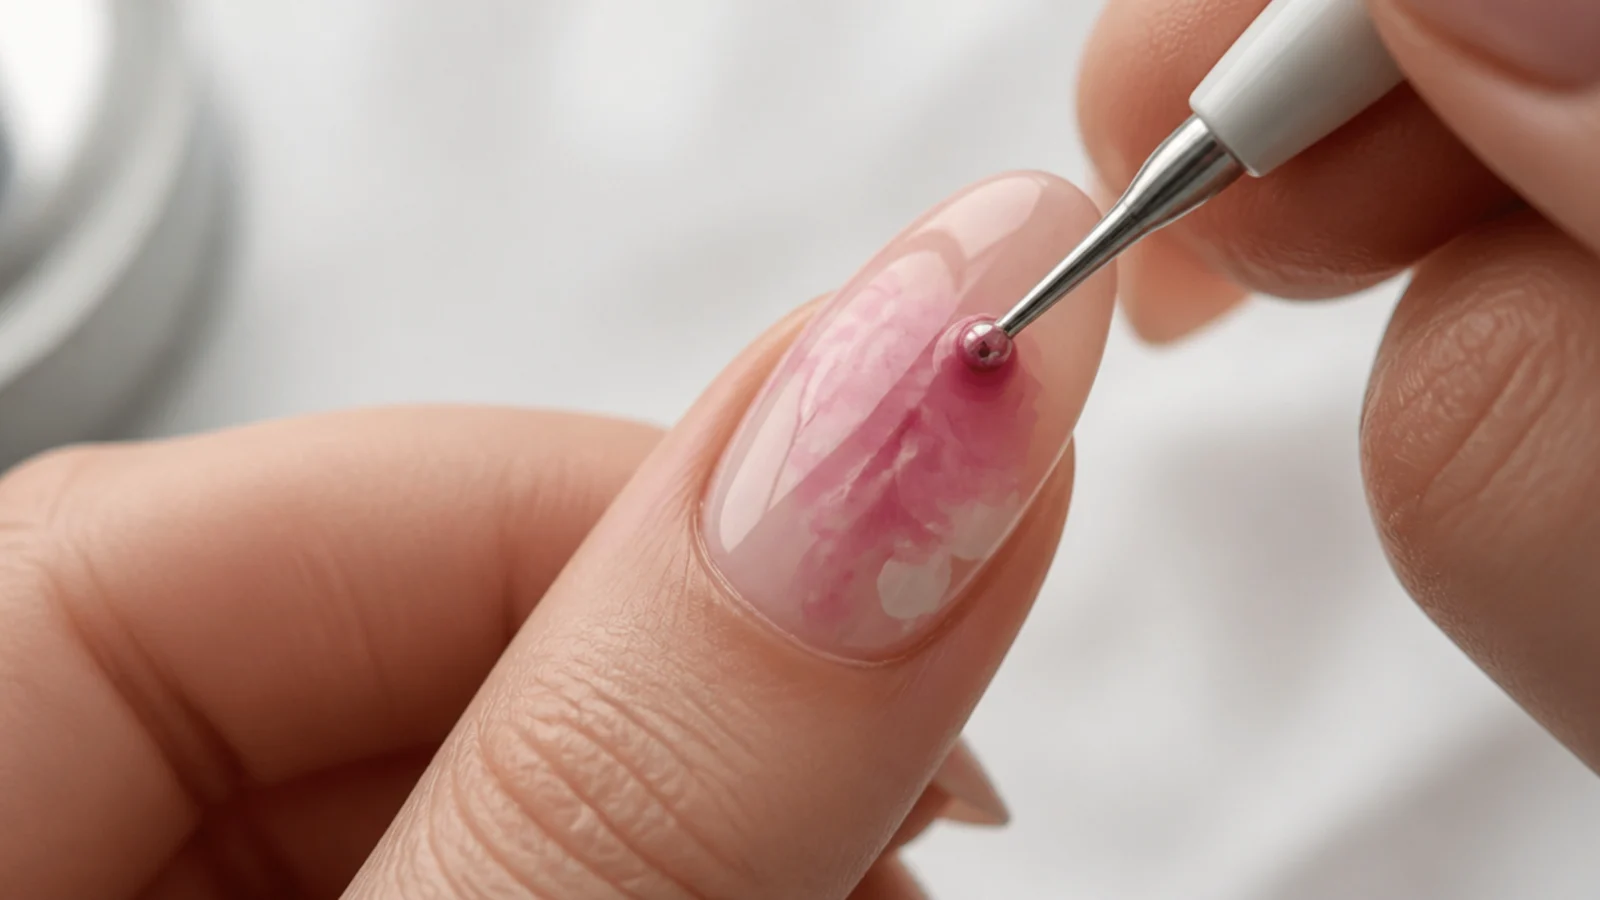
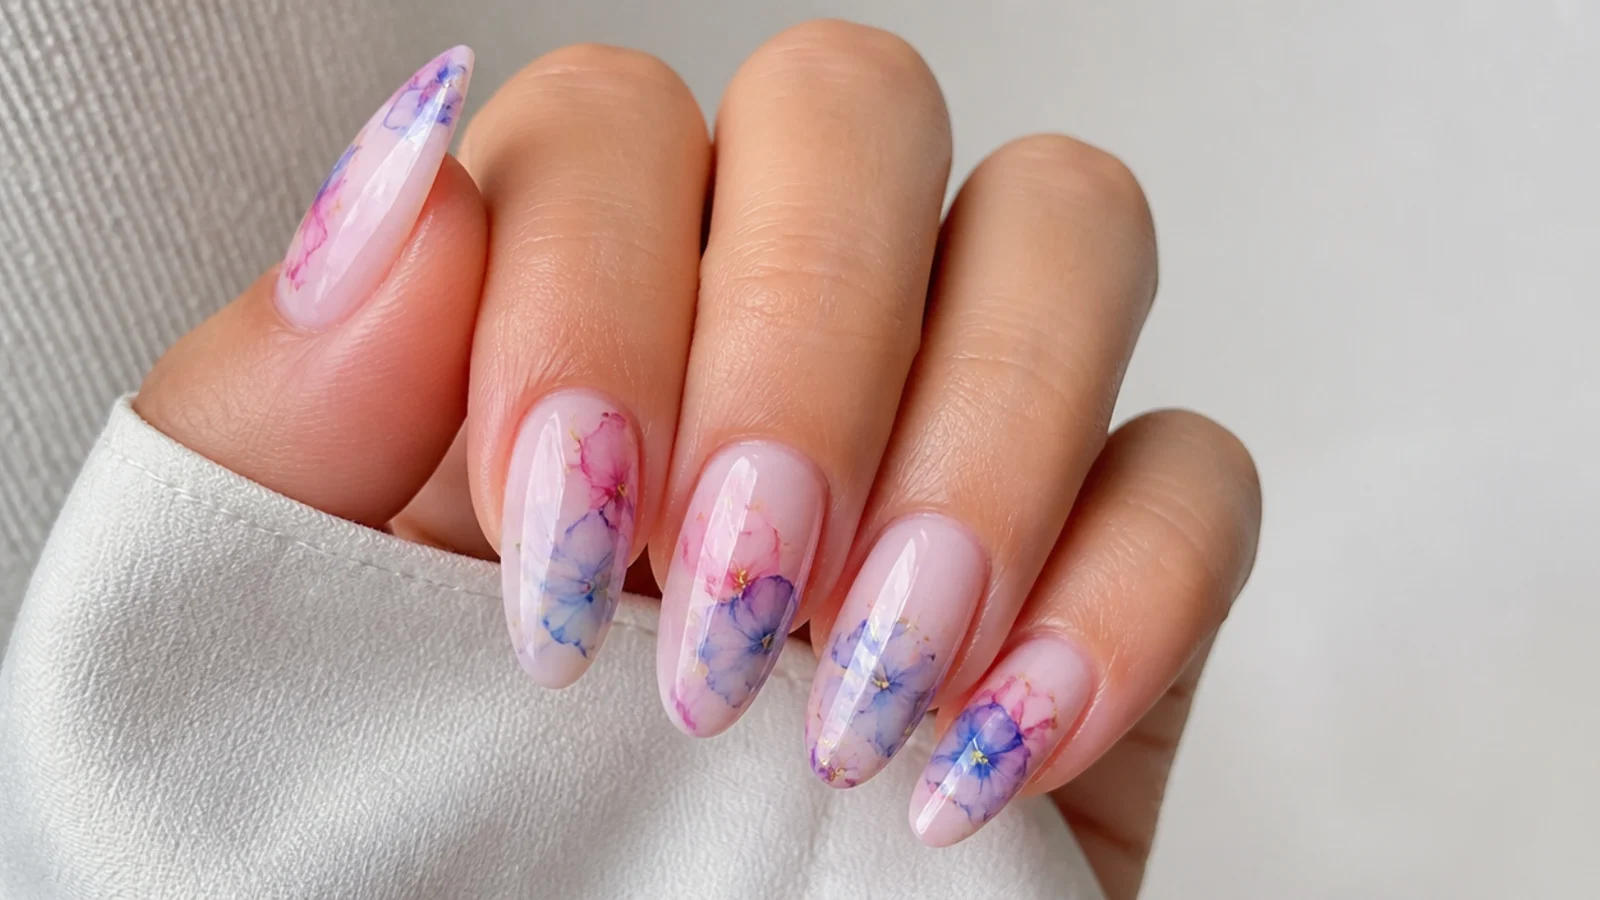
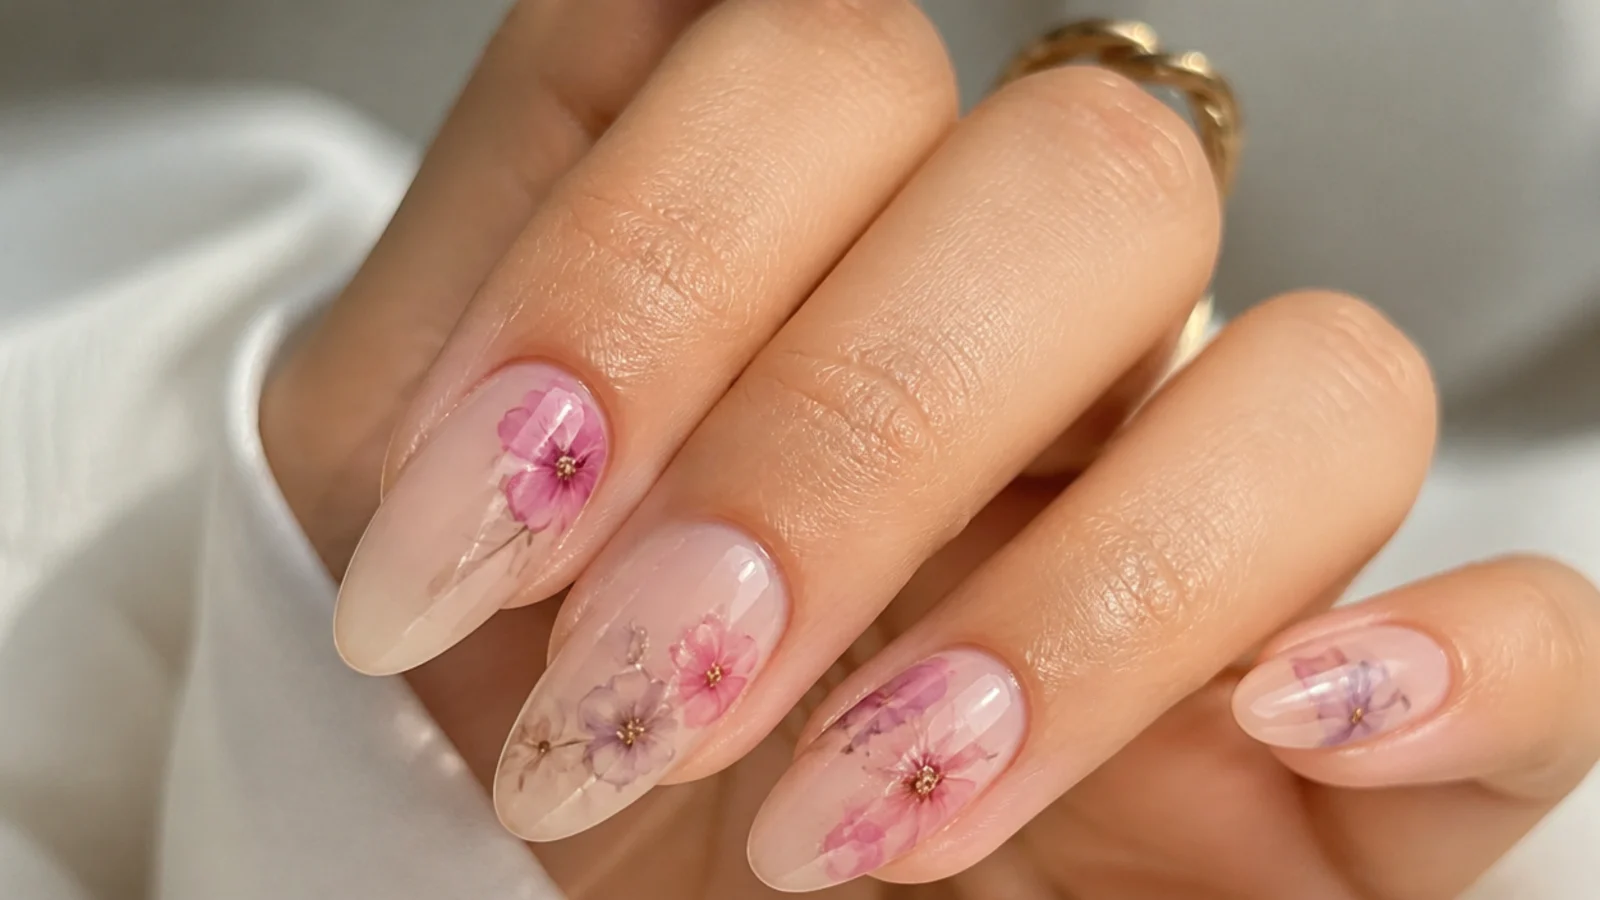
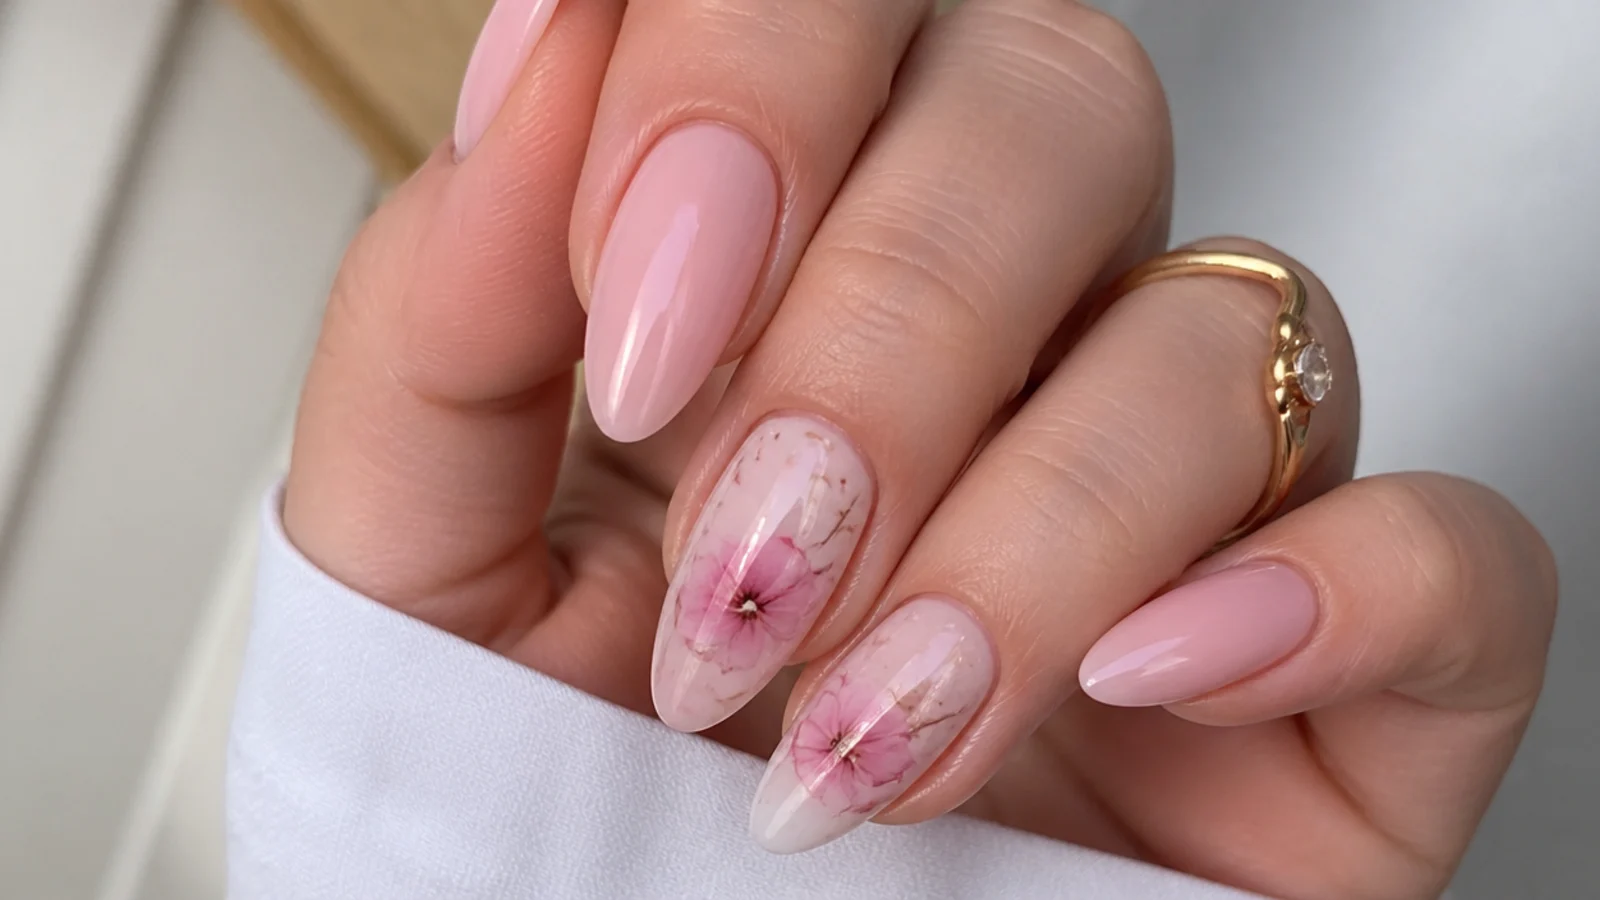
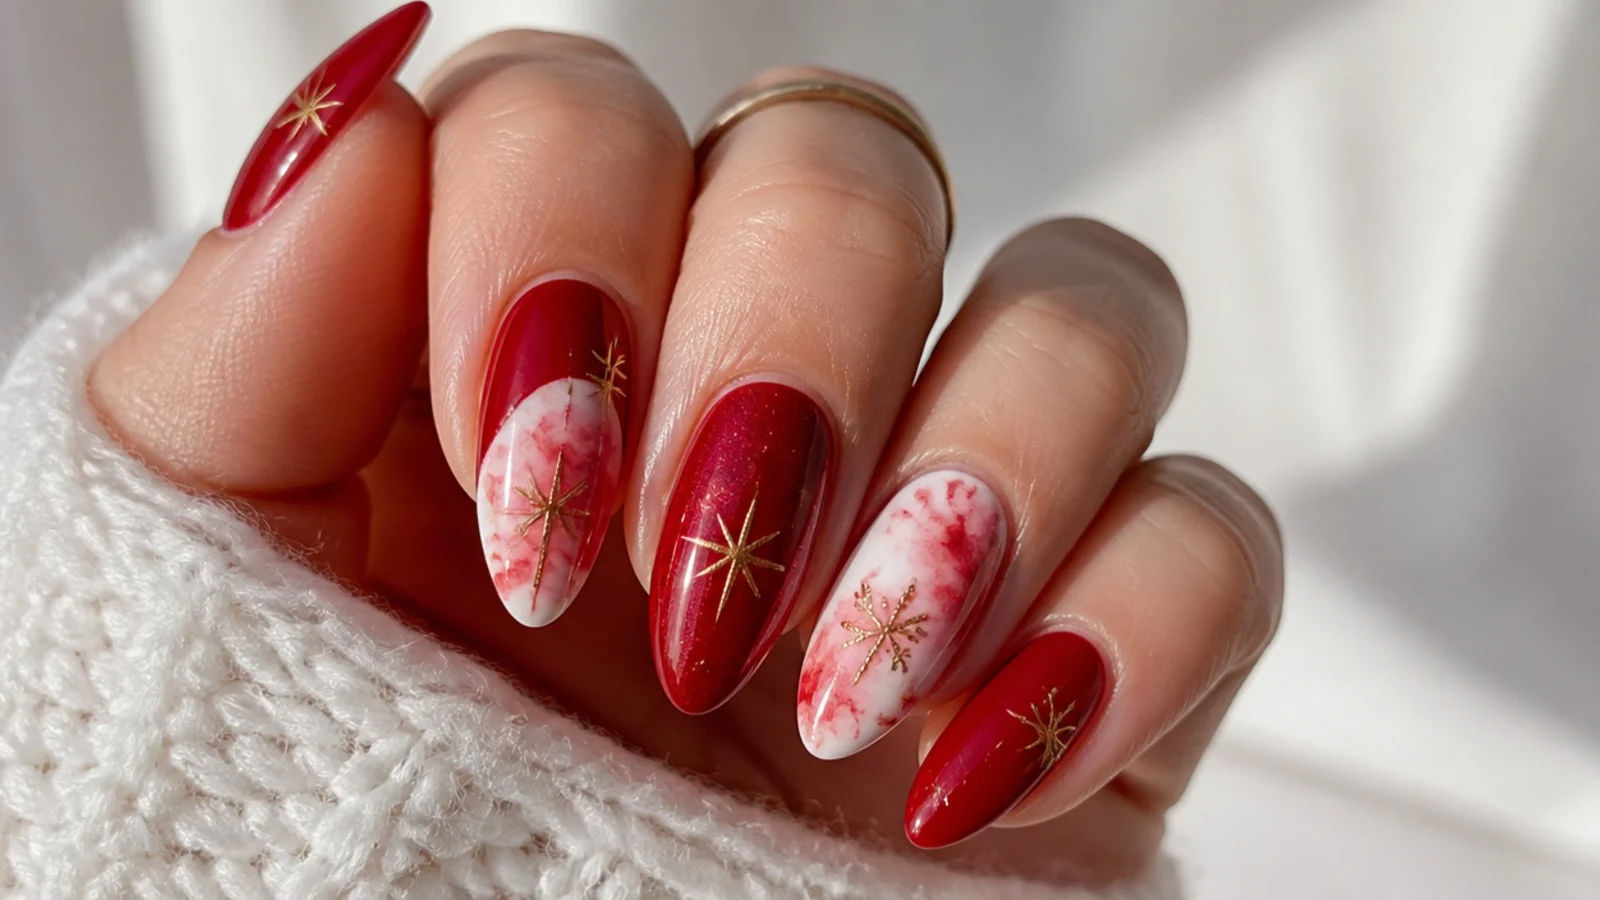
Using a thin detail or liner brush, place small dots or fine lines of gel color onto the wet blooming gel. The color spreads and diffuses on its own within seconds to about a minute, feathering into soft petals, marble veins or inky clouds. Use a little color and let it travel - less is more here, because the gel keeps blooming after you lift the brush.
Common mistake: Flooding too much color at once blurs everything into a muddy gray - start with tiny amounts.
Pro tip: Touch the brush tip and pull outward to steer petals; leave gaps so the base color still shows through.
6. Shape the Design With a Brush
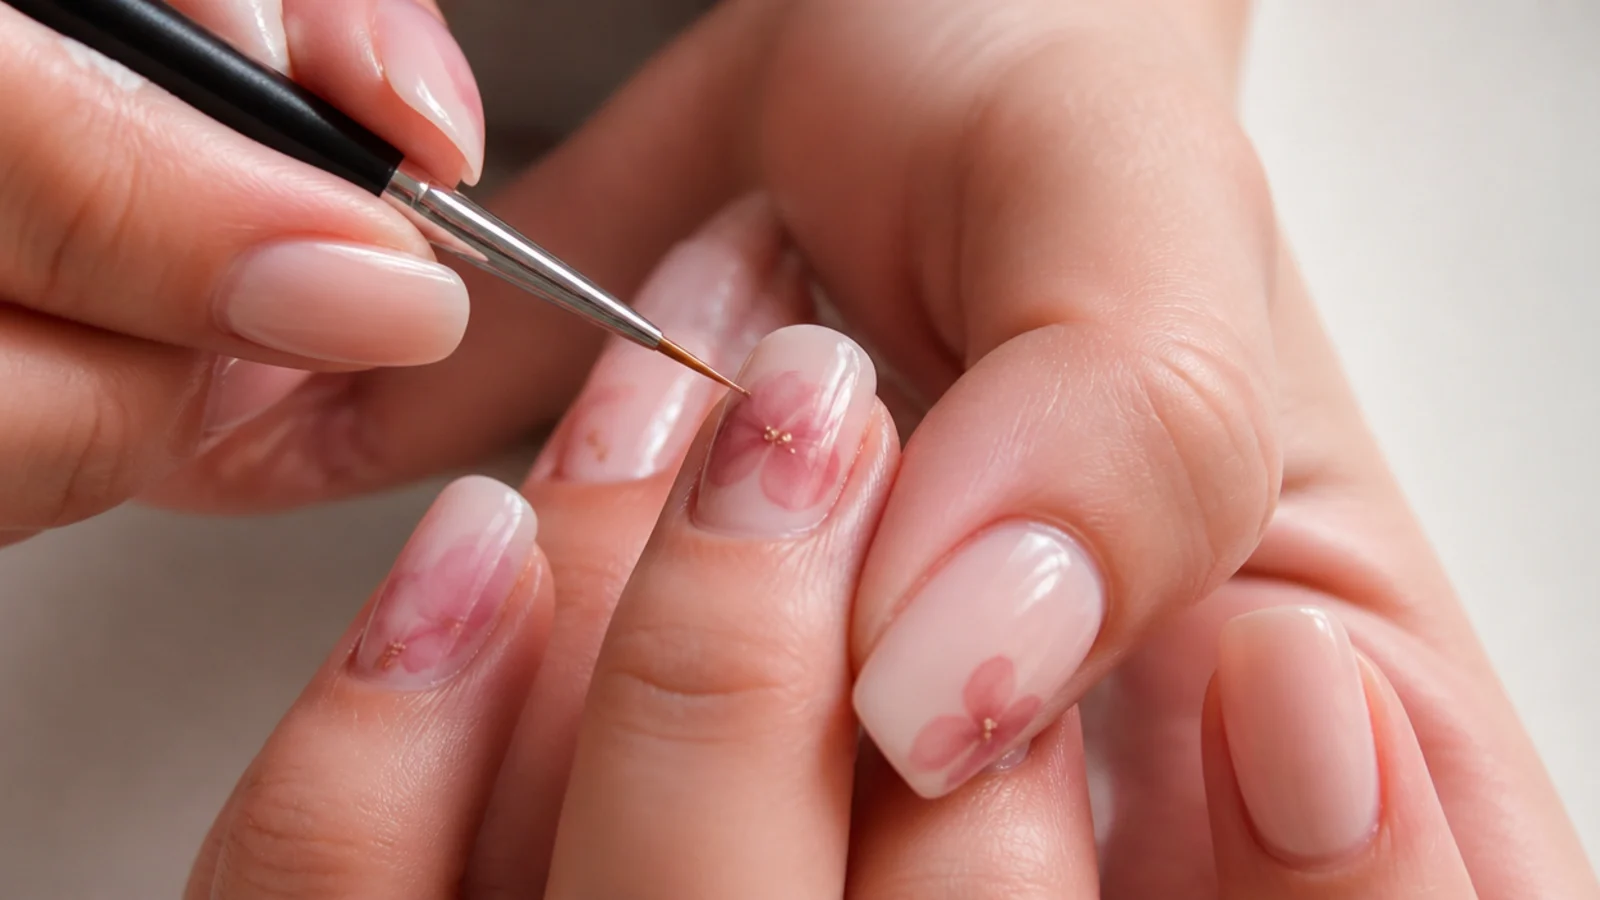
While the gel is still wet, use a clean, dry liner brush to gently guide and refine the bloom - pull petals outward from a center, drag veins through marble, or soften a hard edge. Work quickly but lightly; you are steering the diffusion, not repainting it. Wipe the brush on a lint-free wipe between passes so you move color rather than smear it.
Common mistake: Overworking the wet gel muddies the pattern - a few light strokes beat many heavy ones.
Pro tip: A slightly damp brush moves color more smoothly than a color-loaded one.
7. Cure to Lock the Bloom
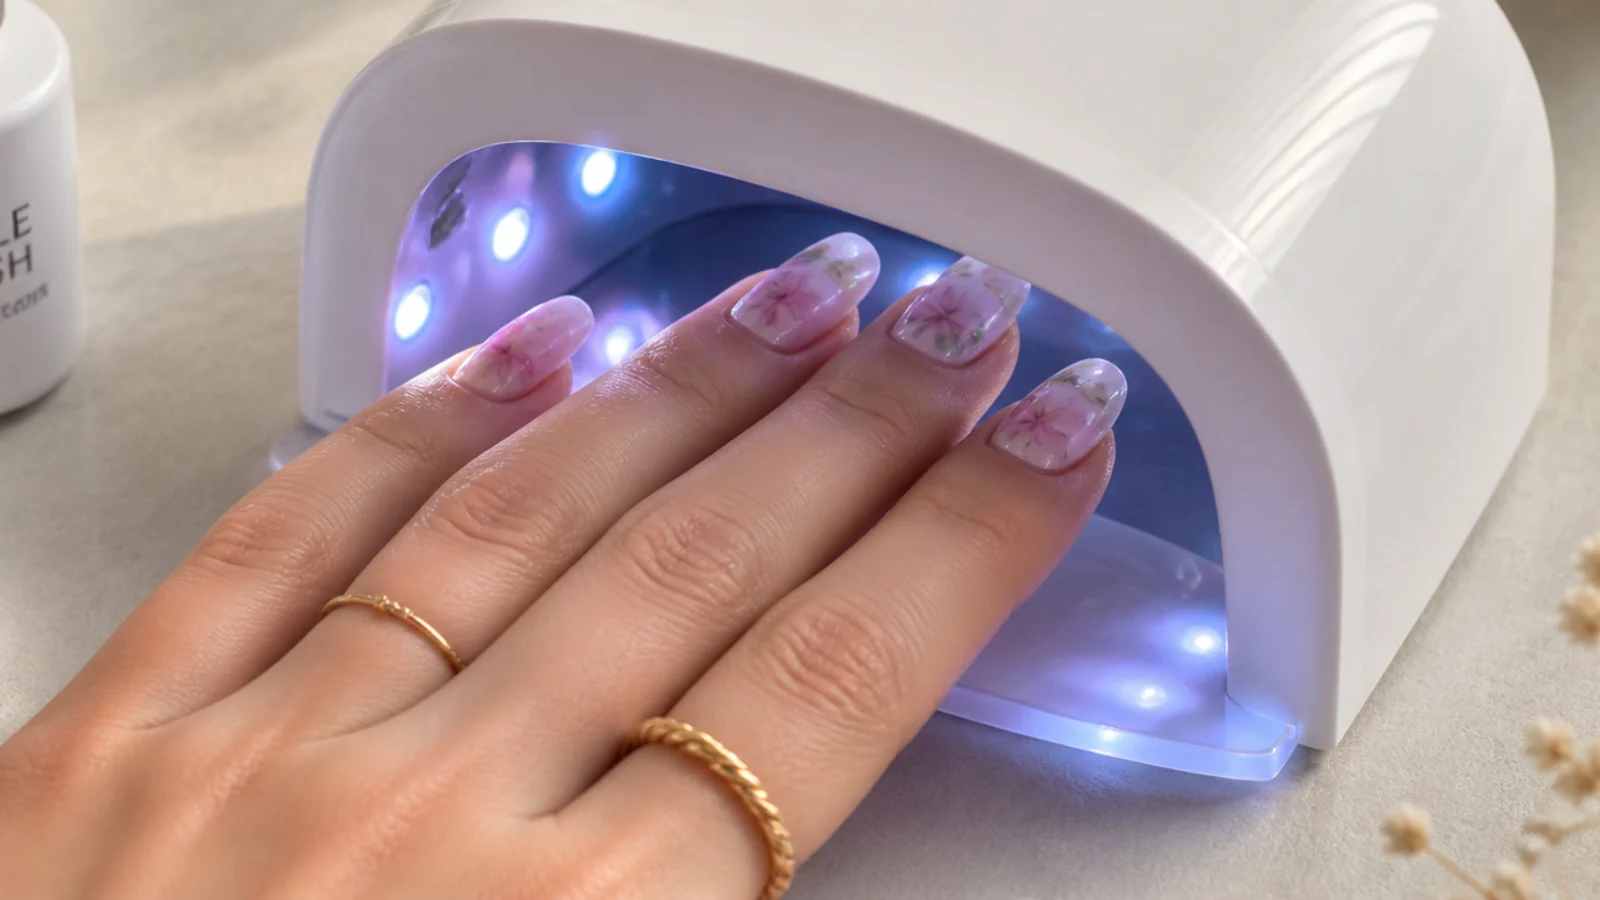
Once the pattern looks right, cure the whole nail under your lamp to freeze the design exactly as it sits, about 30 to 60 seconds under LED or roughly 2 minutes under UV. Curing stops all further spreading, so wait until the bloom has diffused as much as you want before you put the hand under the light. After this it is permanent for the life of the set.
Common mistake: Curing before the color has finished spreading locks in a tight, unblended blob.
Pro tip: If a nail blooms too far or goes muddy, cure it, add another thin blooming gel layer, and redraw over the top.
8. Build Depth With a Second Layer
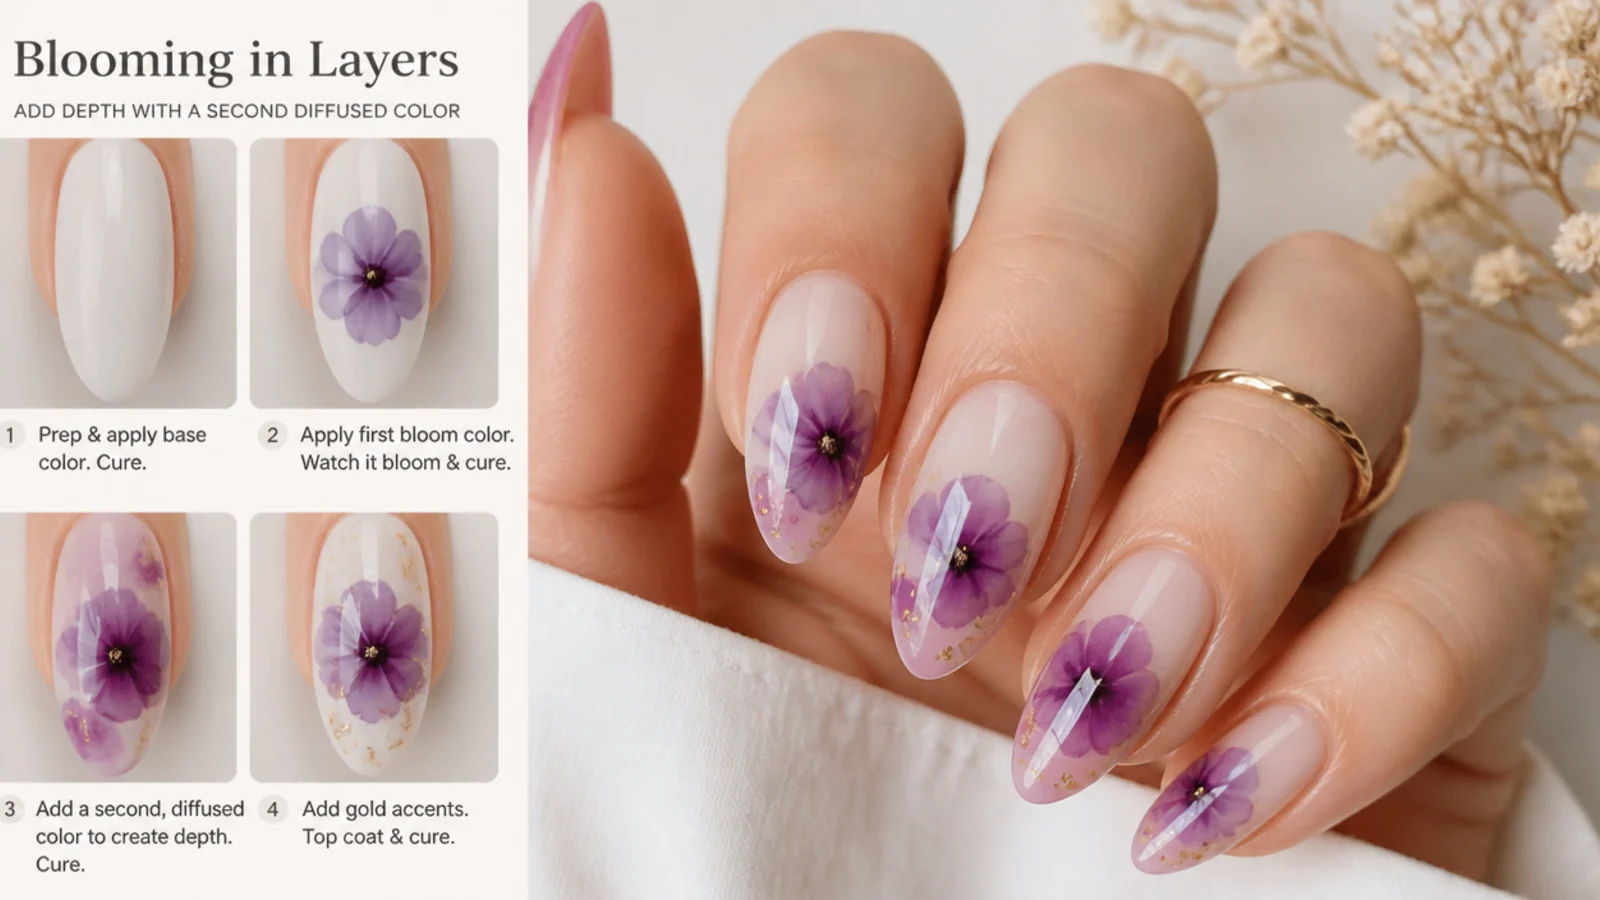
For a richer, more dimensional look, brush on another thin layer of blooming gel over the cured bloom, leave it uncured, and drop a second round of color - deeper tones, extra petals or contrasting ink. Let it diffuse, shape it, then cure again for 30 to 60 seconds. Layering this way builds real depth without flooding one coat, which is how the prettiest blooming gel sets get their soft, glowing complexity.
Common mistake: Trying to get all the depth in one heavy coat goes muddy - layer and cure between rounds instead.
Pro tip: Two or three light layers read far more expensive than one saturated one.
9. Seal With Top Coat, Cure and Oil
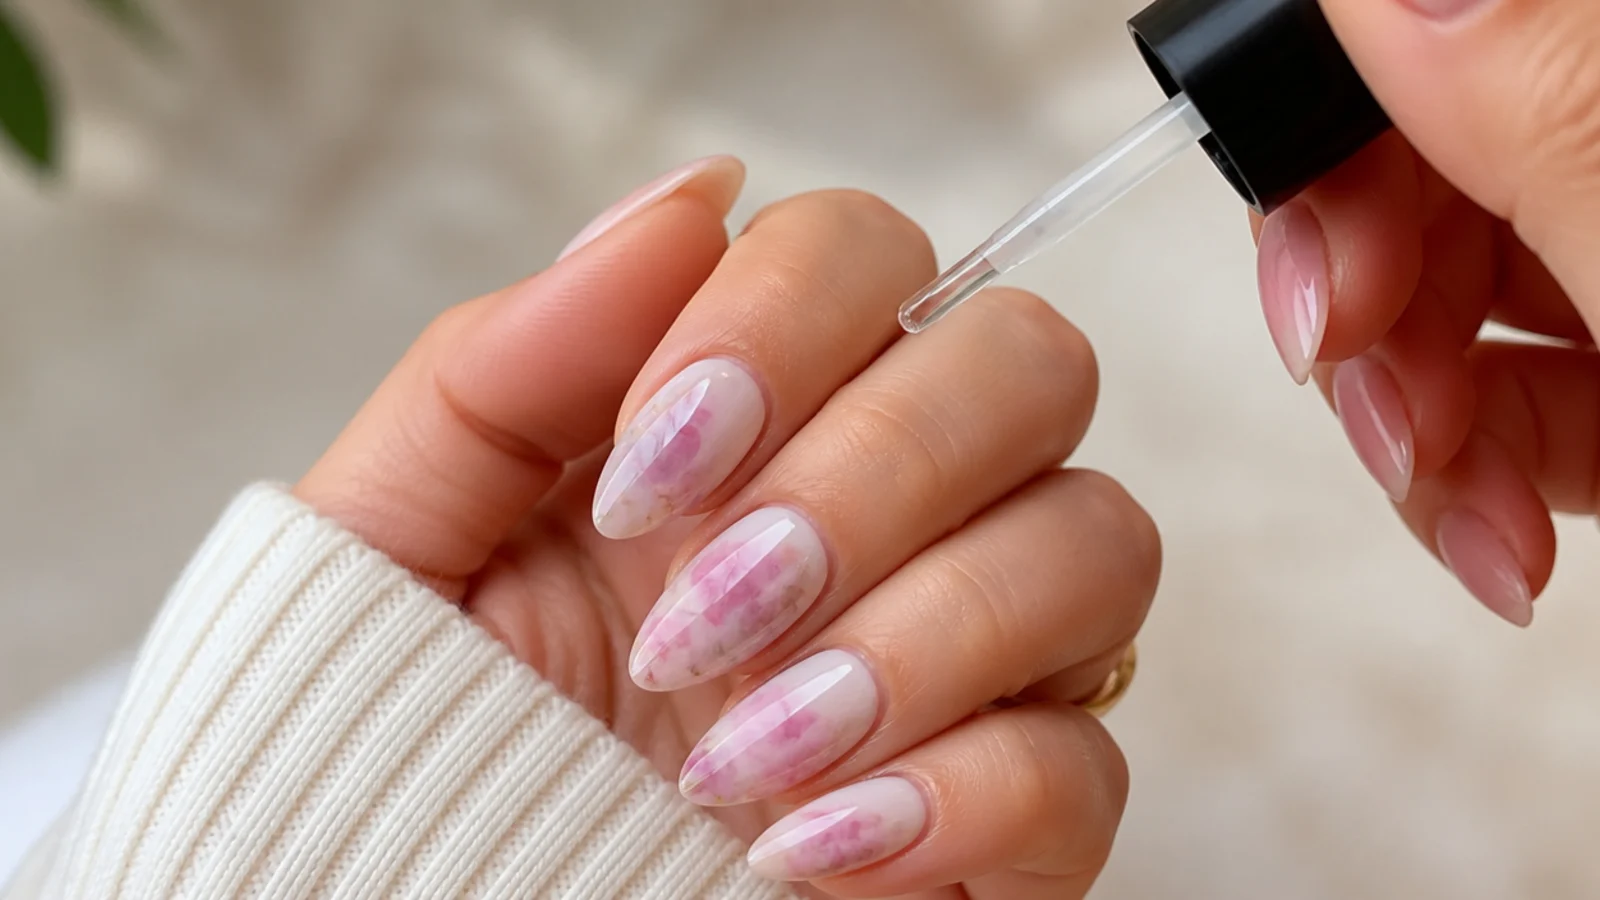
Brush a no-wipe gel top coat over the whole nail and cap the free edge by running it along the tip, then cure for about 30 to 60 seconds under LED. Capping the edge is what keeps a blooming gel set from chipping early. Wipe off any sticky residue if your top coat needs it, then massage cuticle oil around each nail to finish and protect the skin.
Common mistake: Forgetting to cap the free edge lets the design chip and peel back within days.
Pro tip: Daily cuticle oil keeps the set flexible and stretches it closer to the full three weeks.
Supplies You Need
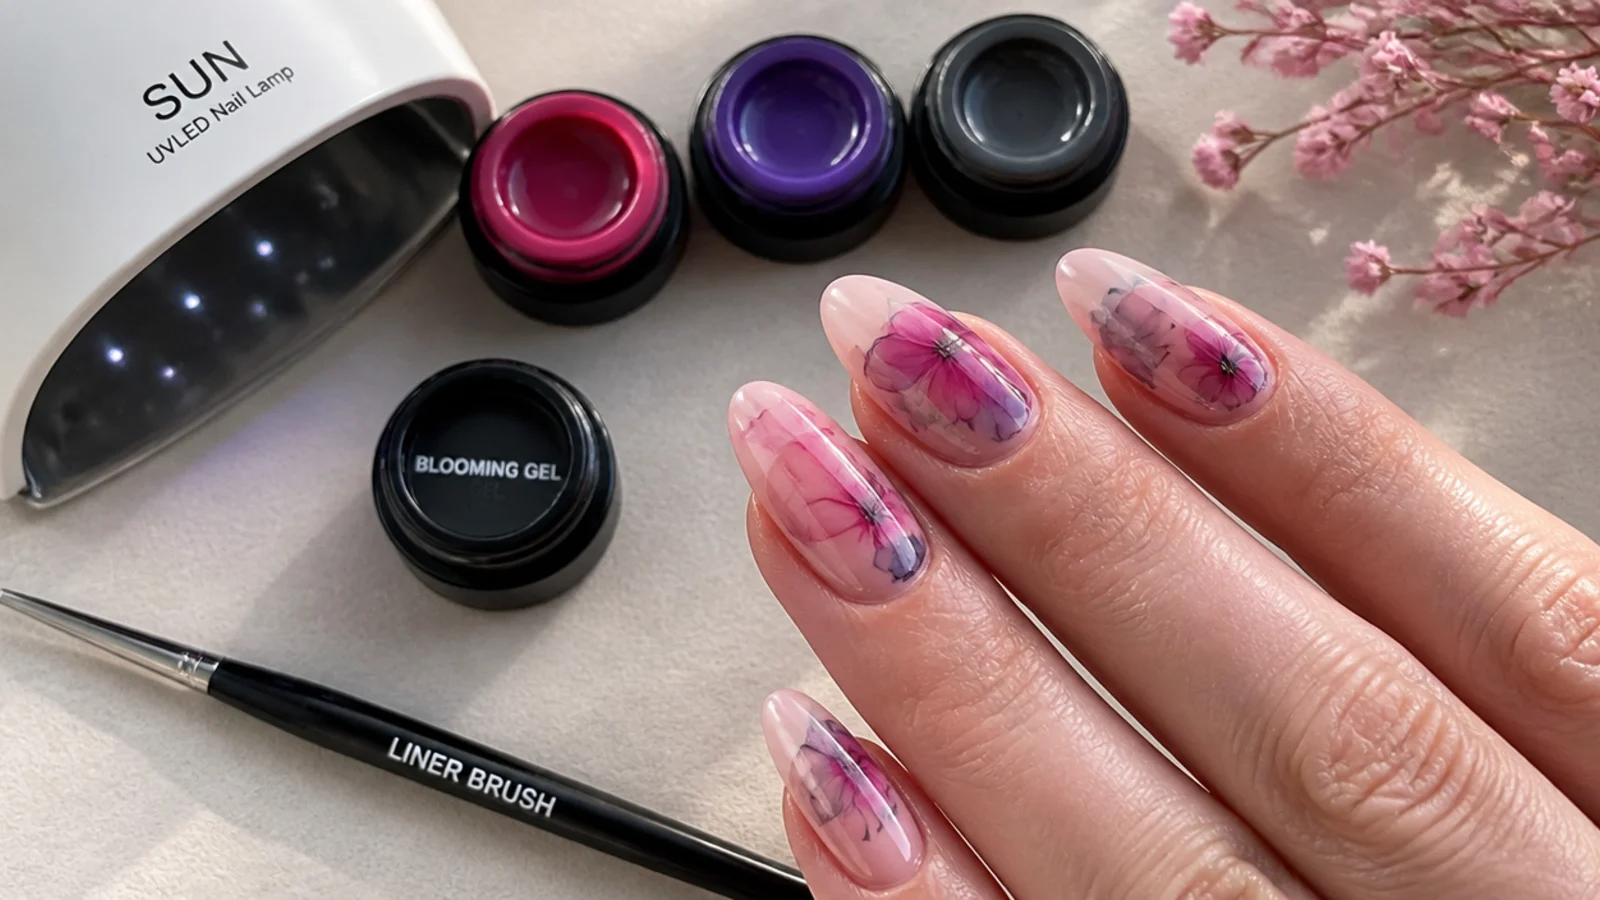
Blooming gel nails use standard gel-manicure supplies plus one special product. You will need a gel base coat, one or more gel color polishes, a bottle of clear blooming gel, and a no-wipe gel top coat. For curing you need an LED or UV lamp - blooming gel will not set without one. For the art itself, a thin detail or liner brush lets you place and steer the color, and lint-free wipes keep the brush clean between passes. Round out the kit with cuticle oil for finishing and 100% acetone with cotton and foil for removal later. A starter set of blooming gel, a few colors and a small lamp runs a modest one-time cost and pays back fast against salon prices. Choose pale base colors like white, nude or soft pink, since they let diffused color read as true watercolor rather than turning muddy.
Common Blooming Gel Mistakes to Avoid
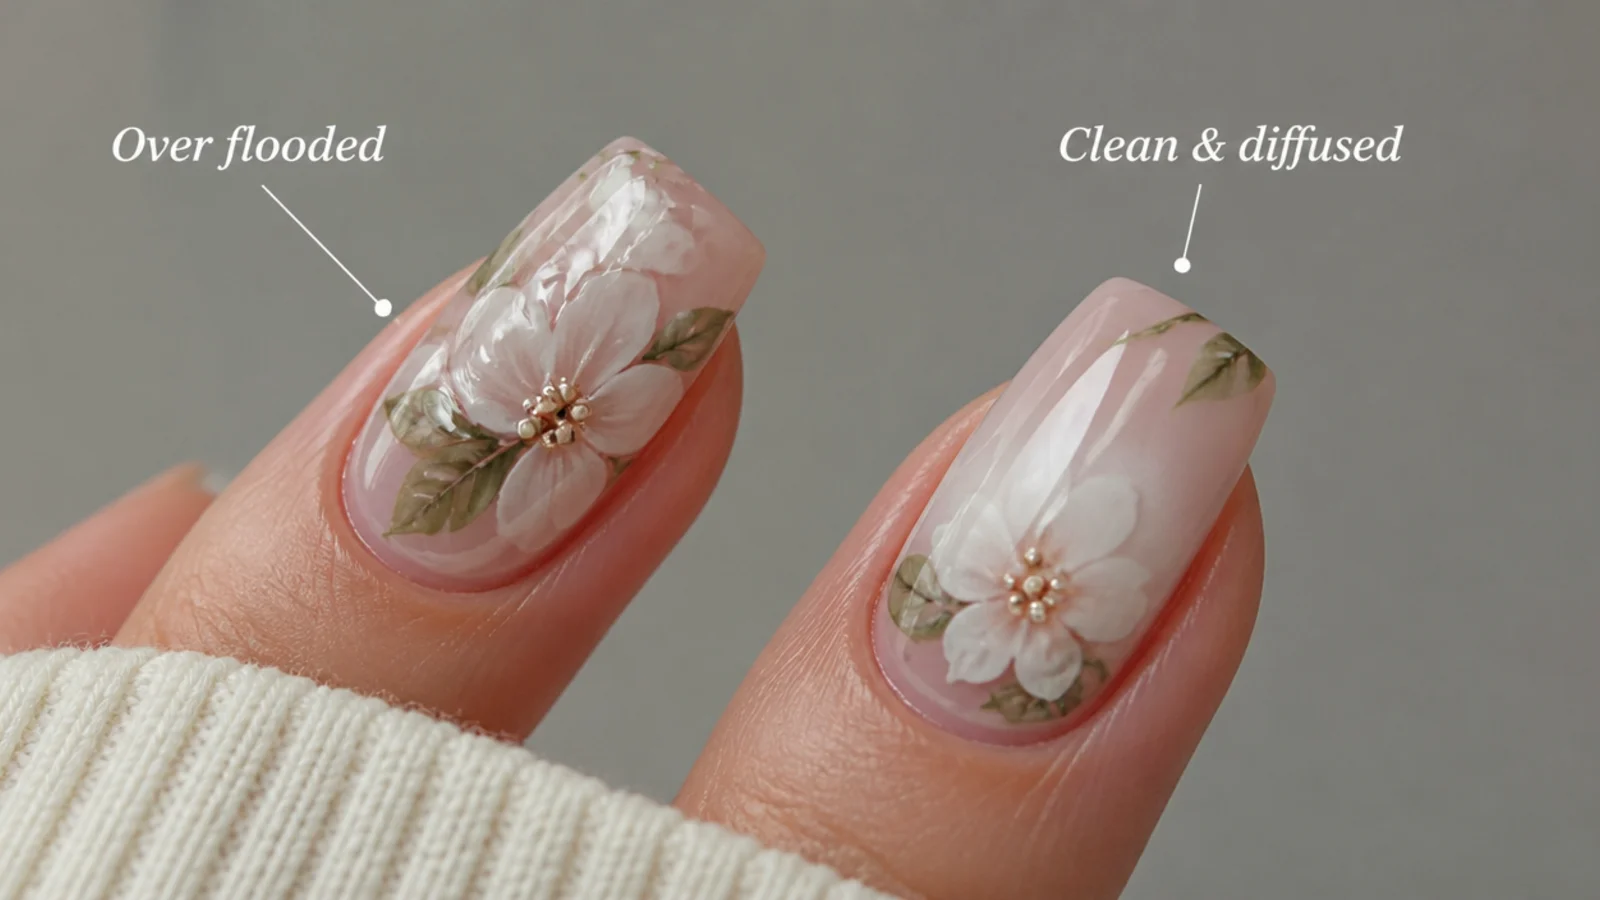
Most blooming gel problems trace back to a handful of fixable errors. The biggest is curing the blooming gel before you add color - that hardens the layer and kills the spread entirely, so the gel must stay uncured until after the bloom. The second is flooding too much color at once, which blurs everything into a muddy gray instead of soft petals; use tiny amounts and let the gel do the work. A layer of blooming gel applied too thick holds the color too tightly and gives little to no bloom, so keep it thin. Overworking the wet gel with too many brush strokes also muddies the pattern - a few light passes win. Finally, skipping base prep or not capping the free edge causes lifting and early chips. If a nail goes wrong, cure it, add a fresh thin blooming gel layer, and simply redraw over the top.
How to Make It Last and Remove It Safely
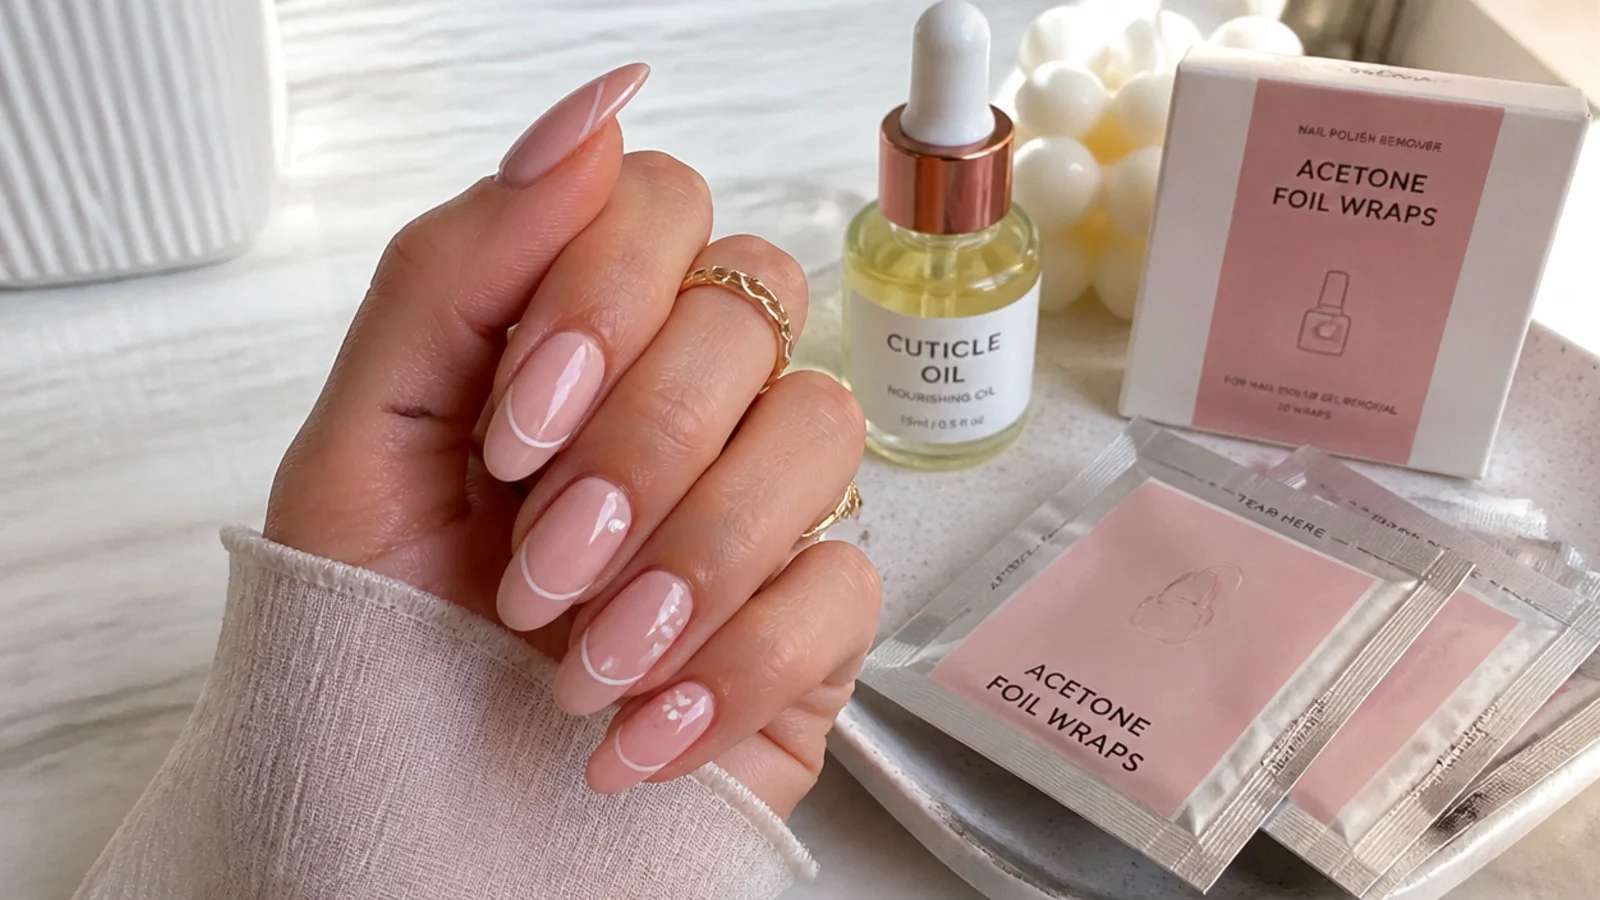
Because this is a gel technique, a blooming gel set lasts about two to three weeks, and up to four with solid prep, capped edges and daily cuticle oil - far longer than regular polish art, which only holds 5 to 7 days. To stretch the wear, apply cuticle oil every day, wear gloves for cleaning and dishes, and avoid using your nails as tools. When it is time to remove it, do it as a proper soak-off: lightly file the shiny top coat to break the seal, soak cotton in 100% acetone, press it to each nail, wrap in foil for 10 to 15 minutes, then gently push the softened gel off with a wood stick. Never peel or pry it - that takes layers of your natural nail with it. Give your nails an occasional break between sets, and see a nail tech if you notice any lifting, pain or irritation.
Frequently Asked Questions
How do you do blooming gel nails at home?
Prep and buff your nails, apply and cure a base coat, then a solid color base. Brush a thin layer of blooming gel over it and leave it uncured. Drop or draw gel color onto the wet gel, let it spread for a few seconds, shape it with a brush, then cure. Add a second layer for depth and seal with top coat.
Do you cure blooming gel before adding color?
No - this is the most important rule. The blooming gel layer must stay uncured when you add color, because the wet gel is what lets the color spread and diffuse. If you cure it first, the layer hardens and the bloom effect dies completely. Only cure after the color has bloomed and you are happy with the pattern.
How long does blooming gel take to bloom?
The color starts spreading almost immediately and keeps diffusing for a few seconds up to about a minute after you place it. A thinner blooming gel layer spreads faster and further, a thicker layer holds the color tighter. Wait until it has diffused as much as you want, then cure to freeze the design in place.
Is blooming gel good for beginners?
Yes. Blooming gel is one of the most forgiving nail-art techniques because the gel does the blending for you - you just place a little color and let it spread. It is rated intermediate but is very DIY-friendly with a little practice. Start with a simple single flower or marble and use less color than you think you need.
Do you need a UV or LED lamp for blooming gel?
Yes. Blooming gel is a gel product and will not harden without curing under an LED or UV lamp. LED lamps cure faster, usually about 30 to 60 seconds per layer, while UV lamps take roughly 2 minutes. You cannot air-dry blooming gel or use it like regular polish, so a lamp is essential to the technique.
Why did my blooming gel go muddy or not bloom?
Muddy results come from flooding too much color at once or overworking the wet gel - use tiny amounts and only a few light strokes. If it did not bloom at all, you either cured the blooming gel before adding color or applied the layer too thick. Keep the blooming gel thin, uncured, and let a little color spread on its own.
How long do blooming gel nails last?
Because it is a gel technique, a blooming gel set lasts about two to three weeks, and up to four with good prep, a capped free edge and daily cuticle oil. That is far longer than regular non-gel polish art, which chips in about 5 to 7 days. Wear gloves for chores and avoid using your nails as tools to get the most wear.
Can you use blooming gel over regular polish?
It works best over cured gel color rather than regular polish. Blooming gel is designed to sit on a gel base and cure under a lamp, so regular polish underneath can lift, smear or react. For reliable results and the full two to three weeks of wear, build the whole set in gel - base, color, blooming gel and top coat.
How much do blooming gel nails cost?
At a salon, a gel manicure runs about $30 to $55, and nail-art add-ons cost around $5 per accent nail, so a full blooming gel set is often roughly $45 to $70 or more. Doing it at home with a DIY kit - blooming gel, a few colors and a small lamp - is a modest one-time cost that pays back after a set or two.
Gel application and removal, lamps, and 100% acetone should be used as directed. Curing gel improperly or force-removing it can damage your natural nails. For best results and nail health, see a licensed nail technician, and stop if you have any irritation or reaction.
Which blooming gel nails look are you saving?
Blooming gel nails come down to one idea: keep the blooming gel layer thin and uncured, use a little color, and let it spread before you cure. Build depth in layers rather than flooding color all at once, seal the free edge so your watercolor set makes the full two to three weeks, and finish with cuticle oil. Your first attempt may go a touch muddy - that is normal, and less color next time fixes it. Be gentle with your natural nails, never peel or pry gel off, and see a nail tech if you want the crispest result or notice any irritation. Save this guide and refine your bloom each set.