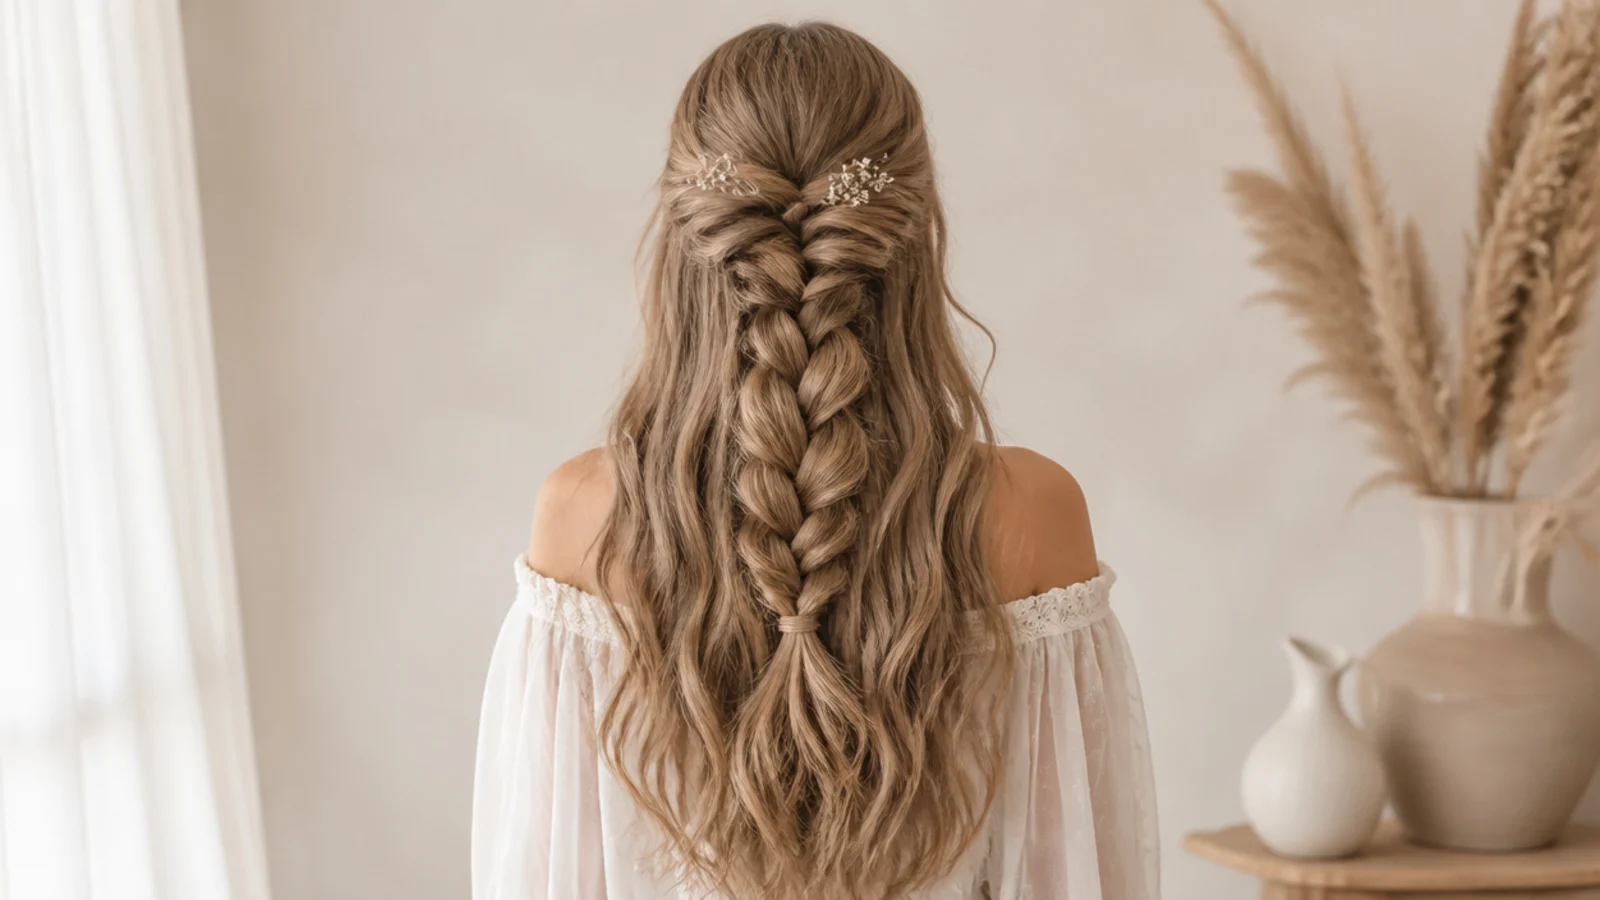
Quick Comparison
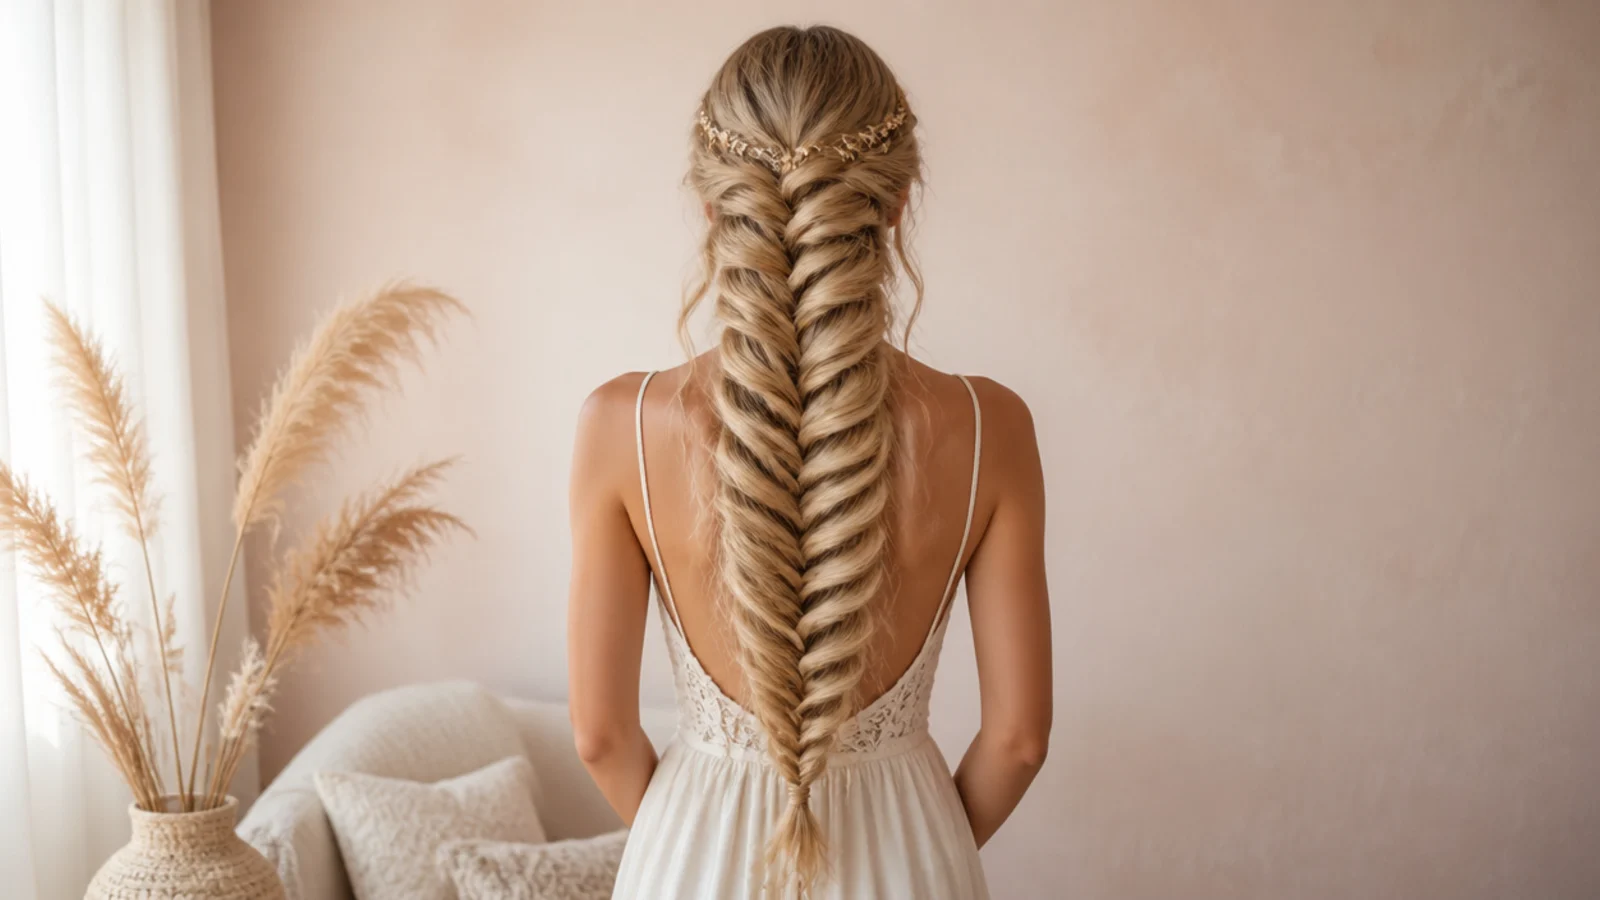
| Half Up Mermaid Braid | Full-Length Mermaid Braid | |
|---|---|---|
| Time to style, waves already in | 5 to 15 minutes for most versions | 15 to 30 minutes, longer past the waist |
| Minimum hair length | About 12 inches, so a collarbone lob works | About 18 inches before the fan has room to show |
| How easy it is to do on yourself | Manageable; the braid sits where your hands reach | Harder; the lower half is worked blind or over the shoulder |
| How thick it reads on fine hair | Better; only the top section has to fill the braid | Thinner at the ends, where fine hair tapers |
| Hold through an eight-hour event | Good with 2 crossed pins and a flexible-hold spray | Very good; the elastic at the ends carries the weight |
| Performance in humidity | Mixed; the loose lengths can swell and frizz | Better; almost everything is contained in the braid |
| Comfort in heat | Warmer; the lengths still sit on the neck | Cooler; the neck stays clear |
| Best occasions | Weddings, prom, festivals and everyday wear | Long formal events, travel days and sleeping in |
| Next-day payoff | Waves through the braided top section only | Waves through the entire length of the hair |
1. Classic Half Up Mermaid Braid on Long Hair
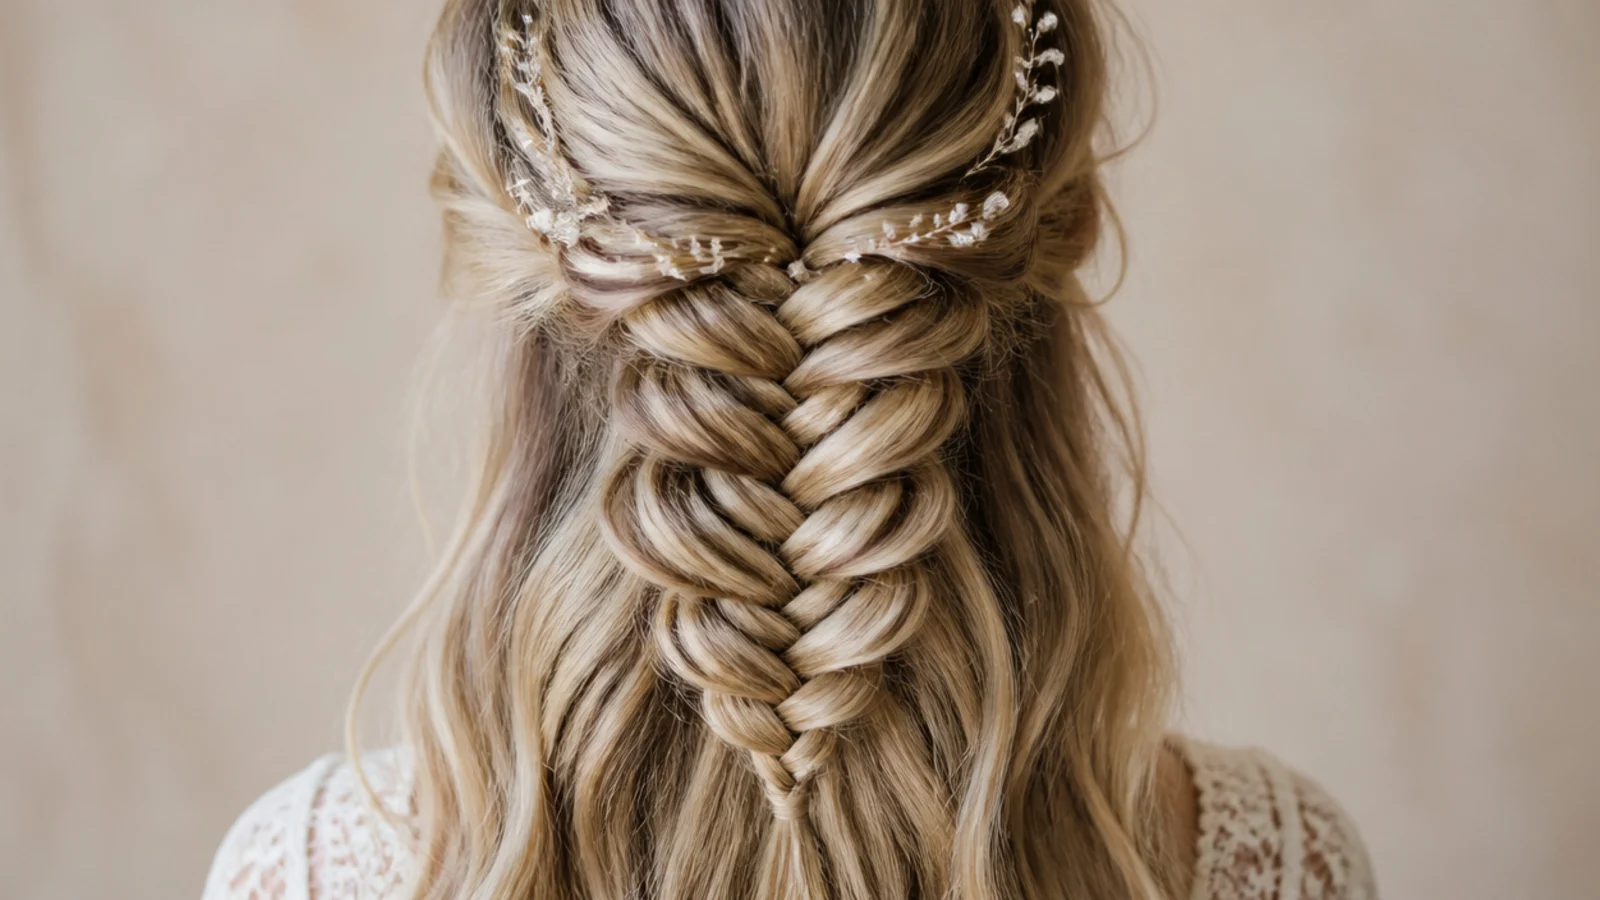
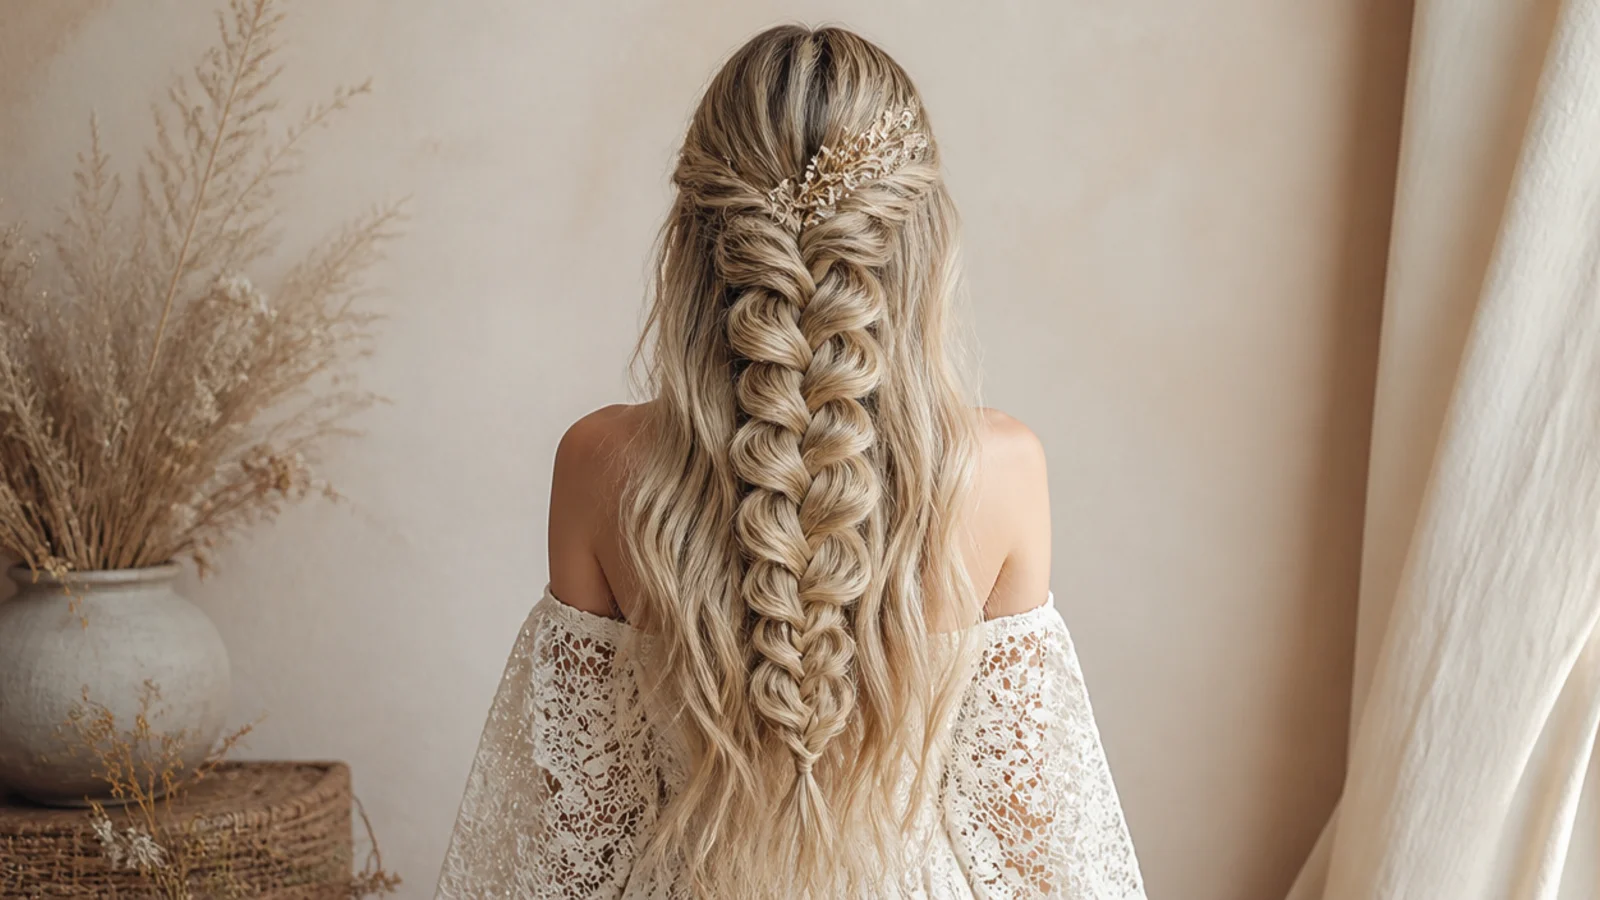
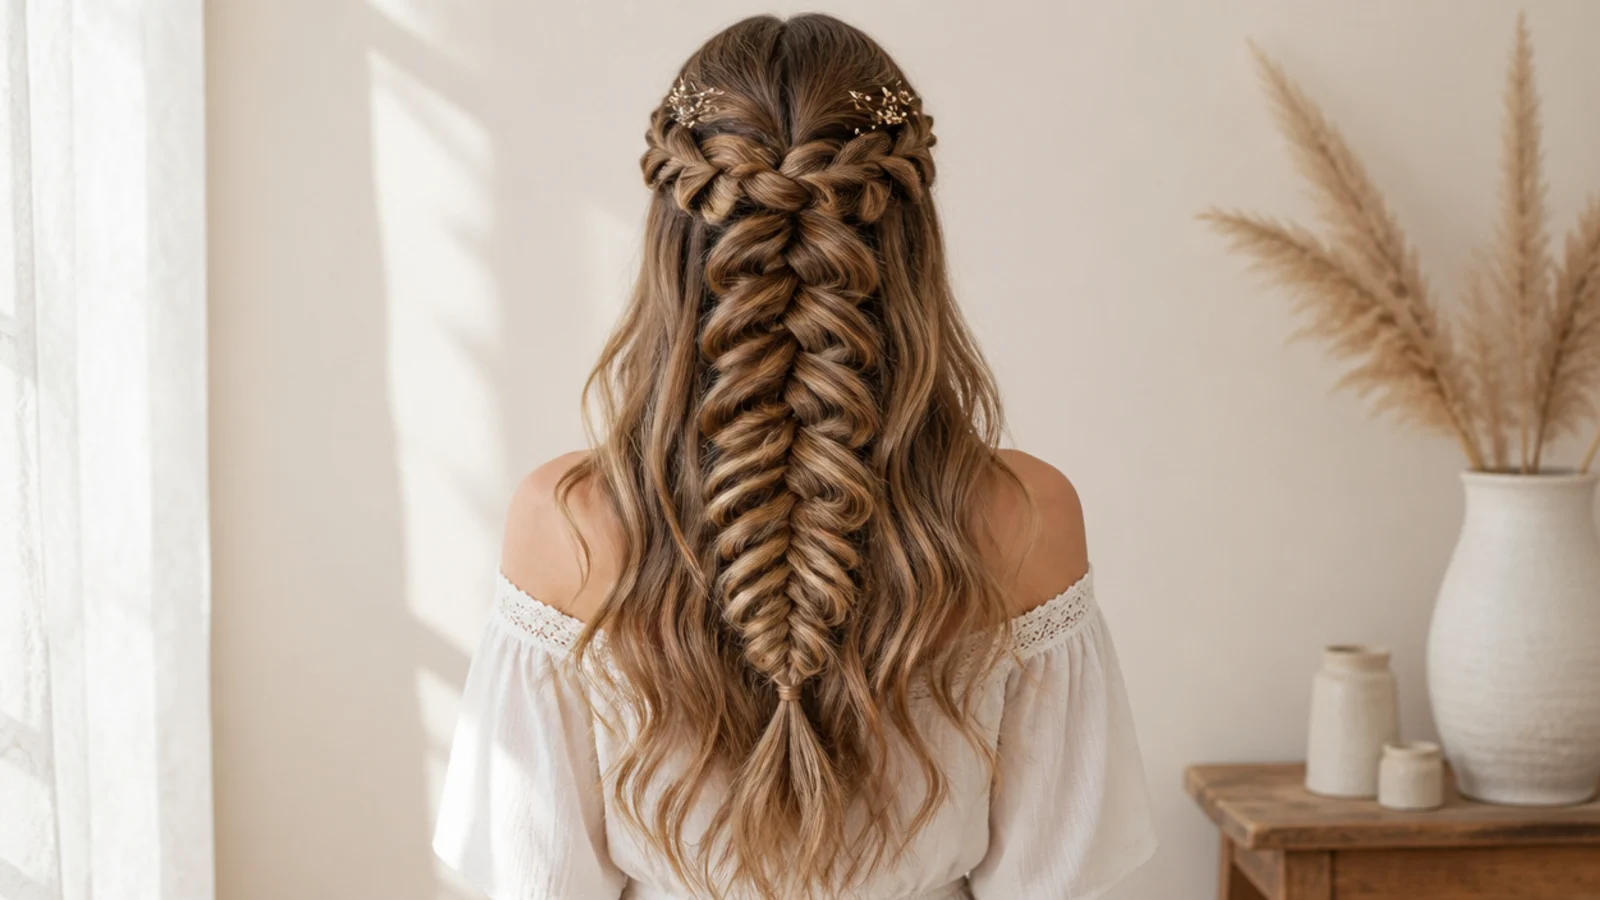
The reference version. Take the top third of your hair, from each temple back to the crown, and fishtail it straight down the middle of the head to about 6 inches long. Tie with a clear elastic, then pancake every crossover until the braid measures roughly 2.5 inches across. On hair past the shoulder blades the loose lengths hang far enough below the braid that the fan shape reads clearly against them. Ten minutes with waves already in. It is the base every other look on this list modifies, and it scales up beautifully on long mermaid braids.
Who it suits: Hair past the shoulder blades, straight to loosely wavy.
Tip: Stop braiding at 6 inches; a longer half-up braid hides inside the loose hair instead of sitting on top of it.
2. Half Up Mermaid Braid With Loose Curls Underneath
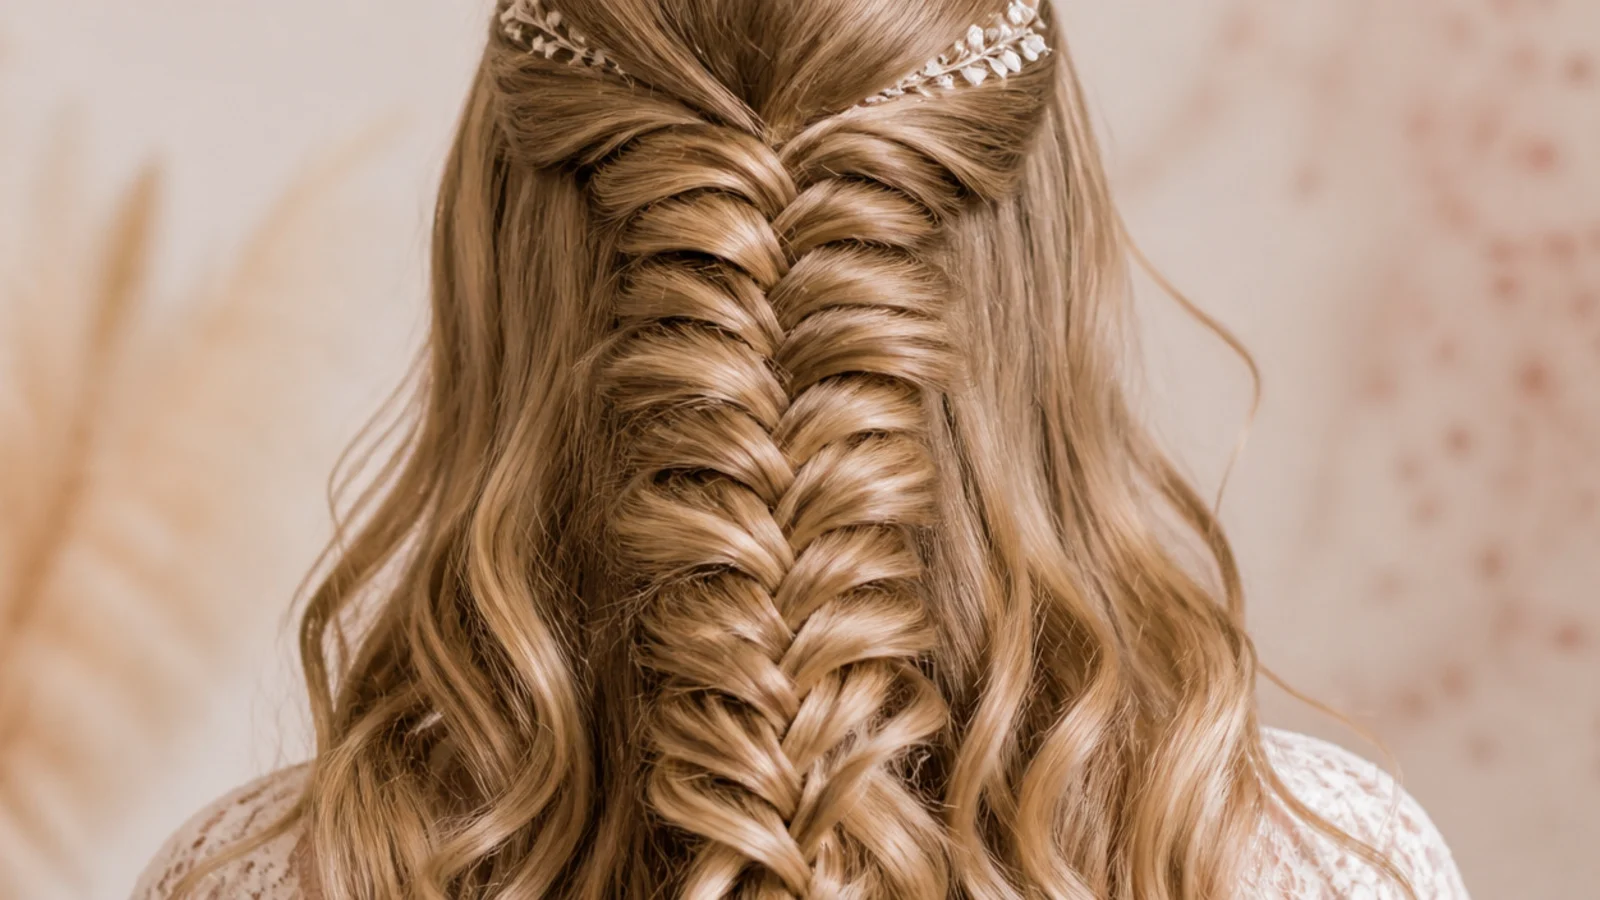
Curl the whole head on a 1 inch barrel iron first, alternating direction on each section, then brush the curls out with fingers only and braid the top. This is the single highest-impact version because the curls give the braid something textured to grip and give the half-down section the volume that makes the braid look wide by comparison. Budget 20 minutes for the curls and 8 for the braid, the same ratio used in braided graduation hairstyles. Uncurled straight lengths make the same braid look flat and thin, which is the most common reason a half up mermaid braid disappoints in photos.
Who it suits: Anyone whose natural texture is straight or barely wavy.
Tip: Let the curls cool completely in your hand before you release them, or they drop before the braid is finished.
3. Half Up Dutch Fishtail Mermaid Braid
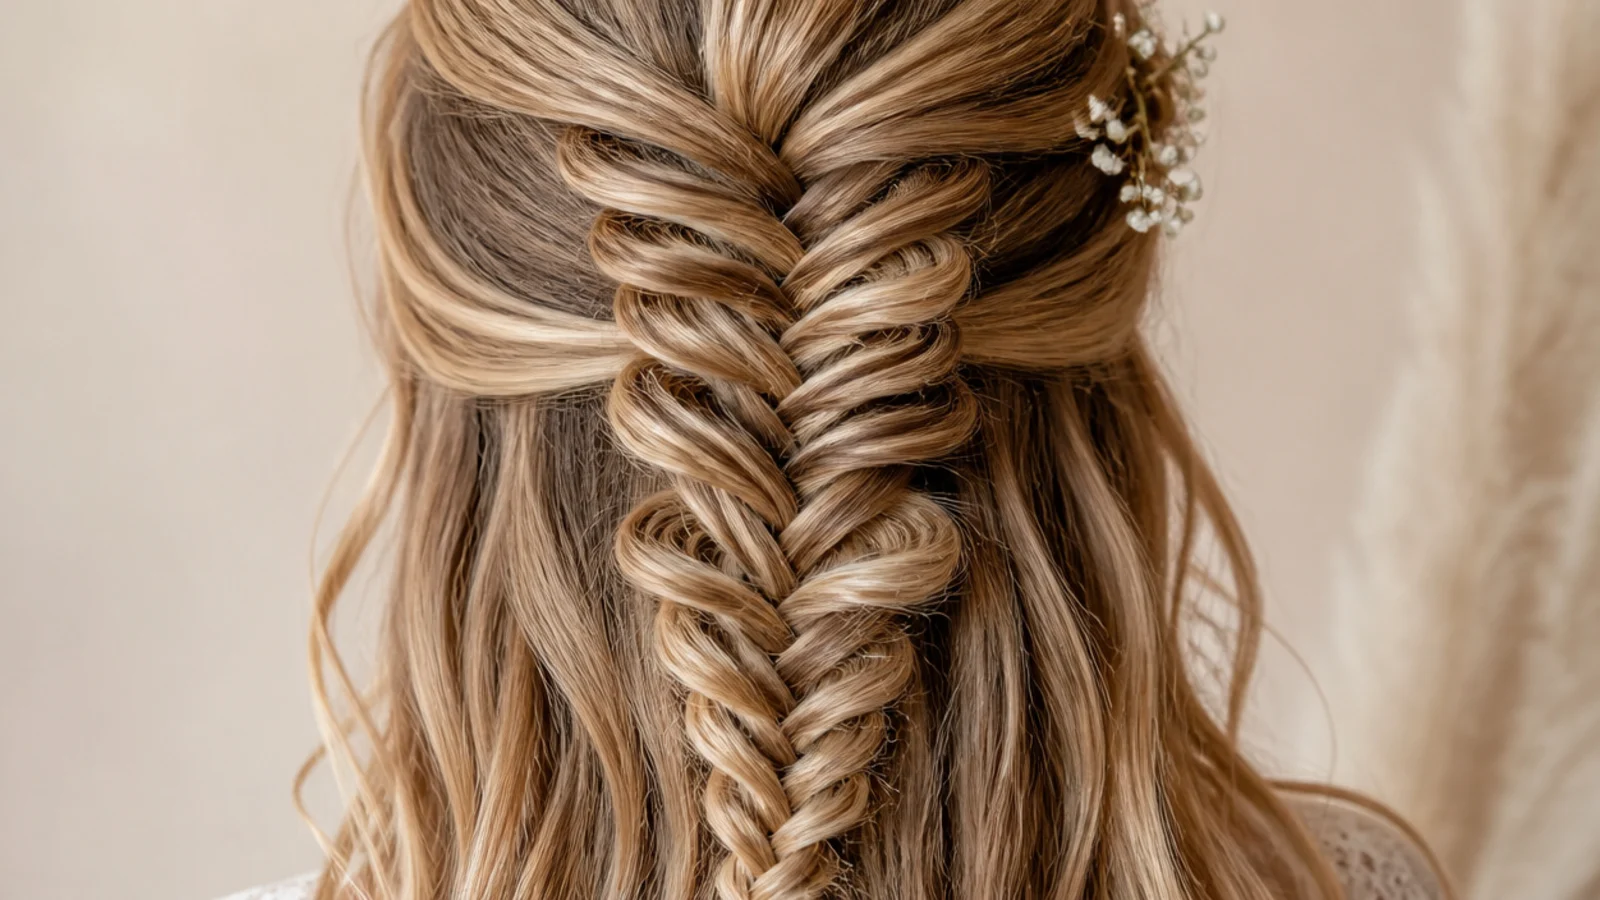
Work the fishtail underhand, adding hair from below rather than over the top, so the braid sits raised off the scalp instead of sinking into it. On a half-up that matters more than usual, because the braid has loose hair on all sides competing for attention. The Dutch method gives you a visible ridge that catches light and gives you more crossover edge to pancake. It takes about 4 minutes longer than a standard fishtail and is worth every one on fine hair, where a flat braid vanishes.
Who it suits: Fine or medium hair that needs the braid to stand out.
Tip: Keep the added sections under half an inch wide; big adds make the Dutch ridge lumpy rather than defined.
4. Pancaked Half Up Mermaid Braid for Fine Hair
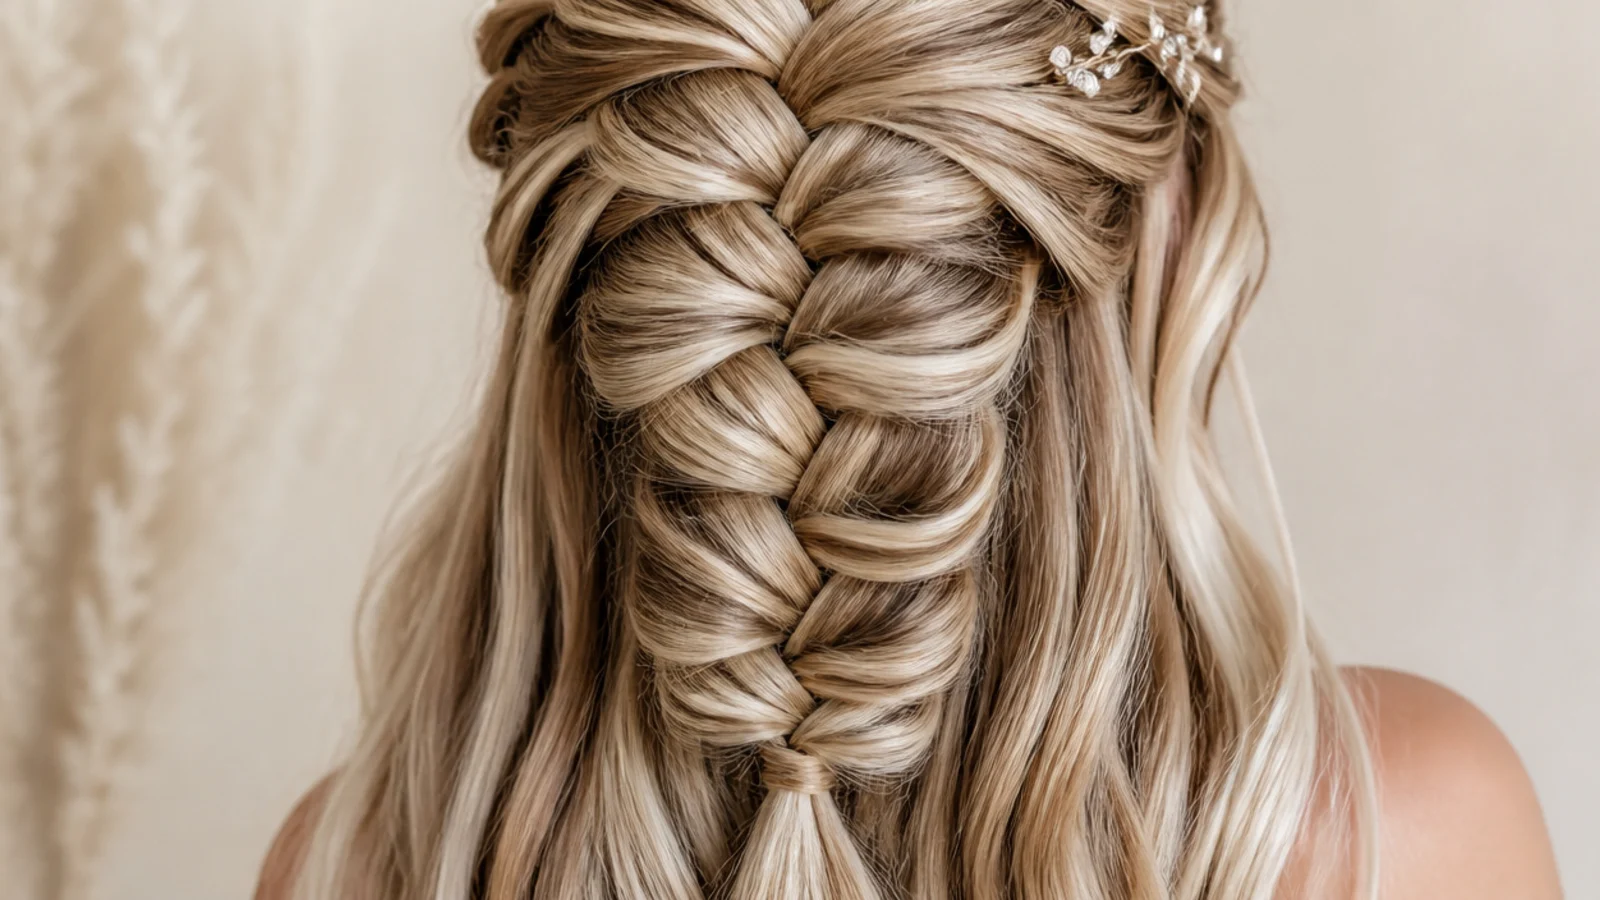
Fine hair gives you the least braid to work with, so the pancaking has to do more. Mist the top section with a dry texture spray before braiding, braid slightly tighter than feels right, then pull each crossover out 3 to 4 millimeters at a time working from the elastic upward. Tighter braiding gives the pancaking somewhere to travel; a loose braid just falls apart when you tug it. Done properly, a fine-hair braid can be widened from about 1 inch to 2 inches, which is the whole illusion.
Who it suits: Fine, low-density hair of any length past the collarbone.
Tip: Hold the elastic between two fingers of your free hand while you pancake so the braid cannot slide loose from the bottom.
5. Half Up Mermaid Braid With a Deep Side Part
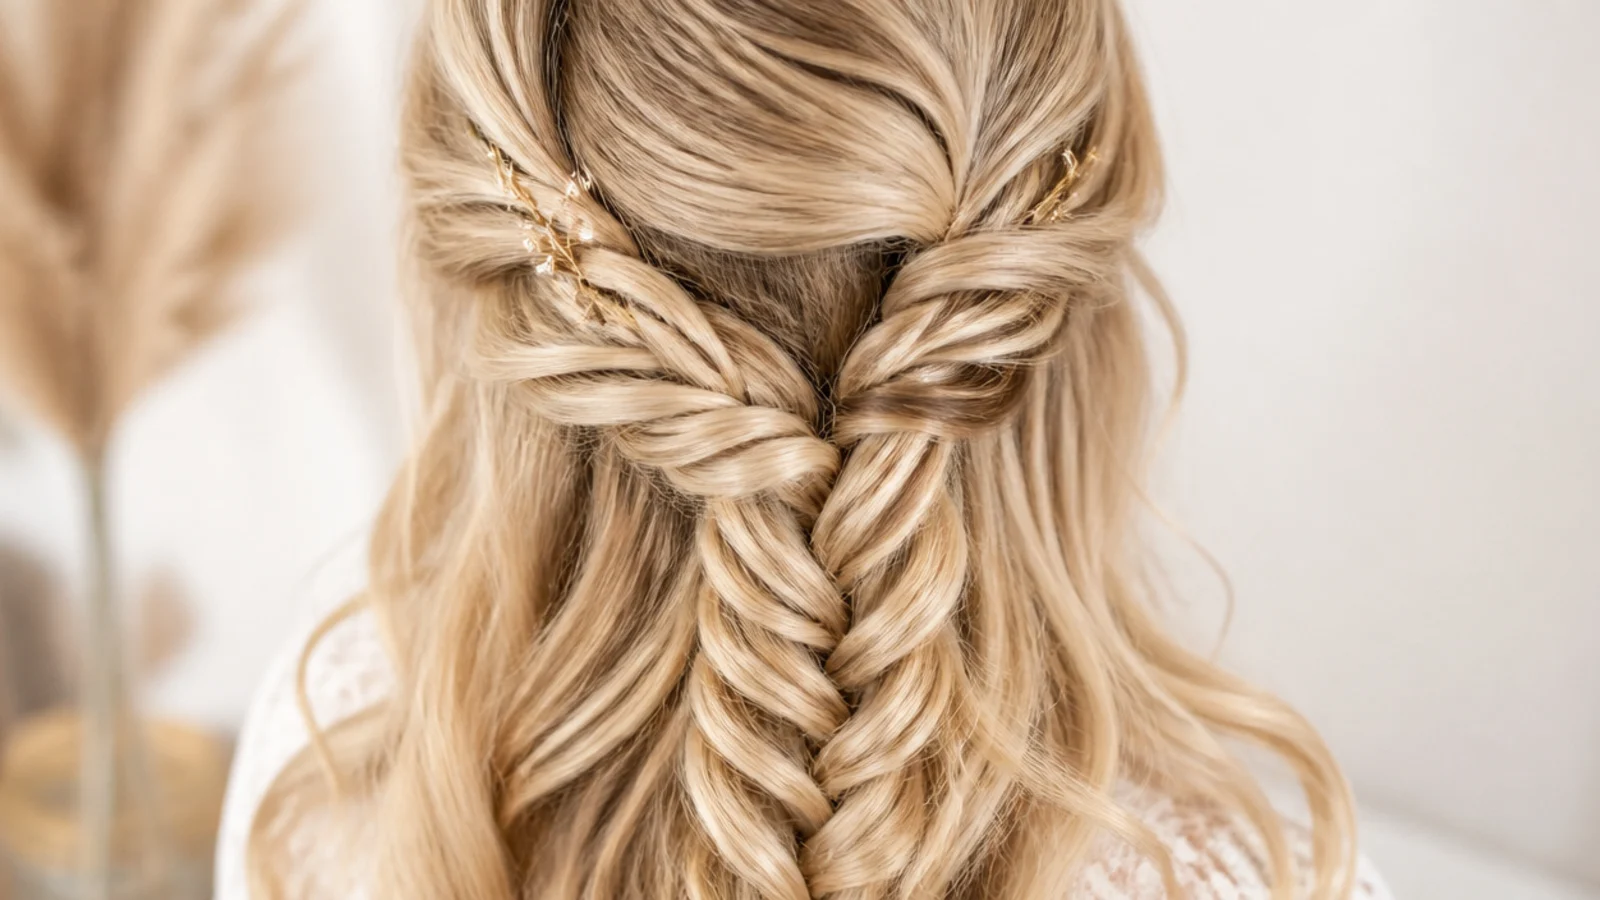
Part 3 inches off center, above the arch of one eyebrow, then take the half-up section asymmetrically so the braid starts off center and drifts toward the middle at the crown. The deep part adds height at the front and softens a round or square face by breaking the horizontal line across the forehead. It also gives you a heavier sweep of hair on one side, which reads more styled than a center part on the same braid. Works on any length past the shoulders and takes no extra time.
Who it suits: Round and square face shapes, and anyone wanting front volume.
Tip: Part on the side you naturally sleep on; the hair already wants to fall that way and will hold the sweep longer.
6. Double Half Up Mermaid Braids Joined at the Back
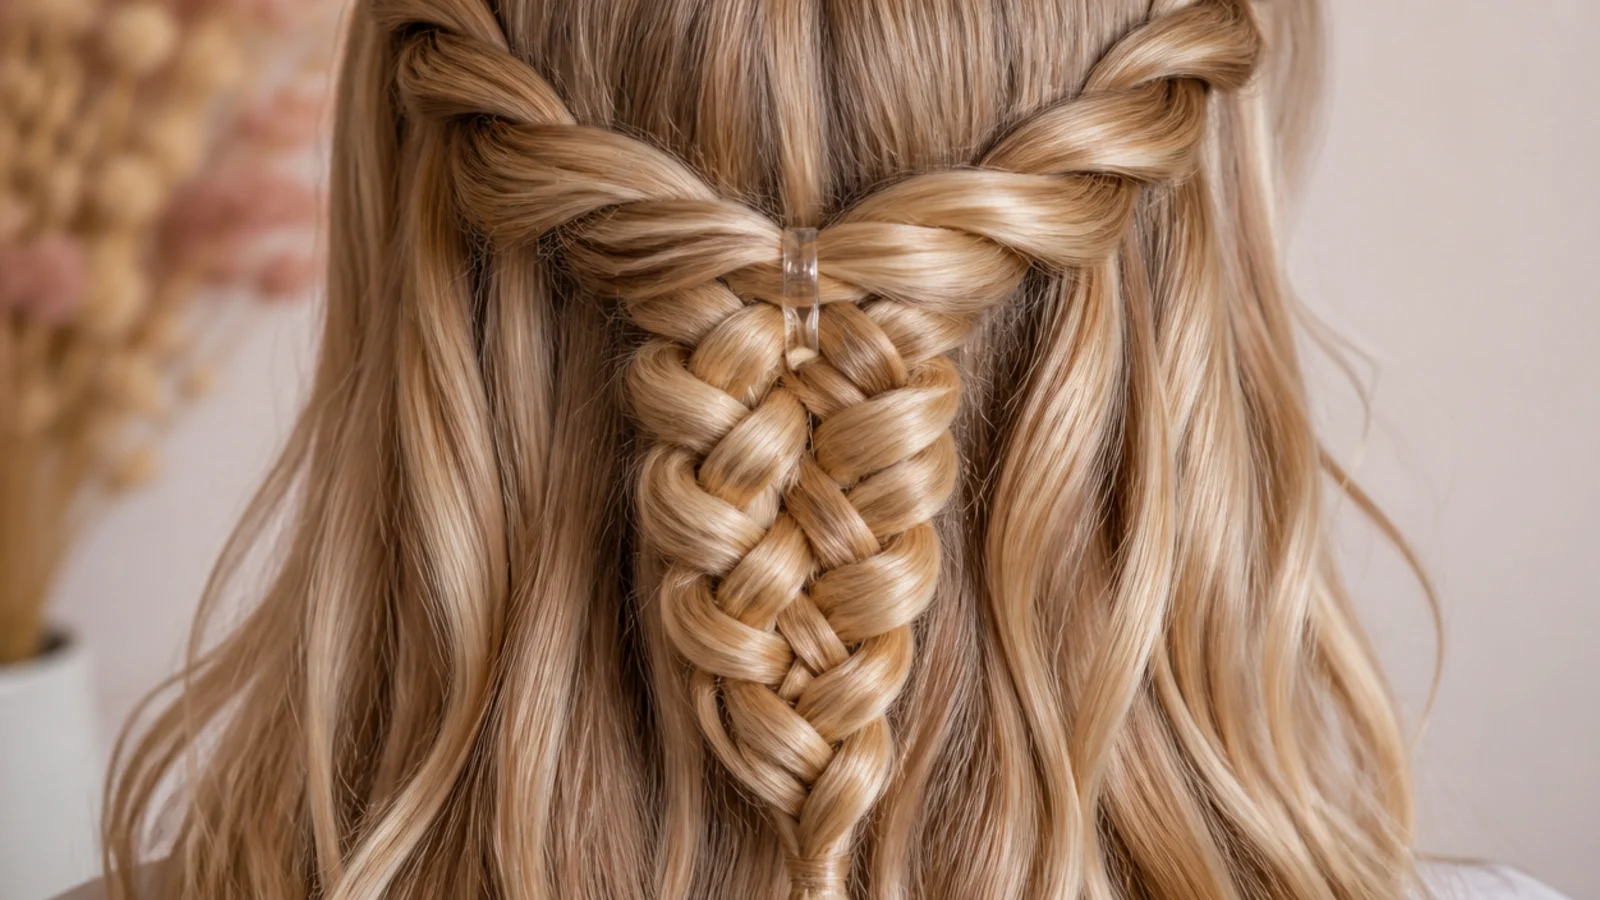
Take a 2 inch section above each ear, fishtail each one back toward the center, then join both with a single clear elastic at the crown and pancake the pair together so they read as one wide fan. It keeps every strand off your face, which is why it beats the single braid outdoors and at festivals. Two shorter braids also finish faster than one long one, roughly 12 minutes total. The joined seam is the only fussy part and a single pin underneath hides it completely.
Who it suits: Windy days, festivals and anyone who wants full face clearance.
Tip: Braid both sides to the exact same length before joining, or the fan sits crooked and you will see it in photos.
7. Half Up Mermaid Braid Into a Low Bun
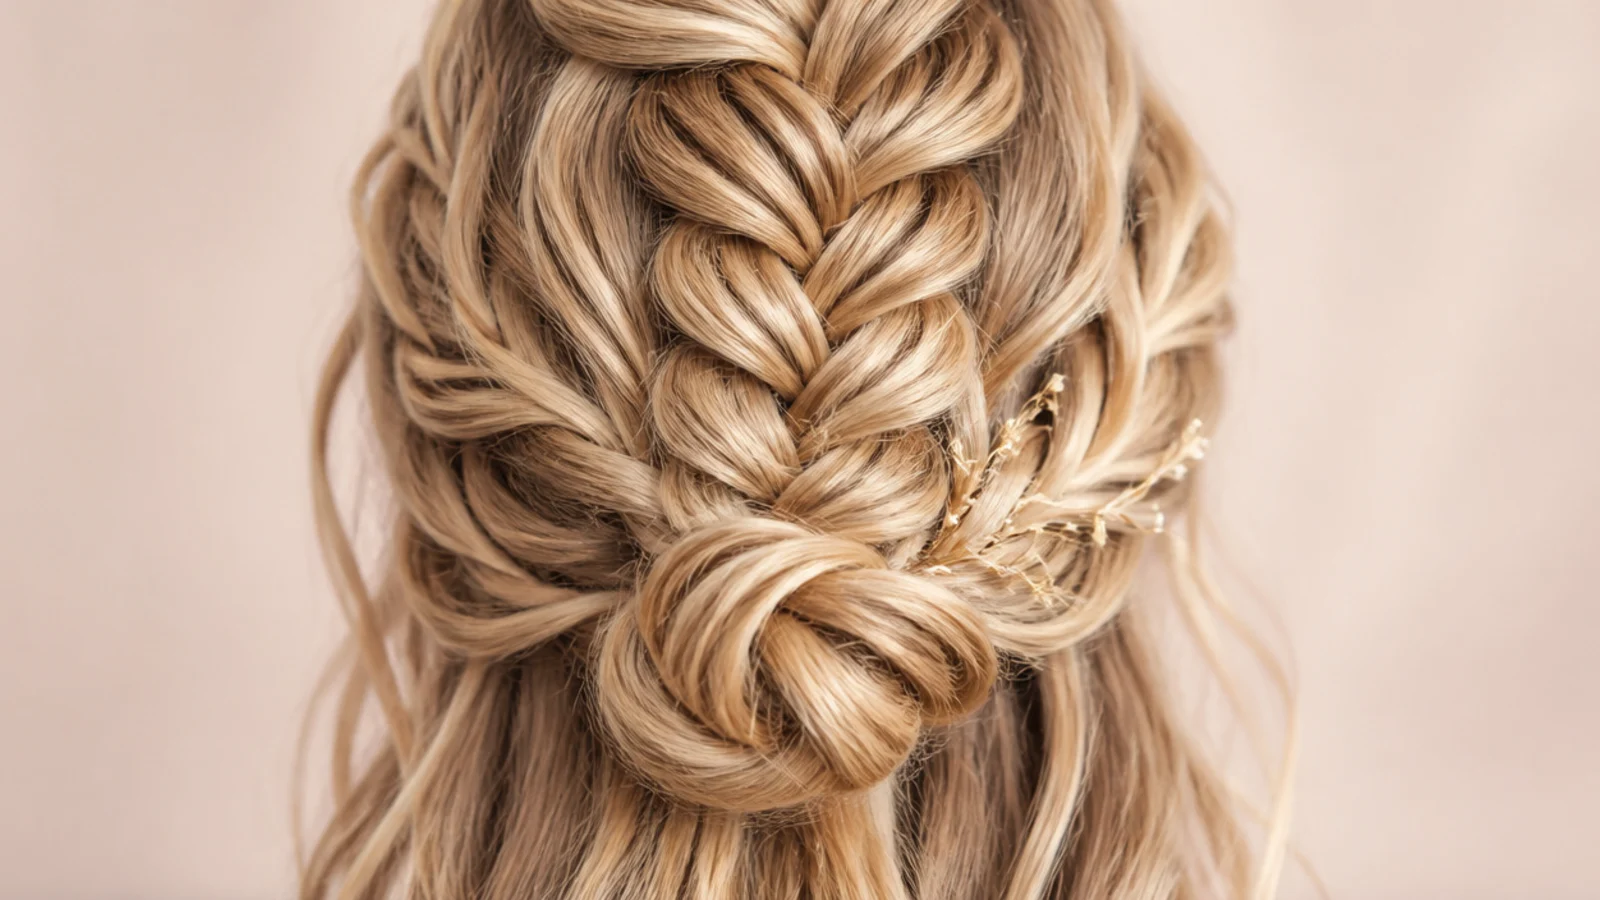
Braid the top section, pancake it, then coil the finished braid into a flat spiral at the nape and pin it with 4 to 6 bobby pins crossed in pairs. Because a pancaked braid is wide and flat, it coils into a much larger bun than a normal fishtail would, so you get bun volume without a donut or padding. The loose hair still hangs below, so it stays a genuine half-up. This is the most formal version here and the natural bridge into mermaid braids for a wedding.
Who it suits: Weddings, black tie events and warm weather.
Tip: Pin into the braid itself, not into the loose hair beneath, so the bun cannot drag your half-down section upward.
8. Half Up Mermaid Braid With Face-Framing Tendrils
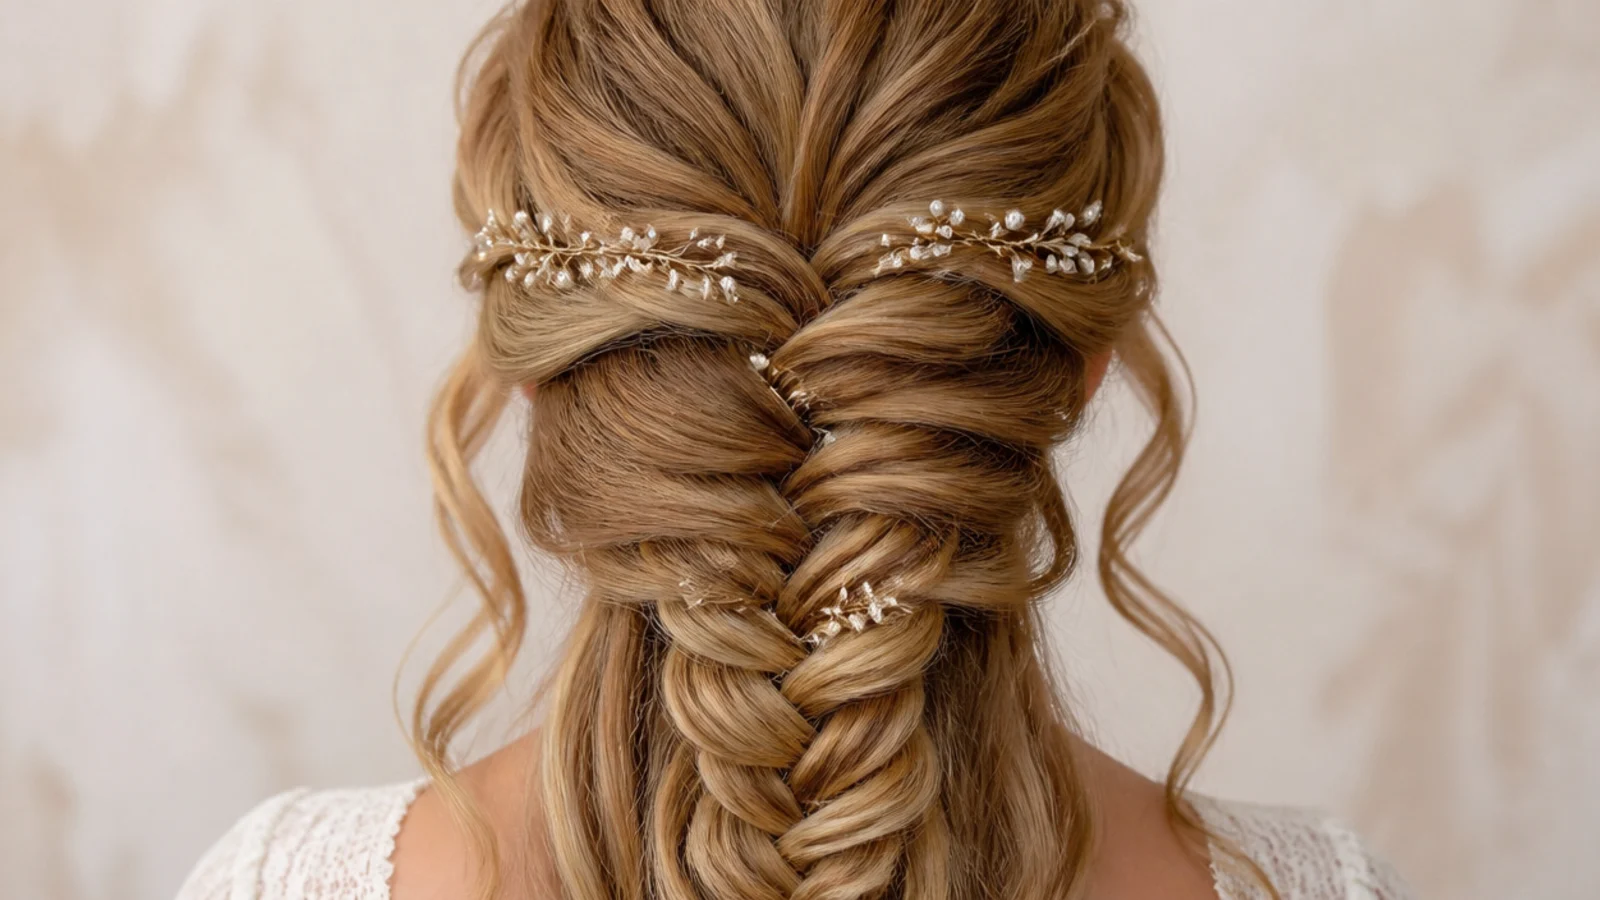
Before you part off the top section, pull out two half-inch pieces at the temples and clip them aside. Braid, pancake, then release the tendrils and wrap each one around a 3/4 inch curling wand for 5 seconds. The tendrils soften the hard edge that a braided half-up creates along the hairline, which is what makes some braids read severe. Keep them genuinely thin: anything wider than half an inch reads as a missed section rather than an intentional piece, and it steals width from the braid.
Who it suits: Long faces, high foreheads and anyone who finds braids too severe.
Tip: Curl the tendrils last, after all the hairspray, so they keep a soft spiral instead of setting stiff.
9. Waterfall Into Half Up Mermaid Braid
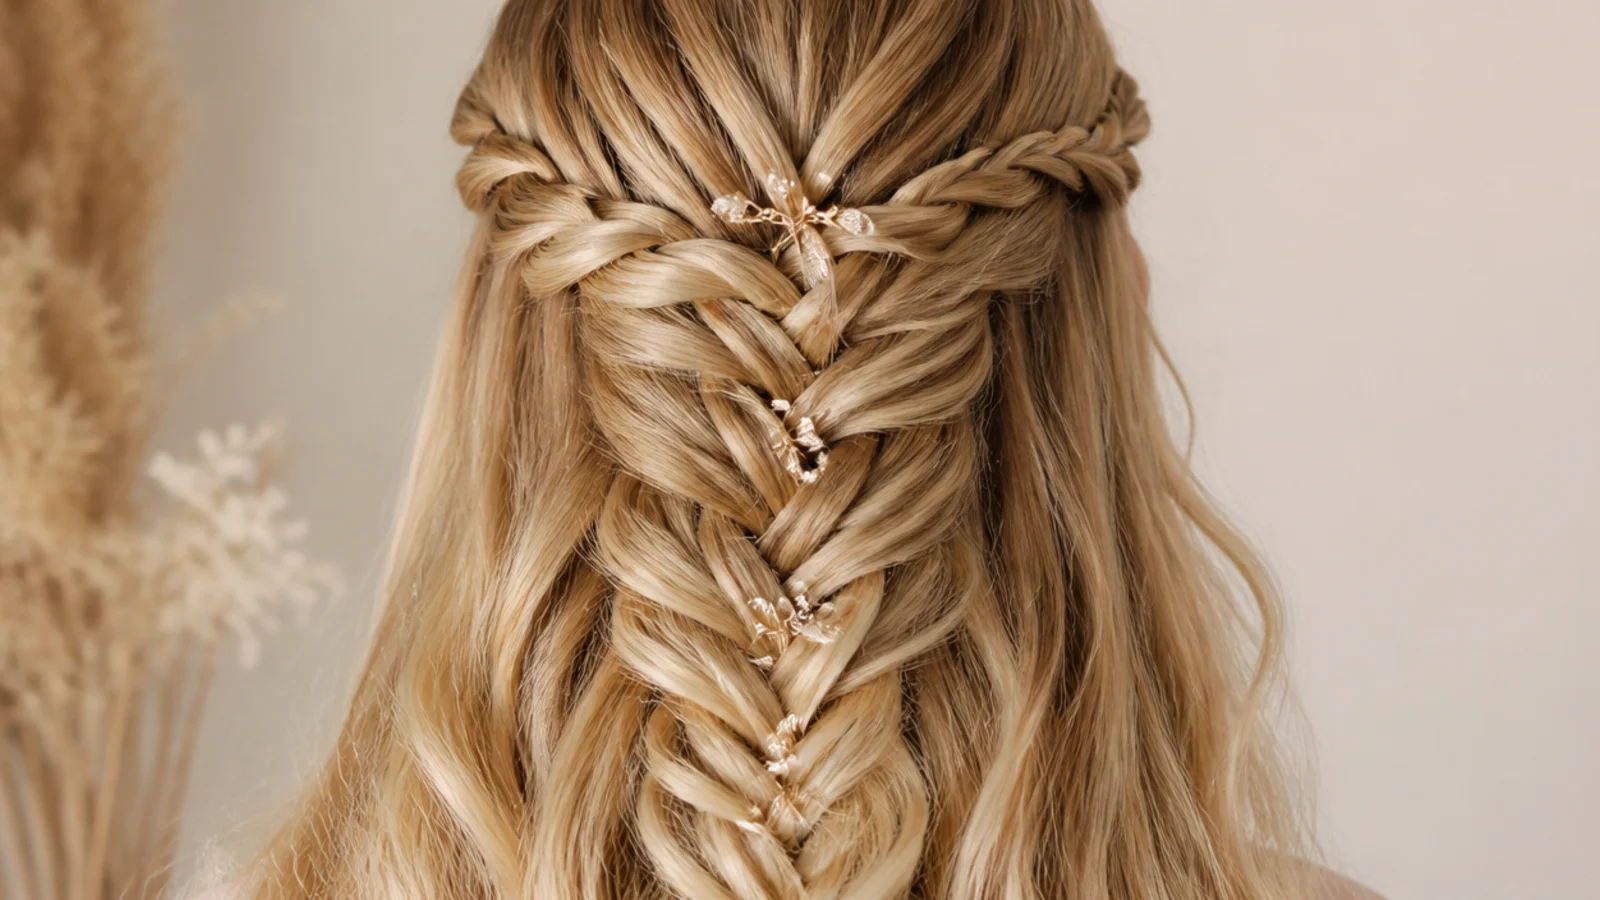
Run a waterfall braid across the crown from one temple to the other, dropping a small section each pass, then gather everything at the back and continue as a fishtail. The dropped sections fall through and become part of the loose half-down hair, so the two halves visually connect instead of sitting in separate layers. Keep the dropped pieces under half an inch or the fishtail runs out of hair. It is the most technical look here at around 20 minutes, and the full method is in waterfall mermaid braids.
Who it suits: Confident braiders with hair past the shoulder blades.
Tip: Do it in front of two mirrors; the waterfall drops are almost impossible to keep even by feel alone.
10. Half Up Mermaid Braid With a Clear Elastic Finish
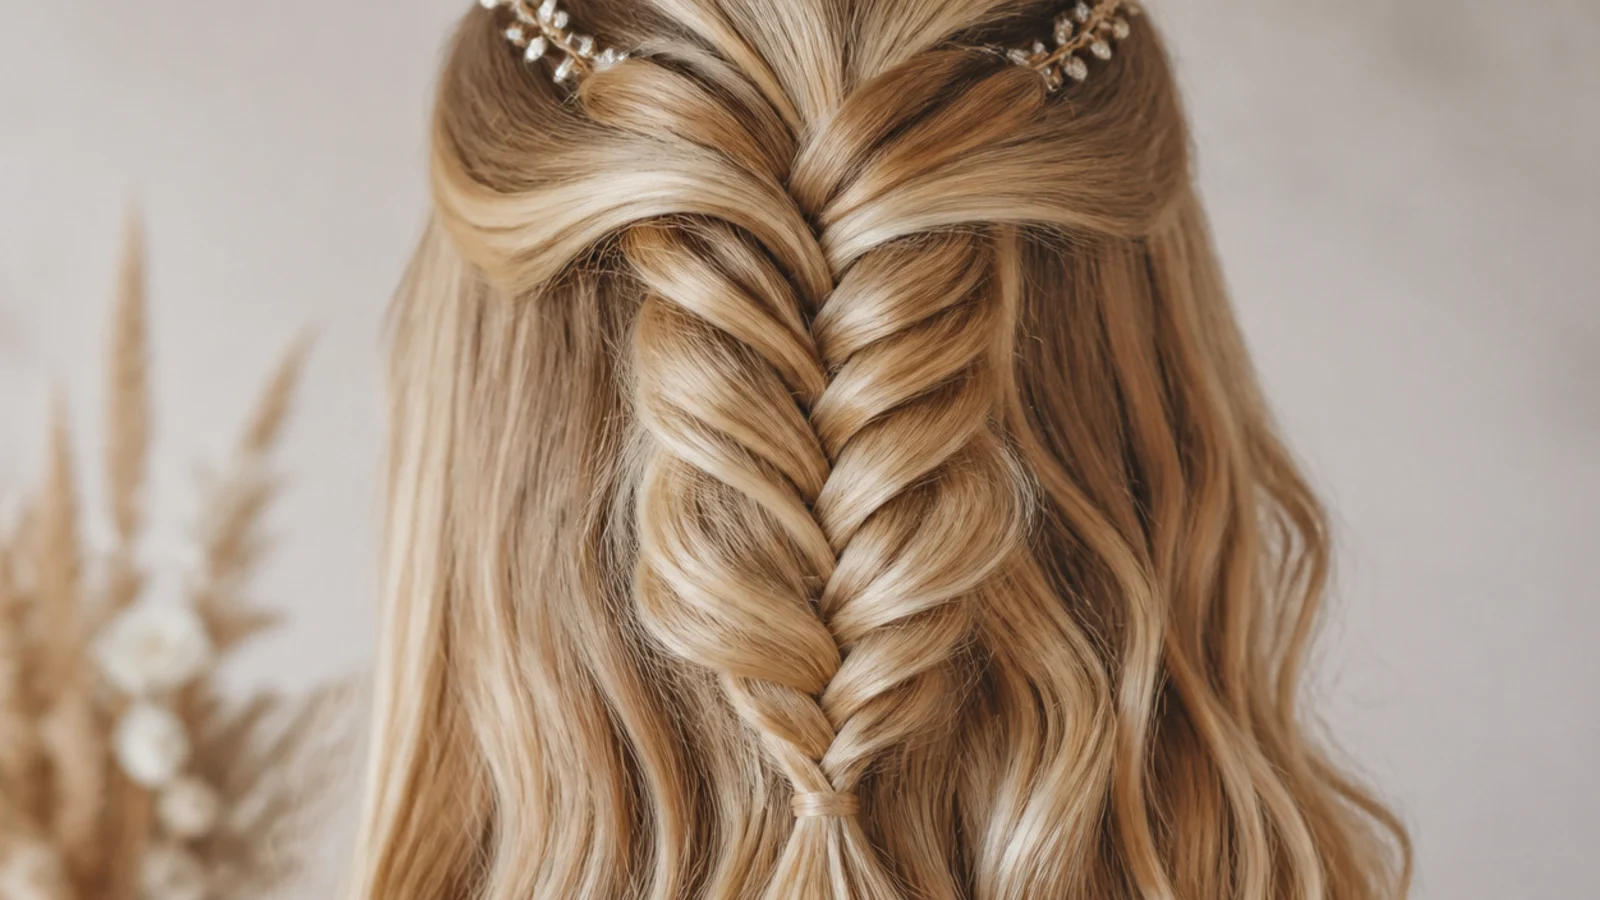
Not a style so much as the finish that makes every style here photograph well. A small clear polyurethane elastic, the 3mm size sold in bags of several hundred, disappears completely against any hair color, while a black or brown elastic prints a hard dark bar across the bottom of the braid in every photo. Clear elastics also grip better than fabric ties on slippery hair. Use two stacked if your hair is thick, and snip them out with cuticle scissors rather than pulling them free.
Who it suits: Every half up mermaid braid you will ever photograph.
Tip: Wrap it four times rather than three; three wraps slip on freshly washed hair within the hour.
11. Boho Half Up Mermaid Braid With Ribbon
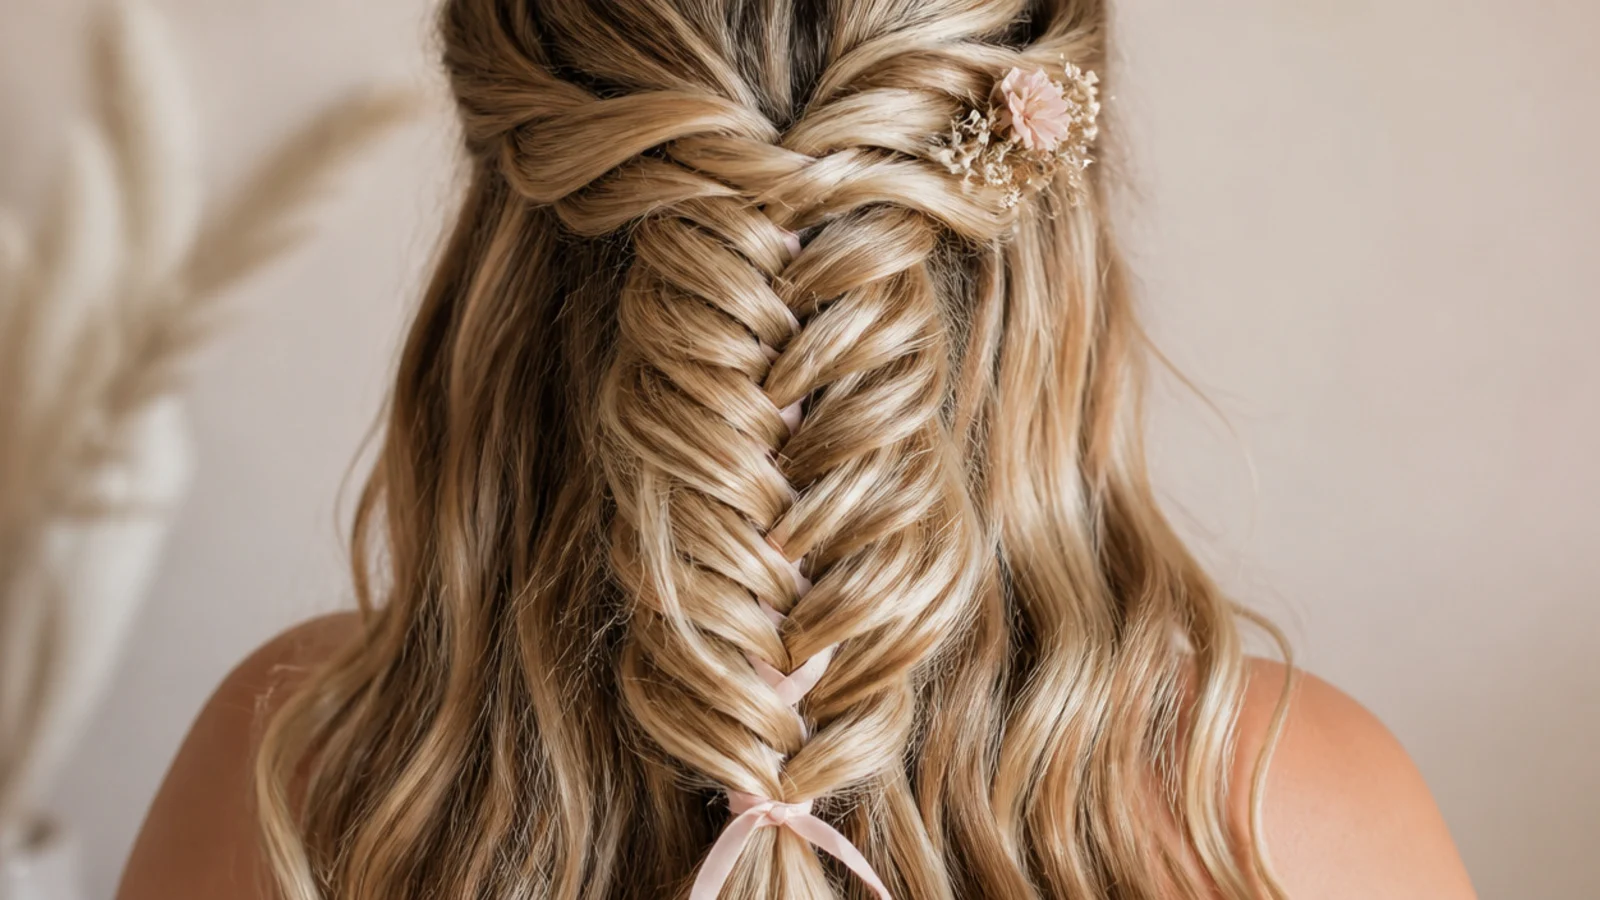
Lay a 1/4 inch silk or velvet ribbon along the top section before you start and treat it as part of one of the two braiding strands, so it surfaces and disappears through the crossovers. Ribbon does two useful things beyond looking pretty: it adds grip to fine hair and it holds the pancaked width open because the ribbon does not spring back the way hair does. Choose a color one shade off your hair for a subtle effect, or full contrast for festivals. More of this feeling in boho mermaid braids.
Who it suits: Festivals, summer weddings and fine hair needing grip.
Tip: Leave 4 inches of ribbon loose at the top and pin it under the braid so the start point never shows.
12. Half Up Mermaid Braid With Pearl Pins for a Wedding
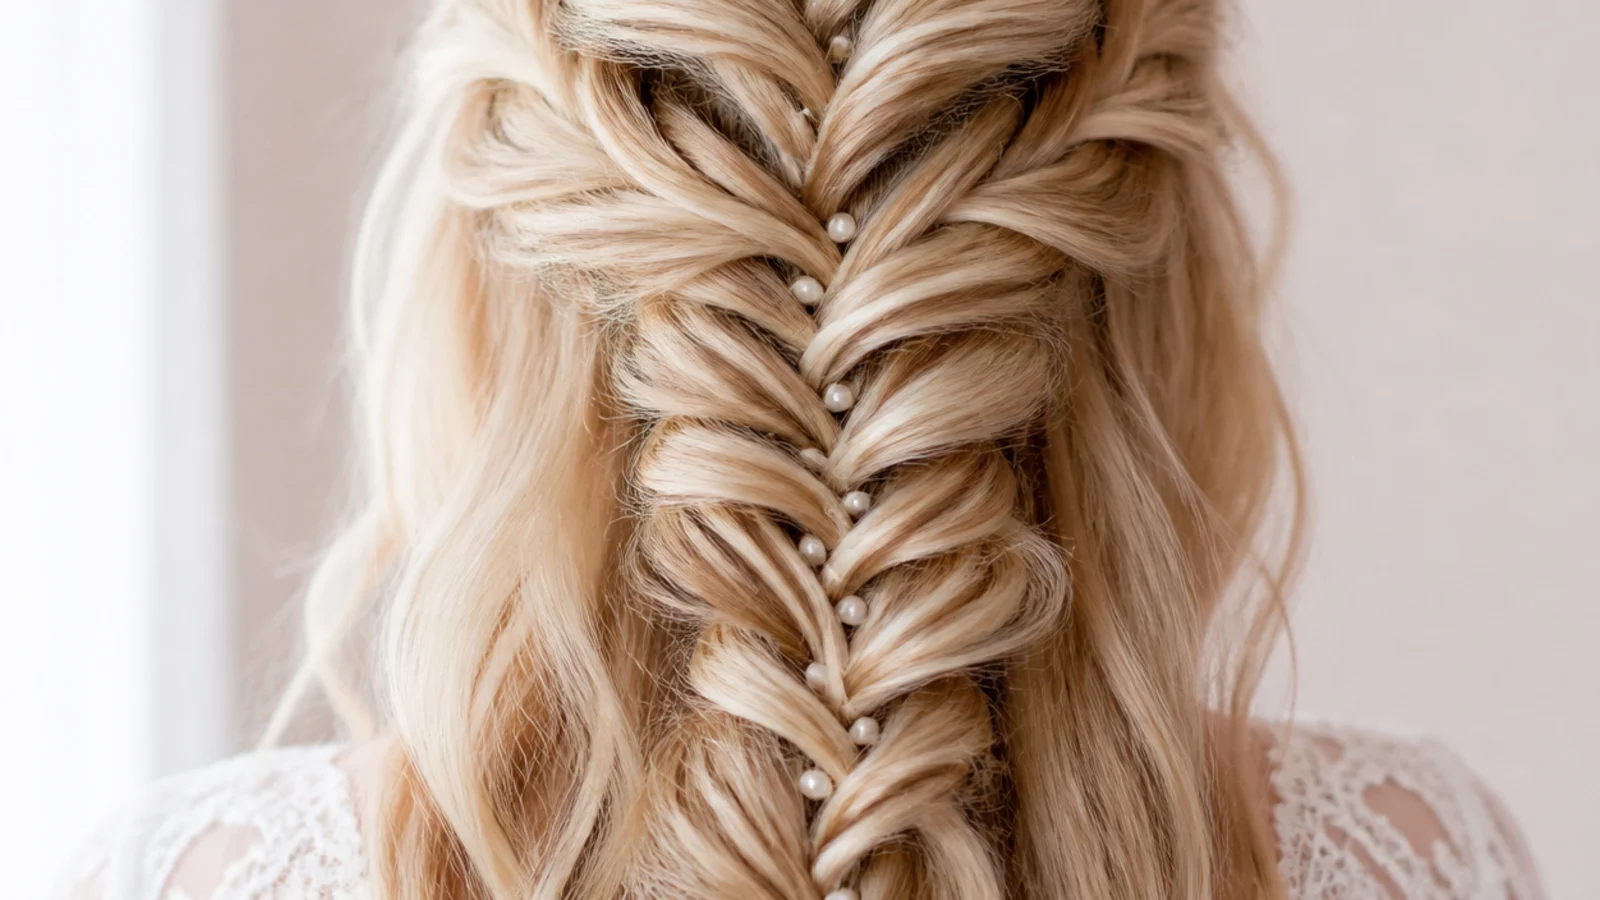
Push 5 to 9 pearl-tipped pins into the pancaked crossovers at irregular intervals, always an odd number, angling each one downward so gravity works with it rather than against it. The fanned crossovers of a mermaid braid create natural pockets that hold a pin far better than a tight fishtail does, which is exactly why this braid became a bridal staple. Pearls read softer than crystal under warm reception lighting. A veil comb sits cleanly above the braid at the crown without disturbing the fan.
Who it suits: Brides, bridesmaids and formal evening events.
Tip: Do a trial run six weeks out and count the pins you used, then buy two spares of that exact style.
13. Half Up Mermaid Braid on Shoulder-Length Hair
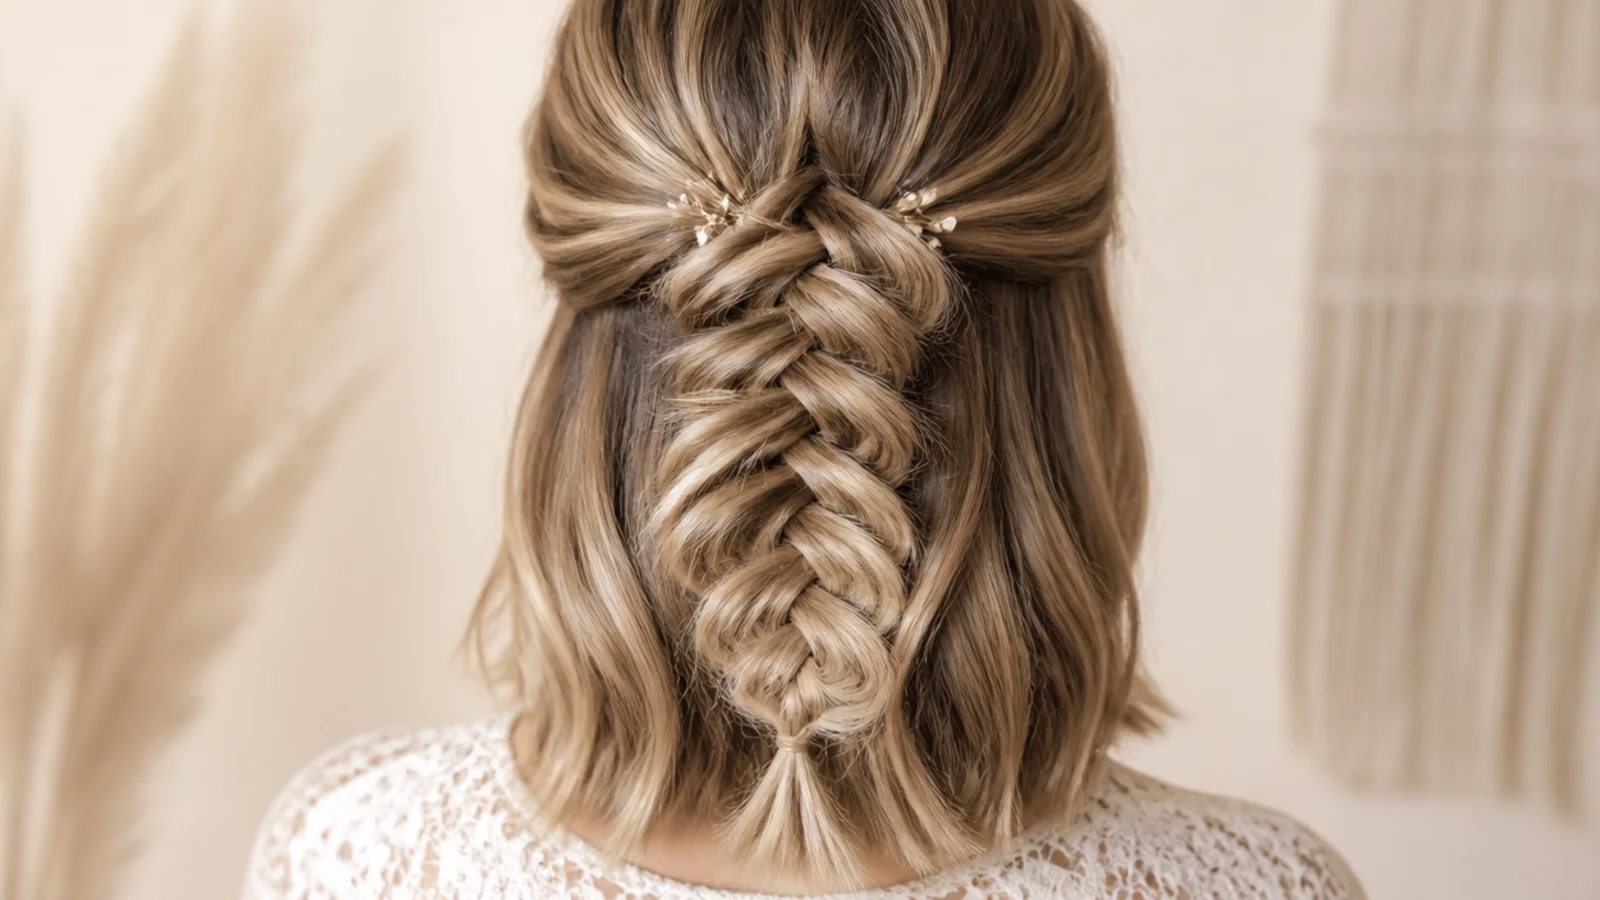
Shoulder-length hair, roughly 12 to 14 inches, can absolutely carry this, but the proportions change. Take a smaller top section, about 4 inches wide instead of 6, and braid only 3 to 4 inches before tying off, so the braid ends well above the blunt line of the lob. Pancake it wide rather than long. The mistake on a lob is braiding to the ends, which turns a half-up into a stubby ponytail. Shorter hair also holds the fan better because there is less weight pulling the crossovers closed.
Who it suits: Lobs and collarbone-length cuts, 12 inches and up.
Tip: Stop braiding while you still have 3 inches of loose hair below the elastic, or the tail reads blunt.
14. Half Up Mermaid Braid on Curly Hair
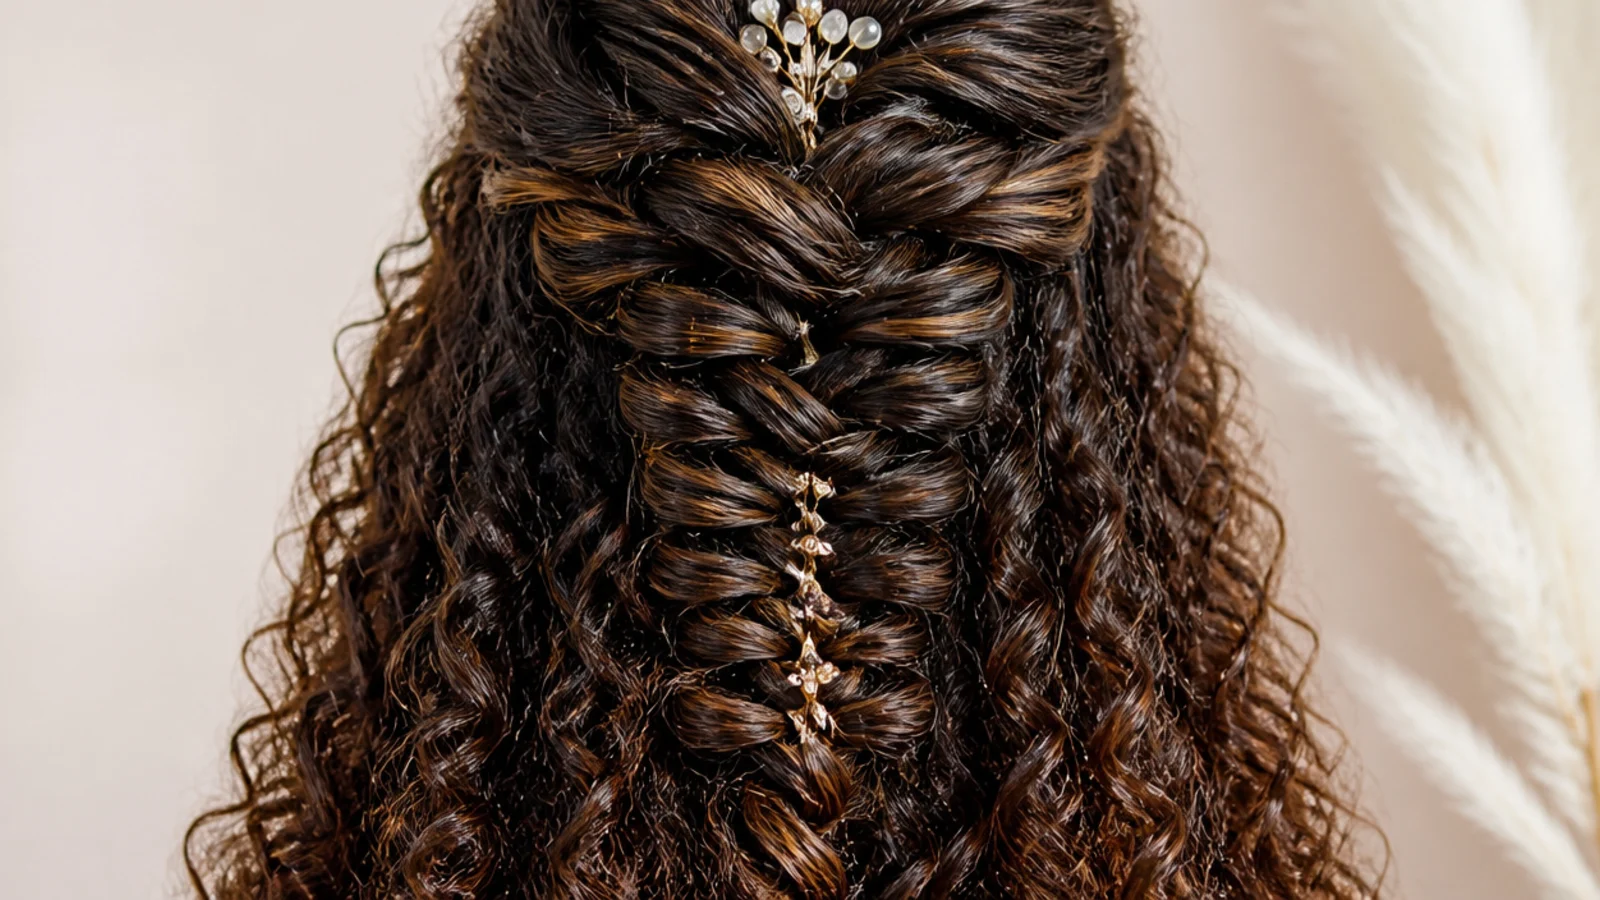
On 3A to 3C curls, stretch only the top section with a blow dryer and a brush attachment before braiding, and leave the lengths in their natural pattern. Stretched hair fishtails cleanly; unstretched curls tangle at every crossover and refuse to pancake evenly. The payoff is the best version of this braid there is, because defined curls below give the fanned braid a texture contrast that straight hair cannot match. Add a leave-in cream to the top section only so the loose curls keep their definition.
Who it suits: 3A through 3C curl patterns, shoulder length and longer.
Tip: Stretch only the top third; blow drying the lengths costs you the curl contrast that makes this work.
15. Half Up Mermaid Crown Braid
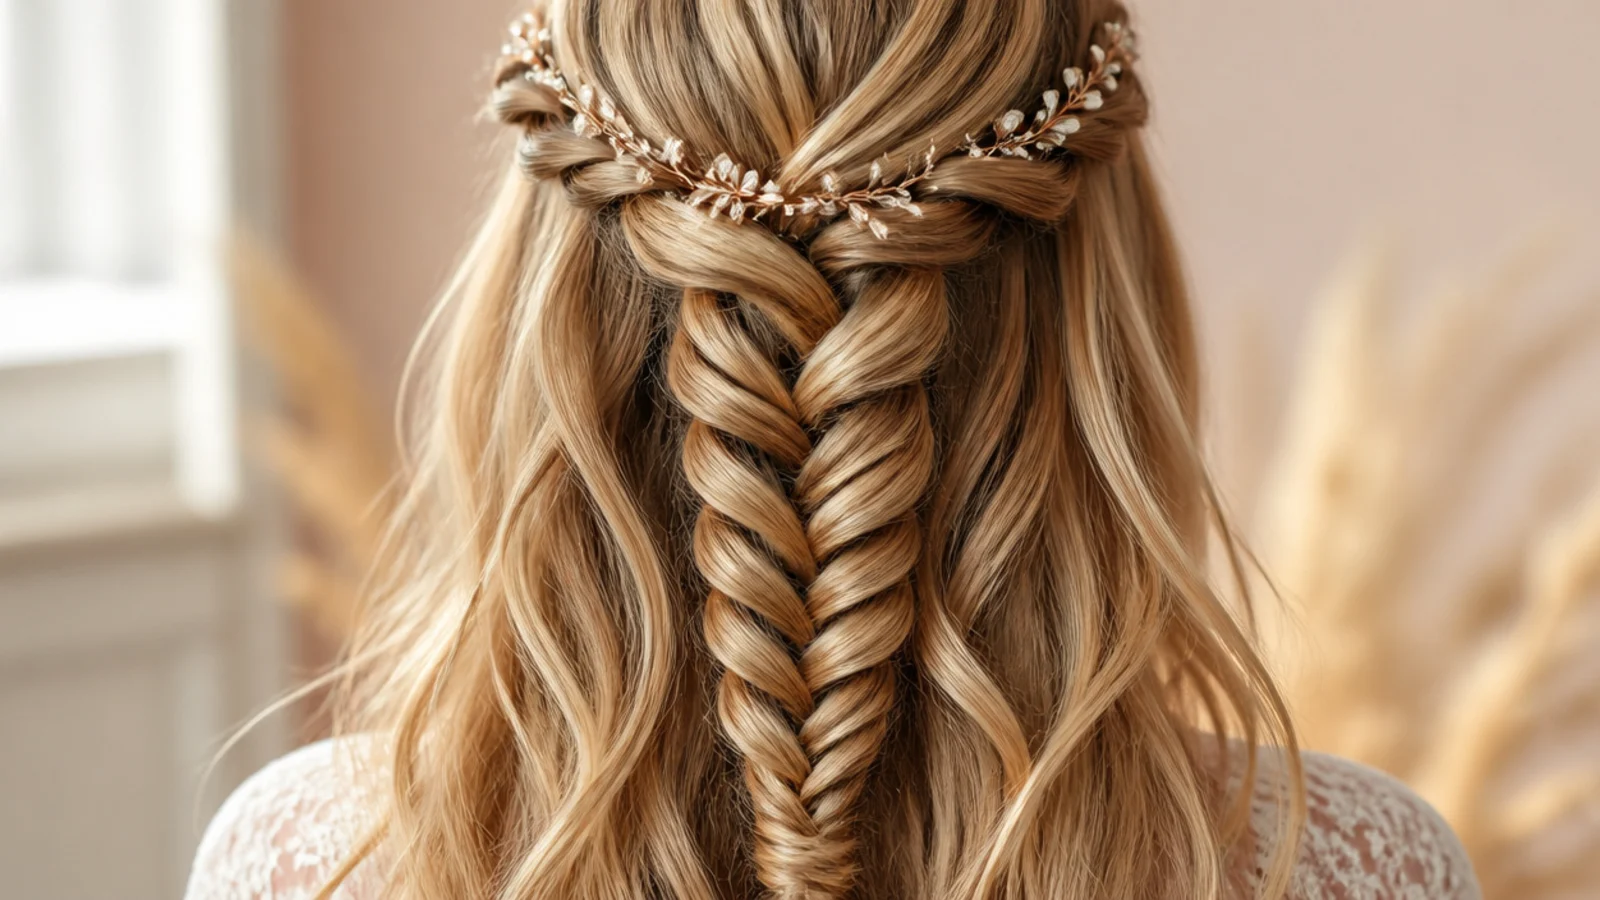
Instead of braiding straight back, run the fishtail horizontally across the back of the head from one ear toward the other, pinning as you go, so it reads as a halo sitting on top of loose hair. It needs hair to about mid-back to have enough length to travel across, plus 6 to 8 pins pushed upward into the braid from below. Pancake only the lower edge of the braid so the fan spills downward over the loose hair rather than sticking out sideways above it.
Who it suits: Mid-back length hair, garden parties and outdoor weddings.
Tip: Pin from underneath at a 45 degree angle so no pin head is visible from the front or the side.
16. Half Up Mermaid Braid With Clip-In Extensions
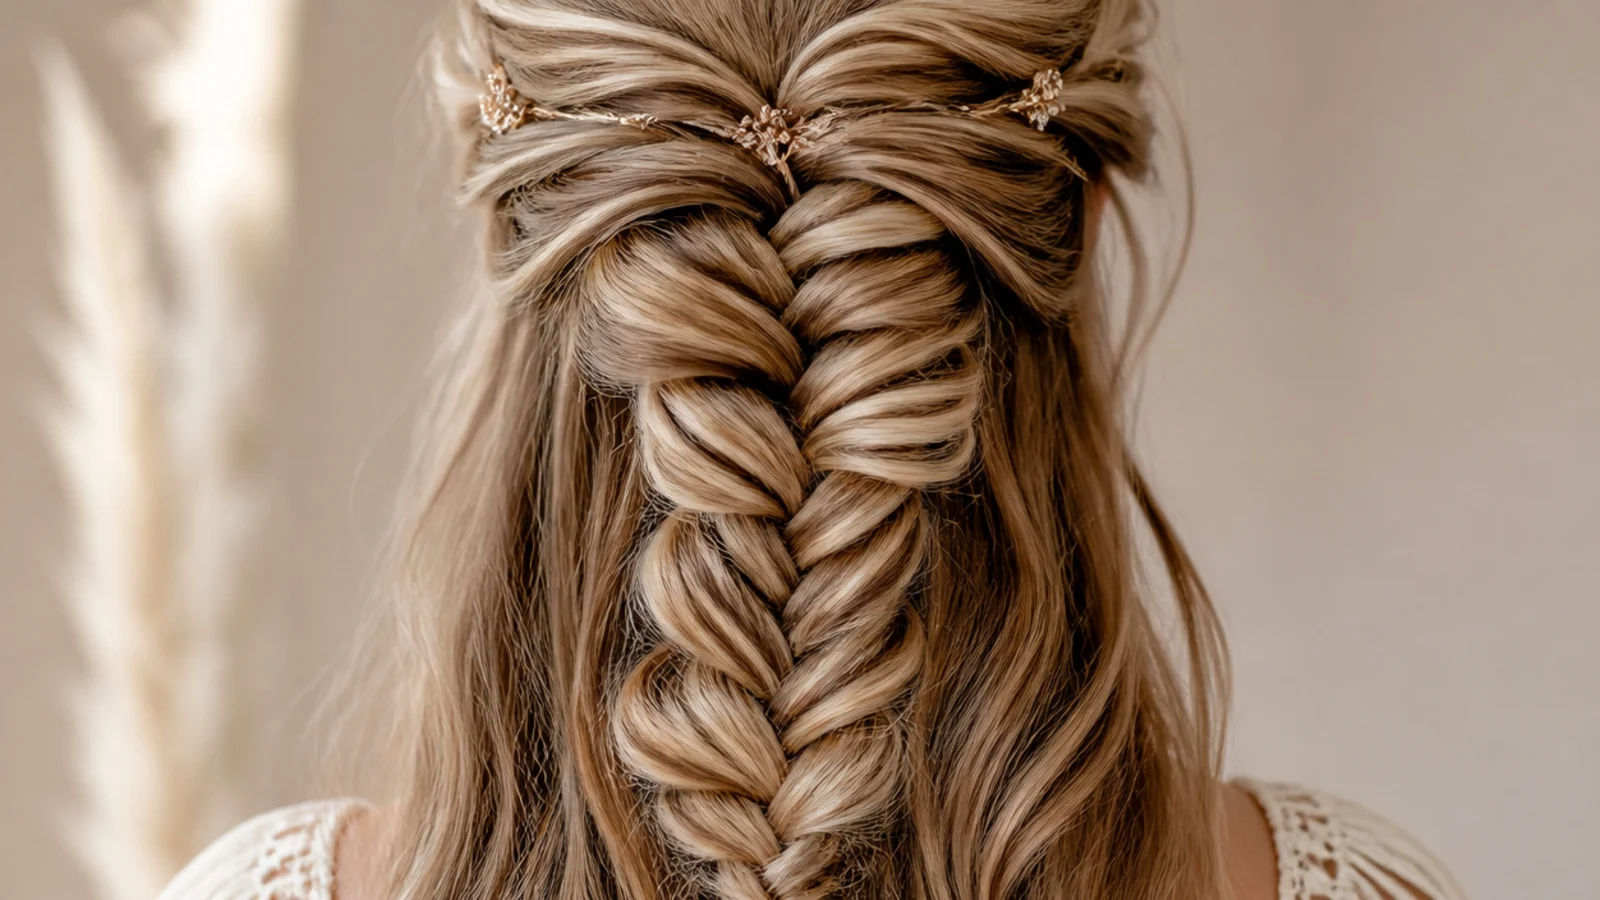
Clip two 4 inch wefts along the occipital line, below where the half-up section will be gathered, so the clips sit hidden under the braid and add body to the loose half instead of the braided half. Adding weight underneath makes the pancaked braid look wider by contrast, which is a cheaper trick than trying to thicken the braid itself. Match the weft to your mid-lengths rather than your roots. Standard clip-in sets run about 60 to 150 dollars for human hair in a full pack.
Who it suits: Fine or shorter hair wanting a fuller half-down section.
Tip: Clip the wefts before you part off the top section, or you will have to redo the part to hide the clips.
17. Half Up Mermaid Braid With Beach Waves
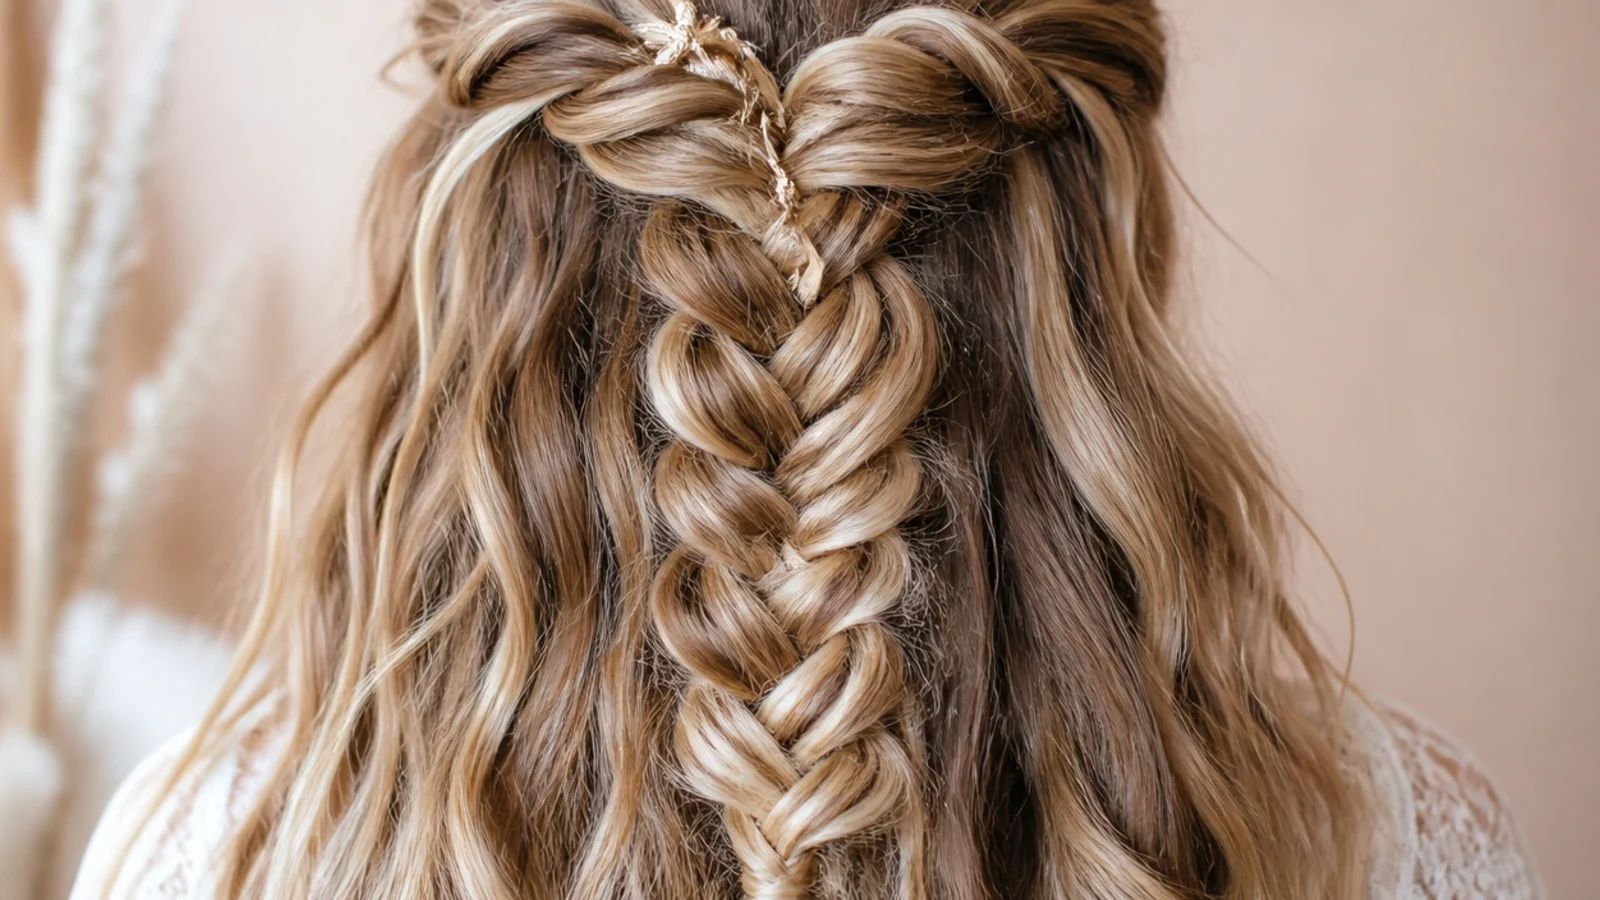
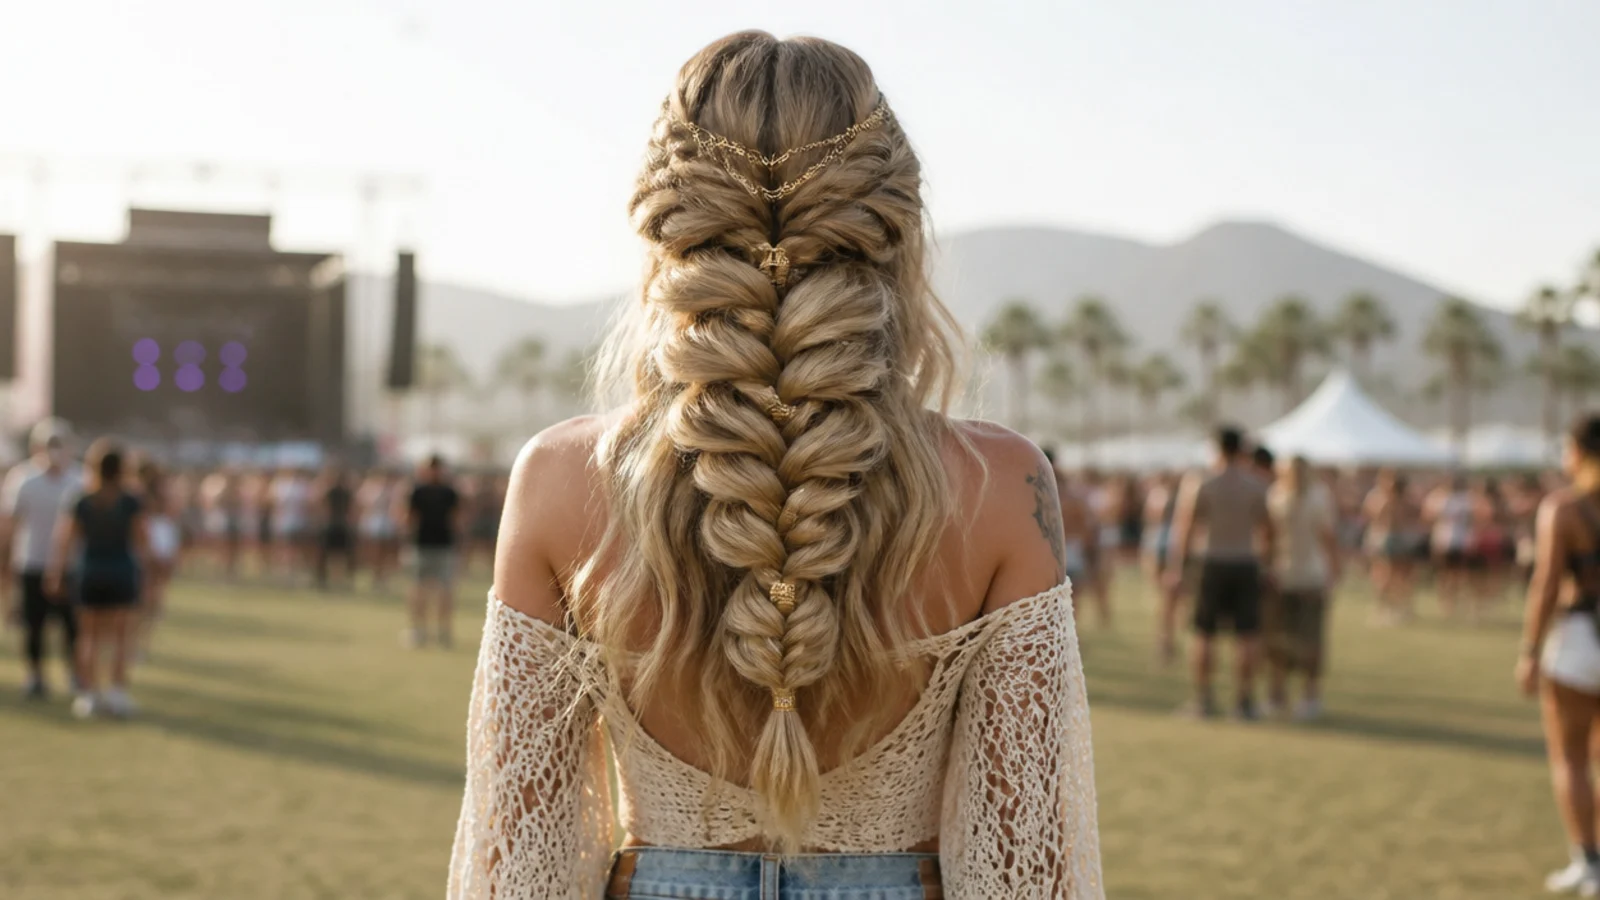
Spray damp lengths with a salt spray, rough dry, then braid the top on genuinely undone hair. This is the most forgiving version on the list because salt texture grips so well that the fishtail holds without any tension, and the pancaking stays put for hours. The braid reads deliberately imperfect, with strands escaping at the edges, which is the point. It is the standard festival look for a reason: it survives heat, dust and a full day outdoors better than any smooth version here, and it layers well with the accessories in boho mermaid braids.
Who it suits: Festivals, beach days and hair that refuses to hold a curl.
Tip: Salt spray is drying, so keep it on the mid-lengths and ends and stay off the scalp entirely.
18. Half Up Mermaid Braid Into a Bubble Tail
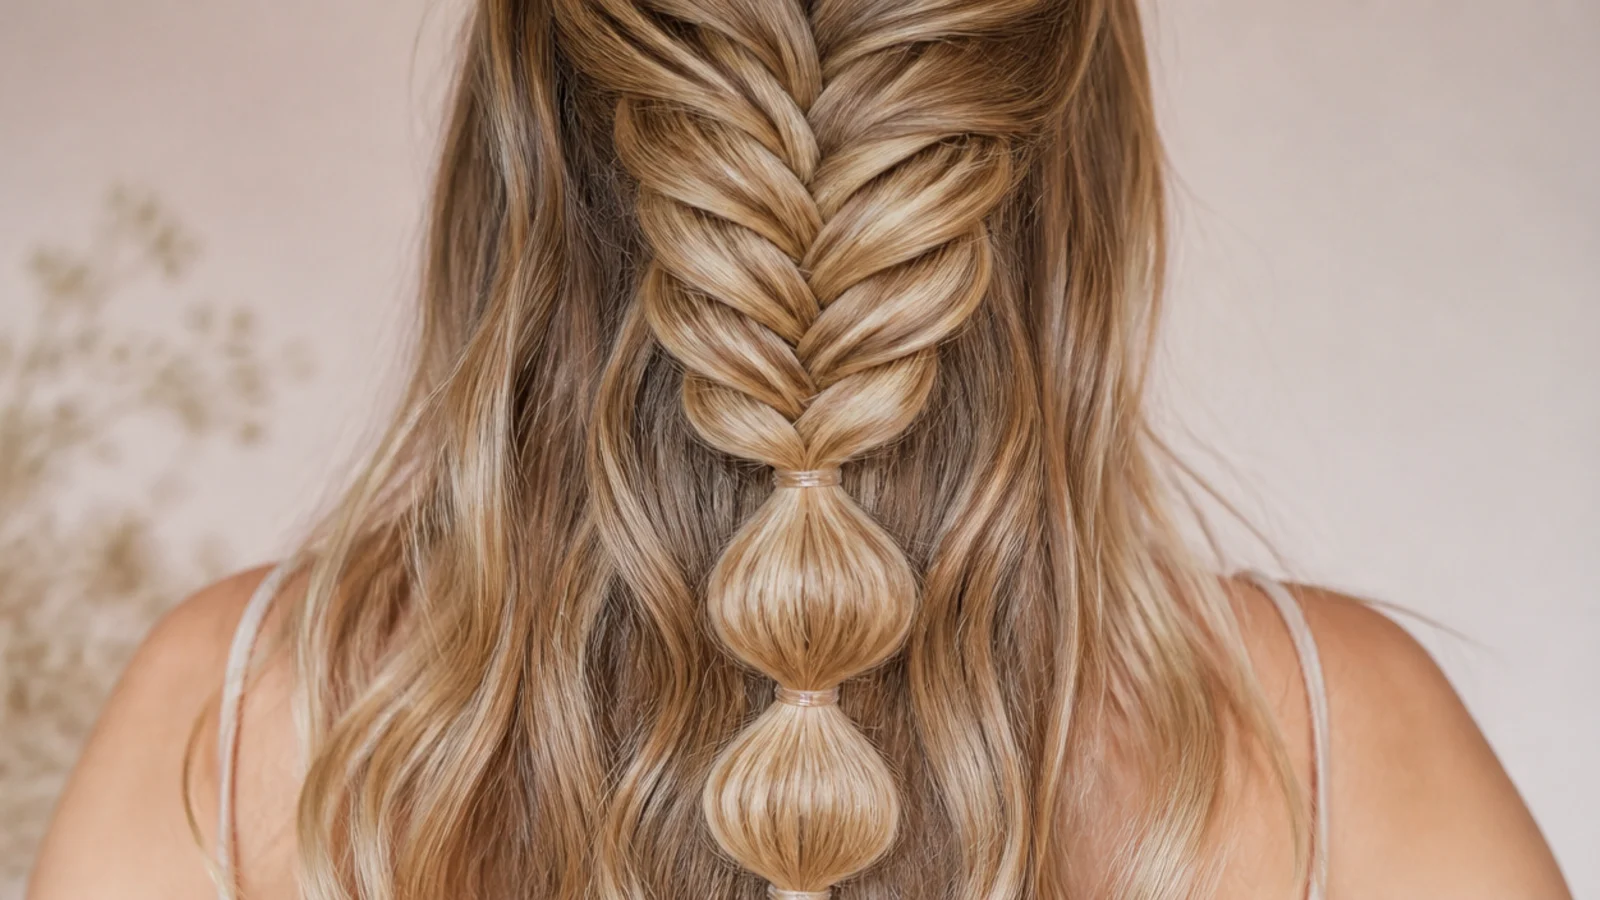
Braid and pancake the top section for about 4 inches, then stop and switch to bubbles: tie a clear elastic every 2.5 inches down the remaining braided tail and tug each segment round. The braid gives you texture at the top and the bubbles give you rhythm below, and both share the same widening logic, since a bubble is just a pancake in the round. It reads younger and more playful than the classic version and is one of the easiest to do on yourself.
Who it suits: Teens, prom, and anyone braiding their own hair blind.
Tip: Round each bubble by tugging outward at the sides only; tugging at the top and bottom flattens it.
19. Half Up Mermaid Braid on Blonde Balayage
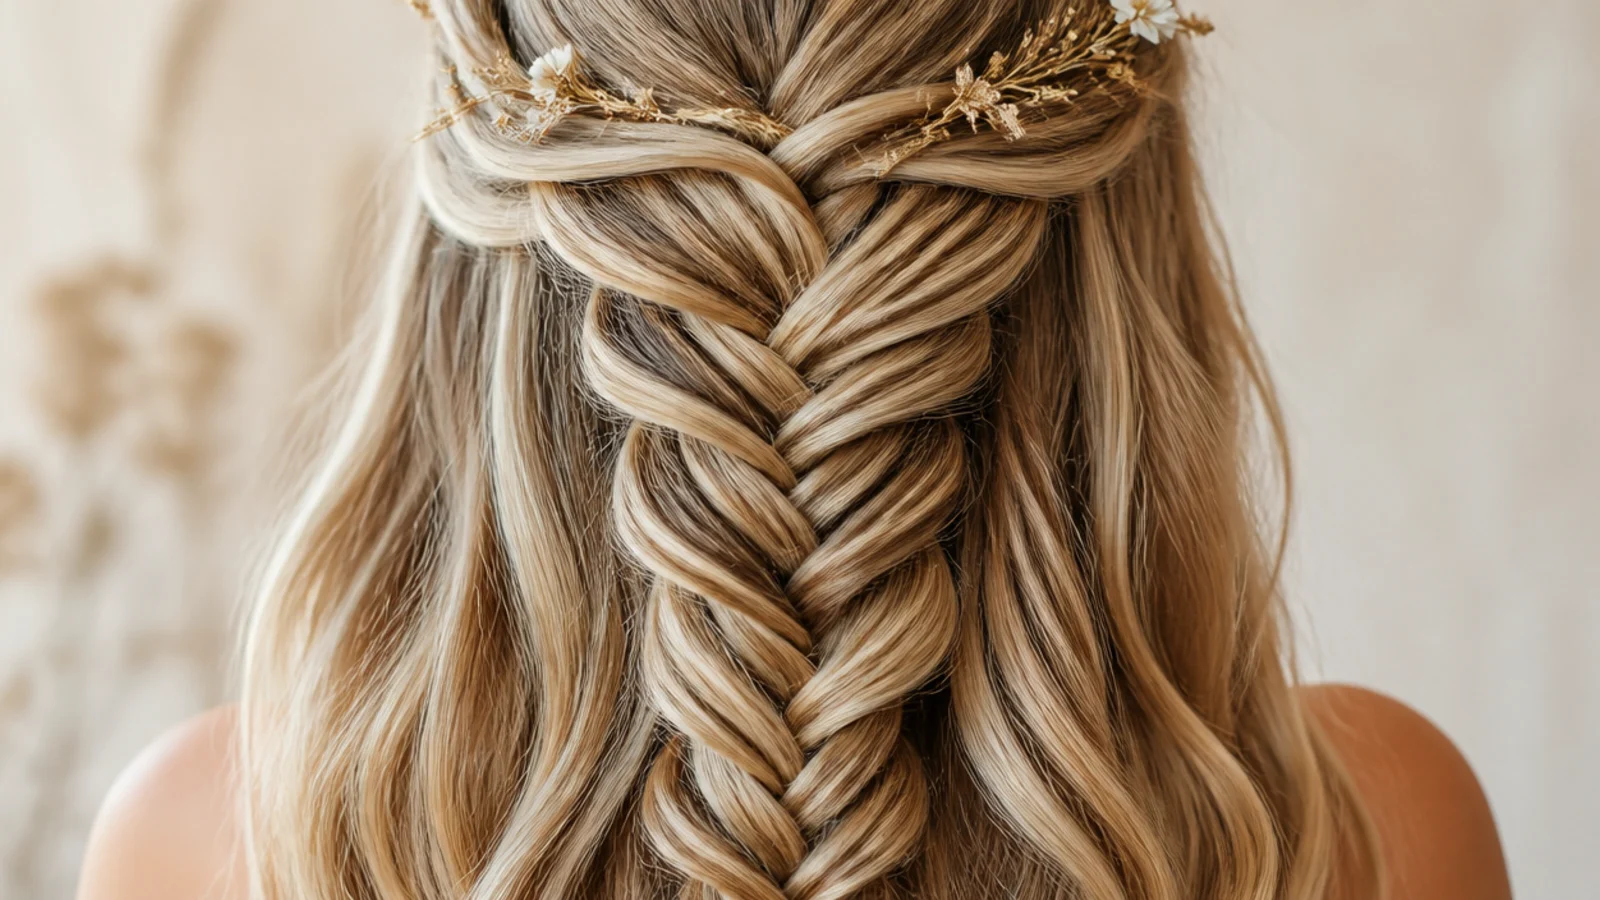
Multi-tonal color is the cheat code for this braid. Every crossover in a fishtail exposes a new strand, so balayage or highlights turn the braid into a woven pattern of light and dark that a single-process color simply cannot produce. If your hair is one flat shade, a few face-framing foils or even a temporary root shadow will visibly deepen the braid. Pancake a little wider than usual here, because opening the crossovers is what exposes the darker under-color. The same effect scales on long mermaid braids.
Who it suits: Balayage, ombre and highlighted hair of any length.
Tip: Braid with the lighter pieces facing outward at each crossover so the contrast lands on the surface.
20. Messy Half Up Mermaid Braid on Second-Day Hair
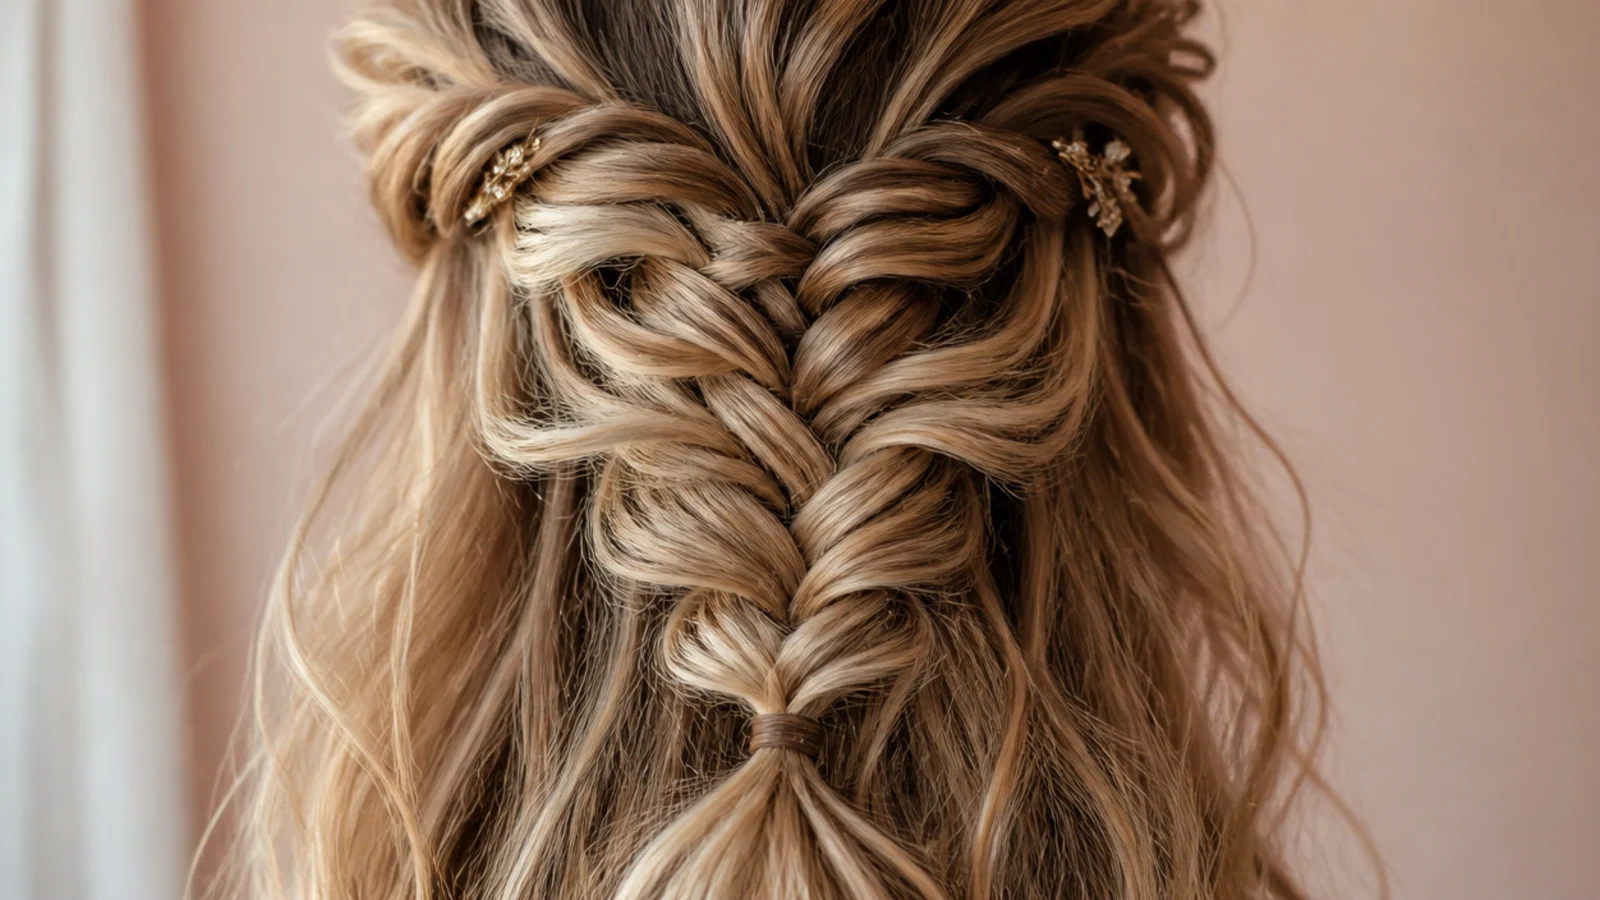
The five minute version, and the one most people will actually wear. Day-two hair has enough natural grip that you can fishtail without any product, pancake aggressively, and let strands fall where they want. Freshly washed hair is too slippery for this to hold. Pull a few pieces free at the crown afterward to kill the flat helmet line. It is also the best braid to sleep in loosely, which delivers next-day waves through the lengths for free the following morning. More easy versions sit on the mermaid braids hub.
Who it suits: Second-day hair, school runs and busy mornings.
Tip: Sleep in it braided loosely with a satin pillowcase and you wake up with the waves the next look needs.
What a Half Up Mermaid Braid Actually Is
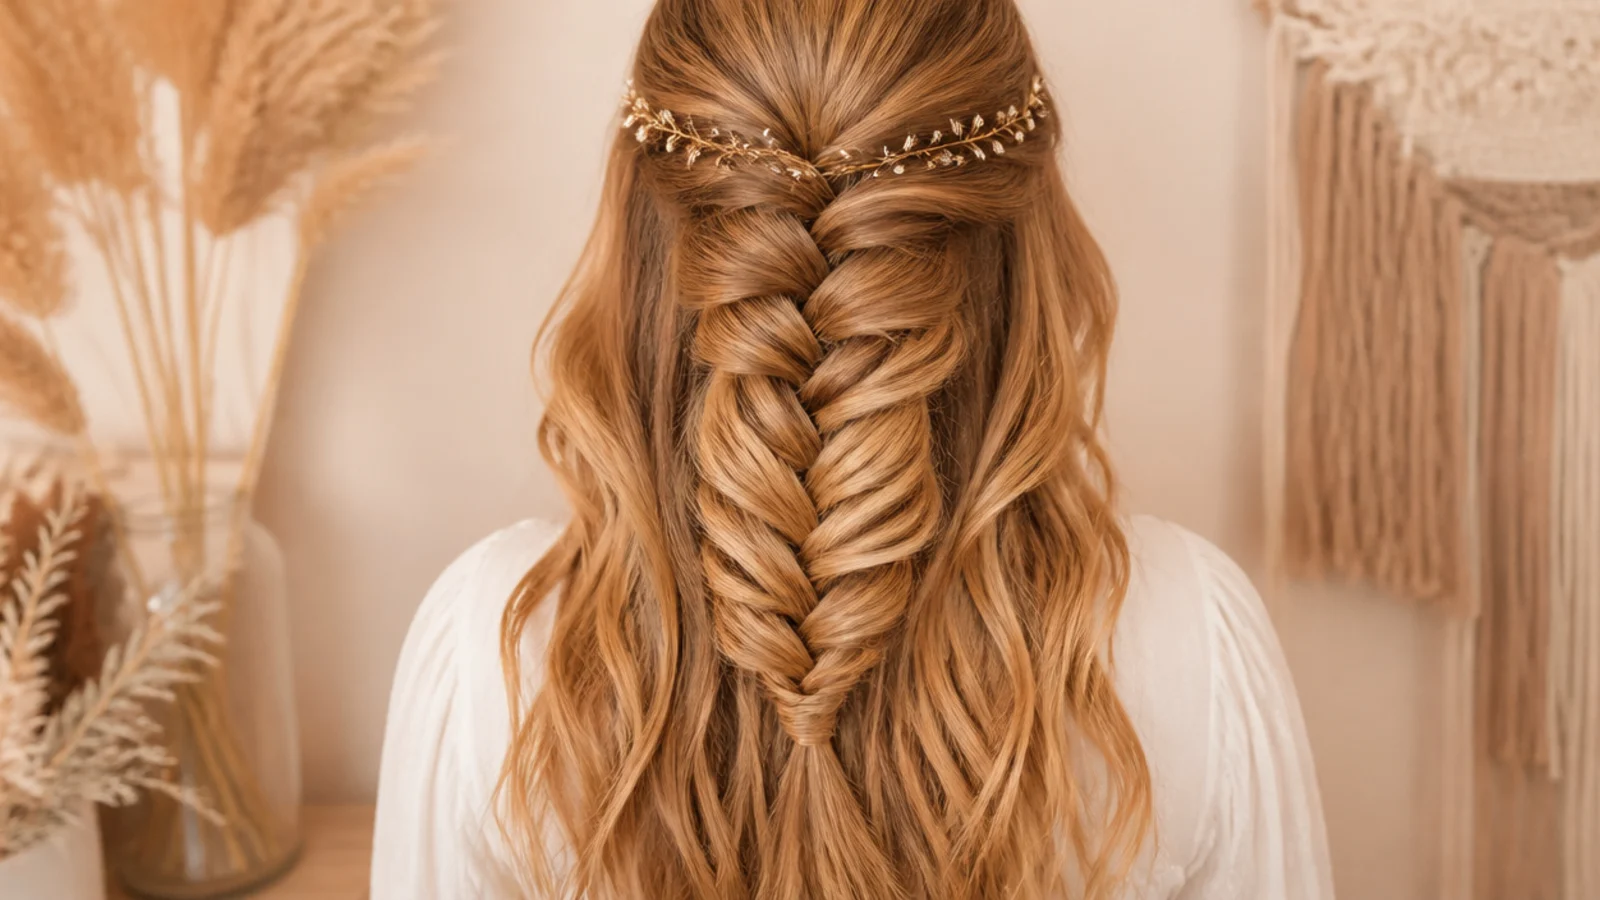
A mermaid braid is a fishtail that has been pancaked wide until it fans out like a tail. That is the entire definition, and it matters because most people searching this term expect a separate braiding technique to learn. There is not one. You cross a thin piece from the outside of each section over to the other side, alternating, exactly as you would for any fishtail, and the mermaid quality appears afterward when you widen it. The half up version simply restricts that braid to the top section of hair, from roughly temple to temple back to the crown, and leaves everything below it loose. Two things distinguish a good one. First, the braid must be shorter than you think, around 4 to 6 inches, so it sits on top of the loose hair rather than disappearing into it. Second, the loose hair underneath needs texture, because a wide braid over flat straight hair reads unbalanced, which is why the technique is easiest to learn on long mermaid braids first. Everything else on the mermaid braids hub is a variation on those two rules.
Half Up Mermaid Braids by Hair Length and Thickness
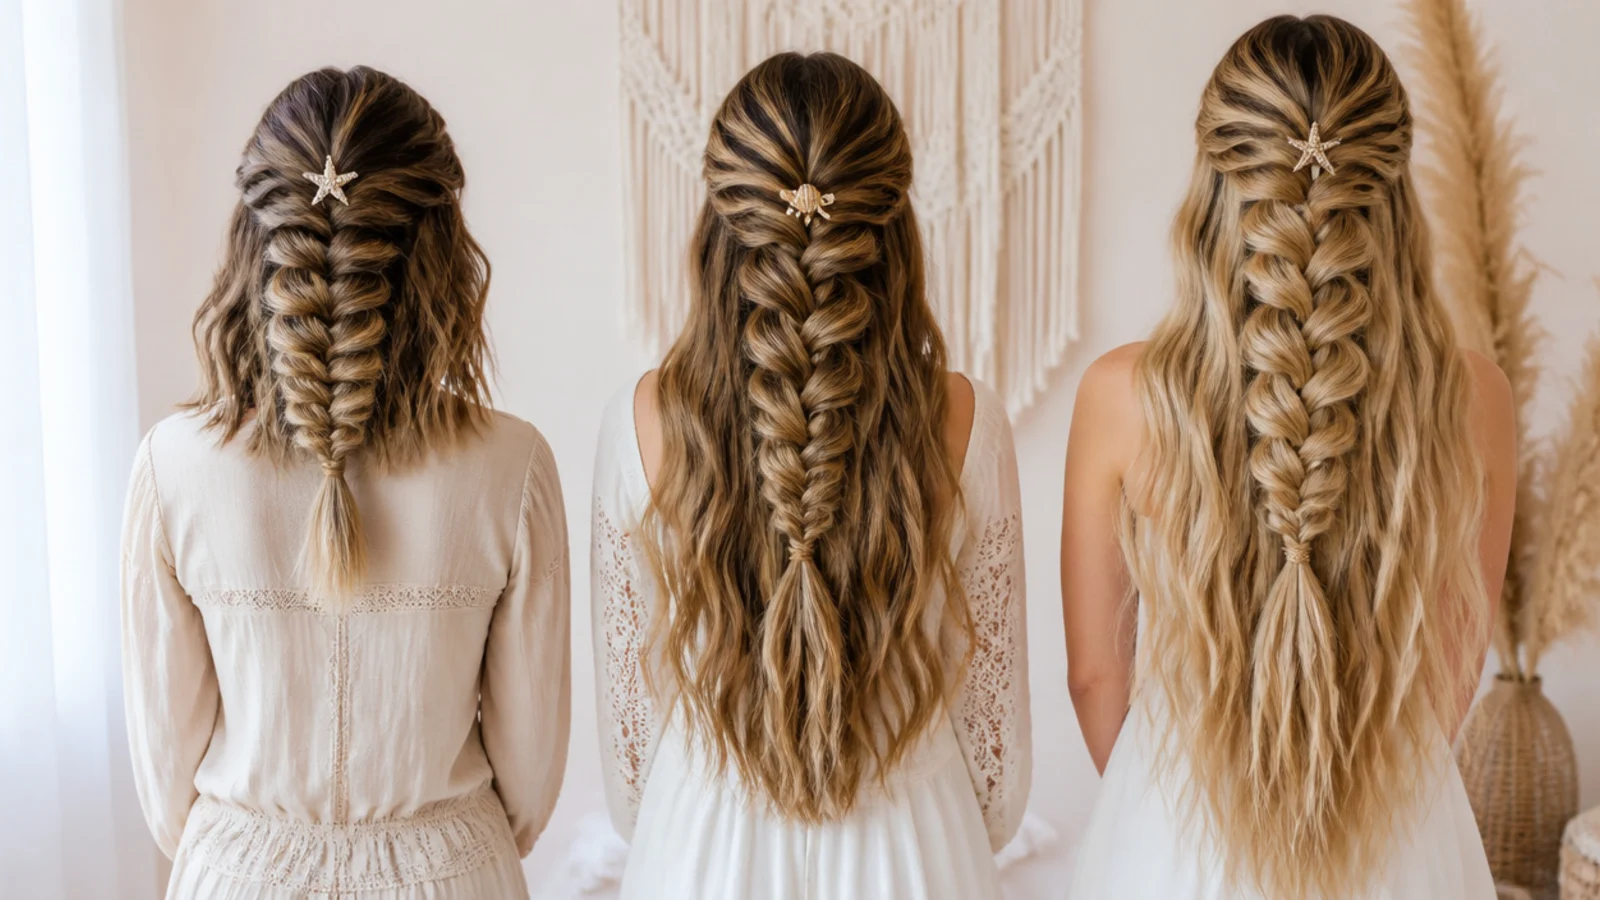
Length decides the proportions. At 12 to 14 inches, a collarbone lob, take a narrower top section about 4 inches wide and braid only 3 to 4 inches so the braid finishes above the blunt ends. At 16 to 20 inches, mid-back, you have the ideal canvas: a 6 inch section braided 5 to 6 inches, pancaked to about 2.5 inches wide. Past 22 inches the braid can stay the same size while the loose hair grows dramatically longer, which is the most flattering ratio of all and the reason long mermaid braids photograph so well. Thickness changes the technique rather than the measurements. Thick hair needs a smaller top section than instinct suggests, because a heavy braid pulls its own crossovers closed and the fan collapses within an hour. Fine hair needs the opposite: a slightly wider section, a tighter braid, and much more aggressive pancaking. Medium density is the easy case, where a standard section and moderate pancaking give you a braid that holds its width all day without any adjustment.
How to Pancake a Half Up Mermaid Braid Without Collapsing It
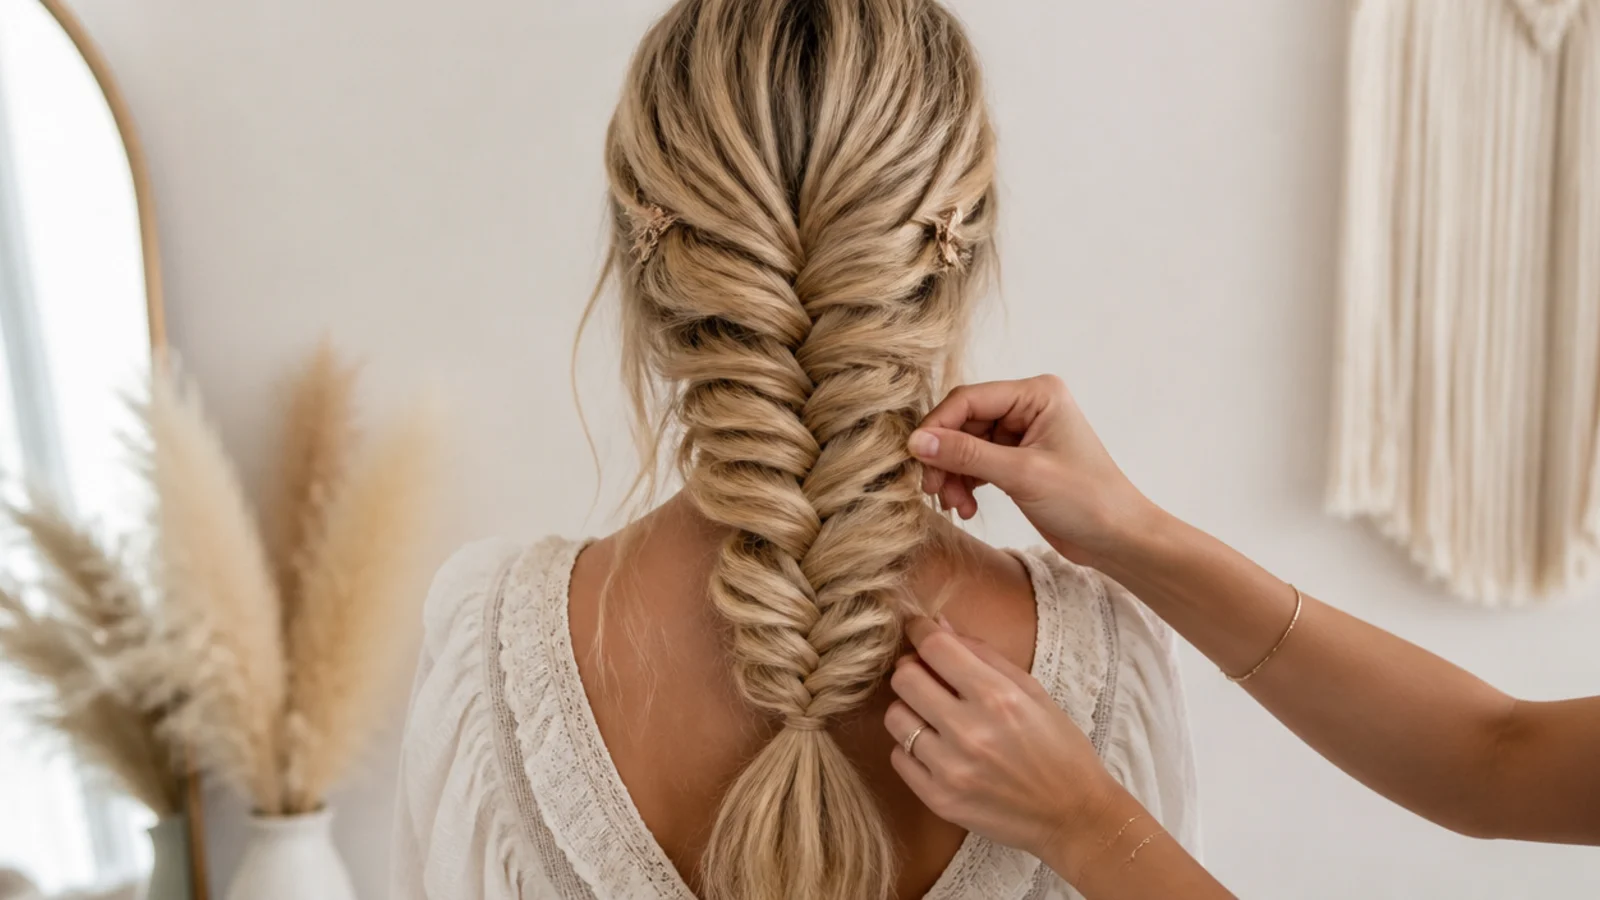
Pancaking is the whole skill, and it has a correct order. Finish the braid and tie it off first, because widening an unsecured braid pulls it apart from the bottom. Then start at the elastic and work upward, never the other way, holding the elastic firmly between the thumb and finger of your free hand so the braid cannot slide loose while you tug. Take hold of the outer edge of a single crossover, not the whole braid, and pull it outward two or three millimeters. Then do the matching crossover on the other side. Alternate side to side the entire way up so the braid widens symmetrically instead of bowing. The two failures are both about greed. Pull more than about five millimeters at once and the crossover loses its grip on the strand beneath it, leaving a gap. Pull only on one side and the braid curves like a banana. A finished half-up braid should measure roughly two to two and a half inches across at its widest, which is usually the middle, and taper slightly at both ends.
Half Up Mermaid Braids on Fine or Slippery Hair
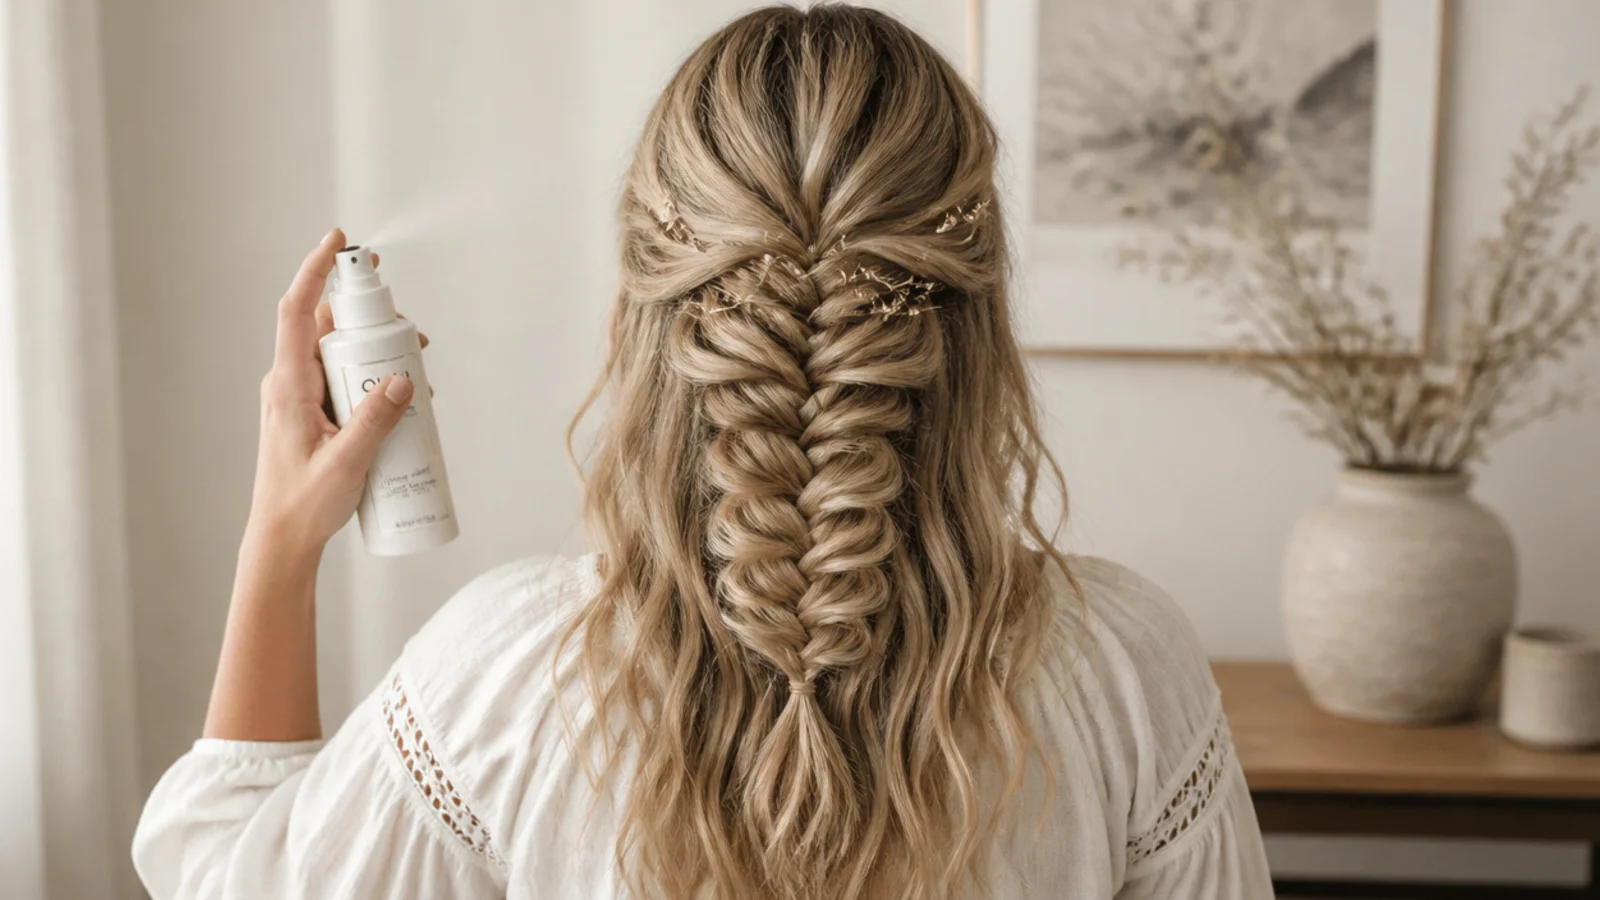
Freshly washed hair slips, and this braid depends on friction. If you wash in the morning and braid an hour later, the crossovers will slide loose and the pancaking will close back up before you leave the house. The simplest fix is timing: use day-two hair. When that is not possible, mist the top section with a dry texture spray or a light dry shampoo and rub it in at the roots with your fingertips before you part anything off. Both add the grit that fine hair lacks. Silicone-heavy conditioners and leave-in oils make the problem worse, so skip them on wash day if a braid is planned. Braid tighter than feels comfortable, because a tight braid is the only kind that survives pancaking on fine hair. Use two stacked clear elastics rather than one, wrapped four times each. If your hair is both fine and short, clip-in wefts placed below the occipital bone add weight to the loose half and make the braid on top read substantially wider by contrast.
Waves, Accessories and a Boho Finish
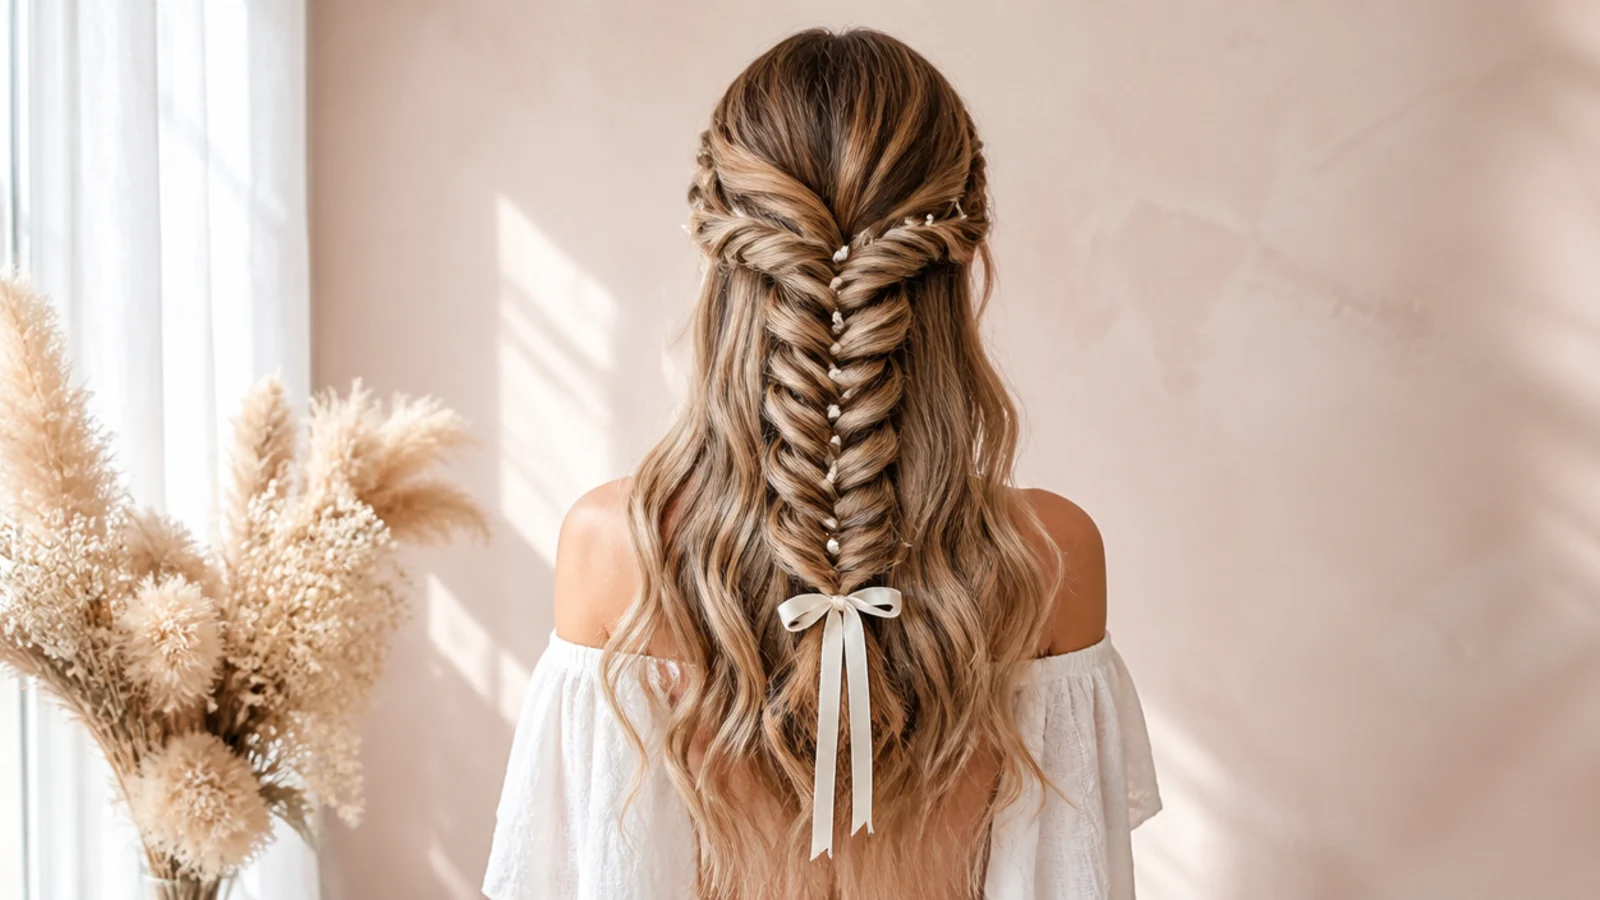
Loose curls before braiding create the volume that reads thick, and this is the step people skip. A one inch barrel iron worked through the whole head in alternating directions, then broken up with fingers rather than a brush, takes twenty minutes and does more for the finished look than any amount of extra braiding effort. Once the shape is right, accessories go into the fanned crossovers, which is where a mermaid braid beats a tight fishtail: the open pockets hold a pin without slipping. Use an odd number of pearl or gold pins, angled downward. A quarter inch silk or velvet ribbon braided in as part of one strand adds grip on fine hair and holds the width open. Small gold hair rings, seashell pins and dried flowers all sit well in the same pockets for a festival finish, which is the direction boho mermaid braids takes further. Keep the loose lengths genuinely undone, because polished waves under a boho braid look like two different hairstyles.
Making a Half Up Mermaid Braid Last Through an Eight-Hour Event
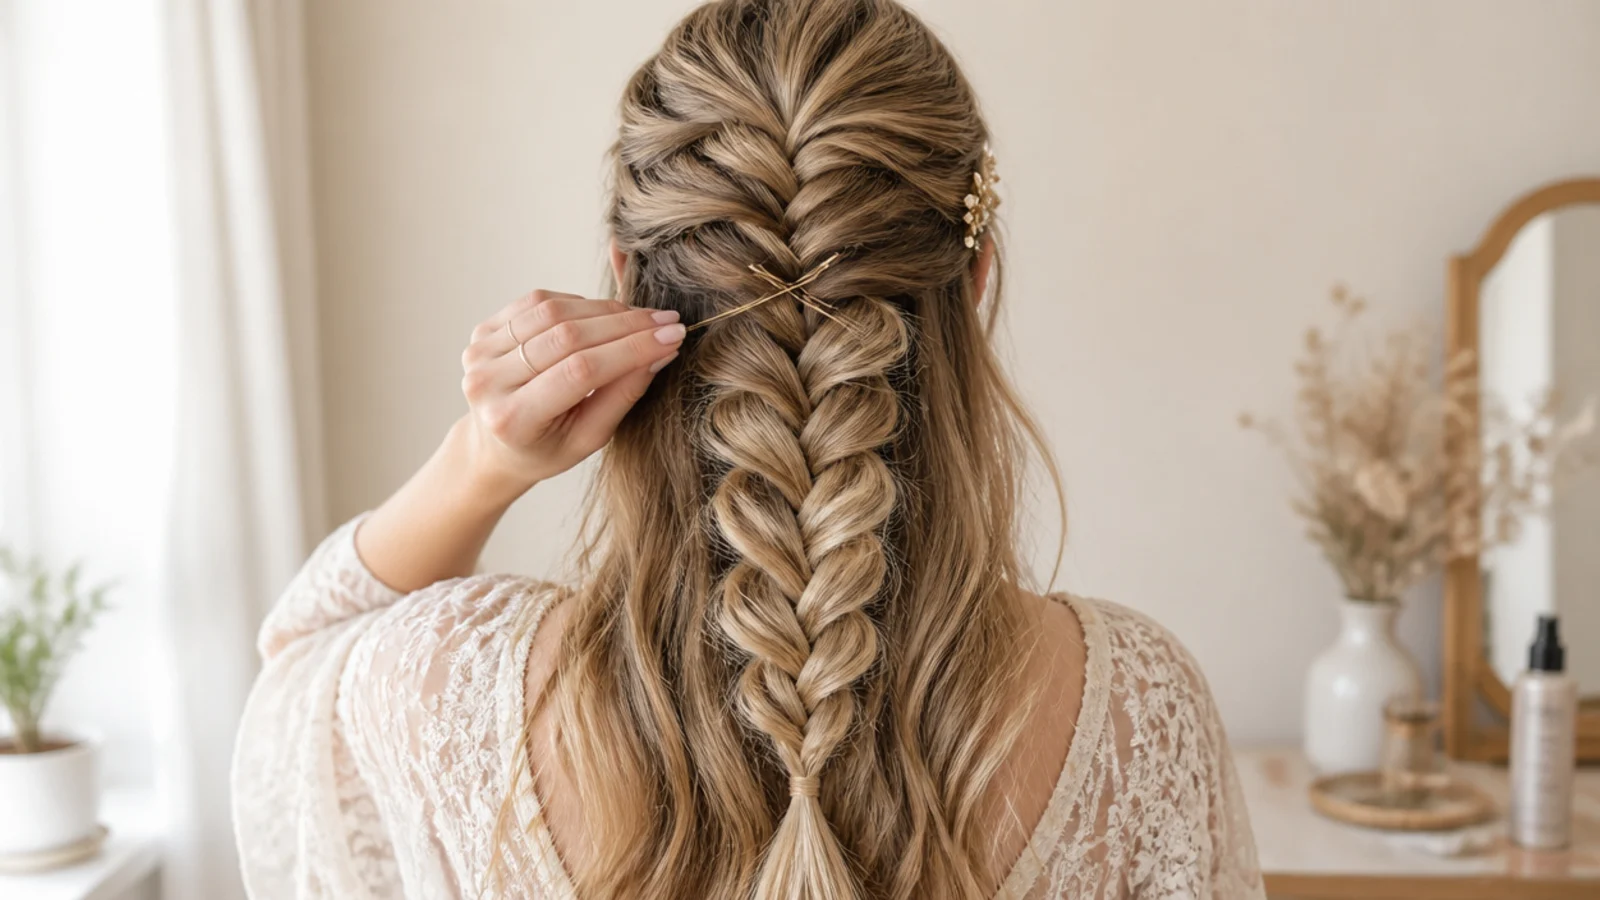
This is the question the older tutorials never answer, and it is the reason half-up is the highest-stakes look on this board: it goes to weddings and proms, where it has to survive eight hours of dancing. Three anchors do the work. First, cross two bobby pins in an X directly under the elastic, pushed up into the braid from below rather than down from above, so the pins fight gravity instead of following it. Second, spray a flexible-hold hairspray from about ten inches away over the top of the pancaked braid and let it dry untouched, which locks the fanned crossovers without turning the braid crunchy. Third, deal with the loose half separately, since a half-up rarely fails at the braid and usually fails underneath, where curls drop. Set the lengths with the same flexible spray while they are still warm from the iron. Carry two spare clear elastics and two pins in a bag. If you are pinning around a cap or headpiece, the same logic applies as in half up graduation hairstyles.
Frequently Asked Questions
What is a half up mermaid braid?
It is a fishtail braid worked from the top section of hair only, from about temple to temple back to the crown, then pancaked wide so it fans out like a tail over the loose hair hanging below. The half-down section stays completely unbraided, which is what separates it from a full mermaid braid running the entire length.
How do you do a half up mermaid braid step by step?
Curl the lengths first, then part off the top section from temple to temple. Split it in two, cross a thin piece from the outer edge of one half over to the other, alternate for about 5 inches, and tie with a clear elastic. Then pancake each crossover outward two or three millimeters, working from the elastic upward, alternating sides.
What is the difference between a mermaid braid and a fishtail braid?
The braiding technique is identical. A mermaid braid is a fishtail that has been pancaked, meaning each crossover is tugged outward until the braid fans wide and flat like a tail. A tight fishtail stays narrow and rope-like. If you can fishtail, you can already do a mermaid braid; the widening is the only extra step.
How do you get a mermaid braid to look thicker?
Three things. Curl the hair on a one inch barrel before braiding, because texture takes up more room than smooth hair. Braid slightly tighter than feels natural so the pancaking has somewhere to travel. Then pancake in small increments, a few millimeters per crossover, working bottom to top and alternating sides so the braid widens evenly rather than bowing to one side.
Can you do a half up mermaid braid on short hair?
Yes, down to about 12 inches, which is roughly collarbone length. Take a narrower top section, around 4 inches wide, and braid only 3 to 4 inches so the braid finishes well above your ends. The mistake on shorter hair is braiding too far down, which turns the half-up into a stubby ponytail instead of a braid sitting over loose hair.
Why does my mermaid braid keep falling apart?
Almost always because the hair is too clean. Freshly washed hair slips and the crossovers cannot grip each other. Use day-two hair, or mist the top section with a dry texture spray before you start. The other common cause is pancaking before tying the elastic, which pulls the braid apart from the bottom rather than widening it.
How long does a half up mermaid braid last?
Six to ten hours with two crossed bobby pins under the elastic and a flexible-hold hairspray over the pancaked braid. Slept in loosely, it lasts overnight and gives you soft waves through the braided section the next morning. The loose half usually gives out first, since curls drop long before the braid itself loosens.
Is a half up mermaid braid good for a wedding?
It is one of the best bridal braids, because the fanned crossovers create open pockets that hold pearl pins and small flowers without slipping, and a veil comb sits cleanly above it at the crown. Do a trial about six weeks out, count the pins used, and buy two spares. The formal versions are collected in mermaid braids for a wedding.
Which mermaid braids look are you saving?
If you remember three things from these 20 half up mermaid braids, make them these. Curl the lengths before you braid, because the volume underneath is what makes the braid on top read wide. Pancake from the bottom of the braid upward, a few millimeters per crossover, with your other hand holding the elastic so nothing slides. And tie off with a clear elastic, because it vanishes in every photograph while a black one reads as a hard line across the braid. Start with the classic version, then branch into a side mermaid braid or a waterfall mermaid braid once the pancaking feels automatic. Everything else lives on the mermaid braids hub.