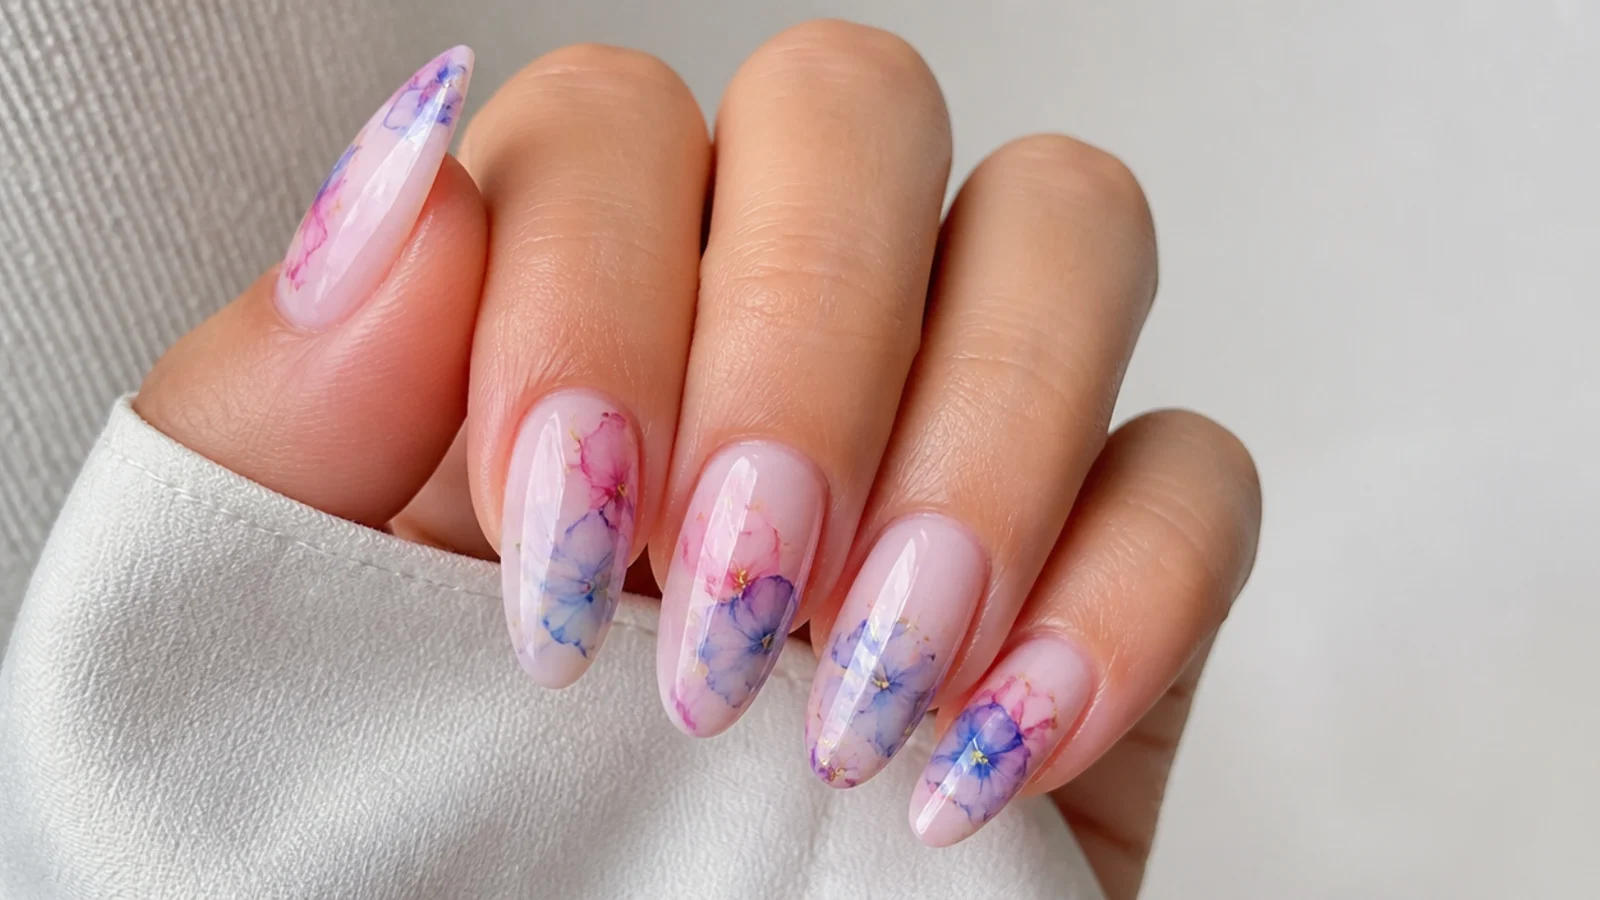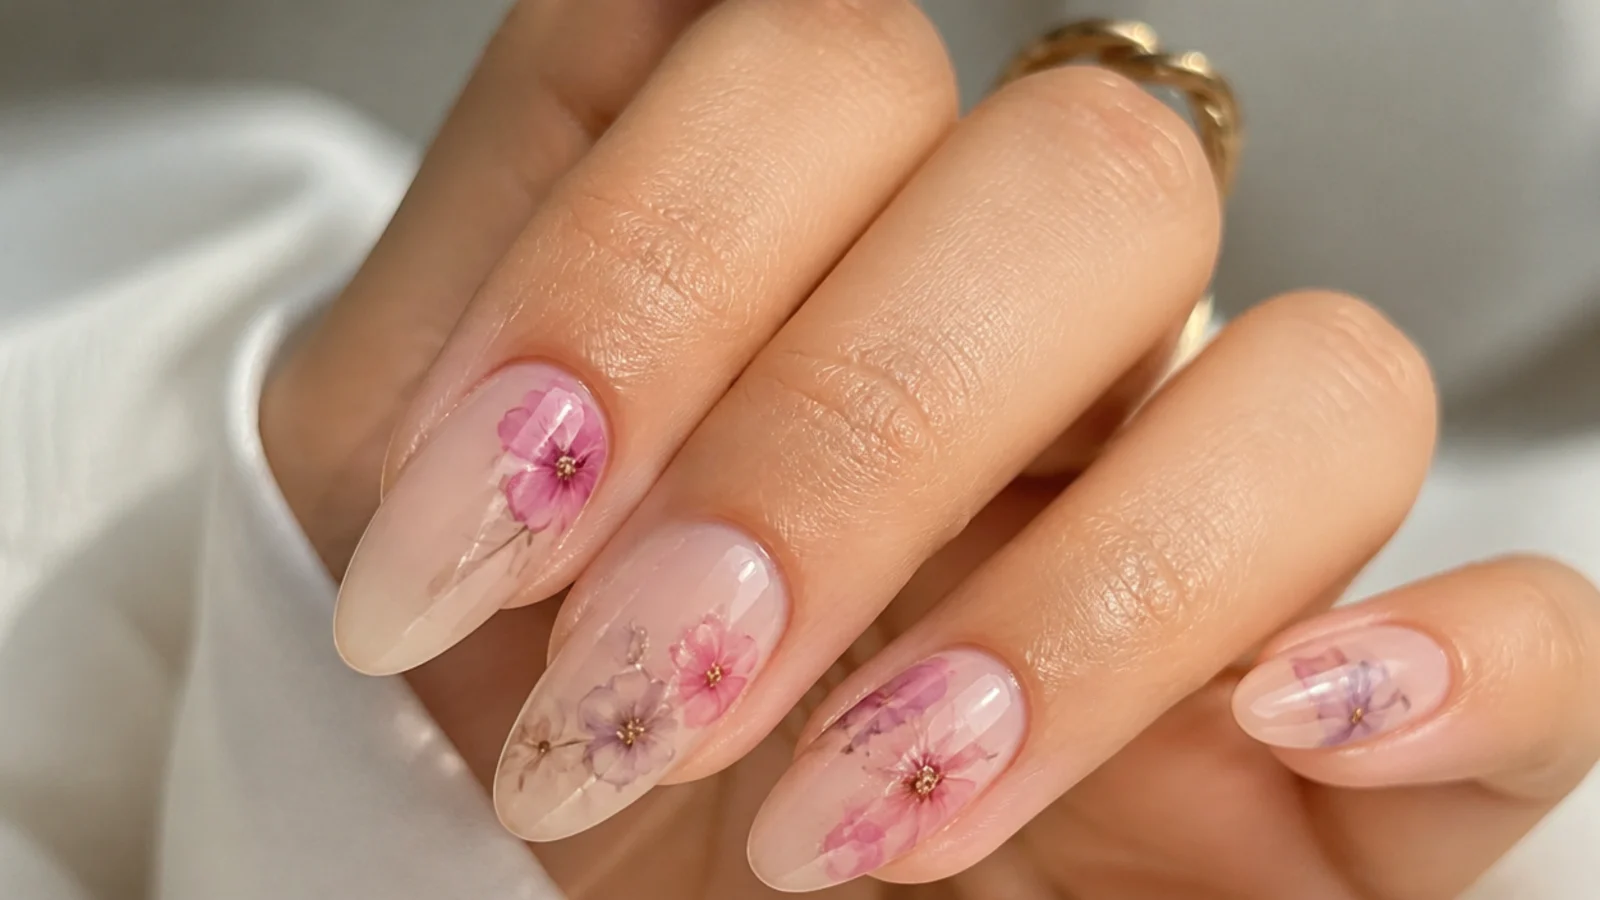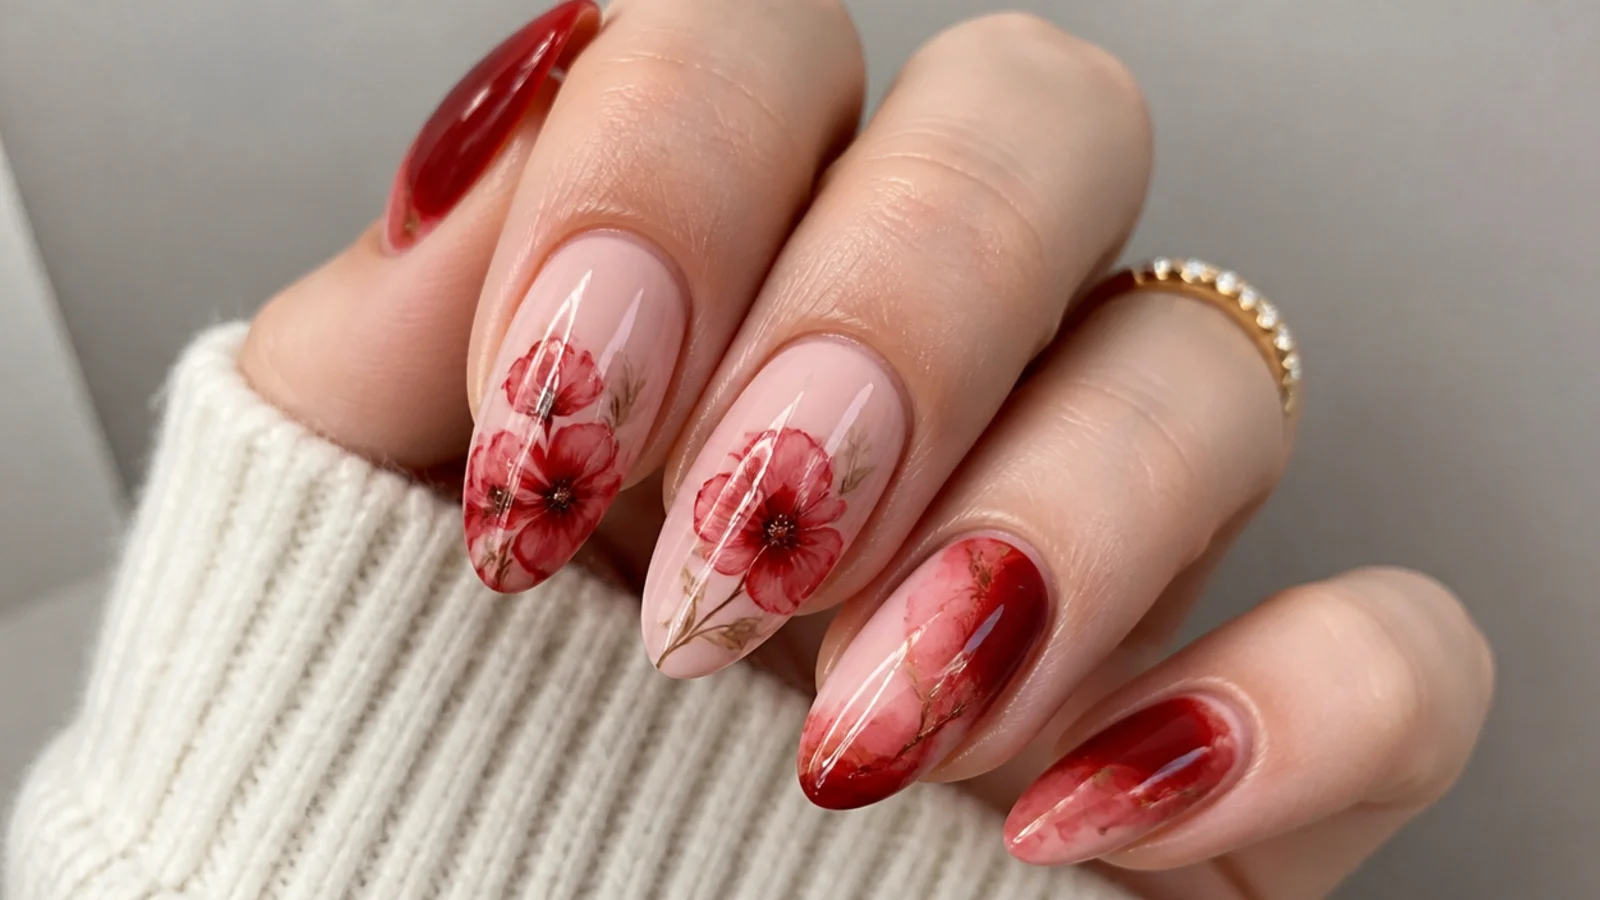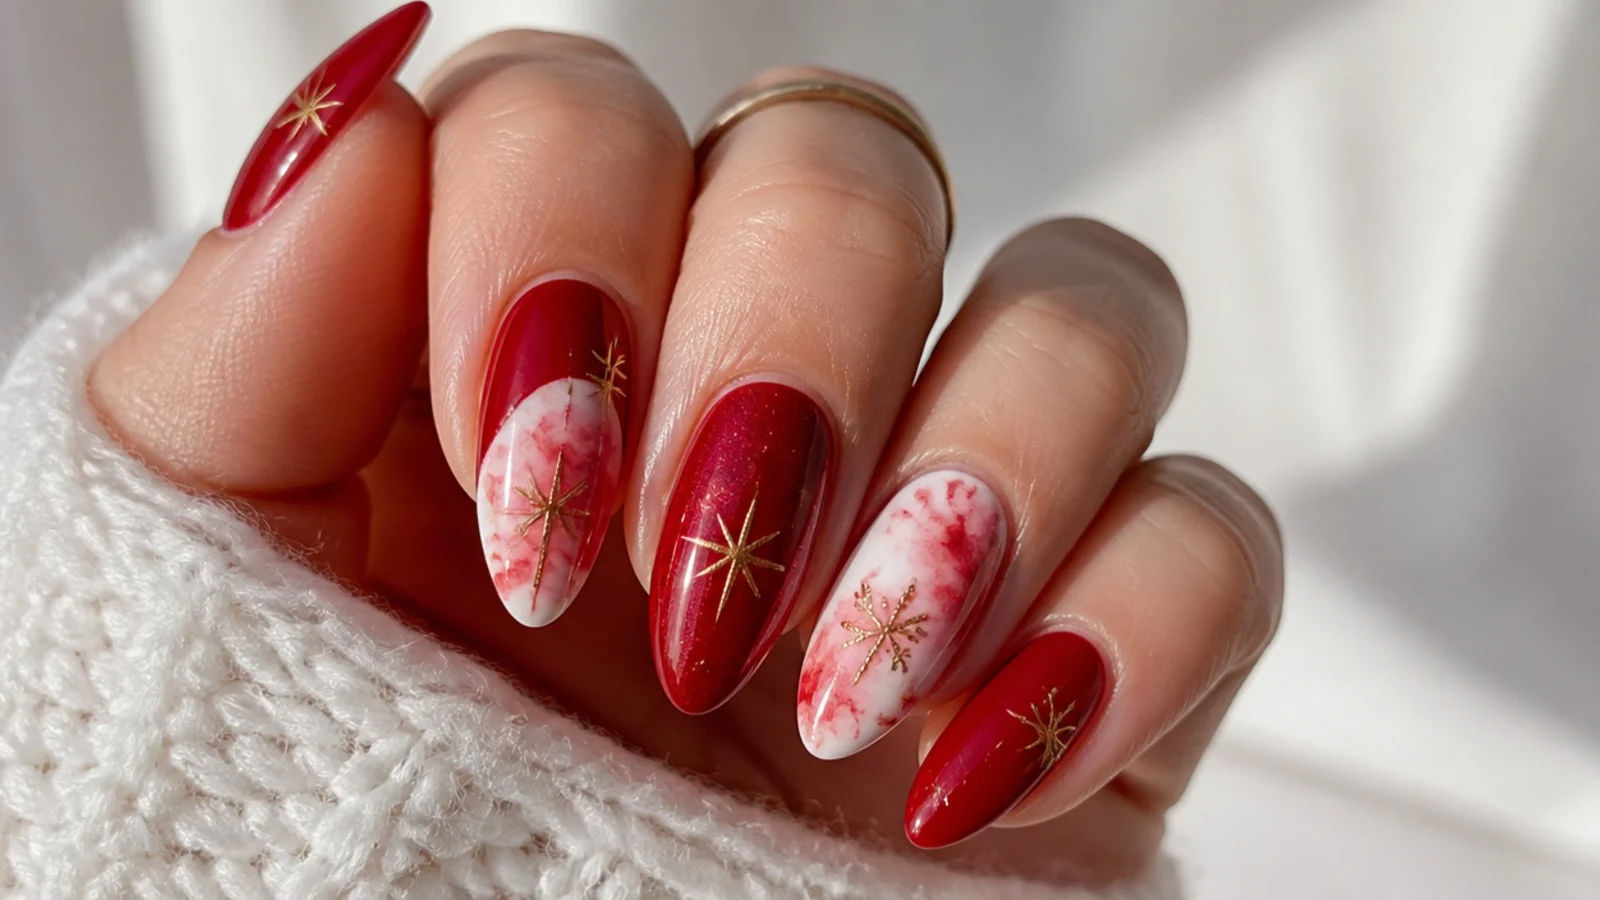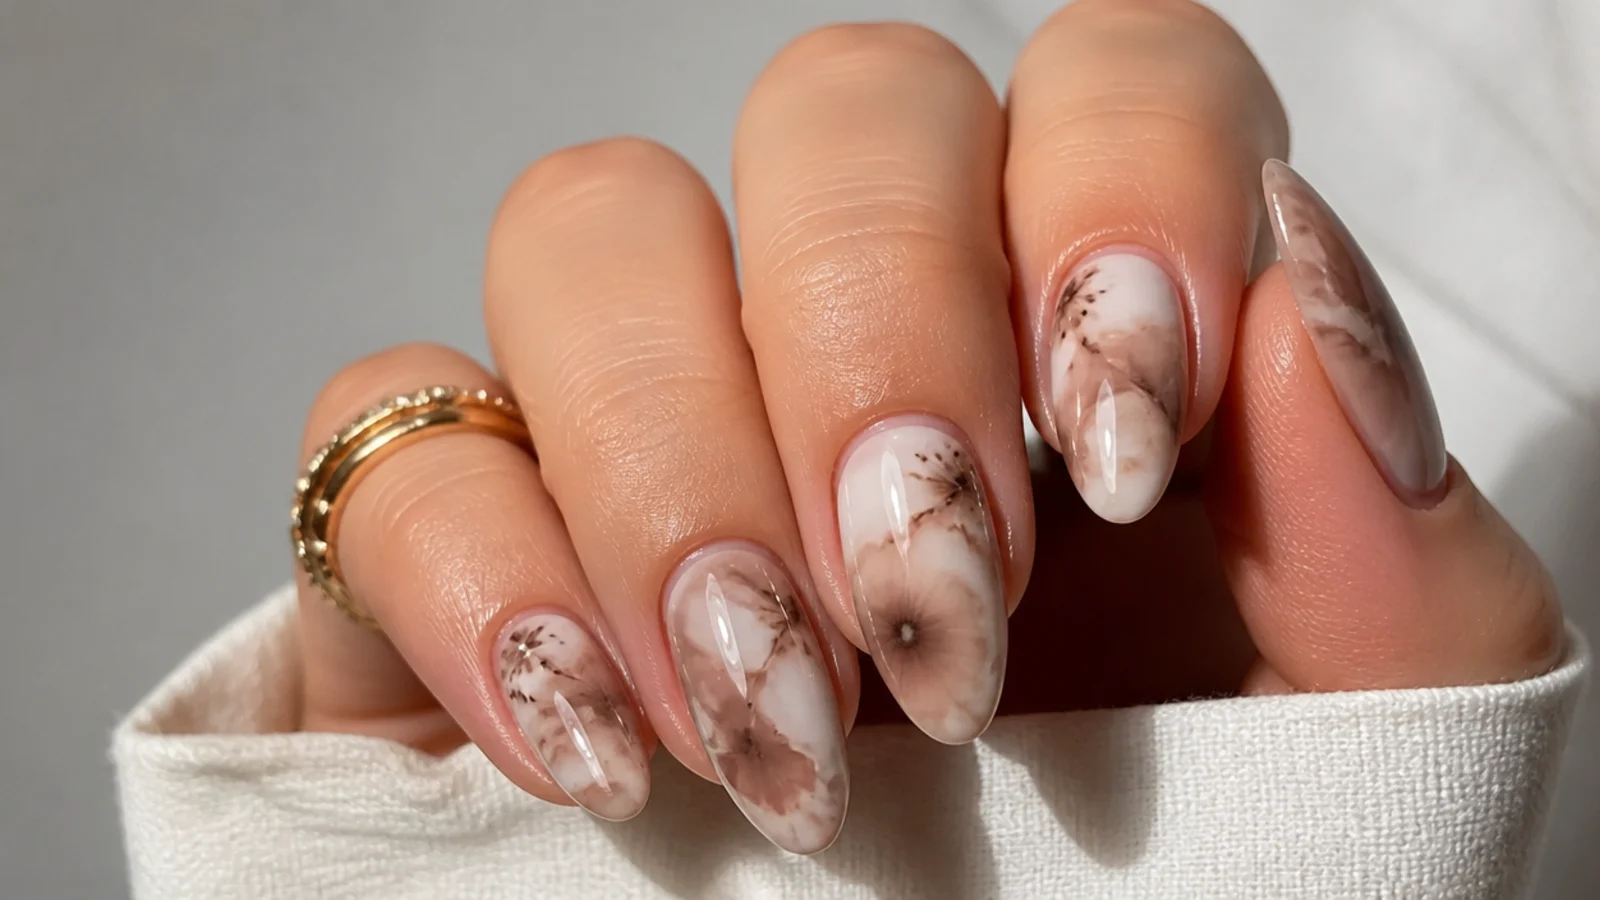
1. Soft Mocha Marble
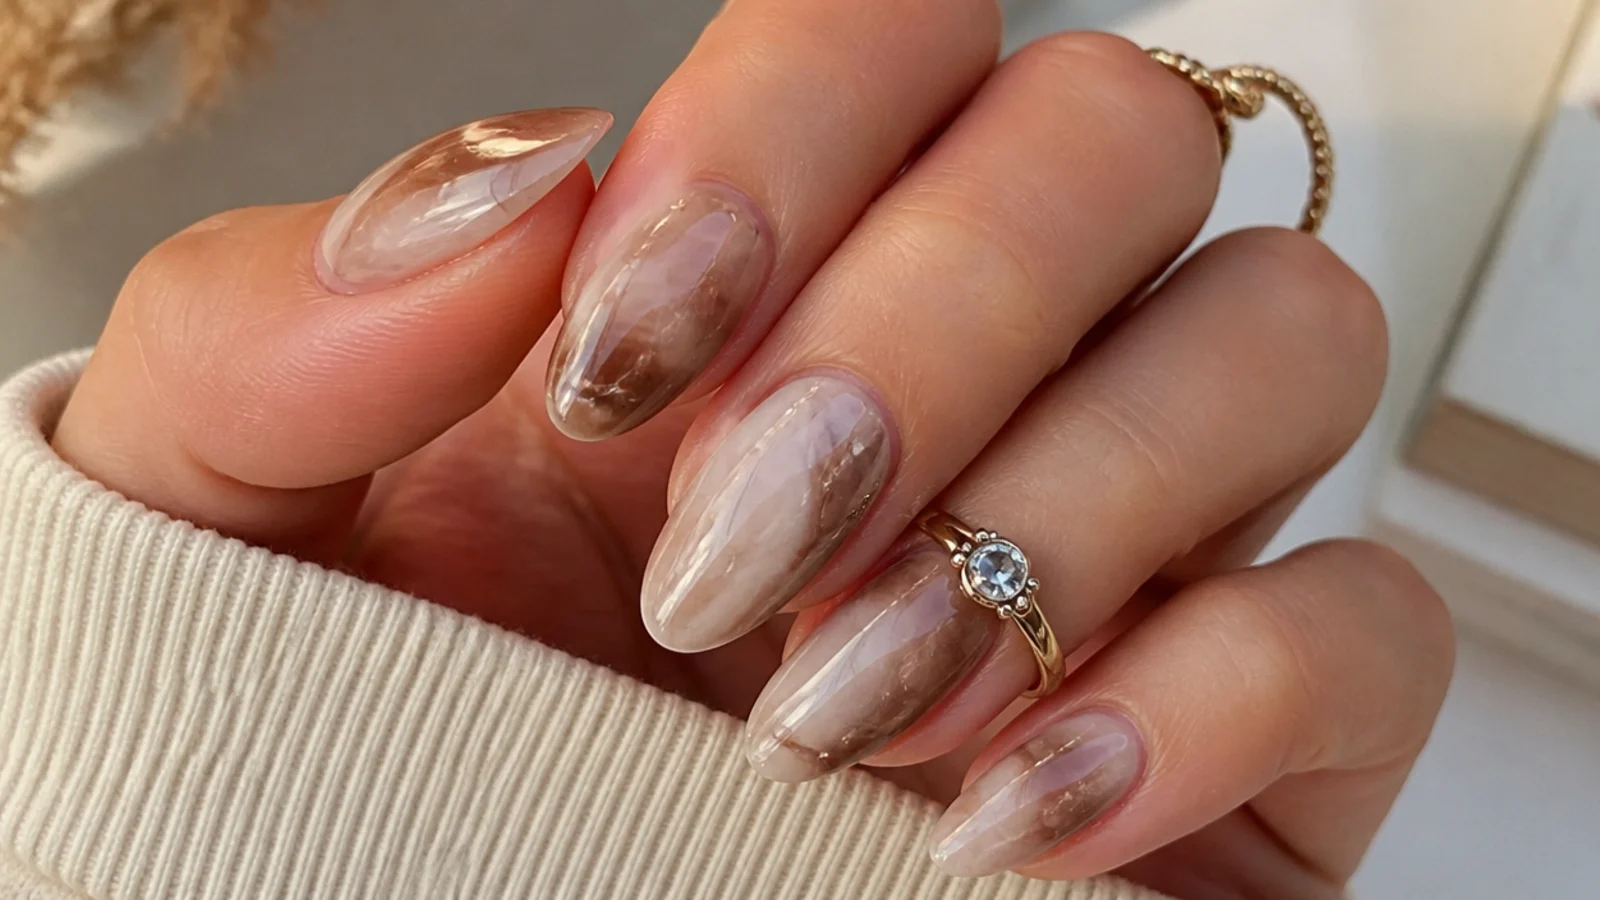
The most-saved fall set - a milky cream base with mocha brown swirled through it in a soft marble. Over a cured nude base you brush a thin layer of blooming gel and, while it is still wet, draw fine lines of mocha gel color with a liner brush so they spread and blur into hazy veins within seconds. A thin blooming layer gives more spread for that watercolor haze; cure once the marble looks right. It reads warm and expensive, perfect for everyday fall wear and cozy sweater season.
Who it suits: Anyone wanting a soft, wearable fall set.
Tip: Keep the blooming gel layer thin so the mocha veins spread and blur instead of sitting sharp.
2. Inky Espresso Tie-Dye
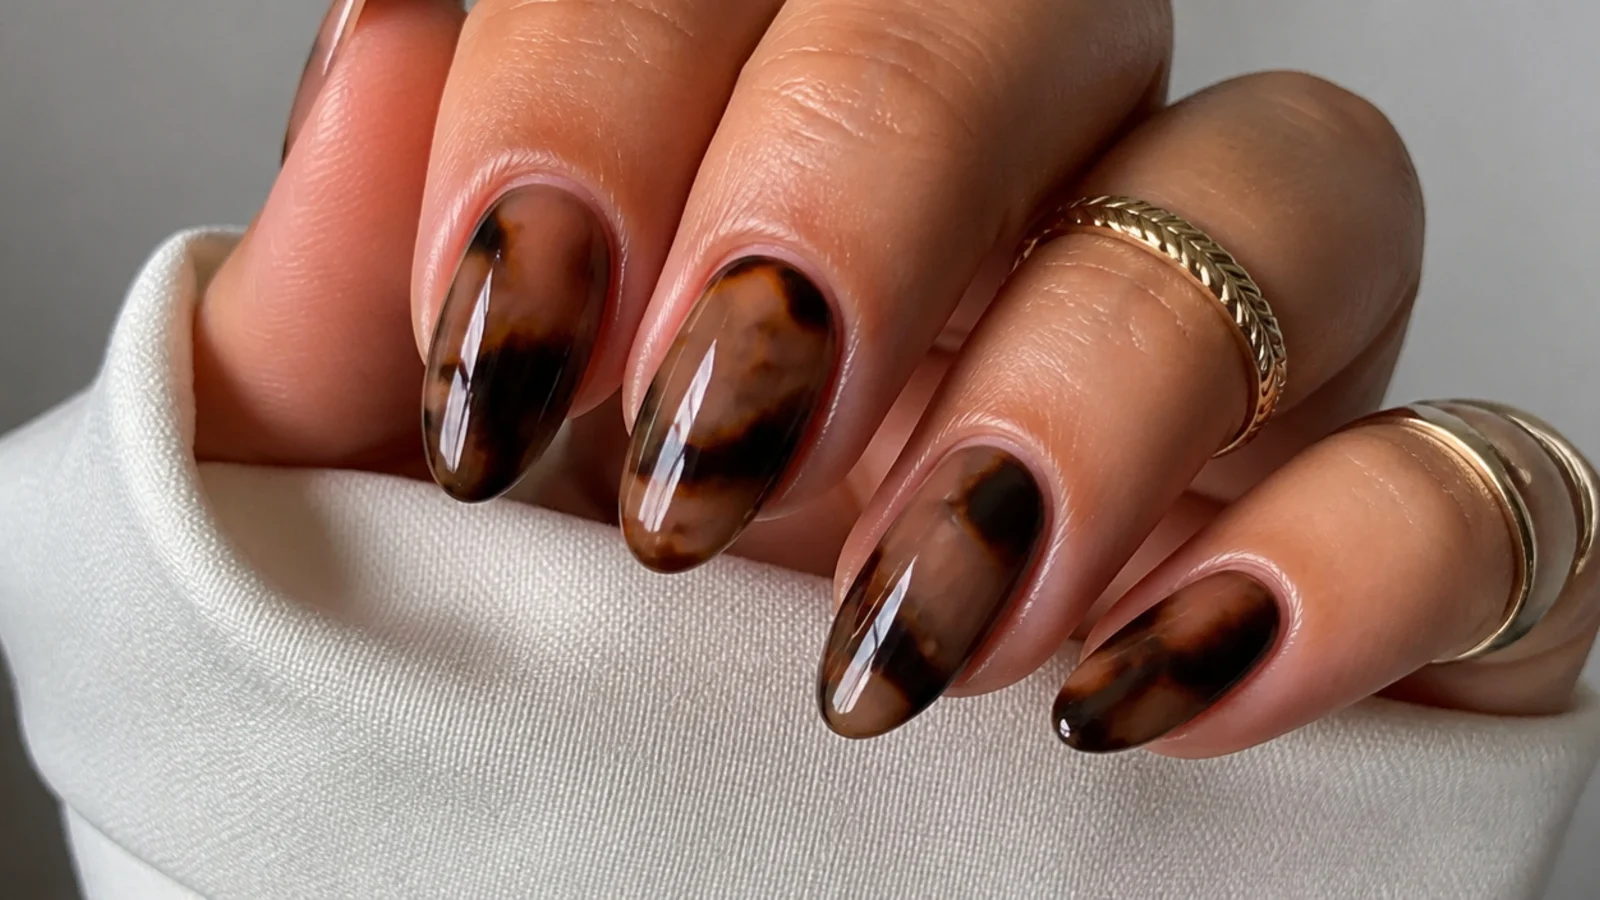
A moody, diffused tie-dye in espresso and caramel over a warm nude base. Drop small dots of dark brown and a lighter caramel onto the uncured blooming gel and let them bloom into each other for a soft, inky spread with no hard edges. Use a little color and let it diffuse - flooding too much turns it muddy. Build depth by curing the first bloom, then adding a second thin layer for richer, darker pools. It is bold and cozy, ideal for date nights and moody fall looks.
Who it suits: Anyone wanting a darker, moody fall set.
Tip: Add color in two thin cured layers to build depth without the bloom going muddy.
3. Caramel Watercolor Florals
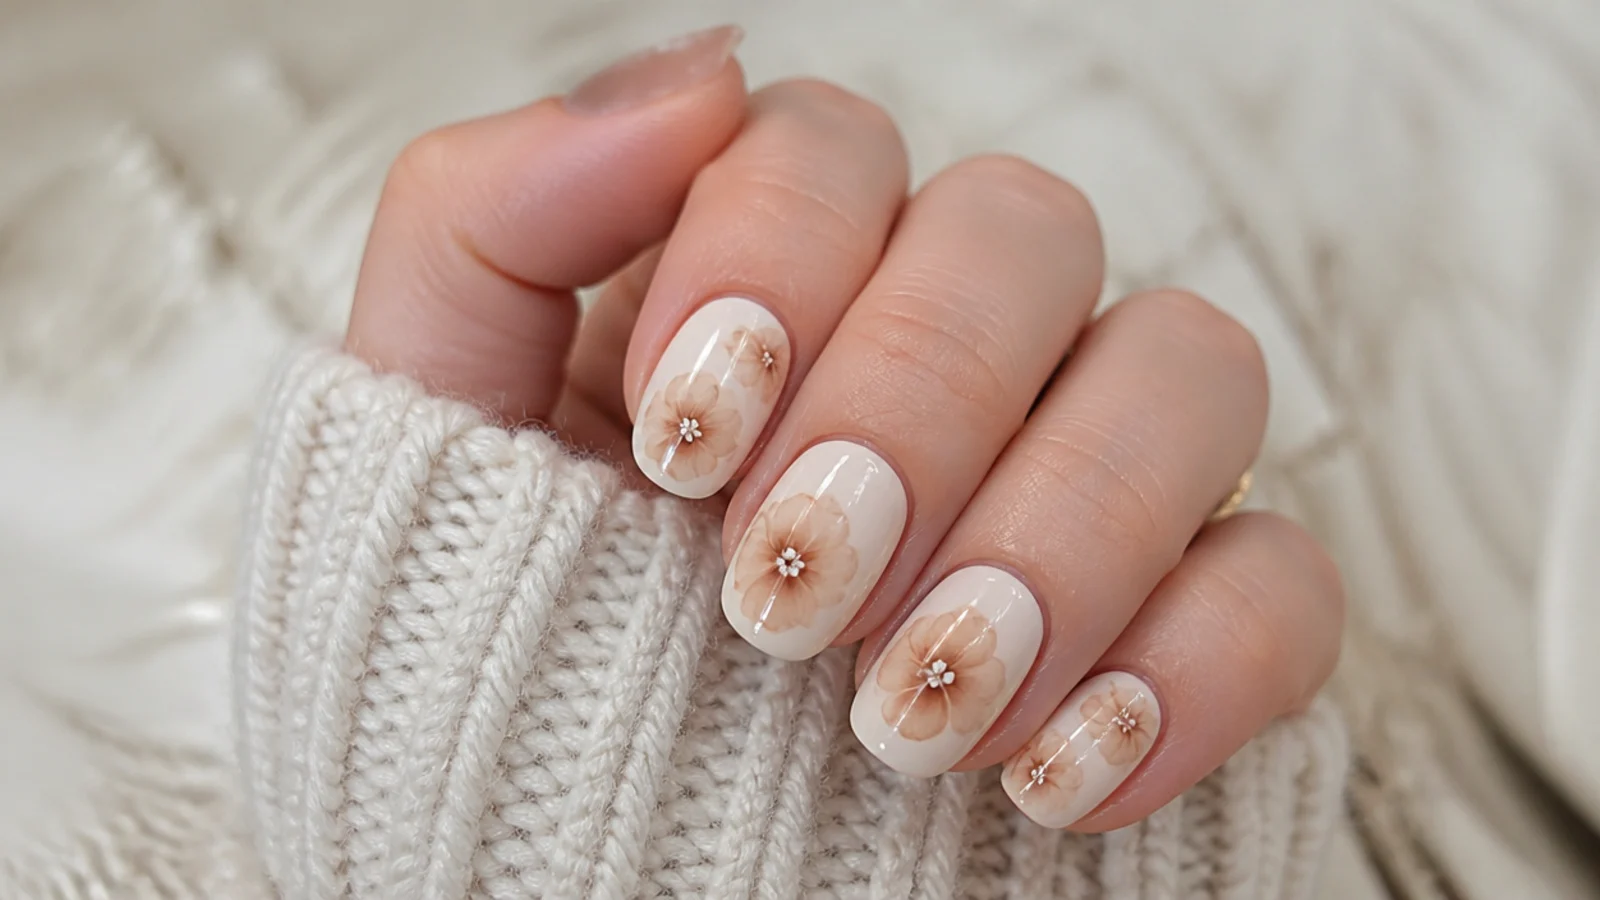
Delicate caramel and cocoa flowers that look hand-painted in watercolor. Over a cream base and a thin uncured blooming gel, place tiny dots of caramel gel color in petal clusters and let each one bloom outward into a soft, spreading bloom, then add a darker cocoa center. The gel diffuses the edges so the florals look painterly rather than sharp. Cure once the petals settle. It is soft, feminine and romantic, lovely for fall weddings, brunches and anyone who wants florals without a steady freehand hand.
Who it suits: Anyone wanting soft, romantic fall florals.
Tip: Drop each petal and pause - let it bloom on its own before adding the next so they stay separate.
4. Chocolate Blurred French
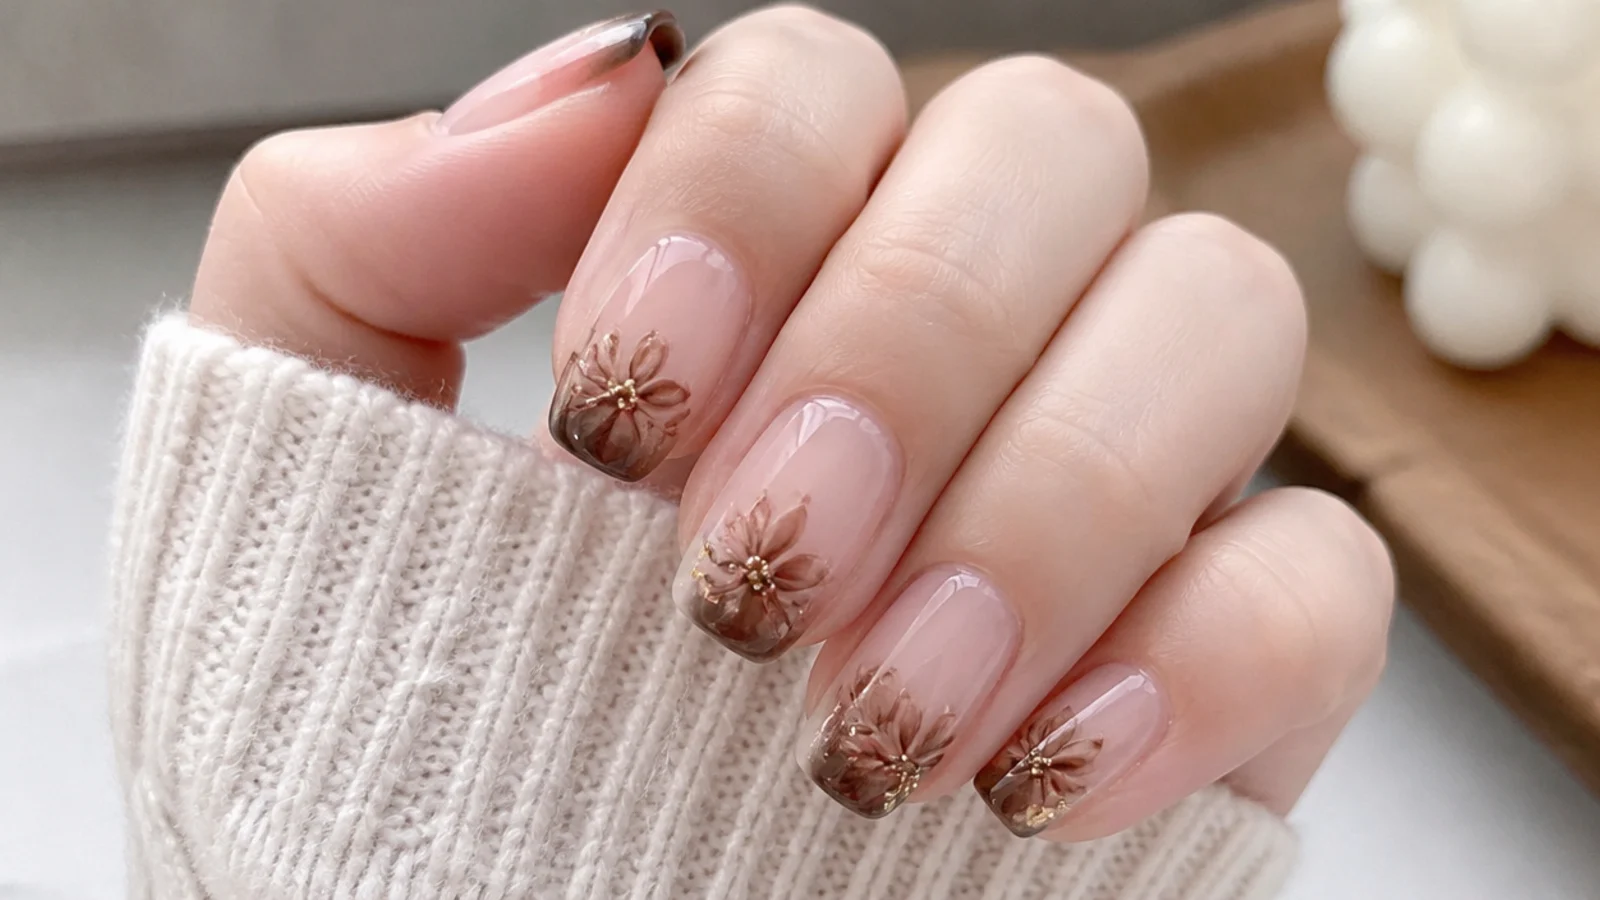
A modern French where the tip is a soft, blurred chocolate brown instead of a crisp line. Paint a thin blooming gel over the cured nude base, then draw chocolate gel color along the tip and let it bloom down into the nail for a hazy, smoked edge. The bloom softens the line so it fades gently rather than stopping sharp. Cure to lock it. It is an easy, on-trend fall twist on the classic French that suits work, everyday wear and anyone who finds a plain French too stark.
Who it suits: Anyone wanting a soft, modern fall French.
Tip: Draw the tip color slightly thicker than a marble so it blooms just a few millimeters, not the whole nail.
5. Cinnamon Swirl
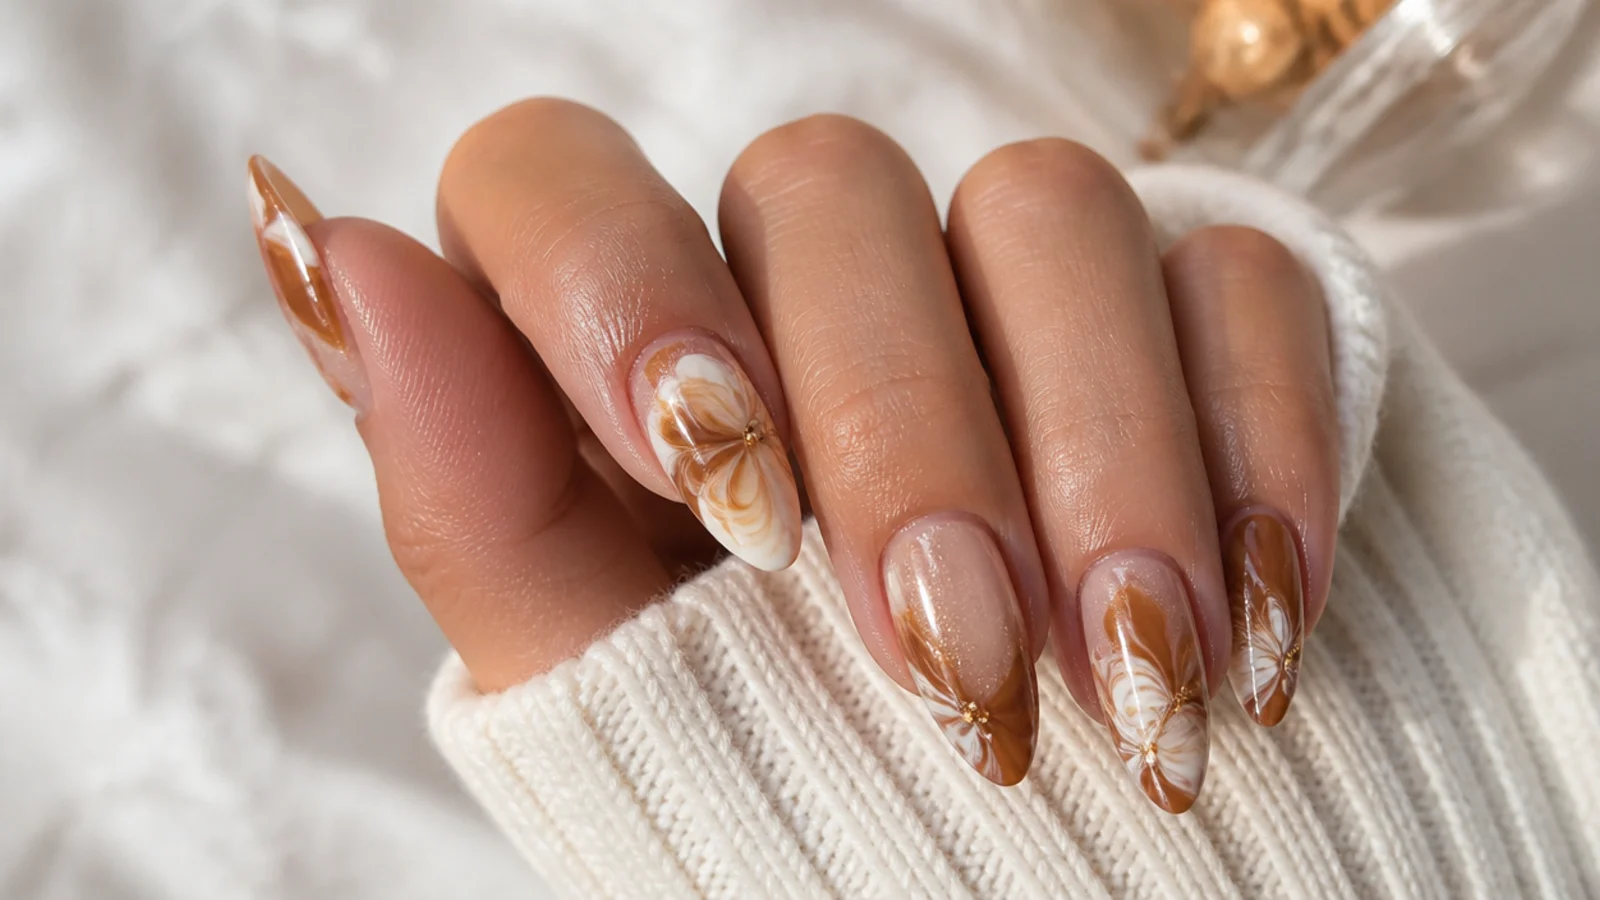
Warm cinnamon and rust swirled into a cream base like a latte design. Over uncured blooming gel, draw loose cinnamon-brown lines with a liner brush and let them spread into soft, curling swirls, then add a touch of rust for warmth. The thin blooming layer lets the lines blur into each other for that hazy, watercolor swirl. Cure once set. The warm, spicy tone flatters warm and olive skin especially, and it reads cozy and inviting - ideal for autumn coffee-shop weather and everyday fall wear.
Who it suits: Warm and olive skin tones wanting cozy warmth.
Tip: Swirl with a dry liner brush tip through the wet bloom to guide the pattern before curing.
6. Taupe Smoke Marble
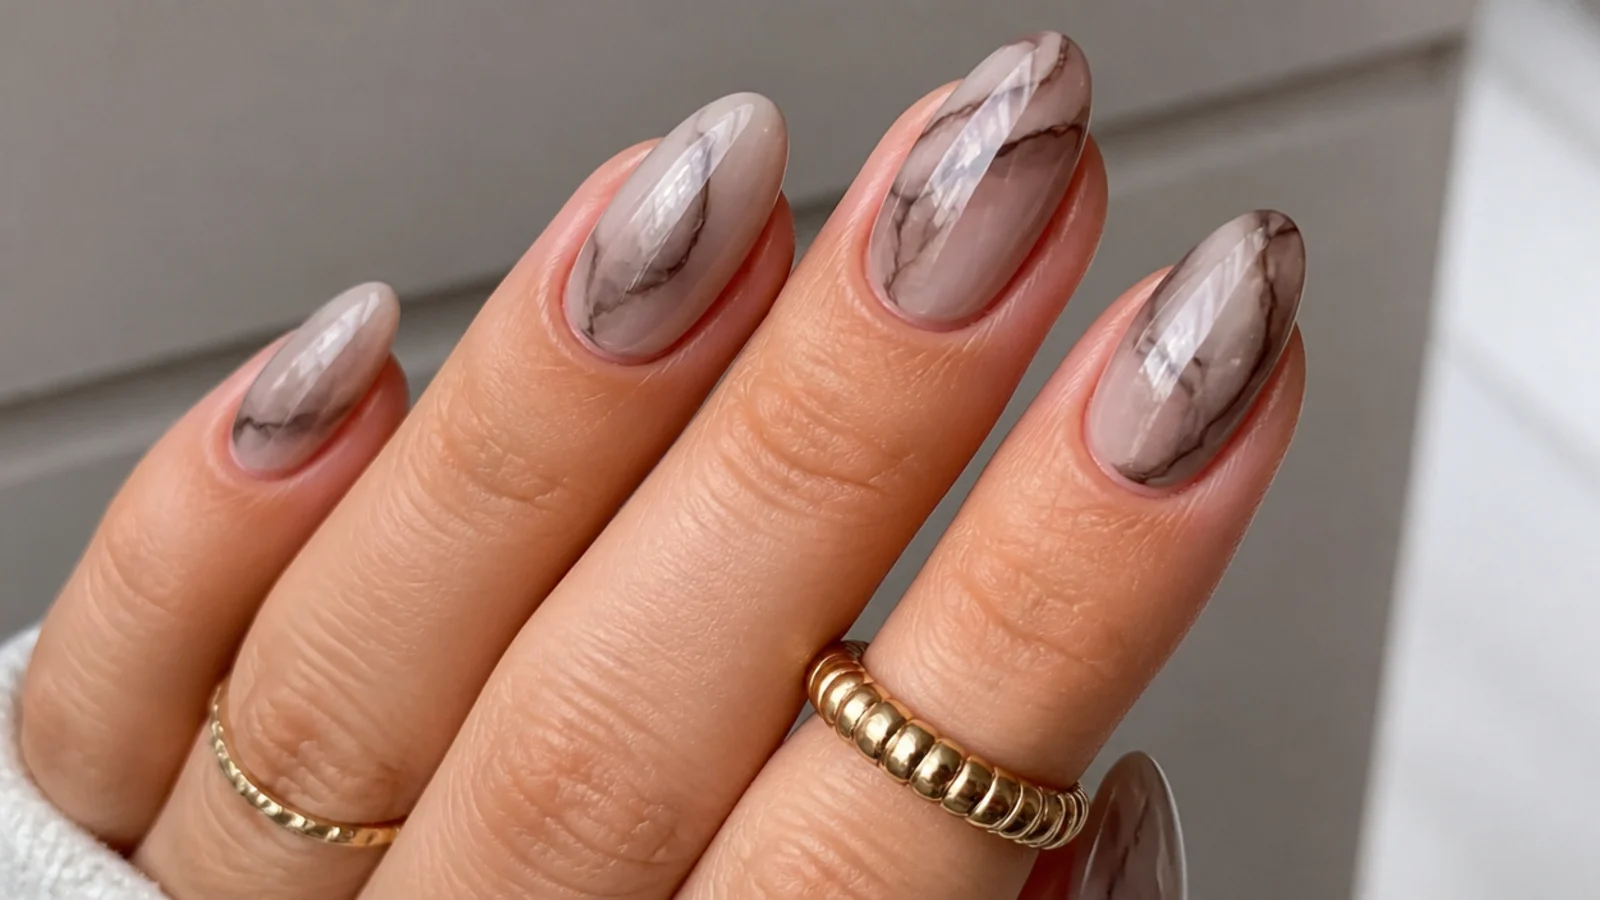
A neutral, smoky marble in taupe and gray-brown for a quieter fall look. Over a soft greige base and thin blooming gel, draw fine taupe and cool-brown lines and let them diffuse into a hazy, smoked stone effect. Keeping the color sparse gives a subtle, foggy marble rather than a busy one. Cure once the smoke settles. The muted, dusty tone is understated and office-friendly, slipping under any outfit - it suits anyone who wants fall color that stays soft, neutral and grown-up rather than bold.
Who it suits: Anyone wanting a neutral, understated fall marble.
Tip: Use very little color for a foggy, smoked look - less color means a softer, hazier marble.
7. Bronze Chrome Bloom
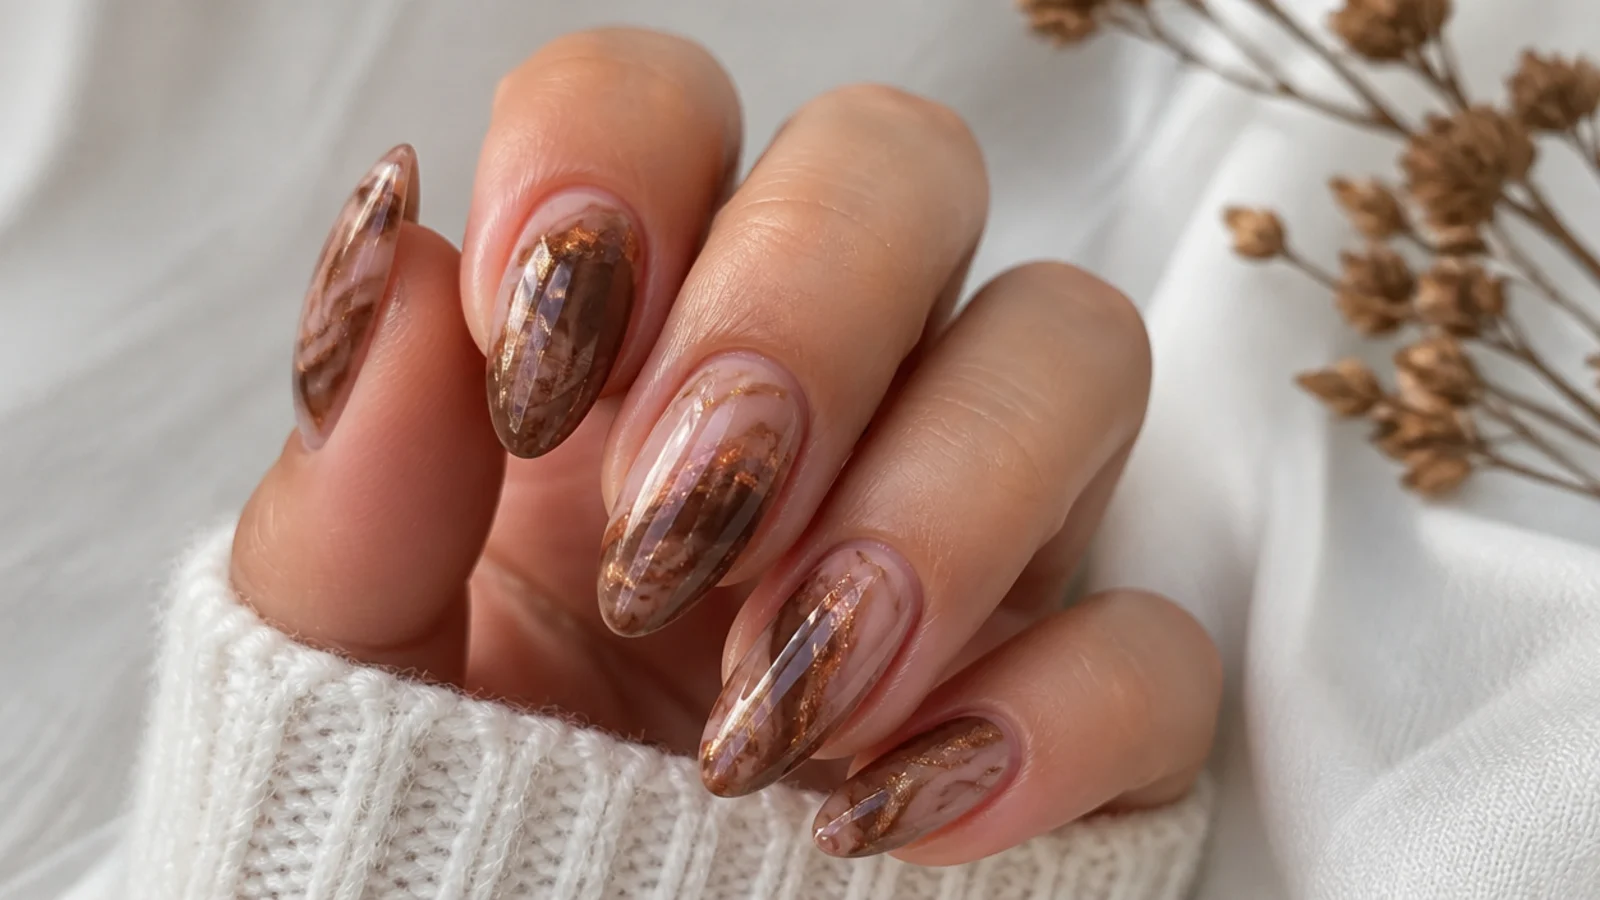
A soft brown bloom finished with a warm bronze chrome for a metallic fall glow. Create a mocha marble in blooming gel and cure it, then buff bronze chrome powder over a fresh no-wipe layer so the pattern glows through the sheen. The marble still reads underneath while the chrome adds a lit-from-within shimmer. Seal with a top coat and cure. It is luminous and glam, perfect for fall parties and events - and it suits anyone who wants brown with a little metallic shine rather than a flat matte.
Who it suits: Anyone wanting a glam, metallic fall set.
Tip: Buff the chrome over a cured bloom so the marble pattern still shows through the shimmer.
8. Latte Ombre Bloom
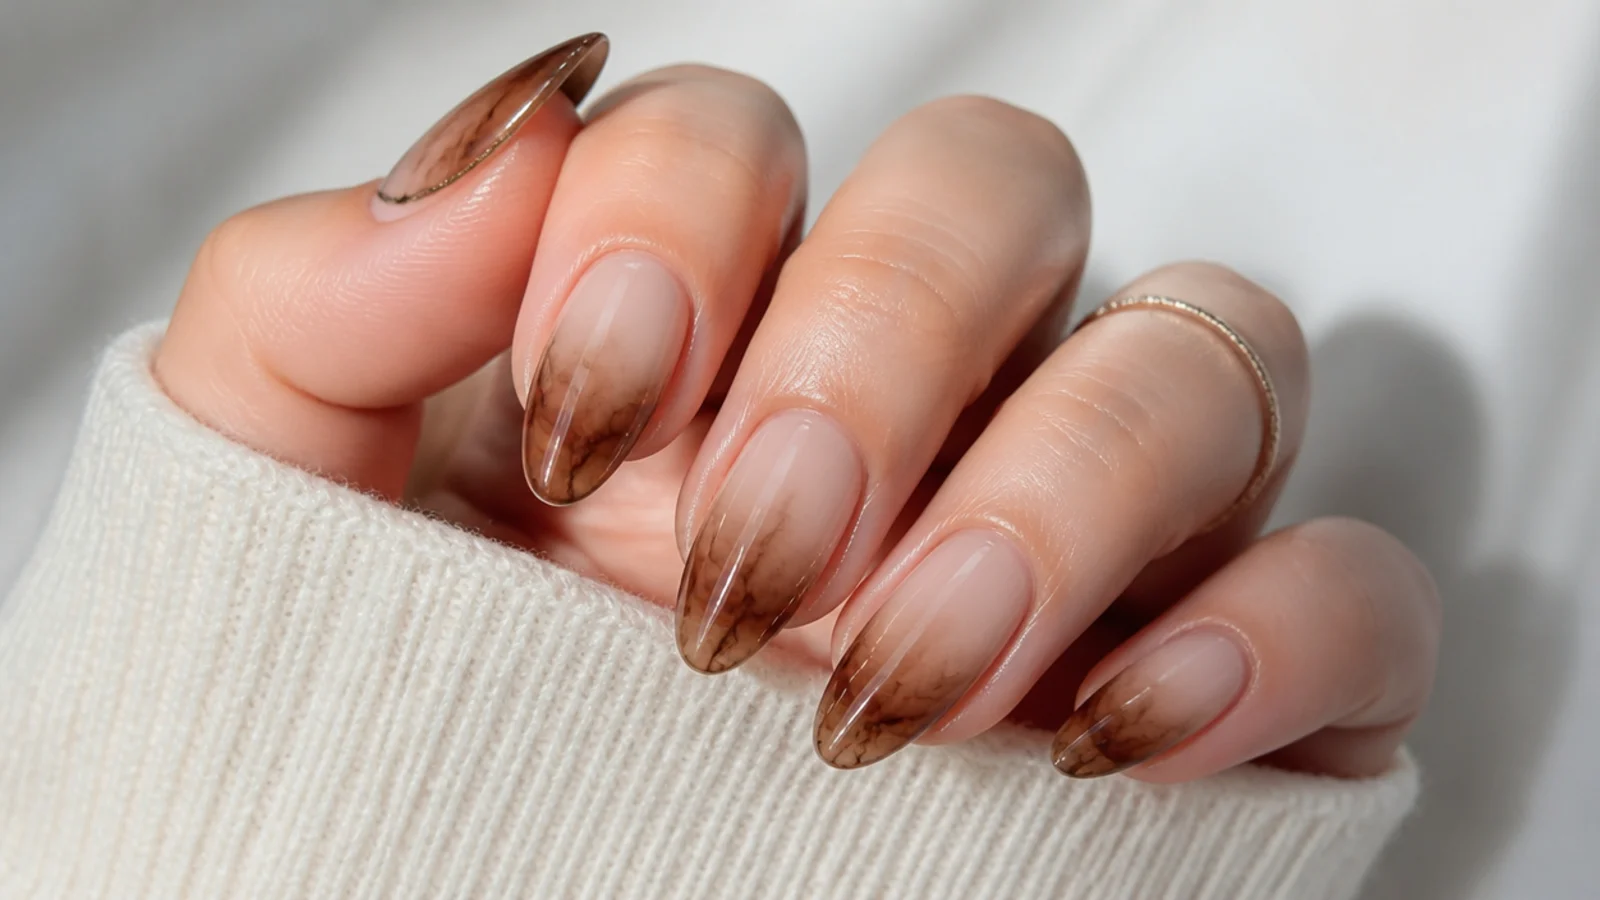
A creamy latte gradient that fades from milky cream at the cuticle to coffee brown at the tip. Over a cream base and thin blooming gel, load coffee-brown color at the free edge and let it bloom back toward the center for a soft, seamless ombre with no hard line. The bloom does the blending, so you skip the sponge a classic ombre needs. Cure once the fade looks even. It is smooth, warm and versatile, flattering on every shape and ideal for anyone who loves a soft coffee gradient for fall.
Who it suits: Anyone wanting a soft coffee-toned gradient.
Tip: Let the tip color bloom back on its own for a seamless fade instead of dragging it with a brush.
9. Nude Base, Brown Accent
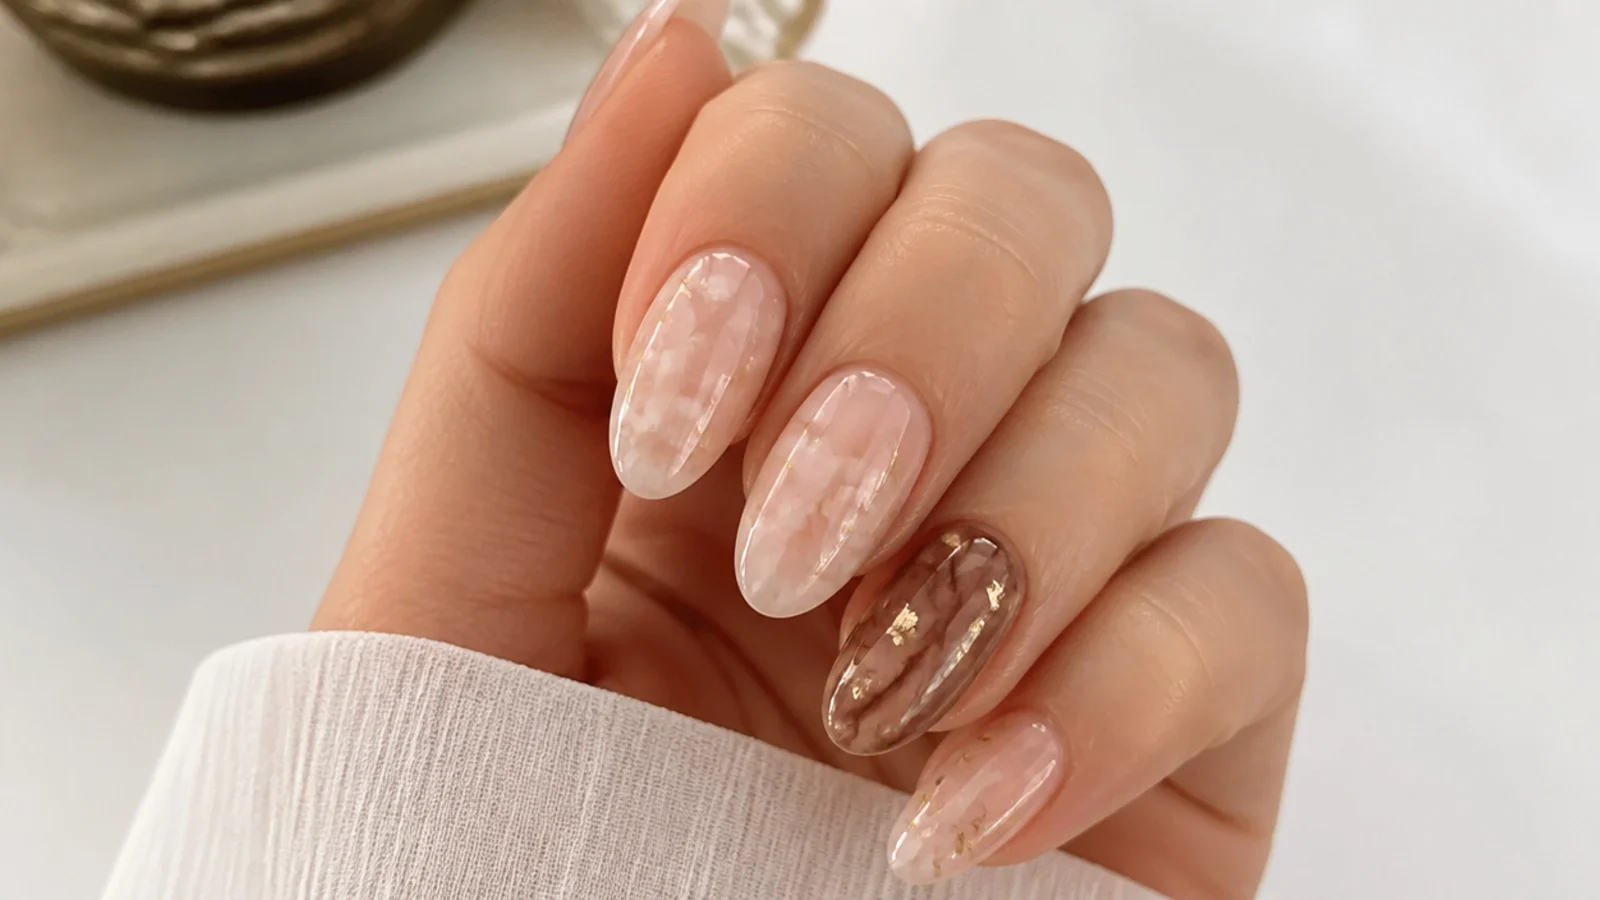
A soft nude set with a single brown-marbled accent nail, usually the ring finger. Nine nails stay a clean glossy nude while one gets a thin blooming gel and a mocha marble that blooms into hazy veins. Concentrating the design on one nail keeps the look minimal while still nodding to fall. Cure the accent, then top coat the whole hand. It suits anyone who wants brown blooming gel in one considered spot rather than everywhere - low-key, elegant and easy to wear to work or every day.
Who it suits: Anyone wanting fall color on just one accent nail.
Tip: Match the accent's base to the nude on the other nails so the marble reads as an intentional detail.
10. Toffee Petal Bloom
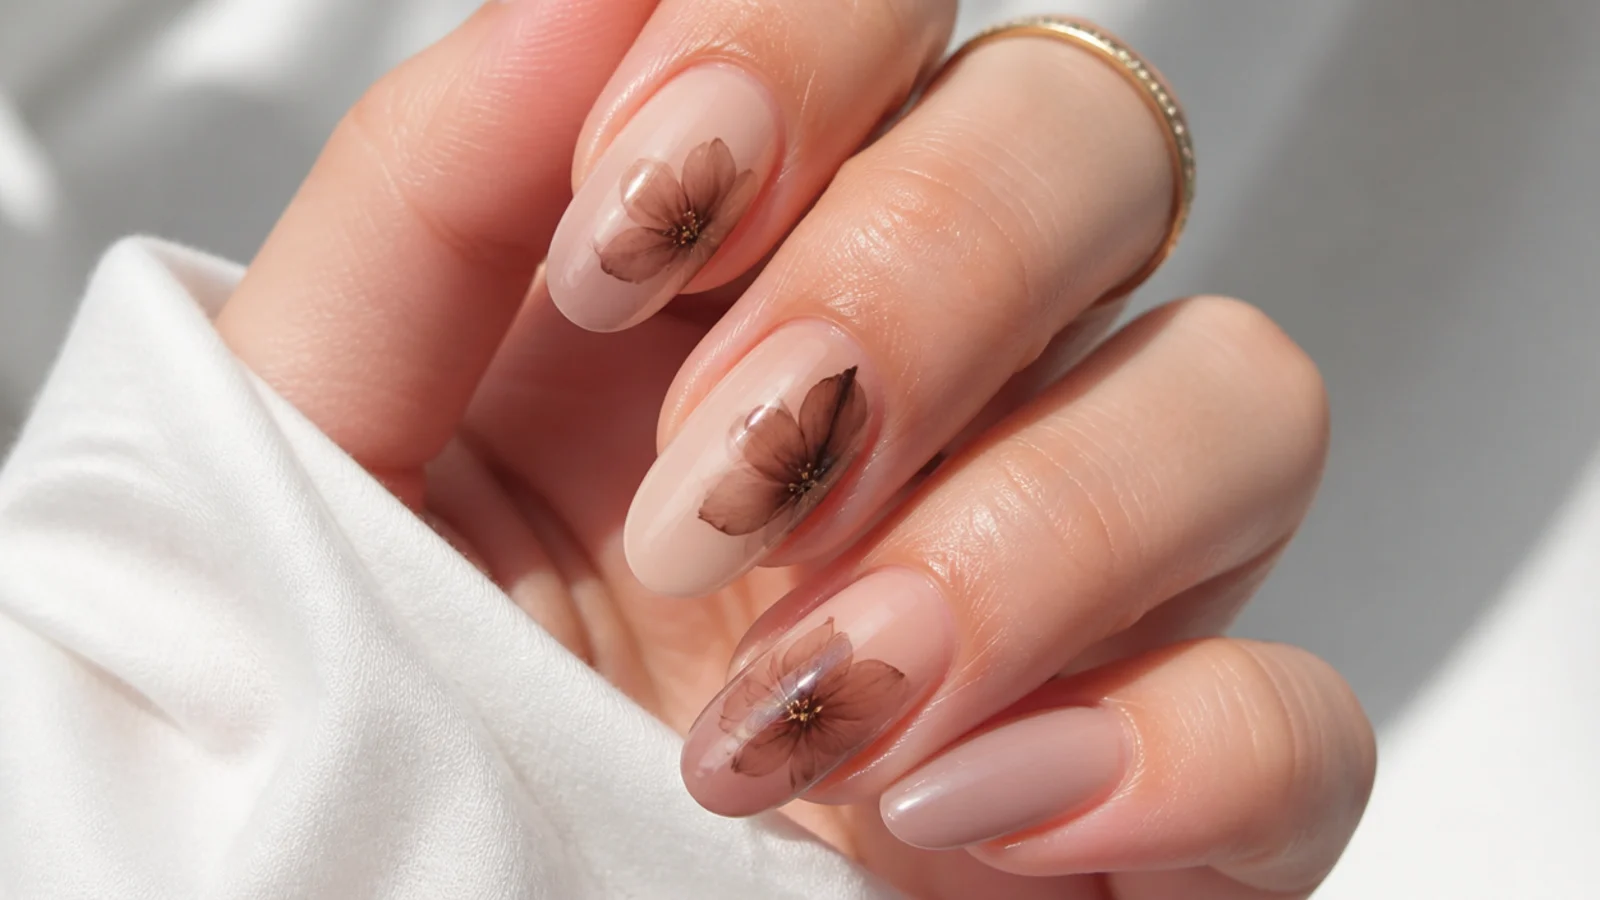
Loose toffee petals blooming across a warm cream base for a soft floral fall look. Over thin uncured blooming gel, drop toffee and cocoa dots and let each bloom into a rounded petal, grouping them into simple five-petal flowers. The gel spreads the color so the petals blur at the edges like watercolor. Add a tiny gold or deep-brown center and cure. It is gentle and pretty without being loud, suiting fall brunches, weddings and anyone who wants florals in warm, muted browns rather than bright spring shades.
Who it suits: Anyone wanting warm, muted floral nails.
Tip: Keep petals to two or three nails and leave the rest solid so the florals stay the focus.
11. Rust and Cream Marble
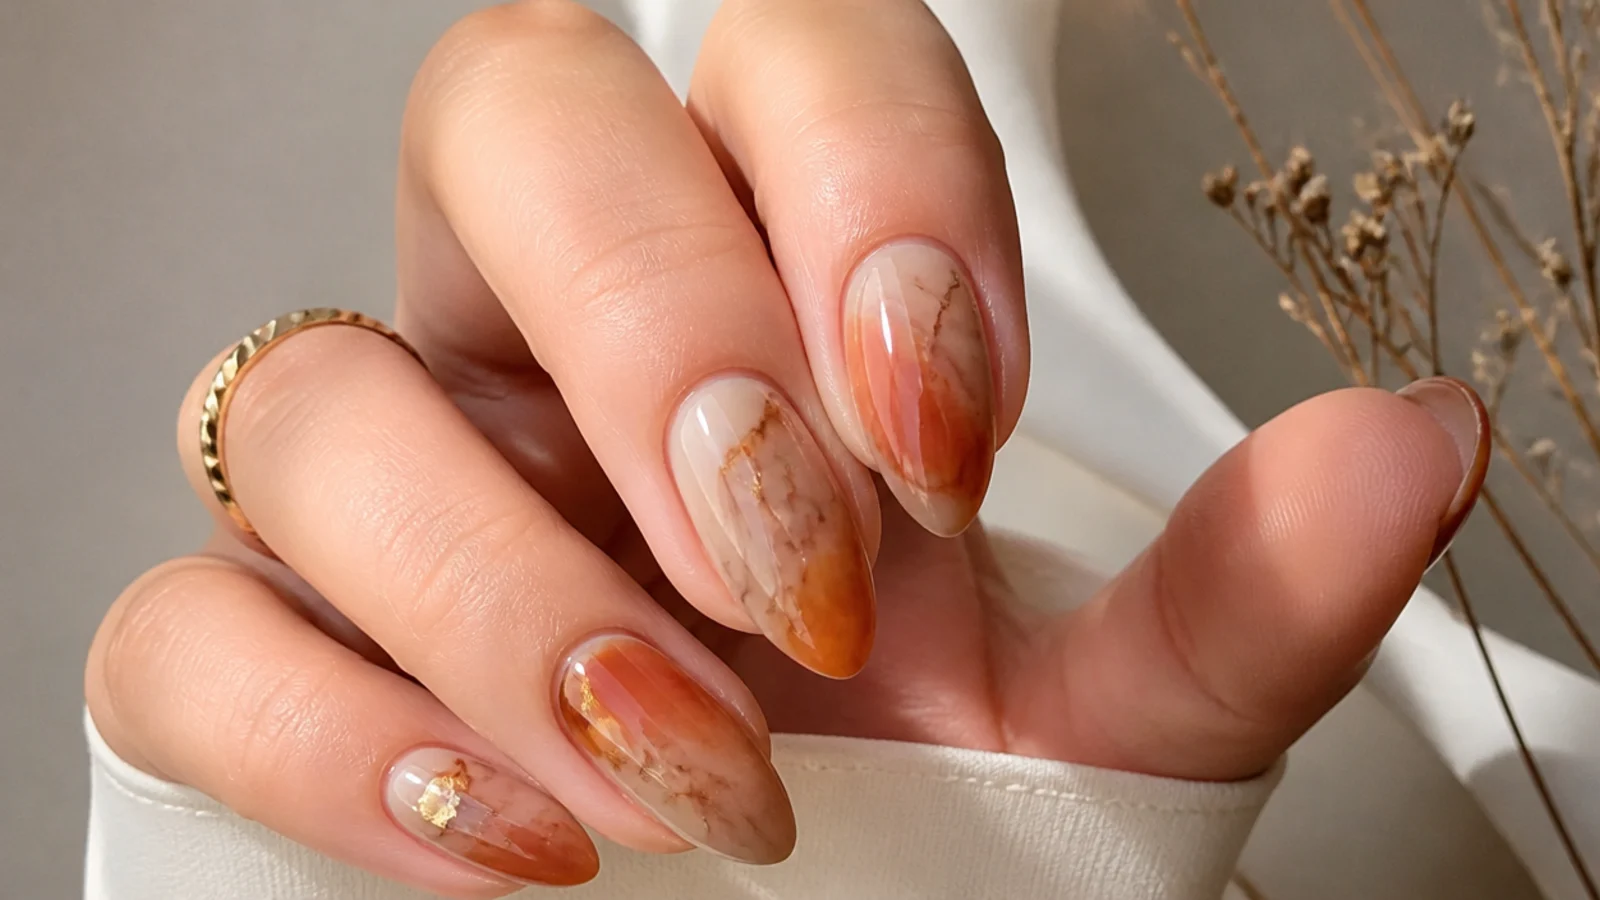
A warmer marble in rust and terracotta swirled through cream for peak-autumn color. Over a cream base and thin blooming gel, draw rust and burnt-orange lines and let them bloom into hazy veins, adding a touch of deep brown for contrast. The warm tones capture fall leaves without being literal. Cure once the marble settles. It is rich and seasonal, flattering warm and deep skin tones especially, and it suits anyone who wants their brown nails to lean warm and coppery rather than cool or neutral.
Who it suits: Warm and deep skin tones wanting autumn warmth.
Tip: Blend a little rust into the mocha so the marble reads warm and leafy rather than flat brown.
12. Dark Chocolate Bloom Accent
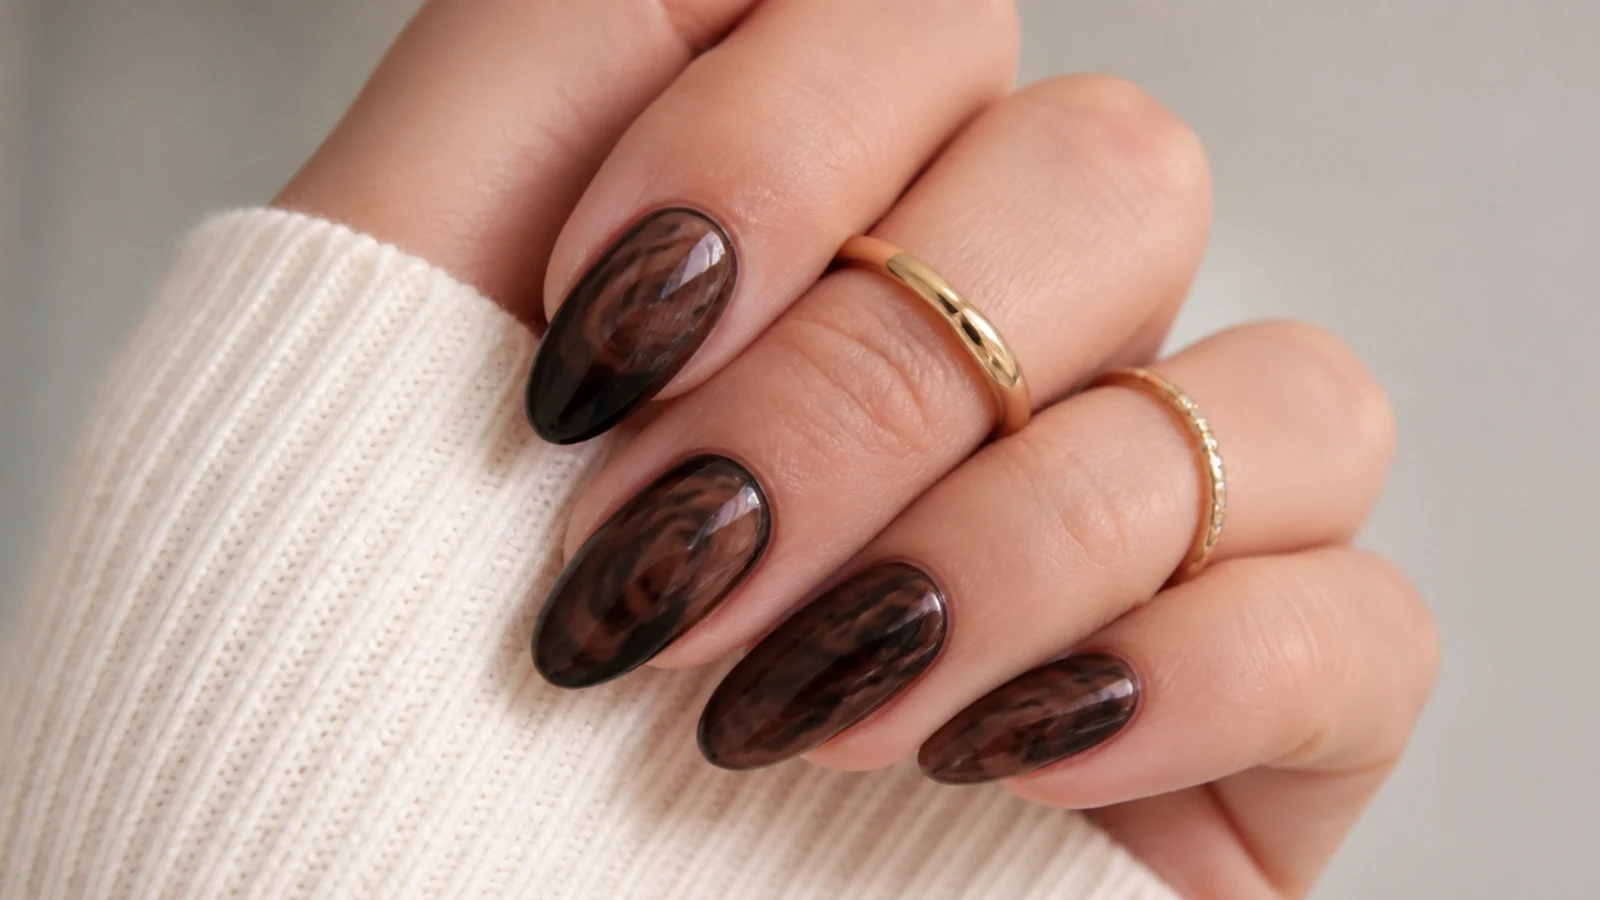
A deep, rich dark-chocolate set with subtle lighter-brown blooming veins for depth. Over a cured chocolate base, brush thin blooming gel and draw fine caramel lines that bloom softly, giving a tonal, almost leather-like marble within the dark brown. Keeping the contrast low keeps it sophisticated rather than busy. Cure to lock it. The moody, near-black-brown reads elegant and luxe, suiting evening events, fall date nights and anyone who wants the darkest end of the brown spectrum with just a hint of movement.
Who it suits: Anyone wanting a deep, moody chocolate set.
Tip: Use a caramel just a few shades lighter than the base so the veins whisper rather than shout.
13. Gold Fleck Mocha
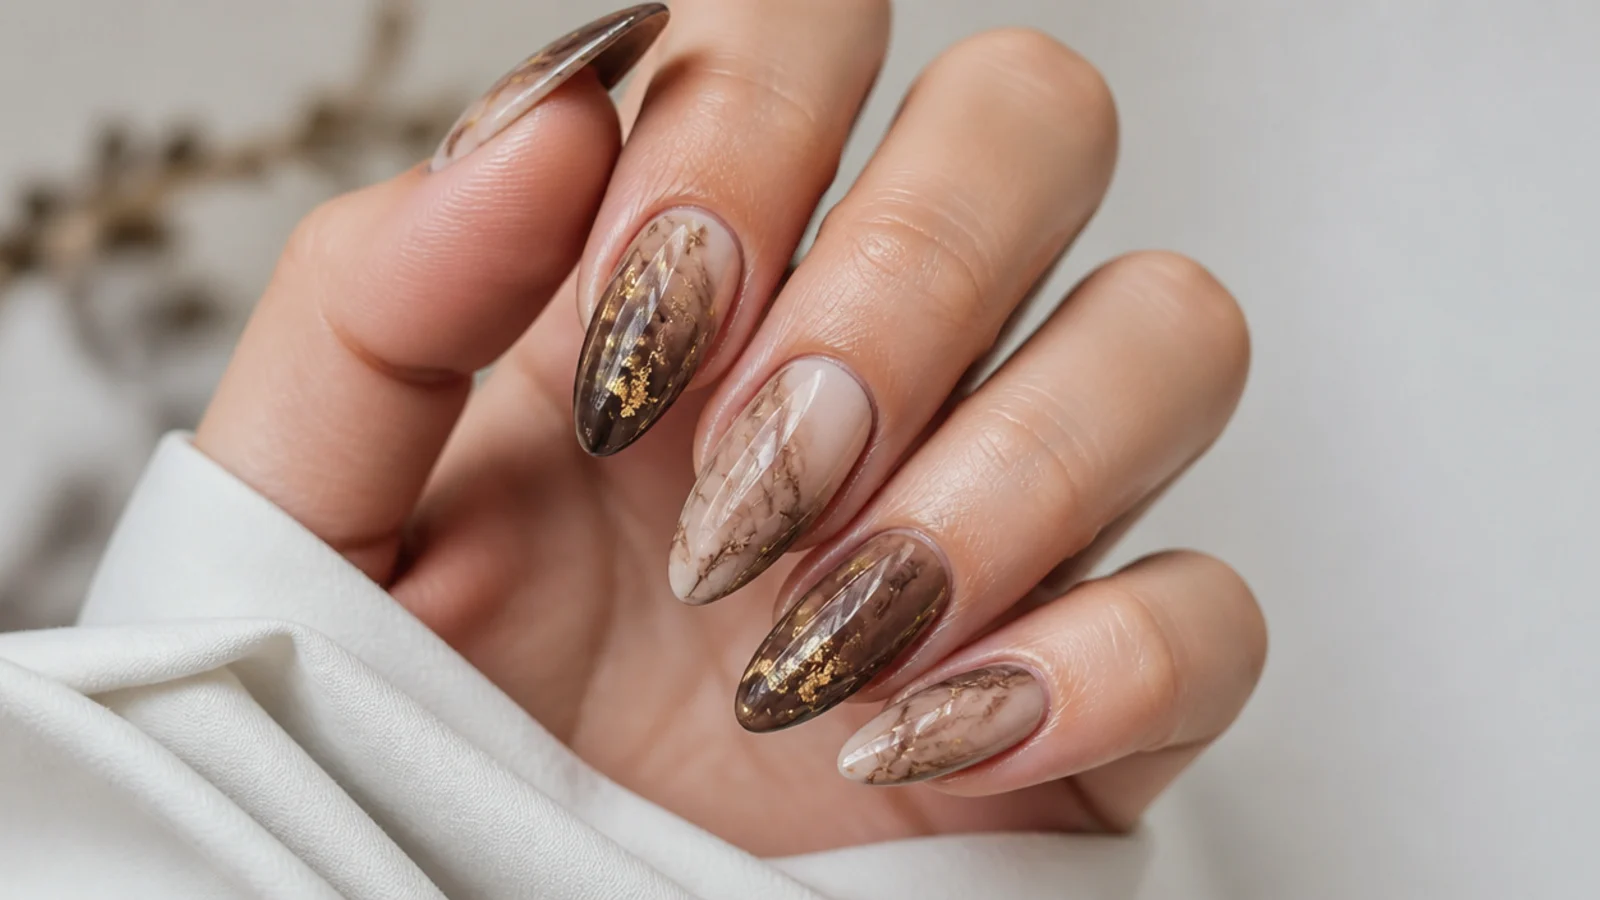
A soft mocha bloom scattered with fine gold flakes for a luxe fall finish. Create a mocha marble in blooming gel and cure it, then press a few irregular gold leaf flecks onto a fresh gel layer so they catch the light against the warm brown. Because the flakes are sparse rather than an all-over glitter, the look stays pretty and understated. Seal under a generous top coat and cure so no edges lift. It suits the festive stretch of fall, events and anyone wanting a hint of gold with their brown.
Who it suits: Anyone wanting subtle luxe gold detail.
Tip: Scatter the flakes lightly and seal well so no edges catch or peel up.
14. Short Almond Mocha
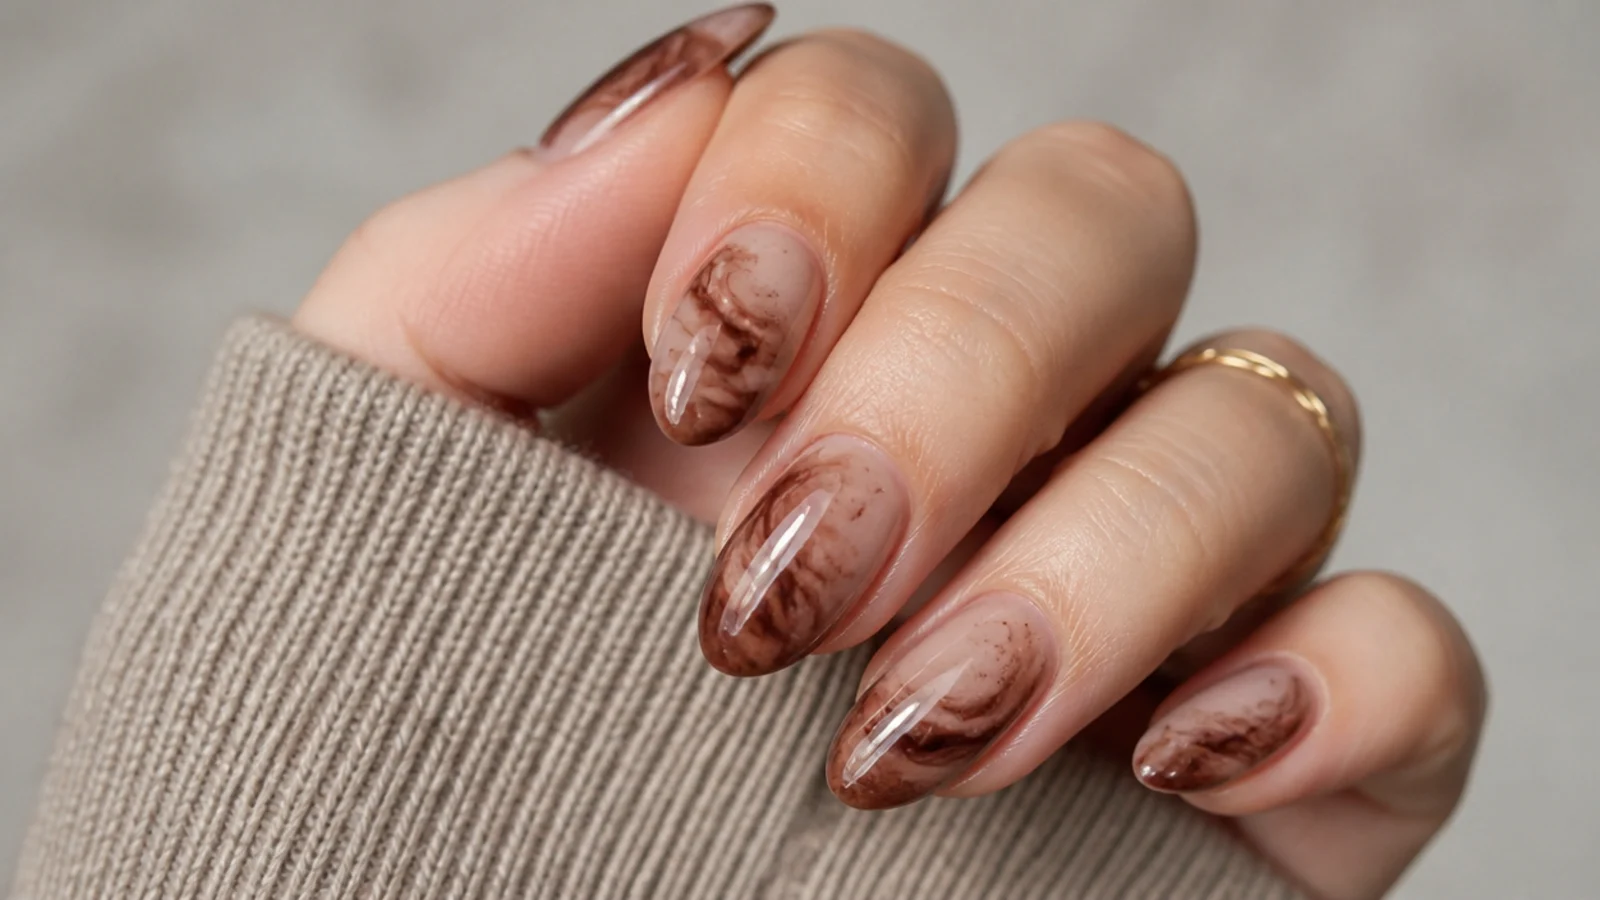
A soft mocha marble kept short and almond for a practical everyday fall set. On short nails the blooming gel marble sits close to the tip, giving a neat, tidy watercolor haze that is easy to live with. Over a nude base and thin blooming gel, draw a couple of mocha veins and let them bloom, then cure. Short lengths are durable enough for typing, cooking and daily life while still looking polished. It suits anyone new to enhancements or after low upkeep who still wants that warm fall color.
Who it suits: Anyone wanting a short, low-maintenance fall set.
Tip: Cap the free edge with top coat so the short set resists chips through daily wear.
15. Coffin Cocoa Swirl
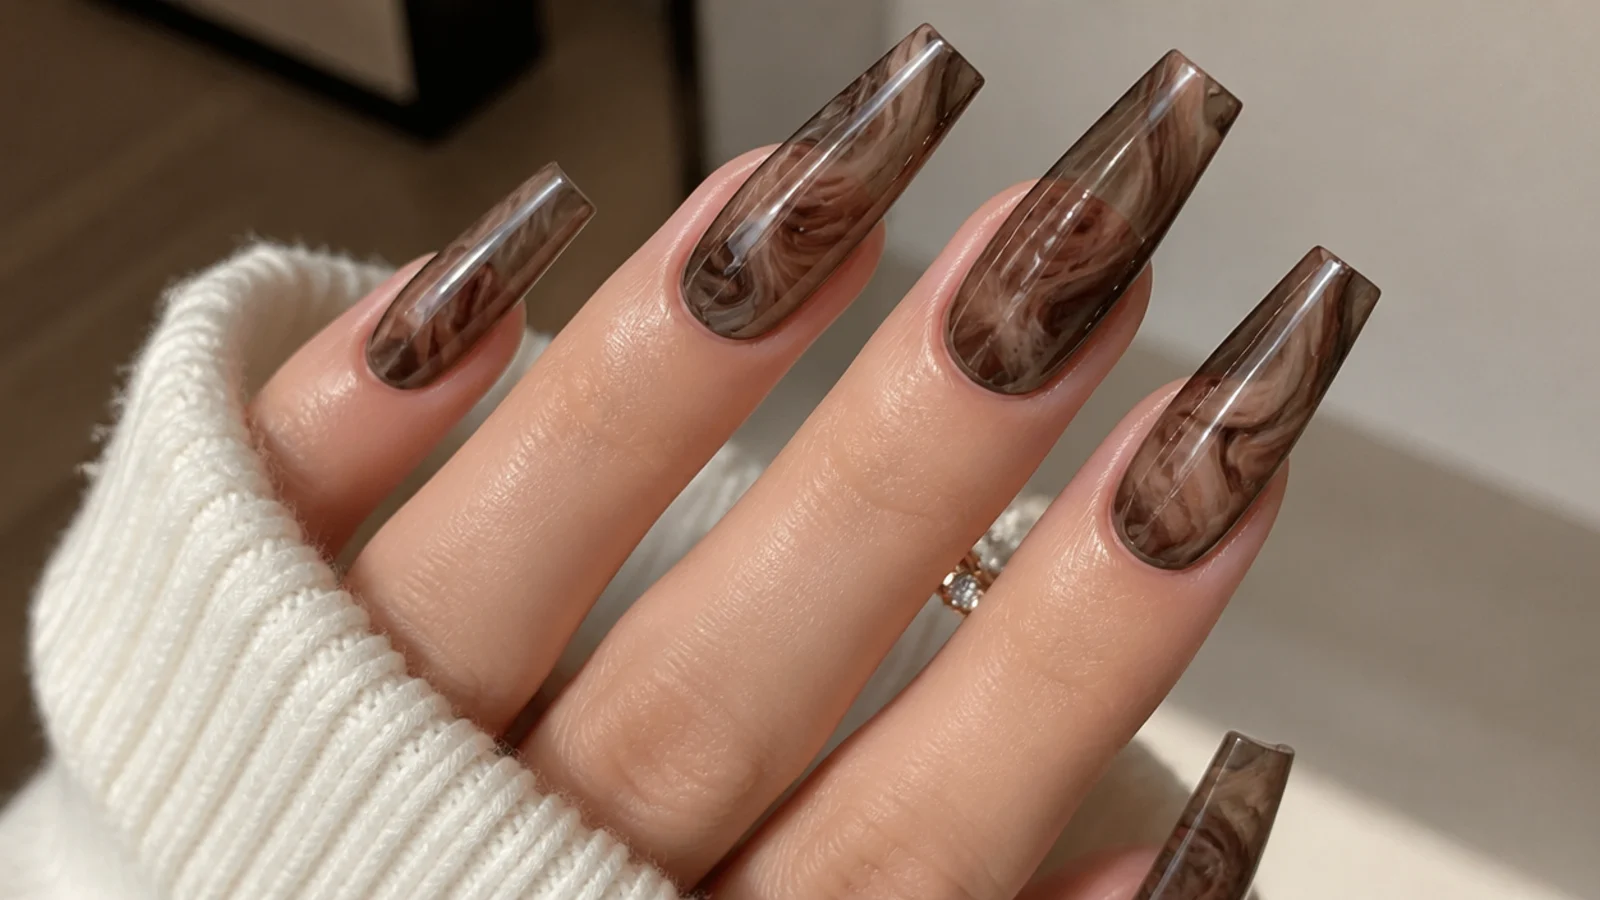
A dramatic cocoa and cream swirl on long coffin nails that gives the bloom a big canvas. The tapered coffin length lets the marble stretch and swirl for an editorial, glam effect while the soft diffusion keeps it from looking harsh. Over a cream base and thin blooming gel, draw sweeping cocoa lines and let them bloom into long, curling veins, then cure. It suits confident wearers and fall occasions more than hands-on days. Long coffin nails need care, so wear gloves for chores and book a refill every two to three weeks.
Who it suits: Anyone wanting a long, glam fall set.
Tip: Use longer, sweeping brush strokes so the swirl fills the extra coffin length before it blooms.
What Is Blooming Gel and How Does It Work?
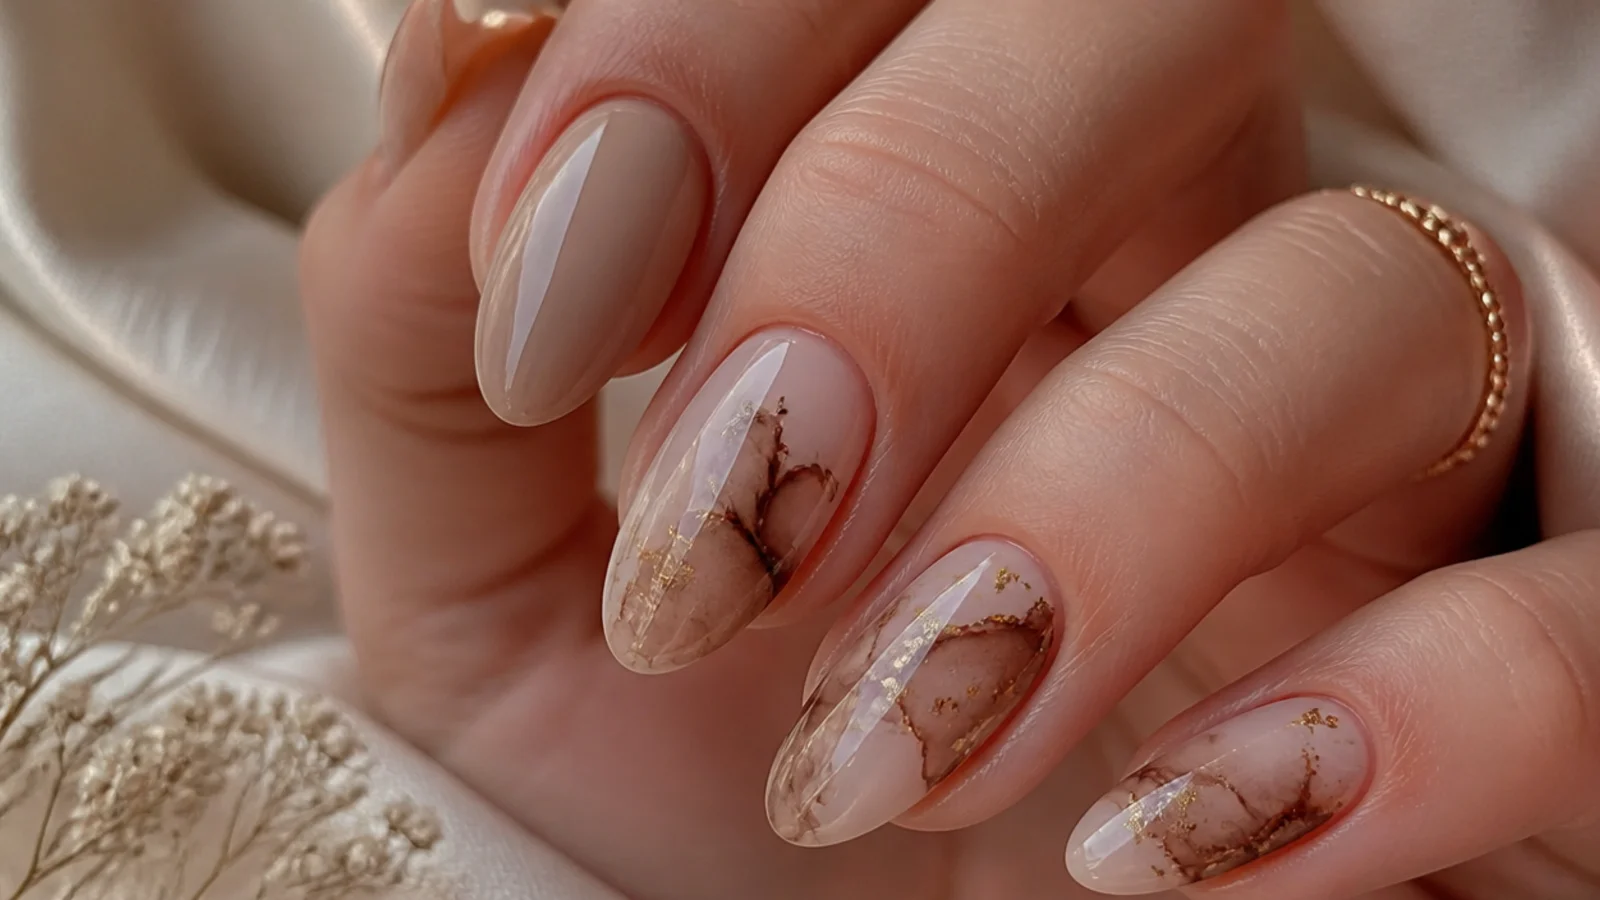
Blooming gel is a clear gel that makes gel color spread and diffuse into soft, watercolor-like patterns right on the nail. You apply a thin layer of blooming gel over a cured color base and leave it uncured; then you drop or draw gel color onto the wet blooming gel and it blooms outward, blurring and diffusing within seconds to about a minute. Once the pattern looks right, you cure it under an LED or UV lamp to lock it in - typically about 30 to 60 seconds under LED, or around 2 minutes under UV. The key rule: never cure the blooming gel before you add color, because a cured layer kills the bloom entirely. For brown fall nails, this technique gives you marble, tie-dye, smoke and florals in mocha, espresso and caramel without any steady freehand line - the gel does the blending for you.
How to Get Brown Blooming Gel Nails at Home
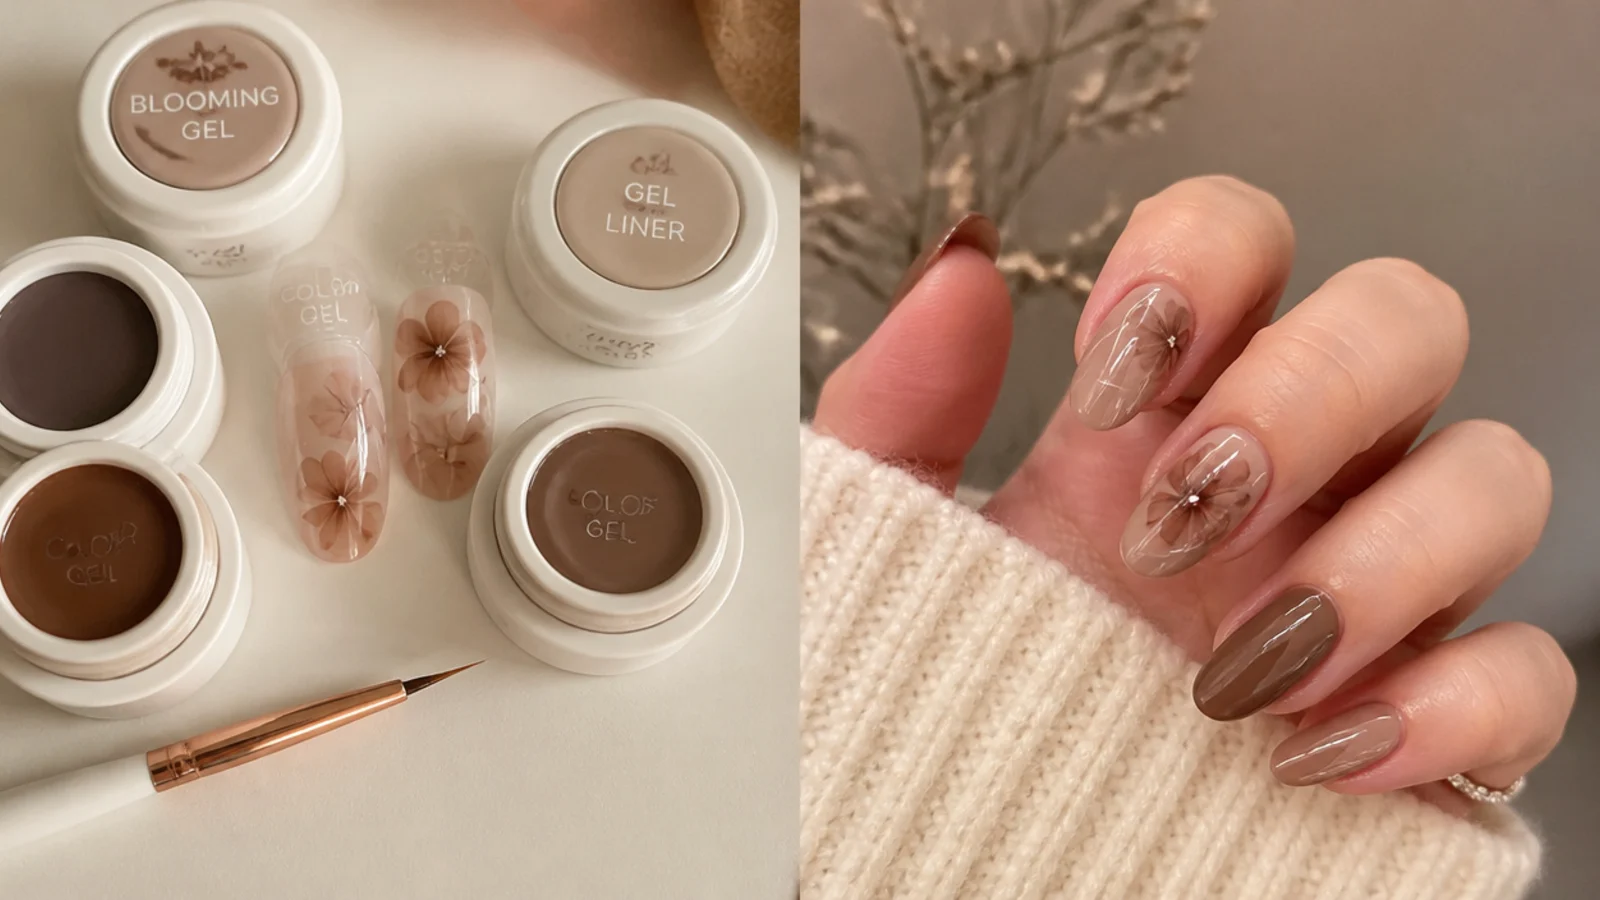
Start with clean, prepped nails: push back cuticles, lightly buff the shine, and apply a gel base coat, then cure. Paint your color base - a cream or nude for most brown designs - and cure that too. Now brush a thin layer of blooming gel over the base and leave it uncured. Working quickly, drop or draw your brown gel color - mocha, espresso, caramel - onto the wet blooming gel and watch it spread and diffuse. Guide the pattern with a dry liner brush if you like, but use a little color at a time so it does not go muddy. Once the bloom looks right, cure for about 30 to 60 seconds under LED. Build depth with a second thin layer if you want richer color, curing between. Finish with a no-wipe top coat, cap the free edge, cure, and add cuticle oil.
Supplies You Need
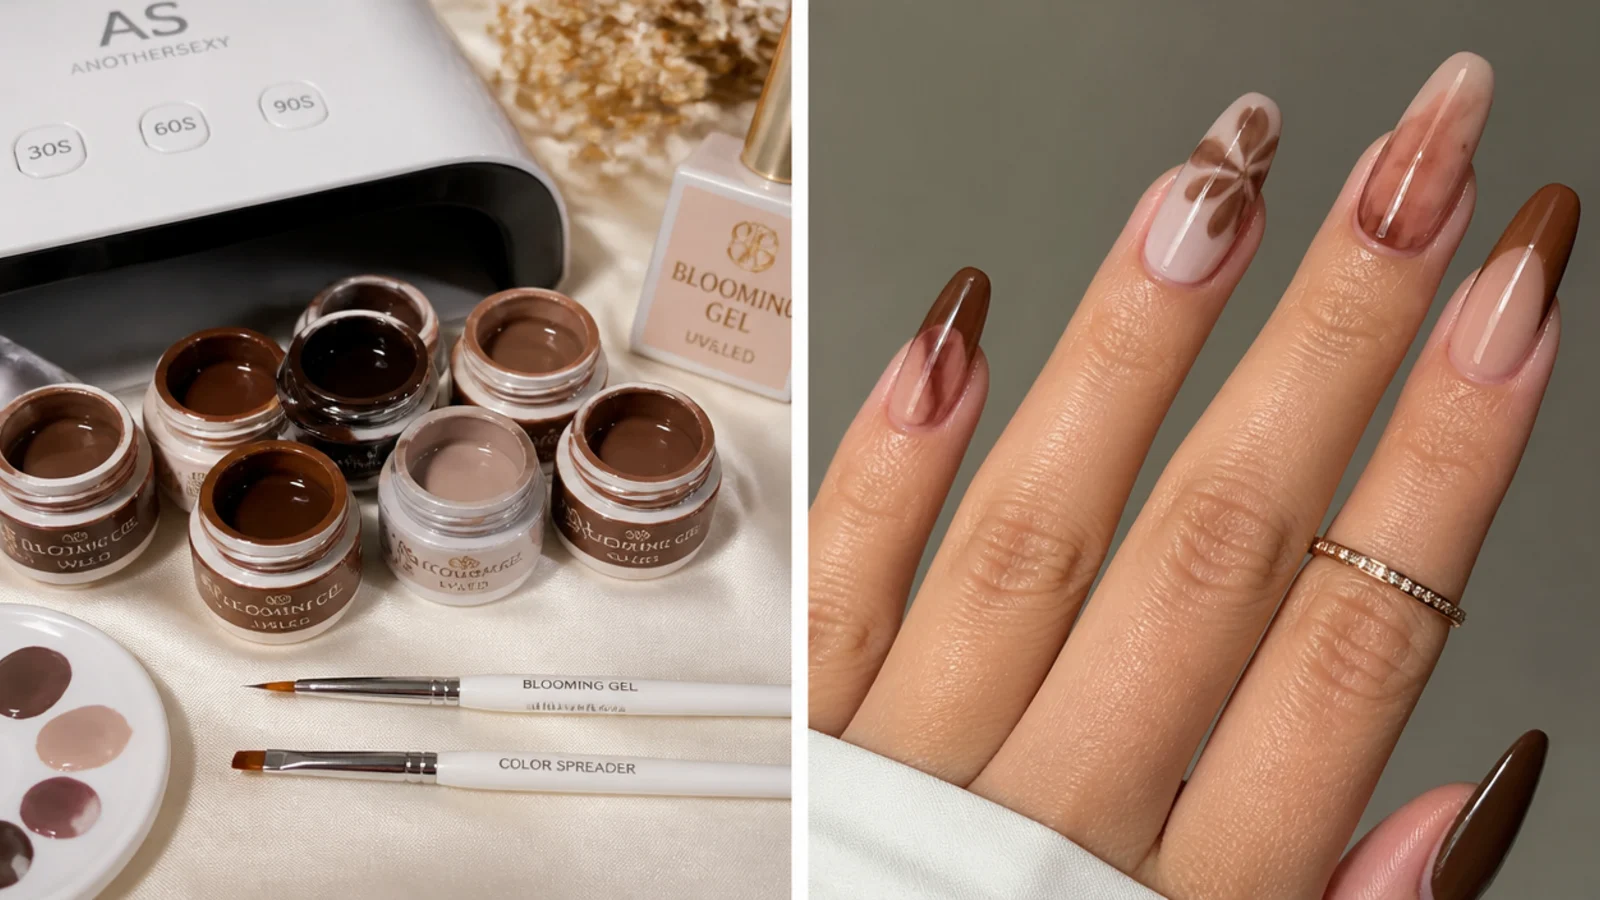
The kit is short and reusable. You need a gel base coat and a no-wipe gel top coat, brown gel color polishes (mocha, espresso, caramel and a cream for the base cover most fall looks), and the star of the show, a bottle of blooming gel. You will also want a thin detail or liner brush to draw and guide the color, an LED or UV lamp to cure each layer, lint-free wipes, cuticle oil, and 100% acetone for removal. That is it. A starter set of blooming gel plus a few colors and a lamp usually runs well under the price of a single salon visit, and because everything but the acetone and wipes is reusable, a DIY kit pays itself back fast. Buy the lamp once and it cures every gel manicure after.
Common Brown Blooming Gel Mistakes to Avoid
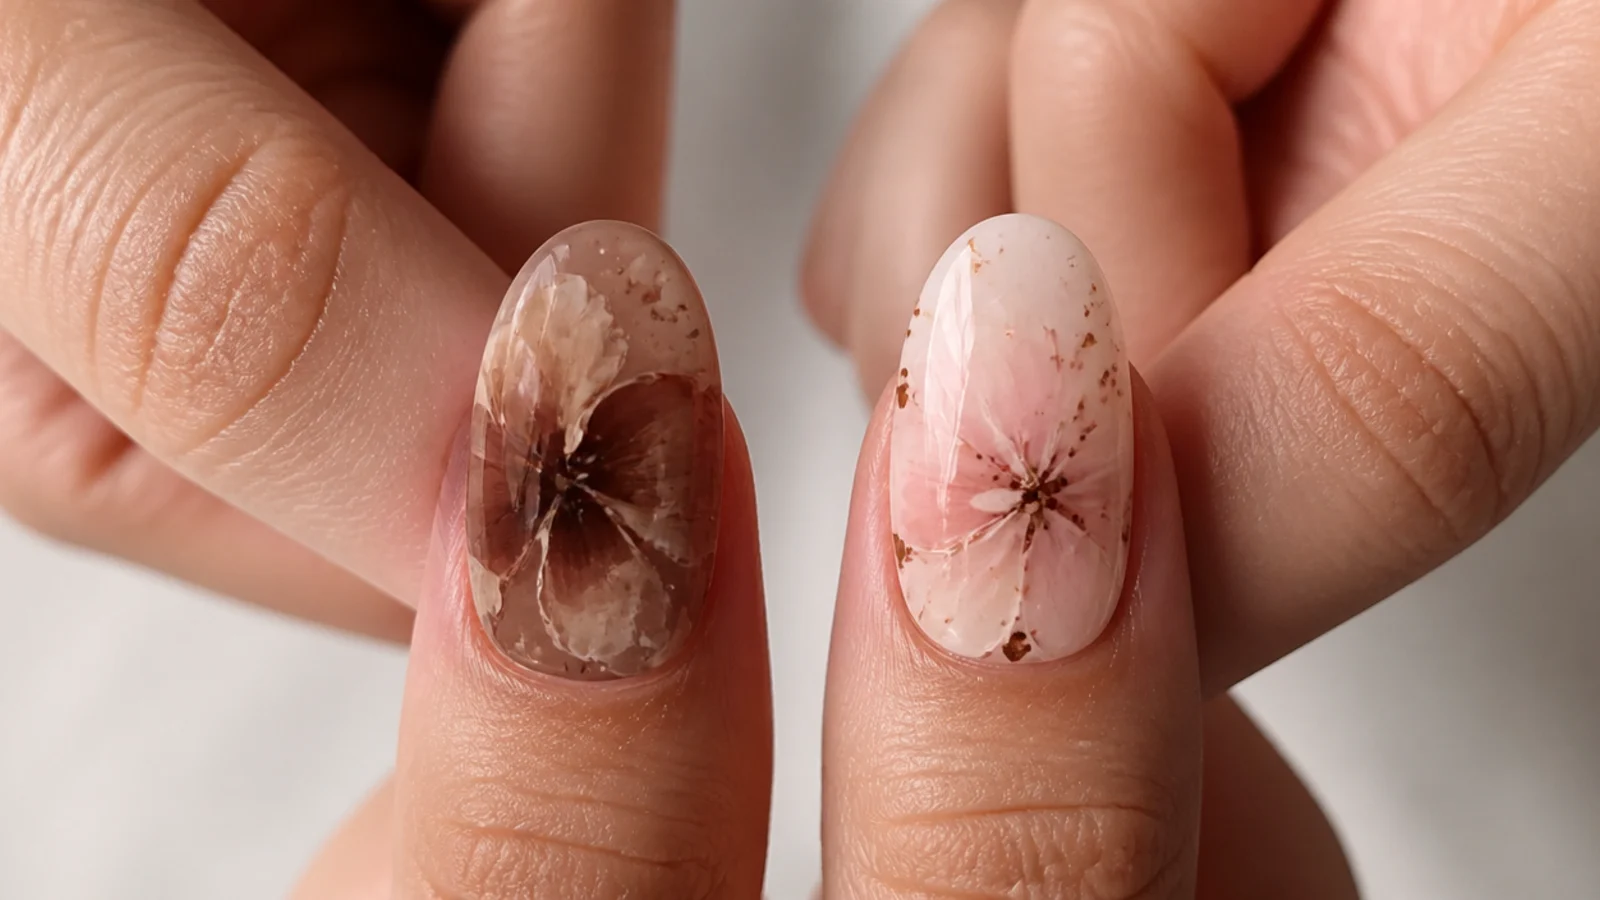
The most common mistake is curing the blooming gel too early - once it is cured, color will not spread, and the effect is dead. Always leave the blooming layer uncured until after you add color. The second is flooding too much color, which blurs everything into a muddy brown blob; use a little color and let it bloom, building depth in thin cured layers instead. Too thick a blooming gel layer also stops the color from spreading, so keep it thin - a thinner layer means more spread. Skipping base prep leads to early lifting, and forgetting to cap the free edge with top coat causes smears and quick chips. Prep well, seal the edge, and go light on the color for a clean bloom every time.
How Long Do Brown Blooming Gel Nails Last?
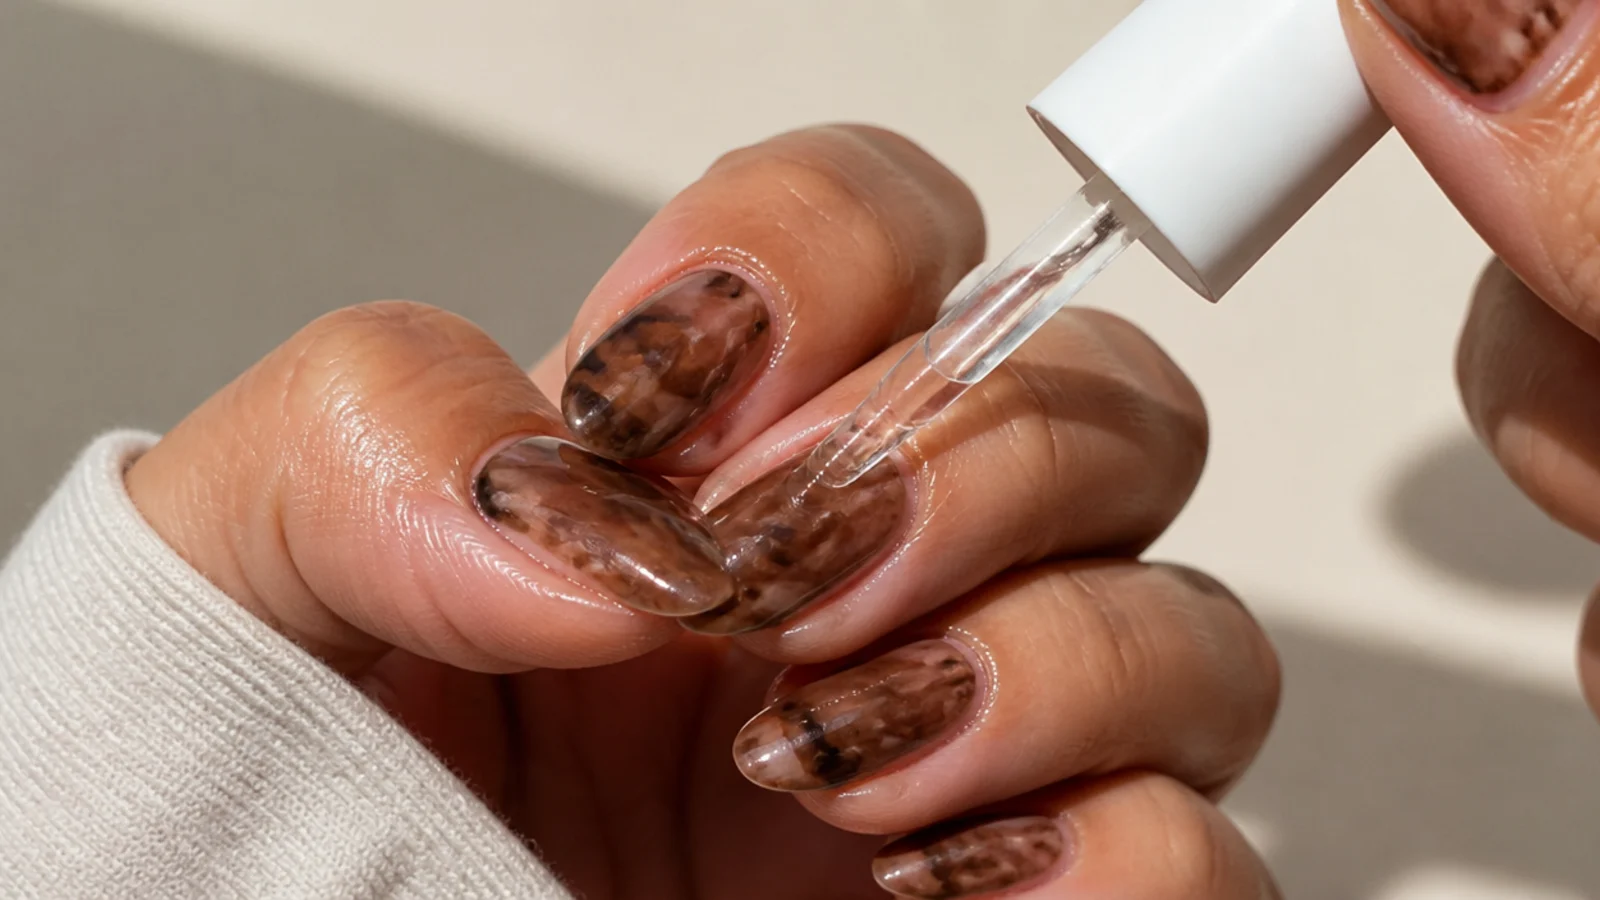
Because blooming gel is a gel technique, a brown blooming gel set lasts about two to three weeks, and up to four with good prep, daily cuticle oil, and capping the free edge to protect it from chips. That is a big step up from regular, non-gel polish art, which only holds for about five to seven days before it dulls and chips. To get the full life, prep the nail properly before you start, seal every layer and the free edge under a no-wipe top coat, wear gloves for chores, and avoid using your nails as tools. When it is time to change, remove it as soak-off gel rather than picking. Book a refill or fresh set every two to three weeks to keep the marble and color looking crisp.
Cost - Salon vs DIY
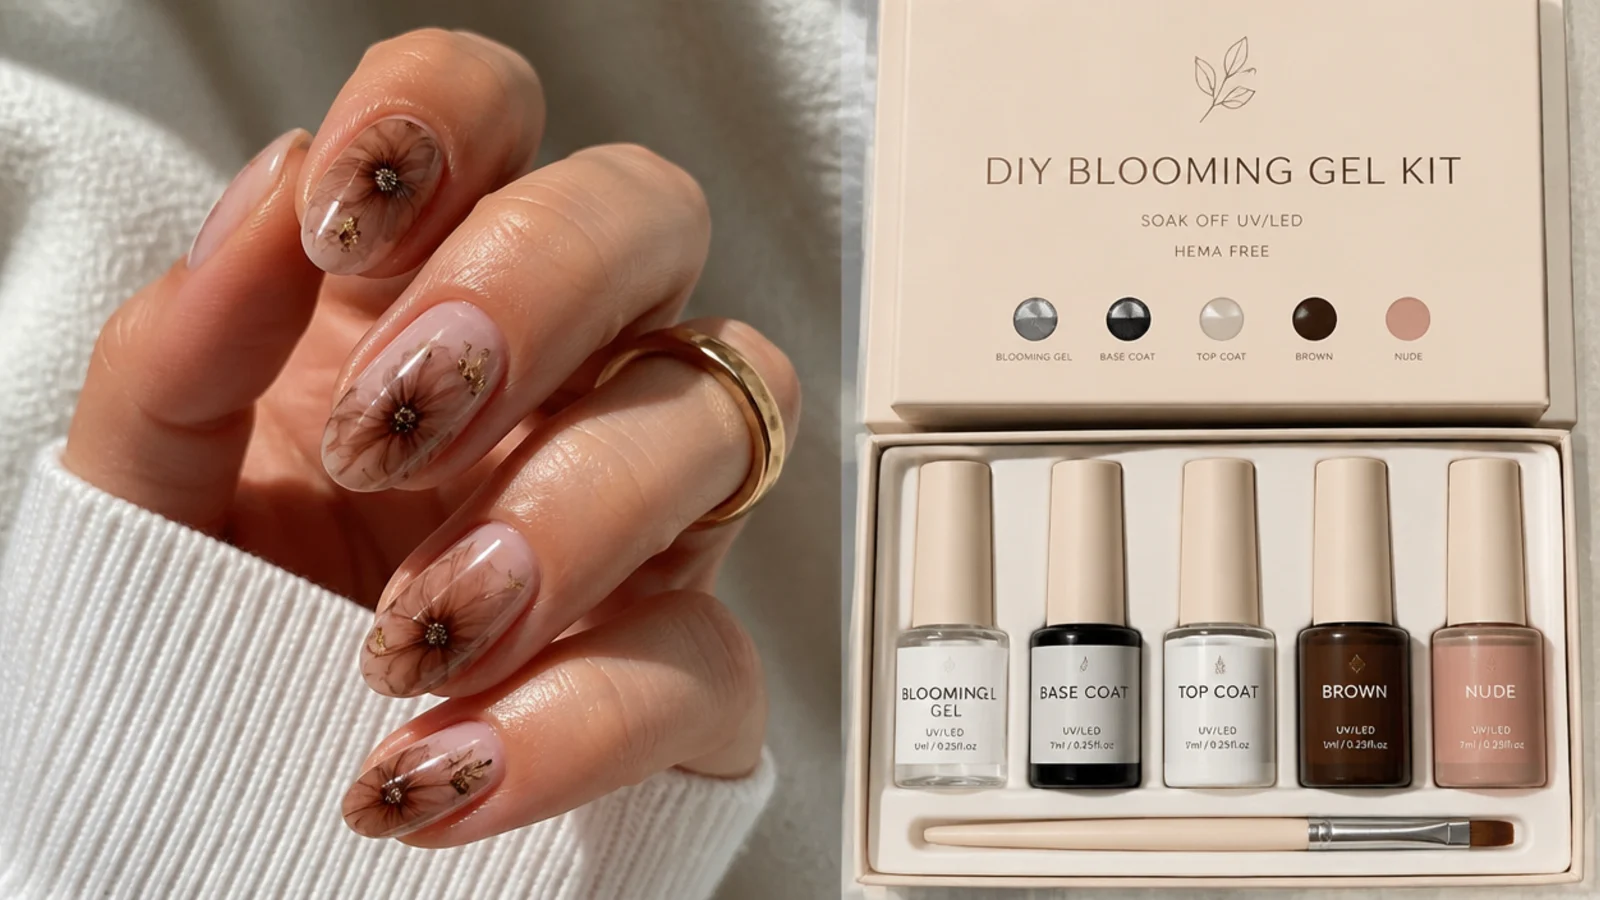
At a salon, a standard gel manicure runs about $30 to $55. Blooming gel counts as nail art, and design add-ons usually cost around $5 per accent nail, so a full brown blooming gel set often lands around $45 to $70 or more depending on how many nails get the marble or floral work. Doing it yourself changes the math fast. A DIY kit - blooming gel, a few brown gel colors, base and top coat, and an LED or UV lamp - costs about the same as one or two salon visits up front, but everything except the acetone and wipes is reusable across many manicures. If you plan to wear brown blooming gel nails through the fall, a kit pays itself back within a couple of sets and lets you refresh the color whenever you like.
Frequently Asked Questions
What is blooming gel and how does it work?
Blooming gel is a clear gel that makes gel color spread into soft, watercolor patterns. You brush a thin layer over a cured color base, leave it uncured, then drop or draw color onto it so it blooms and diffuses within seconds. You cure under LED or UV to lock the pattern in place.
Do you cure blooming gel before adding color?
No. You must leave the blooming gel uncured when you add color, because curing it first kills the effect completely. Apply the thin blooming layer, add your brown color while it is still wet so it can spread, and only cure once the pattern looks right, about 30 to 60 seconds under LED.
How long does blooming gel take to bloom?
The color spreads fast - usually within a few seconds to about a minute after you drop or draw it onto the wet blooming gel. Thinner blooming gel makes it spread more; a thicker layer spreads less. Work quickly and guide it with a liner brush, then cure once you like how the bloom has settled.
How long do brown blooming gel nails last?
As a gel technique, a brown blooming gel set lasts about two to three weeks, and up to four with good prep, daily cuticle oil and a capped free edge. That is far longer than regular non-gel polish art, which only holds for about five to seven days before it chips and dulls.
Do you need a UV or LED lamp for blooming gel?
Yes. Blooming gel is a gel product, so it only sets under a UV or LED lamp - it will not air dry. Cure each layer for about 30 to 60 seconds under LED, or roughly 2 minutes under UV. A lamp is a one-time purchase that then cures every gel manicure you do afterward.
Why did my blooming gel go muddy or not bloom?
A muddy result usually means you flooded too much color - use a little and let it spread. If it will not bloom at all, you either cured the blooming gel before adding color, which kills the effect, or your blooming layer was too thick. Keep the layer thin and the color light for a clean bloom.
Is blooming gel good for beginners?
Yes. Blooming gel is intermediate but very beginner-friendly, because the gel spreads and blends the color for you - you do not need a steady freehand line. Brown marble and tie-dye designs are especially forgiving. Start with a thin blooming layer, a little color, and practice on a couple of nails before doing a full set.
What colors work best for brown blooming gel nails?
For fall, mocha, espresso, caramel, cocoa, cinnamon and rust all bloom beautifully over a cream or nude base. Pairing a light brown with a darker one adds depth, and a touch of gold or bronze chrome finishes the look. Warm rust and terracotta lean autumnal, while taupe and gray-brown give a softer, neutral marble.
How much do brown blooming gel nails cost?
At a salon, expect about $30 to $55 for the gel manicure plus roughly $5 per accent nail for the blooming design, so a full set often runs $45 to $70 or more. A DIY kit with blooming gel, brown colors and a lamp costs about the same as a visit or two up front but is reusable, paying back within a couple of sets.
How do you remove blooming gel nails?
Remove it as soak-off gel. Lightly file the shiny top layer, soak cotton in 100% acetone, press it to each nail, wrap in foil, and wait about 10 to 15 minutes. The gel softens so you can gently push it off with a wooden stick. Never peel or pry it, which damages the natural nail. Finish with cuticle oil.
Which blooming gel nails look are you saving?
Brown blooming gel nails are the easiest way to wear fall - warm, moody and forgiving, since the bloom does the blending for you. Whether you go for a soft mocha marble, an inky espresso tie-dye or delicate caramel florals, the key is a thin layer of blooming gel, a little color, and a cure only once the pattern looks right. Keep the layer thin for more spread, use color sparingly so it does not go muddy, and cap the free edge so the set lasts its full two to three weeks. Save the designs you love and take the exact photos to your appointment so your fall color comes out just how you picture it.