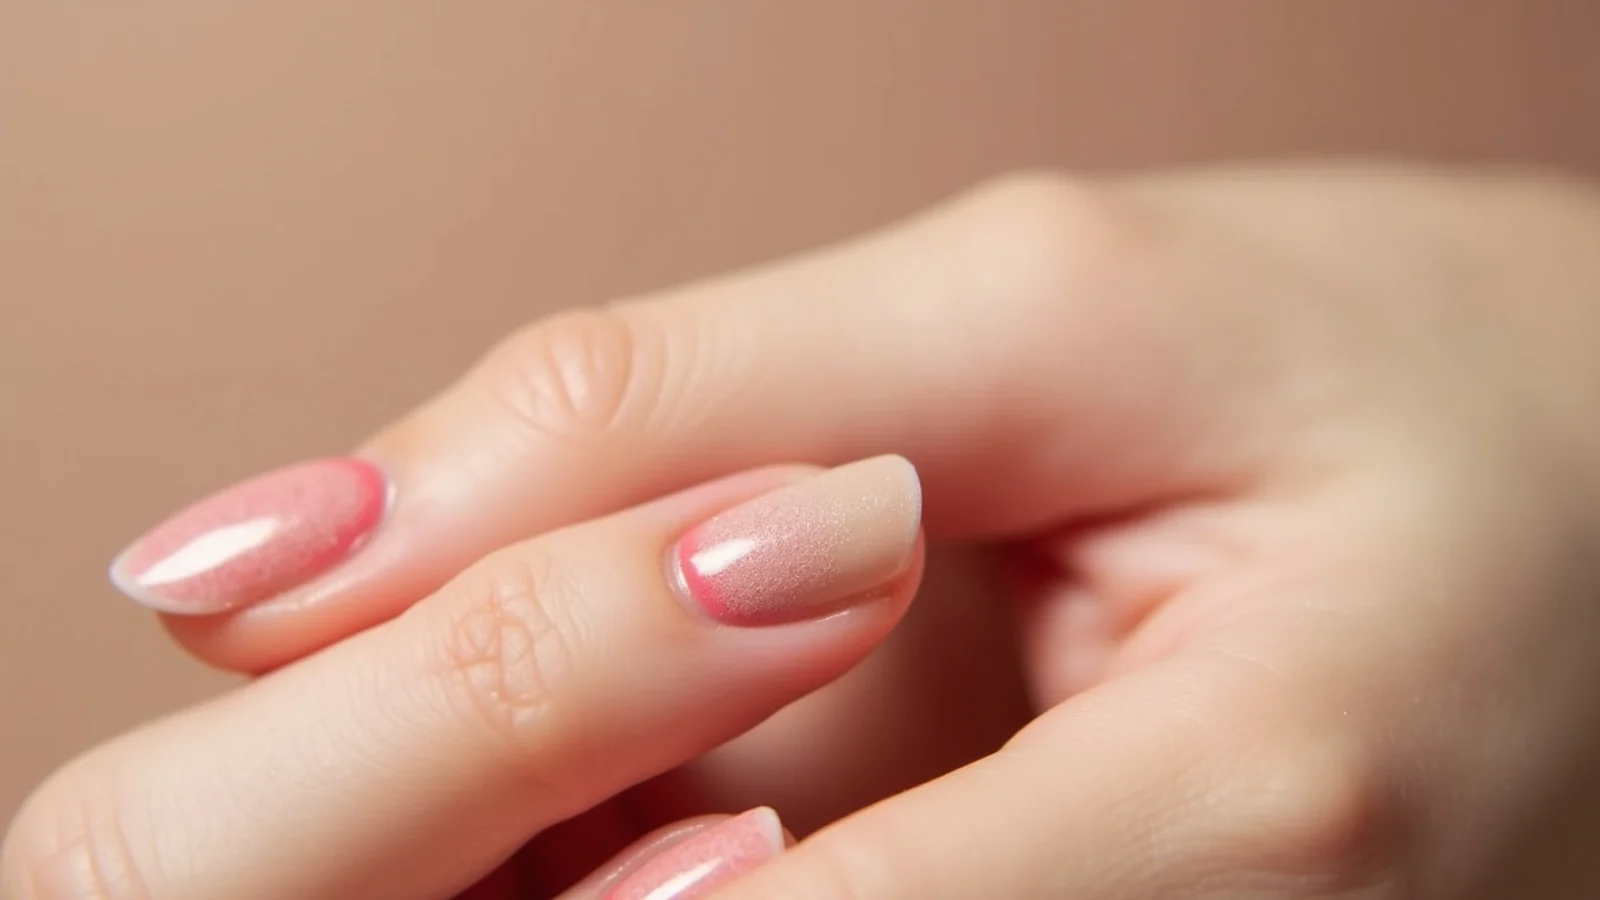
Quick Comparison
| Sponge and Regular Polish at Home | Pigment Brush and Gel Polish at Home | |
|---|---|---|
| Tools needed | Makeup sponge, foil, three polishes, top coat | Puff and angled brushes, gel colors, matte and gloss gel top coats, LED lamp |
| Startup cost | About 20 to 35 dollars all in | About 70 to 120 dollars with a lamp |
| Time for ten nails | 35-50 minutes, one nail at a time | 45-60 minutes including cure cycles |
| Blending window | About 30 seconds before the surface sets | Unlimited until you cure it |
| Edge softness | Soft and slightly irregular per nail | Tight, controlled and repeatable |
| Wear time | 5-7 days before tip wear shows | 2-3 weeks with no fading |
| Chrome compatible | No, chrome needs a cured gel tacky layer | Yes, rub into the no-wipe top coat |
| Removal | Acetone wipe, about 2 minutes | Foil soak, 10-15 minutes |
| Best for | First attempts, one-night looks, testing colors | Chrome glaze finishes and three-week wear |
1. Prep the Nail and Lay a Sheer Nude Base
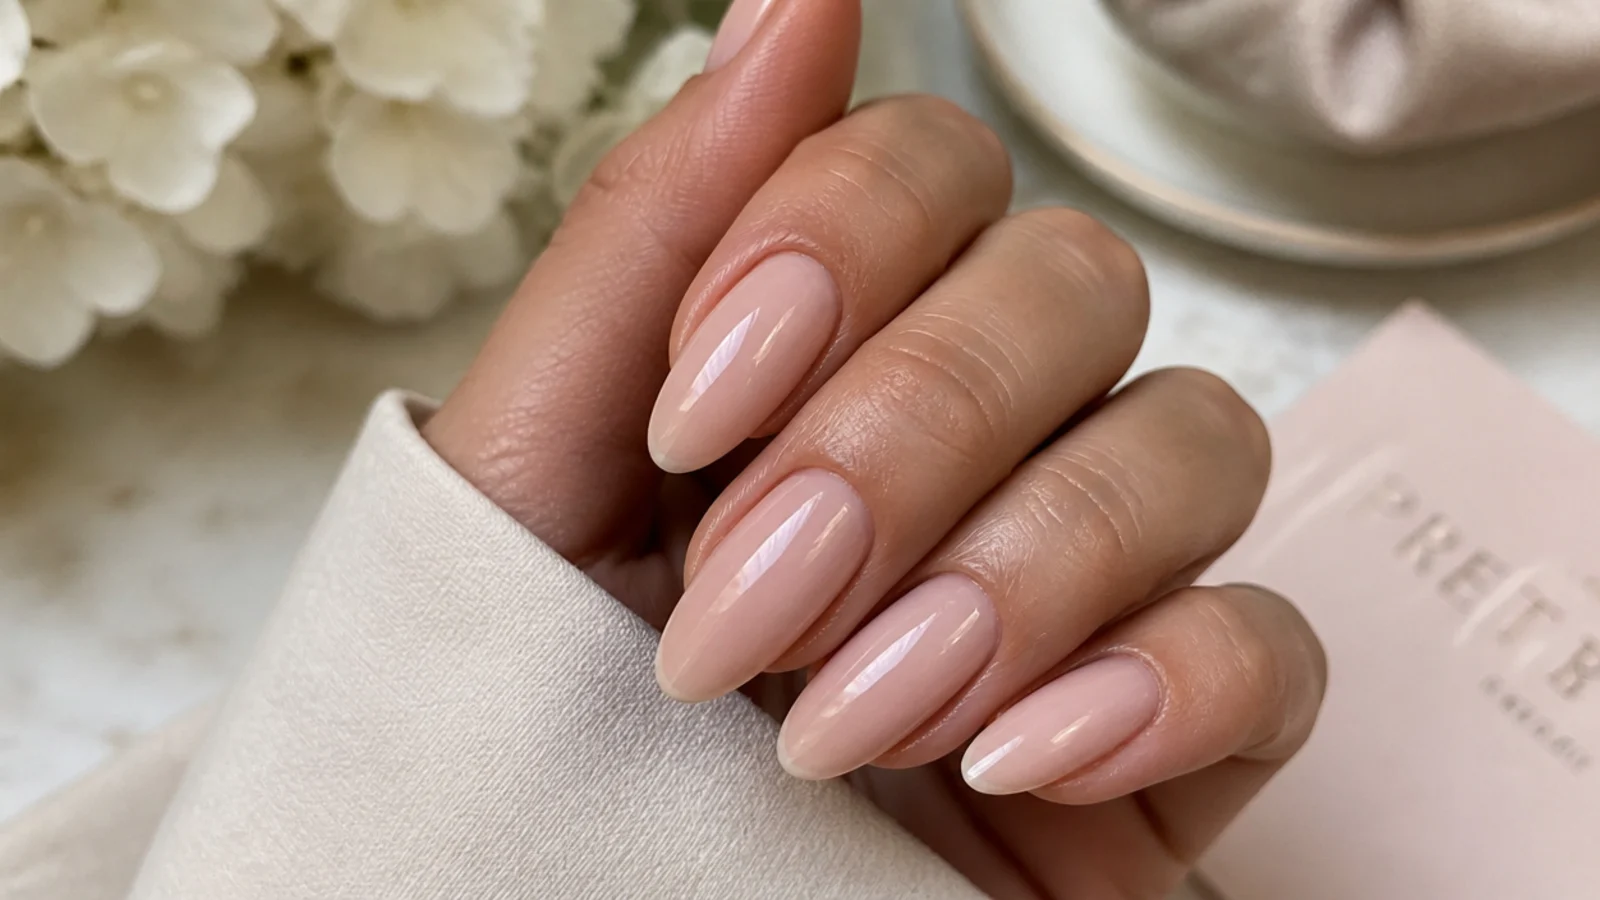
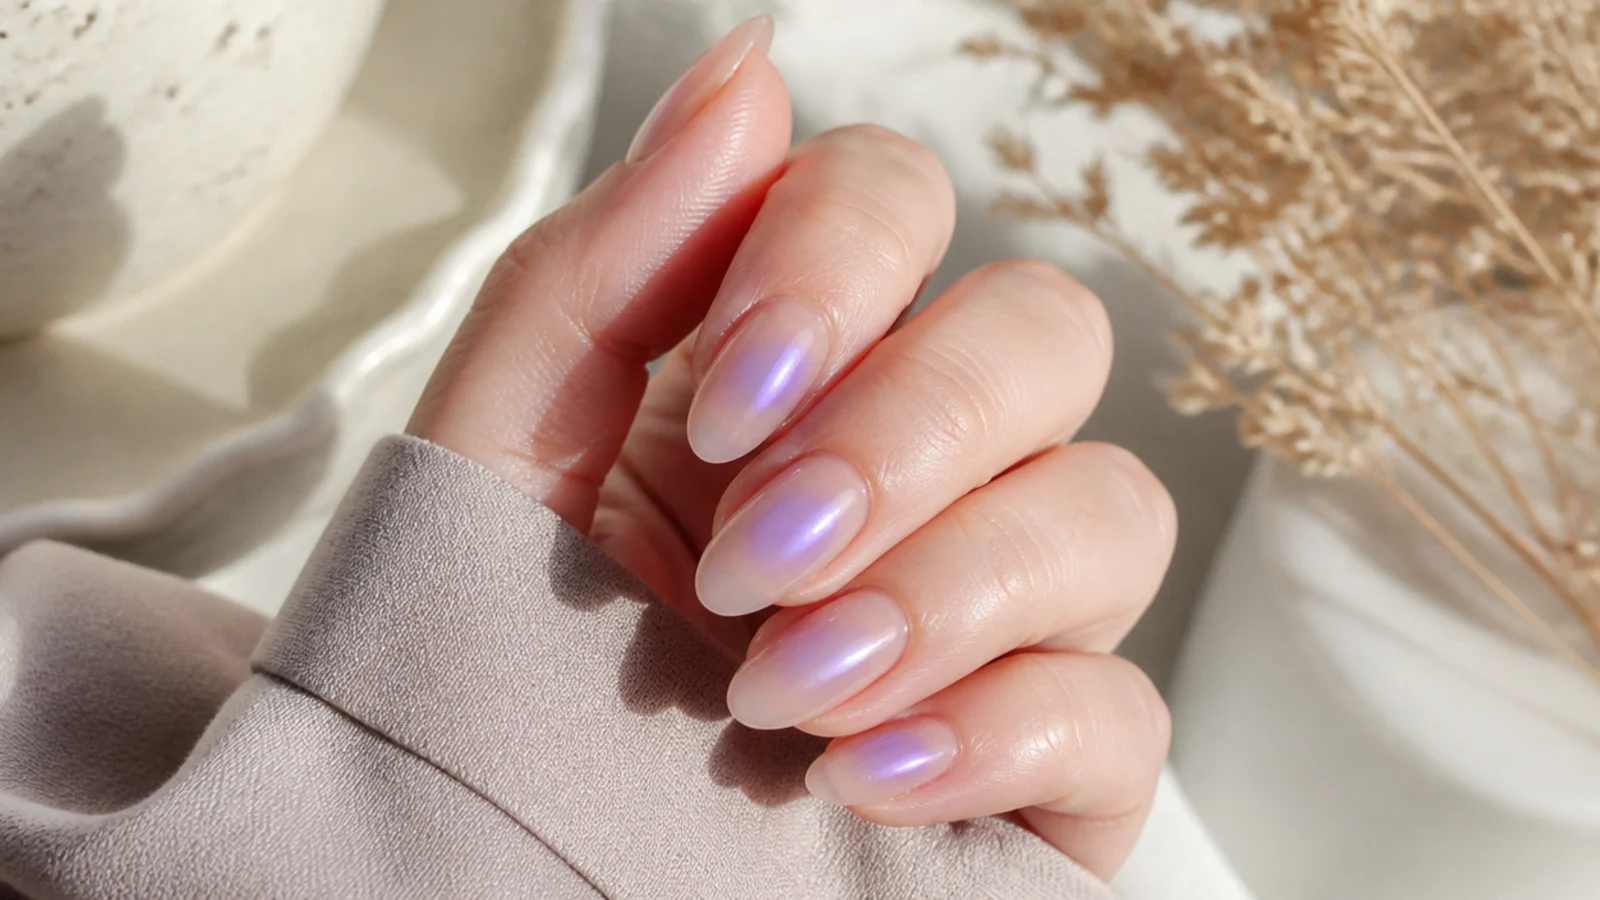
Remove old polish with acetone, wash and dry your hands, push the cuticles back with a wood stick and shape the free edge. Lay one thin base coat to stop pigment staining the plate, then one or two coats of a sheer nude or milky white color and let it set completely. A sheer base is what lets the halo look lit from underneath rather than painted on top. Fully opaque colors flatten the glow. If you are shaping first, the tapered walls in how to shape almond and oval nails frame an aura better than a blunt square does.
Common mistake: Sponging onto a base that is still soft drags the base color up and streaks the whole nail.
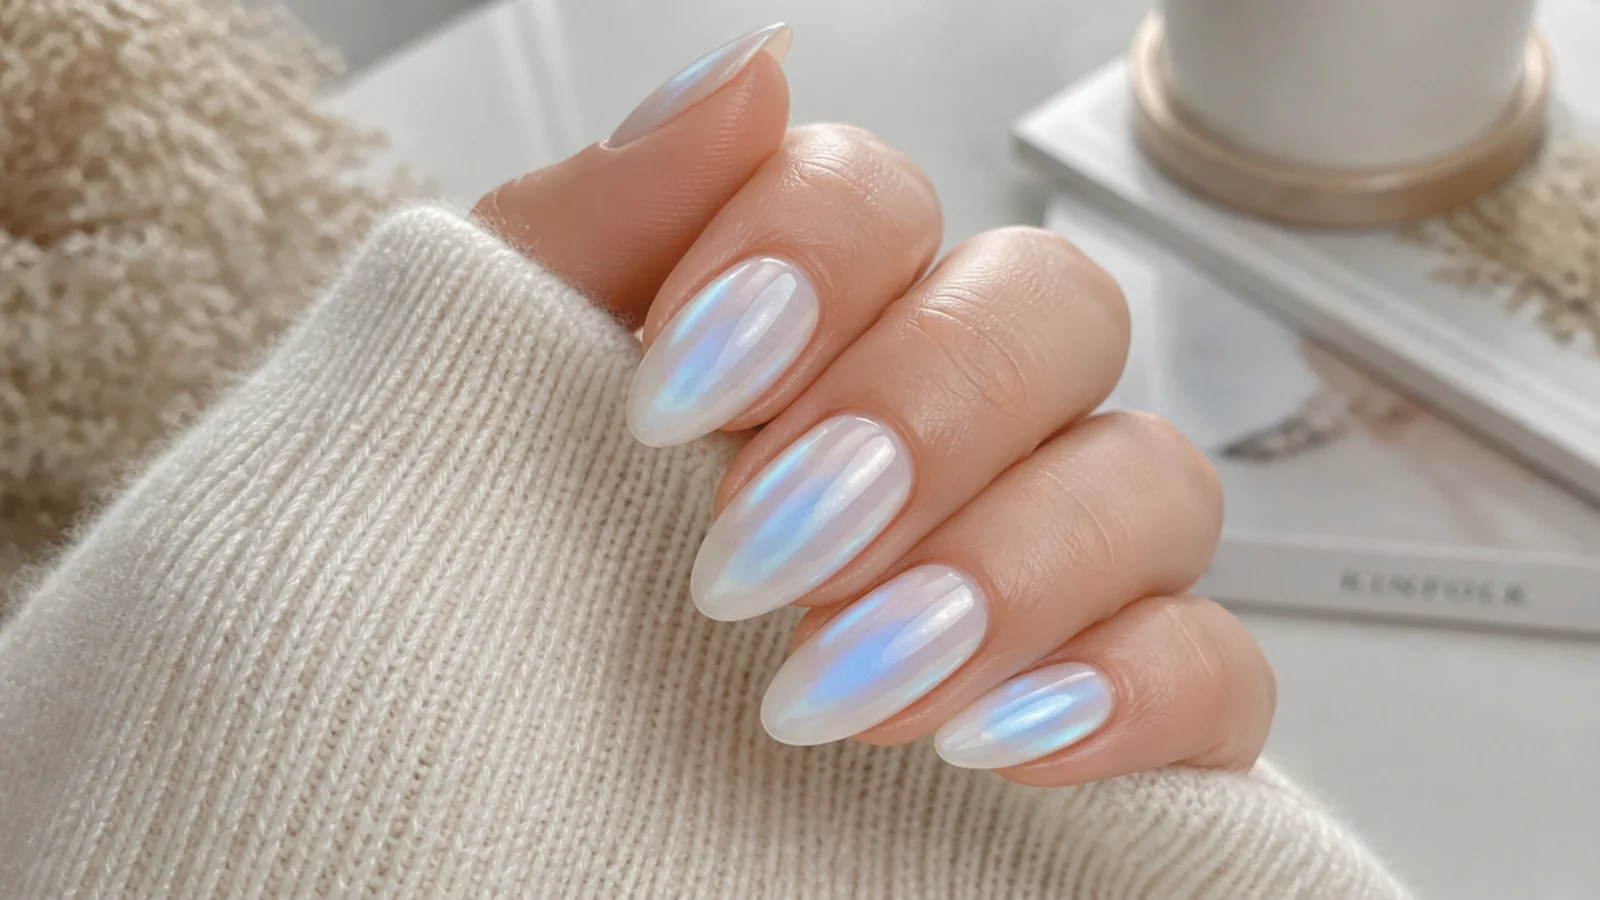
Pro tip: Milky white pushes pastels brighter; warm nude softens them, which is why milky white chrome nails read so soft.
2. Pick Your Aura Color and Where the Halo Sits
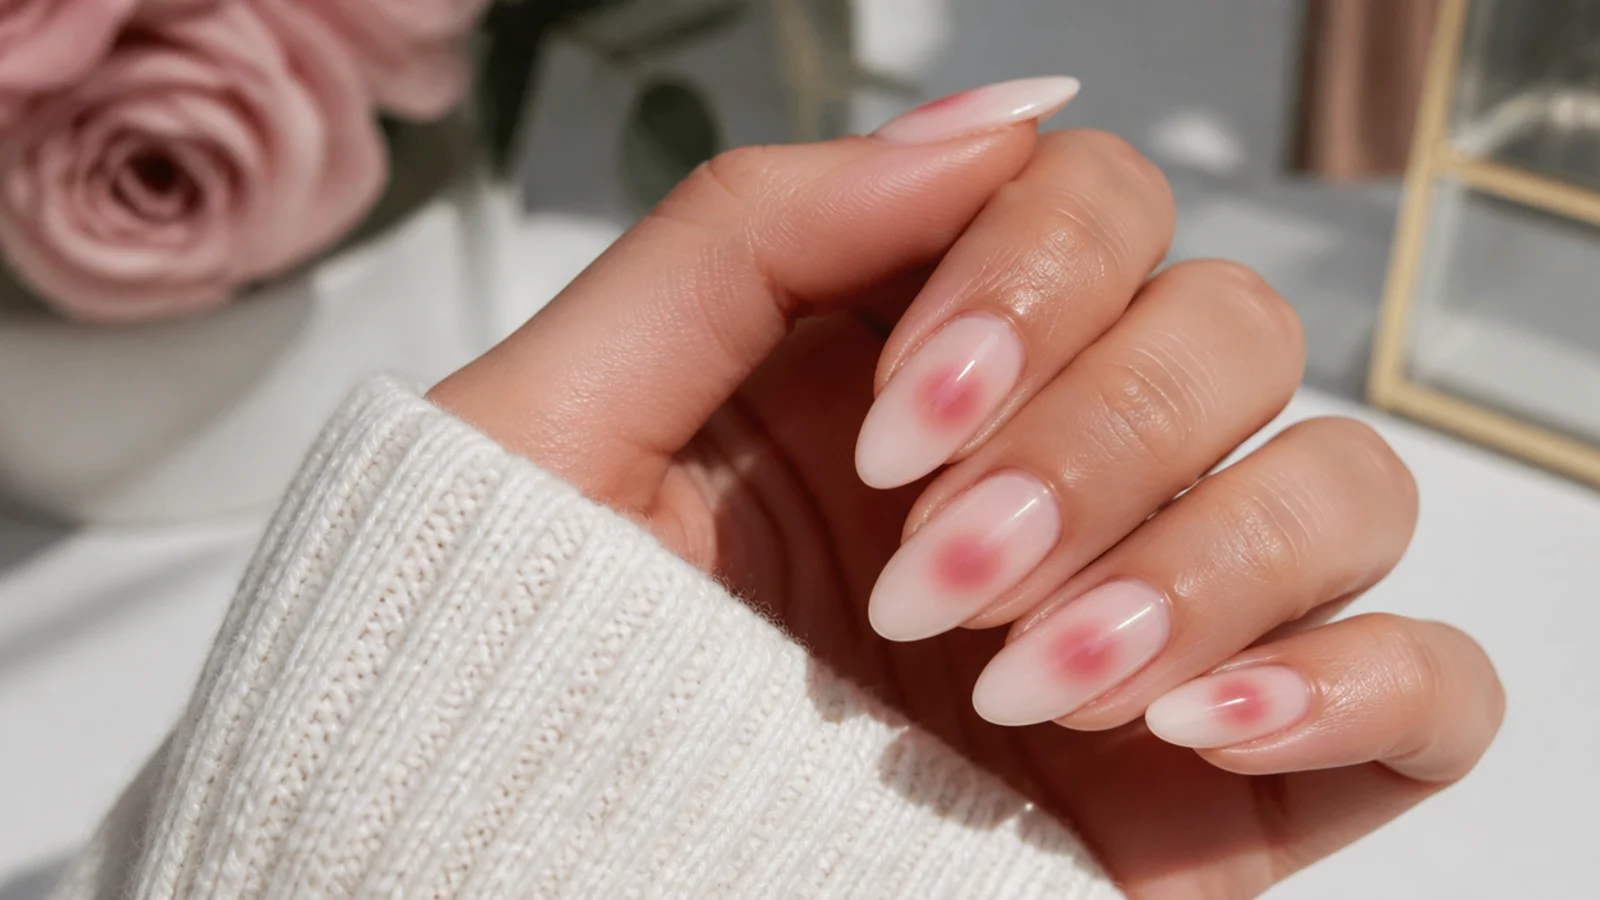
Choose two colors that sit next to each other on the color wheel for your first attempt, such as bubblegum pink with peach, or baby blue with lilac. Colors from opposite sides mix into gray where they meet. Then decide placement: a centered halo is the classic look, high placement near the cuticle lengthens a short nail, and low placement near the free edge reads more like a reverse French. Mark the spot mentally before you touch the sponge. The color pairings in pink aura nails and blue aura nails all follow this same neighboring-shade rule.
Common mistake: Pairing a cool blue with a warm orange, which turns the blend zone muddy brown every time.
Pro tip: One halo per nail. Two colors dabbed into the same spot is where beginners lose the glow.
3. Dab the Halo With a Makeup Sponge
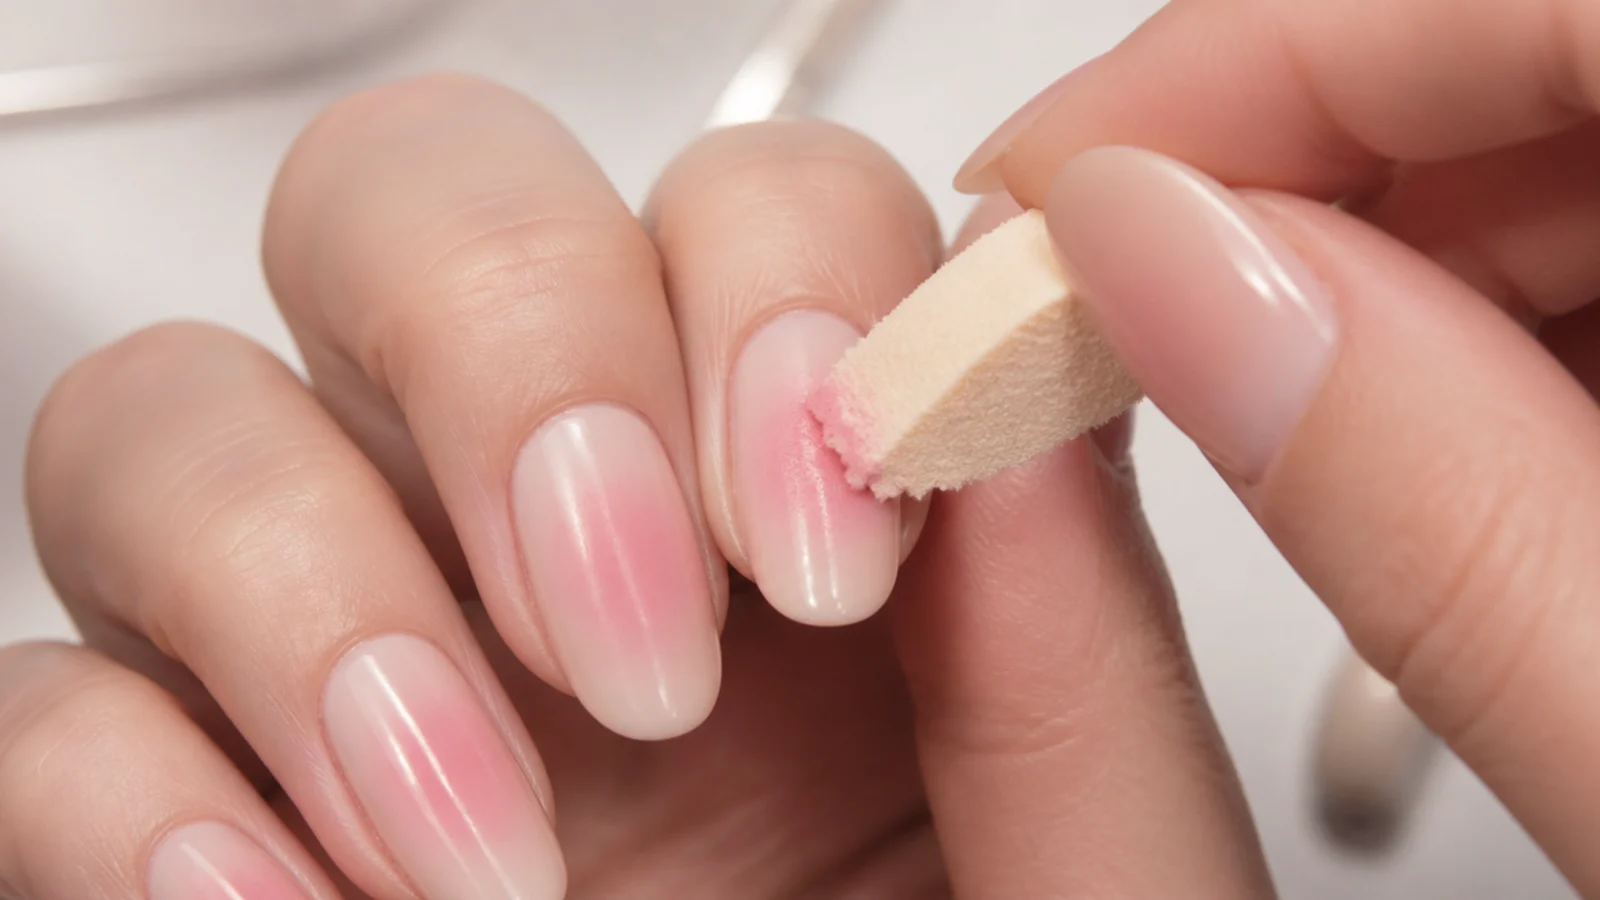
Paint a small oval of your aura color onto a piece of foil, press a clean makeup sponge into it, then blot the sponge twice on a spare patch of foil to offload the excess. Now tap the sponge onto the center of the nail in a small oval, lifting straight up each time. Five to ten light taps builds a visible halo. If the color is barely there after ten taps, that is correct at this stage. Depth comes from repeating the pass, not from pressing harder. The same build-slowly discipline runs through how to blooming gel nails.
Common mistake: Pressing and dragging instead of tapping, which prints the sponge texture into the polish as visible pits.
Pro tip: Tear the sponge rather than cutting it. A ragged torn face diffuses the edge better than a clean cut one.
4. Blend the Edges Until the Halo Has No Line
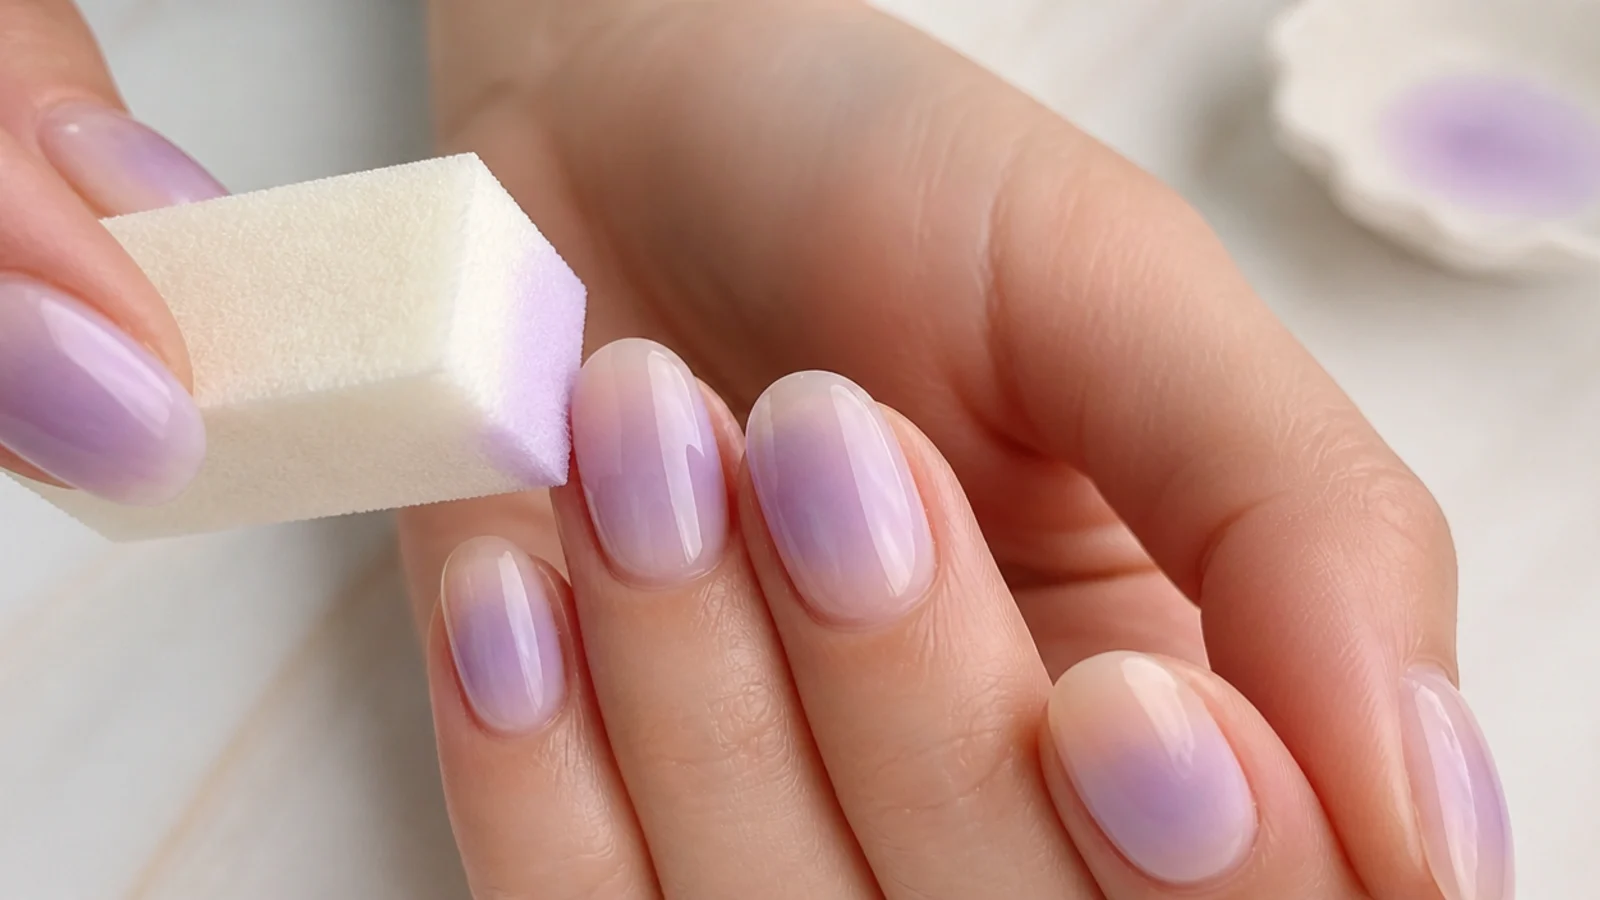
Take a clean, dry corner of the sponge and tap only around the outer boundary of the halo, working in a ring and getting lighter as you move outward. This is the step that turns a colored spot into an aura. Then look at the nail from the side under a lamp, because a hard edge that is invisible face-on shows clearly at an angle. If the halo has grown too big, tap a little of your sheer base color back over the outer ring to shrink it. Unlike a linear fade such as lavender ombre nails, an aura radiates outward from one point in every direction.
Common mistake: Blending outward with a loaded sponge, which spreads color to the sidewalls and kills the glow entirely.
Pro tip: Work one nail from base to top coat before starting the next. Half-dry polish will not blend.
5. Fix Patchy or Muddy Blends Before You Seal
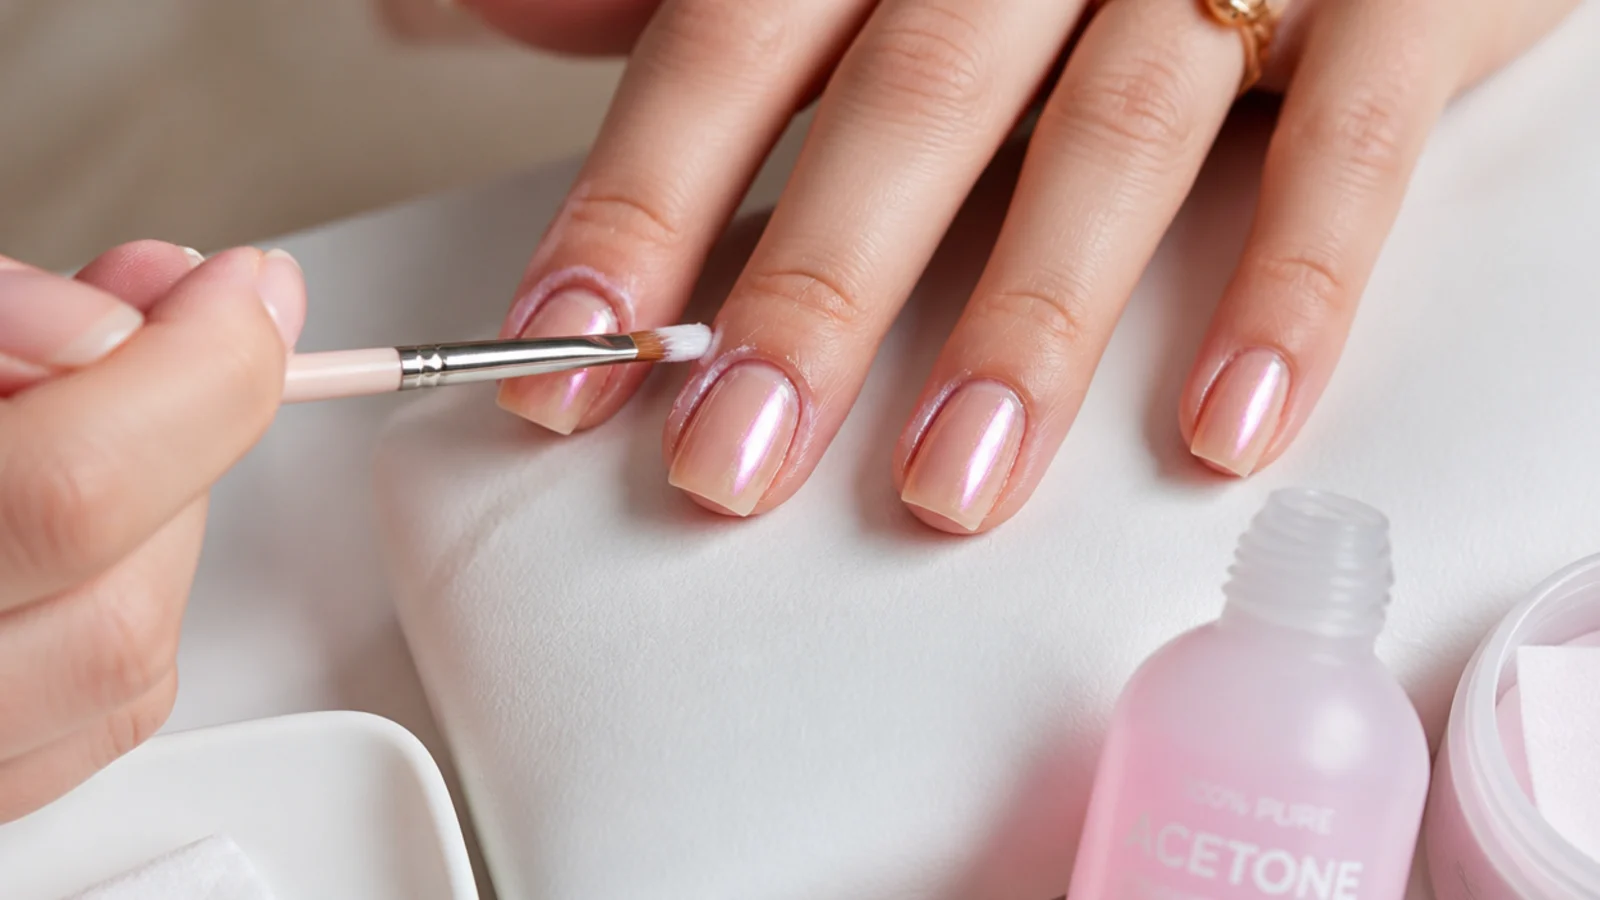
Check three things now, while the polish is still workable. Patchy halo with visible speckles means too much product on the sponge, so offload harder and tap another light pass over the top. Muddy color where two shades meet means you mixed opposites, and the fix is one thin pass of the lighter shade over the muddy zone. Hard edge means you skipped the clean-sponge ring in step four. Finally, dip a small angled brush in acetone and sweep the cuticle line and sidewalls clean. The same near-cuticle discipline that saves white chrome nails from mistakes.
Common mistake: Trying to fix a patchy halo by adding more color, which buries the glow under a solid opaque circle.
Pro tip: If a nail is genuinely wrong, wipe it and restart that one nail. Layering corrections never recovers the softness.
6. Seal With Top Coat, or Add Chrome for the Glazed Version
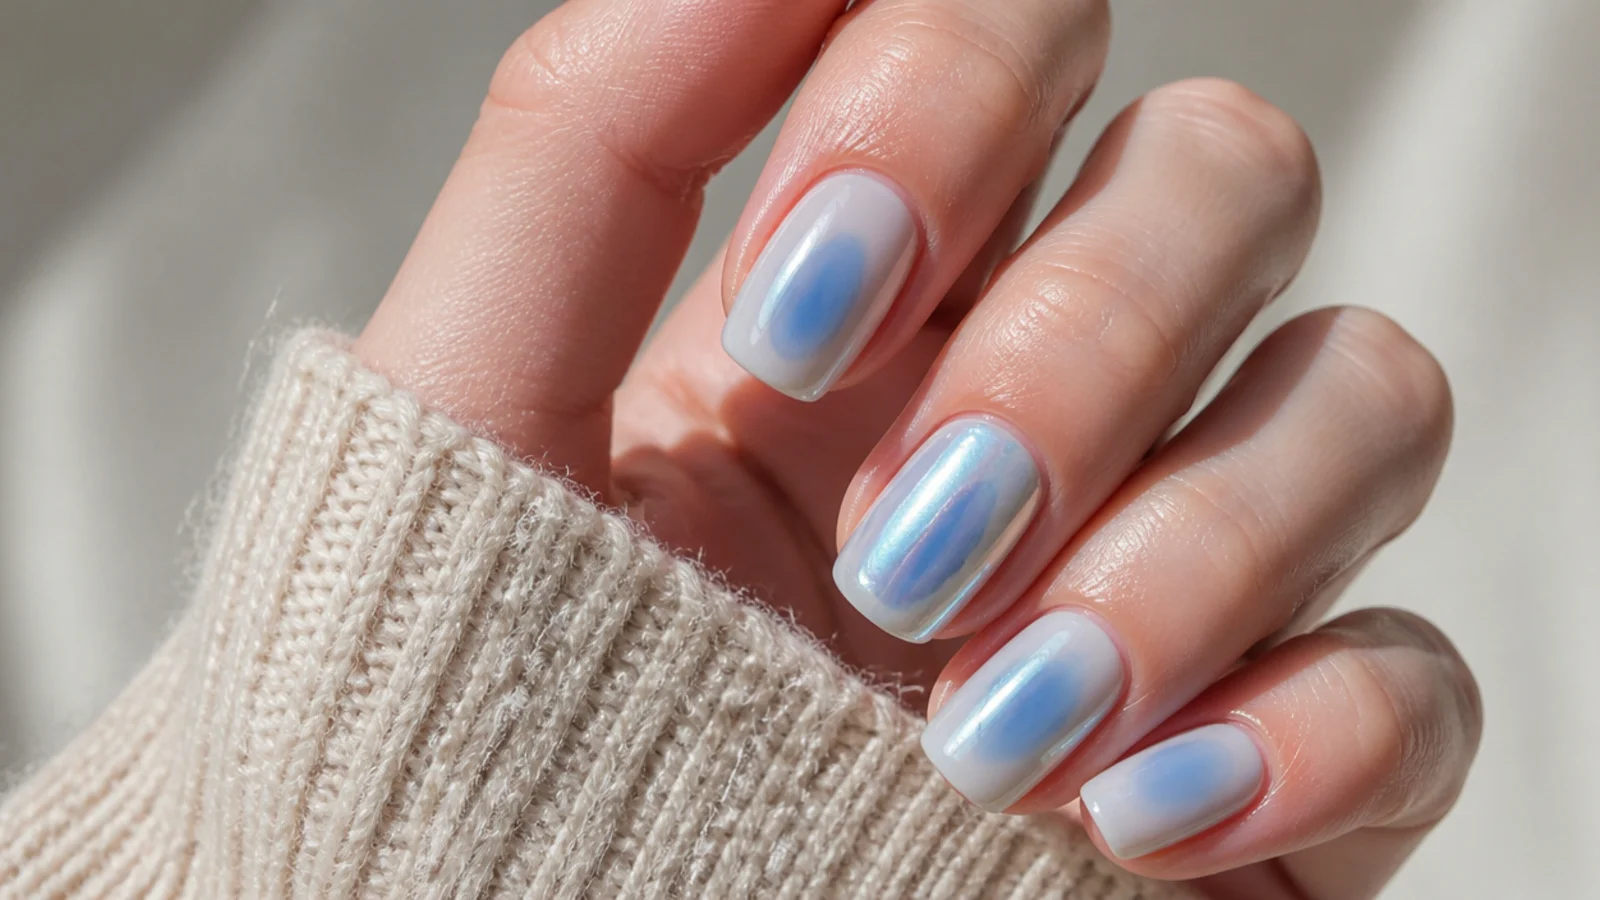
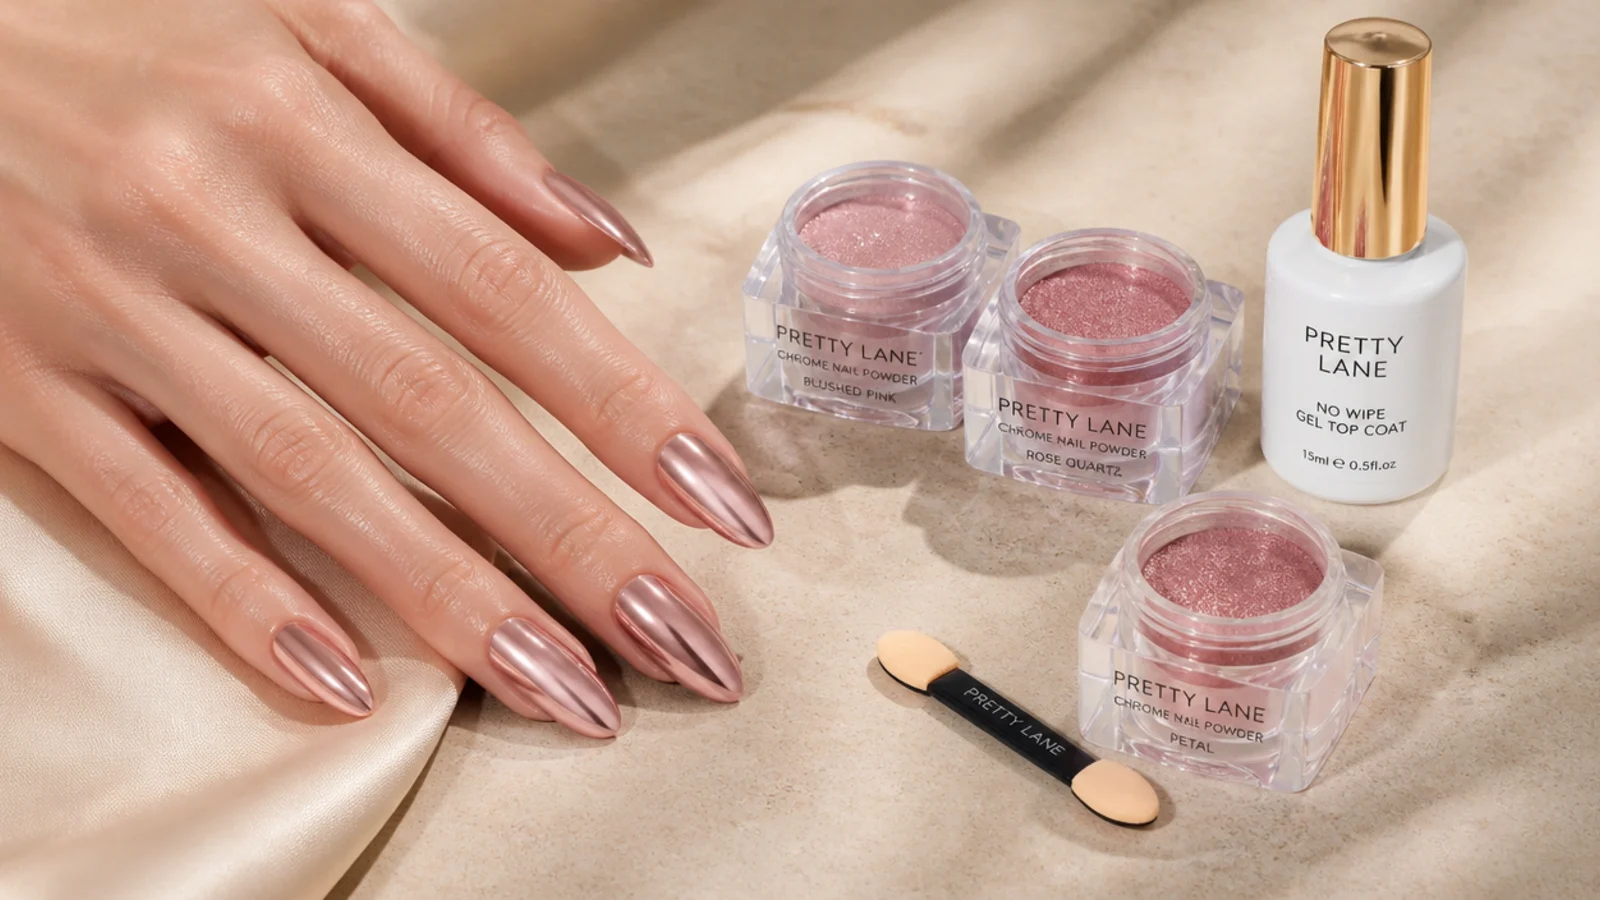
Float a generous layer of a self-leveling glossy top coat over the nail in as few strokes as possible, going one direction only so you do not drag the halo. Two thin coats beat one thick one for chip life. For the glazed chrome version, cure a no-wipe gel top coat, then rub chrome powder into the sticky inhibition layer with an applicator and seal again. Chrome only takes on that tacky layer, which is exactly the mechanism explained in how to do white chrome nails. One pass of powder gives a glaze, a full rub gives a mirror.
Common mistake: Brushing the top coat back and forth, which smears the halo into a streak in one stroke.
Pro tip: A matte top coat turns the same halo into a soft chalky aura, the same trick used in how to matte nails.
Do You Need an Airbrush to Do Aura Nails?
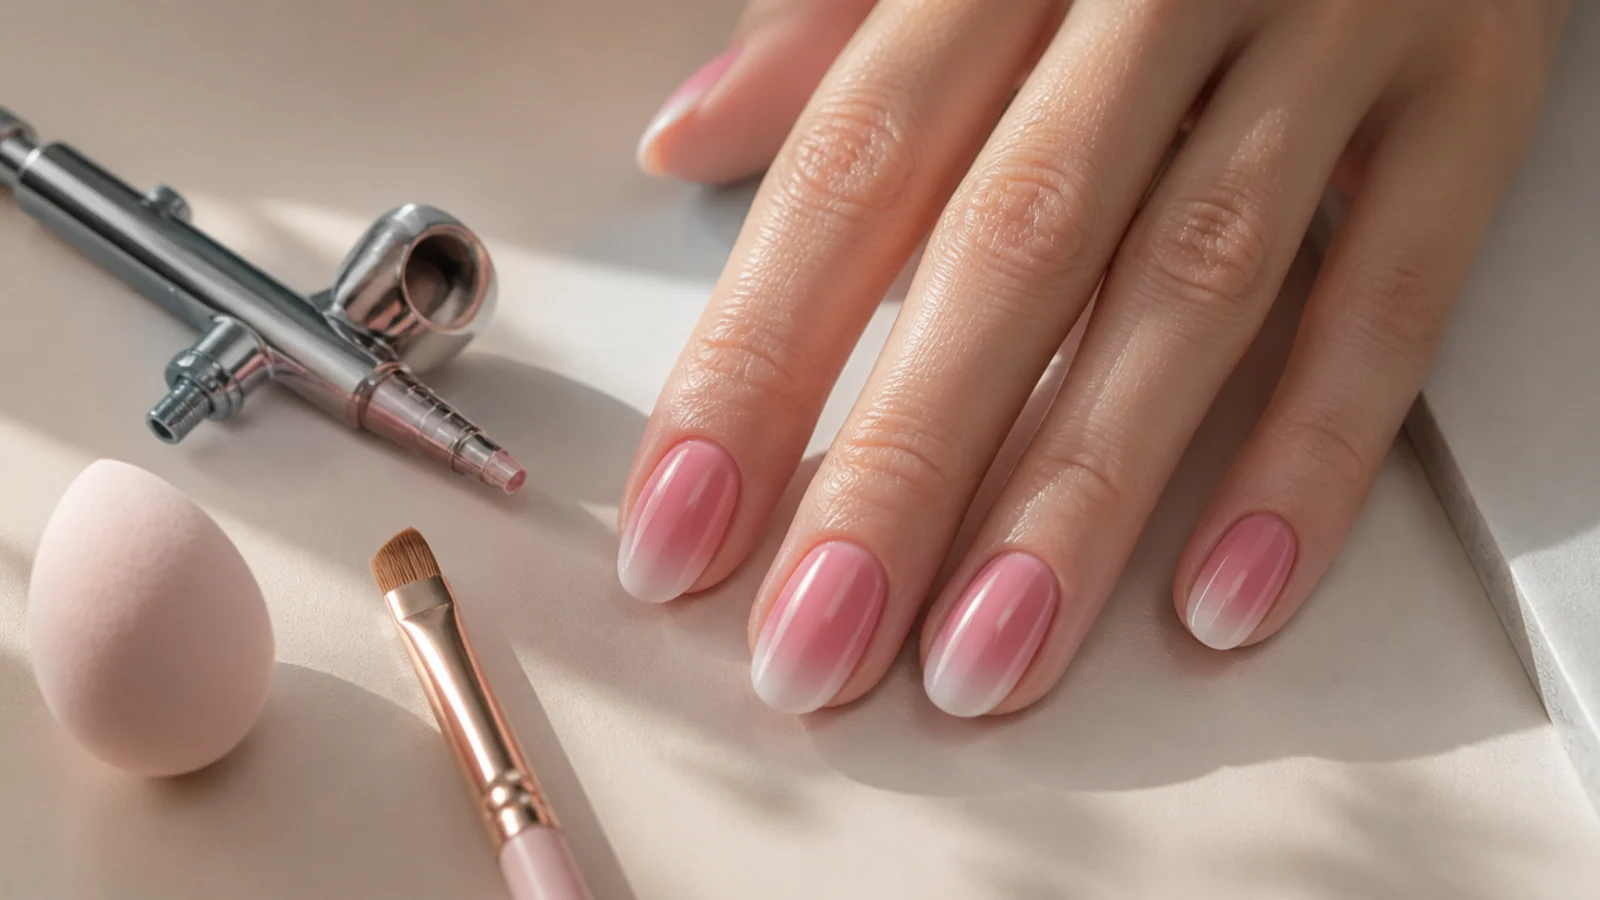
No. An airbrush sprays a fine mist that fades outward with no hard boundary, which is exactly what an aura needs, but a torn makeup sponge does the same job for a few cents. The trade is speed and consistency, not whether the look is possible. An airbrush does all ten nails in about ten minutes and gives you identical halos; a sponge takes 35 to 50 minutes and each nail is slightly different, which most people cannot see once the set is finished. The third route is a pigment brush, usually a short flat puff brush plus an angled brush, worked into a matte gel top coat. That gives the tightest, most controlled halo of the three and it is what most salon sets use. Machines start around 100 dollars for a starter compressor kit, pigment brush sets run 10 to 25 dollars, and a bag of wedge sponges is under 5 dollars. Start with the sponge. If you love the look enough to do it monthly, the tool comparisons in chrome and aura nail kits compared tell you what to buy next.
Can You Do Aura Nails With Regular Nail Polish?
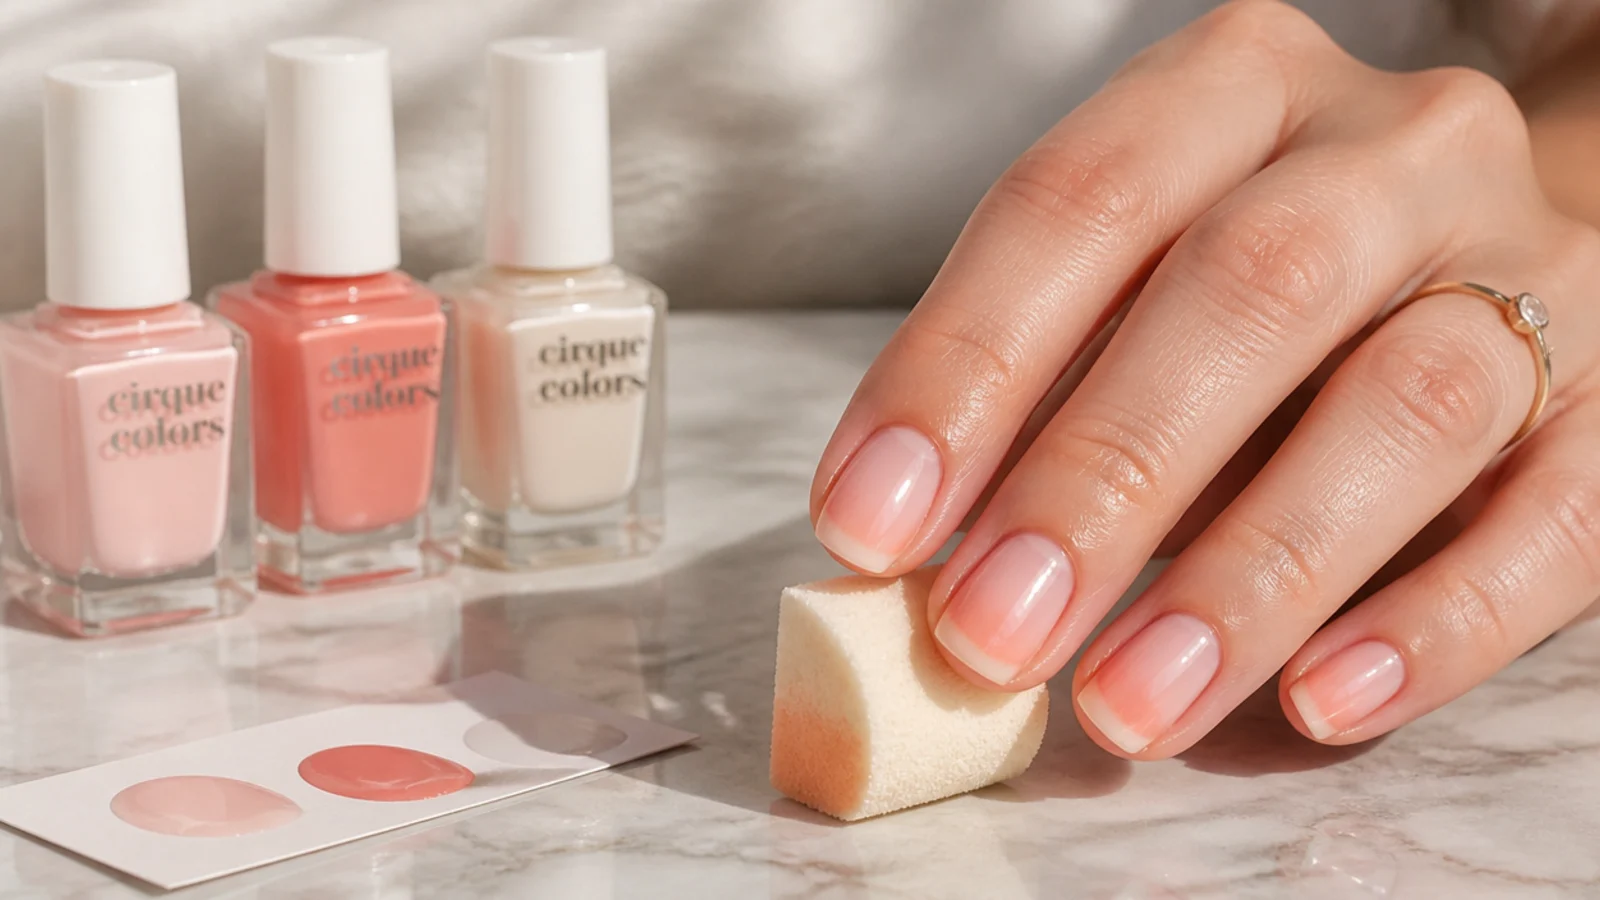
Yes, and this is the question the brand tutorials answer evasively because they are selling gel systems. Regular polish works, with one constraint: it dries in about 60 to 90 seconds at the surface, so you get a much shorter blending window than gel, which stays wet until you cure it. Work that constraint instead of fighting it. Do one nail completely before starting the next, keep your sponge passes to the first 30 seconds after each application, and thin your aura color with one drop of polish thinner if it is getting tacky on the foil. Fast-drying top coats are the enemy here because they contract as they set and can crack a soft blend, so use a standard self-leveling glossy top coat instead. Expect 5 to 7 days of wear versus 2 to 3 weeks for gel, and expect slightly softer edges, which honestly suits the look. The one thing regular polish cannot do is hold chrome powder, since chrome needs the sticky layer of a cured no-wipe gel. For that finish you need a lamp.
Which Base Color Makes the Aura Glow Brightest
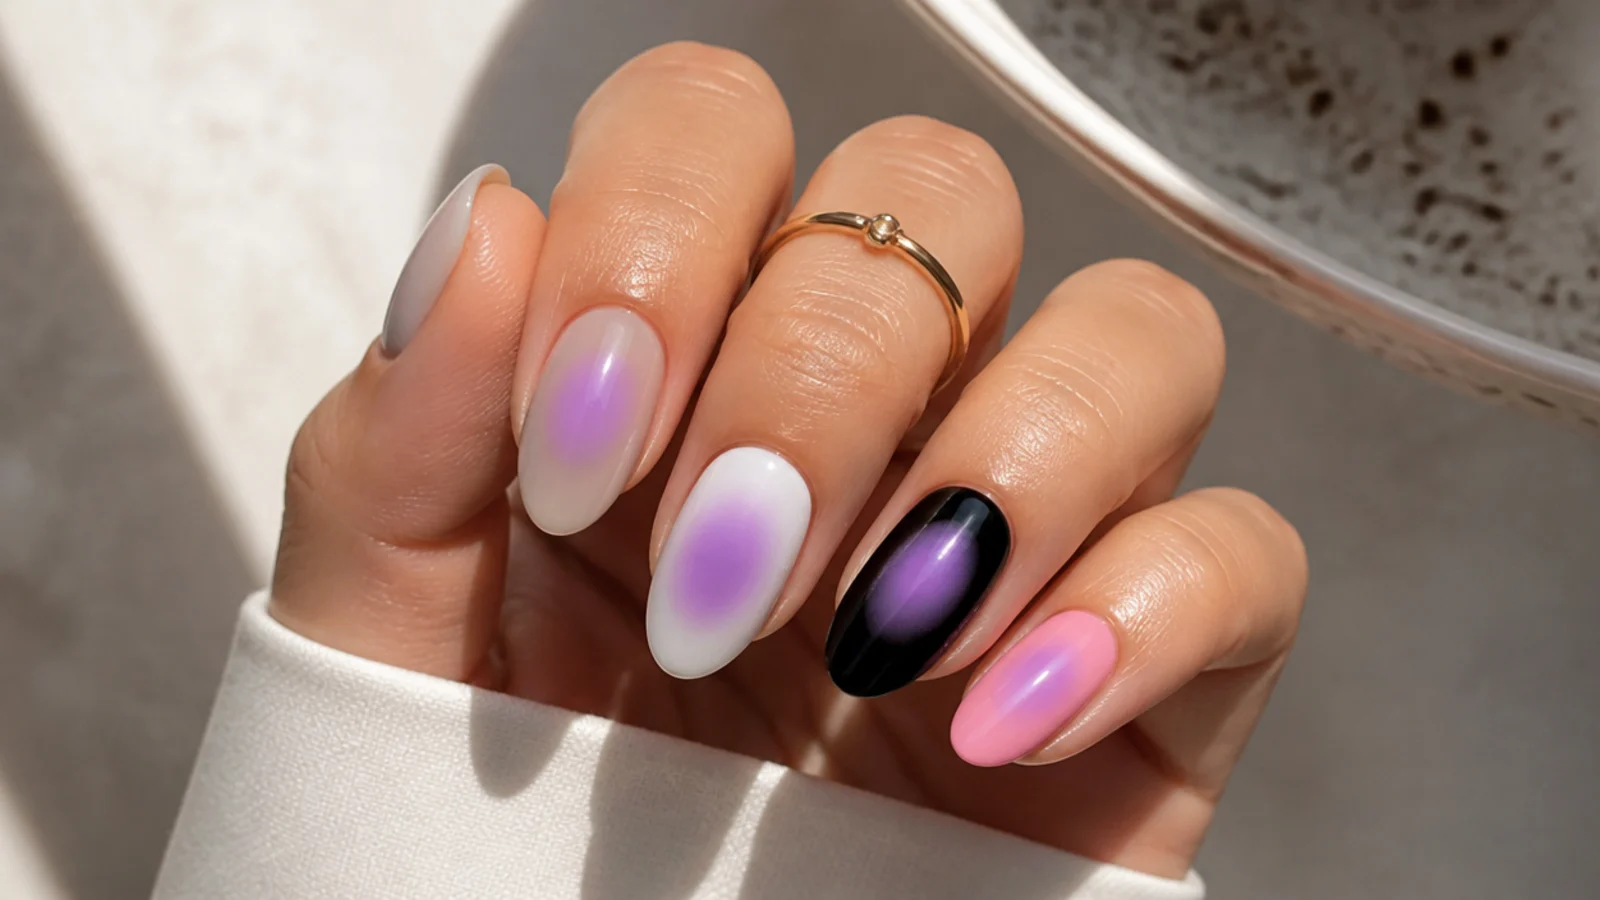
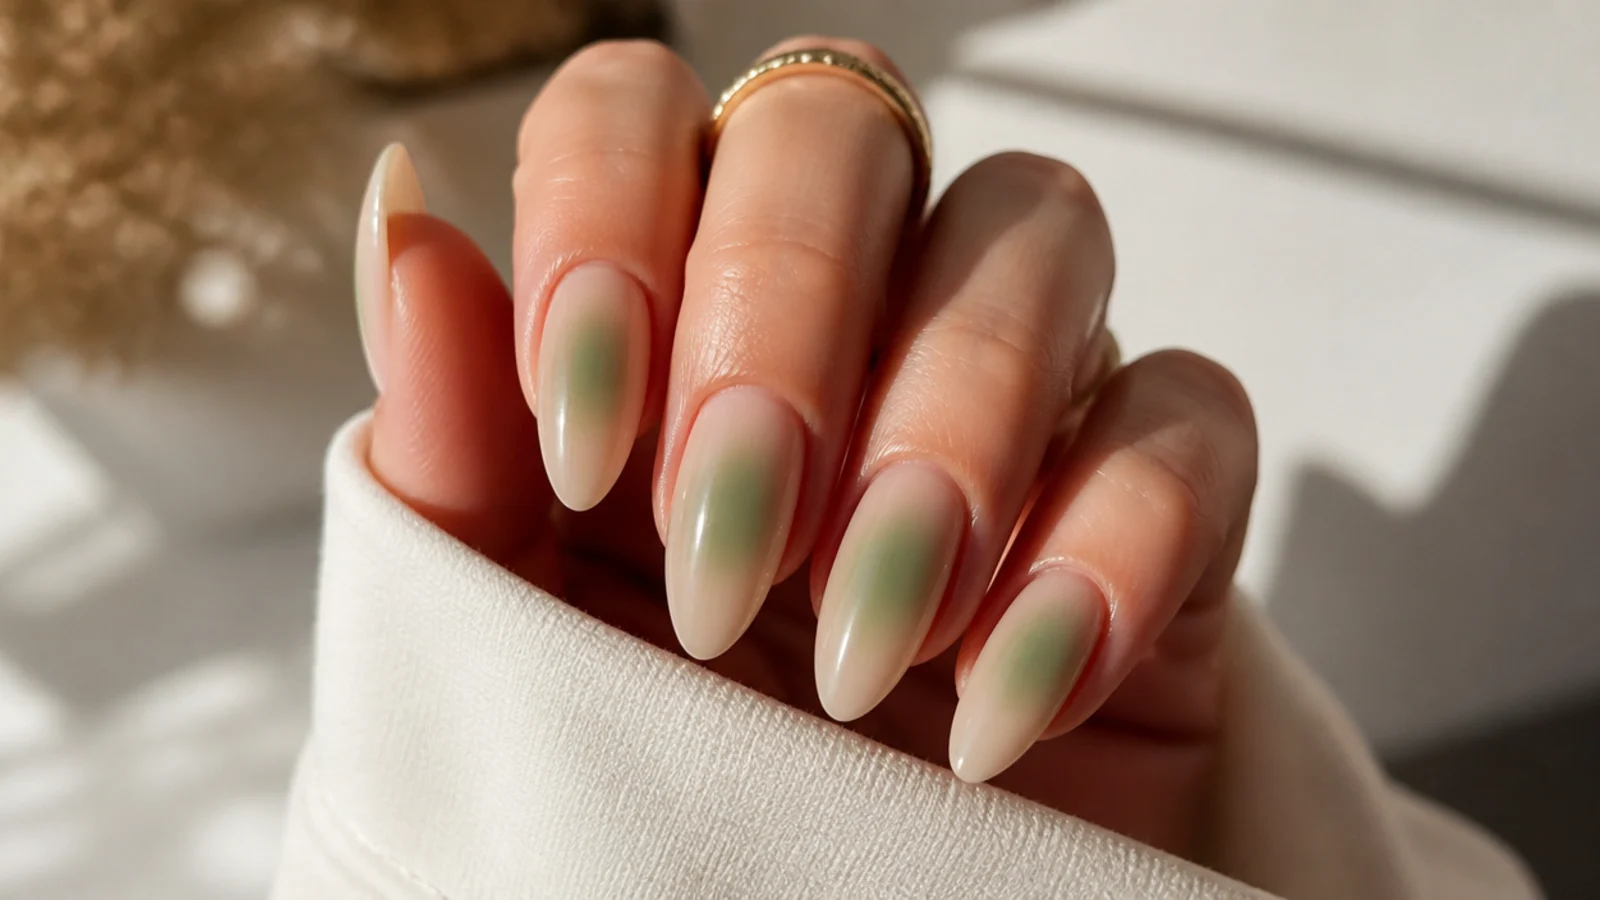
Base color decides more of the final result than the aura color does, and almost no tutorial states it. A sheer nude base lets light bounce off the nail plate through the halo, which is what makes an aura look lit rather than painted. A milky white base pushes pastels a shade brighter and cooler, and it is the standard under pink, lilac and mint halos. A soft warm nude mutes the same colors into something dustier and more wearable for work. An opaque cream base kills the glow completely, because the halo now sits on top of a wall instead of glowing through a window. Black is the exception worth knowing: it does nothing for a pigment aura but turns chrome powder into a sharp liquid mirror, while that same chrome over milky white or sheer pink softens into a pearly glaze. Test on one nail before committing all ten. The tonal logic is the same one running through green aura nail designs and lavender chrome nails.
Troubleshooting Patchy, Muddy and Vanishing Auras
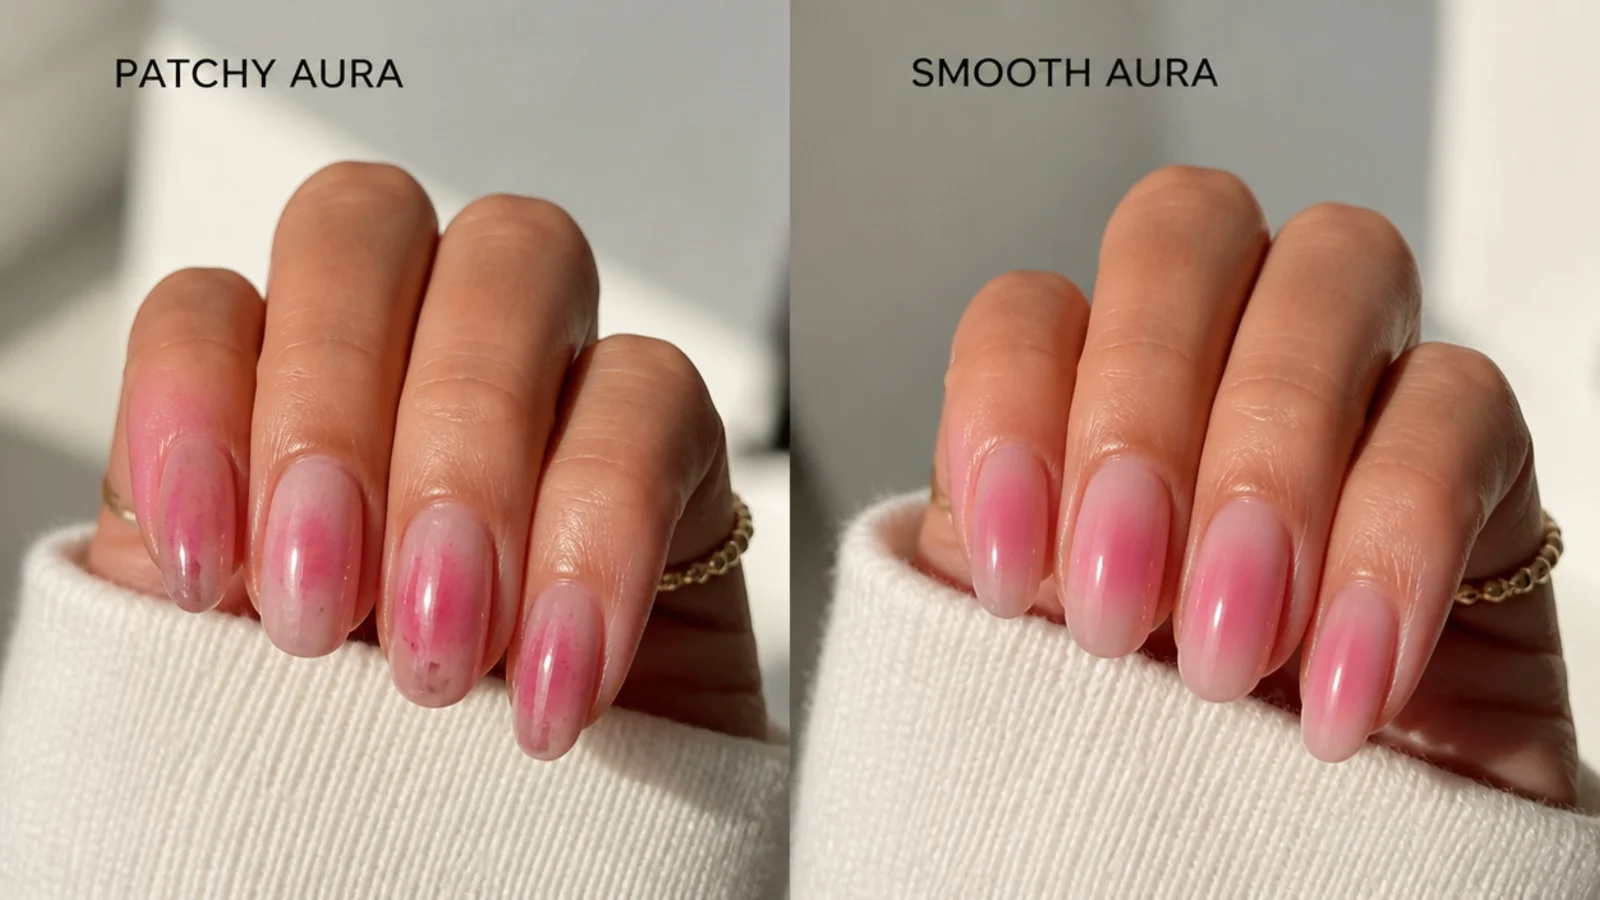
Five failures cover nearly everything. Speckled and patchy: too much product on the sponge, so blot twice more on foil and add one light pass over the top rather than a heavy one. Muddy gray where two colors meet: you used opposites on the color wheel, so lay one thin pass of the lighter shade over the meeting zone and pick neighboring shades next time. Hard visible edge: you never did the clean-dry-sponge ring, so tap the boundary with a bare sponge before it sets. Halo vanishes under top coat: your top coat was too thin and dissolved the pigment, or you brushed back and forth, so float a thicker layer in one direction only. Sponge texture printed into the polish: you pressed and dragged instead of tapping straight down and lifting. If a nail has two of these at once, wipe it and redo that nail alone, because stacked corrections always end up opaque. This is the same failure-cause-fix habit behind white chrome nails mistakes.
How Long Aura Nails Last, and What They Cost
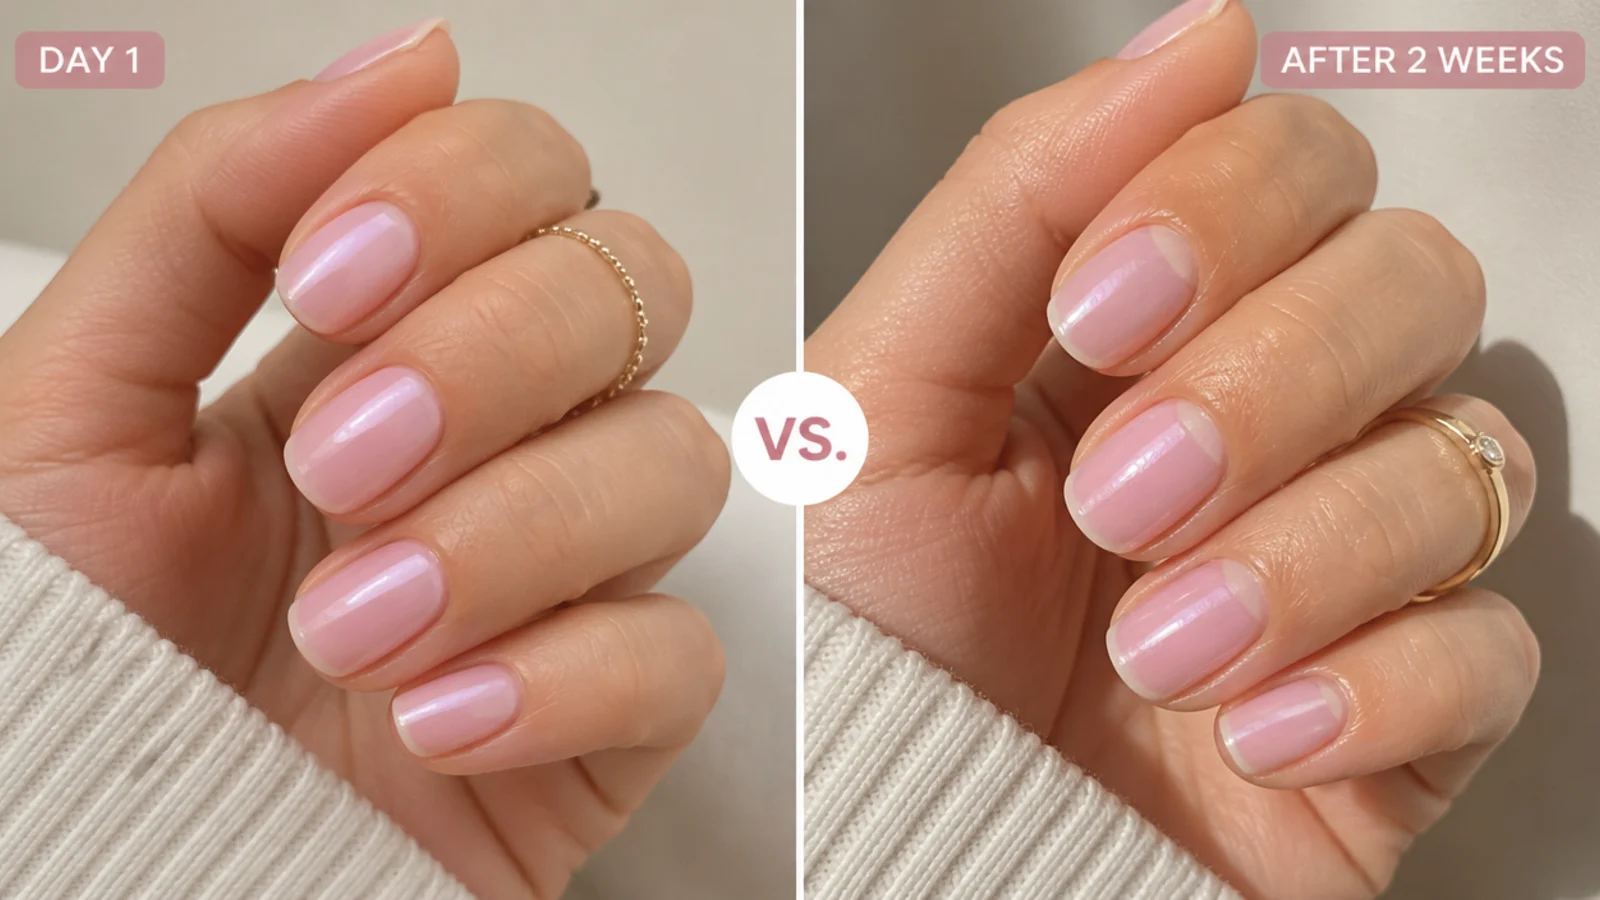
Aura nails wear exactly like the system underneath them, because the halo is pigment sandwiched between a base and a top coat rather than a separate product. On regular polish expect 5 to 7 days before tip wear shows. On gel polish cured under a lamp expect 2 to 3 weeks, the same as any gel manicure, and the halo itself does not fade because it is sealed. Press-ons hold a week to ten days with adhesive tabs and up to two weeks with glue. Cost at home is genuinely low: sponges under 5 dollars, a sheer nude and two colors for 15 to 30 dollars total, and a gel starter lamp from about 30 dollars if you want the longer wear. A salon aura set runs roughly 55 to 90 dollars depending on whether you add chrome, art or extensions, because it is billed as nail art on top of the manicure. Refresh the free edge with top coat around day four on polish, the same upkeep rhythm as how to do French tip nails at home.
Frequently Asked Questions
Are aura nails difficult?
They are easier than they look. There is no line work and no precision, which is what makes most nail art hard. The one skill is restraint: offload the sponge onto foil first and build the halo in five to ten light taps instead of one press. Most first sets fail from too much product, never from too little.
Do you need an airbrush to do aura nails?
No. A torn makeup sponge produces the same soft outward fade for under 5 dollars. An airbrush is faster and gives you ten identical halos in about ten minutes, and a pigment brush worked into a matte gel top coat gives the tightest edge. All three routes are legitimate. Start with the sponge and upgrade only if you do this monthly.
How do you blend colors for aura nails?
Tap, never drag. Load a sponge from a puddle of polish on foil, blot twice to offload, then tap the center of the nail in a small oval and lift straight up each time. Once the halo shows, switch to a clean dry corner of the sponge and tap only the outer ring to feather the boundary away.
Can you do aura nails with regular nail polish?
Yes. The only difference is the blending window: regular polish sets at the surface in about 60 to 90 seconds, so do one nail completely before starting the next and sponge within the first 30 seconds. Use a standard self-leveling top coat rather than a fast-dry one, which contracts and can crack a soft blend.
How long do aura nails last?
About 5 to 7 days on regular polish and 2 to 3 weeks on gel cured under a lamp, which is the normal life of each system. The halo itself does not fade because it sits sealed between the base and the top coat. Press-on aura nails hold a week to ten days on tabs and closer to two weeks with glue.
What are aura nails?
An aura manicure is a soft halo of color that radiates outward from one point on the nail, usually the center, fading into a sheer base with no visible edge. It differs from ombre, which fades in a single direction from tip to cuticle. The name comes from the idea of a glowing energy field around the finger.
Why did my aura nails turn out patchy?
Too much product on the sponge. A loaded sponge deposits color in clumps that read as speckles rather than a gradient. Blot the sponge twice on spare foil before it touches the nail, then build depth with repeated light passes. Pressing and dragging also prints the sponge texture into the polish as visible pits.
What color base should you use for aura nails?
A sheer nude or milky white, because light bounces off the nail plate through the halo and makes it look lit from underneath. Milky white brightens pastels; warm nude mutes them into something dustier. Opaque cream bases kill the glow. Black is the exception and is used only under chrome powder, where it produces a sharp mirror.
Can you do aura nails on short nails?
Yes, and short nails are arguably easier because there is less surface to blend evenly. Place the halo slightly high toward the cuticle rather than dead center, which visually lengthens the plate. Keep the halo small, roughly a third of the nail width, so the sheer base still frames it. The look works on square, almond and oval alike.
UV and LED lamps, 100% acetone and pigment powders should be used carefully and as directed. Do not inhale loose chrome or pigment powder, keep uncured gel off your skin, and stop if you notice redness, lifting or irritation. For the cleanest blend and for nail health, see a licensed nail technician.
Which chrome & aura nails look are you saving?
The single thing that changes your result is product load: offload onto foil, then build the halo in five to ten light taps rather than one confident press. Everything else here protects that blend. Keep the base sheer, keep the two colors in the same family for your first set, and seal with a generous self-leveling top coat before the edges have a chance to dry hard. Do one nail from base to top coat before starting the next, and you will never fight a half-dry halo again. When you have the technique down, pick a palette from the aura nail designs guide or browse the whole chrome and aura nails hub.