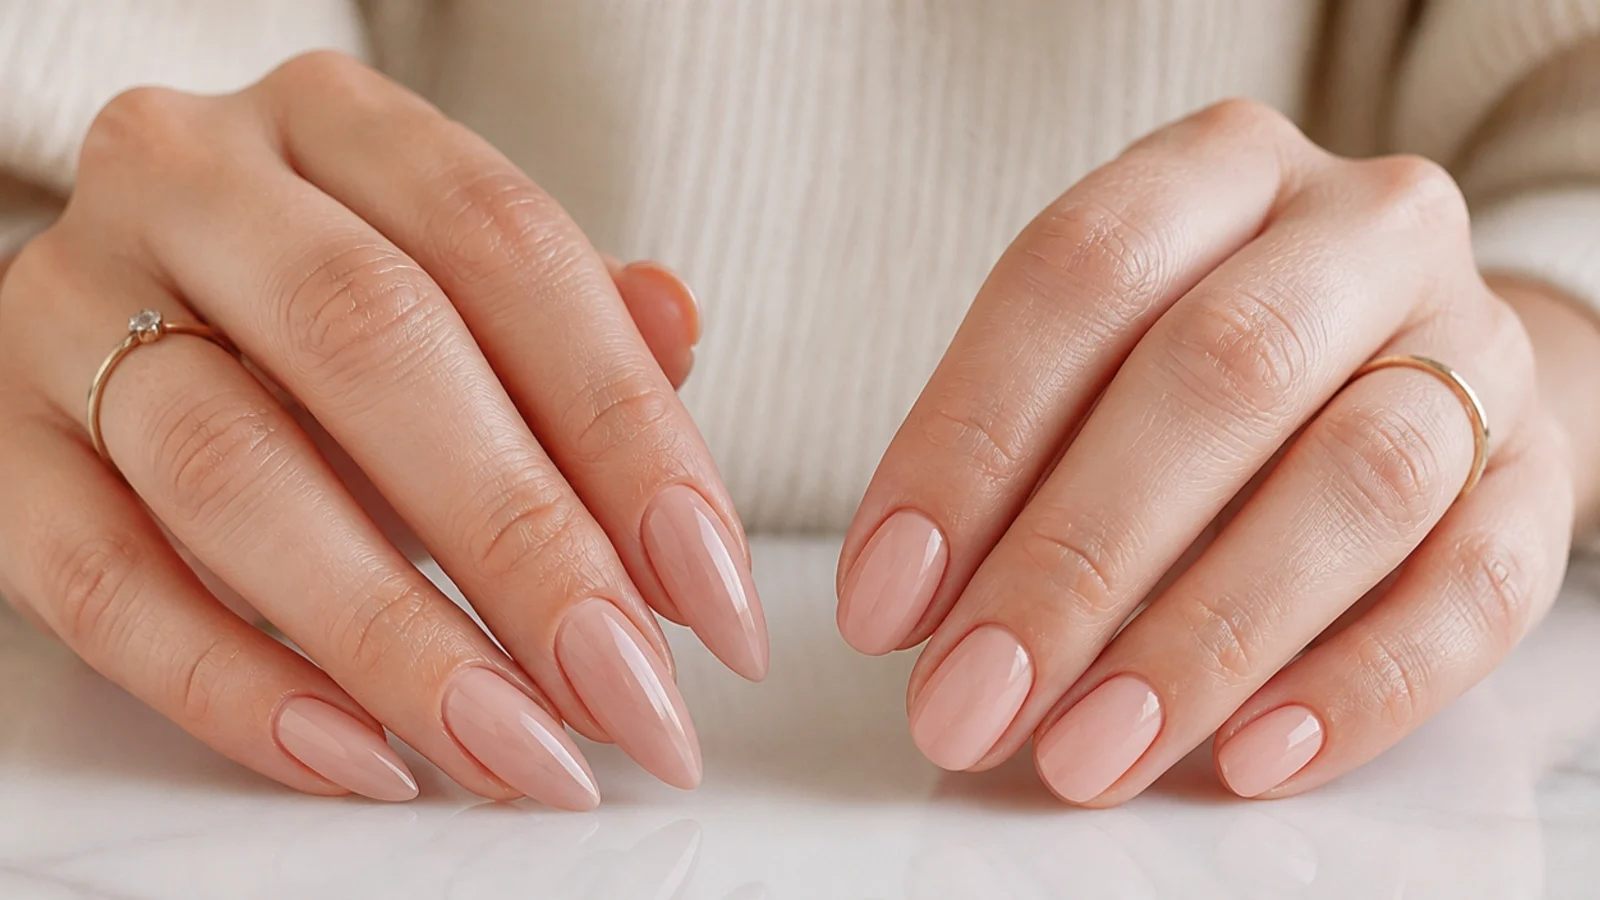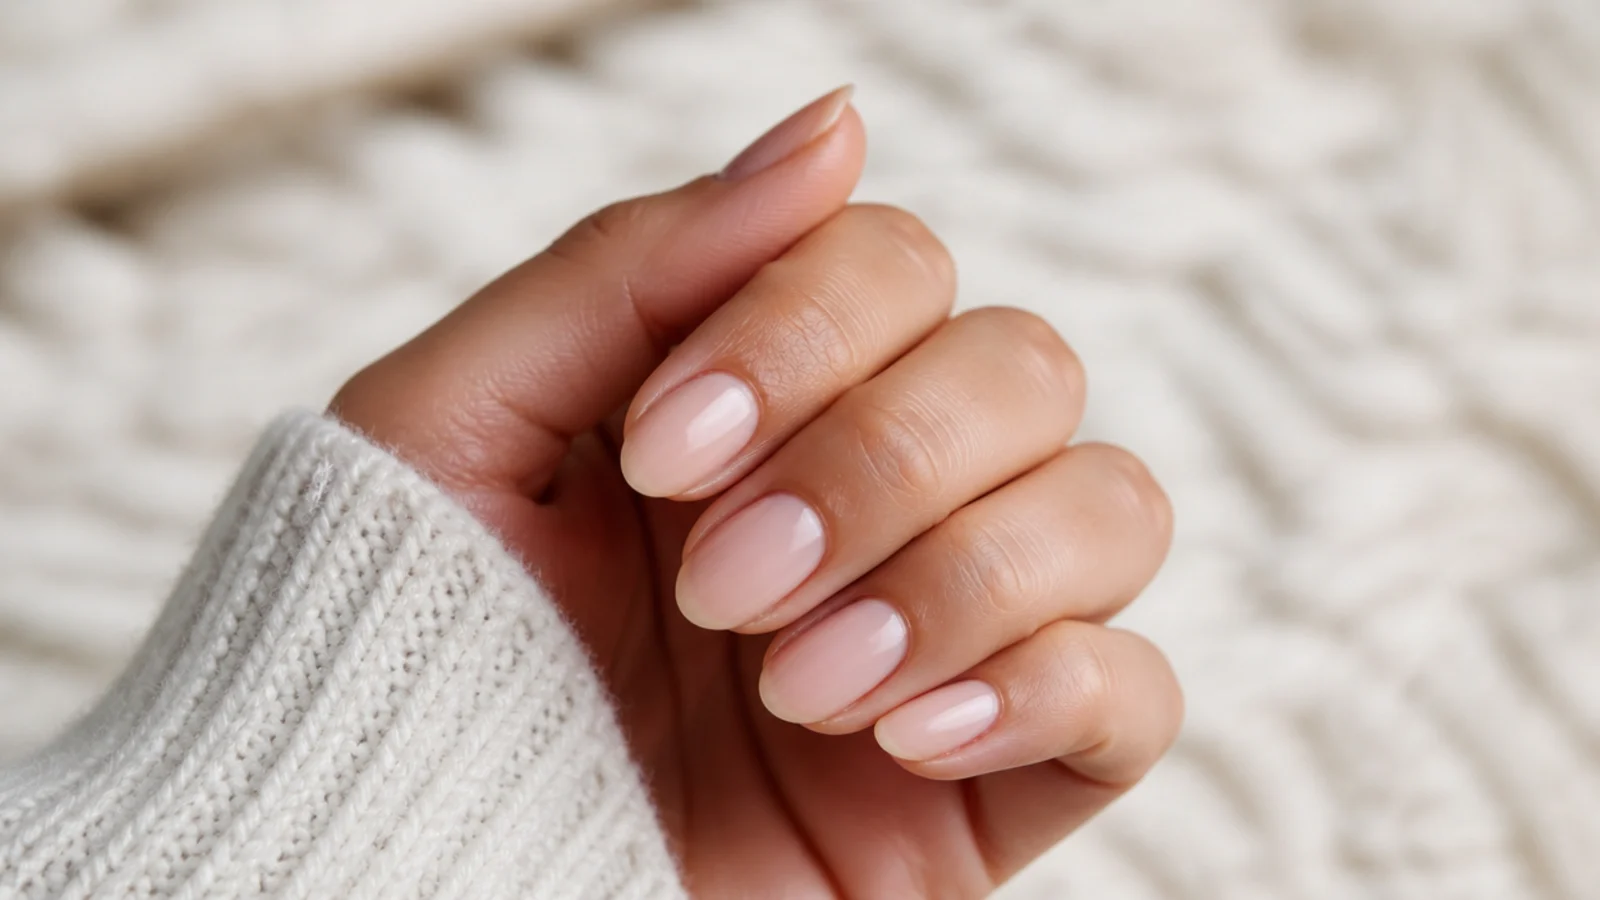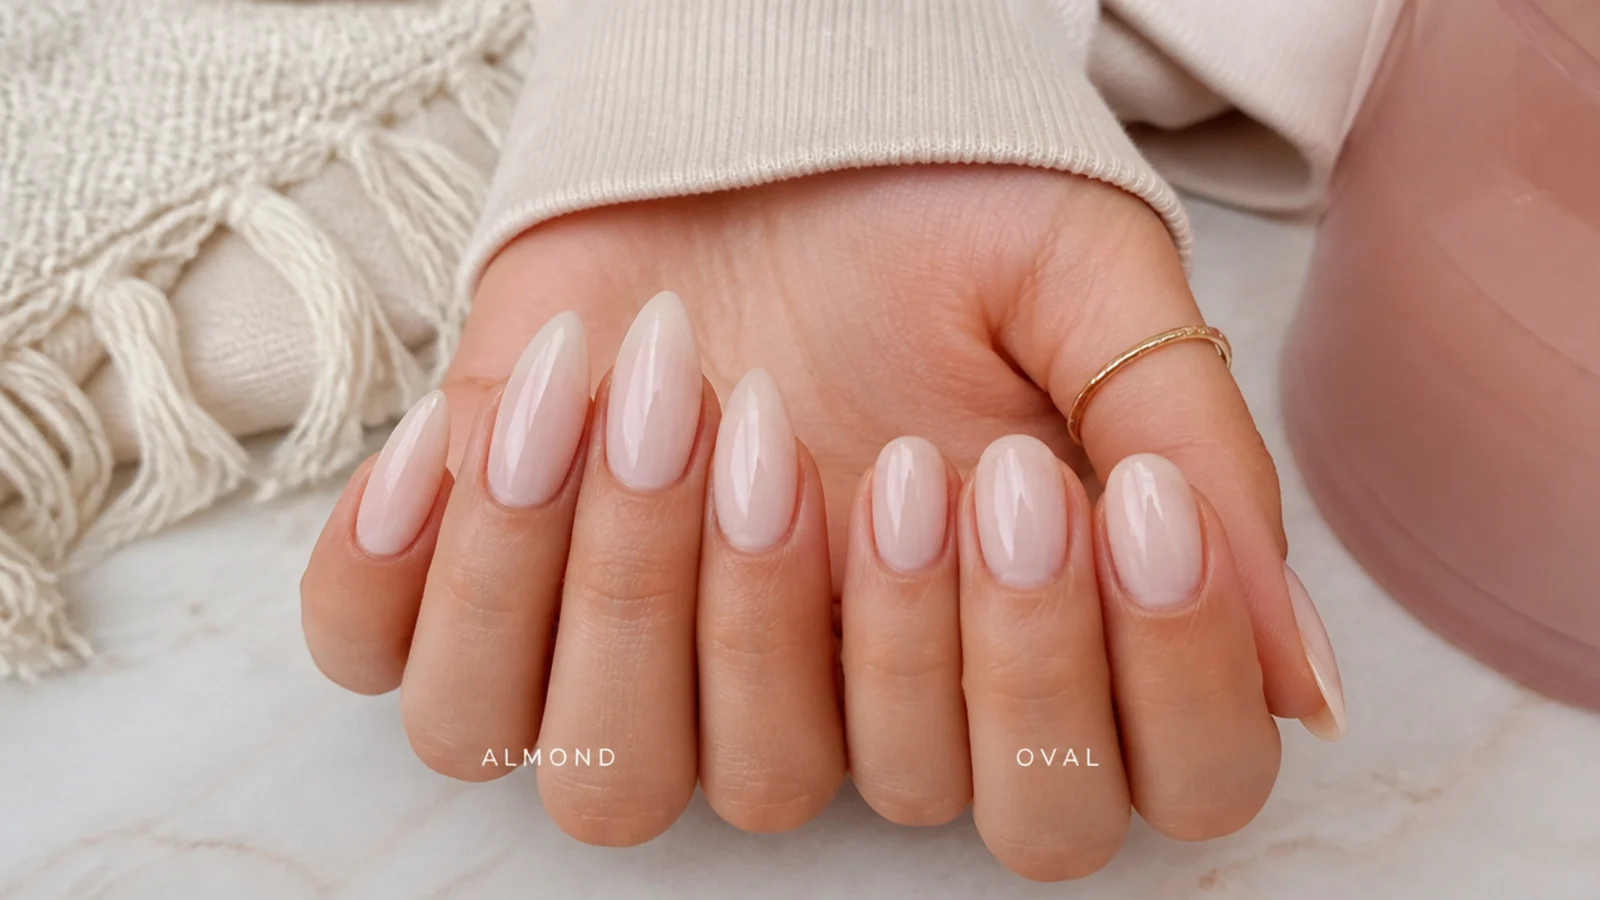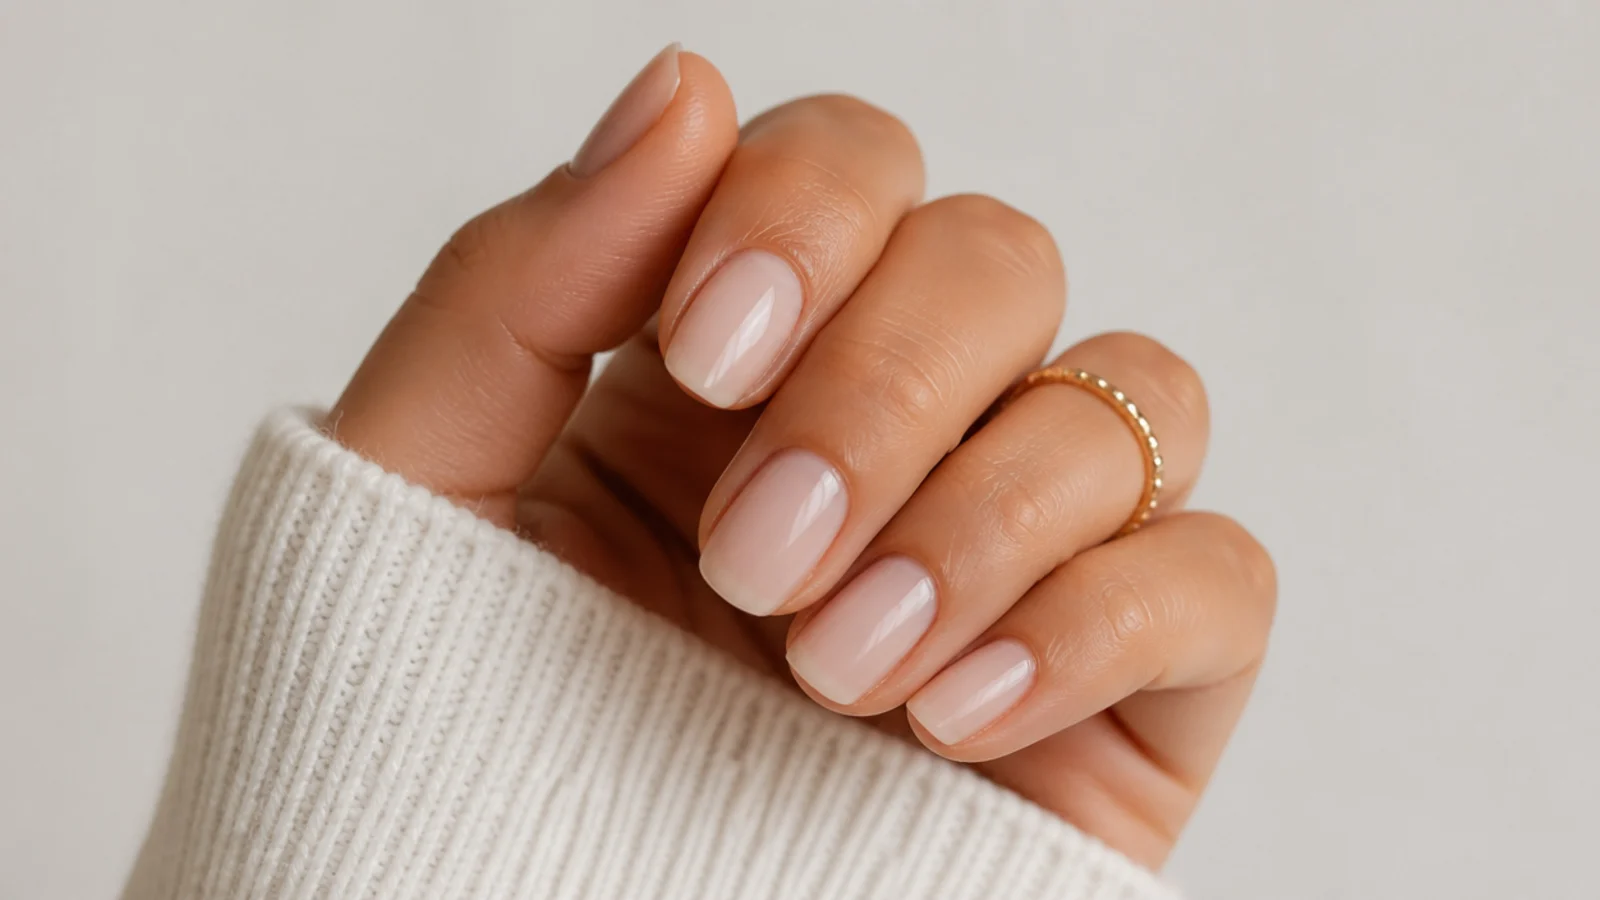
Quick Comparison
| Almond Shape | Oval Shape | |
|---|---|---|
| Tip geometry | Two straight tapers meeting at a soft point | One continuous unbroken curve |
| Free edge needed | About 3 to 4mm minimum, 4 to 5mm to read clearly | Works from about 2mm |
| Filing strokes at the tip | Keep tapering, then blunt the point flat | Stop tapering, rock the file around the curve |
| Difficulty | Symmetry is unforgiving; both angles must match | Forgiving; a curve hides small differences |
| Durability | The narrow tip is the break point | Curved tip spreads force, breaks less often |
| Best nail bed | Narrow to medium beds, longer fingers | Wide beds and shorter fingers |
| Upkeep | Refile every 7 days as growth widens the base | Refile every 10 to 14 days |
| Switching cost | Oval to almond needs 1 to 2 weeks of growth | Almond to oval is instant but sacrifices length |
| Best for | Elongating the finger, dramatic nail art | Everyday wear, typing, hands-on work |
1. Prep, Push Cuticles Back and Measure Your Free Edge
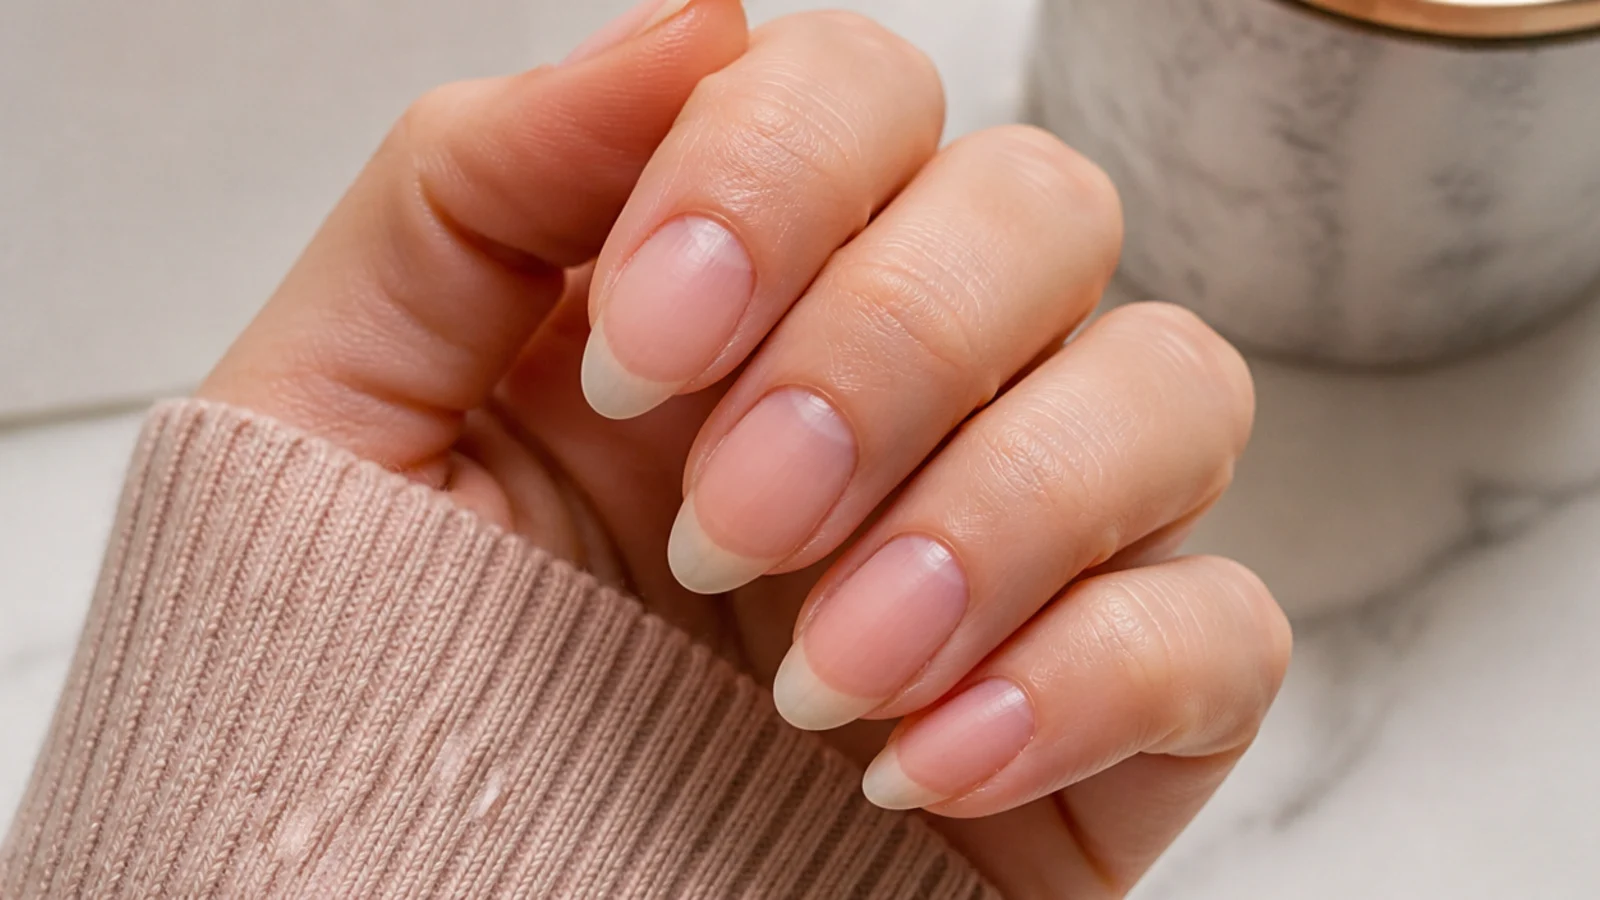
Take off all polish with acetone, wash and dry your hands, then push the cuticles back with a wood stick so you can see exactly where the nail plate leaves the finger. Now look at the white free edge. Almond needs about 3 to 4mm past the flesh line before the taper is visible, and 4 to 5mm before it reads clearly. Oval is far more forgiving and works from about 2mm because it only rounds rather than tapers. If you are under 3mm today, file oval now and grow into almond over the next two or three weeks, which is the honest version of the advice in most short almond nail guides.
Common mistake: Shaping over old polish hides the true edge and you end up filing one nail shorter than the rest.
Pro tip: File dry, never straight after a shower - wet nails are soft and tear into layers instead of cutting cleanly.
2. Clip or File Down to One Even Length First
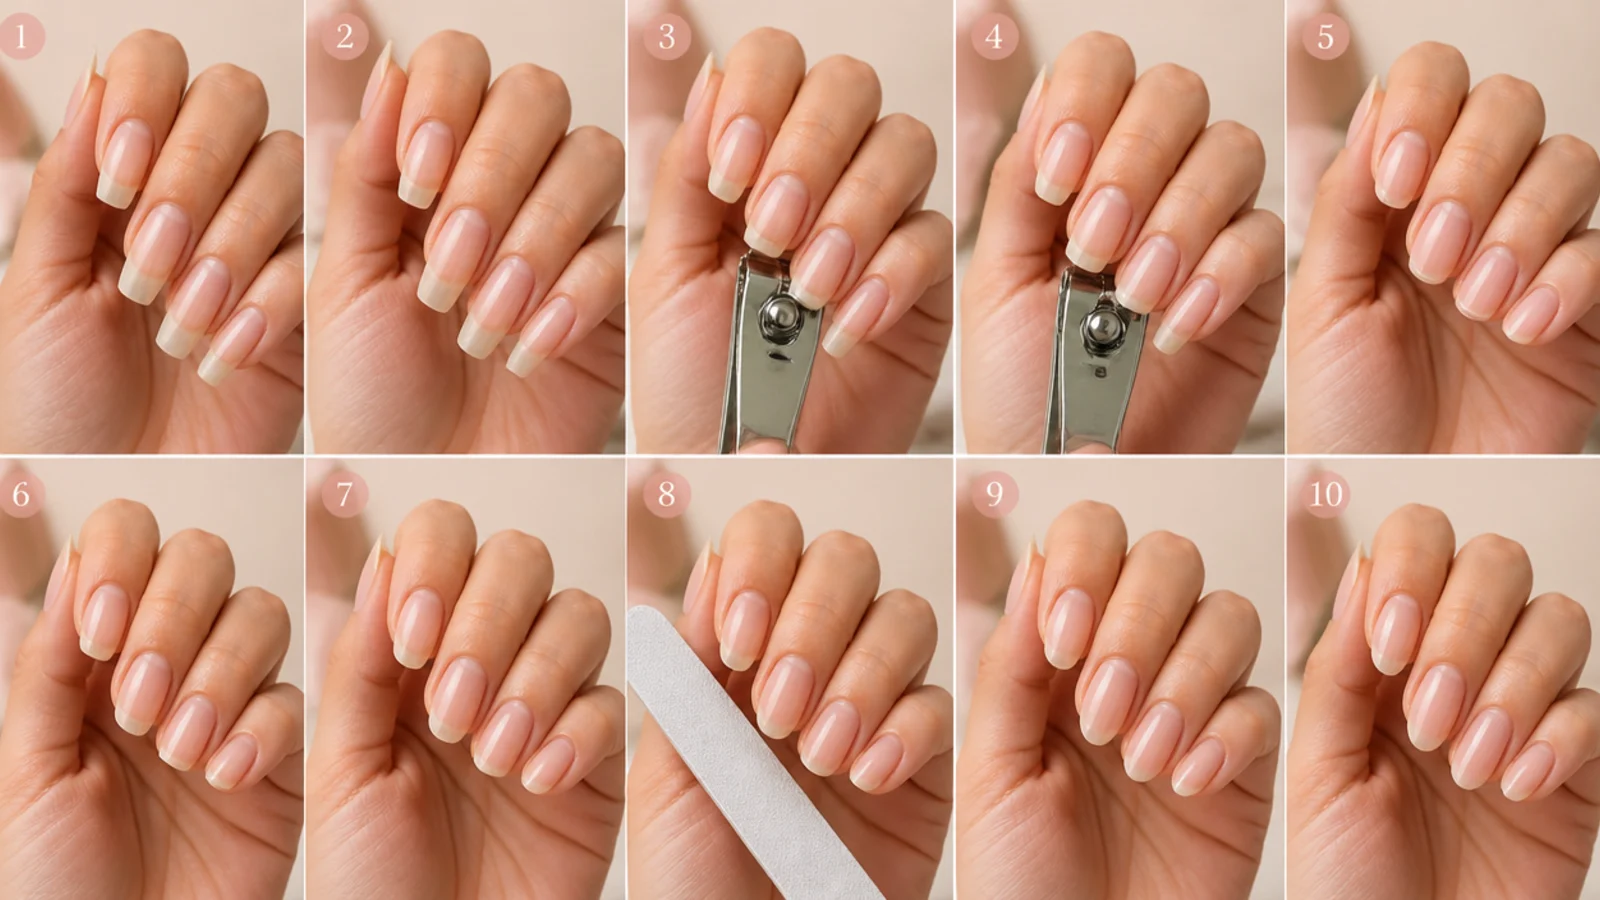
Bring every nail to the same length before you shape any of them. Clip straight across, or file straight across with 180 grit if your nails are thin or peel easily, then set your hand flat on a table and look along the row. The tips should sit on one line. This step feels unnecessary and it is the reason home sets look uneven: you cannot judge a taper on a nail that is already 1mm longer than its neighbor. Match to your shortest nail rather than your longest, and remember that the length you keep here is the length the finished shape is built from, whether you are aiming for the soft everyday look in almond and oval nails or something longer.
Common mistake: Leaving one long nail and shaping around it, which locks the mismatch into all ten shapes.
Pro tip: Clip in two or three small bites rather than one big cut so the plate does not shock-split at the corner.
3. Set the Sidewall Angle and File One Direction Only
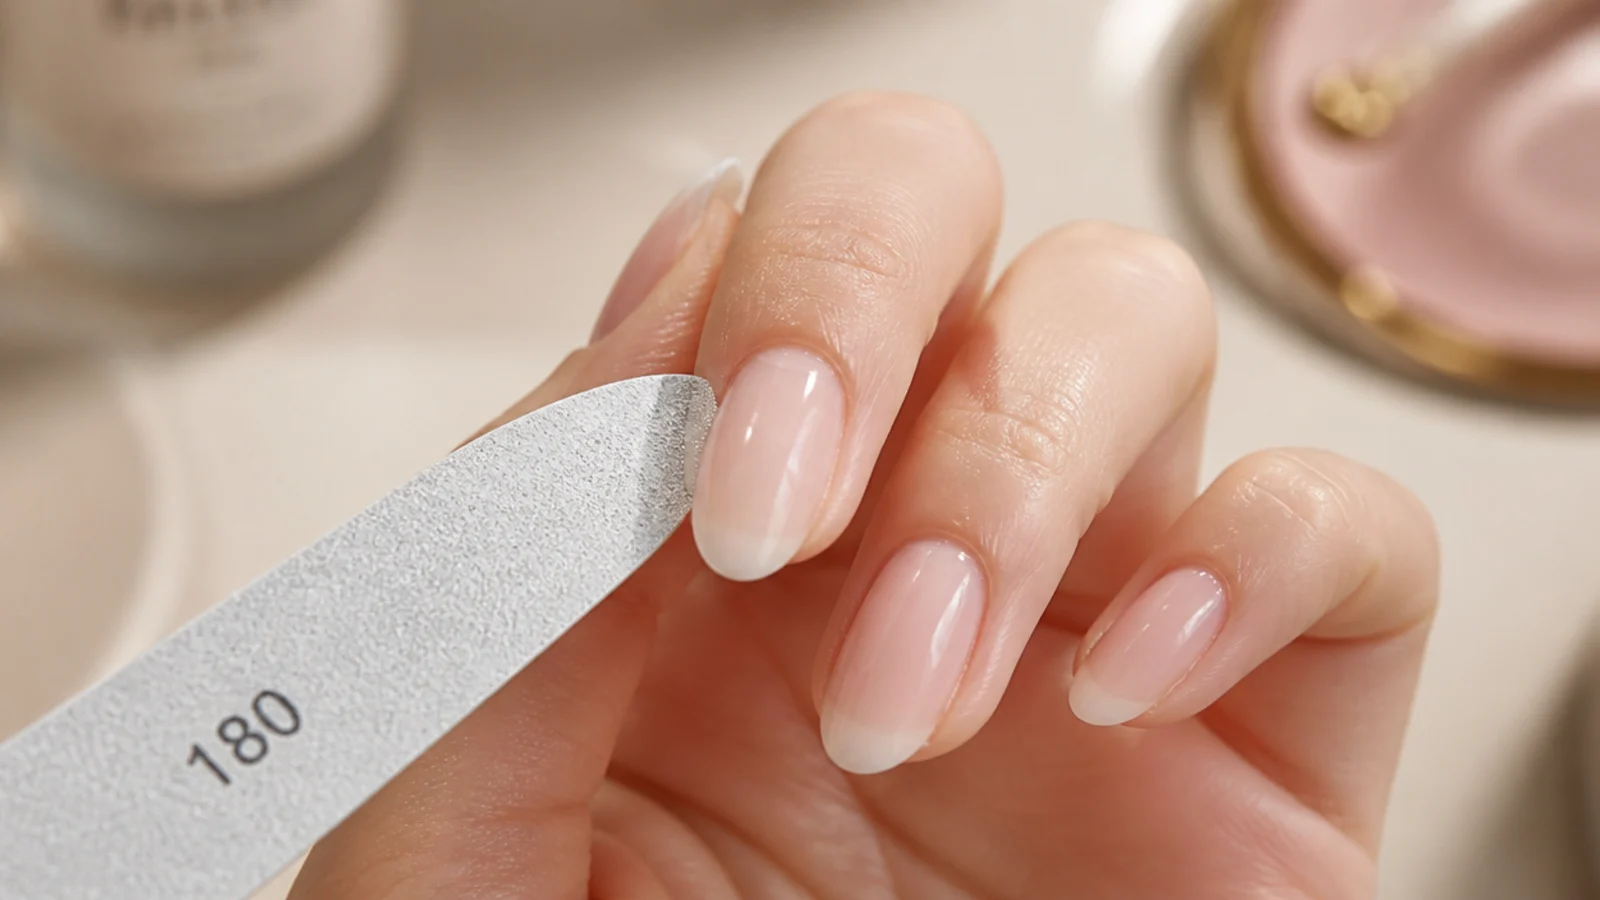
Hold a 180 grit file against one sidewall at the point where the free edge leaves the finger, angled inward toward the center of the tip. Now file in one direction only, always from the outer edge toward the center, lifting the file clear on the return. Six to ten strokes usually cuts the taper on a natural nail. Steeper angle equals more dramatic almond, shallower angle equals a softer shape closer to oval. Count your strokes out loud, because you need the same number on the other side. This is identical for both shapes, which is why almond vs oval nails is a decision you can still delay by two more steps.
Common mistake: Sawing back and forth shreds the keratin layers and starts the peeling that splits the sidewall a week later.
Pro tip: Rest your filing hand against the table so the angle stays constant instead of drifting mid stroke.
4. Mirror the Second Sidewall and Sight Down the Fingertip
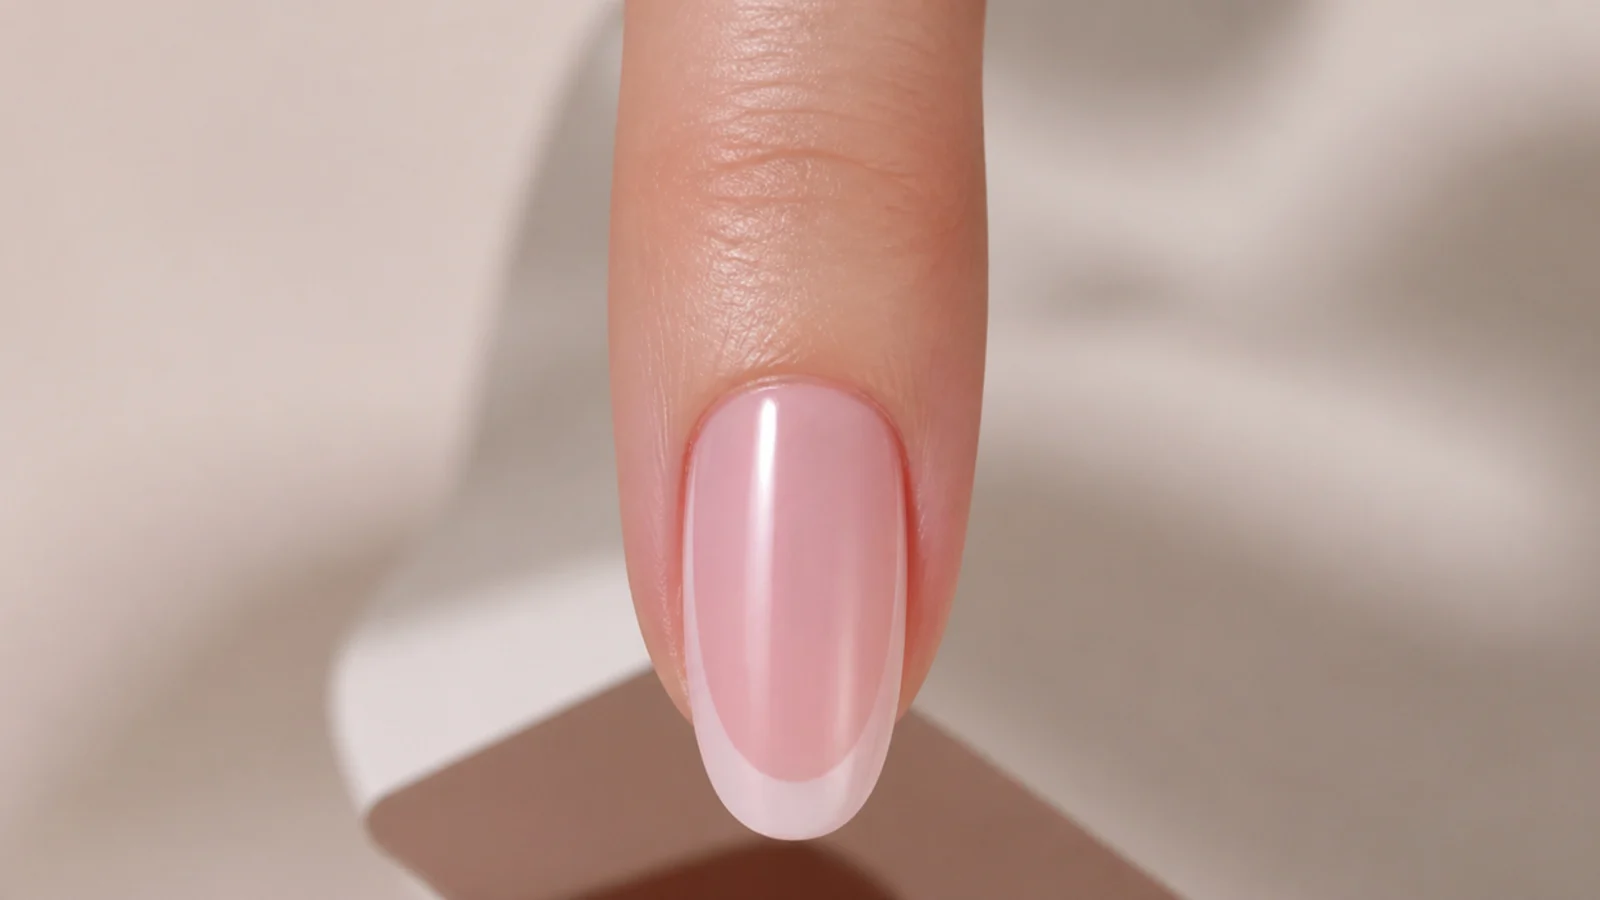
Repeat the same angle and the same stroke count on the opposite wall. Then do the thing no tutorial mentions: hold the finger up so the tip points straight at your eye and look down the nail, not at it from above. From the top your brain quietly corrects a crooked taper. From the front it is obvious in a second, and the fix at this stage is one or two light strokes off the shallower side. Never deepen the steeper side to force a match, because the repair that removes less nail always wins. Compare each nail against its twin on the other hand rather than the finger beside it.
Common mistake: Over-tapering both walls to chase symmetry, which thins the stress point and snaps the corner within days.
Pro tip: If one wall is genuinely uneven at the cuticle, file to the shape of the nail bed, not to a straight ruler line.
5. The Divergence Point: Point It for Almond, Round It for Oval
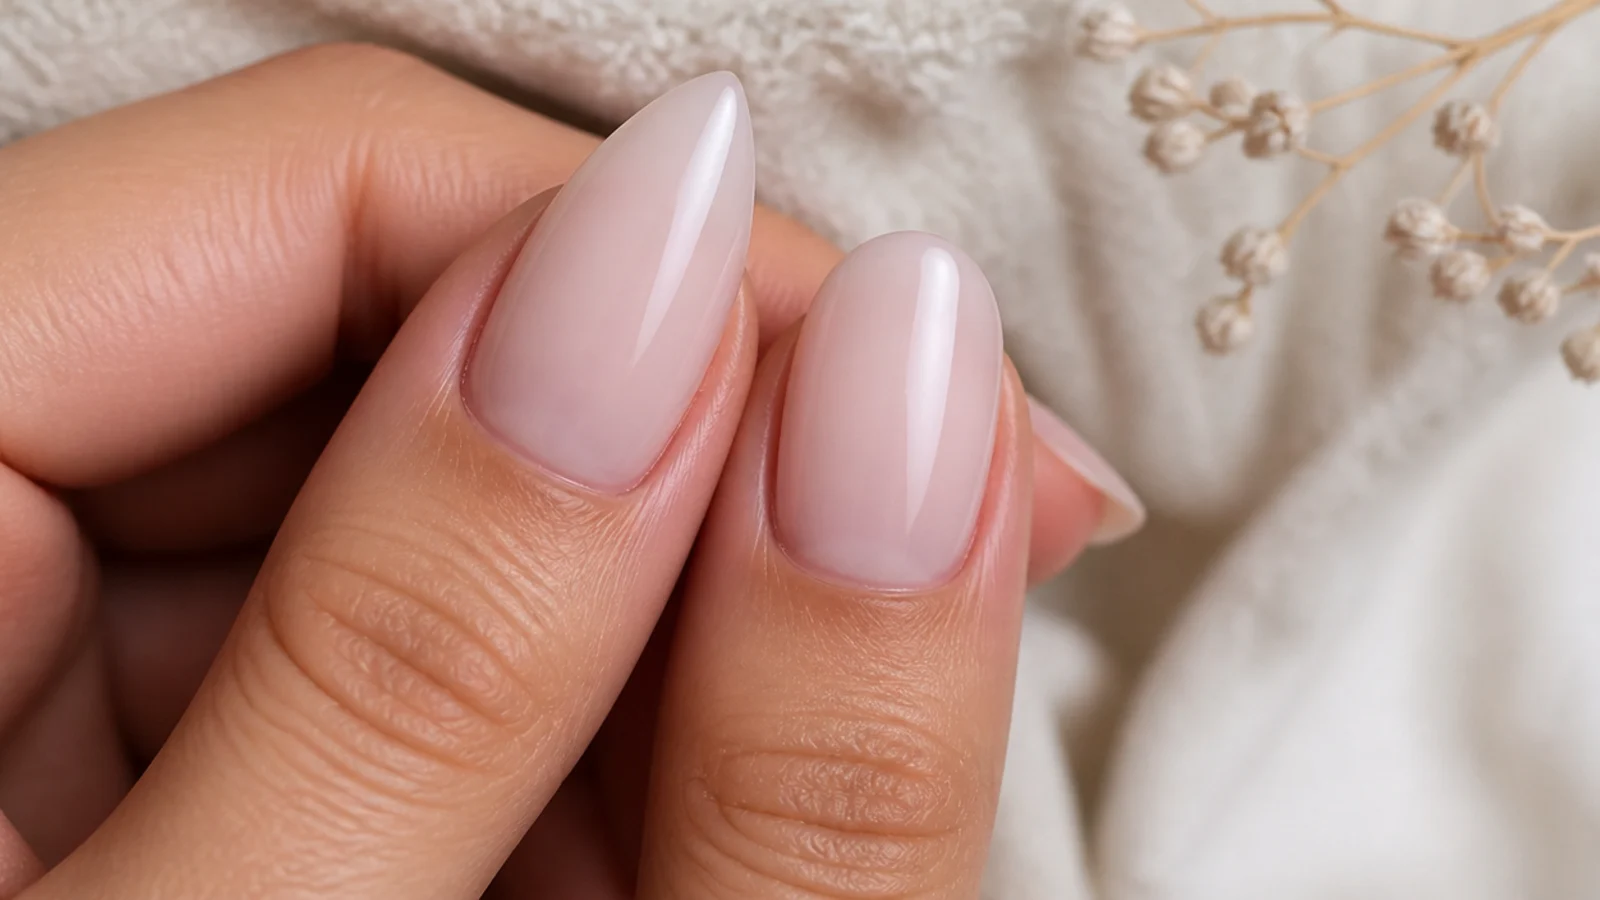
Here is the only step where the two shapes part company. For almond, keep filing at the same inward angle for another three or four strokes per side so the two taper lines converge into a soft point, then blunt that point with two light strokes flat across the very tip so it is rounded rather than sharp. For oval, stop tapering now and switch to short rocking strokes that run continuously from one sidewall around the tip to the other, so there is no straight segment anywhere. Almond has two straight lines meeting at a curve. Oval is one unbroken curve, the same continuous arc that makes oval french tip nails sit so cleanly and carries most of the art in oval nail designs.
Common mistake: Filing almond to an actual sharp point, which is stiletto, snags on fabric and breaks at the first knock.
Pro tip: Undecided? File oval first. You can always taper an oval into an almond later, but you cannot un-point an almond.
6. Refine With 240 Grit, Seal the Edge and Oil
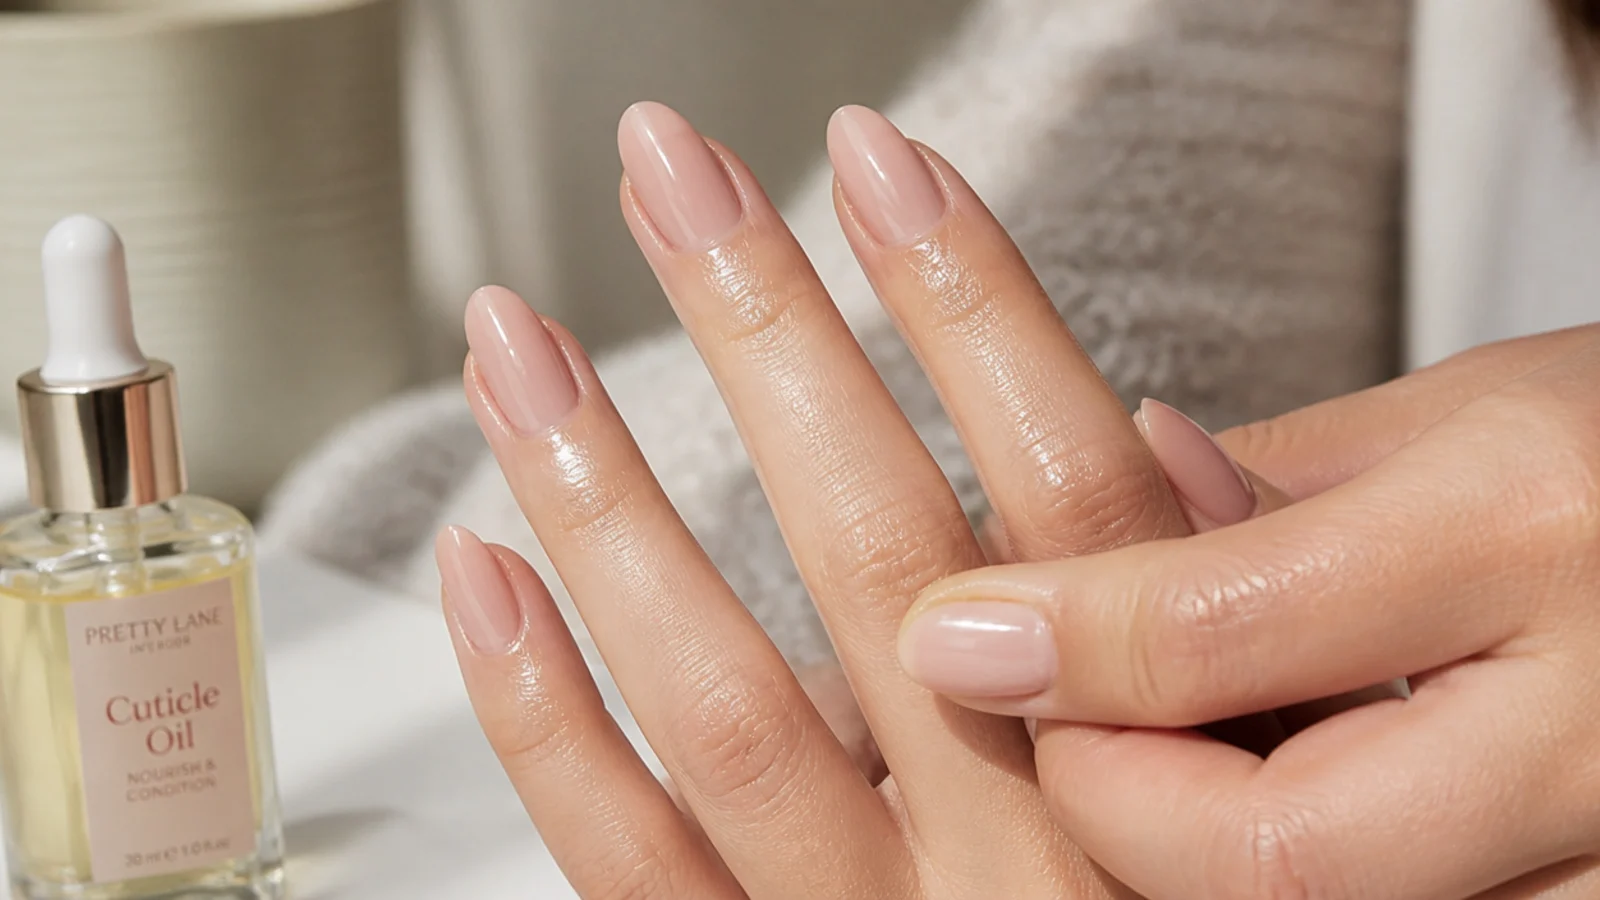
Switch to a 240 grit file and run it lightly along both walls and around the tip to smooth the cut marks left by the coarser grit. Then seal the free edge: draw a fine buffer down across the edge at a slight angle two or three times, which closes the layers and is what stops peeling at the corners. Finish with cuticle oil massaged into the sidewalls and the eponychium, and repeat that twice a day. Your shape is now ready for color, whether that is a sheer milky base, a glossy black almond, a white chrome almond, or a matte topcoat.
Common mistake: Buffing the shiny surface of the nail plate, which thins it and makes the walls flex and crack.
Pro tip: Oiled nails hold a soft point far longer than dry ones because flexible keratin bends instead of chipping.
Tools, File Grits and How Long Shaping Takes
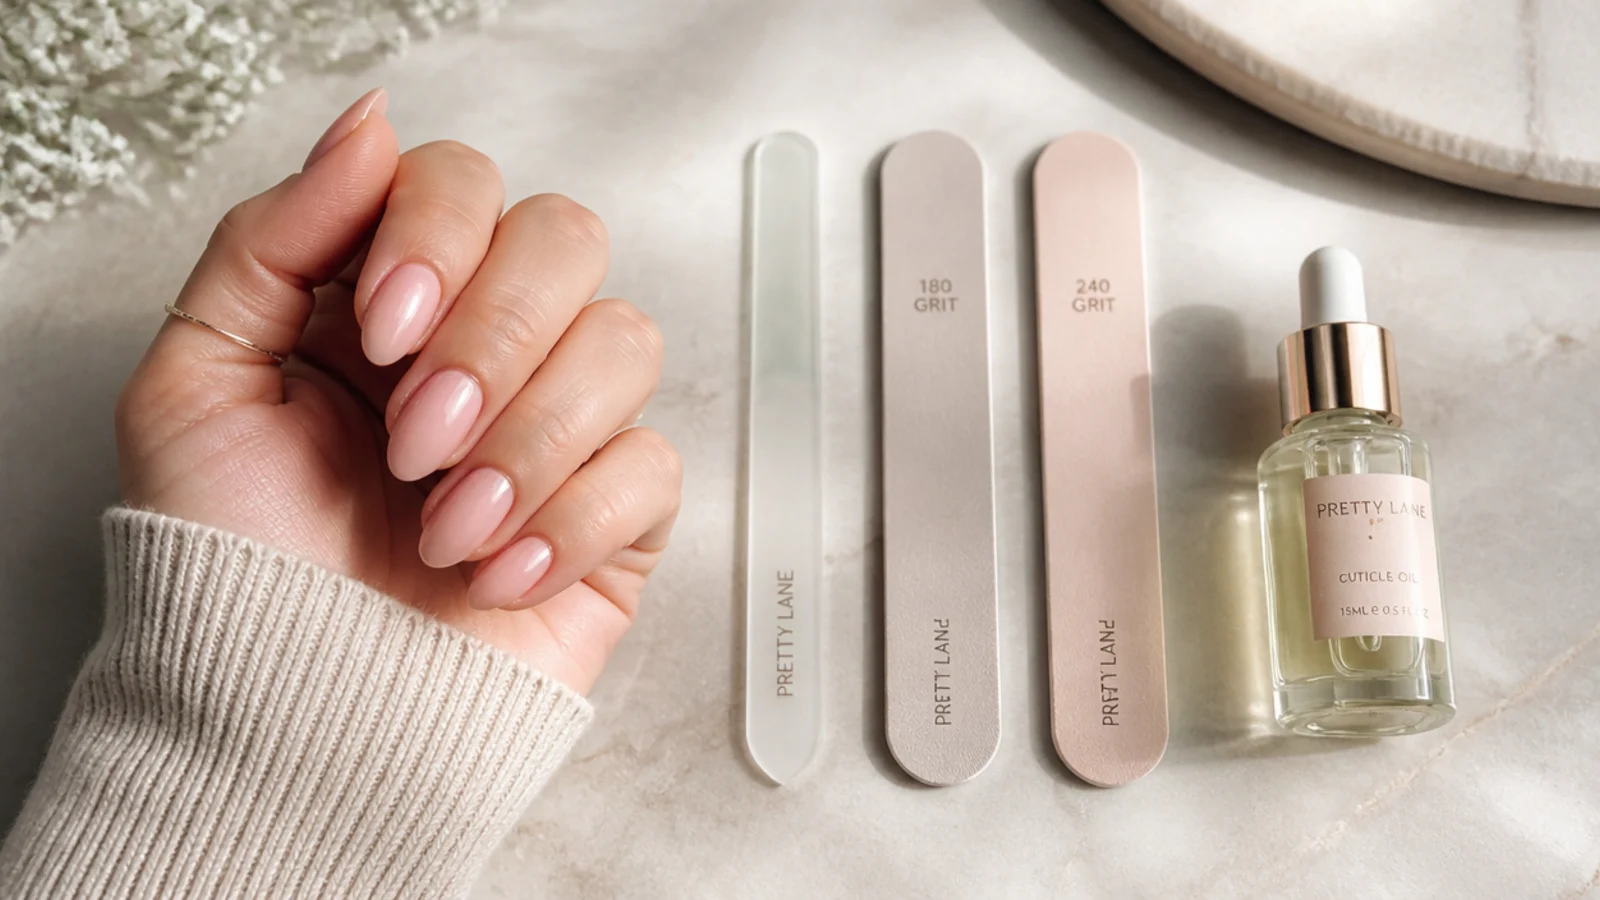
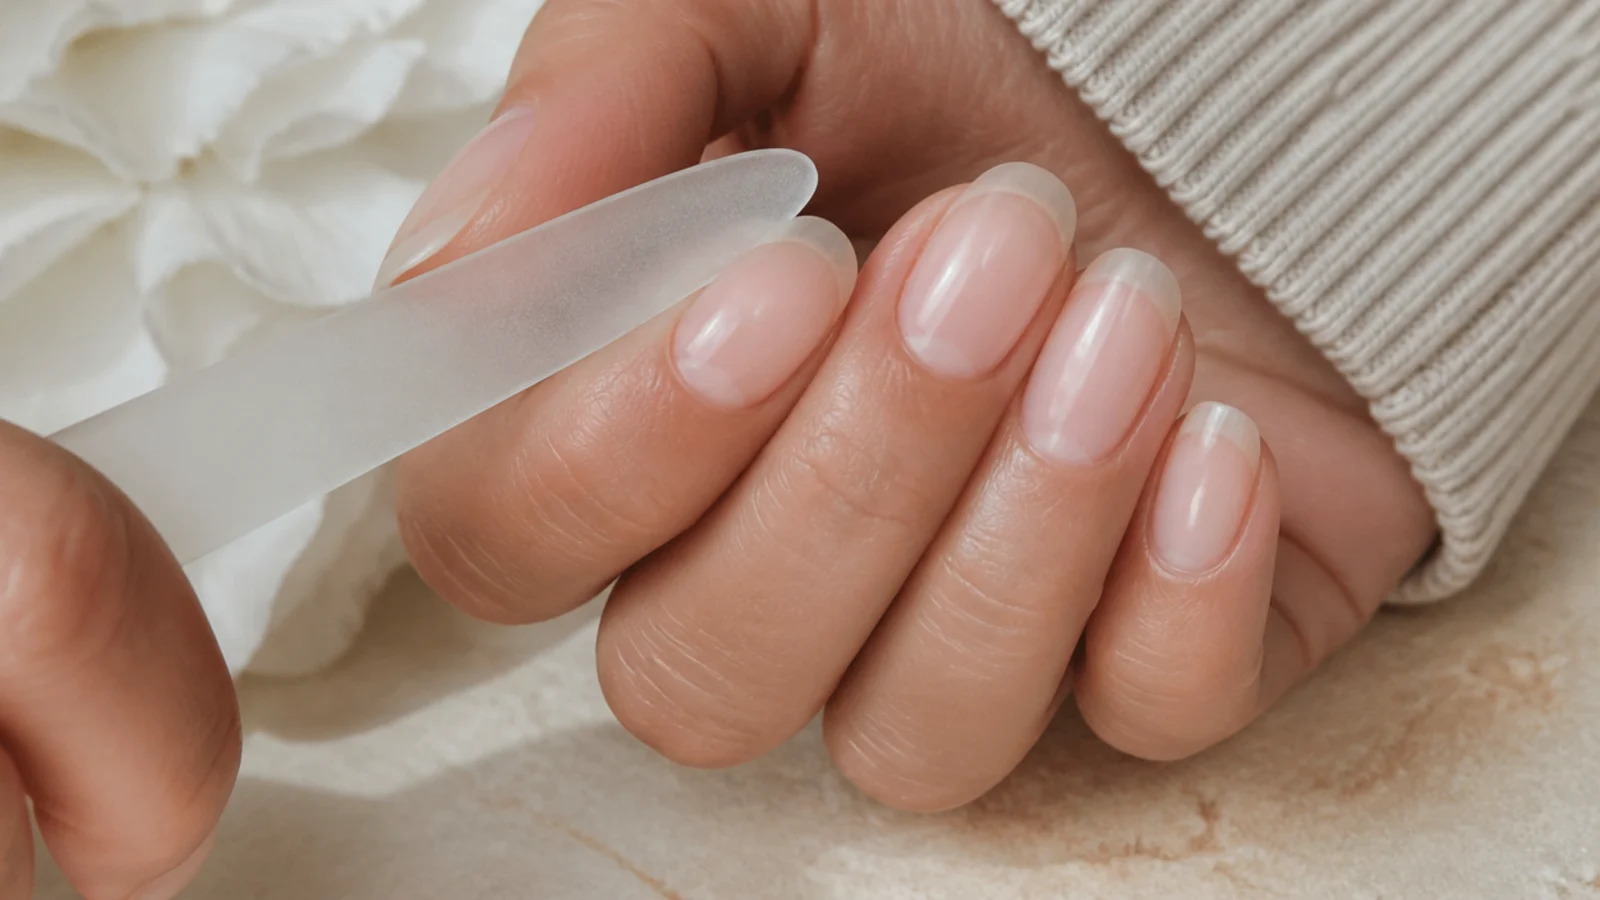
You need four things and none of them cost much. A 180 grit file cuts the taper, a 240 grit file refines, a fine buffer seals the edge, and cuticle oil finishes. Add a clipper and a wood pusher and you are done. Grit choice is where people go wrong: 100 and 150 grit are made for acrylic and hard gel and will chew a natural nail into visible layers, while anything finer than 240 is too soft to actually cut a curve and you will file for ten minutes with nothing to show for it. A glass file is the upgrade worth making here. It cuts finely enough for thin or peeling nails, it seals the edge as it goes rather than tearing it, and it washes clean, though it is slower at cutting a fresh almond taper from square. Budget 15 to 25 minutes for all ten nails the first time and closer to 10 for upkeep. No drill and no salon appointment is needed for either shape, which is not true of the flat tip in coffin shaping.
How Much Free Edge Almond and Oval Each Need
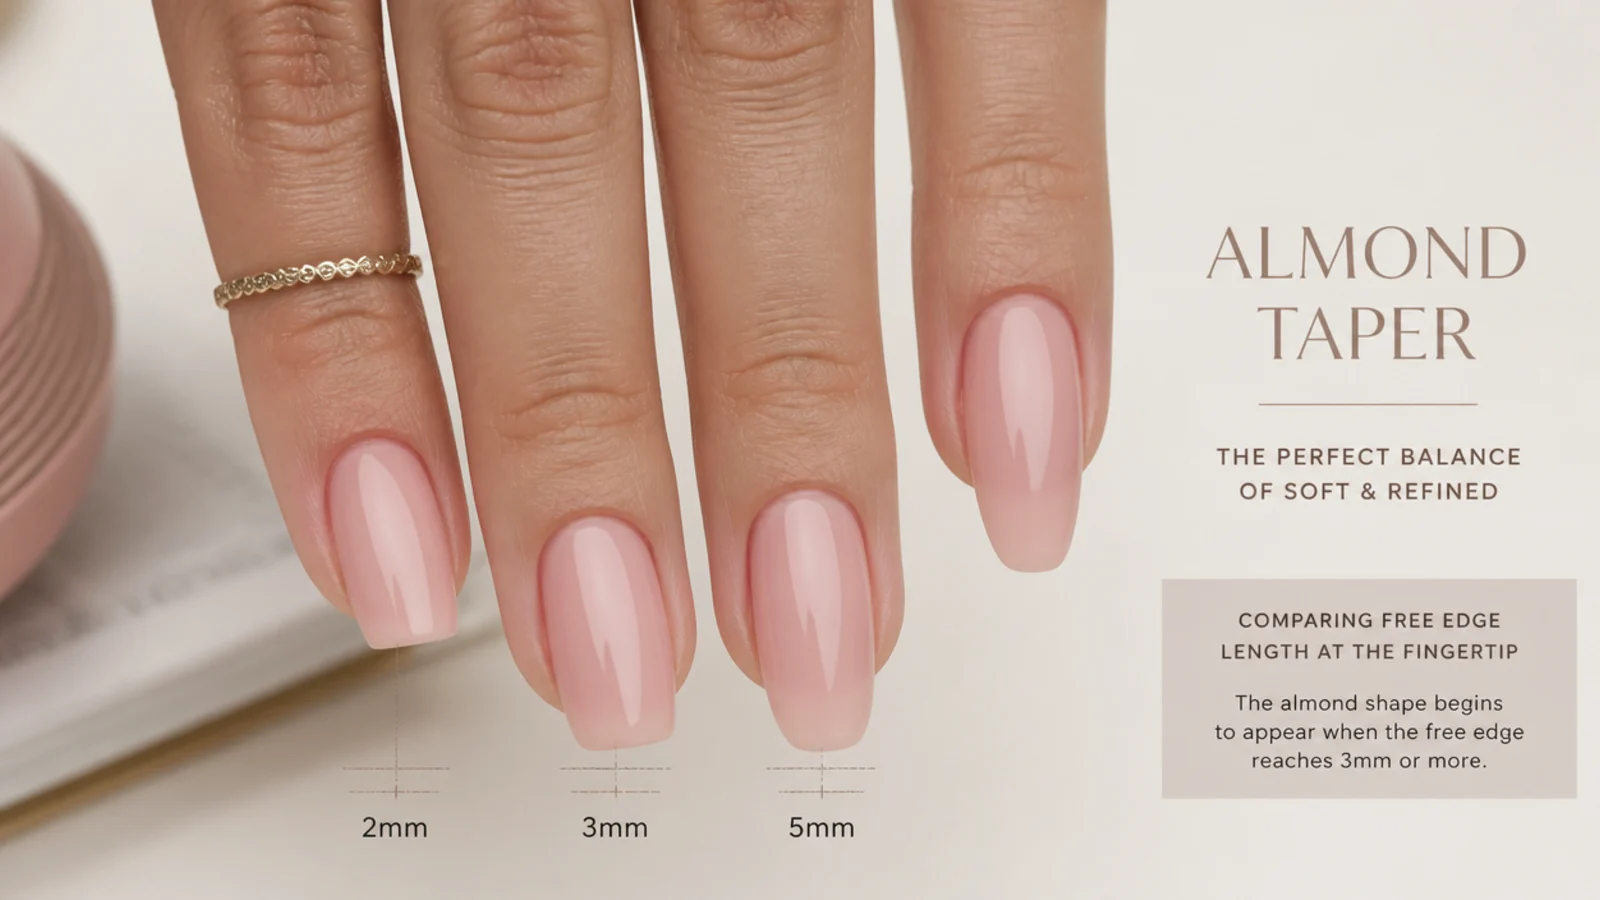
The taper has to happen somewhere, and that somewhere is the free edge, so length sets a hard floor. At 2mm the sidewalls can only angle a degree or two before they run out of nail, so an attempted almond reads as a slightly narrowed round. Oval is fine here, because rounding needs no length at all, only a continuous curve. At about 3mm the converging lines become visible and the shape genuinely starts to read almond, which is why 3 to 4mm is the number to grow toward. Between 4 and 5mm you get an unmistakable almond that still types and buttons a shirt, and that is the zone most designs in short oval nails and short almond sets live in. Past 6mm you are into medium and long territory, covered in long almond and oval nails, where a natural plate often needs a gel overlay to survive. Nail bed width shifts the numbers: a wide plate wants the top of every range before the walls look like they are converging, while narrow beds read almond from 3mm easily.
The Soft Almond: What to File When You Are Between Shapes
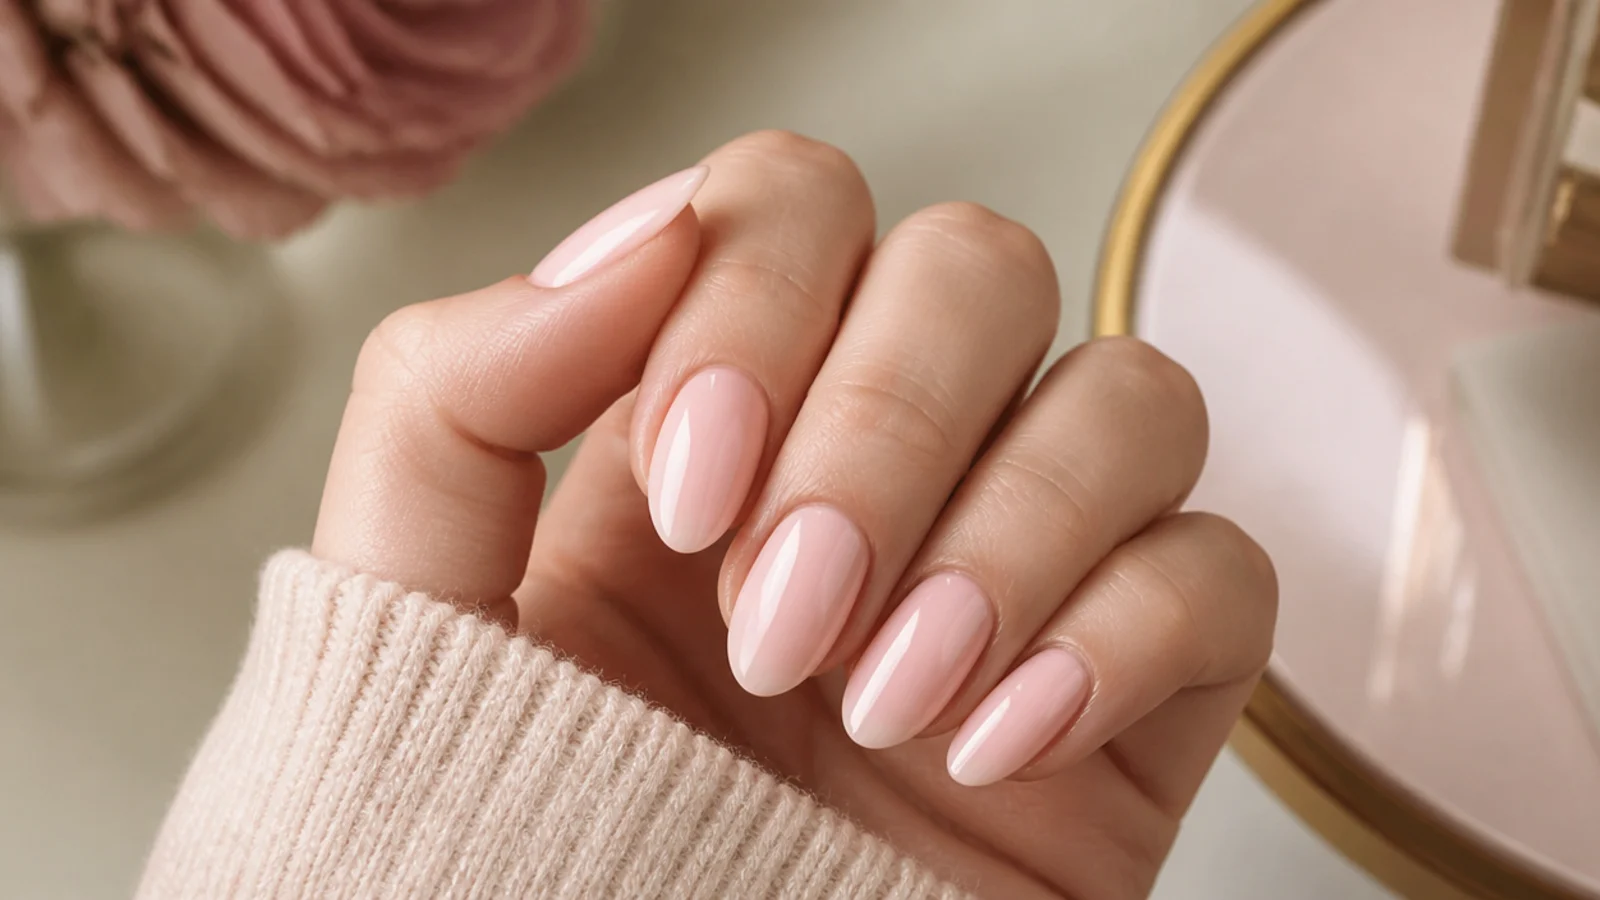
The shape most people actually want in 2026 is not a textbook almond. It is the soft almond: a shallower sidewall angle, a shorter taper and a tip blunted enough that it reads round from arm's length. It is also the answer when your free edge sits awkwardly at 3mm, because it works at lengths where a full almond does not. File it by taking the step three angle down to roughly half what you would use for a dramatic almond, running only four or five strokes per side, then finishing with the oval rocking motion at the tip instead of the almond convergence. The result is a hybrid that is harder to break than almond, more shaped than oval, and far more forgiving of a slightly asymmetric nail bed. It also grows out gracefully. A true almond needs refiling within a week as new growth widens the base, while a soft almond stays believable for two, which is why it suits the wearable finishes in almond soap nails and oval soap nails.
Troubleshooting an Uneven, Flat or Over-Filed Shape
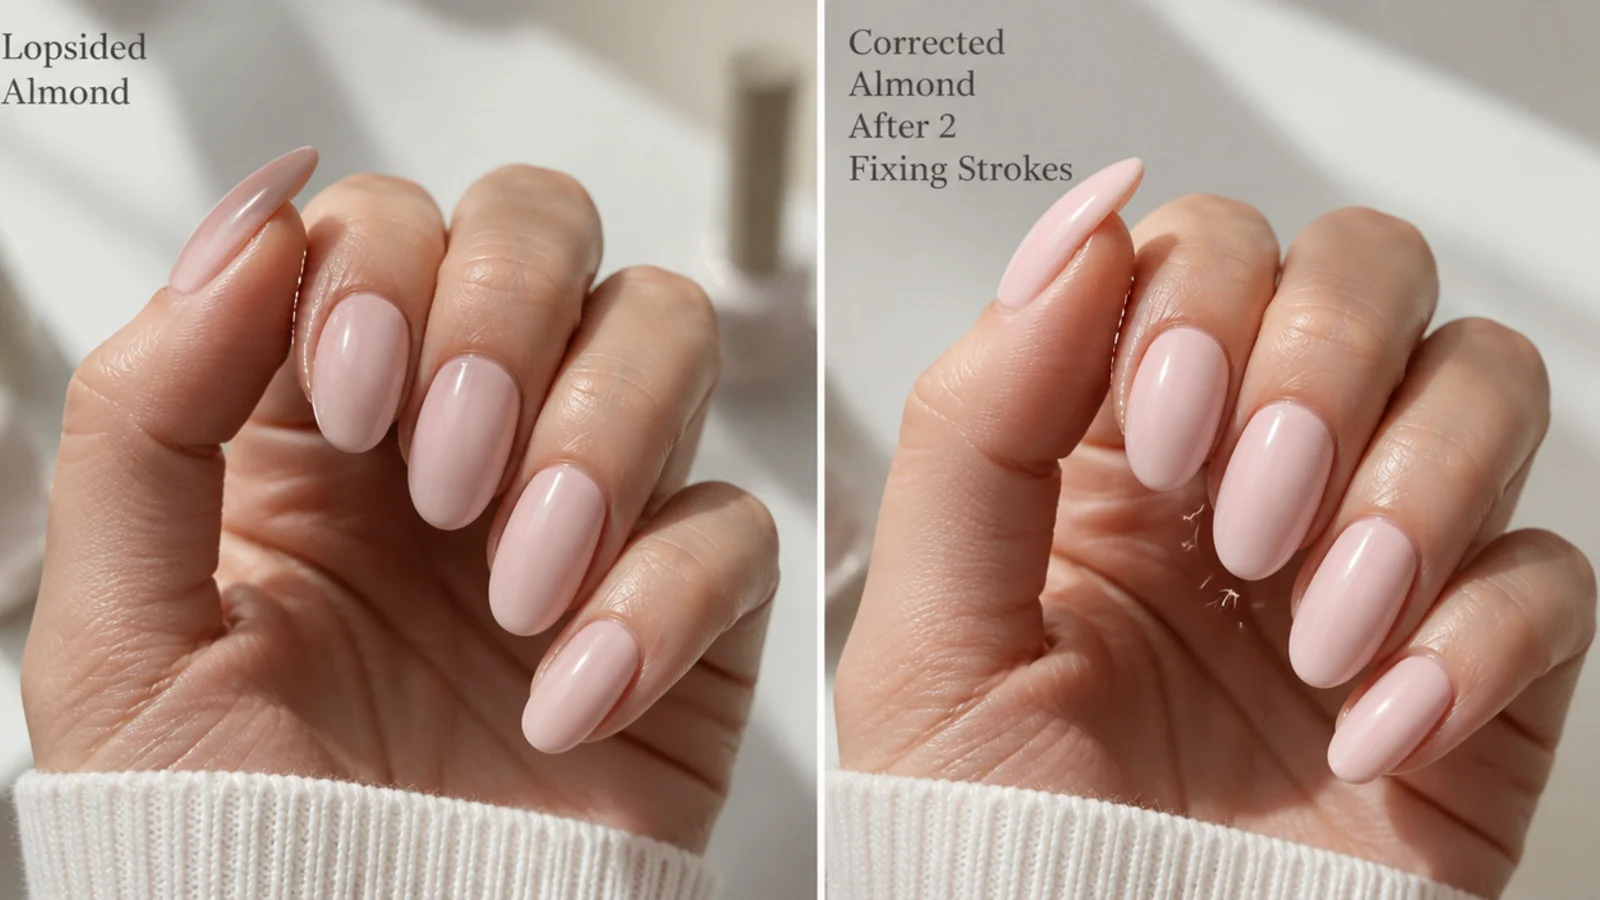
Five failures cover nearly everything. Lopsided taper: take one or two strokes off the shallower side only and check by sighting down the fingertip, never by deepening the steeper wall. A tip that will not point: your sidewall angle is too shallow, so restart the taper closer to the flesh line rather than filing more at the tip. Walls thin enough to snap: you over-tapered, and the only real fix is filing all ten nails down two or three millimeters and rebuilding a shorter shape. Peeling and layering along the edge: you sawed back and forth, so switch to one-direction strokes and seal with a fine buffer. An uneven natural free edge, where one side of the nail grows longer than the other: file to the shape of your nail bed rather than to a symmetric template, because a nail filed against its own growth line always looks wrong. If one nail breaks well below the rest, shorten every nail to match. A set of consistent short almond and oval nails looks deliberate and a mismatched set never does.
Shaping Natural Nails, Gel Overlays, Tips and Press-Ons
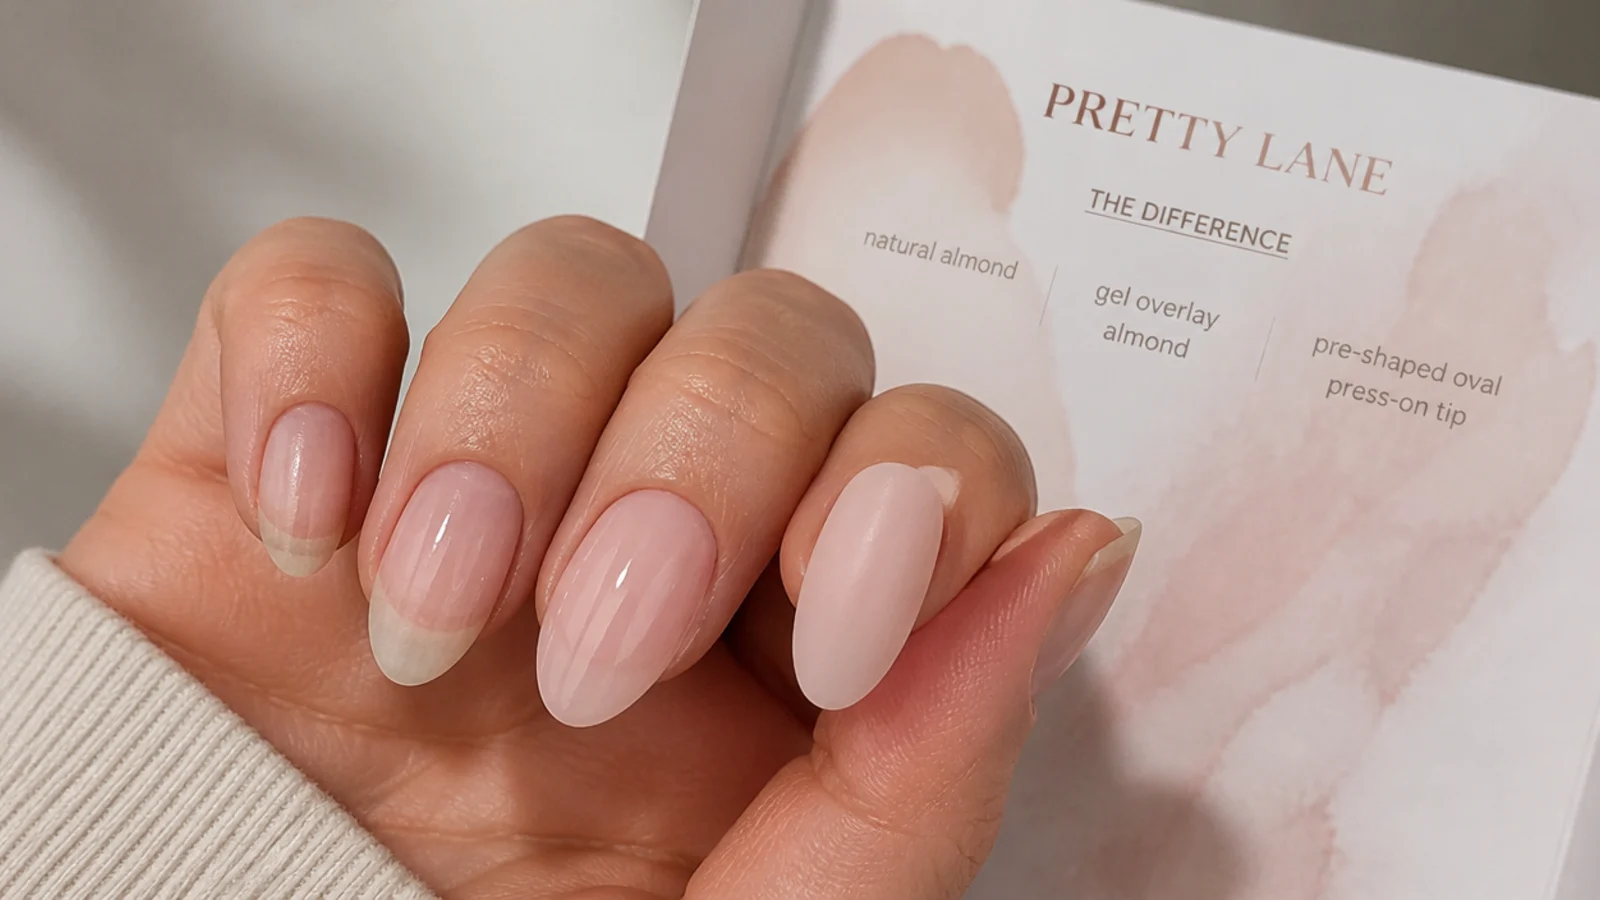
On natural nails this is a filing job and nothing else: no product, no lamp, 3 to 5mm of length, and it grows out with you at roughly 3mm a month. A gel overlay changes the math. Cured gel on top of your own nail adds rigidity, buys a millimeter or two of extra length, and lets a natural plate carry an almond that would otherwise split, and it wears 2 to 3 weeks like any gel manicure. Shape first, then prep and cure, the same sequence as any gel technique. Soft-gel tips and press-ons arrive pre-shaped, so your only filing job is blending the sidewall where the tip meets your natural nail and shortening the tip if it is too long, which you can do with 180 grit followed by the same 240 grit refine. Acrylic sits under nearly every long almond set you have saved, holds 8mm and beyond, and needs fills every 3 to 4 weeks. A salon shape is usually included in the manicure price rather than billed separately, and a gel manicure filed to almond typically runs 40 to 70 dollars.
Keeping the Shape as Your Nails Grow Out
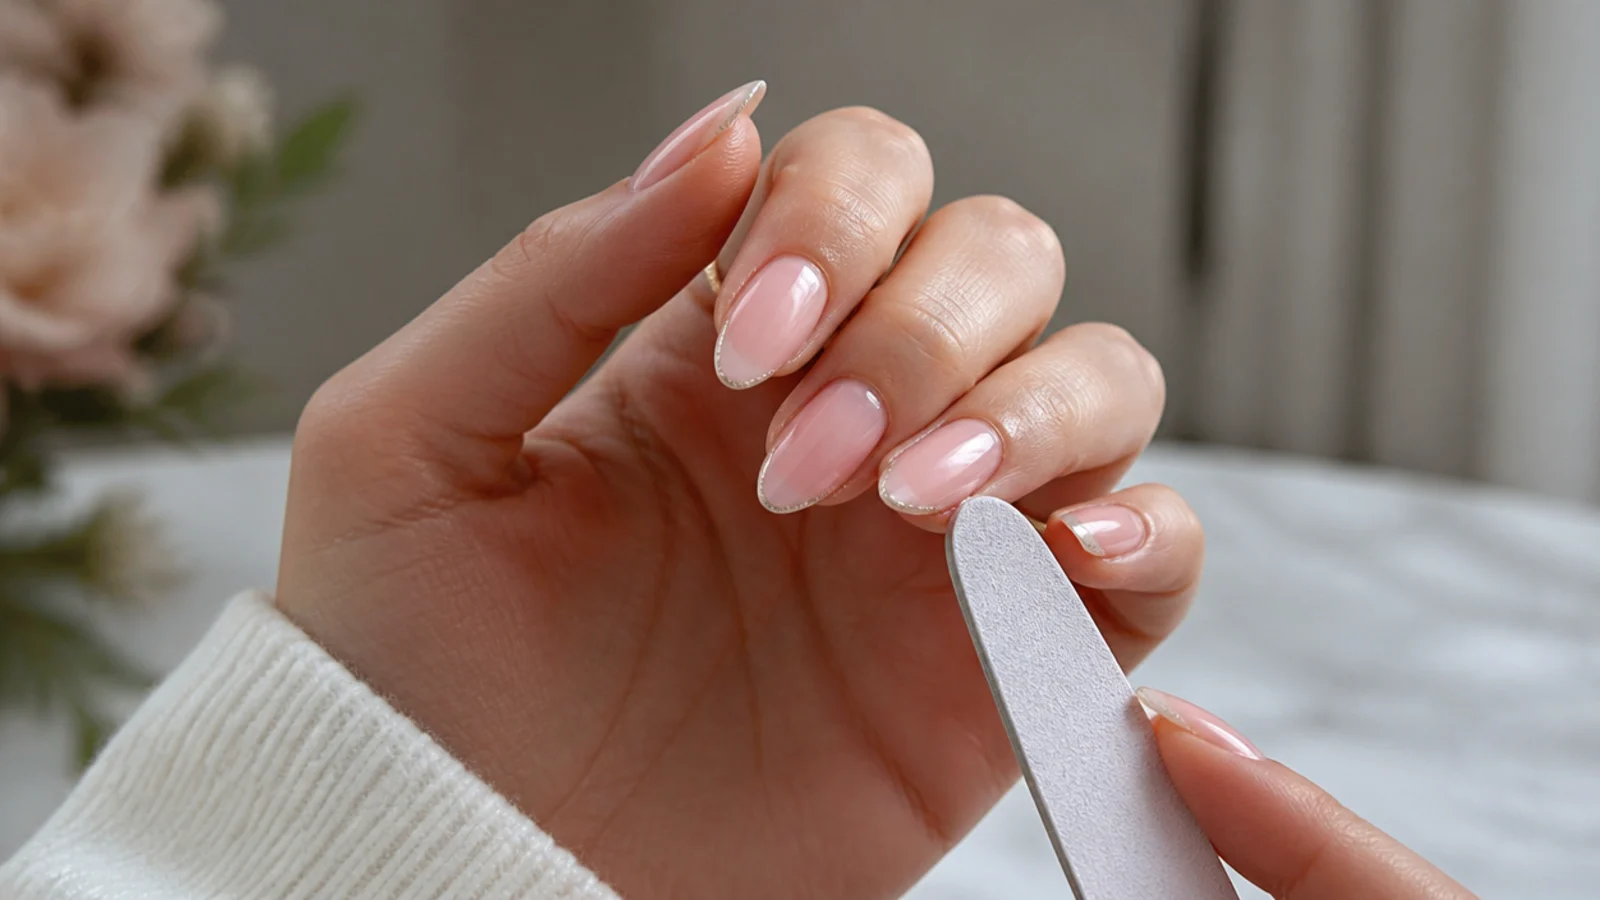
Nails grow about 3mm a month, so the taper you filed on day one starts to drift within roughly 10 days as the wider part of the plate pushes past the flesh line. Almond drifts faster than oval because the taper is steeper and small growth changes the whole outline. Two or three light strokes per sidewall every 7 to 10 days holds it, and you only need the 240 grit file for that touch up, not the coarse one. Regular polish gives you 5 to 7 days, gel gives 2 to 3 weeks, and acrylic 3 to 4 weeks with a fill. Removal matters as much as wear: soak gel off with 100 percent acetone on cotton wrapped in foil for 10 to 15 minutes and push it gently, because peeling gel takes plate layers with it and leaves you too thin to taper next time. Keep oiling twice a day and the same shape carries any color, from pink oval nails to the deeper shades in dark green almond nails, lavender almond nails and almond cat eye french tips.
Frequently Asked Questions
How do you shape almond nails at home step by step?
Remove polish, push cuticles back and clip all ten nails to one even length. Angle a 180 grit file inward at each sidewall and file one direction only, counting strokes so both sides match. Keep tapering until the lines converge, blunt the point with two flat strokes, then refine with 240 grit, seal the edge and oil.
What is the difference between shaping almond and oval nails?
The first four steps are identical: same prep, same even length, same inward sidewall angle, same one-direction strokes. They diverge only at the tip. Almond keeps tapering until the two lines converge into a soft point. Oval stops tapering and rocks the file around in one continuous curve with no straight segment anywhere.
How long do my nails need to be for almond shape?
About 3mm of free edge is the honest minimum and 4 to 5mm is where almond reads clearly. Below 3mm the sidewalls run out of nail before the taper becomes visible and the result looks like a narrowed round. If you are shorter than that, file oval now and grow into almond over two to three weeks.
What file grit do you use for almond nails?
Use 180 grit to cut the taper on natural nails and 240 grit to refine and smooth the cut marks. Keep 100 and 150 grit for acrylic and hard gel, because those coarse grits tear natural keratin into layers. A glass file is a good all-rounder for thin nails since it seals the edge as it cuts.
Why is my almond nail shape uneven?
Almost always because you judged it from above. Your eye corrects asymmetry from the top view. Hold the finger so the tip points at your eye and look down the nail instead, and the crooked side is obvious. Fix it with one or two strokes off the shallower wall, never by filing the steeper wall deeper.
Can you switch between oval and almond on the same nail set?
Almond to oval takes about a minute per nail: round off the point with the rocking stroke and you lose a little length. Oval to almond is the harder direction, because the taper has to start further back and you usually need one to two weeks of growth first. Plan the switch in that order if you can.
Do almond nails break more easily than oval?
Yes. The tapered tip concentrates force on a narrow area while an oval curve spreads it along the whole edge, so oval survives knocks, typing and hair washing better. Short almond at 3 to 5mm rarely breaks. Long almond breaks at the stress point where the nail leaves the finger, so avoid over-tapering the sidewalls.
Can you shape almond nails without a drill?
Yes, and you should. A hand file at 180 grit cuts a natural nail perfectly well, and an e-file on natural nails is easy to over-do and thins the plate fast. Drills earn their place on acrylic and hard gel, where a hand file would take far too long. All six steps here are hand file only.
Are almond nails hard to maintain?
Harder than oval, not hard in absolute terms. Nails grow about 3mm a month and a steep taper drifts out of shape within roughly a week as the wider plate pushes past the flesh line. Two or three light 240 grit strokes per sidewall every 7 days holds it. Oval stretches that interval to 10 to 14 days.
File gently and stop if you notice pain, splitting or soreness at the sidewall. Over-filing thins the stress point where the nail leaves the finger, and repeated deep filing can damage the natural nail. For the crispest result, or if your nails split repeatedly, see a licensed nail technician.
Which almond & oval nails look are you saving?
The one habit that changes your result is sighting down the fingertip instead of looking at the nail from above. Your eye corrects asymmetry from the top view and shows it honestly from the front, so a lopsided taper you would have lived with for two weeks costs you two extra strokes to fix. Keep the file moving in one direction, count strokes so both sidewalls match, and stop filing while the walls still have visible thickness. Refile the tip every 7 to 10 days as the nail grows out and the shape holds for the life of the manicure. Then pick a design from short almond nails or browse the whole almond and oval nails hub.