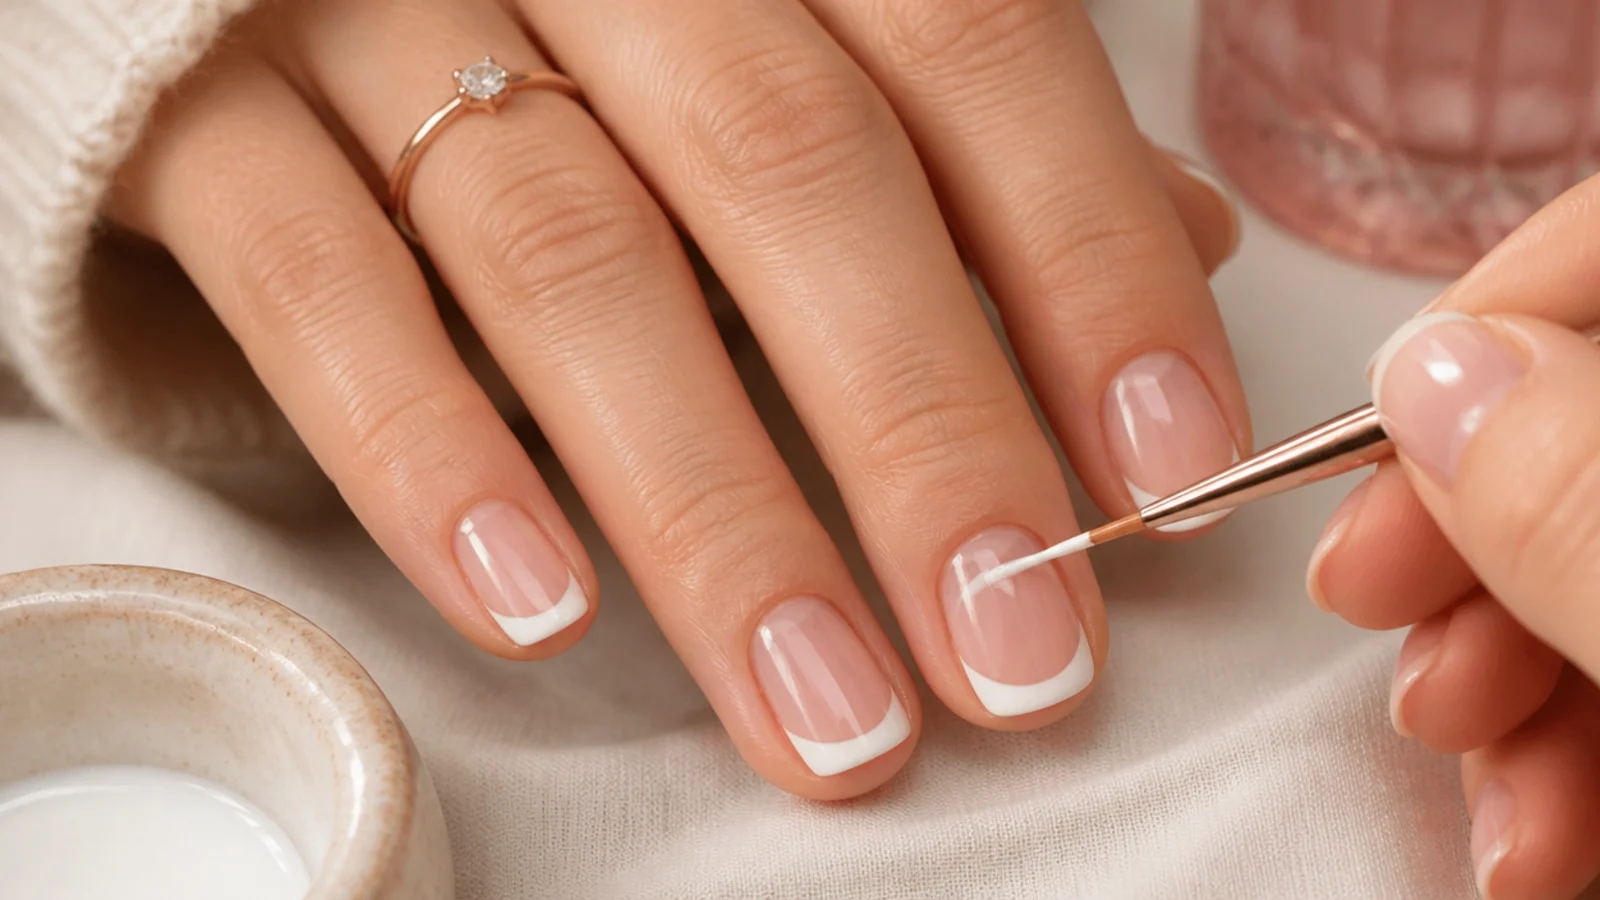
Quick Comparison
| Guide Stickers or Tape Method | Freehand Liner Brush Method | |
|---|---|---|
| Line quality | Clean and even, limited to the sticker curve | Best of any method, any curve you want |
| Skill needed | True beginner, works on the first attempt | Intermediate, expect three or four practice runs |
| Time for ten nails | About 25 minutes plus a 15 minute dry wait | About 15 minutes with no extra wait |
| Works on curved nails | Lifts and leaks on strongly curved plates | Yes, the brush follows any curve |
| Works on short nails | Sticker curves are often too deep for 2mm tips | Yes, you control the depth exactly |
| Main failure mode | Polish drags when peeled off a tacky base | Uneven sidewall heights while you learn |
| Cost | About 6 to 10 dollars for 200 to 300 guides | About 5 to 12 dollars for one brush, reusable |
| Repeat cost | Consumable, you buy more every few manicures | None, one brush lasts years if you clean it |
| Best for | A first French and a symmetrical deep curve | Micro tips, unusual shapes and long term value |
1. Prep, Shape and Dehydrate the Nail Plate
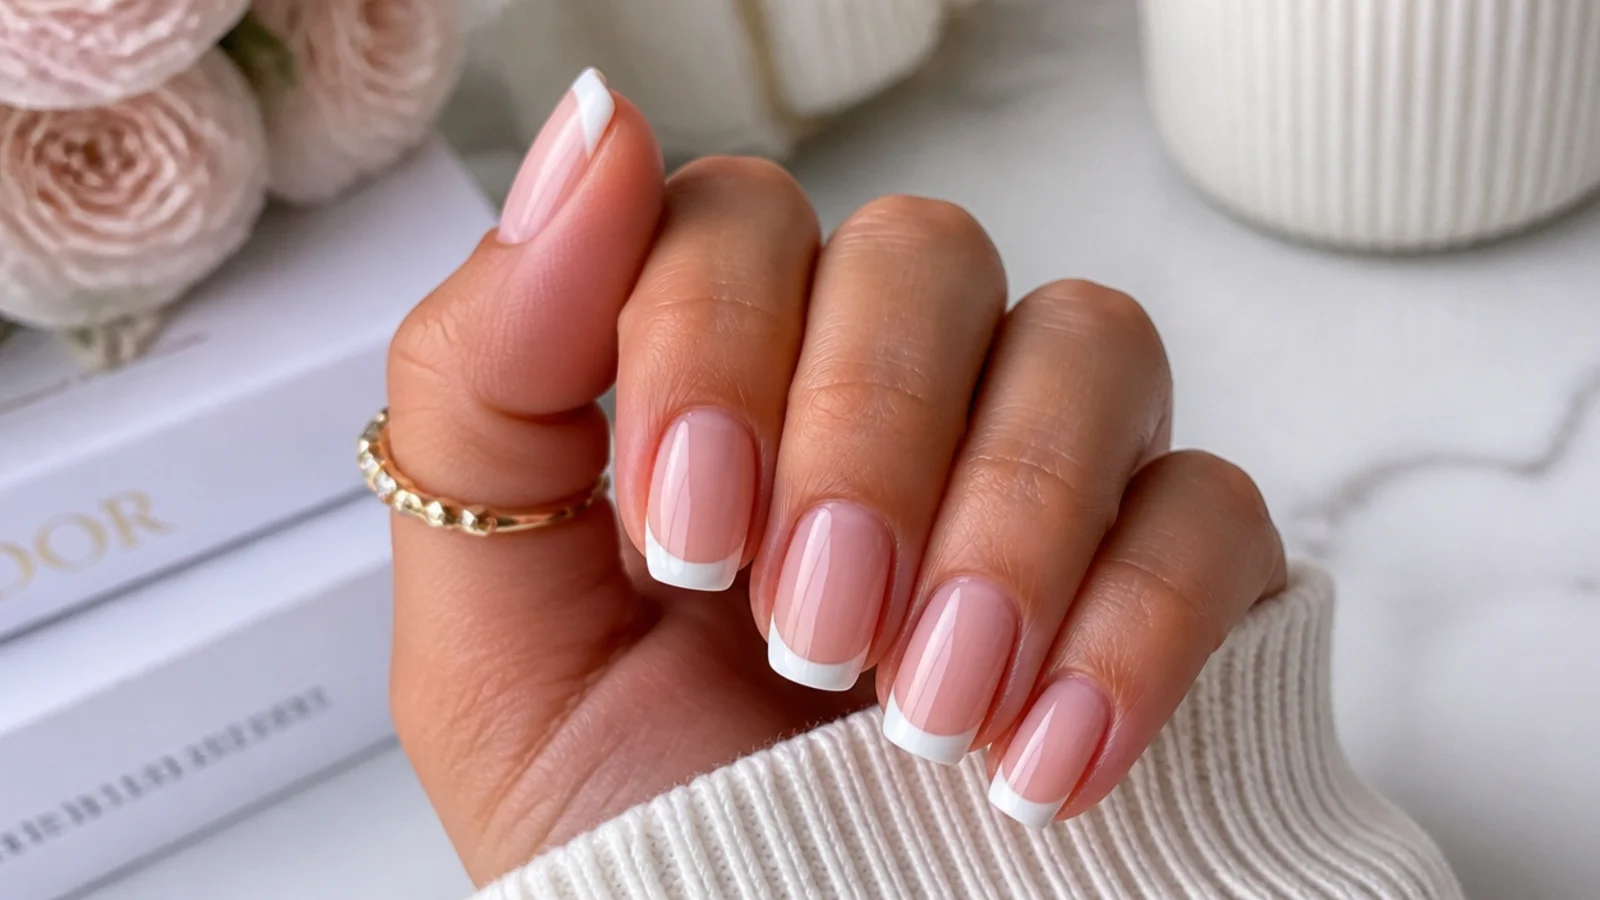
Remove all old polish with acetone, then file every nail to the same shape and length with a 180 grit file so the ten smile lines will match. Push the cuticles back with a wood stick and wipe the plate with 91 percent isopropyl alcohol to strip oil. Skipping the dehydrate step is why polish lifts at the cuticle within two days. Shape matters more than you think here, because a curved almond edge needs a deeper smile line than a flat coffin tip does.
Common mistake: Filing nails to different lengths guarantees ten tips that read as ten different depths.
Pro tip: Line up all four fingers side by side and file across them to match lengths fast.
2. Lay Down Base Coat and a Sheer Nude Base
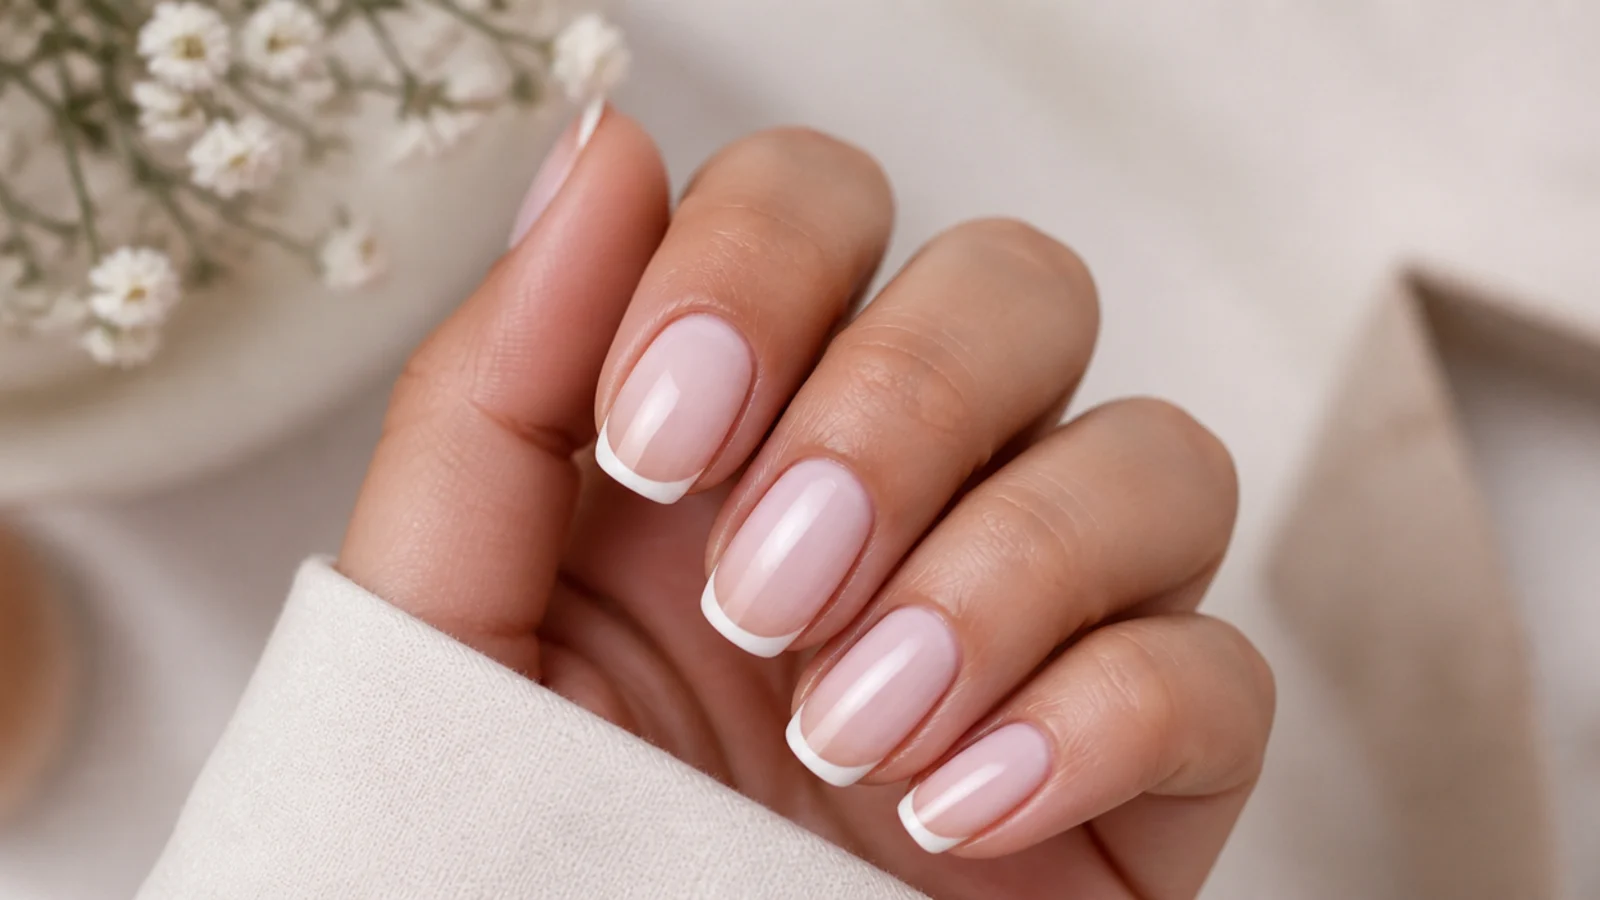
Apply one thin coat of base coat and let it set for two minutes, then add one or two coats of a sheer nude, milky pink or beige. Essie Ballet Slippers, OPI Bubble Bath and Sally Hansen Hard as Nails in Sheer Petal are the standard three. The base should still show your natural nail through it, because opaque nude turns the look into a two-tone block manicure instead of a French. Then wait. Regular polish needs a full 15 minutes before you touch it with tape or a brush.
Common mistake: Working on a tacky base drags the tip into the nude and smears the whole nail.
Pro tip: If you want a modern finish instead of pink, swap in a milky white base like the one on milky white chrome nails.
3. Pick Your Tip Method Before You Open the White
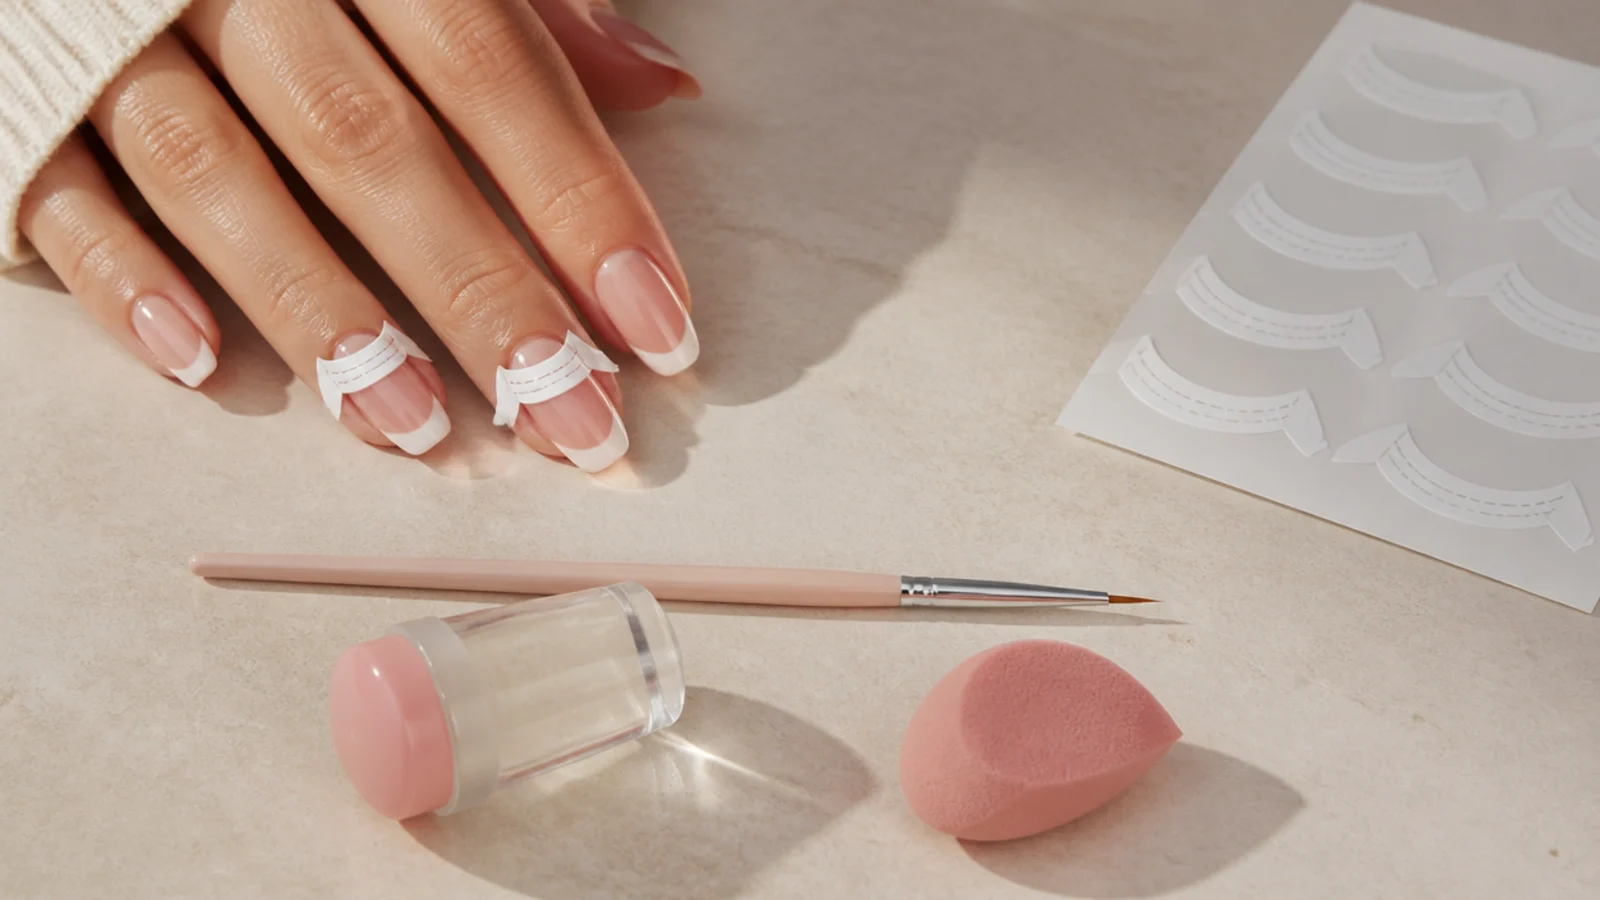
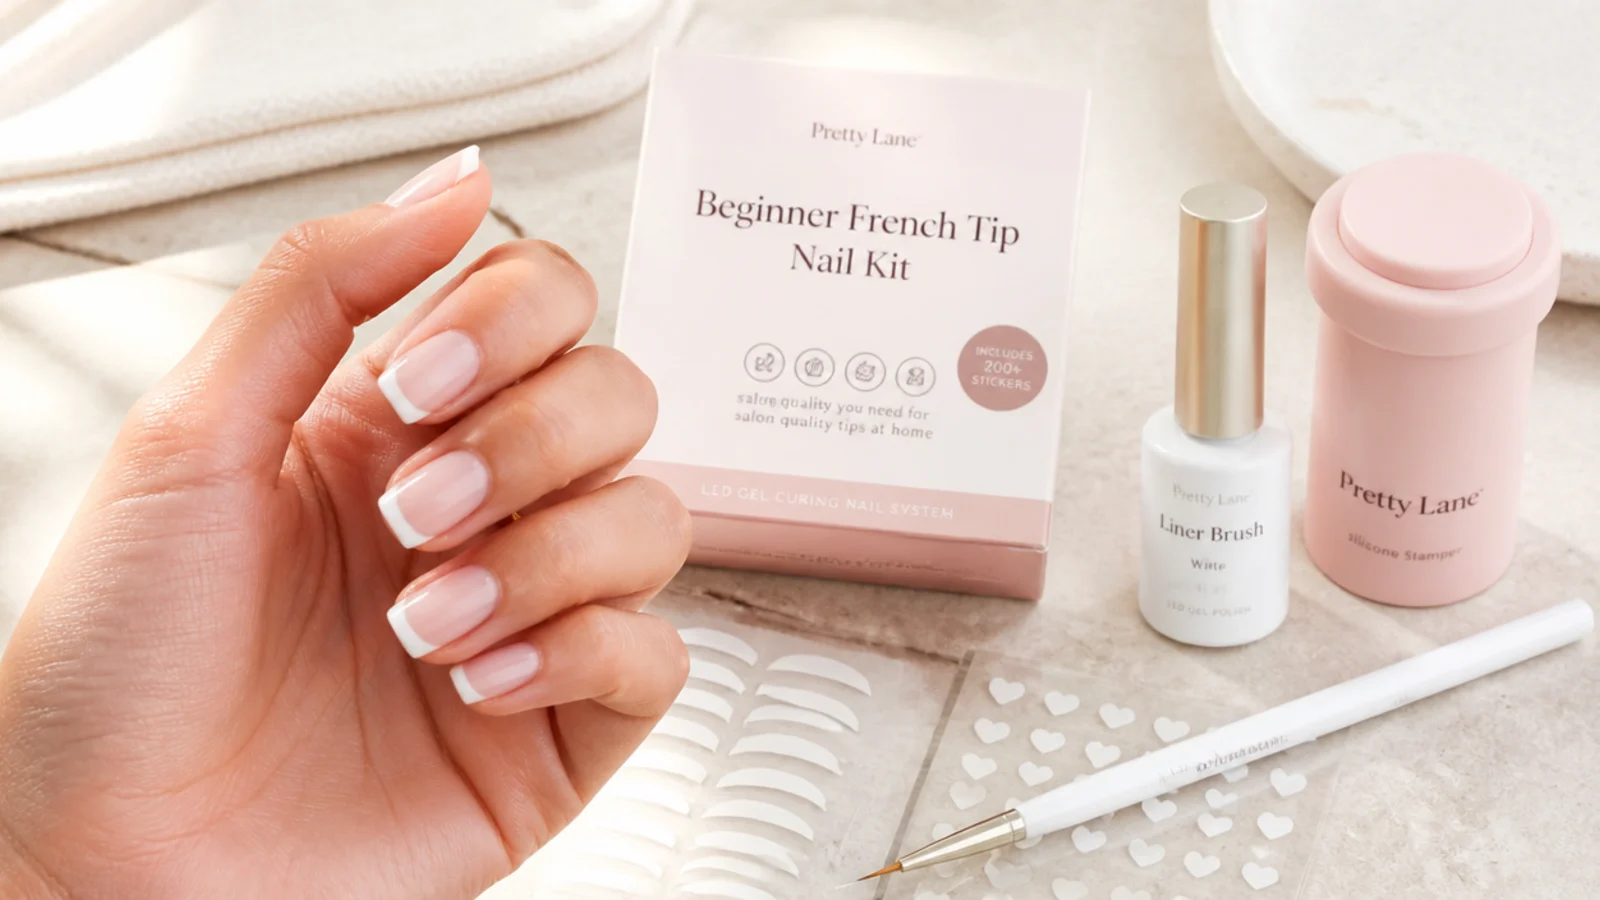
There are four routes and they are not equal. Guide stickers or tape give the cleanest line for a total beginner but only work on fully dry polish. A thin liner brush gives the best line of all and works on any nail curve, with the steepest learning curve. A silicone stamper is the fastest but fails on wide or strongly curved nails, where it prints a line that touches the center and misses the sidewalls. A cosmetic sponge gives a soft ombre fade, not a true French. Compare the full set in French tip nail kits for beginners.
Common mistake: Buying a stamper kit first, then discovering your nail curve is too high for it to print evenly.
Pro tip: Curved or wide nail beds should skip straight to a liner brush and never mind the gadgets.
4. Map the Smile Line Before You Paint It
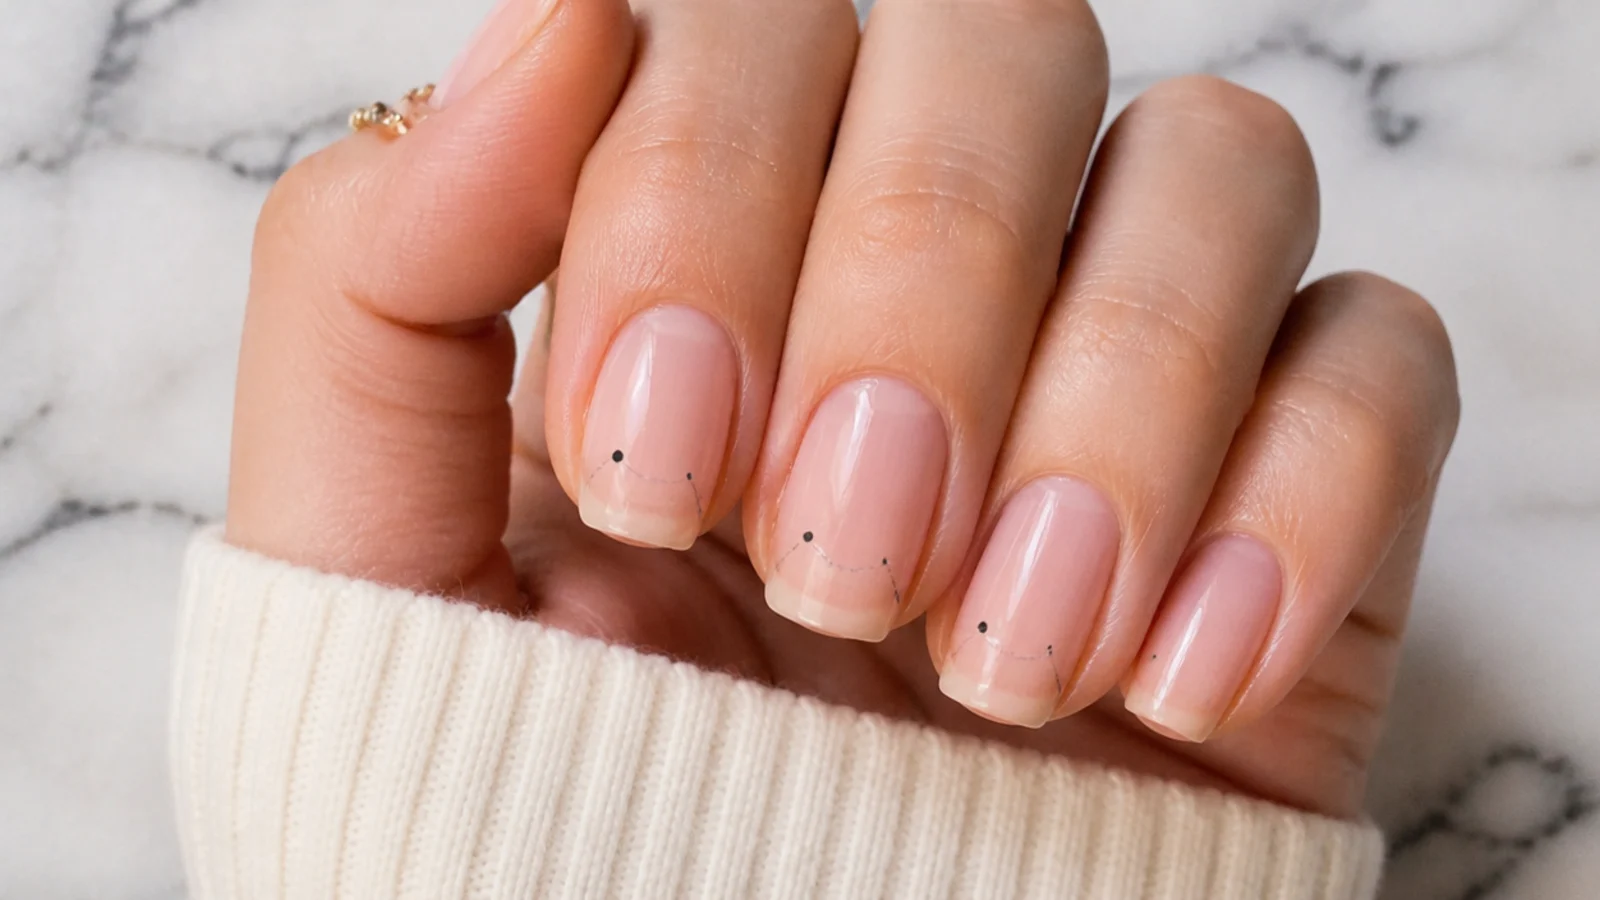
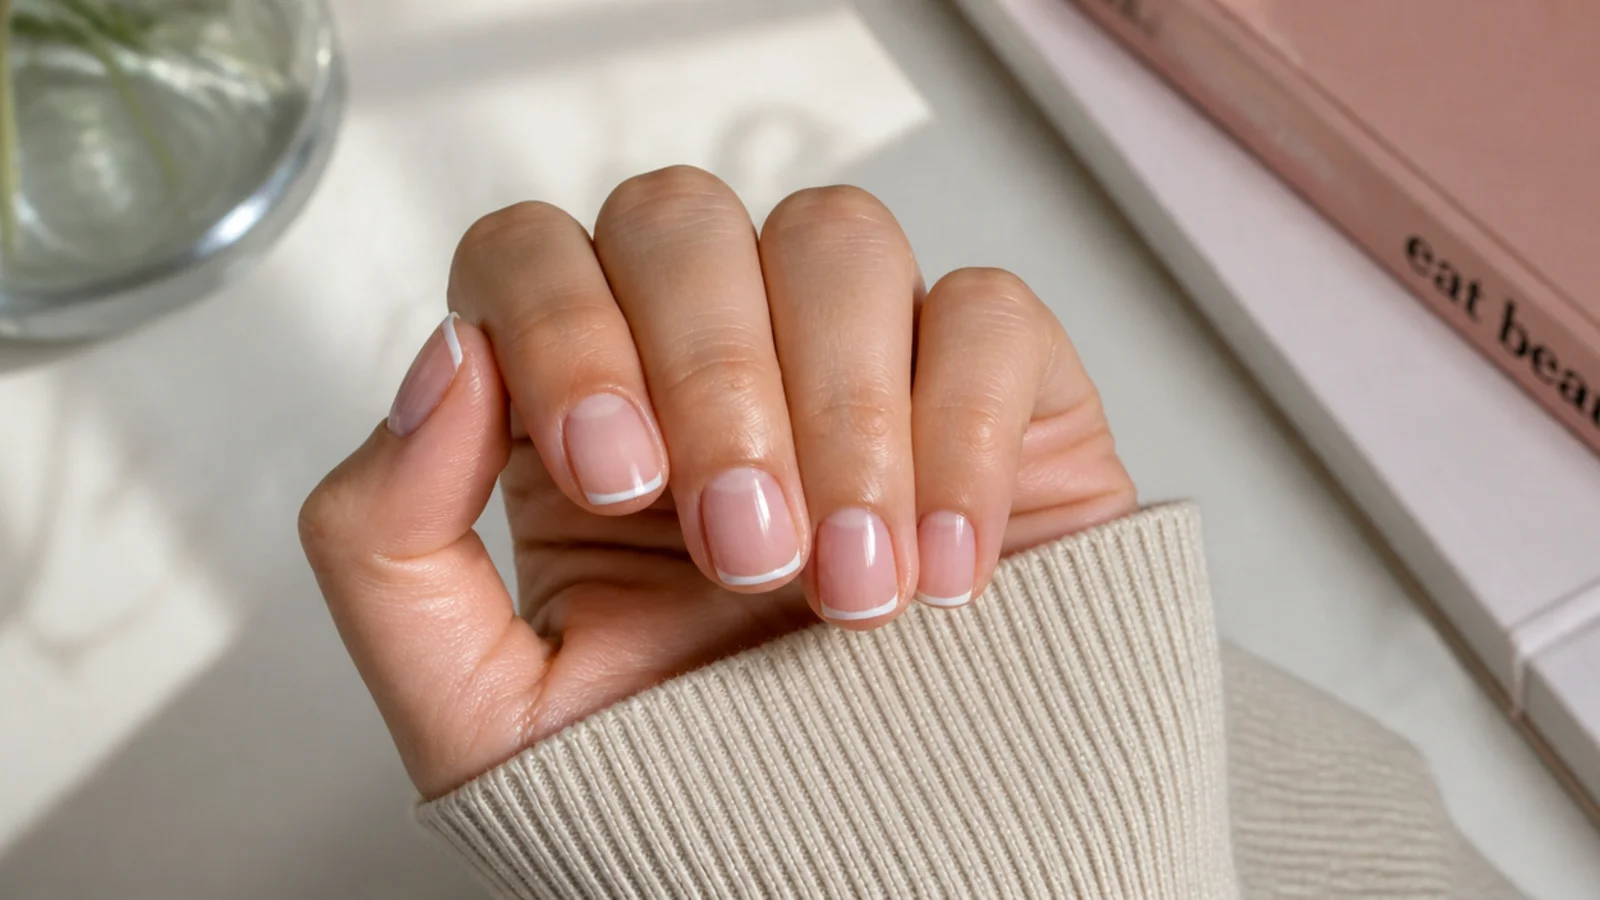
Mark two faint starting points, one on each sidewall, at equal distance from the free edge, then paint from those anchors inward rather than starting at the center. Depth is the decision: about 1 to 2mm on short nails, 3 to 4mm on medium, up to 5mm on long. Deeper than that and the tip visually eats the nail bed. On a short nail keep the curve shallow, almost a soft arc, because a deep U chops the bed and reads stubby, which is exactly the problem short French tip nails solves with a micro line.
Common mistake: Starting the stroke at the center means each sidewall ends up at a different height.
Pro tip: Hold the finger at eye level with the tip pointing at you to check both anchors match.
5. Paint the Tip in Two Thin Passes
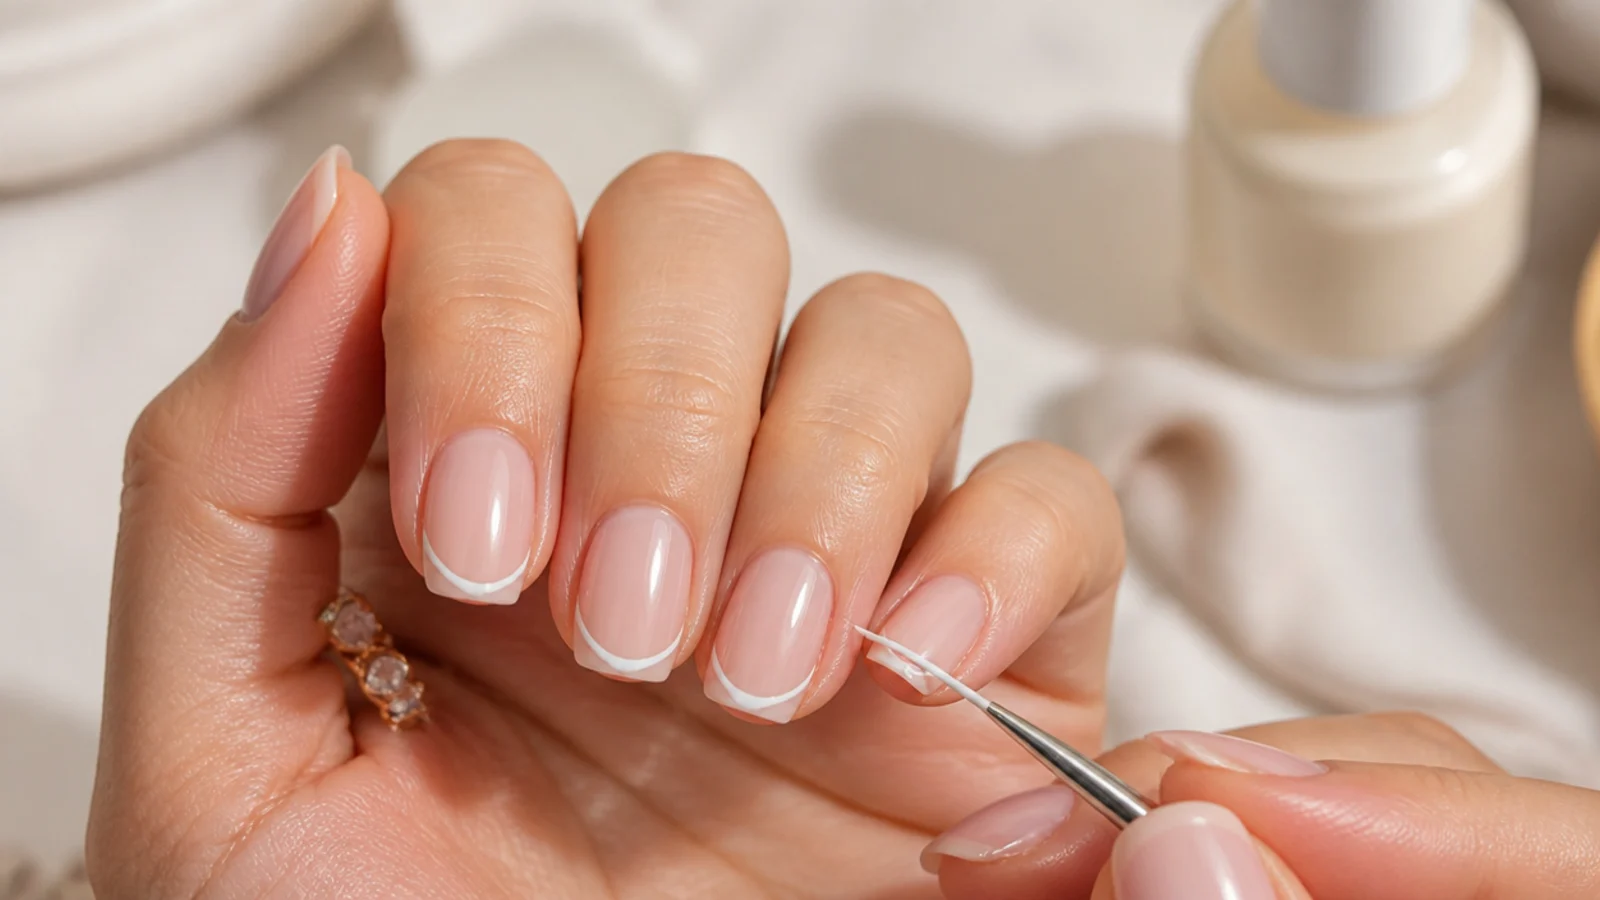
Load a thin liner brush and pull one stroke from the left anchor toward the center, then a second from the right anchor to meet it. Fill in the tip below the line, then cap the very edge of the nail. Do this in two thin coats rather than one thick one. Bright white is the least forgiving polish there is, streaking on a single pass and pooling if overloaded, which is why a second coat exists. If a stark white feels harsh, a soft cream or an off white sits easier, the same logic behind matte white nails.
Common mistake: One thick white coat pools at the smile line and dries with a visible ridge.
Pro tip: Wipe the brush on the bottle neck until the bristles come to a point before every single stroke.
6. Carve the Line Back With a Brush and Alcohol
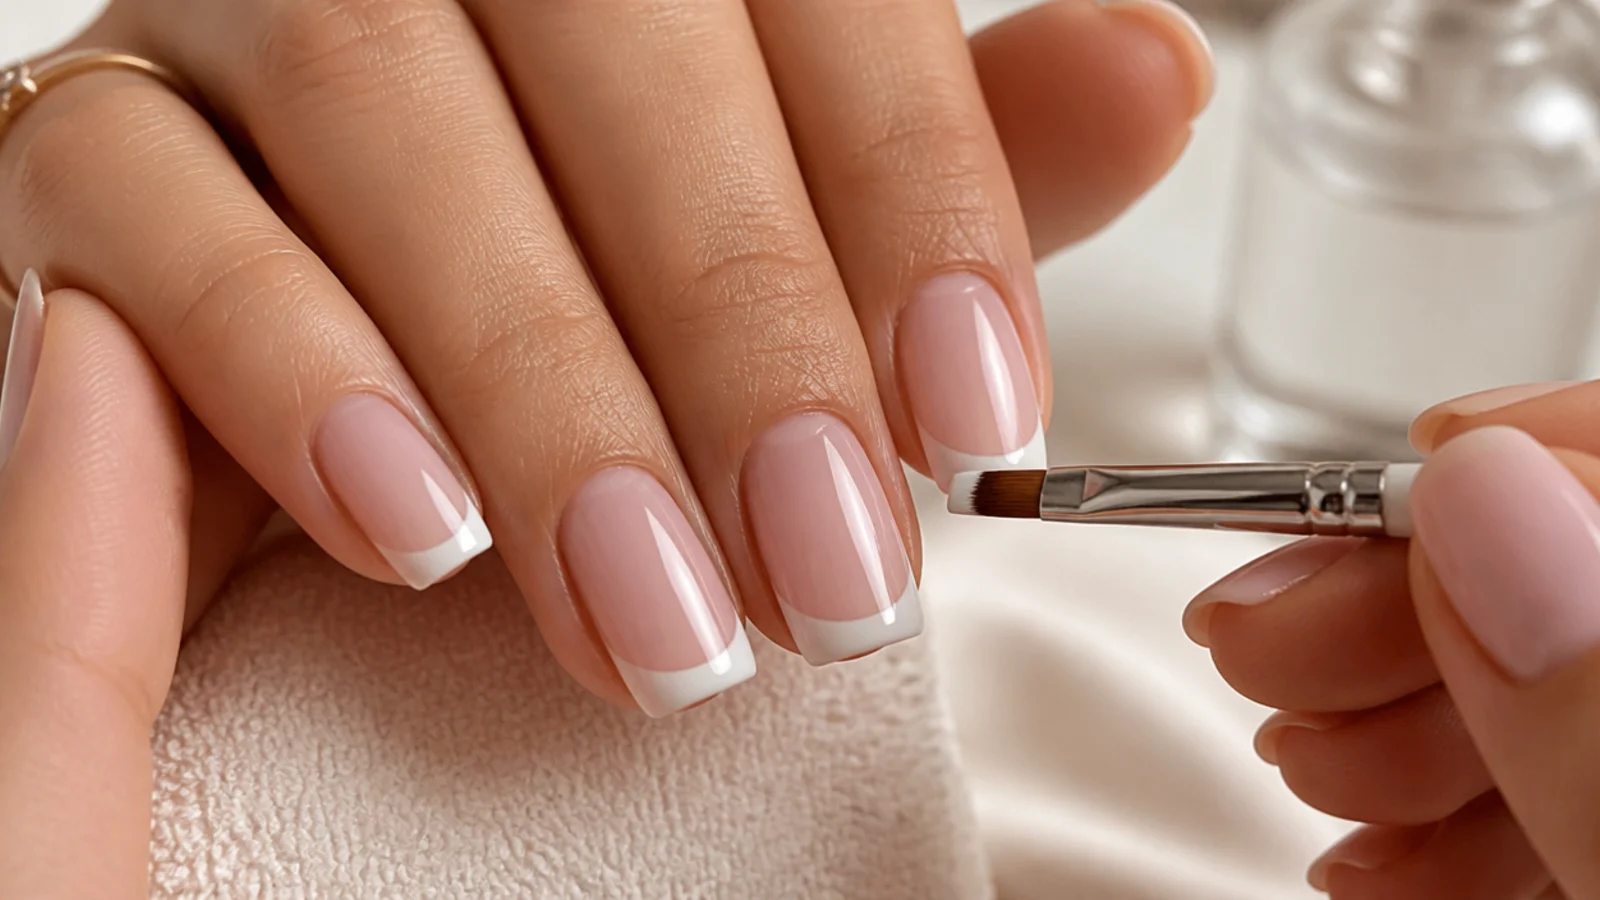
This is the step almost every tutorial omits and the one that makes a home French look salon grade. Dip a small flat angled synthetic brush in 91 percent isopropyl alcohol, blot it once, and run it along the inside of the smile line to shave the polish back into a clean curve. Fix asymmetry here rather than repainting, because the correction is faster and thinner than another coat. On gel, do this before you cure, since cured gel will not move. The same cleanup discipline saves a wobbly cat eye French tip too.
Common mistake: Using a soaking wet brush floods the tip and pulls white down into the nude base.
Pro tip: Acetone on the cleanup brush eats too much polish; alcohol shaves it gently and evaporates clean.
7. Seal With Top Coat and Cap the Free Edge
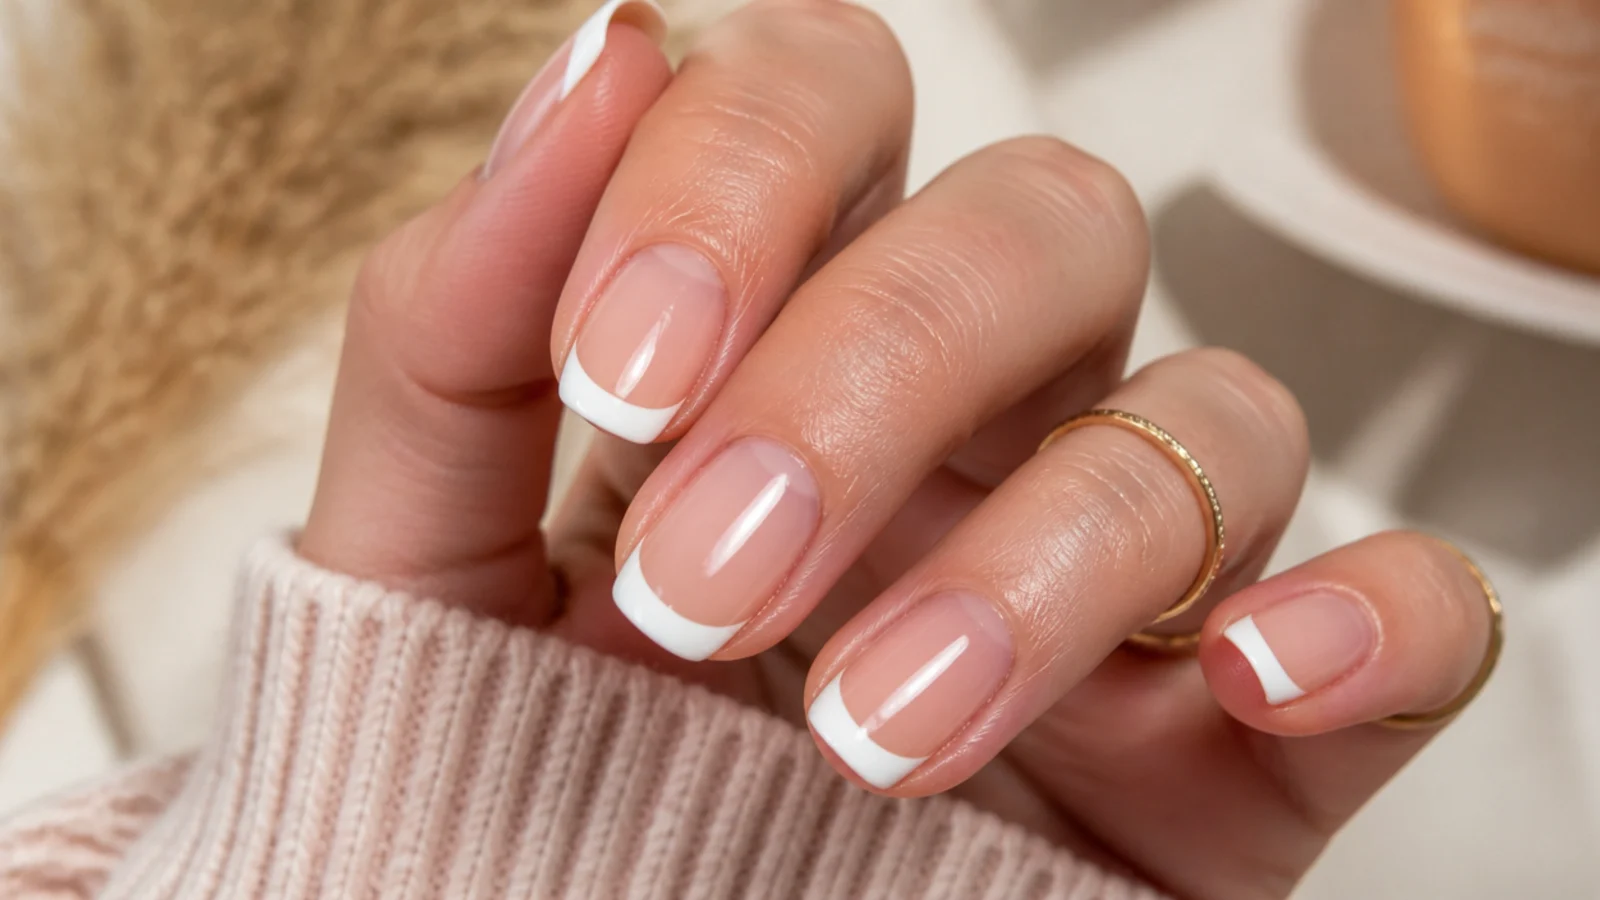
Once the white is dry to a light touch, float one generous coat of glossy top coat over the whole nail, then swipe the brush across the free edge to cap it. Capping is what stops the tip chipping first, which is the standard failure point on a French. Do not press or drag, because a heavy hand smears white into the nude. Gel needs 60 seconds under LED, then wipe the sticky layer with alcohol. For a modern flat finish, swap in a matte top coat using the method on how to matte nails.
Common mistake: Skipping the free edge cap means the white tip wears away within two or three days.
Pro tip: Reapply top coat on day three to keep regular polish going the full week.
Tools, Cost and How Long a DIY French Manicure Lasts
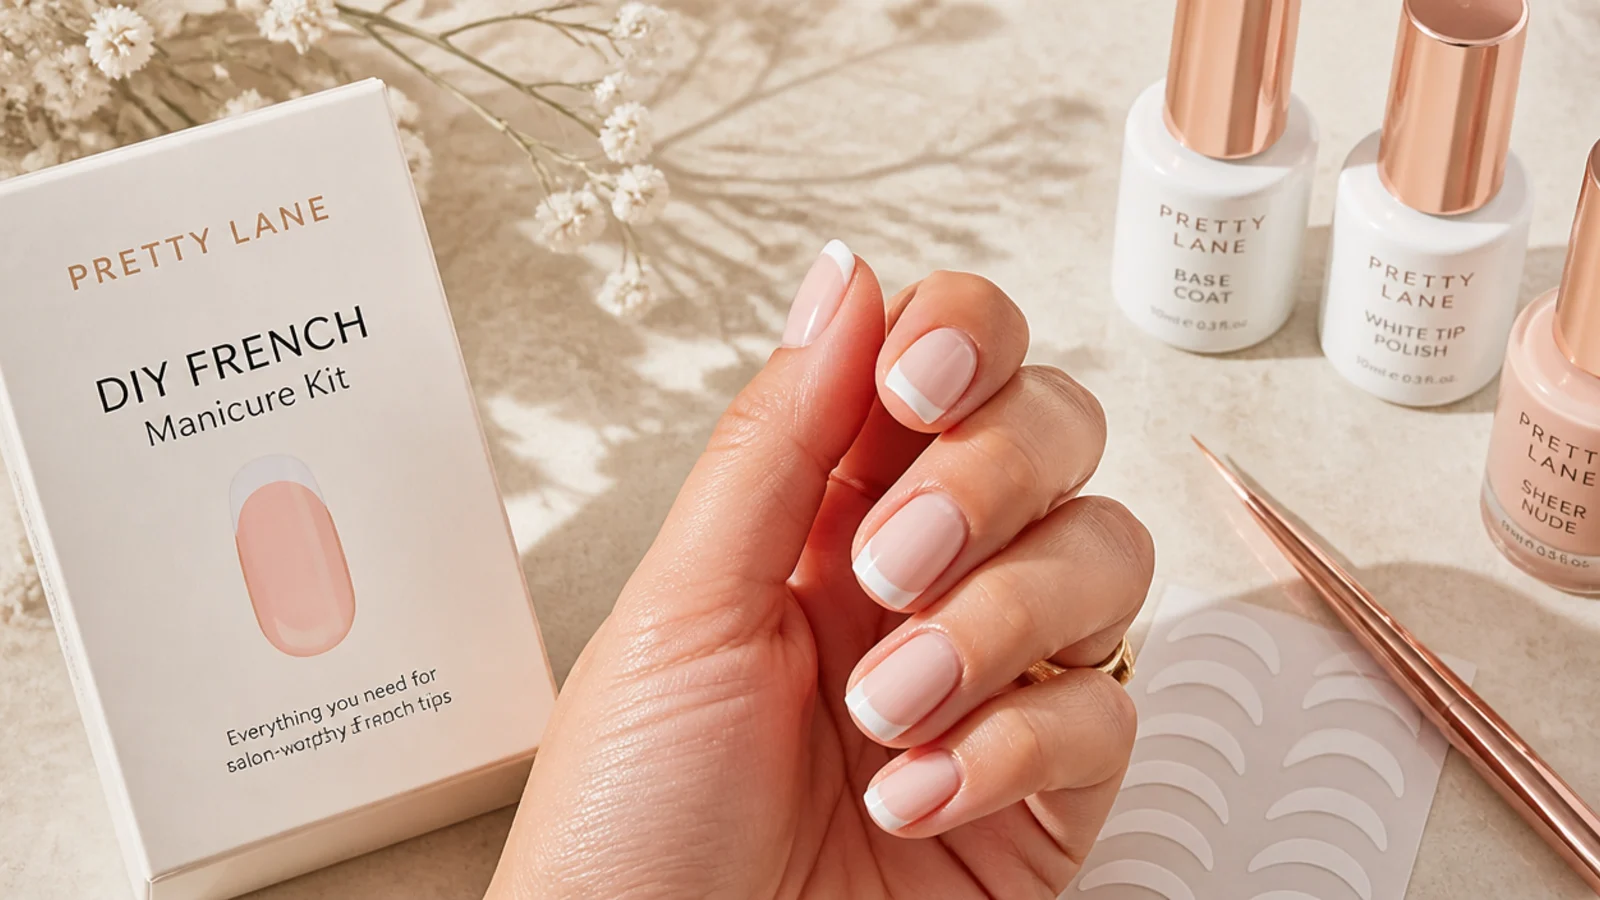
The full list is short: a base coat, a sheer nude, an opaque white, one tip tool, a flat angled cleanup brush, 91 percent isopropyl alcohol and a glossy top coat. That whole setup lands under 40 dollars, against 25 to 40 dollars for a polish French at a salon, 40 to 70 for gel and 60 to 120 or more for acrylic with tips. Break even happens on your first appointment skipped. Wear time is the honest part most listicles leave out: regular polish gives you 5 to 7 days, gel gives 2 to 3 weeks, and acrylic or hard gel holds 3 to 4 weeks until a fill. A gel setup adds an LED lamp at 20 to 40 dollars, which is the only real extra cost, and the kits grouped by method in French tip nail kits for beginners break down which of those you actually need. Nothing here requires a drill or a tech.
The Four Tip Methods Compared Head to Head
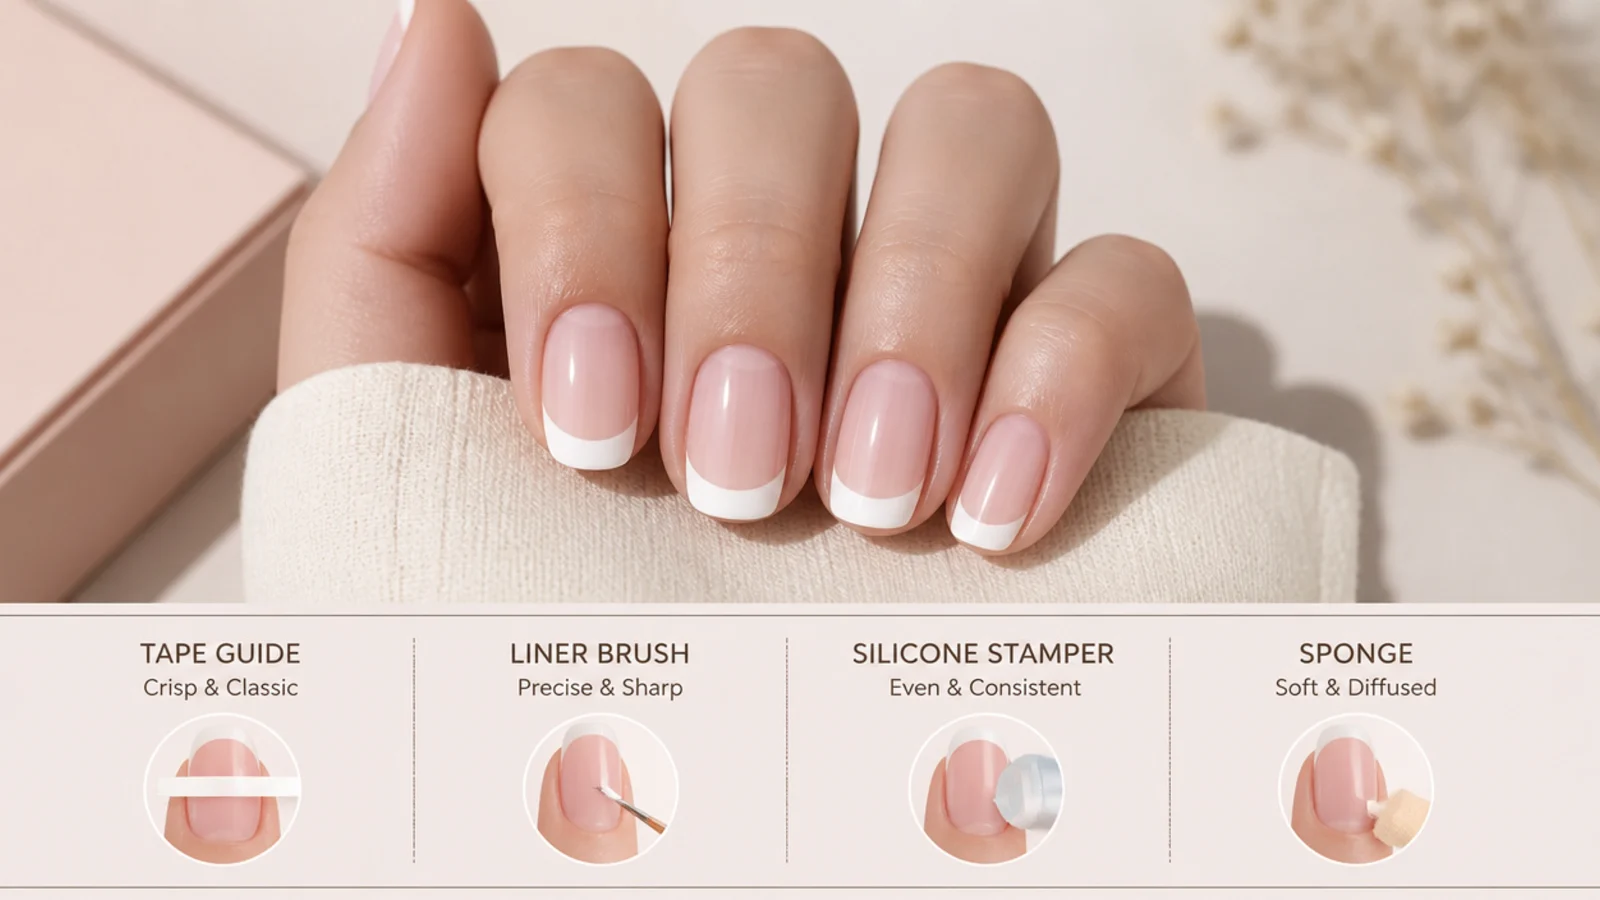
Guide stickers are the beginner default and they do produce a clean line, but they demand fully dry polish and they drag if you peel them late. Freehand with a thin liner brush produces the best line of the four and the only one that follows an unusual nail curve, though it takes three or four sessions before it looks even. Silicone stampers are genuinely fast, printing a whole tip in one press, and they are the method most kit roundups push, but they fail on wide or highly curved nails because the silicone contacts the center of the plate and lifts away from the sidewalls. The sponge method fades white into the nude for an ombre French, which is forgiving of a bad hand but is not a true crisp smile line at all. If you only learn one, learn the brush. It is the only method that scales from a micro tip to the thick retro lines you see across the French tip nails pillar.
What Brush You Actually Need for French Tips
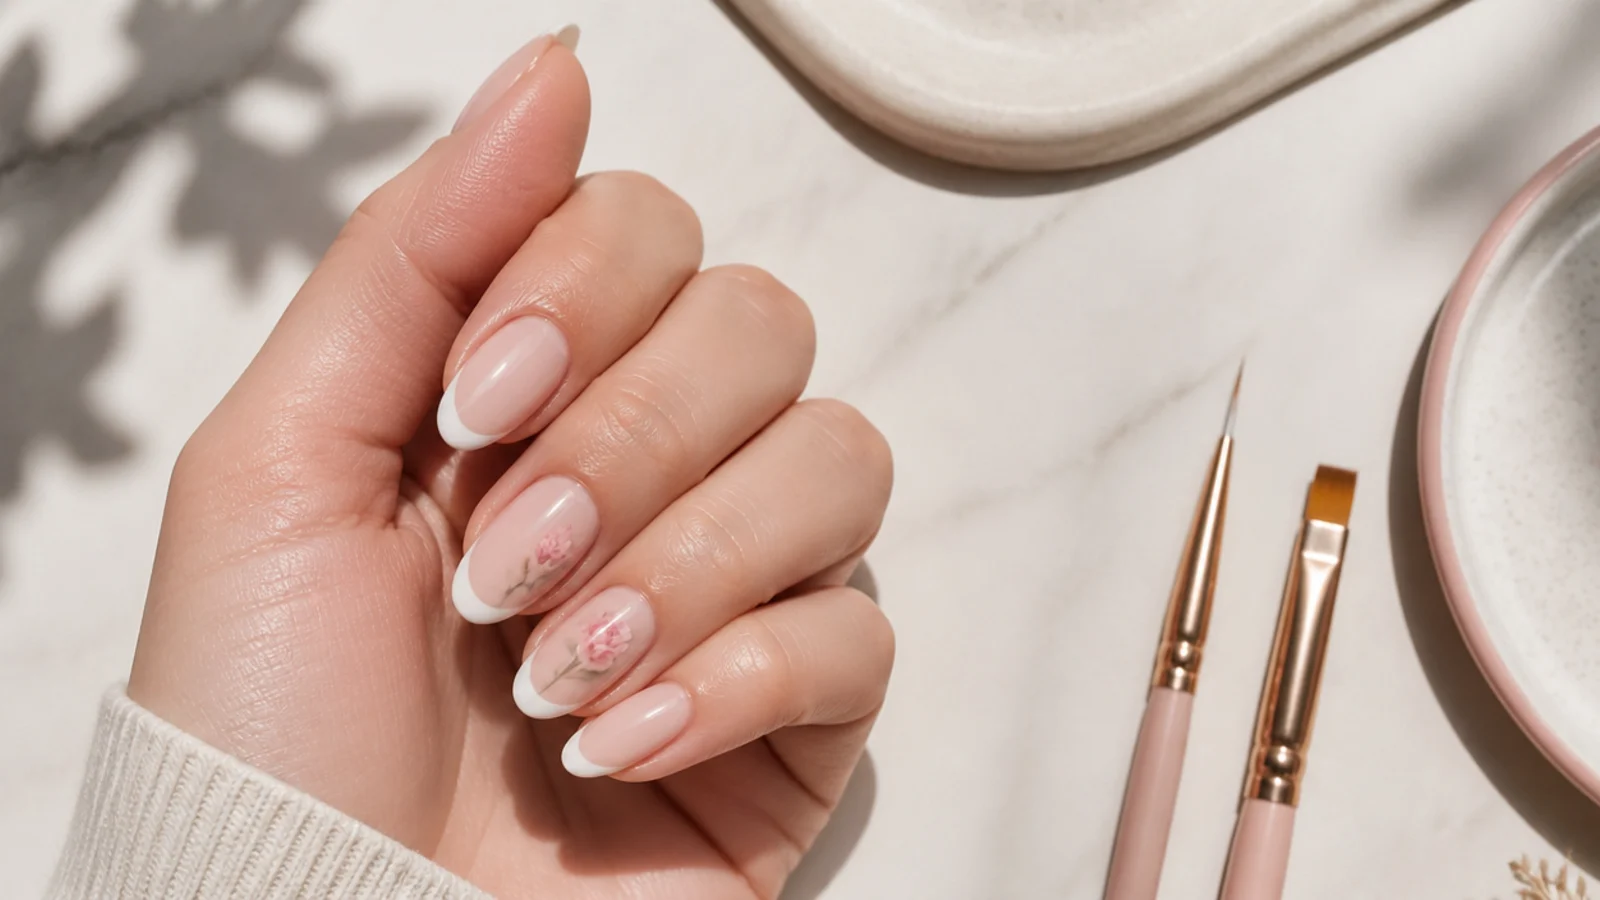
Two brushes do everything. The first is a thin synthetic liner, around 7 to 9mm of bristle length, which holds enough polish to pull one full sidewall to center without reloading. Shorter detail brushes run dry halfway and leave a break in the line. The second is a small flat angled brush, the kind sold for eyeliner, used dry with alcohol for cleanup rather than for painting. Synthetic bristles matter for both because natural hair swells in solvent and loses its point. Skip the striper brushes sold in nail art sets, which are built for long straight lines and are too floppy to control a curve. Store them tip up, never resting on the bristles, and rinse in acetone then reshape by hand while damp. The same pair handles the fine work on French tip nails with design and on oval French tip nails.
Tip Depth and Smile Line Shape by Nail Length
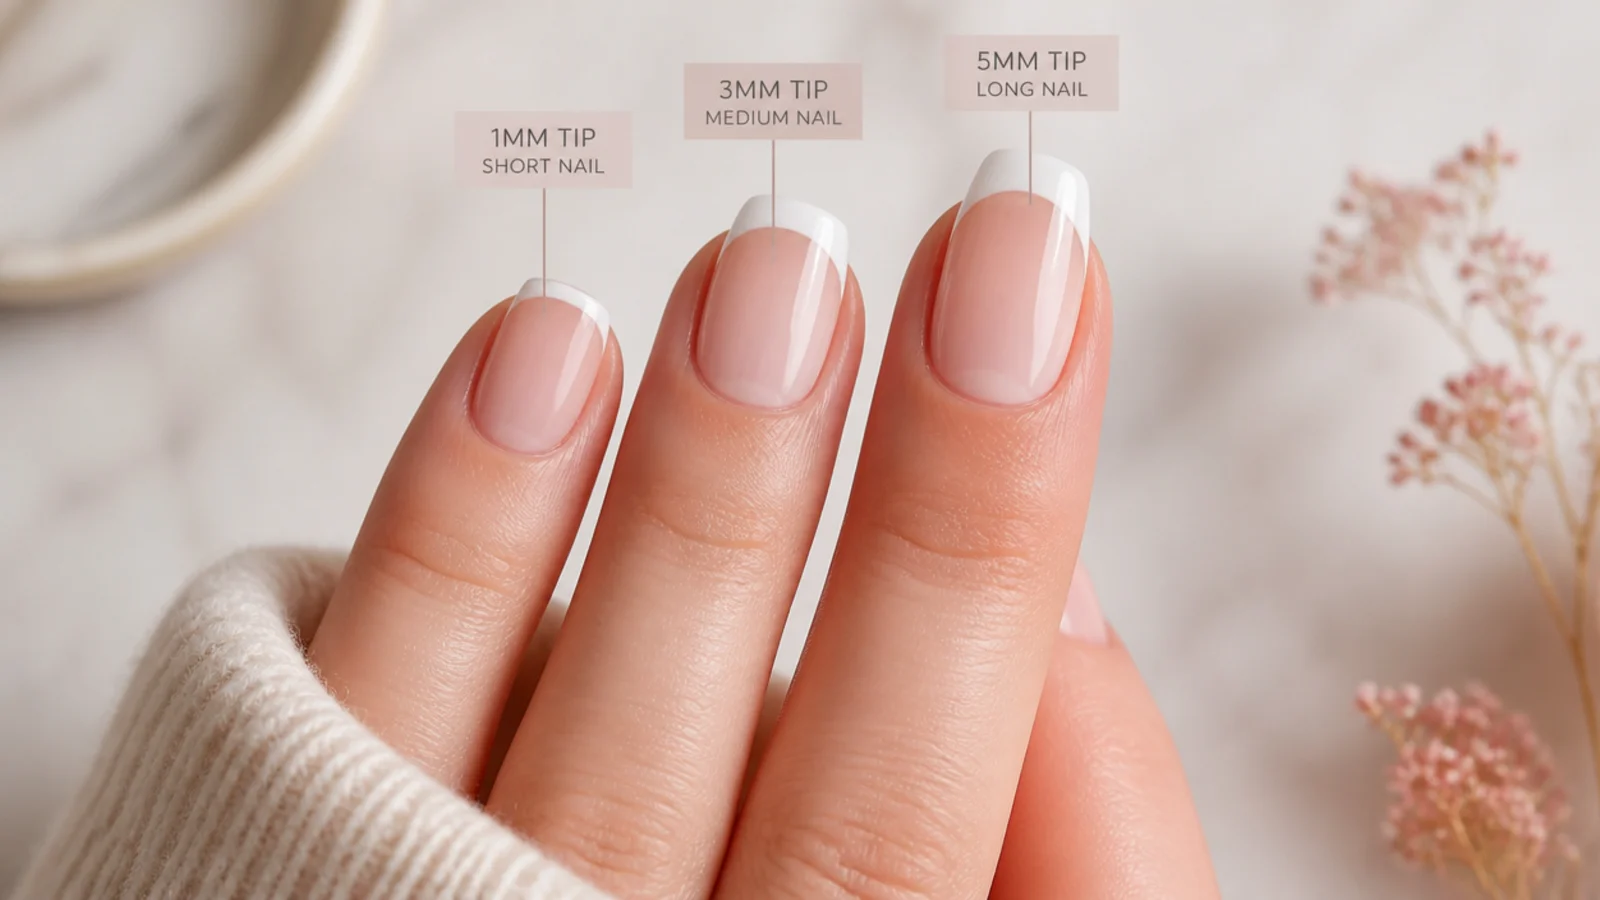
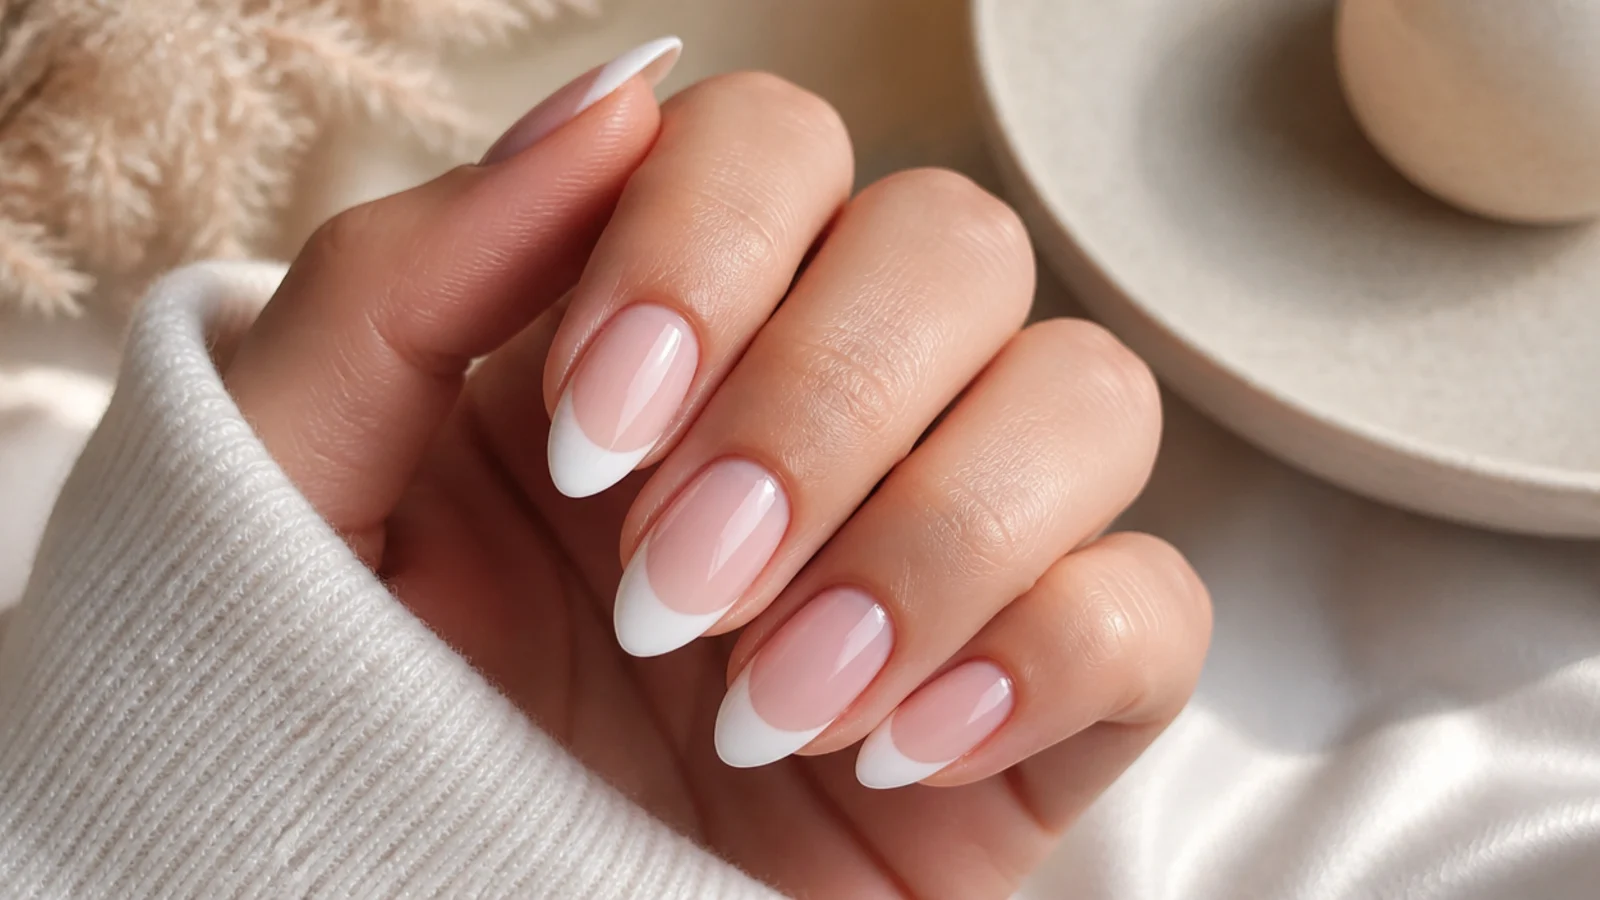
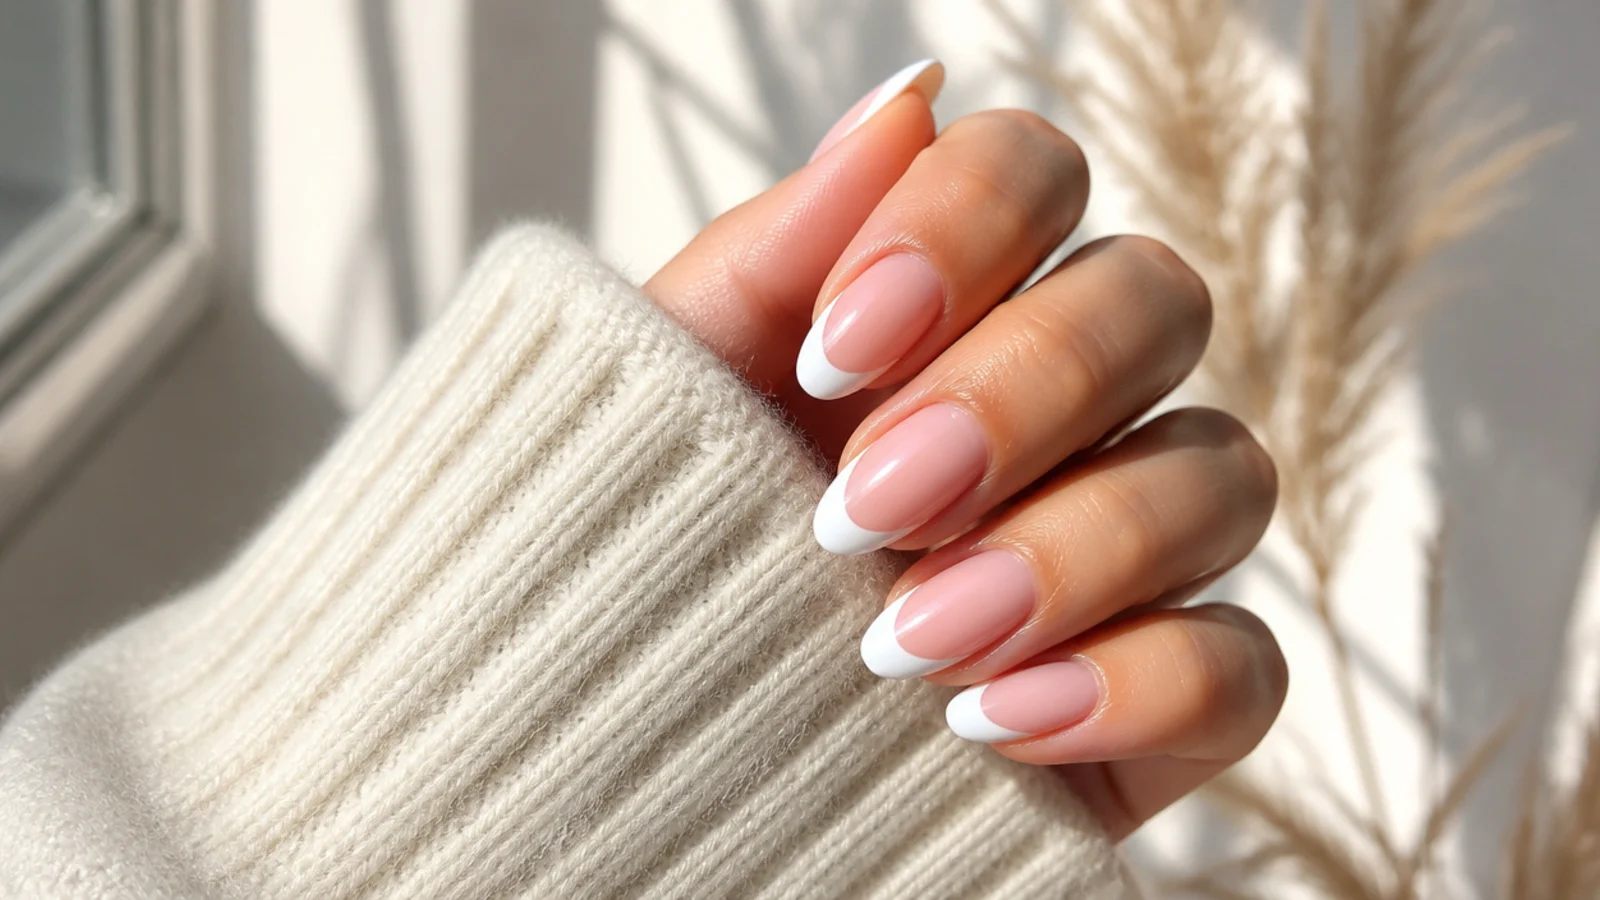
Depth is the variable that decides whether a home French flatters or shortens your hand, and almost nobody gives a number. On a short nail with 2 to 3mm of free edge, keep the white to 1 to 2mm and keep the curve shallow, closer to a gentle arc than a U. A deep curve on a short nail visually cuts the bed in half and reads stubby, and a stark bright white against a pink base makes the cut even more obvious, which is why a milky or off white behaves better there. Medium nails carry 3 to 4mm comfortably. Long almond and coffin nails take 4 to 5mm and actually need a deeper curve, because a shallow line on a tapered tip reads flat and unfinished. Nail bed width matters too: wide beds need a slightly deeper curve for the line to look intentional. For the short end of that range in practice, see short French tip nails.
Why Your French Tips Look Uneven and How to Fix It
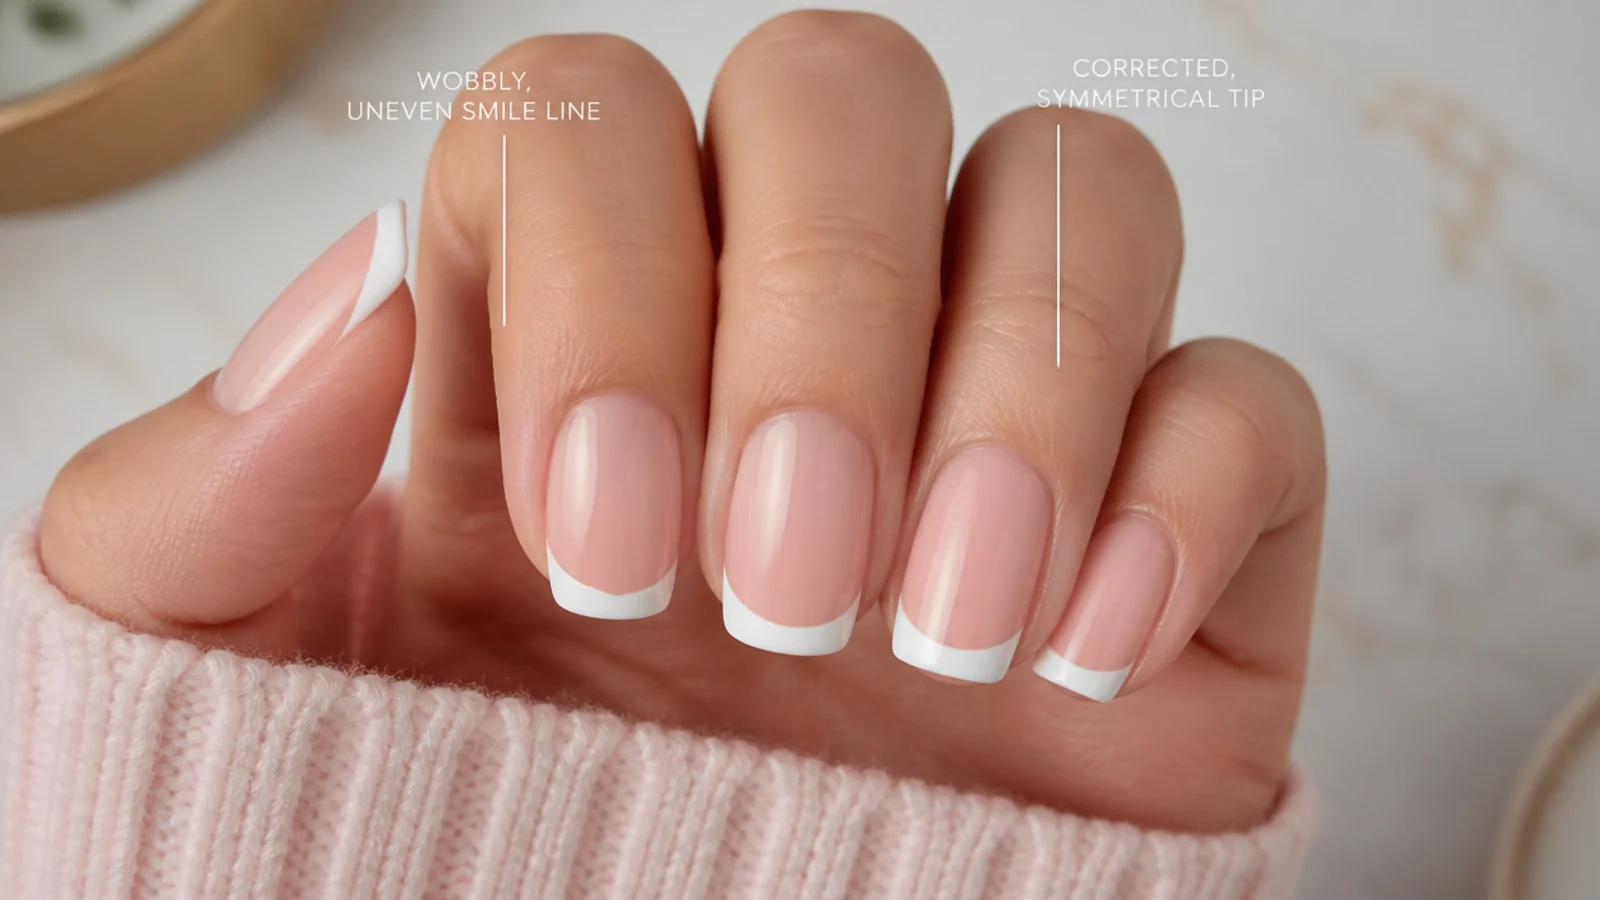
Five failures cover nearly all of it. Tips at different heights across the hand: you started strokes at the center instead of at marked sidewall anchors, so mark both anchors first every time. A wobbly or lumpy line: the white went on in one thick coat, so switch to two thin passes and carve the edge back with alcohol. White dragging into the nude: the base was not dry, and 15 minutes is the real wait for regular polish. A line that is crisp on one side only: your brush was reloaded mid stroke, so pull each sidewall in one continuous motion. Tips chipping within days: you did not cap the free edge with top coat. Bright white and black are the two least forgiving colors here because there is zero tonal overlap with the base, which is exactly the problem black French tip nails has to solve, and the same unforgiving-finish issue behind matte nails mistakes.
Gel Versus Regular Polish for At-Home French Tips
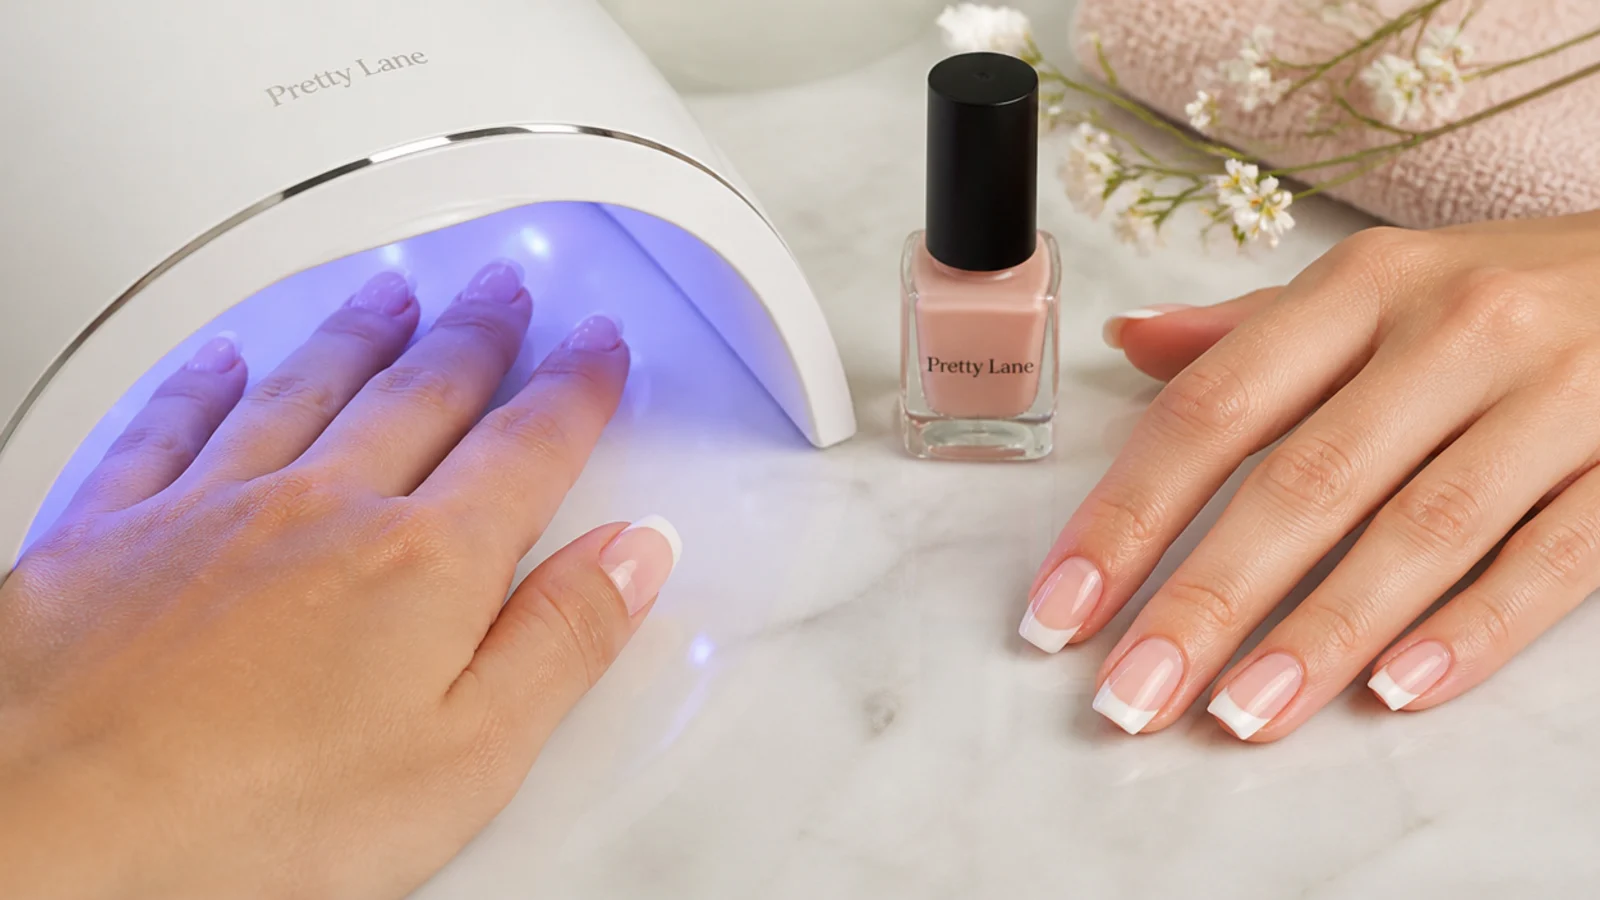
Gel is easier to paint and harder to remove. Because gel does not dry until you cure it, you get unlimited time to fix a smile line, and the cleanup brush works right up to the second you put the hand in the lamp. That single property makes gel the better beginner choice for a French despite the extra kit. Regular polish is cheaper and needs no lamp, but it starts setting in about 90 seconds, so your cleanup window is tiny and your base wait is long. Removal is the trade: gel needs 10 to 15 minutes wrapped in acetone and foil, and peeling it off takes layers of your nail plate with it. Regular polish wipes off in seconds. If you want the depth and staying power of gel with a soft look, the technique on how to blooming gel nails uses the same cure discipline.
Frequently Asked Questions
How do you do French tip nails at home step by step?
File all ten nails to the same shape, wipe the plate with alcohol, then apply base coat and one or two coats of a sheer nude. Wait 15 minutes. Mark a sidewall anchor on each side, pull the white tip from each anchor to the center in two thin coats, carve the line back with a flat brush and alcohol, then top coat and cap the edge.
How do you do French tips without tape?
Use a thin synthetic liner brush, around 7 to 9mm of bristle, and pull one stroke from each sidewall to the center. A silicone stamper is the other tape free route, though it prints unevenly on wide or highly curved nails. Either way, clean the smile line afterward with a flat angled brush dipped in 91 percent alcohol.
What brush do you use for French tips?
Two brushes. A thin synthetic liner with 7 to 9mm bristles paints the line, because it holds enough polish to reach the center without reloading. A small flat angled brush, the eyeliner kind, cleans the line with alcohol. Avoid natural hair, which swells in solvent, and avoid long striper brushes, which are too floppy for a curve.
Why do my French tips look uneven?
Almost always because you started the stroke at the center rather than at two marked sidewall anchors, so each side lands at a different height. Mark both anchors first and pull inward. Lumpy lines come from one thick white coat instead of two thin ones, and smearing comes from painting on a base that was not fully dry.
How long does a DIY French manicure last?
Regular polish gives 5 to 7 days, and reapplying top coat on day three stretches it. Gel gives 2 to 3 weeks. The tip is always the first thing to wear, so capping the free edge with top coat matters more here than on a solid color. Acrylic or hard gel with tips holds 3 to 4 weeks until a fill.
How thick should the French tip be on short nails?
About 1 to 2mm of white on a short nail with 2 to 3mm of free edge, with a shallow arc rather than a deep U. A deep curve visually chops the nail bed and reads stubby. Softening the contrast helps too, so a milky white or a cream reads longer on short nails than a stark bright white does.
What color base do you use under a French tip?
A sheer nude, milky pink or beige that still shows your natural nail through it. Essie Ballet Slippers, OPI Bubble Bath and a sheer petal pink are the three most used. Opaque nude turns the look into a two tone block manicure rather than a French. Milky white bases are the current alternative and read more modern than pink.
Is gel or regular polish better for French tips at home?
Gel, if you own a lamp. Gel does not set until you cure it, so you have unlimited time to fix the smile line before it locks in, which is the main difficulty of a French. Regular polish starts setting in about 90 seconds and gives you almost no correction window, but it costs less and wipes off in seconds.
How do you fix a smudged French tip without redoing the nail?
Dip a small flat angled brush in 91 percent isopropyl alcohol, blot it once so it is damp not wet, and shave the polish back into a clean curve while it is still soft. Alcohol removes the smudge without dissolving the layers underneath the way acetone does. On gel, do this before you cure, because cured gel will not move.
Are French tips still in style in 2026?
Yes, though the shape has shifted. Micro and skinny tips, double lines, colored tips and milky bases now outnumber the thick stark white line of the nineties. The technique in this guide is identical for all of them, only the depth and the color change. Browse the current versions on the French tip nails hub.
Acetone, gel polish and UV or LED lamps should be used as directed. Curing gel over unclean skin or peeling gel off can damage the natural nail. Stop if you notice burning, lifting or irritation, and see a licensed nail technician for anything that will not settle.
Which french tip nails look are you saving?
The single change that fixes most home French manicures is treating cleanup as a step rather than an accident. Paint the tip roughly, then carve the smile line back with a flat synthetic brush dipped in 91 percent alcohol while the polish is still soft. That one habit turns a shaky freehand line into a crisp one, and it works with tape, a stamper and a liner brush alike. Use two thin white coats instead of one thick one, keep the depth to 1 to 2mm on short nails, and cap the free edge with top coat every time. When you want ideas to try the technique on, browse short French tip nails or the full French tip nails hub.