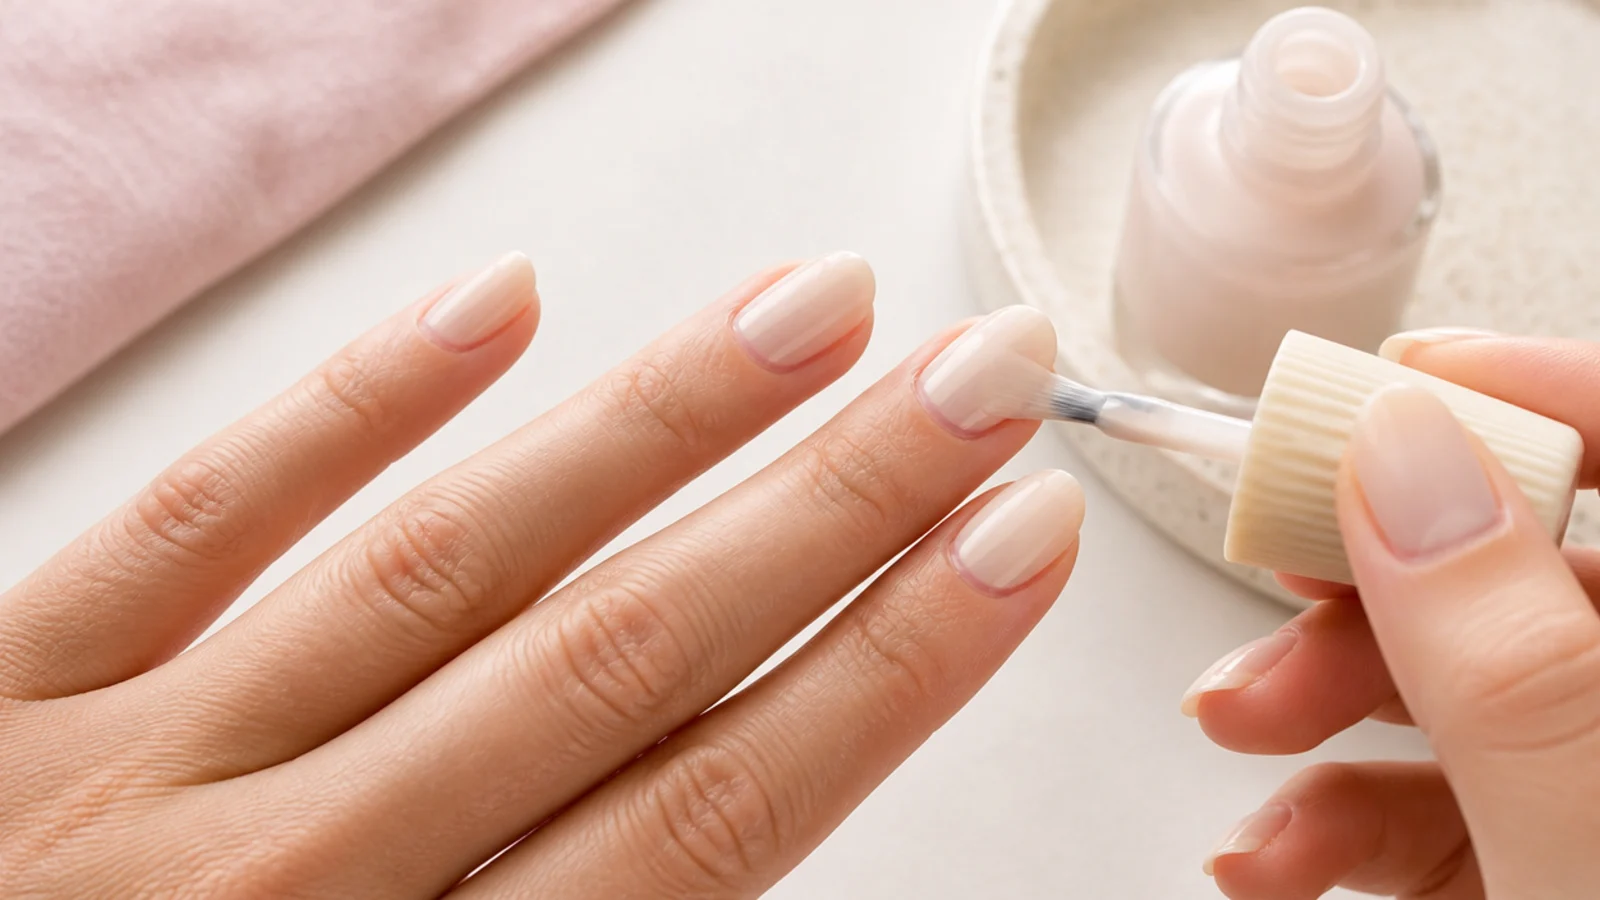
Quick Comparison
| Regular Polish Neutral at Home | Gel Neutral at Home | |
|---|---|---|
| Total time | 35-45 minutes including dry time | 50-60 minutes with curing |
| Startup cost | About 40-60 dollars for the full kit | About 90-140 dollars once you add a lamp |
| How long it wears | 5-7 days before the tip chips | 2-3 weeks with no chipping |
| Dry or cure time | 2 minutes between coats, 1 hour to fully harden | 30-60 seconds per layer under the lamp |
| How forgiving it is | High; acetone removes a bad nail in seconds | Low; a flawed layer is cured in permanently |
| Sheer milky shades | Self-levels well, easier to blend patches | Shows every uneven patch once cured |
| Removal | One wipe of acetone per nail | 10-15 minutes of acetone soak per hand |
| Damage risk | Minimal; the risk is over-buffing during prep | Comes from peeling it off, not from wearing it |
| Best for | Changing shades often and first-time DIY | Two-week wear and hands-on jobs |
1. Shape, Push Back Cuticles and Buff Only the Ridges
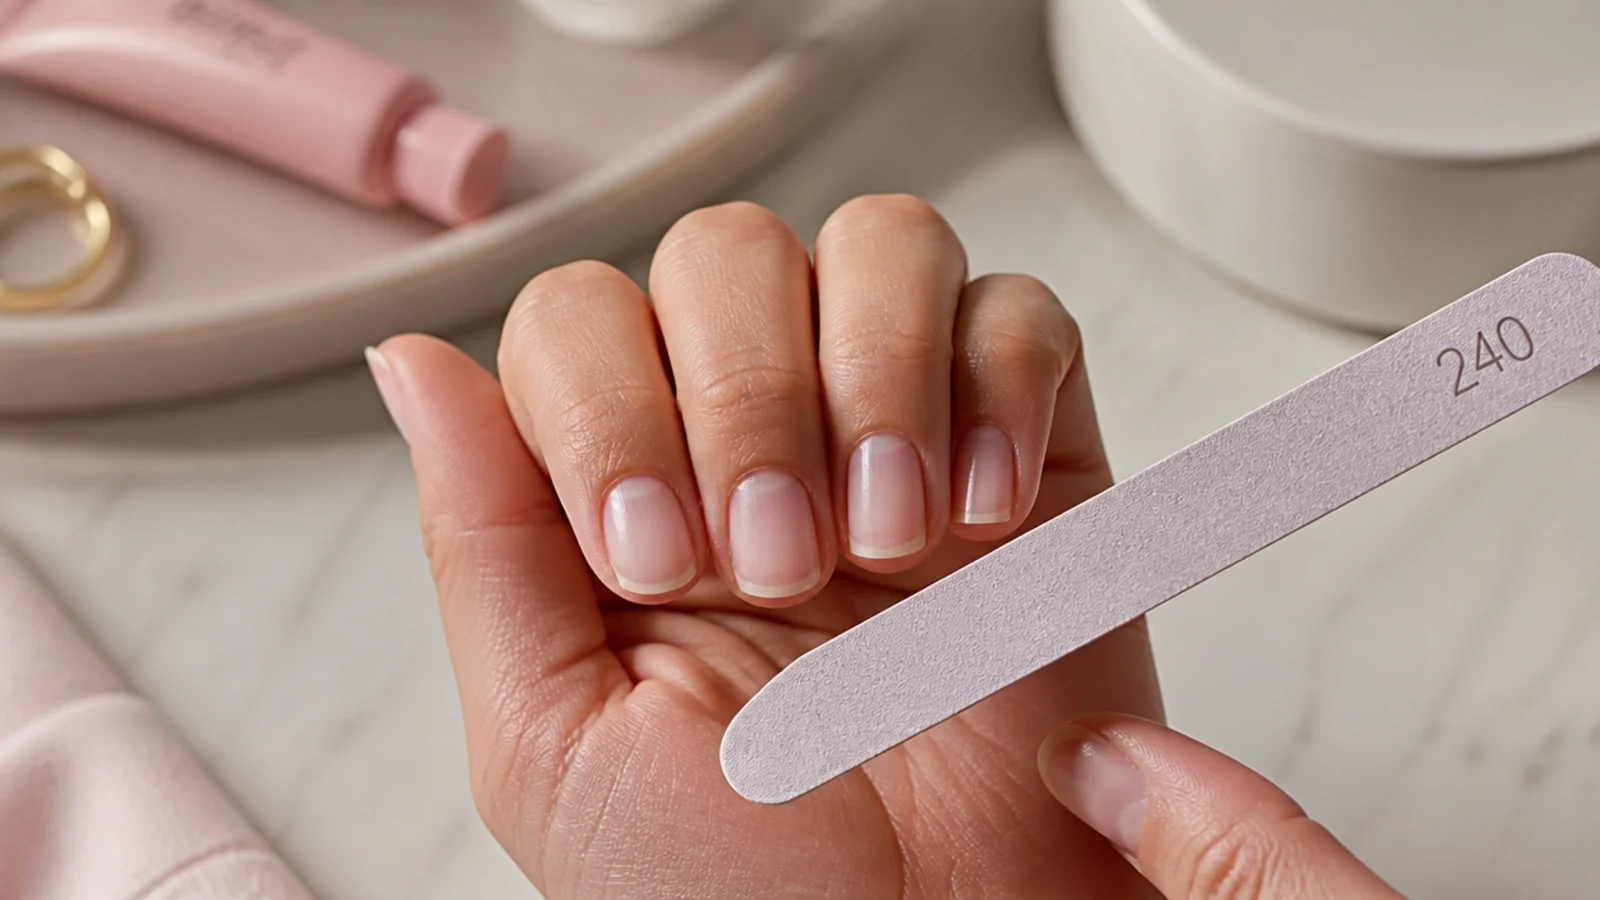
Take off old color with acetone, then file dry with a 240 grit file, moving from the corners in toward the center in one direction only. Short round or squoval reads cleanest under a neutral, which is the same logic behind short classy nails that look expensive. Push the cuticle back with a wood stick at a low angle, then take a fine buffer and touch only the visible ridges, four or five light passes. A neutral sits close to skin, so any ridge left behind reads as a streak once the color goes on.
Common mistake: Buffing the whole plate shiny thins it and makes polish grip unevenly, which shows as patchiness.
Pro tip: Prep dry. Soaking swells the plate, and polish applied to a swollen nail lifts as it shrinks back.
2. Wipe the Plate With 70 Percent Alcohol
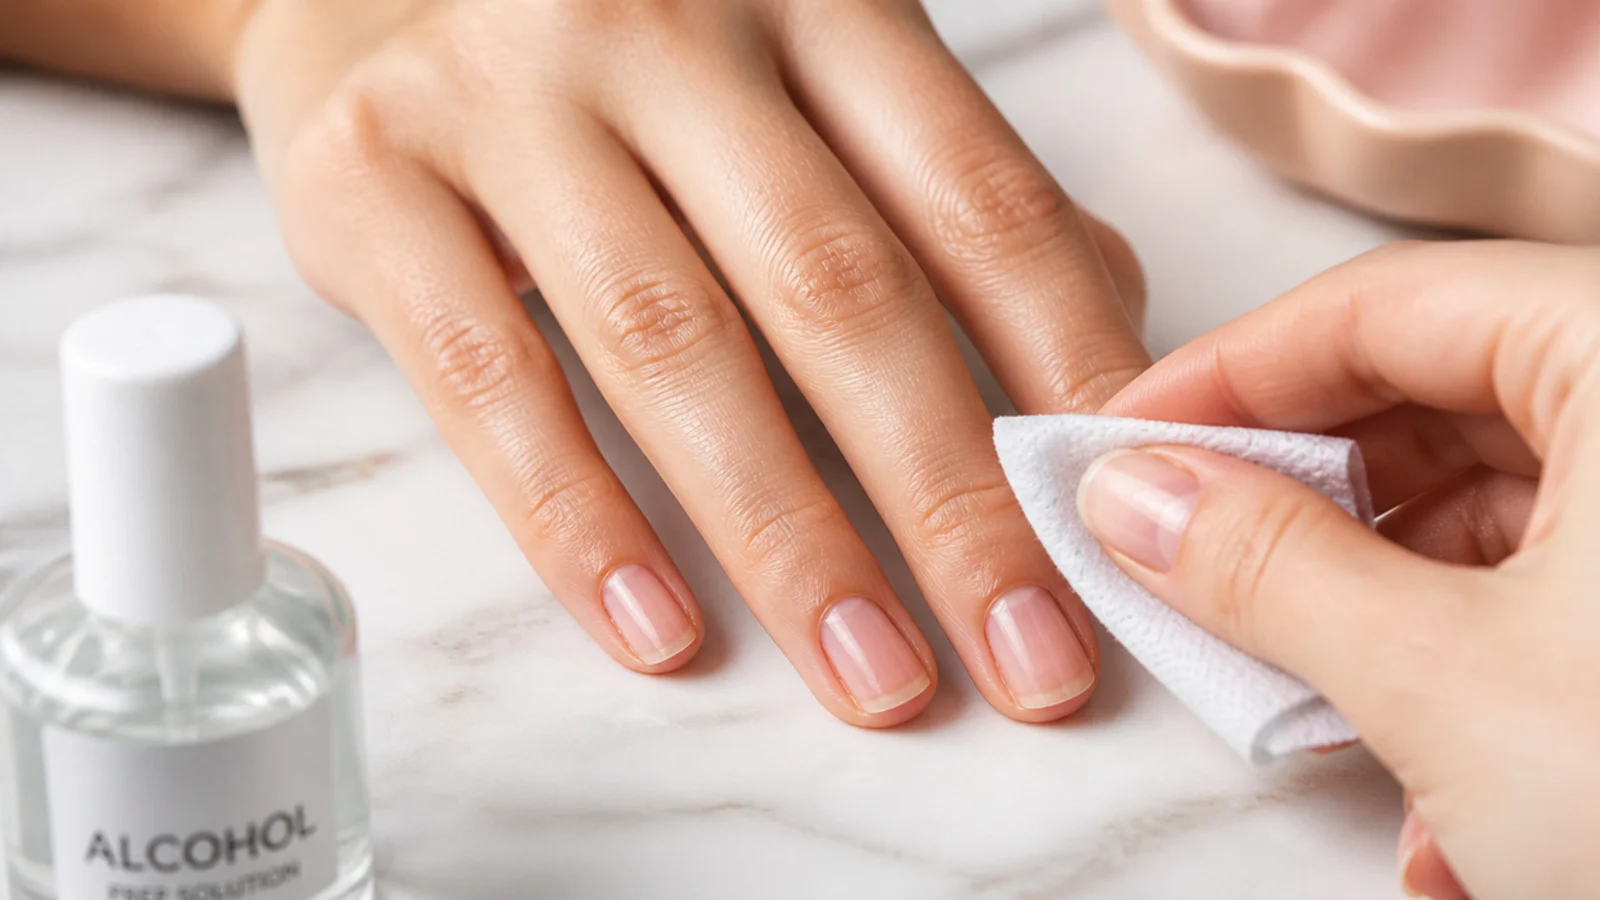
Saturate a lint-free wipe with 70 percent isopropyl alcohol and scrub each nail, including the sidewalls and under the free edge. This is the single most skipped step and the reason most home manicures peel off in one piece by day two. Your nails carry natural oil plus whatever hand cream and file dust is sitting on them, and polish cannot bond through any of it. Let the alcohol flash off for about 20 seconds, then do not touch your face, your hair or your phone before the base coat goes down.
Common mistake: Using an oily polish remover instead of alcohol leaves a film that guarantees lifting at the edges.
Pro tip: No alcohol on hand? A second acetone wipe works. Micellar water and soap both leave residue.
3. Apply One Thin Base Coat and Cap the Edge
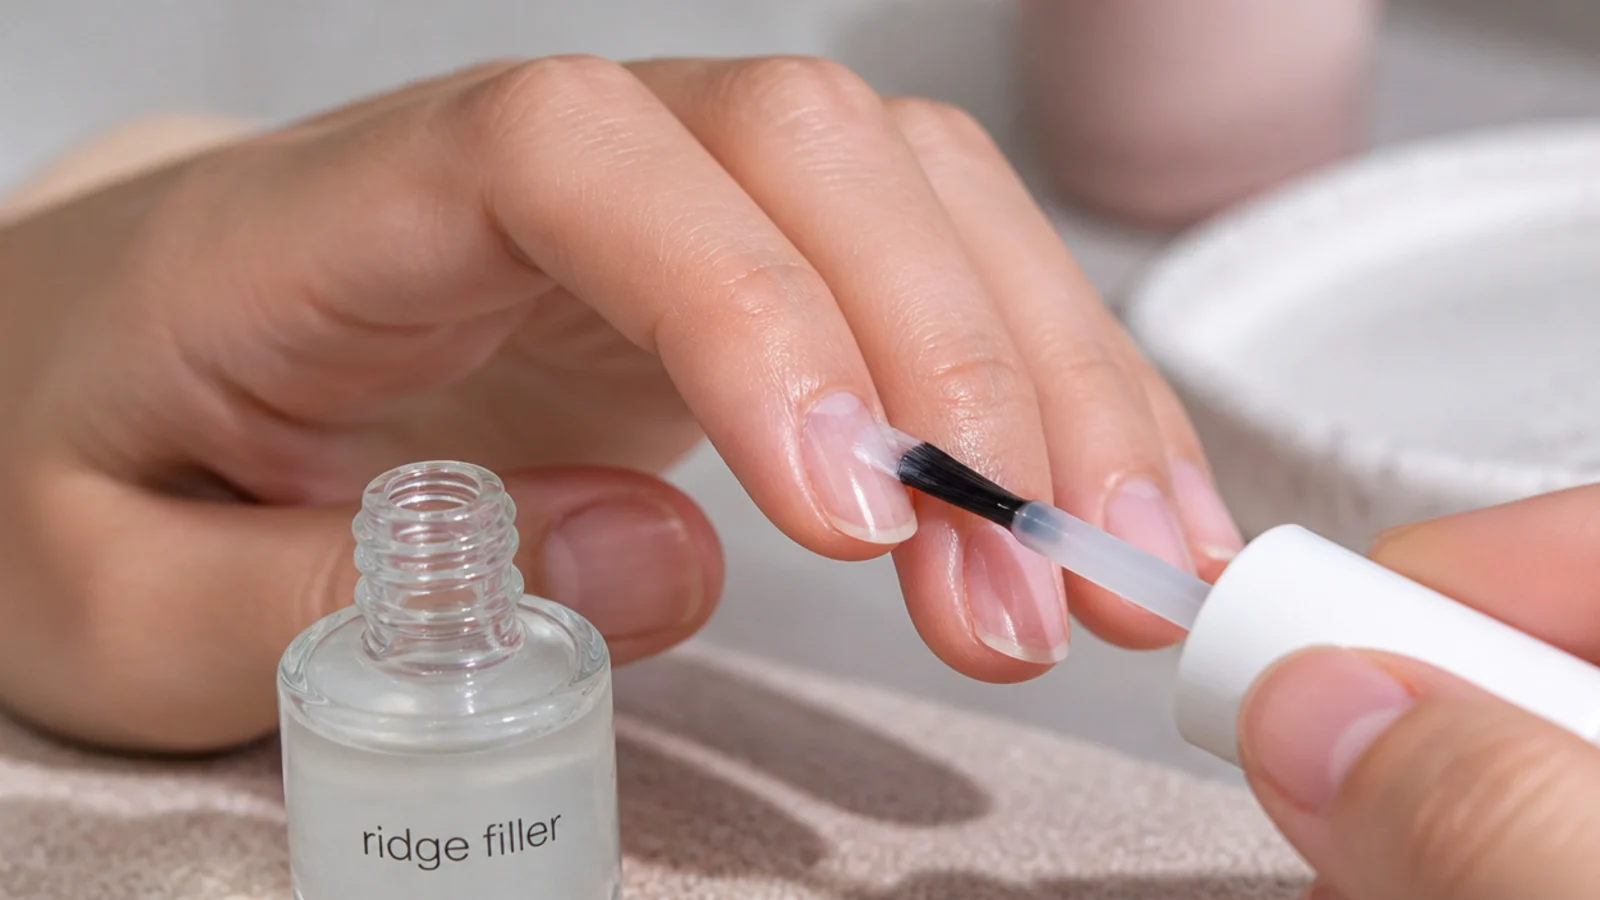
Yes, you need a base coat, and one thin layer is enough. It gives the color something to grip, stops beige and mocha pigments from staining the plate yellow, and evens out texture so a sheer shade lays flat. Pick a ridge-filling base if your nails are lined, or a rubber base if they flex and chip. Run the brush down the center, then each side, then swipe the brush tip along the free edge to cap it. Let it set for a full 2 minutes before color.
Common mistake: Skipping base coat on a light neutral is how you end up with a yellow stain the color cannot hide.
Pro tip: Cap the free edge on every layer, base through top. It is the difference between day 3 and day 6.
4. Build the Color in Two or Three Ultra-Thin Coats
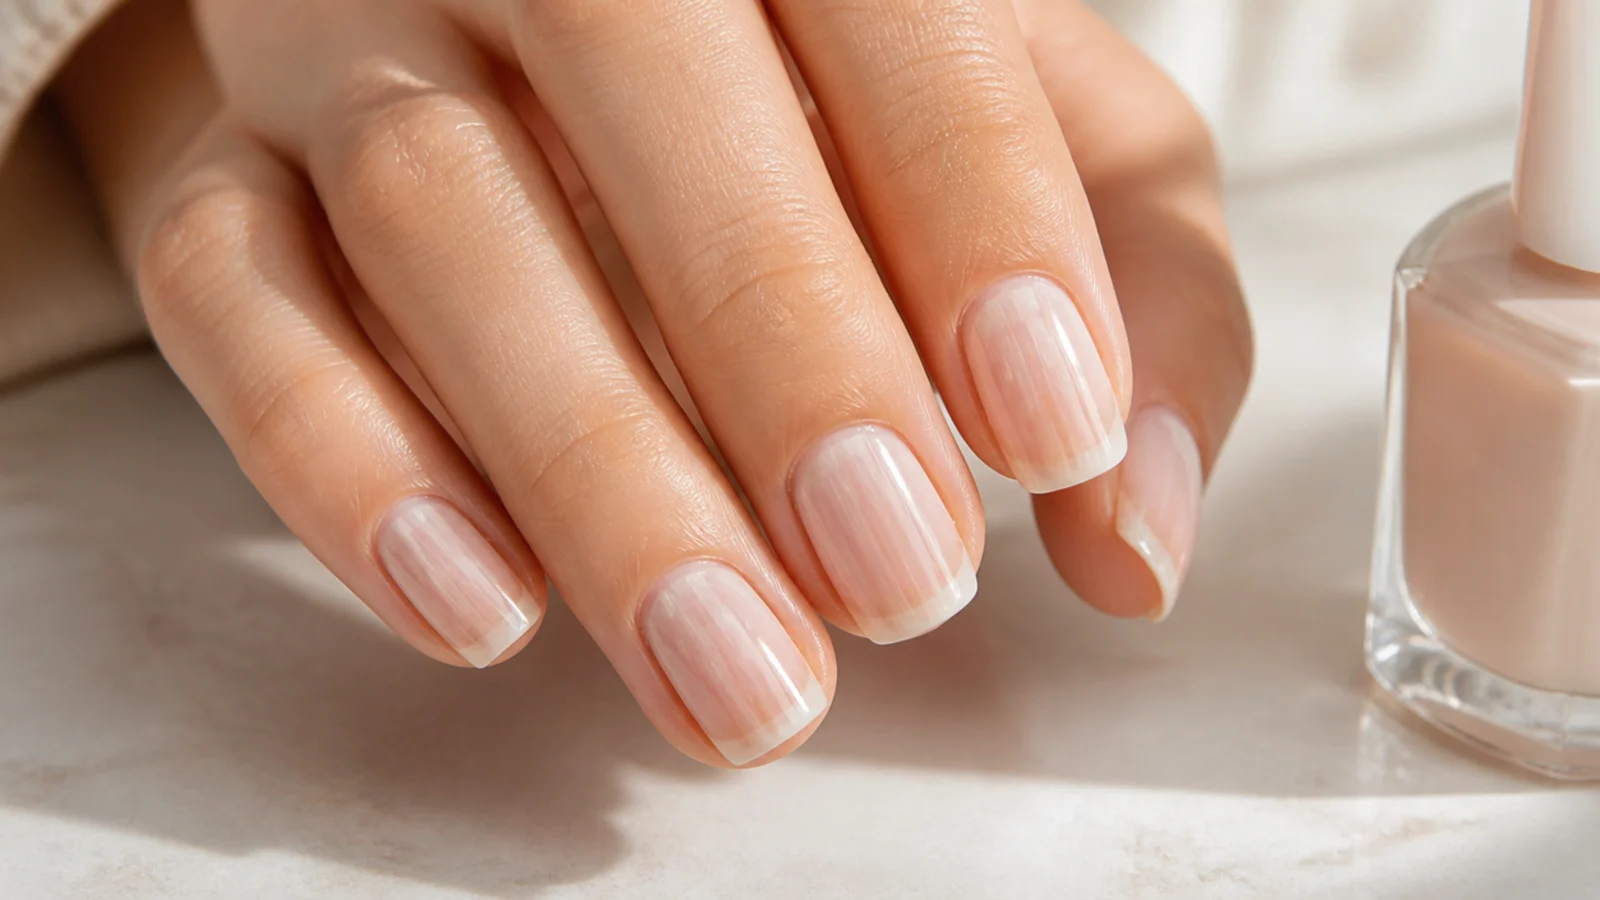
Wipe most of the polish off the brush against the bottle neck so only one side is loaded. Place the brush a hair away from the cuticle, push it back gently until the polish touches the skin line, then pull straight to the tip. Three strokes per nail: center, left, right. The first coat should look thin and uneven, and that is correct. Wait 2 minutes, add a second, wait again, add a third only if the shade still looks patchy. Cap the edge each time.
Common mistake: One thick coat to save time. It stays soft underneath, dents on the sheet, and bubbles as it cures.
Pro tip: Never shake the bottle. Roll it between your palms; shaking whips air in and that air becomes bubbles.
5. Use the Push-Back Trick for a Sheer Milky Finish
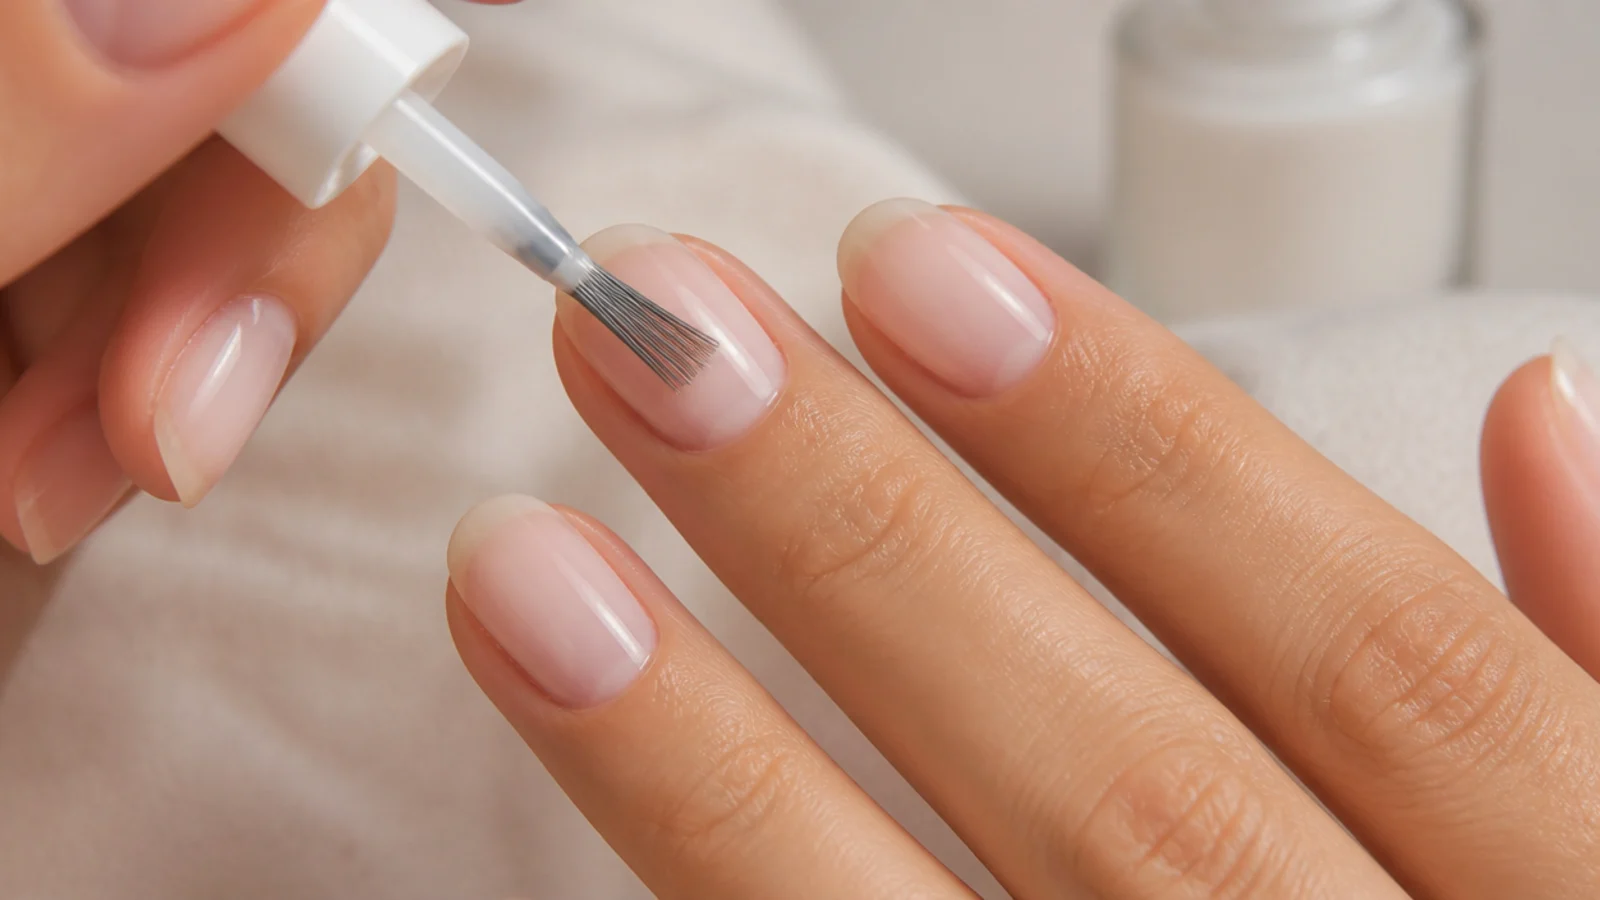
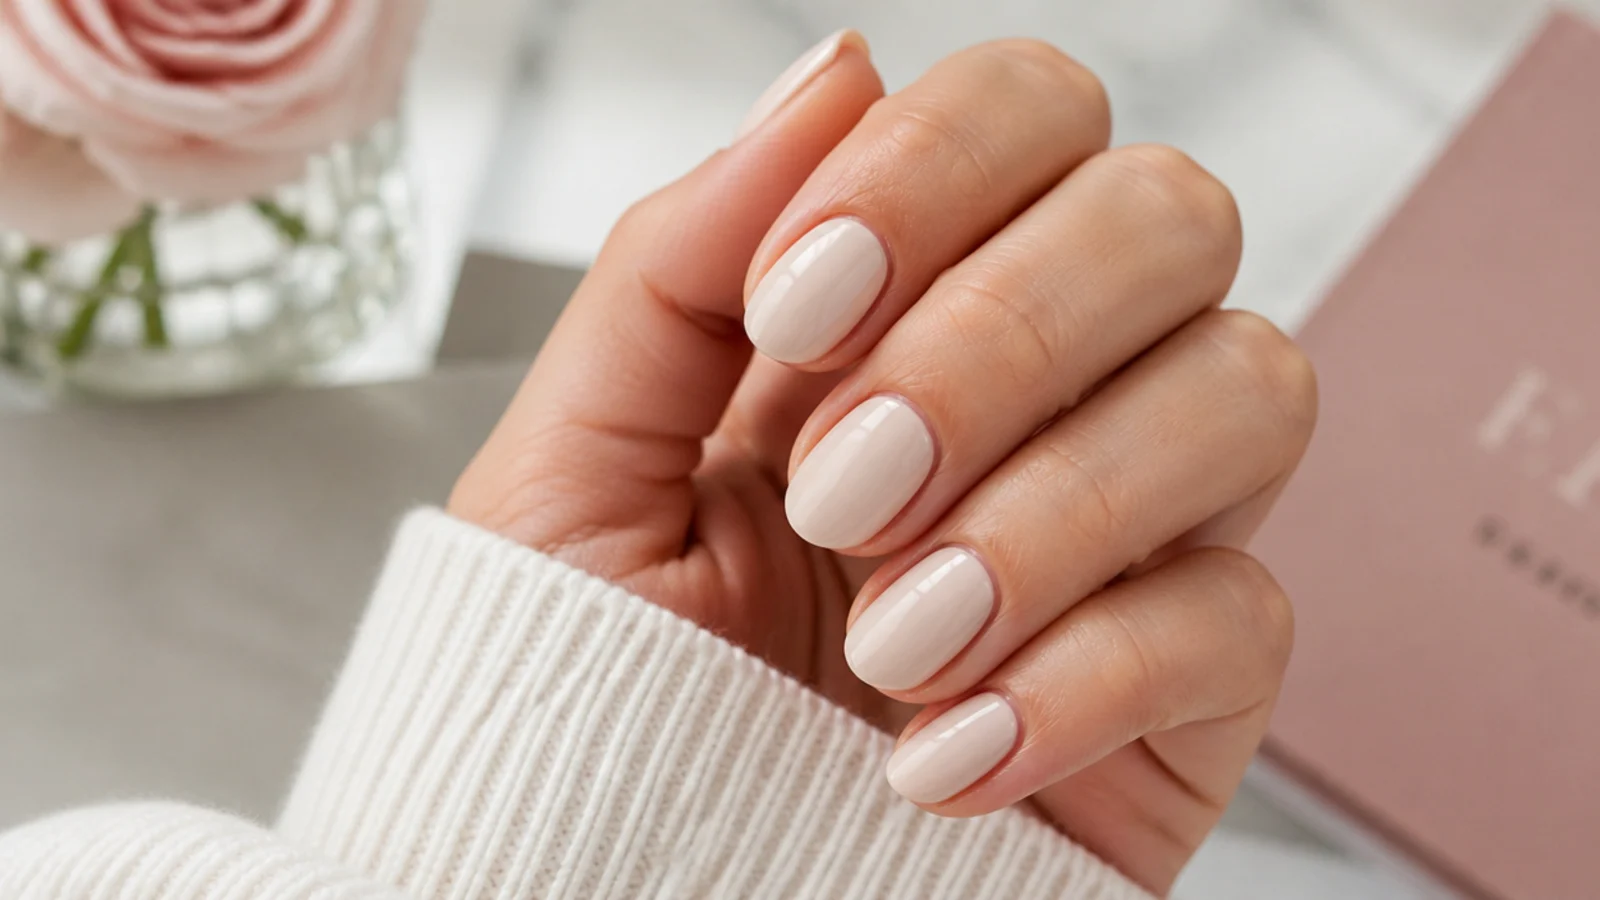
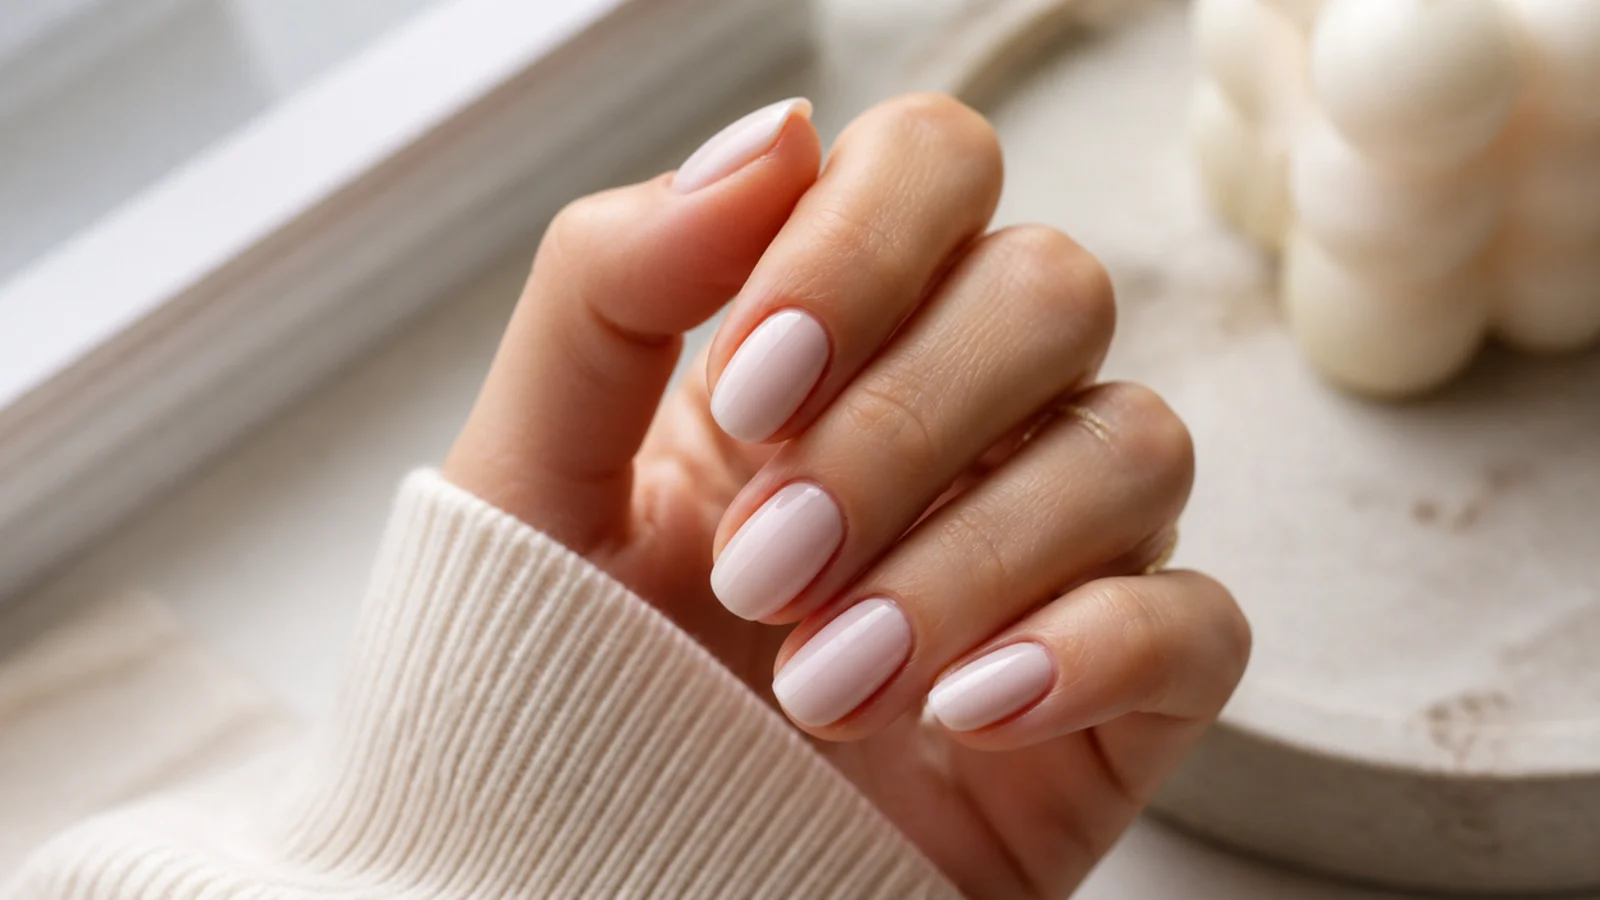
Sheer milky shades like OPI Bubble Bath and OPI Funny Bunny streak because people treat them like opaque polish. Load only the tip of the brush, set it down in the middle of the nail, then push the bead back toward the cuticle and press slightly to fan the color thin before pulling to the tip. The pressure spreads pigment instead of dragging it. Two of these coats give the translucent glow behind soap nails and the softer natural soap nail finish, without any milky buildup at the sidewalls.
Common mistake: Going back over a half-dry sheer coat to fix a gap. It lifts the layer under it and leaves a bald stripe.
Pro tip: Fix a thin patch on the next coat, never the current one. Sheer polish self-levels more than you think.
6. Top Coat, Then Clean the Cuticle Line With a Flat Brush
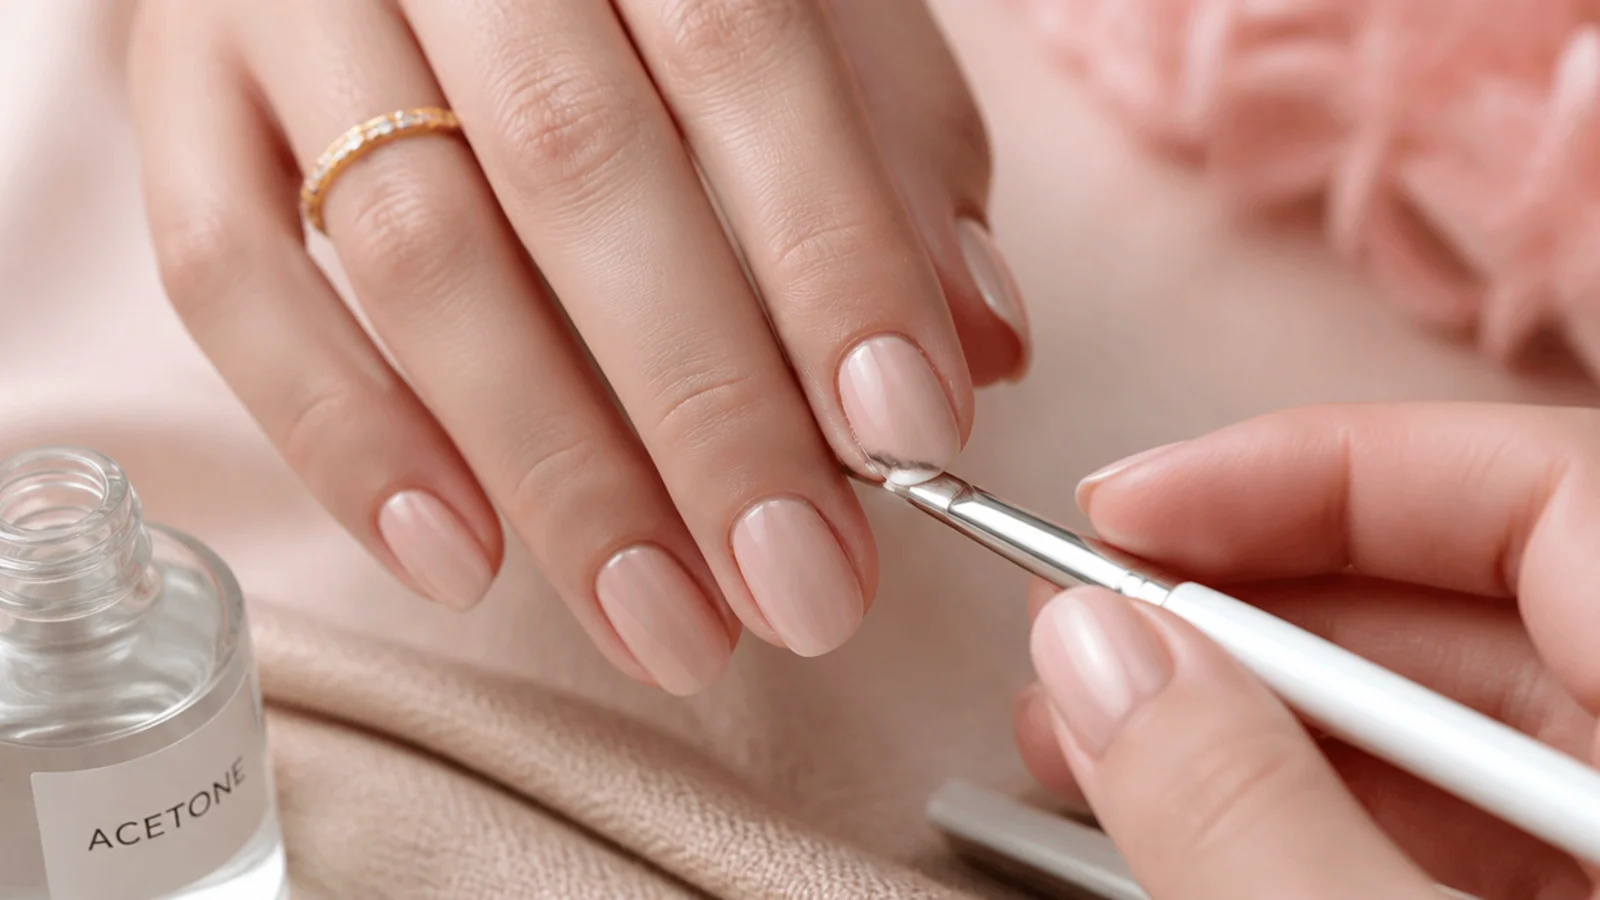
Wait 3 minutes after your last color coat, then float a generous top coat over the surface without pressing, and cap the free edge one more time. While the top coat is still wet, dip a flat synthetic brush in acetone, blot it almost dry, and trace the curve of the cuticle and both sidewalls. That crisp margin of bare skin is the whole reason salon work reads expensive, exactly as it does on a white French tip. Finish with cuticle oil after 10 minutes.
Common mistake: Cleaning up after everything has dried. Once cured, the polish chips instead of wiping away cleanly.
Pro tip: Oil the cuticles only after the surface is dry to the touch, or you push oil under the still-soft edge.
Tools, Time and What You Actually Need
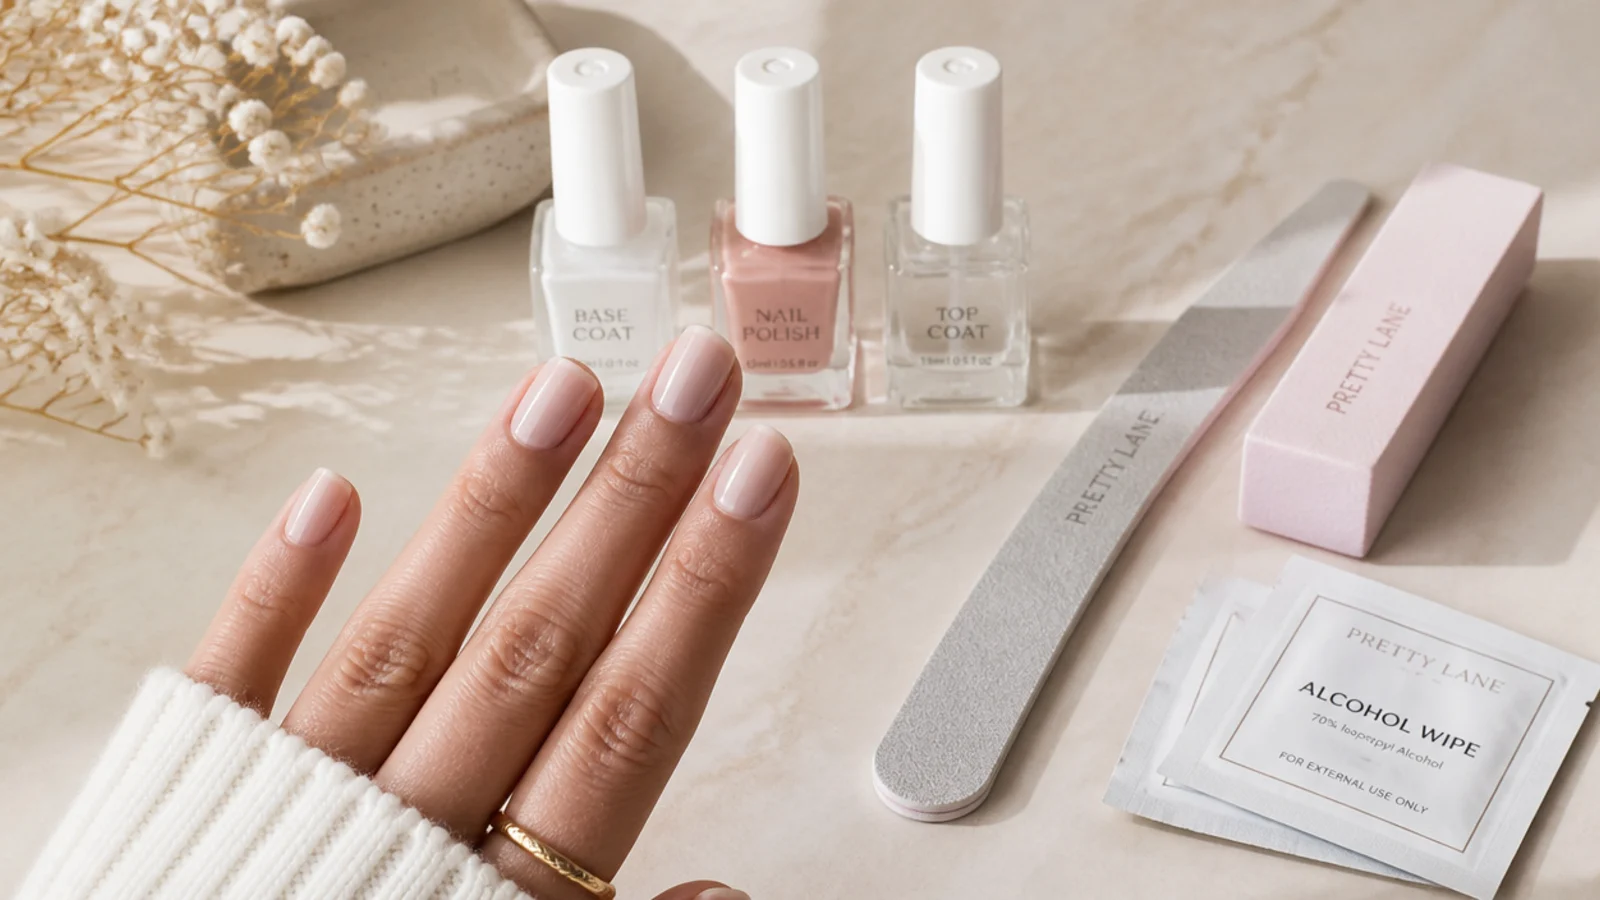
The list is short. A 240 grit file, a fine buffer, a wood cuticle pusher, 70 percent isopropyl alcohol, lint-free wipes, a base coat, your neutral, a top coat, a flat clean-up brush and cuticle oil. That whole kit runs roughly 40 to 60 dollars once, and the polishes are the only part you replace. Skip the electric buffer and skip cuticle nippers, because cutting live cuticle is the fastest route to hangnails and infection. Budget 35 to 45 minutes for a polish manicure including dry time, or 50 to 60 for gel because each layer needs 30 to 60 seconds under the lamp. For gel add a UV or LED lamp, a no-wipe top coat and lint-free wipes for the sticky layer. Do one hand completely before you start the other so you always have a usable set of fingers. If you want the whole thing under fifteen minutes on a weeknight, the routines in simple classy nails for everyday wear strip it down to base, one coat and top.
How to Pick a Neutral for Your Undertone
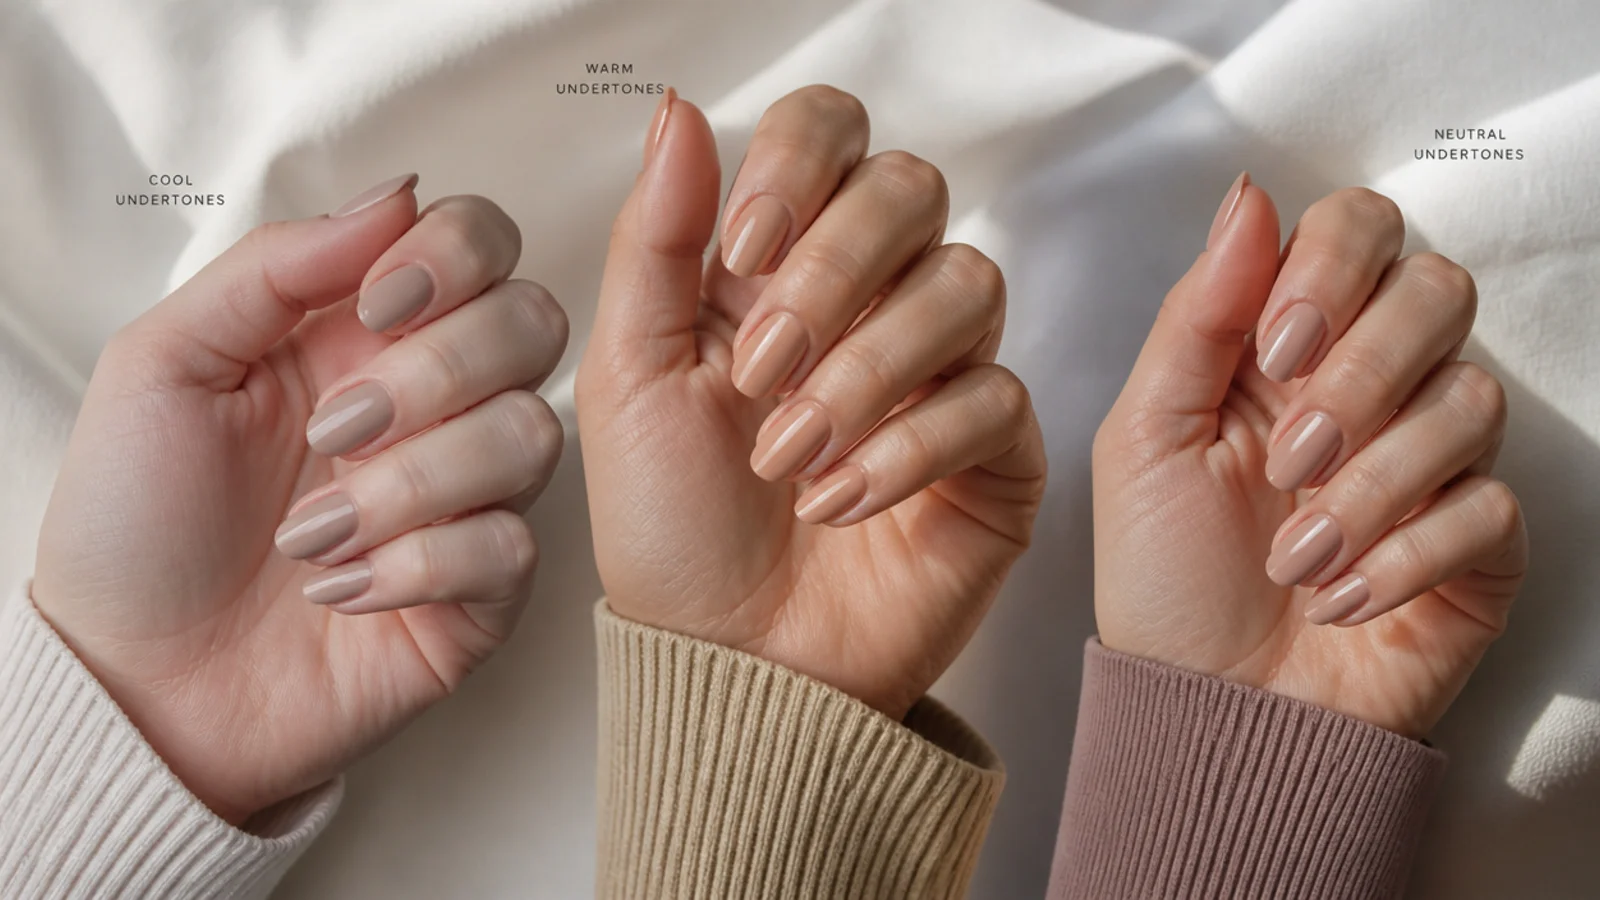
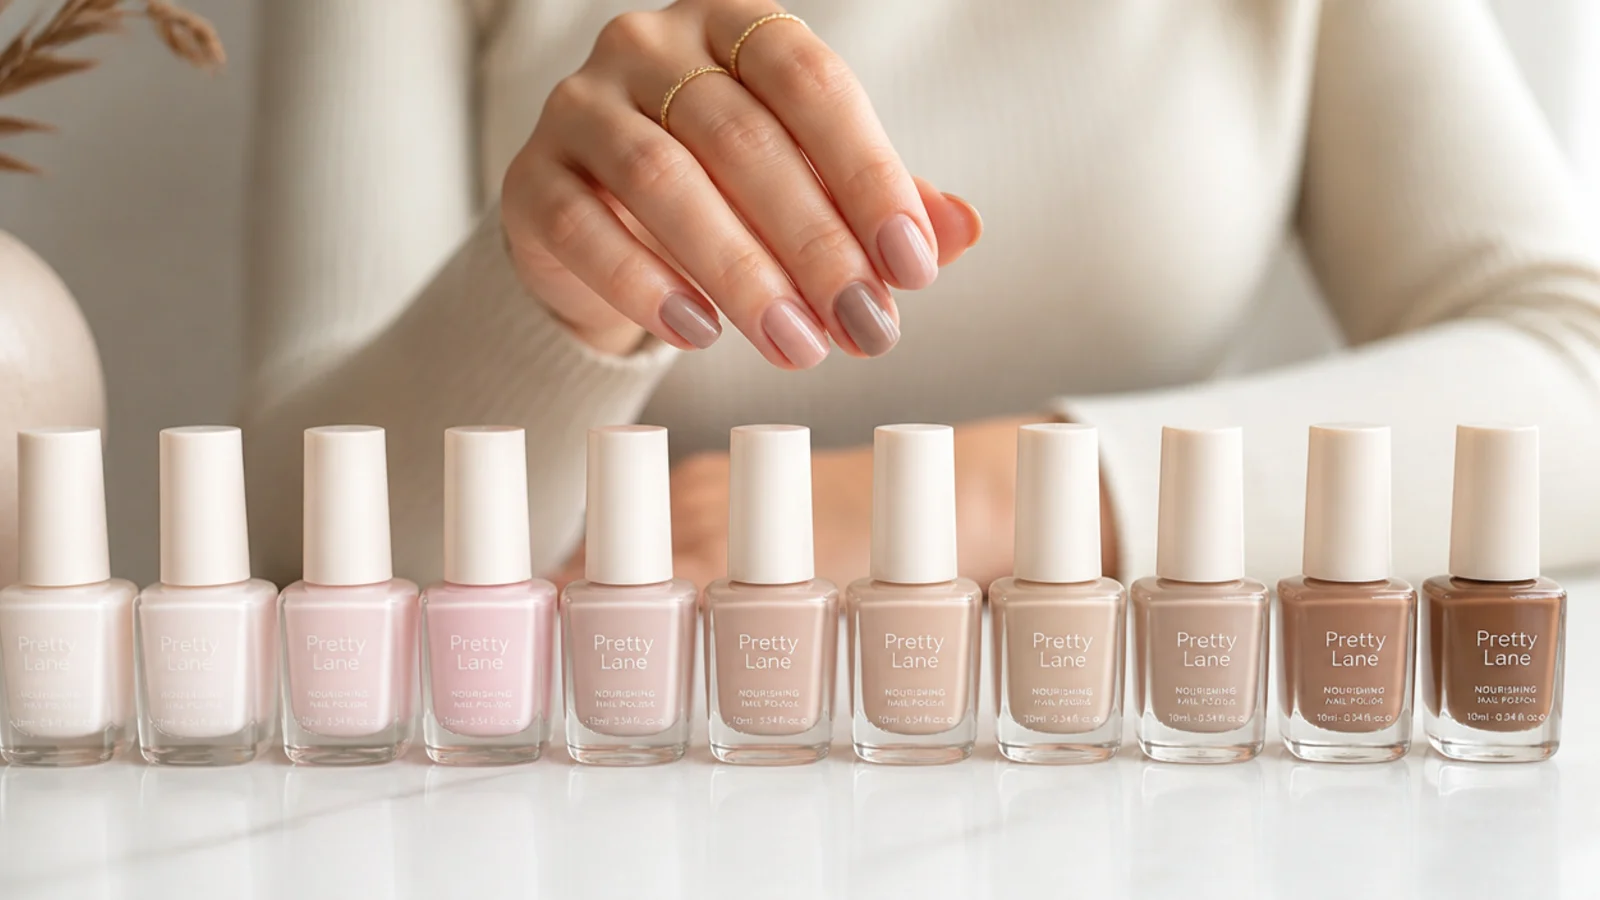
Look at the veins on the inside of your wrist in daylight. Blue or purple means a cool undertone, green means warm, and a mix of both means neutral. Cool undertones look best in pink-leaning and gray-leaning neutrals, so think Essie Chinchilly for a soft gray or a sheer cool pink like OPI Bubble Bath. Warm undertones sit better in beige, caramel and mocha, which is why latte-to-espresso browns took over in 2026. Neutral undertones can wear almost anything, and truly balanced sheers like DND Perfect Nude read clean on most skin. The one rule that holds across all three: pick a shade a step or two away from your exact skin color rather than an exact match, because a perfect match washes the hand out and makes fingers look shorter. If you want the shade-by-shade breakdown with coats to opacity and streak risk, the neutral nail polishes compared table does that work, and nail colors for short nails by skin tone covers the same logic for shorter beds.
Troubleshooting Bubbles, Peeling, Streaks and Flooded Cuticles
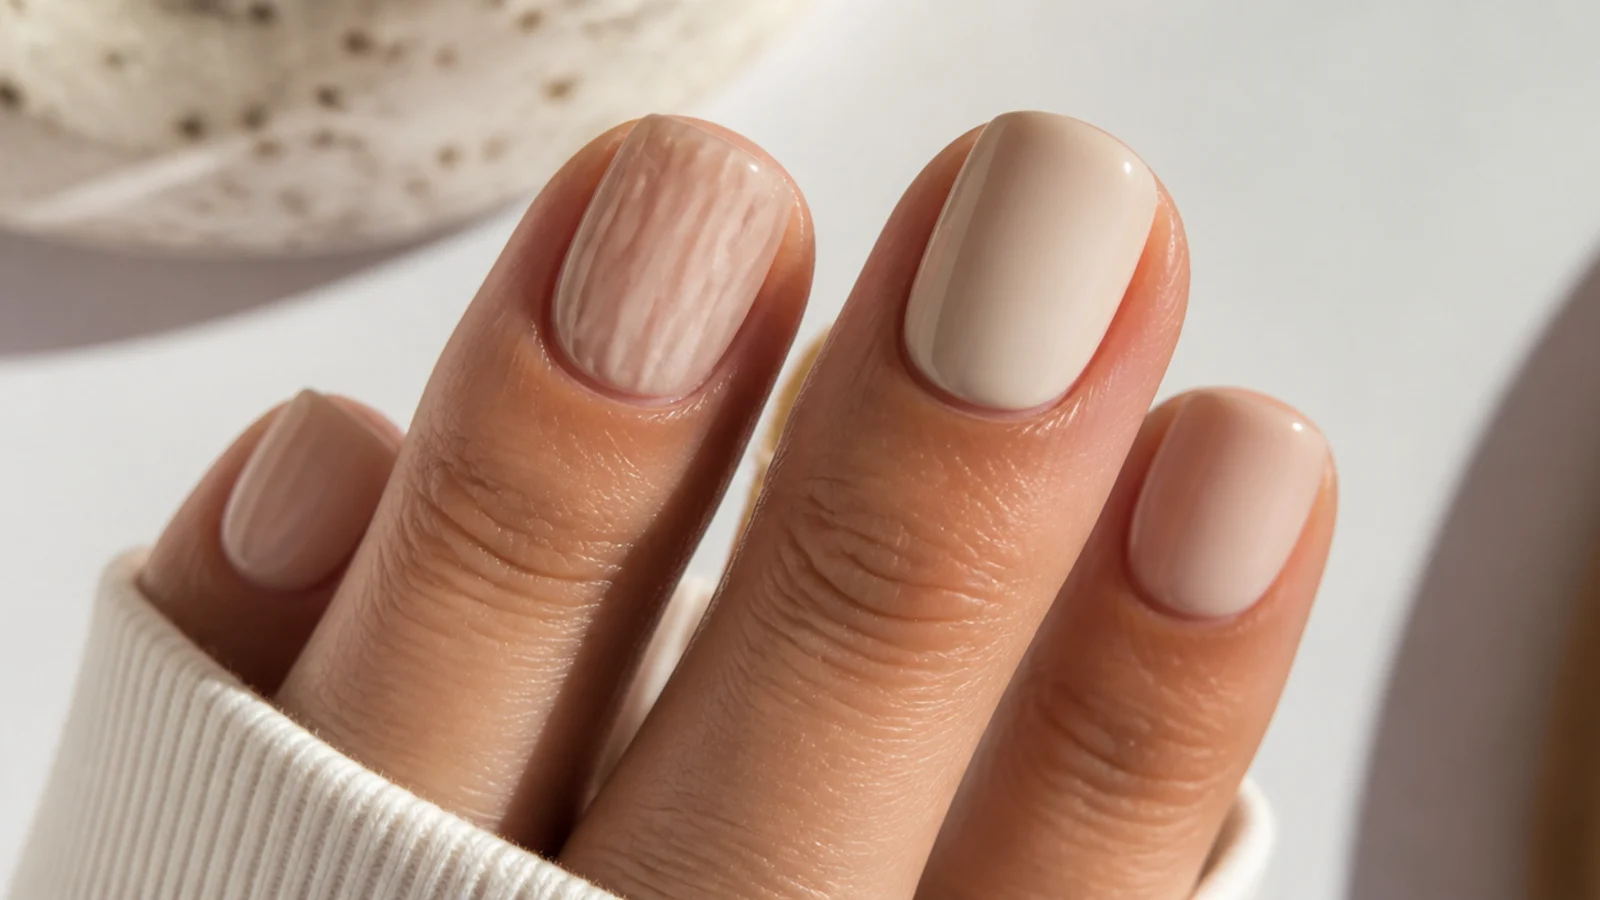
Four failures cover nearly everything that goes wrong with a neutral at home. Bubbling means air got trapped: you shook the bottle, applied a coat too thick, or painted in a hot room or right after a bath, so roll the bottle instead, halve your coat thickness, and cool your hands first. Peeling in sheets on day two means the plate still had oil on it, so go back to the alcohol wipe. Streaky sheer color means you dragged pigment instead of pressing it out, which the push-back brush move in step five fixes. Flooded cuticles mean too much polish on the brush and a start point too close to the skin, so wipe one side of the brush clean and begin a hair away from the cuticle, then clean the margin with acetone on a flat brush before it dries. Dents an hour later mean the layers underneath never dried, and only time fixes that. Persistent lifting or splitting means stop and see a tech rather than adding more product.
Regular Polish or Gel for a Neutral Manicure at Home
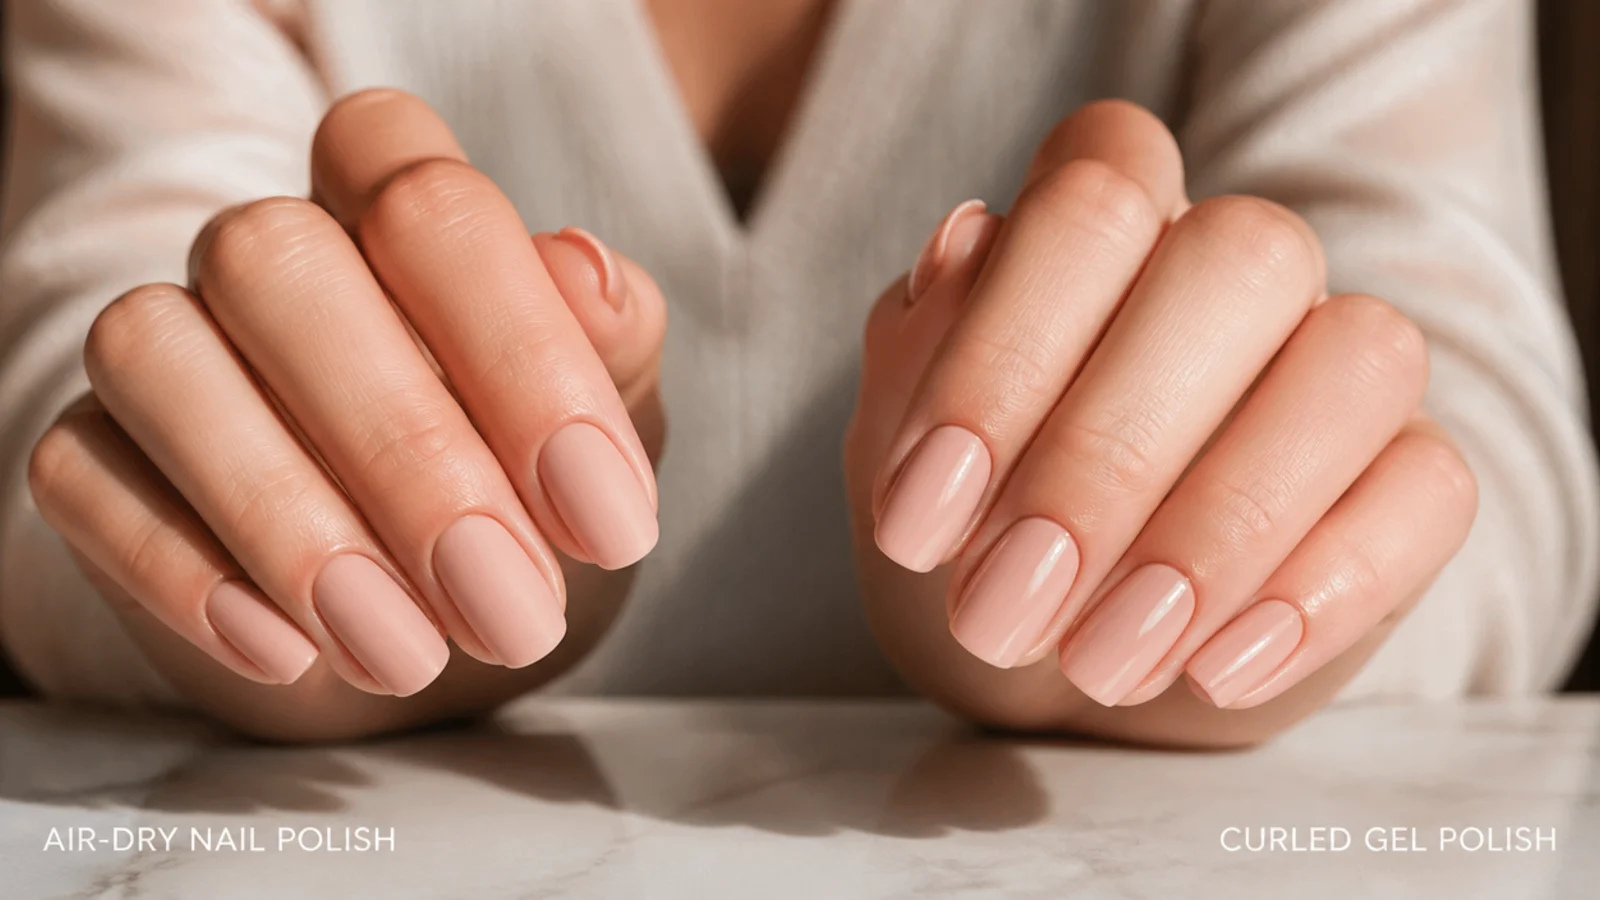
Regular polish is the honest starting point for neutrals. It costs less, needs no lamp, forgives mistakes because acetone takes it straight off, and it dries to a slightly softer shine that suits milky and sheer shades. The trade-off is wear: 5 to 7 days before the free edge starts going. Gel doubles or triples that at 2 to 3 weeks and cures hard in seconds, but the layers are thinner and less forgiving, so a sheer milky gel shows every uneven patch, and removal takes 10 to 15 minutes of acetone soak per hand. Never peel gel off, because it takes plate layers with it and leaves you too thin to prep properly next time. Neutrals do have one built-in advantage over both bright and dark colors: a chip in beige or greige is nearly invisible from arm's length, so a polish manicure that would look ruined in scarlet still passes at day six. That forgiveness is a large part of why the ideas in classy nails in neutral, elegant tones work so well as everyday wear.
Making a Neutral Manicure Last Longer
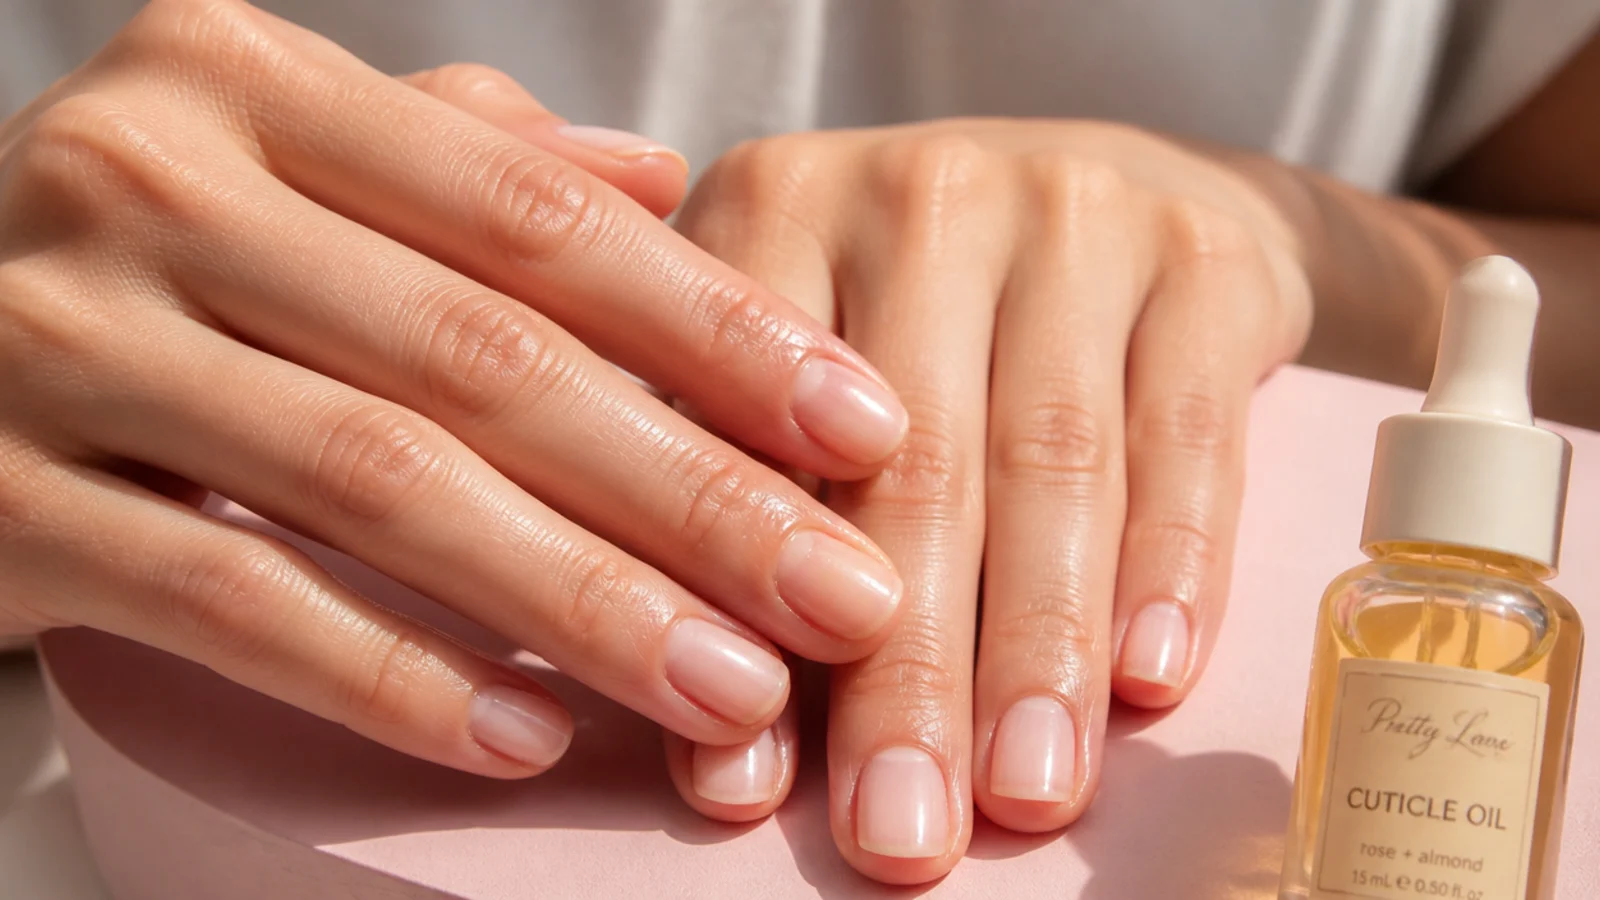
Three habits add days. First, cap the free edge on every layer, because chips almost always start at the tip and travel back. Second, refresh the top coat on day three: one thin float over the whole nail seals any micro-wear and adds shine back, and it takes four minutes for all ten. Third, oil twice a day. Flexible, hydrated nails bend instead of snapping, and dry plates lift polish at the edges. Beyond that, wear gloves for dishes and cleaning, because hot water and detergent are what actually break the bond, and open cans with a spoon rather than your thumbnail. Avoid soaking your hands right before you paint, since a swollen plate shrinks back and cracks the color. If you do get a single chip, file the edge smooth, dab color just on the chipped area, feather it out, and top coat the whole nail rather than redoing everything. The same upkeep applies to a nude French tip and to any matte nude, except matte needs its own matte top coat and never a glossy refresh.
Adding a Classy Accent Without Losing the Neutral
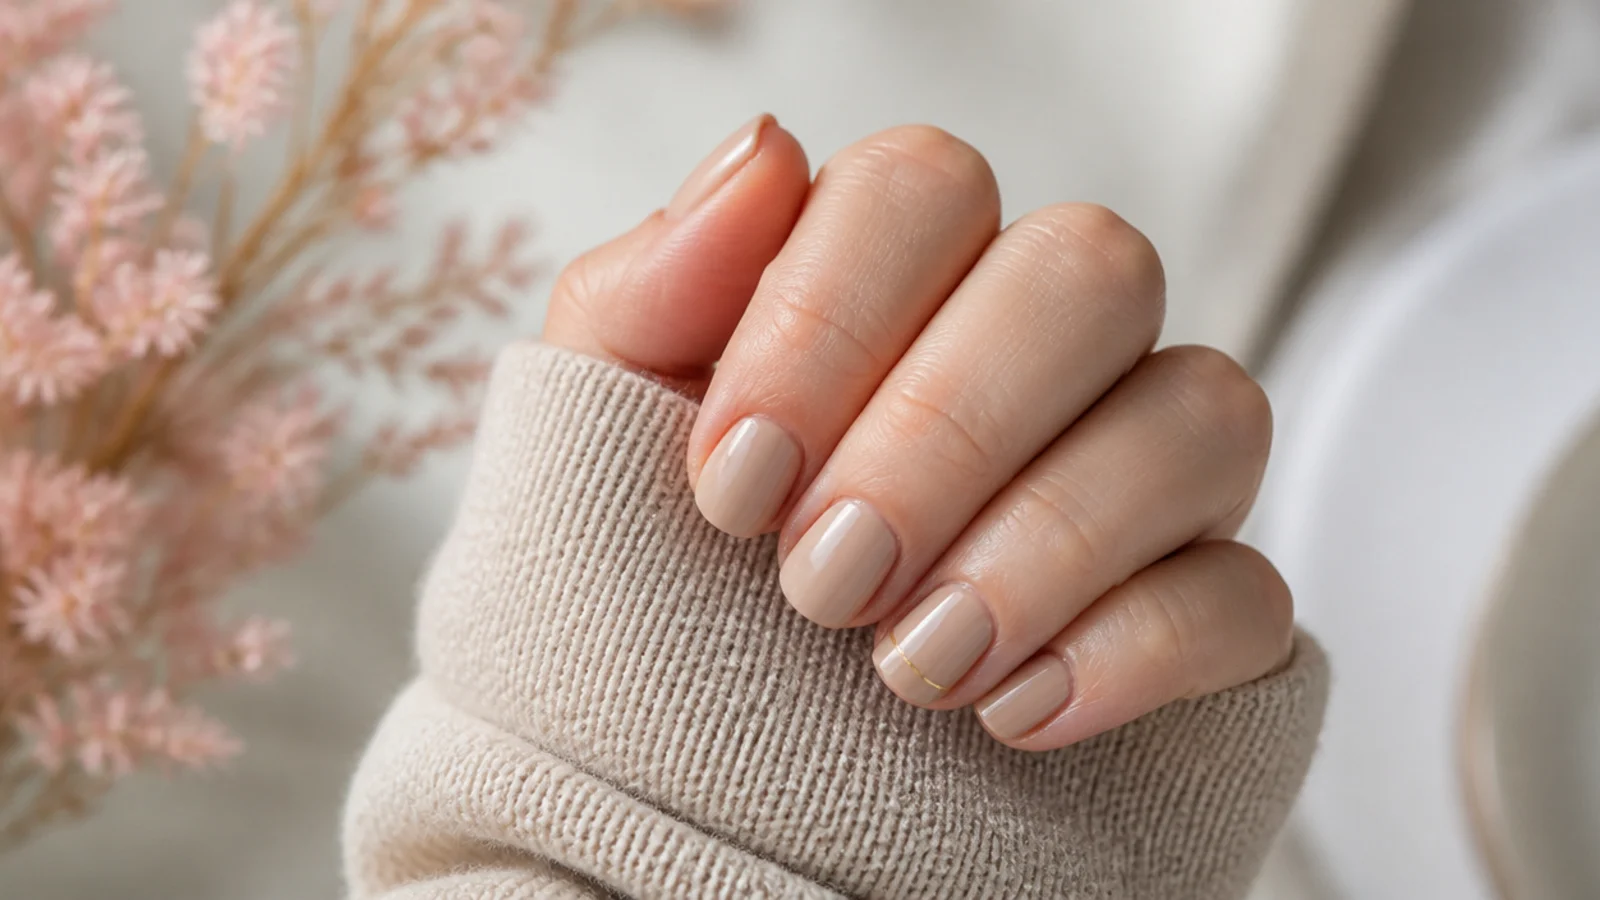
A plain neutral is the point, but three accents lift it without extra skill. A micro French is the easiest: after your color coats, run a striping brush along the very edge of the tip in white or gold, no more than a millimeter deep, then top coat. It reads as quiet luxury precisely because it is barely there. Second, a chrome or pearl shift over a milky base, tapped on with a silicone applicator into a cured no-wipe gel top coat, gives the glazed effect behind milky white chrome nails and pearl white chrome nails. Third, one single accent nail in a shade two steps deeper than the rest, mocha against beige for instance, keeps the set neutral while adding depth. Whatever you add, keep it to one idea per hand. The reason the sets in classy almond nails for a polished look read expensive is restraint, not detail count, and the same holds for elegant neutral nails for work.
Frequently Asked Questions
How do you do neutral nails at home step by step?
File dry to a soft squoval, push cuticles back and buff only the ridges. Wipe every nail with 70 percent alcohol, then apply one thin base coat and cap the free edge. Build the color in two or three ultra-thin coats with 2 minutes between each, float a top coat over, and clean the cuticle line with acetone on a flat brush.
Do I really need a base coat for nude polish?
Yes, and more so with neutrals than with anything else. Base coat gives the color something to grip so it does not peel off in a sheet, and it blocks the yellow staining that beige, caramel and mocha pigments leave on a bare plate. It also fills ridges, which matters because sheer nudes sit close to the skin and show every line underneath.
Why does my nail polish bubble?
Air got trapped in the layer. The three causes are shaking the bottle instead of rolling it between your palms, applying coats too thick so the surface skins over while the underside is still wet, and painting in a hot room or straight after a shower. Halve your coat thickness, roll the bottle, and let hands cool down first.
How do I get a sheer milky finish without streaks?
Load only the tip of the brush, set it down in the middle of the nail, push the bead back toward the cuticle with light pressure, then pull to the tip. Pressing spreads the pigment rather than dragging it. Use two coats and never go back over a half-dry one. Correct any thin patch on the following coat instead.
How many coats does a neutral polish need?
Two thin coats for most creams and three for sheer milky shades. If you need four you are either using a formula that is too sheer for full coverage or your coats are so thin they are not building. Thin coats dry faster and harder than one thick coat, so three thin layers still beat two heavy ones on wear time.
Why does my polish peel off in one piece?
Oil on the nail plate, almost every time. Natural oils, hand cream and filing dust all block the bond, and an oily polish remover leaves a film behind. Wipe each nail with 70 percent isopropyl alcohol right before the base coat, get the sidewalls and under the free edge, and do not touch your face or hair afterward.
How do I get polish off my cuticles?
While the top coat is still wet, dip a flat synthetic brush in acetone, blot it nearly dry against a paper towel, and trace the cuticle curve and both sidewalls. Wet polish wipes away clean; dried polish chips and takes the good edge with it. Reload and blot the brush after every two or three nails.
How long do neutral nails last at home?
Regular polish runs 5 to 7 days before the free edge shows wear, and gel runs 2 to 3 weeks. Neutrals effectively last longer than that suggests, because a chip in beige or greige is barely visible from arm's length. Capping the free edge on every layer and refreshing the top coat on day three adds two or three days.
What is the difference between nude and neutral nails?
Neutral is the whole low-saturation family: milky white, beige, taupe, greige, gray, mocha and sheer pink. Nude is narrower and means the shade that matches your own skin tone, so one person's nude is another person's beige. Every nude is a neutral, but plenty of neutrals like slate gray or espresso are nobody's nude.
Can beginners do neutral nails at home?
Neutrals are one of the friendlier places to start, because there is no line work and no precision edge to keep crisp. The only genuine skill is patience with thin coats. Start with regular polish rather than gel so mistakes wipe off with acetone, and pick a cream formula before you attempt a sheer milky shade, which is the harder finish.
Acetone, gel lamps and cuticle nippers should be used carefully and as directed. Cutting live cuticle, over-buffing the nail plate or peeling gel off can damage your natural nails. If you notice pain, lifting, greenish discoloration or persistent splitting, stop and see a licensed nail technician.
Which neutral & classy nails look are you saving?
If you take one thing from this, make it the alcohol wipe and the thin-coat rule. Cleaning the natural oils off the plate is what keeps polish from peeling in sheets on day two, and keeping every layer thin is what keeps a sheer nude from going streaky and bubbled. Neutrals also hide chips better than any other color family, so a manicure that would look wrecked in bright coral still reads clean at day six. Work one hand at a time, cap the free edge on every layer, and oil your cuticles nightly. Next, pick a shade from the neutral nail polishes compared table, or browse the full neutral and classy nails hub for design ideas.