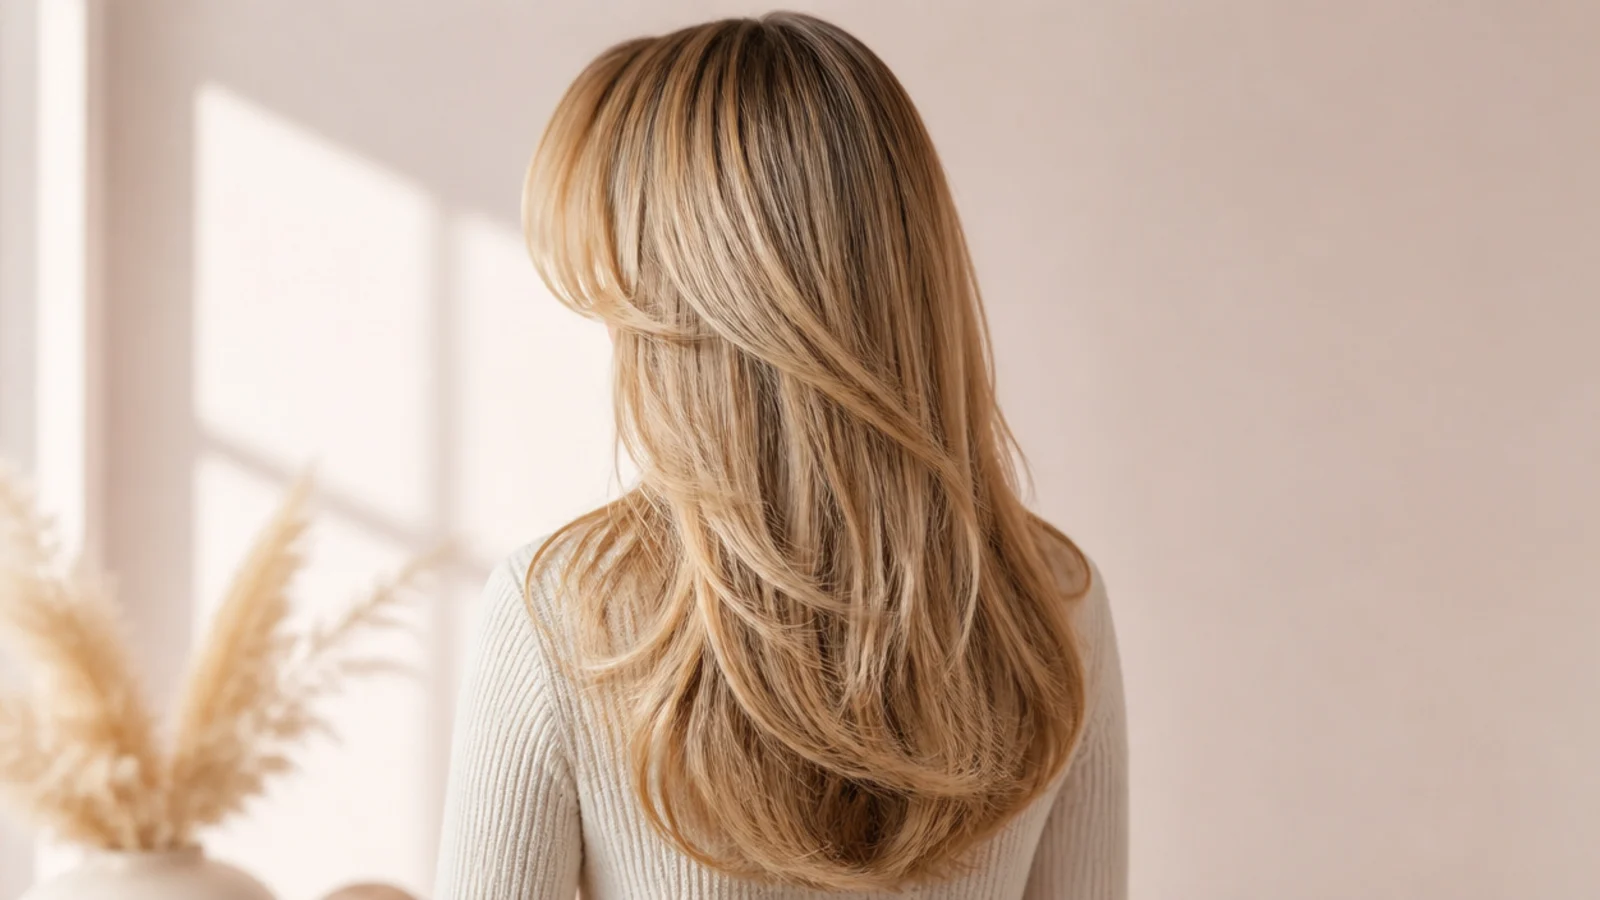
Quick Comparison
| Dryer and Round Brush Blowout | Heatless Overnight Set | |
|---|---|---|
| Active time | 25-35 minutes for long hair | 8 minutes at night, 3 in the morning |
| Kit cost | 40 to 70 dollars for dryer and brush | 10 to 25 dollars for satin rods or a scrunchie |
| Heat damage | Real; needs a heat protectant every time | None |
| Volume at the root | High, from overdirecting the crown | Low to moderate; roots stay flat |
| Finished texture | Bouncy bend, ends turned under | Soft S-wave with looser ends |
| How long it holds | 2-3 days with a dry shampoo refresh | 1-2 days; drops faster in humidity |
| Best hair type | Straight to 2b, any density | Fine, bleached or heat-sensitive hair |
| Skill needed | Intermediate; sectioning takes practice | Beginner; hardest part is wrapping evenly |
| Works on the fringe | Yes, and it is the only reliable method | No; set the fringe separately on a roller |
1. Wash, Then Rough-Dry to 80 Percent Before Any Brush Touches It
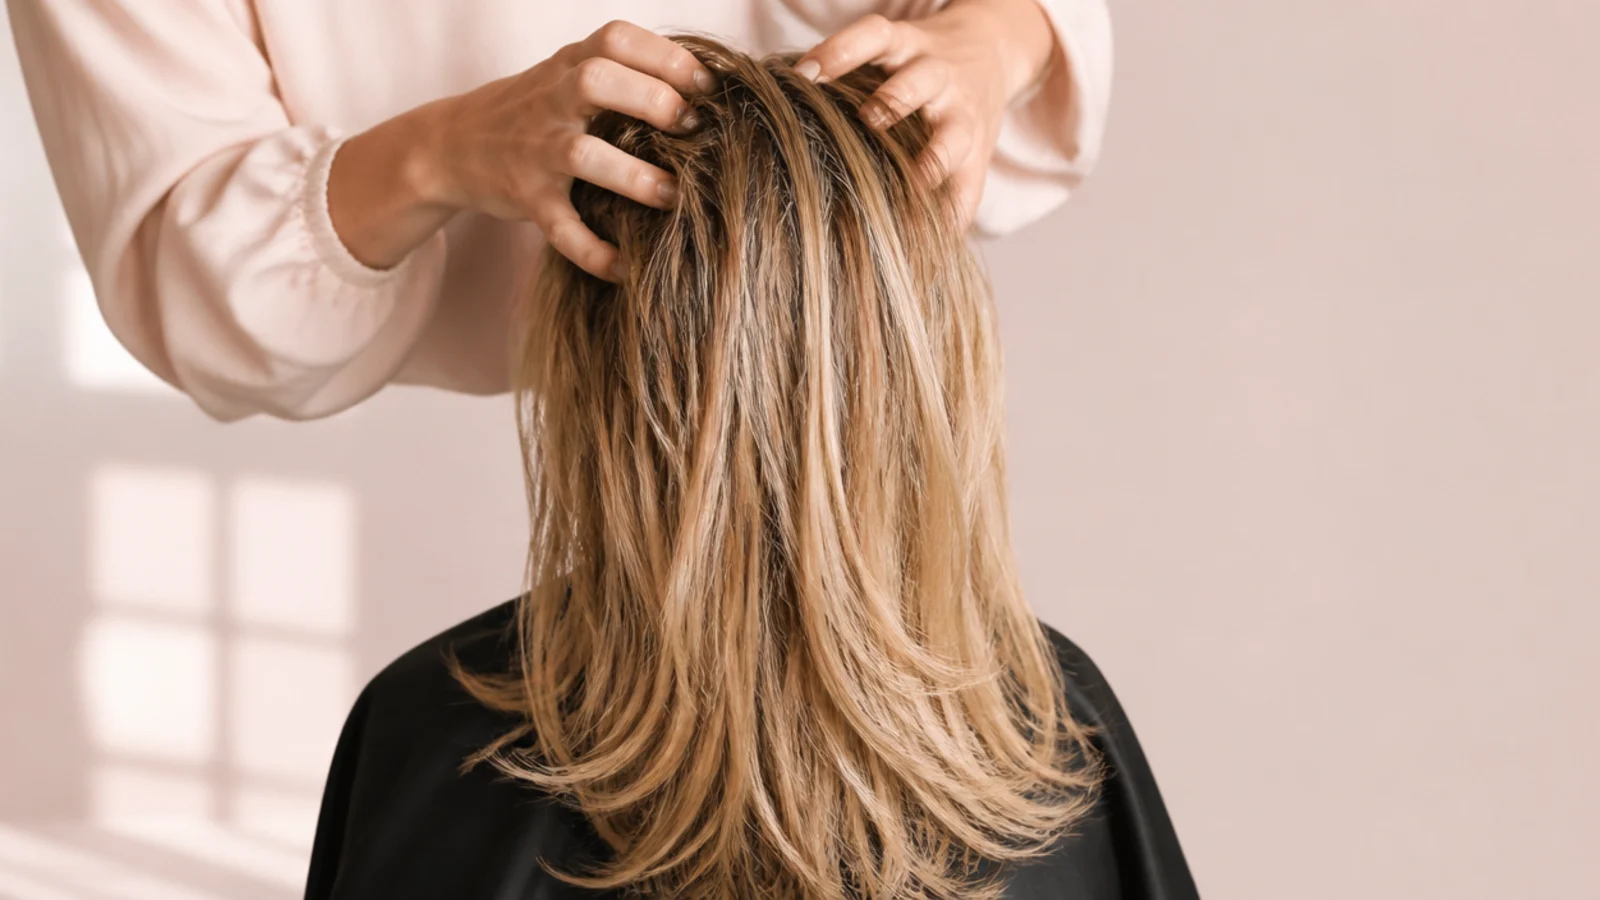
Shampoo, condition mid-lengths only, and towel-blot rather than rub. Work a walnut-sized dollop of root lift mousse through the top two inches at the crown and a pea of cream through the ends, then rough-dry on medium heat with your fingers, flipping your head to lift the roots. Stop at roughly 80 percent dry, when the hair feels cool and barely damp rather than wet. A round brush on soaking hair just steams the cuticle and you will spend fifteen extra minutes going nowhere.
Common mistake: Starting the brush at 50 percent dry, which stretches the hair and kills the bend before it forms.
Pro tip: Point the nozzle down the hair shaft the whole time; upward airflow is where frizz comes from.
2. Split the Hair Into Five Working Sections With Clips
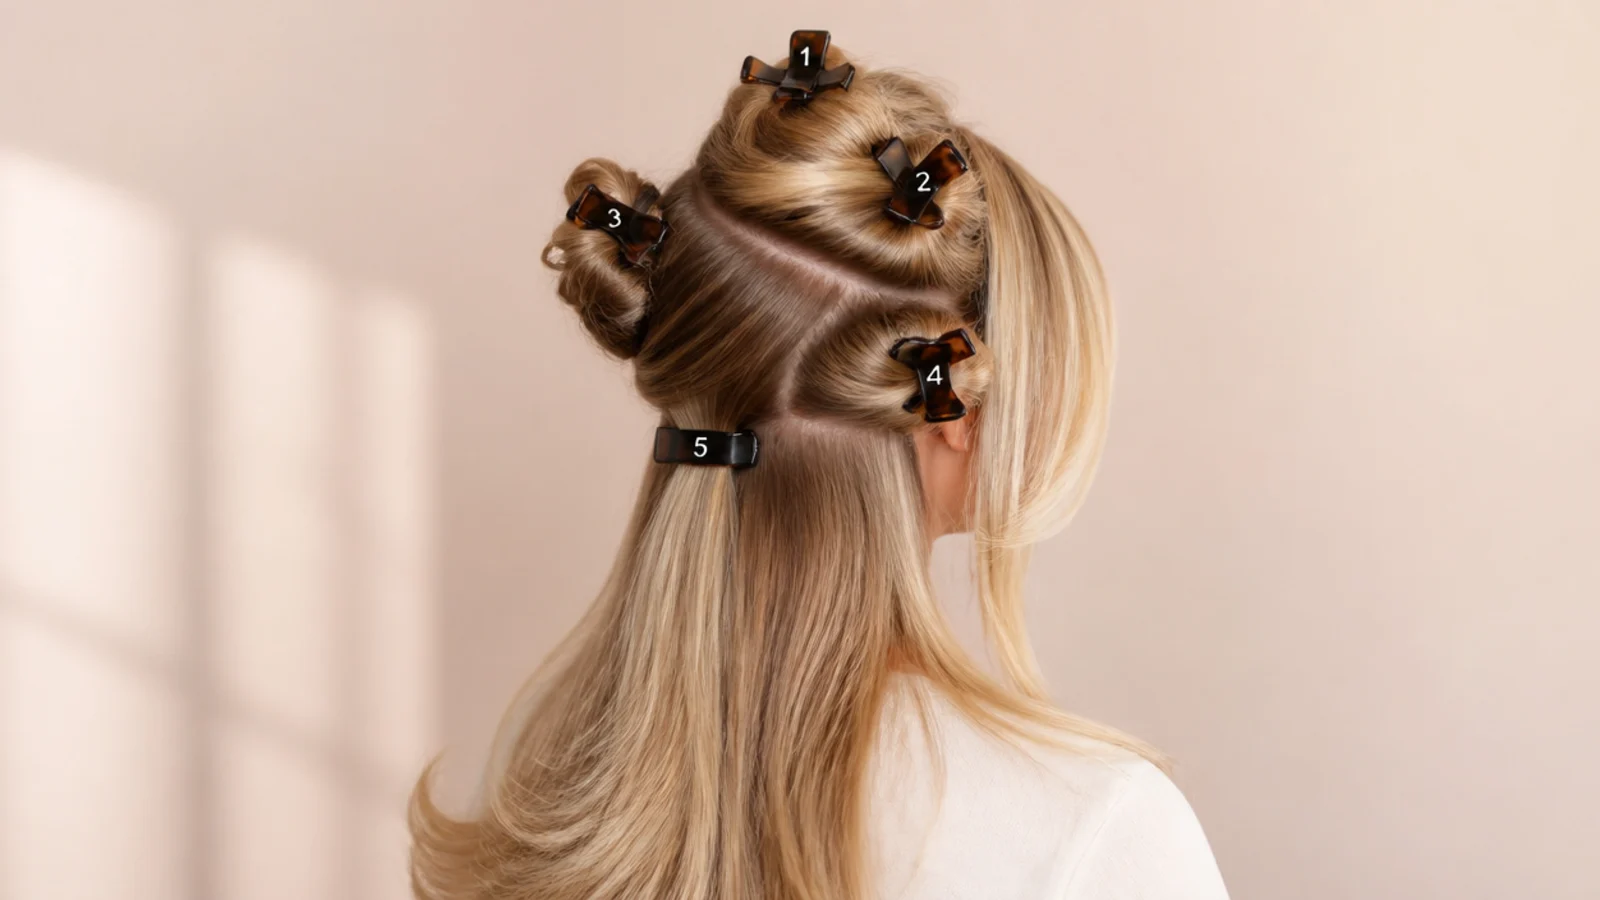
Part where you normally part, usually center or a half-inch off center. Clip the hair into five: left back, right back, left side, right side, and a horseshoe crown section running from temple to temple. Leave the curtain fringe out entirely, loose in front. Five sections sounds like a lot for one head of hair, but it is the reason salon blowouts hold, because every piece gets full tension and full airflow instead of half of both.
Common mistake: Working from one giant loose ponytail of hair, which leaves damp panels underneath that drop by noon.
Pro tip: Use jaw clips rather than duckbills; duckbill teeth leave dents in fine hair that show all day.
3. Dry the Curtain Fringe First, Bending It Away From the Face
The fringe is always styled first because it dries fastest and sets hardest. Split it down the middle, take one half onto a 1 or 1.5 inch round brush, and dry it forward across your forehead first, then sweep it back and out toward the temple, rolling the brush half a turn away from your face. Ten to fifteen seconds of hot air, then five of cool while it is still wrapped. Repeat on the other side. The full technique breakdown lives in how to style short curtain bangs.
Common mistake: Letting the fringe air-dry while you do the back, so it sets in whatever direction it dried.
Pro tip: Drying it forward first breaks the cowlick, then the sweep back gives you the soft parted bend.
4. Blow Out the Back in Sections No Wider Than the Brush
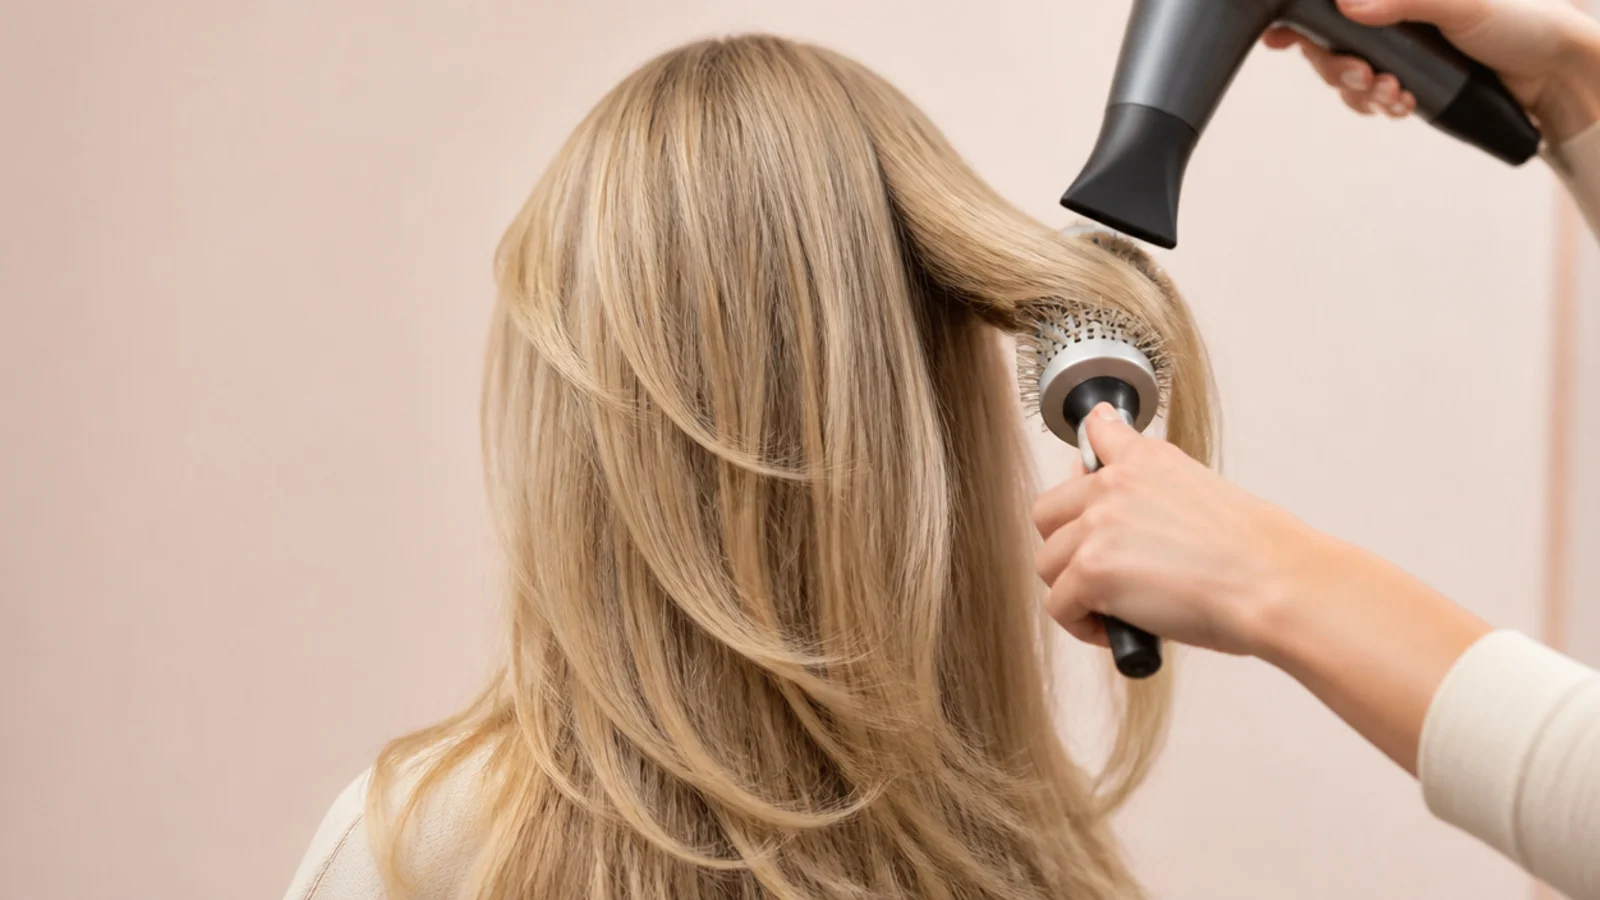
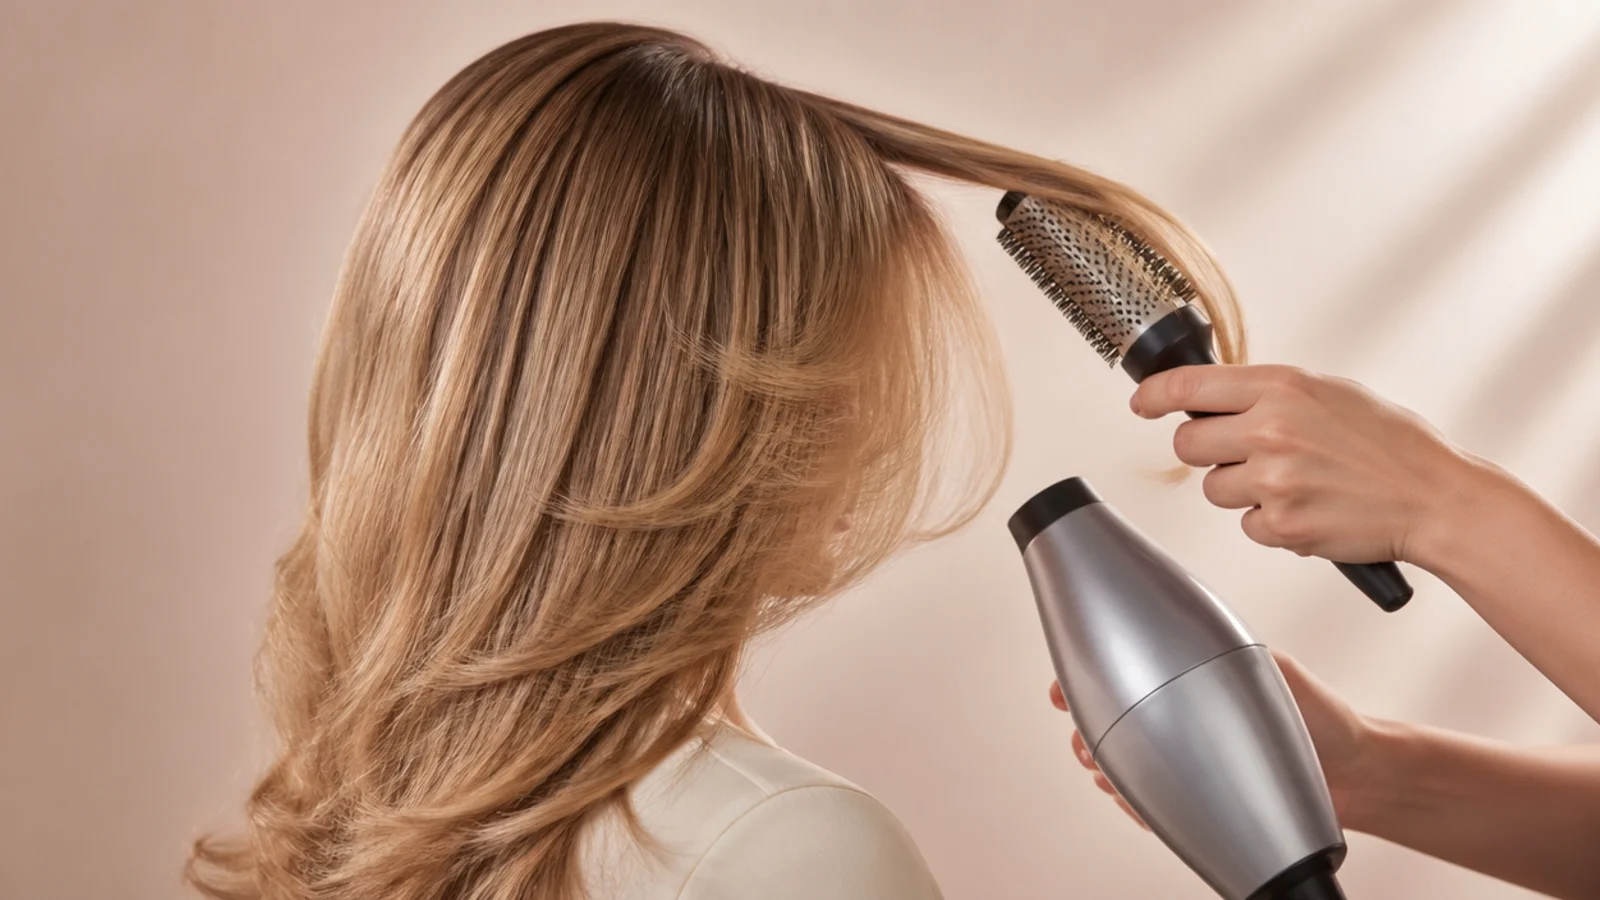
Start at the nape and take horizontal sections about two inches wide and half an inch deep, matching the width of a 2 inch ceramic round brush. Set the brush at the roots, lift straight up and slightly back to build lift, then draw it down the shaft with the nozzle following an inch behind and pointing down. At the ends, roll the brush a half turn under and hold. Two passes per section is plenty. Drop the next horizontal layer and repeat up the head.
Common mistake: Taking sections wider than the brush, so the outer inch never touches heat and stays wavy and damp.
Pro tip: Keep the dryer on high air, medium heat. Airflow does the drying; extra heat only does the damage.
5. Overdirect the Sides and Crown for Volume at the Root
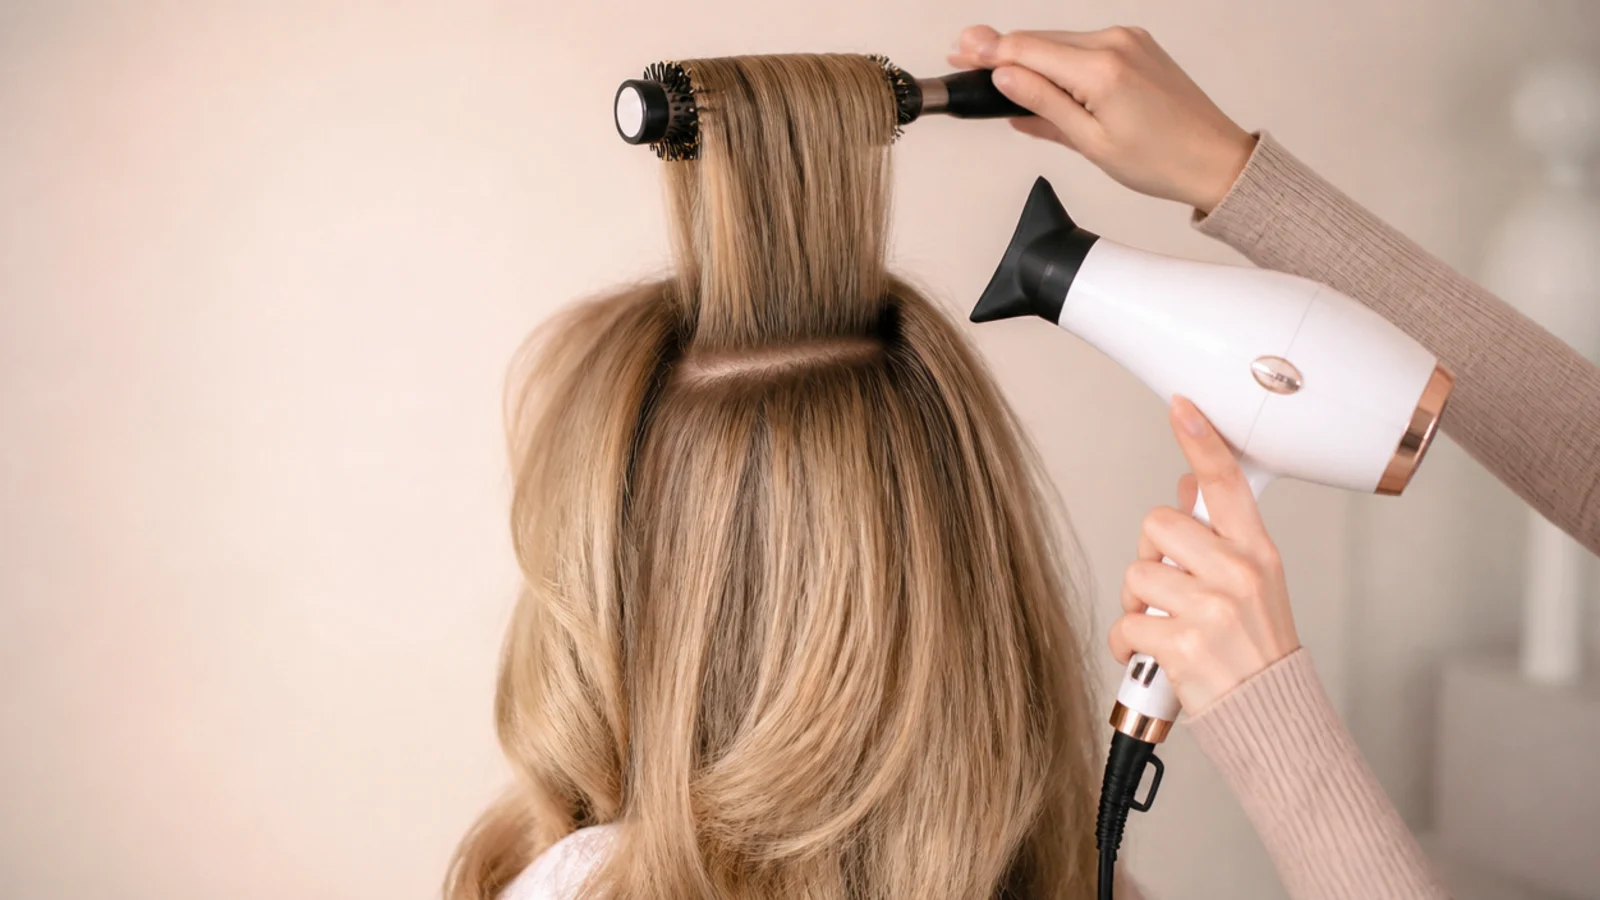
On the horseshoe crown section, pull each piece straight up at 90 degrees or slightly past vertical before you drag the brush down. That overdirection is where the lifted, slightly domed crown comes from, and it is the single most-skipped move in home blowouts. On the side sections, direct the hair back and away from the face, so the layers fall open around the cheekbones instead of curtaining flat against them like a face-framing mid-length haircut that has been dried straight down.
Common mistake: Drying the crown flat to the head, which leaves the top slick and the ends puffy, the exact reverse of this look.
Pro tip: Fine hair should get a spritz of root spray at the crown parting before this step, not after.
6. Set the Bend With a Cool Shot on Every Section
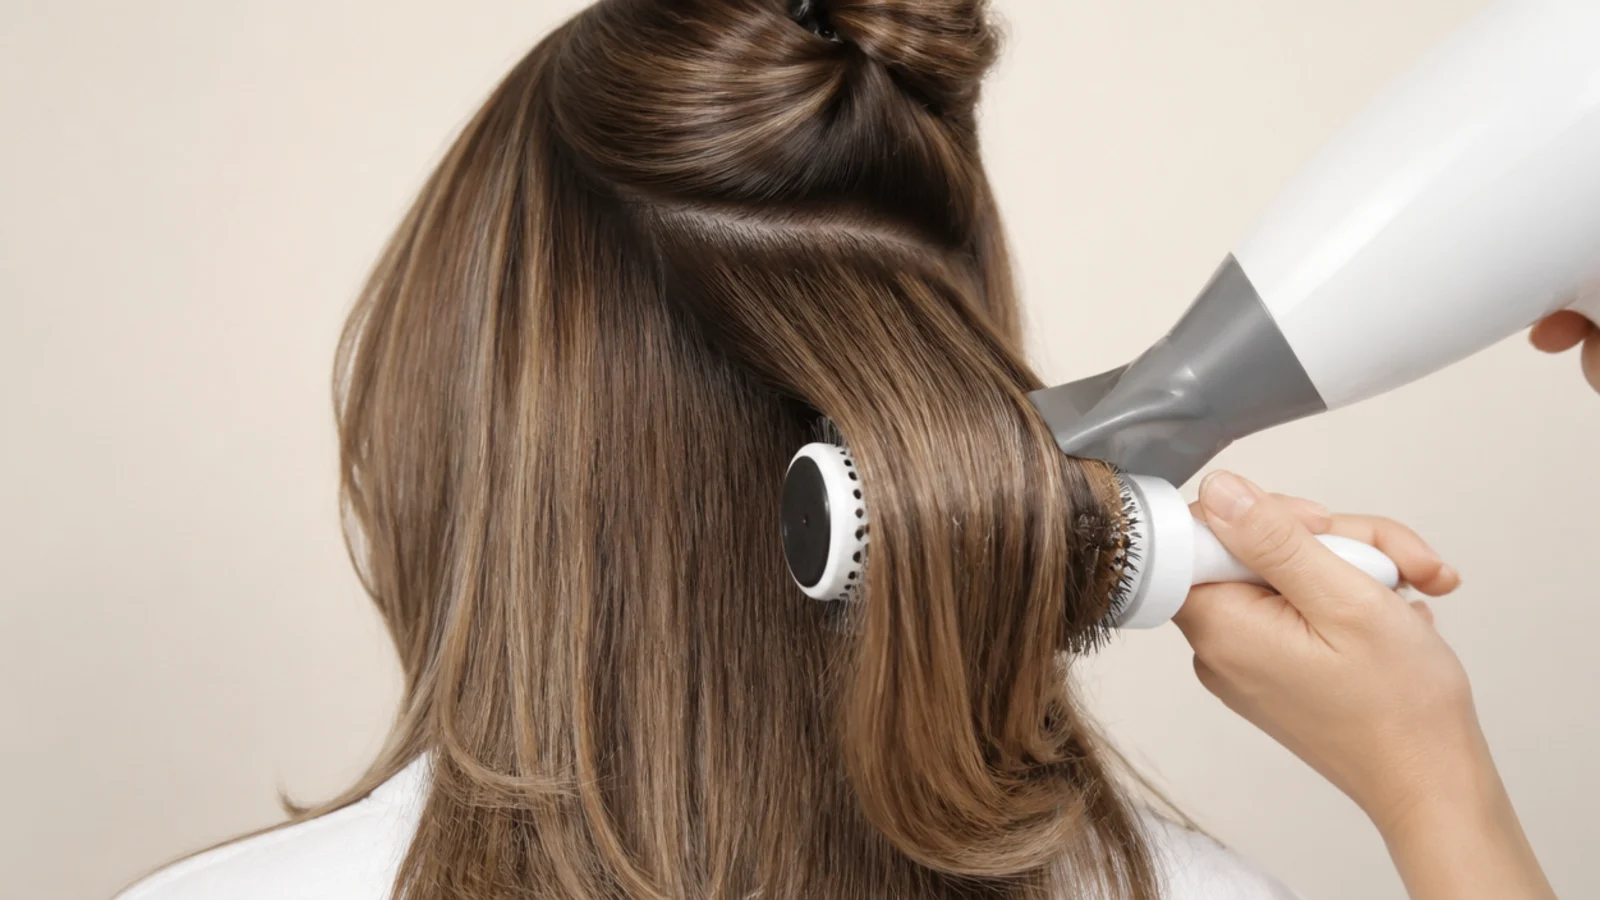
This is the step that decides whether the blowout lasts one hour or two days. While the section is still wound around the brush and still warm, hit the cool shot button for four or five seconds, then wait another three before you unwind the brush. Hair takes its shape as hydrogen bonds cool, so unrolling warm hair means the bend drops out on the walk to the door. Do this on every section including the fringe, without exception.
Common mistake: Unwinding the brush the second the section feels dry, while the hair is still hot and completely soft.
Pro tip: Faster alternative: slide the warm section straight off the brush onto a Velcro roller and cool it there.
7. Add Optional Waves With a 1 Inch Iron, Away From the Face
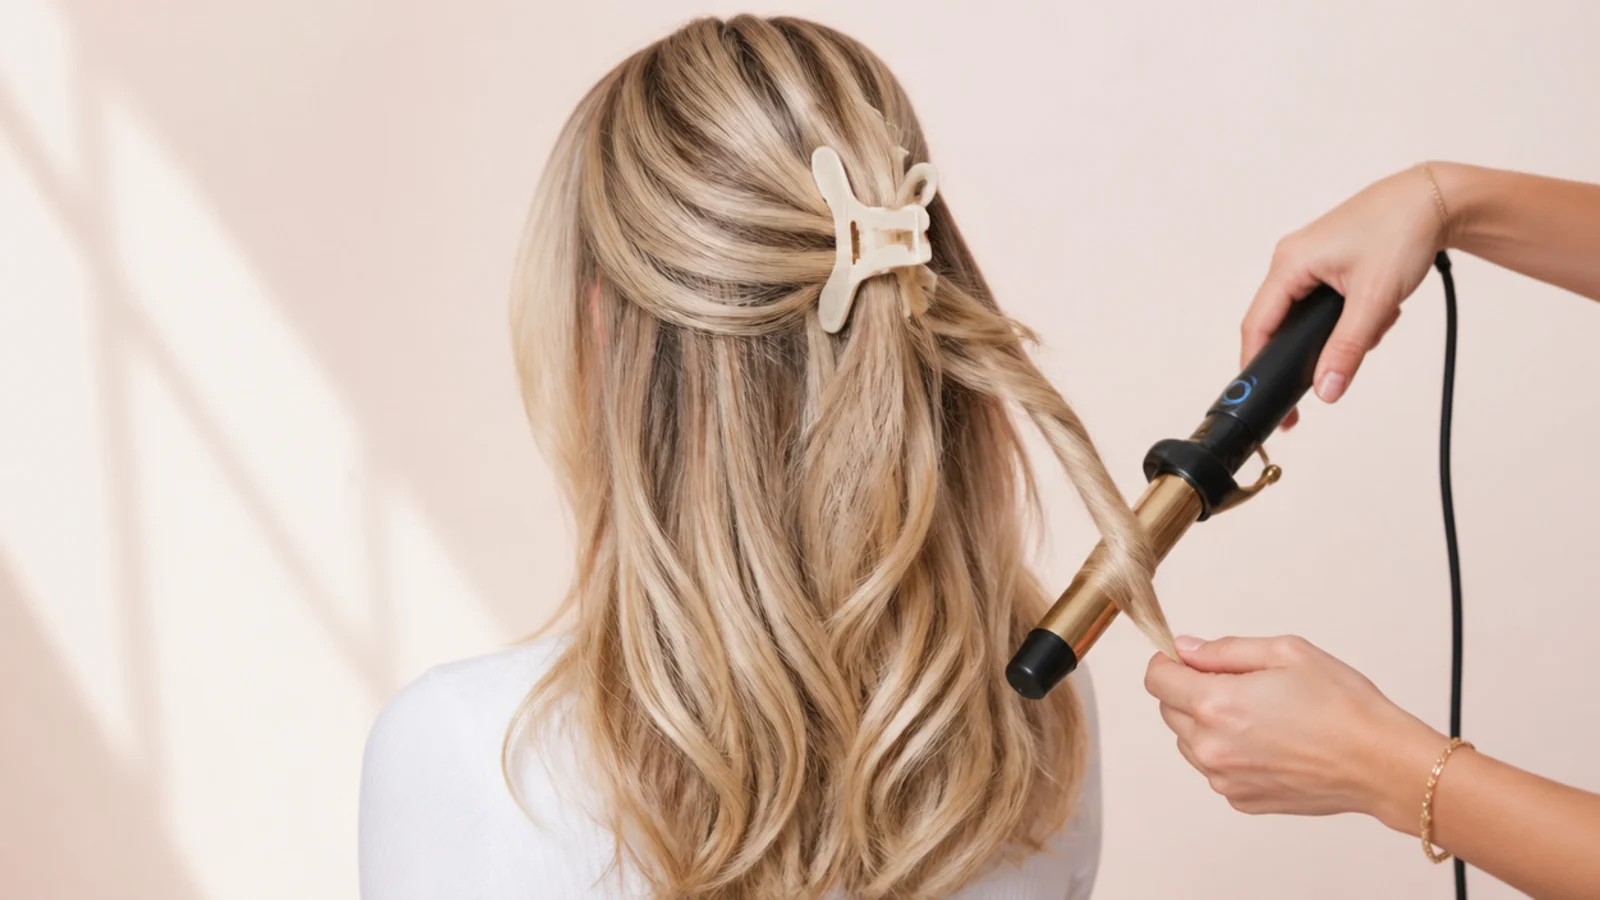
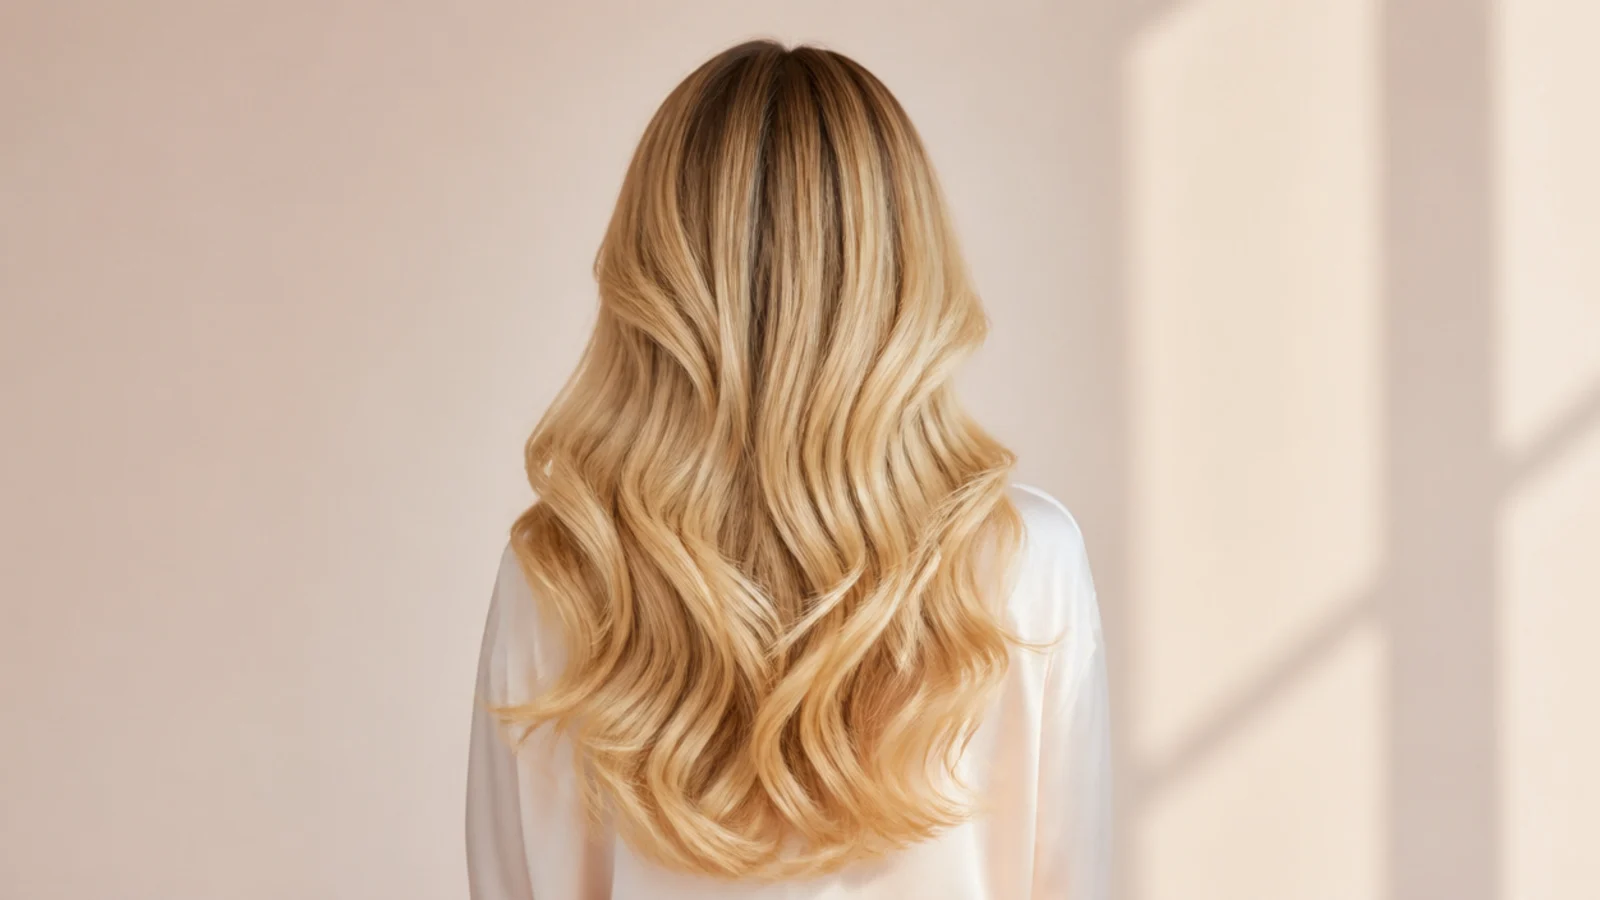
If you want the softer wave rather than the straight bouncy blowout, take 1.5 inch vertical sections at 300 to 330 degrees on a 1 inch iron, leave the last inch of hair out of the barrel, and hold for six seconds. Alternate direction, curling the front two pieces on each side away from the face and everything else however it falls. Never curl the fringe. Let every wave cool fully in your palm before you move on, then break them up with your fingers only.
Common mistake: Curling to the very ends, which produces ringlets and instantly reads as a 2000s prom set.
Pro tip: Bleached blonde should stay at or under 300 degrees; lifted hair scorches far below the usual 400.
8. Finish, Then Preserve It Overnight
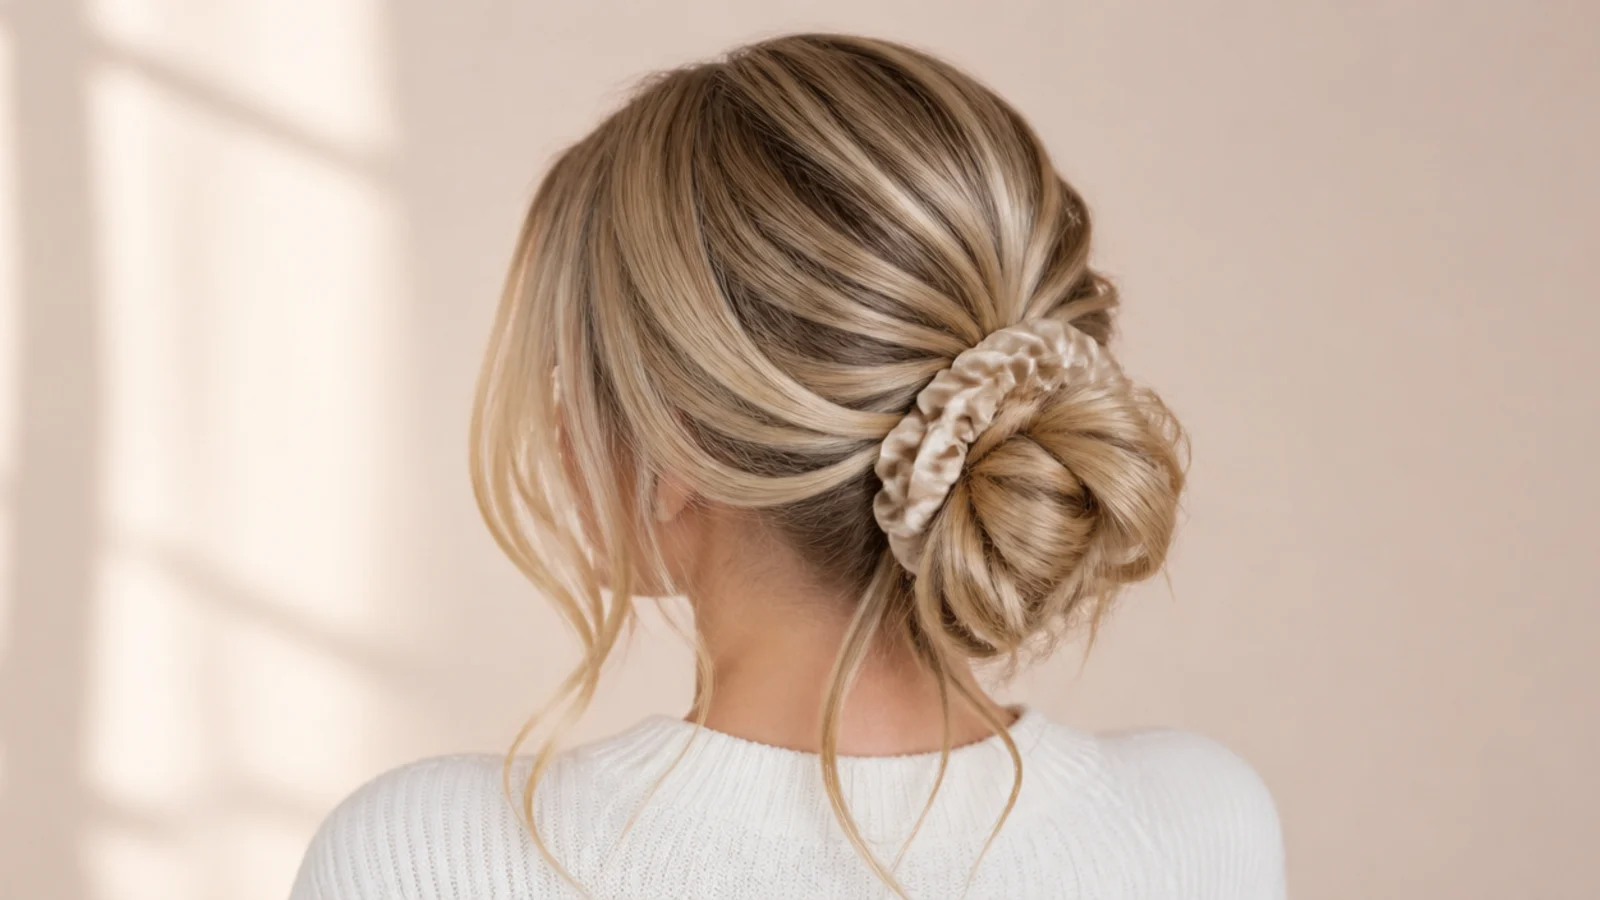
Flip your head, shake the roots with your fingertips, and mist a flexible-hold hairspray from twelve inches away, aiming at the mid-lengths rather than the crown. Add one pump of hair oil to the last two inches only. To bank a second day, gather everything into a loose silk-scrunchie bun on top of your head before bed and sleep on a silk pillowcase. In the morning it drops out with the bend intact and needs nothing more than the refresh in tutorial four.
Common mistake: Hairspraying the roots, which glues down the lift you just spent twenty minutes building.
Pro tip: Bobby-pin the dry fringe flat across your forehead overnight so it wakes up parted, not kinked.
The Signature Sabrina Carpenter Look Broken Down
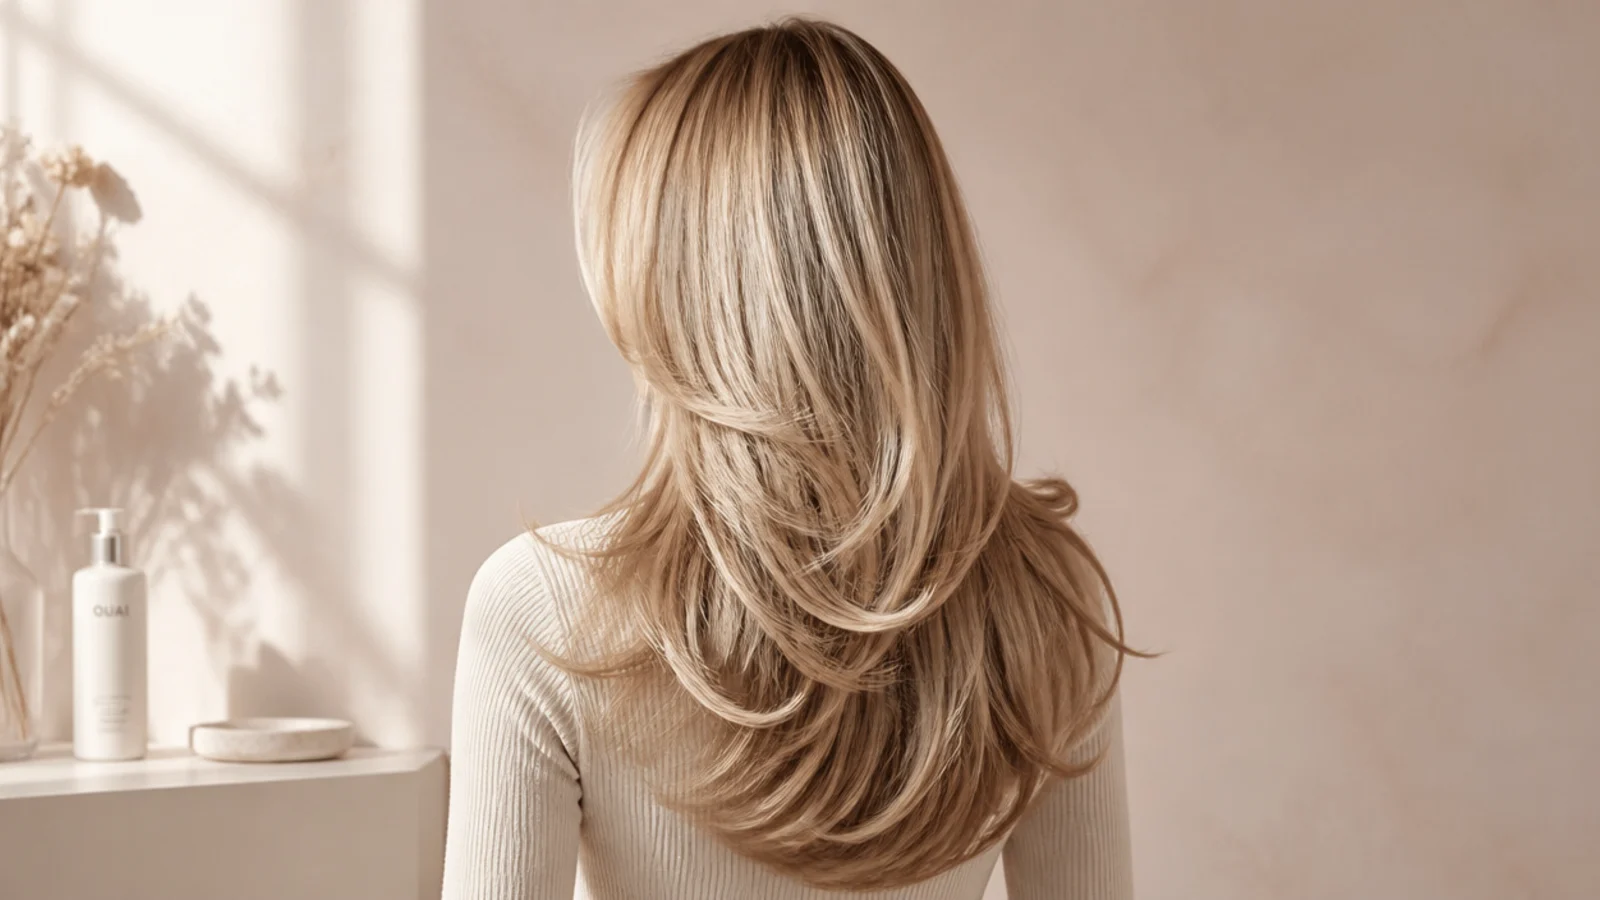
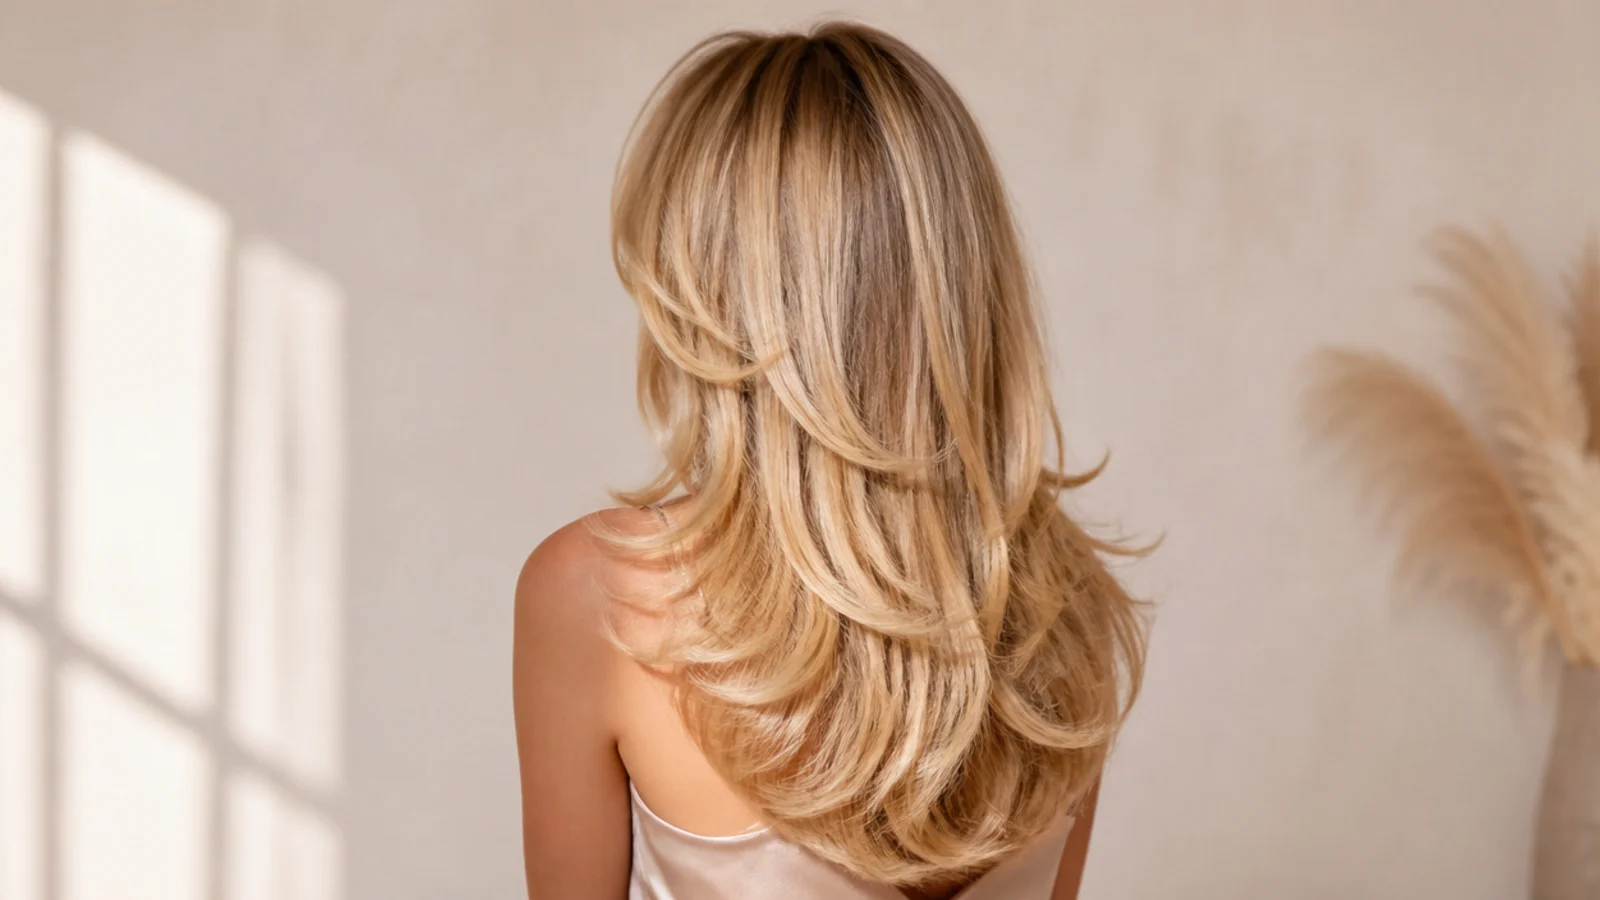
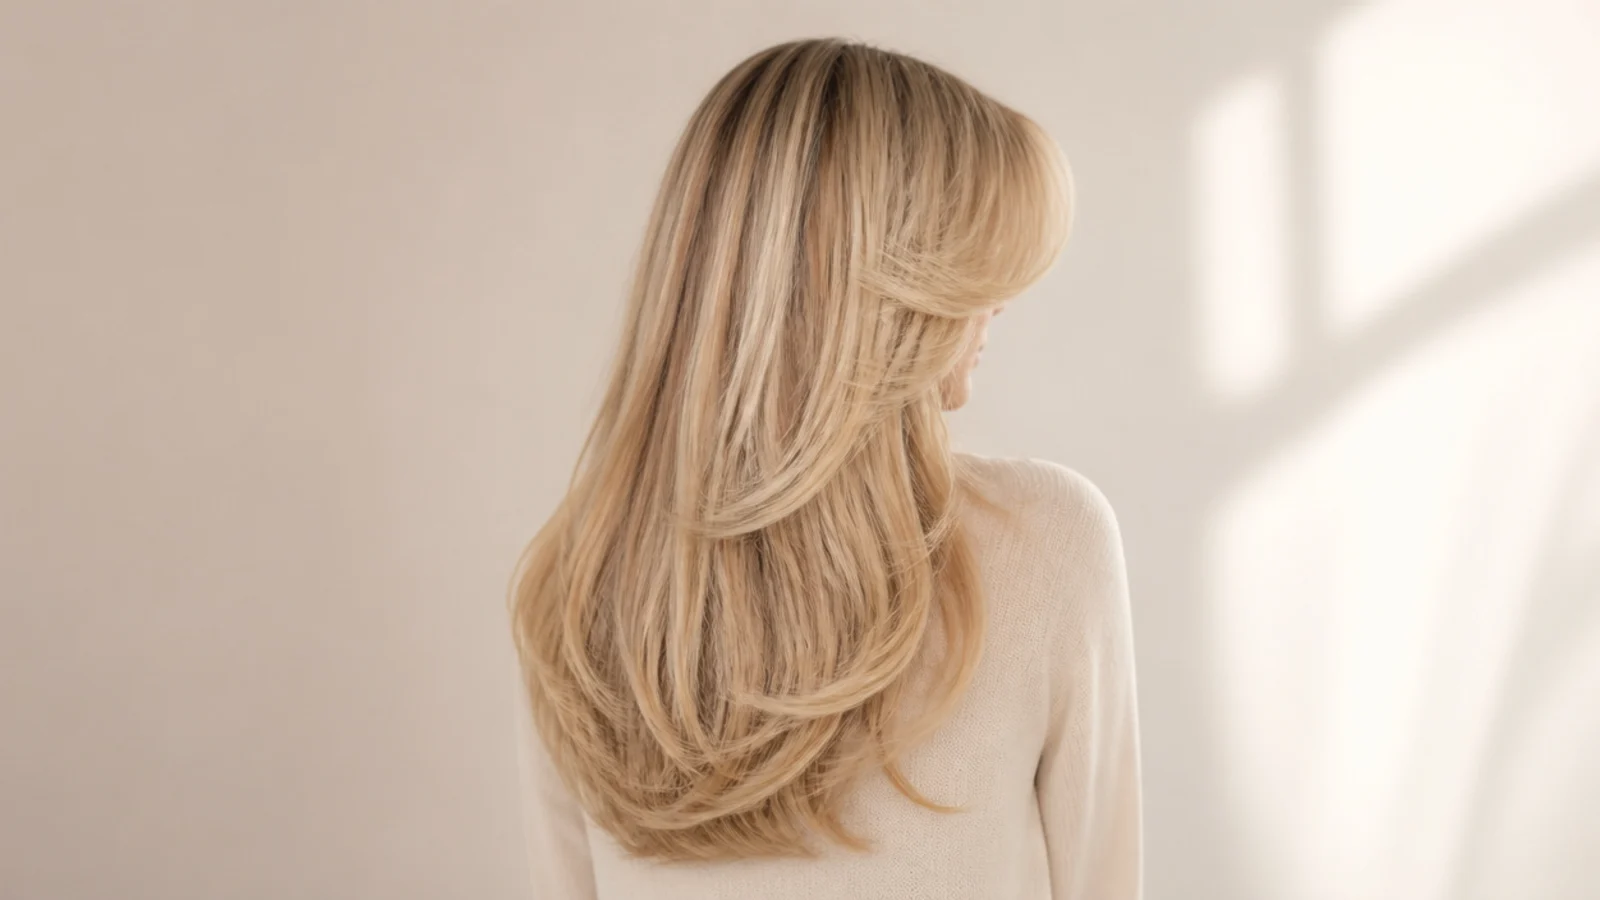
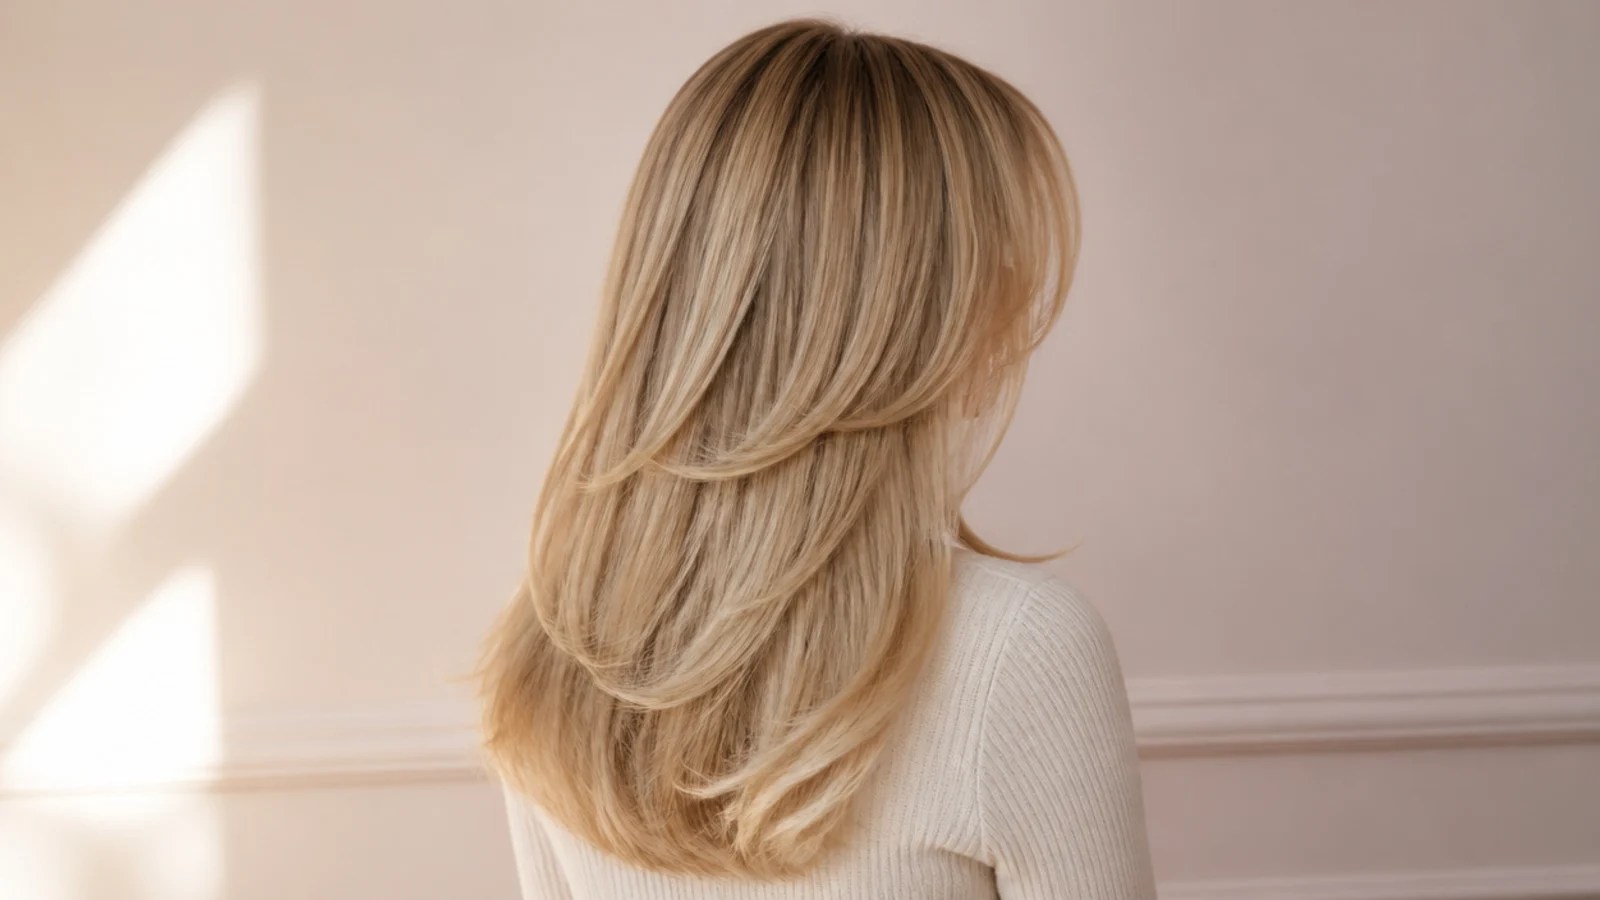
Strip away the color and the look is three components. First, length: publicly visible looks have run long, roughly mid-back at 20 to 24 inches, though shorter shoulder-length and bob versions have appeared too. Second, the layering: long internal layers plus face-framing pieces that start around the jaw, which is what lets the hair open away from the cheekbones instead of hanging as a flat curtain. Third, the finish: a bouncy blow-dried bend, ends turned under, roots lifted at the crown, and a lash-skimming curtain fringe parted in the middle and swept out to each side. Everything else you see in photographs is styling variation on those three. That is genuinely good news, because layers and a fringe are a one-appointment change, and the blowout is a skill rather than a purchase. The sleek straight and soft wave versions use the same cut, dried differently. If you are still deciding which variation to take to the salon, the visual spread on the Sabrina Carpenter hair hub lays them side by side.
Her Hair Colors and How to Ask a Colorist for Them
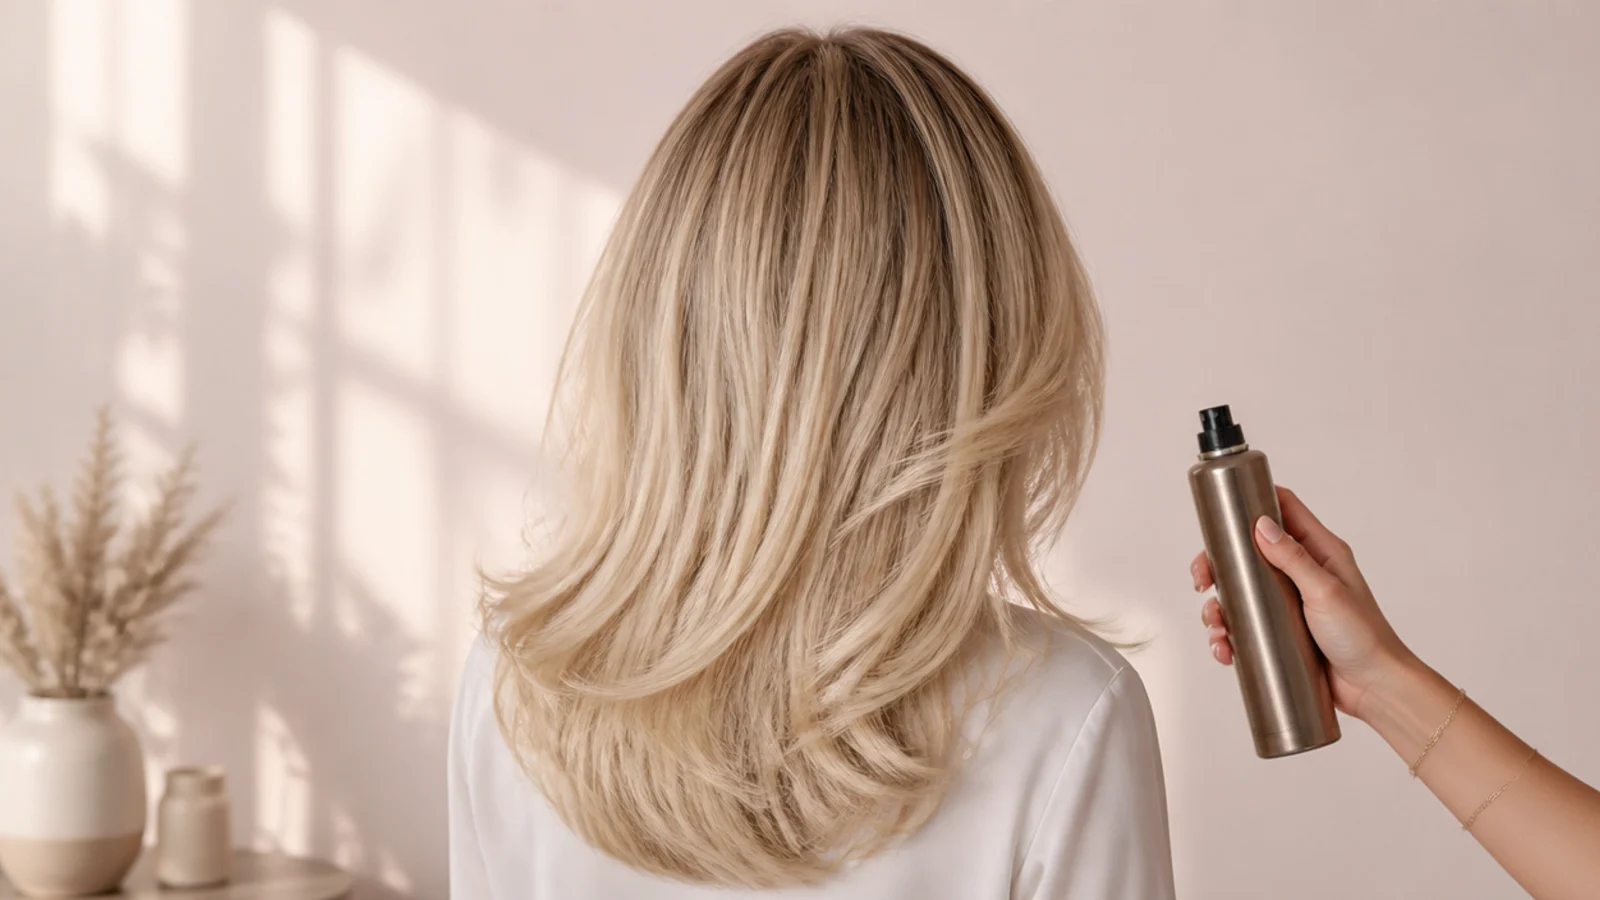
Describe shades in color families, not brand names, because that is the language a colorist actually works in. The blonde reads buttery rather than icy: warm honey through the mid-lengths, a soft shadow root left deliberately darker than the ends, and cooler beige where the light hits the face-framing pieces. Ask for a soft shadow root with buttery blonde lengths and cool beige face-framing brightness, bring three photographs, and say explicitly whether you want warmth kept in or taken out. Expect a full appointment of three to four hours and a root or gloss touch-up every six to ten weeks. The darker looks that circulate online have been reported as wigs rather than dye jobs, which matters enormously if you are blonde now, because going near-black over lifted hair needs a filler and does not simply wash out. Compare the families in Sabrina Carpenter black hair and Sabrina Carpenter brown hair before you commit to anything permanent.
Which Tutorial Suits Your Hair Type and Length
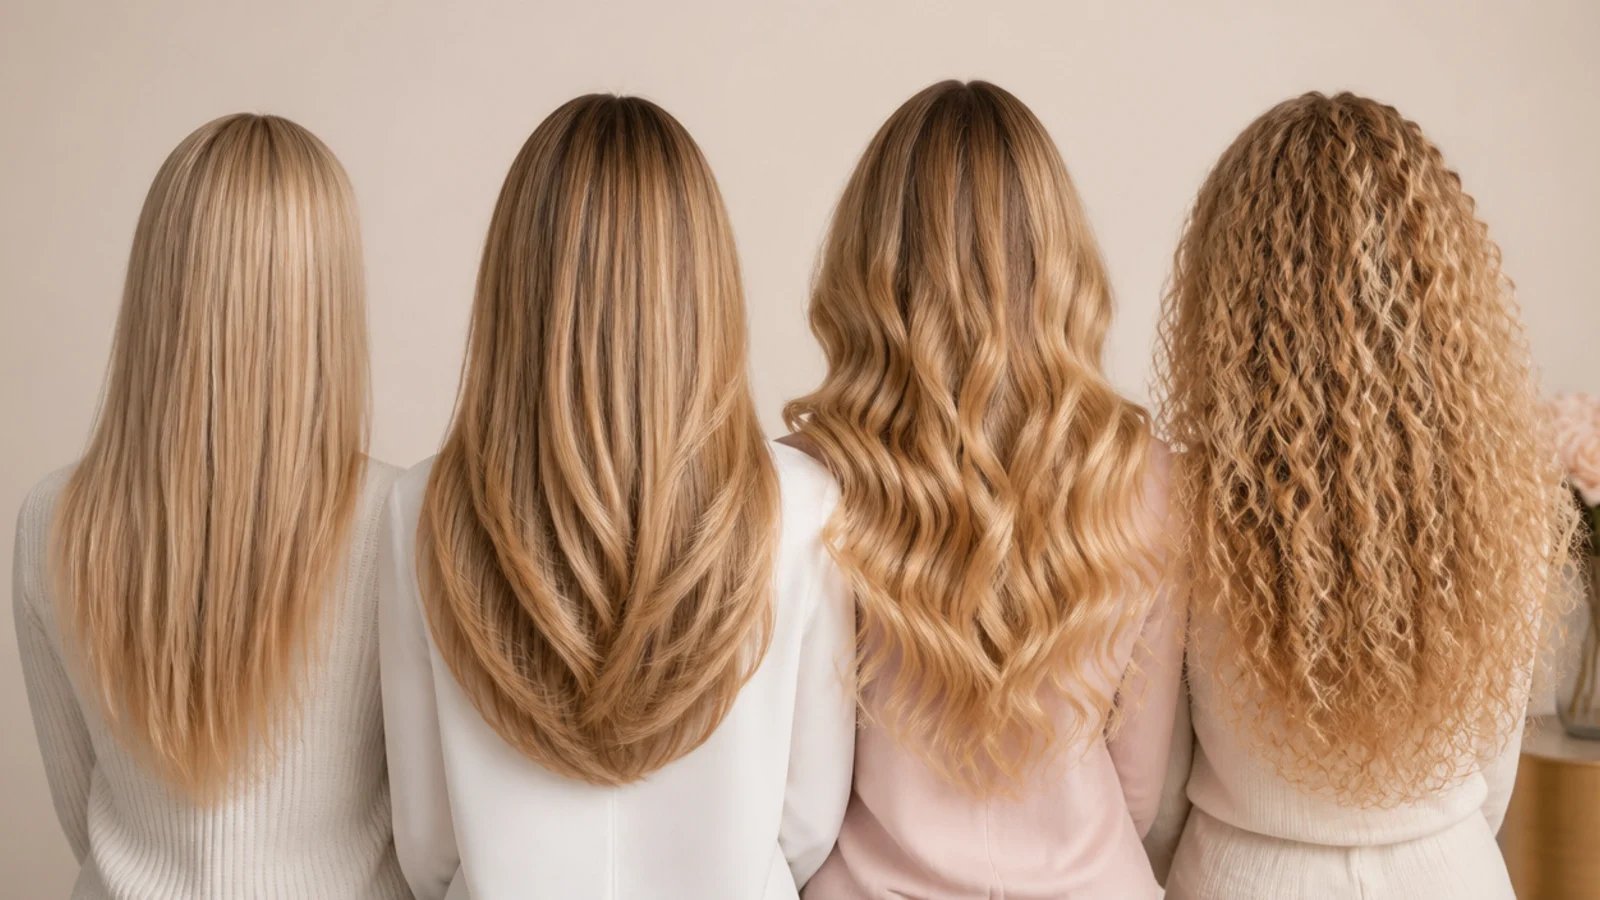
Match the method to your density and pattern rather than to the photograph. Fine, low-density hair holds a round brush bend for under an hour, so it needs the Velcro roller set in tutorial five and mousse at the root before drying, never hairspray after. Thick, coarse hair does not need more time, it needs the layered approach in tutorial six where only the visible outer layer gets round-brushed. Wavy 2a to 2c hair is the easiest starting point and does well with heatless overnight waves, since the pattern is already halfway there. Curly 3a to 3b hair should diffuse and smooth only the fringe rather than straightening everything, which both protects the curl and looks more current. Length changes the tools too: under the collarbone you drop to a 1.5 inch brush and one-inch sections, and the fringe has to be cut shorter to stay proportional, as covered in short curtain bangs on fine hair.
The Cuts and Layers Behind the Styles
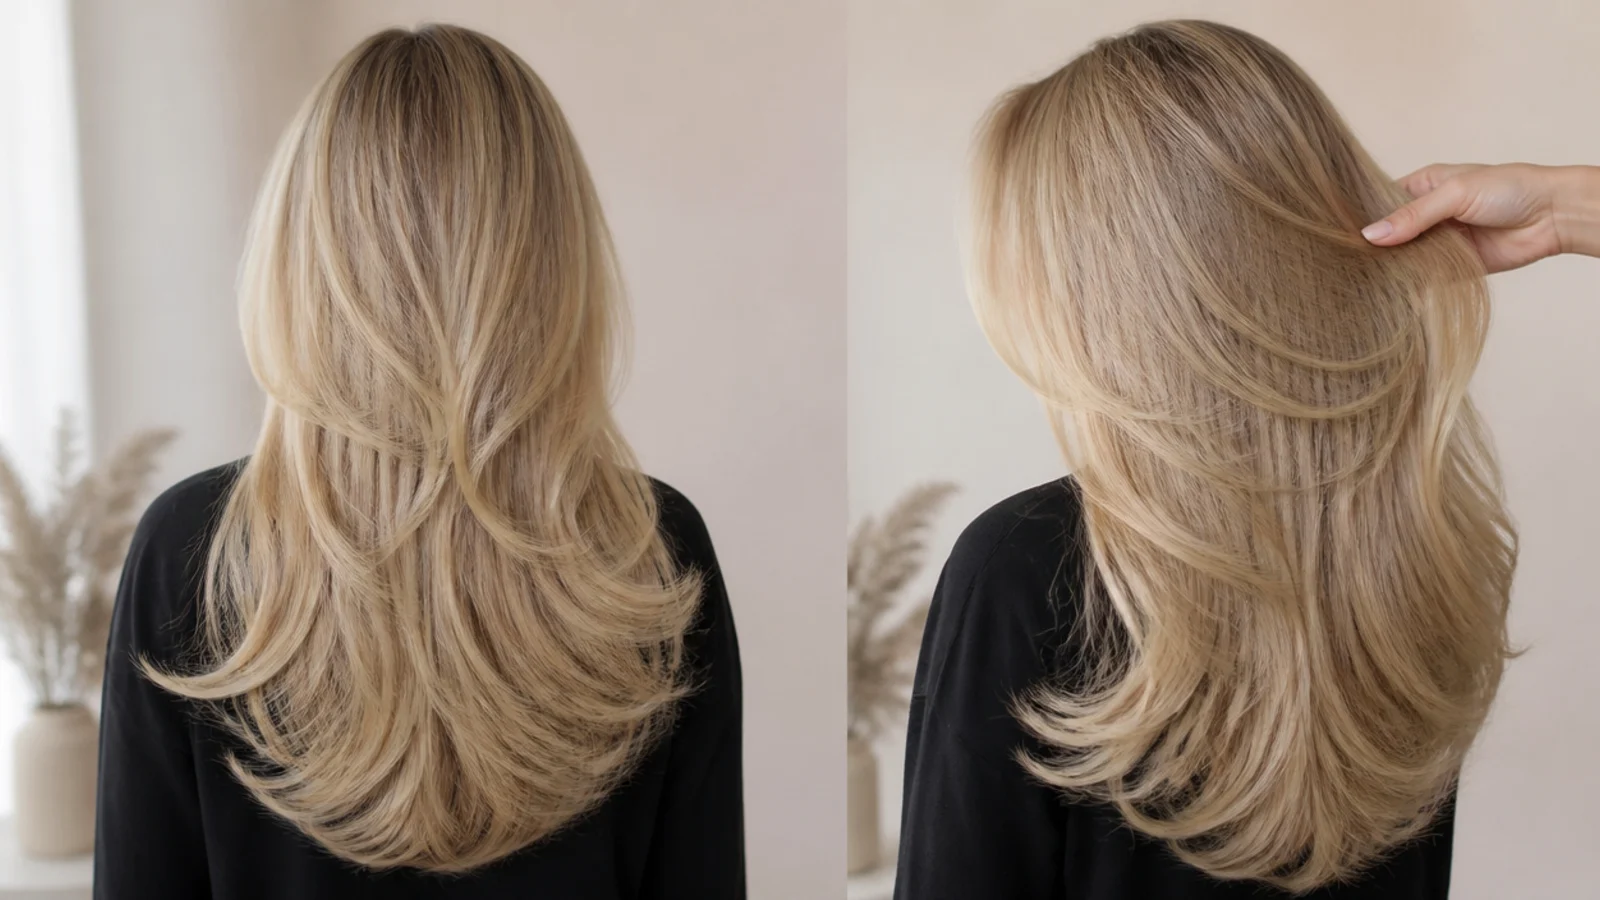
No amount of blow-drying replicates this on a one-length cut, because the movement comes from the layering. What you are asking for is long internal layers that keep the perimeter dense, plus face-framing layers with the shortest piece landing at roughly jaw level and graduating down into the lengths. That jaw-length start is what creates the open shape around the cheekbones. Separately, ask for a curtain fringe cut to skim the lashes at its shortest point in the center and blend into the face-framing pieces at the outer edges, with slightly blunter ends rather than heavily thinned ones so it holds a bend. Tell your stylist you want to be able to push it to the side on flat days. Bring the words as well as the pictures: long layers, face-framing from the jaw, center-parted curtain fringe, keep the perimeter heavy. Related cutting notes live in mid-length haircut layers and Sabrina Carpenter hair bangs.
Copying It on Shorter or Curlier Hair
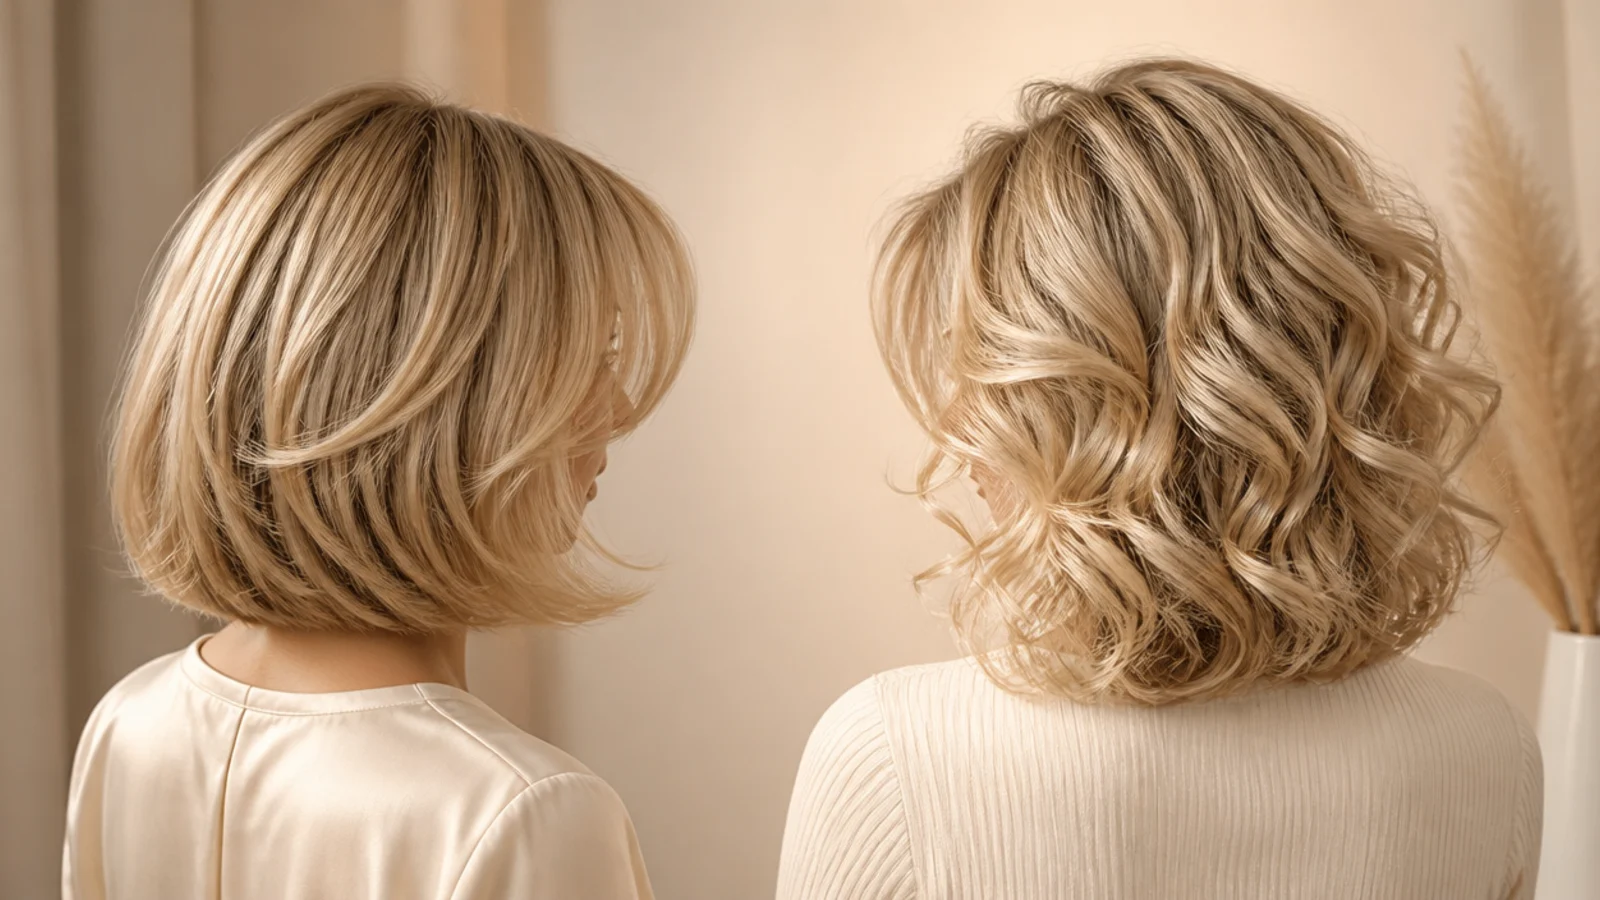
Short and curly hair are the two cases every other tutorial ignores, and both are solvable by copying the silhouette instead of the exact hair. On a bob or lob, the fringe must move up with the length so it finishes nearer the cheekbone, the round brush drops to 1.5 inches, and the ends bend under more firmly because there is no weight to pull them down. On curly hair, the goal is a smooth parted fringe framing textured lengths, which means diffusing everything and round-brushing only the front three pieces once the hair is 90 percent dry. Coily 4a to 4c textures should not be blow-dried repeatedly to chase this look at all; a shaped fringe and volume at the crown carries the same feeling with none of the damage. The one rule that survives every adaptation is the parted, outward-bending front section. Practice it with wavy short curtain bangs or the texture-first looks in Sabrina Carpenter natural hair.
Frequently Asked Questions
What is Sabrina Carpenter's haircut called?
There is no single official name, but stylists would describe it as a long layered cut with a center-parted curtain fringe. The internal layers are long and the perimeter stays dense, while the face-framing pieces begin around the jaw. Ask for long layers, face-framing from the jaw, and a lash-skimming curtain fringe rather than naming a trend.
How do you get Sabrina Carpenter hair at home?
Rough-dry to 80 percent, split into five sections, and style the curtain fringe first while it is still damp. Then blow-dry in sections no wider than a 2 inch round brush, overdirecting the crown upward for lift and rolling the ends a half turn under. Hit each section with the cool shot before unwinding. It takes 25 to 35 minutes.
Do you need an Airwrap or multi-styler for this look?
No. A 1800 watt dryer with a concentrator nozzle, a vented ceramic round brush and a set of Velcro rollers cost roughly 40 to 70 dollars together and give the same bend, because the shape comes from tension and cooling rather than from wrapped air. Budget an extra eight to ten minutes and set every section with cool air.
Is Sabrina Carpenter naturally blonde?
Her natural color has been widely reported as a medium blonde that is lifted and brightened with highlights rather than bleached from dark. That is why the shade reads buttery instead of icy, and why the root shadow blends so softly. If your natural base is dark brown, expect a longer, more damaging lift and a much higher upkeep schedule.
Did Sabrina Carpenter dye her hair black or brown?
Multiple outlets have reported that her jet-black and brunette looks were wigs for shoots rather than permanent color. That is worth knowing before you copy them, because taking pre-lightened blonde hair to near-black requires a filler to replace missing warm pigment, and it does not simply fade back to blonde. A wig or a semi-permanent gloss is the reversible route.
Will curtain bangs suit my face shape?
Curtain bangs are unusually forgiving because the length is adjustable. Round faces do best with the shortest point at the cheekbone and the longest well past the jaw, so the diagonal lengthens the face. Square jaws want softer, wispier ends. Long faces can wear a fuller, heavier fringe that shortens the forehead. High foreheads should start the fringe further back on the head.
How do you make a blowout last more than one day?
Cool every section on the brush before you release it, keep hairspray off the roots, then gather everything into a loose silk-scrunchie bun on top of your head before bed and sleep on a silk pillowcase. In the morning, spray dry shampoo along four or five crown partings, wait two minutes, and buff it in with your fingertips rather than brushing.
Why does my curtain fringe go flat by lunchtime?
Almost always because it dried in the wrong direction. Dry it forward across the forehead first to break the cowlick, then sweep it back and out with a half turn of the brush and set it with cool air while still wrapped. If it still drops, clip a warm 1.5 inch Velcro roller into it for three minutes, or set it overnight on a roller.
What heat setting should I use on bleached blonde hair?
Keep irons at or under 300 degrees on lifted or bleached hair, and 330 at most on healthy virgin hair. Blow-dry on high air speed with medium heat, since airflow does the drying and extra heat only does the damage. Always use a heat protectant, and take one slow pass with an iron rather than several fast ones.
This article is styling inspiration only. It is not affiliated with, endorsed by or associated with Sabrina Carpenter. Heat tools and lightener can damage hair, so use a heat protectant, keep tools at the lowest setting that works, and see a licensed stylist for cutting and color.
Which sabrina carpenter hair look are you saving?
If you only take one thing from these fifteen tutorials, make it the section rule: never take a piece wider than your round brush, and always hit each finished section with the cool shot before you release it. That single habit is the difference between hair that falls limp in an hour and hair that still has bend at midnight. Dry the fringe first while it is damp, keep the ends bending under and the front pieces bending away, and stop styling before it looks polished, because this look wants movement rather than perfection. Save the version that matches your hair type, then read the shade guide in Sabrina Carpenter brown hair or the texture-first looks in Sabrina Carpenter natural hair.