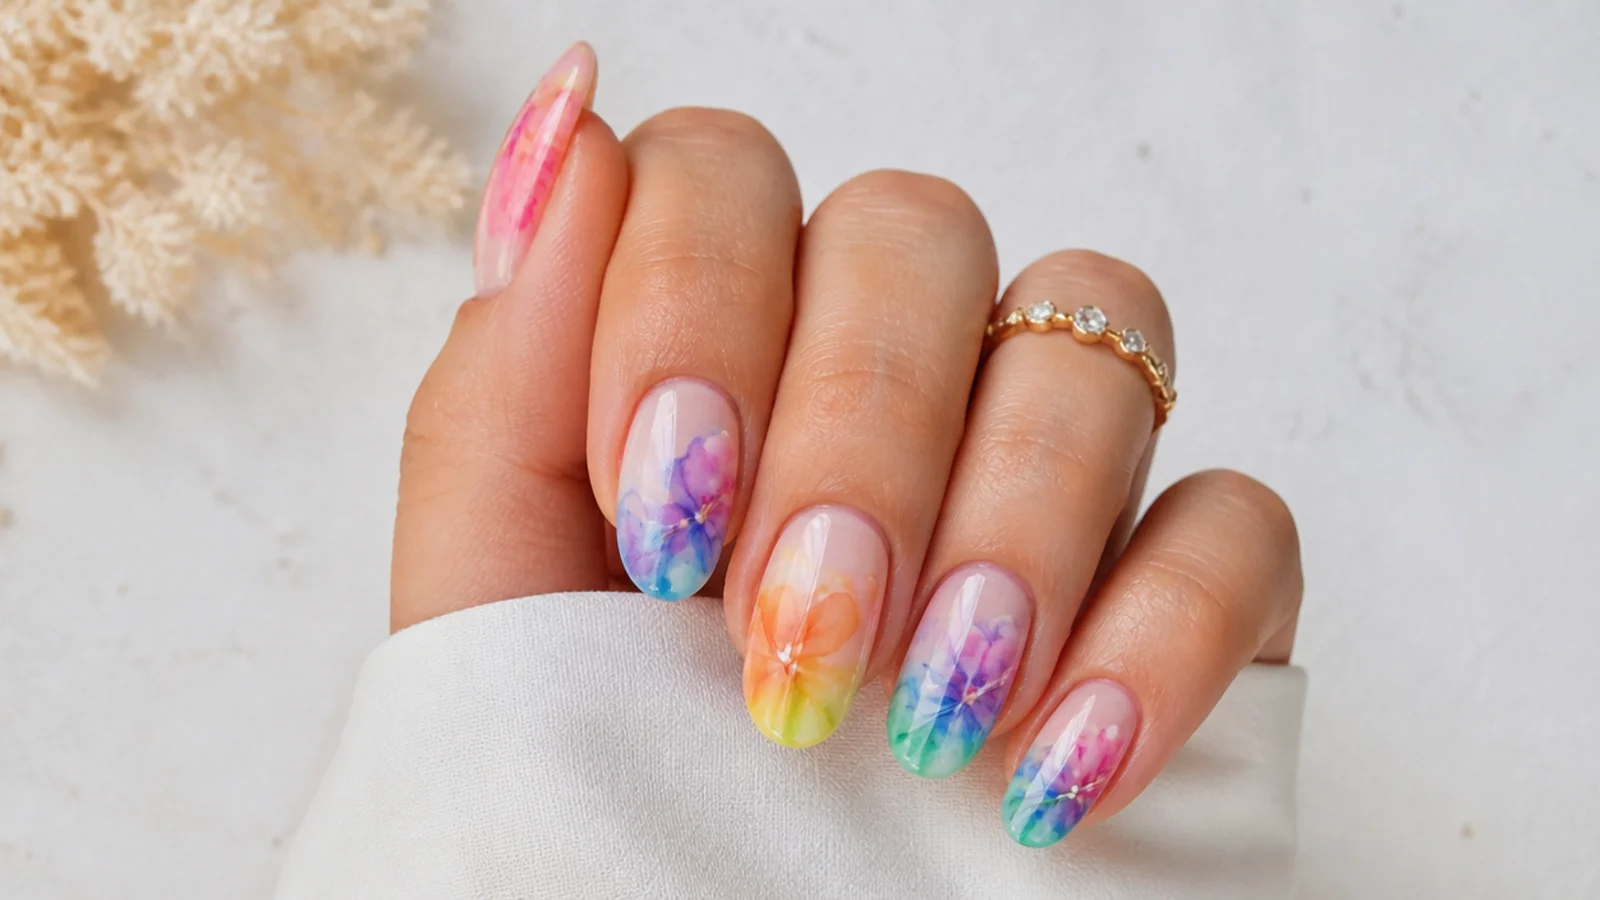
1. Full Rainbow Bloom
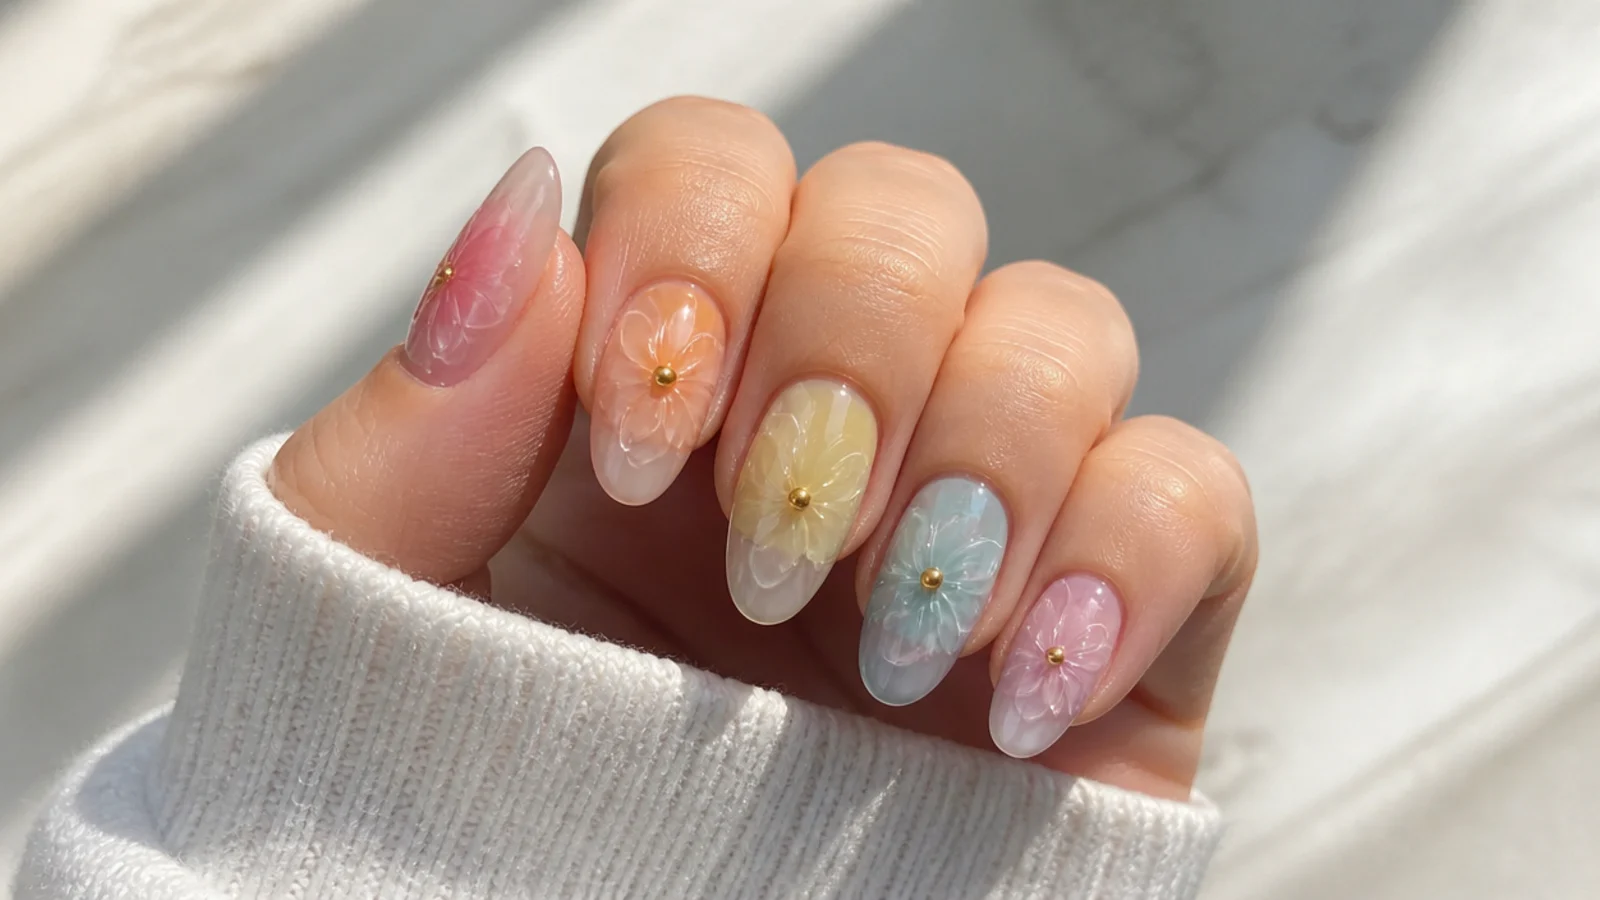
A different color on each finger - red, orange, yellow, green, blue - blooms across a milky base for a soft rainbow that flows without hard edges. Brush a thin layer of blooming gel over the cured base, leave it uncured, then drop one gel color per nail and let it diffuse for about thirty to sixty seconds before curing. The thin gel layer lets each shade spread into a gentle halo, so the brights stay watercolor-soft rather than blocky. It is cheerful, summery and reads pretty even in primary tones. Cure under LED for thirty to sixty seconds to lock it.
Who it suits: Anyone wanting bright, cheerful summer color.
Tip: One color per nail keeps the rainbow clean; do not flood or the shades run muddy.
2. Sunset Ombre Bloom
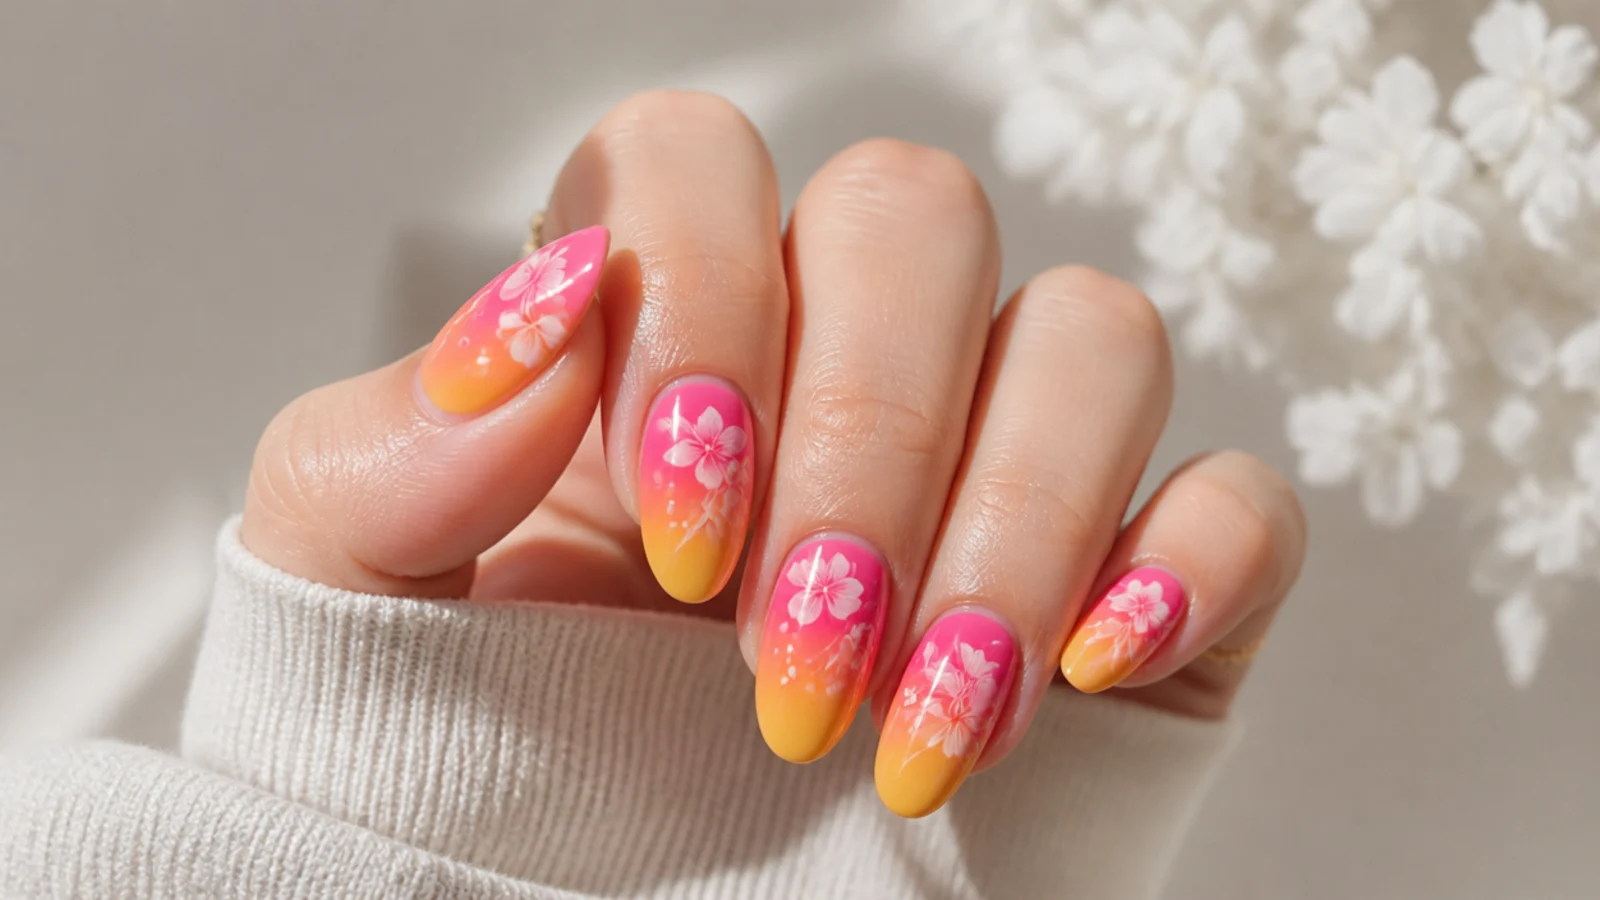
Pink, coral and yellow bloom into one another on each nail for a warm sunset fade with soft, blurred transitions. Over a cream base, brush thin blooming gel, leave it uncured, then draw a stripe of each color and let them bleed together where they meet. The diffusion does the blending for you, so there is no need to buff a gradient - the colors soften into each other in seconds. It flatters warm and olive skin tones and suits summer, vacations and golden-hour occasions. Build a second layer once cured to deepen the warmth.
Who it suits: Warm and olive skin tones wanting a summery fade.
Tip: Place colors light to dark and let them meet; the bloom blends the seam for you.
3. Inky Blue Tie-Dye
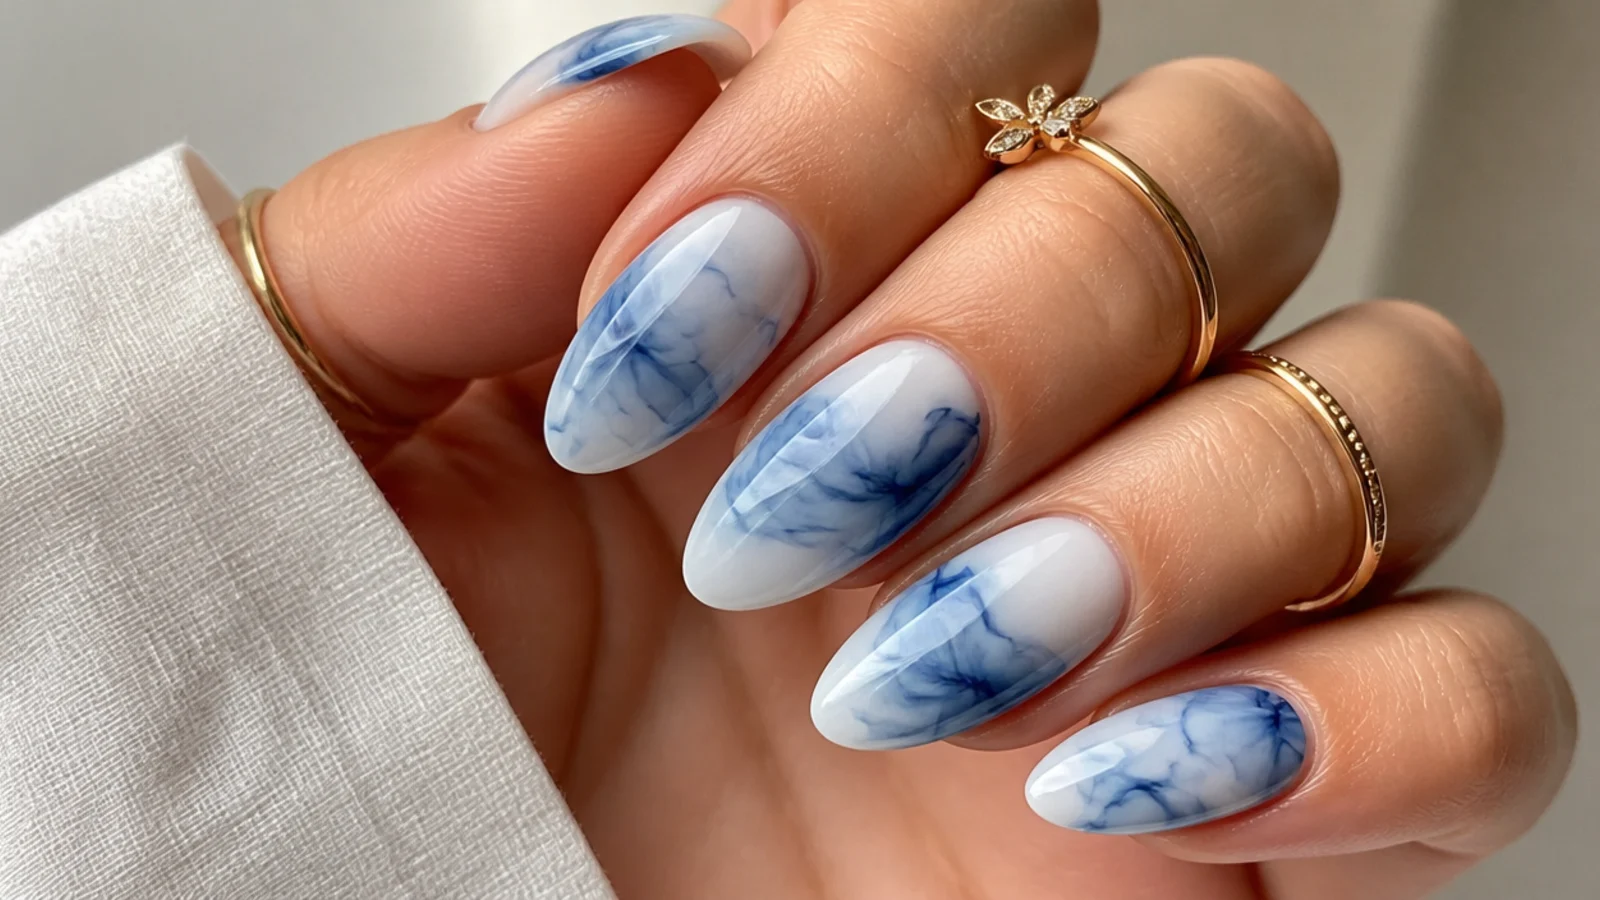
Cobalt and sky blue drop into a white base and spider out into ink-in-water tie-dye, each nail slightly different. Over the cured white, brush thin blooming gel, leave it uncured, then place tiny dots of blue and let them bloom into feathered, cloudy shapes. A thinner gel layer gives more dramatic spread, so the blue webs out further; a little color goes a long way here. The result is moody, artistic and beach-ready. Cure for thirty to sixty seconds once the pattern settles so it does not keep spreading.
Who it suits: Anyone wanting a cool, artistic tie-dye look.
Tip: Use tiny dots of color - too much blue turns the whole nail solid instead of feathered.
4. Jewel-Tone Marble
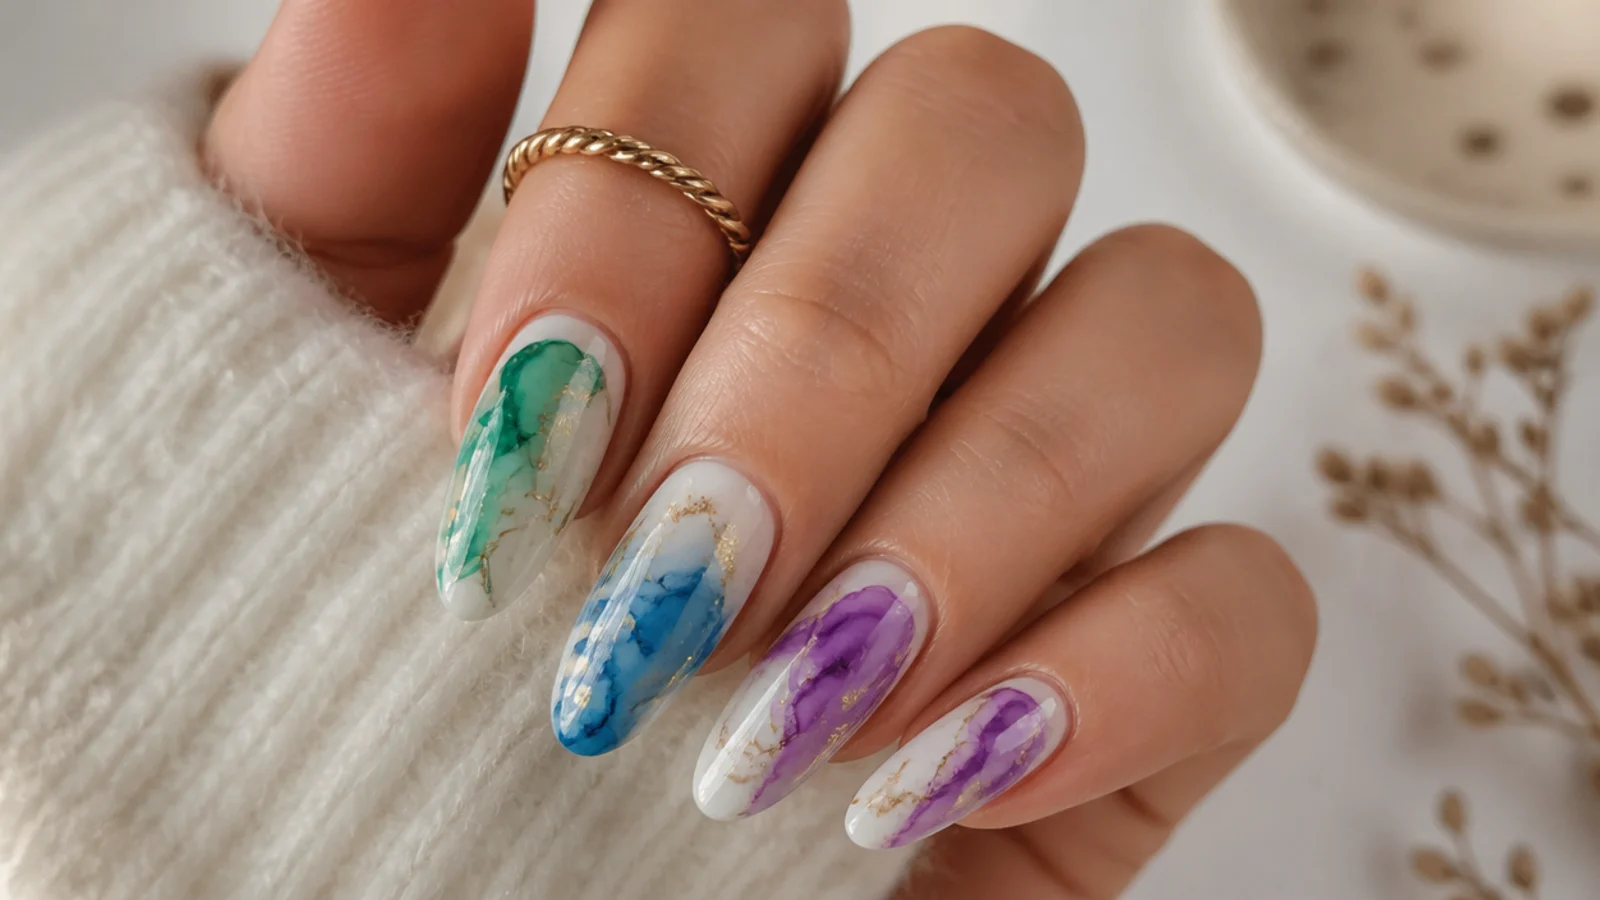
Emerald, sapphire and amethyst bloom together into a rich marble, the colors diffusing into soft veined pools over a pale base. Brush thin blooming gel, leave it uncured, then draw fine lines of each jewel tone with a detail brush and let them bleed at the edges for the marble effect. Building in two layers, curing between, deepens the color and adds dimension so it reads like real stone. It is luxe, moody and perfect for fall and evening. Seal with no-wipe top coat and cure to lock the depth.
Who it suits: Anyone wanting a rich, luxe evening set.
Tip: Build depth in two cured layers so the jewel tones look deep, not flat.
5. Neon Pop Bloom
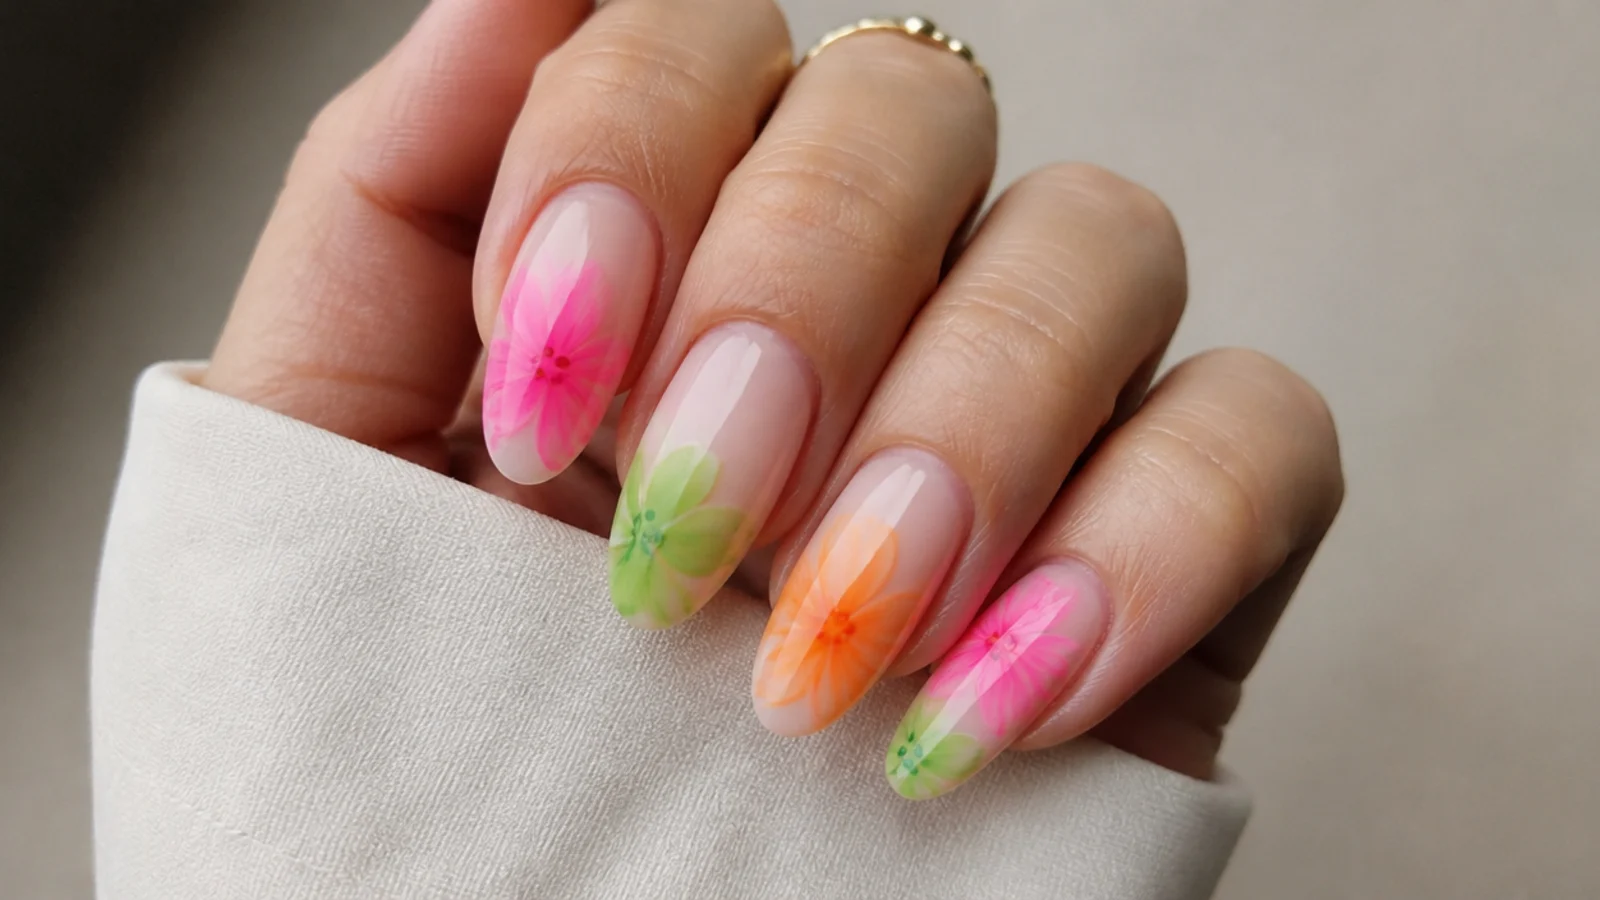
Neon pink, green and orange bloom on a white base so the brights glow but stay soft at the edges instead of harsh. The blooming gel diffuses each neon into a gentle halo, which tames the intensity and keeps the set looking hand-painted rather than blocky. Brush thin gel over the cured white, leave it uncured, drop the neons, and cure once they spread for about thirty to sixty seconds. A white base makes neon read brightest. It is playful, summery and party-ready. Cap the free edge so the bright color does not chip early.
Who it suits: Anyone wanting bright neon that still looks soft.
Tip: A white base makes neons glow; a nude base mutes them.
6. Pastel Rainbow Swirl
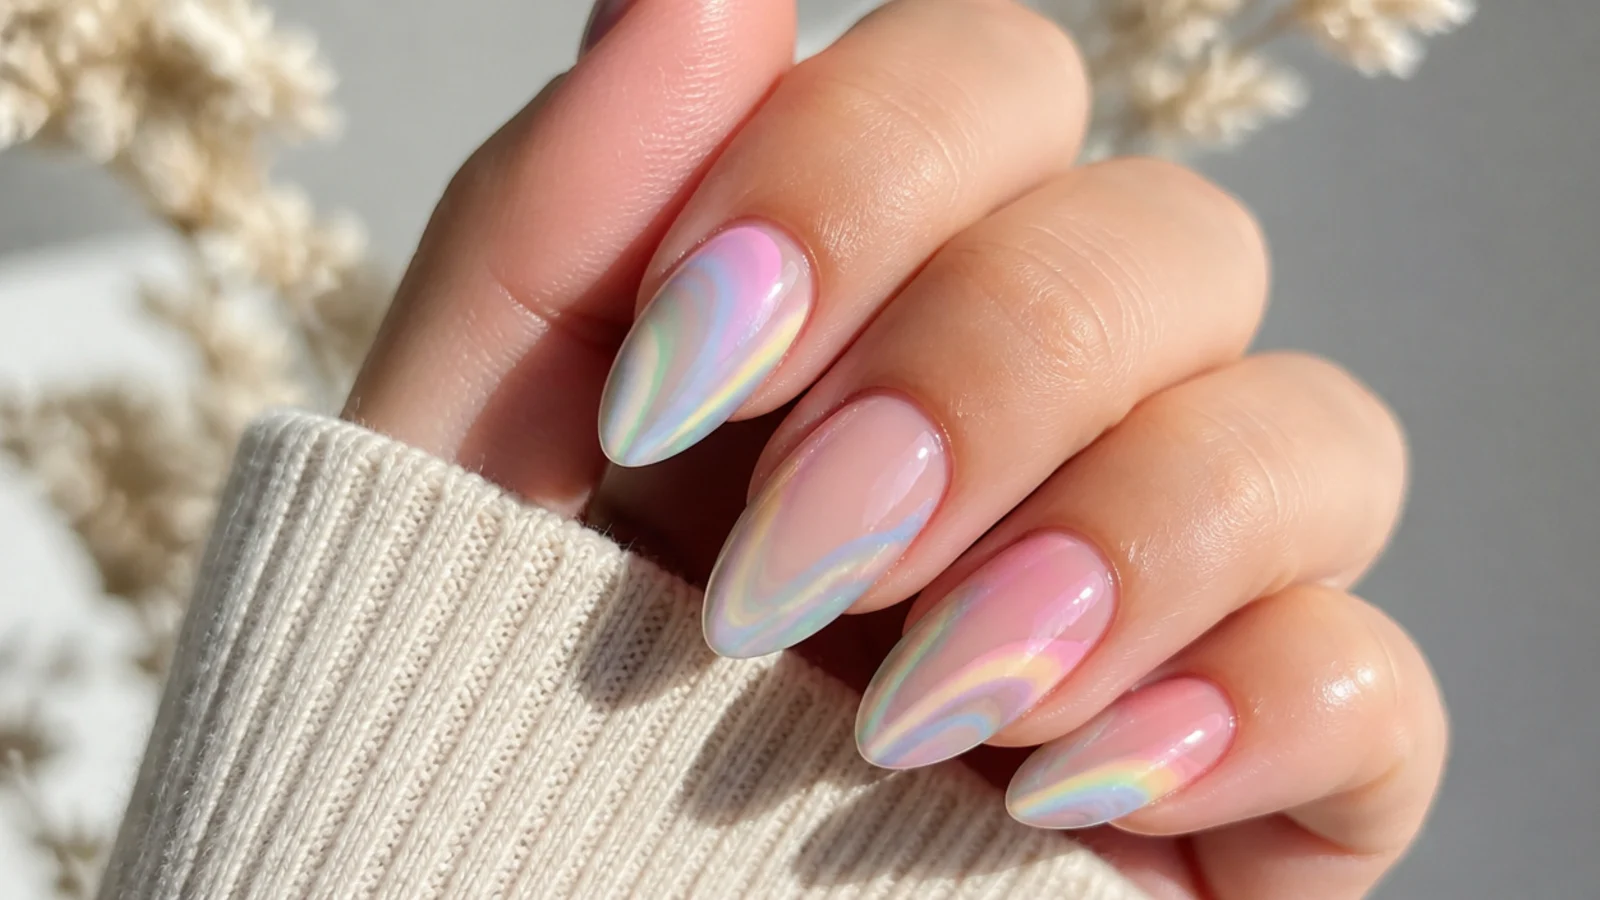
Baby pink, lilac, mint and butter yellow bloom into a soft pastel rainbow, gentler than the primary version but just as colorful. Over a milky base, brush thin blooming gel, leave it uncured, then swirl the pastels together with a detail brush and let them diffuse at the seams. The muted tones stay dreamy and cohesive as they blend, so the set reads calm rather than busy. It suits spring, Easter and anyone who wants color without brights. Cure for thirty to sixty seconds and finish with a glossy top coat for a candy sheen.
Who it suits: Anyone wanting soft, dreamy color for spring.
Tip: Pastels can look weak - use two coats of color base first so the bloom has body.
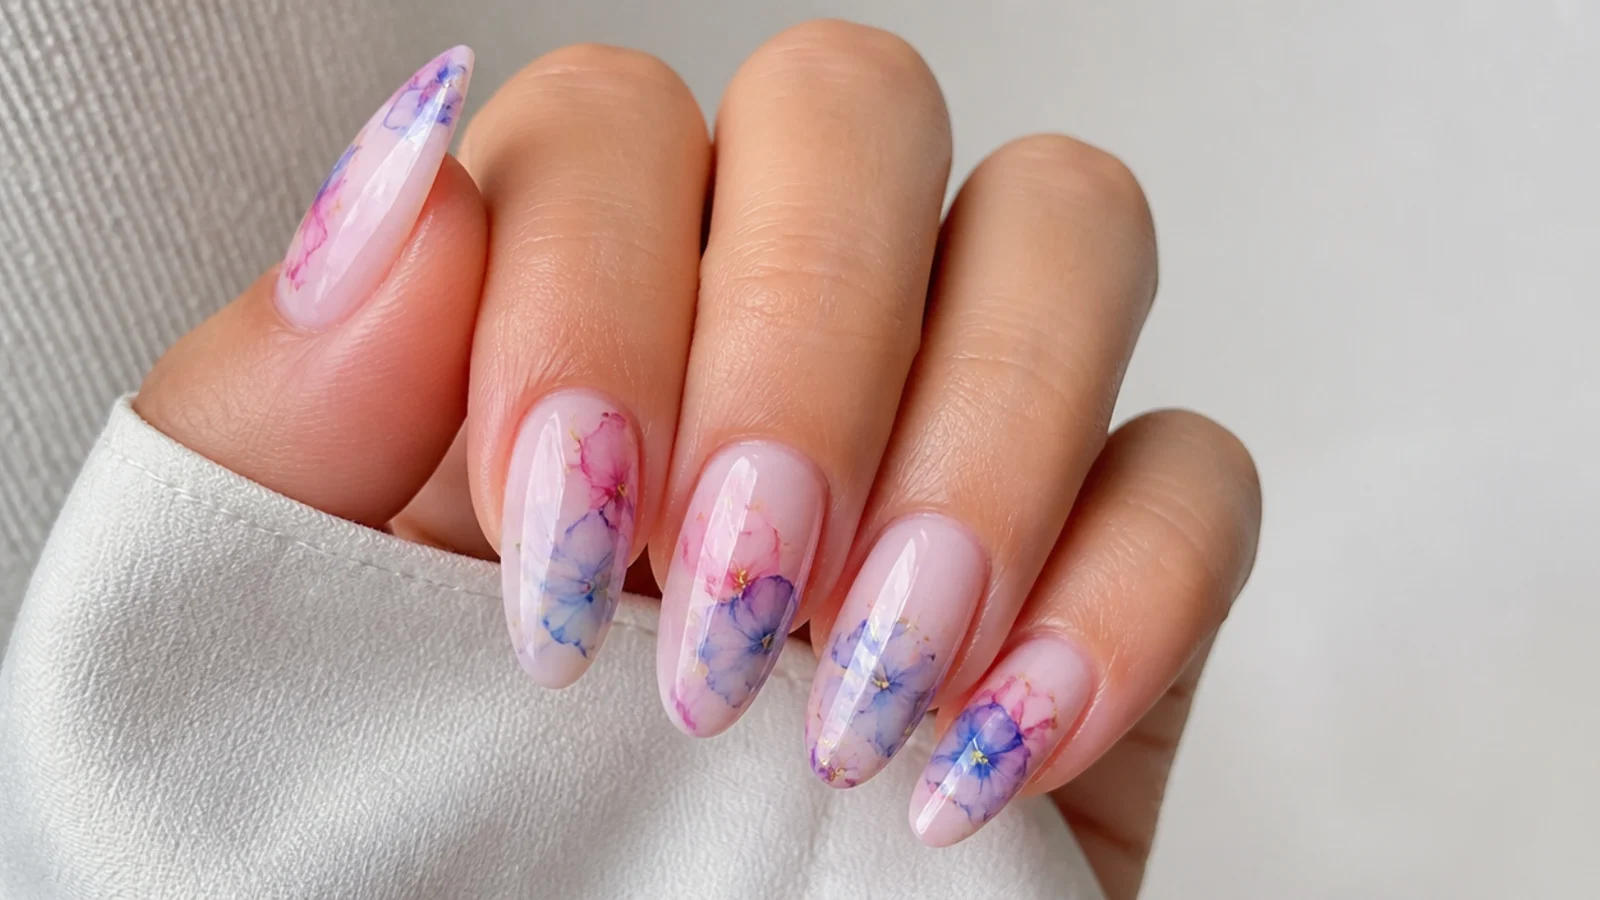
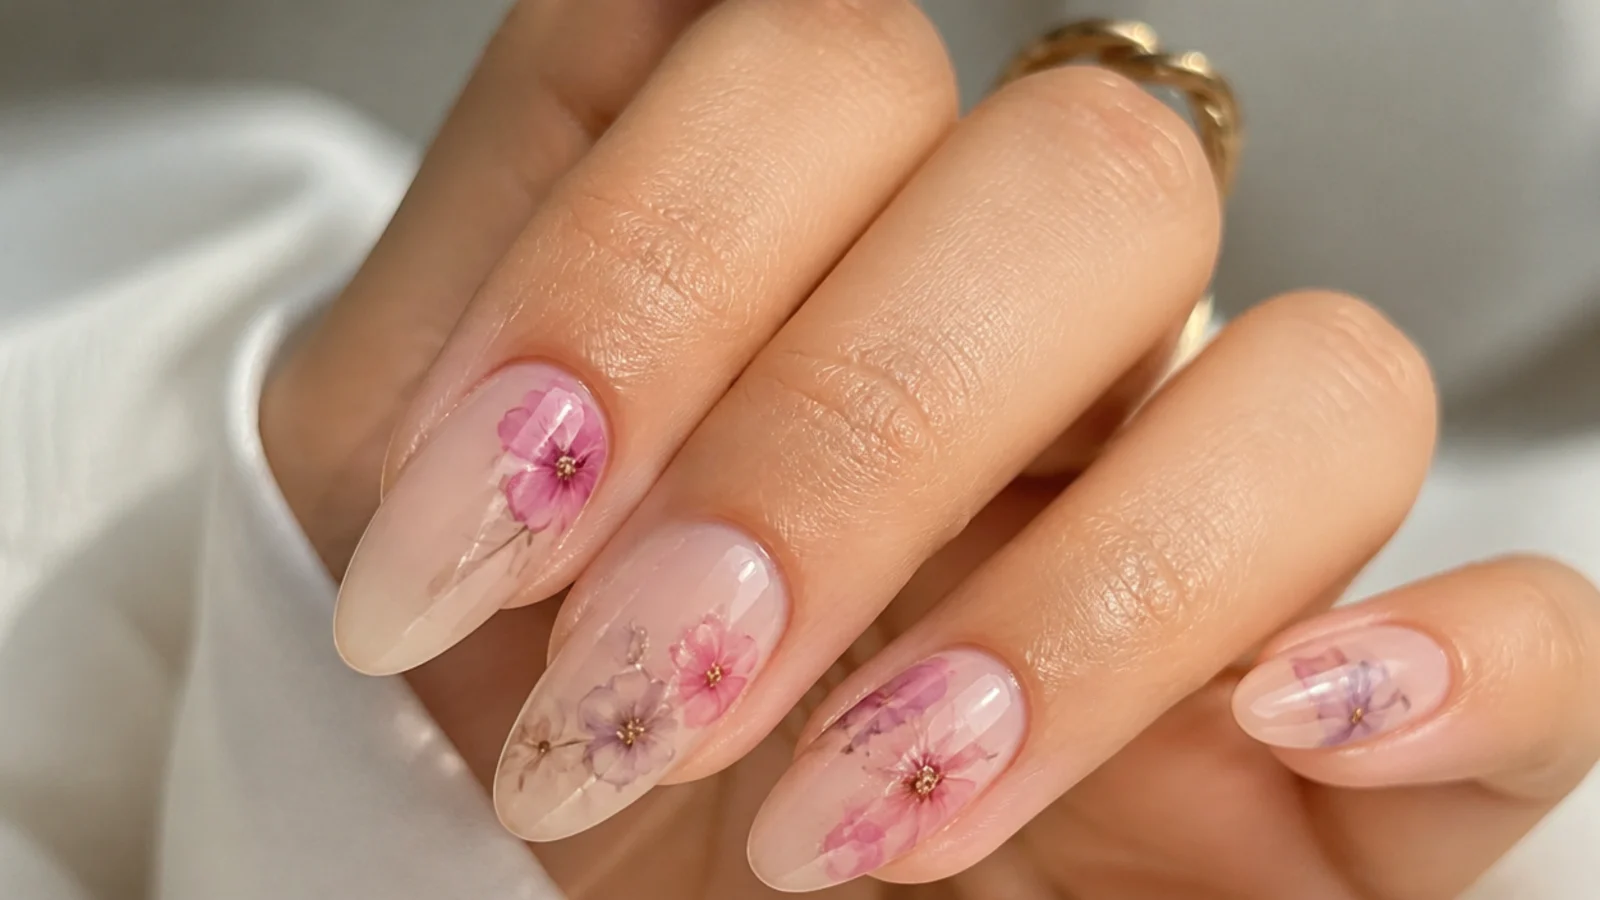
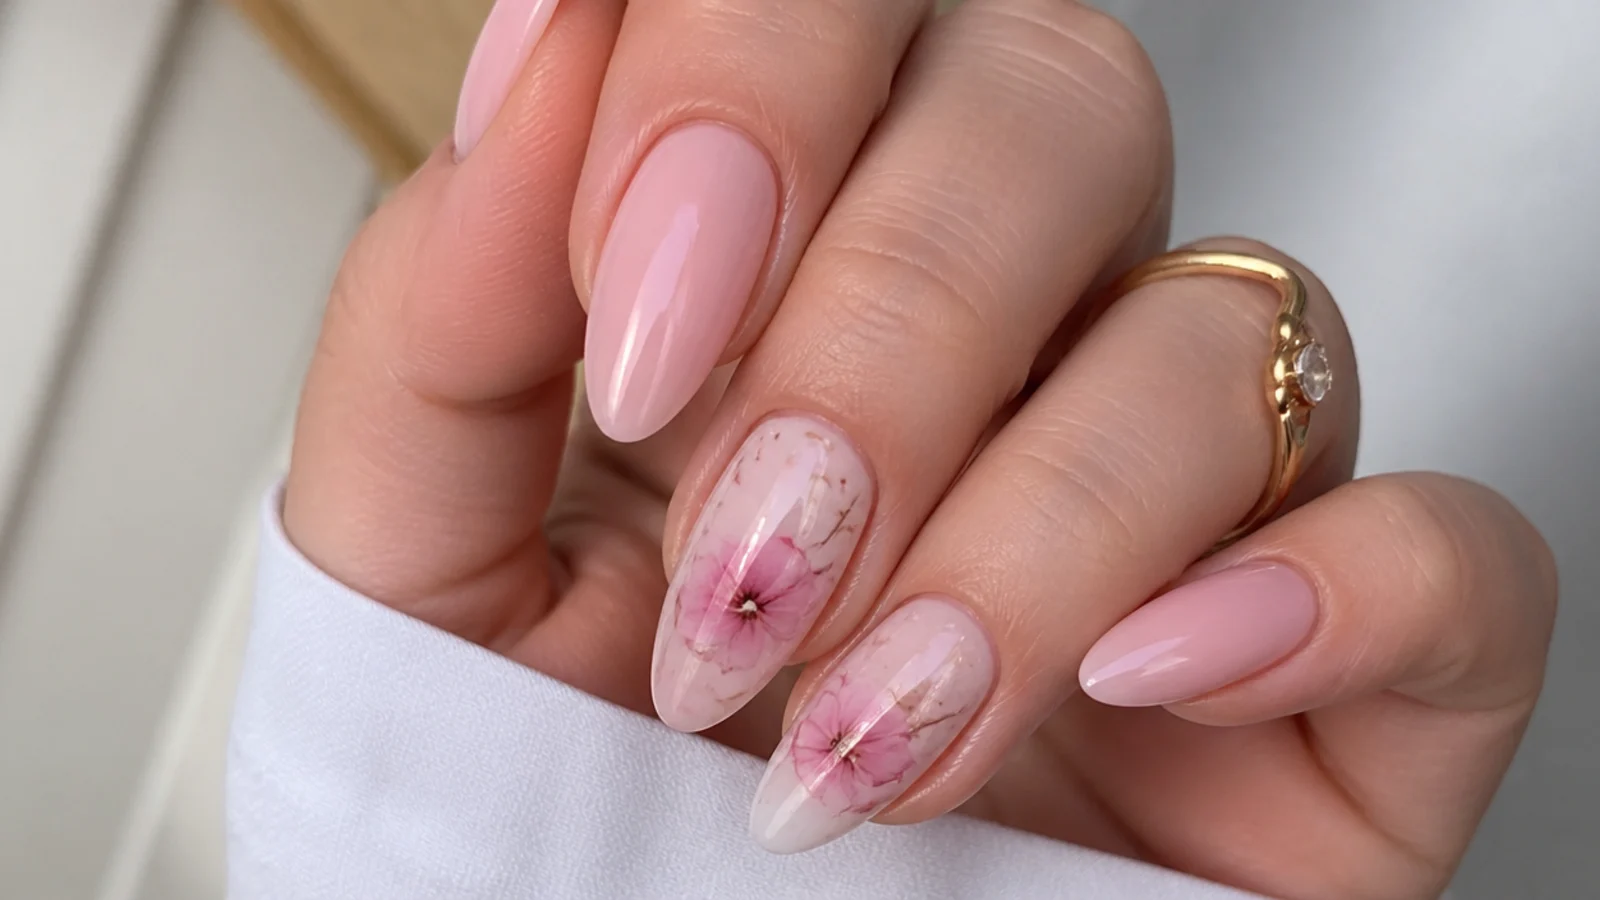
7. Multicolor Watercolor Floral
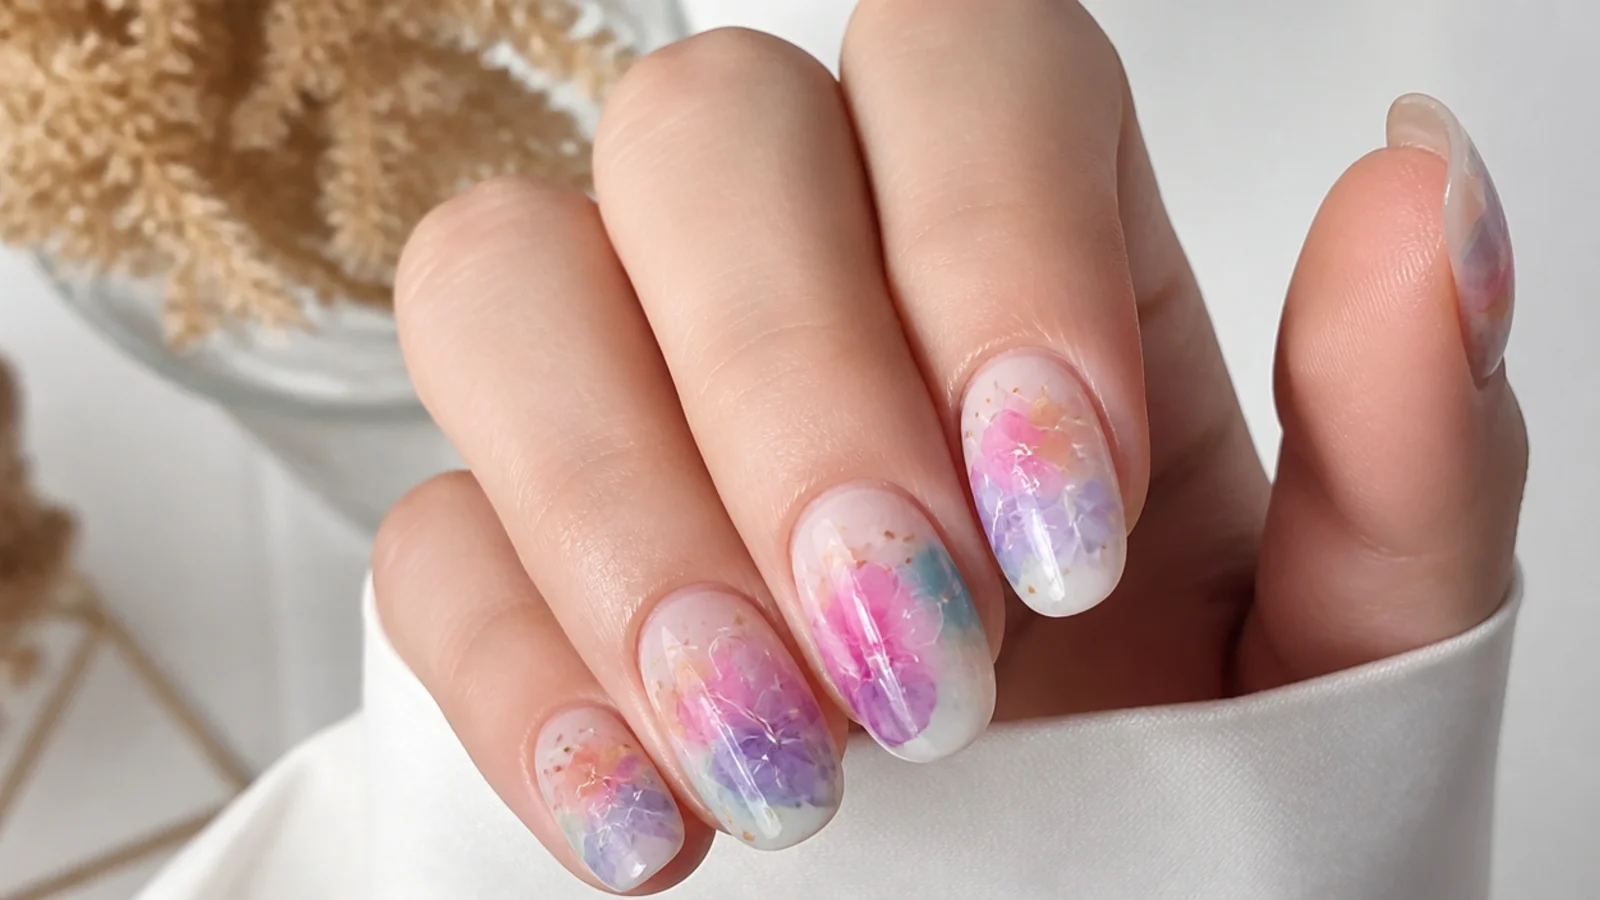
Diffused flowers in pink, purple and blue bloom across a white base, the petals softening into watercolor shapes with no outlines. Brush thin blooming gel, leave it uncured, then drop color where each petal center sits and let it bloom outward into a soft flower; add a green dot for leaves. The gel spreads the color into organic petal shapes so you do not need to paint them. It is the signature blooming gel look in full color. Cure, then dot bright centers on top and cure again for definition.
Who it suits: Anyone wanting the classic bloom in bright florals.
Tip: Drop color at the petal center and let it spread outward - the bloom paints the petal.
8. Colorful Bloomed Tips
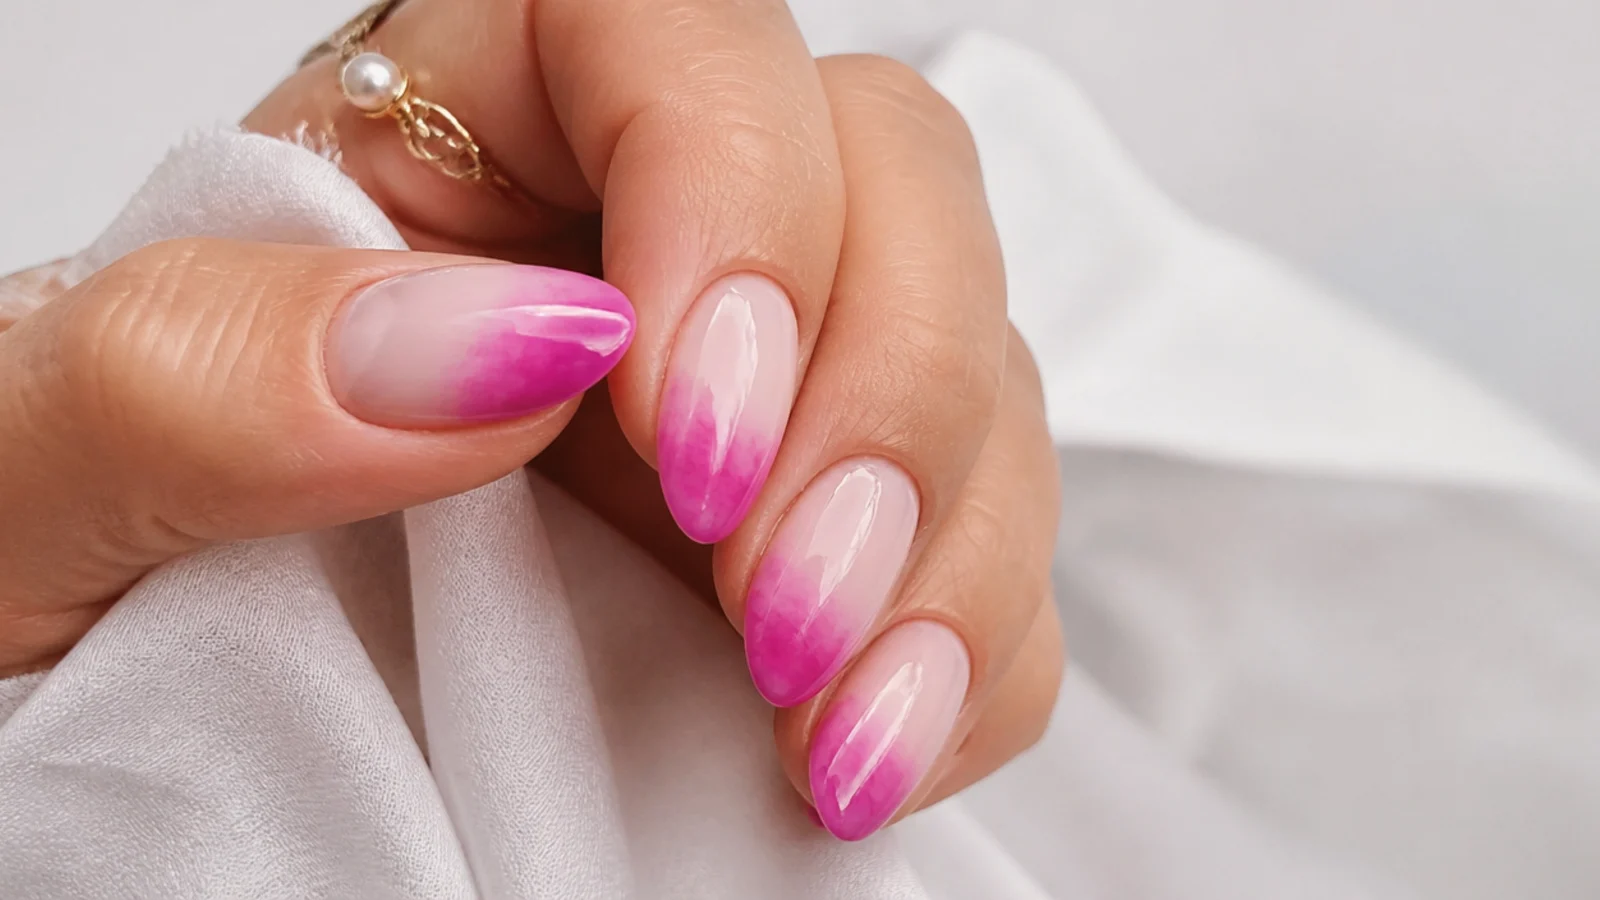
Bright color blooms only at the tips over a clear or nude base for a soft, colorful French that fades toward the cuticle. Brush thin blooming gel across the nail, leave it uncured, then draw color along the free edge and let it bleed inward into a diffused tip with no crisp line. Each nail can take a different color for a rainbow-tip set. It is fresh, modern and office-friendly since the color stays contained. Cap the free edge with color and top coat so the bright tip resists chipping.
Who it suits: Anyone wanting subtle color in a French shape.
Tip: Draw color on the free edge and let it bleed inward for a soft, lineless French.
9. Galaxy Bloom
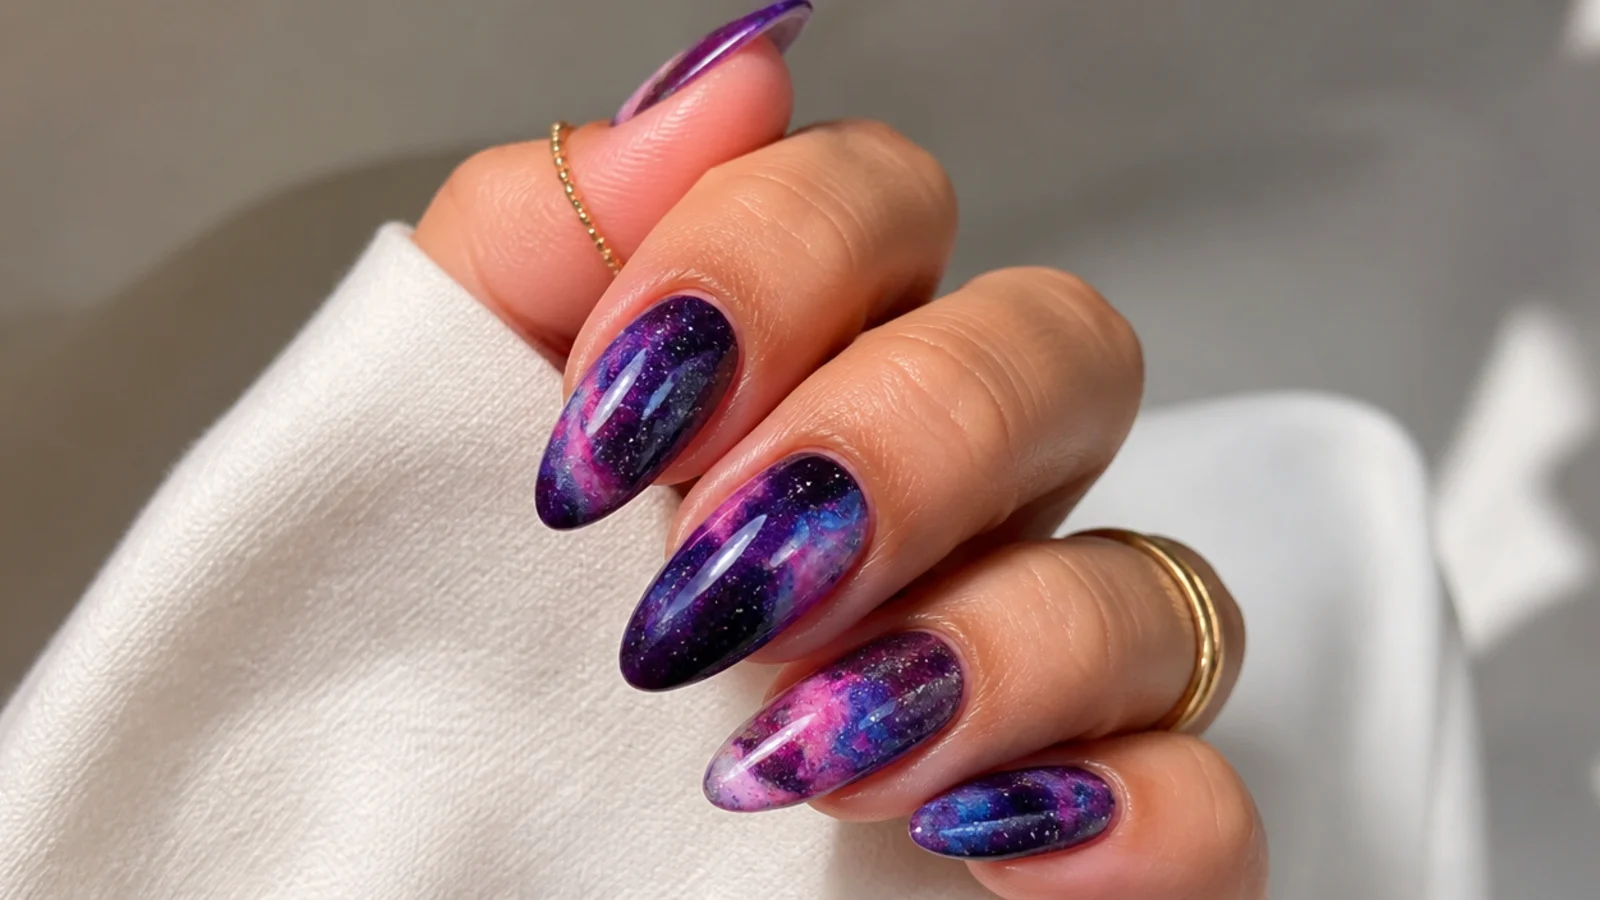
Deep purple, blue and magenta bloom over a black base for a cosmic, nebula-like set, the colors glowing where they diffuse. Brush thin blooming gel over the cured black, leave it uncured, then drop the brights and let them spread into cloudy galaxy shapes; a black base makes the colors luminous. Build a second layer to deepen the nebula, curing between. Add tiny white dots after curing for stars. It is dramatic, artistic and perfect for night out or New Year. Seal well so the dark base does not show wear.
Who it suits: Anyone wanting a dramatic, cosmic set.
Tip: A black base makes bright blooms glow; add white star dots only after curing.
10. Coral and Teal Bloom
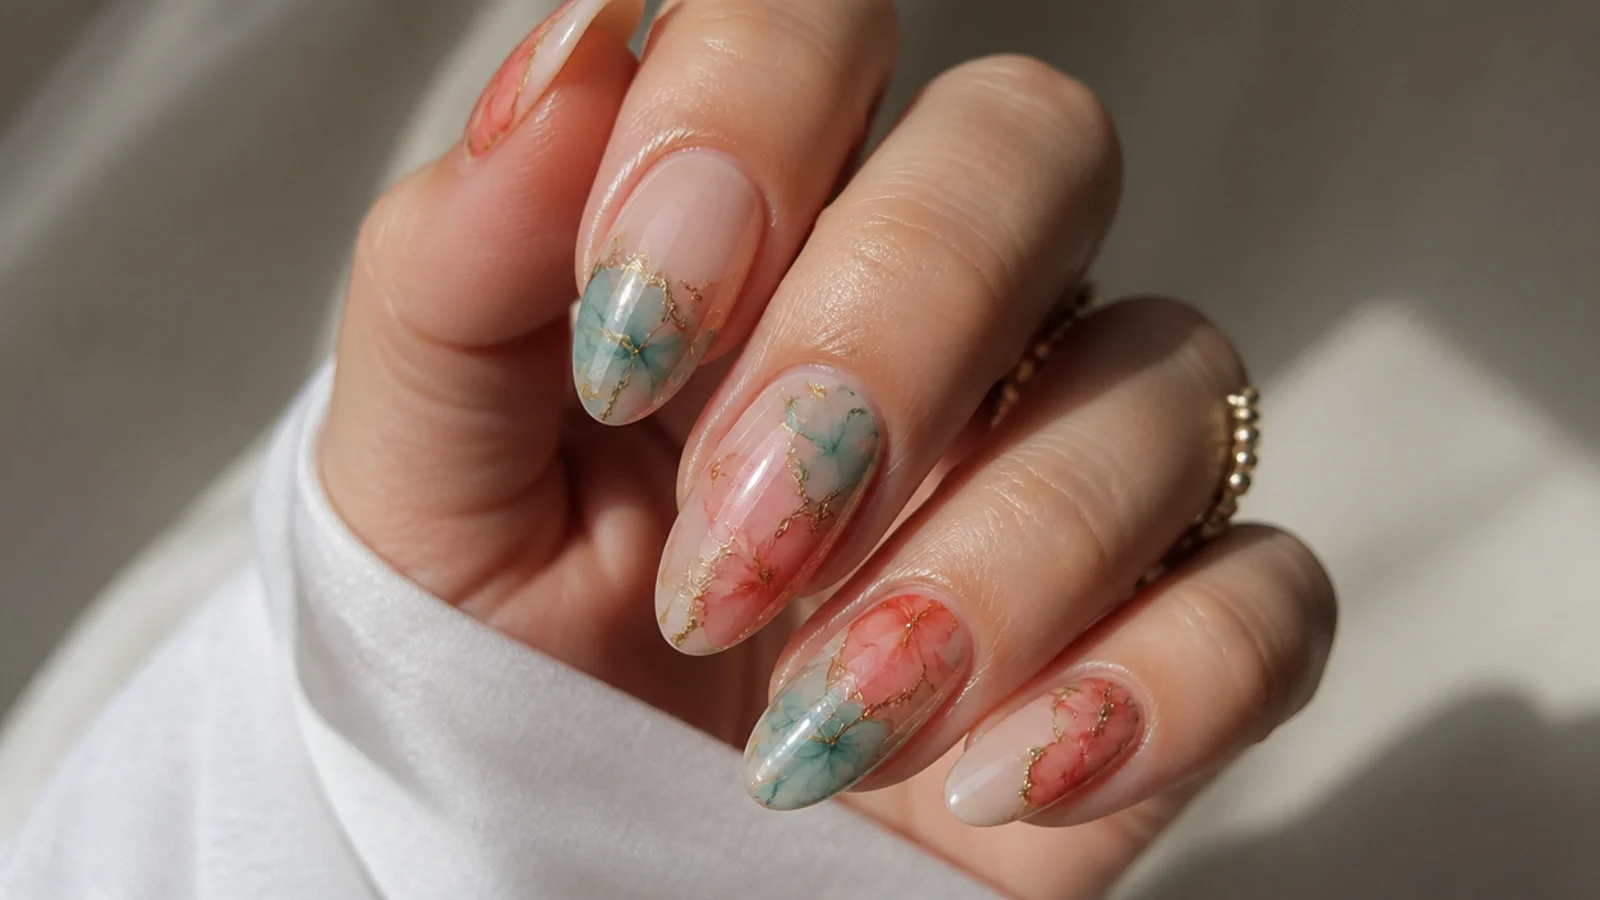
Coral and teal bloom side by side over a cream base, the warm and cool tones diffusing into a fresh, retro color pairing. Brush thin blooming gel, leave it uncured, then place coral on one side and teal on the other and let them meet in a soft blended seam. The complementary contrast stays balanced because the bloom blurs the boundary rather than clashing. It is summery, tropical and eye-catching. Keep the two colors roughly equal so neither overpowers, and cure for thirty to sixty seconds once they settle.
Who it suits: Anyone wanting a fresh, tropical color pairing.
Tip: Keep the two colors balanced so one does not bloom over and drown the other.
11. Hot Pink Marble
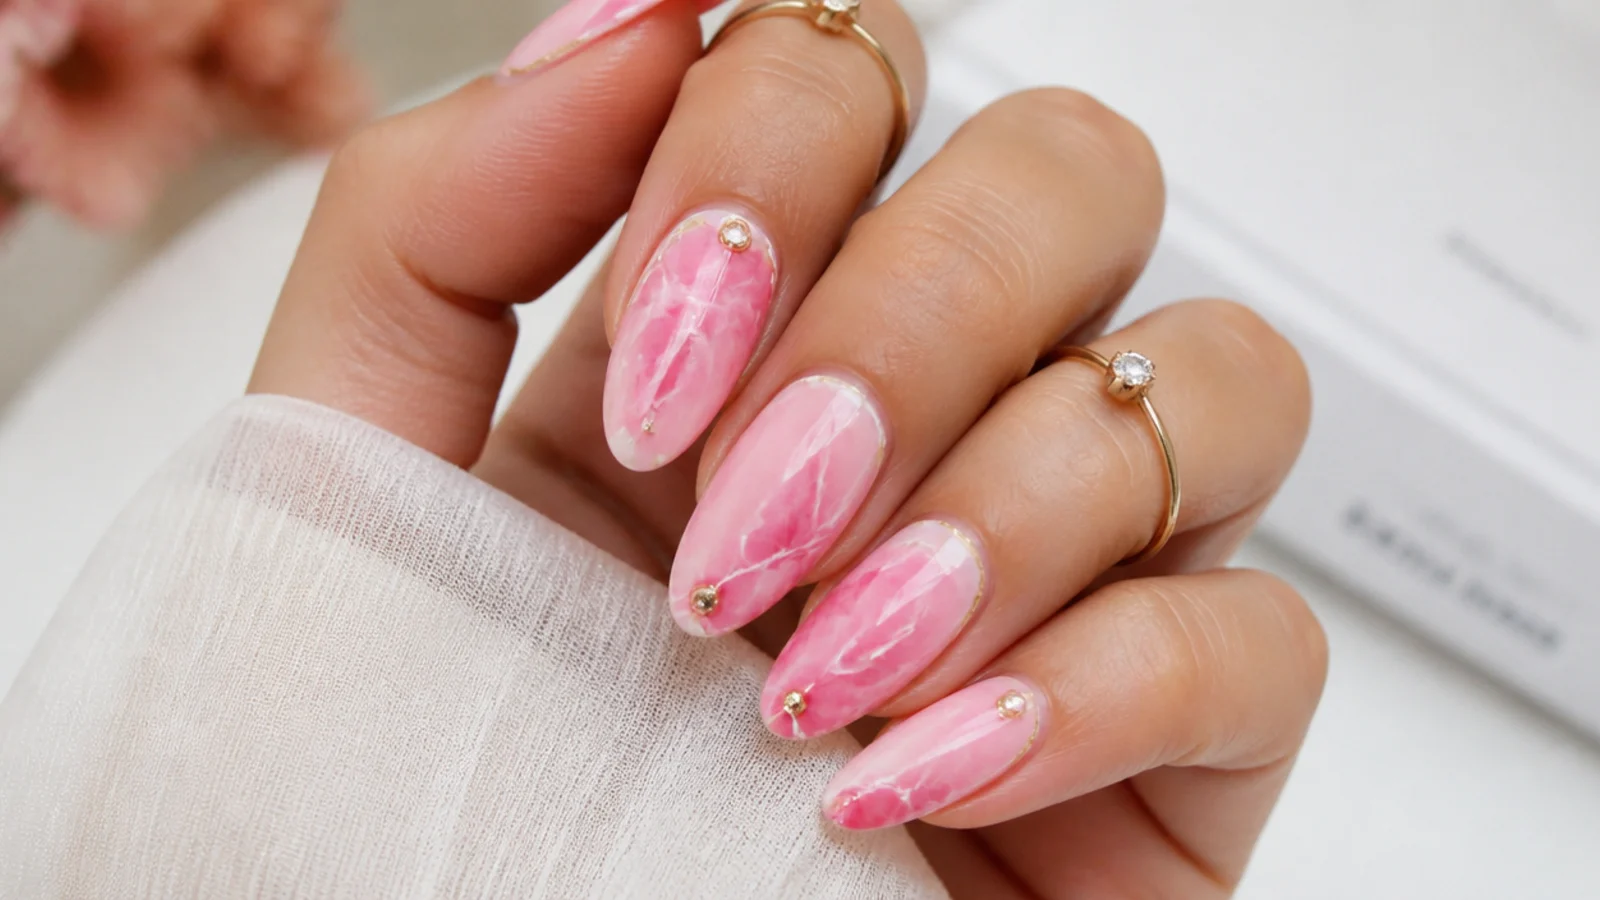
Hot pink veins bloom through a white base for a bright, girly marble with soft diffused edges. Brush thin blooming gel over the cured white, leave it uncured, then draw thin pink lines with a detail brush and let them feather into marble veins. Less color and a thinner gel layer keep the veining delicate; too much pink floods the white. It is fun, feminine and works on short or long nails. Build one extra vein layer if you want more drama, curing between, and finish with a high-gloss top coat.
Who it suits: Anyone wanting a bright, girly marble.
Tip: Draw thin lines and let them feather - flooding pink erases the white marble base.
12. Blurred Color Block
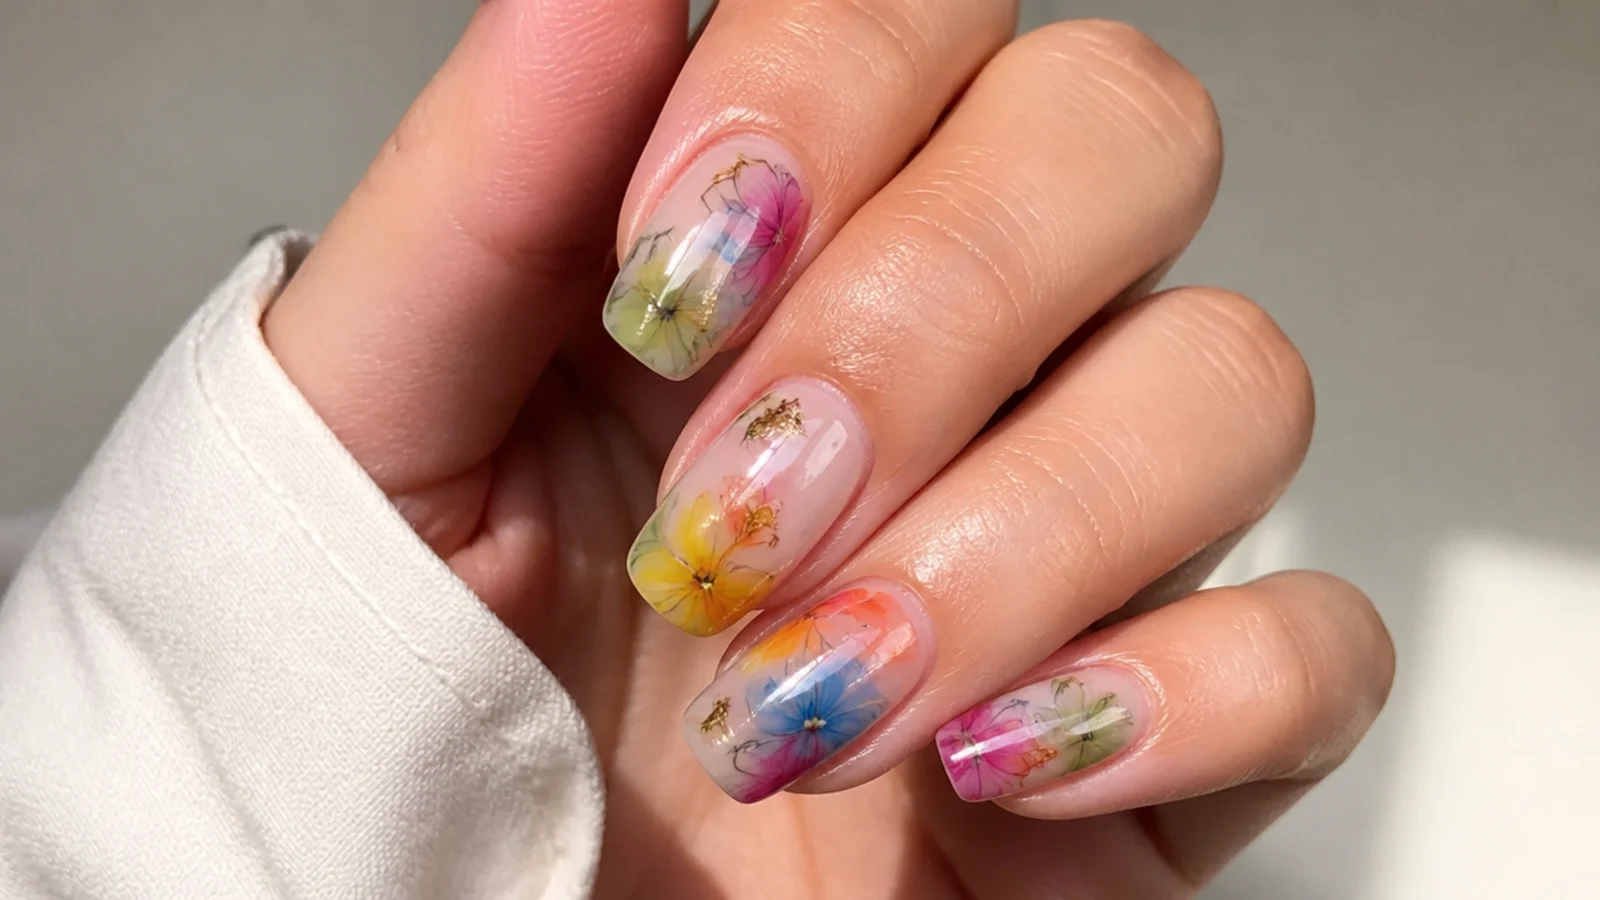
Bold blocks of red, blue and yellow bloom just enough to blur their edges, a modern take that sits between graphic and watercolor. Brush thin blooming gel, leave it uncured, then paint sections of each color and let them soften only at the borders rather than fully diffusing. A thicker gel layer here limits the spread so the blocks stay defined but never crisp. It is artsy, bold and Instagram-ready. Cure quickly once the edges blur to about the softness you want, before they bleed together completely.
Who it suits: Anyone wanting a bold, artsy modern set.
Tip: Use a slightly thicker gel layer so the blocks blur at the edges but hold their shape.
13. Emerald and Gold Bloom
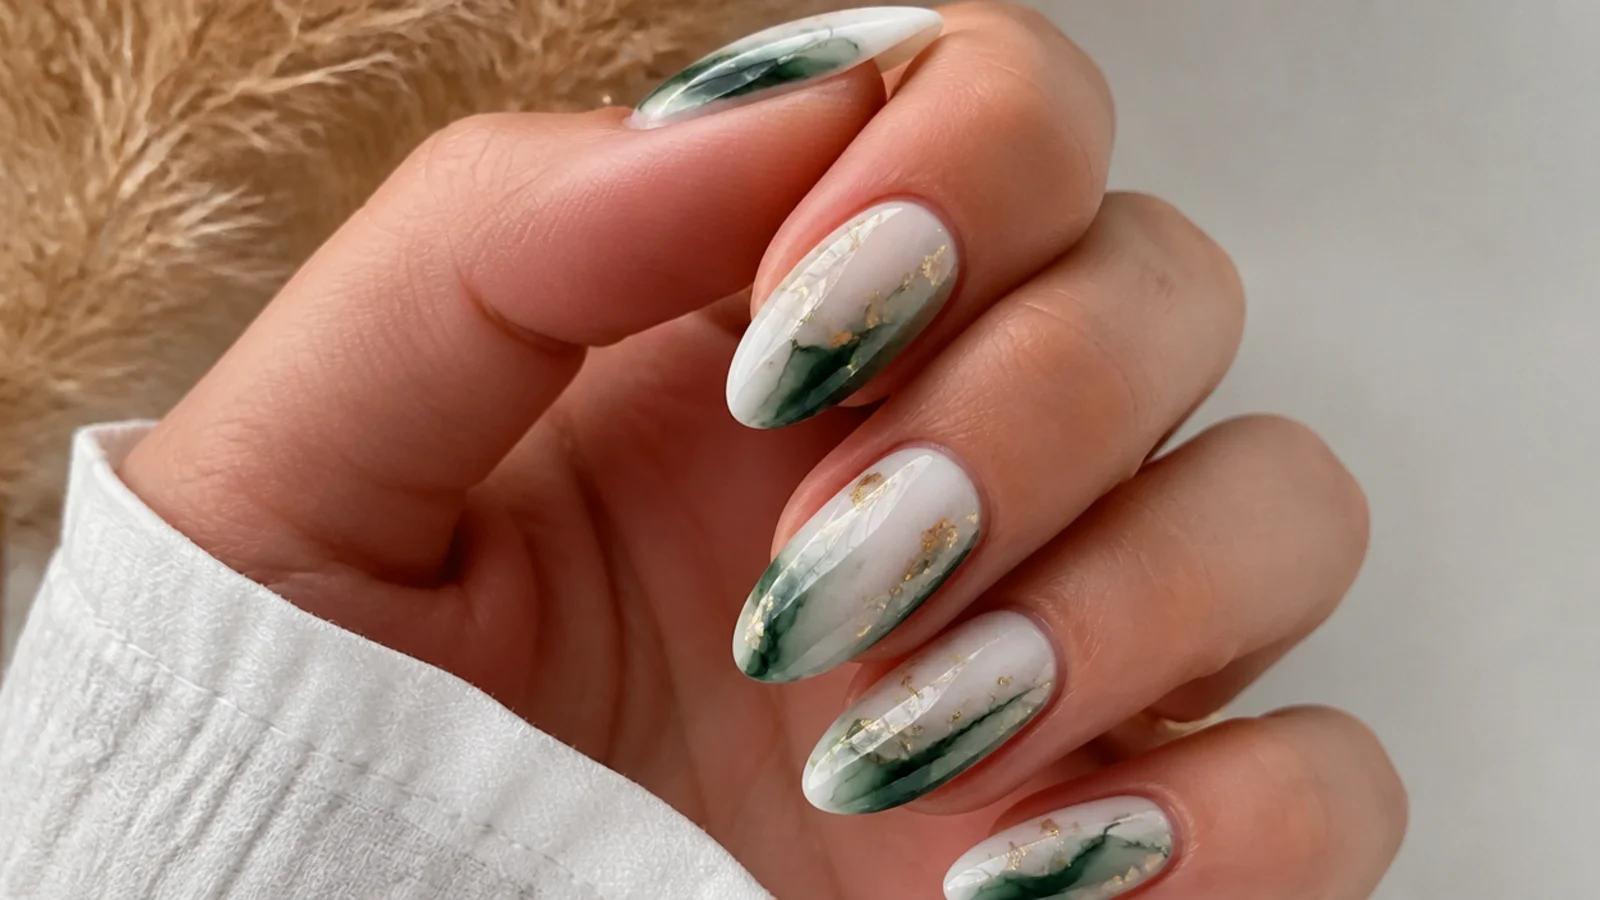
Emerald green blooms over a pale base and is finished with scattered gold flakes for a rich, festive set. Brush thin blooming gel, leave it uncured, drop the green and let it diffuse into soft pools, then cure. Once locked, press a few gold leaf flakes into a top layer of gel and cure again so they sit flush. The green stays soft-edged while the gold catches the light against it. It is luxe, holiday-ready and lovely for fall. Seal the flakes under no-wipe top coat so no edges lift.
Who it suits: Anyone wanting a rich, festive green set.
Tip: Add gold flakes in a separate cured layer so they do not disturb the bloom below.
14. Peach and Lavender Bloom
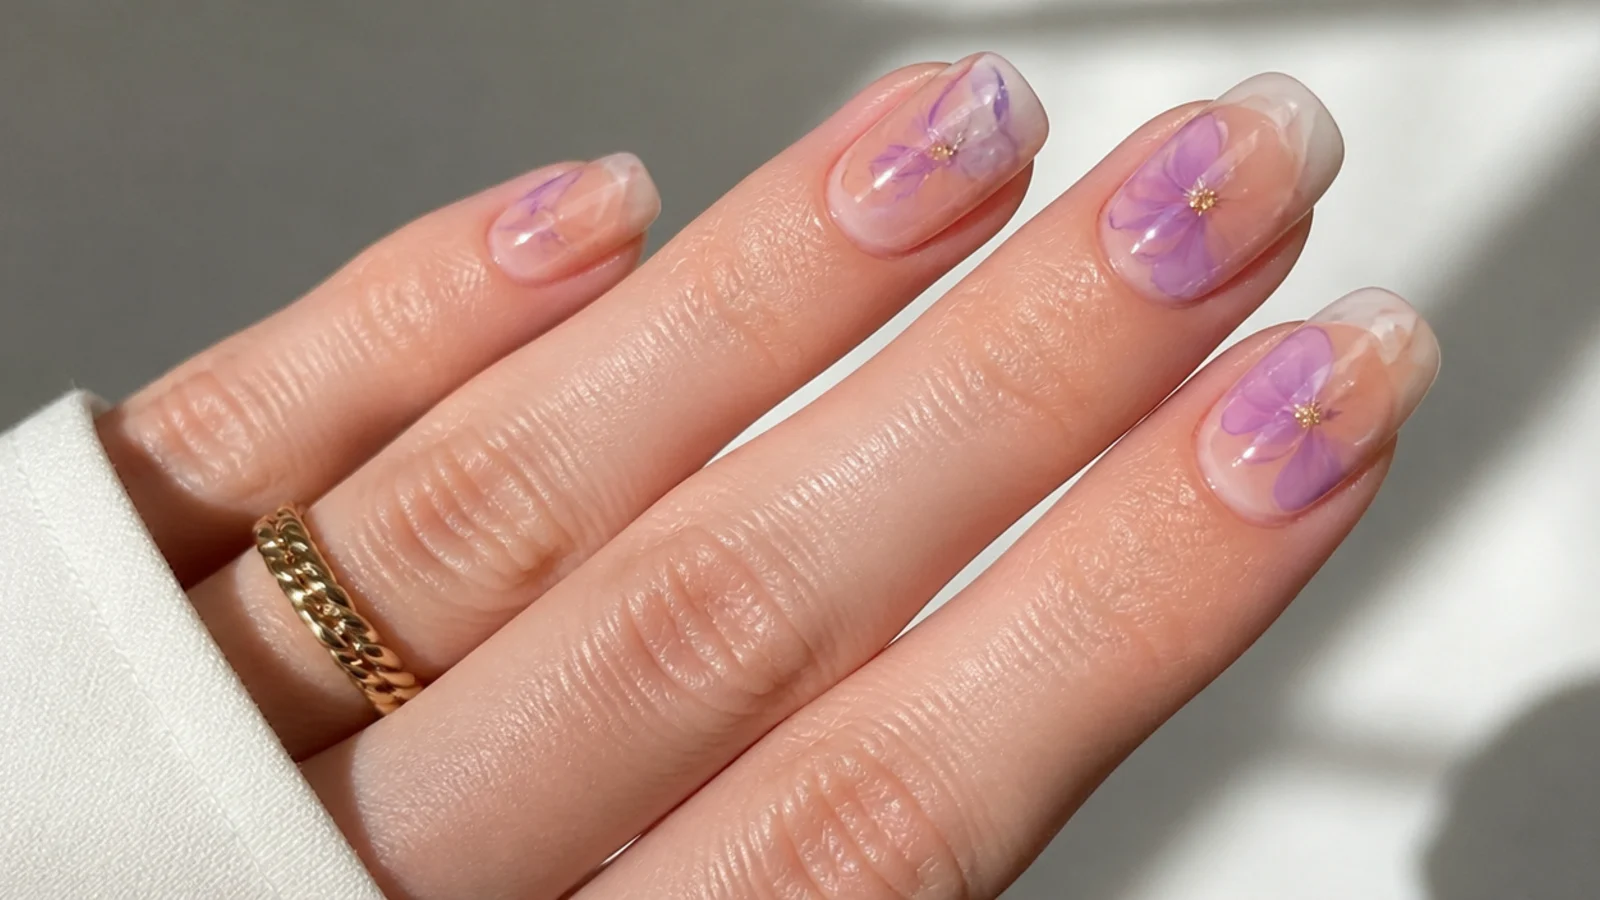
Peach and lavender bloom together over a milky base for a soft, romantic color pairing that stays gentle and wearable. Brush thin blooming gel, leave it uncured, then place peach and lavender in loose patches and let them diffuse into a dreamy blend. The muted brights keep the set pretty rather than loud, so it works for day and events alike. It flatters most skin tones and suits spring and bridal-adjacent looks. Cure for thirty to sixty seconds and finish glossy, or go matte for a powdery, modern finish.
Who it suits: Anyone wanting a soft, romantic color pairing.
Tip: Try a matte top coat here for a powdery finish that softens the brights further.
15. Primary Splatter Bloom
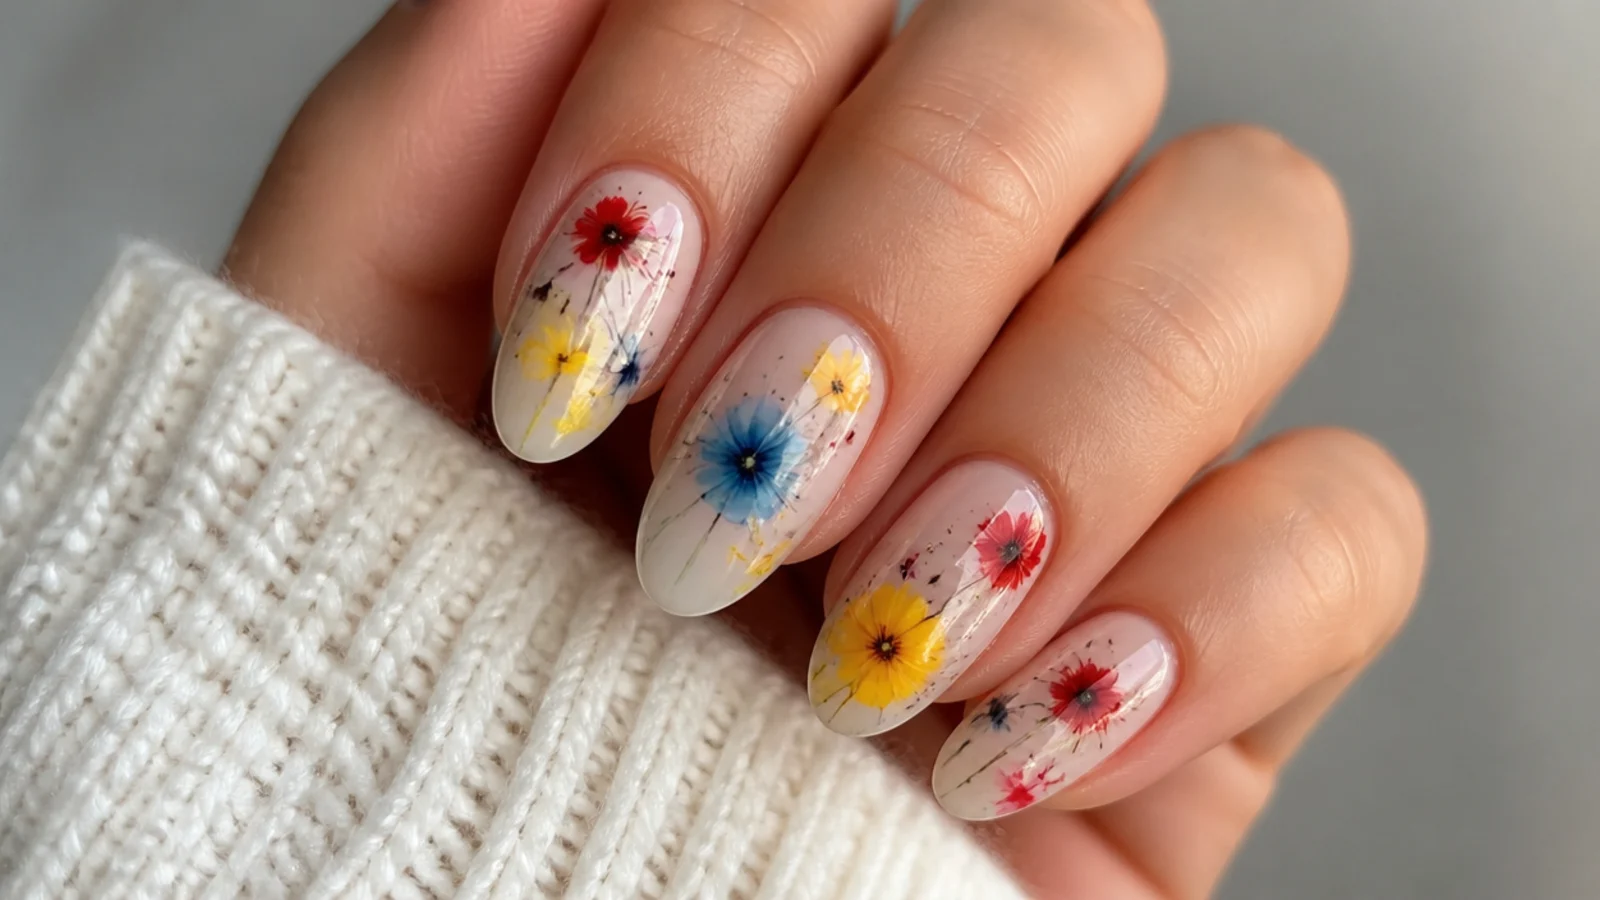
Small dots of red, yellow and blue bloom across a white base into a soft, splattered, art-class effect. Brush thin blooming gel, leave it uncured, then dot each primary color randomly and let them spread into feathered spots that occasionally overlap into secondary tones. Keeping dots small and spaced stops the colors merging into brown. It is playful, bold and great for short nails. Cure once the spots reach the size you like, then add a glossy top coat so the busy design stays smooth.
Who it suits: Anyone wanting a playful, primary-color set.
Tip: Keep dots small and spaced - overlapping primaries bloom into muddy brown.
16. Turquoise Ocean Bloom
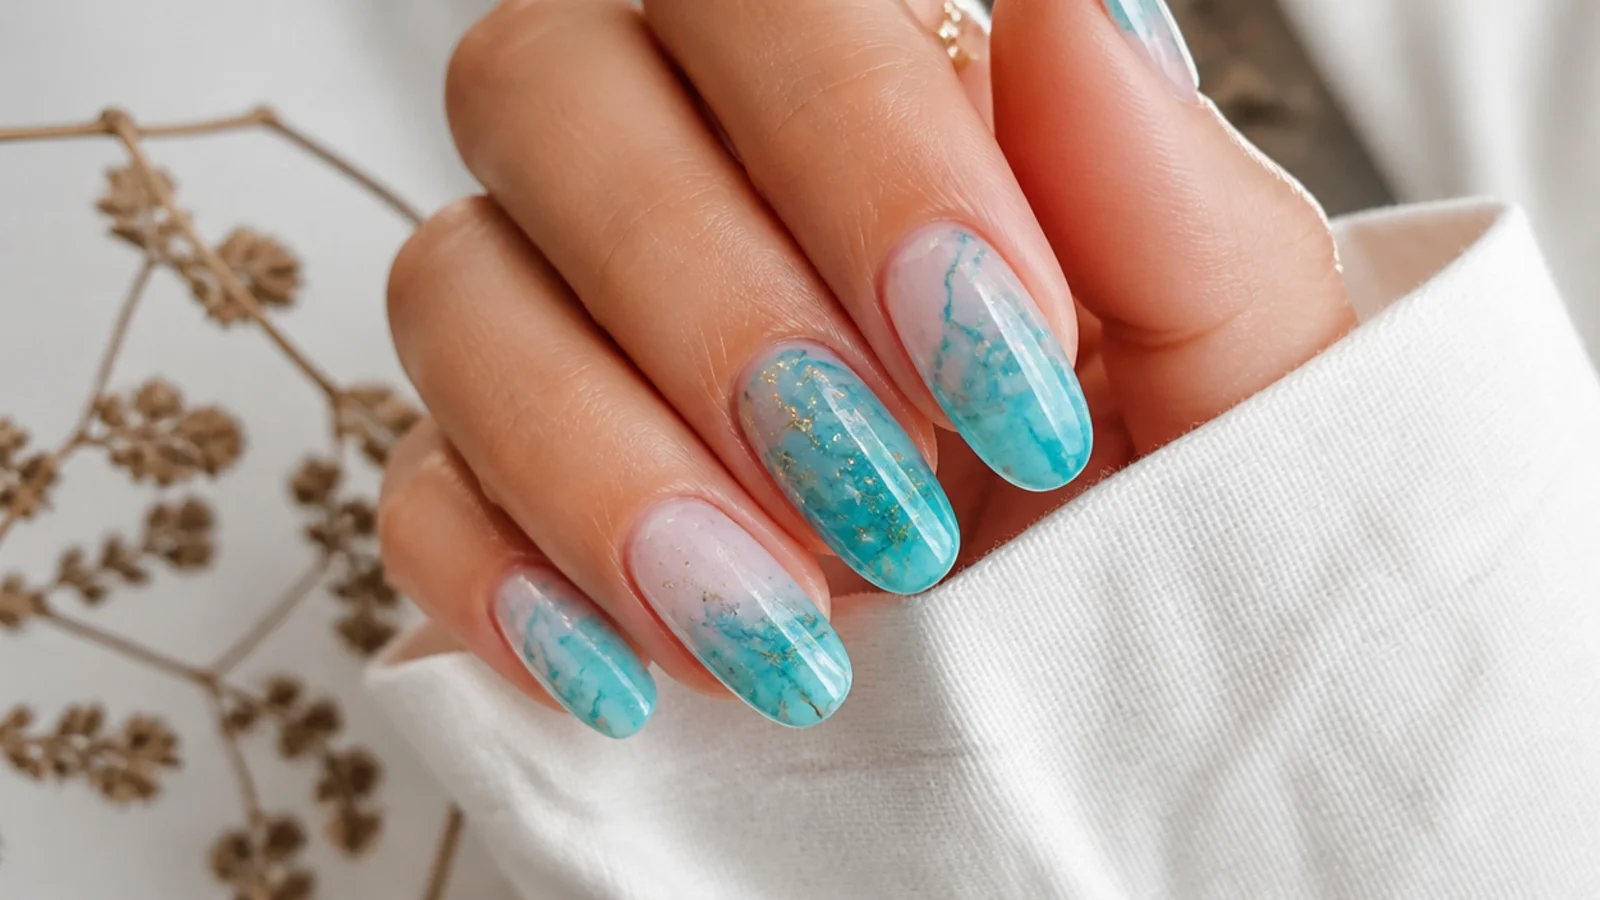
Turquoise and aqua bloom over a white base into soft, wavy shapes that read like clear ocean water. Brush thin blooming gel, leave it uncured, then draw loose turquoise waves and let them diffuse into cloudy, layered depth. Building two cured layers gives the water a sense of shallows and deep spots. Add a tiny white bloom for foam if you like. It is fresh, calming and made for summer and vacations. Cure each layer for thirty to sixty seconds and seal with a glossy top coat for a wet-look shine.
Who it suits: Anyone wanting a cool, ocean-inspired set.
Tip: Layer two cured passes of turquoise so the water looks deep rather than flat.
17. Multicolor Swirl Tips
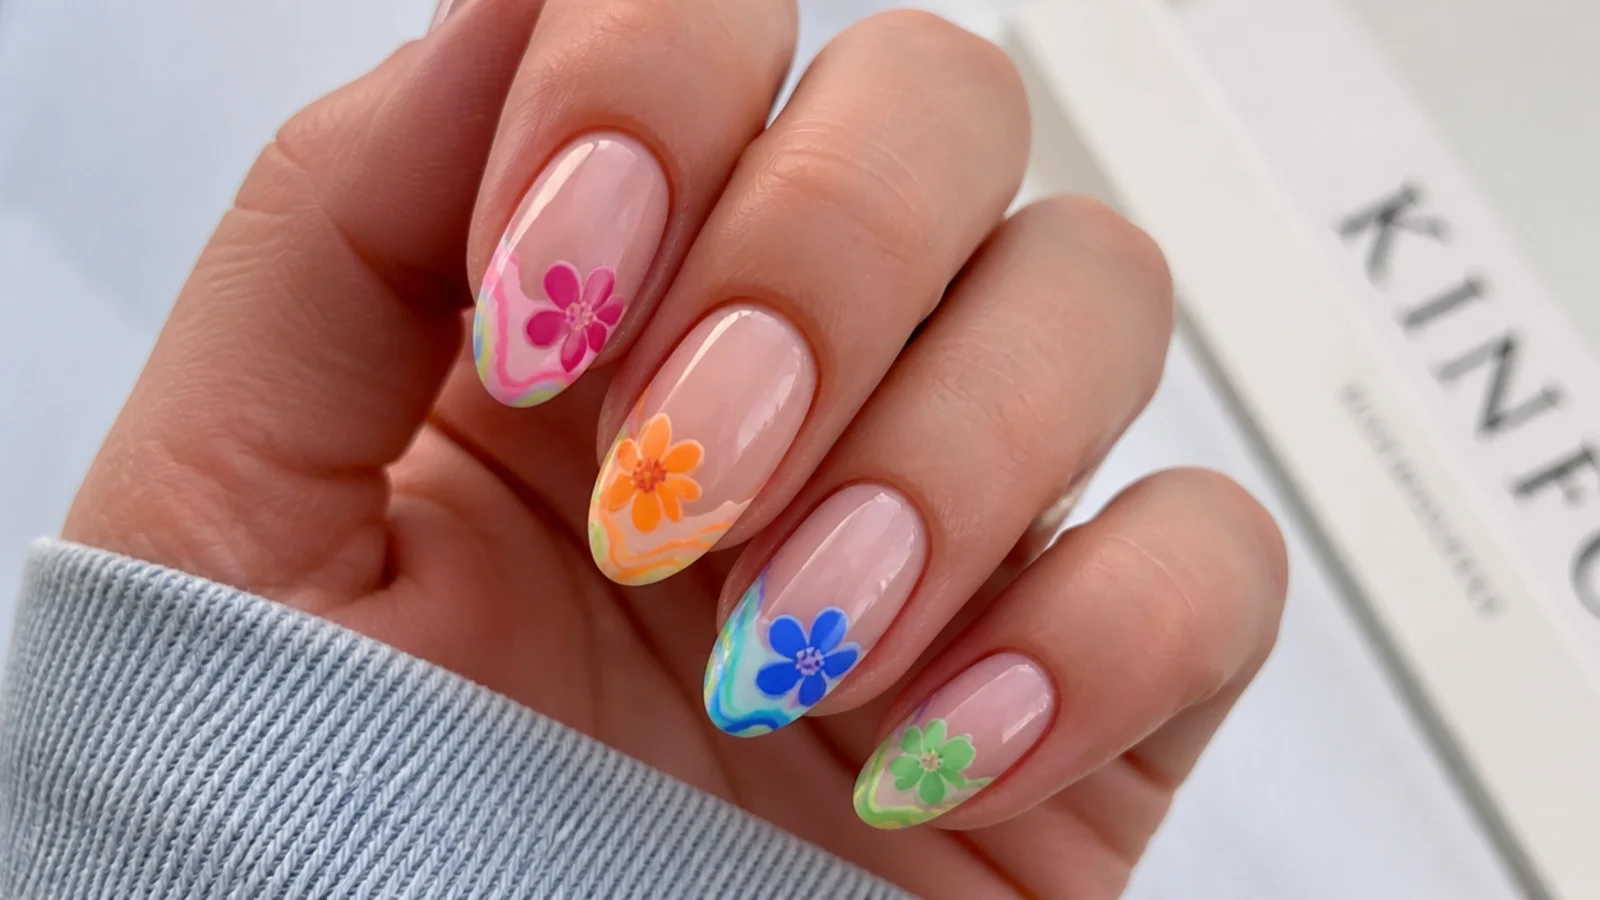
Bright swirls of pink, orange and purple bloom at the tips over a nude base for a colorful, soft-edged twist on swirl nails. Brush thin blooming gel, leave it uncured, then draw thin curving lines of each color near the tip and let them feather into diffused swirls. The bloom softens the swirl so it looks painterly rather than graphic. Each nail can swirl a different color combo. It is retro, fun and eye-catching. Cure for thirty to sixty seconds and cap the free edge so the tip color resists lifting.
Who it suits: Anyone wanting a retro, colorful swirl.
Tip: Draw the swirl lines thin and let the bloom soften them into watercolor curves.
18. Fiery Red and Orange
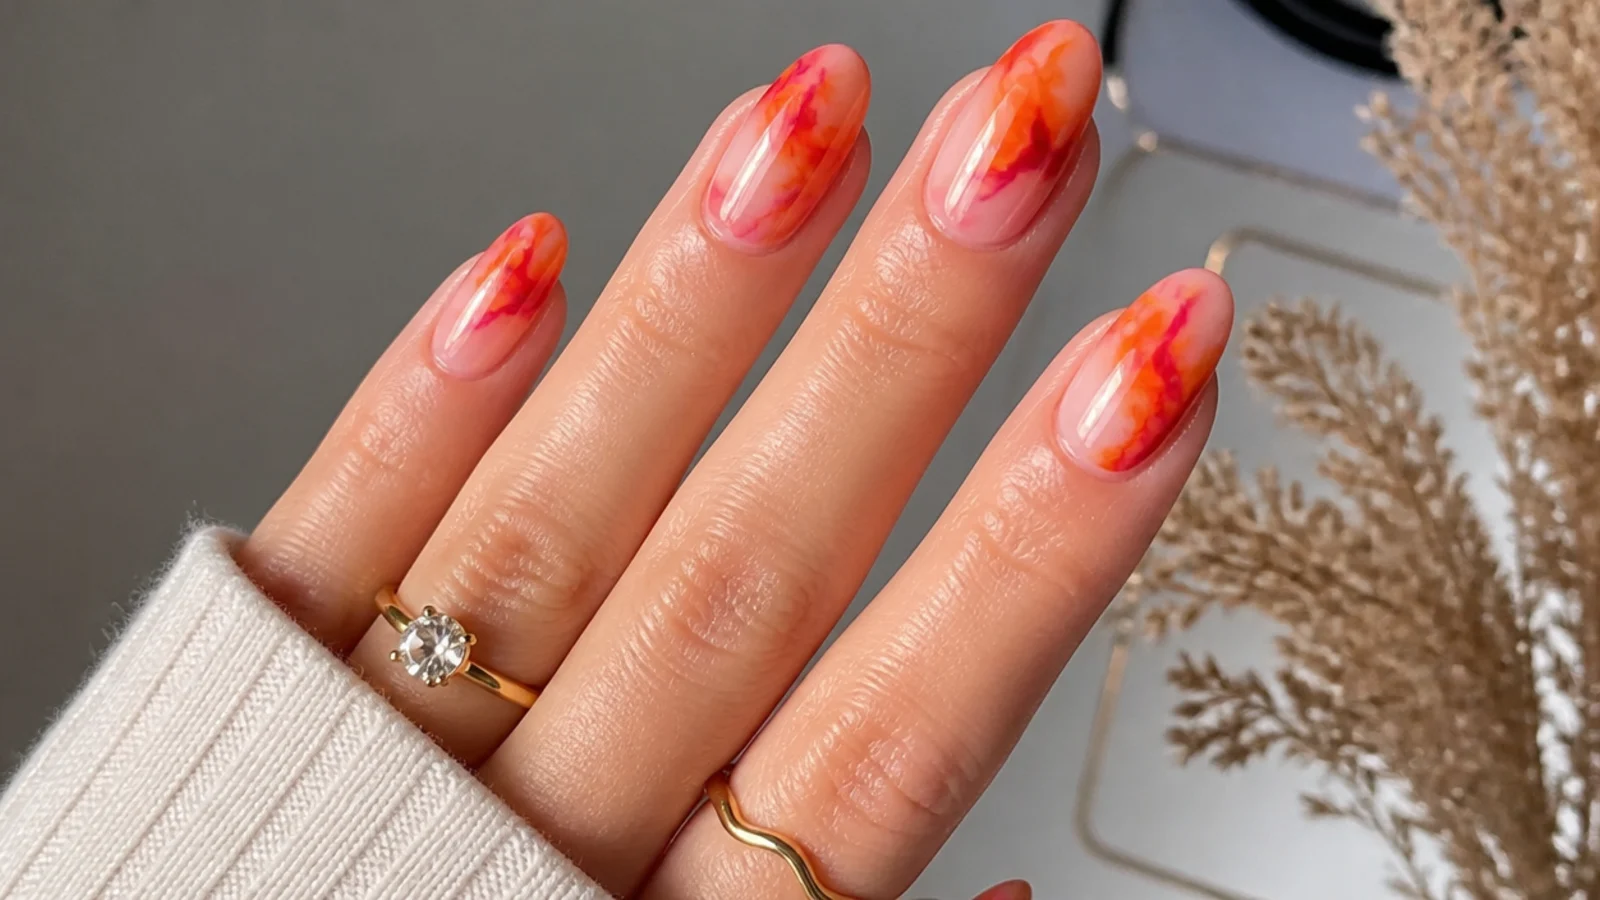
Red and orange bloom together over a yellow-cream base for a warm, fiery set that glows from tip to base. Brush thin blooming gel, leave it uncured, then draw red at the tip and orange below and let them bleed into flame-like shapes. The diffusion softens the flames so they look painted, not cartoonish. Building a second layer deepens the red for more heat, curing between. It is bold, warm and perfect for fall or a night out. Cap the free edge in red and seal so the bright tip stays chip-free.
Who it suits: Anyone wanting a warm, bold fall set.
Tip: Place red at the tip and orange below so the fade reads like flame, not a stripe.
19. Confetti Bloom
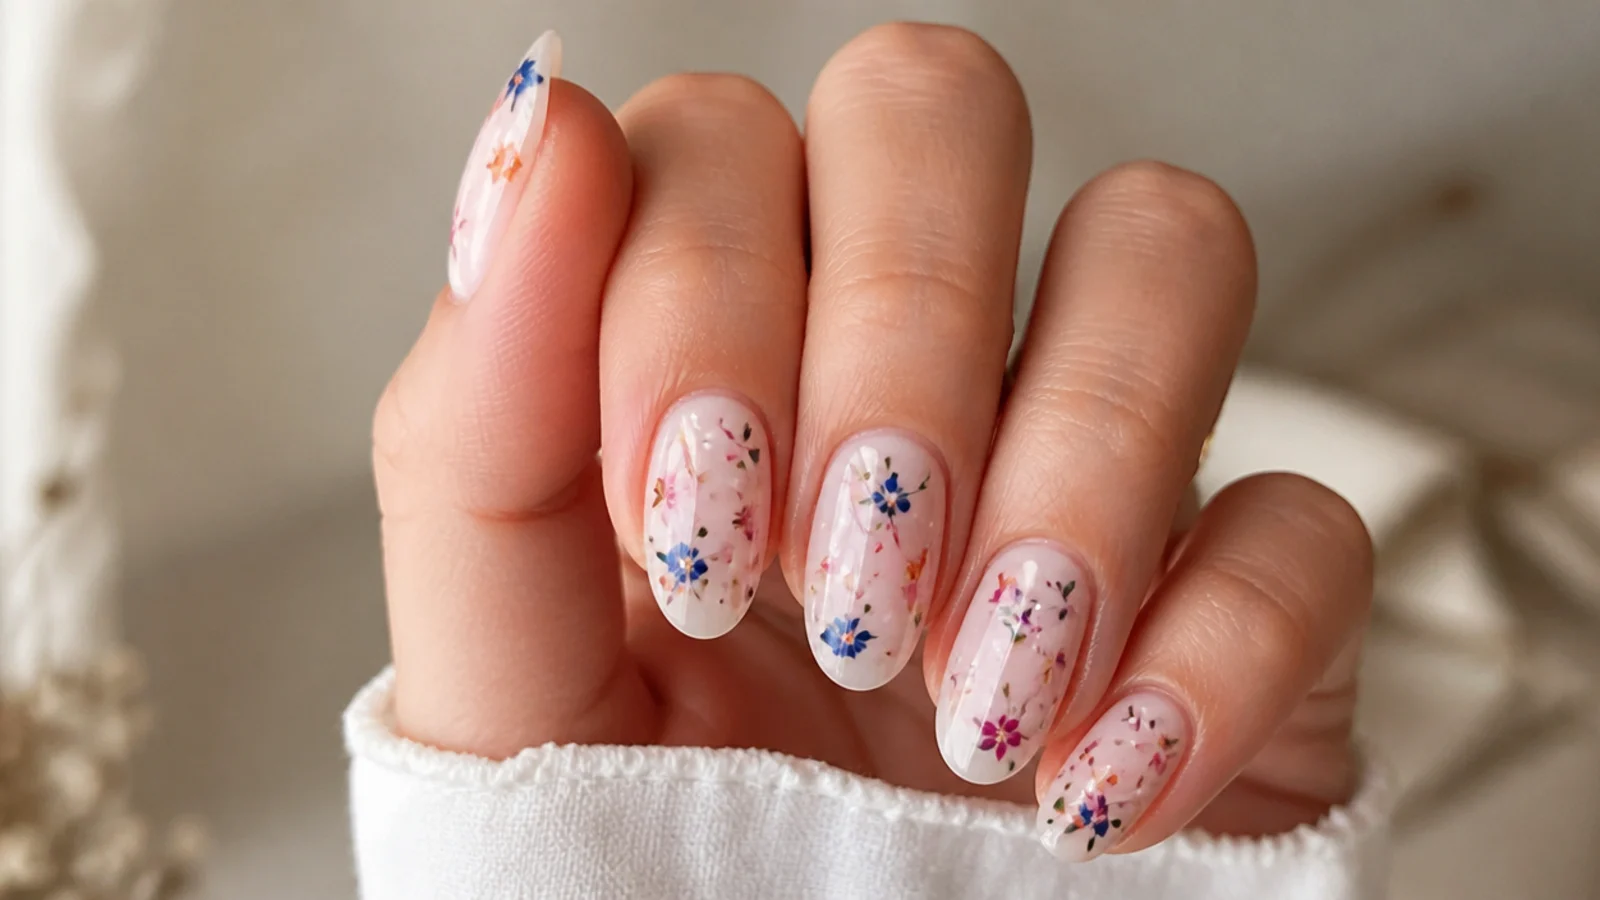
Tiny dots of every bright color bloom across a white base into a soft, scattered confetti effect made for celebrations. Brush thin blooming gel, leave it uncured, then place small dabs of pink, blue, green, yellow and purple all over and let each spread into a little colored halo. Keeping the dots small and well spaced stops them merging. It is festive, fun and ideal for birthdays and New Year. Cure once the confetti spreads, then add clear glitter in a top layer if you want extra sparkle, curing again.
Who it suits: Anyone wanting a festive, celebratory set.
Tip: Space the dots so each blooms into its own halo instead of merging into a blur.
20. Bright Single-Color Marble
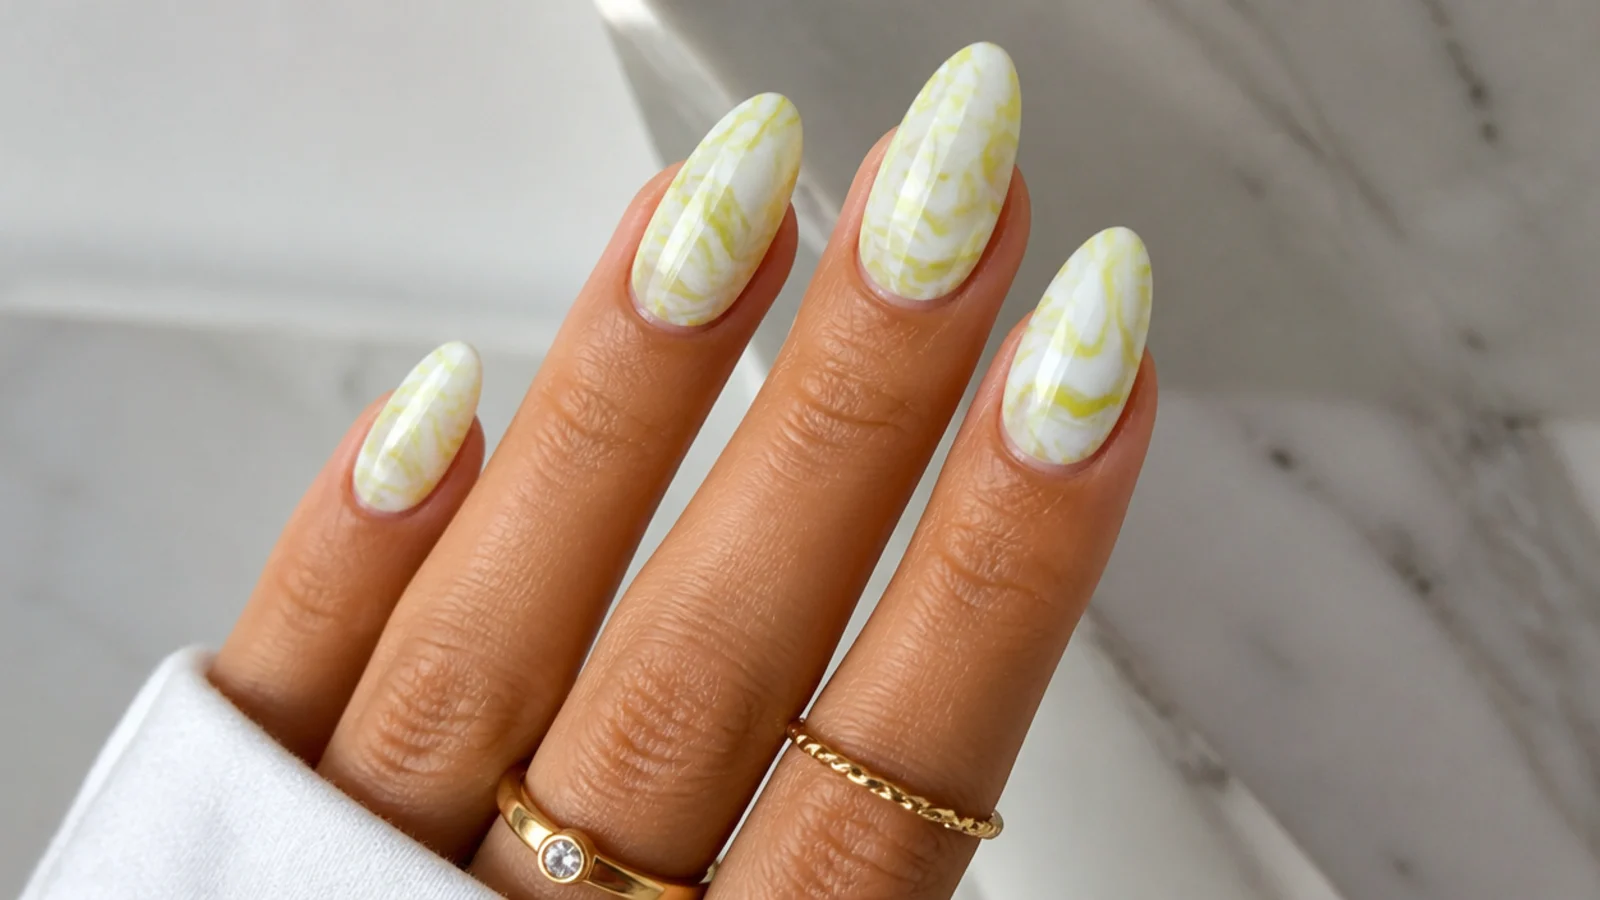
One bright color - electric blue, magenta or lime - blooms into a white base for a bold, tonal marble that is colorful but cohesive. Brush thin blooming gel over the cured white, leave it uncured, then draw fine veins of your single color and let them feather into soft marble against the white. Sticking to one bright shade keeps the set graphic and easy to wear day to day. It suits anyone who wants color without a full rainbow. Build a second vein layer for depth, curing between, and finish with a high-gloss top coat.
Who it suits: Anyone wanting bold color that stays cohesive.
Tip: One bright shade over white gives colorful impact without the muddiness of mixing.
What Is Blooming Gel and How Does It Work
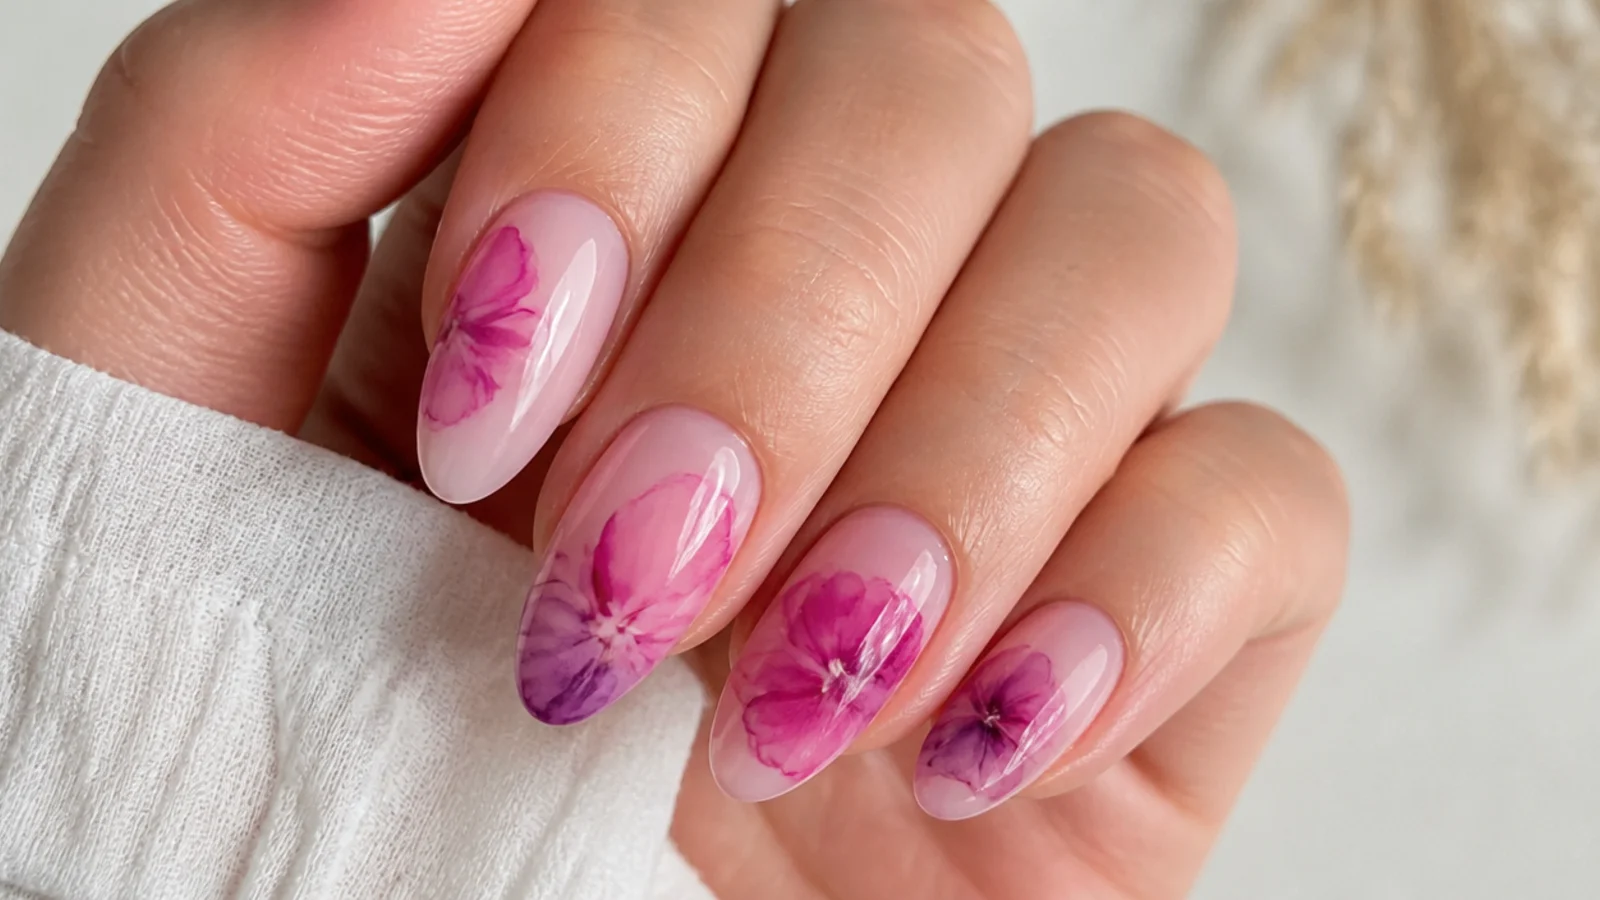
Blooming gel is a clear gel that makes gel color spread and diffuse into soft, watercolor-like patterns instead of sitting where you place it. The technique is simple but timing-dependent: apply a thin layer of blooming gel over a cured color base and leave it uncured, then drop or draw gel color onto the wet blooming gel. Within seconds to about a minute the color blooms outward into soft, feathered shapes - flowers, marble, tie-dye - and you cure it under LED or UV to lock the pattern in place. The single most important rule is that curing the blooming gel before you add color kills the effect, because the color needs the wet, uncured gel to spread through. Control comes from the layer thickness and how much color you use: a thinner blooming-gel layer spreads color further, a thicker layer holds it back, and a little color goes a long way. It works best over a solid, cured base and under a no-wipe top coat.
How to Get Colorful Blooming Gel Nails at Home
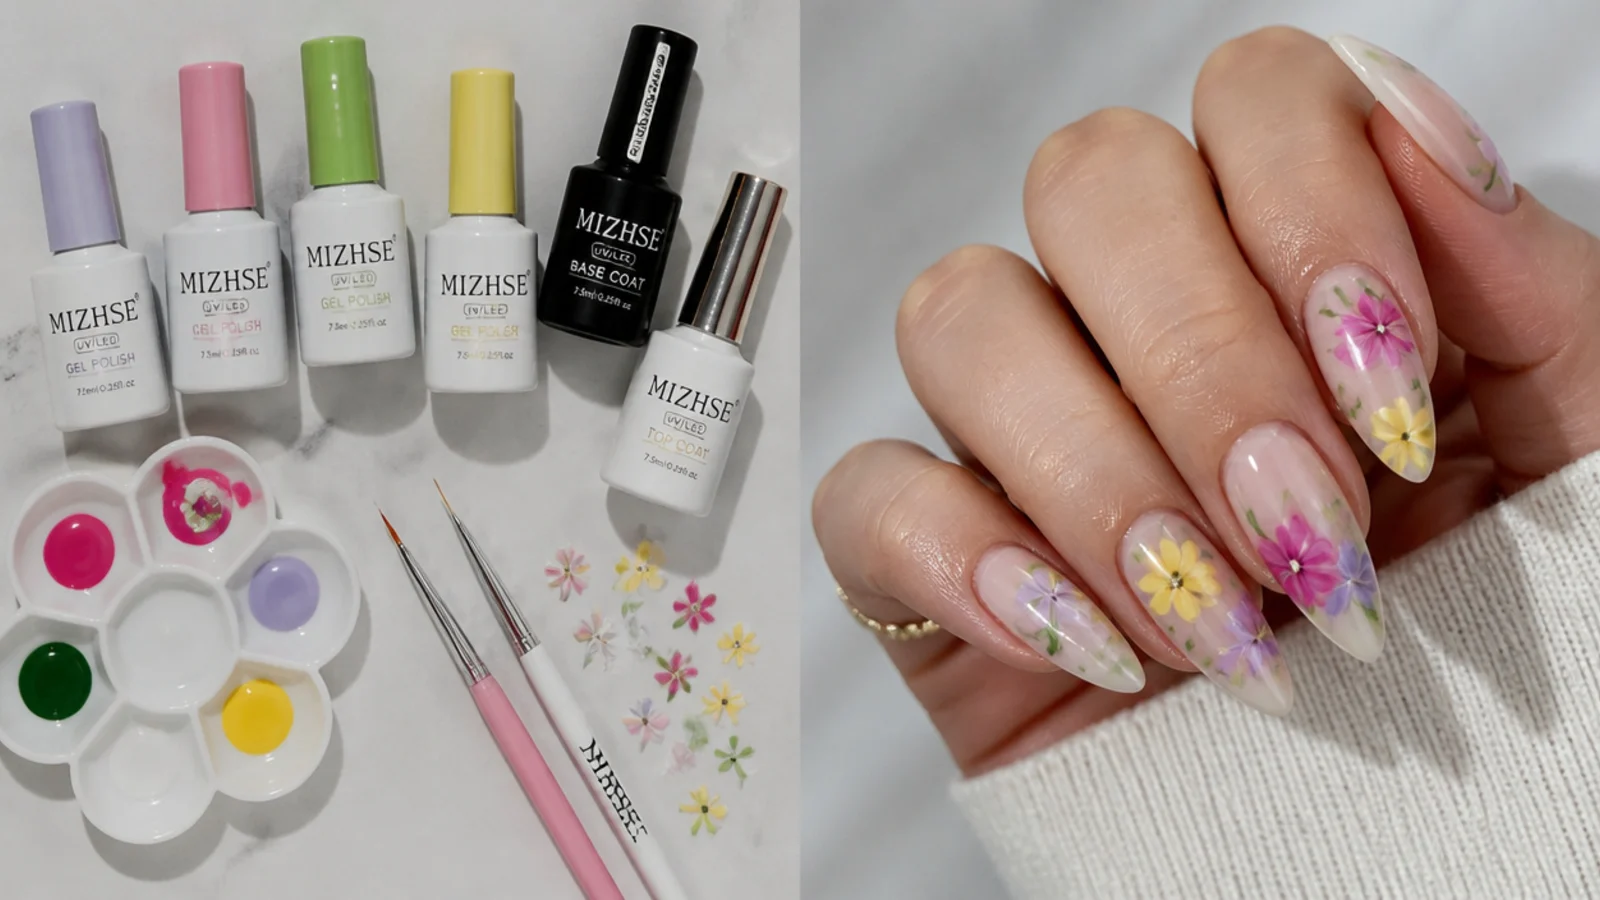
Start with clean, prepped nails and a base coat, cured under the lamp. Apply your color base - white makes brights glow, black makes them luminous, nude keeps them soft - and cure it. Brush a thin layer of blooming gel over the cured base and leave it uncured. Now work quickly: drop or draw your gel colors onto the wet gel with a thin detail brush and watch them bloom for thirty to sixty seconds. Use a little color and let the diffusion do the work; do not flood the nail or it goes muddy. Once the pattern looks right, cure for about thirty to sixty seconds under LED or roughly two minutes under UV. Build depth by repeating with a second thin layer, curing between, then finish with a no-wipe gel top coat and cure. Cap the free edge with color and top coat so the design resists chipping, and swipe on cuticle oil.
Supplies You Need
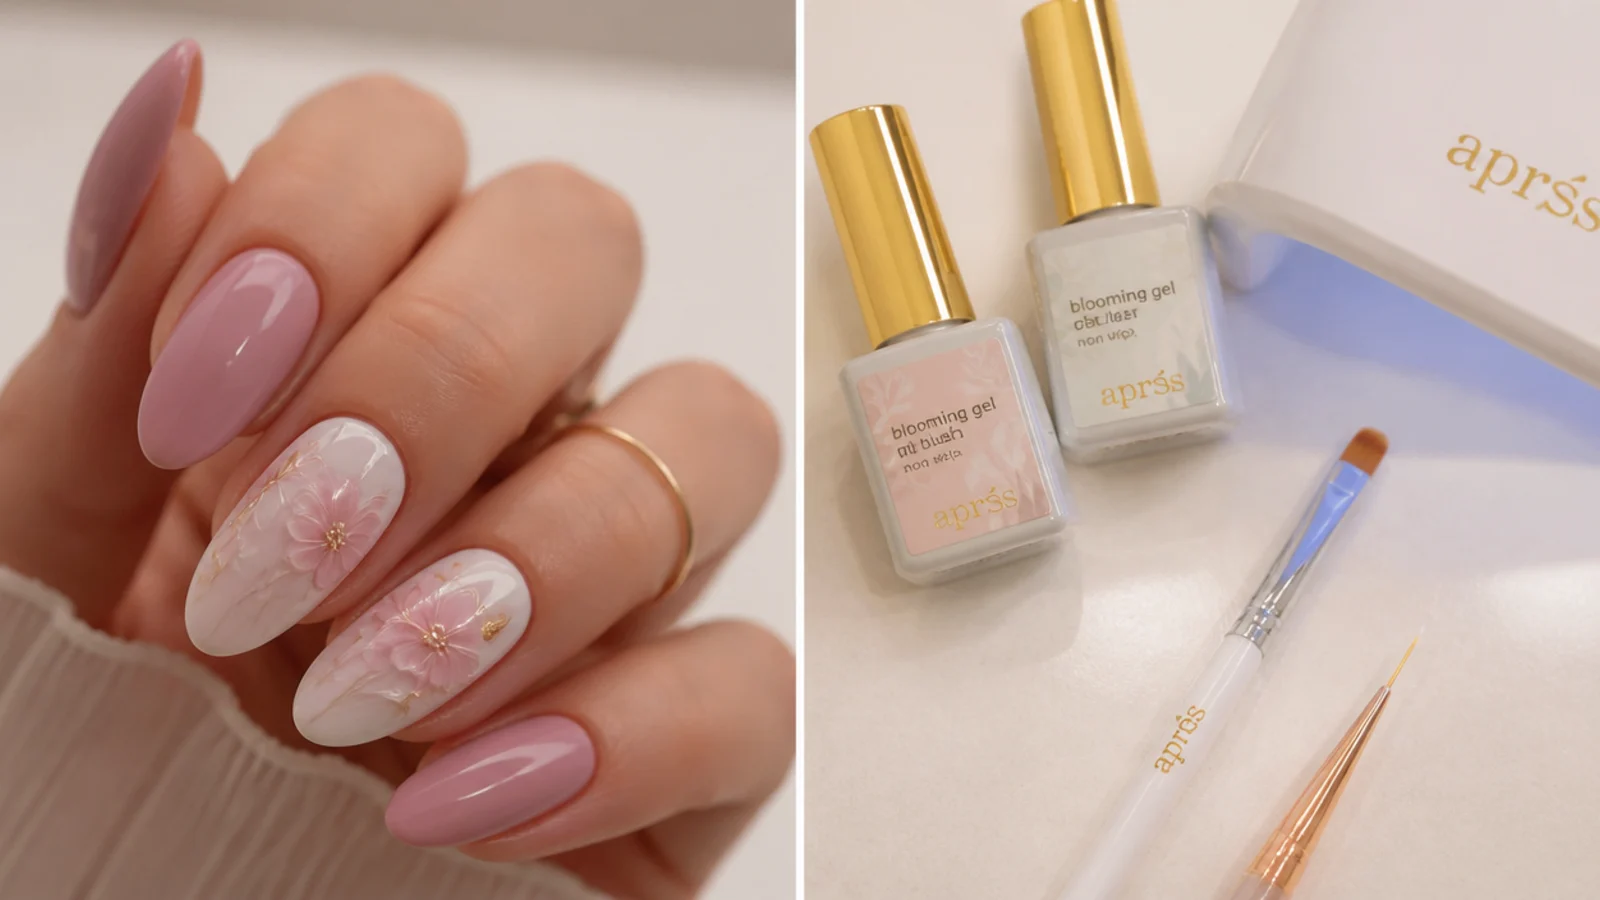
You need a base coat, gel color polishes in your chosen brights, a bottle of blooming gel, a no-wipe gel top coat and an LED or UV lamp to cure each layer. A thin detail or liner brush lets you draw fine veins, swirls and petals and control where the color blooms. Keep lint-free wipes on hand for cleanup, cuticle oil to finish and keep the skin healthy, and 100% acetone for removal later. That is the whole kit - no special colors are required, since any gel polish will bloom in the clear gel. A starter DIY kit with blooming gel, a handful of colors and a lamp pays back fast against salon prices, and the blooming gel bottle lasts many manicures. White and black base colors are worth having since they change how bright every bloom reads. A dotting tool helps with confetti and floral centers.
Common Blooming Gel Mistakes to Avoid
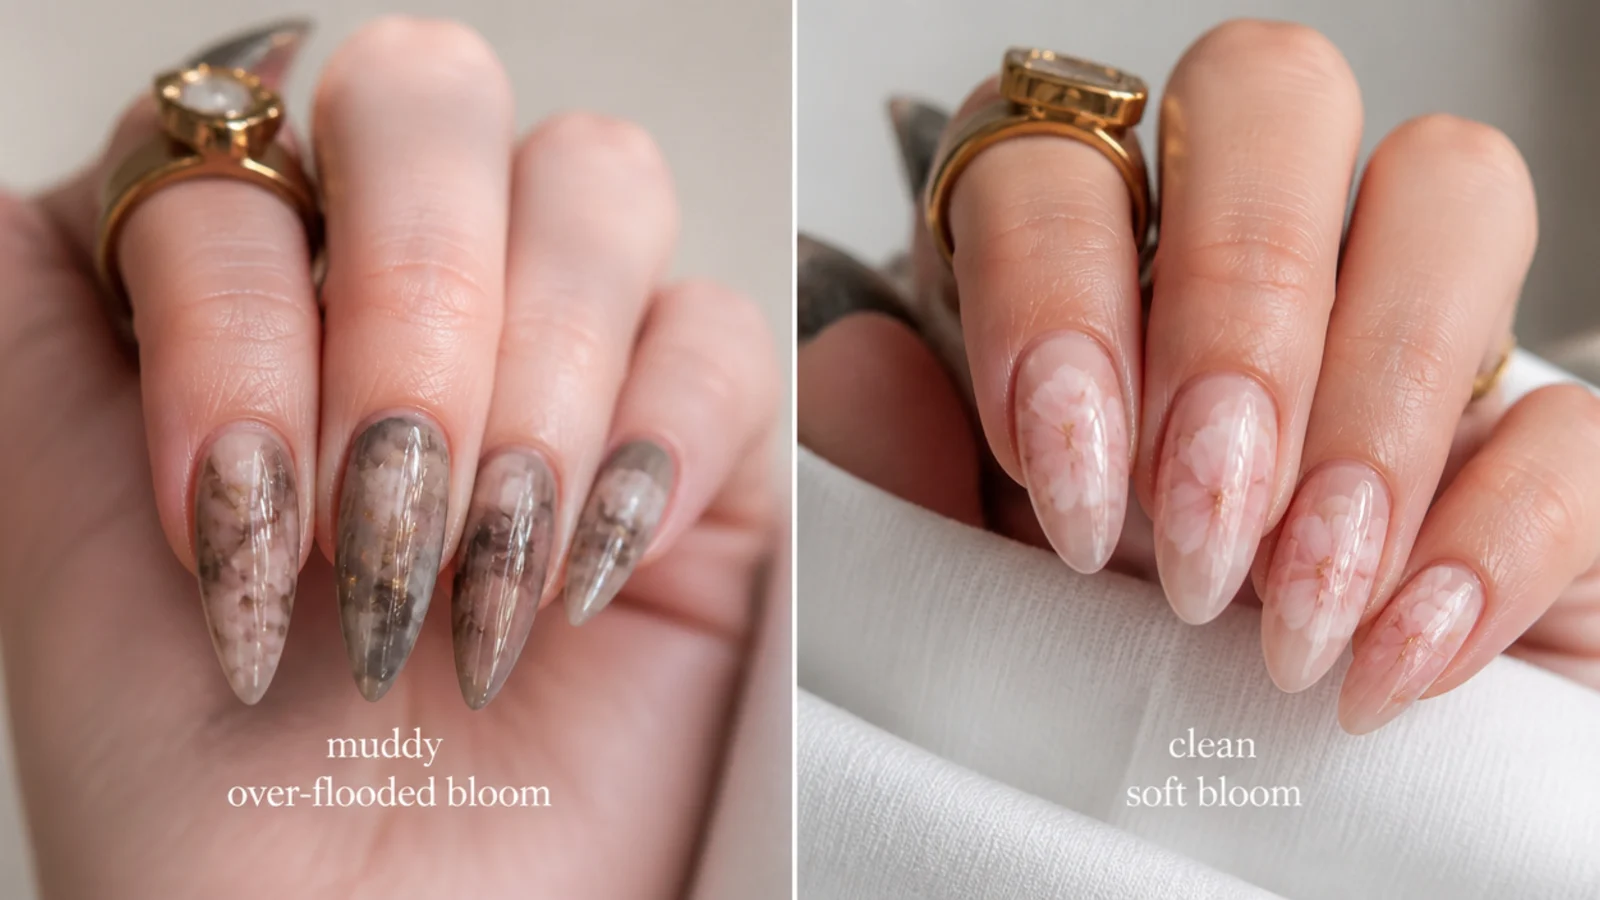
The most common mistake is curing the blooming gel too early - if you cure before adding color, the gel hardens and the color will not spread at all. The second is flooding too much color onto the wet gel, which blurs everything into a muddy brown blob instead of soft distinct shapes; use a little color and let it bloom. Applying the blooming gel too thick stops the spread, so keep the layer thin if you want dramatic diffusion. Overlapping bright colors, especially primaries, blooms into brown where they meet, so space your dots and let each have room. Skipping base prep or not capping the free edge leads to early lifting and chips. And do not keep fussing once the color has bloomed - cure it before it keeps spreading past the shape you want. Work in thin layers, cure between, and build color gradually.
How Long Do Colorful Blooming Gel Nails Last
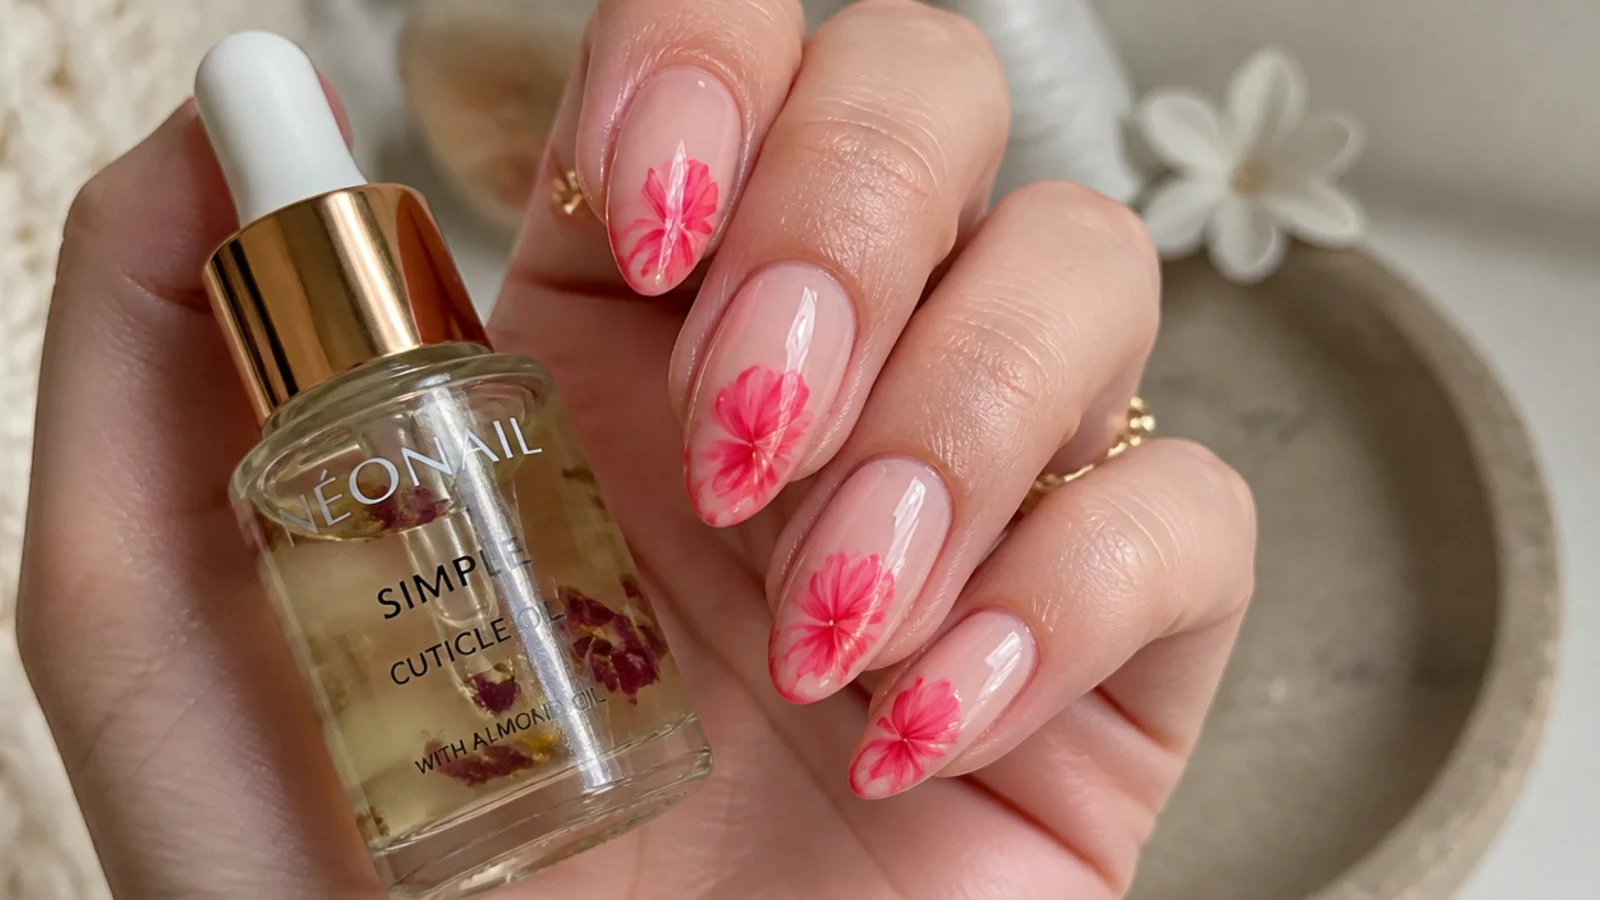
Because blooming gel is a gel technique, a set lasts about two to three weeks, and up to four weeks with good prep, daily cuticle oil and capping the free edge. That is far longer than the same watercolor art done in regular polish, which lasts only five to seven days before it chips. To get the full life out of a set, prep the nail properly, seal the free edge with color and top coat, wear gloves for cleaning and washing up, and avoid using your nails as tools. Applying cuticle oil daily keeps the nails and skin healthy and the color looking fresh. When you are ready to change it, remove it as a soak-off gel: lightly file the shine off the top coat, wrap each nail with 100% acetone on cotton and foil for ten to fifteen minutes, then gently push the softened gel off. Never peel or pry, which damages the natural nail.
Cost - Salon vs DIY
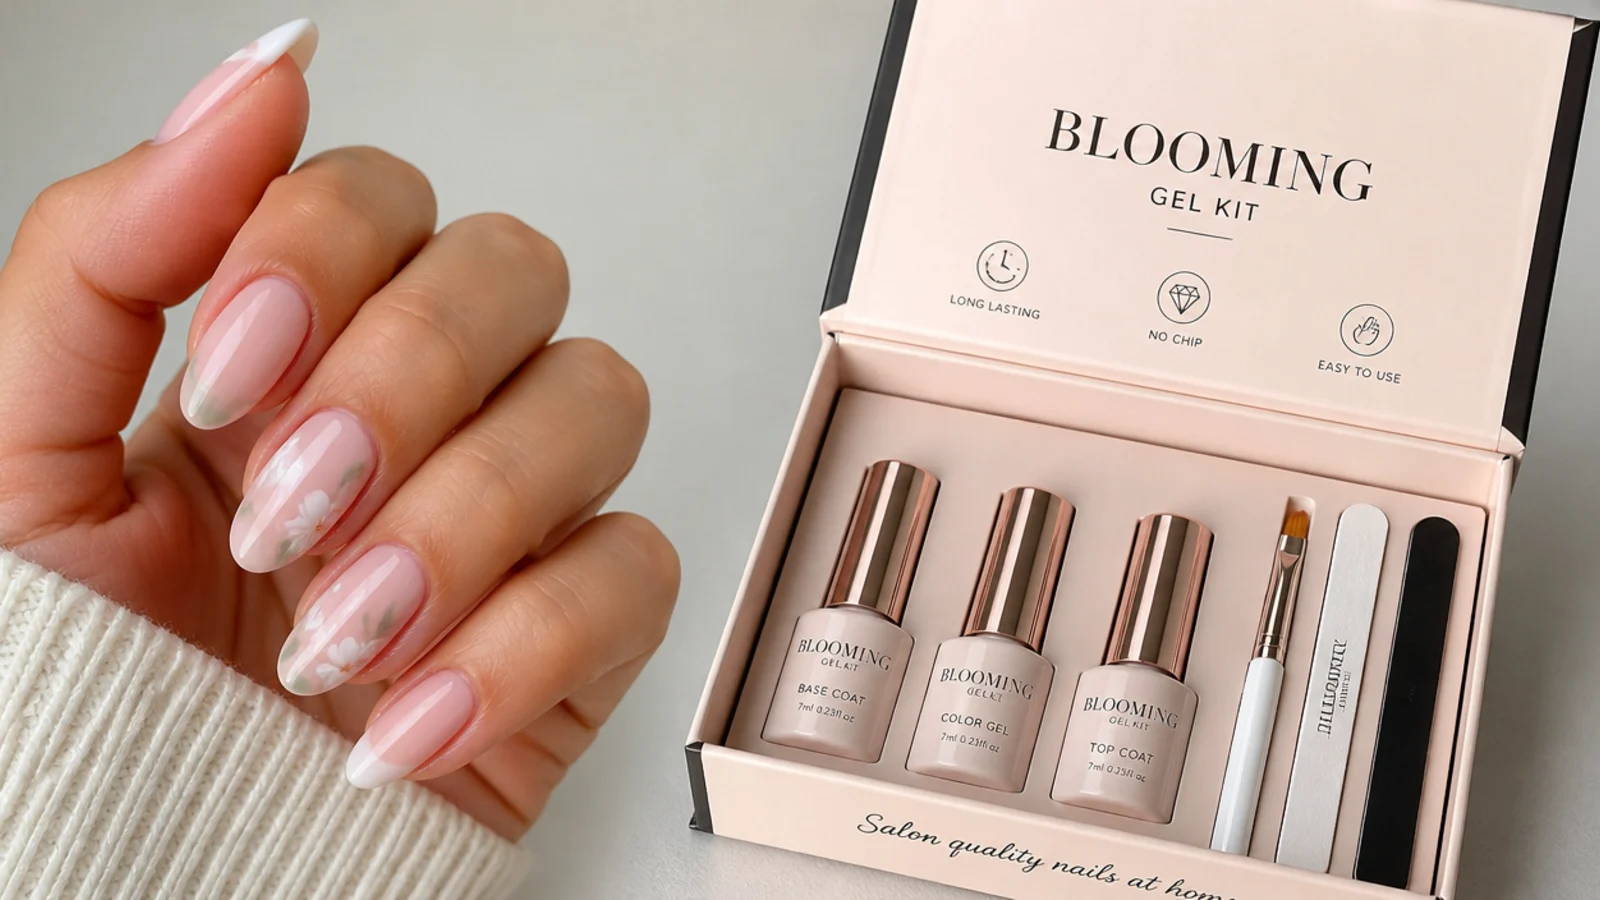
At a salon, a standard gel manicure runs about $30 to $55, and nail-art or design add-ons cost roughly $5 per accent nail, so a full colorful blooming-gel set often lands around $45 to $70 or more depending on how detailed the design is. Complex multicolor florals or full-marble sets sit at the top of that range. Doing it yourself changes the math quickly: a DIY kit with a bottle of blooming gel, a handful of gel colors, a top coat and an LED or UV lamp pays back fast, since the blooming gel and each color last many manicures. After the initial kit cost, each set is essentially free beyond your time. Blooming gel is intermediate but beginner-friendly with practice and very DIY-able, so it is one of the better nail-art techniques to learn at home. If you want a special-occasion set flawless, book the salon; for everyday color, the DIY route saves the most over time.
Frequently Asked Questions
What is blooming gel and how does it work?
Blooming gel is a clear gel that makes gel color spread into soft, watercolor-like patterns. You brush a thin layer over a cured color base, leave it uncured, then drop color onto the wet gel and it diffuses within seconds before you cure it under LED or UV to lock the pattern.
Do you cure blooming gel before adding color?
No - this is the key rule. You must leave the blooming gel uncured and add your color while it is still wet, because the color needs the wet gel to spread through. Curing the blooming gel before adding color hardens it and kills the bloom completely.
How long does blooming gel take to bloom?
The color spreads within seconds to about a minute after you drop it onto the wet blooming gel. Once it reaches the softness and shape you want, cure it right away for about thirty to sixty seconds under LED, or roughly two minutes under UV, before it keeps spreading.
How long do blooming gel nails last?
As a gel technique, a set lasts about two to three weeks, and up to four with good prep, daily cuticle oil and capping the free edge. The same watercolor art in regular non-gel polish lasts only five to seven days before it chips.
Why did my blooming gel go muddy or not bloom?
A muddy result usually means too much color flooded the wet gel - use a little and let it spread. If it did not bloom at all, you either cured the blooming gel too early or applied it too thick. Keep the layer thin and add color while it is still wet.
Do you need a UV or LED lamp for blooming gel?
Yes. Blooming gel and gel colors only harden under UV or LED light, so a lamp is required to cure each layer and lock the pattern. LED cures faster at about thirty to sixty seconds per layer; UV takes roughly two minutes per layer.
What colors work best for colorful blooming gel nails?
Almost any gel color blooms well, but brights pop most over a white base, glow luminous over black, and stay soft over nude. Rainbow sets, jewel tones, neons and pastels all work; just avoid overlapping primaries, which bloom into brown where they meet.
Is blooming gel good for beginners?
Yes - it is intermediate but beginner-friendly with practice and very DIY-able. The main skill is timing: keep the blooming gel layer thin, use a little color, let it spread, and cure before it over-blooms. Start with two or three colors before attempting full rainbow sets.
How much do colorful blooming gel nails cost?
At a salon, a gel manicure runs about $30 to $55, with art add-ons around $5 per accent nail, so a full set is often $45 to $70 or more. A DIY kit with blooming gel, colors and a lamp pays back fast since the supplies last many manicures.
How do you remove blooming gel nails?
Remove it as a soak-off gel. Lightly file the shine off the top coat, then wrap each nail with 100% acetone on cotton and foil for ten to fifteen minutes and gently push the softened gel off. Never peel or pry it off, which damages the natural nail.
Which blooming gel nails look are you saving?
Colorful blooming gel nails are the easiest way to wear bright, artistic color without hard lines - the bloom softens every shade into a diffused watercolor that looks expensive and hand-painted. Whether you go full rainbow, jewel-tone marble or a single diffused flower, the trick is the same: a thin layer of blooming gel, a little color, and the right cure timing. Start with two or three colors, build depth in layers, and cap the free edge so the set lasts its full two to three weeks. Save the designs you love and take the exact photos to your tech, or gather your supplies and try the bloom yourself.