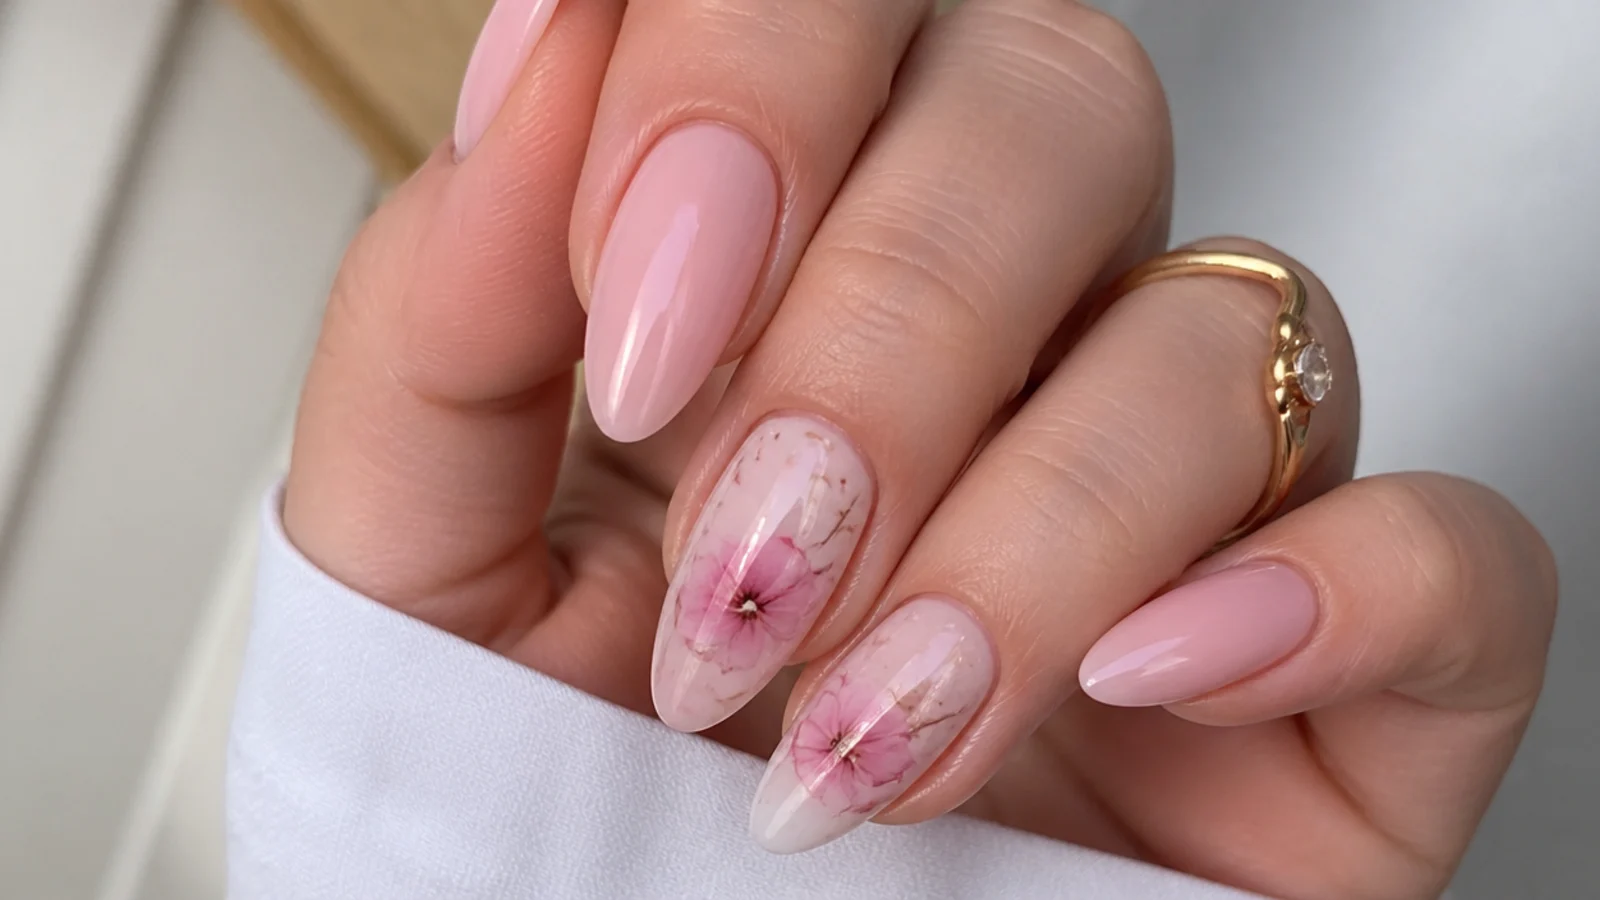
1. Soft Pink Watercolor Bloom
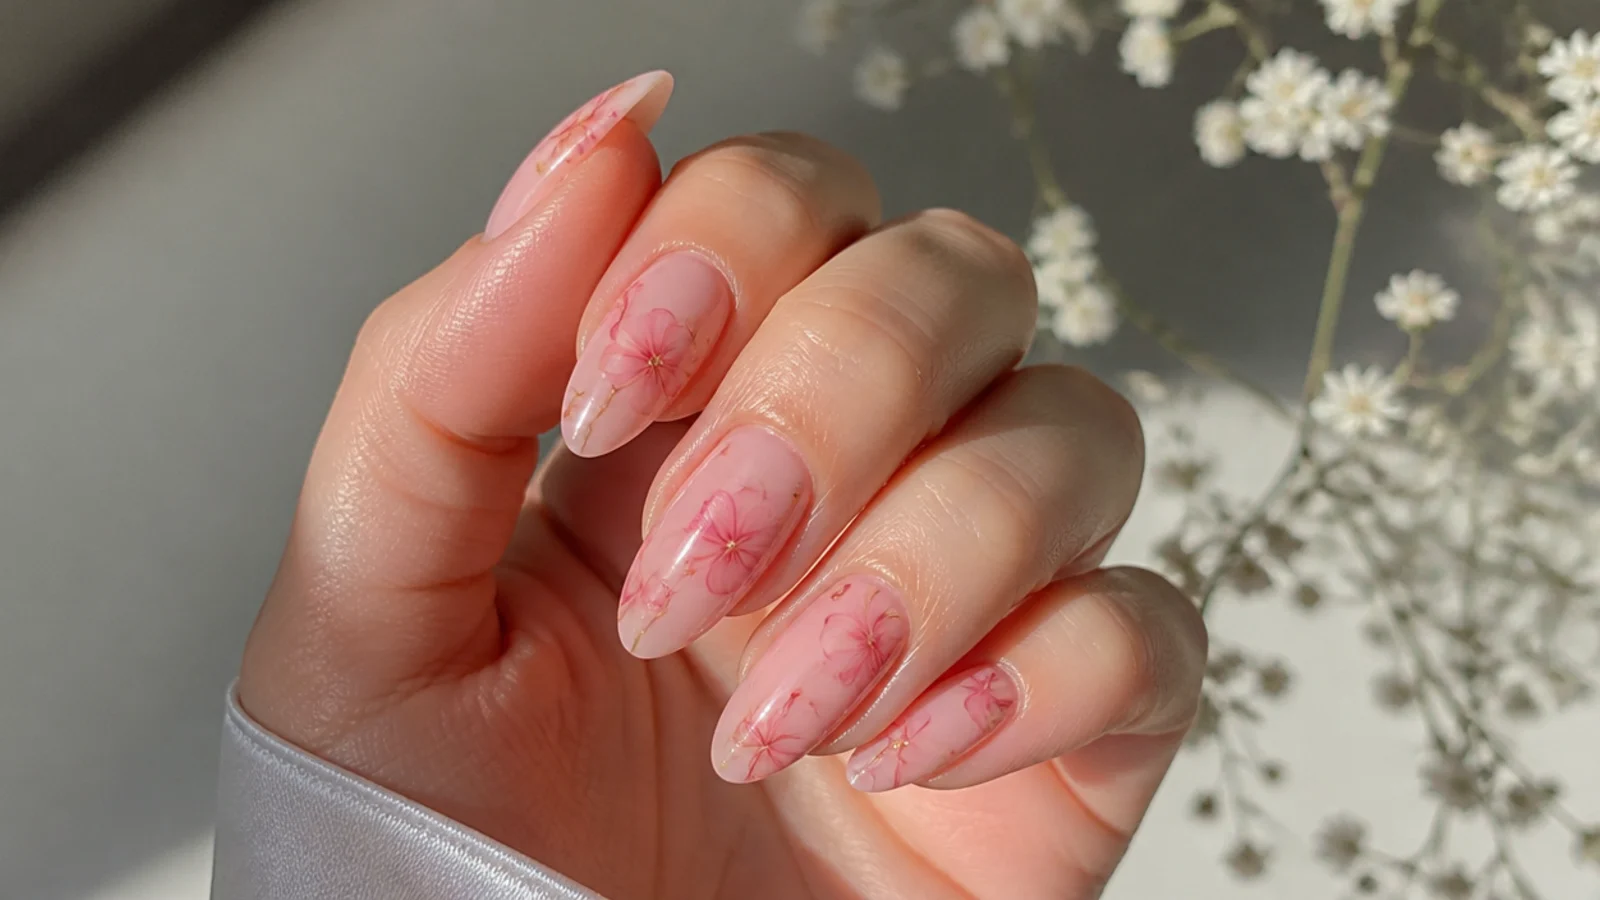
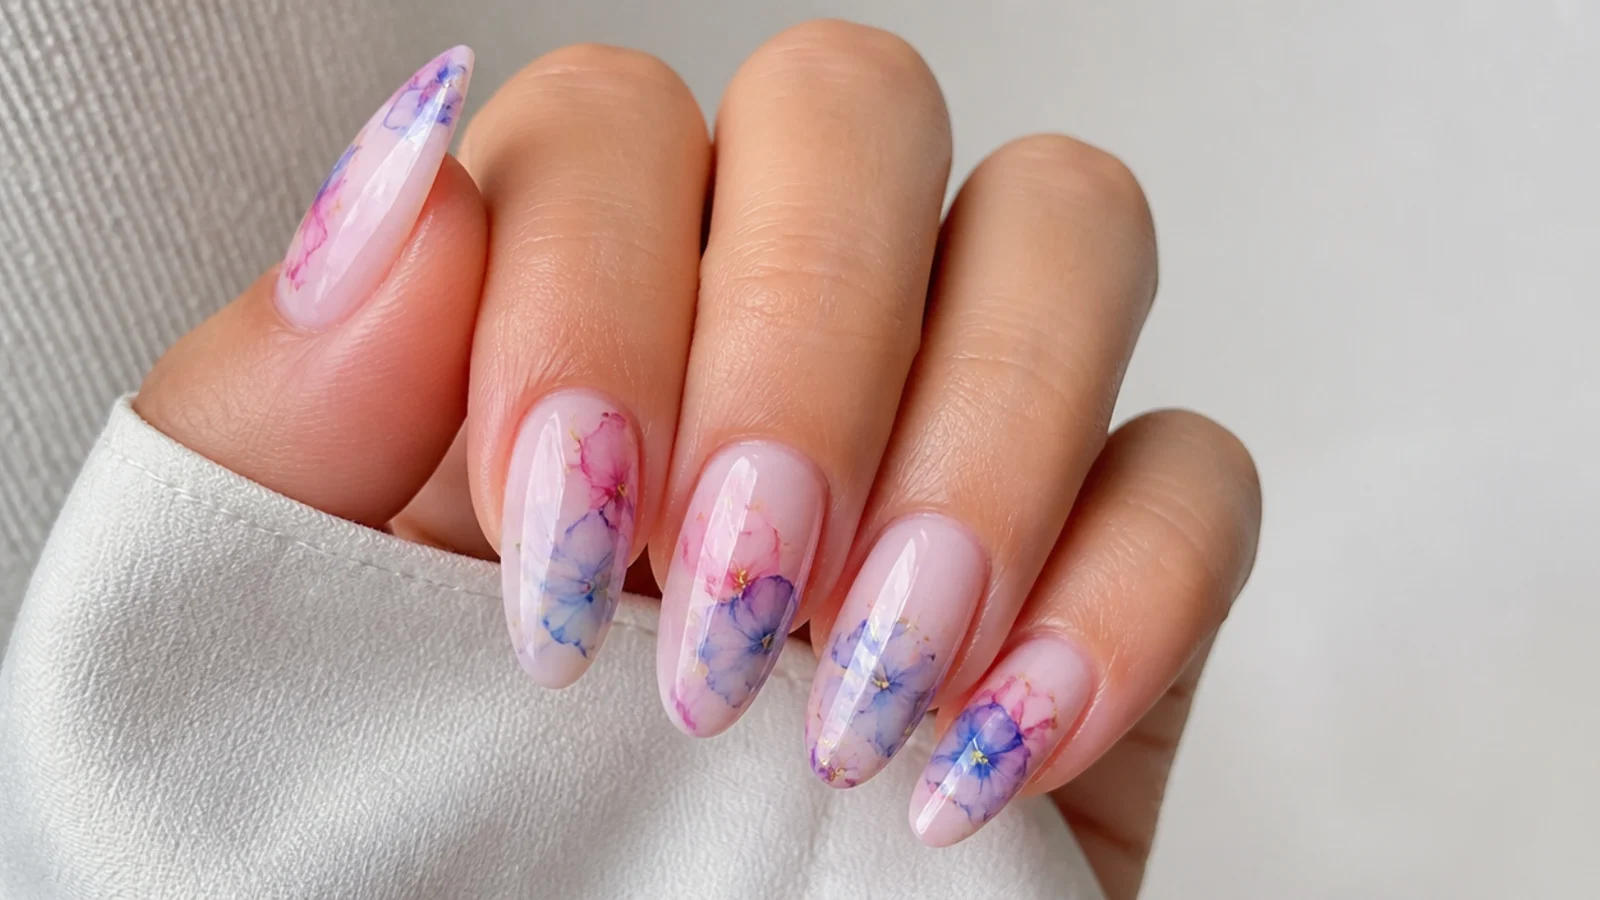
The most beginner-friendly set - a milky white base with a single drop of pale rose gel dropped onto a thin layer of uncured blooming gel, left to feather out into a soft cloud before curing 30 to 60 seconds under LED. Because the blooming layer is thin, one small dot of color spreads wide into a gentle watercolor haze with no hard edges. It suits every skin tone and any length, and reads pretty at work or a wedding. Use the least color you think you need; you can always add a second bloom and cure again to deepen it.
Who it suits: Anyone new to blooming gel wanting a soft, forgiving start.
Tip: One tiny drop of pink blooms wider than you expect - start small.
2. Watercolor Peony Petals
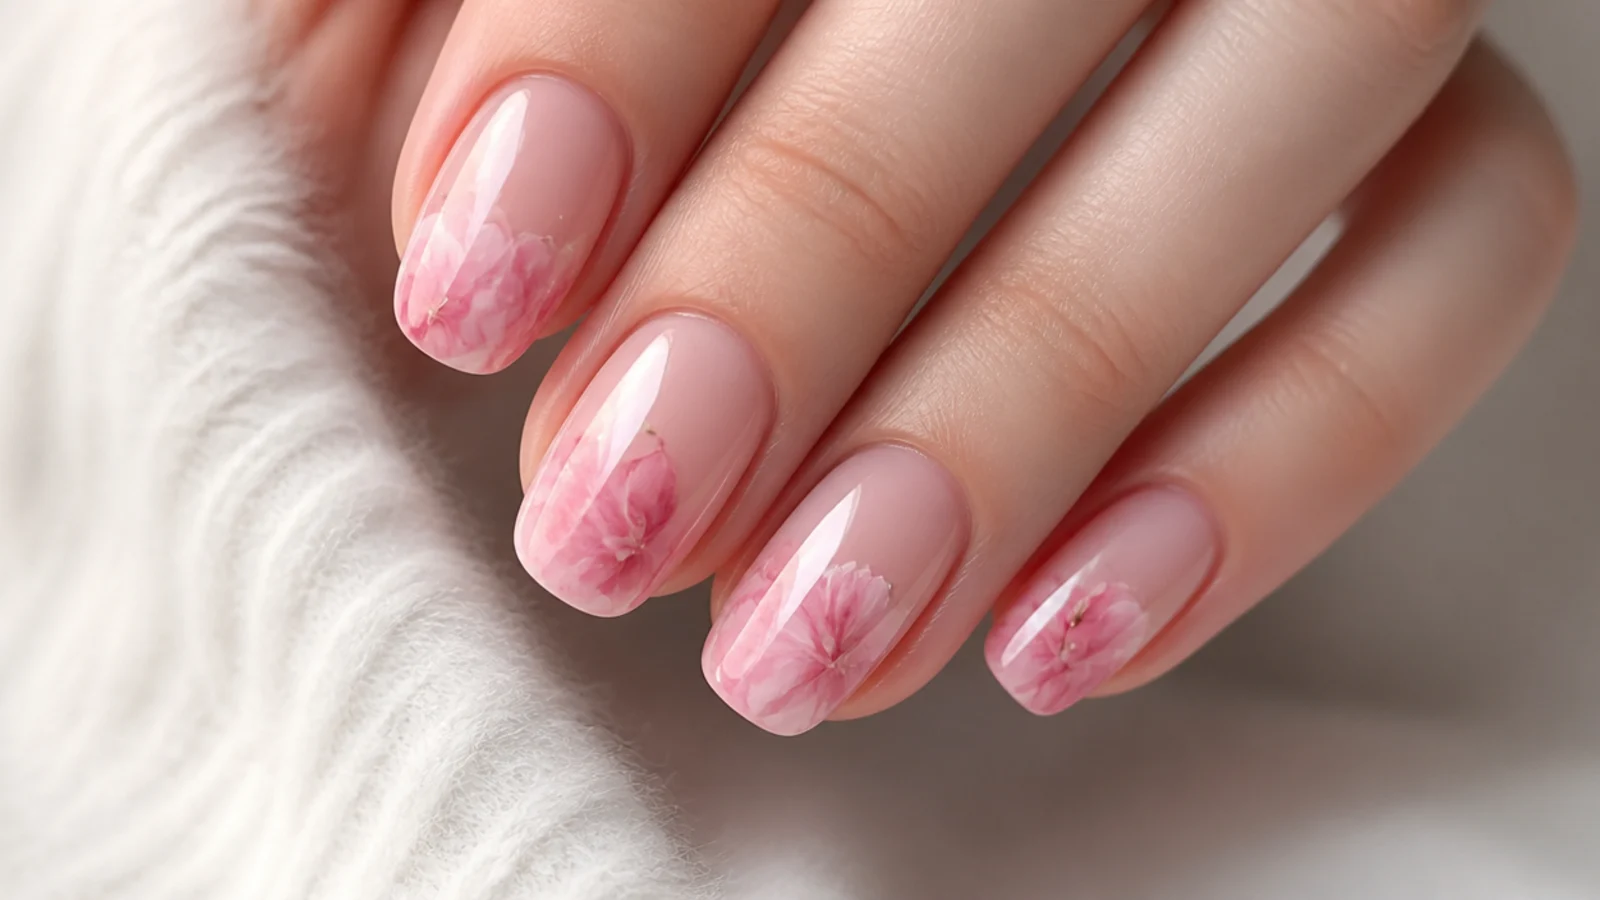
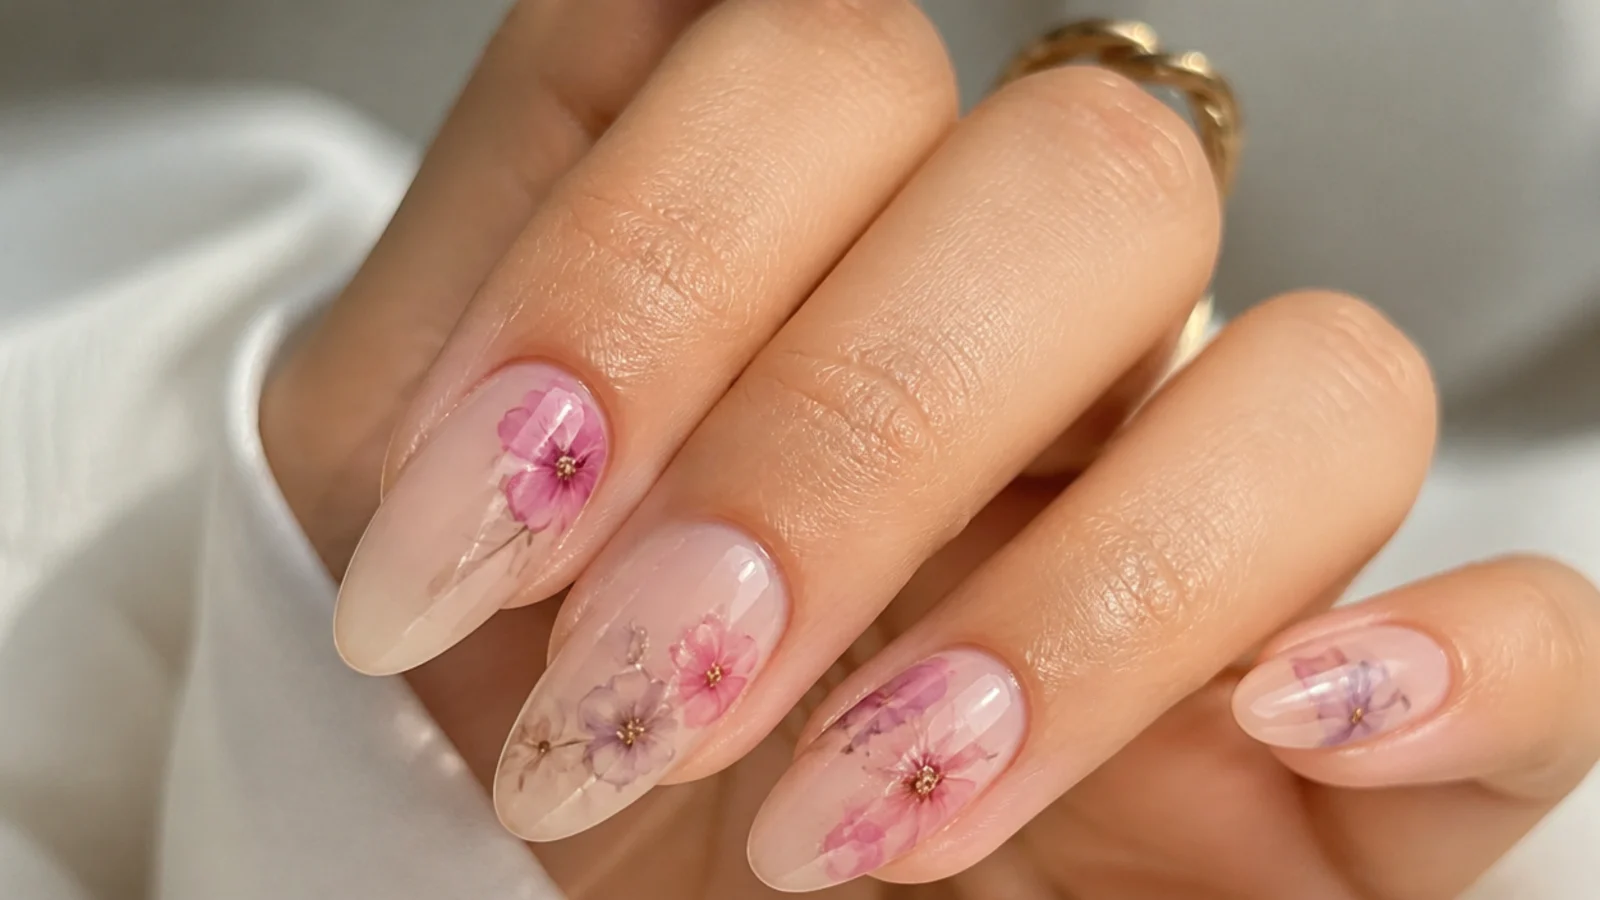
Draw a few loose pink strokes in a circle with a thin liner brush onto the wet blooming gel and let each stroke bloom outward into soft, blurred petals, so a peony forms without any hard outline. A darker rose center dropped in last diffuses into the pale petals for depth. Cure 30 to 60 seconds once the bloom settles, then add a green leaf accent and cure again. It suits medium to long almond or coffin nails that give the flower room to spread. Keep strokes thin and spaced so the petals bloom into each other instead of flooding into a muddy blur.
Who it suits: Anyone wanting a romantic floral on longer nails.
Tip: Space the strokes so petals bloom together, not into a puddle.
3. Soft Pink Marble
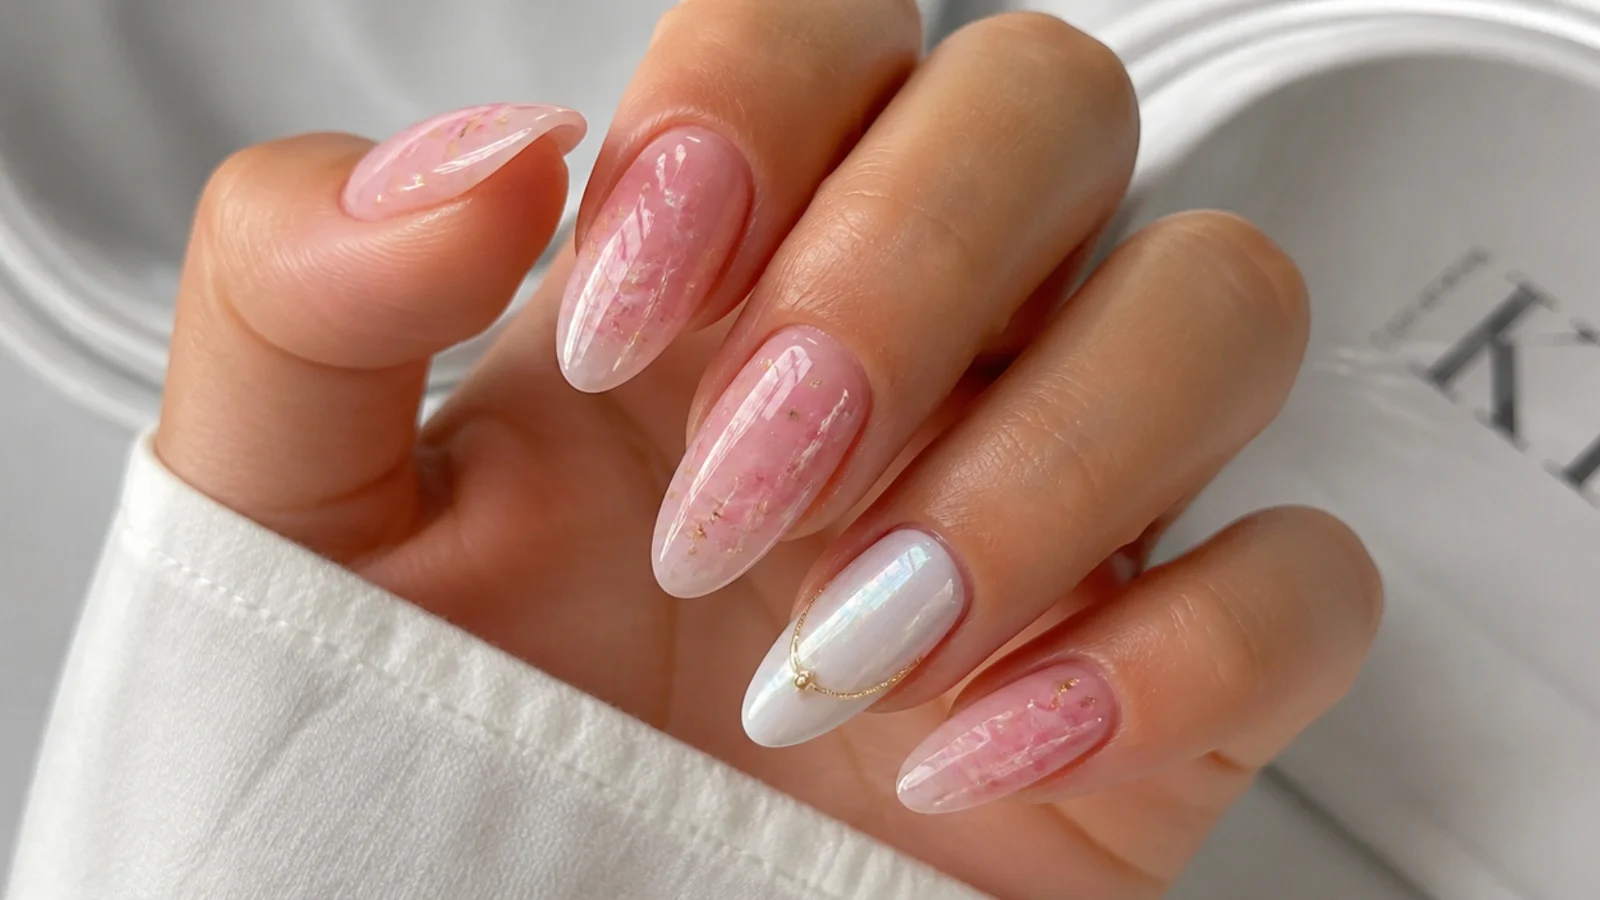
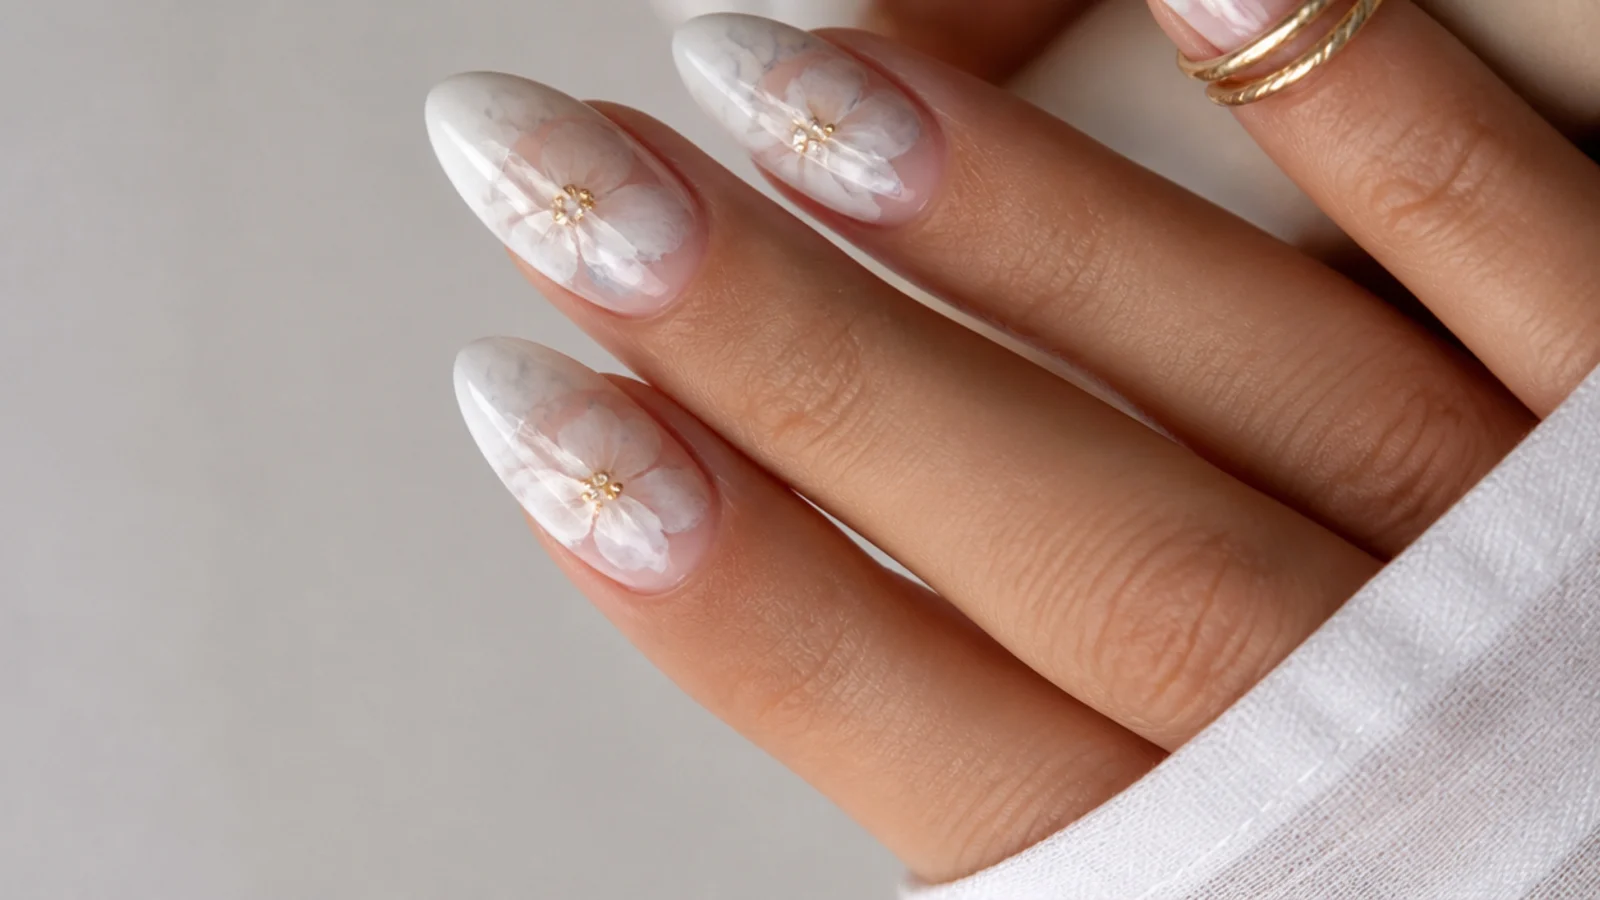
A pale pink base gets thin, wandering lines of deeper rose and a touch of white drawn onto the uncured blooming gel, then the colors diffuse into each other for a soft, veined marble with no sharp edges. The blooming gel does the blending, so the veins look like stone rather than painted lines. Cure 30 to 60 seconds to freeze the pattern, then seal with a no-wipe top coat and cure again. It suits any shape and reads elegant on short nails too. Use a thin blooming layer for more spread and drag the veins while the gel is still wet.
Who it suits: Anyone wanting an elegant, expensive-looking neutral pink.
Tip: Drag the veins while the gel is wet so they blur into stone.
4. Pink Tie-Dye Swirl
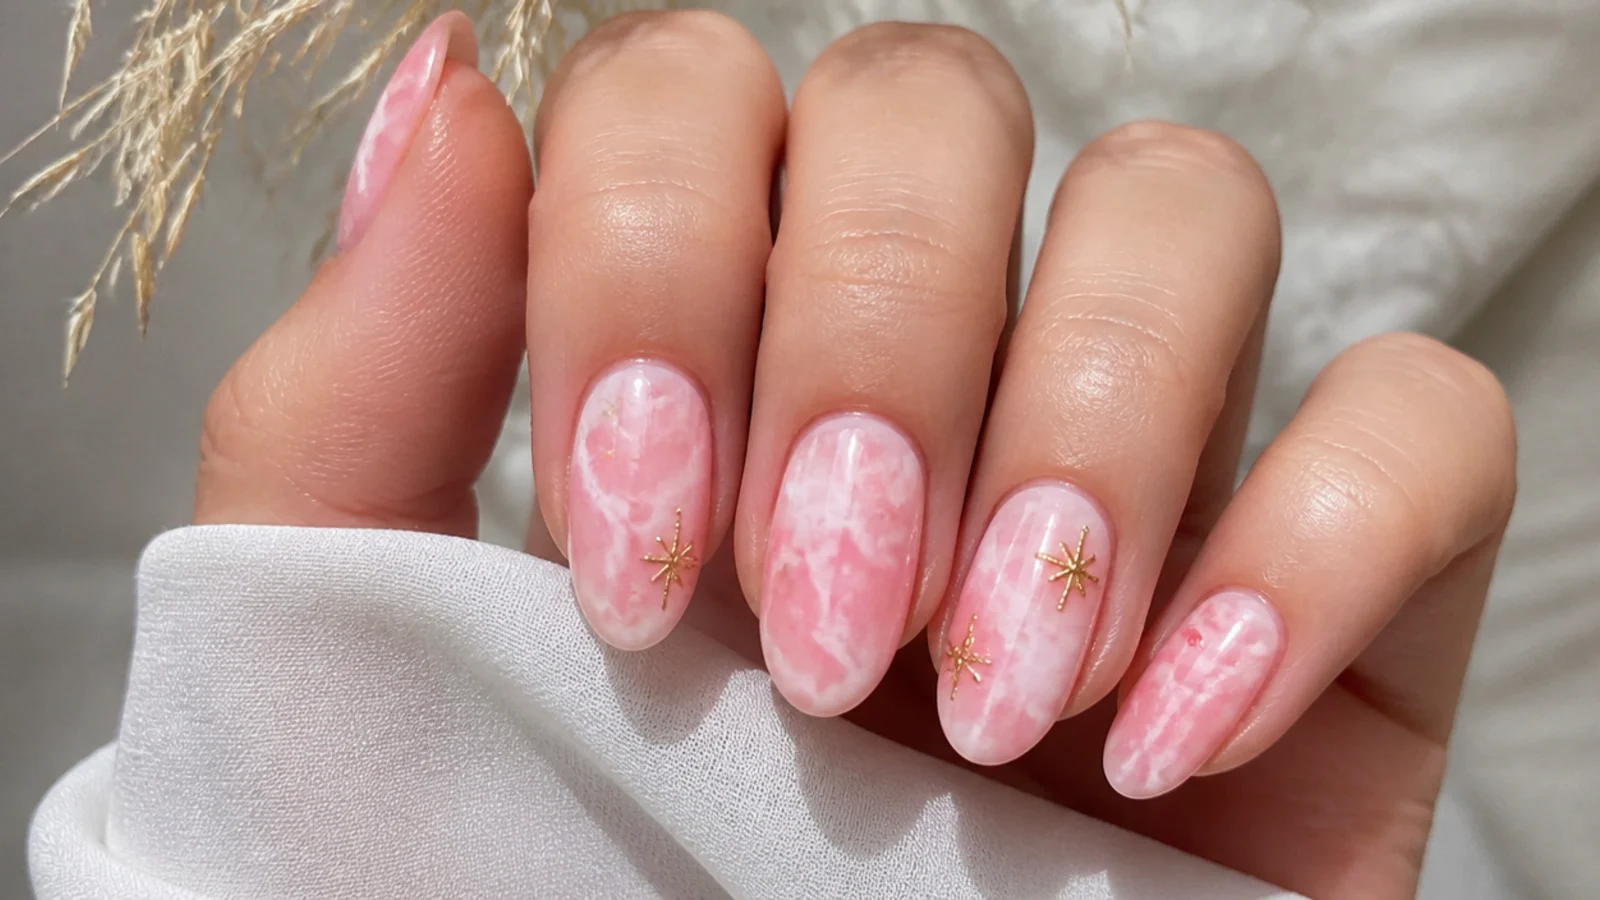
Drop small dots of two pink tones - a bubblegum and a soft rose - plus white onto the wet blooming gel, then swirl gently with a clean detail brush so the colors bleed into a tie-dye haze. The gel diffuses the edges within seconds for that ink-in-water effect. Cure 30 to 60 seconds under LED to lock it. It suits every length and looks especially fun on short square nails. Do not over-swirl or flood the color or it turns gray and muddy; a few dots and one light pass through them is enough to get the dreamy blend.
Who it suits: Anyone wanting a playful, dreamy summer set.
Tip: A few dots and one gentle swirl - over-mixing goes muddy.
5. Blooming Pink French
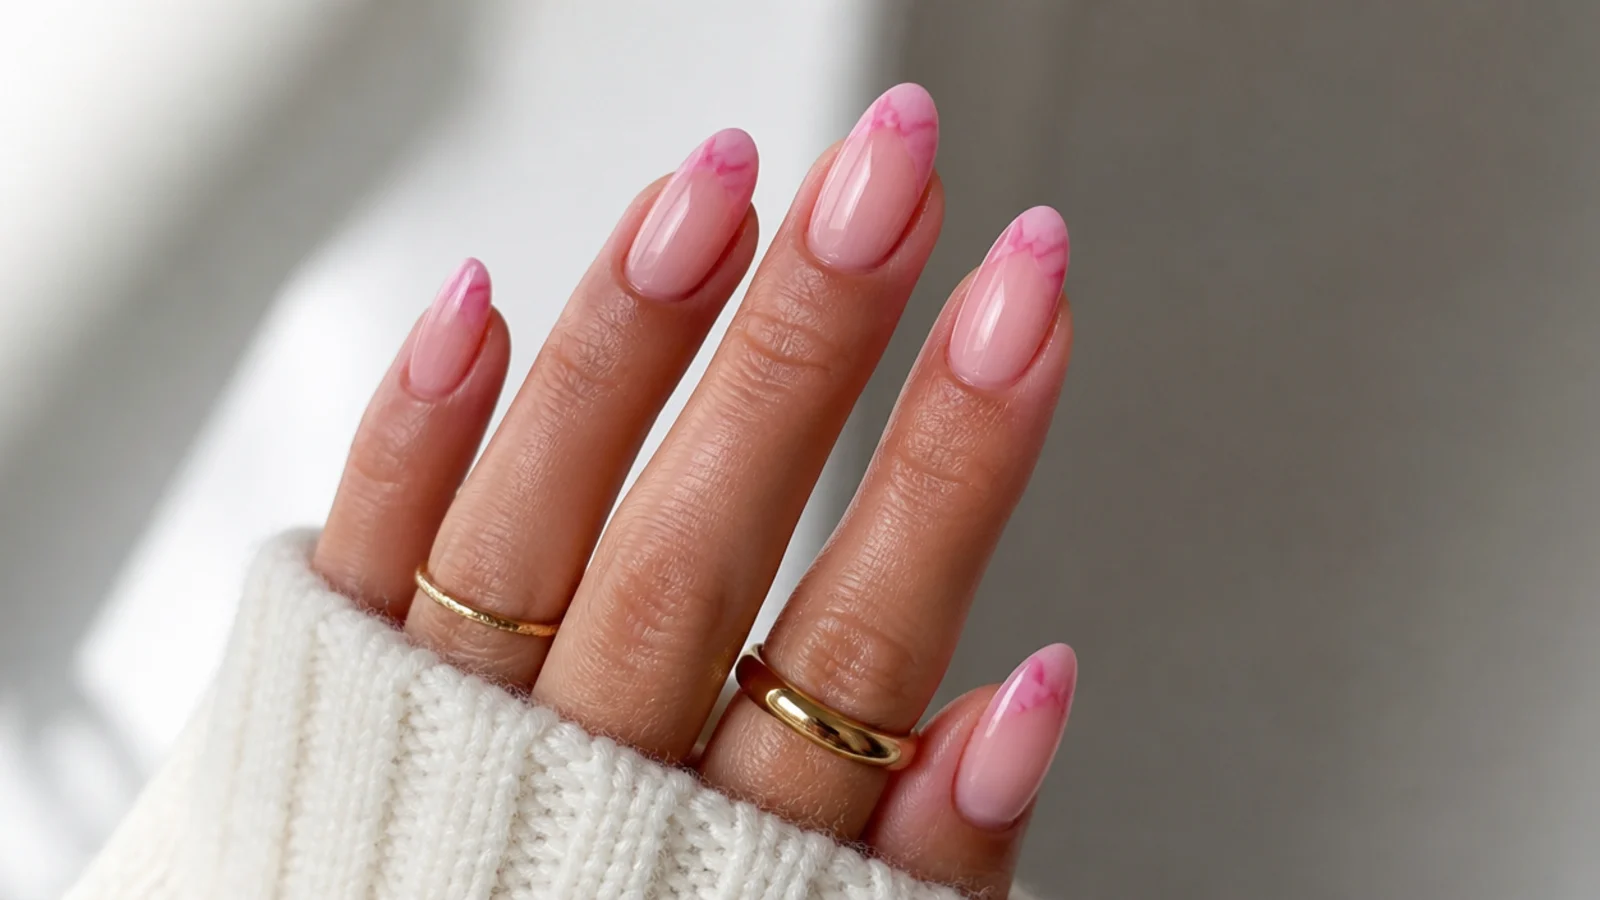
A modern French where the pink tip is painted onto the wet blooming gel so its edge blooms softly down the nail instead of stopping at a crisp line. The result is a diffused, watercolor French that looks fresh and current. Cure 30 to 60 seconds once the bloom settles, then top coat and cure again. It suits any length and is a great low-commitment way to try the technique, since only the tip carries color. Keep the base thin near the tip so the pink feathers, and cap the free edge with top coat so the soft tip does not chip early.
Who it suits: Anyone wanting a soft, modern twist on a French.
Tip: Cap the free edge with top coat so the soft tip resists chips.
6. Hot Pink Ink Drop
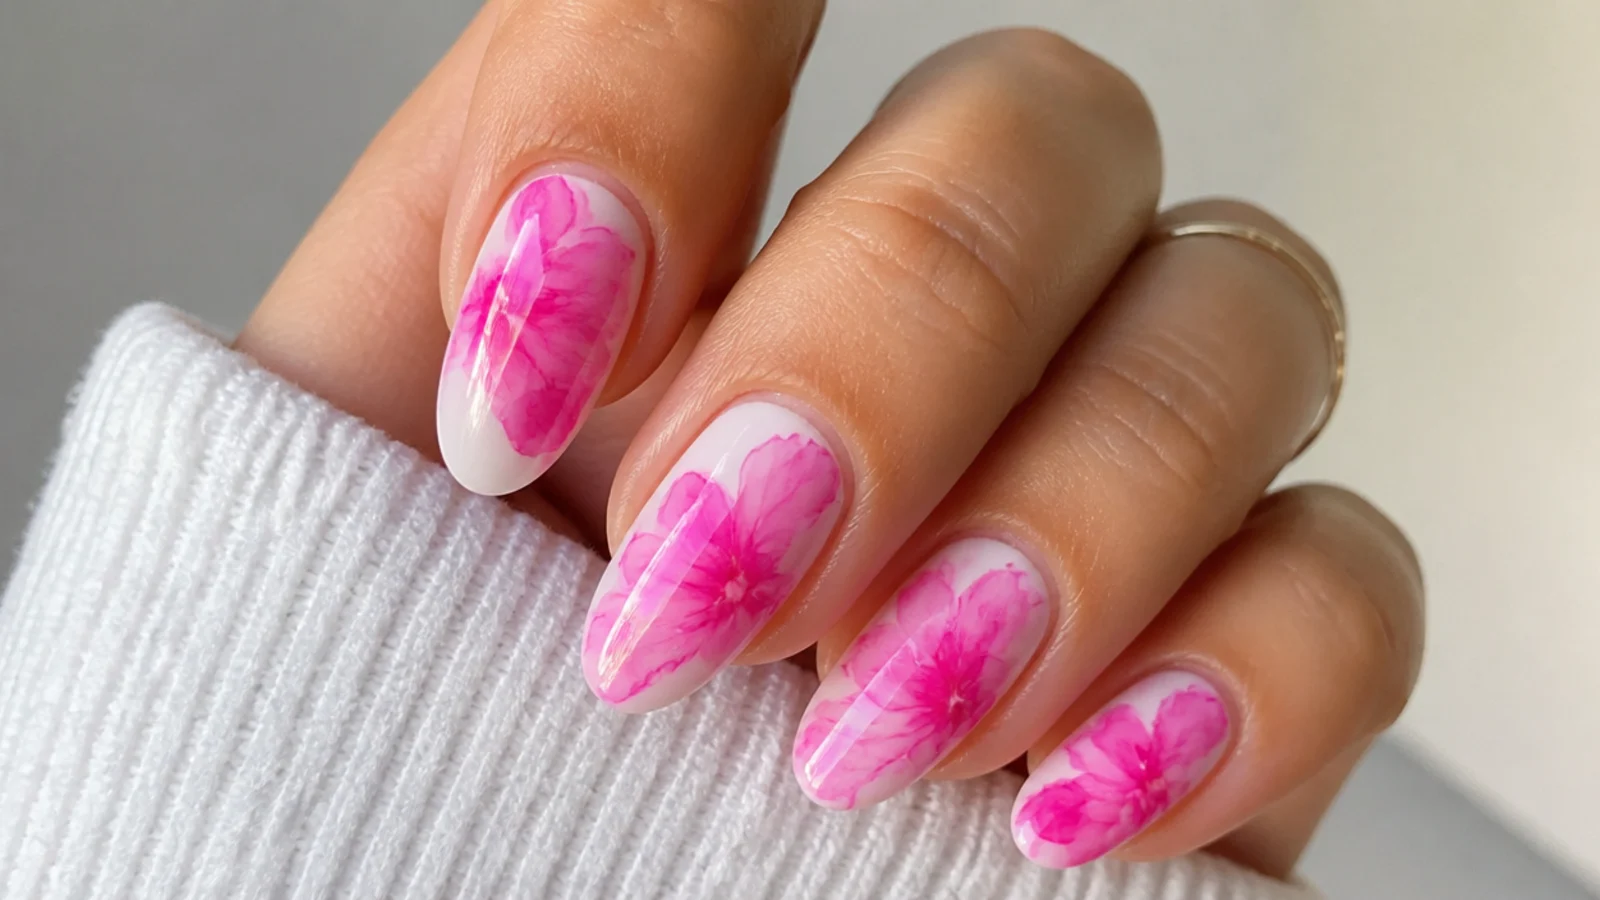
For more punch, a bright hot pink is dropped onto a white base coated in thin blooming gel, spreading into a bold ink-in-water burst that fades from saturated center to pale edge. The single vivid color keeps it graphic while the bloom keeps it soft. Cure 30 to 60 seconds to set. It suits confident wearers and shows up beautifully on longer coffin or almond nails. Because hot pink is so pigmented, use even less than you would with a pale shade and let it bloom fully before curing, or the color floods and loses the gradient effect.
Who it suits: Anyone wanting a bolder, high-impact pink.
Tip: Bright pigment floods fast - use half the color you think.
7. Pink Cherry Blossom
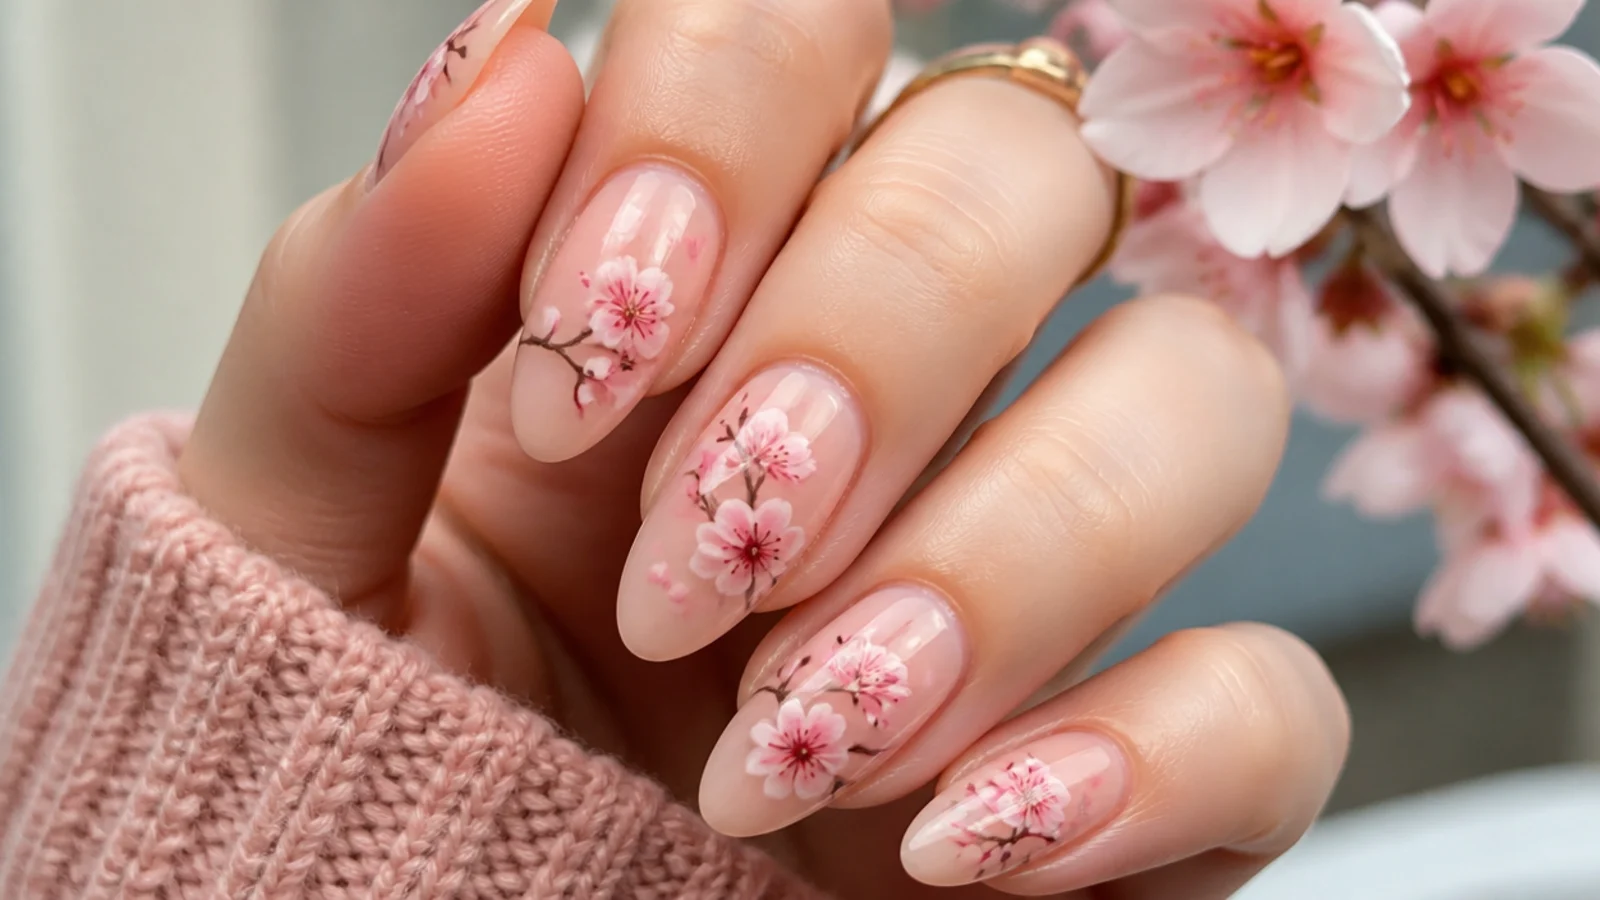
Tiny five-dot flowers in soft pink are placed on the wet blooming gel so each little bloom diffuses into a delicate, blurred blossom, then thin brown branches are drawn to connect them. The gel softens the flowers so they look painted with watercolor rather than stamped. Cure 30 to 60 seconds, add yellow centers, and cure again. It suits spring, weddings and anyone who loves dainty floral nail art. Keep the flower dots small and well spaced so they bloom into rounded petals instead of merging into one pink smudge across the nail.
Who it suits: Anyone wanting a dainty, springtime floral.
Tip: Small, spaced dots bloom into petals - big ones just merge.
8. Pink Galaxy Diffusion
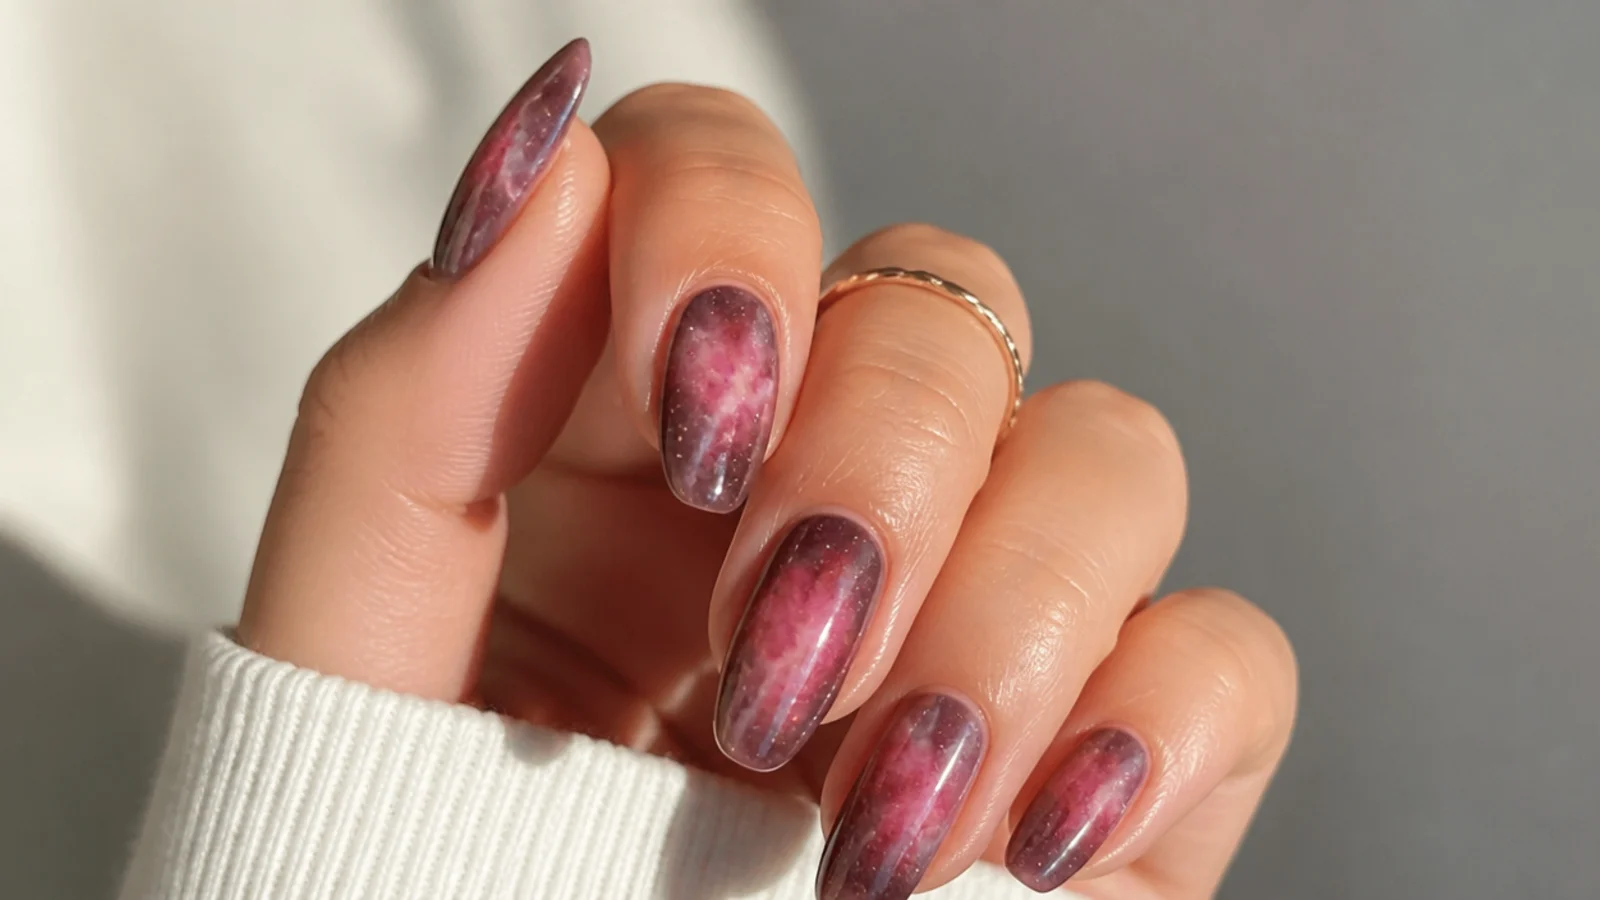
Layered blooms of pink, mauve and a touch of deep plum on a soft base create a nebula-like depth, each color dropped and bloomed then cured before the next so they build up rather than blend into gray. The blooming gel diffuses every layer into a smoky cloud. Cure 30 to 60 seconds between layers, then finish with fine white speckles and top coat. It suits longer nails that give the galaxy room. Build depth in layers, curing between each; trying to drop every color at once floods the blooming gel and turns the whole thing muddy.
Who it suits: Anyone wanting a moody, layered pink look.
Tip: Bloom and cure one color at a time to build depth, not mud.
9. Pink and White Ombre Bloom
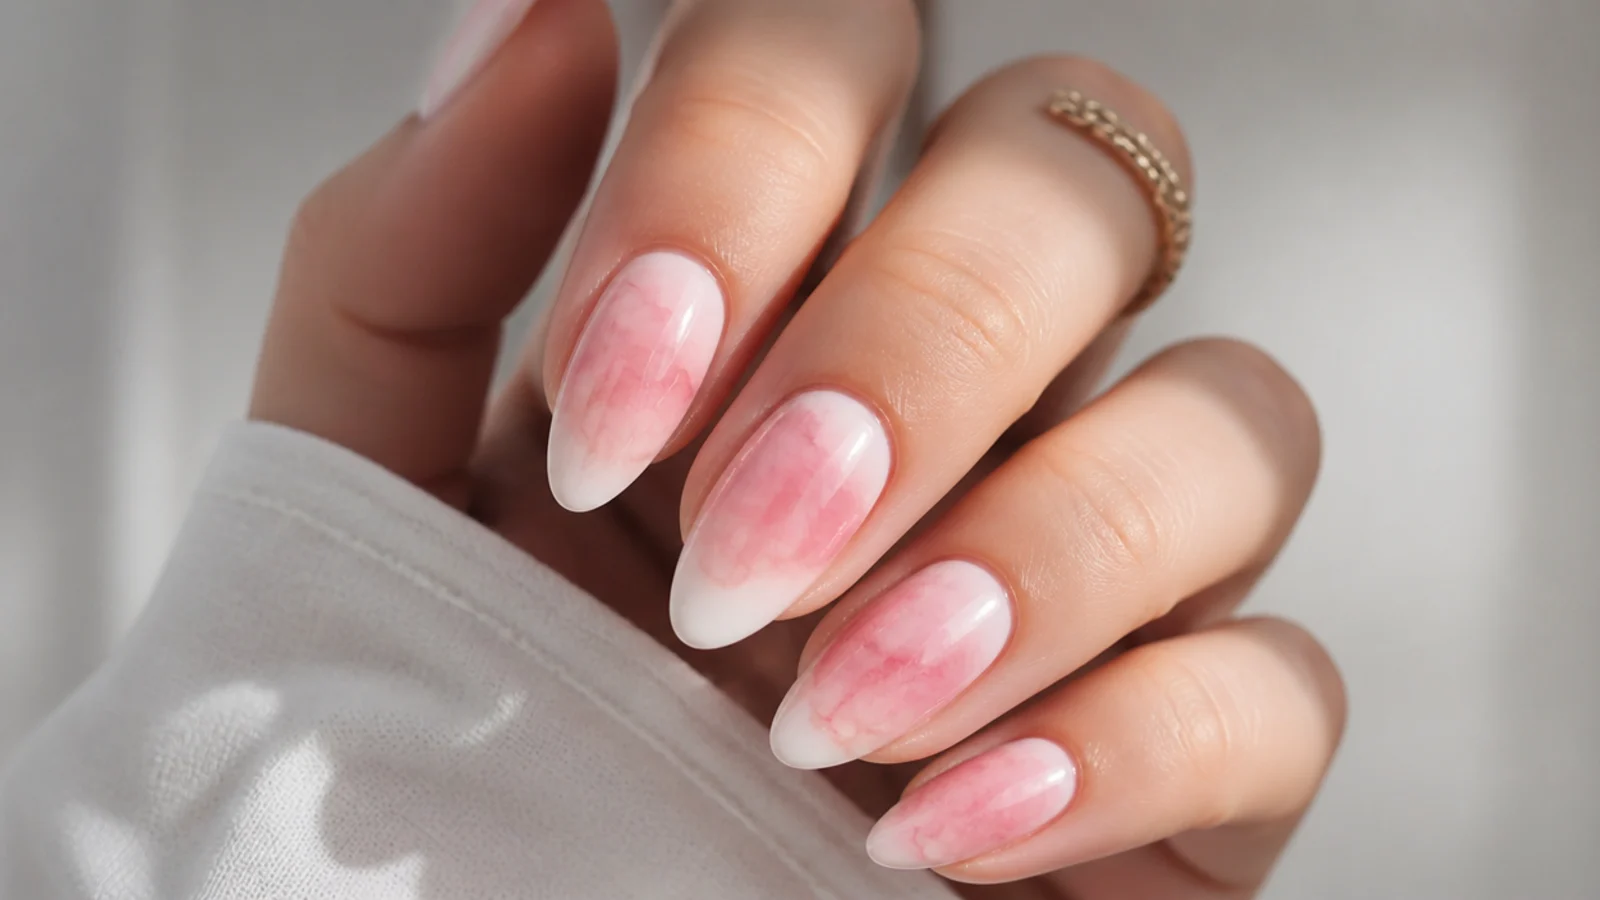
Pink dropped at the cuticle and white at the tip on the wet blooming gel bloom toward each other and meet in a soft, seamless middle, giving an ombre with no brushing or sponging needed. The gel does the fade on its own as the two colors diffuse. Cure 30 to 60 seconds once the gradient settles. It suits every shape and is a pretty, natural everyday set. Place the two colors a small gap apart and let them creep together; if you push them into each other too soon the fade goes flat and the pink and white gray out.
Who it suits: Anyone wanting a soft ombre without sponging.
Tip: Leave a small gap and let the two colors bloom together.
10. Pink Bloom with Glitter
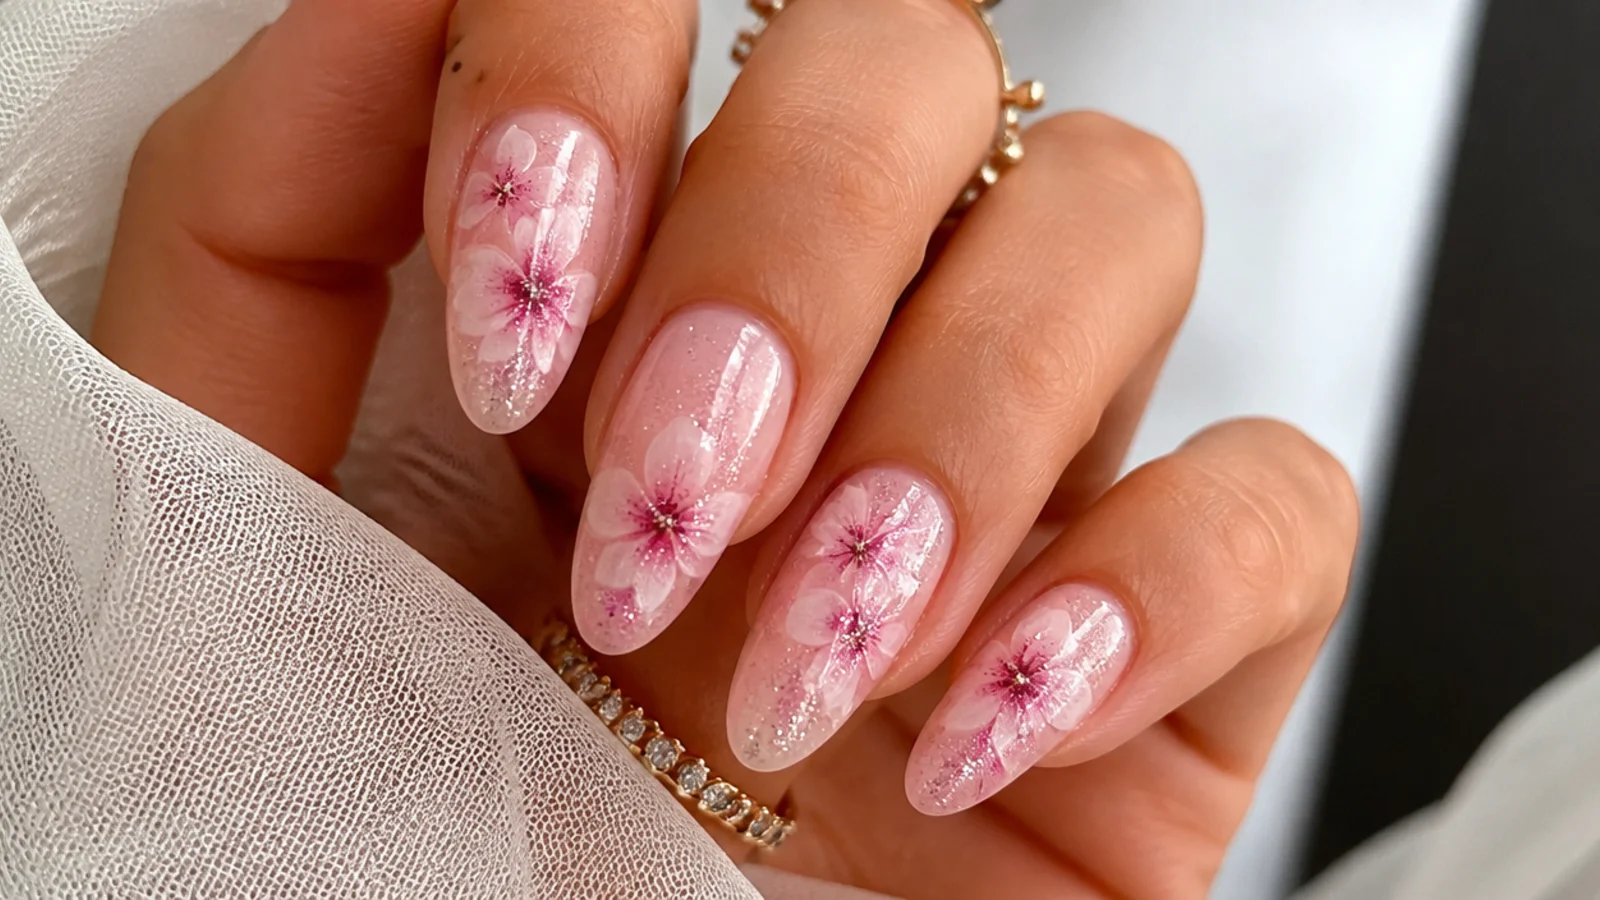
A soft pink watercolor bloom is cured first, then a layer of fine glitter or shimmer is added on top and sealed, so the sparkle sits over the diffused color without disturbing the pattern. Curing the bloom before the glitter keeps the watercolor crisp underneath the shine. Cure 30 to 60 seconds at each stage. It suits parties, the festive season and anyone who wants a little glam over the softness. Always cure the bloom fully before adding glitter; dropping glitter onto wet blooming gel drags the color and muddies the watercolor effect you worked to get.
Who it suits: Anyone wanting a hint of sparkle over the bloom.
Tip: Cure the bloom first, then add glitter so the pattern stays sharp.
11. Mauve Pink Stone Marble
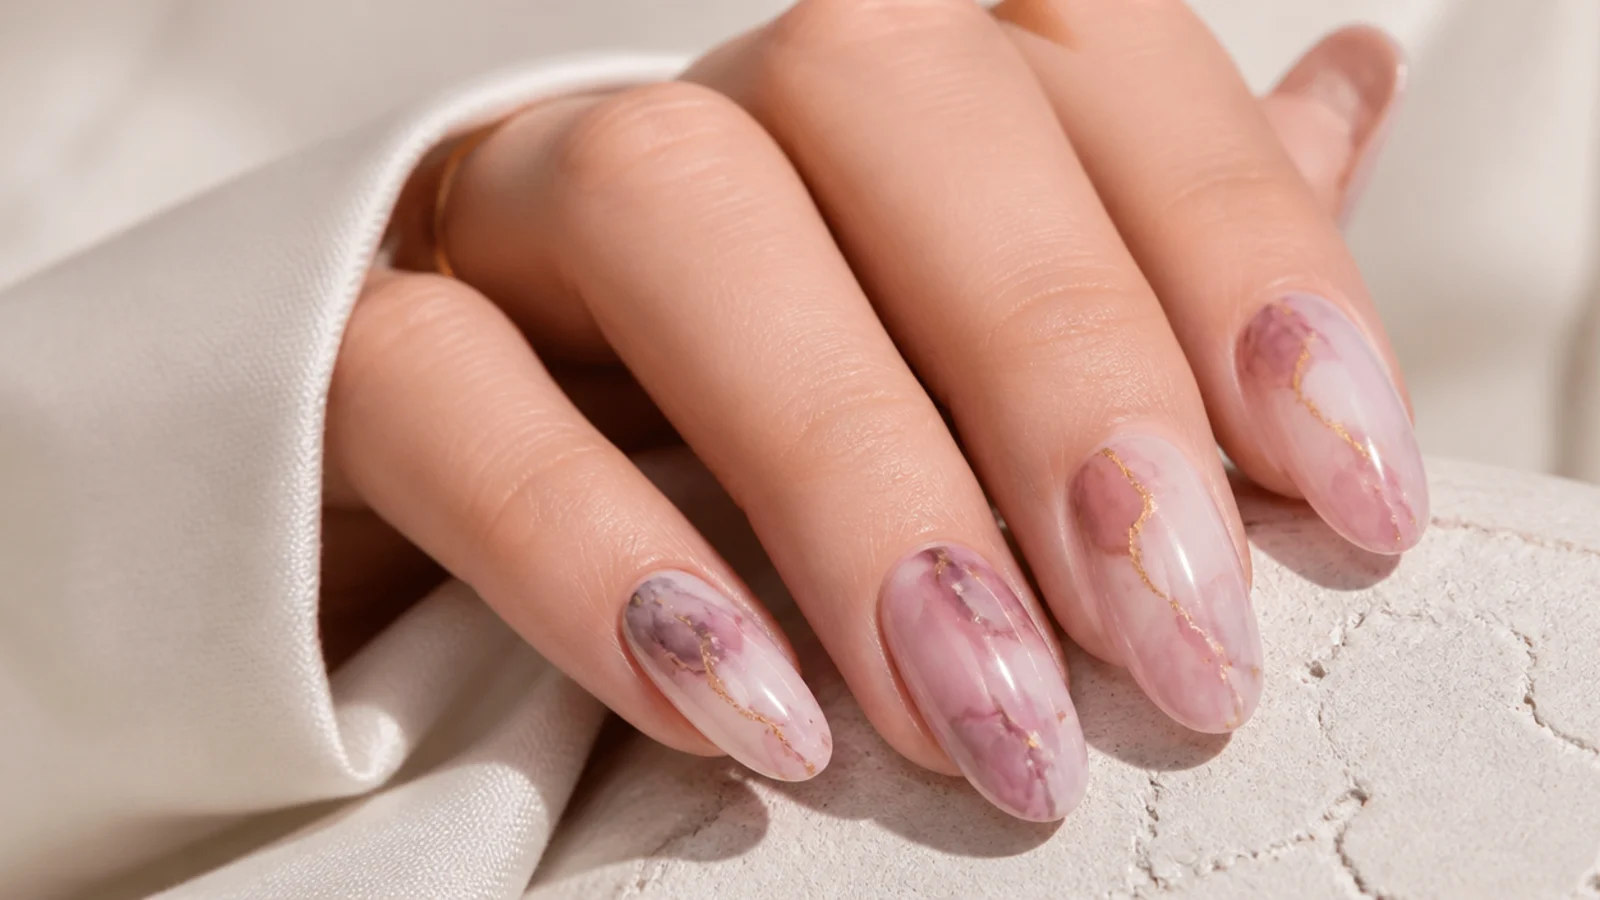
A dusty mauve base with thin veins of rose and cream drawn into the wet blooming gel diffuses into a soft, sophisticated stone marble that reads a little moodier than pure pink. The muted tones bloom into each other for a natural, agate-like finish. Cure 30 to 60 seconds to lock the veins, then top coat and cure again. It suits fall, deeper skin tones and anyone who likes a grown-up neutral. Use a thin blooming layer so the veins spread just enough to look like stone, and keep the color sparse - flooding the veins buries the soft base underneath.
Who it suits: Anyone wanting a muted, sophisticated marble.
Tip: Keep veins sparse so the soft base still shows through.
12. Pink Abstract Accent
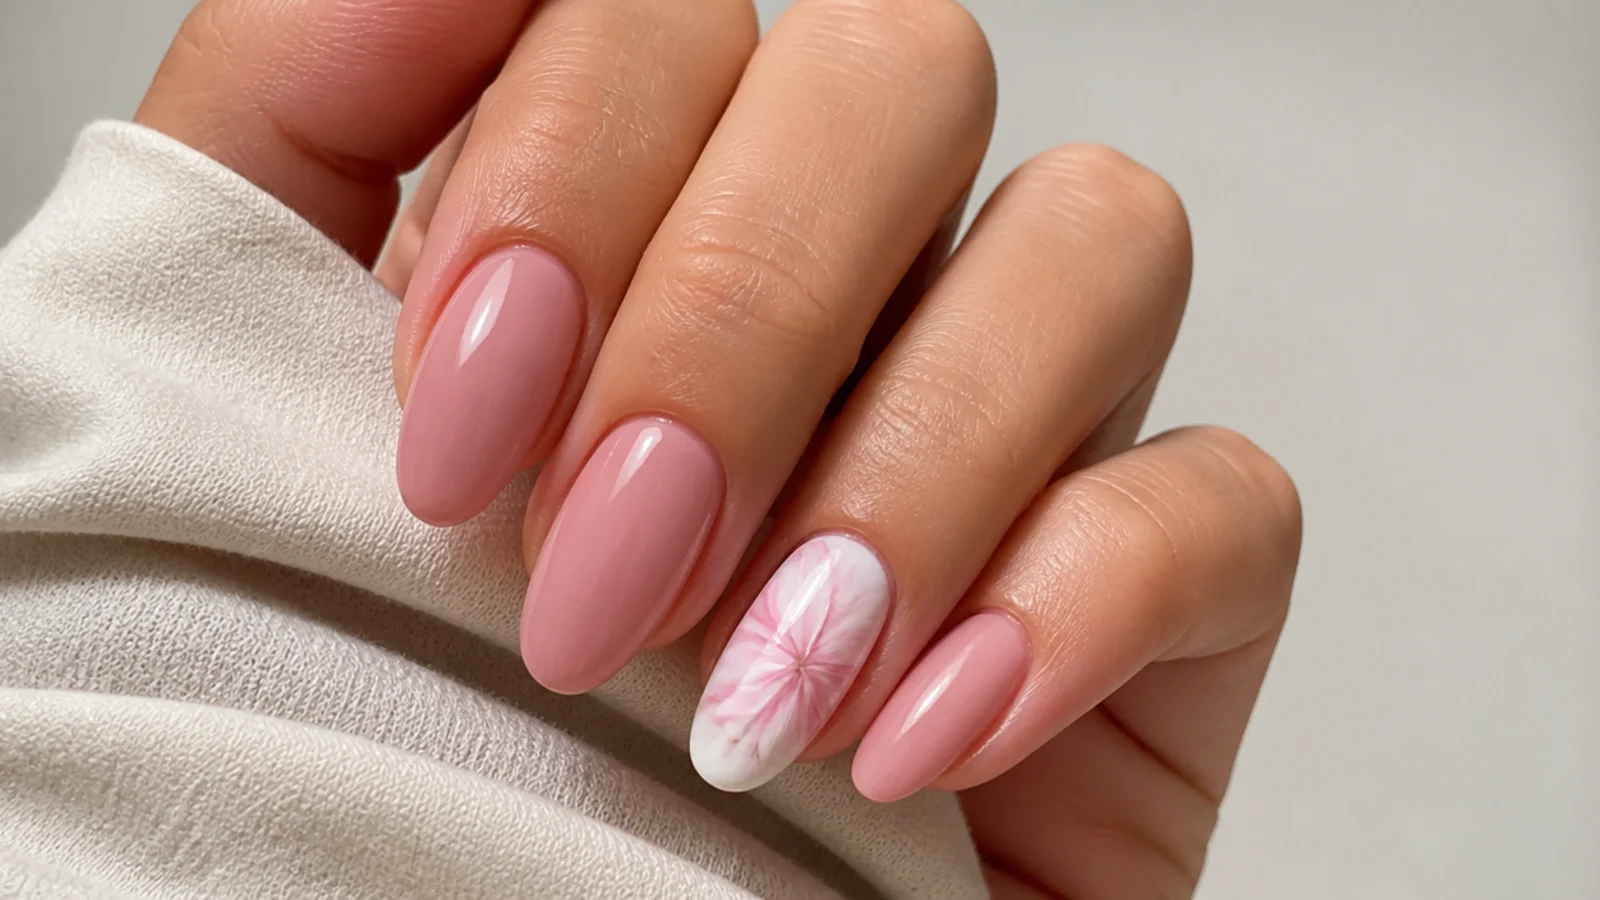
Four nails stay a plain soft pink gel while one accent nail carries an abstract bloom - a swirl of rose, white and a thin gold line over the diffused color - so the watercolor detail lands in one spot rather than everywhere. The single blooming nail plays against the solid pink for a balanced, considered look. Cure 30 to 60 seconds per layer. It suits anyone who wants the trend concentrated on one nail and easy upkeep on the rest. Match the solid pink to the palest tone in the bloom so the accent feels part of the set, not stuck on.
Who it suits: Anyone wanting the effect on just one accent nail.
Tip: Match the solid pink to the lightest tone in the bloom.
13. Coral Pink Sunset
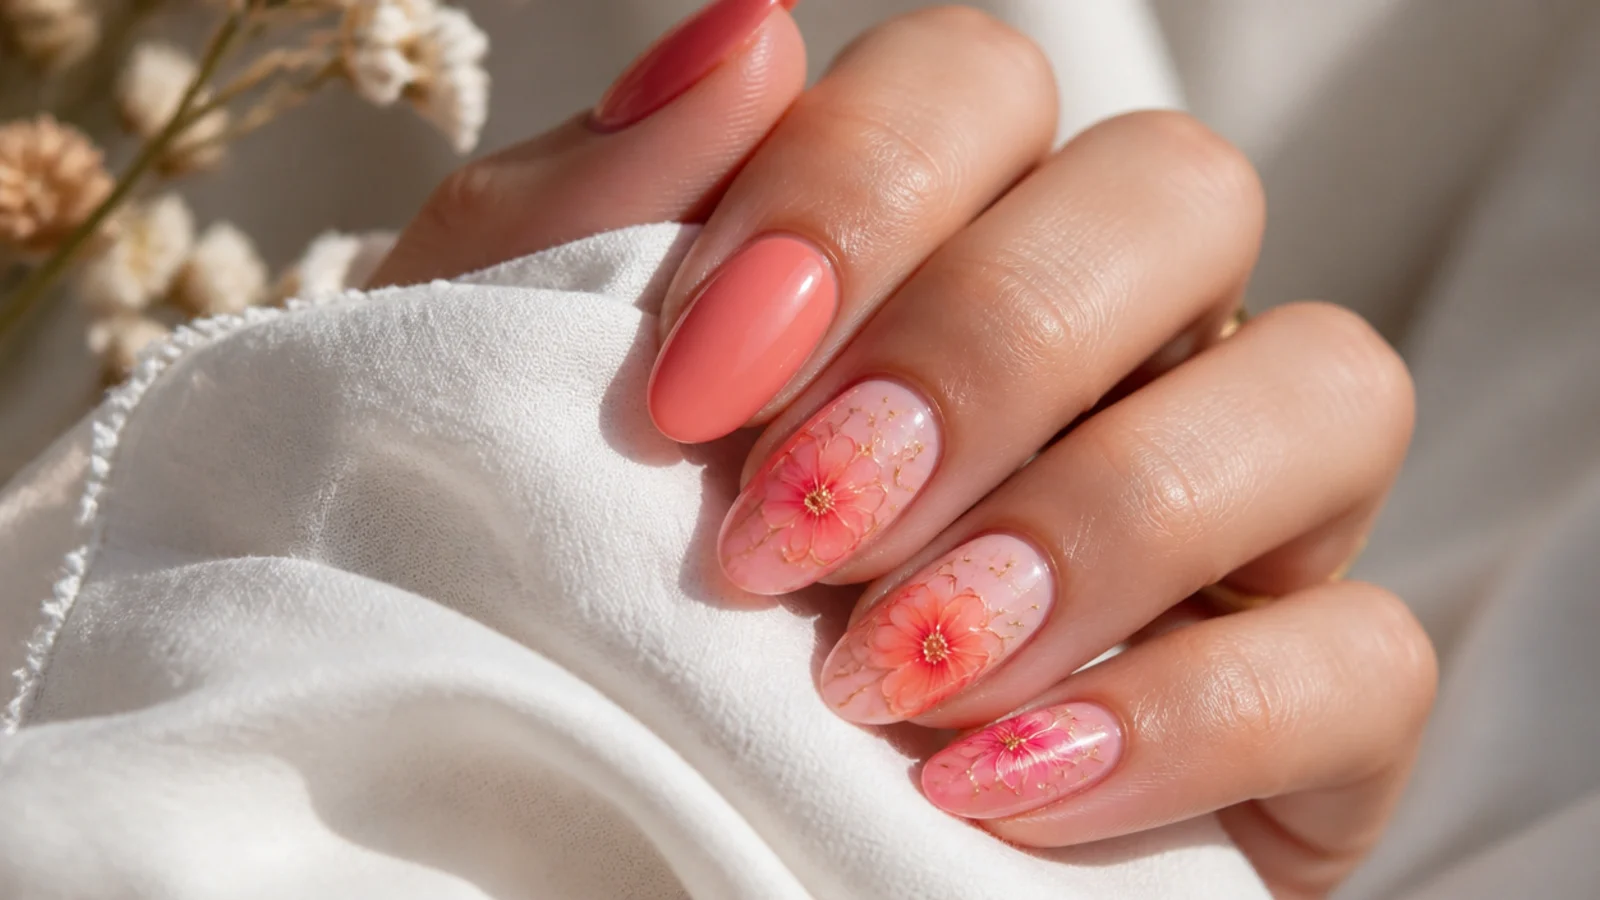
Warm coral and a soft peachy pink dropped onto the wet blooming gel bloom into a sunset haze, the two warm tones diffusing into a glowing gradient that feels bright and summery. The blooming gel melts the edge between coral and pink so it looks lit from within. Cure 30 to 60 seconds to set the glow. It suits warm and olive skin tones and vacation nails especially well. Keep the two colors in the warm family so they blend into a clean sunset; a cool pink dropped into coral can turn the blend gray where the tones meet.
Who it suits: Anyone with warm undertones wanting a summery set.
Tip: Stay in the warm family so coral and pink blend clean.
14. Pink Negative-Space Bloom
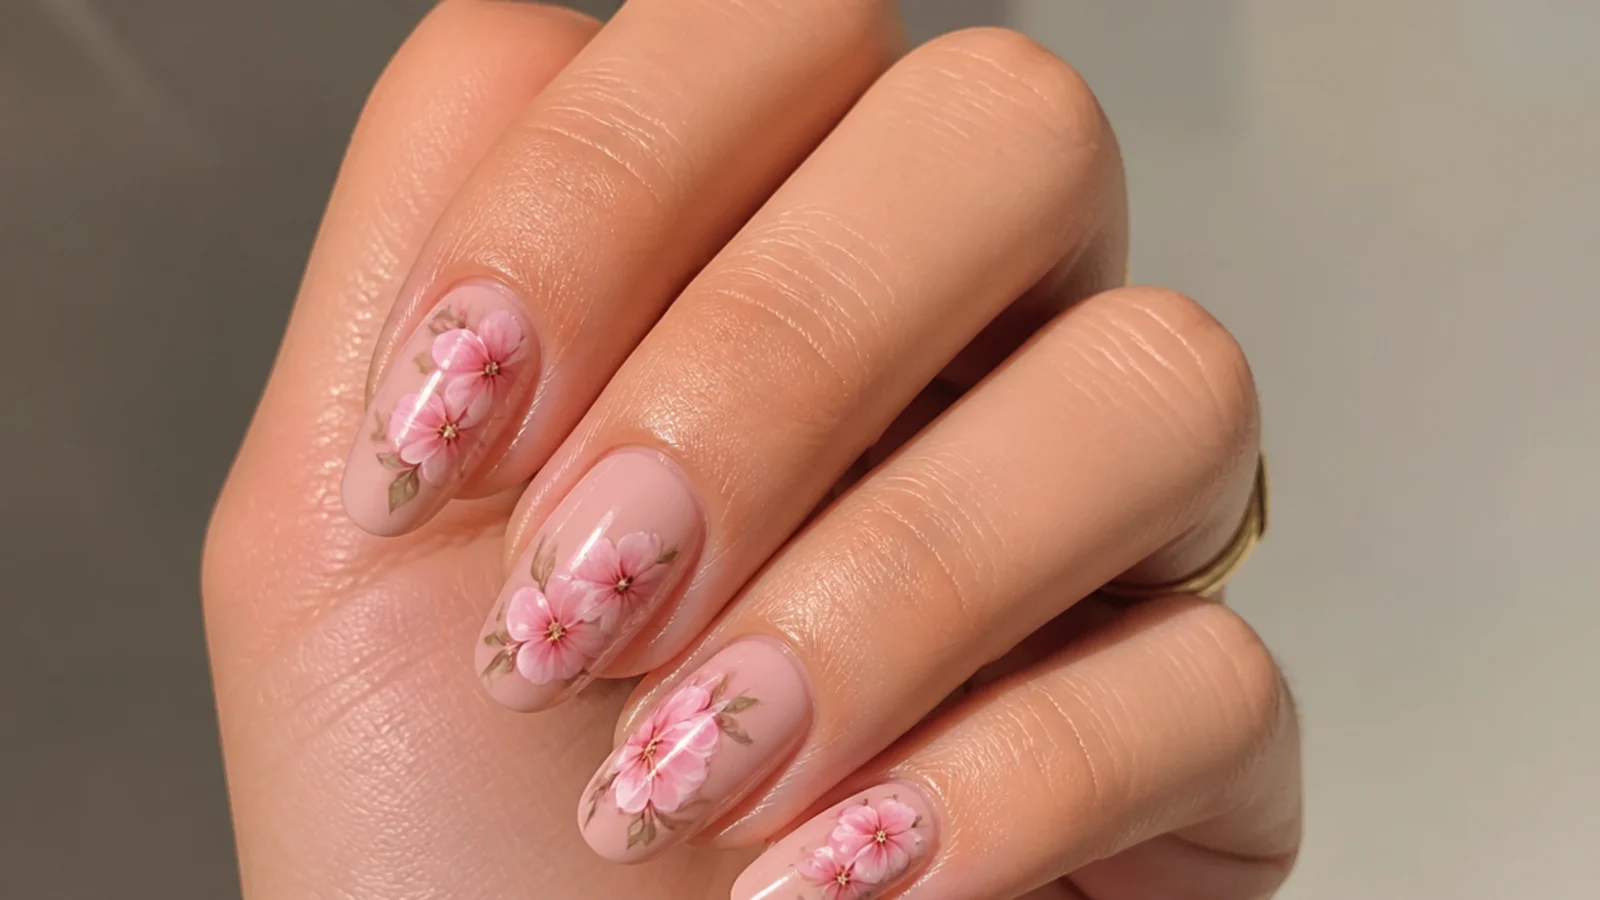
A single pink bloom is placed off to one side of a clear or sheer nude nail, leaving open negative space so the watercolor detail floats rather than filling the whole surface. Painting the blooming gel only where you want color keeps the rest of the nail bare. Cure 30 to 60 seconds once the bloom settles, then top coat the whole nail and cure. It suits minimalists and anyone who likes airy, modern nail art. Keep the bloom compact and to one corner; if the blooming gel spreads across the clear areas the color creeps and the negative space is lost.
Who it suits: Anyone wanting a minimal, airy modern look.
Tip: Brush blooming gel only where you want color to keep space clear.
15. Pink Floral French Combo
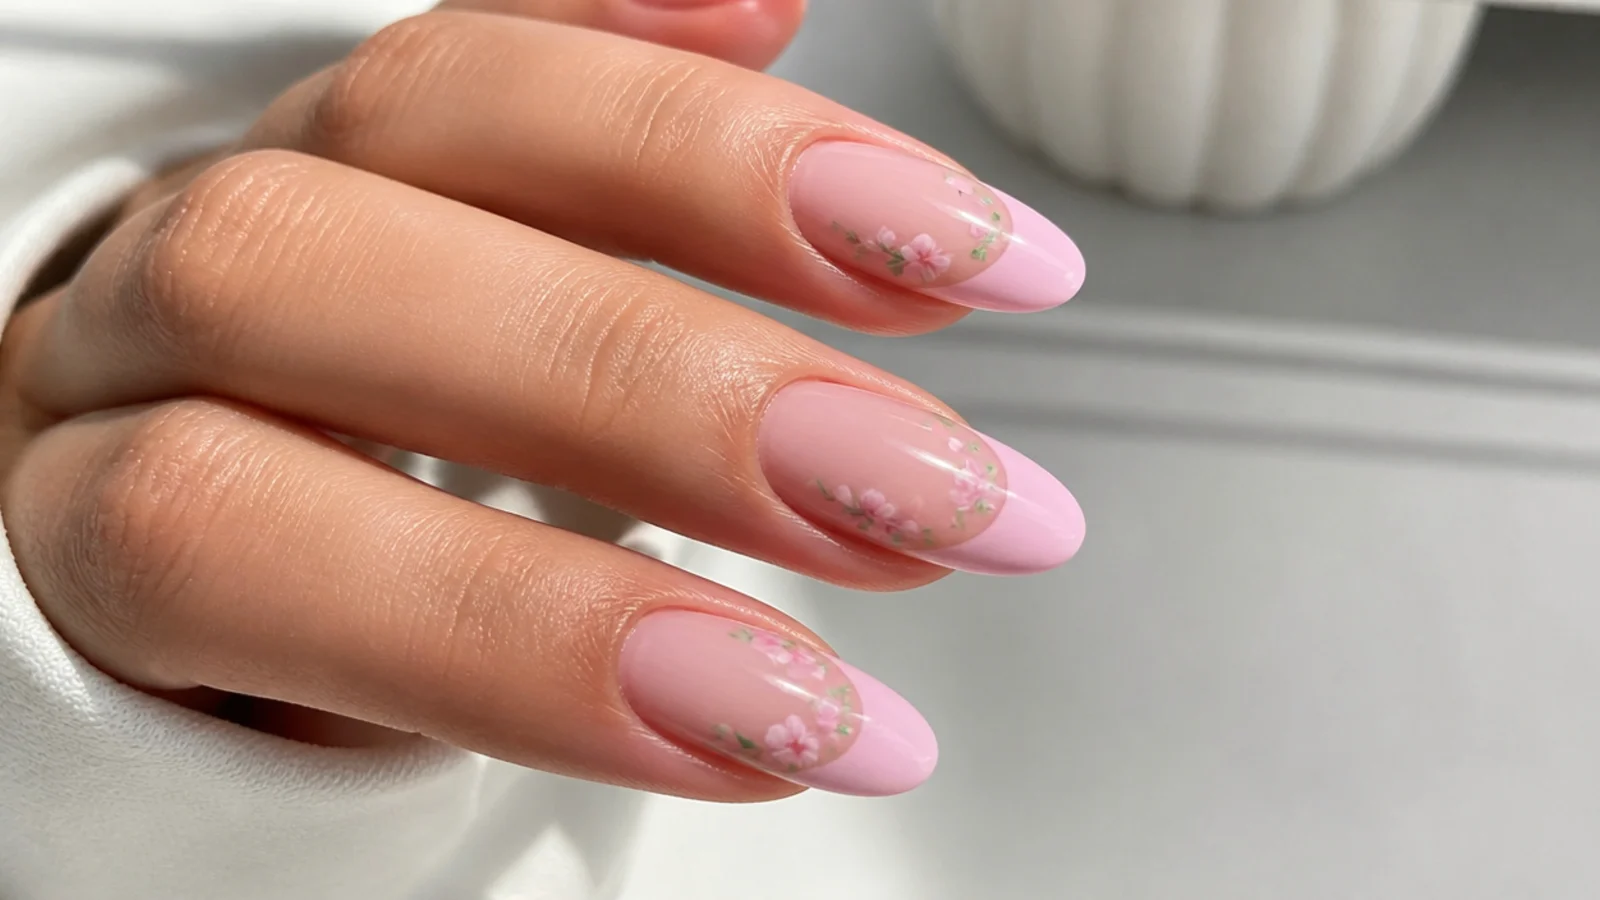
A mix-and-match set where some nails wear a soft blooming pink French tip and others carry a small diffused pink flower, tying the whole hand together with one pink palette. Combining two of the most-saved pink blooming looks makes a set that feels designed rather than random. Cure 30 to 60 seconds at each stage and seal everything with a no-wipe top coat. It suits weddings, events and anyone who wants variety across the hand. Keep every nail in the same two or three pink tones so the French and the florals read as one cohesive set instead of competing.
Who it suits: Anyone wanting a cohesive mixed set for an event.
Tip: Keep all nails in the same pink tones so the mix looks planned.
What Is Blooming Gel and How Does It Work?
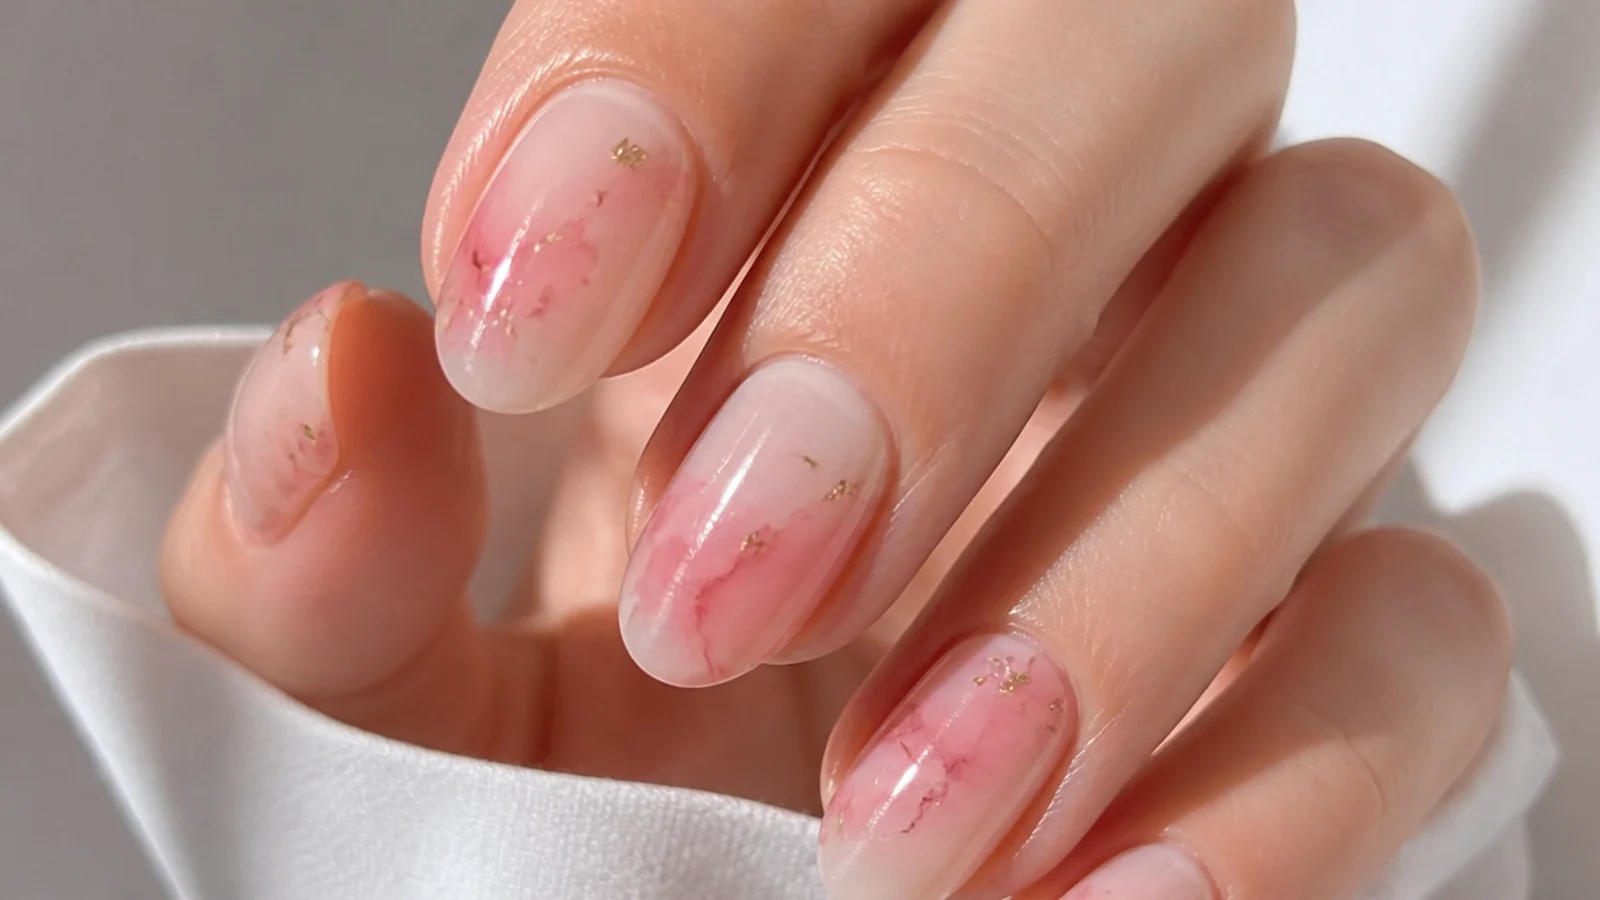
Blooming gel is a clear gel that makes gel polish spread and diffuse into soft, watercolor-like patterns - flowers, marble and ink or tie-dye effects. It works because of one key step: you brush a thin layer of blooming gel over a cured color base and leave it uncured, then drop or draw gel color onto that wet gel and it feathers out on its own within seconds to about a minute. Once the pattern looks right, you cure it under an LED lamp for roughly 30 to 60 seconds, or a UV lamp for about two minutes, to lock it in place. The single most common mistake is curing the blooming gel before adding color, which kills the effect entirely - the color then sits where you put it with no spread. The amount of spread is controlled by how thick you apply the blooming gel: a thinner layer gives more bloom, a thicker layer gives less.
How to Get the Pink Blooming Gel Look at Home
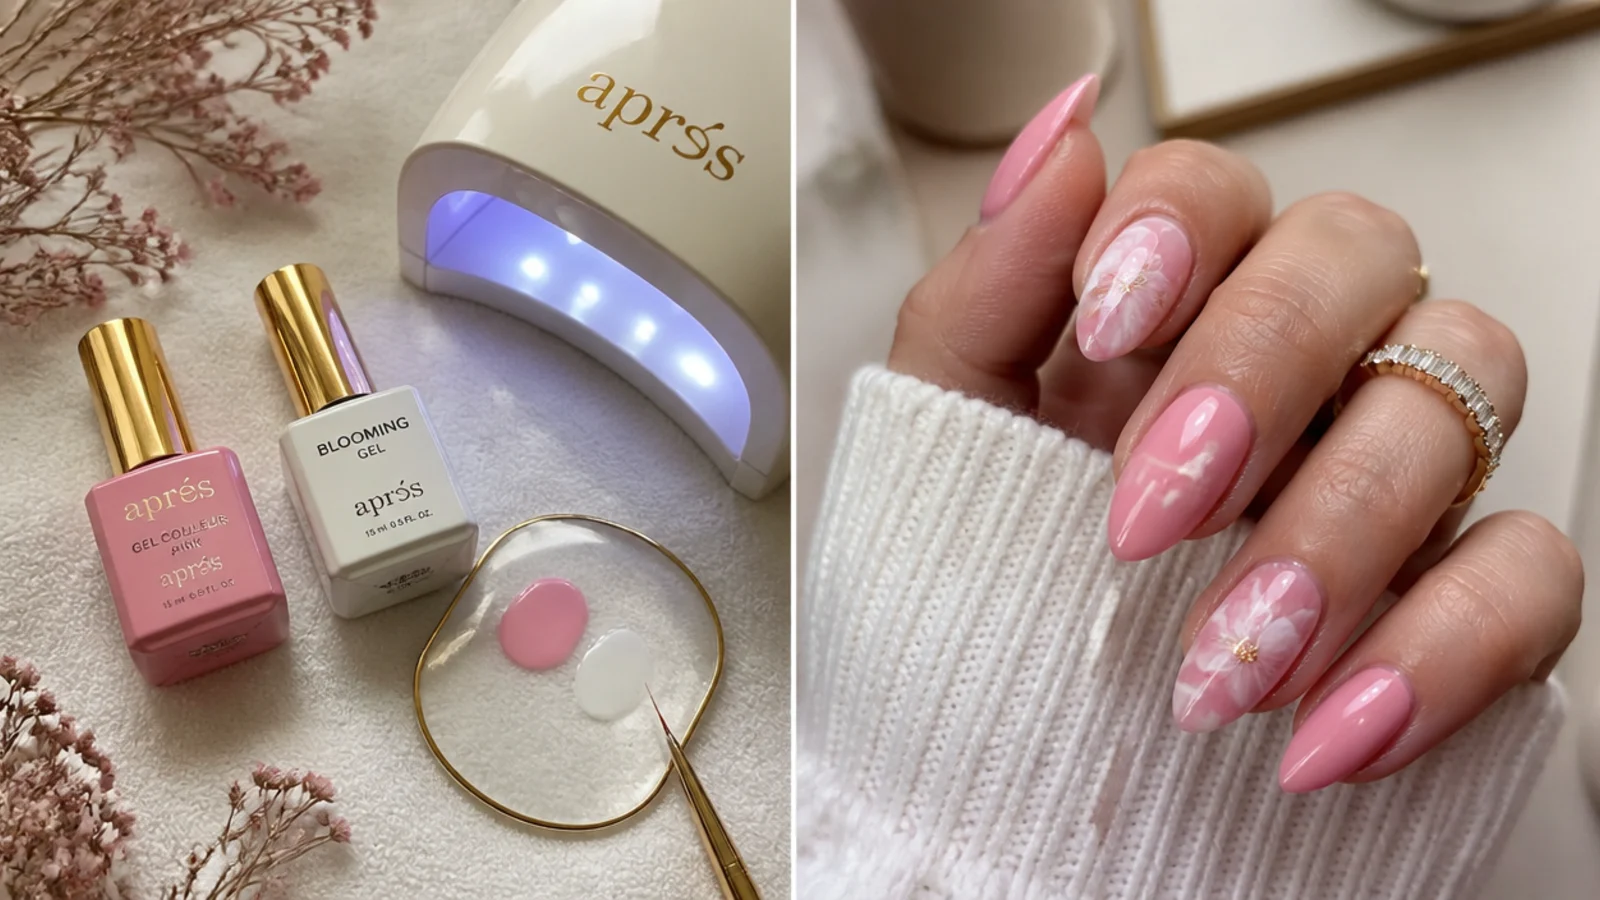
Prep the nail, apply and cure a base coat, then paint and cure your color base - usually a milky white or soft nude for pink blooms. Brush on a thin layer of blooming gel and leave it uncured. Using a thin detail or liner brush, drop or draw a little soft pink onto the wet gel and watch it spread; less color blooms wider, so start small. Let it diffuse for a few seconds up to about a minute, then cure 30 to 60 seconds under LED. Build depth by adding another bloom and curing again rather than flooding color at once. Finish with a no-wipe gel top coat, cap the free edge, and cure a final 30 to 60 seconds. The whole set takes roughly 45 to 60 minutes. It is an intermediate technique but very beginner-friendly with a little practice, and soft pink is the most forgiving color to learn on.
Supplies You Need
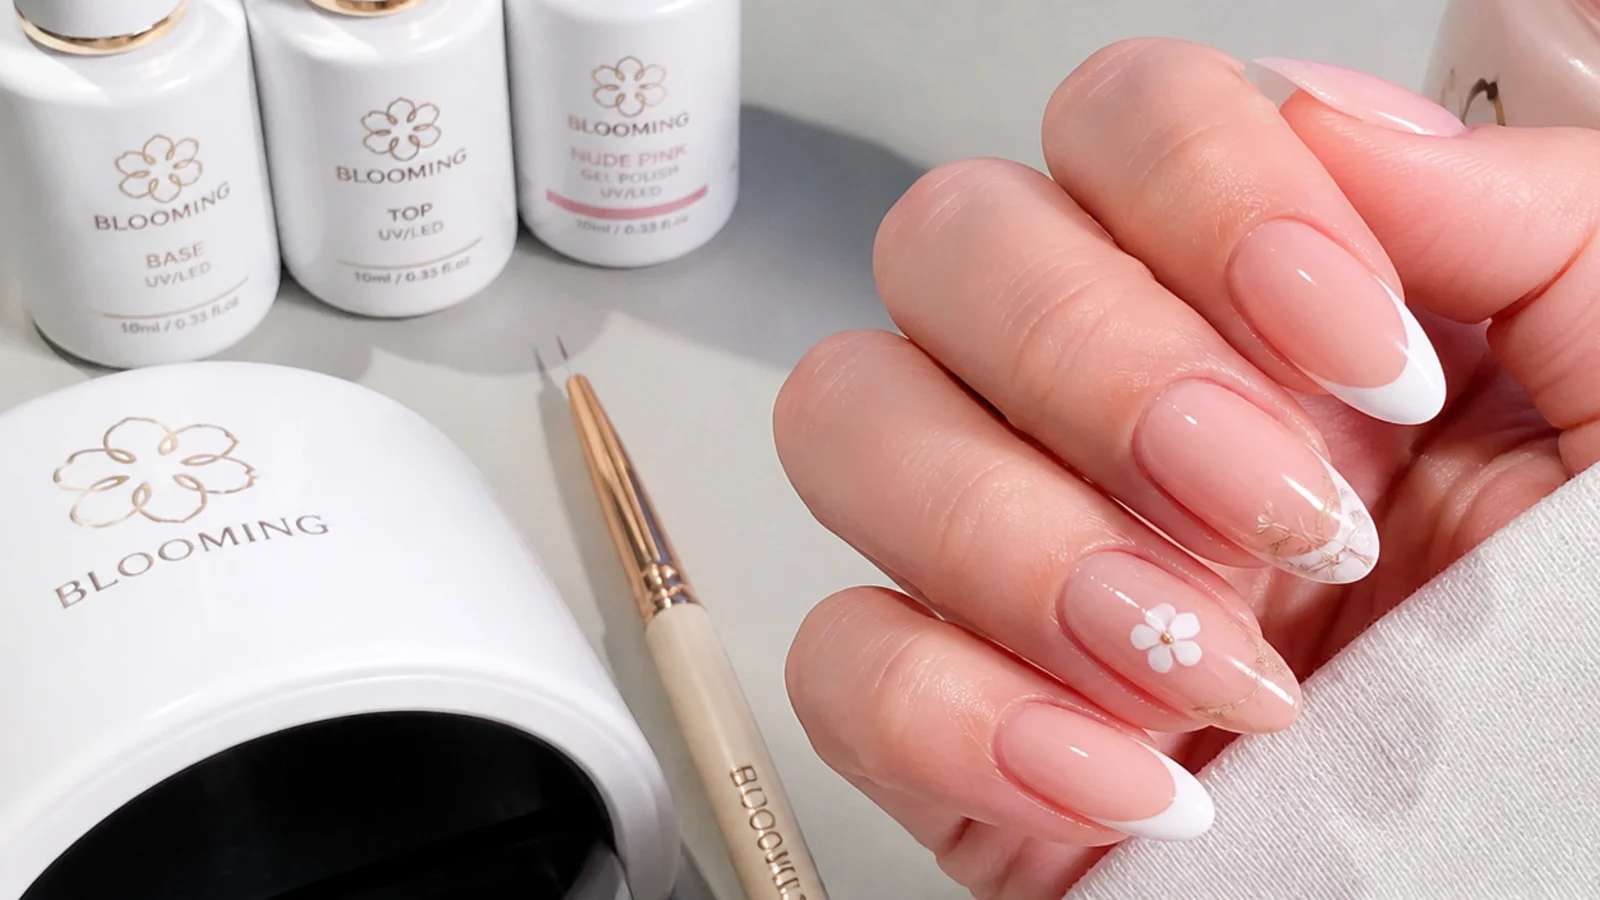
You need a base coat, a color base gel - a milky white or nude works best under pink - and one or more pink gel polishes for the bloom. The star is the blooming gel itself, plus a no-wipe gel top coat to seal the design. An LED or UV lamp is essential to cure each layer; without it the gel never sets. A thin detail or liner brush lets you place and draw color precisely, and lint-free wipes keep everything clean. Add cuticle oil to keep the finished set healthy and 100% acetone for removal later. A DIY kit with blooming gel, a couple of pink colors and a lamp pays back fast compared with salon prices, and most of the tools last for many sets. If you already own a gel setup, blooming gel is the only truly new item you have to buy to get started.
Common Blooming Gel Mistakes to Avoid
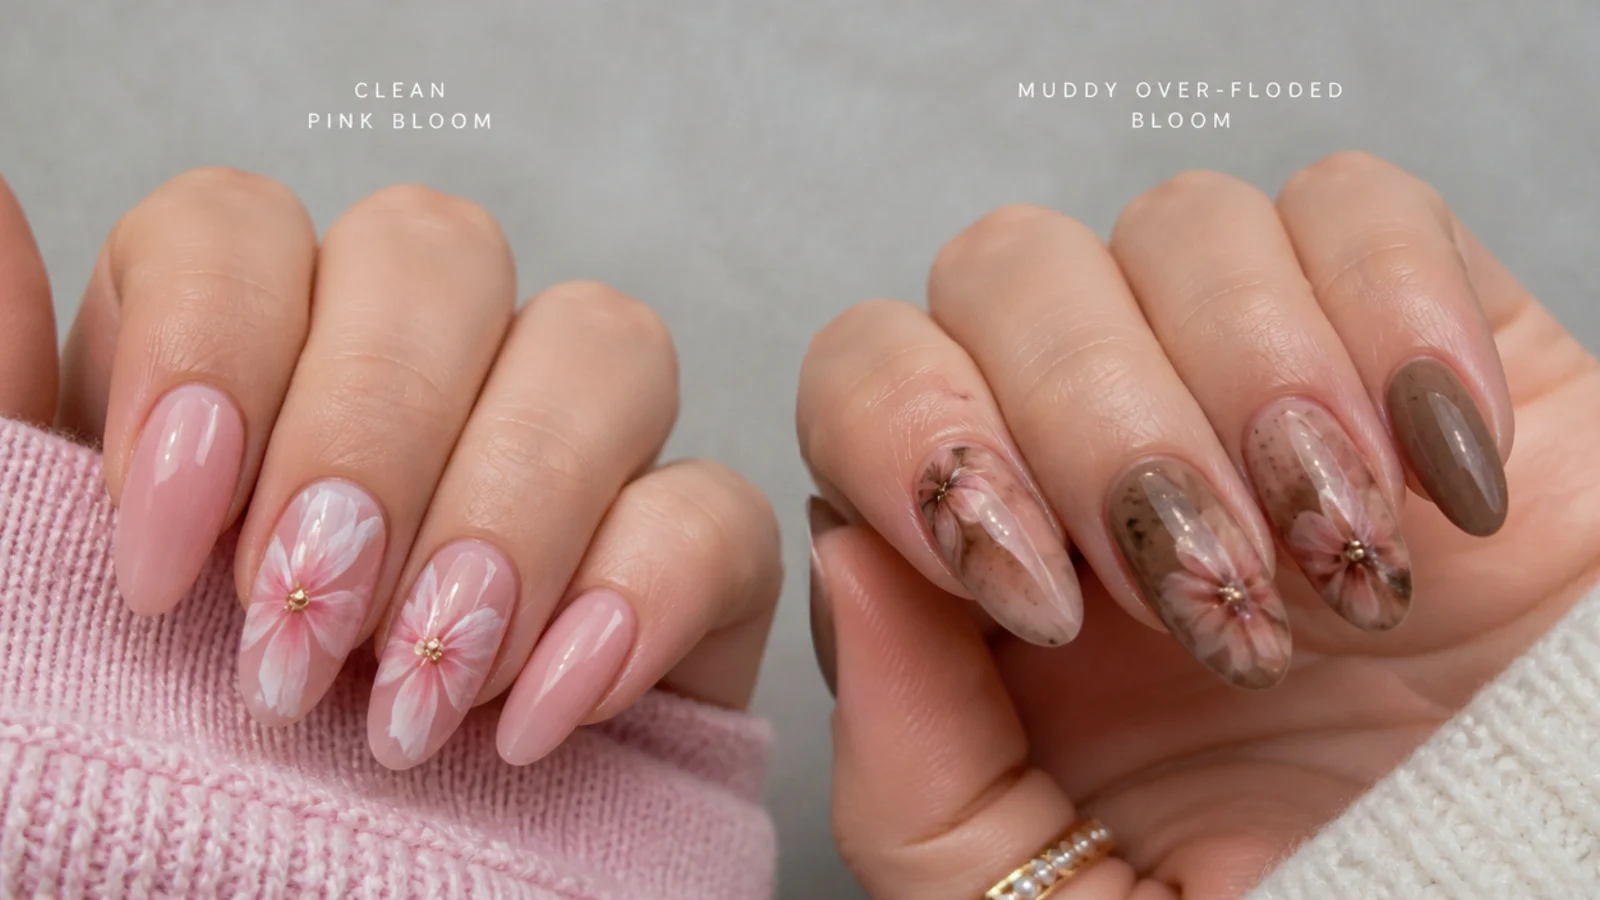
The biggest mistake is curing the blooming gel too early - once it is cured, color will not spread, so always add color while the gel is still wet. The second is flooding too much color, which blurs into a muddy gray instead of a soft bloom; use a little and let it spread on its own. Applying the blooming layer too thick stops the bloom, so keep it thin for more diffusion. Not sealing and capping the free edge leads to smears and early chips, so always finish with a no-wipe top coat over the whole nail and the tip. Skipping base prep causes lifting no matter how pretty the design. For pink specifically, remember that bright, highly pigmented shades flood faster than pale ones, so use even less color and let it bloom fully before you cure.
How Long Do Pink Blooming Gel Nails Last?
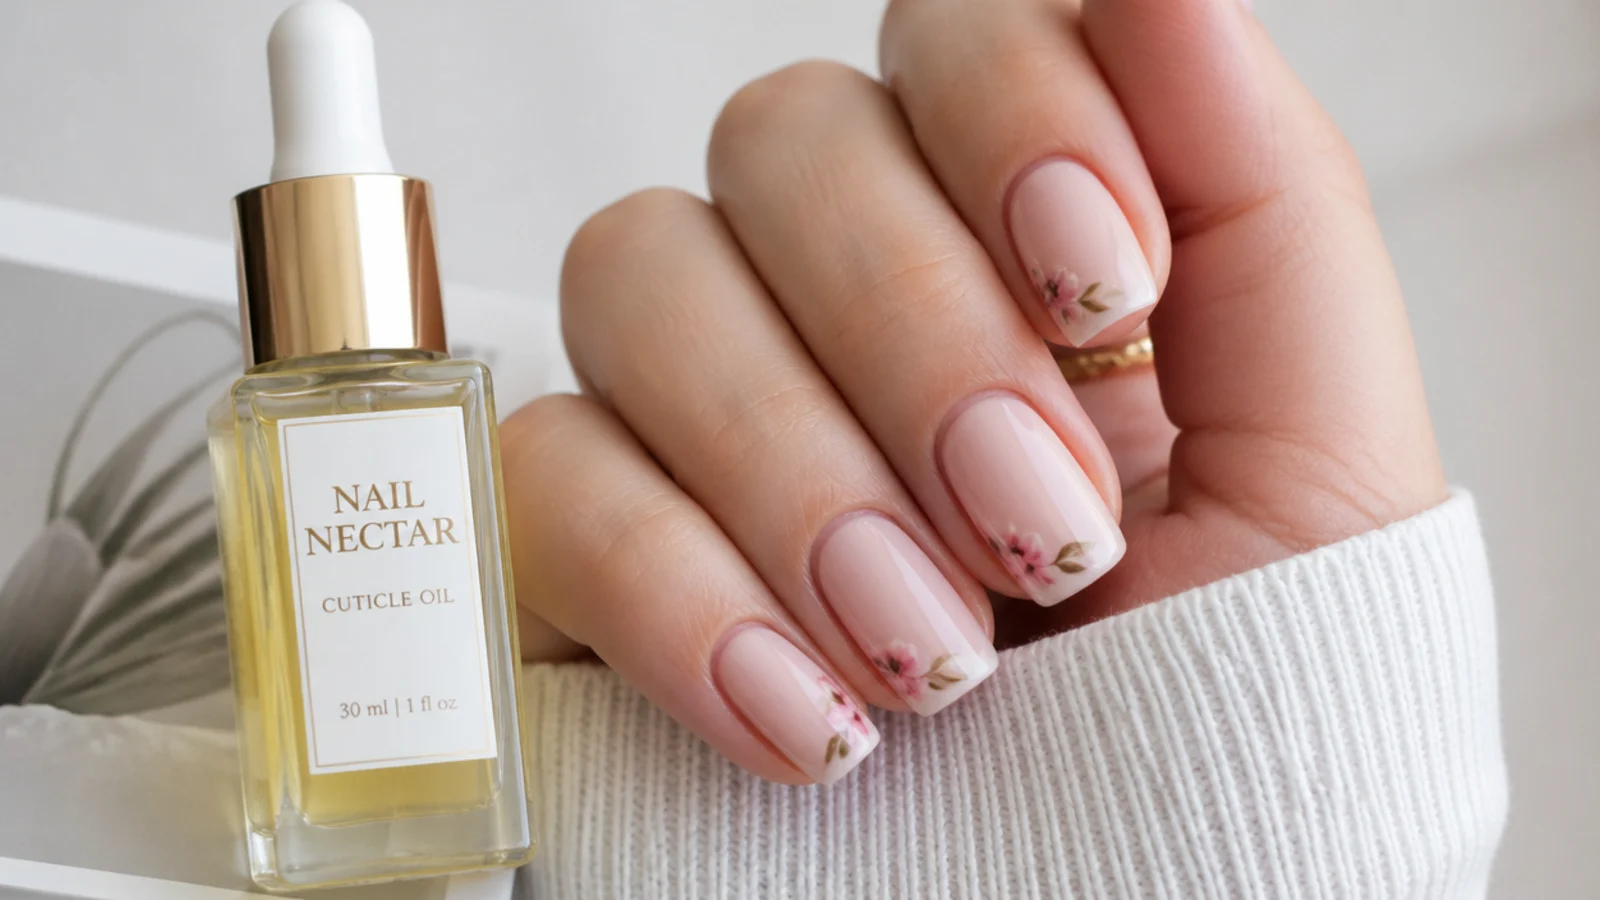
Because blooming gel is a gel technique, a set typically lasts two to three weeks, and up to four with good prep, daily cuticle oil and a capped free edge. That is a big jump from regular, non-gel polish art, which only holds for about five to seven days before it chips. Longevity: two to three weeks typical, up to four with care. Base prep: the single biggest factor in avoiding lifting. Free edge: always cap it under top coat to prevent early chips. To make a set last, apply cuticle oil daily, wear gloves for cleaning and washing up, and avoid using your nails as tools. When it is time to remove, lightly file the shiny top coat, soak with 100% acetone on cotton wrapped in foil for 10 to 15 minutes, then gently push the softened gel off - never peel or pry, which damages the natural nail.
Cost - Salon vs DIY
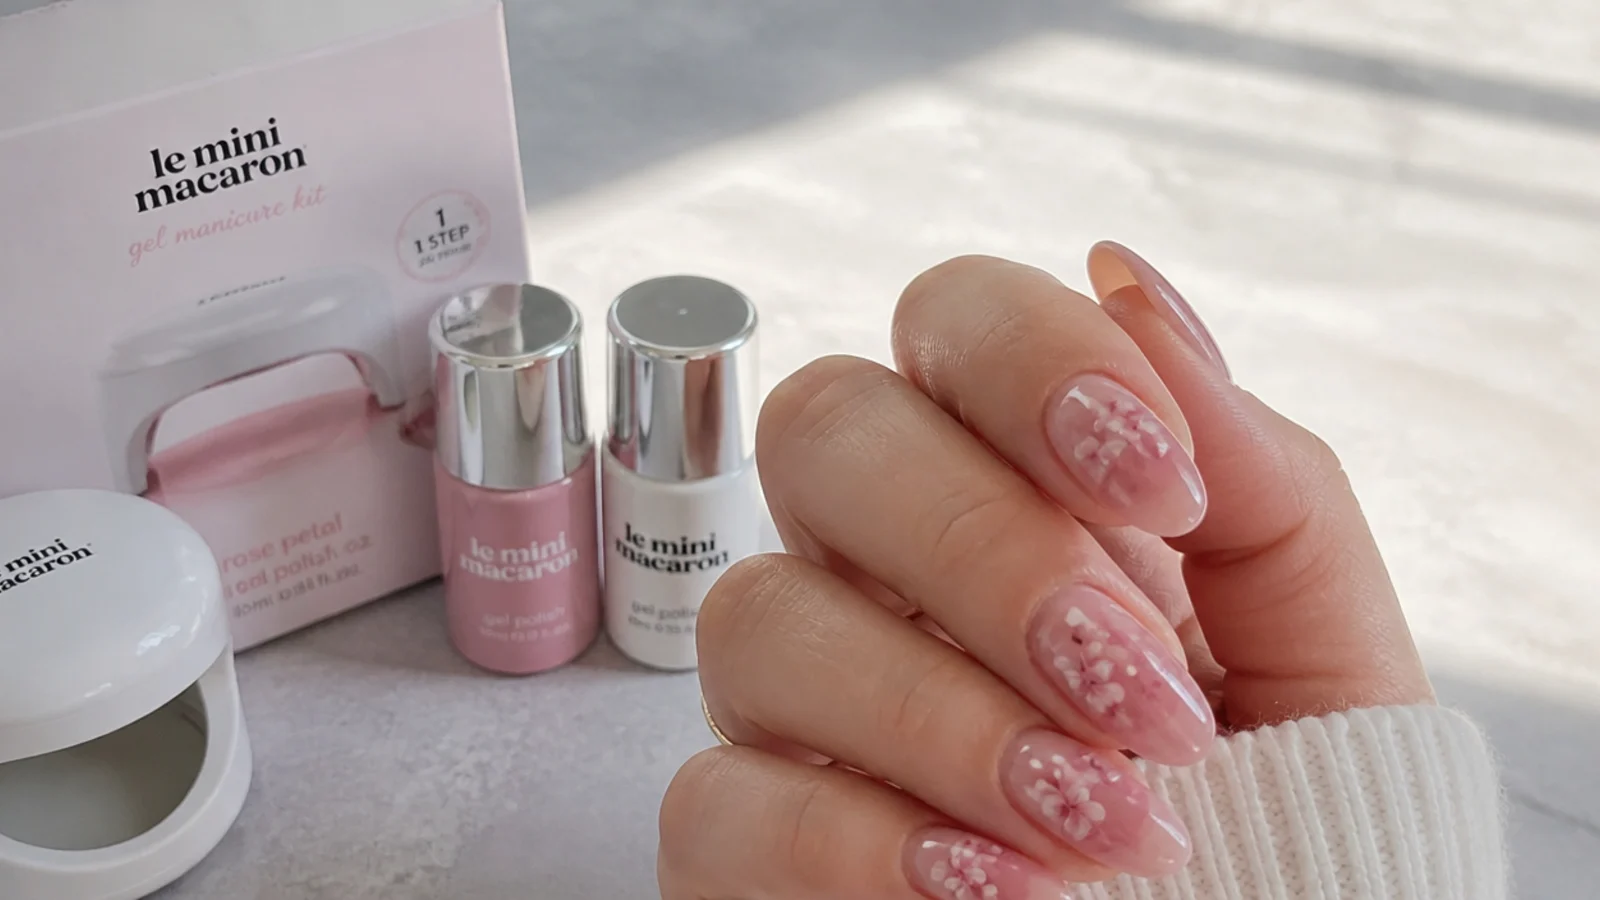
At a salon, a standard gel manicure runs about $30 to $55, and nail-art or design add-ons cost roughly $5 per accent nail, so a full pink blooming-gel set often lands around $45 to $70 or more depending on how many nails carry the design. Salon set: about $45 to $70 plus for a full blooming design. Art add-on: roughly $5 per accent nail on top of the base gel manicure. DIY kit: blooming gel, a couple of pink colors and a lamp pay back after just a few sets. Doing it yourself costs more up front for the lamp and gels, but the blooming gel and colors stretch across many manicures, so the per-set price drops quickly. Soft pink is a smart first design to practice on because it hides small mistakes, so your early DIY sets still look polished.
Frequently Asked Questions
What is blooming gel and how does it work?
Blooming gel is a clear gel that makes gel polish spread into soft, watercolor patterns. You brush a thin layer over a cured base, leave it uncured, then drop color onto the wet gel so it diffuses out, and cure under a lamp to lock the pattern in place.
Do you cure blooming gel before adding color?
No. Curing the blooming gel before adding color kills the effect - the color will not spread and just sits where you place it. Always apply color while the blooming gel is still wet and uncured, let it bloom, then cure that layer for about 30 to 60 seconds under LED.
How long does blooming gel take to bloom?
The color spreads and diffuses within seconds up to about a minute after you drop it onto the wet blooming gel. Thinner blooming layers spread faster and wider, thicker layers spread less. Wait until the pattern looks right, then cure to freeze it exactly where it is.
How long do pink blooming gel nails last?
Because it is a gel technique, a set lasts about two to three weeks, and up to four with good prep, daily cuticle oil and a capped free edge. Regular non-gel polish art only lasts five to seven days, so blooming gel holds far longer.
Do you need a UV or LED lamp for blooming gel?
Yes. Blooming gel and the gel colors only harden under UV or LED light, so a lamp is essential. Cure each layer for roughly 30 to 60 seconds under LED, or about two minutes under UV. Without a lamp the gel never sets and the design smears.
Is blooming gel good for beginners?
Yes. It is an intermediate technique but very beginner-friendly with a little practice, and soft pink is the easiest color to start with because a pale shade blooms into a gentle, forgiving haze that hides small mistakes. Start with one drop and build up slowly.
Why did my blooming gel go muddy or not bloom?
Muddy blooms come from flooding too much color, which blurs into gray - use less and let it spread. No bloom usually means you cured the blooming gel too early or applied it too thick. Keep the layer thin, leave it uncured, and add only a little color.
What colors work best for pink blooming gel nails?
Soft rose, blush and milky pinks bloom into the prettiest watercolor haze and are the most forgiving to learn on. Pair them with white for marble and ombre, or add mauve and coral for depth. Bright hot pink works too but floods fast, so use even less color.
How do you remove blooming gel nails?
Lightly file the shiny top coat, then soak the nails in 100% acetone on cotton wrapped in foil for 10 to 15 minutes. Gently push the softened gel off with a wooden stick. Never peel or pry the gel off, as that pulls layers from your natural nail and causes damage.
How much do pink blooming gel nails cost?
At a salon, a gel manicure runs about $30 to $55, with art add-ons around $5 per accent nail, so a full blooming set often costs $45 to $70 or more. A DIY kit with blooming gel, pink colors and a lamp costs more up front but pays back after a few sets.
Which blooming gel nails look are you saving?
Pink blooming gel nails are the softest, most forgiving way into the watercolor trend, because a pale rose blooms into a gentle haze that hides small mistakes and flatters everyone. Keep the blooming-gel layer thin, use only a little color and let it spread on its own, then cure to lock the pattern and seal with a no-wipe top coat so it lasts the full two to three weeks. Save the sets you love and take the exact photos to your nail tech, or grab a blooming gel, a soft pink and a lamp and try the bloom yourself - it is far easier than it looks.