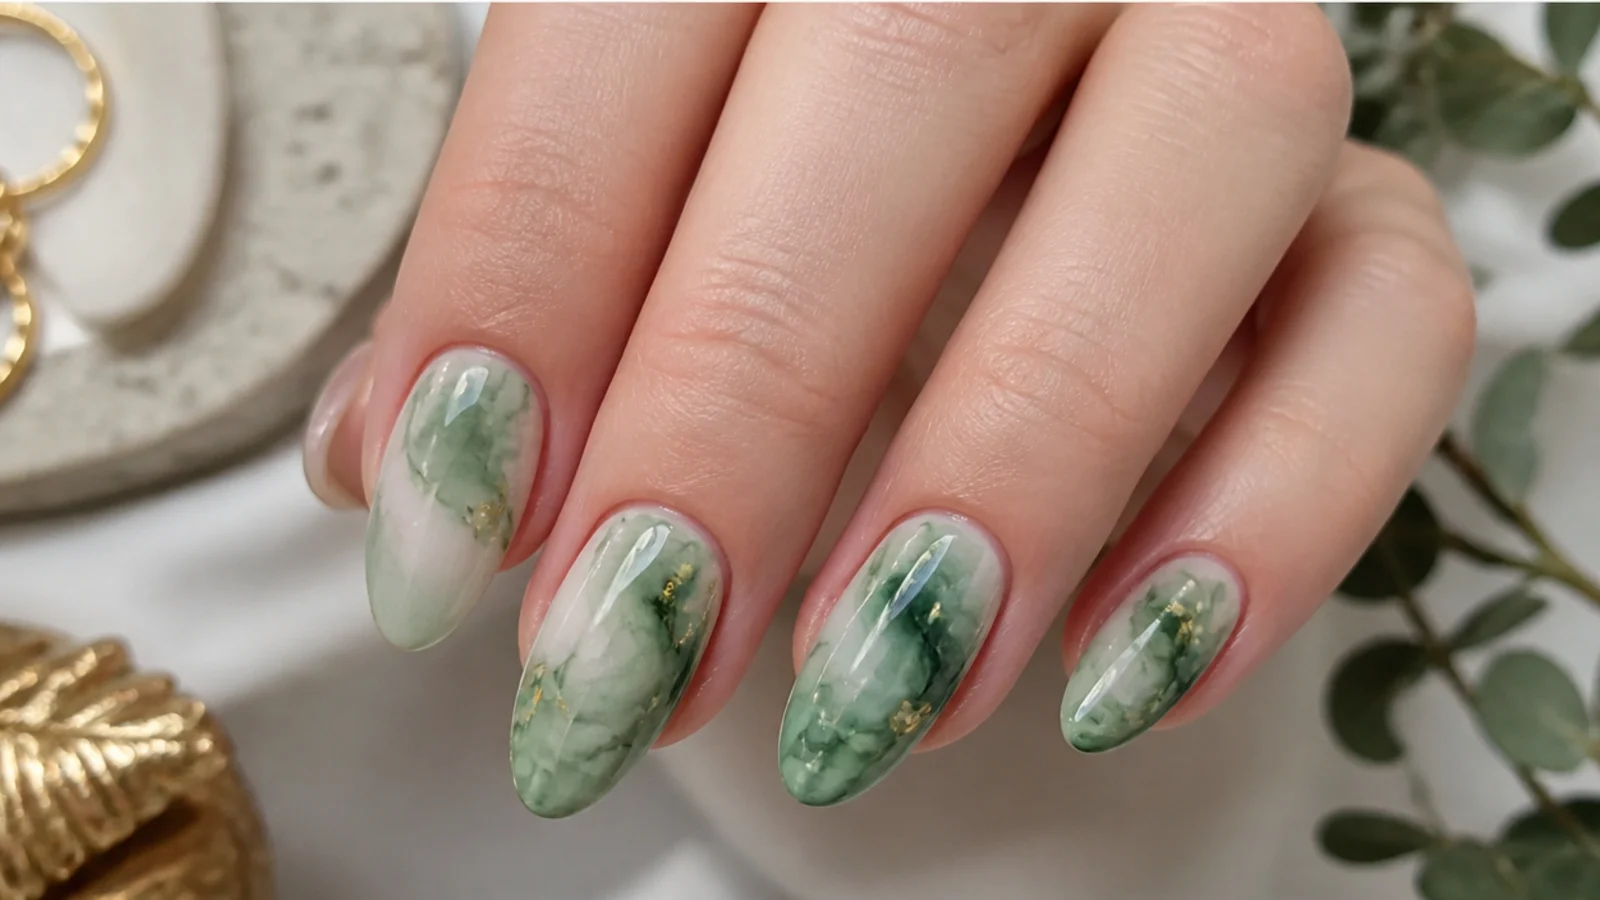
1. Watercolor Sage Bloom
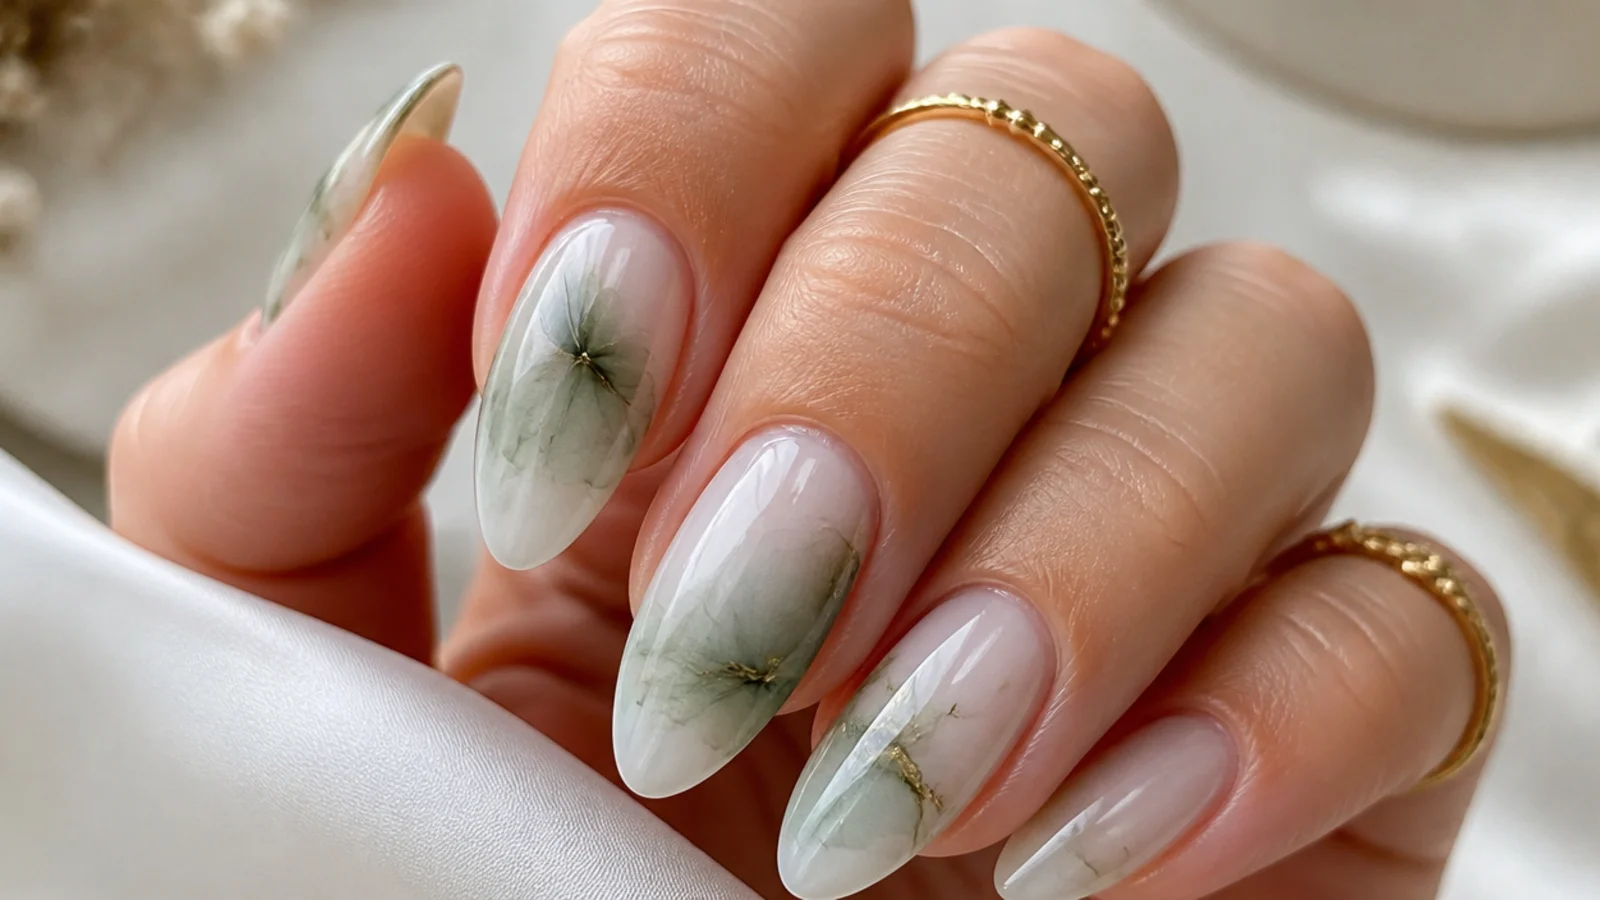
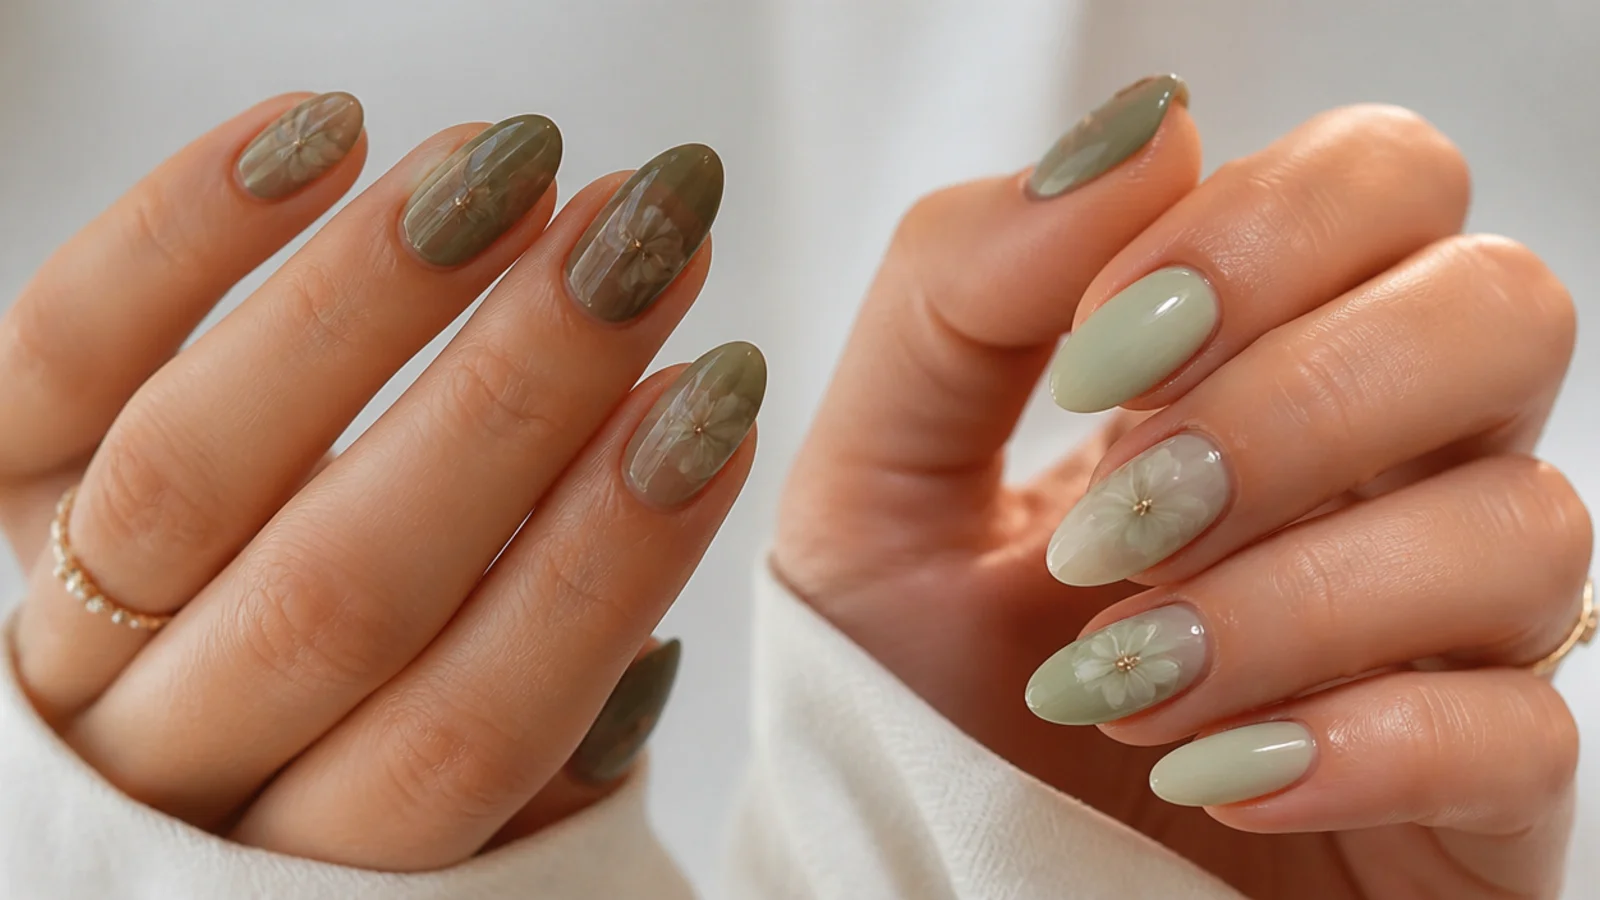
The most wearable green of the set - a milky white or nude base with soft sage green dropped into a thin uncured blooming gel layer, so the color feathers out into gentle, cloudy petals. Because sage is muted, it stays fresh rather than loud, reading like watercolor on paper. Use a single sparing drop per nail and let it spread for about thirty seconds before curing so it does not go muddy. It suits every skin tone and works from short to long. Seal with a no-wipe top coat for a soft, diffused spring finish.
Who it suits: Anyone wanting a soft, everyday green.
Tip: Keep the blooming gel layer thin so the sage spreads into airy petals.
2. Emerald Ink Marble
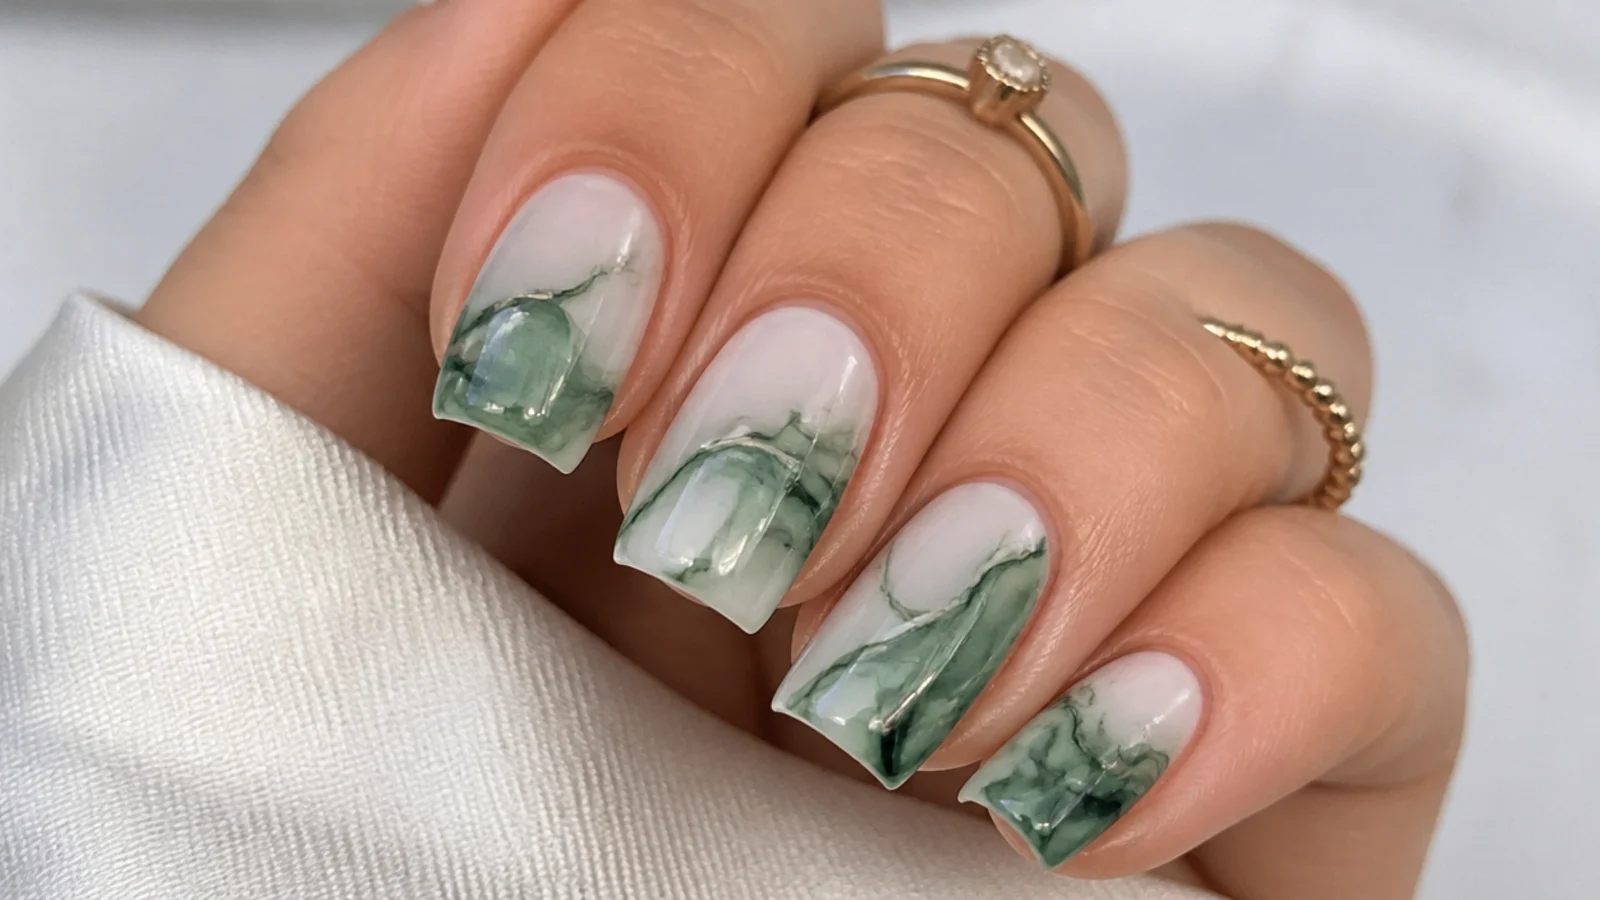
A richer, jewel-toned look - deep emerald gel drawn in loose lines onto a white base under thin blooming gel, where it bleeds and diffuses into a marbled, inky pattern. The blooming gel softens the hard edges so the emerald looks like ink in water rather than painted stripes. Draw thin lines with a liner brush, let them spread for up to a minute, then cure to lock the marble. Build a second layer for more depth, curing between. It suits medium to deep skin tones and longer coffin or square nails. Finish glossy so the emerald reads deep and glassy.
Who it suits: Anyone wanting a rich, jewel-toned marble.
Tip: Draw thin emerald lines and let them bleed before curing for a true marble.
3. Soft Mint Tie-Dye
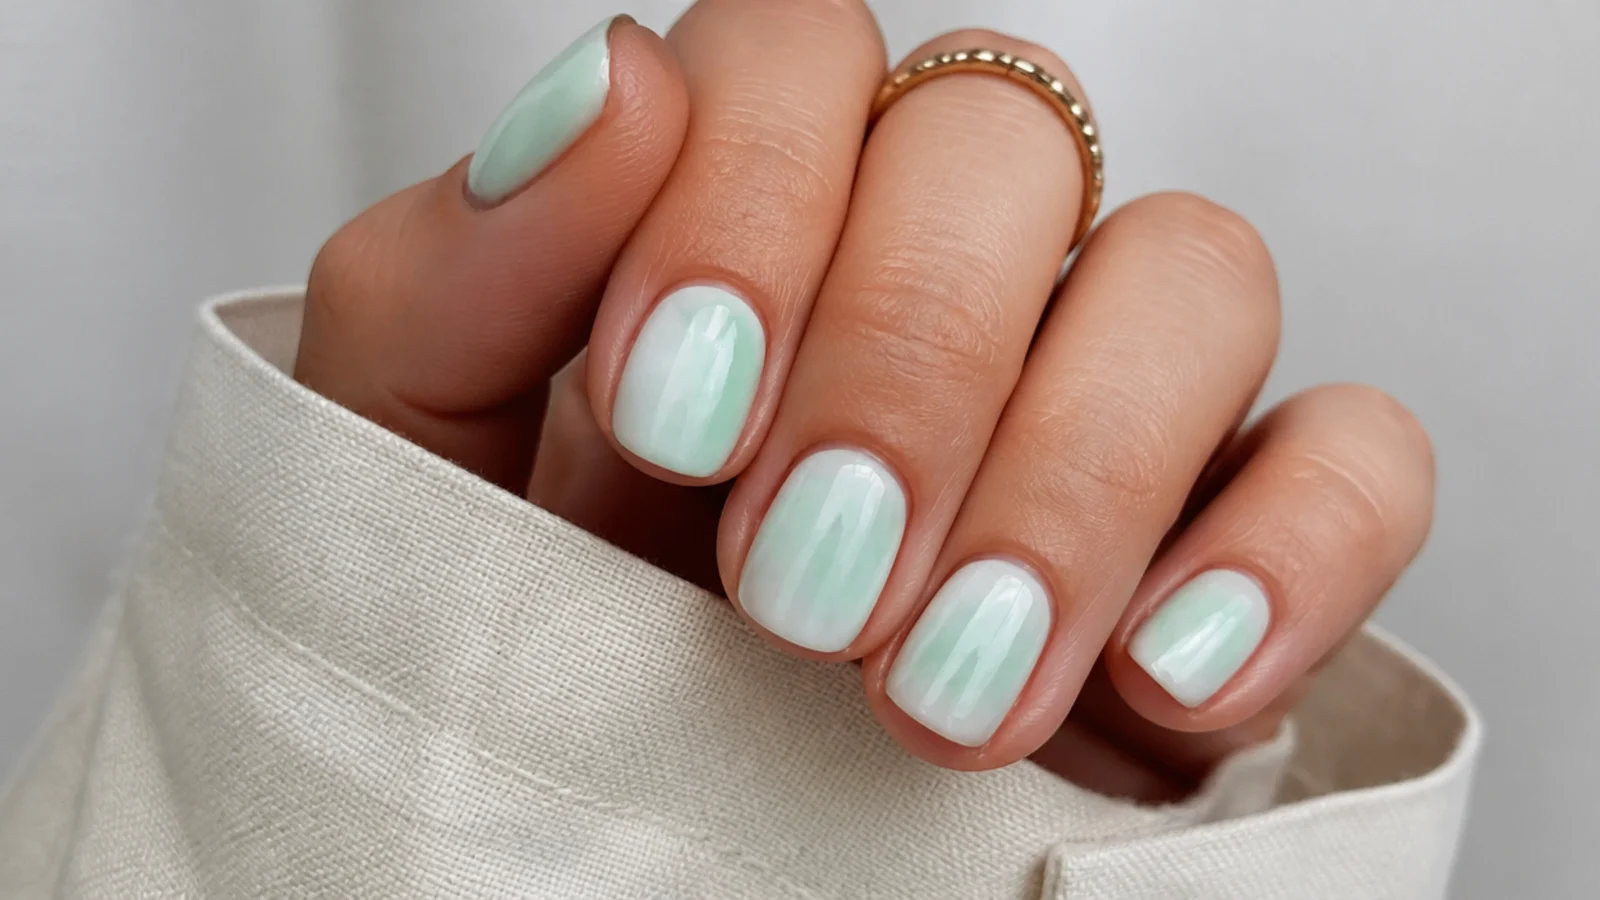
A pastel, retro-fresh finish - light mint green dropped in a few spots onto a white base under thin blooming gel, so it spreads and overlaps into a soft tie-dye wash. The gel diffuses each drop into the next, blurring them into cloudy bands with no hard lines. Keep the color sparing and let it bloom before curing so the pastel stays clean, not muddy. Add a second sheer drop for depth if you want it stronger. It suits fair to medium skin tones and looks especially sweet on short square nails. A soft matte top coat pushes the powdery tie-dye feel further.
Who it suits: Anyone wanting a soft pastel spring look.
Tip: Space the mint drops out so they bloom into each other for a tie-dye blur.
4. Fern Green Floral Bloom
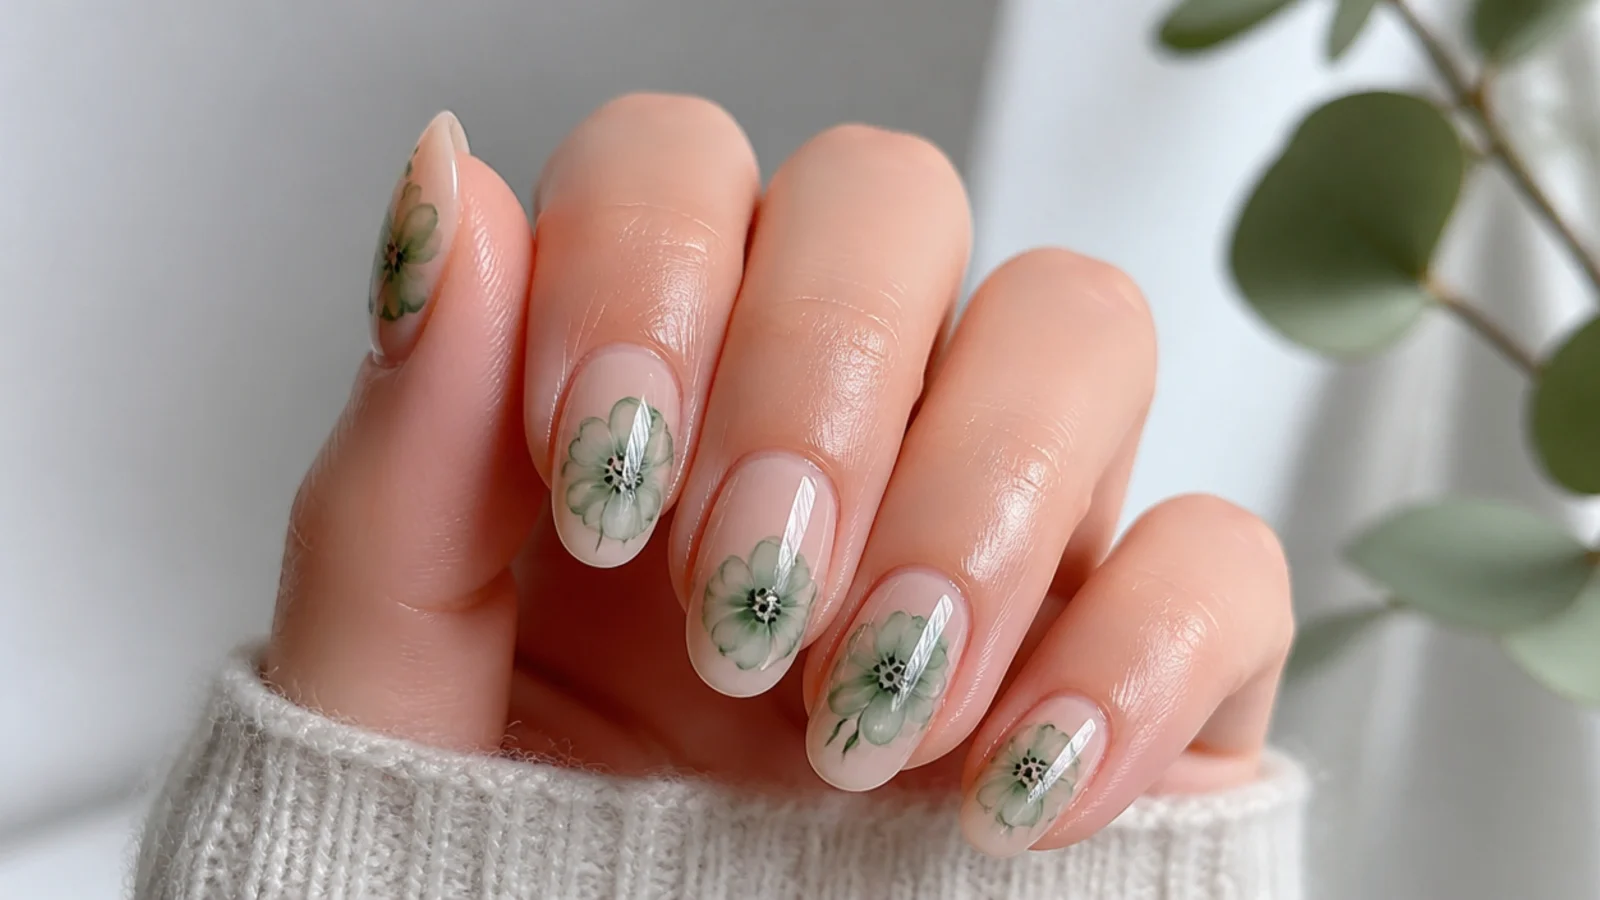
A botanical floral where the flowers bloom themselves - drop a dot of fern green into wet blooming gel for each petal and it spreads outward into a soft watercolor bloom. Add a darker green or gold dot in the center once the petals set, then cure. The diffusion does the shading for you, so the flowers look hand-painted without the skill. Keep petals to two or three per accent nail so they stay distinct. It suits every skin tone and pairs beautifully with a nude or milky base. Cap the free edge and seal glossy to protect the delicate art.
Who it suits: Anyone wanting easy watercolor florals.
Tip: Drop one dot per petal and let each bloom before adding the center.
5. Matcha Latte Marble
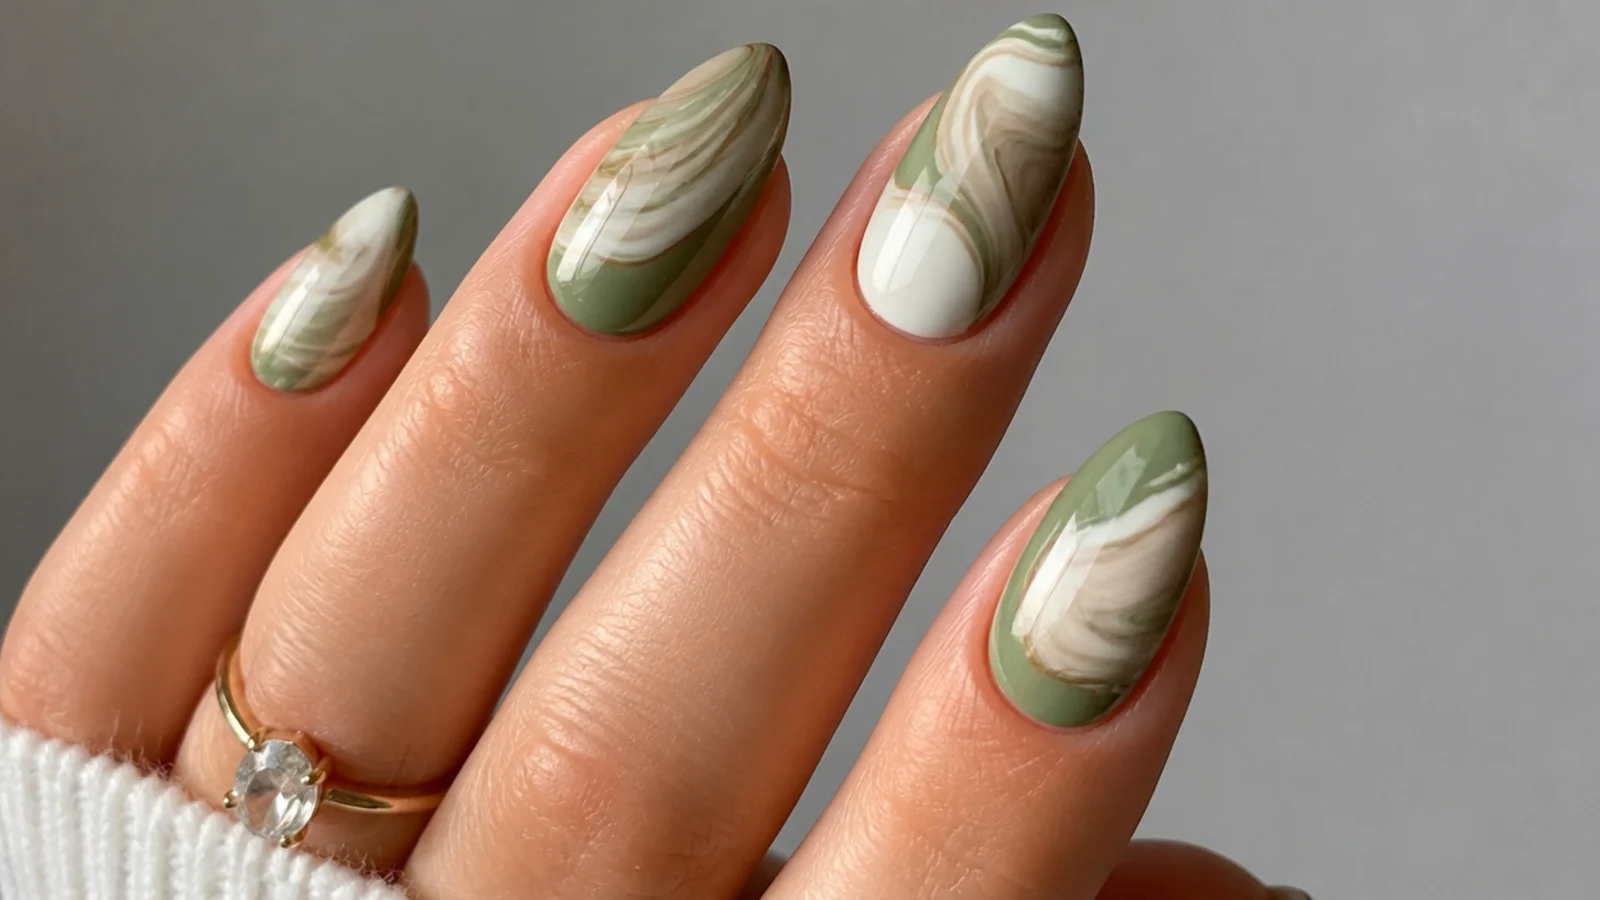
A cozy, muted green - warm matcha green swirled with cream into a soft marble under thin blooming gel. The gel blurs the two tones together so they melt rather than clash, giving a latte-art feel that stays neutral enough for work. Drop matcha and cream side by side, drag a thin line through with a detail brush, then let it diffuse before curing. The muted tone flatters warm and olive skin tones especially well. It suits medium almond or squoval shapes. A glossy top coat keeps the marble looking creamy and smooth.
Who it suits: Anyone wanting a warm, muted green marble.
Tip: Drag a fine brush once through the two tones, then let the gel soften the line.
6. Forest Green Ink Drop
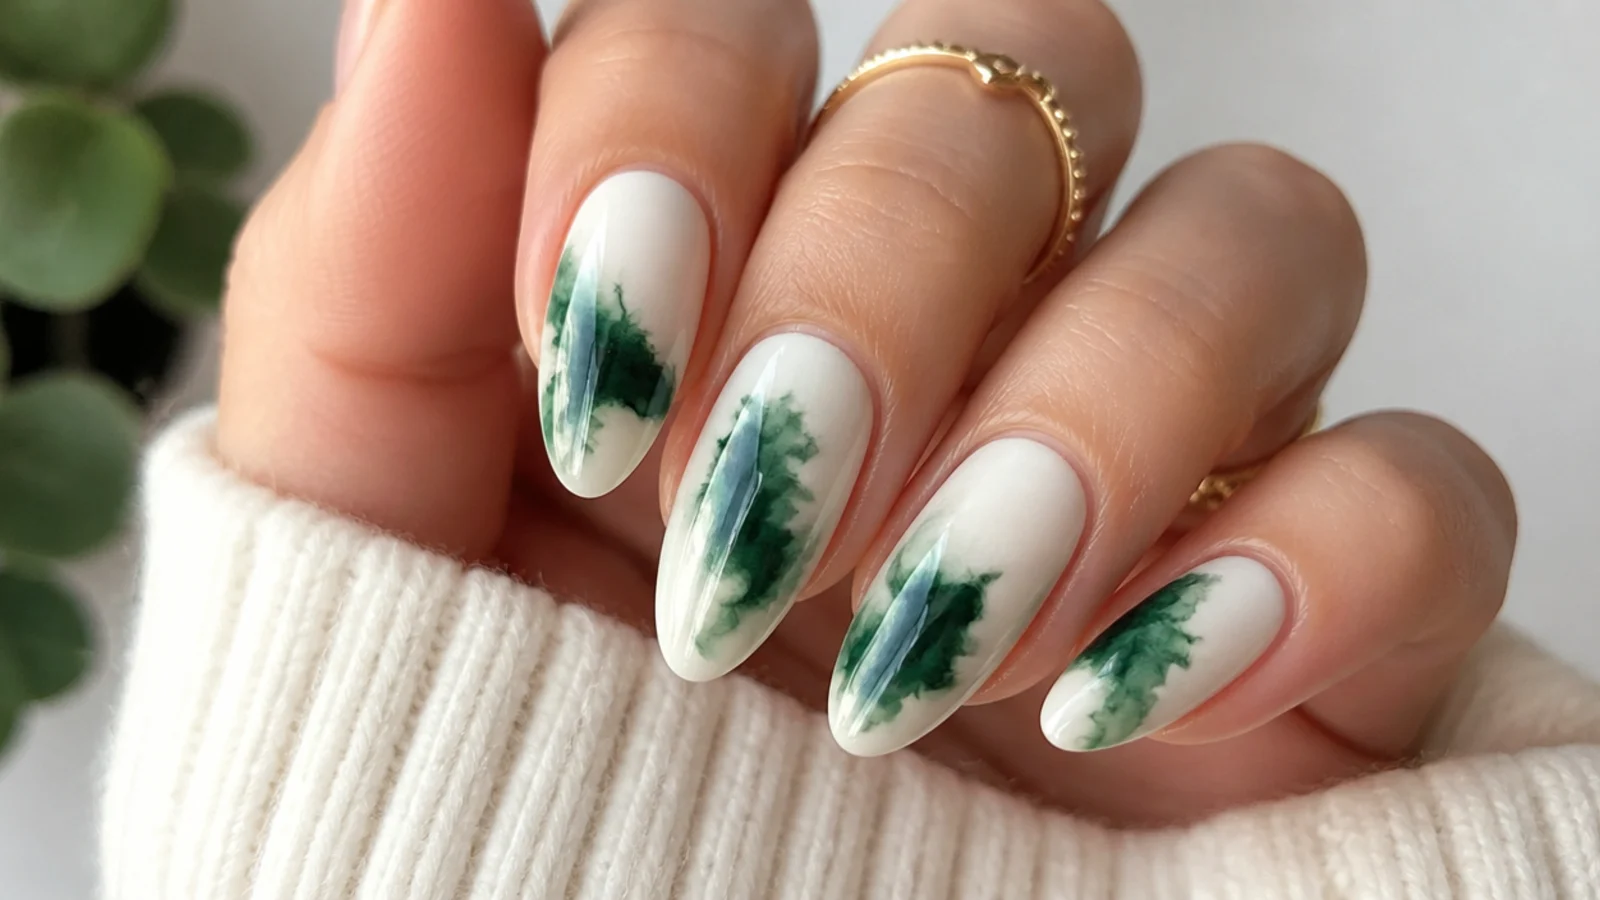
A moody, dramatic take - a single dot of dark forest green dropped into thin blooming gel over white, left to bloom into a diffused ink cloud that fades pale at the edges. One drop per nail keeps it striking but simple, the gel spreading the pigment into soft gradients on its own. Do not flood it or the whole nail goes solid and muddy; a little forest green blooms a long way. Cure once the cloud looks right. It suits deeper skin tones and reads elegant on long coffin or almond nails. Finish high-gloss so the dark green looks glassy and rich.
Who it suits: Anyone wanting a moody, dramatic green.
Tip: Use just one small drop - forest green blooms far, so less is more.
7. Olive Watercolor Wash
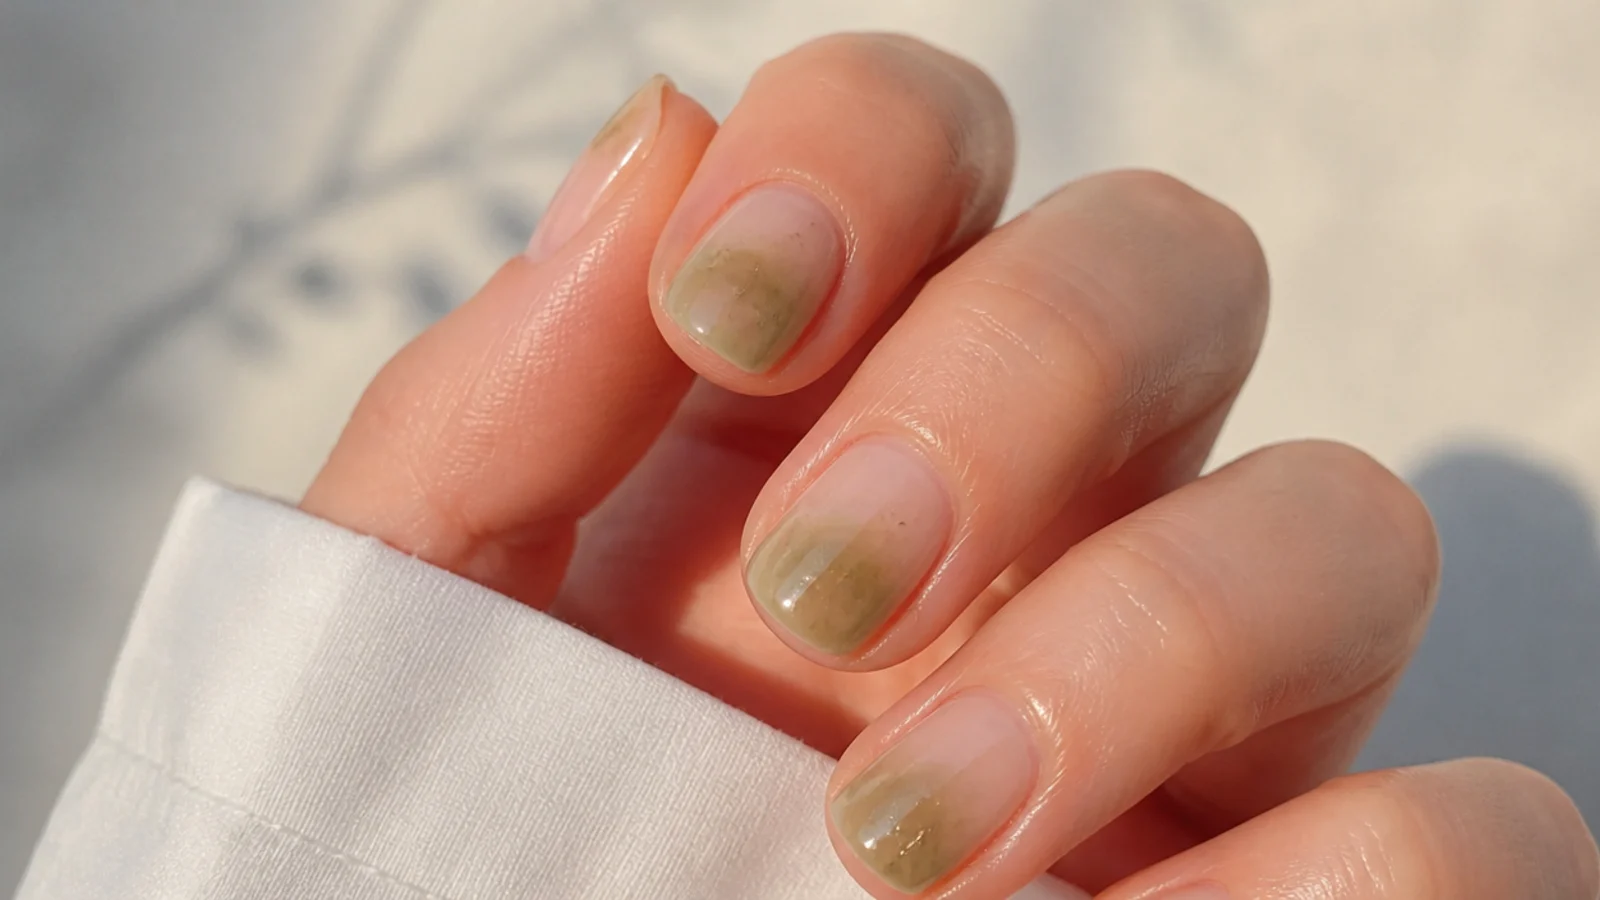
An earthy, sophisticated finish - sheer olive green feathered lightly across a nude base under blooming gel for a soft, all-over watercolor wash. Rather than a defined shape, the color diffuses into a gentle, uneven tint that looks like a wash of paint. Use very little olive and let it spread wide across a thin gel layer for that translucent effect. Cure, then add a whisper more in one corner for depth if you want it. It suits warm, olive and deeper skin tones and looks modern on short natural-length nails. Seal matte or glossy - both suit the earthy tone.
Who it suits: Anyone wanting an earthy, understated green.
Tip: Spread a tiny amount of olive over a thin layer for a translucent wash.
8. Pastel Pistachio Bloom
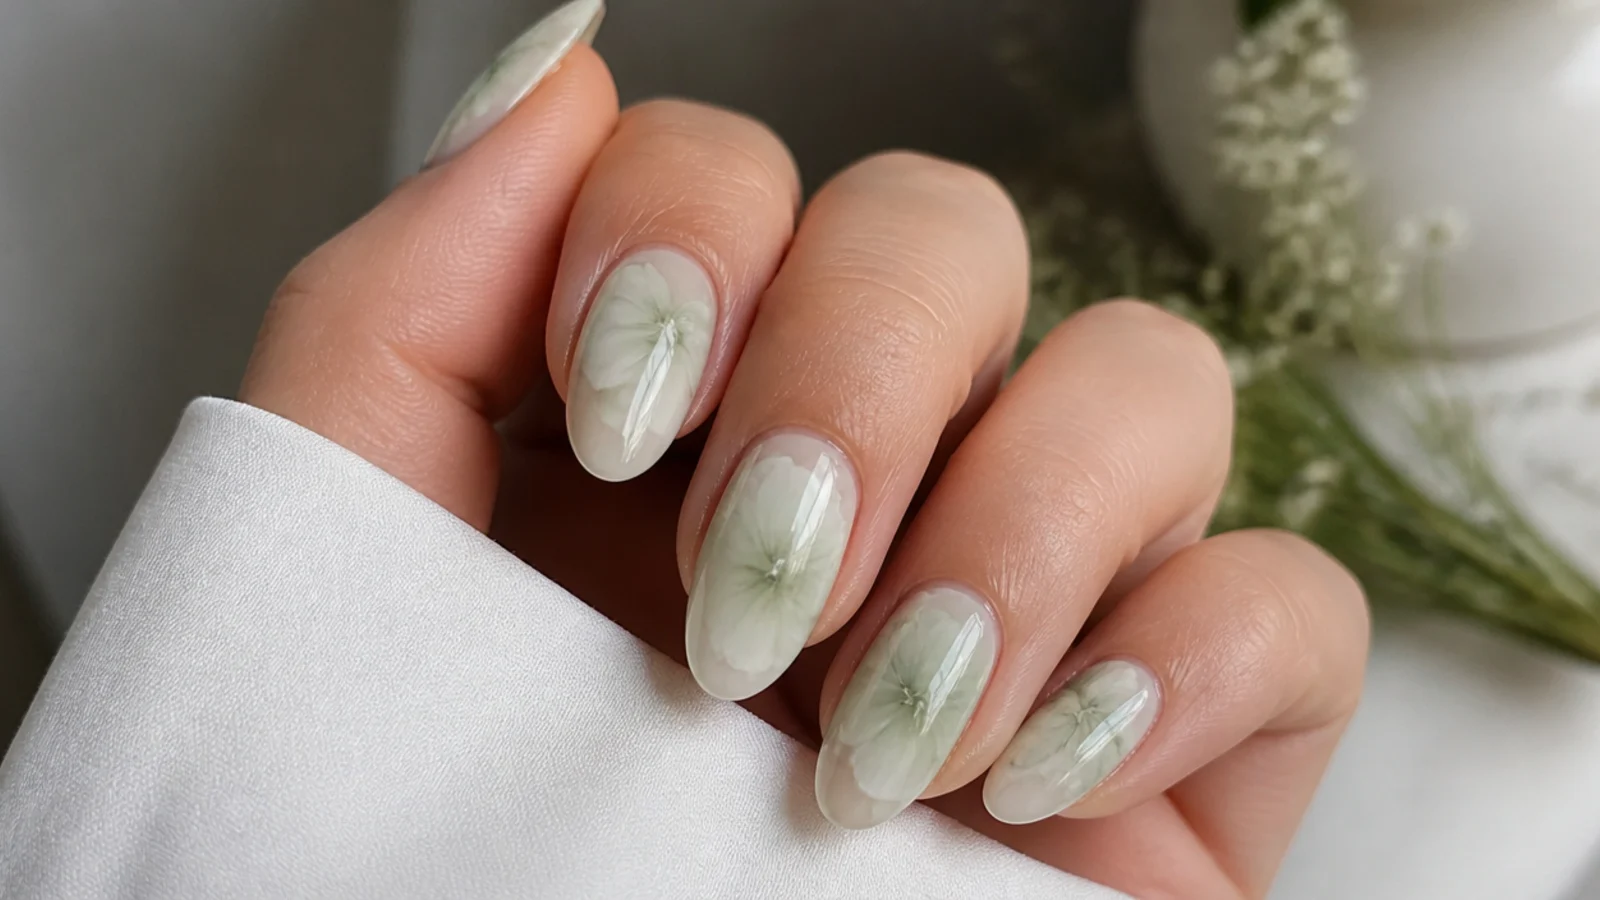
The sweetest pastel green - pale pistachio dropped into thin blooming gel over a milky base, blooming into soft, creamy clouds of color. The muted, slightly yellow-green tone feels like spring gelato and stays gentle on every skin tone. Keep the drops small and let them diffuse before curing so the pastel does not turn flat or muddy. Build a second sheer layer for a little more color if you want it. It suits fair to medium skin tones and short to medium almond nails. A no-wipe glossy top coat keeps the creamy pistachio looking smooth and fresh.
Who it suits: Anyone wanting a sweet pastel green.
Tip: Let the pistachio bloom fully before curing so it stays soft, not flat.
9. Green and Gold Marble
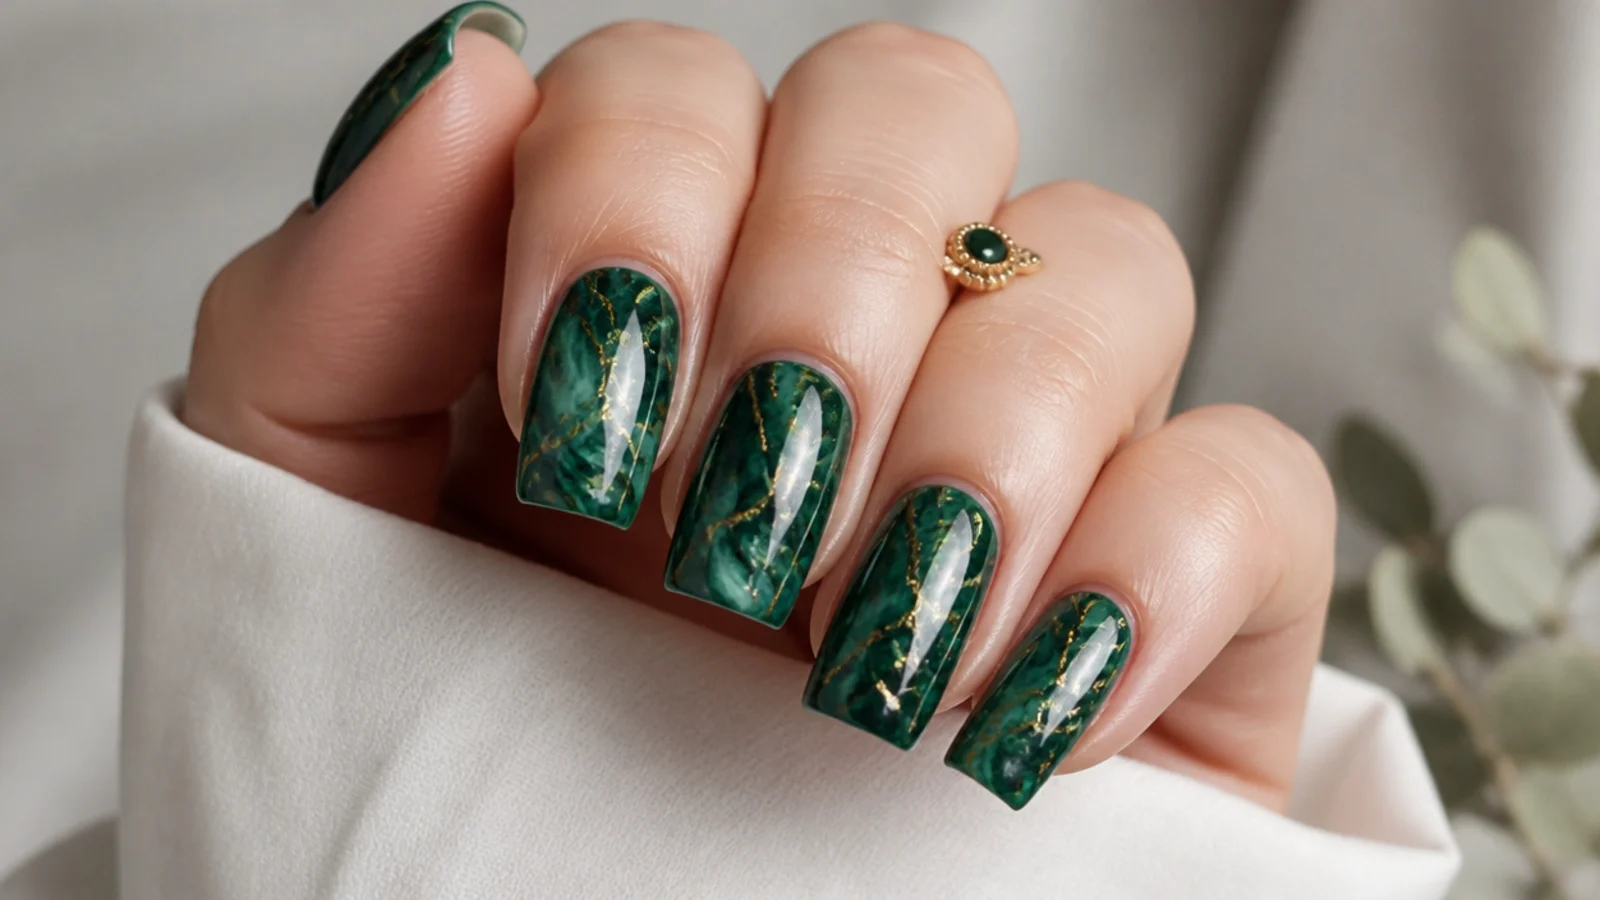
A luxe, elevated look - emerald or jade green marbled under blooming gel, then finished with thin gold foil veins pressed on before the top coat. The gel diffuses the green into a soft marble while the gold adds crisp, expensive lines that catch the light. Bloom and cure the green first, then lay fine gold foil along the swirls and seal. Keep the gold sparing so it accents rather than covers. It suits every skin tone and looks glam on longer coffin or square nails. A glossy top coat over the foil keeps the veins smooth and lift-free.
Who it suits: Anyone wanting a luxe green and gold set.
Tip: Add gold foil after curing the marble, then seal it under top coat.
10. Lime Zest Tie-Dye
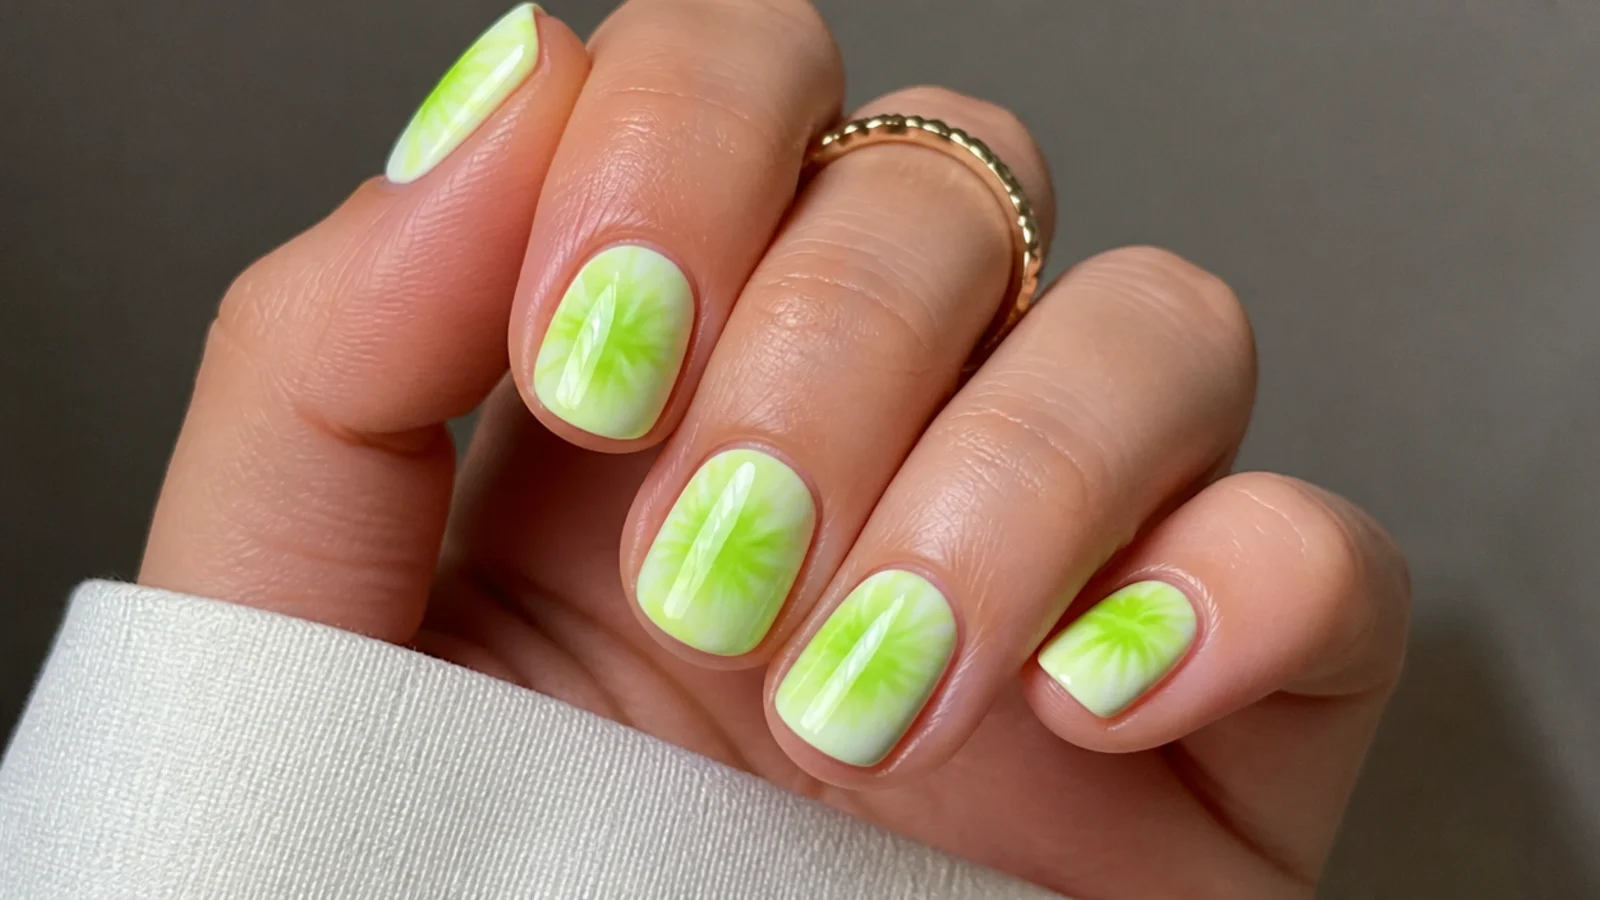
A punchy, energetic green - bright lime dropped in a few spots into thin blooming gel over white, spreading into a zesty tie-dye wash. The gel blurs the vivid lime into soft bands so it stays playful rather than harsh. Keep the drops small and spaced so they bloom into each other; too much lime at once turns solid and loses the effect. Cure once the bands look right. It suits fair to medium skin tones and short square nails for a fun, summery-spring feel. Finish glossy so the lime stays bright and juicy.
Who it suits: Anyone wanting a bright, playful green.
Tip: Keep lime drops small - a little blooms into a lot of color.
11. Seafoam Bloom Accent
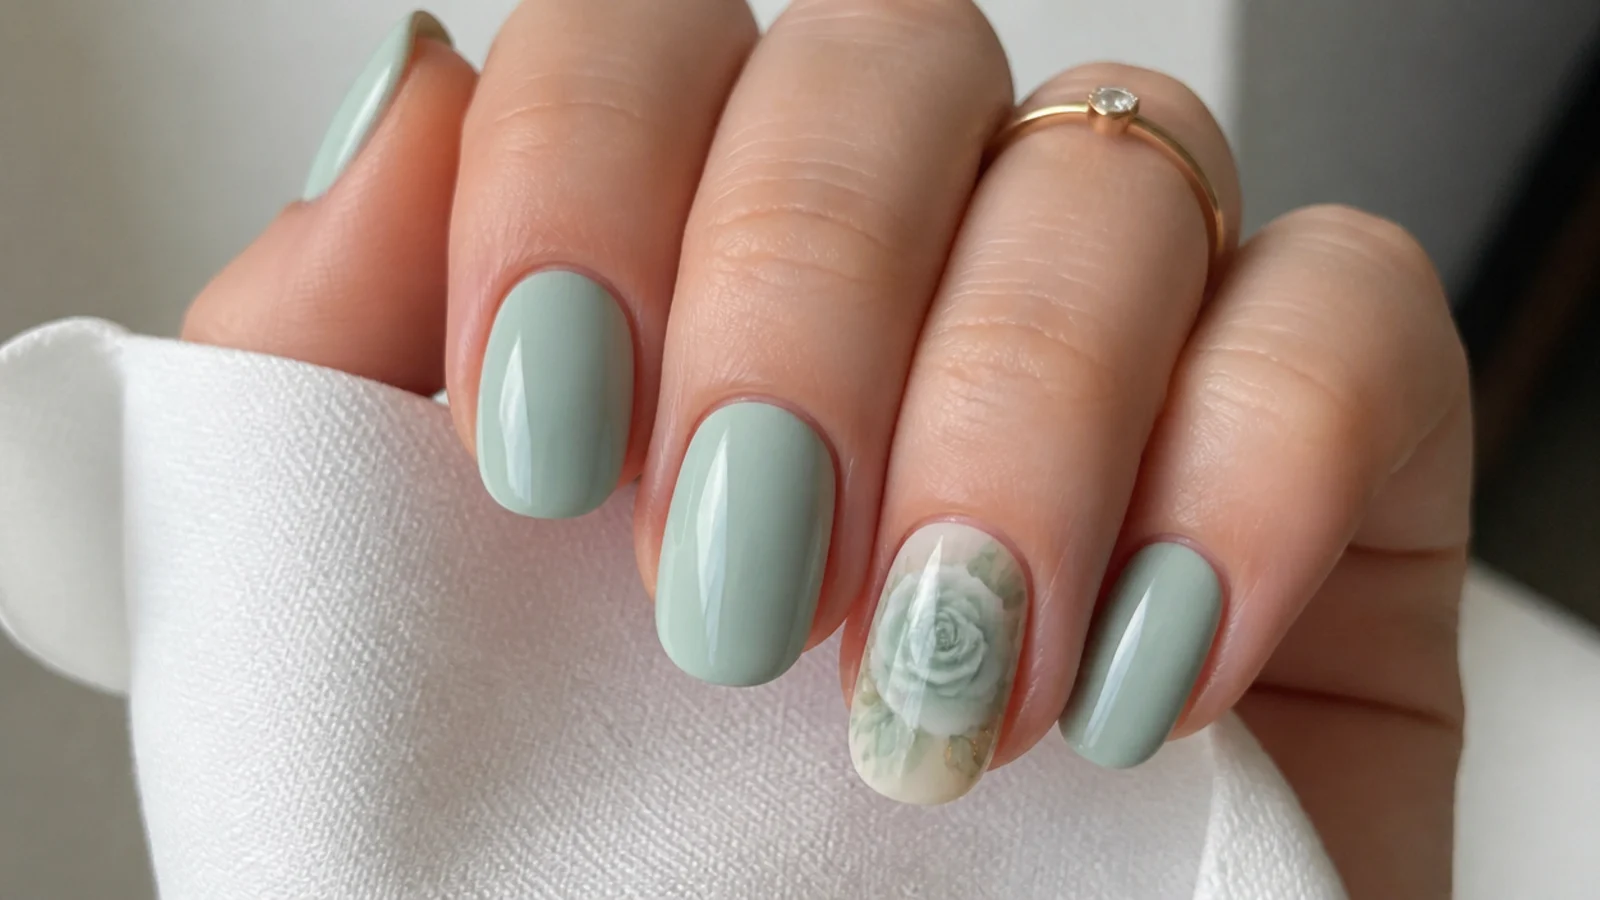
A balanced, considered look - solid soft green or nude on most nails with one seafoam blooming gel accent that diffuses into a watery, blue-green cloud. Concentrating the bloom on a single nail keeps the set clean while still showing off the technique. Drop seafoam into thin blooming gel over a white base, let it spread, and cure; the cool blue-green tone reads fresh and beachy for spring. It suits every skin tone and any shape. Match the solid nails to one tone in the bloom so the accent feels cohesive, then seal the whole set glossy.
Who it suits: Anyone wanting one statement bloom nail.
Tip: Pull a solid color from the bloom for the other nails so it ties together.
12. Eucalyptus Leaf Bloom
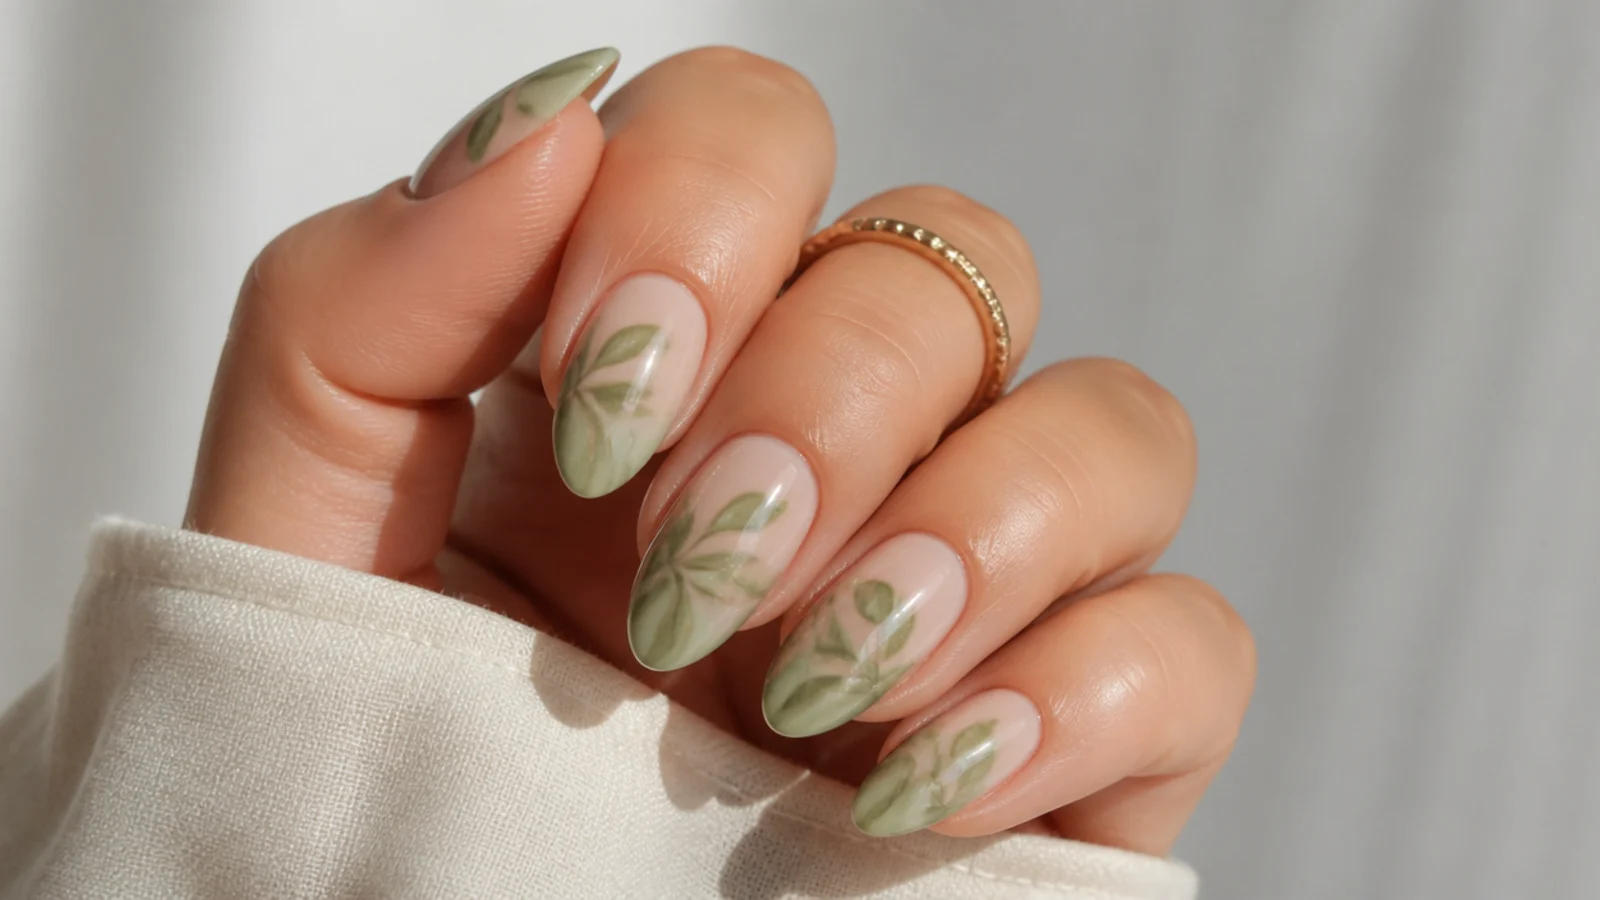
A botanical set built on leaves instead of flowers - soft eucalyptus sage green drawn in loose leaf shapes onto a nude base under blooming gel, where the edges feather out into a gentle, diffused sprig. Draw a thin stem with a liner brush and dot leaves along it, then let the gel soften every edge before curing. The blur makes the leaves look watercolor-painted rather than graphic. It suits every skin tone and looks fresh and calm on medium almond nails. Cap the free edge and seal glossy to protect the fine botanical lines.
Who it suits: Anyone wanting a calm botanical look.
Tip: Dot leaves along a thin stem and let the gel blur the edges soft.
13. Jade Marble Swirl
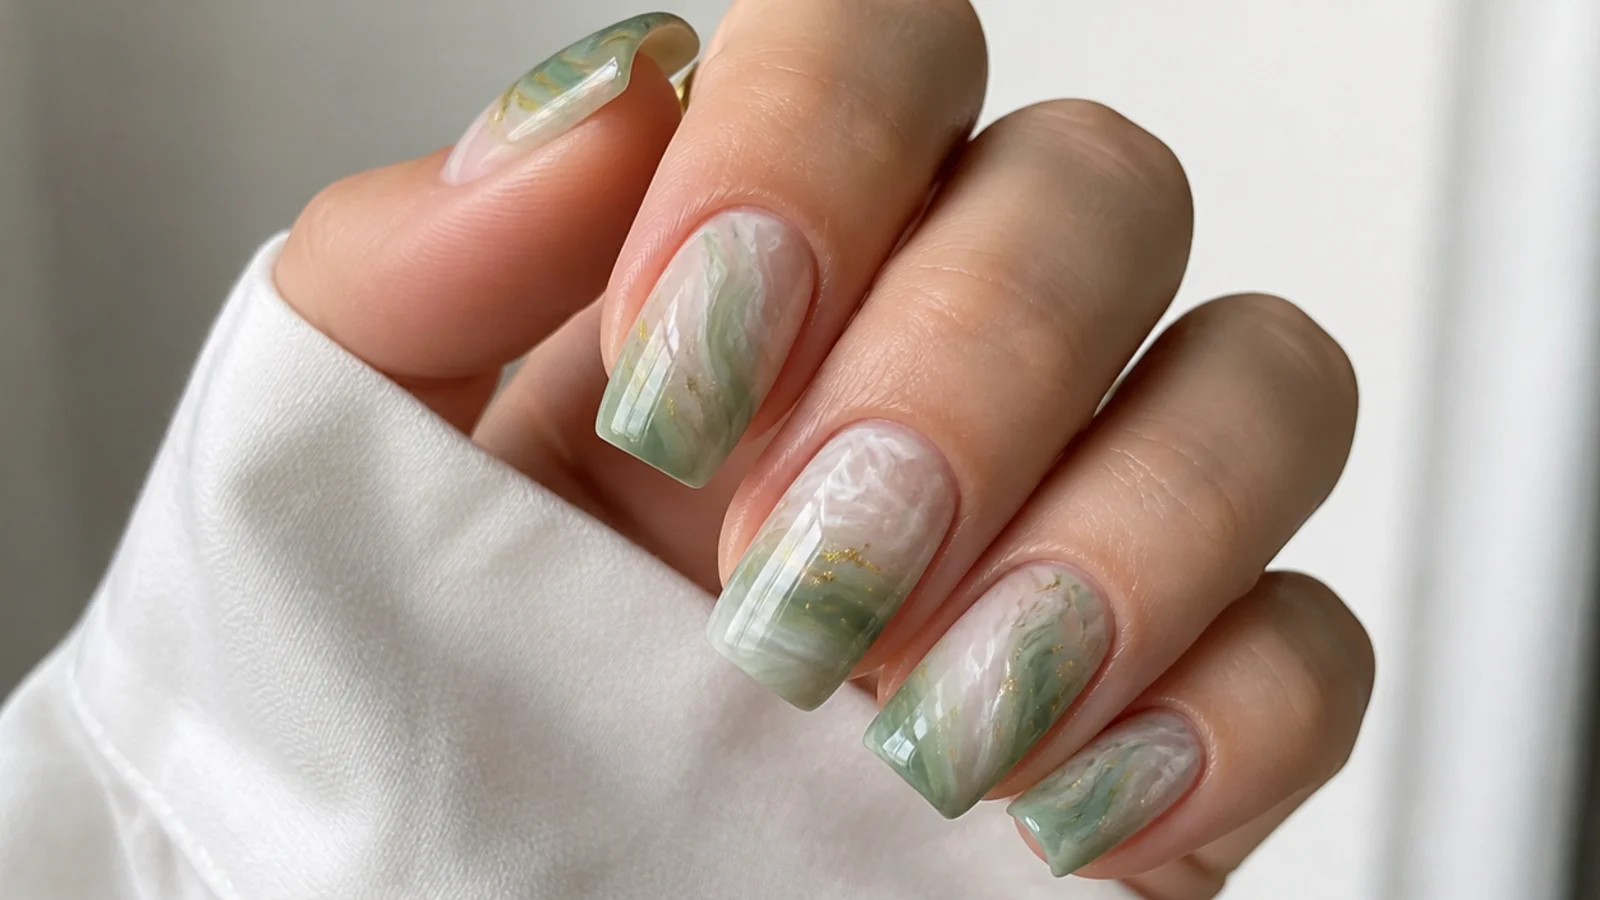
A polished stone effect - jade green swirled with white under blooming gel into a smooth, translucent marble that looks like real jade. Drop jade and white in loose swirls, drag a fine brush through once or twice, then let the gel diffuse the lines into soft, stony veins before curing. The translucency is key, so keep the base sheer and the color light. Build depth with a second thin layer if you want more veining. It suits every skin tone and reads expensive on square or coffin nails. A high-gloss top coat gives it that polished-stone shine.
Who it suits: Anyone wanting a polished stone marble.
Tip: Keep the base sheer so the jade marble reads translucent, not solid.
14. Dark Green Ink Cloud
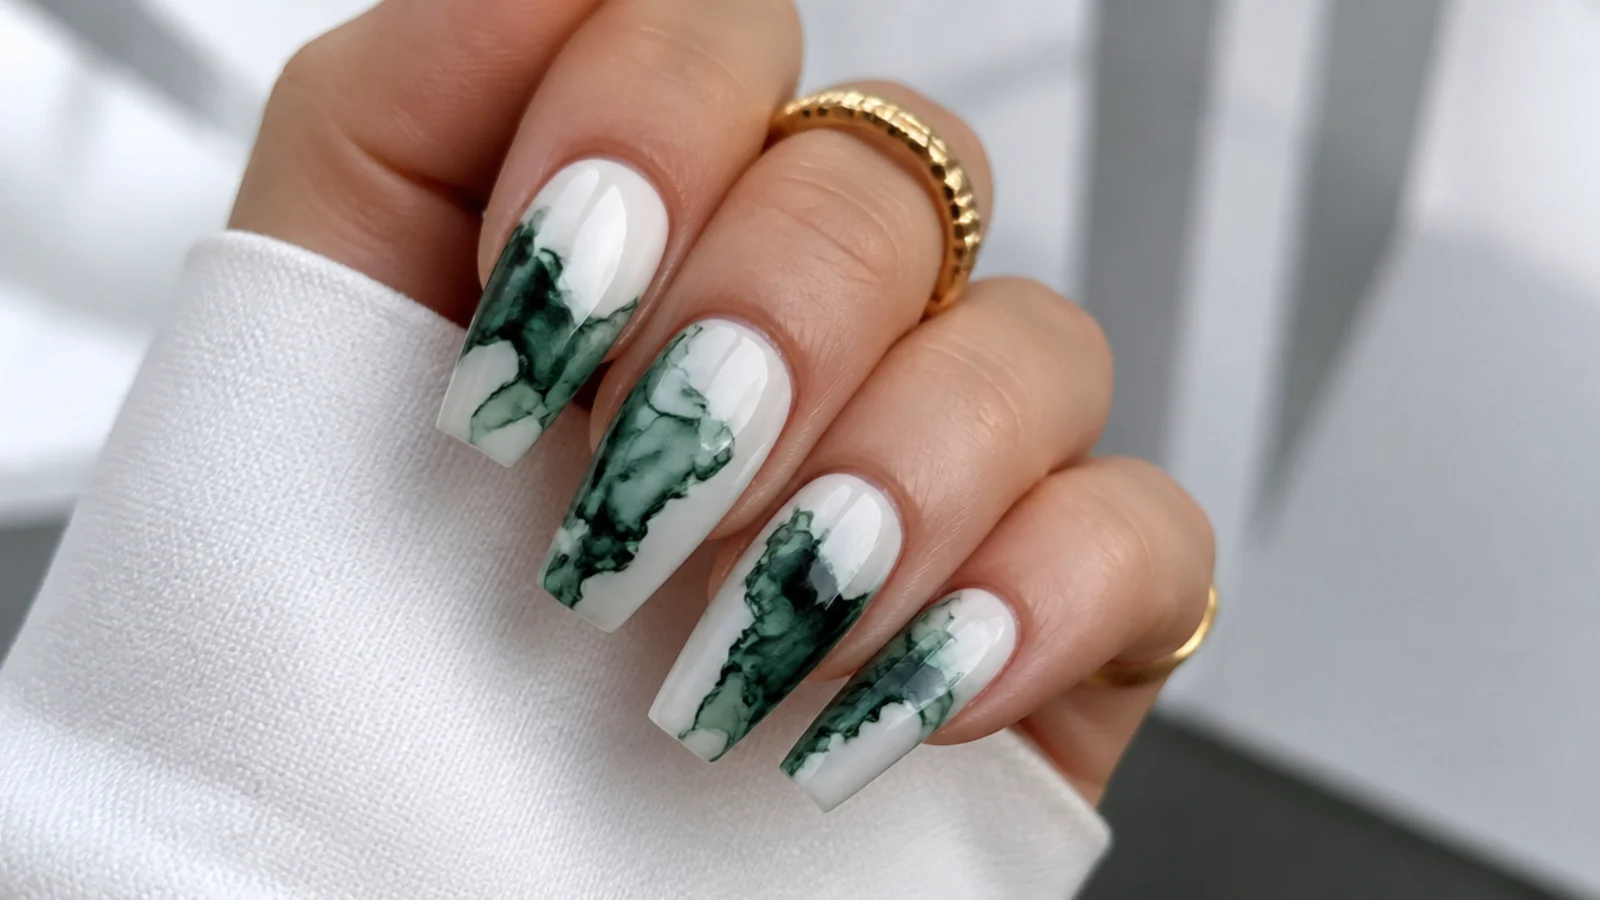
A dramatic, smoky finish - dark pine or bottle green dropped into thin blooming gel over white and left to bloom into a large, diffused ink cloud that covers most of the nail. Unlike the single-drop version, you place a few connected drops so the cloud spreads wide and dark at the core, fading pale at the edges. Do not flood it flat; let the gel do the spreading. Cure once the cloud looks right, then add a second layer for more depth. It suits deeper skin tones and long coffin nails. Finish glassy so the dark green looks rich and deep.
Who it suits: Anyone wanting a smoky, dramatic green.
Tip: Place a few connected drops so the cloud spreads wide but keeps soft edges.
15. Green French Bloom Tip
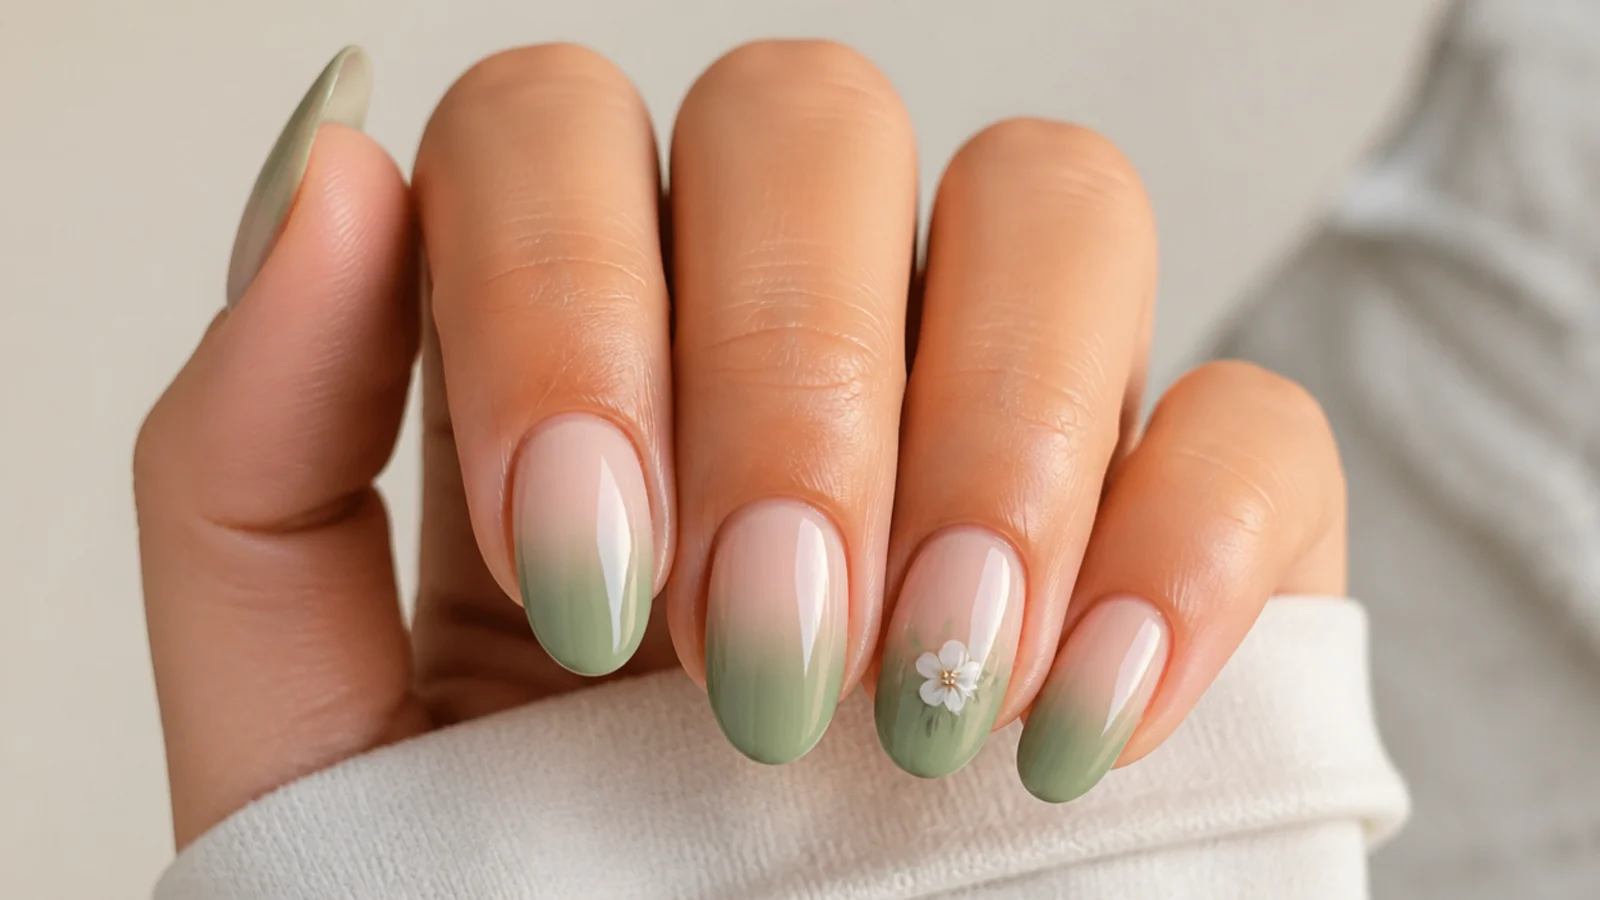
A modern French twist - soft green blooming gel diffused only at the tips over a nude base, so the color blooms down from the free edge and fades into the nail. Instead of a crisp French line, the gel blurs the green tip into a soft, watercolor gradient. Drop green just at the smile line, let it spread down, and cure; keep the base clean so the diffused tip stays the focus. It suits every skin tone and looks fresh on almond or squoval nails. Seal glossy and cap the free edge so the bloomed tip resists chipping.
Who it suits: Anyone wanting a soft green French look.
Tip: Drop green at the smile line only and let it bloom down the tip.
16. Clover Green Floral
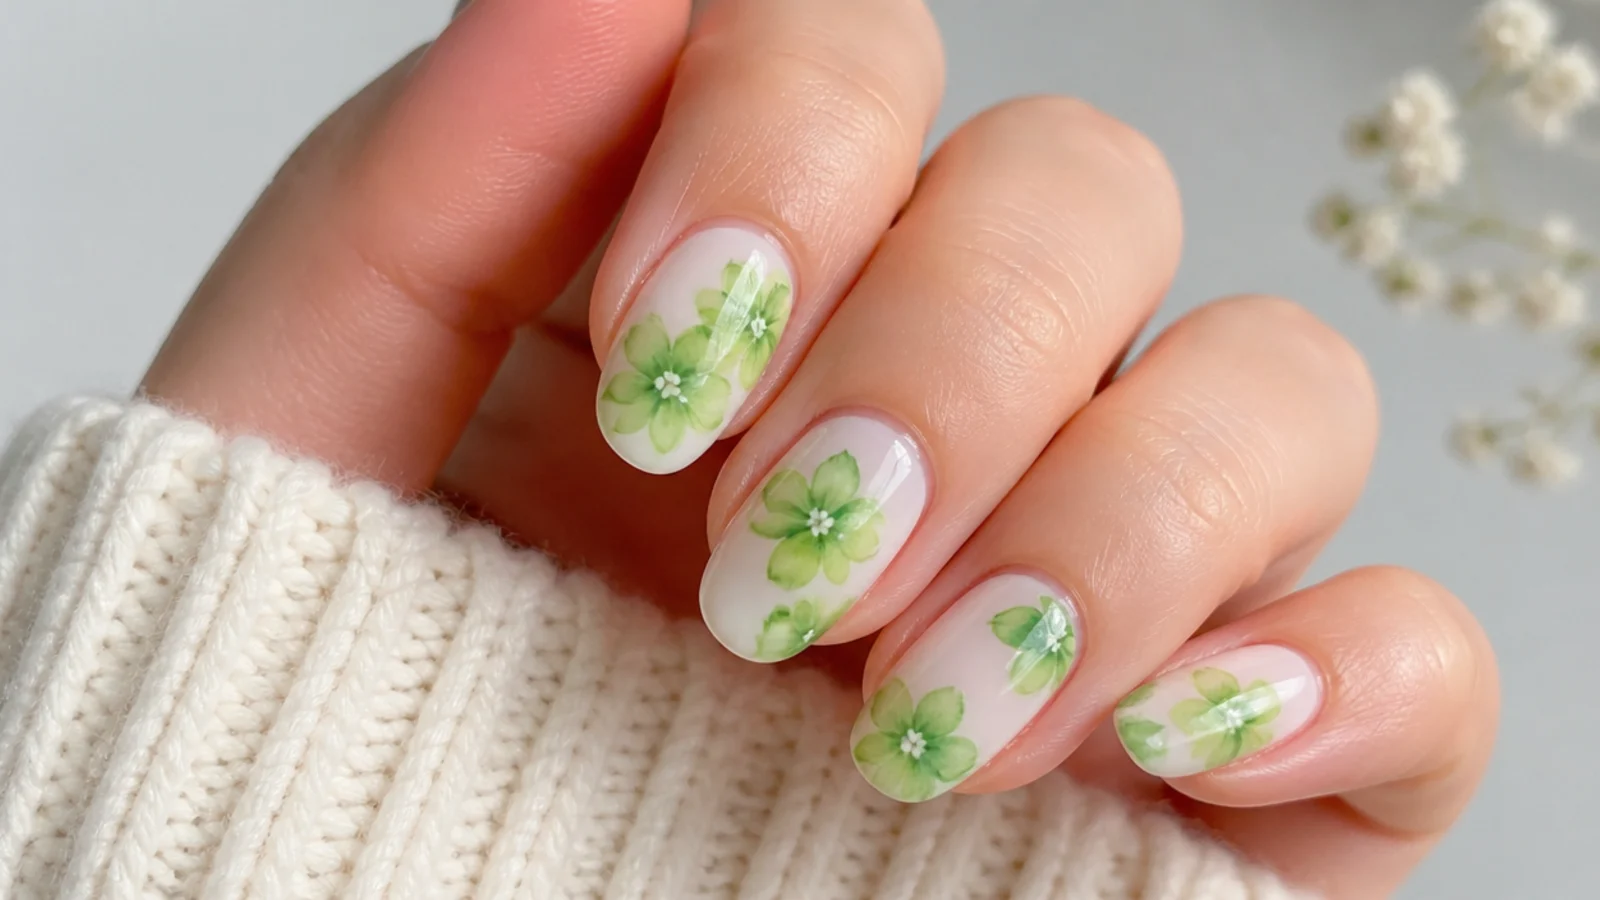
A cheerful floral in true grass green - bright clover green dotted into wet blooming gel for petals that bloom outward, with a white or pale dot in each flower center. The vivid green stays fresh because the gel diffuses it into soft, translucent petals rather than solid blocks. Keep flowers to one or two per accent nail and let each petal spread before adding the center, then cure. It suits fair to medium skin tones and looks lively on short to medium nails. Cap the free edge and seal glossy to keep the bright florals crisp and protected.
Who it suits: Anyone wanting bright, cheerful florals.
Tip: Let each clover petal bloom fully before dropping the pale center.
17. Chrome-Sealed Emerald Bloom
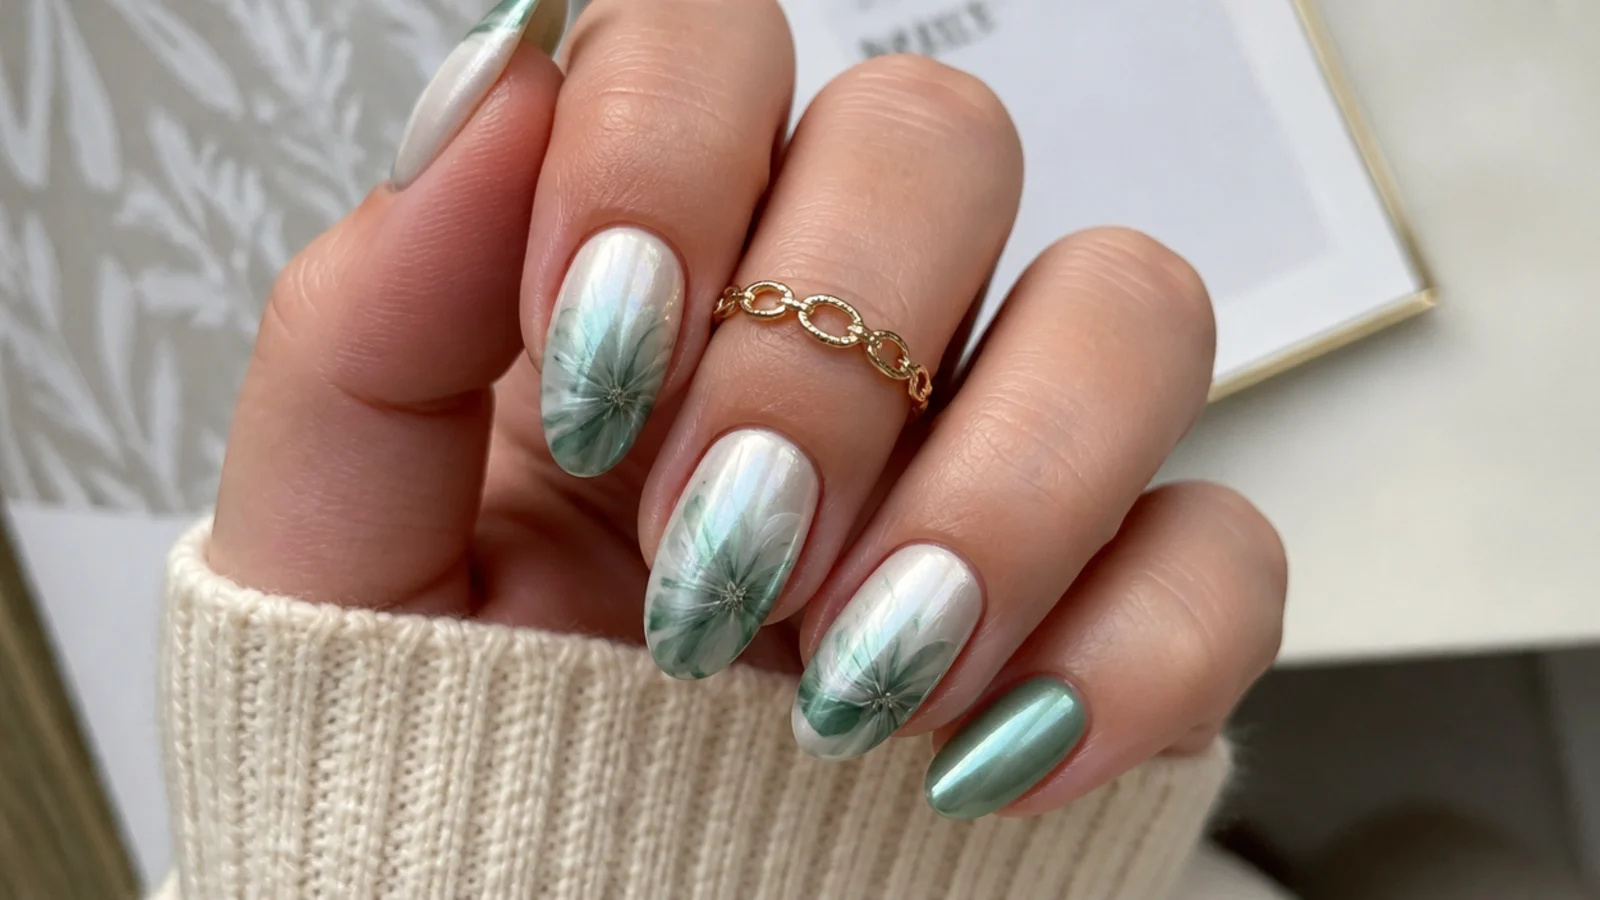
A luminous upgrade - an emerald blooming gel marble cured, then dusted with a pearl or aurora chrome powder and sealed, so the diffused green glows from within. The chrome adds a soft, opal-like sheen over the watercolor bloom without hiding it, reading modern and expensive. Bloom and cure the emerald first, buff a light chrome over a tacky top layer, then seal with a no-wipe top coat. Keep the chrome sheer so the marble shows through. It suits every skin tone and looks glam on medium almond or coffin nails. The sealing top coat keeps the glow from dulling.
Who it suits: Anyone wanting a glowing, modern green.
Tip: Buff the chrome lightly so the emerald bloom still shows through.
18. Short Almond Sage Bloom
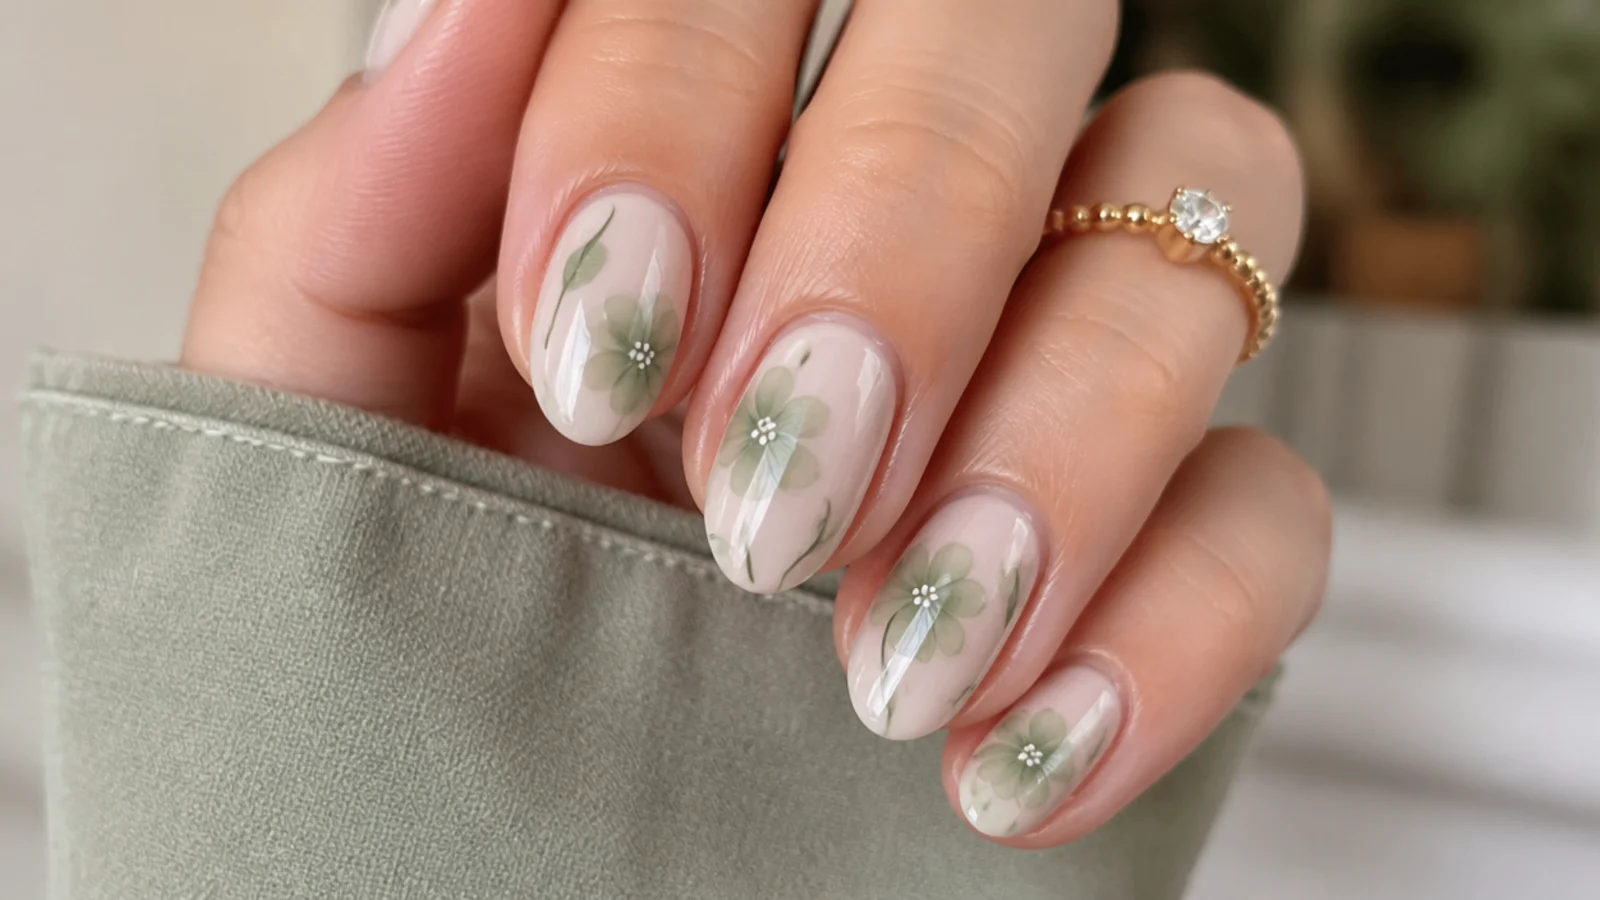
Proof green blooming gel looks great short - a soft sage bloom on short almond nails, practical and office-friendly while still showing off the watercolor effect. With less length, keep to one gentle bloom per nail so the color has room to diffuse without crowding. Drop sage into thin blooming gel over a milky base, let it spread, and cure. Short nails are durable and low-upkeep, and the gel still lasts two to three weeks. It suits anyone new to the technique or after low maintenance, and every skin tone. Seal glossy and oil the cuticles daily to keep it fresh.
Who it suits: Anyone wanting a practical short set.
Tip: One soft bloom per nail keeps short nails from looking crowded.
19. Green and White Cloud Marble
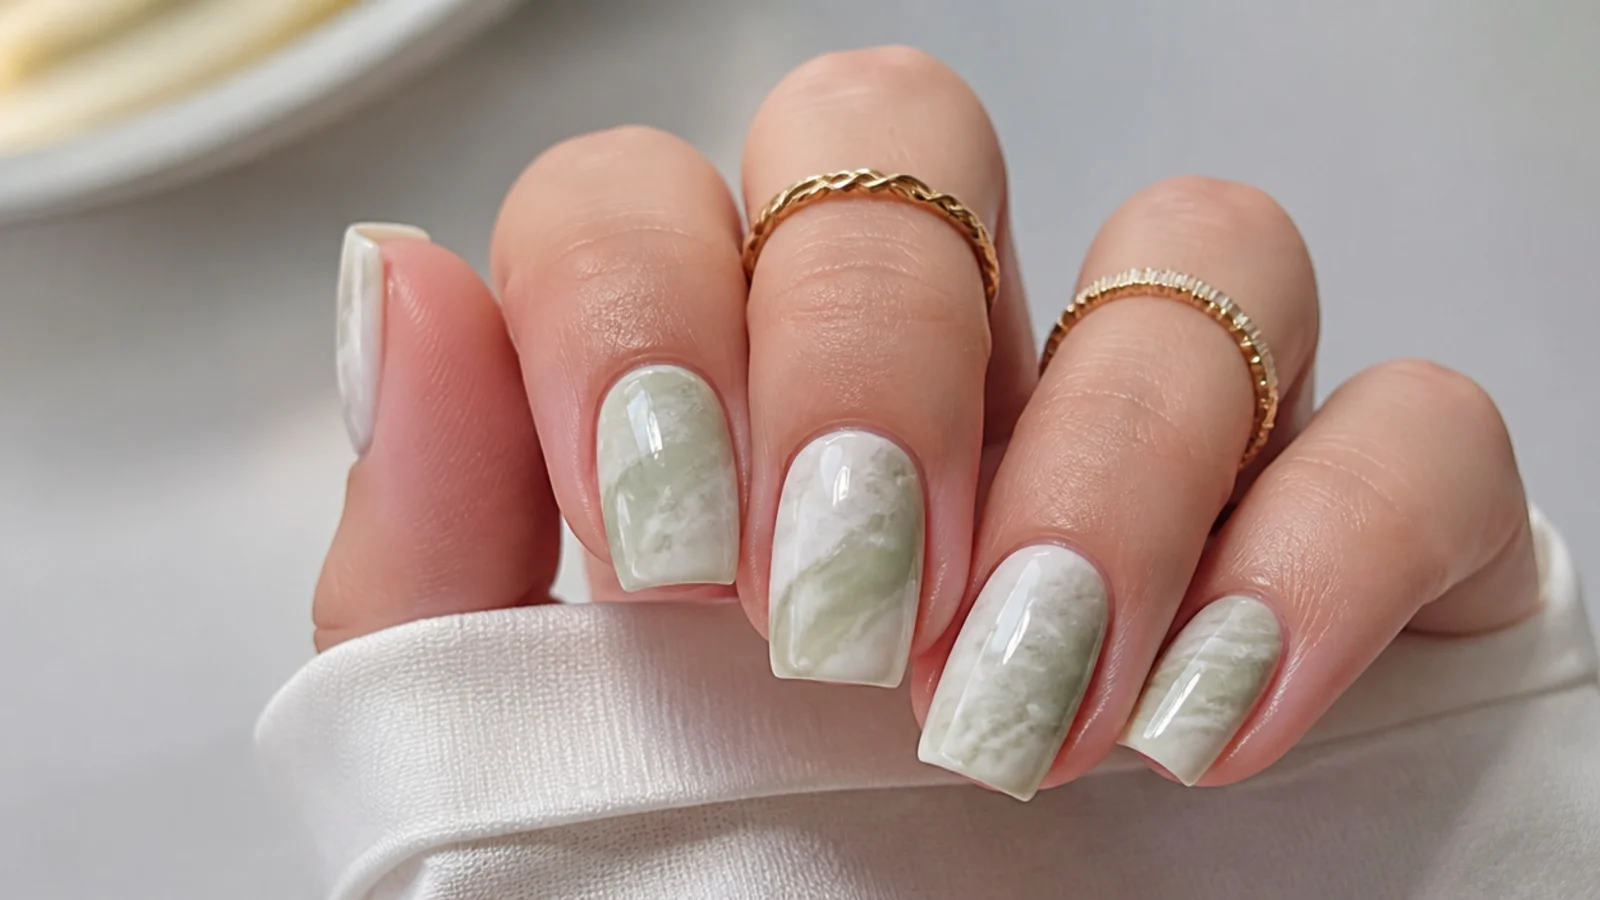
A dreamy, airy finish - soft green and white dropped in loose patches into thin blooming gel and left to bloom into a gentle, cloudy marble with no defined edges. The gel diffuses the green into the white so the two melt into a soft, sky-like swirl. Keep the color light and let it spread fully before curing so it stays cloudy rather than muddy. Build a second sheer layer for subtle depth. It suits every skin tone and looks calm and modern on square or squoval nails. A soft matte top coat pushes the powdery cloud effect even further.
Who it suits: Anyone wanting a soft, cloudy marble.
Tip: Let the green melt fully into the white for a cloudy, edge-free marble.
20. Neon-Lime Spring Bloom
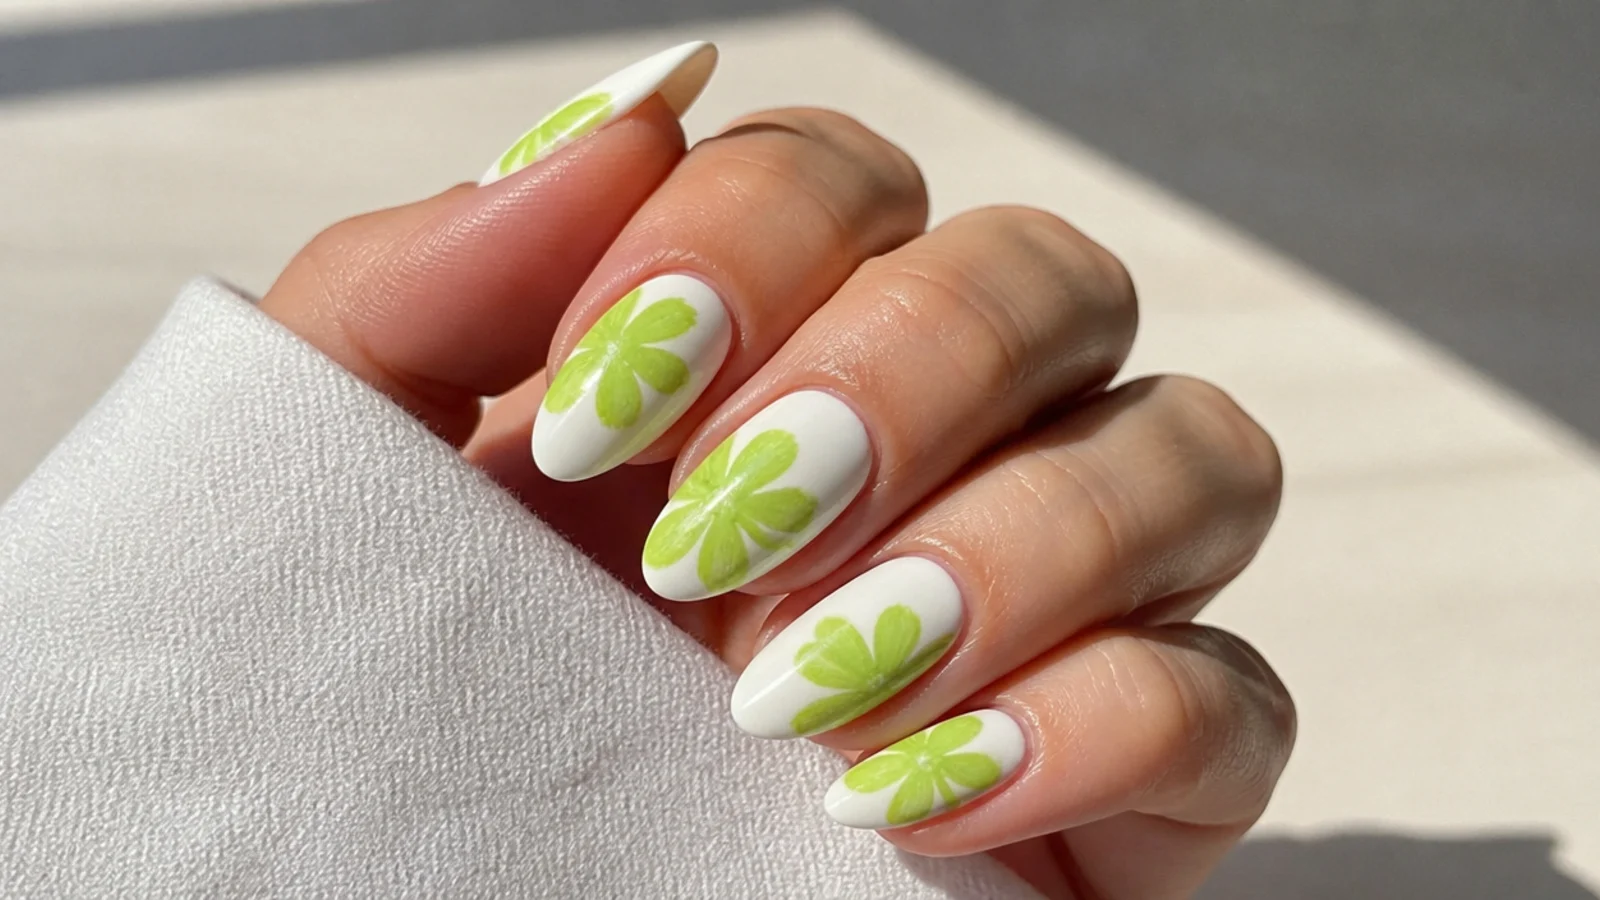
The boldest green of the set - vivid neon lime dropped into thin blooming gel over a bright white base, blooming into an electric, high-energy watercolor. The white base makes the neon pop while the gel softens it into a diffused glow rather than a flat block. Use small drops and let them spread; neon reads muddy fast if you flood it, so build color in thin cured layers instead. It suits fair to medium skin tones and makes a statement on medium almond nails. Finish high-gloss so the neon lime looks bright, juicy and lit-up.
Who it suits: Anyone wanting a bold, statement green.
Tip: Build neon in thin cured layers so it glows instead of going muddy.
What Is Blooming Gel and How Does It Work
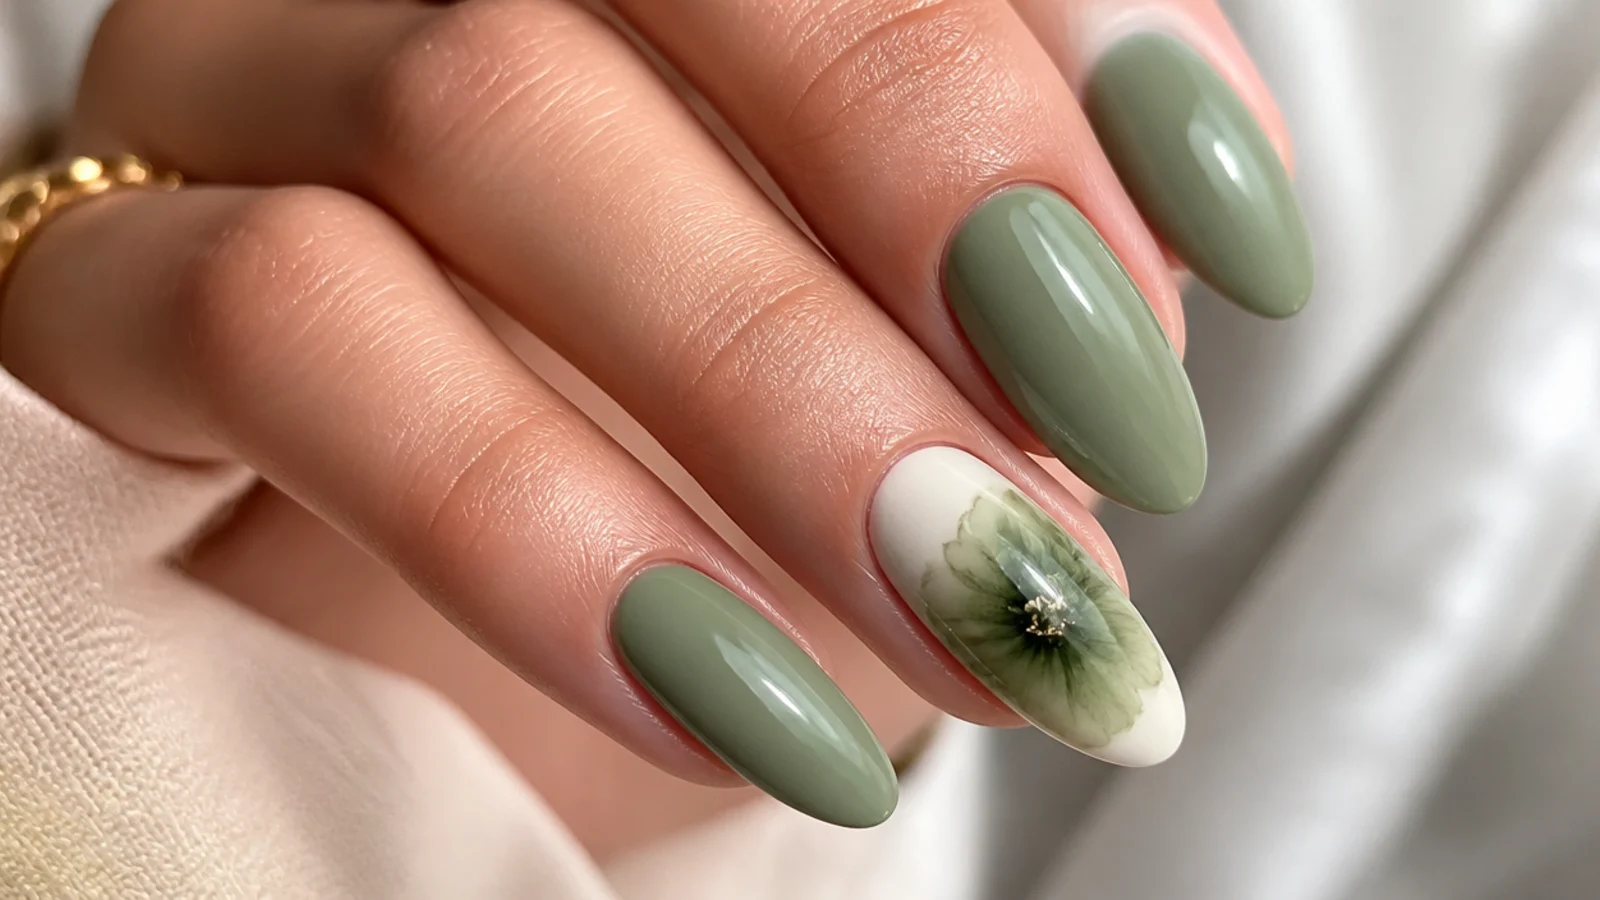
Blooming gel is a clear gel that makes gel color spread and diffuse into soft, watercolor-like patterns - flowers, marble and ink or tie-dye effects. You apply a thin layer of blooming gel over a cured color base and leave it uncured. Then you drop or draw green gel color onto that wet layer and it spreads and diffuses on its own within seconds to about a minute. Once the pattern looks right, you cure it under an LED or UV lamp to lock it in place - usually about thirty to sixty seconds under LED, or around two minutes under UV. The key rule is timing: if you cure the blooming gel before adding color, the effect dies and the color just sits on top. A thinner blooming gel layer gives more spread, while a thicker one holds the color tighter, so you control the look by how much gel you lay down and how much color you drop in.
How to Get Green Blooming Gel Nails at Home
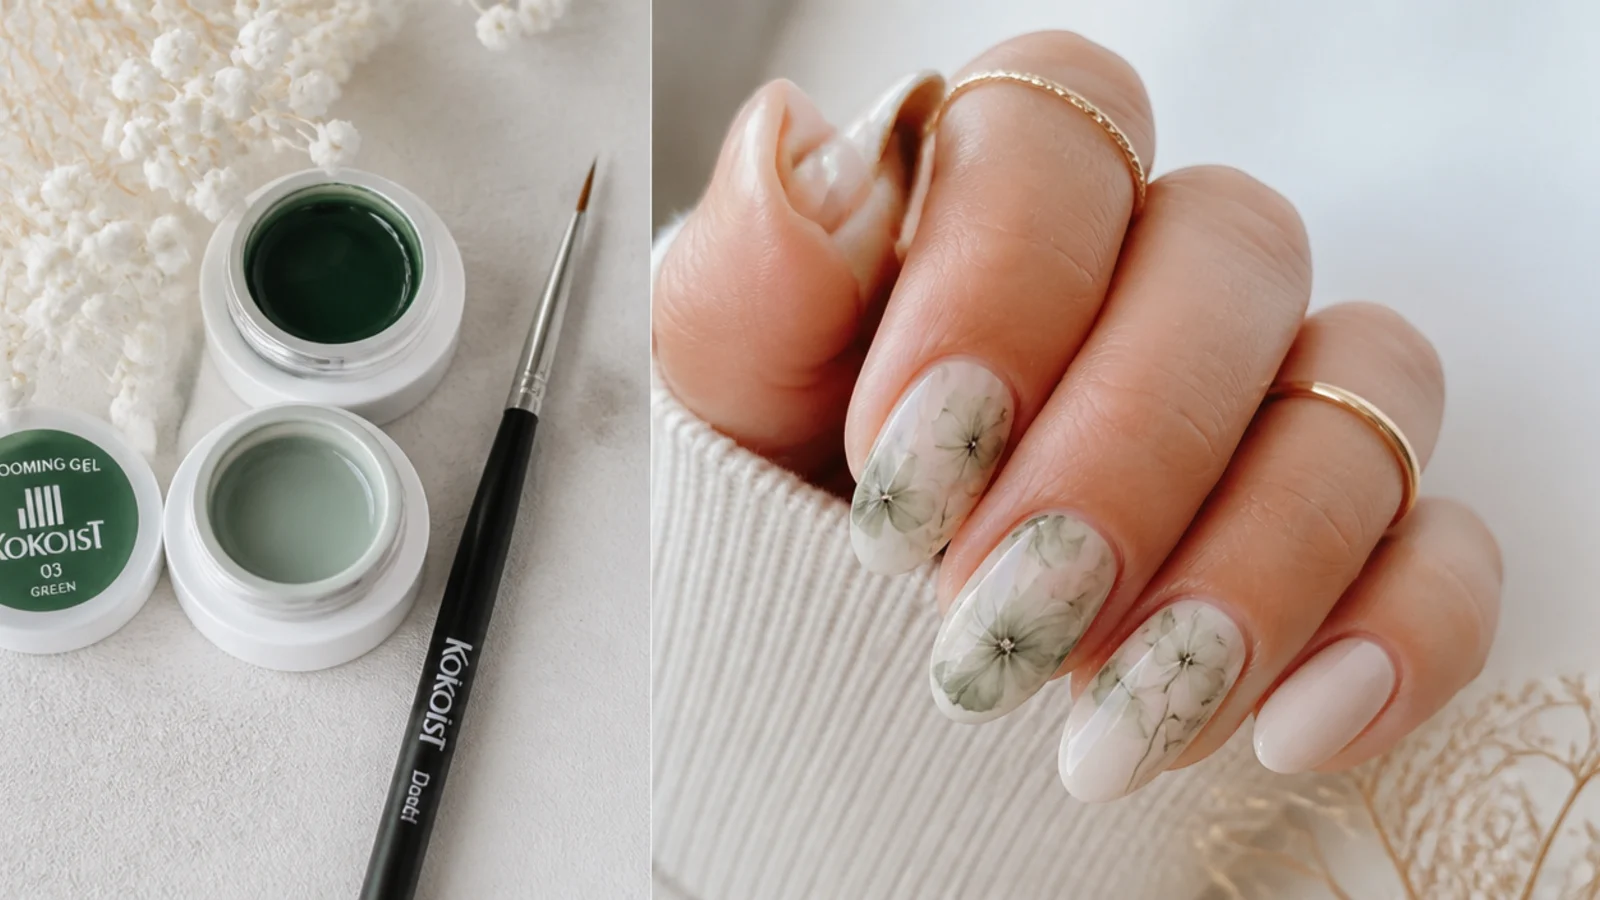
Start with prep: shape the nails, gently push back cuticles, buff off the shine and wipe clean. Apply base coat and cure, then a green or white color base and cure that too. Now paint a thin layer of blooming gel over the cured base and do not cure it. While it is wet, drop or draw your green gel color into it with a thin detail brush and watch it spread - wait a few seconds to about a minute for the bloom to open up. Shape it if you like by nudging the color with the brush, then cure for about thirty to sixty seconds under LED. For more depth, add another thin blooming gel layer and more color, curing between each. Finish with a no-wipe top coat and cure, then swipe cuticle oil around each nail. Work one or two nails at a time so the blooming gel stays wet while you drop the color.
Supplies You Need
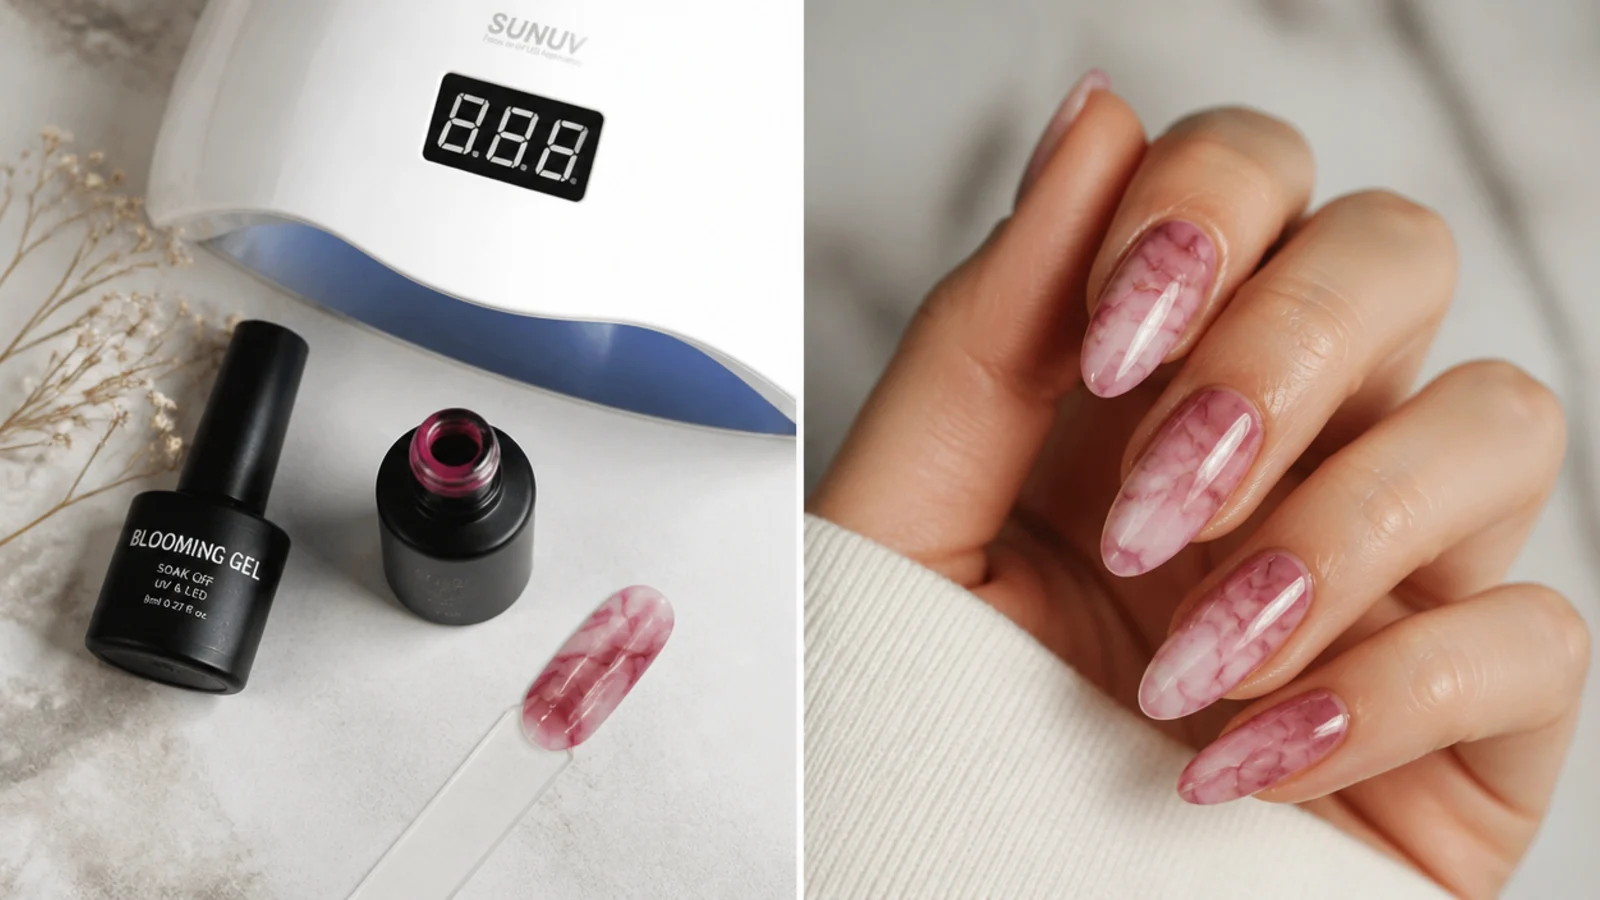
You need a base coat, green gel color polish, a bottle of blooming gel, and a no-wipe gel top coat. An LED or UV lamp is essential - blooming gel only sets under a lamp, so you cannot air-dry it. A thin detail or liner brush lets you drop and drag the color for florals, marble and tie-dye, and lint-free wipes keep the surface clean between steps. Round it out with cuticle oil to finish and to protect the skin, and 100% acetone for removal later. That is the full kit: base coat, green gel colors, blooming gel, top coat, lamp, detail brush, lint-free wipes, cuticle oil and acetone. A starter blooming gel set with a few green shades and a lamp pays for itself fast compared with repeat salon visits, and one bottle of blooming gel lasts across many manicures.
Common Blooming Gel Mistakes to Avoid
The biggest mistake is curing the blooming gel too early - if you cure it before adding color, it will not bloom at all and the color just sits on the surface. The second is flooding too much color: a little green blooms a long way, and too much turns the whole nail into a muddy, solid blur with no diffusion. Lay the blooming gel too thick and you get the opposite problem, barely any spread, so keep that layer thin for more bloom. Skipping base prep leads to lifting and early chips, and not sealing or capping the free edge causes smears and chipping within days. Build depth in thin layers and cure between them rather than piling everything into one wet layer. If a nail goes muddy, cure it, add a fresh thin blooming gel layer and try again with less color.
How Long Do Blooming Gel Nails Last
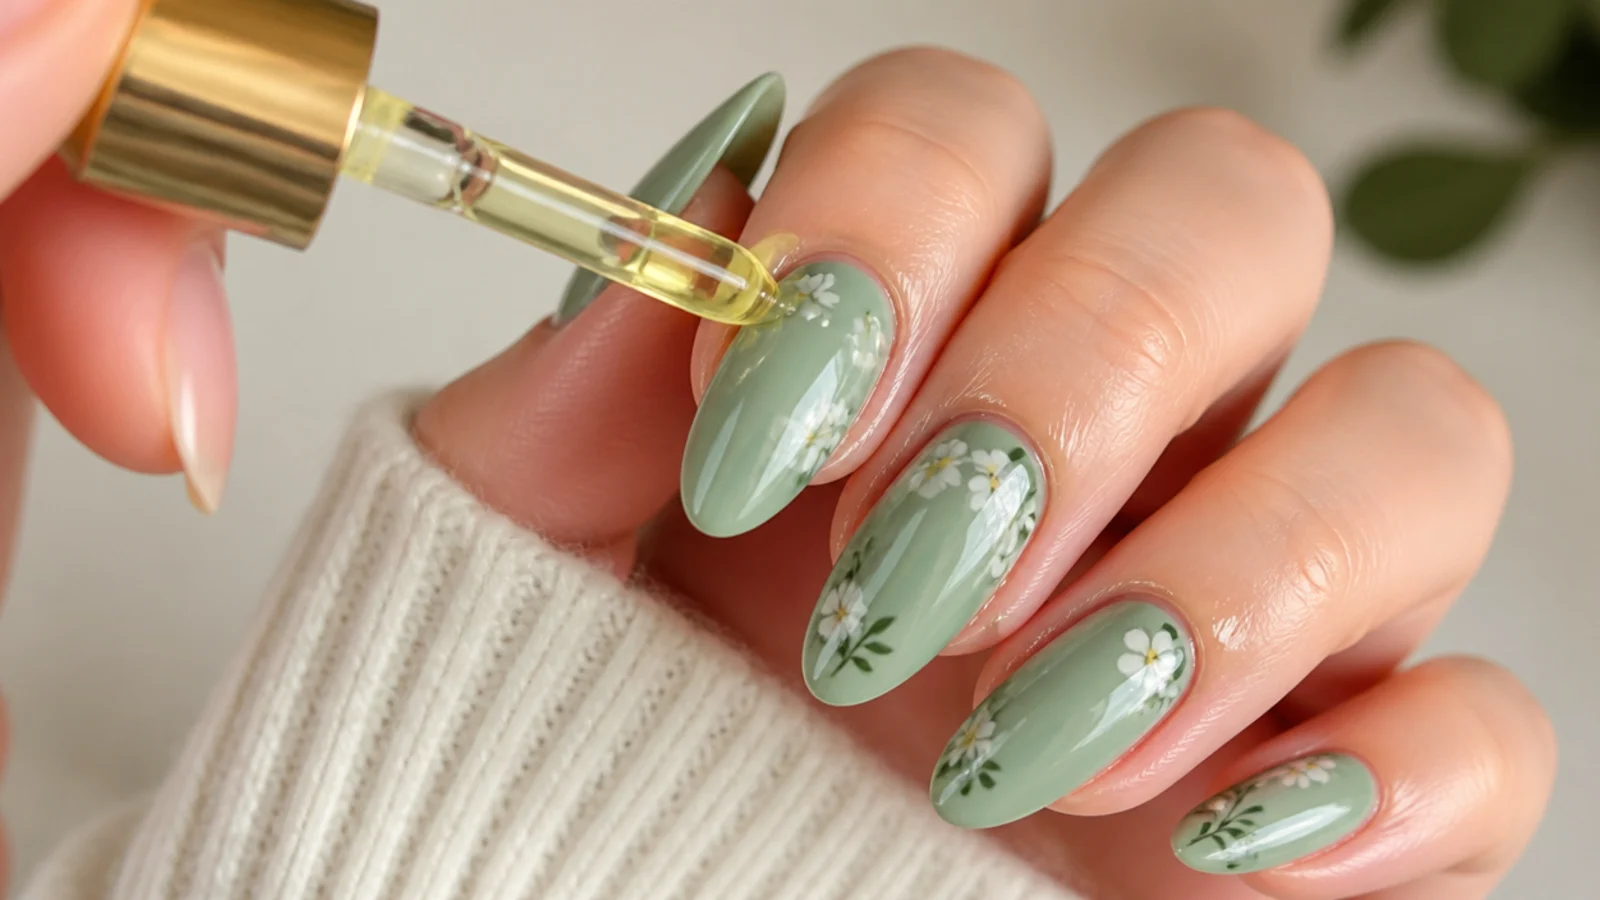
Because it is a gel technique, blooming gel nails last about two to three weeks, and up to four with good prep, daily cuticle oil and a properly capped free edge. That is far longer than regular non-gel polish art, which only holds for about five to seven days before chipping. To get the most wear, prep the nail well before you start, seal the design under a no-wipe top coat and cap the free edge, and keep cuticle oil going daily. Avoid using your nails as tools and wear gloves for cleaning and washing up. When it is time to take them off, do not peel or pry - it is a soak-off gel, so lightly file the shine, wrap each nail in 100% acetone on cotton and foil for ten to fifteen minutes, then gently push the softened gel off and oil the nails afterward.
Cost - Salon vs DIY
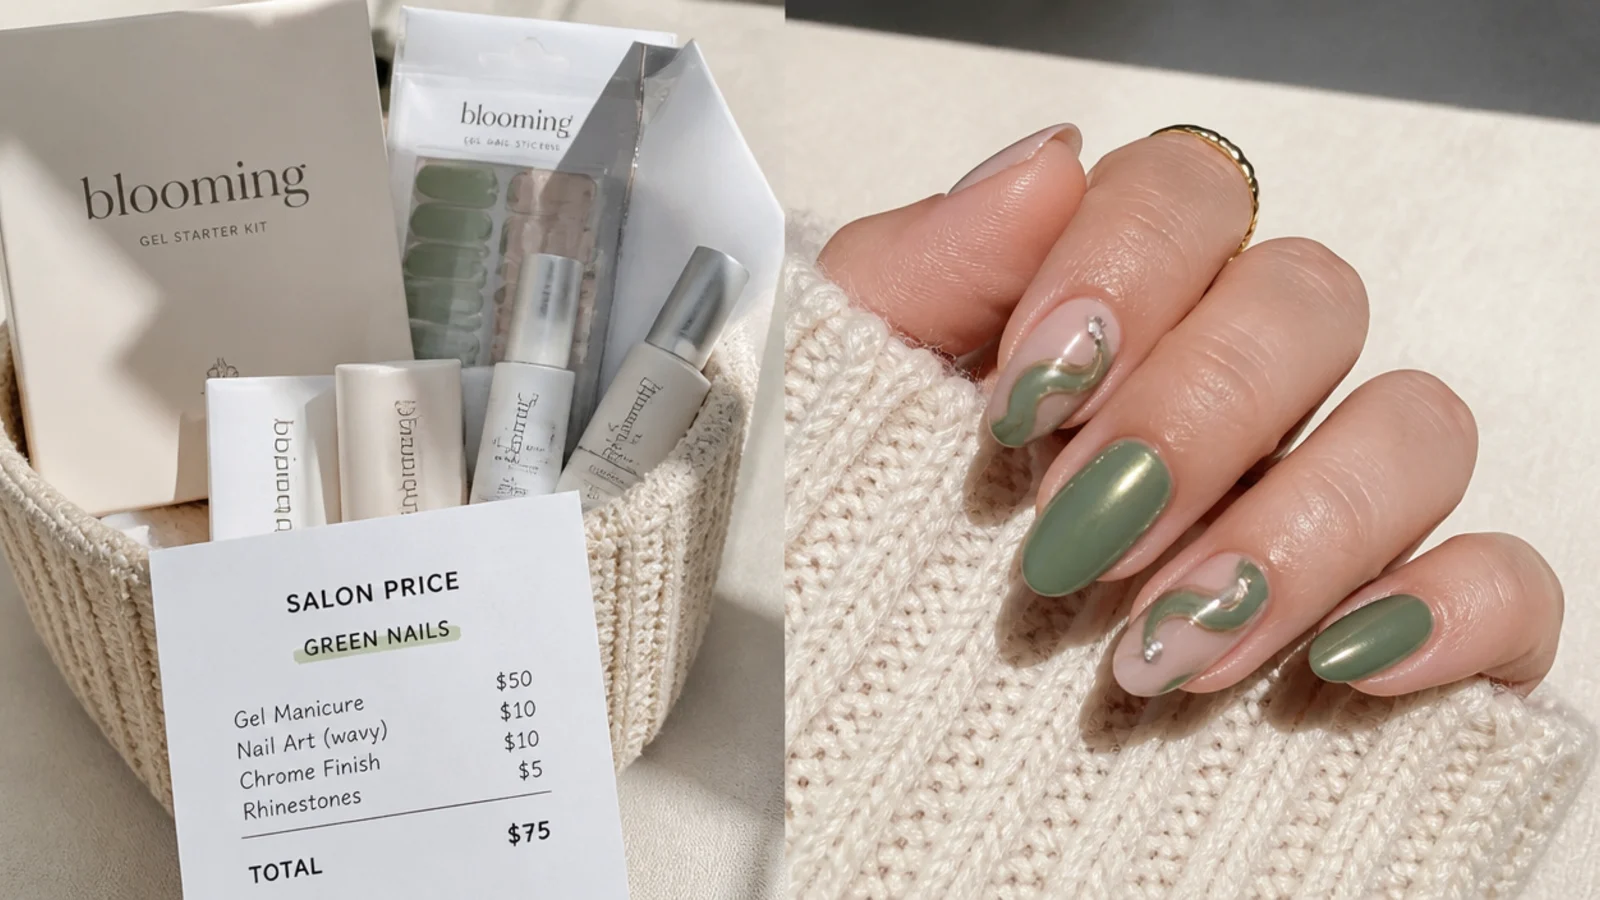
At a salon, a standard gel manicure runs about $30 to $55. Blooming gel counts as nail art, so most salons add around $5 per accent nail for the design, which puts a full green blooming gel set in the range of roughly $45 to $70 or more depending on how many nails get the effect and how detailed the florals or marble are. Doing it yourself changes the math fast. A DIY kit - blooming gel, a few green gel colors, base and top coat, and an LED or UV lamp - has an upfront cost but pays back within a couple of manicures, since one bottle of blooming gel and one lamp cover many sets. If you plan to wear green blooming gel nails often through spring, the at-home route is the cheaper choice over time, while the salon is worth it for intricate designs or a special occasion.
Frequently Asked Questions
What is blooming gel and how does it work?
Blooming gel is a clear gel that makes gel color spread into soft, watercolor patterns. You paint a thin layer over a cured base, leave it uncured, then drop or draw color into it and watch it diffuse within seconds to a minute. Cure under an LED or UV lamp to lock the pattern in.
How long does blooming gel take to bloom?
Once you drop or draw gel color onto the wet, uncured blooming gel, it starts spreading almost immediately and finishes diffusing within a few seconds to about a minute. A thinner blooming gel layer spreads faster and wider, while a thicker layer holds the color tighter and blooms more slowly.
Do you cure blooming gel before adding color?
No - this is the most important rule. You must leave the blooming gel uncured, then drop your green color onto that wet layer so it can spread. If you cure the blooming gel first, the effect dies completely and the color just sits on top with no diffusion. Cure only after the bloom looks right.
How long do green blooming gel nails last?
As a gel technique, they last about two to three weeks, and up to four with good prep, a capped free edge and daily cuticle oil. That is far longer than regular non-gel polish art, which chips in about five to seven days. Avoid using your nails as tools to get the most wear.
Do you need a UV or LED lamp for blooming gel?
Yes. Blooming gel is a gel product and only sets under an LED or UV lamp, so you cannot air-dry it. Curing usually takes about thirty to sixty seconds under an LED lamp, or around two minutes under UV. A lamp is essential for both the base, the bloom layer and the top coat.
Is blooming gel good for beginners?
Yes - it is an intermediate technique that is very beginner-friendly because the gel does the diffusing for you, so you do not need a steady painting hand. The main skills are timing the cure and using a light hand with color. Start with one simple bloom or marble per nail and build from there.
Why did my blooming gel go muddy or not bloom?
Muddy nails usually mean too much color - a little green blooms a long way, so flooding it turns the nail into a solid blur. If it did not bloom at all, you likely cured the blooming gel before adding color, or laid the gel too thick. Use a thin gel layer, a sparing amount of color, and cure only after it spreads.
How do you remove green blooming gel nails?
It is a soak-off gel, so never peel or pry. Lightly file off the top shine, then wrap each nail in a cotton pad soaked in 100% acetone and cover with foil for ten to fifteen minutes. Gently push the softened gel off, repeat if needed, and finish with cuticle oil to rehydrate the nails.
How much do green blooming gel nails cost?
A standard gel manicure runs about $30 to $55 at a salon, plus roughly $5 per accent nail for the blooming design, so a full set is often $45 to $70 or more. A DIY kit with blooming gel, green colors and a lamp costs more upfront but pays back within a couple of manicures.
What green colors work best for blooming gel?
Soft, muted greens like sage, matcha and olive bloom into gentle watercolor washes, while emerald, jade and forest green give rich, inky marbles. Pastels like mint and pistachio stay fresh for spring, and neon lime pops over a white base. A little color goes far, so sheer or standard gel greens both bloom well.
Which blooming gel nails look are you saving?
Green blooming gel nails are the easiest way to bring spring to your fingertips - the gel does the diffusing for you, so a single drop of sage or emerald blooms into soft, painterly color. Keep the blooming gel layer thin, use a little color and let it spread, and cure only once the pattern looks right. Done well the set lasts two to three weeks, longer with cuticle oil and a capped free edge. Save the greens you love, from watercolor florals to inky marble, and take the exact photos to your nail tech or recreate them at home with a blooming gel kit and an LED lamp.