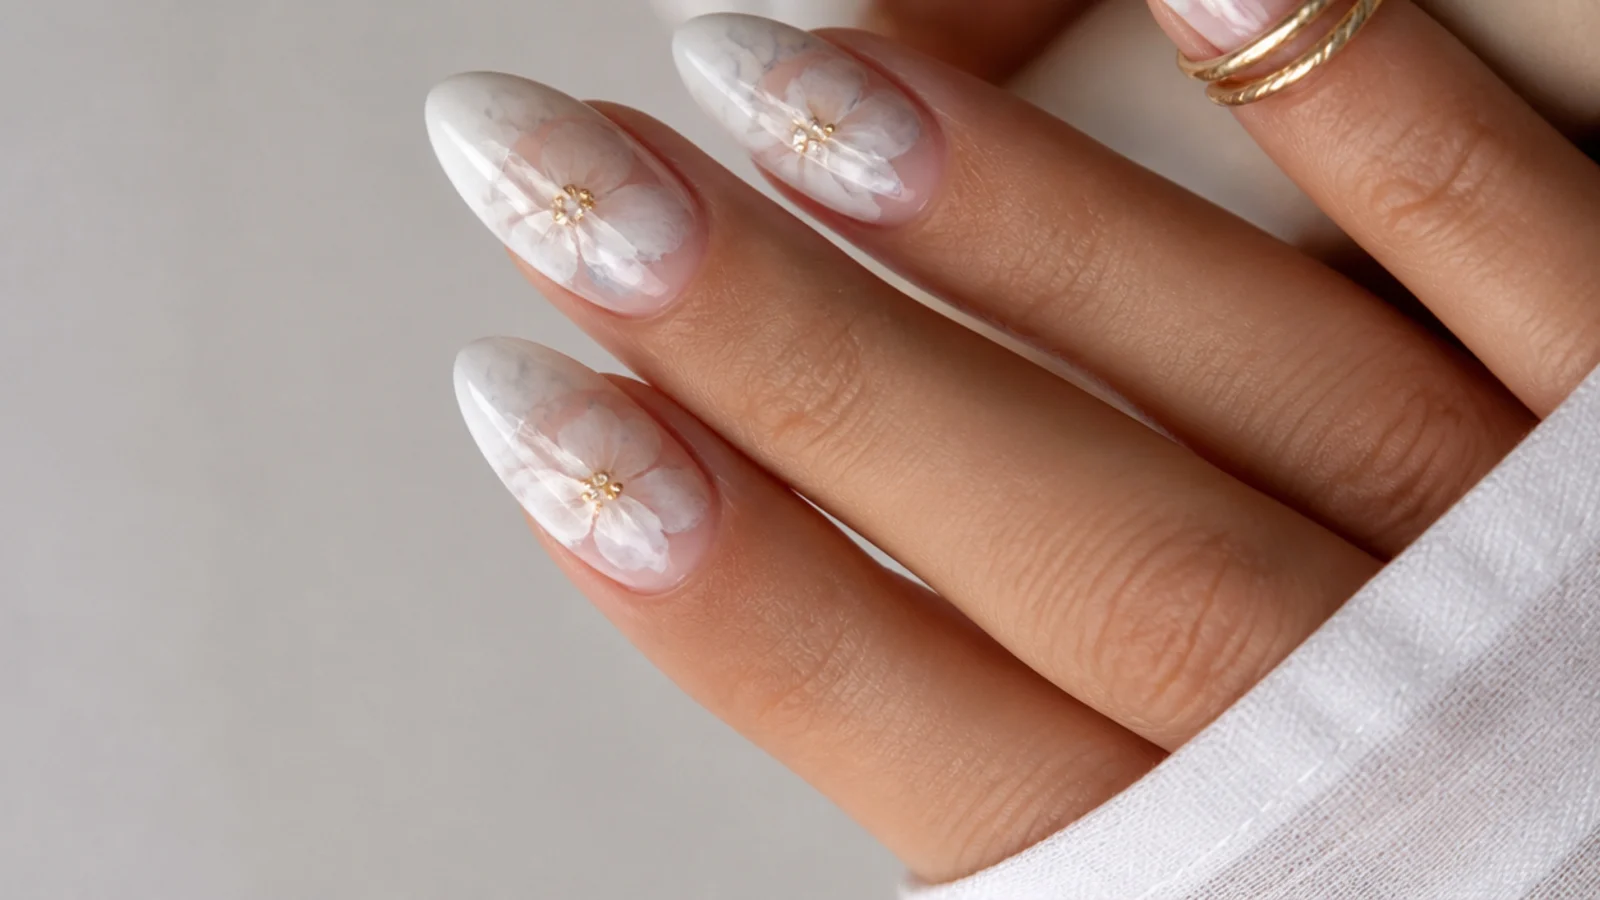
1. Watercolor White Peony Bloom
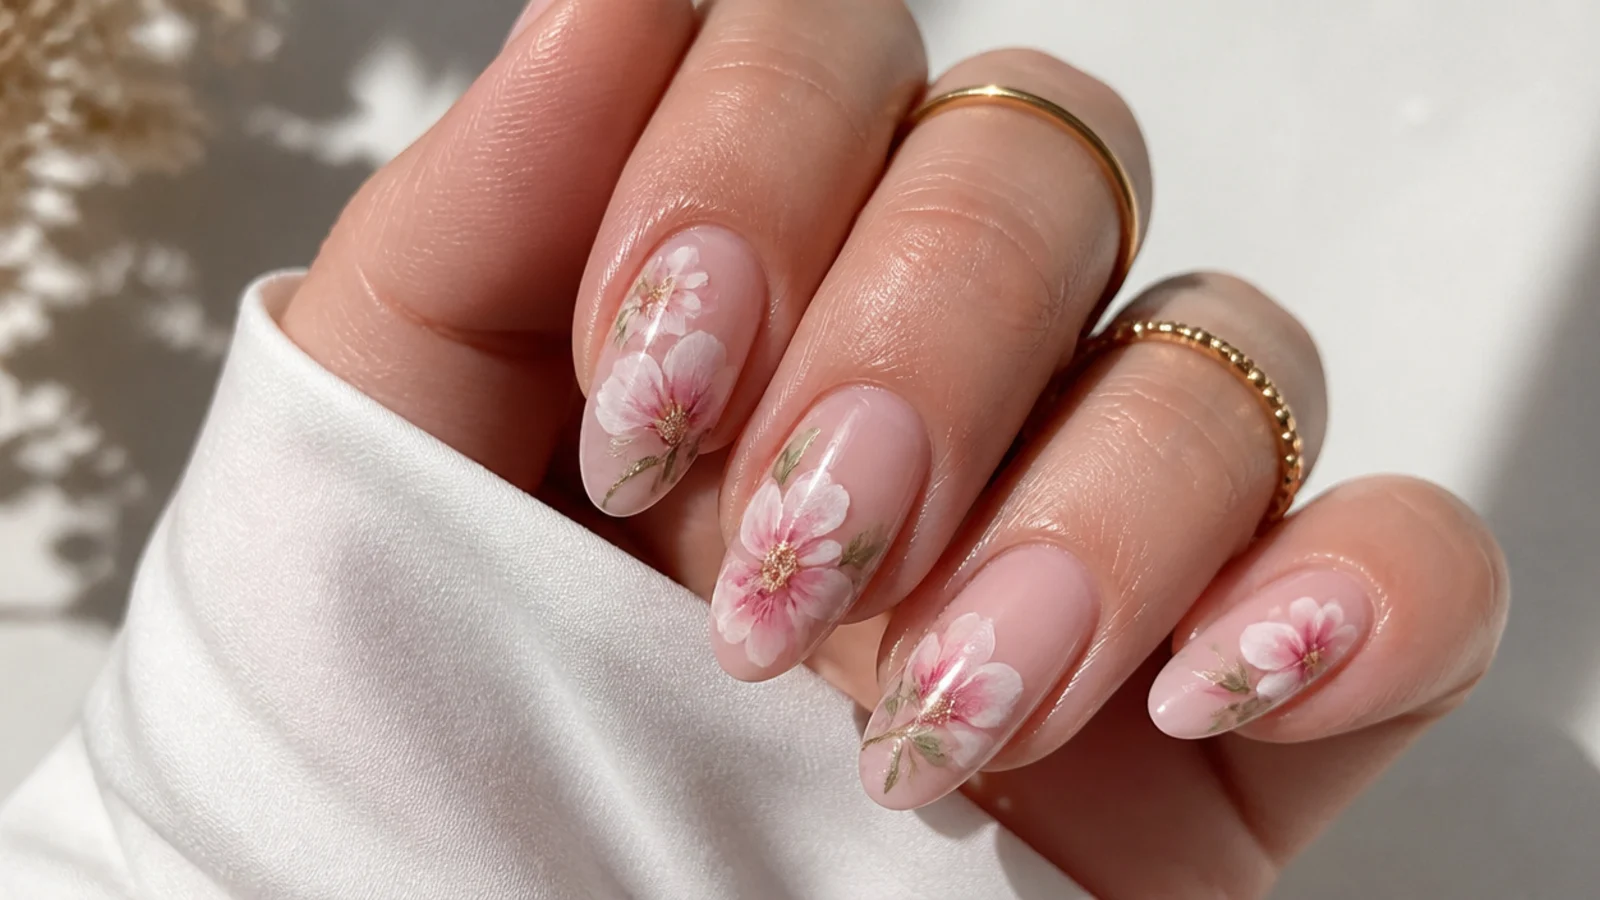
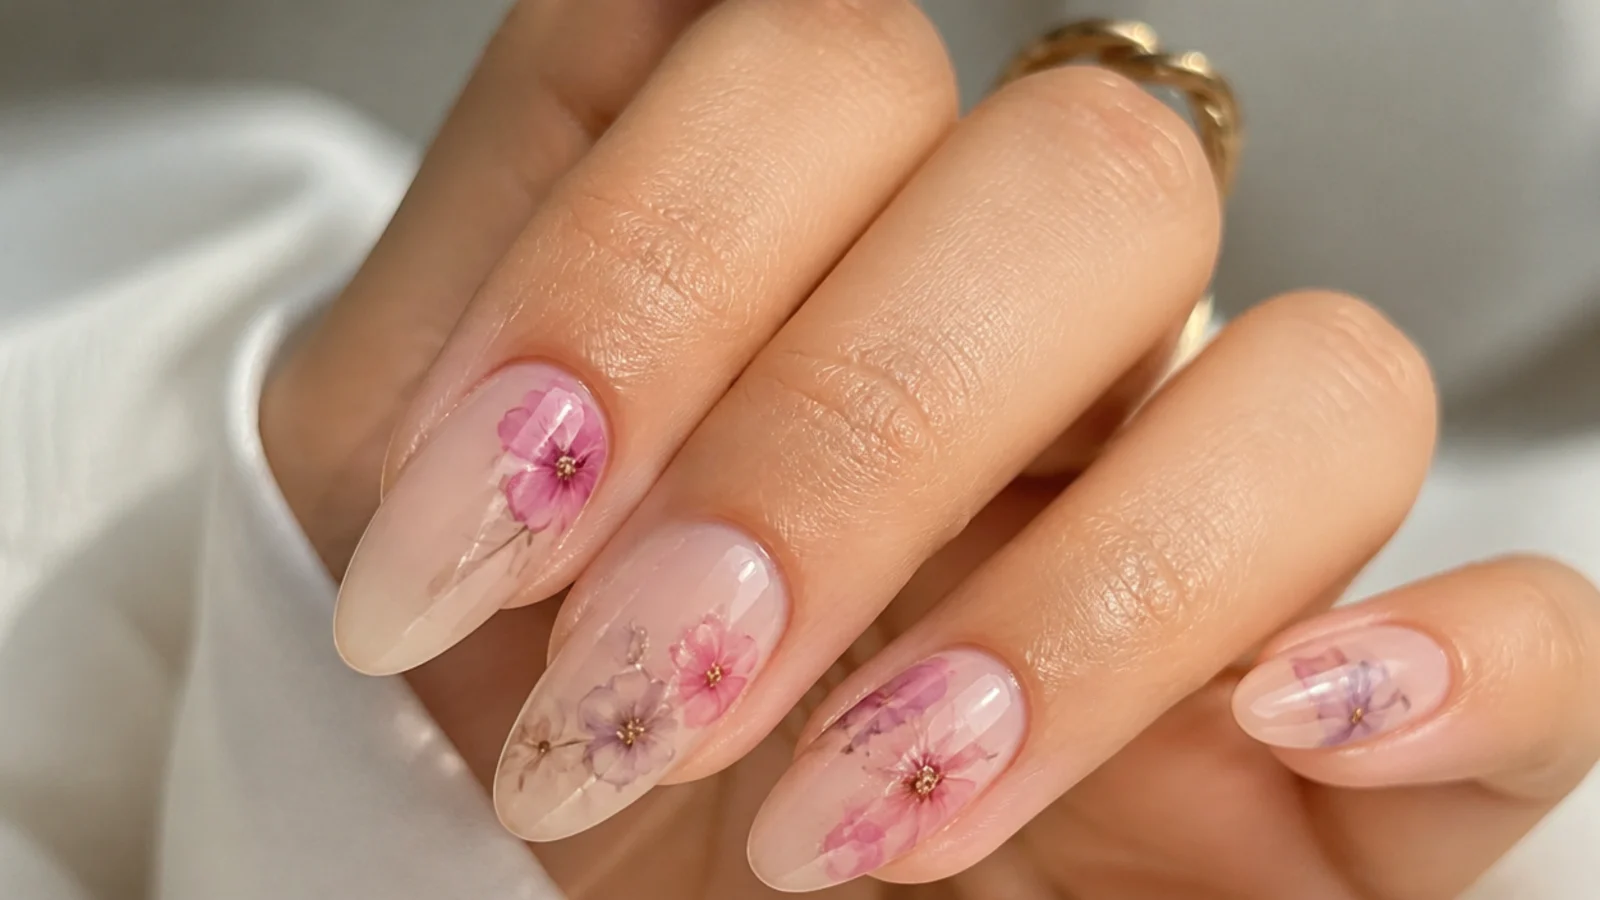
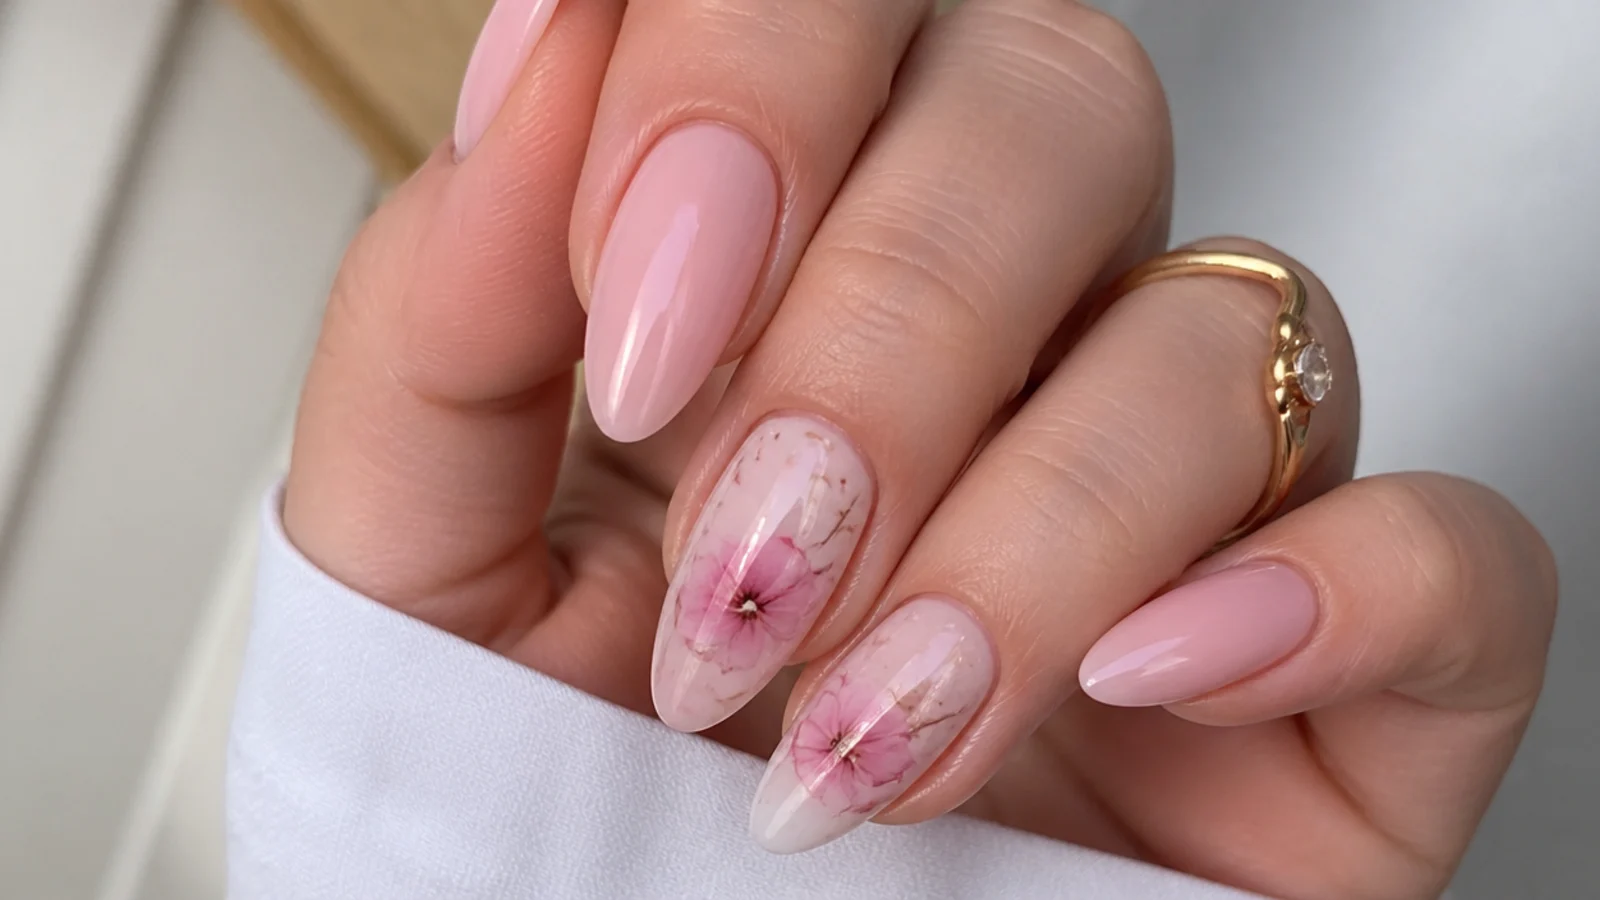
A soft white peony feathered over a sheer nude base is the signature clean bloom. Over a cured nude, brush a thin layer of blooming gel and leave it uncured, then place small dots of white gel where the petals go and let them spread and diffuse for about thirty seconds into soft, watercolor-edged blooms. Use a thin liner brush to pull a faint gray-white center. Cure thirty to sixty seconds under LED to lock it. The diffused edges keep it looking painterly rather than stamped, which is exactly why it reads expensive and fresh.
Who it suits: Anyone wanting a soft, bridal-clean floral.
Tip: Use a little white and let it bloom - flooding color goes muddy.
2. Soft White Marble
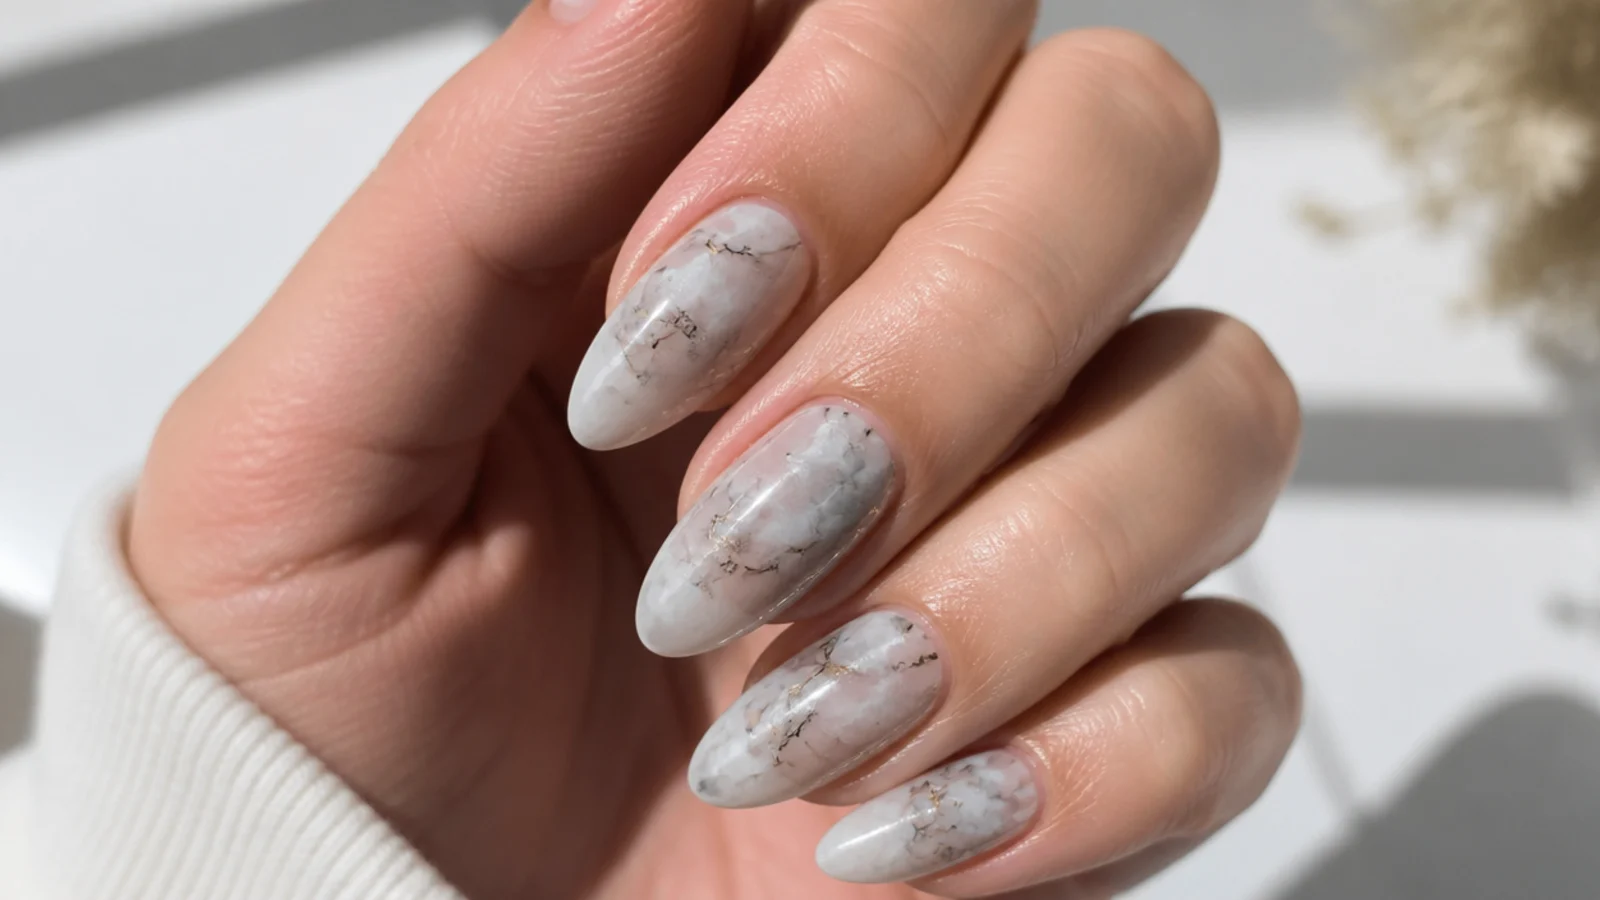
White marble uses the bloom to build soft veins instead of hard lines. Over a milky-white base, apply a thin uncured layer of blooming gel, then draw fine, wandering lines of slightly grayed white with a liner brush and let them diffuse into blurred, stone-like veining for about thirty to forty seconds. A thinner blooming-gel layer gives more spread; a thicker one keeps the veins tighter. Cure thirty to sixty seconds under LED, then add a second faint vein layer for depth and cure again. The result is a quiet, luxe marble that stays clean and modern.
Who it suits: Anyone wanting an expensive, understated finish.
Tip: Keep veins thin and let them blur - do not redraw over a bloom in progress.
3. Milky White Ink Wash
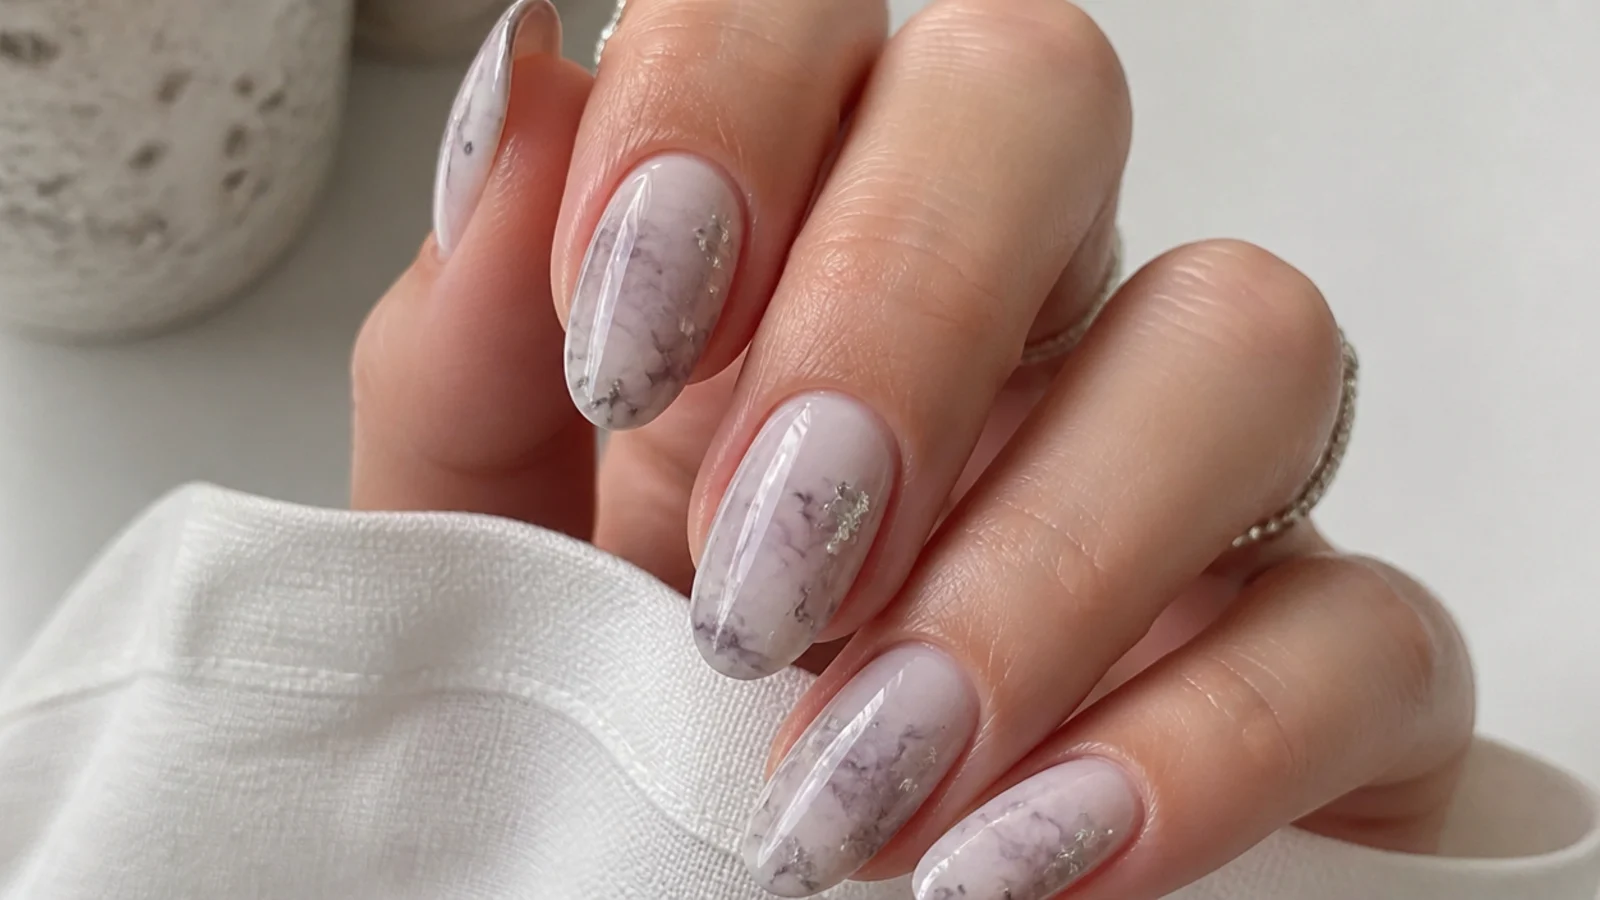
An ink-wash bloom gives a hazy, tie-dye-soft cloud of white across the nail. Over a sheer or clear base, brush a thin uncured layer of blooming gel, then drop a single spot of white gel and let it diffuse outward on its own into a soft, cloudy haze for up to a minute. The thinner the blooming-gel layer, the further the white travels, so the whole nail reads like a gentle white fog. Cure thirty to sixty seconds under LED. It is the most forgiving design here because you let the gel do the work - no brushwork or precision needed.
Who it suits: Beginners and anyone wanting an effortless soft look.
Tip: One drop of white is enough - the bloom spreads it for you.
4. White-on-Nude Bloom
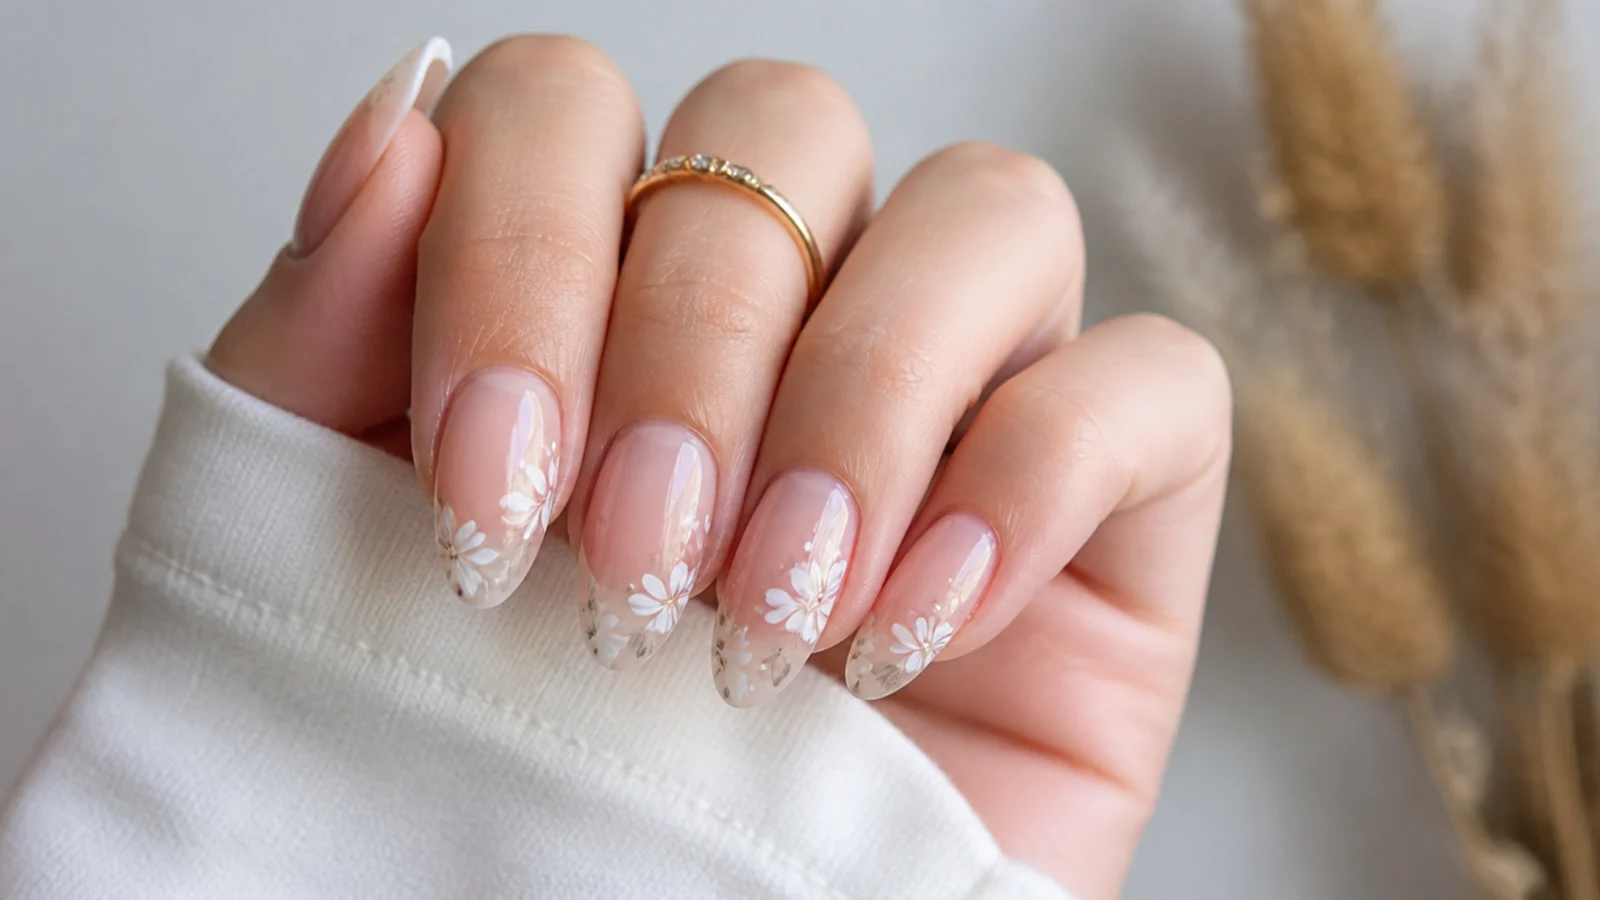
Scattered white blooms over a warm nude base keep the look natural and everyday. Over a cured nude, apply a thin uncured blooming-gel layer, then place a few small white dots at different spots and let each feather out into soft, uneven petals for about thirty seconds. Leaving space between blooms keeps the nude showing through, so the design stays airy and clean rather than busy. Cure thirty to sixty seconds under LED and finish with a no-wipe top coat. The nude base flatters most skin tones and hides regrowth, making this the most wearable white bloom of the set.
Who it suits: Anyone wanting a subtle, office-friendly bloom.
Tip: Space the blooms out so the nude base still breathes.
5. White Blooming French
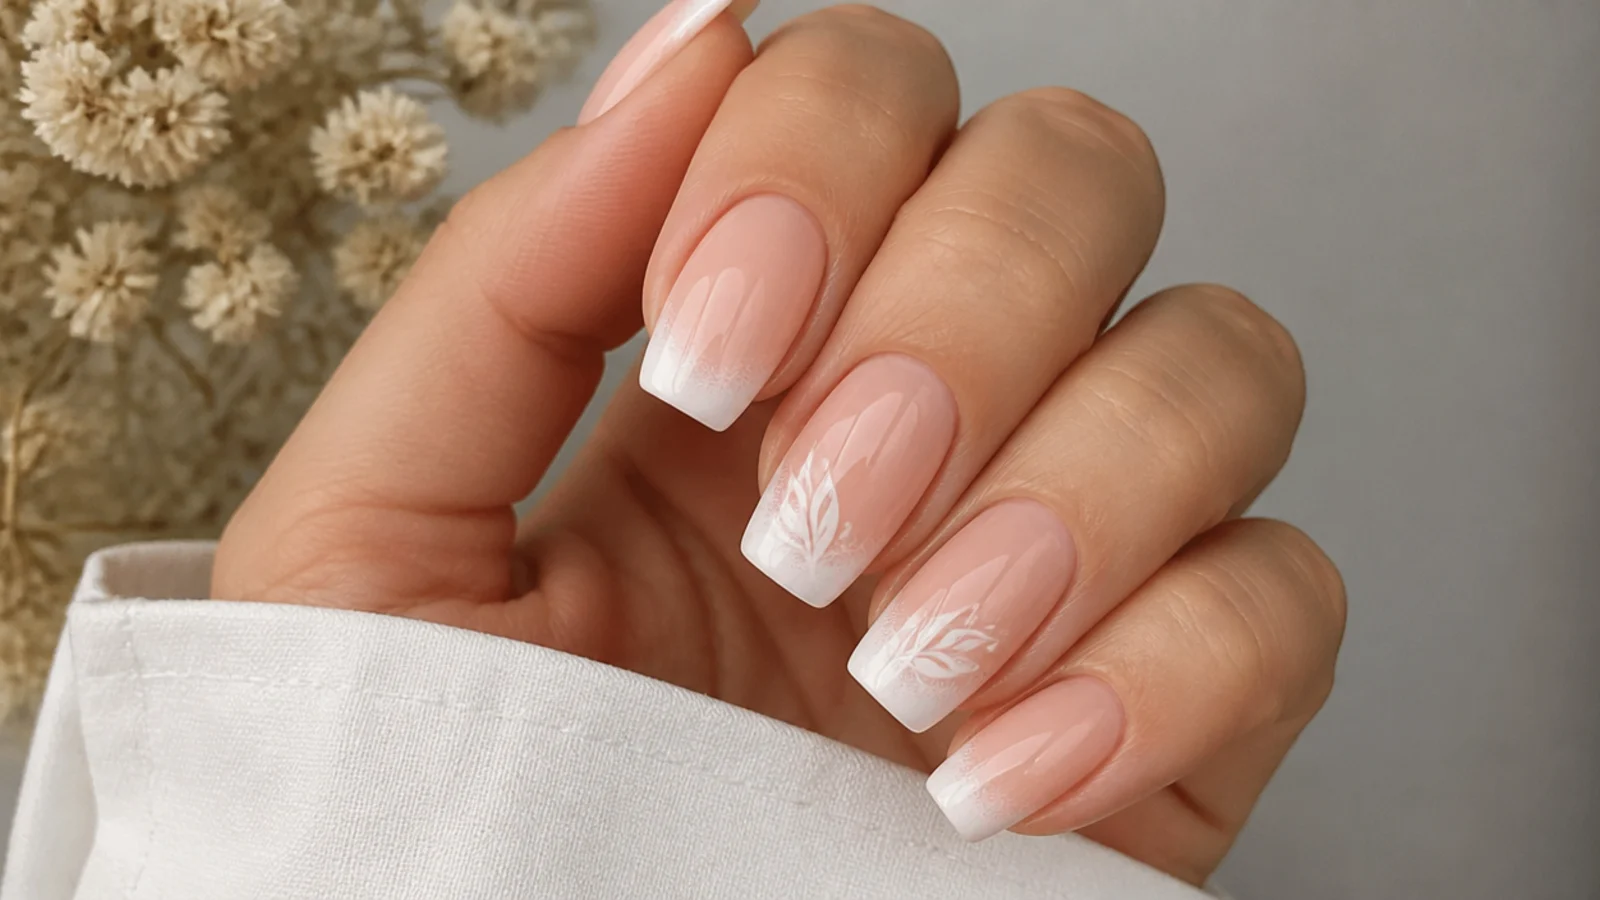
A blooming French swaps the crisp white tip for a soft, diffused one. Over a sheer pink or nude base, brush a thin uncured layer of blooming gel across the tip, then lay a band of white gel along the free edge and let it bloom down toward the center into a hazy gradient for about thirty seconds. The blurred inner edge is what makes it modern - no hard smile line, just a clean white fade. Cure thirty to sixty seconds under LED and cap the free edge so the tip does not chip. It updates a classic French into something soft and current.
Who it suits: Anyone wanting a soft twist on a French tip.
Tip: Cap the free edge with top coat so the diffused tip lasts.
6. Sheer White Cloud
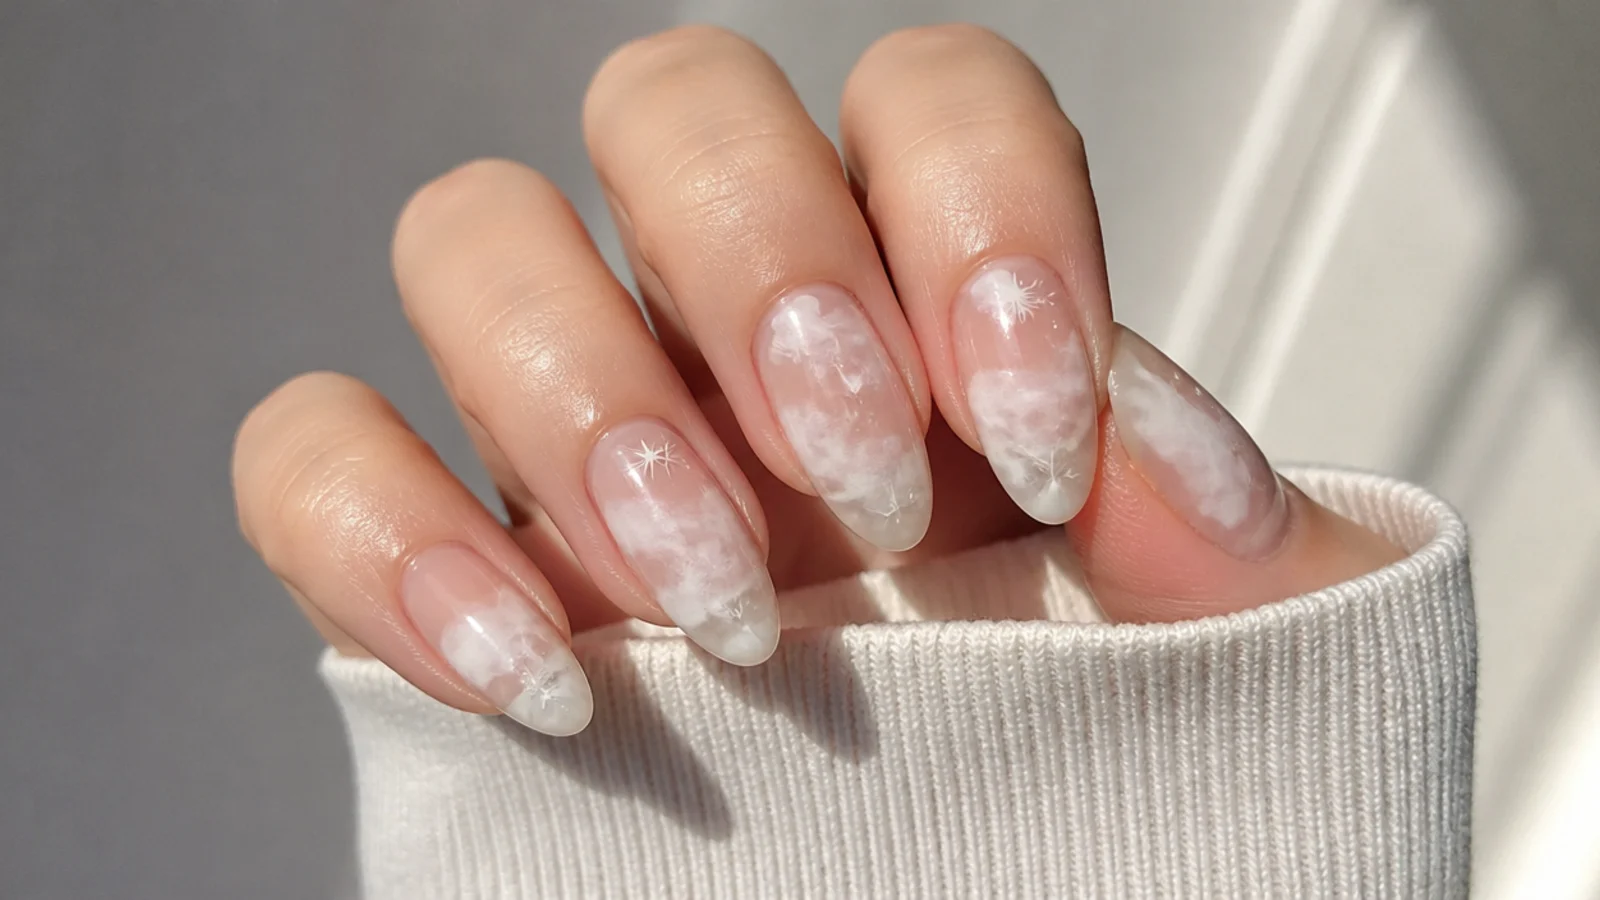
A single soft cloud of white drifting across a clear nail is the most minimal design here. Over a clear or barely-there base, apply a very thin uncured blooming-gel layer, then place one small white spot off-center and let it diffuse into a low, hazy cloud that fades to nothing at the edges over about forty seconds. The bare nail around it keeps the whole look weightless and clean. Cure thirty to sixty seconds under LED. Because there is so little color, it grows out gracefully and suits anyone who wants their nails to look done but nearly natural.
Who it suits: Anyone wanting a barely-there clean look.
Tip: A thinner blooming-gel layer lets the cloud spread wider and softer.
7. White Tie-Dye Swirl
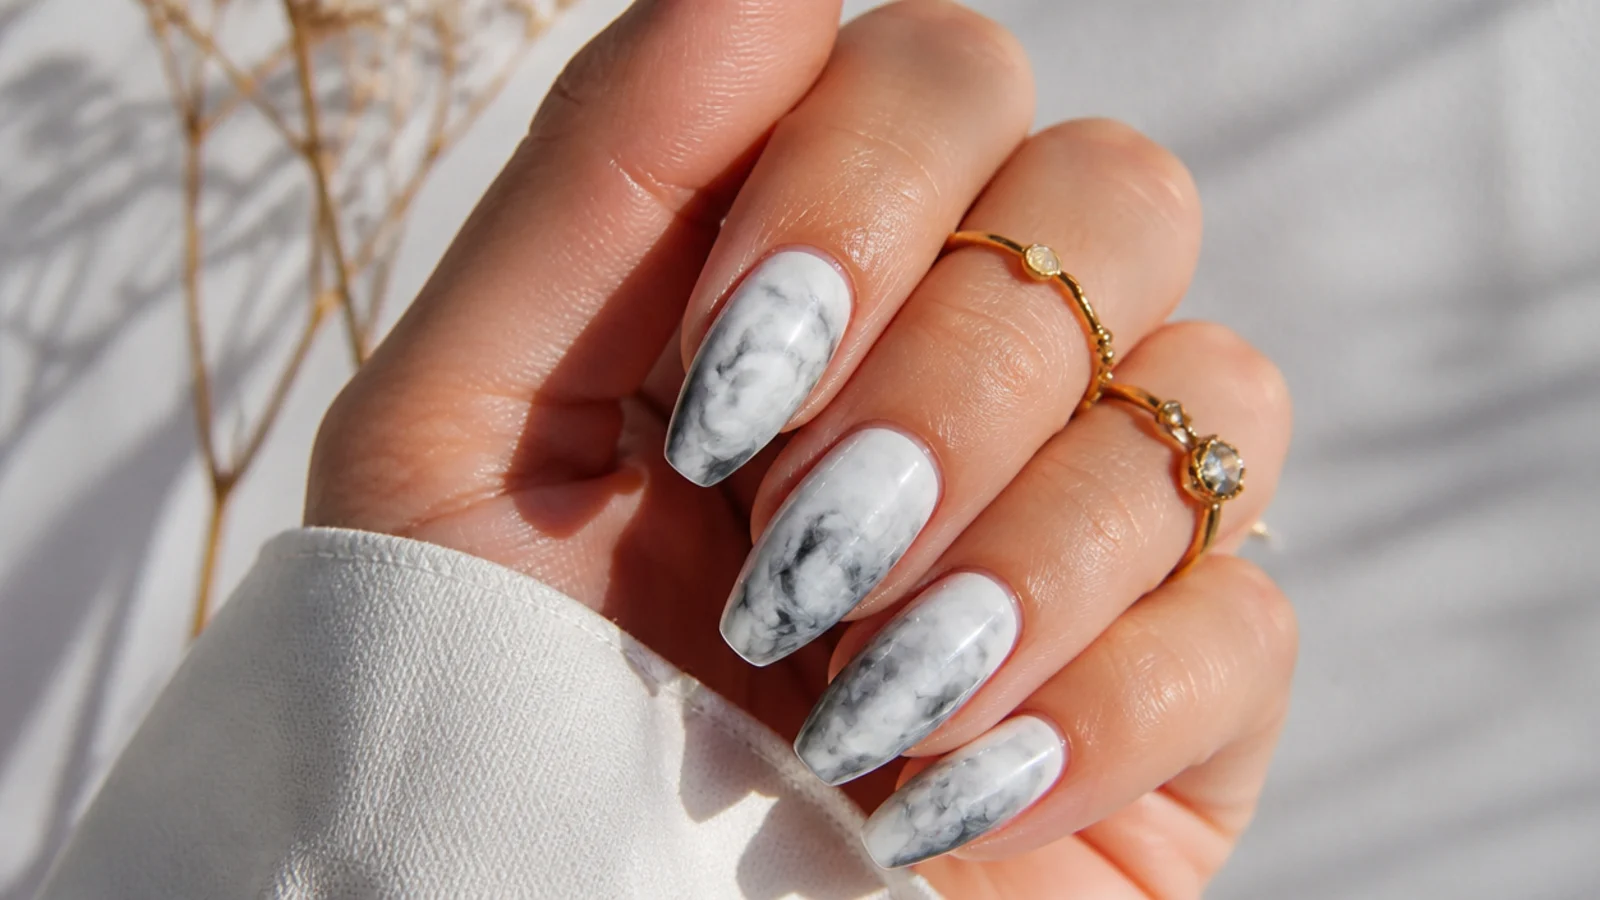
A tie-dye swirl builds movement from two tones of white blooming into each other. Over a milky base, apply a thin uncured blooming-gel layer, then drop white and a touch of soft gray in loose spirals and let them diffuse and blend at the edges for about thirty to forty seconds. Nudging the brush gently through the wet gel guides the swirl without flooding it. Cure thirty to sixty seconds under LED, then add a second light swirl for depth and cure again. The blurred, feathered transitions keep it soft and clean rather than a hard graphic print.
Who it suits: Anyone wanting soft movement and pattern.
Tip: Build depth in layers, curing between - do not overload one pass.
8. White Lily Bloom
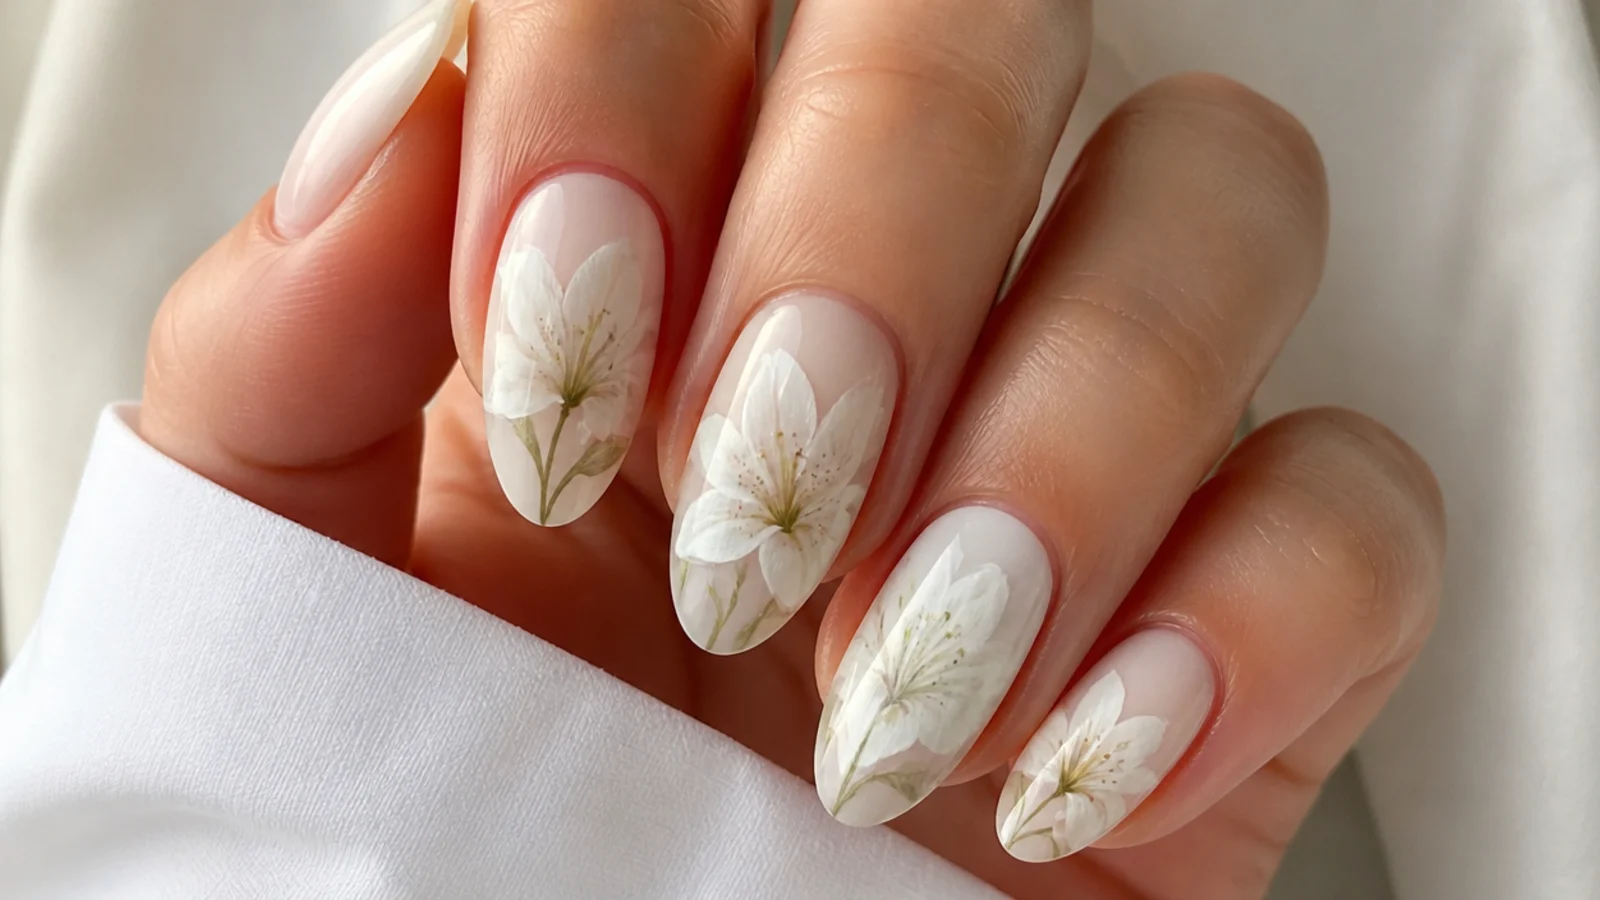
A white lily uses larger, looser petals than a peony for an elegant floral. Over a nude or pale base, brush a thin uncured blooming-gel layer, then draw four or five white petal strokes radiating from a center and let each feather at its outer edge for about thirty seconds. A thin liner brush adds a faint pale-yellow or gray center once the petals set. Cure thirty to sixty seconds under LED, then seal with a no-wipe top coat. The soft-edged petals against the bare base read fresh and clean, ideal on an accent nail with plainer blooms alongside.
Who it suits: Anyone wanting an elegant single-flower accent.
Tip: Keep petals as separate strokes so they bloom outward, not into each other.
9. Frosted White Smoke
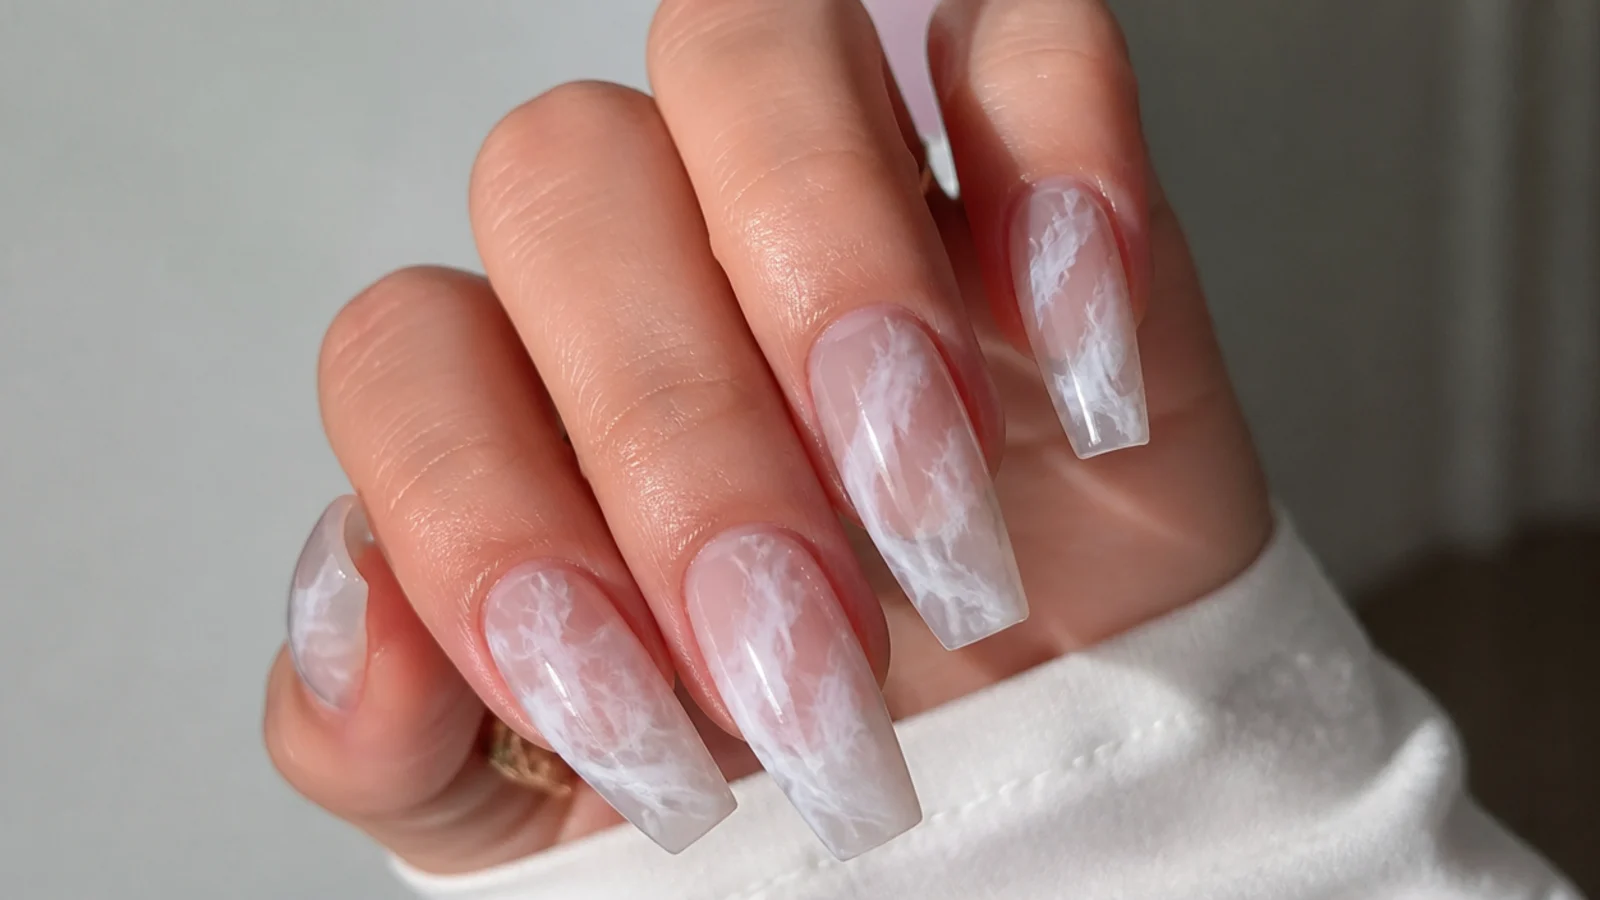
A smoky white bloom gives wispy, drifting streaks like frost on glass. Over a cool sheer base, apply a thin uncured blooming-gel layer, then pull a few thin white lines with a liner brush and let them diffuse and trail off into soft wisps for about thirty seconds. Dragging the brush lightly through the wet gel stretches the smoke without muddying it. Cure thirty to sixty seconds under LED. The wispy, half-there edges are the whole point, so resist adding more white once it starts to spread. It suits anyone who wants an airy, cool-toned clean design.
Who it suits: Anyone wanting a cool, wispy abstract look.
Tip: Drag the brush through the wet gel lightly to stretch the smoke.
10. White Blooming Accent
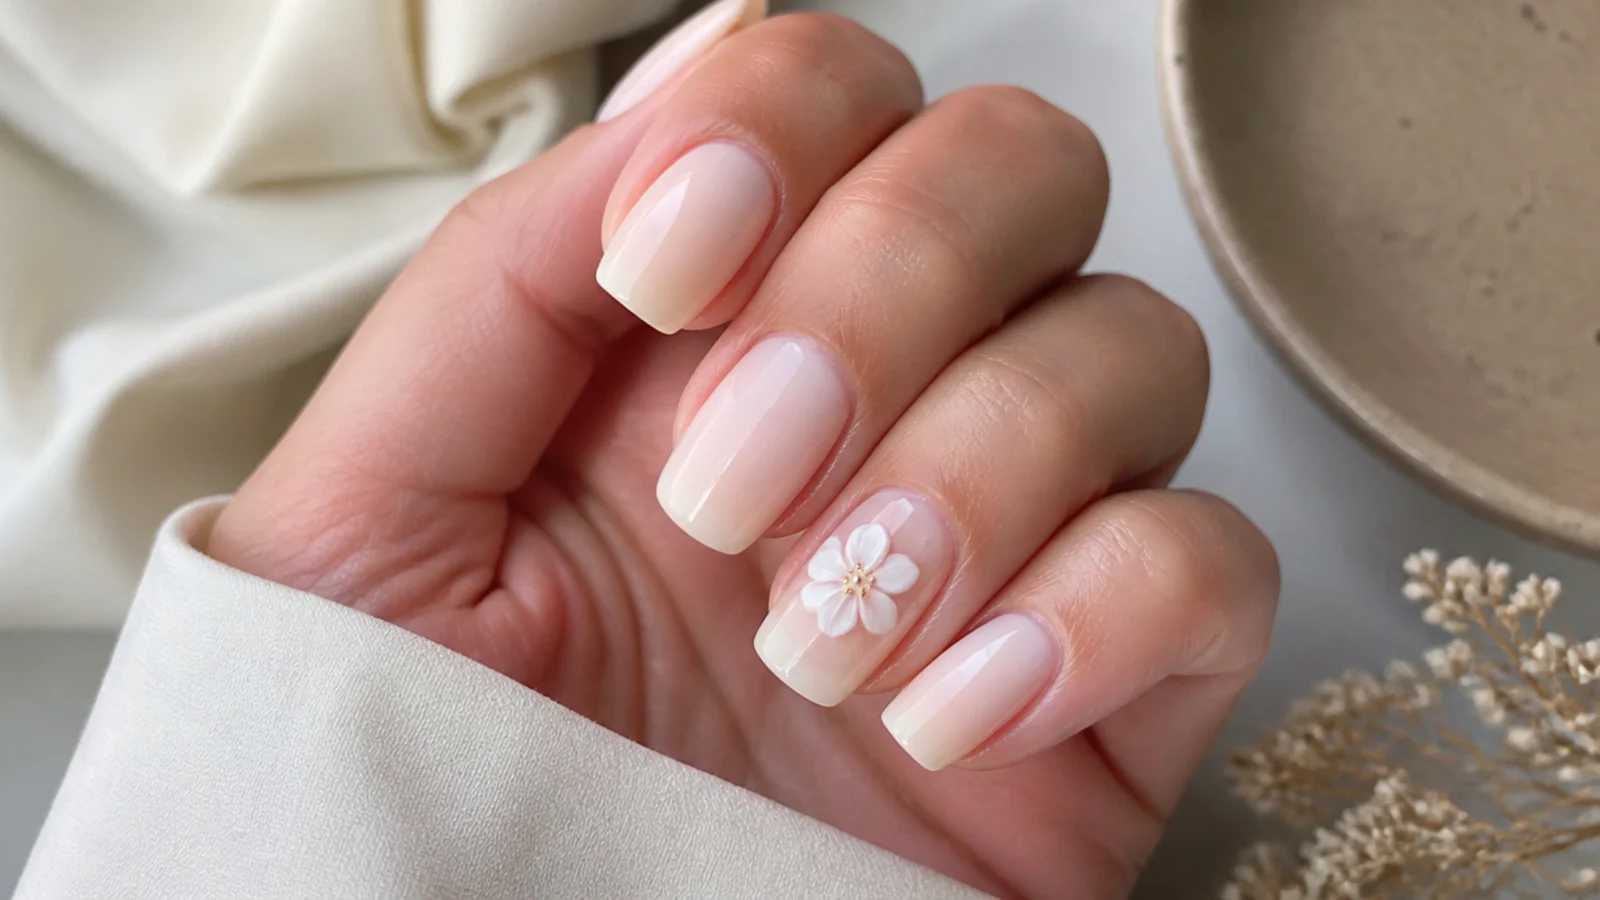
One blooming accent nail among clean milky nails keeps effort and color in one spot. Paint four nails a plain milky white and cure, then on the ring finger apply a thin uncured blooming-gel layer and drop white to bloom into a soft flower or marble for about thirty seconds. Concentrating the design on a single nail lets the bloom shine without the whole hand competing. Cure thirty to sixty seconds under LED and top-coat all five. It suits anyone new to blooming gel who wants to practice on one nail while still getting a finished, considered set.
Who it suits: Beginners and anyone wanting focused detail.
Tip: Practice the bloom on one accent nail before committing all ten.
11. White Blossom Tips
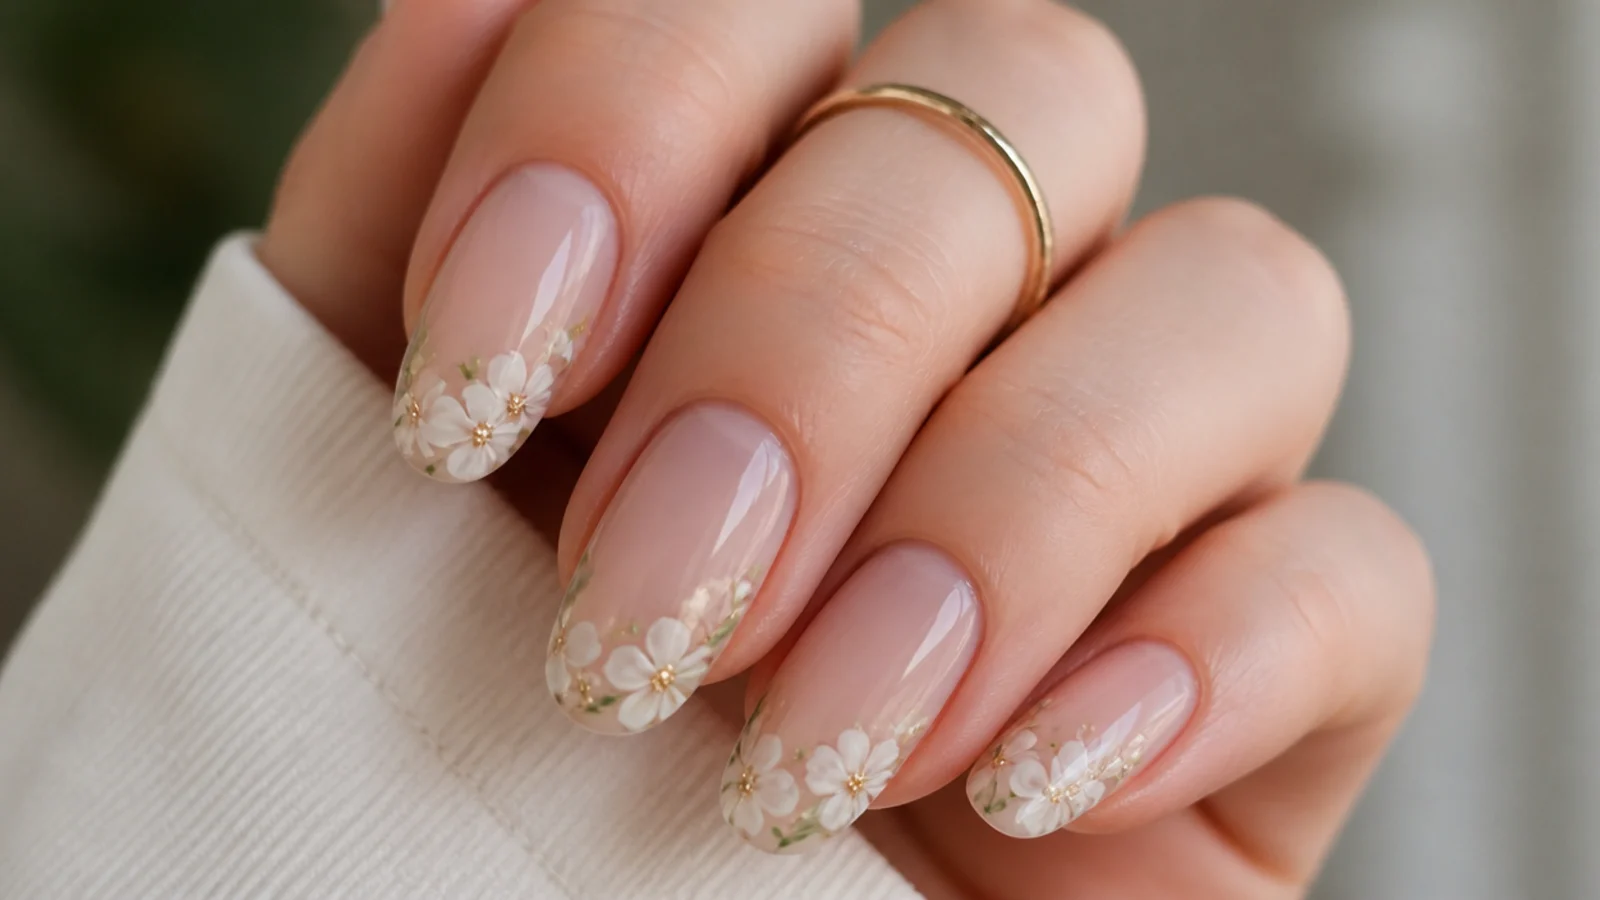
Tiny white blossoms clustered near the tips leave the base clean and open. Over a sheer base, apply a thin uncured blooming-gel layer at the upper third of the nail, then place small white dots grouped near the free edge and let them feather into little five-petal blossoms for about thirty seconds. Keeping them high on the nail leaves room for the bare base to show, so it reads light and spring-fresh. Cure thirty to sixty seconds under LED and cap the edge. It suits anyone who wants a delicate floral that stays minimal and does not crowd the whole nail.
Who it suits: Anyone wanting a light, spring-fresh floral.
Tip: Group blossoms near the tip so the base stays clean and open.
12. Icy White Marble
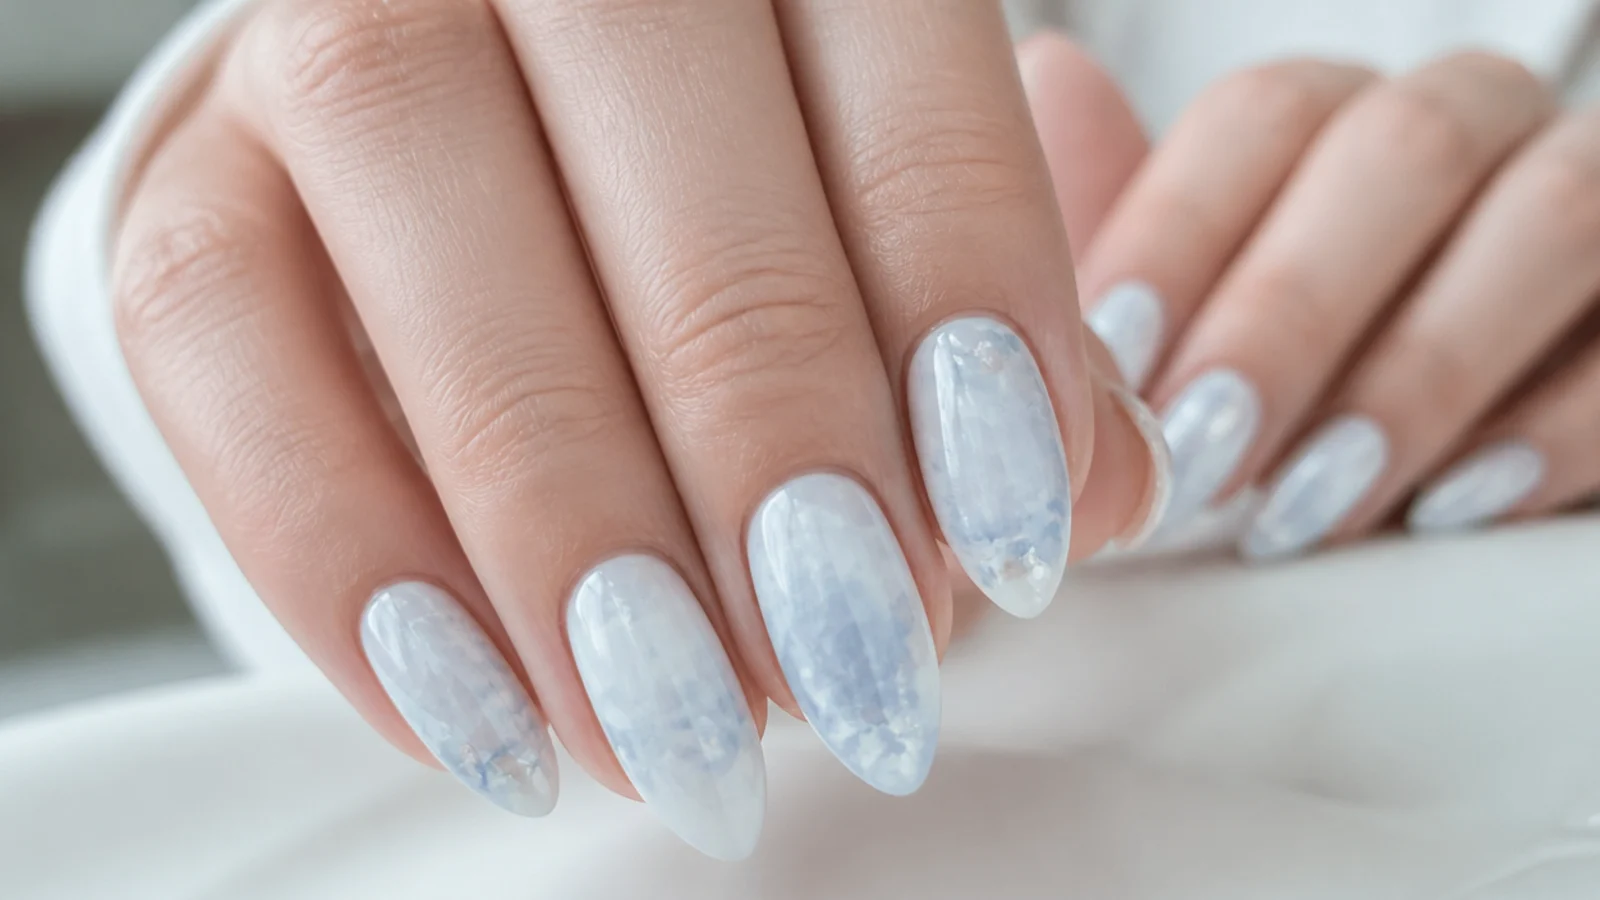
Icy marble adds the faintest cool tint to keep the white from reading flat. Over a milky base, apply a thin uncured blooming-gel layer, then draw thin veins of white with a whisper of pale gray-blue and let them diffuse into cool, glassy marble for about thirty to forty seconds. The touch of cool tone gives the white dimension without turning it into a color. Cure thirty to sixty seconds under LED, then add a second faint vein pass and cure. A high-shine no-wipe top coat makes it look like polished ice. It suits winter, holidays and anyone who loves a crisp, cool clean finish.
Who it suits: Anyone wanting a crisp, cool-toned marble.
Tip: Use only a whisper of gray-blue so it stays clean, not colored.
13. White Watercolor Daisy
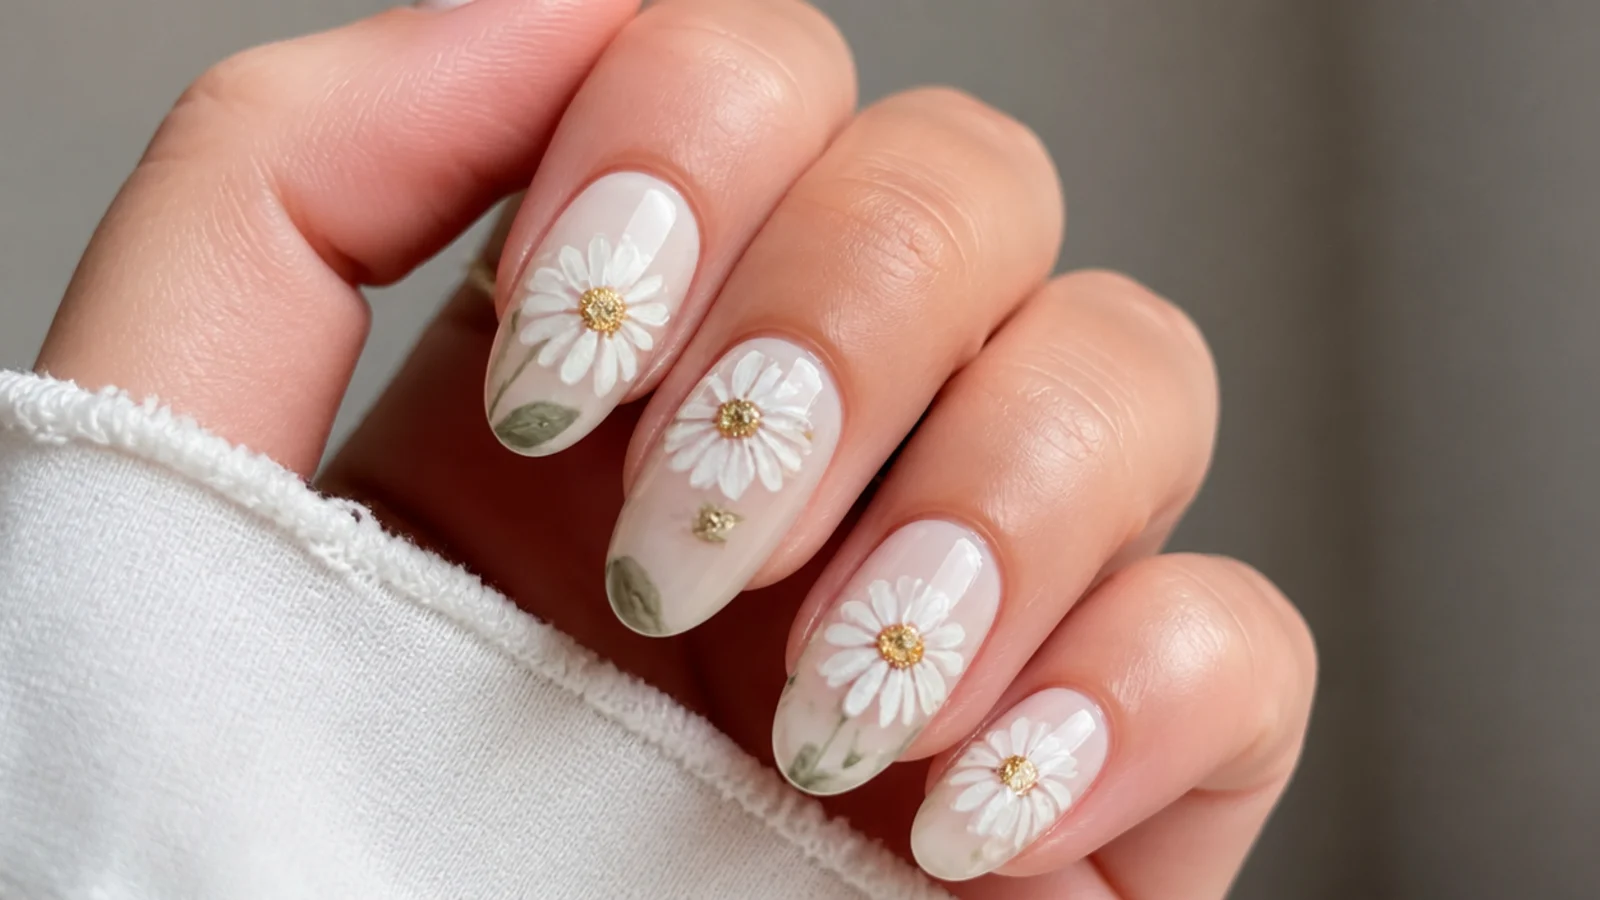
A watercolor daisy keeps petals simple and lets the bloom soften the edges. Over a nude base, apply a thin uncured blooming-gel layer, then dot white in a ring around a center point and let each dot feather outward into a soft petal for about thirty seconds. Once set, add a faint pale-yellow center with a liner brush. Cure thirty to sixty seconds under LED and seal. The diffused petal edges are what separate a blooming daisy from a painted one - it looks hand-washed rather than stamped. It suits anyone wanting a cheerful but still clean and understated floral.
Who it suits: Anyone wanting a cheerful, clean floral.
Tip: Dot petals in a ring and let them bloom toward the center.
14. White Bloom over Sheer Pink
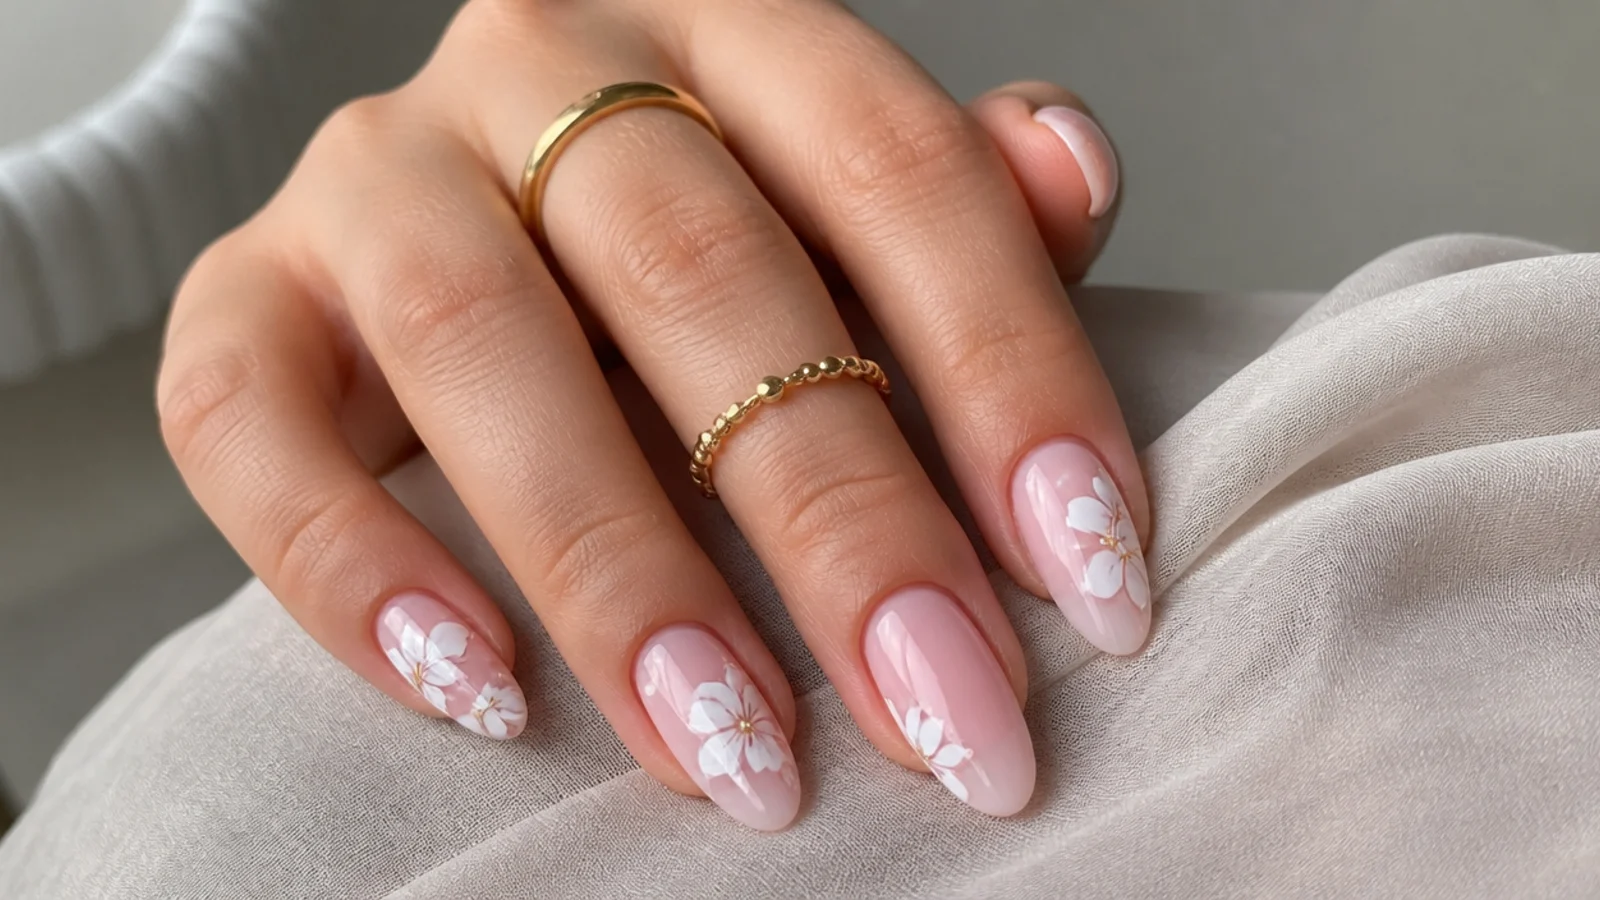
White blooms over a sheer pink base give a soft, romantic contrast that still reads clean. Over a cured sheer-pink base, apply a thin uncured blooming-gel layer, then place white dots and let them diffuse into petals that glow against the pink for about thirty seconds. The pale pink warms the white without competing, so the whole nail feels soft and bridal. Cure thirty to sixty seconds under LED and finish with a glossy no-wipe top coat. It suits weddings, dates and anyone who finds pure white on bare nails a touch too stark and wants a gentle wash of color beneath.
Who it suits: Brides and anyone wanting a soft, warm base.
Tip: Let the pink base cure fully before adding the uncured bloom layer.
15. Snowy White Diffusion
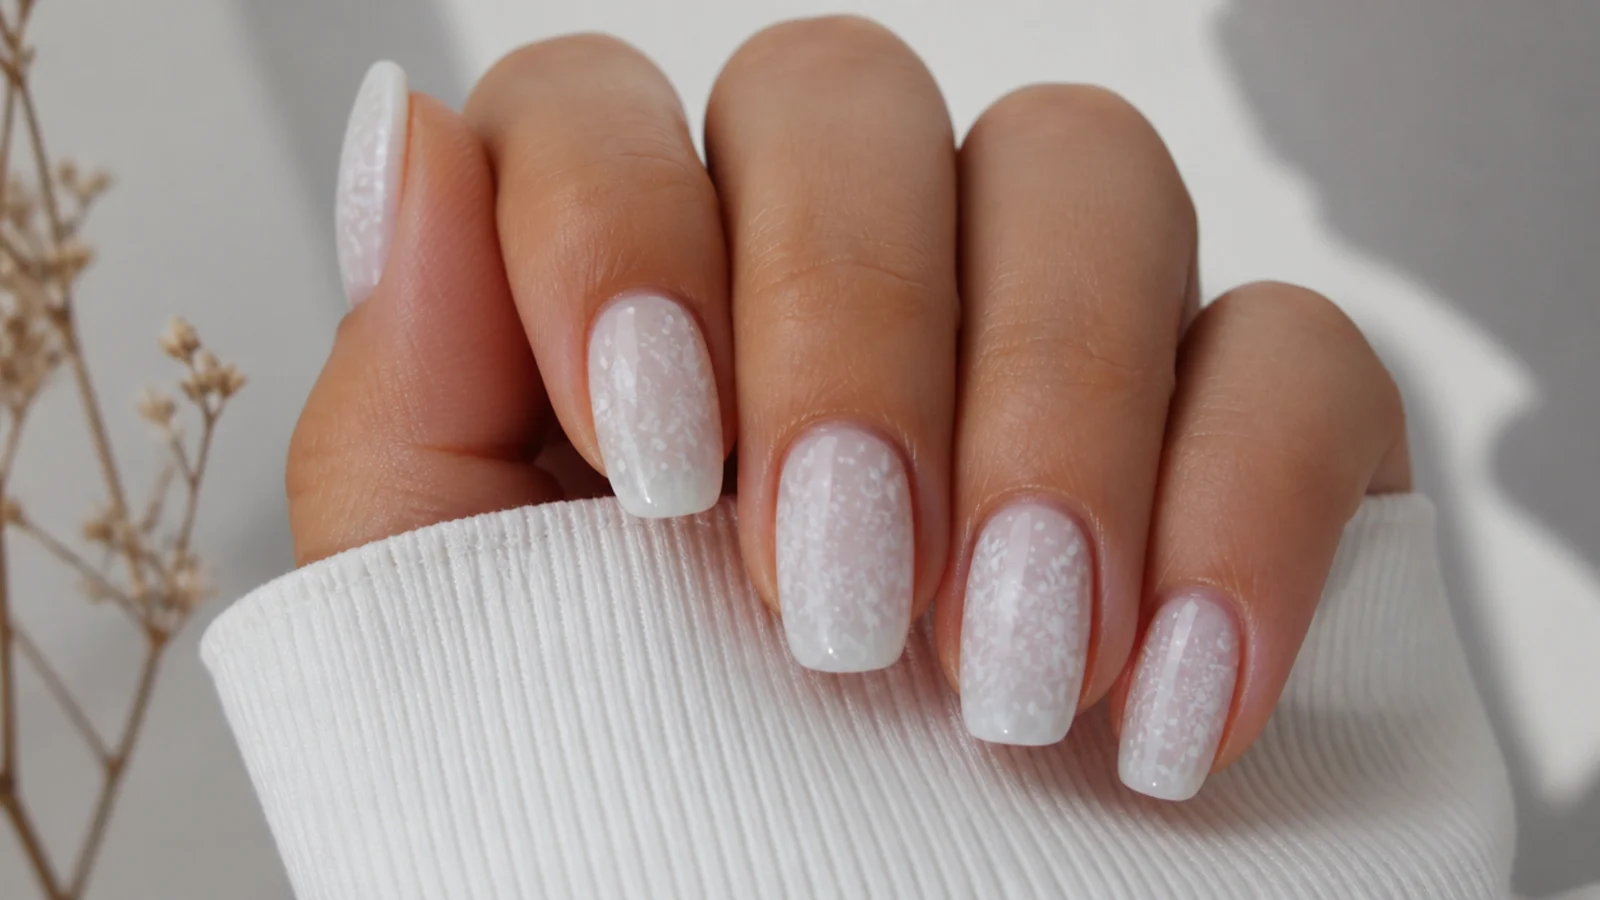
A snowy diffusion scatters small white blooms like falling snow across the nail. Over a cool sheer or pale gray base, apply a thin uncured blooming-gel layer, then dot several tiny spots of white at random and let each feather into a small soft speckle for about thirty seconds. Keeping the dots small and spaced gives an even, snow-flurry effect rather than one big cloud. Cure thirty to sixty seconds under LED. It is quick and forgiving because precision does not matter - the bloom softens every dot. It suits winter, the holidays and anyone who wants a clean, wintry pattern with movement.
Who it suits: Anyone wanting a wintry, speckled clean look.
Tip: Keep dots small and spaced for an even snow-flurry effect.
16. White Abstract Bloom
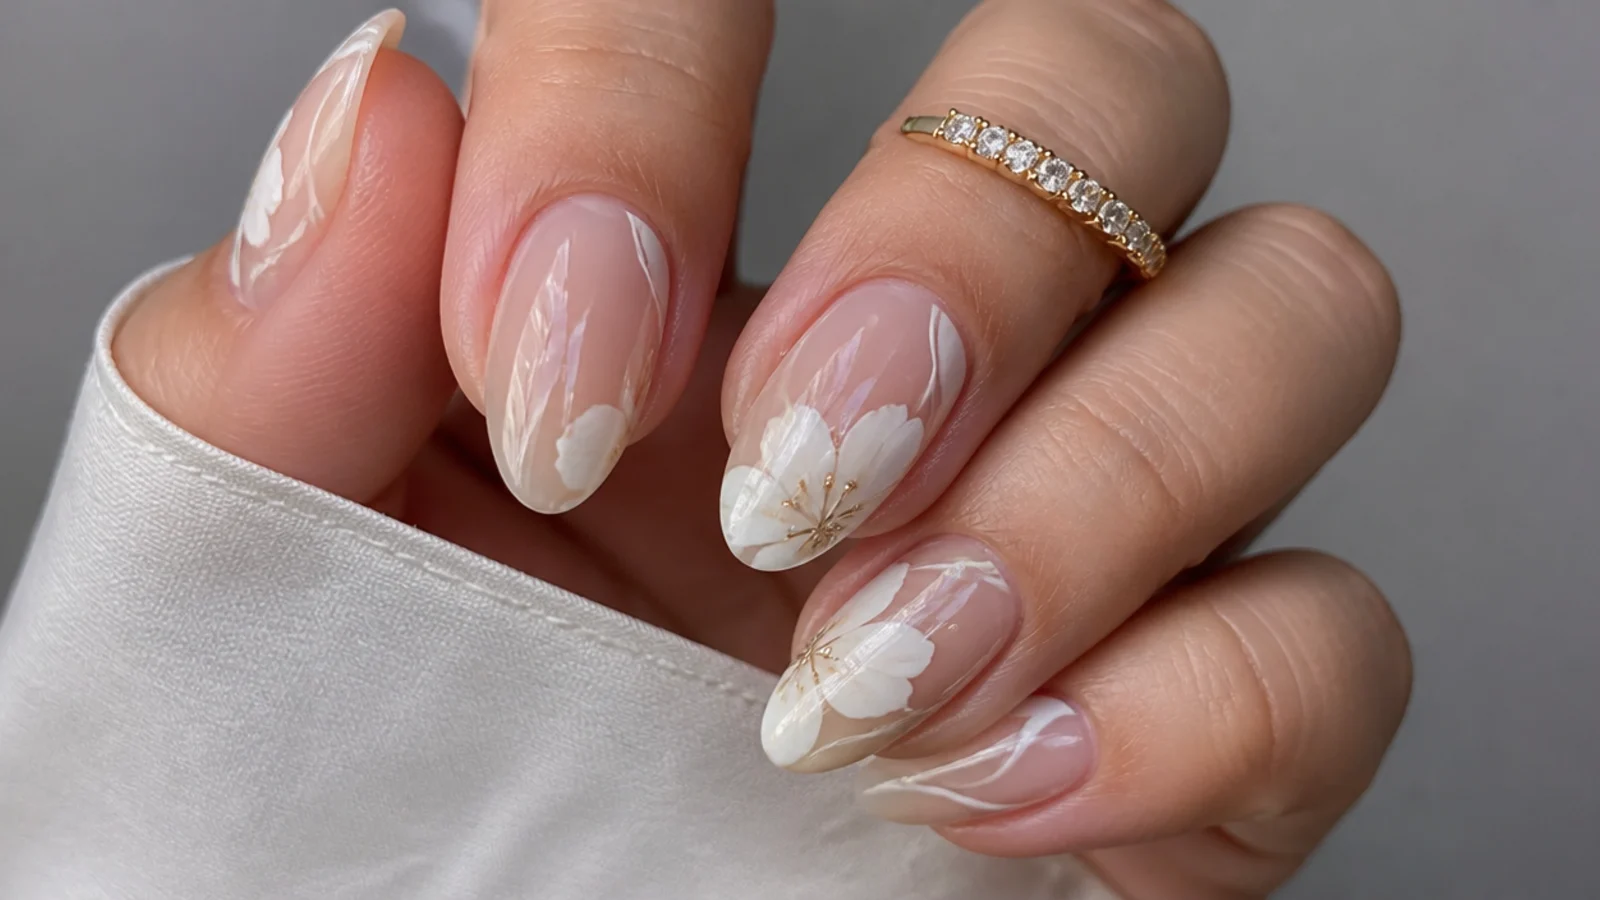
An abstract bloom uses loose, uneven shapes of white for a modern, gallery-clean look. Over a milky or nude base, apply a thin uncured blooming-gel layer, then drop white in irregular blobs and short strokes and let them diffuse into soft organic shapes for about thirty to forty seconds. Nudging the edges with a brush guides the forms without hard lines. Cure thirty to sixty seconds under LED, then layer a second shape for depth and cure again. The soft-edged, no-rules composition reads artistic yet still minimal. It suits anyone who wants something creative that stays quiet and clean.
Who it suits: Anyone wanting a modern, artistic clean set.
Tip: Let shapes stay uneven - the soft edges are what read as art.
17. Short White Blooming Almond
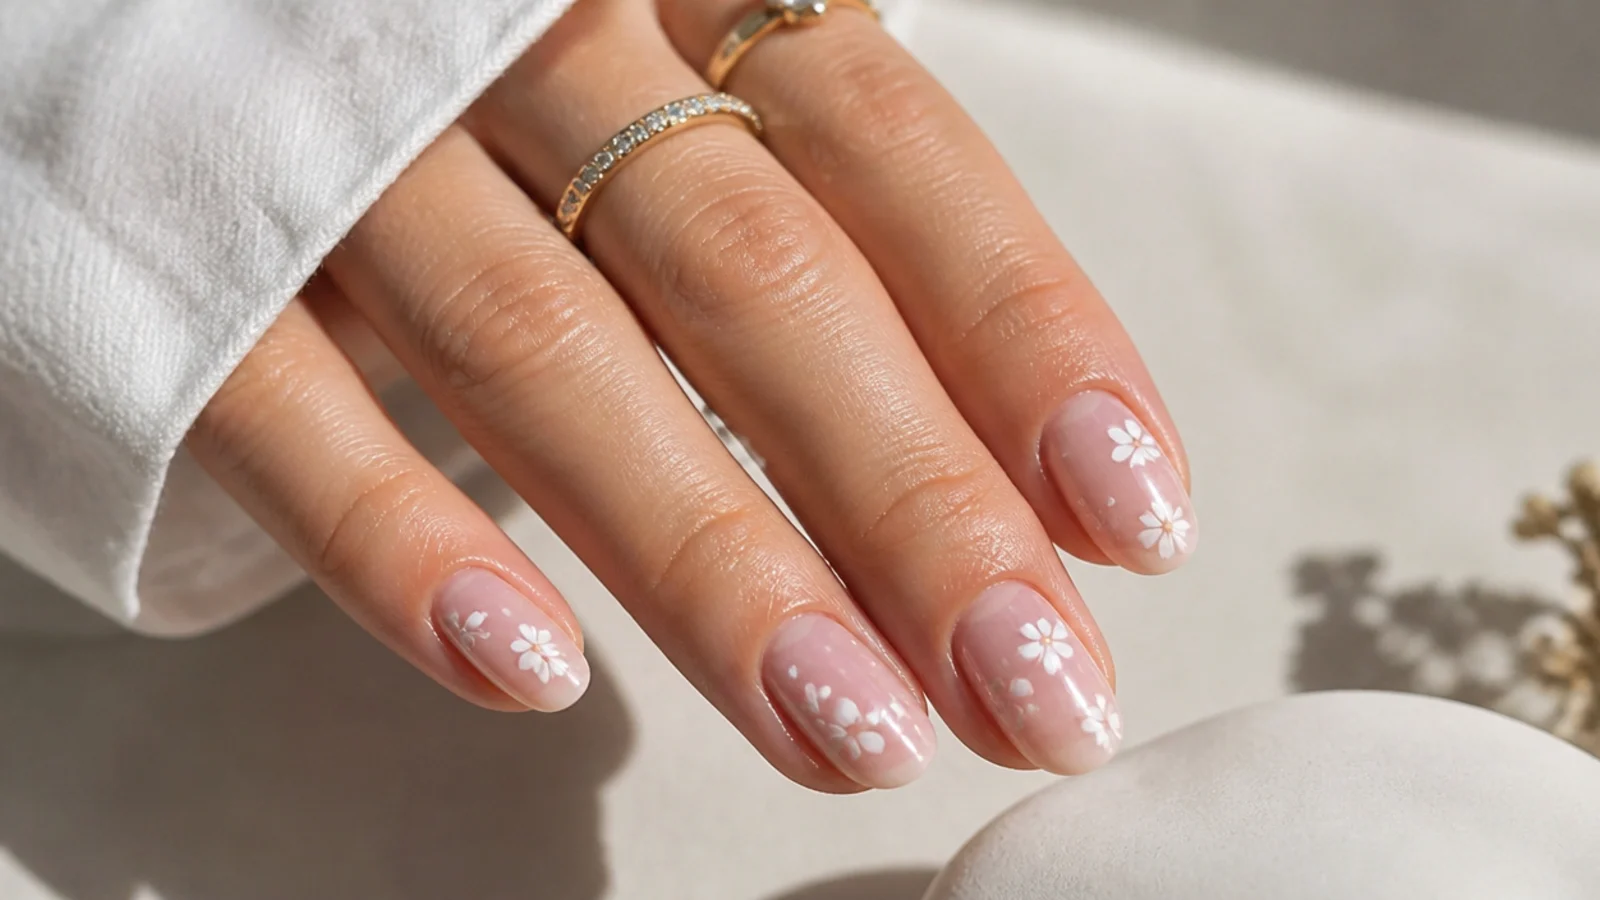
On short almond nails, a small white bloom keeps the design proportional and practical. Over a nude base, apply a thin uncured blooming-gel layer, then place one or two small white dots and let them feather into a compact bloom that fits the shorter nail for about thirty seconds. Scaling the bloom down keeps it from crowding a short nail, so it stays clean and neat. Cure thirty to sixty seconds under LED and cap the edge for durability. Short nails are the most hard-wearing, so this suits anyone who uses their hands a lot but still wants the soft blooming-gel look.
Who it suits: Anyone wanting the look on short, practical nails.
Tip: Scale the bloom smaller so it fits a short nail without crowding.
18. White Bloom with Gold Flakes
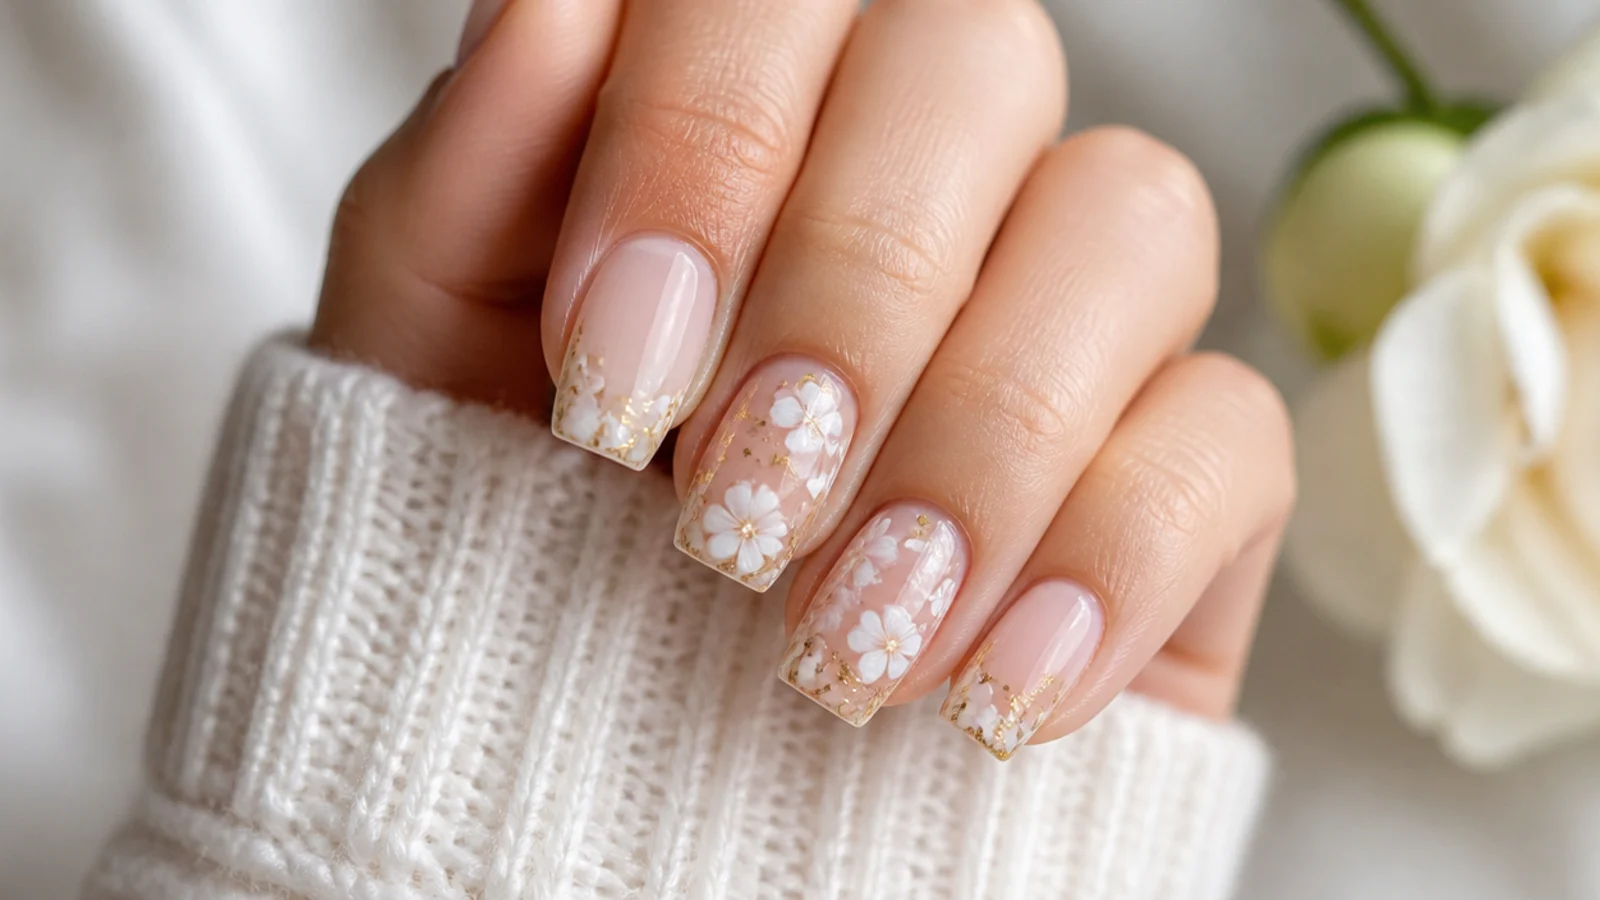
A few gold leaf flakes over a soft white bloom add a subtle luxe touch. Over a nude base, apply a thin uncured blooming-gel layer, bloom white into a soft flower or wash and cure thirty to sixty seconds under LED, then press small, sparse gold flakes onto a fresh thin gel layer and cure again. Keeping the flakes few and uneven lets the clean white stay the focus while the gold catches the light. Seal everything under a generous no-wipe top coat so no edges lift. It suits events, the festive season and anyone wanting a hint of shine on a clean base.
Who it suits: Anyone wanting subtle luxe on a clean base.
Tip: Add gold flakes after curing the bloom, on a fresh gel layer, then seal.
19. White Feather Bloom
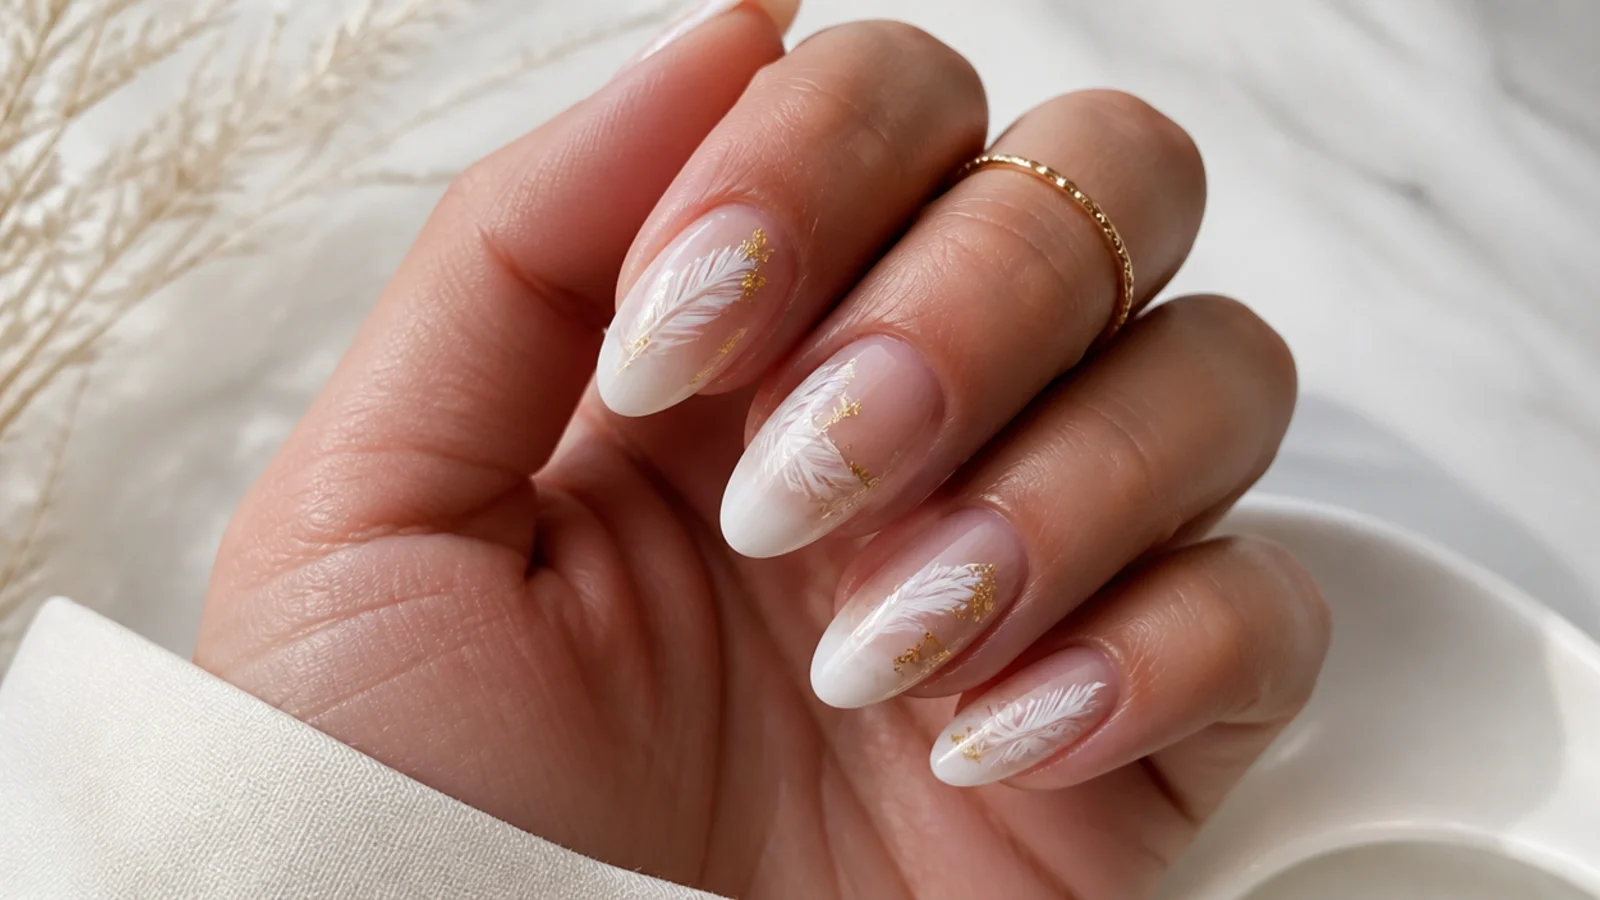
A feather bloom pulls fine white lines that diffuse into soft, plume-like strokes. Over a sheer base, apply a thin uncured blooming-gel layer, then draw a central line and short angled strokes off it with a liner brush and let each blur softly for about thirty seconds. The blooming gel feathers the edges so the strokes look like a real plume rather than stiff lines. Cure thirty to sixty seconds under LED and seal. Working quickly before the gel starts to set keeps the lines fine. It suits anyone who wants a delicate, detailed design that still reads soft and clean.
Who it suits: Anyone wanting a delicate, detailed accent.
Tip: Draw the feather lines quickly before the blooming gel begins to set.
20. Bridal White Bloom
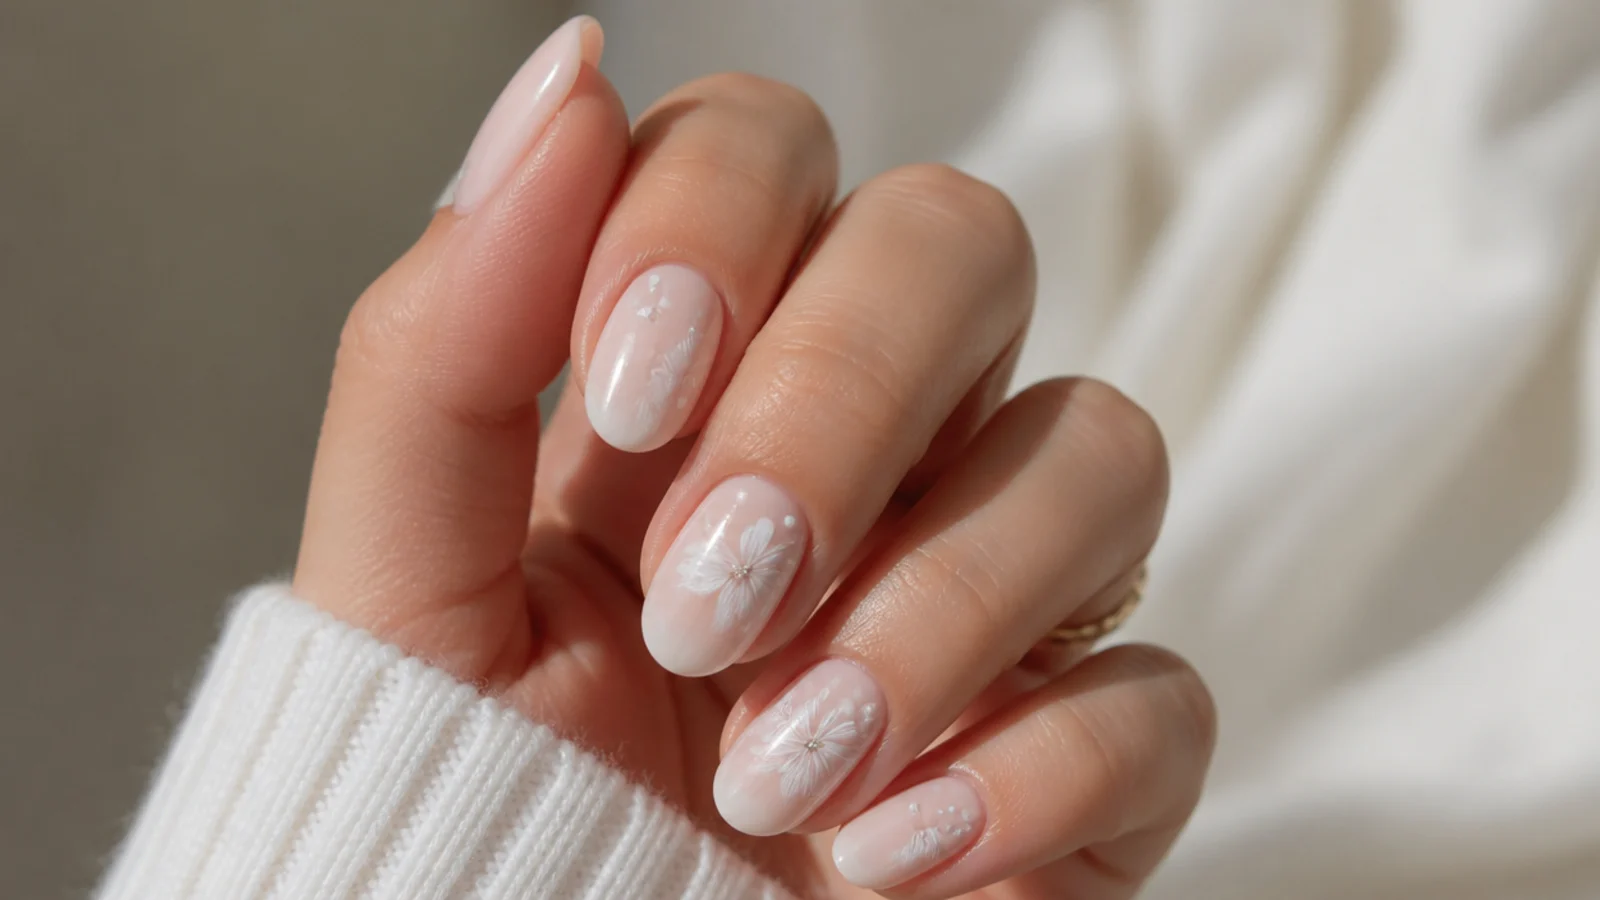
The softest, most understated white bloom over a milky base is a clean bridal choice. Over a cured milky-white base, apply a very thin uncured blooming-gel layer, then place small white blooms low and diffuse so they read as a gentle texture rather than bold flowers, letting them feather for about thirty seconds. The barely-there design photographs beautifully in ring shots and stays timeless in wedding albums. Cure thirty to sixty seconds under LED and finish with a glossy no-wipe top coat. Cap the free edge and keep cuticle oil going so it lasts the full two to three weeks through the event.
Who it suits: Brides and anyone wanting the softest clean set.
Tip: Keep blooms low and diffuse so it reads as soft texture, not bold flowers.
What Is Blooming Gel and How Does It Work
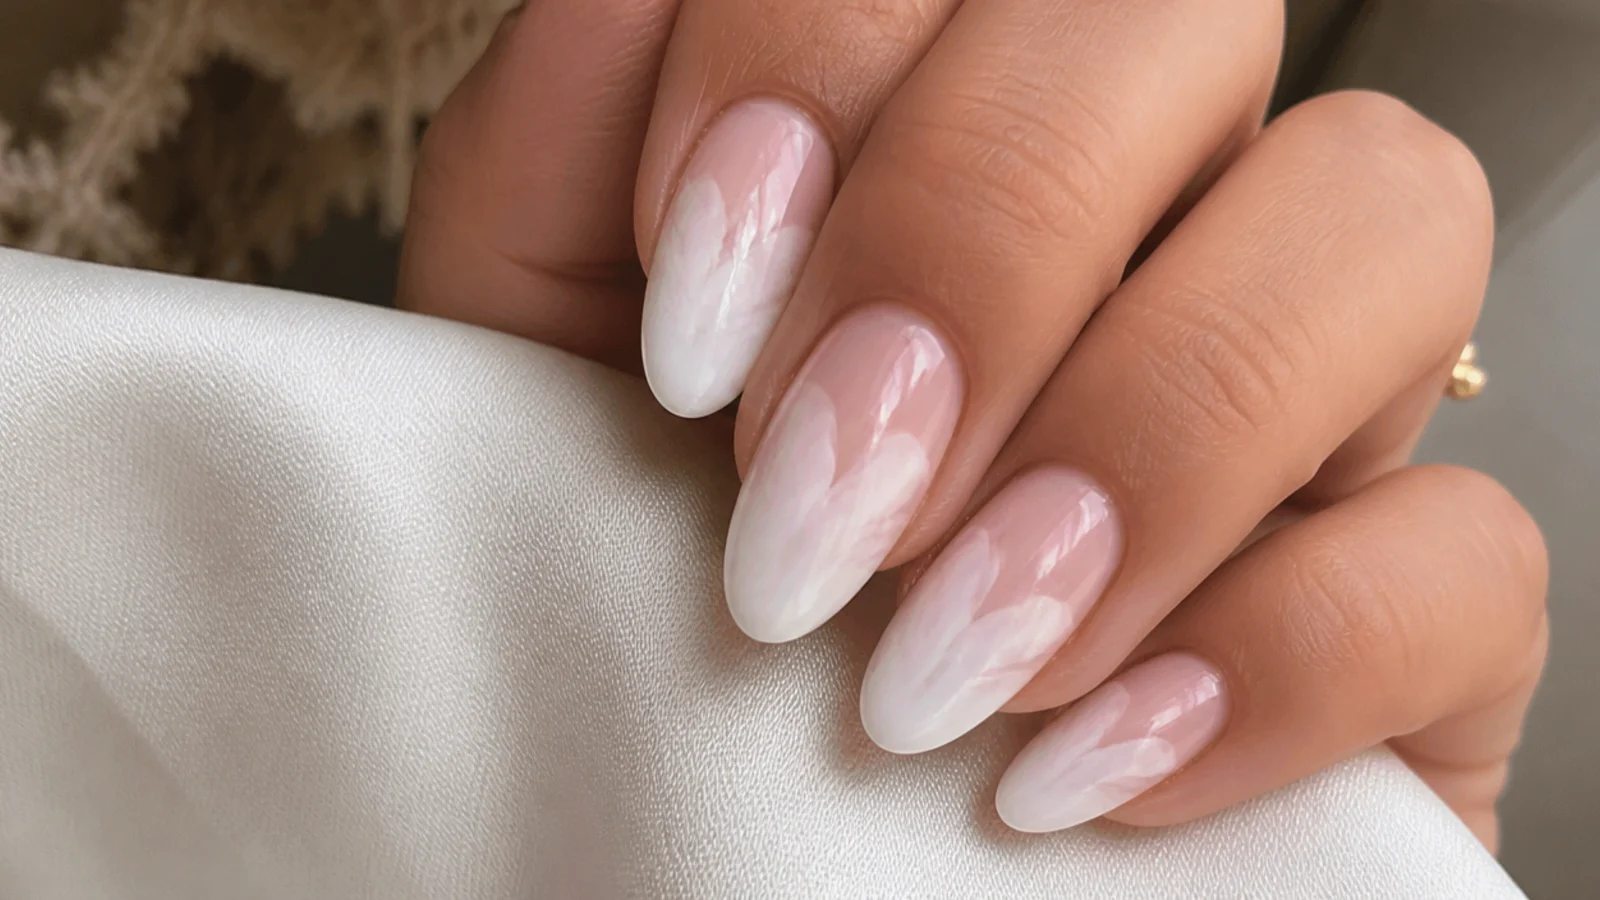
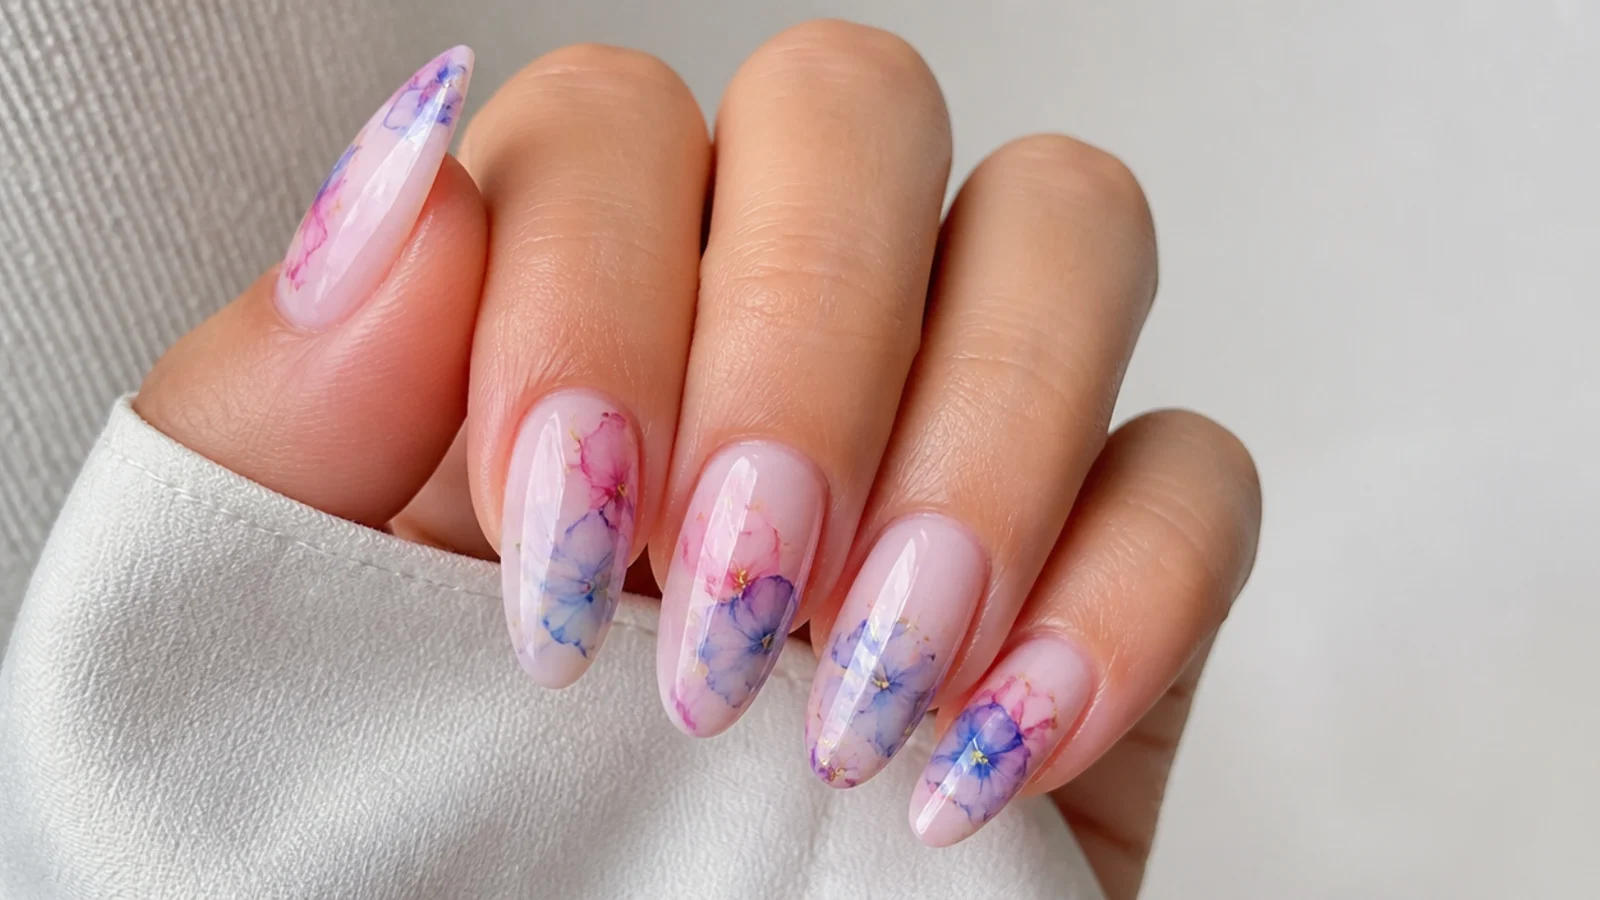
Blooming gel is a clear gel that makes gel polish spread and diffuse into soft, watercolor-like patterns - flowers, marble and ink or tie-dye washes. The trick is to brush a thin layer of blooming gel over a cured color base and leave it uncured. When you drop or draw gel color onto that wet layer, it feathers out on its own within seconds to about a minute, blurring its edges into the soft bloom you see. Then you cure under an LED or UV lamp to lock the pattern in place. The single most important rule is timing: if you cure the blooming gel before adding color, the effect is dead and the color just sits on top. Control comes from thickness - a thinner blooming-gel layer lets color spread further, while a thicker layer holds it tighter. For clean white designs, use a little white and let it bloom rather than flooding it.
How to Get the White Blooming Gel Look at Home
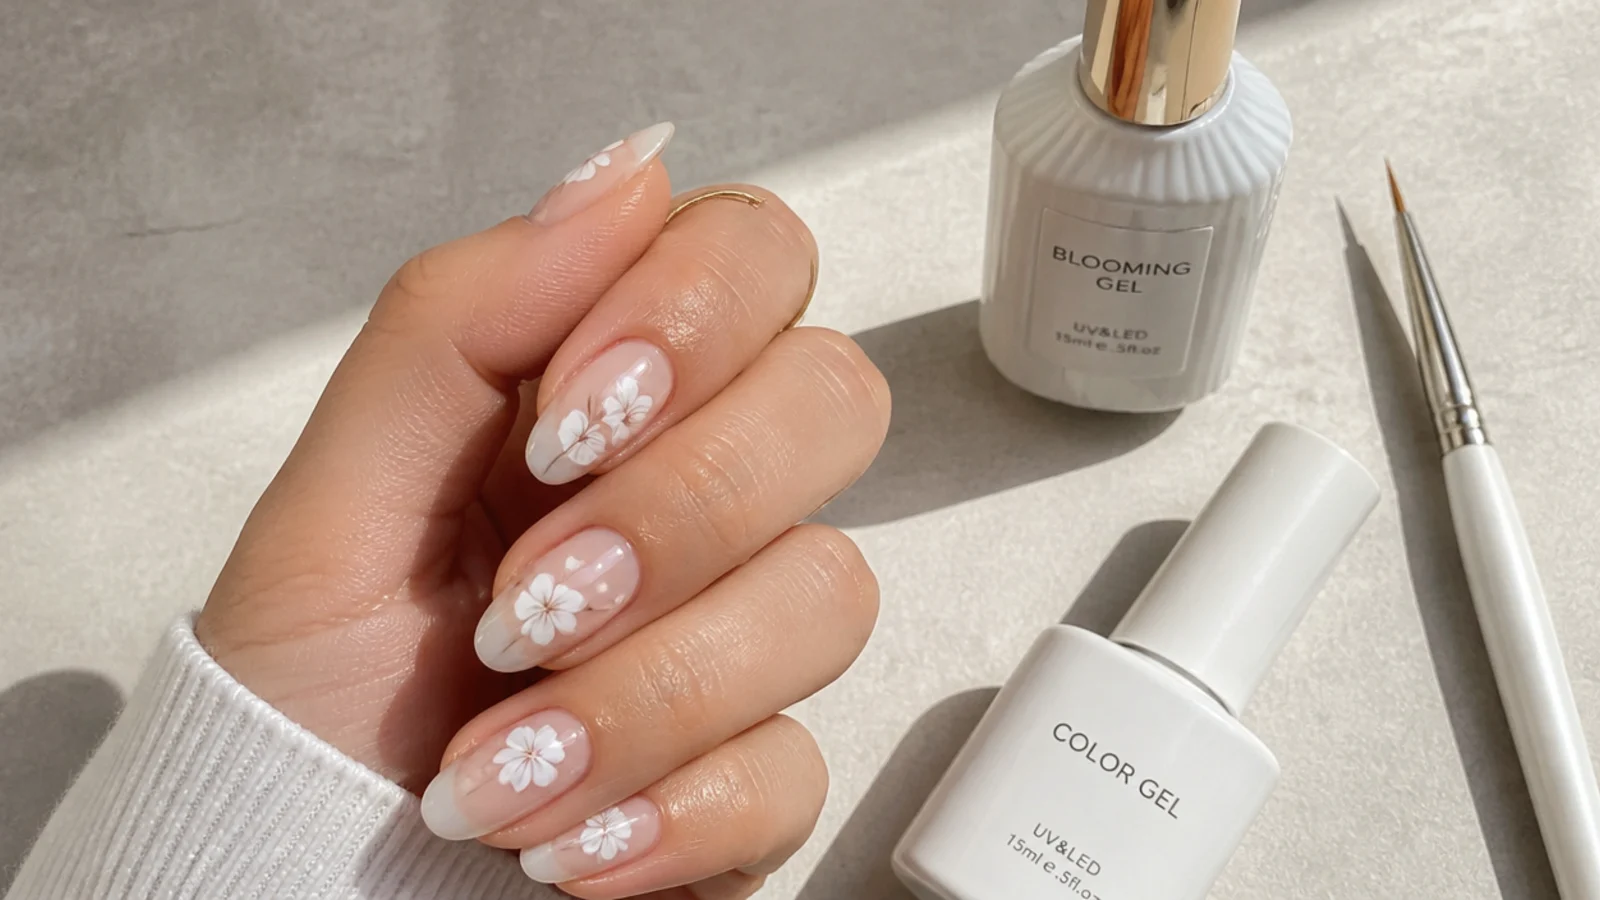
Start with prep: push back cuticles, lightly buff, and wipe the nail. Apply base coat and cure, then a color base - clear, nude, sheer pink or milky white - and cure that too, about thirty to sixty seconds under LED per layer. Brush on a thin layer of blooming gel and leave it uncured. Now drop or draw your white gel color onto the wet gel and wait: it will diffuse into petals, veins or a soft wash within seconds to about a minute. Nudge shapes with a thin liner brush if you want, but do not overwork it. Cure thirty to sixty seconds under LED once the bloom looks right. Build depth by adding a second light layer of color and curing again. Finish with a no-wipe gel top coat, cure, and cap the free edge. Swipe on cuticle oil at the end.
Supplies You Need
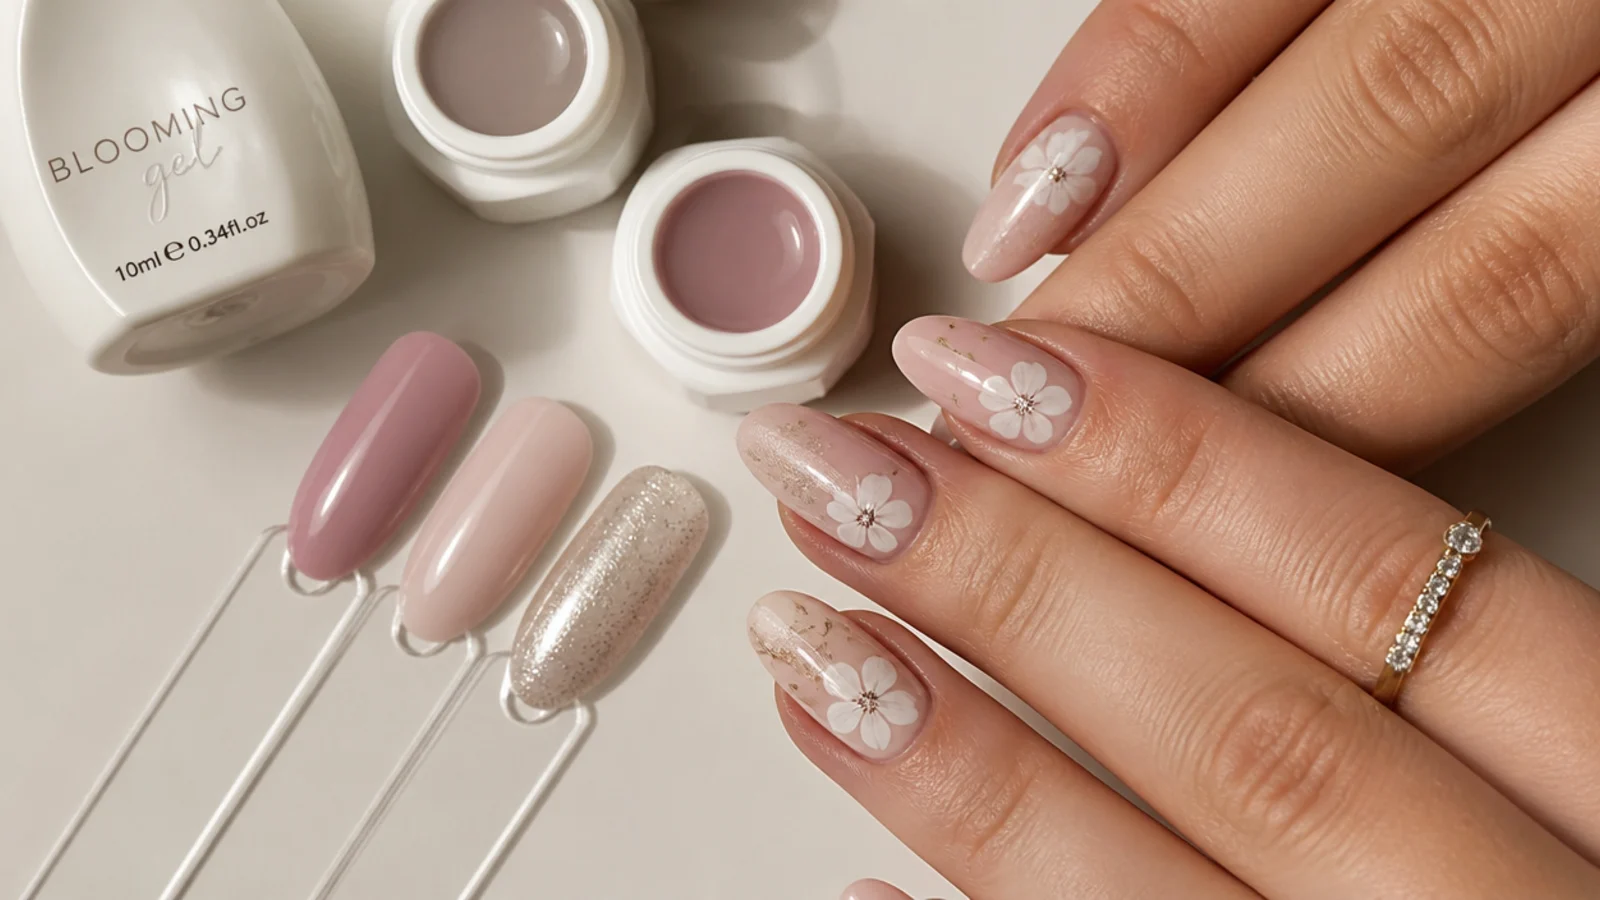
You do not need much to start. The core kit is: a base coat, white gel color polish plus any base-tone colors you like, blooming gel itself, a no-wipe gel top coat, and an LED or UV lamp to cure. For the designs, a thin detail or liner brush lets you draw veins, petals and feathers into the wet bloom. Round out the kit with lint-free wipes for prep and cleanup, cuticle oil for daily aftercare, and 100% acetone for removal later. That is the whole list - blooming gel is one of the cheapest nail-art techniques to get into because the same bottle lasts through many manicures. A basic starter set of blooming gel, a couple of colors and a small lamp pays for itself against a single salon design set, and everything reuses across future manicures.
Common Blooming Gel Mistakes to Avoid
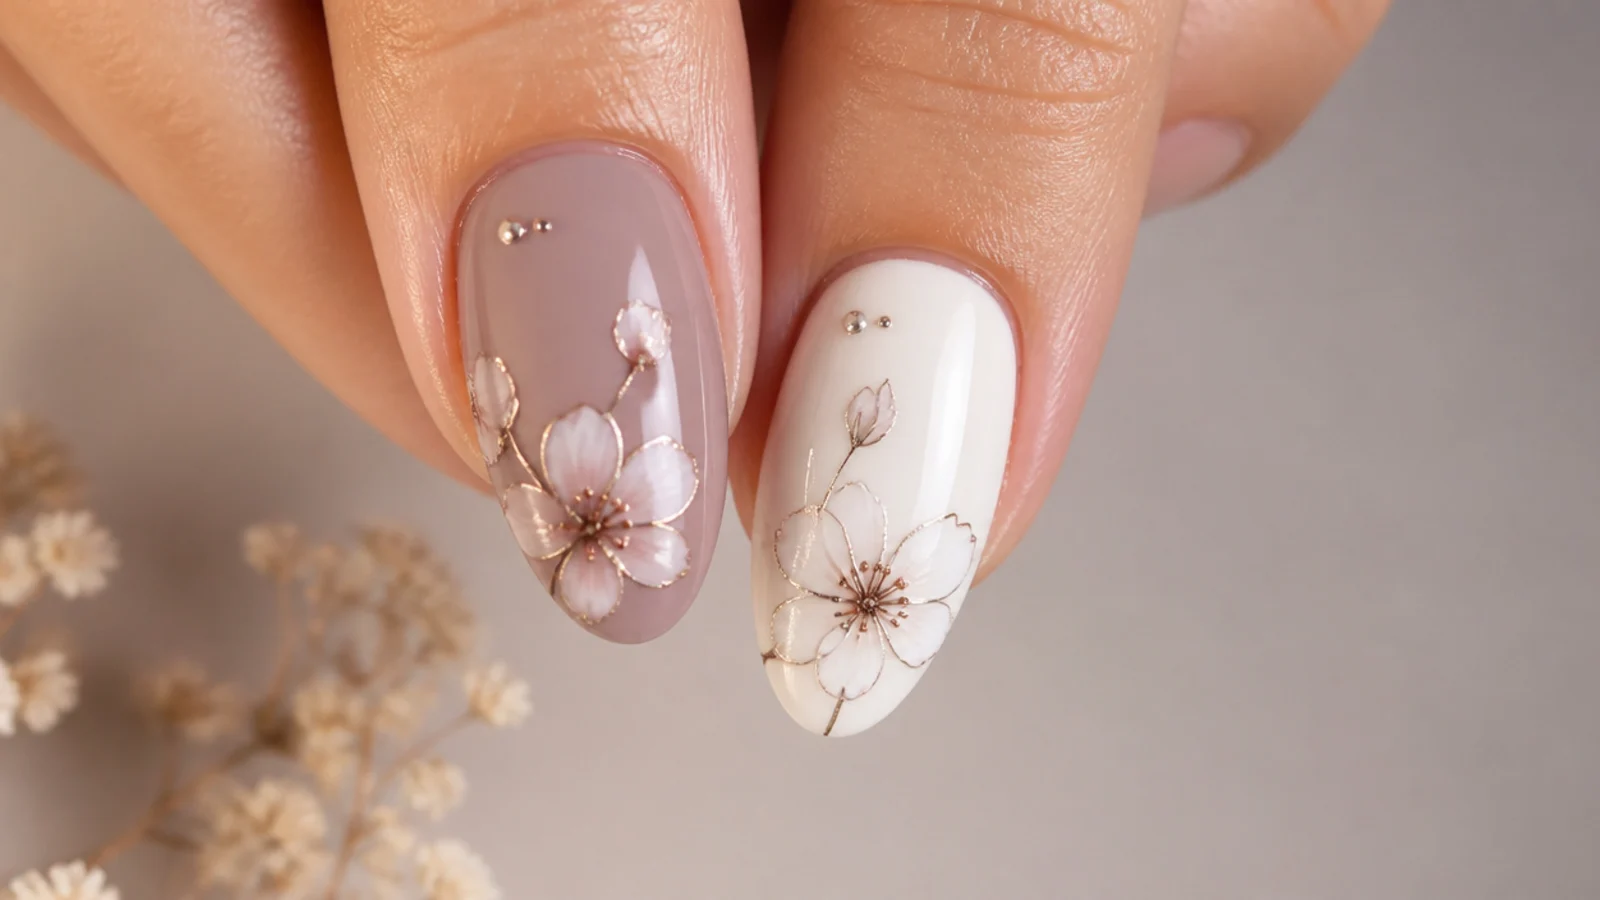
Most bloom fails come down to a handful of errors. The biggest is curing the blooming gel too early - cure it before adding color and there is no bloom at all, just color sitting on top. Next is flooding too much color: too much white turns the bloom into a muddy gray blur, so use a little and let it spread. A blooming-gel layer that is too thick will not let the color diffuse, so keep it thin. Skipping base prep causes early lifting, and not sealing or capping the free edge leads to smears and quick chips. Work in order and do not rush the bloom - the diffusion takes seconds to a minute, and trying to redraw over a spreading bloom muddies it. If a nail goes wrong, wipe it back before curing and start that nail again rather than curing a muddy result.
How Long Do White Blooming Gel Nails Last
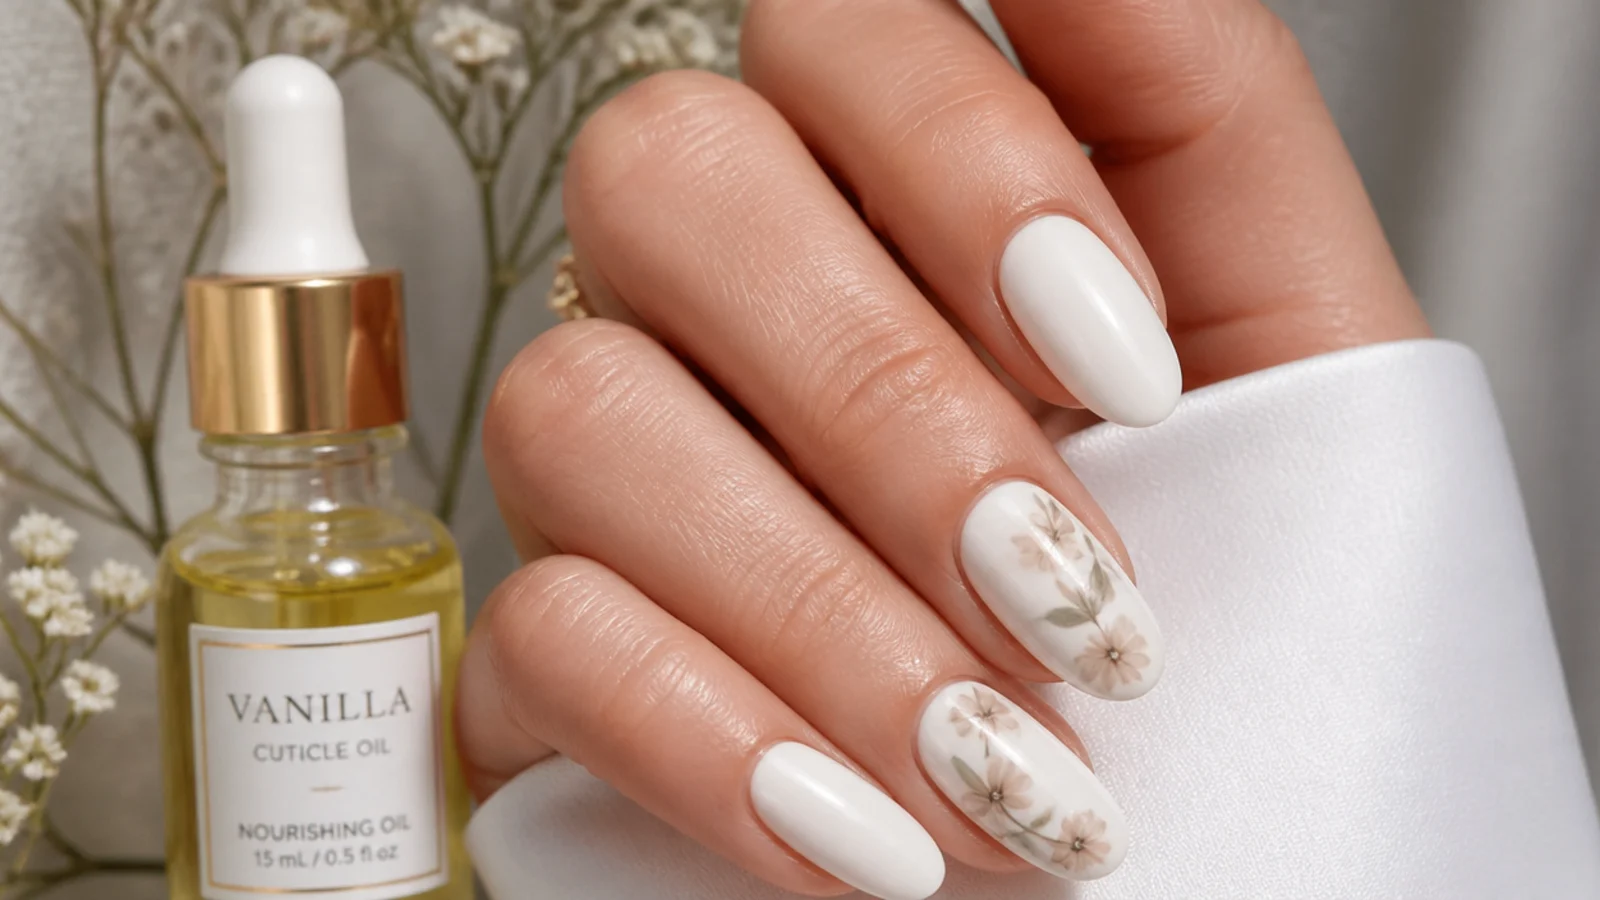
Because blooming gel is a gel technique, a set lasts about two to three weeks, and up to four with good prep, daily cuticle oil and a capped free edge. That is a big advantage over regular non-gel polish art, which lasts only five to seven days before chipping. Longevity comes down to prep and sealing: buff and clean the nail so the gel bonds, cap the free edge with top coat so the tip does not chip, and keep the skin and nail conditioned with cuticle oil. Avoid using your nails as tools and wear gloves for cleaning and washing up. When you are ready to change, remove it as a soak-off gel rather than picking, which protects your natural nail. Book or plan a refresh every two to three weeks to keep the white bloom looking crisp and clean.
Cost - Salon vs DIY
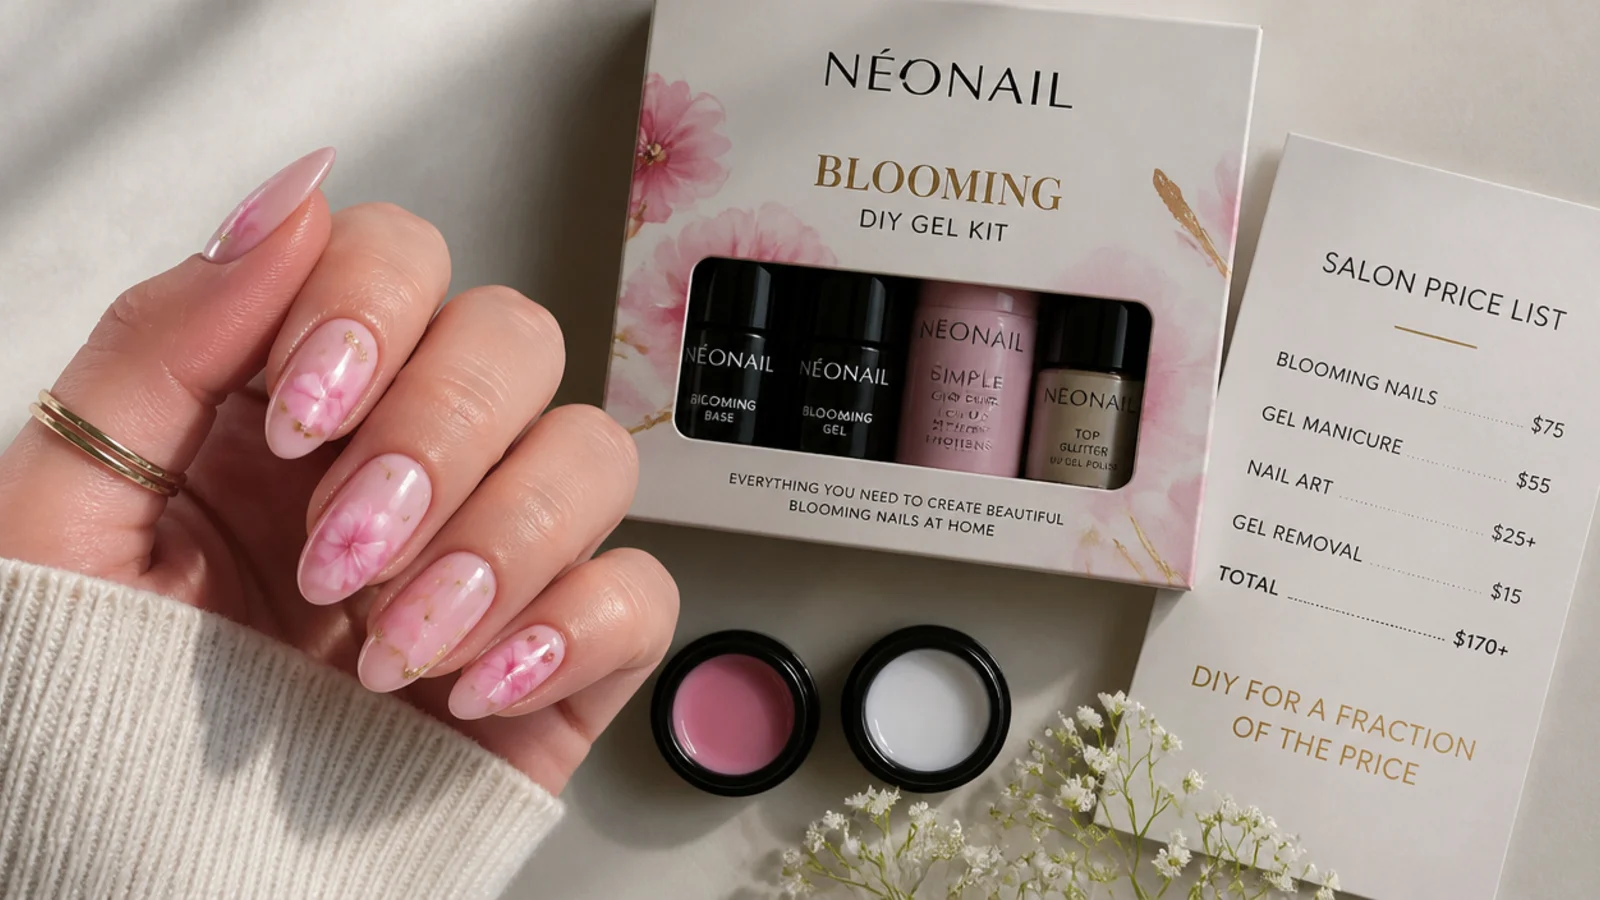
At a salon, a plain gel manicure runs about $30 to $55. Blooming-gel nail art is charged as a design add-on, often around $5 per accent nail, so a full blooming-gel set frequently lands around $45 to $70 or more depending on the salon and how many nails get the design. Doing it yourself changes the math fast. A DIY kit - blooming gel, white and a couple of base colors, and an LED or UV lamp - has a higher upfront cost but pays back within a manicure or two, since the same blooming gel and lamp reuse across every future set. If you already own a gel lamp and top coat, adding a bottle of blooming gel is a small spend for a technique you can repeat endlessly. For a clean white look you plan to wear often, DIY is the clear value.
Frequently Asked Questions
What is blooming gel and how does it work?
Blooming gel is a clear gel that makes gel polish spread into soft, watercolor-like patterns. You brush a thin layer over a cured base, leave it uncured, then drop or draw color onto it. The color diffuses within seconds, and you cure under LED or UV to lock the bloom in place.
Do you cure blooming gel before adding color?
No - that is the most common mistake. The blooming gel must stay uncured when you add your color, because the wet layer is what lets the color spread and diffuse. If you cure the blooming gel first, there is no bloom and the color just sits on top. Add color, let it feather, then cure.
How long does blooming gel take to bloom?
The color diffuses quickly, usually within a few seconds up to about a minute after you drop or draw it onto the uncured blooming gel. A thinner blooming-gel layer spreads it faster and further; a thicker layer holds it tighter. Watch it feather to the shape you want, then cure right away to lock it.
How long do white blooming gel nails last?
As a gel technique, they last about two to three weeks, and up to four with good prep, daily cuticle oil and a capped free edge. That beats regular non-gel polish art, which lasts only five to seven days. Sealing the edge and conditioning the cuticles keeps the clean white looking fresh longer.
Why did my blooming gel go muddy or not bloom?
Muddy usually means too much color - flooding white turns the bloom into a gray blur, so use a little and let it spread. No bloom at all means you either cured the blooming gel too early or your layer was too thick. Keep the blooming gel thin and uncured, add minimal color, and let it diffuse before curing.
Do you need a UV or LED lamp for blooming gel?
Yes. Blooming gel is a gel product, so it needs an LED or UV lamp to cure and set the design - it will not dry in the air. Cure times run about thirty to sixty seconds under LED, or roughly two minutes under UV, per gel layer. Without a lamp the design stays wet and will smear.
Is blooming gel good for beginners?
Yes. It is an intermediate technique but very beginner-friendly with a little practice, because the gel does much of the work - you drop color and it blooms on its own. Start with a simple ink-wash or single accent nail, use a little white, and practice the timing on one nail before doing a full set.
Can you use blooming gel over regular polish?
Blooming gel is designed to work within a gel system - base, color, blooming gel and top coat all cured under a lamp - so it performs best over cured gel color, not regular air-dry polish. Regular polish can react or smear under the gel and will not give the clean, locked-in bloom or the two-to-three-week wear.
What colors work best for blooming gel?
Any pigmented gel color blooms, but for a clean white look, a solid white gel over sheer, nude, milky or pale pink bases gives the crispest result. Softer base tones let the white read fresh rather than stark. A whisper of gray or pale blue adds dimension to white marble without turning it into a full color.
How much do white blooming gel nails cost?
At a salon, expect about $30 to $55 for the gel manicure plus roughly $5 per accent nail for the design, so a full set often runs $45 to $70 or more. A DIY kit of blooming gel, white color and an LED lamp costs more upfront but pays back within a manicure or two since everything reuses.
Which blooming gel nails look are you saving?
White blooming gel nails prove that the softest, cleanest designs are often the most versatile - a single white diffusing into petals, marble or a hazy wash goes with everything and never looks overdone. The trick is always the same: a thin uncured layer of blooming gel, a little white color, and patience while it feathers before you cure. Save the sets you love, practice the bloom on one nail first, and cap the free edge so the clean finish lasts the full two to three weeks.