Quick Comparison
| Mermaid Braid (Pancaked Fishtail) | Classic Fishtail Braid | |
|---|---|---|
| Base technique | Fishtail, then pancaked wide from the bottom up | Fishtail, left at its natural width |
| Finished width | 2 to 4 inches through the middle | 1 to 1.5 inches, even from top to tail |
| Piece width crossed | A quarter inch, kept identical throughout | A quarter to a half inch, less critical |
| Tension while braiding | Loose, with a fingertip of slack per crossover | Snug; tightness helps it hold |
| Time to style | 15 to 23 minutes including waves and pancaking | 8 to 12 minutes |
| Hair length needed | Past the collarbone, about 12 inches or more | Shoulder length is enough |
| Best hair prep | Day-two hair, texture spray, loose waves first | Any texture; clean hair is workable |
| How long it holds | 6 to 10 hours pinned, or overnight for next-day waves | A full day; less to come loose |
| Best for | Festivals, weddings, photos and Pinterest saves | Everyday, gym, school and work |
1. Prep on Day-Two Hair With Texture Spray
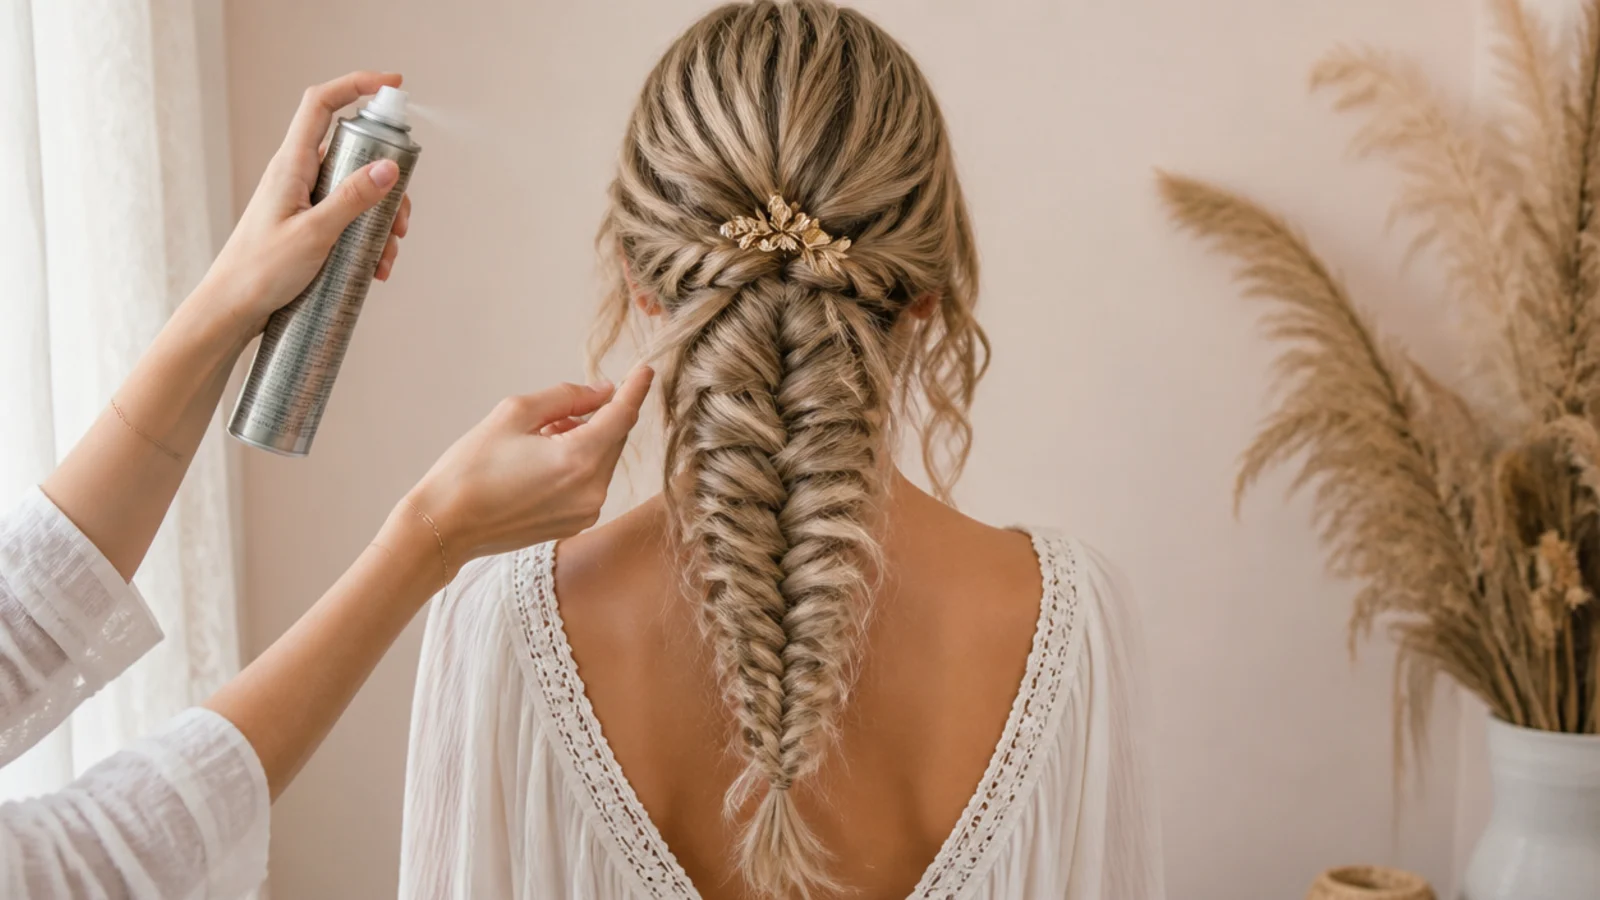
Start on hair washed 24 to 48 hours ago. Clean hair has no grip, and a fishtail worked on slippery strands slides loose before you reach the ends. Mist a dry texture spray or light dry shampoo through the mid-lengths and ends, section by section, then scrunch it in with your fingers and shake it out. You want strands that catch on each other slightly when you rub two together. If you have to work on wash-day hair, double the texture spray and add a light salt spray at the ends.
Common mistake: Using a smoothing serum or leave-in oil first, which makes the braid slide out within an hour.
Pro tip: Sleep in a loose low braid the night before and you wake up with usable texture already built in.
2. Wave the Length With a 1.25 Inch Curling Wand
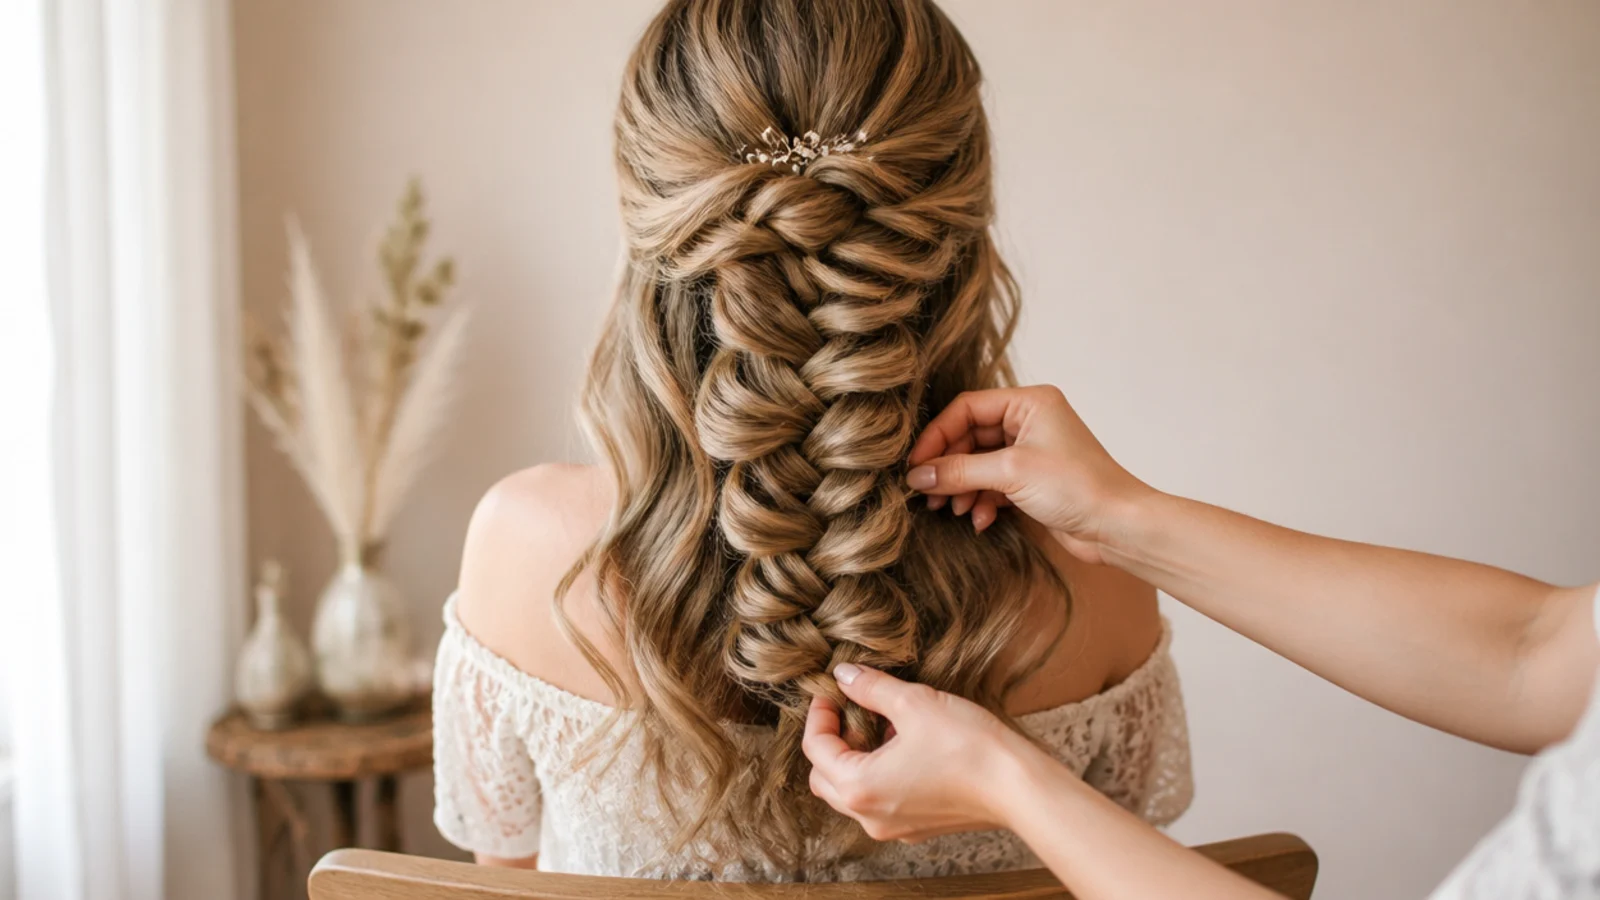
Wrap 2 inch sections around a 1.25 inch wand, holding 6 to 8 seconds each, leaving the last 2 inches straight. Alternate the direction of every other section so the waves do not stack into one uniform curl. This is the volume step: waved hair takes up more room inside each crossover, so the finished braid reads thick even on medium hair. Let the curls cool completely, then brush them out with a wide-tooth comb into soft S bends rather than defined ringlets.
Common mistake: Braiding tight fresh curls, which makes the braid lumpy and impossible to pancake evenly.
Pro tip: No heat? Overnight braids or heatless curls give the same bulk.
3. Part and Sweep the Hair Over One Shoulder
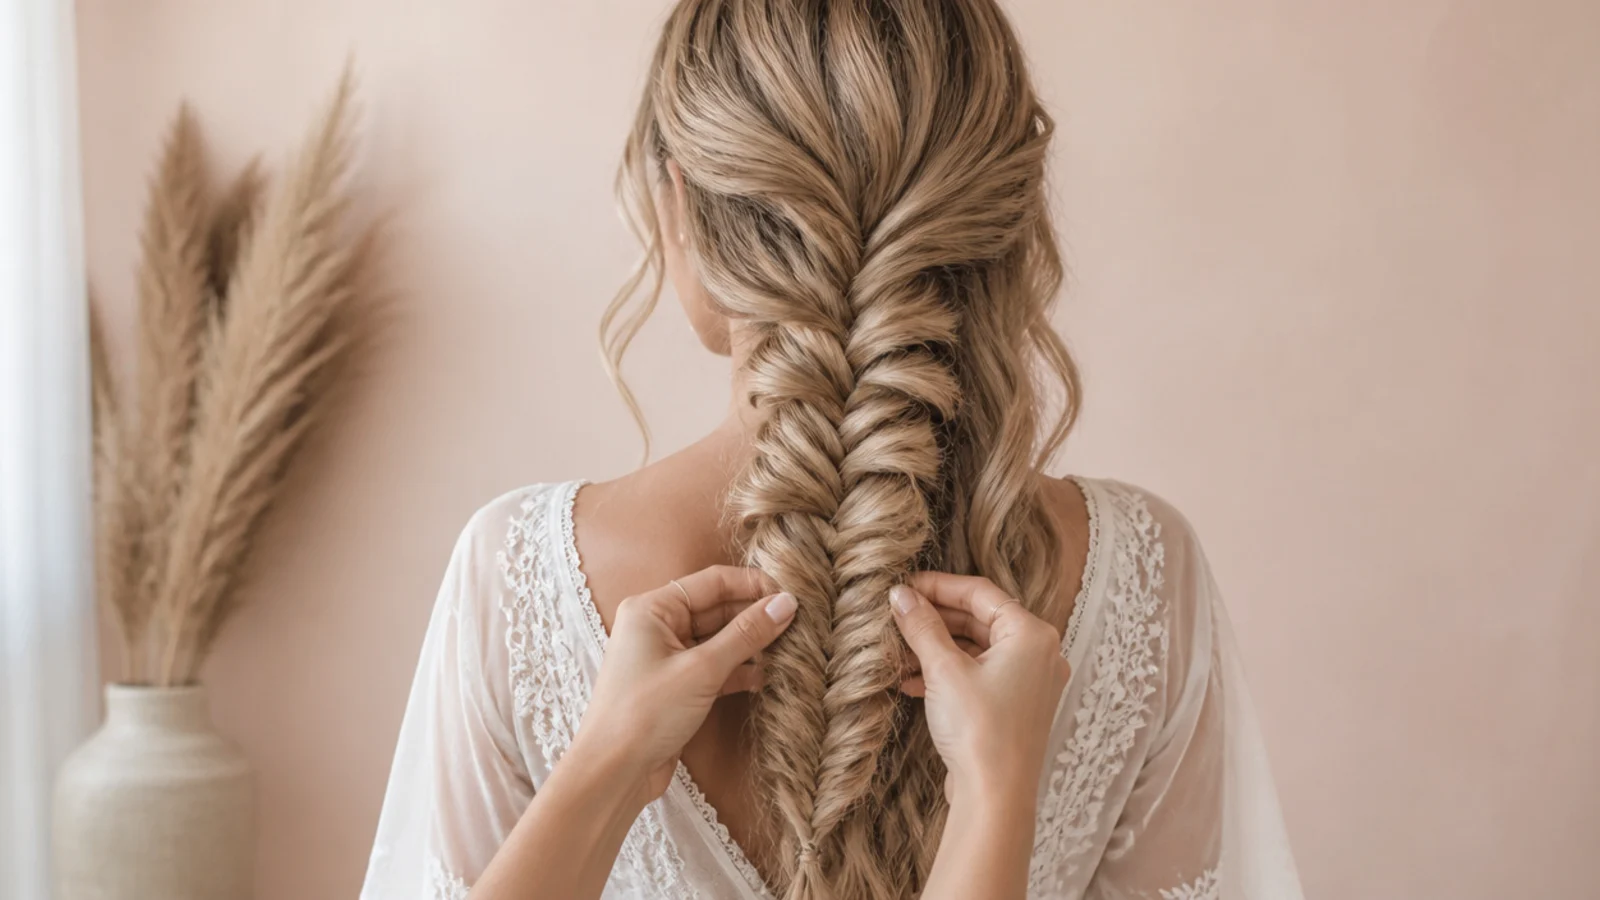
Choose your part now, because moving it later disturbs the braid. A deep side part gives the most drama and the most asymmetry, a center part reads bridal and symmetrical. Sweep everything over the shoulder opposite your part so the braid falls in front of you where your hands can reach it. Smooth the top surface lightly with your palms, not a brush, so you keep the texture you just built. Secure a soft clear elastic 3 inches from the scalp if you want the neatest start.
Common mistake: Working the braid behind your head on your first attempt, where you cannot see or correct it.
Pro tip: Deep side parts flatter round and square face shapes by breaking up horizontal width.
4. Split Into Two Halves and Start the Fishtail
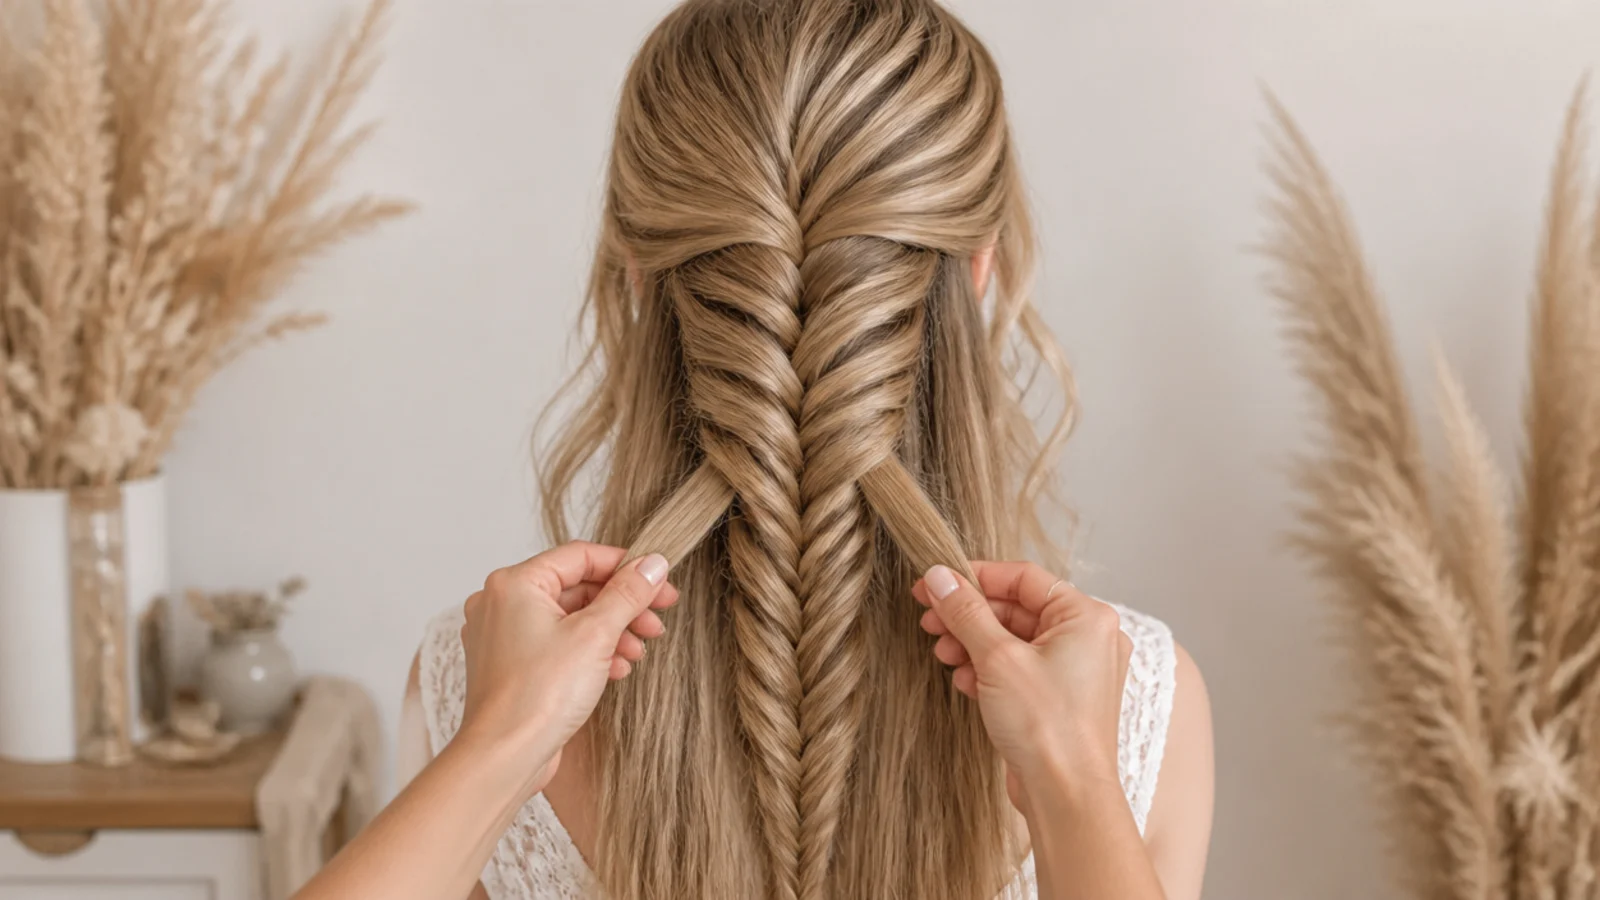
Divide the swept section into two equal halves, one in each hand. That is the entire setup; a fishtail has no third strand, which is why it is easier than a French braid despite looking harder. Hold one half in each fist with your thumbs on top so you can pinch small pieces with your index fingers without dropping the bulk. Keep both hands low, around chest height, and keep tension even between the two halves so one side does not steal hair from the other.
Common mistake: Splitting unevenly, which sends the braid drifting sideways and off-center by the fifth crossover.
Pro tip: Weigh the halves by feel before you start; they should feel identical in your two fists.
5. Cross Quarter-Inch Pieces From the Outer Edges
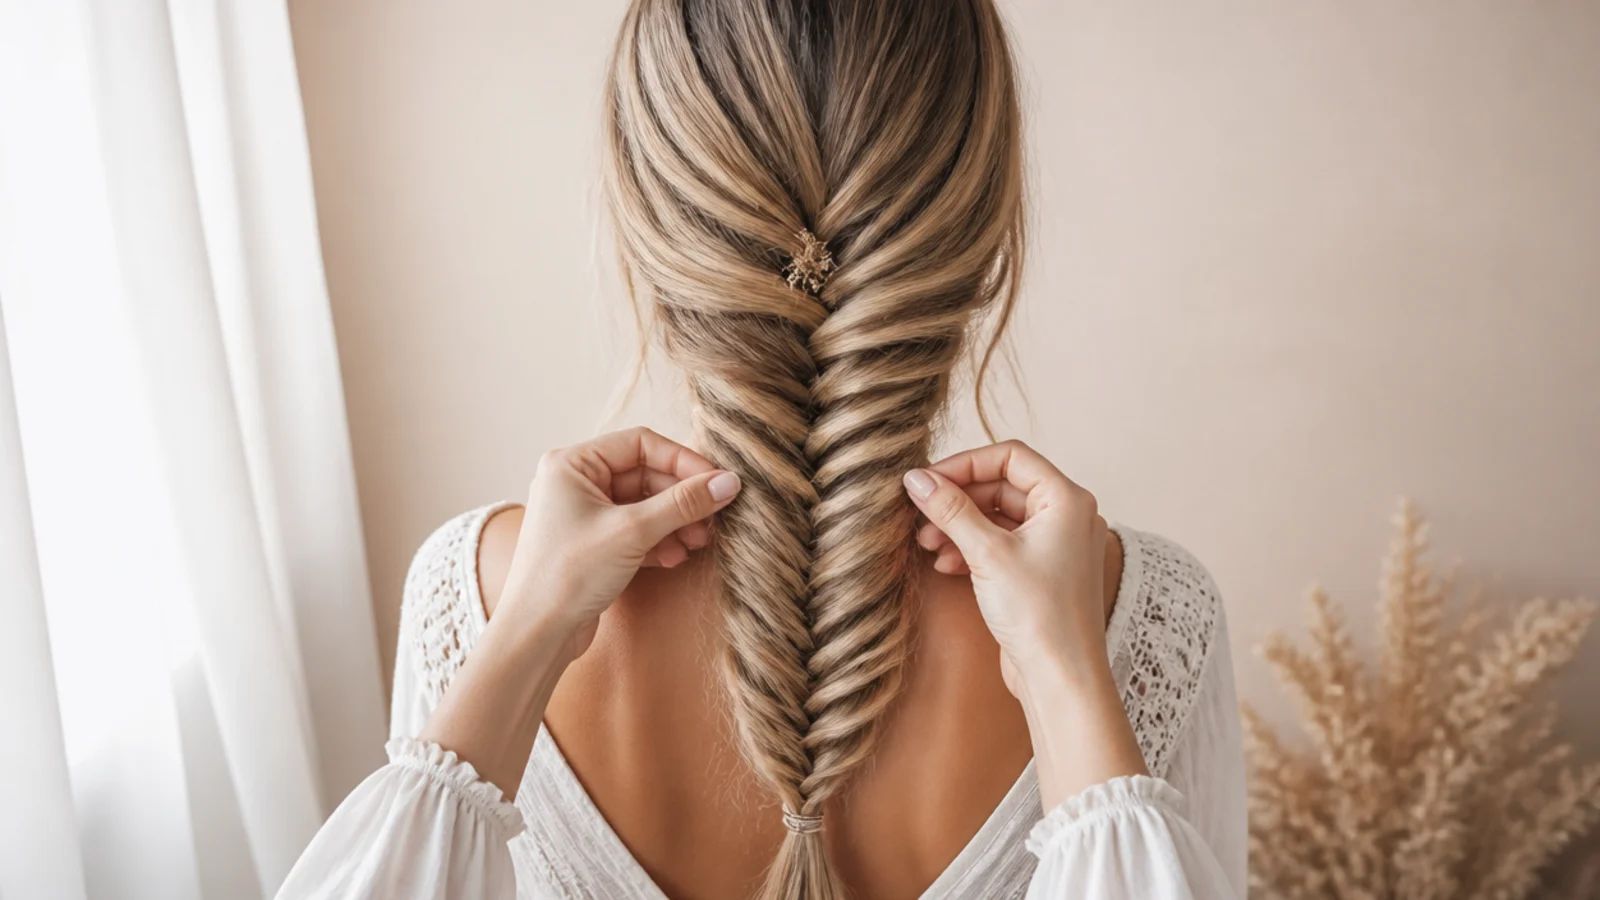
Take a piece about a quarter inch wide from the far outer edge of the left half, bring it across the top, and add it to the inner edge of the right half. Repeat from the outer edge of the right half into the left. That alternating outside-to-inside pass is the whole fishtail. Piece width is the single biggest variable in the finished look: quarter inch gives a fine woven V pattern that pancakes beautifully, while half inch gives a chunkier braid that widens less.
Common mistake: Grabbing from the inside of the half instead of the outer edge, which produces a rope twist, not a fishtail.
Pro tip: Say left, right, left, right out loud for the first ten passes until your hands learn the rhythm.
6. Braid Down Loosely and Secure With a Clear Elastic
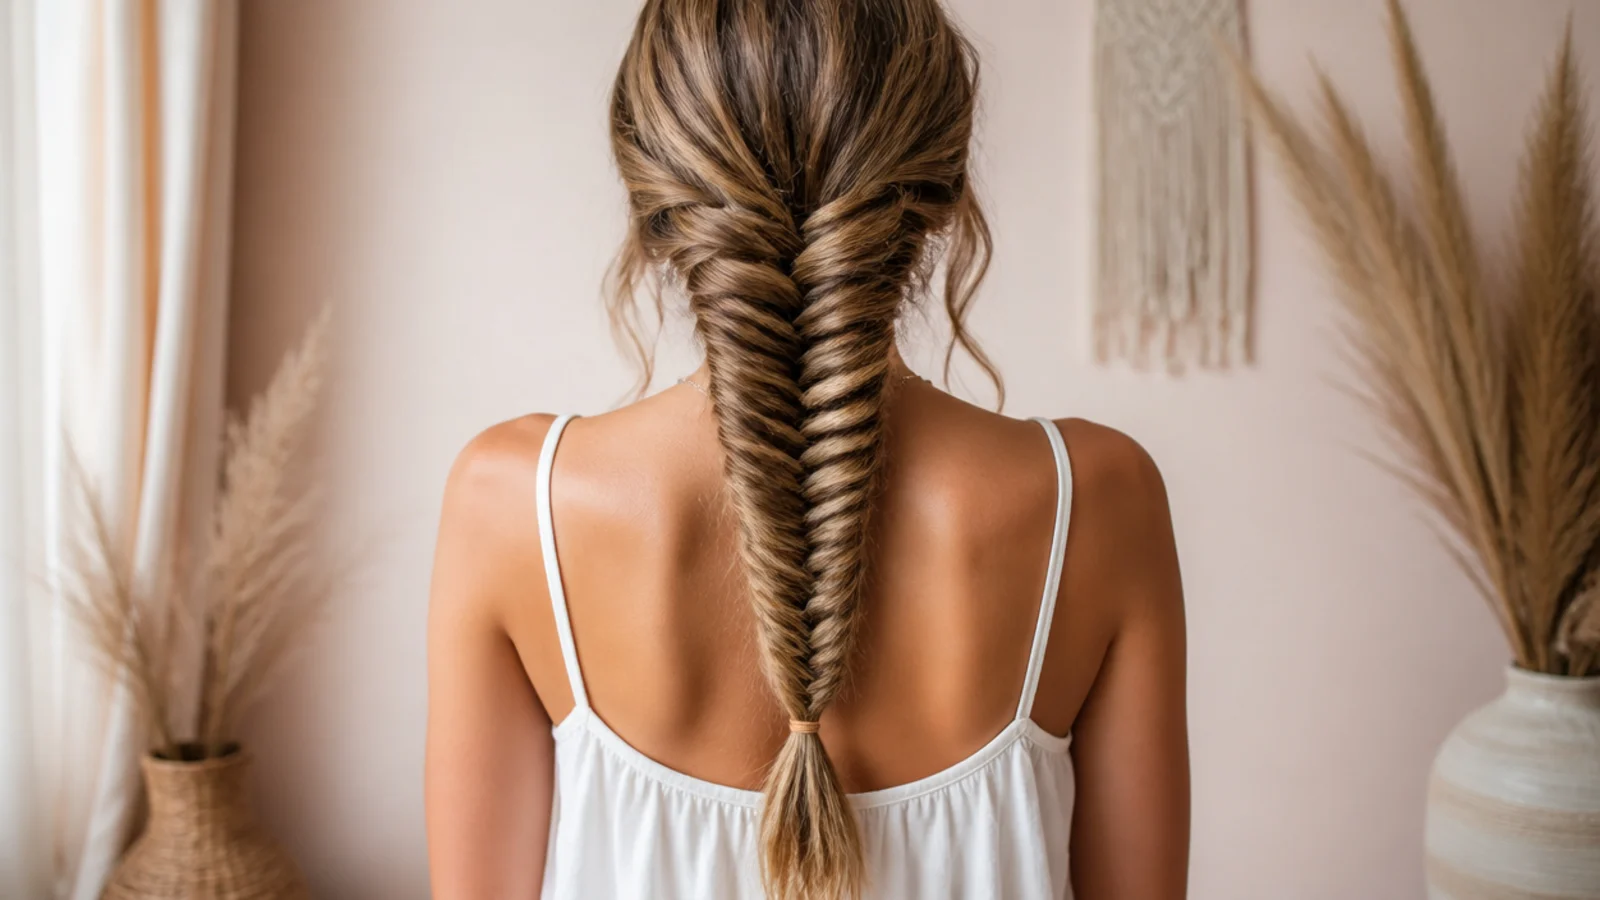
Keep going to within about 2 inches of the ends, holding the braid loose rather than pulled tight against your neck. Loose is not sloppy; it means leaving roughly a fingertip of slack in each crossover so you have something to pull on later. A braid tightened to the scalp cannot be pancaked at all. Fasten with a small clear elastic, wrapped three times. Clear elastics disappear in photos, which matters more than you think for a style people photograph from behind.
Common mistake: Braiding all the way to the very tips, which leaves a thin stub with no movement.
Pro tip: Leave the last 2 inches loose and waved so the braid trails off instead of stopping abruptly.
7. Pancake From the Bottom Up, a Few Millimeters at a Time
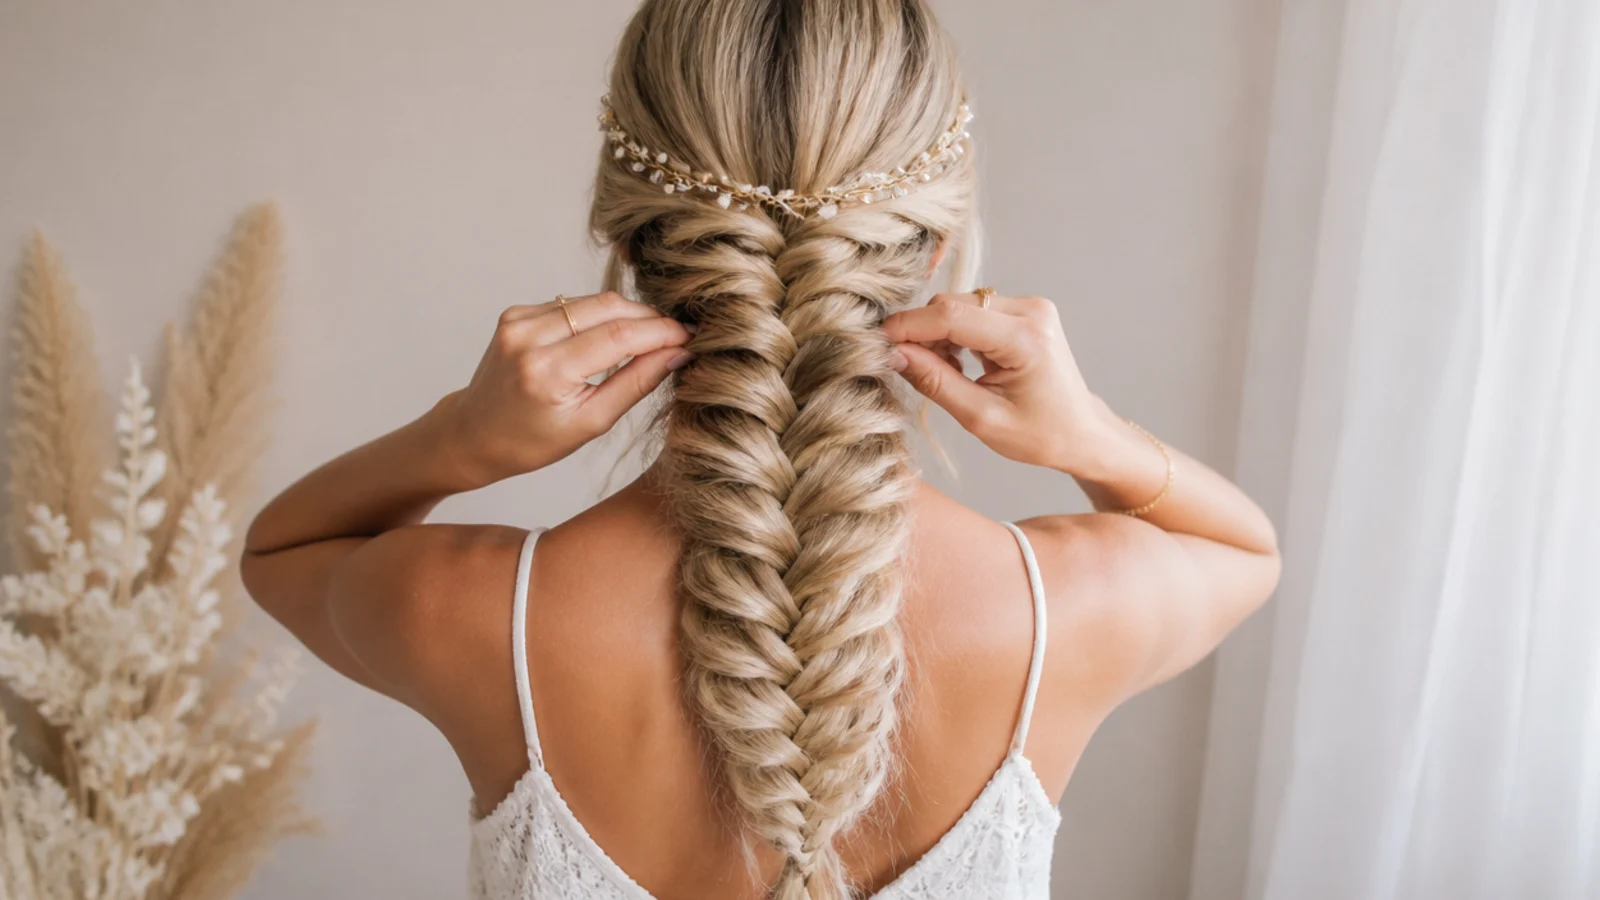
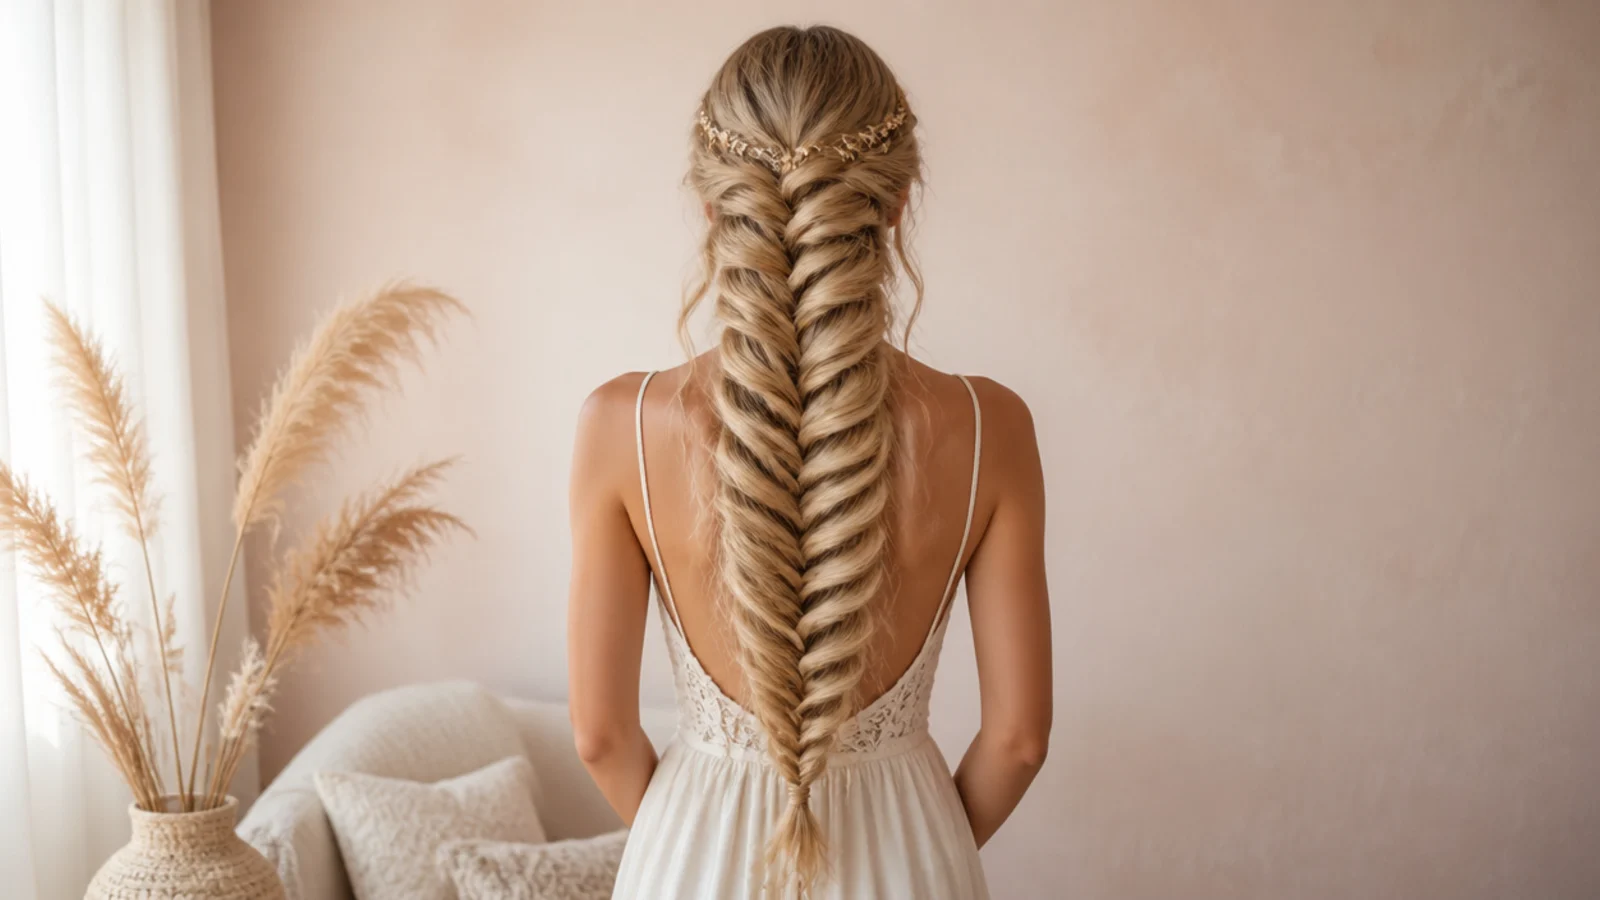
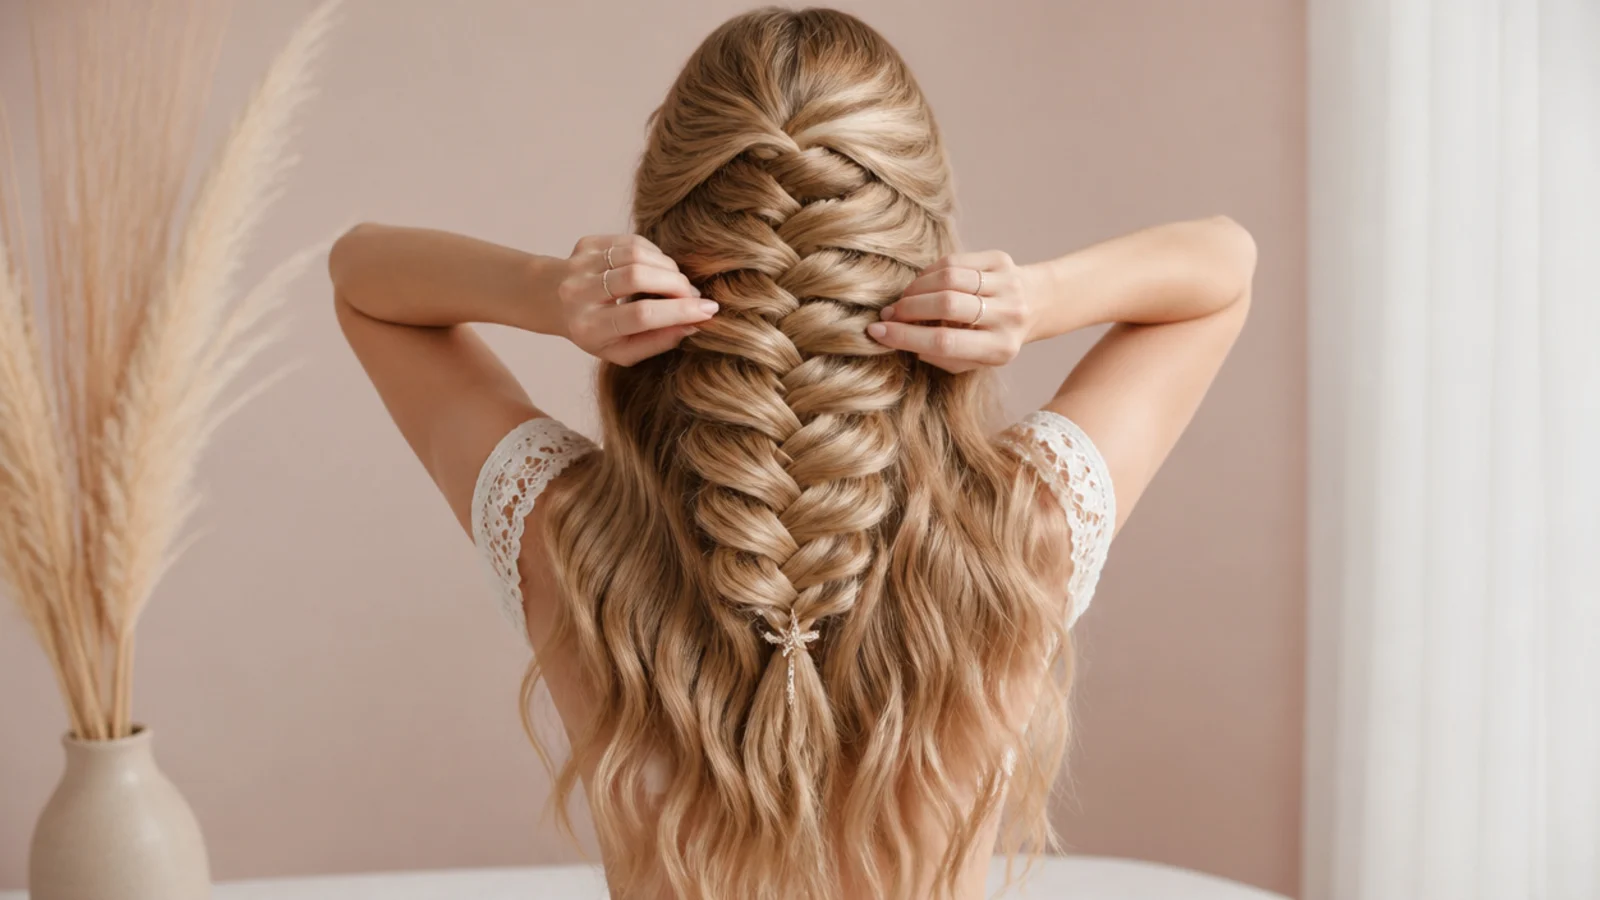
This is the step that turns a fishtail into a mermaid braid. Starting at the elastic and working upward, pinch the outer edge of each little V and tug it outward a few millimeters. Not a centimeter, not a yank. Do the left edge of one crossover, then the right edge of the same crossover, then move up. Working bottom to top means the weight of the braid below holds each widened section in place instead of dragging it loose.
Common mistake: Pancaking top-down, which lets every section you widen collapse under the braid hanging below it.
Pro tip: Hold the braid steady just above the section you are pulling so the tug does not travel up the whole braid.
8. Finish With Face-Framing Pieces and Flexible Hold
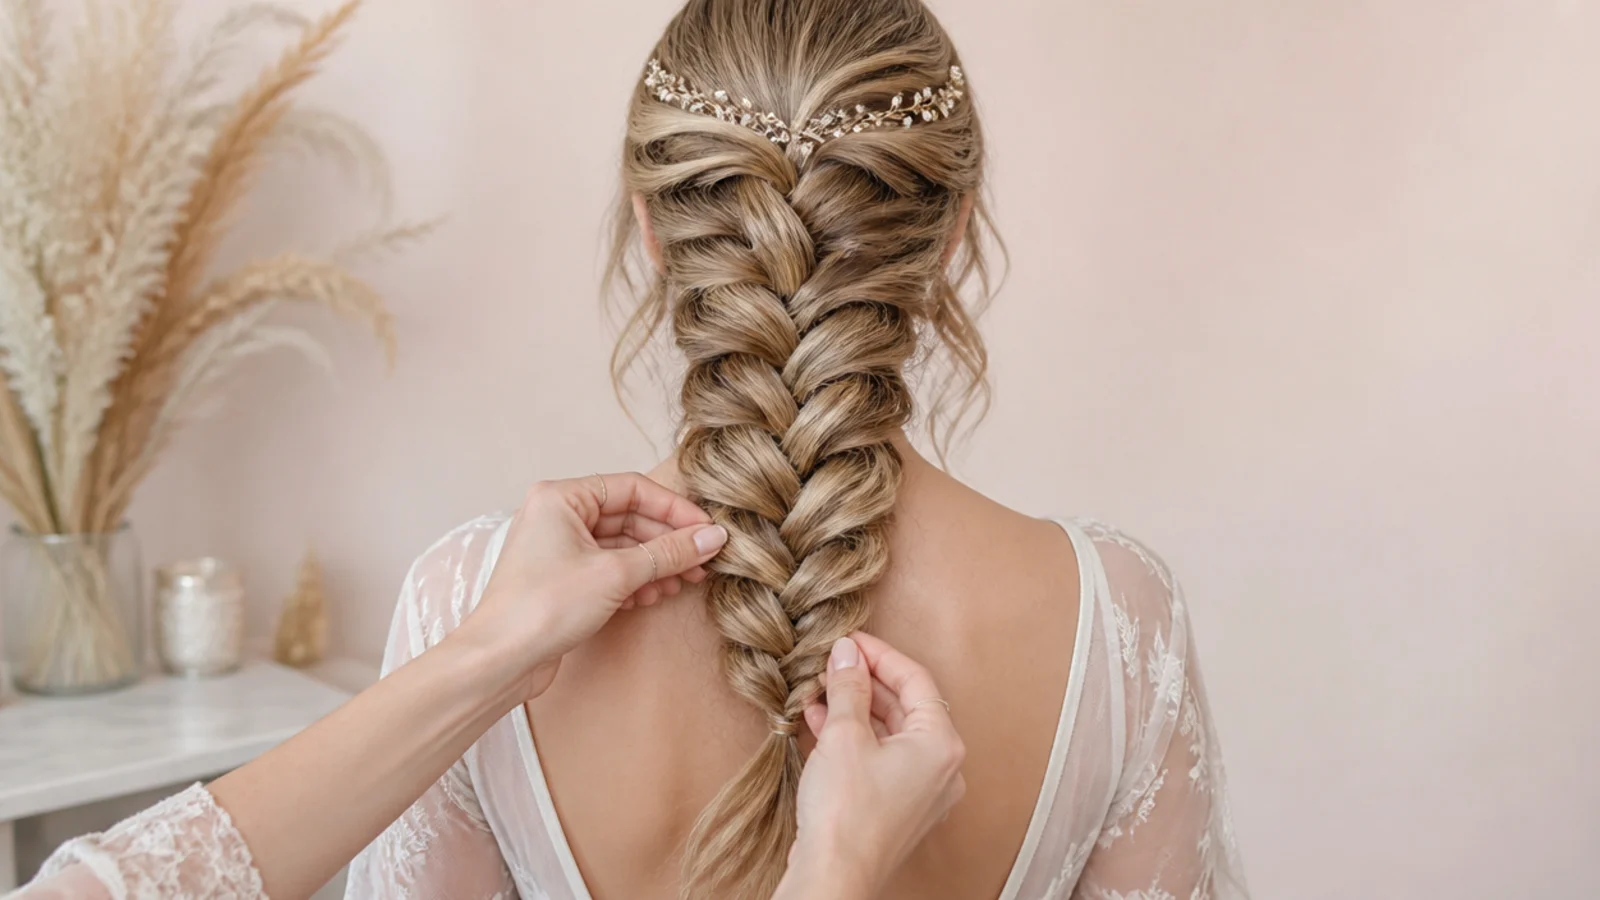
Pull two thin pieces free at the temples and one at the nape, then run your fingers once down the outside of the braid to soften any hard edges. Mist flexible-hold hairspray from about 10 inches away, sweeping down the braid rather than blasting one spot, so the fan holds without turning crunchy. If you want an accessory, add it now while you can still adjust the braid around it. Check the back with a phone camera before you leave.
Common mistake: Using a firm-hold or freeze spray, which locks the fan into a stiff plate and kills the movement.
Pro tip: Spray a bobby pin lightly and let it get tacky before sliding it in; it will not slip out all night.
What a Mermaid Braid Is and How It Differs From a Fishtail
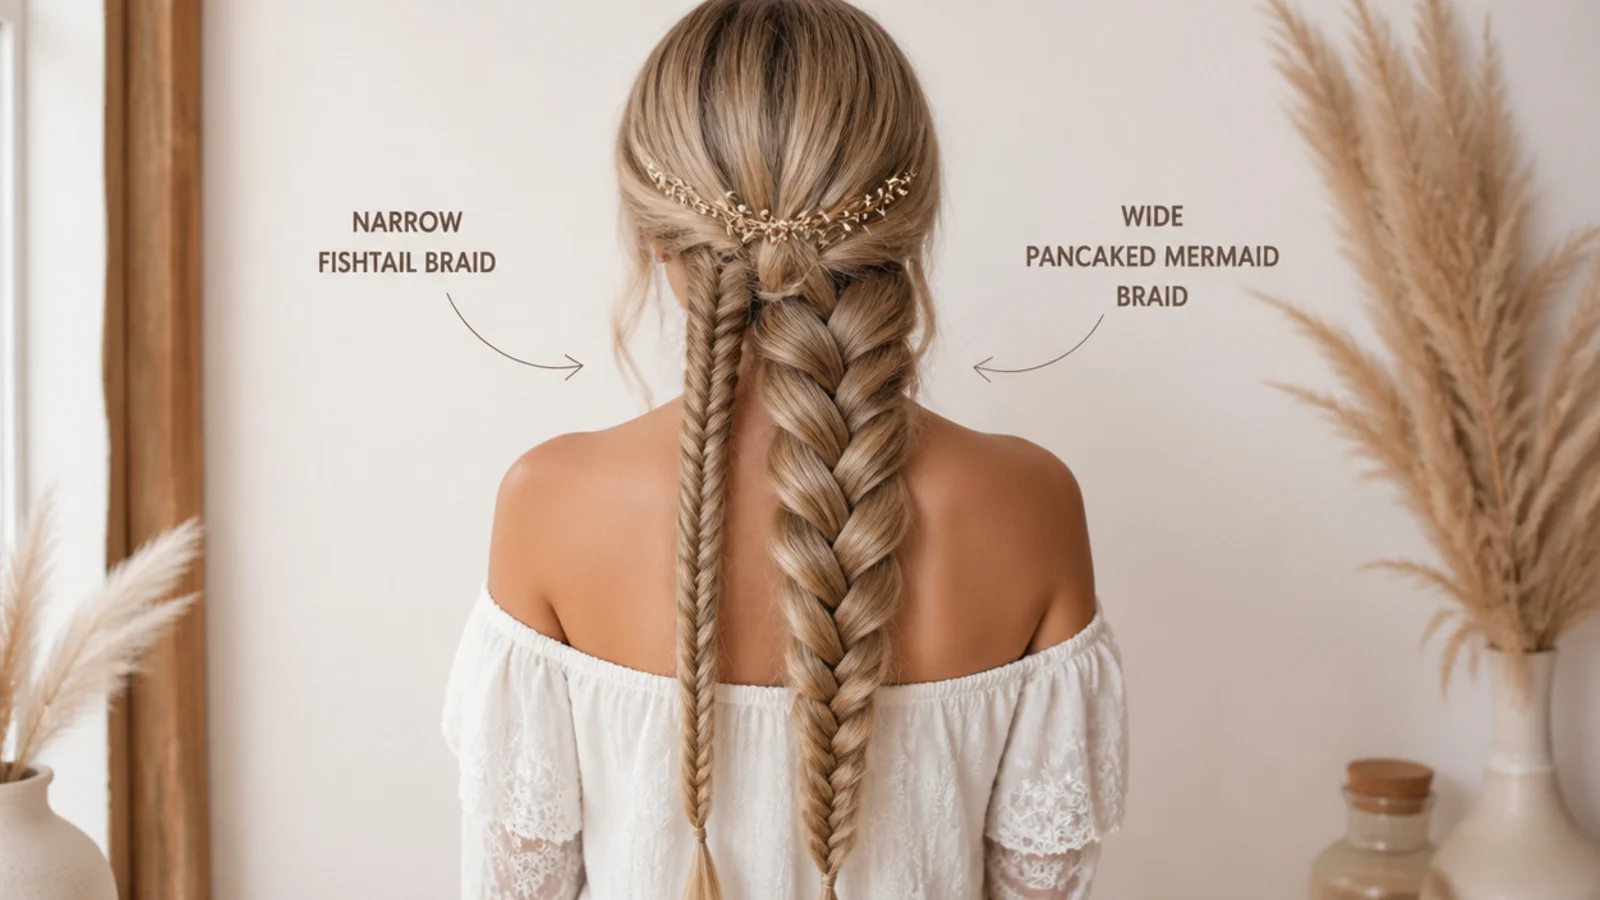
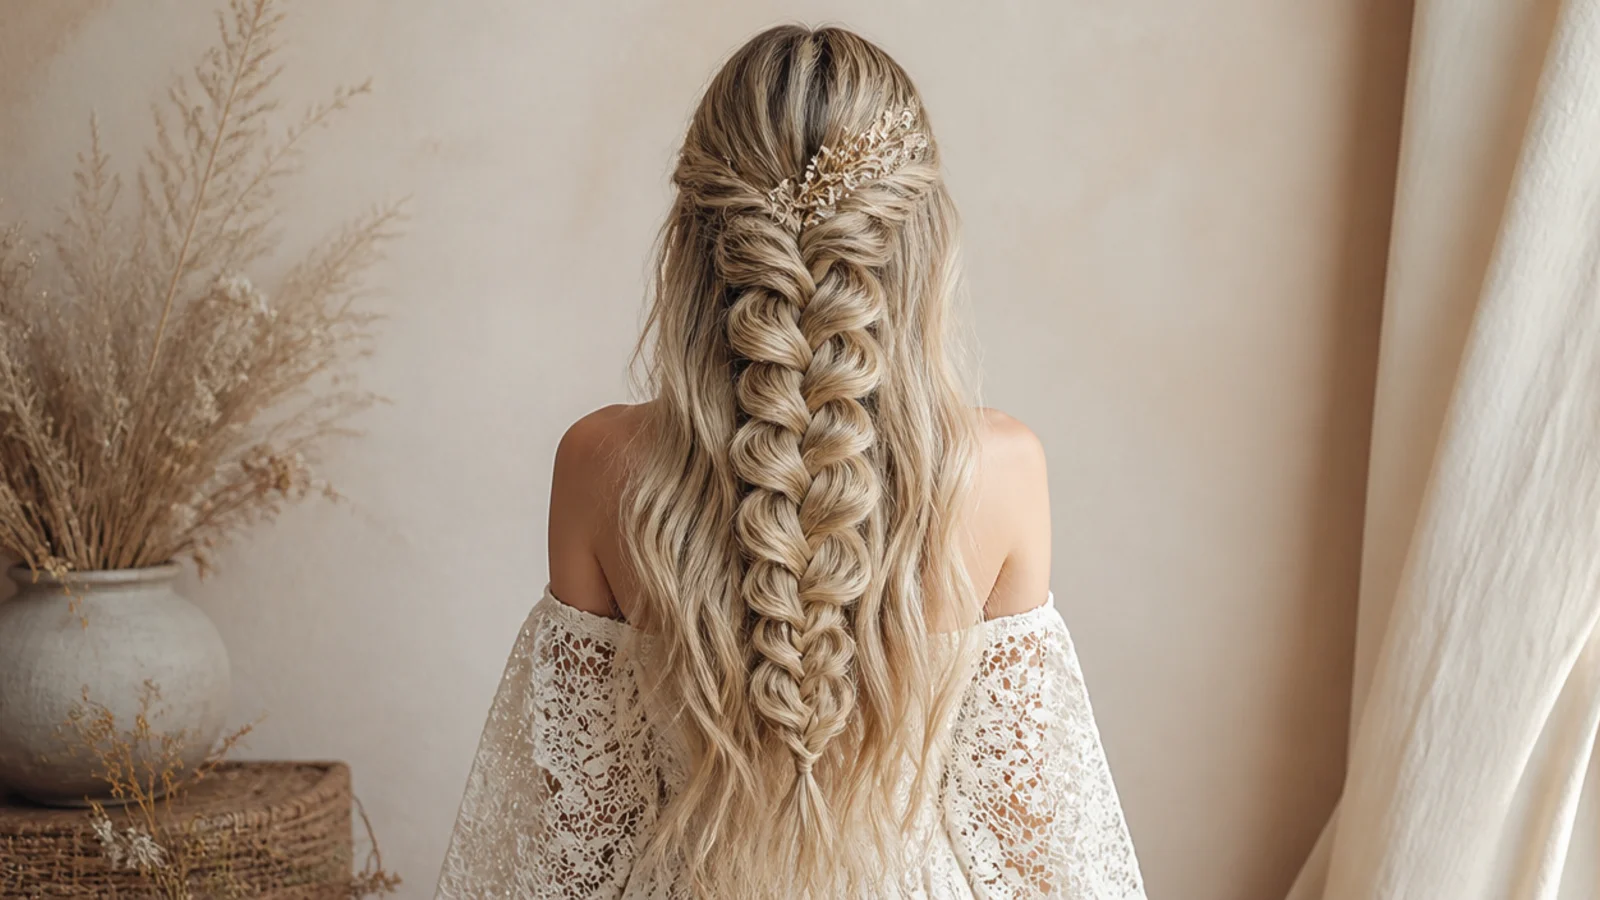
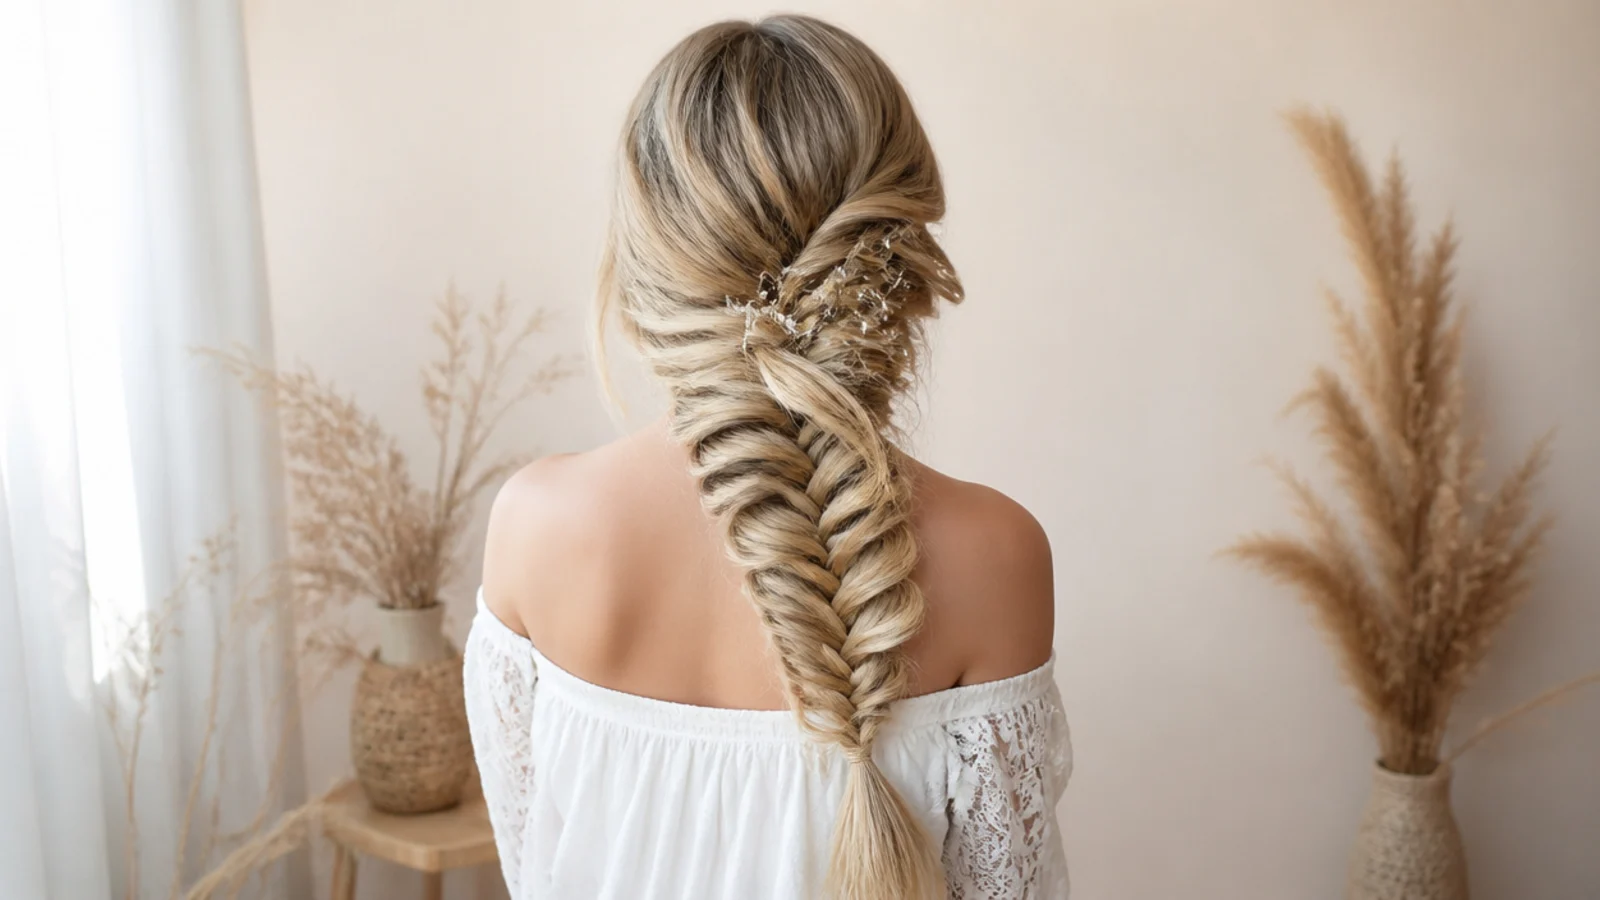
A mermaid braid is not a separate weaving technique. It is a fishtail braid that has been pancaked, which means each crossover is tugged wider at its outer edges until the braid fans out flat and broad like a tail. That is the entire difference, and it is why tutorials that only teach the fishtail leave you with a narrow plait wondering what went wrong. Every fishtail is a potential mermaid braid; whether it becomes one depends on how loosely you braided and how patiently you pull afterward. Worth flagging: the phrase also gets used for a completely different look, a protective style installed with extensions where wavy pieces are left unbraided. This guide covers the DIY braid on your own hair. If you came looking for the extension version, the mermaid braids hub has both. For the pattern in context across dozens of finished looks, see the main mermaid braids gallery.
Mermaid Braids by Hair Length and Thickness
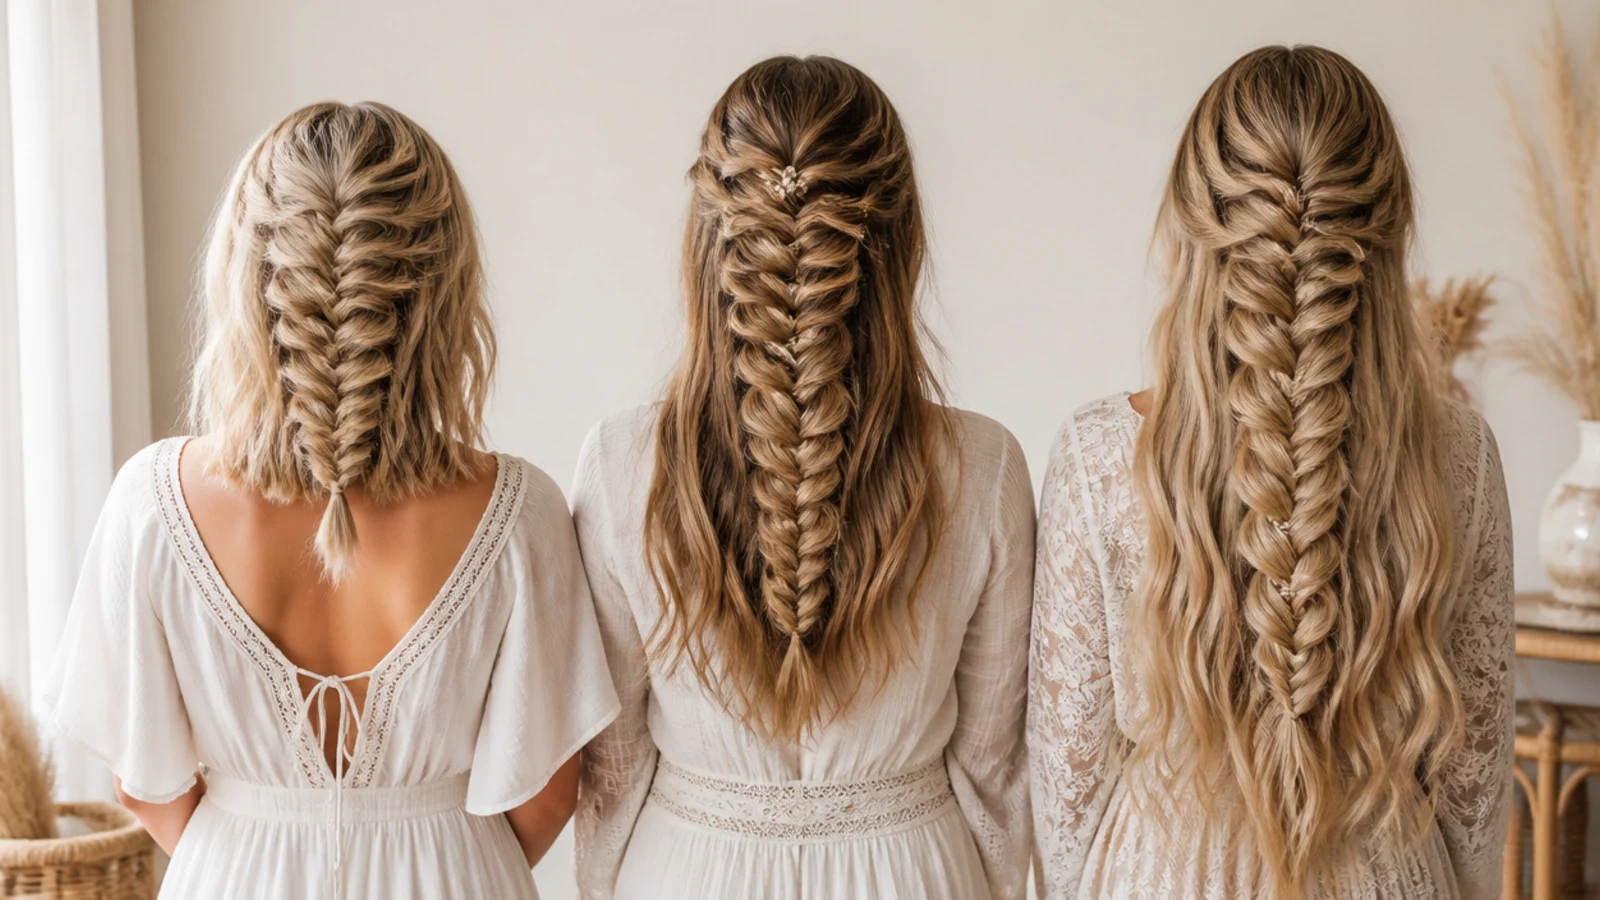
Below the collarbone, roughly 12 inches, is the honest minimum. Shorter than that and there is not enough length for the V pattern to repeat often enough to read as a braid before you hit the ends. At collarbone to shoulder-blade length, keep piece widths at a quarter inch and pancake modestly, to about 2 inches wide, because over-widening a short braid makes it look like it is unraveling. Mid-back is the sweet spot, where the braid can swell to 3 inches through the middle and still taper convincingly. Past the waist, the braid gets heavy enough to pull on the scalp, so pin it flat in two places and expect to re-pancake the lower third after a few hours. Thickness matters as much as length: fine hair should stay narrower and lean on waves for bulk, while very thick hair can cross half-inch pieces and pancake to 4 inches. The long mermaid braids guide goes deeper on weight and tension for hip-length hair, and easy braided hairstyles covers shorter alternatives.
The Pancaking Technique, Explained Millimeter by Millimeter
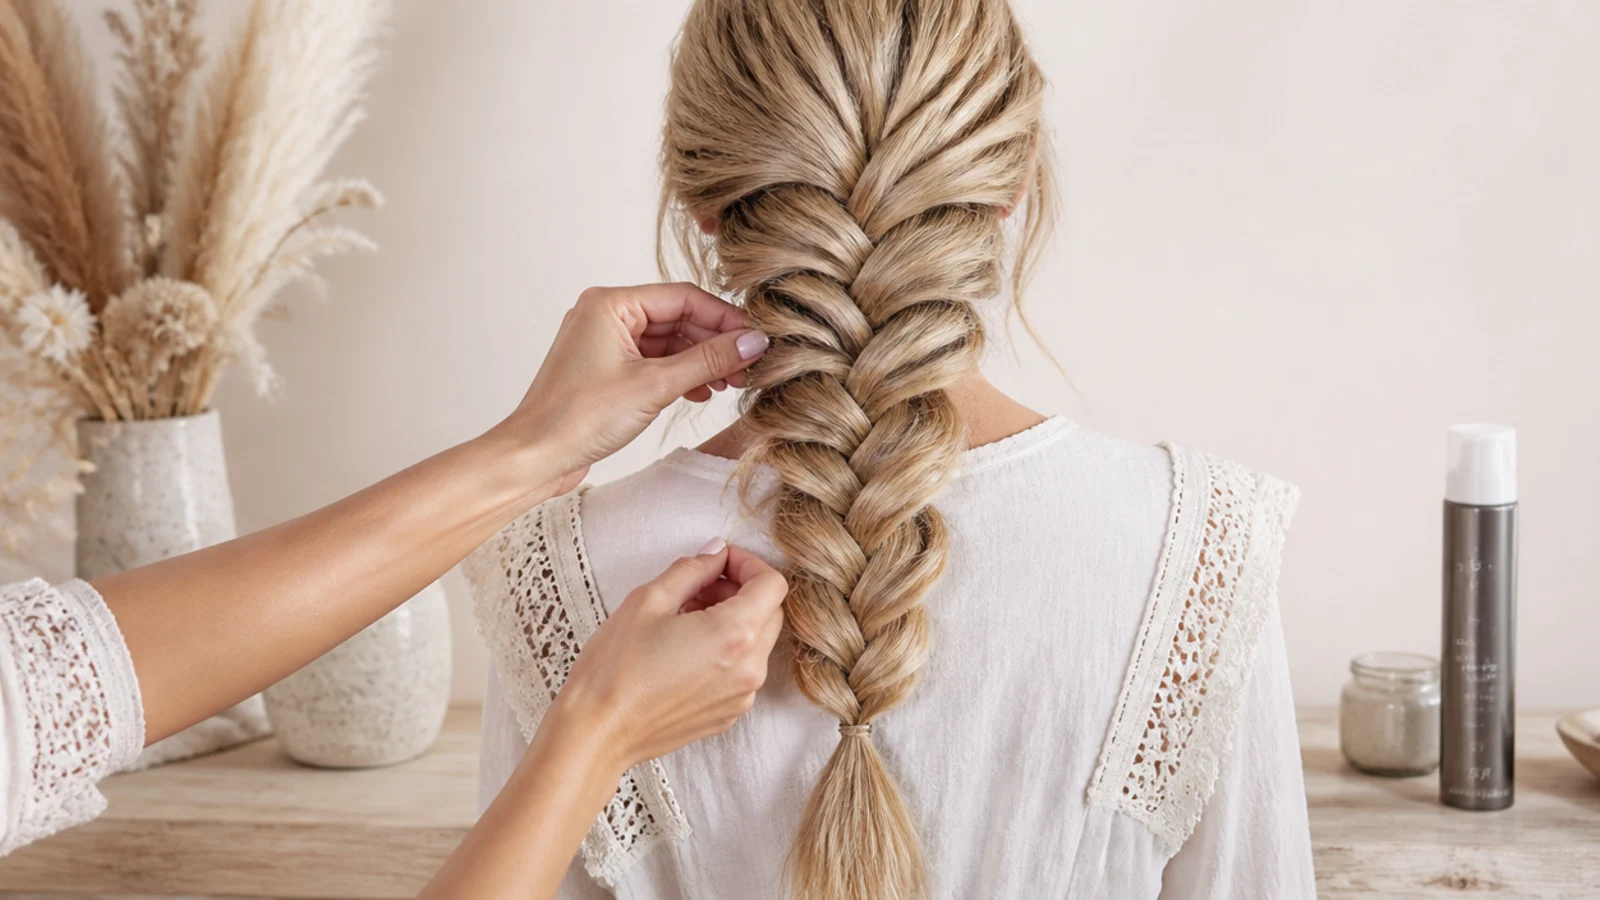
Pancaking fails for three reasons, and all three are fixable. First, direction: work from the elastic upward, never downward, because the braid hanging below each section is what holds your widening in place. Second, grip point: pull the outer edge of the chevron, the loop that folds around the side, not the center of the crossover. The outer edge carries slack by design and the center carries load, so pulling the center unravels the weave rather than widening it. Third, increment: a few millimeters per tug, repeated many times, beats one confident yank every time. Expect to make 60 to 100 small pulls on a mid-back braid, and expect it to take 5 to 8 minutes. If a crossover will not open at all, you braided that part too tight, so leave it and widen the ones above and below so the eye reads a continuous fan. The same logic applies to the waterfall version, where the dropped sections need even lighter handling.
How to Do a Mermaid Braid on Fine or Slippery Hair
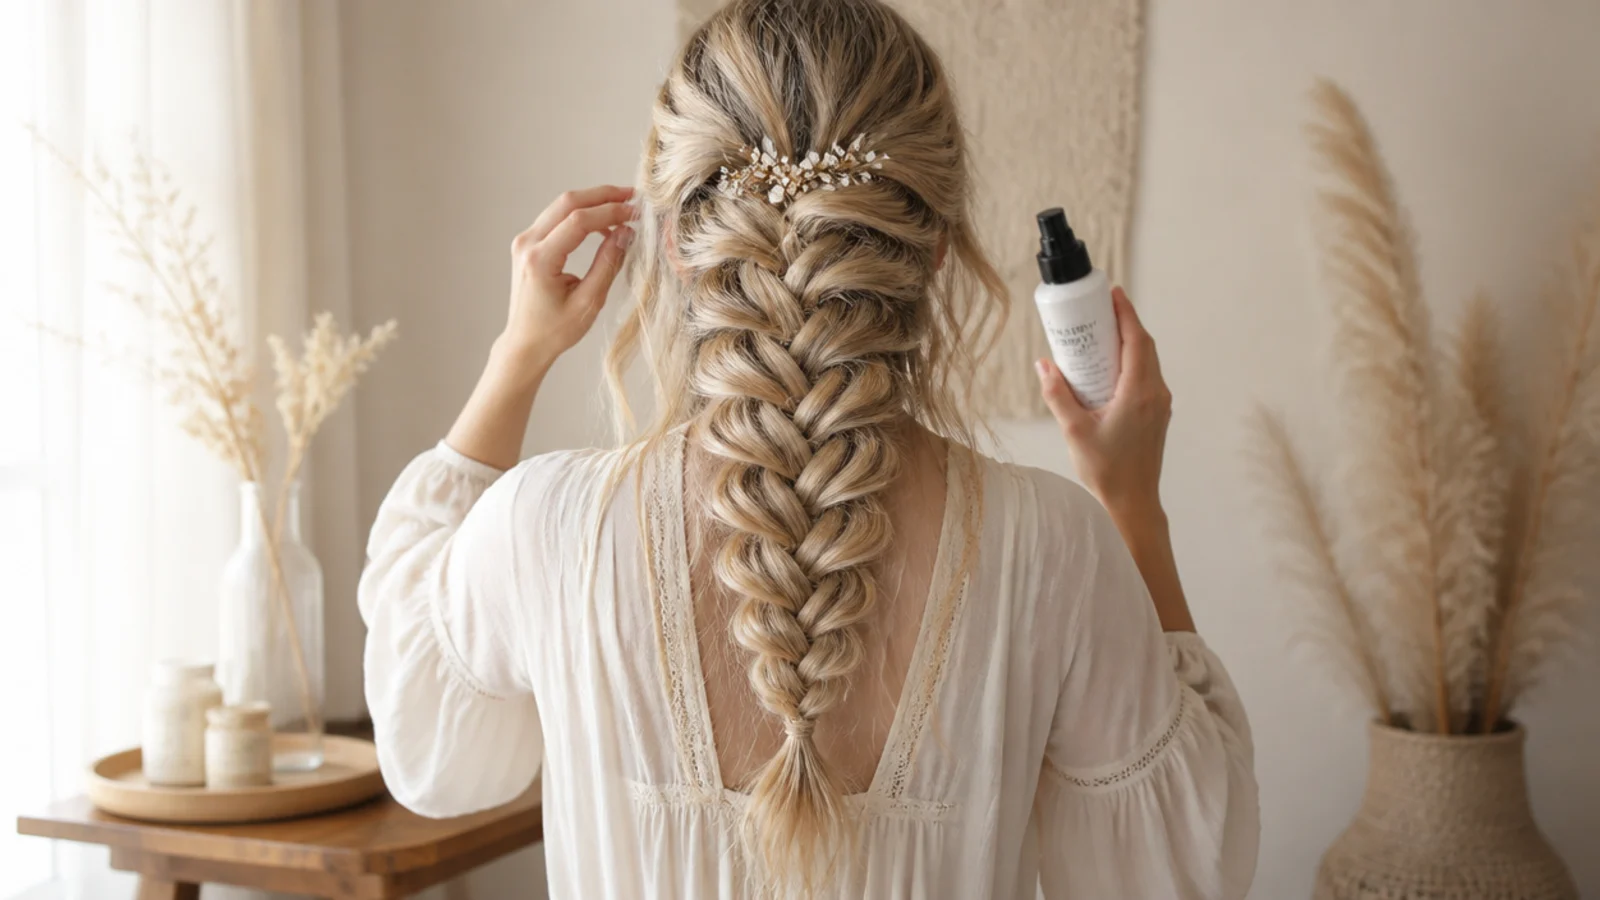
Fine hair can absolutely carry a mermaid braid; it just needs more prep and less width. Braid on day-two hair, or on day-three if your scalp allows, because natural oil at the mid-lengths is the cheapest grip you will ever get. Add a dry texture spray through the mid-lengths and ends, then build waves with a 1.25 inch wand, since bent strands occupy more space inside each crossover and the finished braid reads thicker than the hair actually is. Cross quarter-inch pieces, never wider, and keep them meticulously even. Pancake to about 2 inches rather than 3, then stop, because fine hair pulled too wide goes translucent and you see scalp through the fan. Pin the braid flat with two bobby pins to stop it lifting. More fine-hair tactics live in how to style short fine hair and cute hairstyles that last all day.
Waves, Accessories and a Boho Finish
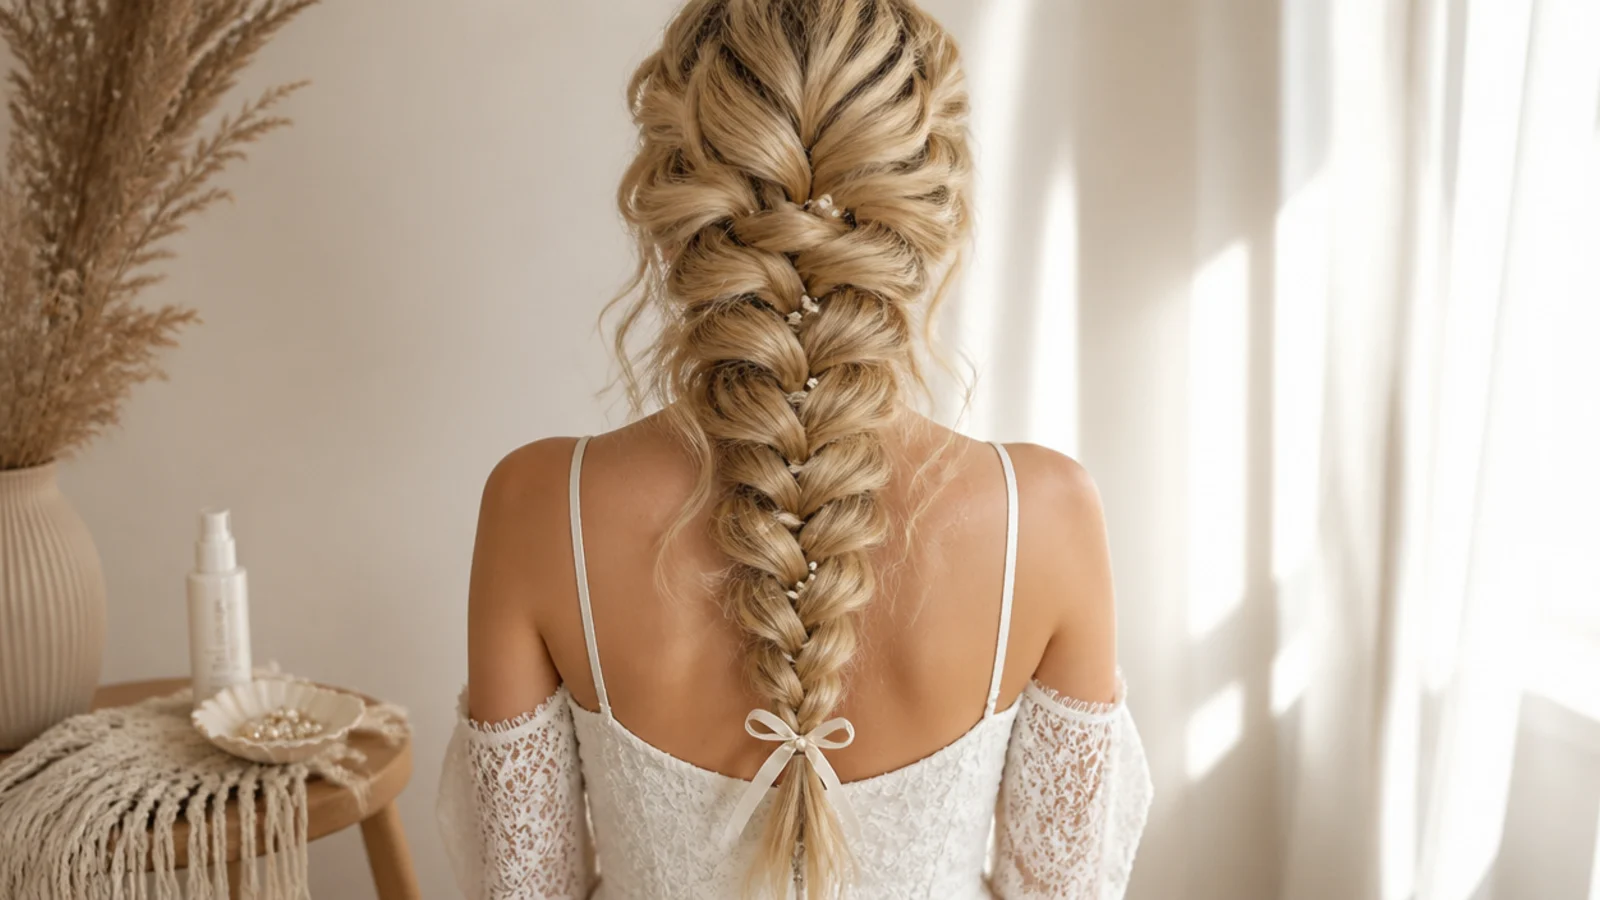
The boho finish is mostly restraint applied in the right places. Loose waves through the length before braiding, three thin face-framing pieces afterward, and one category of accessory, not three. Pearl or gold pins scattered in odd numbers, five or seven, read intentional in a way that an even evenly spaced row never does. A quarter-inch satin ribbon woven down through the crossovers before you pancake becomes part of the braid rather than decoration sitting on top of it, and it costs almost nothing. Small shell or resin clips suit beach and festival wear; fresh baby's breath tucked into the widest part of the fan suits weddings. Keep metal accessories on one side of the braid so the silhouette stays asymmetrical. For the full soft, undone treatment see boho mermaid braids, and for a beachier wave base first, beach hairstyles is a good starting point.
Making a Mermaid Braid Last All Day and Overnight
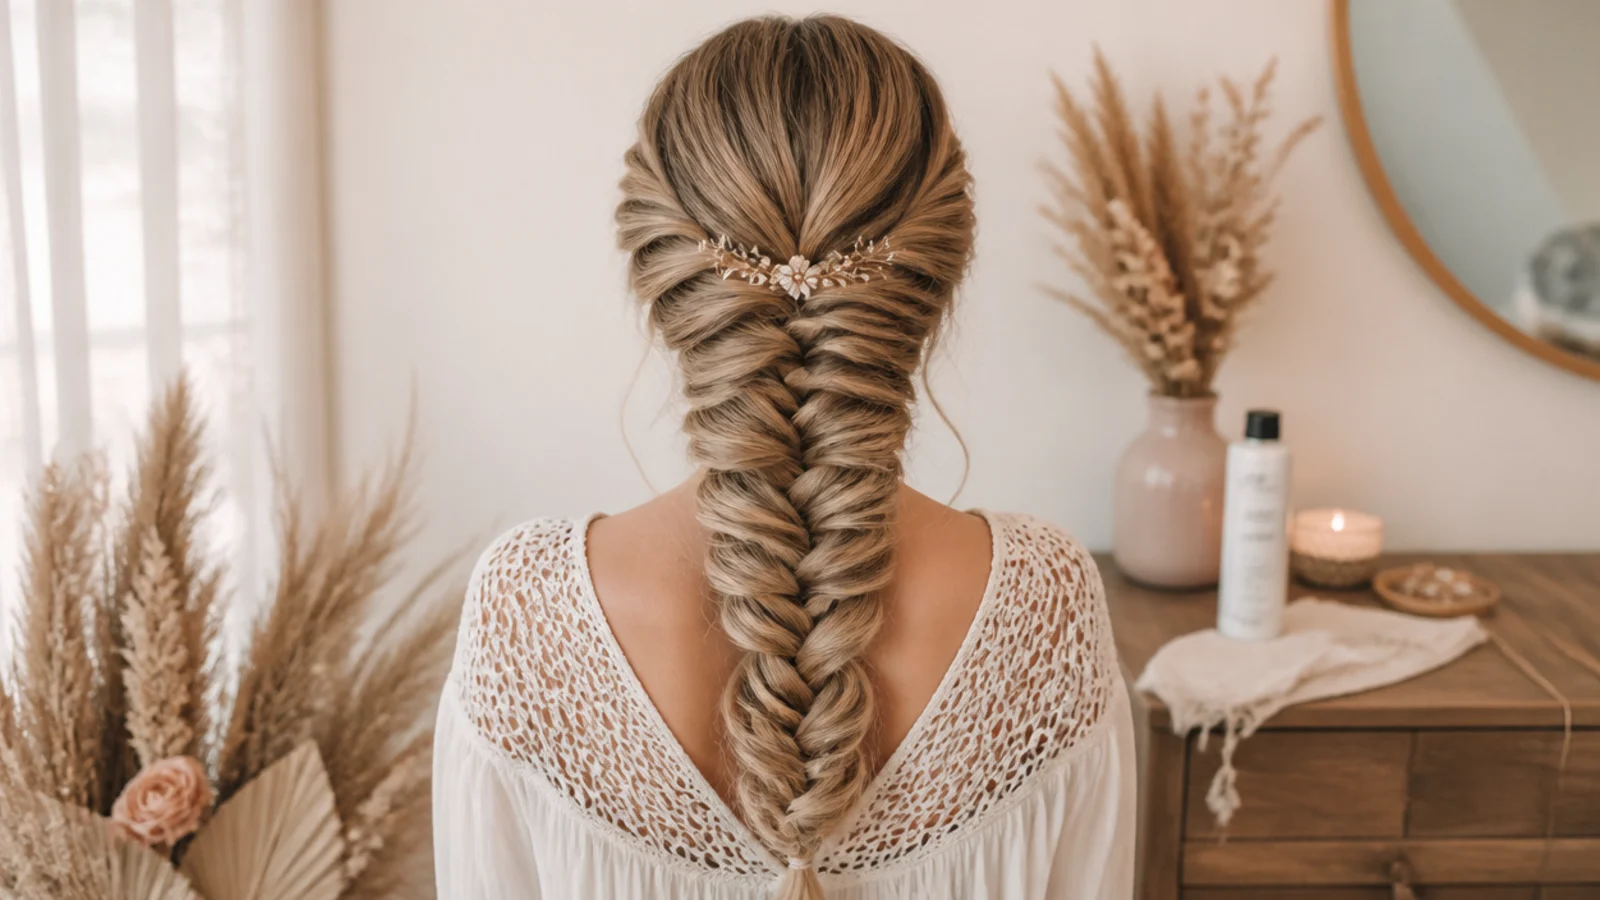
A pancaked braid on day-two hair holds 6 to 10 hours with two bobby pins and one pass of flexible-hold spray. The failure mode is rarely the whole braid coming undone; it is the lower third slowly closing back up as gravity pulls the widened edges in. Fix it in 30 seconds by re-pancaking from the elastic upward, which you can do one-handed in a bathroom without a mirror. For an event with dancing, pin at a third and two thirds down and mist the pins before sliding them in. Overnight is a bonus rather than a problem: loosen the braid slightly, sleep on a satin pillowcase, and take it out in the morning for deep crimped waves that need nothing but a shake and some texture spray. That is the same principle behind overnight heatless curls, and it makes the braid a two-day style. For updos that survive similar hours, see long hair updos that last.
Frequently Asked Questions
How do you do a mermaid braid step by step?
Prep day-two hair with texture spray, wave the length with a 1.25 inch wand, and sweep everything over one shoulder. Split it into two halves, then cross quarter-inch pieces from the outer edge of each half into the inner edge of the other, all the way down. Secure 2 inches from the ends with a clear elastic, then pancake the outer edges from the bottom up.
What is a mermaid braid?
A mermaid braid is a fishtail braid that has been pancaked, meaning each crossover is tugged wider at its outer edges until the braid fans out flat and broad like a mermaid tail. The weaving is identical to a fishtail; the width is what makes it a mermaid braid. The name is also used for an extension-based protective style, which is a different technique entirely.
Is a mermaid braid the same as a fishtail braid?
It starts as one. Every mermaid braid is a fishtail underneath, but a fishtail left at its natural width stays about an inch across, while a mermaid braid is braided loosely and then pancaked out to 2 to 4 inches. If your fishtail looks narrow, you have not failed at a different braid, you have simply not pancaked it yet.
How do you pancake a mermaid braid without it falling apart?
Work from the elastic upward, pull only the outer edge of each chevron rather than its center, and move a few millimeters at a time. The outer edge carries built-in slack, while the center holds the weave together, so pulling the center is what unravels a braid. Two bobby pins slid crosswise through the underside stop the fan from closing again.
How long does it take to do a mermaid braid?
Budget 15 to 23 minutes in total. The fishtail itself takes 8 to 12 minutes on mid-back hair once you know the pattern, waving the length beforehand adds about 10 minutes, and pancaking takes 5 to 8 minutes of small tugs. Your first attempt will run longer, so practice once before an event rather than on the day.
Why does my mermaid braid keep slipping out?
Almost always because the hair is too clean. Freshly washed strands have no friction, so each crossover slides toward the ends. Braid on hair washed 24 to 48 hours ago, or mist a dry texture spray through the mid-lengths and ends first. Silicone serums and leave-in oils have the same slippery effect, so skip them on braid day.
How do you make a mermaid braid look thicker?
Three things stack. Curl the length with a 1.25 inch wand and brush the curls out before braiding, so bent strands take up more room in every crossover. Cross narrower quarter-inch pieces so there are more chevrons to widen. Then pancake the middle third wider than the top and tail so the silhouette swells, which reads as thickness far more than uniform width does.
Can you do a mermaid braid on yourself?
Yes, and it is easier than a French braid because there is no third strand to manage. Sweep the hair over one shoulder so the braid falls in front of you where both hands and your eyes can reach it. Rest your pinkies against your collarbone for stability, and check the finished back with your phone camera rather than trying to use two mirrors.
How long does a DIY mermaid braid last?
Six to ten hours with two bobby pins and one pass of flexible-hold hairspray. The lower third tends to close up first as gravity pulls the widened edges back in, and re-pancaking it from the elastic upward takes about 30 seconds. Sleep in it loosely on a satin pillowcase and you get crimped next-day waves as a bonus.
Which mermaid braids look are you saving?
If you take one thing from all 20 steps, take the order: texture first, waves second, braid third, and pancake last, from the bottom up. Almost every collapsed mermaid braid comes from pancaking too early or pulling from the middle of a crossover instead of its outer edge. Keep your piece widths consistent, hold the braid loose rather than tight to the scalp, and stop widening while the braid still holds its own shape. Then choose your variation: run it down one shoulder with side mermaid braids, keep the length down with half up mermaid braids, or save a few more from the mermaid braids hub.