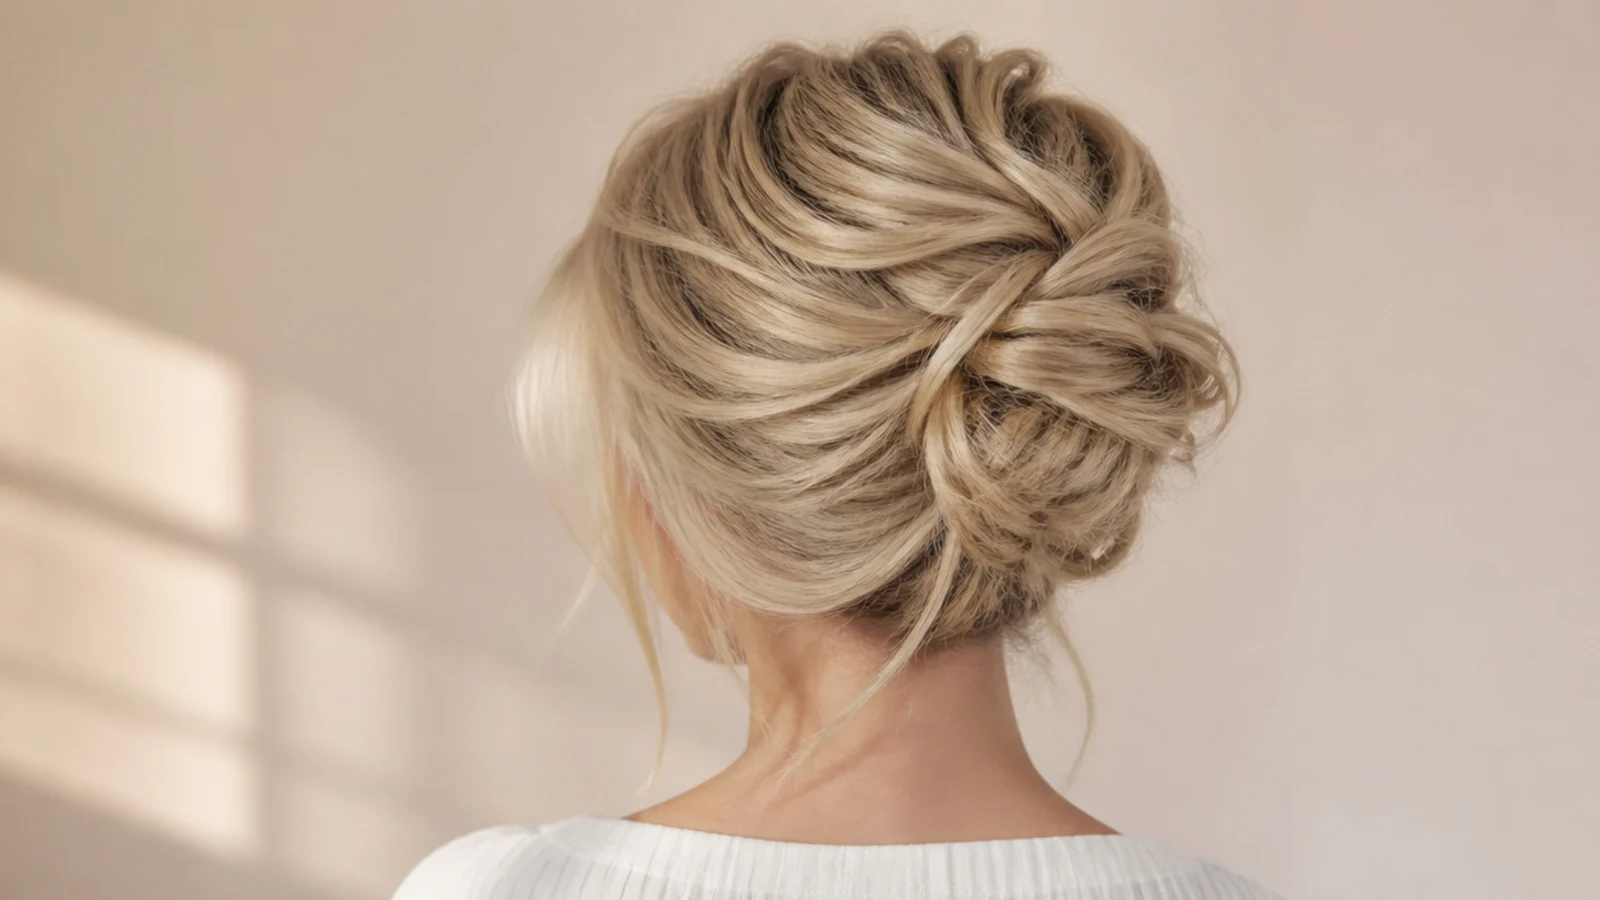
Quick Comparison
| Faux Bob Updo | High Volumized Bun | |
|---|---|---|
| Hair length needed | Shoulder length or longer to have enough to fold | Collarbone or longer so the bun has diameter |
| Time | 30 to 40 minutes the first time, 20 once learned | 12 to 15 minutes |
| Difficulty | Intermediate; the outline takes practice | Beginner to intermediate |
| Pins needed | 15 to 20 bobby pins plus clips | 2 spin pins and 4 bobby pins |
| Best hair density | Medium; very thick hair makes a bulky roll | Medium to thick; fine hair needs teasing first |
| How it reads | Polished, retro, red-carpet | Youthful, high-energy, stage-ready |
| Holds through a long night | Yes, if pinned from underneath | Yes, if the elastic is set tight at the crown |
| Works with a curtain fringe | Yes; the fringe balances the short outline | Yes; the fringe softens the height |
| Best occasion | Weddings, formal events, photos | Concerts, parties, everyday dressed-up |
1. Start on Day-Two Hair and Prep the Base
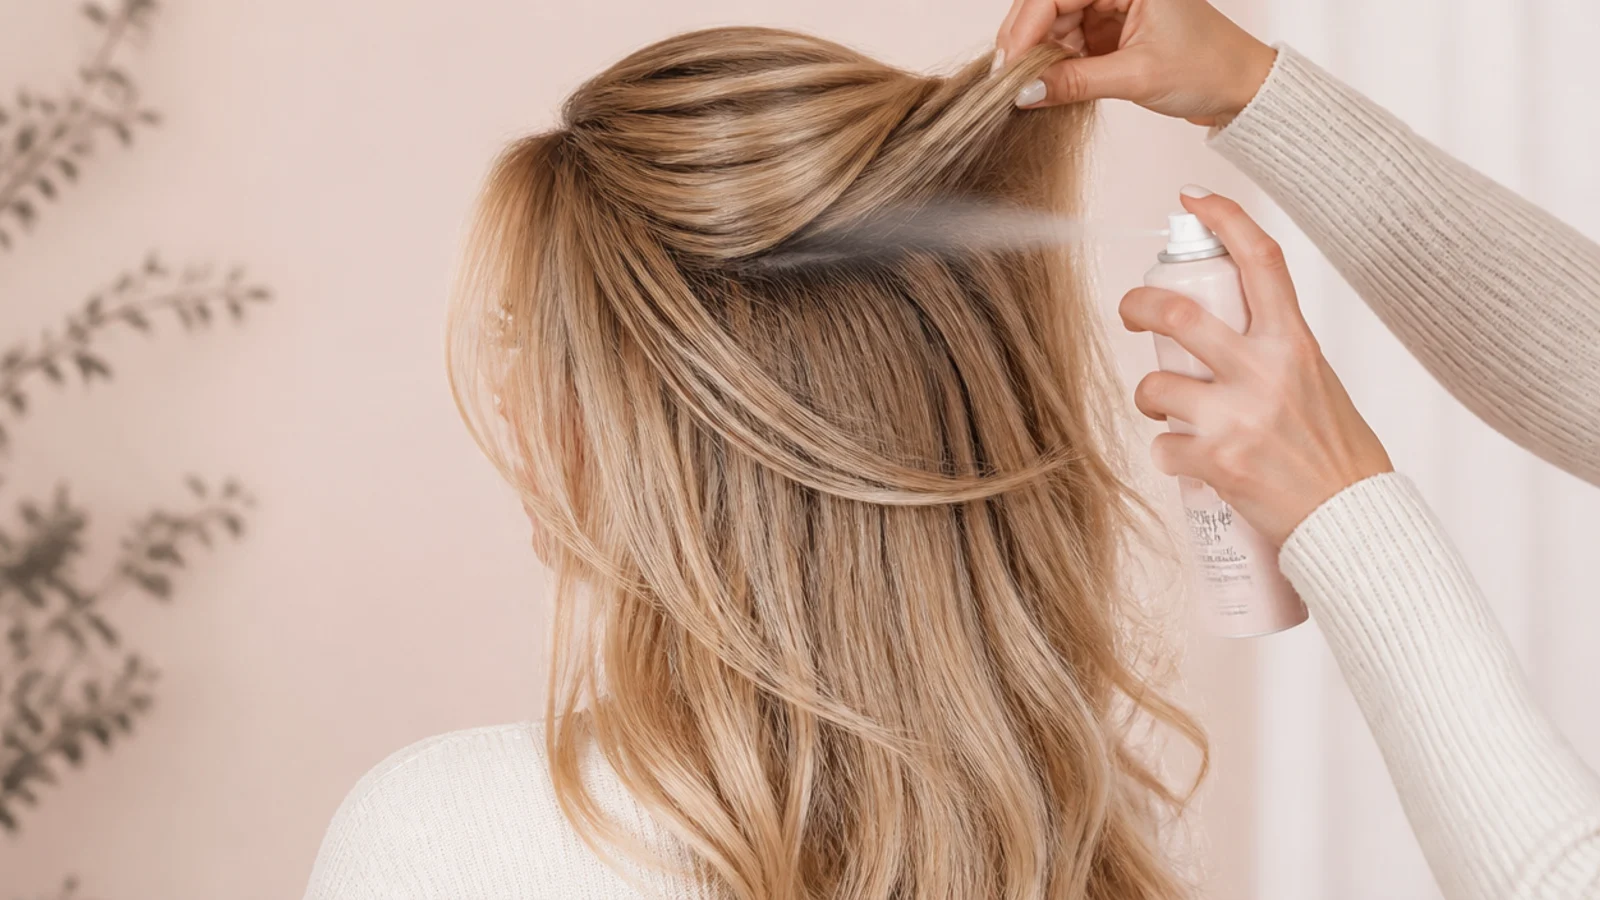
Do not start on freshly washed, silky hair. An updo grips best on day-two hair, or on clean hair prepped with a dry texture spray misted 8 inches from the roots through the mid-lengths. Brush through with a paddle brush to remove tangles, then mist a light hold hairspray over the crown so short layers behave later. If your hair is genuinely fine, add a root-lifting mousse to damp roots and blow-dry the top 2 inches upward before you begin. Everything else in this guide assumes that base. The full blowout method sits in the Sabrina Carpenter hair tutorial.
Common mistake: Starting on freshly conditioned hair; pins slide straight out within twenty minutes.
Pro tip: If you must work on clean hair, dust dry shampoo at the roots for grip without stiffness.
2. Separate the Curtain Fringe and Face-Framing Pieces First
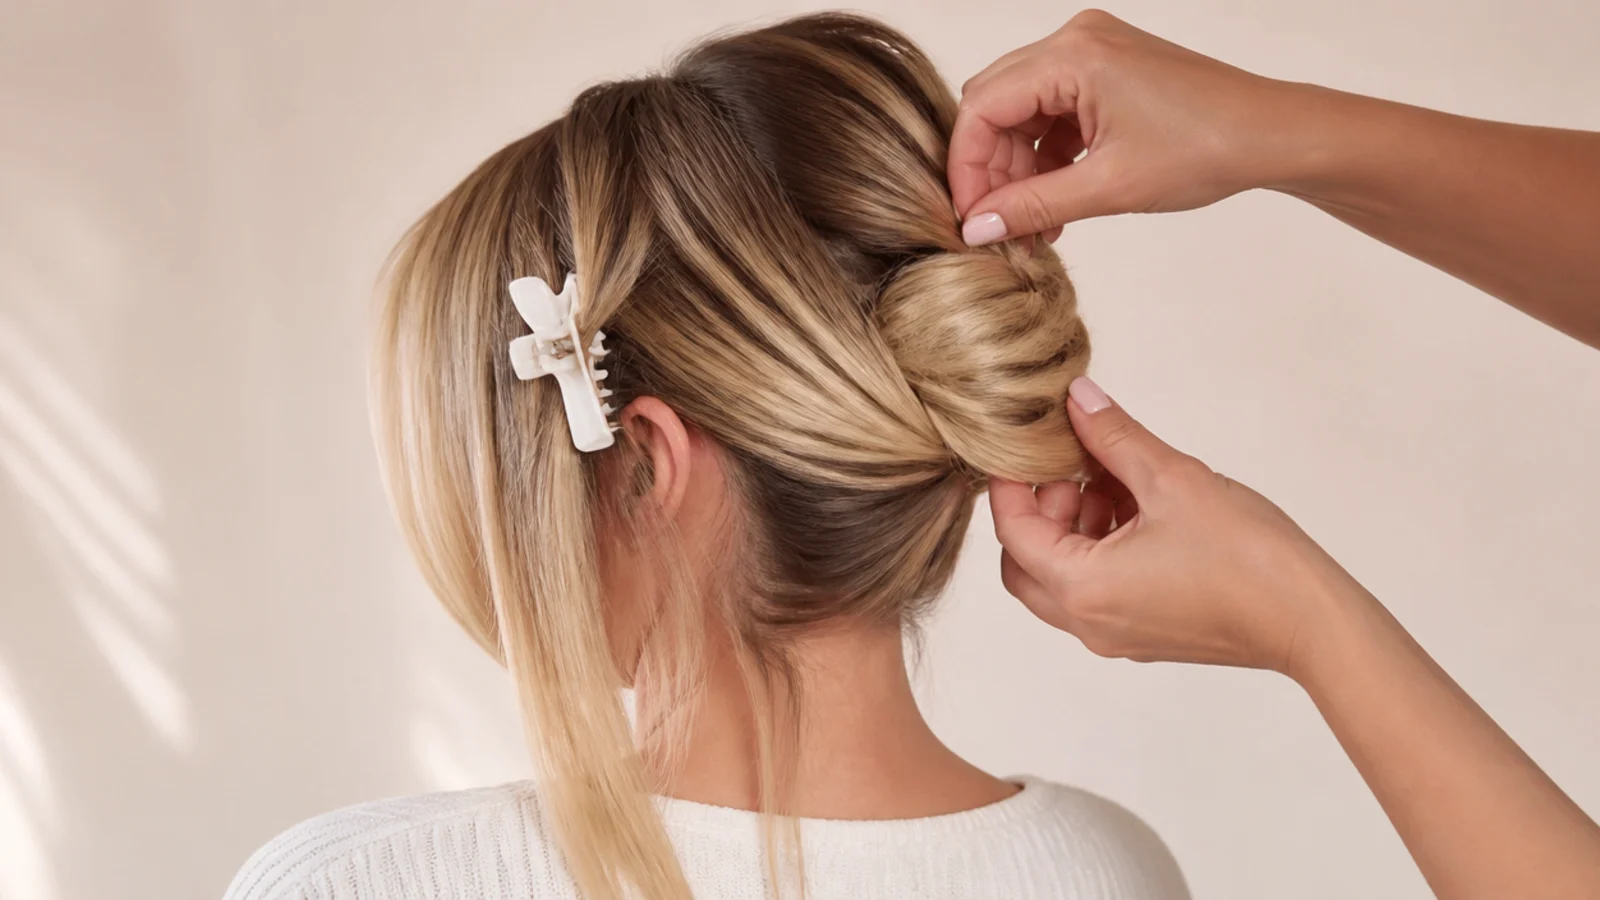
Before you gather anything, clip away the curtain fringe and one 1 inch face-framing piece in front of each ear. This is the single decision that makes an updo read as her look rather than a generic bun, because the fringe splitting at the center and sweeping toward the cheekbones is the shape her whole cut is built around. Take the fringe from a triangular section starting about 2 inches back from the hairline. Clip it forward with a duckbill clip so it stays out of the way. For fringe shape and length, see her bangs guide.
Common mistake: Taking the fringe section too deep, which leaves the crown thin and the front too heavy.
Pro tip: If you have no bangs, pull out two 1 inch pieces at the temples and curl them away from the face instead.
3. Build Volume at the Crown Before Any Pinning
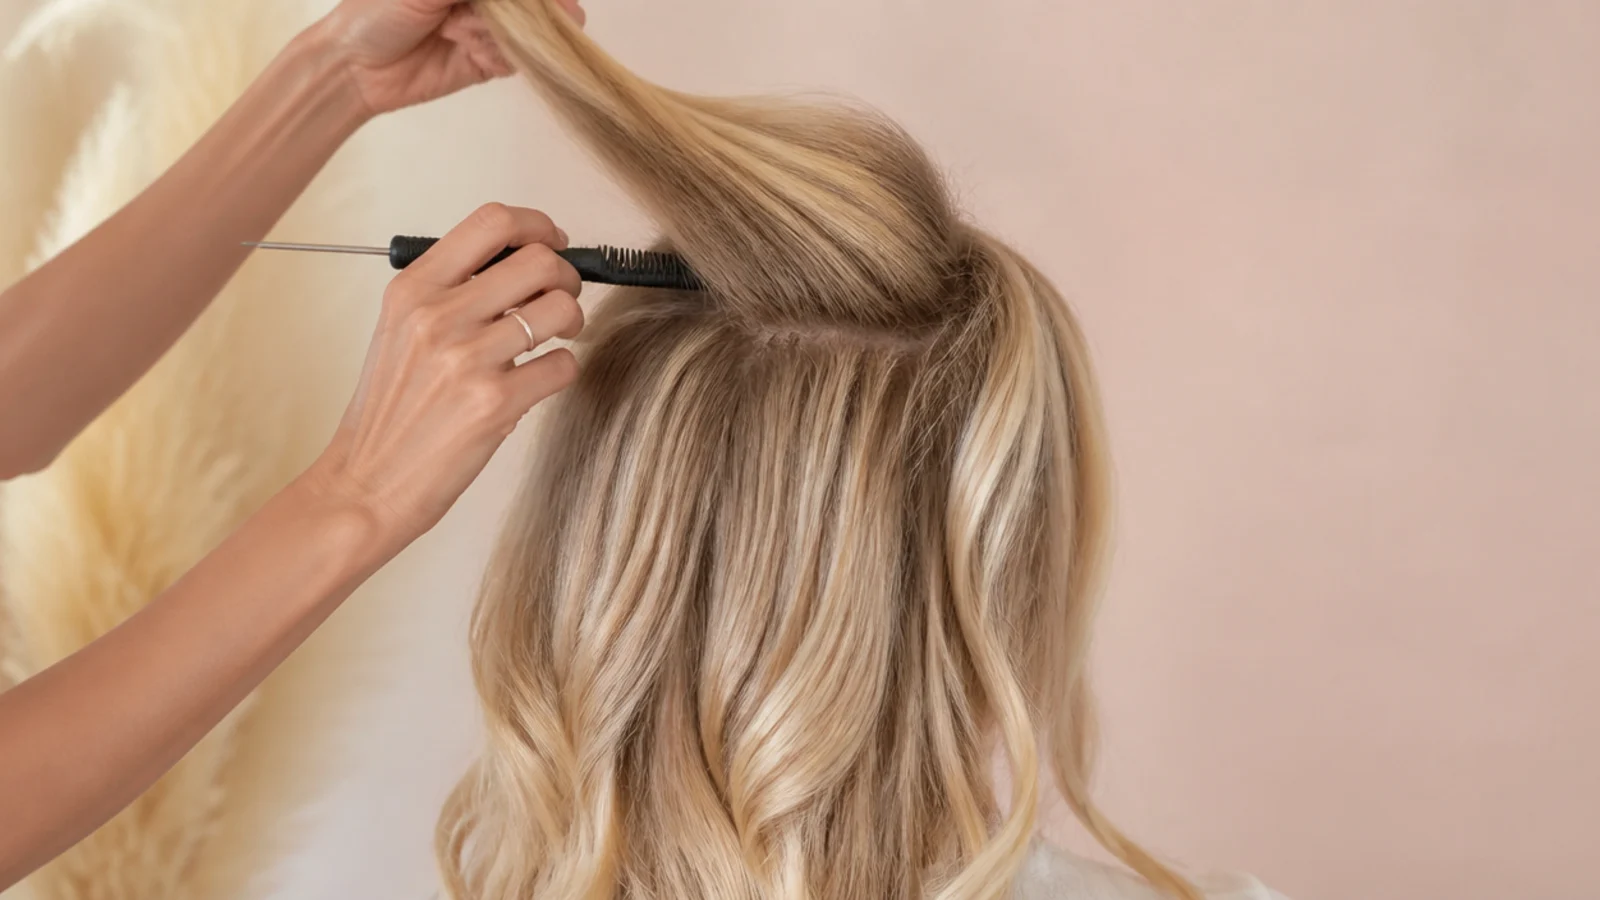
Lift the top section at the crown, about 3 inches by 3 inches, and backcomb the roots with a fine teasing comb using three short downward strokes per subsection. Do not comb all the way to the ends. Smooth the surface layer back over the teased base with the comb's tail, not its teeth, so the outside stays glossy while the inside stays full. This is what gives an updo the lifted dome that reads as a professional style rather than a gathered ponytail. Mist flexible-hold spray into the teased area and let it dry for thirty seconds.
Common mistake: Teasing the mid-lengths instead of the roots, which creates tangles without adding any height.
Pro tip: Tease at the roots of the section you will pin over, so the tease is never visible from outside.
4. Curl the Lengths in 2 Inch Sections
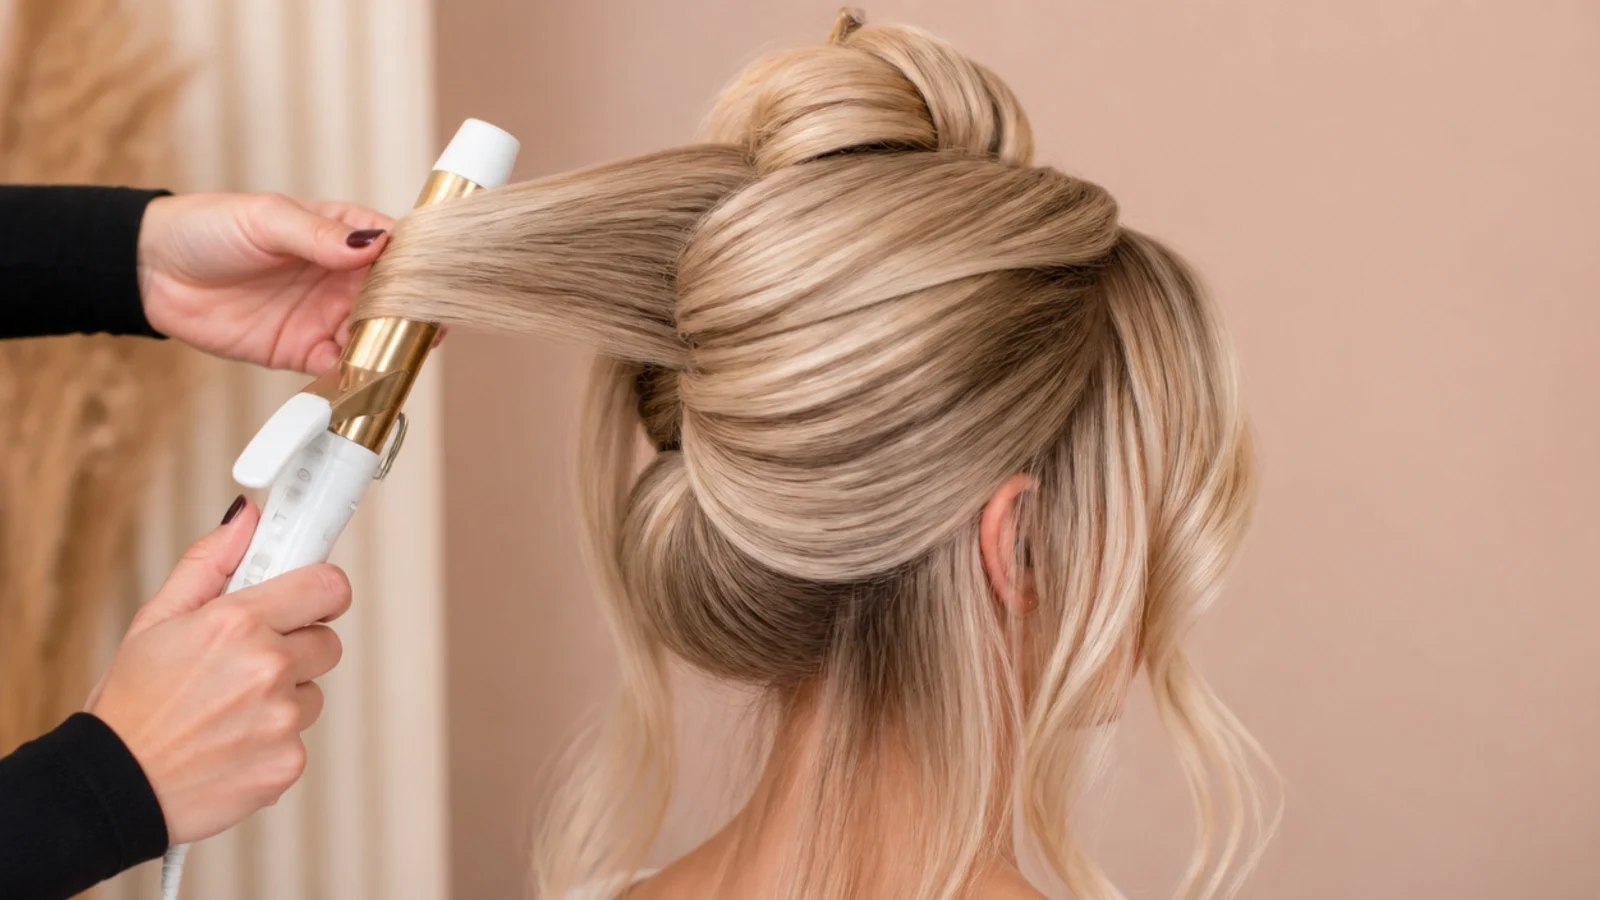
Set a 1 inch curling iron to about 300 degrees Fahrenheit for fine or bleached hair and 350 for thick hair, and curl in 2 inch sections away from the face, holding for 6 to 8 seconds. Drop each curl into your palm and pin it flat against the head with a single clip to cool, which is what makes the set last. Uncurled hair slides; curled hair grips itself and holds a pinned shape for hours. Let everything cool completely before you unclip, then break the curls apart with your fingers rather than a brush.
Common mistake: Brushing the curls out immediately while they are still warm, which drops the set entirely.
Pro tip: Always use a heat protectant on lightened blonde hair; bleached mid-lengths scorch faster than roots.
5. Gather and Set the Anchor Point
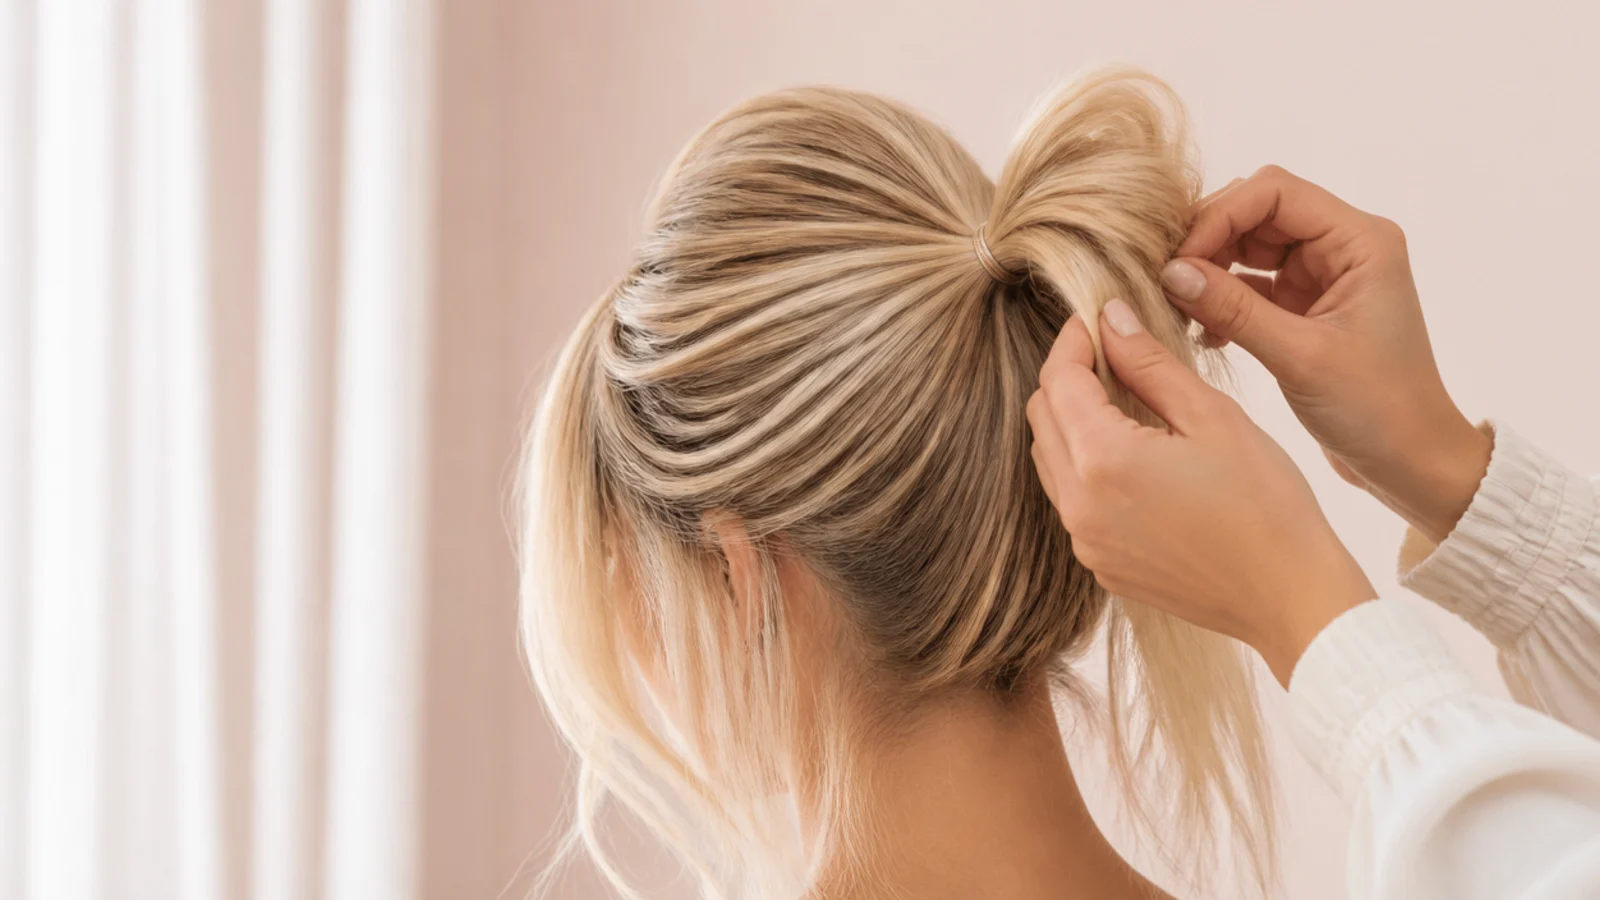
Decide the height and commit to it: crown level for a high bun, occipital bone for a mid bun, nape for a chignon or faux bob. Gather the hair to that point with your hands rather than a brush so the tease survives, and secure with a 2 inch fabric-covered elastic wound three times. Tilt your head back and re-tighten before the third wrap, because gravity loosens a ponytail set with the head level. This elastic is the anchor for every pin that follows, so it needs to be genuinely tight against the scalp.
Common mistake: Setting the anchor too low for a high bun, which makes the finished shape sag by evening.
Pro tip: Slide two bobby pins into the elastic pointing toward the scalp; they lock it against slipping.
6. Shape the Bun or Fold and Pin It
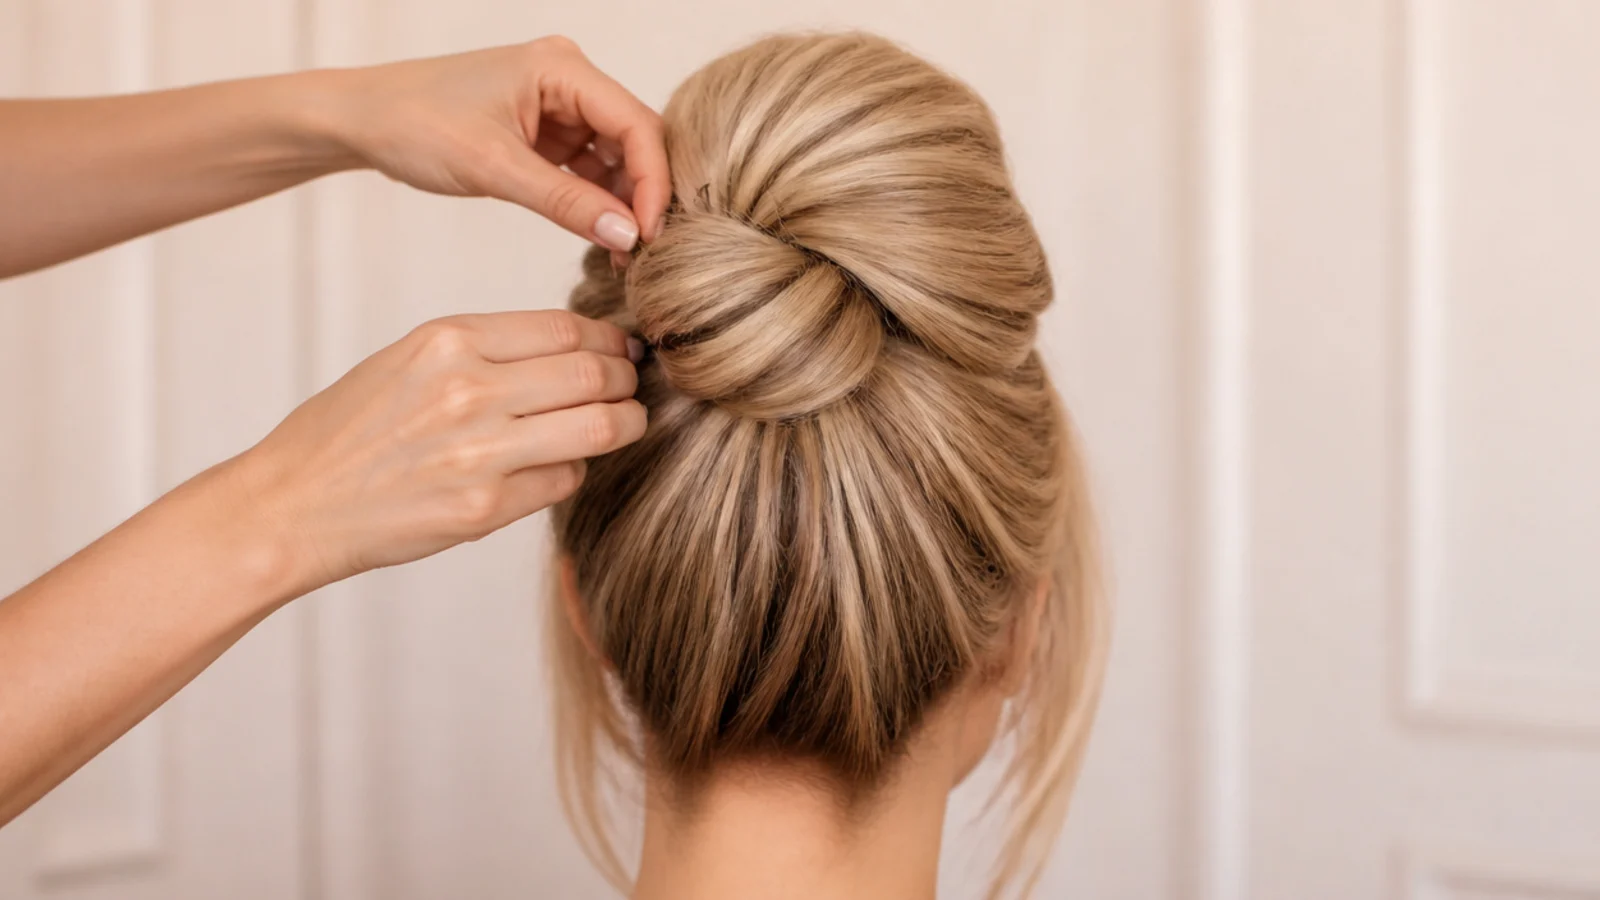
For a bun, twist the tail loosely once, coil it around the base and pin at four compass points, sliding each pin in against the direction of the coil so it bites. For a faux bob, fold the curled lengths under toward the nape and pin the roll from underneath with 15 to 20 pins, checking the outline in a hand mirror as you go. Use matte pins in your blonde level, open them with your fingers rather than your teeth, and push them in flat rather than at an angle.
Common mistake: Pinning into hair only; every pin must catch a little of the scalp-side hair or the elastic to hold.
Pro tip: Crossing two pins into an X at each anchor point holds roughly twice as long as two parallel pins.
7. Release the Fringe, Pull Out Tendrils and Set
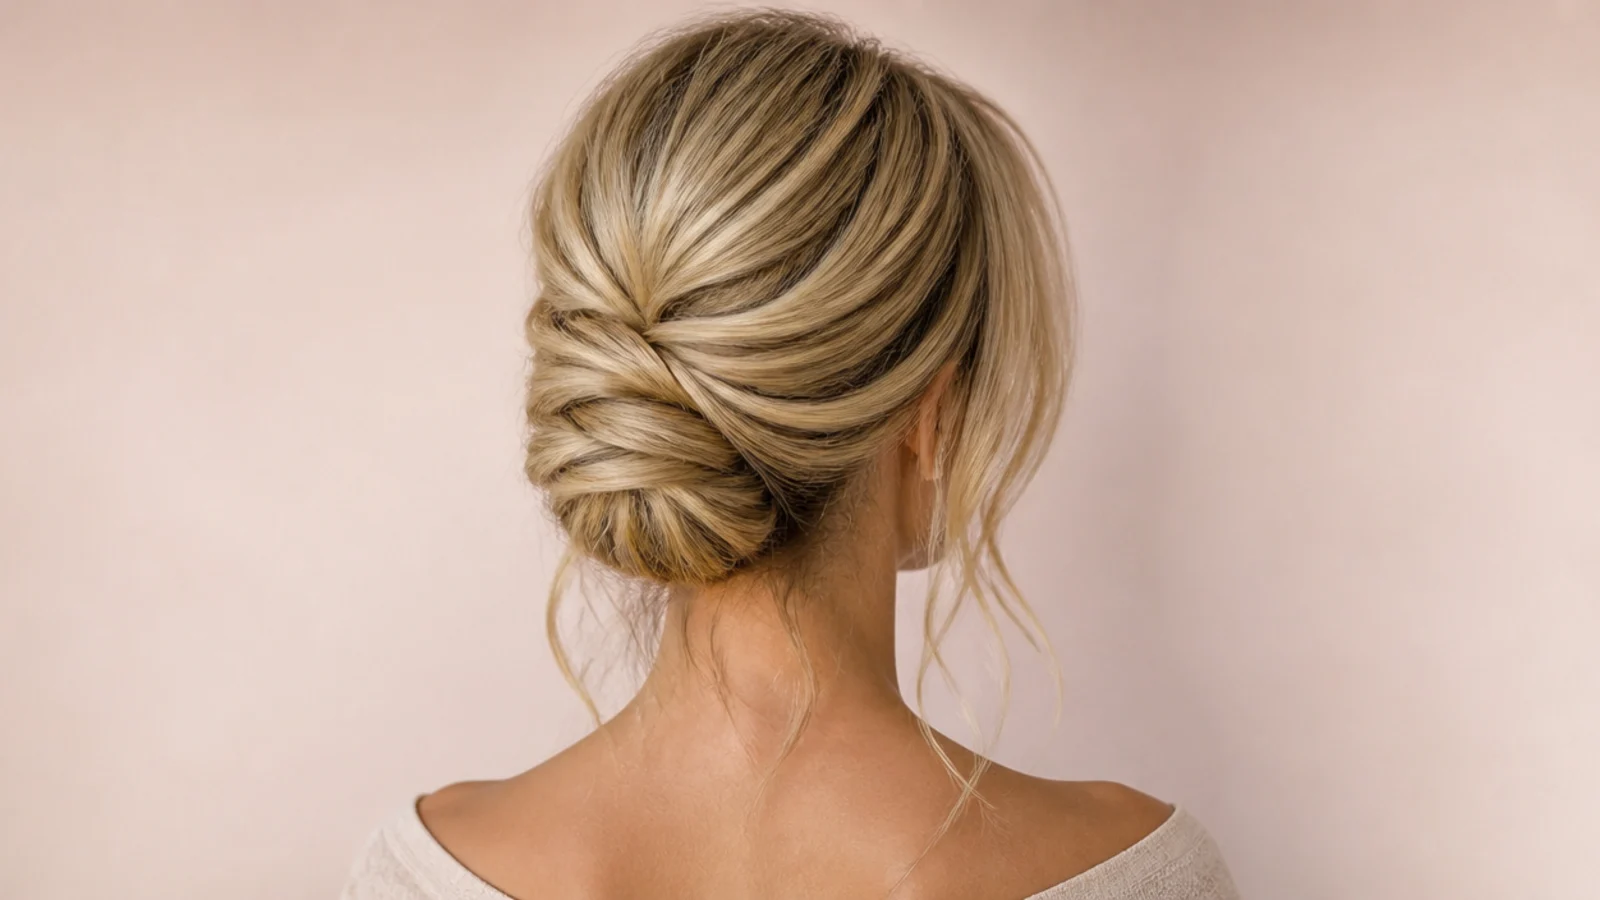
Unclip the curtain fringe, split it at the center and sweep each half toward the cheekbones, bending it outward with a 2 inch round brush and a hairdryer on cool for five seconds per side. Pull down the two face-framing tendrils and pass a curling iron over them away from the face. Finish with a flexible-hold hairspray held 10 inches away, misting the crown and the fringe separately. Do not use a freeze-hold spray on the fringe; it needs to move. Save the finished look next to your other hair up ideas.
Common mistake: Flooding the fringe with hairspray, which makes it separate into stiff spikes at the ends.
Pro tip: A cool shot from the dryer sets the fringe bend far better than more product does.
The Signature Sabrina Carpenter Hair Up Look, Broken Down
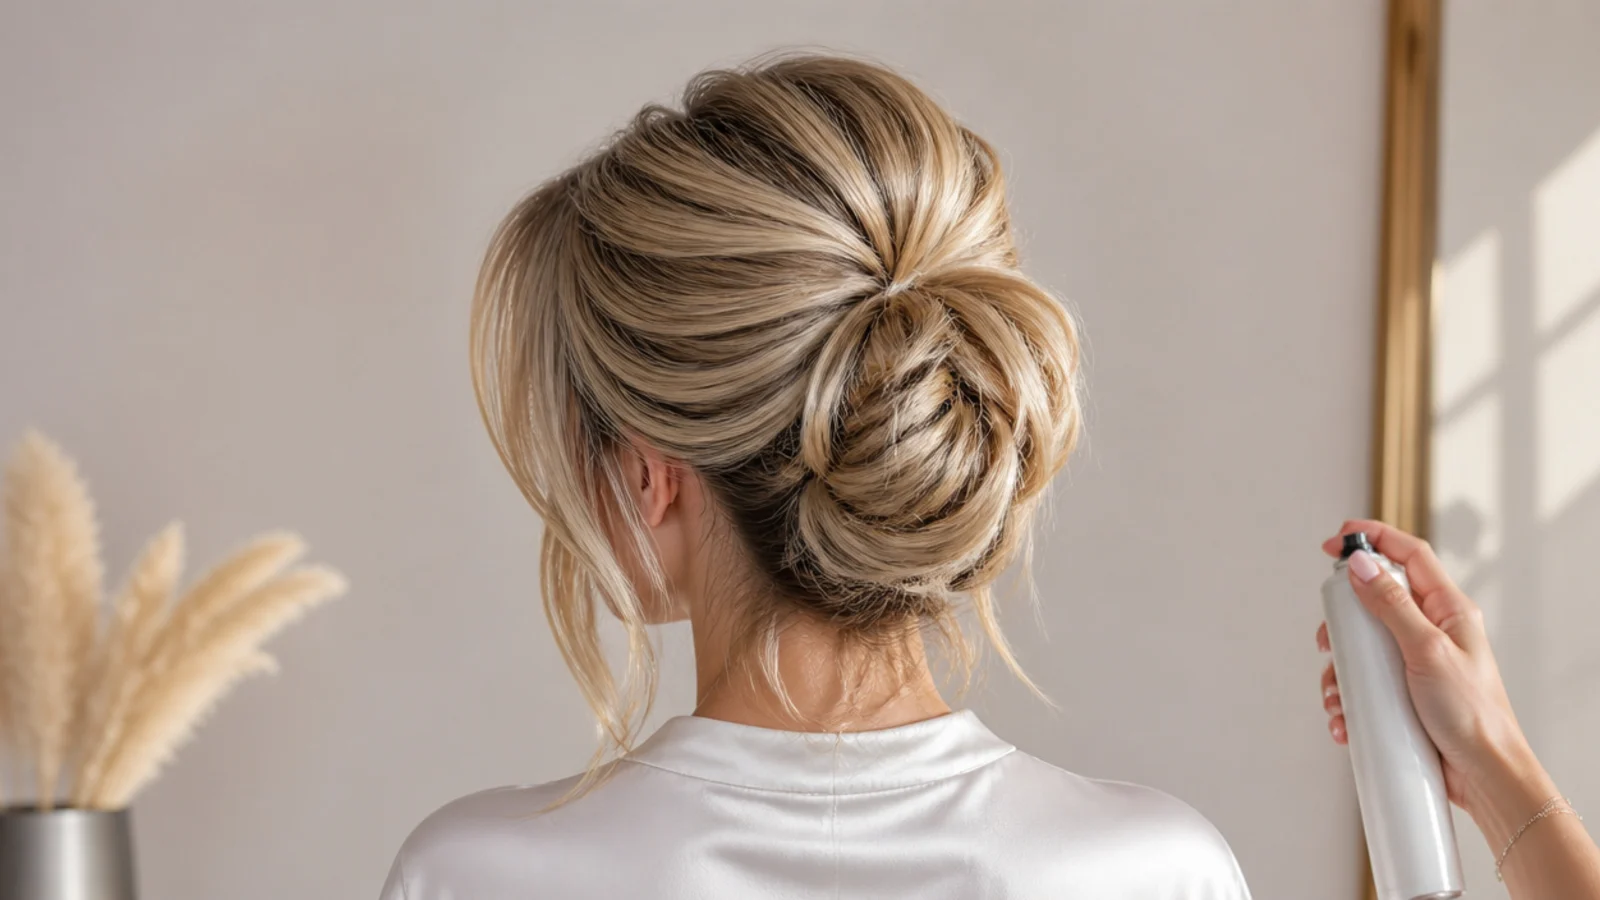
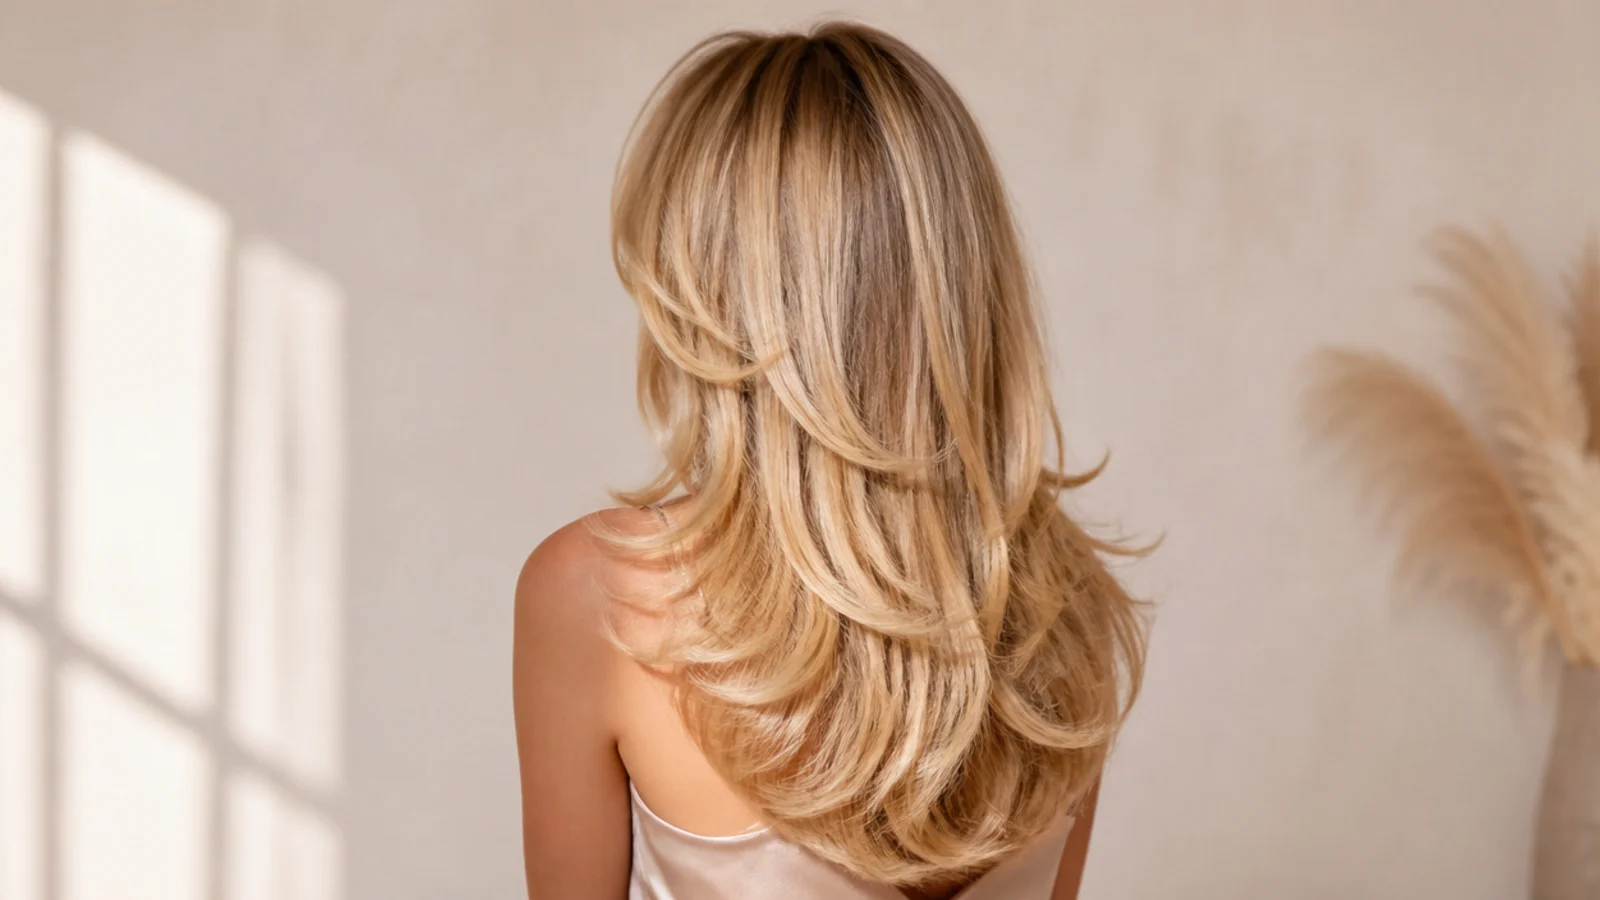
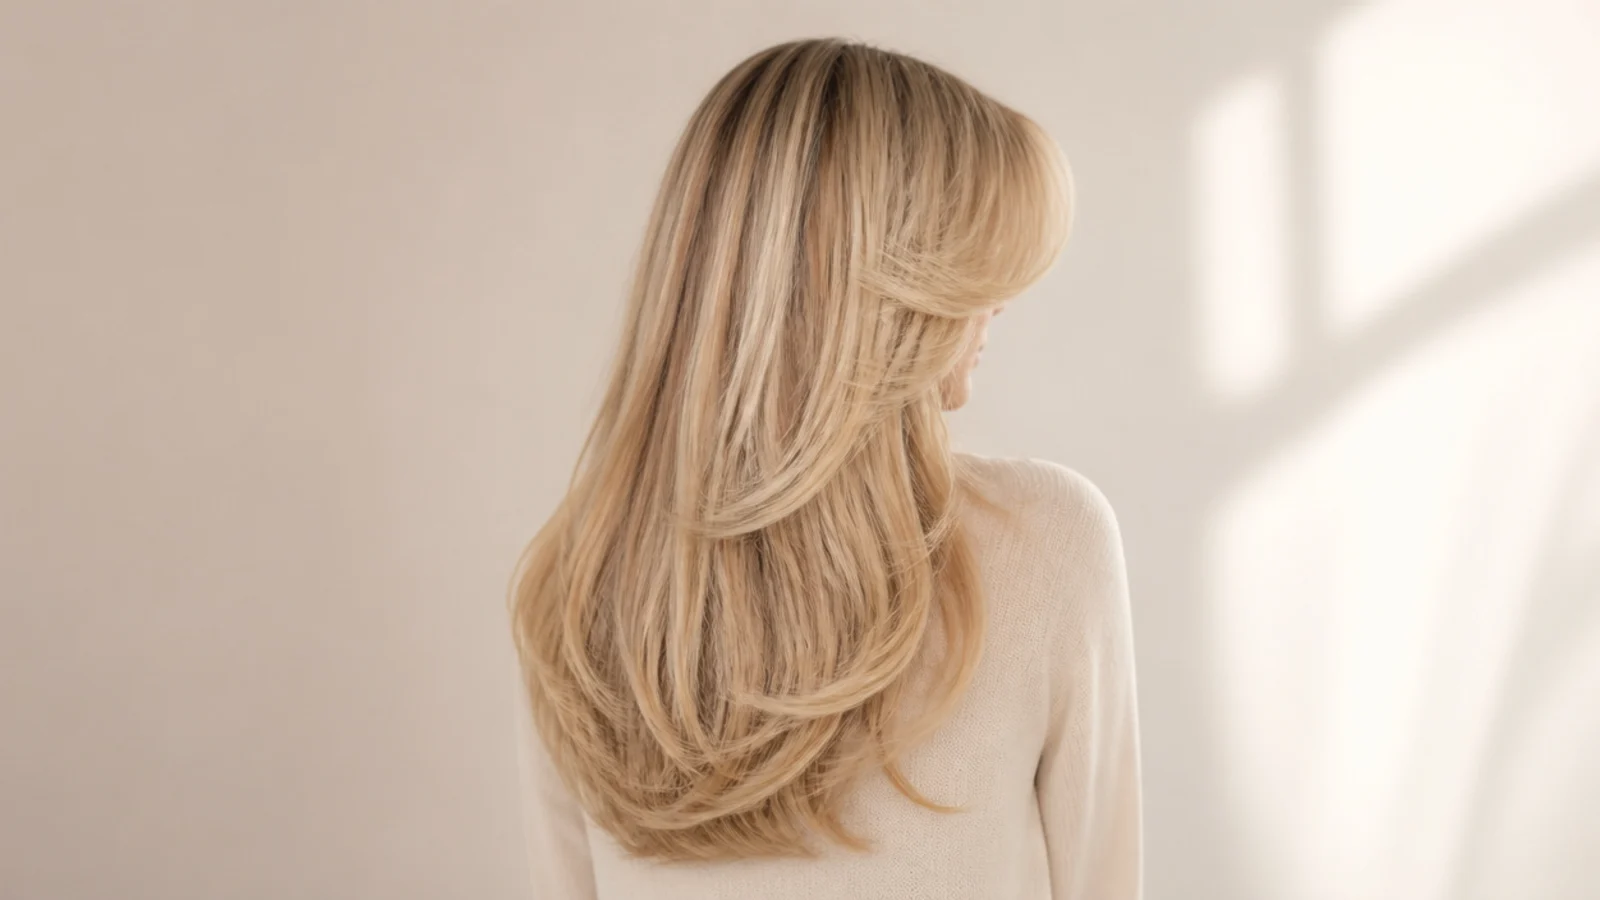
Strip her updos back and there are only three components. First, real volume at the crown: the top section is teased at the roots and smoothed over, so the head shape reads as a soft dome rather than a flat scrape-back. Second, the curtain fringe is always out, splitting at the center and sweeping toward the cheekbones, which keeps the front soft no matter how structured the back is. Third, the ends are never glass-smooth; whether it is a bun, a knot or a faux bob, some texture is left visible so the shape looks lived-in. The base that makes all three possible is a long layered cut with face-framing layers starting around the jaw. Those jaw-length pieces are what fall out at the front when everything else goes up, and without them an updo looks bare at the temples. If you are building toward this from a different cut, start with the board hub and the layered mid-length cut that gives you the same internal shape at a shorter overall length.
Her Hair Colors and How to Ask a Colorist for Them
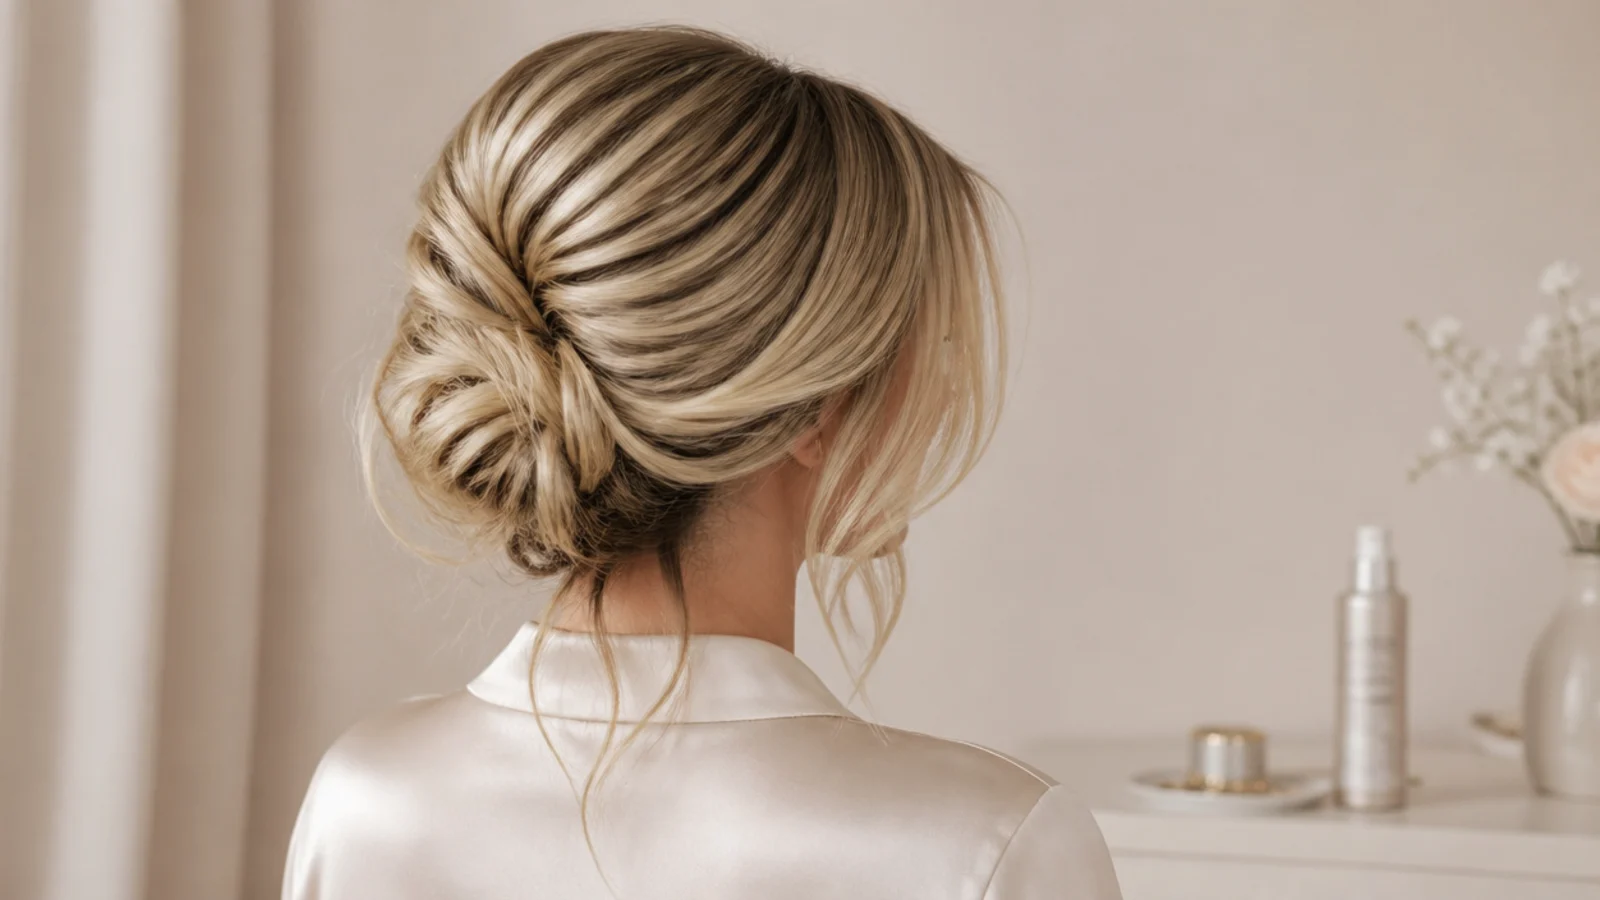
An updo shows color in a way loose hair does not, because coiling and folding stacks the mid-lengths and ends right next to the roots. That is why the shade she is most seen in works so well pinned up: a buttery blonde through the lengths with a soft shadow root, so the demarcation line disappears inside a bun instead of drawing a hard ring around it. To ask for it, use color-family language rather than a celebrity name. Say you want a buttery or golden blonde through the mid-lengths and ends, a soft shadowed root two levels deeper than the lengths, and brighter money-piece brightness only around the face-framing sections. If your skin reads cooler, ask for a cool beige blonde instead of buttery, which keeps the same brightness without gold. Bring a photo of the back of an updo, not just the front, so your colorist can see where the depth sits. Her documented dark looks were wigs rather than dye, which is worth knowing before you commit; the full context is in the black hair guide and the brown hair guide.
The Blowout at Home That Makes an Updo Hold
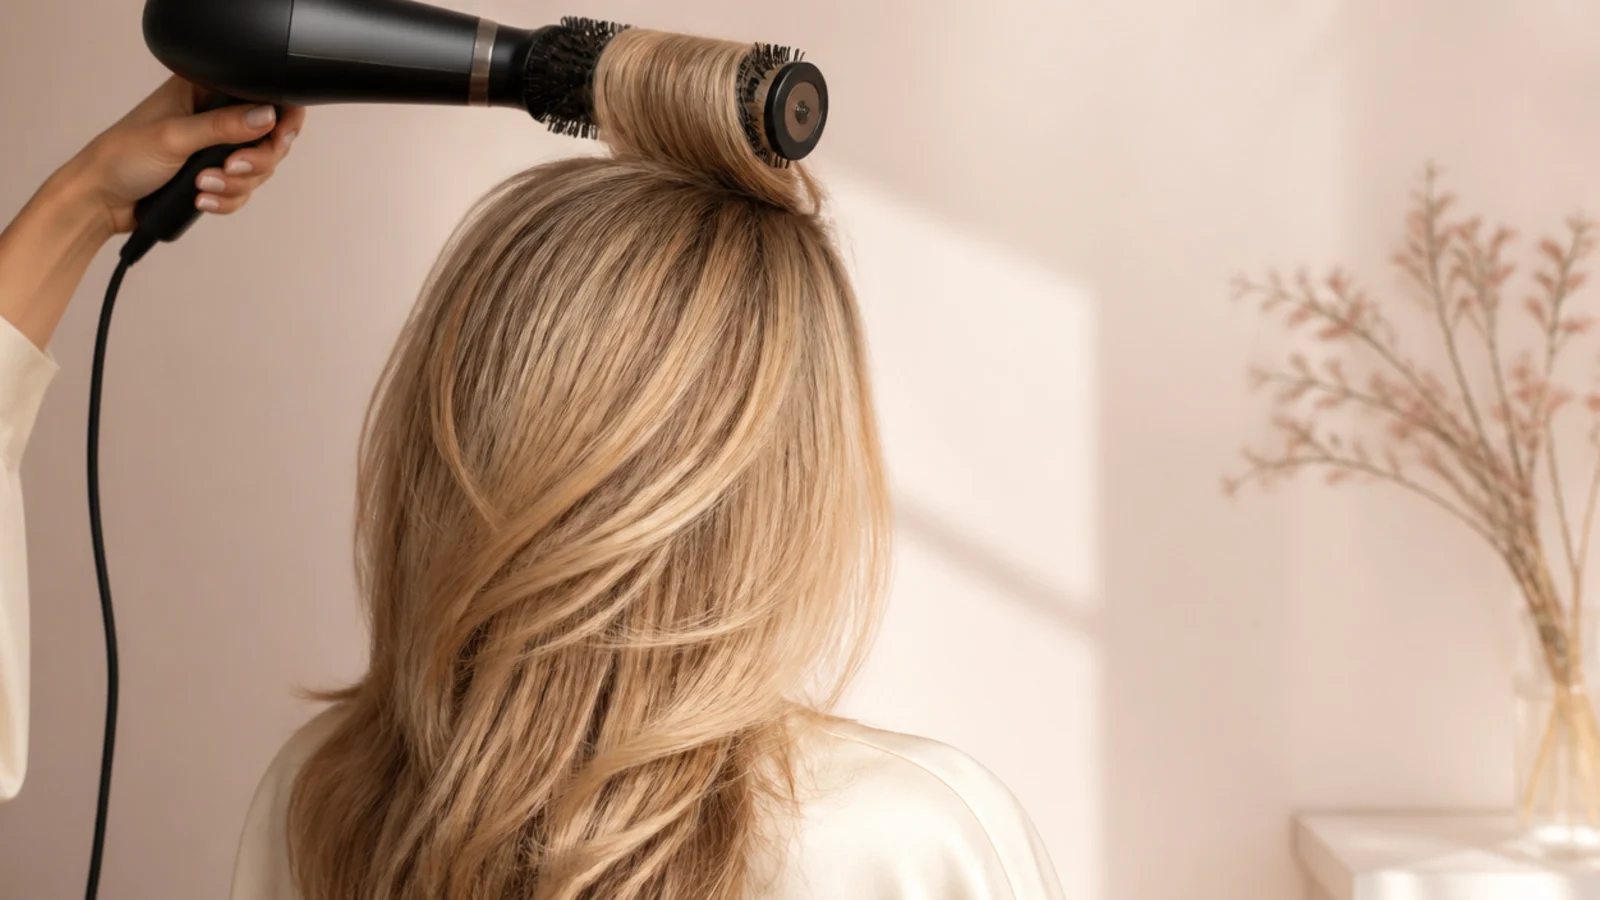
An updo built on limp hair fails in an hour, so the blowout is not optional prep, it is the structure. Work on hair that is about 80 percent dry, and take sections no wider than the barrel of your round brush; a 2 inch brush means 2 inch sections. Anything wider and the heat never reaches the middle of the section, so the root lift you need never sets. Overdirect each crown section straight up and hold the dryer nozzle pointing down the hair shaft, following the brush from root to end. When the section is dry and still wrapped on the brush, hit it with the cool shot for five seconds before you unroll. That cool shot is what locks the bend in, and it is the step people skip most. Do the crown first while your arms are fresh, then the sides, then the fringe last with the smallest brush you own. Twenty to twenty-five minutes for a full head. The complete method with tool alternatives is in the step-by-step tutorial.
Which Updo Suits Your Hair Type and Face Shape
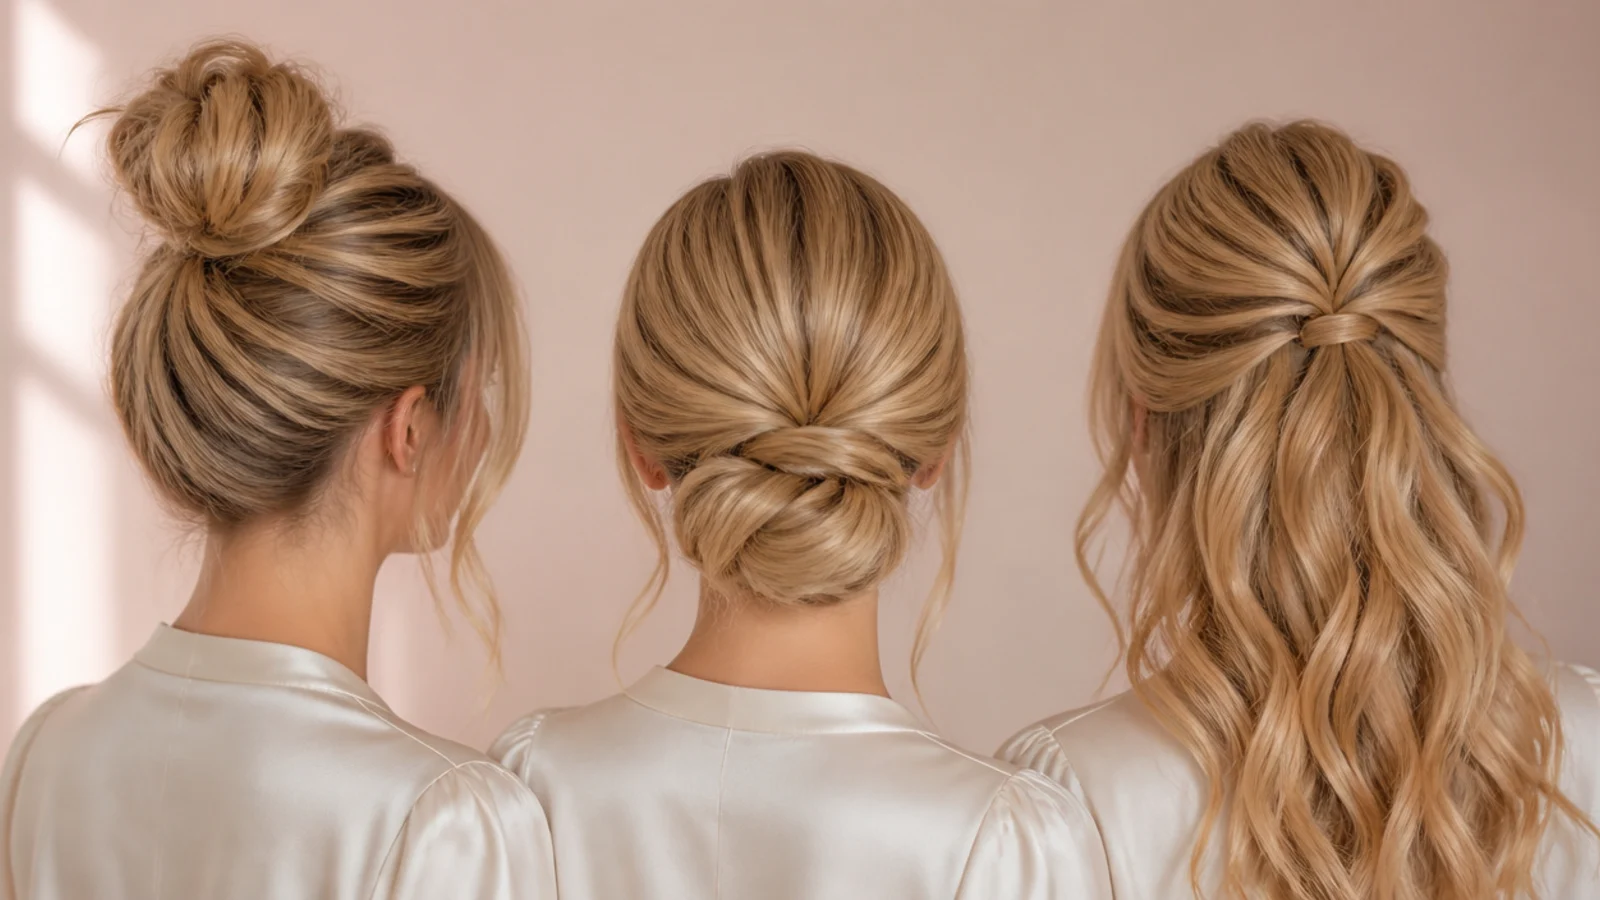
Fine hair holds a low bun and a half-up far better than a big high bun, because a small amount of hair coiled tightly at the nape looks intentional while the same amount stretched into a high bun looks sparse. Tease the roots and choose the chignon. Thick hair has the opposite problem: a chignon becomes a heavy ball that pulls at the pins, so split the hair into two sections and build two coils pinned together, or go high where the weight sits above the pull point. For face shape, a round face is flattered by height at the crown and the fringe kept long enough to skim the cheekbones, which lengthens the whole frame; a long or oblong face is better served by a low bun with width at the sides and a fuller fringe. Square jaws soften under a half-up with tendrils released at the ears. Curly and coily textures should skip smoothing entirely and pin in clusters instead, as covered in the curly hair guide and the round face fringe guide.
The Cuts and Layers That Make These Updos Possible
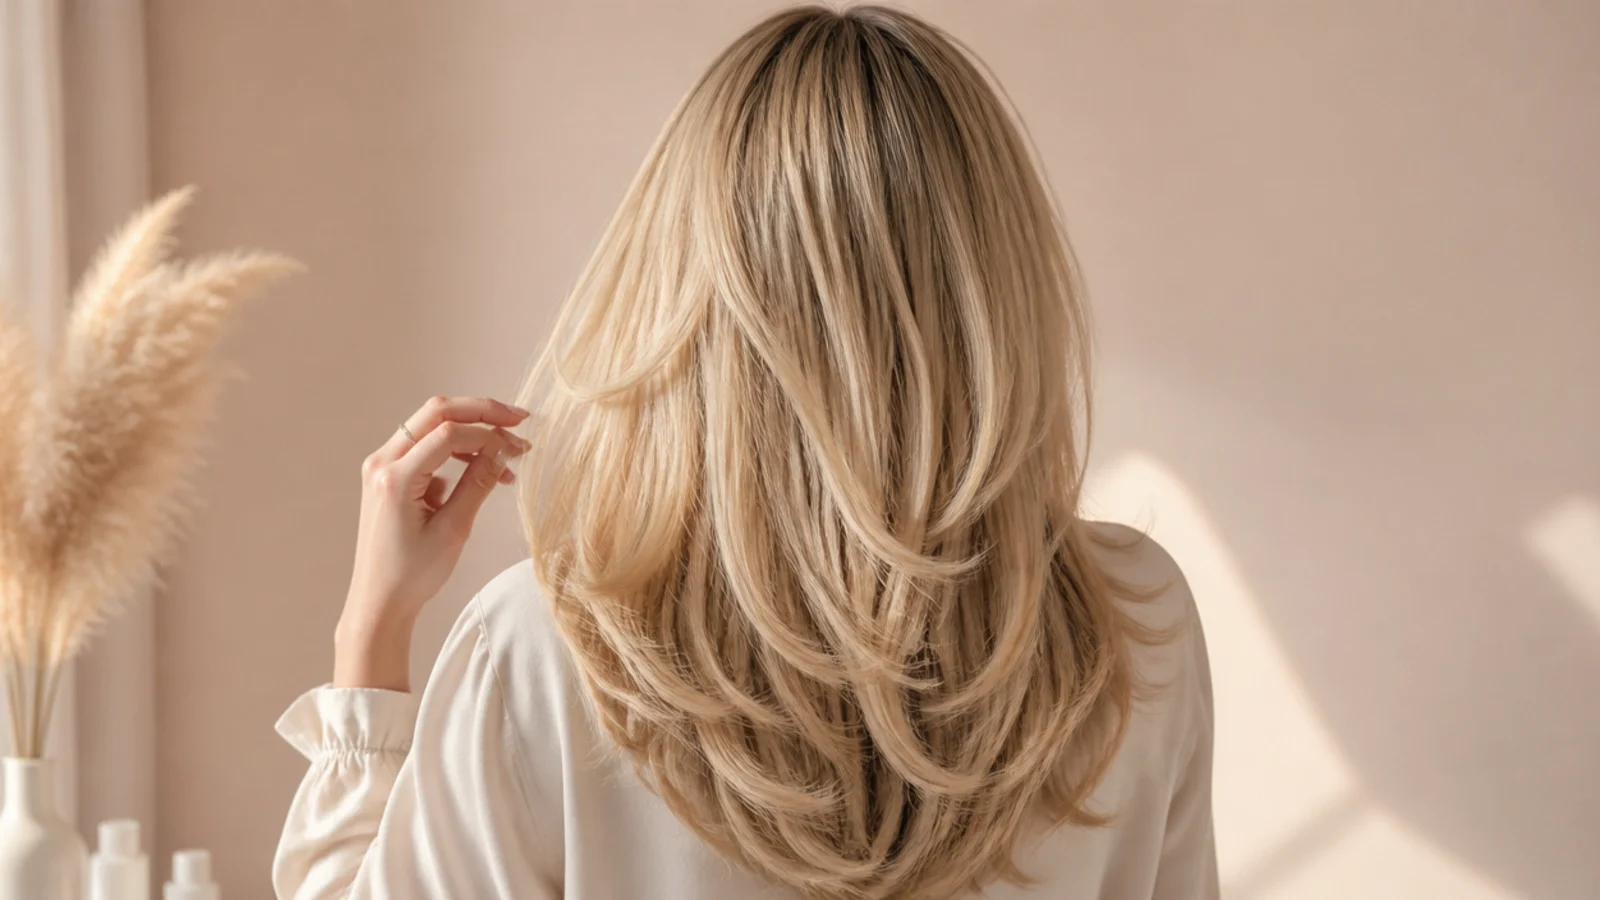
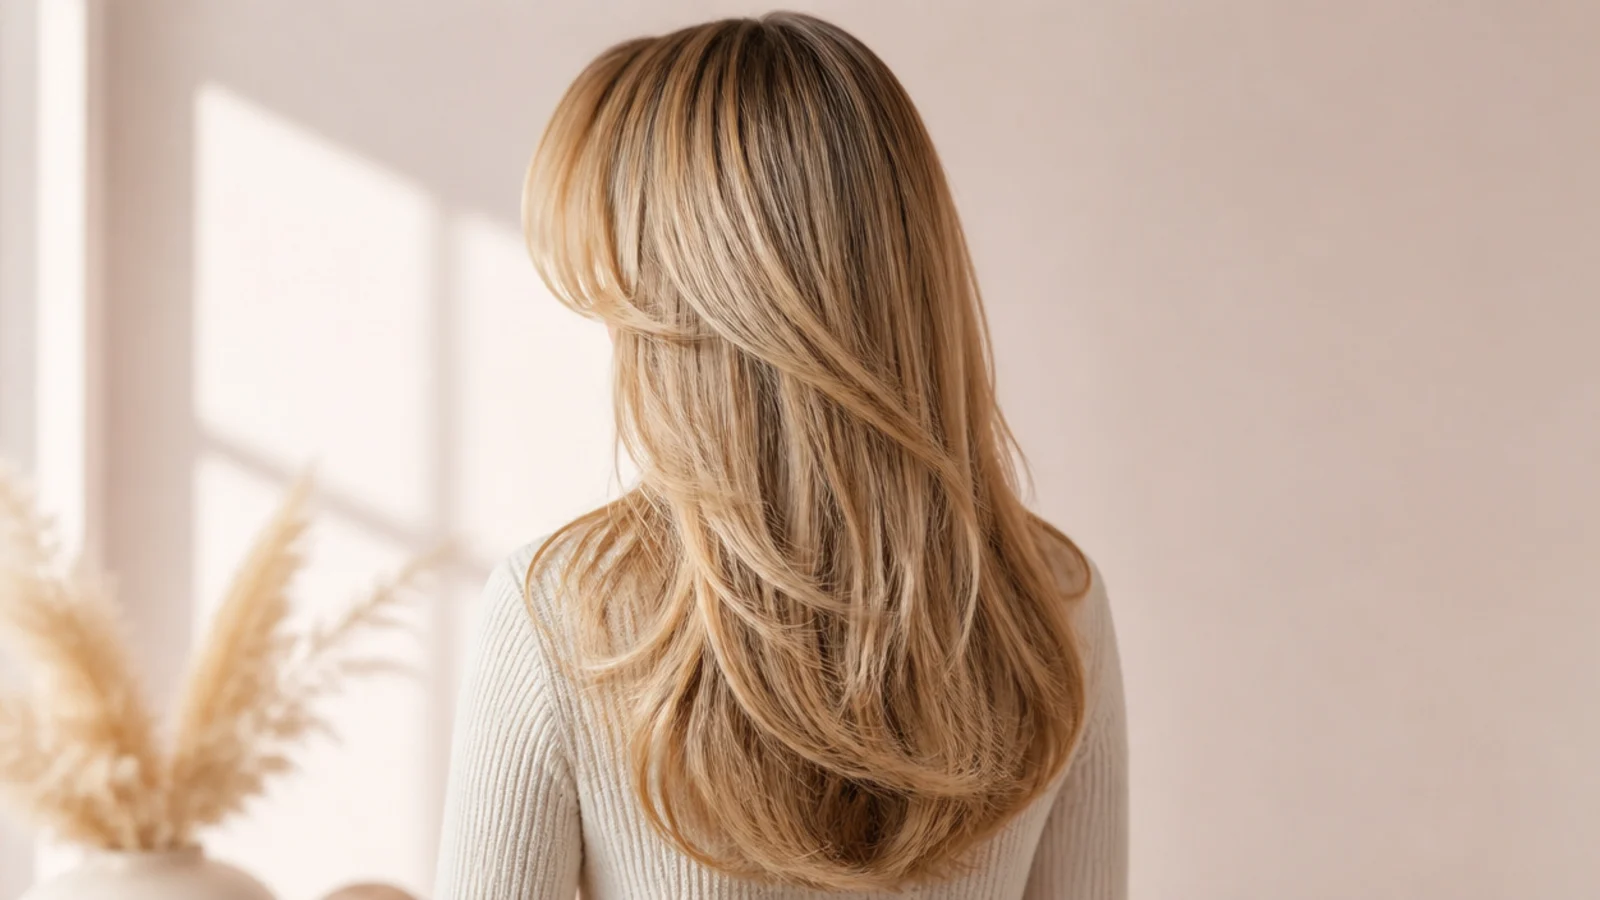
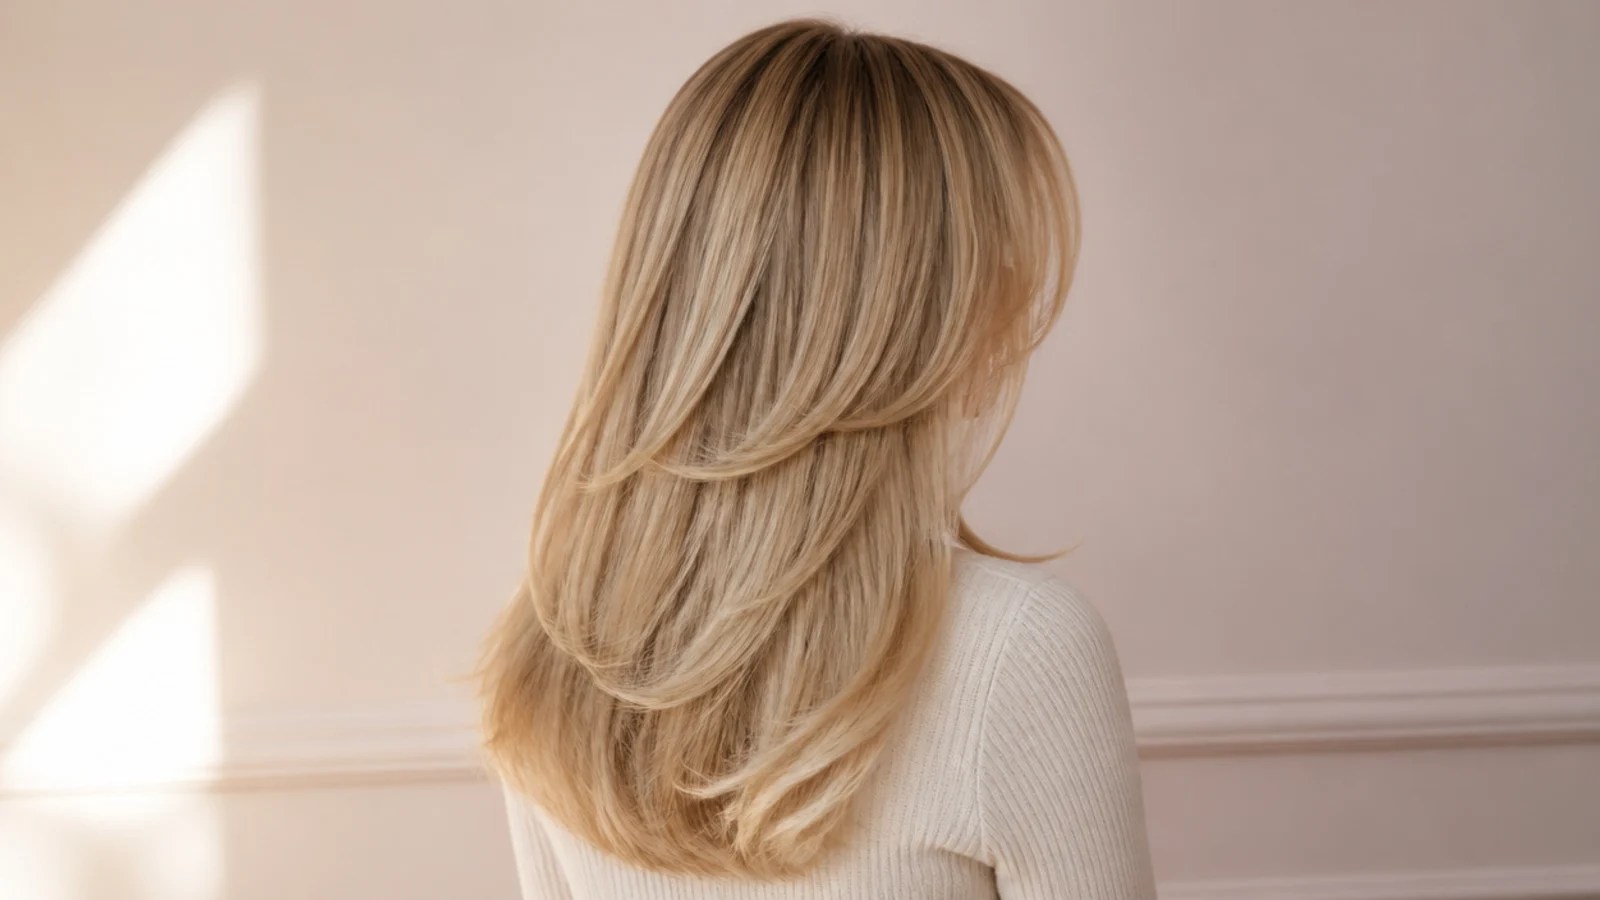
Ask for long layers with the shortest internal layer sitting around the collarbone, plus face-framing layers that start at the jaw and graduate down into the length. Those two things do different jobs. The internal layers remove weight so the hair can be teased and lifted without falling flat, which is what makes crown volume possible on medium and thick hair. The face-framing layers are what stay out at the front of every updo here, and they need to start high enough, at the jaw rather than the collarbone, or there is nothing short enough to escape the elastic. The curtain fringe itself should be cut to skim the lashes at its shortest point and blend into those jaw-length pieces at its longest, so it never looks bolted on. If you are growing a fringe out, the twisted crown and the half-up will carry you through the awkward stage better than any bun. See the face-framing layer guide for exact placement to show your stylist.
Copying It on Shorter, Thicker or Curlier Hair
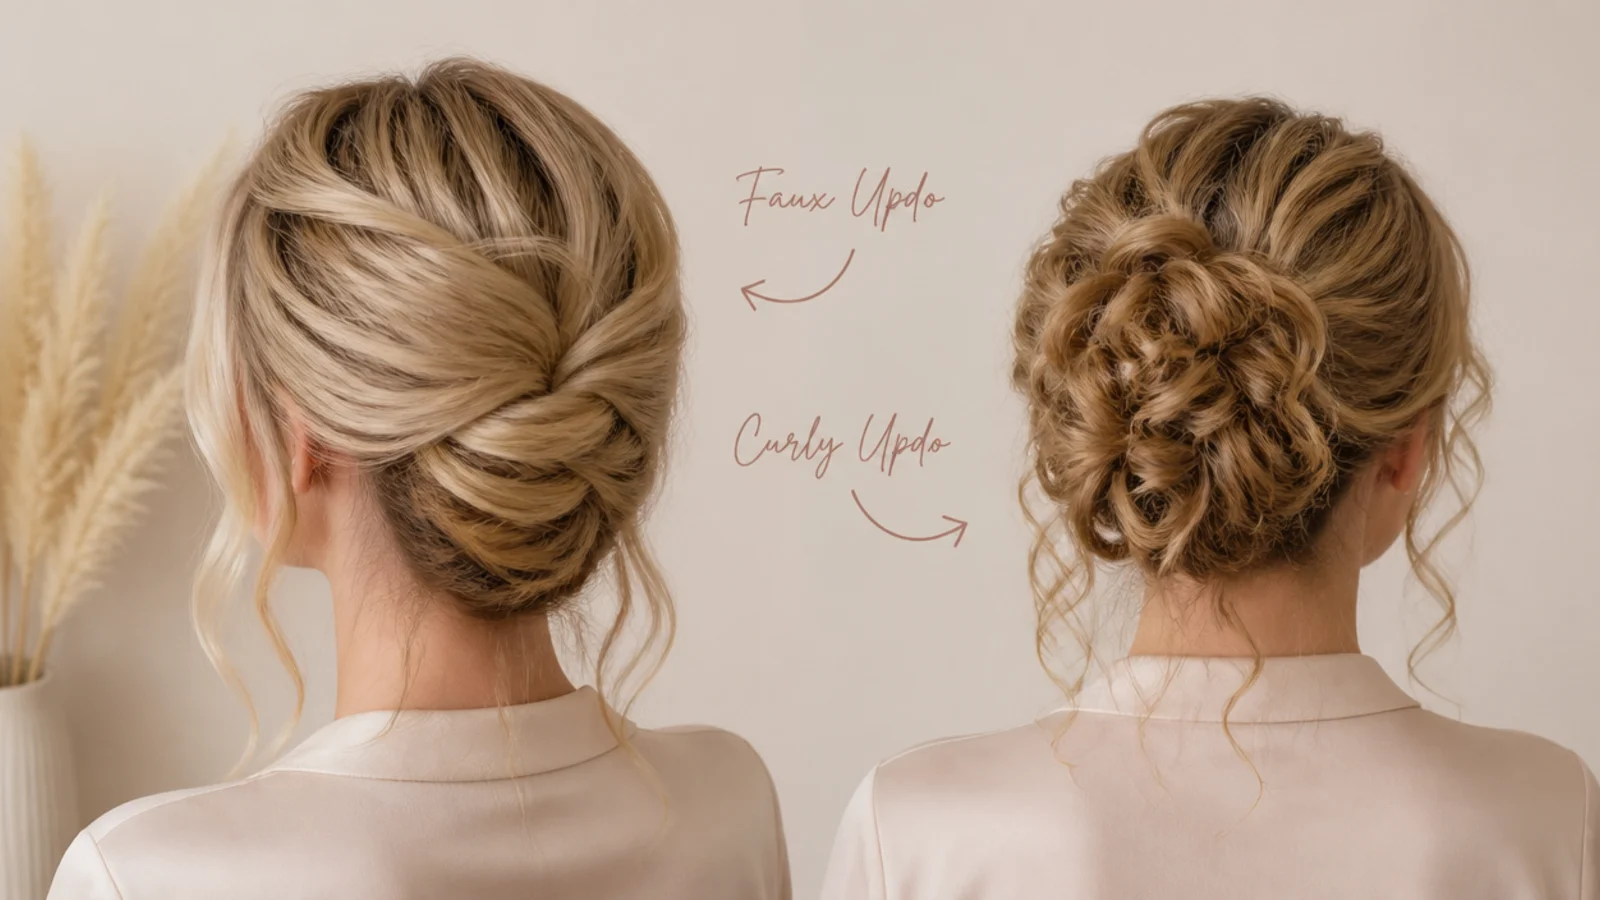
On chin or jaw-length hair, stop trying to gather and start stacking: curl the whole head, divide it into three horizontal panels, and pin each panel up under the one above it so the ends vanish. The result reads as an updo from every angle even though nothing is actually gathered, and it takes about 30 pins. On very thick hair, the enemy is bulk, so split every bun into two smaller coils pinned against each other rather than one large one, and skip the tease entirely because you already have the density. On curly and coily hair, do not smooth: pin defined curl clumps in loose twists and let the ends spring free, which keeps definition instead of fighting it. Second-day curls hold pins far better than freshly styled ones. And on all three, the fringe rule still applies, though on shorter hair the fringe has to be re-cut shorter too, or it will overwhelm the smaller silhouette. The bob-length curtain bangs guide covers that recut, and the low messy ponytail is the easiest shorter-hair fallback.
Frequently Asked Questions
How do you get Sabrina Carpenter's hair up look?
Start with day-two or texture-sprayed hair, clip the curtain fringe and two face-framing pieces out of the way, tease the crown roots for height, curl the lengths in 2 inch sections, then gather to a crown, mid or nape anchor and pin. Release the fringe last and sweep it toward the cheekbones with a cool shot from the dryer.
What updo does Sabrina Carpenter wear on the red carpet?
The most recognizable is a pinned faux bob, where long hair is curled, folded under at the nape and pinned so the outline reads as a chin-length blunt bob without any hair being cut. She has also been seen in a high volumized bun and a soft curly pinned updo. All of them keep the curtain fringe out at the front.
Can you do a Sabrina Carpenter updo with bangs?
Yes, and the bangs are the point. Every version of this look leaves the curtain fringe free, split at the center and sweeping toward the cheekbones. Take the fringe from a triangular section about 2 inches back from the hairline and clip it forward before you gather anything else, then style it last with a round brush and cool air.
How long does hair need to be for these updos?
Collarbone length or longer for a full bun or chignon, and shoulder length or longer for the faux bob so there is enough to fold under. Half-up styles, the claw-clip twist and the bow ponytail work from just past the shoulder. Chin and jaw-length bobs can do the stacked pinned version, which fakes an updo in three horizontal panels.
How do you make an updo hold on fine hair?
Three things: work on day-two hair or mist dry texture spray at the roots, backcomb the root area of any section you will pin over, and choose a low bun or half-up rather than a big high bun. Curling the lengths first also matters, because curled hair grips itself while straight fine hair slides out of pins.
Is Sabrina Carpenter naturally blonde?
Her natural color is reported as a medium blond that is lifted and brightened with highlights, particularly around the face. In practical terms, if you want the same effect, ask your colorist for a buttery or golden blonde through the lengths with a soft shadowed root and brighter money-piece pieces at the front rather than an all-over bleach.
Did Sabrina Carpenter dye her hair black or brown?
Her documented dark looks were wigs rather than permanent color, which is worth knowing before you book an appointment to copy them. If you want to try a darker version of her cut and updos without commitment, a wig, a semi-permanent gloss or a root shadow are all reversible options, whereas going dark over lifted blonde is difficult to undo.
What tools do I need for a Sabrina Carpenter updo?
A 2 inch round brush and a dryer with a cool shot, a 1 inch curling iron, a fine-tooth teasing comb, 40 to 50 matte bobby pins in your blonde level, two spin pins, 2 inch fabric elastics, dry texture spray and a flexible-hold hairspray. A 4 inch matte claw clip covers the fastest version if you only buy one thing.
How do you hide bobby pins in an updo?
Match the pin color to your exact hair level, slide each pin in flat rather than at an angle, and always pin from underneath the shape upward so no pin head sits on the visible outline. Crossing two pins into an X at each anchor point holds longer than two parallel pins and needs fewer pins overall to stay put.
How long do these updos take to do?
The claw-clip French twist and the half-up take 5 to 8 minutes. The low bun, bow ponytail and messy bun run 5 to 12 minutes. The high volumized bun takes 12 to 15. The pinned faux bob and the side-part chignon are the longest at 25 to 40 minutes, plus 15 to 20 minutes of blow-drying and curling beforehand.
Which sabrina carpenter hair look are you saving?
Across all 15 of these Sabrina Carpenter hair up ideas, the same three moves keep repeating: build volume before you pin, leave the curtain fringe free at the cheekbones, and finish with a flexible-hold spray rather than a stiff one so the shape still moves. If you have fine hair, the texture-spray-and-tease prep in step two matters more than the updo you choose. If your hair is shorter than the collarbone, start with the claw-clip twist or the half-up bow instead of the full chignon. And if you want the base cut that makes all of this hold, the layered cut and curtain fringe is the thing to take to your stylist first. Save the two or three that match your length and start there.