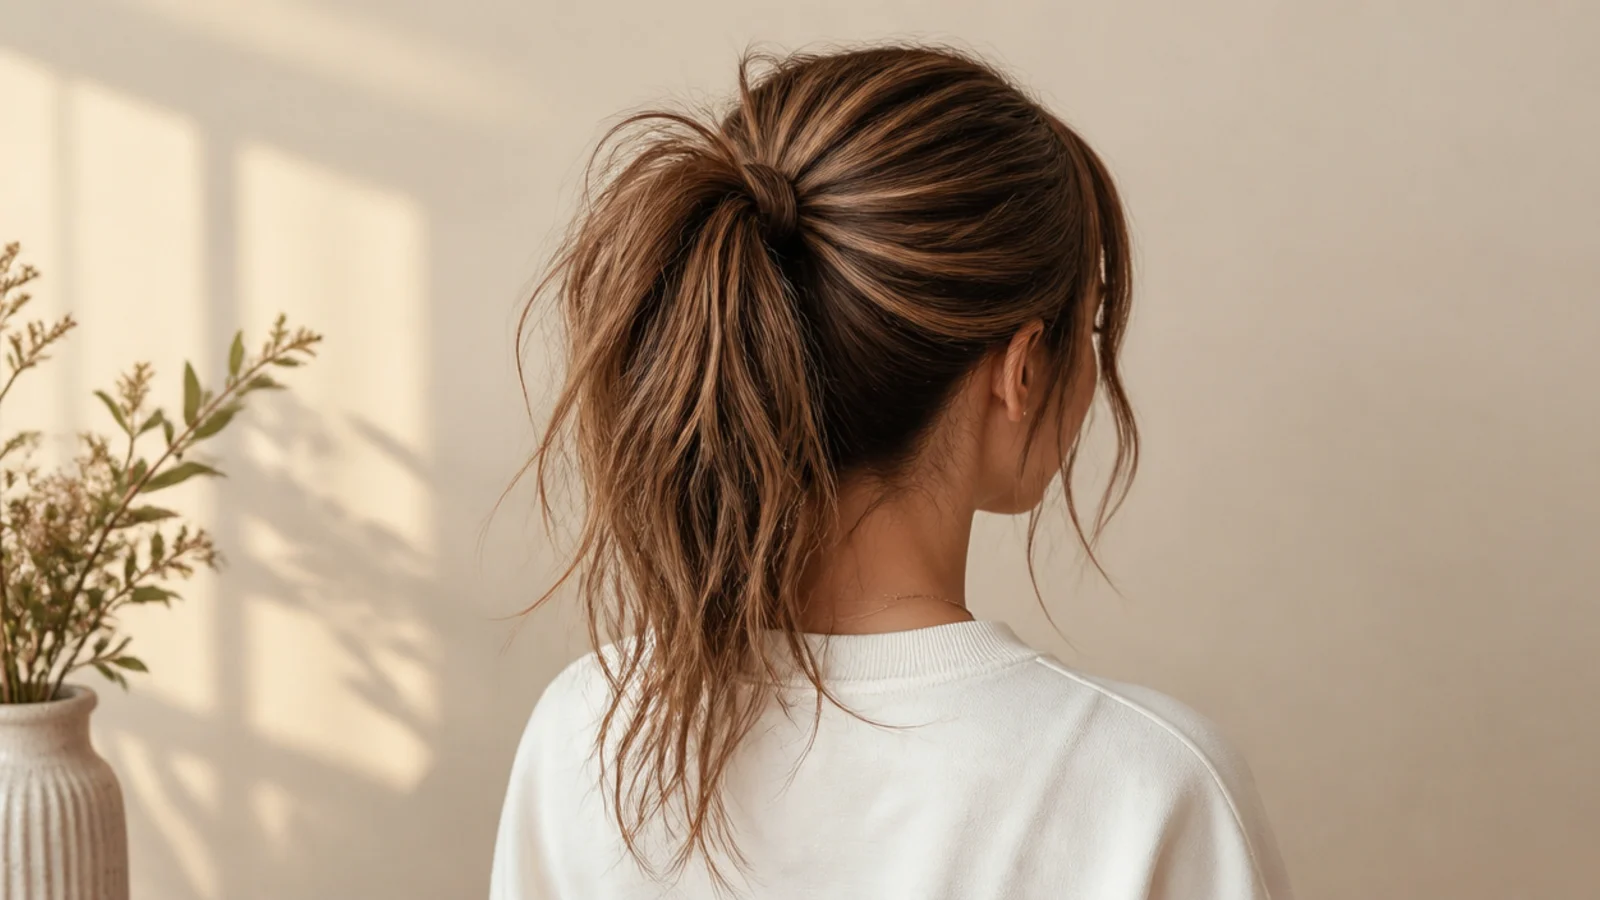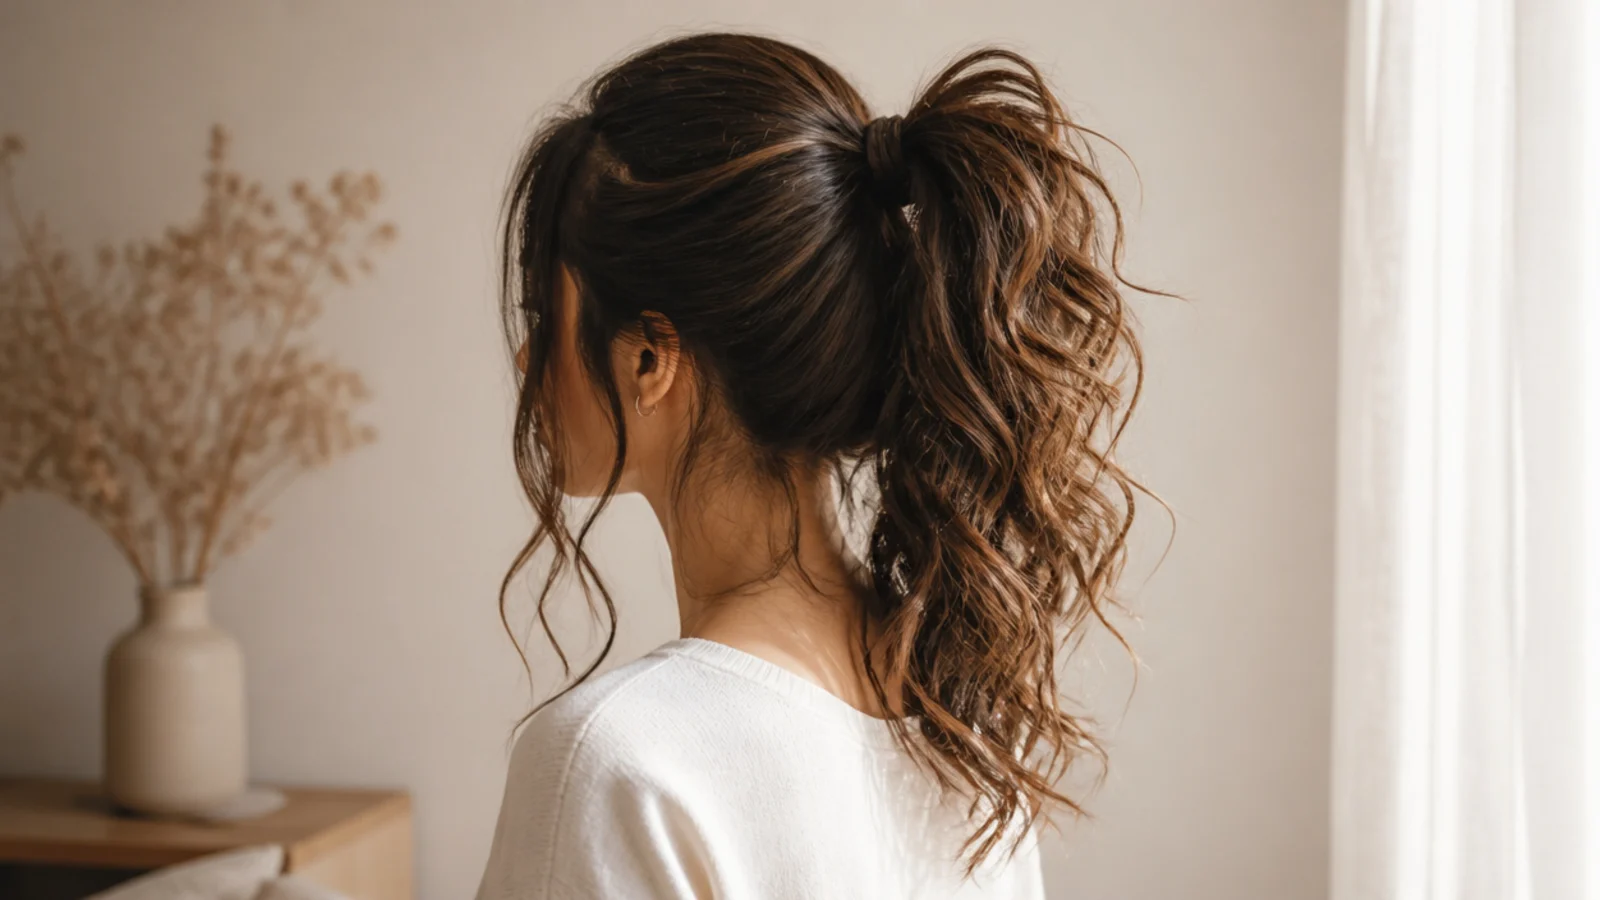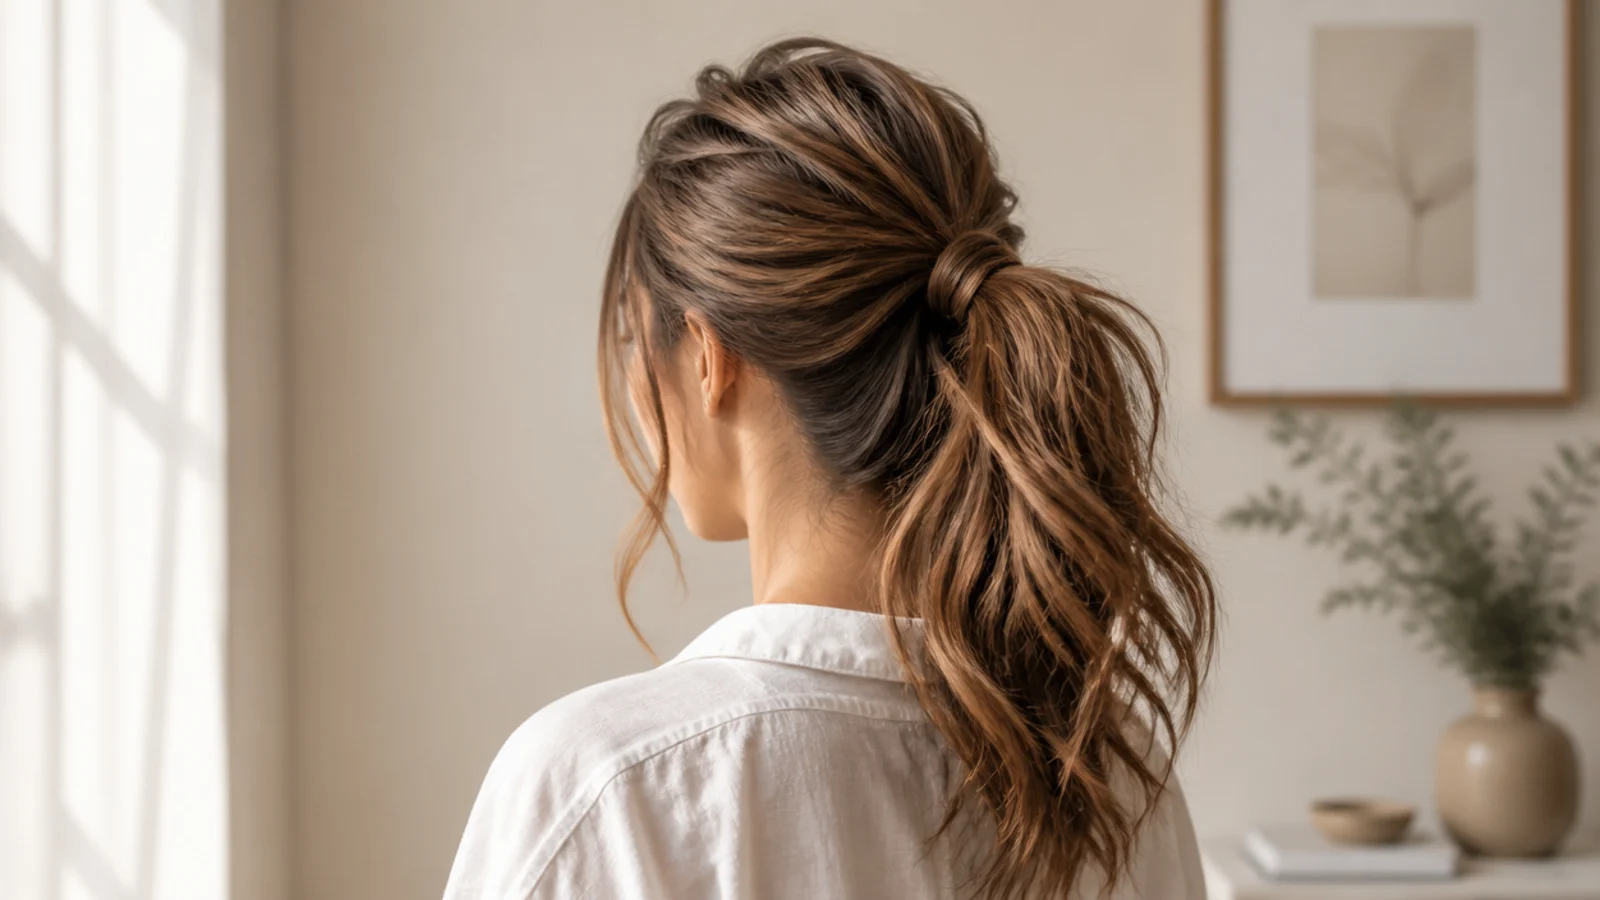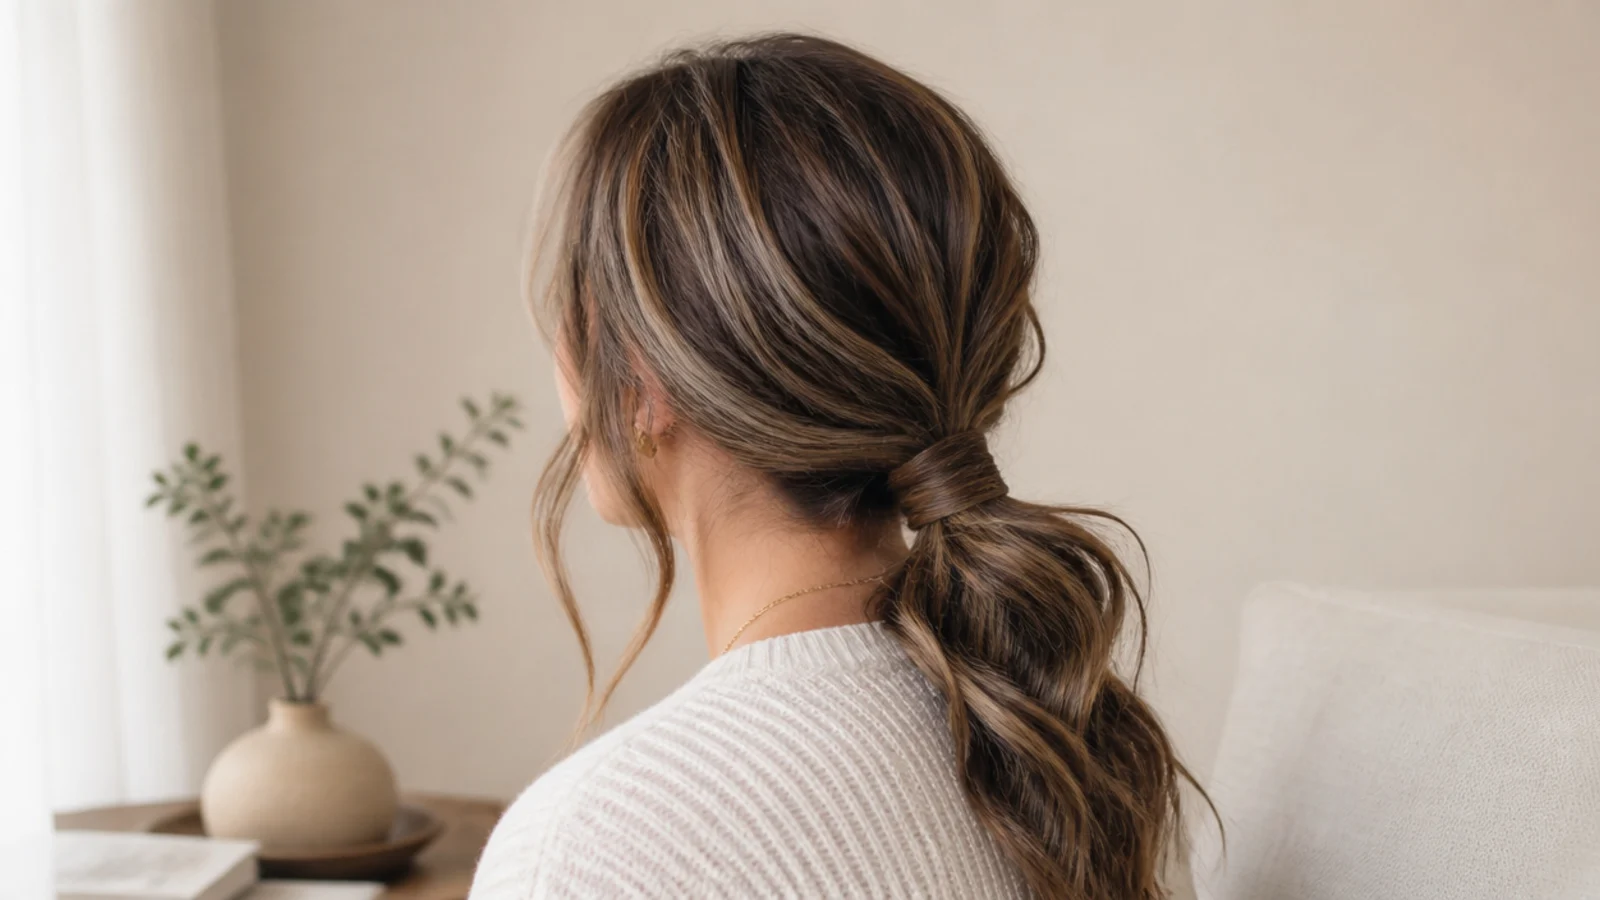
Quick Comparison
| Low Messy Ponytail | High Messy Ponytail | |
|---|---|---|
| Tie position | At the nape, level with or just under the occipital bone | At the crown, level with the top of the ears or higher |
| Overall effect | Soft, draped, quiet and grown-up | Lifted, energetic, face-tightening |
| Face shape it flatters | Round and square faces; the low line stops adding height | Long and oval faces; the lift balances a shorter forehead |
| Volume needed | Minimal; a crown tug is usually enough | High; needs backcombing plus a stacked or pinned base |
| Sagging risk | Low; gravity is already where the pony is | High; most high ponies drop half an inch within four hours |
| Scalp tension | Gentle, safe for daily wear | Higher pull at the hairline; alternate days to avoid tension headaches |
| Works on short hair | Yes, from about chin length with a bungee band and pins under the base | Rarely under shoulder length; the under-layers cannot reach the crown |
| Best occasion | Office, weddings, dinners, commutes and coat collars | Gym, weekends, going out and anywhere you want movement |
| Time to build | 3 to 5 minutes | 6 to 10 minutes with the volume steps |
1. Classic Low Messy Ponytail at the Nape
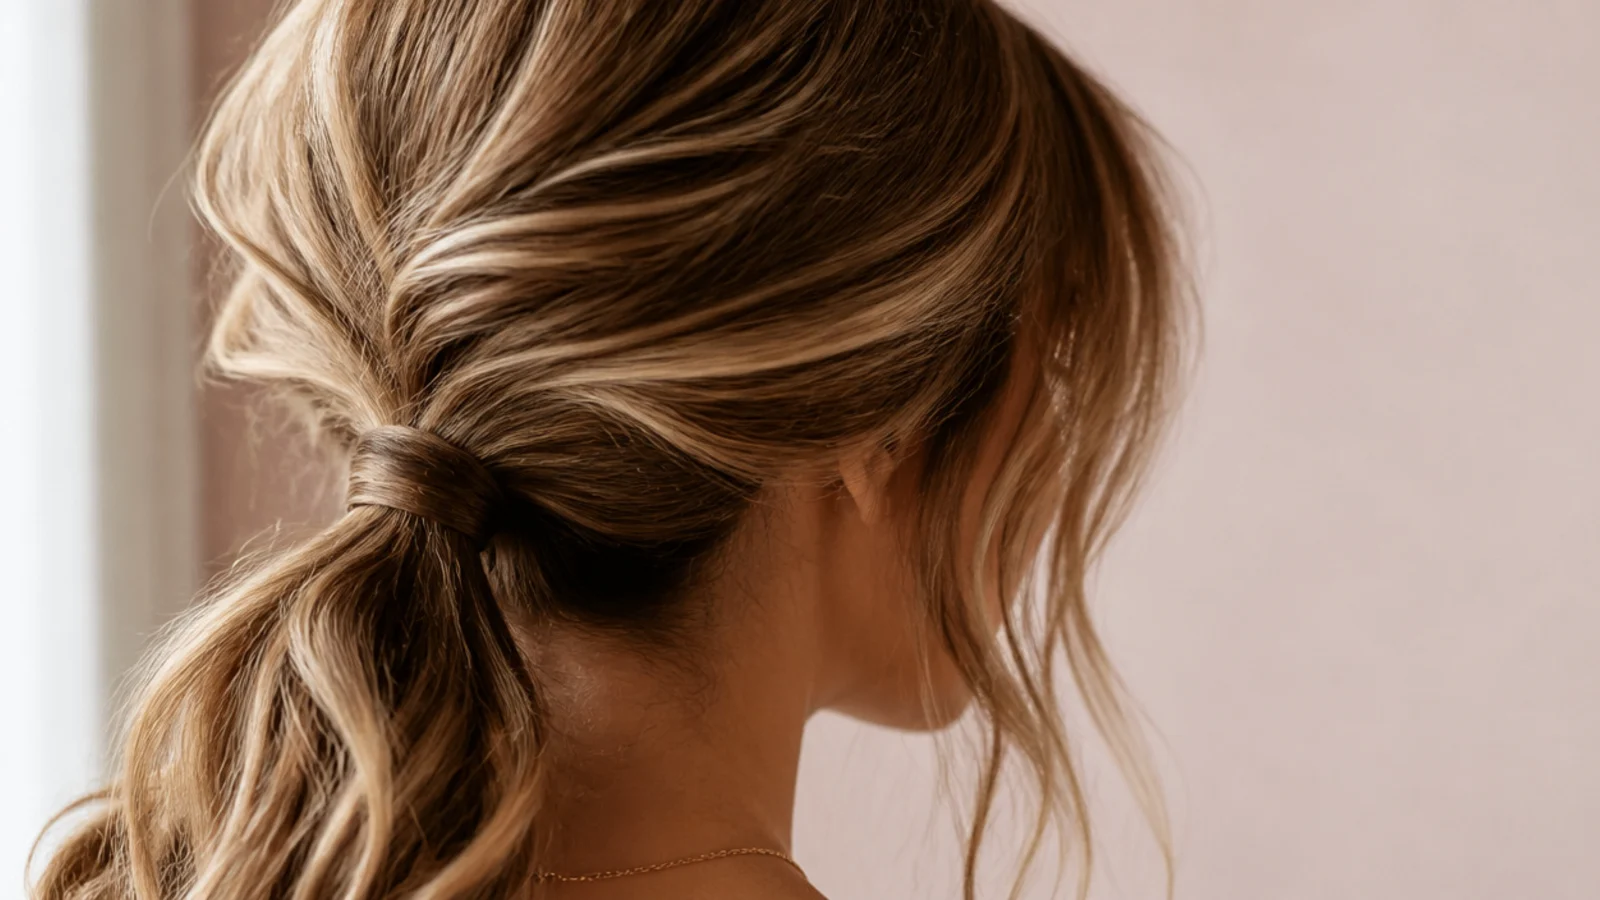
The base every other idea here builds on. Mist dry shampoo or texture spray through the roots and mid-lengths, finger-comb everything back without a brush so the surface keeps its grain, then gather at the nape, level with the bottom of your ears, and secure with a thin elastic. Once it is tied, pinch four or five small sections at the crown and tug them straight up half an inch each. Finish by easing out one piece in front of each ear.
Who it suits: Every hair length from a chin-length bob up, and anyone who wants five minutes flat.
Tip: Tie it slightly tighter than you want it. Loosening after the elastic is on is what creates the shape.
2. Low Messy Ponytail With the Elastic Wrapped
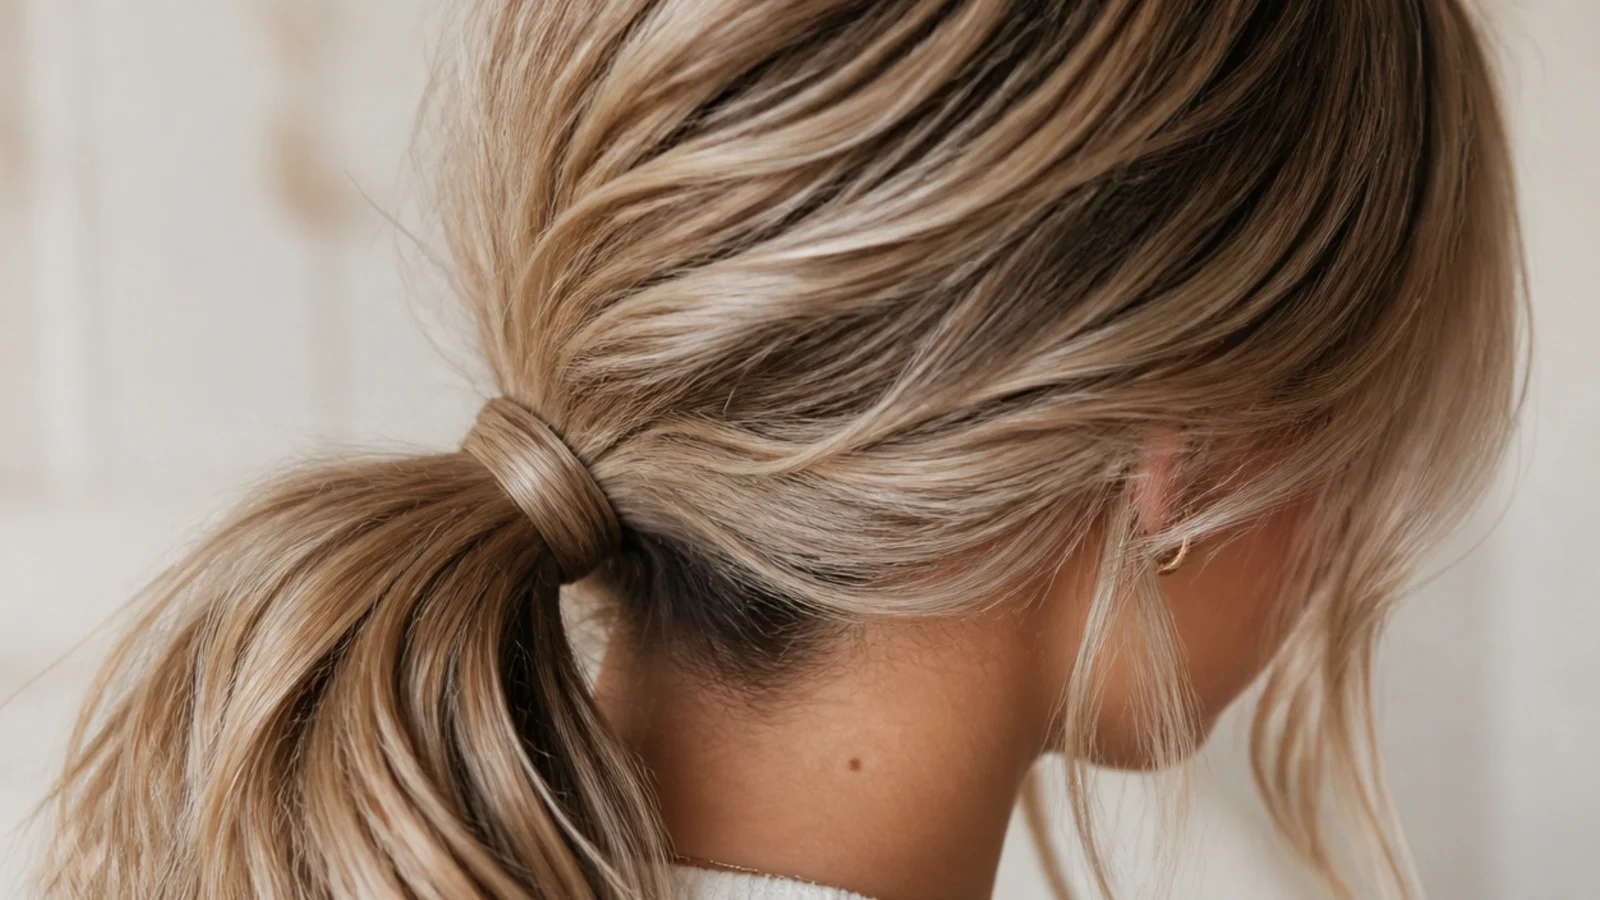
The single biggest polish upgrade a low ponytail can get, and it costs 20 seconds. Leave a half-inch section out at the underside of the tail before you tie. Secure the rest, then twist that section loosely and wind it twice around the elastic, wrapping downward so it lies flat. Tuck the end up under the base and pin it with a single bobby pin pushed toward your scalp. Hiding the tie is what makes a five-minute pony photograph like a blow-dry.
Who it suits: Anyone whose ponytail looks fine in the mirror and cheap in photos.
Tip: Use a clear or hair-colored elastic underneath so any gap in the wrap disappears instead of flashing black.
3. Low Messy Ponytail With Face-Framing Pieces
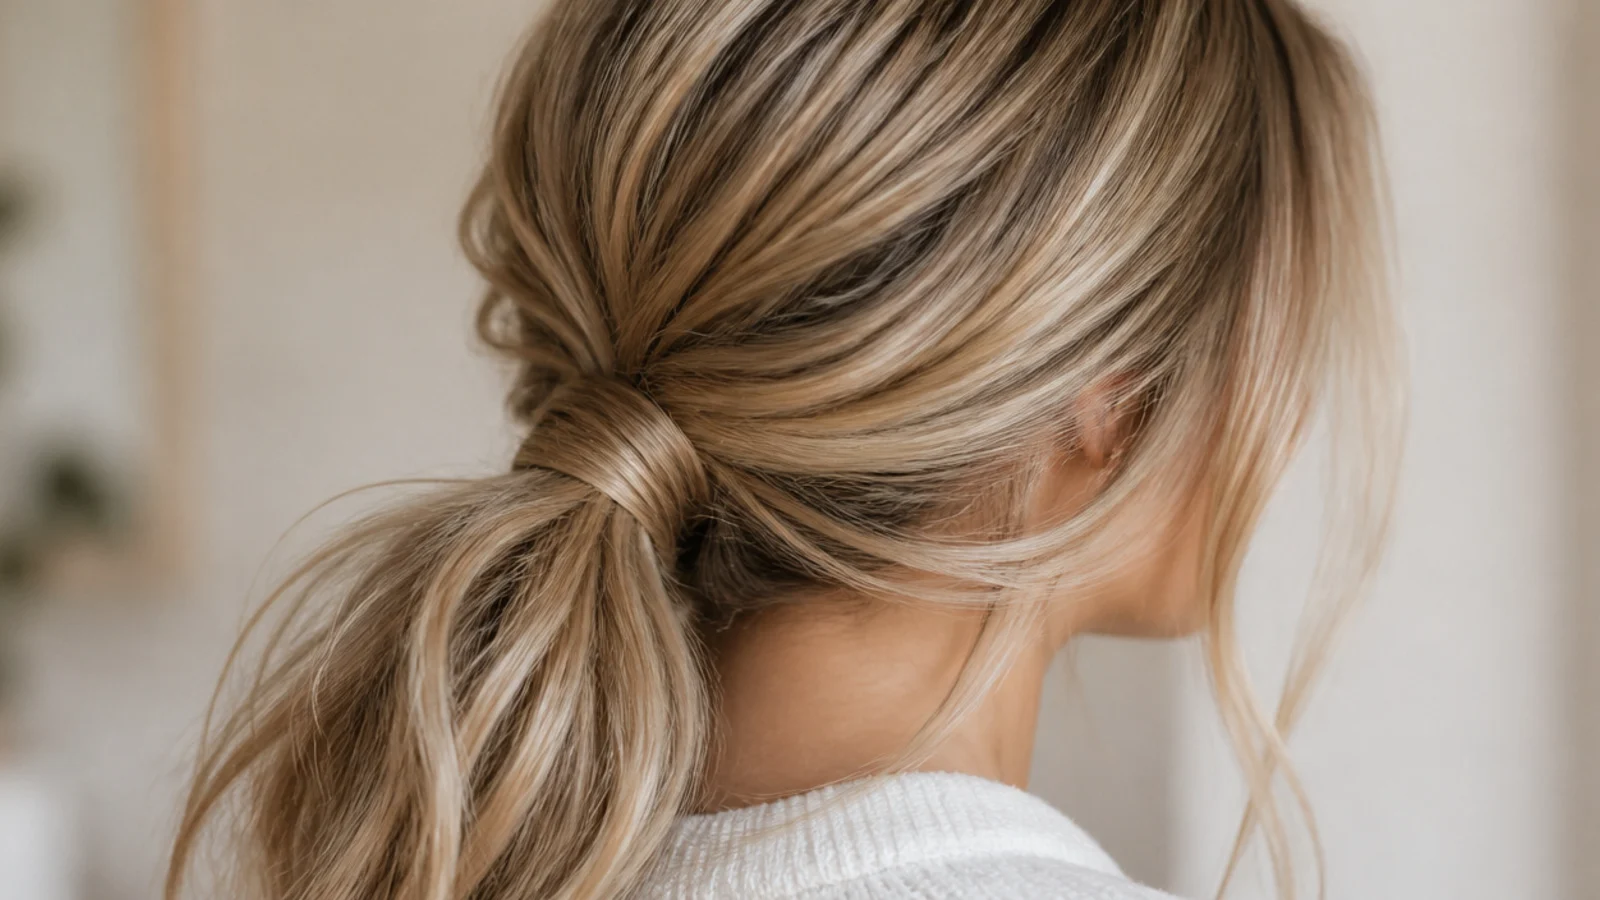
Build the classic nape pony, then pull out two front sections about a half-inch wide each, long enough to hit the cheekbone or jaw. Bend them with a 1.25-inch curling iron for two seconds, one bend away from the face, and let them cool before you touch them. The rule that matters: pull them out last, after the crown is loosened, so they sit where you placed them rather than where gravity dropped them. That timing is what reads intentional.
Who it suits: Round and square face shapes, since the vertical pieces narrow the frame.
Tip: Two pieces, not four. More than that stops looking like framing and starts looking like it fell down.
4. Low Messy Ponytail With Curtain Bangs
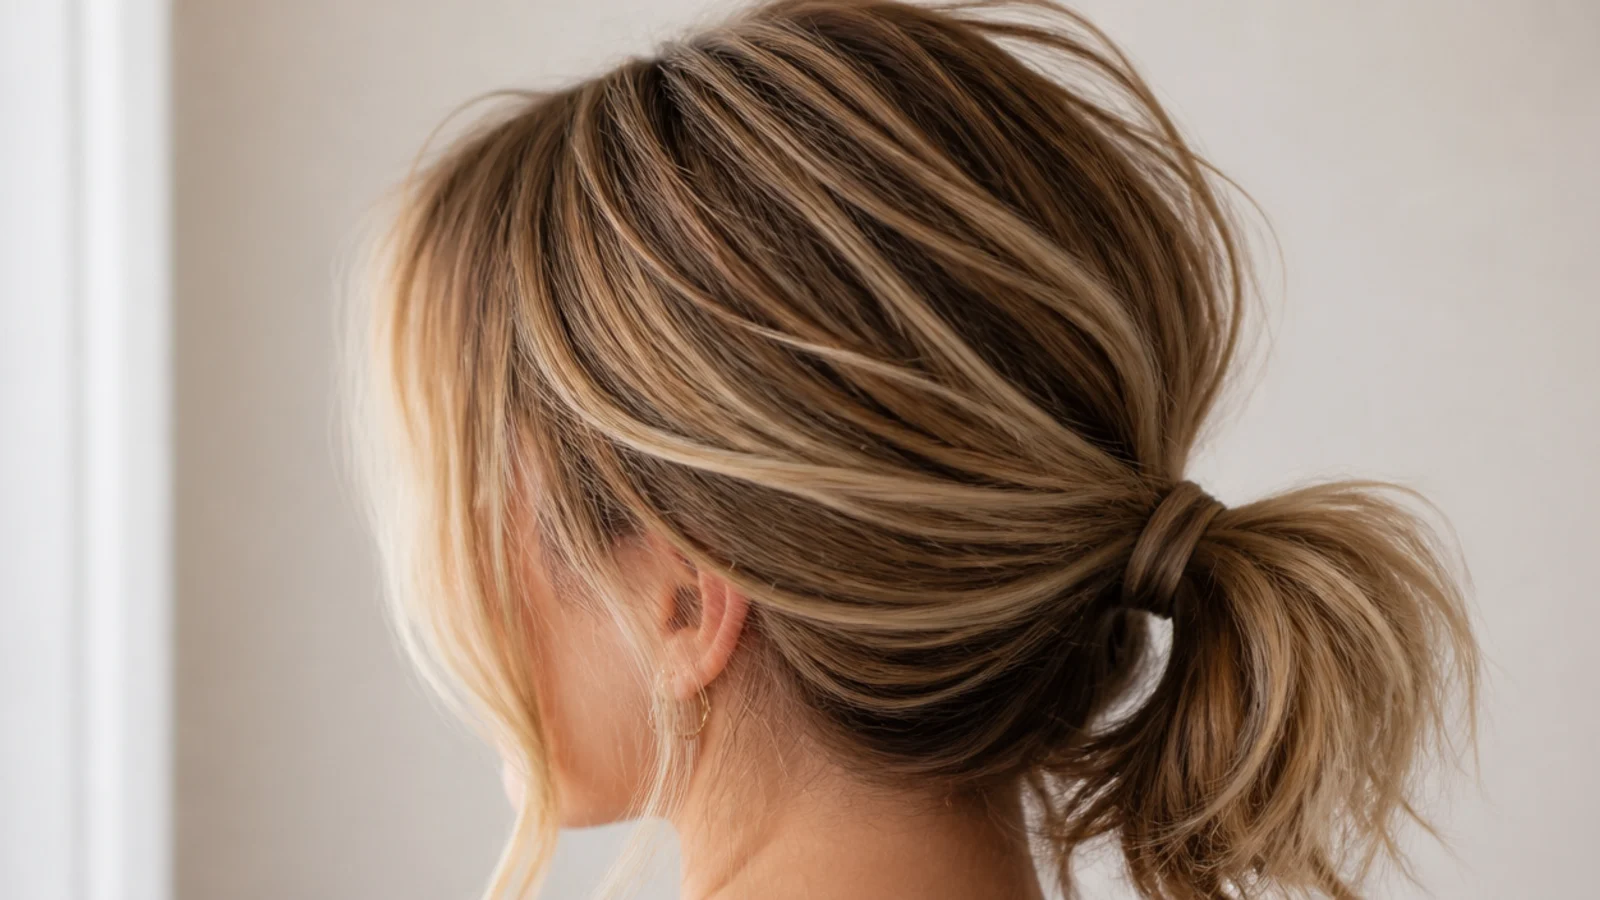
Curtain bangs and a nape ponytail are made for each other because the fringe already provides the softness, so the tail can stay simple. Split the bangs at the center, round them out with a small round brush or a flat iron bend, then gather everything behind the ear line and tie low. Do not let the bangs get pulled back into the gather or you lose the shape. Dry shampoo at the bang roots stops them separating into strings by mid-afternoon.
Who it suits: Anyone with grown-in curtain bangs, especially on straight or lightly wavy hair.
Tip: See short curtain bangs styling for the round-brush bend, and messy ponytail with bangs for blunt and wispy fringes.
5. Day-Two Low Messy Ponytail With Dry Shampoo
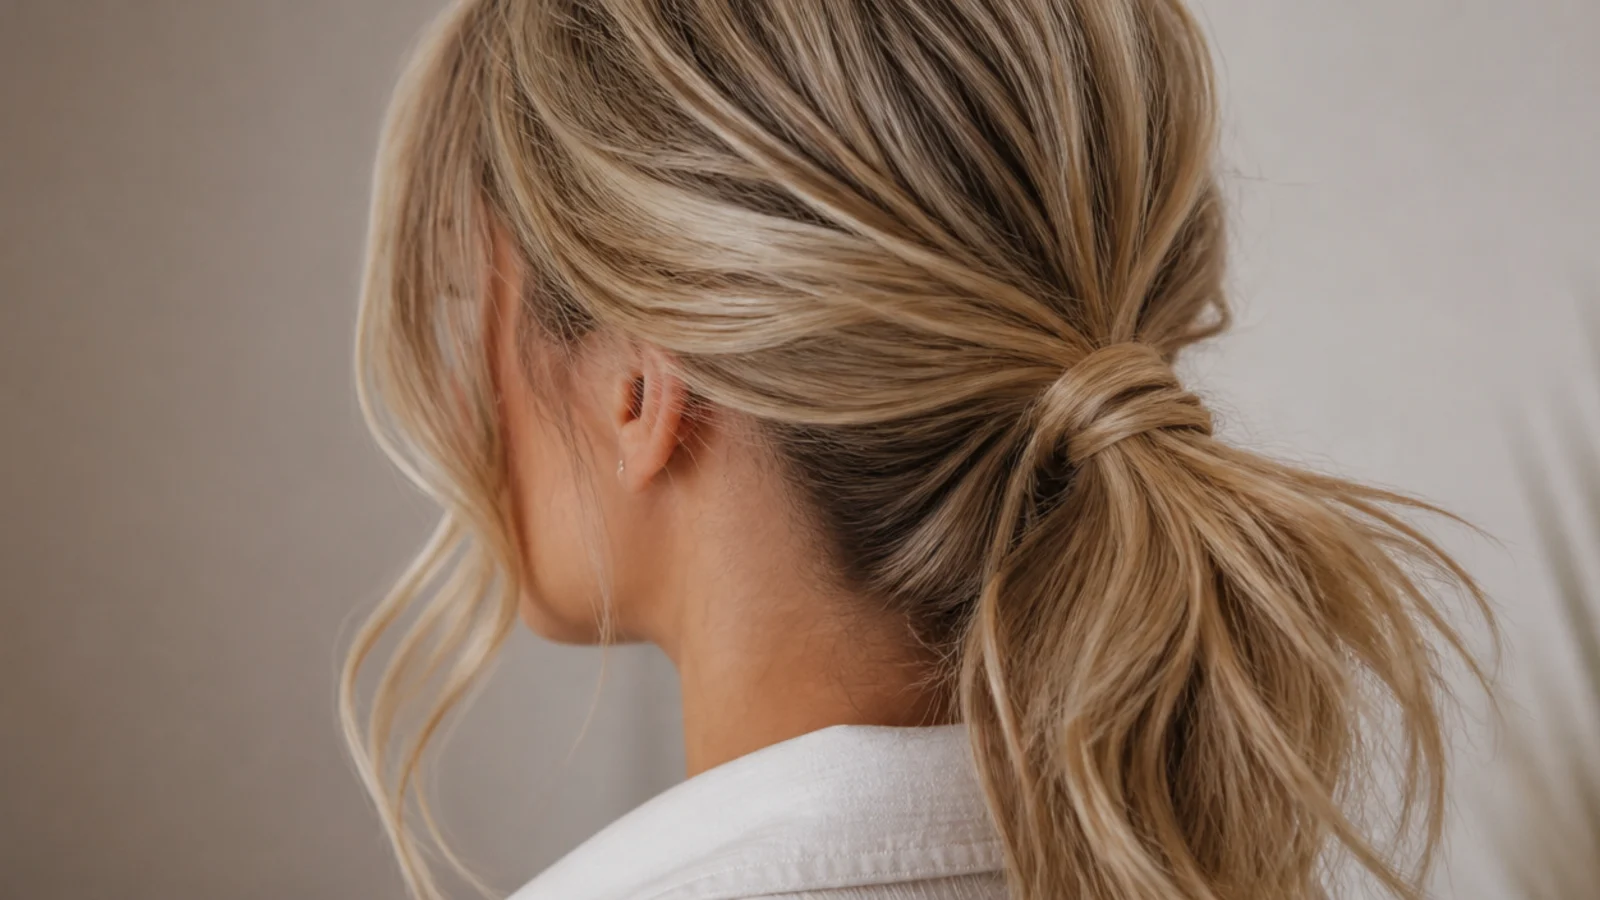
Clean hair is the enemy of a messy low pony because it slides out of the gather and refuses to hold a tug. Day-two hair has natural grip built in. If yours is freshly washed, mist dry shampoo six inches from the roots in three passes, wait 60 seconds, then massage it in with your fingertips rather than brushing it through. The hair should feel slightly gritty. That grit is what lets a crown tug stay lifted for hours instead of collapsing.
Who it suits: Fine, silky and freshly washed hair of any length.
Tip: A dry texture spray adds grip without the white cast, which matters on dark hair.
6. Low Messy Ponytail With Beach Waves
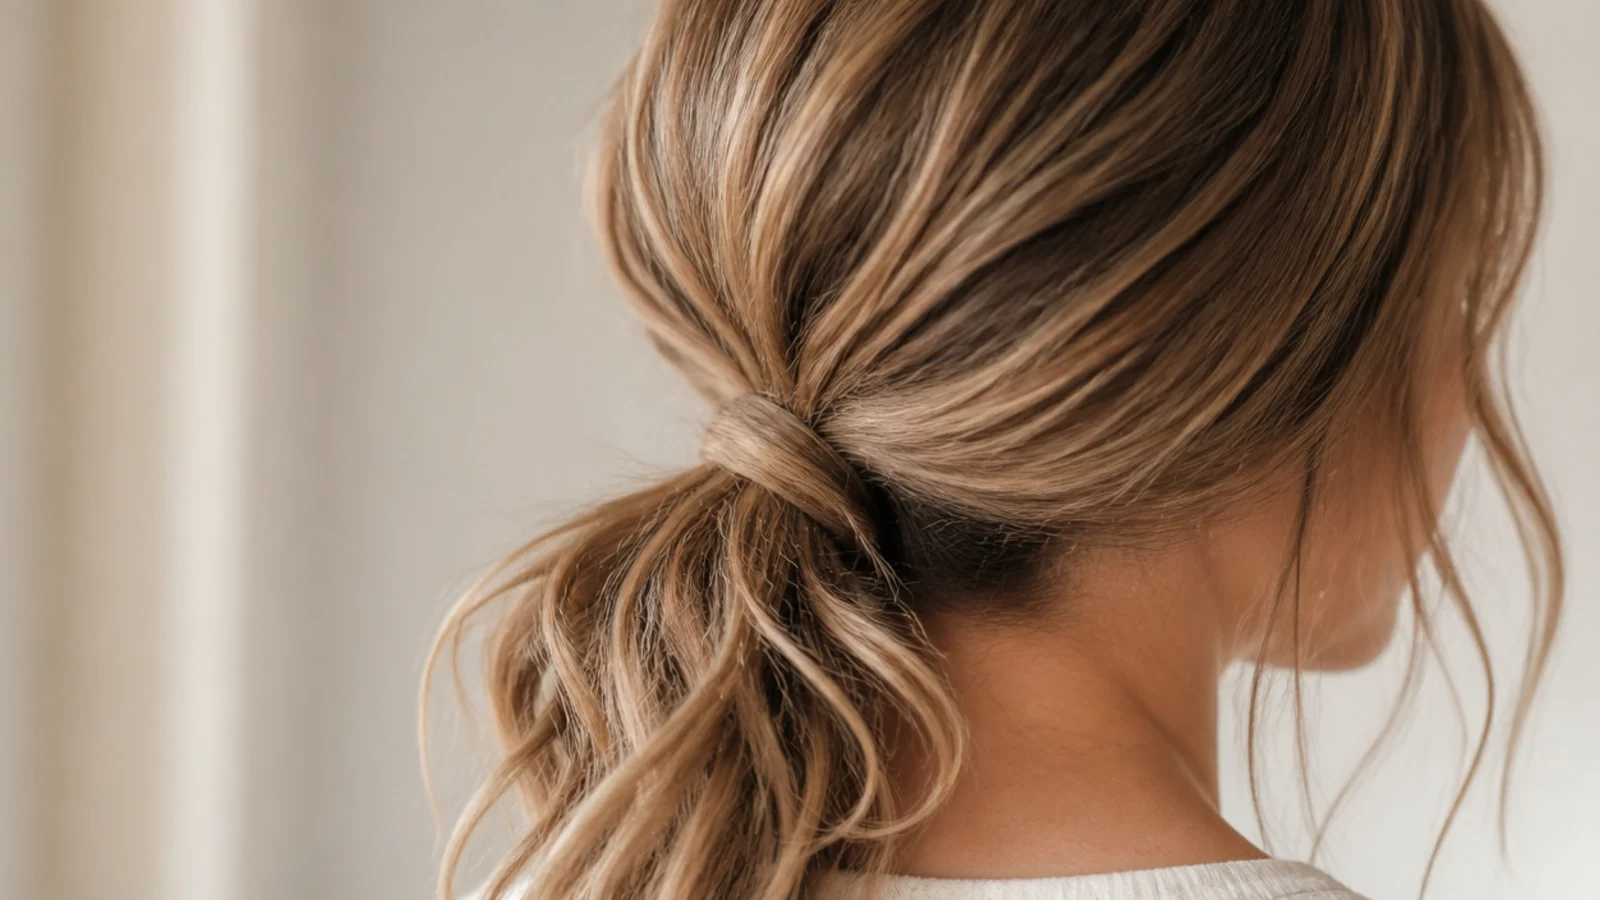
Wave the hair first, tie second. Take 1.5-inch sections and wrap them around a 1-inch iron, leaving the last two inches straight, alternating direction section to section. Let everything cool completely, then shake it out with your fingers and gather low. The tail keeps visible movement instead of hanging as one block, which is the difference between a messy pony and a plain one. On naturally wavy hair, skip the iron and just refresh with a salt spray.
Who it suits: Straight hair that goes flat in a ponytail, and anyone wanting a wedding-guest version.
Tip: Curl before you tie. Curling a tail that is already up gives you a crimp at the elastic you cannot hide.
7. Deep Side Part Low Messy Ponytail
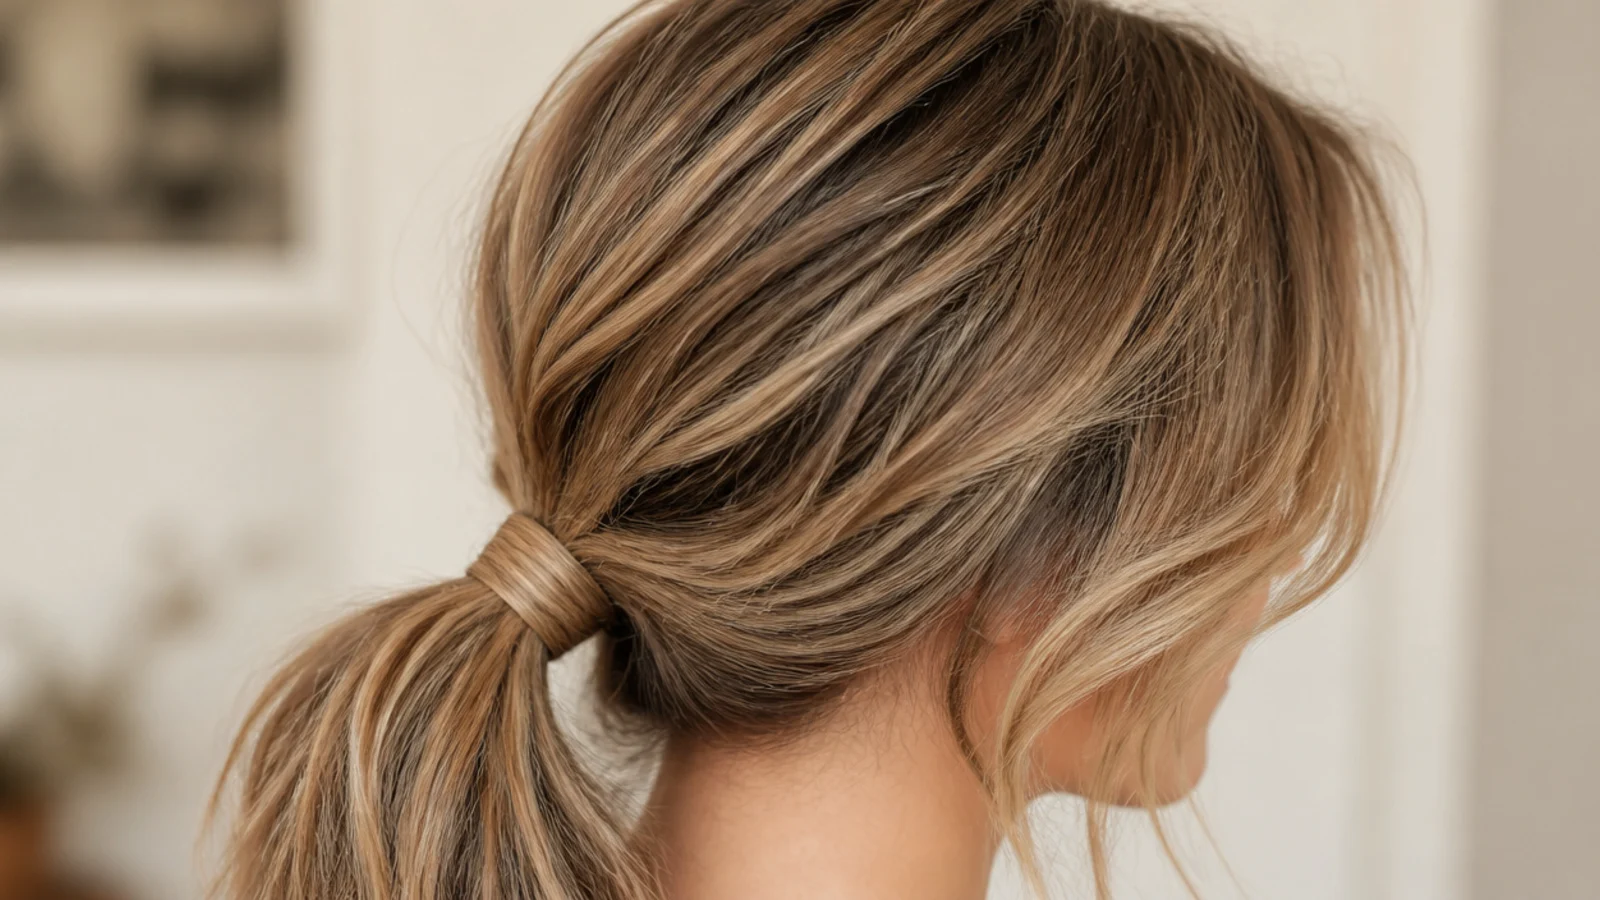
Move your part two inches off center, toward the outer edge of one eyebrow, and sweep the heavier side across the forehead before gathering at the nape. The deep part builds a natural bank of volume on the wide side without any teasing at all, which is why it works so well on fine hair. Keep the tie slightly off-center too, sitting just behind the ear on the lighter side, so the whole line stays diagonal rather than symmetrical.
Who it suits: Fine hair, round faces and anyone whose center part looks flat at the crown.
Tip: Set the new part on damp roots and blast it with a dryer for 20 seconds, or it will drift back by noon.
8. Side-Swept Low Messy Ponytail Over One Shoulder
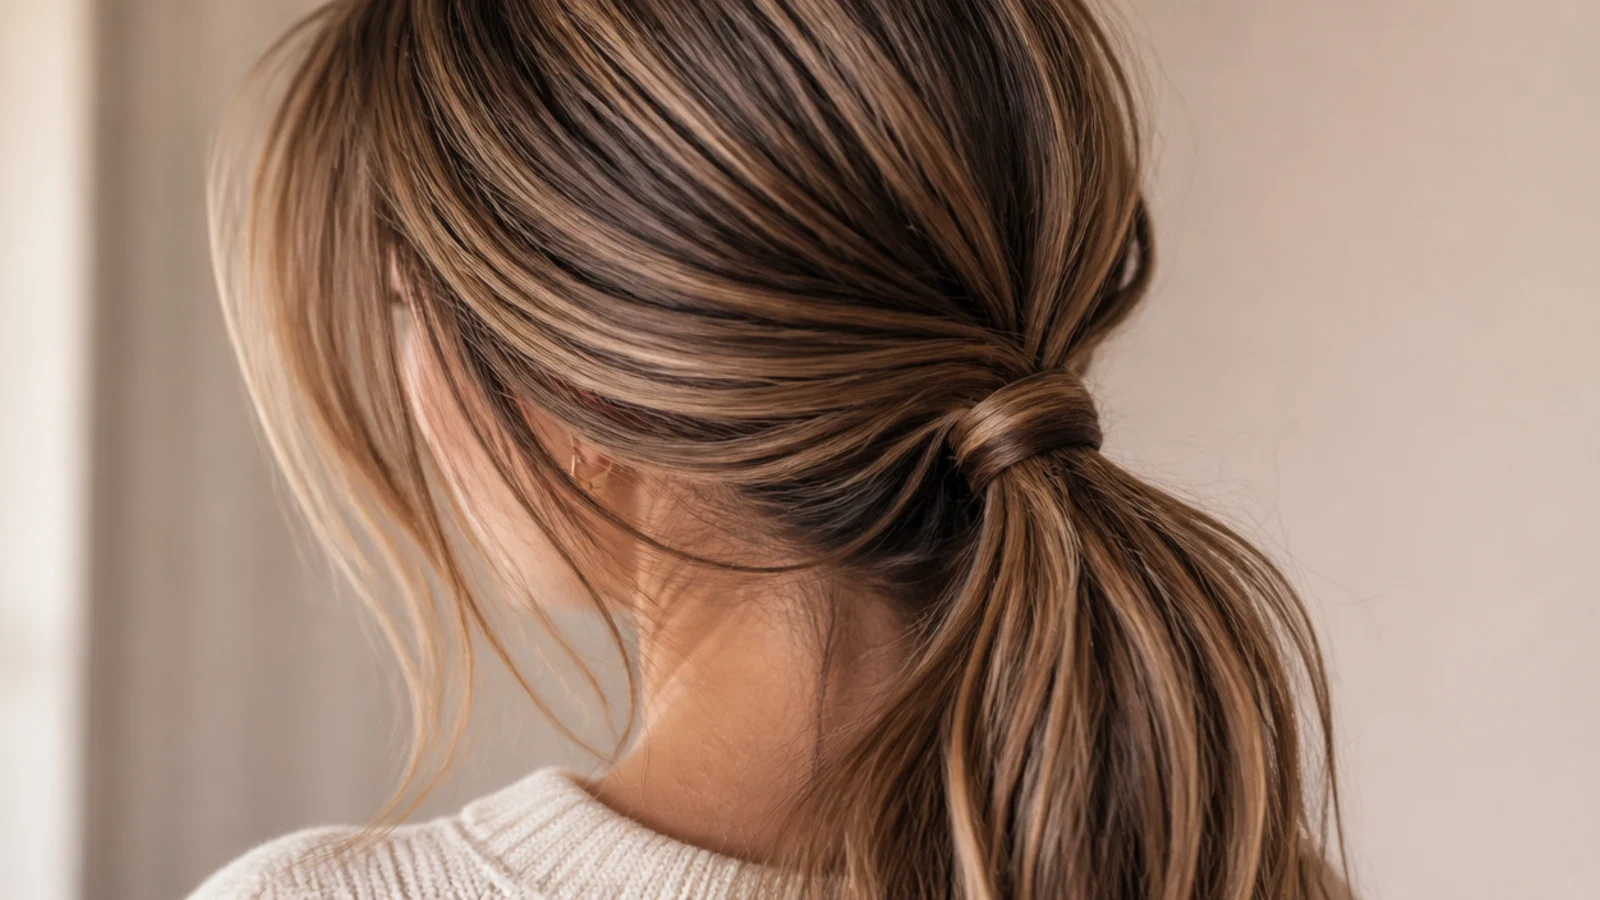
Gather everything behind one ear rather than at the center of the nape, so the tail falls forward over the collarbone. Texture the mid-lengths first, sweep with your fingers from the opposite side, and tie at the point where your jaw meets your neck. Leave the ear on the gathered side partly covered so the transition looks soft. This is the most flattering version in profile, and the easiest one to wear with a high-neck sweater or a coat collar.
Who it suits: Long and mid-length hair, and anyone wearing a statement earring on one side.
Tip: Pin two bobby pins in an X shape at the back of the gather so the sweep does not migrate backward.
9. Twisted Low Messy Ponytail
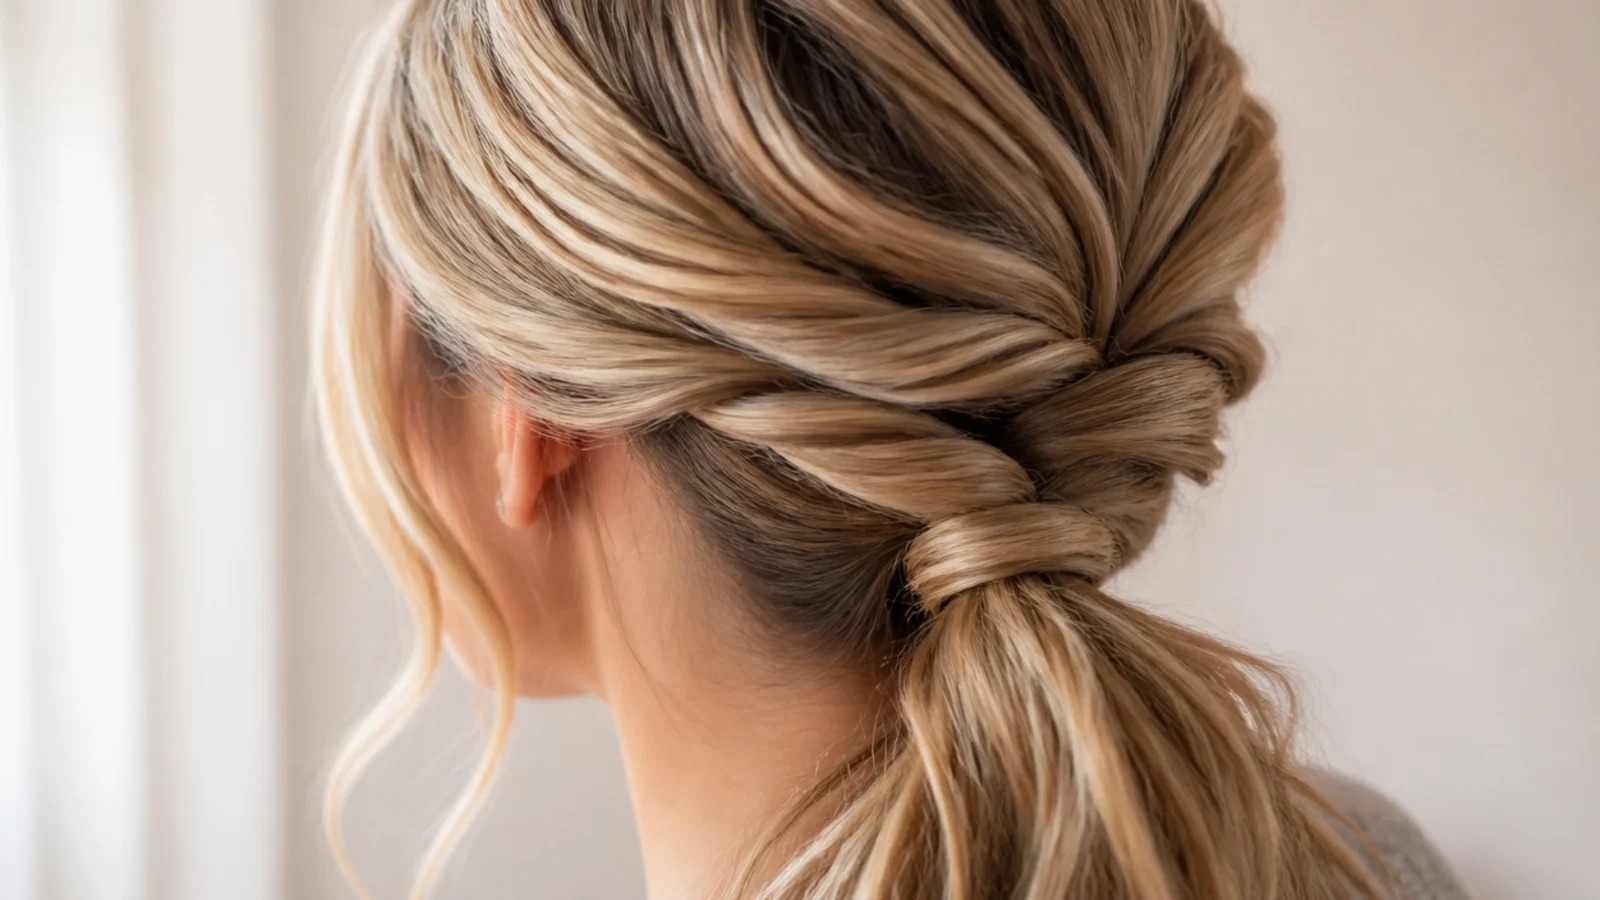
Split the hair into two halves with a center or side part, twist each half loosely backward toward the nape, keeping the twist soft enough to see gaps, then join both at the base and tie. Once secured, pull outward on the edges of each twist to fatten them. The twists hold the sides down without the pulled-flat look of gel, and they hide any awkward growing-out layers around the ear. Roughly three minutes once you have done it twice.
Who it suits: Mid-length to long hair, and anyone growing out layers or bangs.
Tip: Twist away from the face on both sides. Twisting toward the face pushes hair onto your cheeks all day.
10. Low Messy Ponytail With a Front Dutch Braid
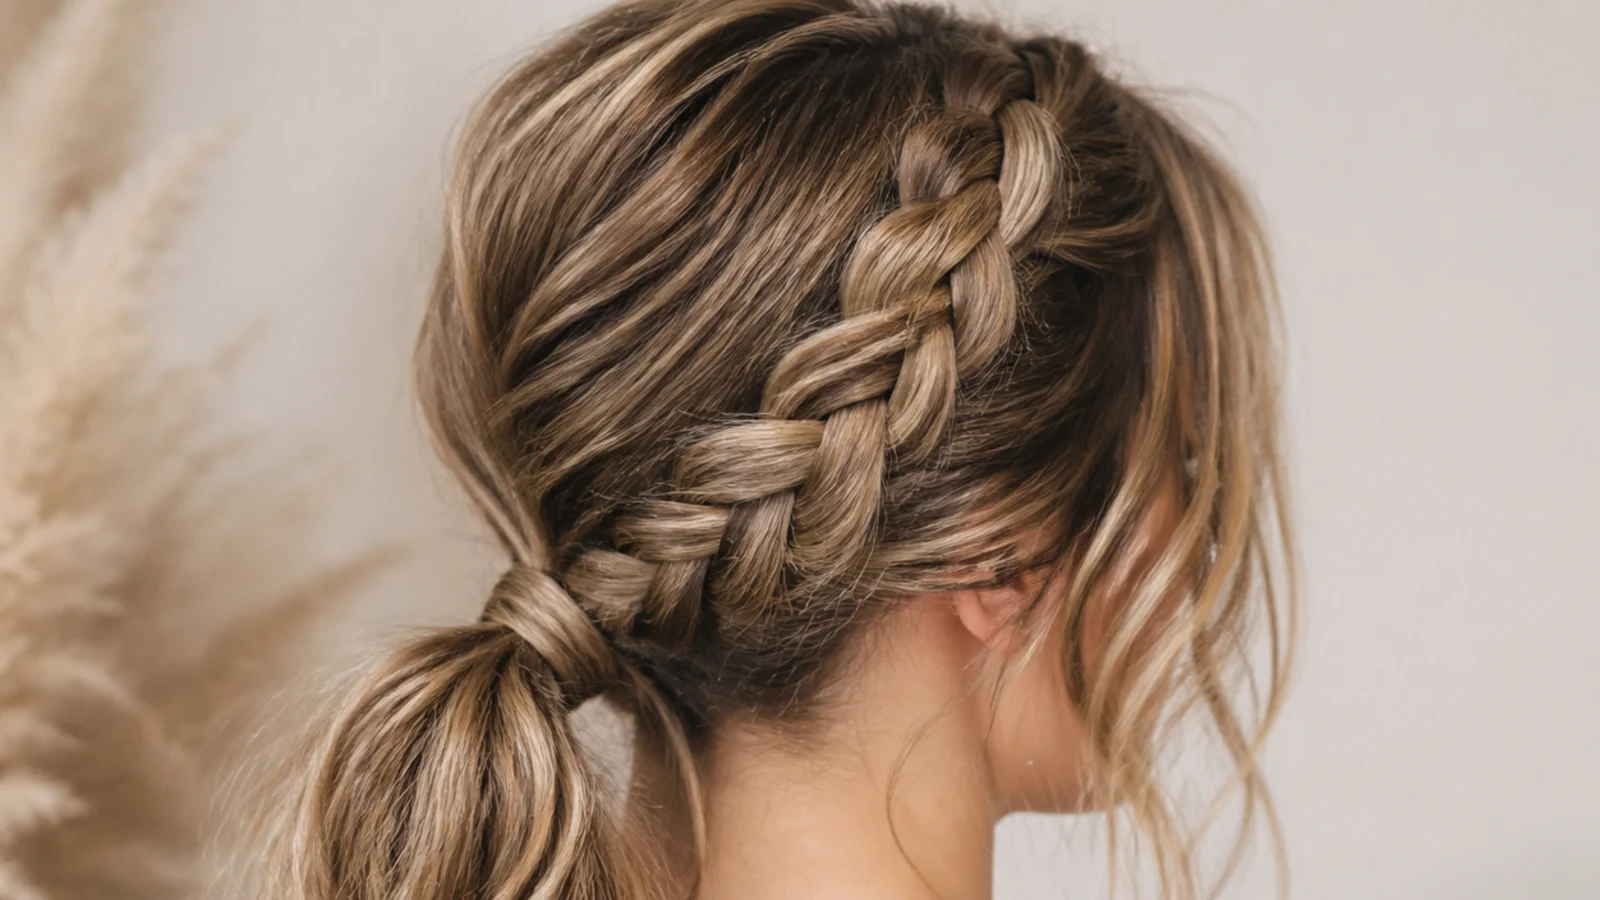
Take a two-inch section at the heavier side of your part and Dutch braid it back along the hairline to just behind the ear, crossing strands under instead of over so the braid sits on top. Stop braiding at the ear, hold it with a clip, gather everything at the nape and tie together. Then pancake the braid by pulling gently on each outer edge until it doubles in width. The braid is the structure, the tail is the mess.
Who it suits: Mid-length and long hair, and anyone who wants a low pony that survives wind.
Tip: If braiding along your own hairline is awkward, borrow the technique from easy mermaid braids.
11. Low Bubble Messy Ponytail
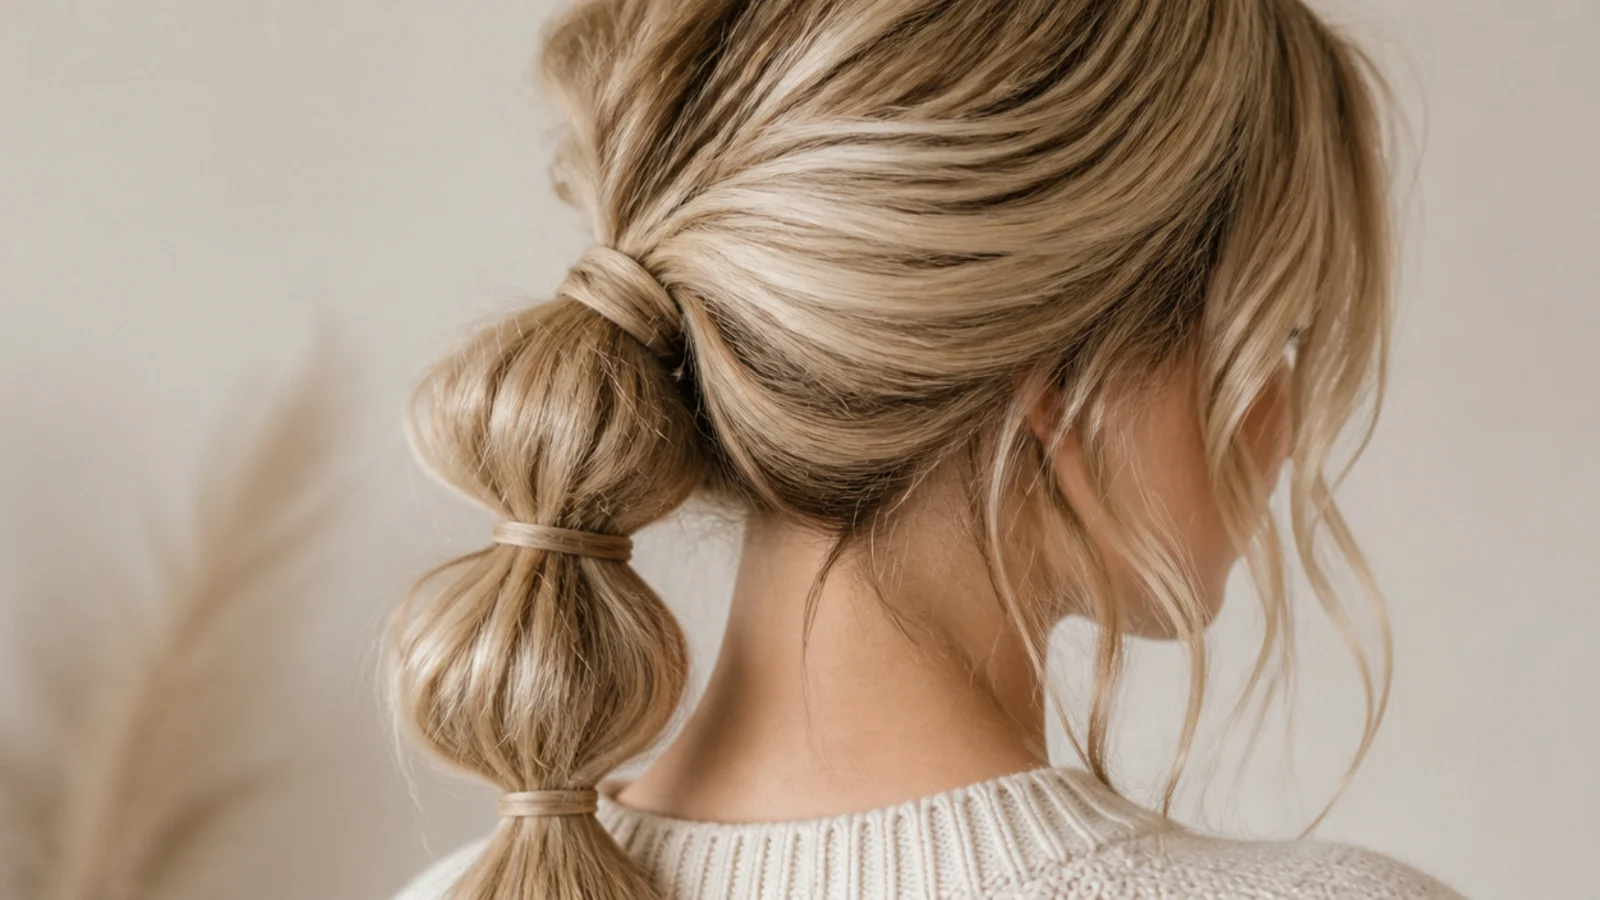
Tie a low pony, then add small clear elastics every three to four inches down the tail. After each one, pull the sides of the section outward until it puffs into a rounded segment. Three bubbles is the sweet spot for hair that reaches the shoulder blades. Leaving the segments slightly uneven is what keeps it messy rather than geometric, and it hides the elastics too. Great for hot days because the whole tail is off your neck.
Who it suits: Hair past the shoulders, especially thick hair that looks heavy in a plain tail.
Tip: More on the segmented tail in messy ponytail for long hair.
12. Low Messy Ponytail for Fine Hair
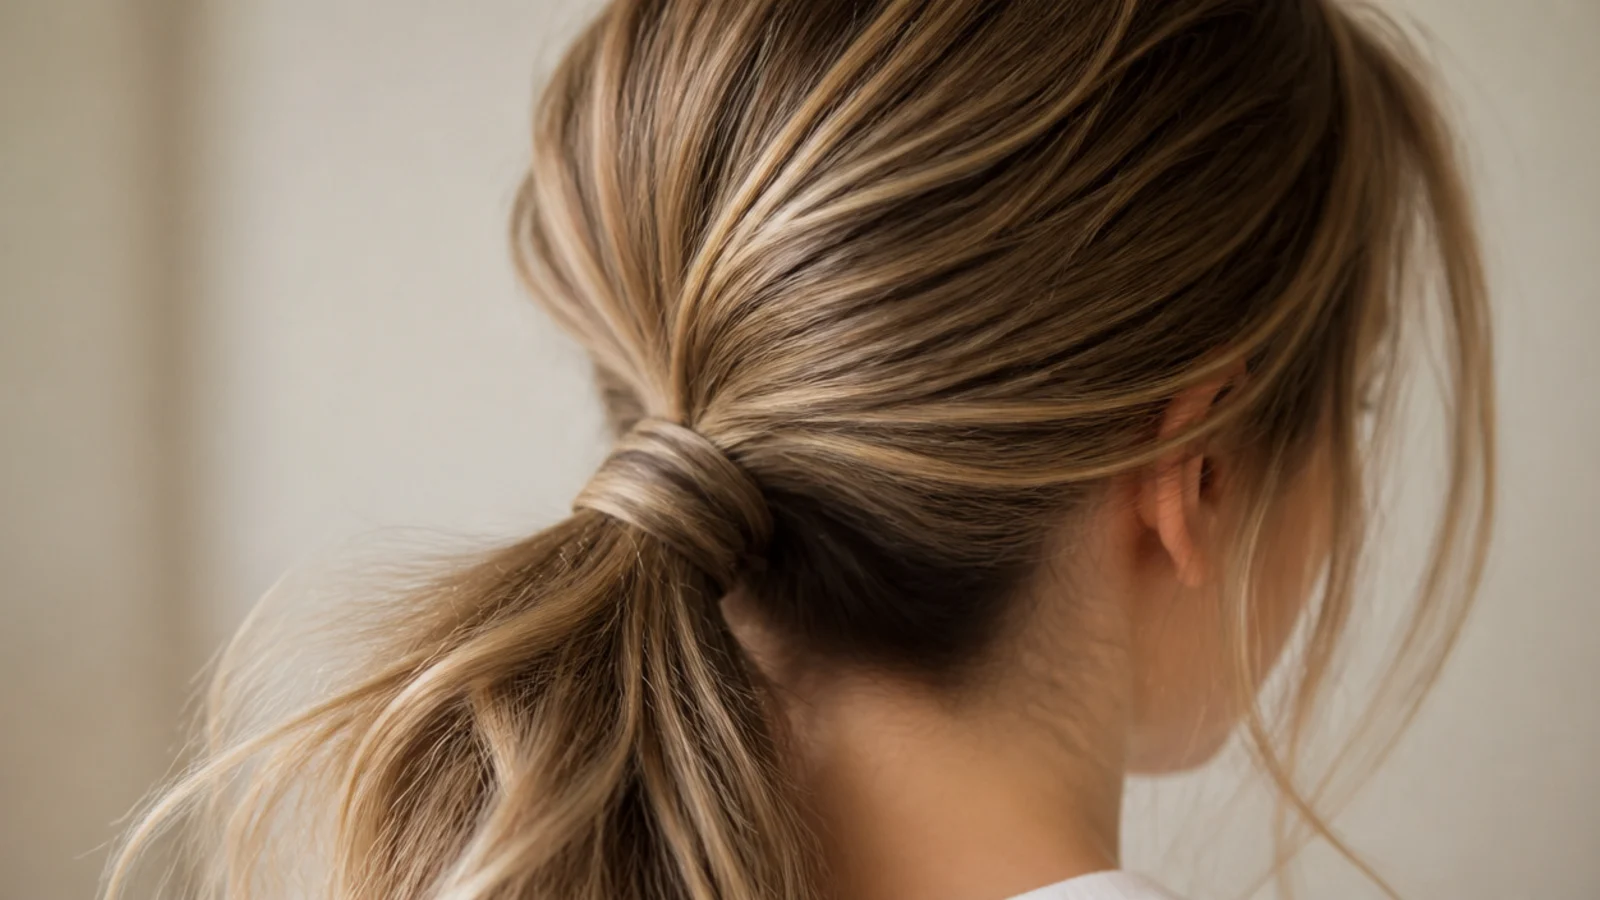
Fine hair loses a low pony to slippage and to a tail that reads thin. Fix both: volume powder at the roots along the part, a light back-comb at the crown with a fine-tooth comb, then a doubled thin elastic rather than a thick scrunchie, which fine hair simply falls out of. Tie the tail an inch higher than true nape level so it does not look like it is sliding, then tug the crown up. Backcomb only the underside so the top surface stays smooth.
Who it suits: Fine and low-density hair, including fine hair that is also long.
Tip: Two thin elastics stacked hold better than one thick one, and they stay invisible under the wrap.
13. Low Messy Ponytail for Thick Hair
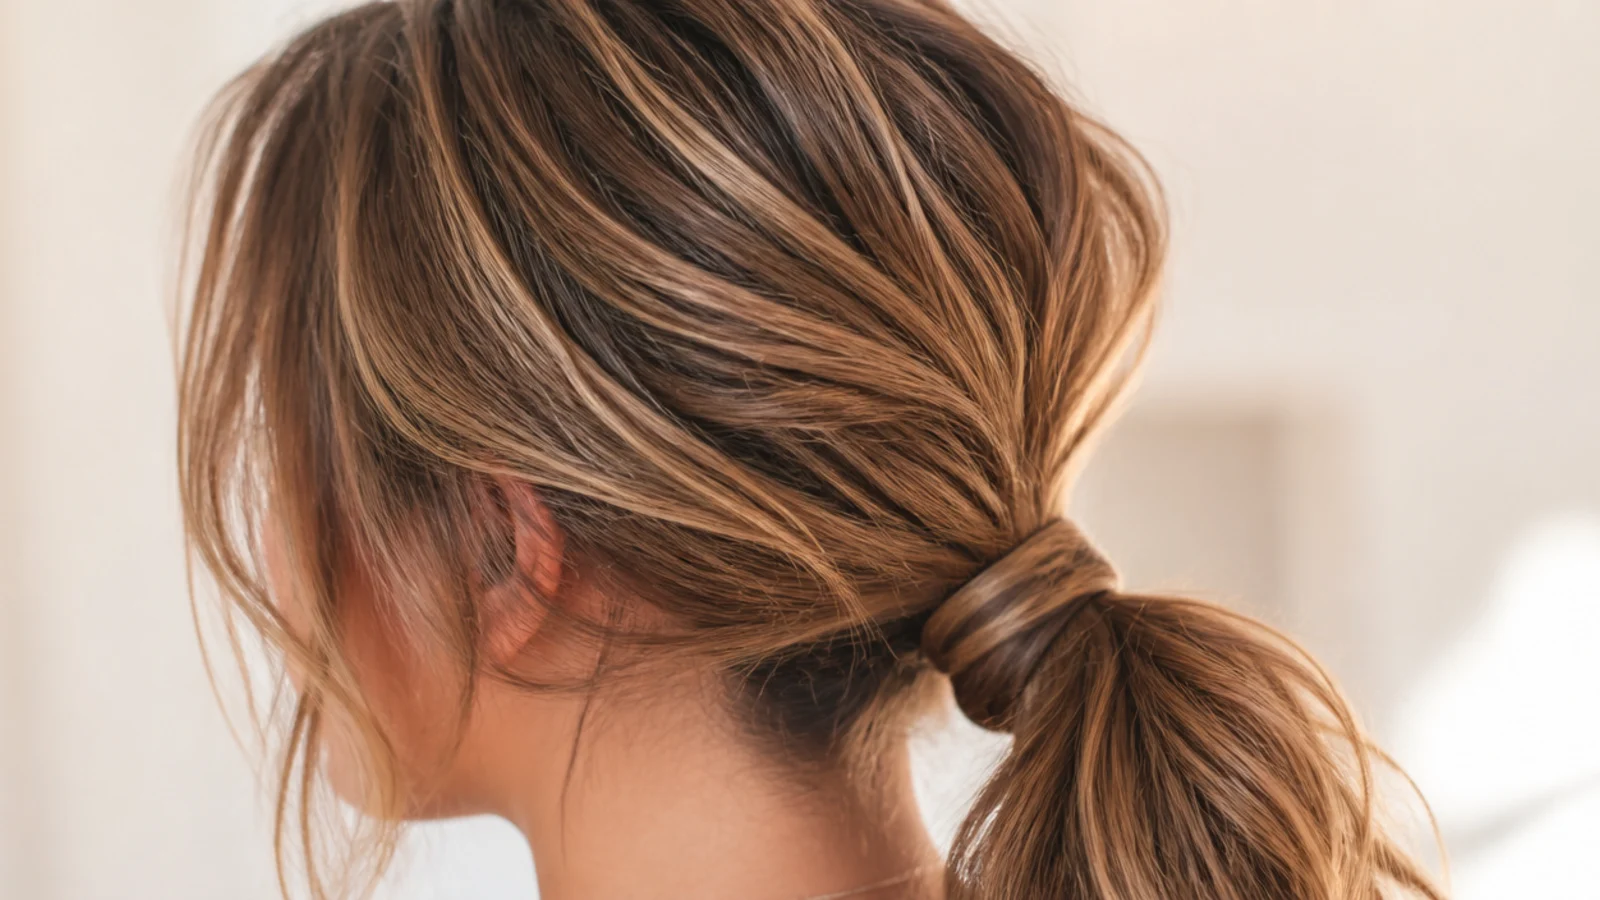
Thick hair does not need volume, it needs the weight controlled. Use a bungee band, the kind with a hook at each end, so you can pull it tight in one pass instead of wrapping a regular elastic four times and creating a bulky knot. Split the tail in two horizontally and pin the underneath half up first, then let the top half fall over it. That hidden layer takes the pull off the elastic and stops the tail dragging the whole pony downward by mid-afternoon.
Who it suits: High-density hair, coarse hair and anyone whose elastic snaps.
Tip: Skip the scrunchie for the base tie. Add it over the top afterward if you want the look.
14. Curly Low Messy Ponytail for 3a to 3c Hair
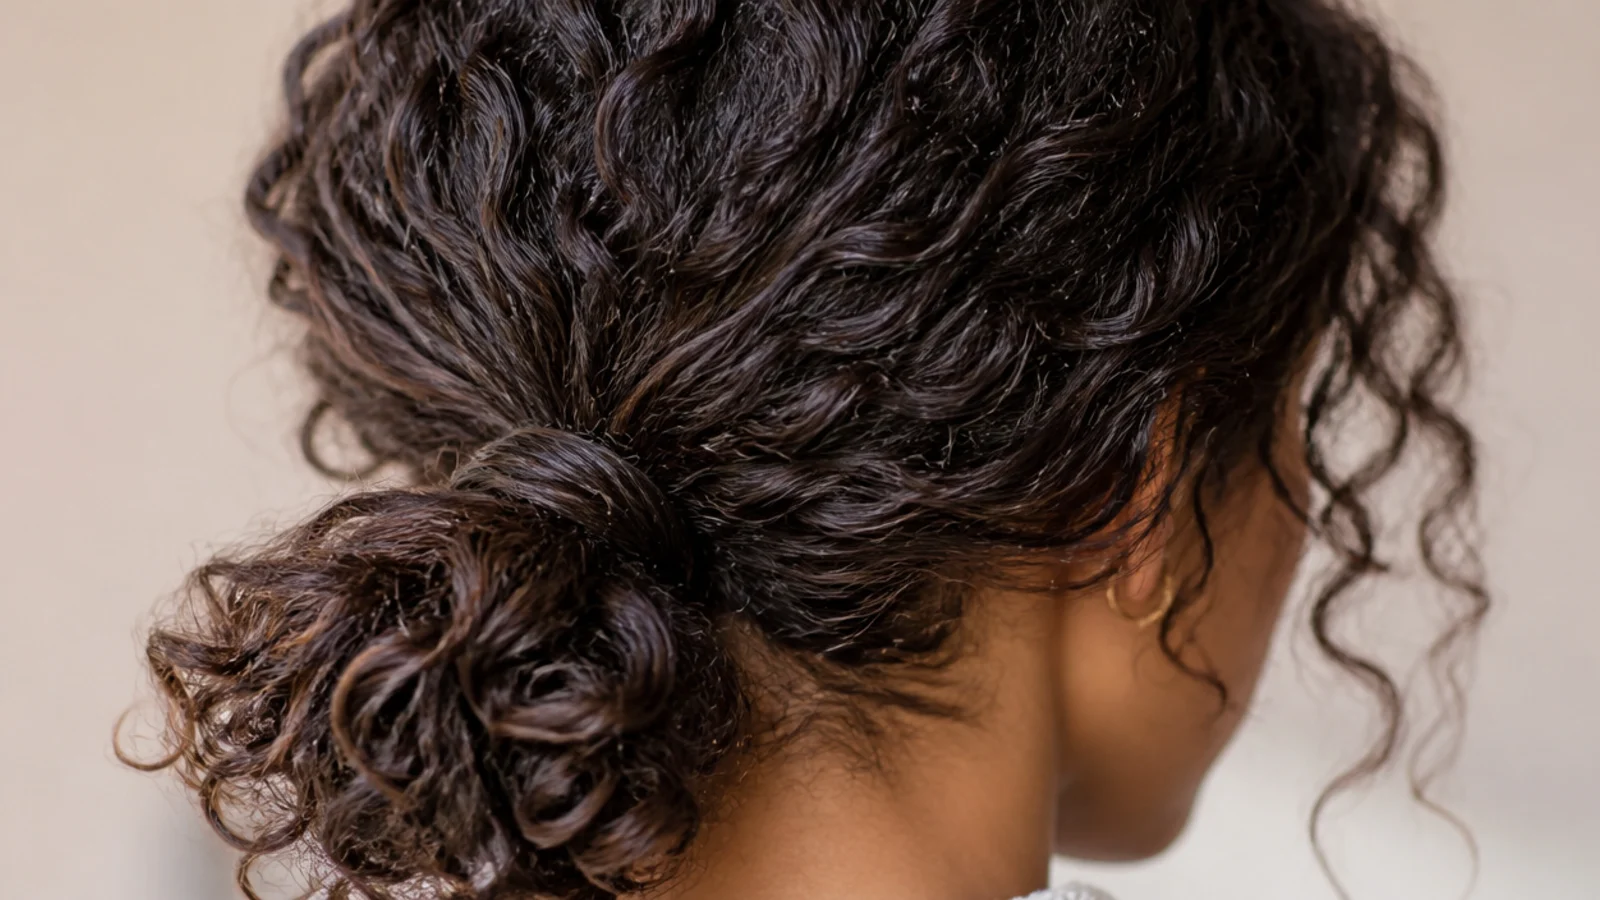
Refresh first: mist the curls with water and a leave-in, scrunch upward, and let them re-clump before you touch the gather. Then use a satin scrunchie, not an elastic, because friction on curls at the tie point is where breakage starts. Gather with your fingers only, never a brush, and keep the tie loose enough to slide a finger under. Because curls shrink, aim the gather half an inch lower than you want the finished pony to sit.
Who it suits: 3a to 3c curls at shoulder length or longer.
Tip: Full curl-typed breakdown in curly messy ponytail.
15. Low Messy Ponytail on a Chin-Length Bob
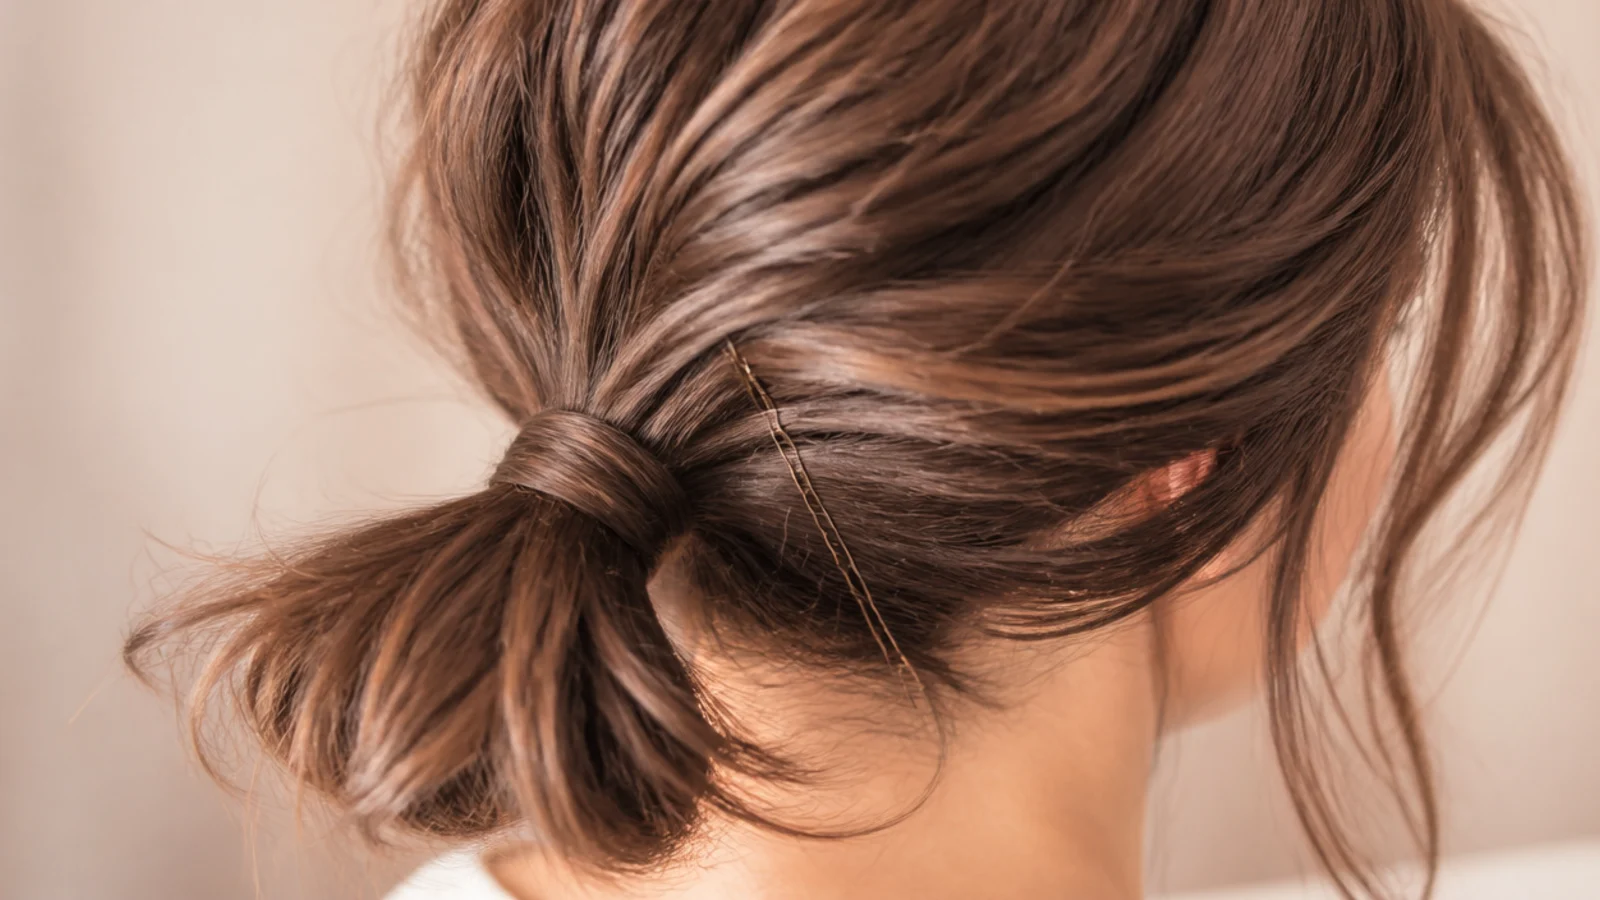
A bob can hold a low pony if you stop asking the elastic to do everything. Use a bungee band hooked into a small section rather than an elastic you have to stretch, then place two or three bobby pins under the base, pushed upward into the gathered hair, to catch the short pieces that will not reach. Texture spray beforehand is non-negotiable at this length. Accept that a few nape pieces stay out. On a bob those read as a design choice.
Who it suits: Chin-length to shoulder bobs, shags and grown-out lobs.
Tip: More at this length in messy ponytail for short hair.
16. Low Messy Ponytail With a Silk Scarf
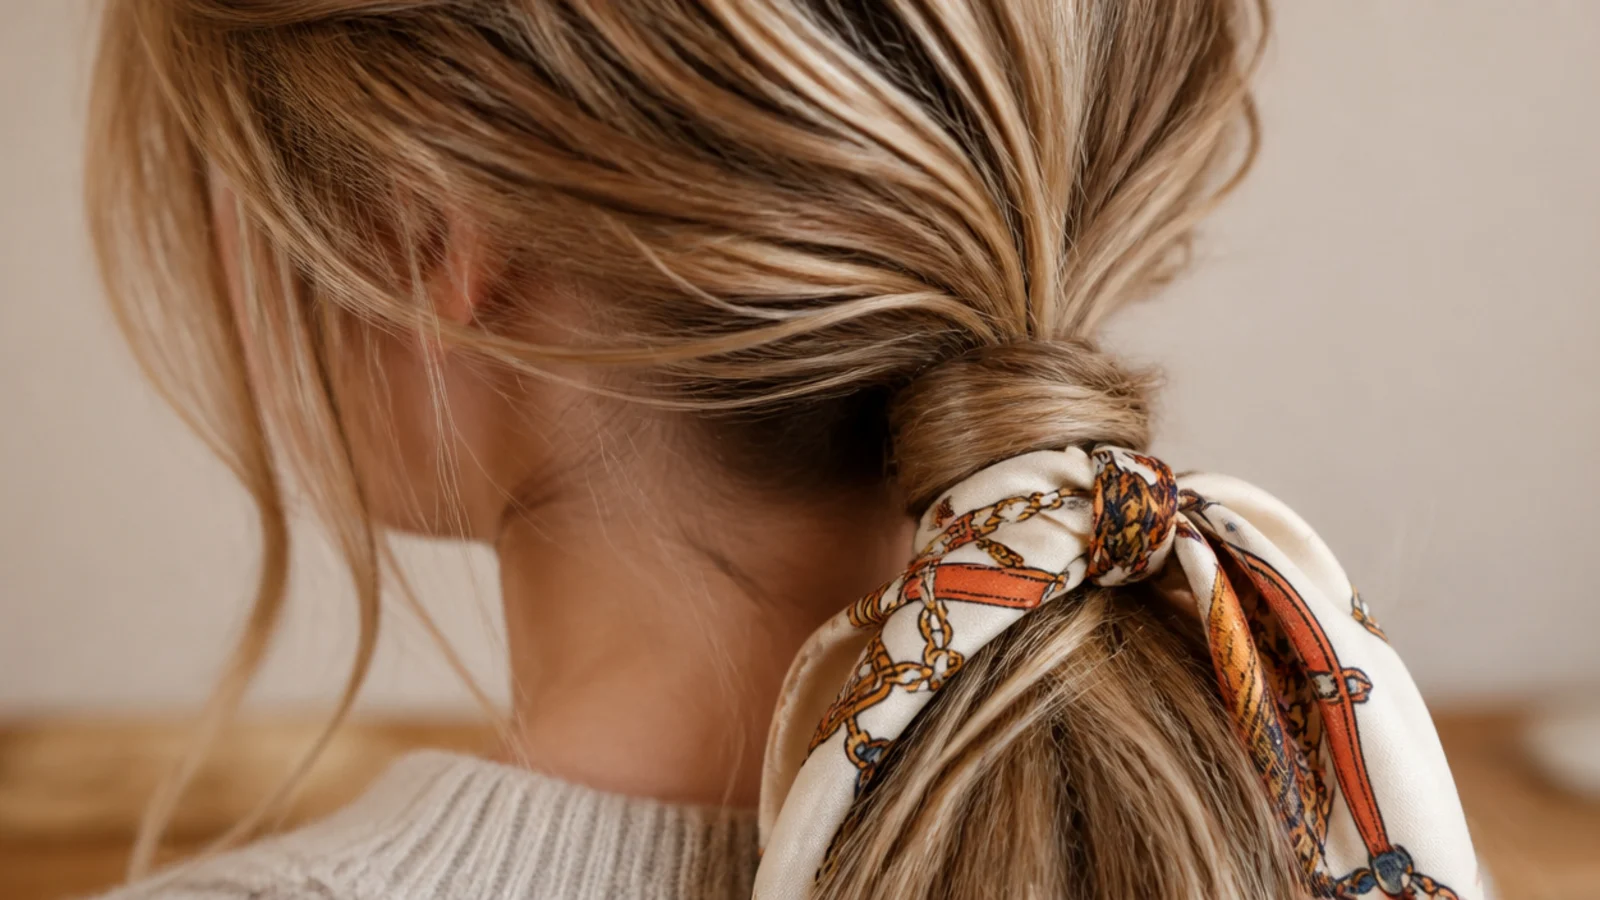
Tie the low pony first, then knot a narrow silk scarf, roughly 4 by 30 inches, around the base and let the two ends fall down the tail. Silk is the right fiber here because it slips rather than grips, so it will not crease the hair at the tie point the way cotton does. A printed scarf also hides an elastic completely, which makes this the fastest fix on a day when the wrap trick is not going well. Expect 10 to 30 dollars for a decent one.
Who it suits: Anyone wearing a plain outfit that needs one point of color.
Tip: Tie the knot on the underside of the base so the ends fall behind the tail, not on top of it.
17. Low Messy Ponytail With a Black Velvet Bow
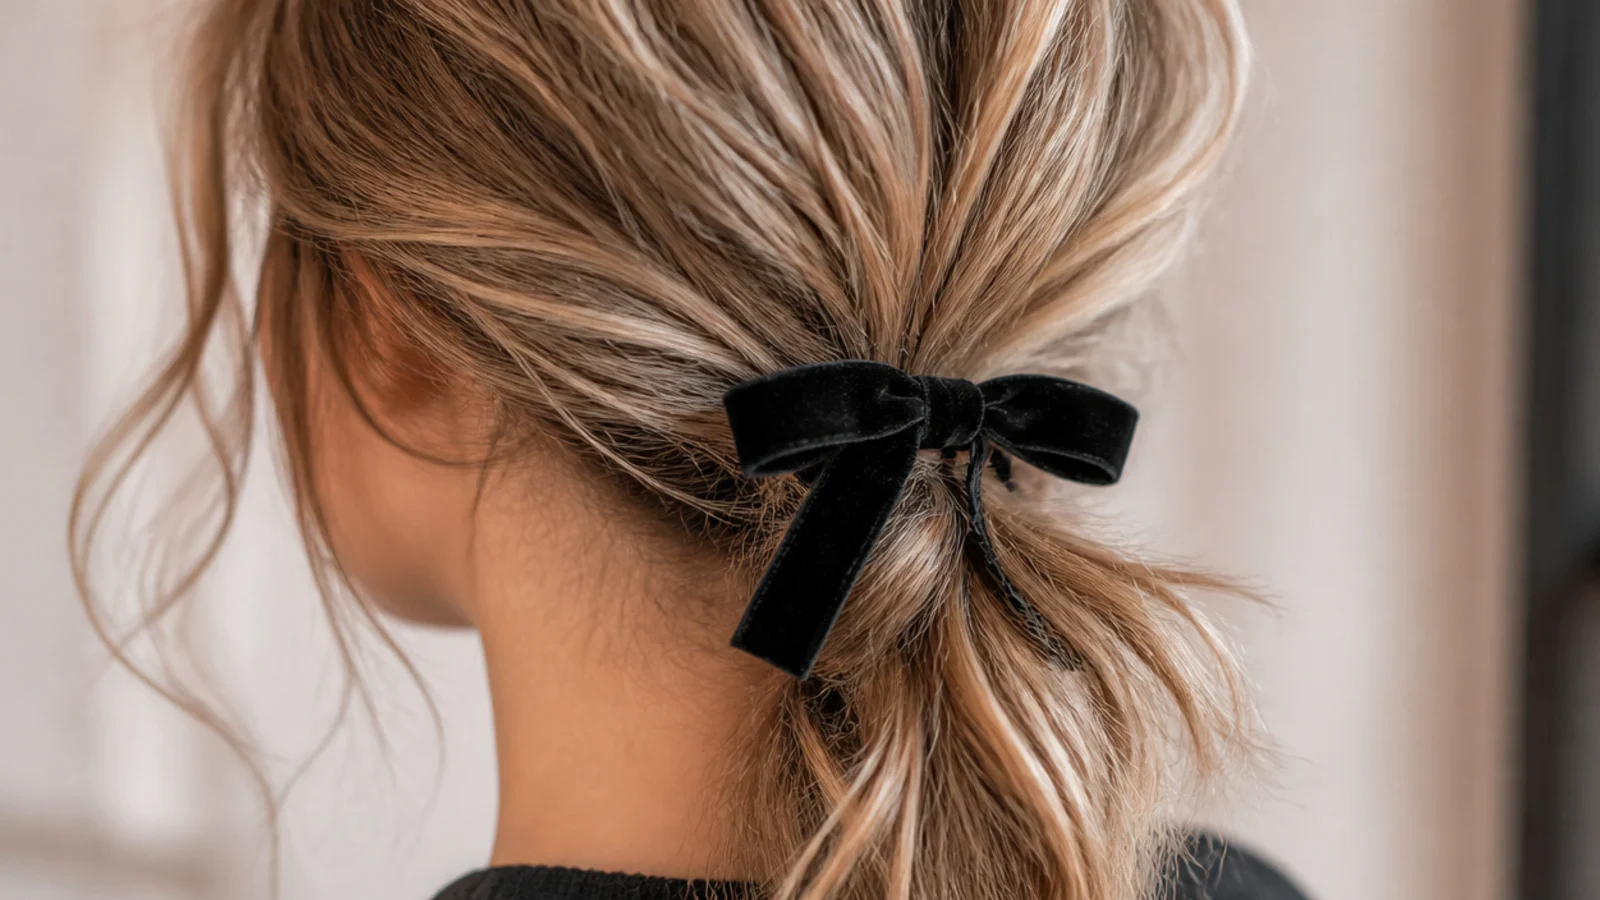
The most formal version on this list and still under five minutes. Build the classic nape pony, wrap the elastic with a strand, then clip a black velvet bow, two to three inches wide, directly over the base. Velvet reads richer than satin in low light, which is why it works for evening. Keep the rest completely undecorated so the bow is the only event. Pair it with soft waves through the tail rather than a straight hang for the full effect.
Who it suits: Holiday parties, dinners and anyone wanting occasion hair without an updo.
Tip: Clip the bow slightly under the base rather than on top so it sits forward and stays visible in profile.
18. Low Messy Ponytail With a Gold Hair Cuff
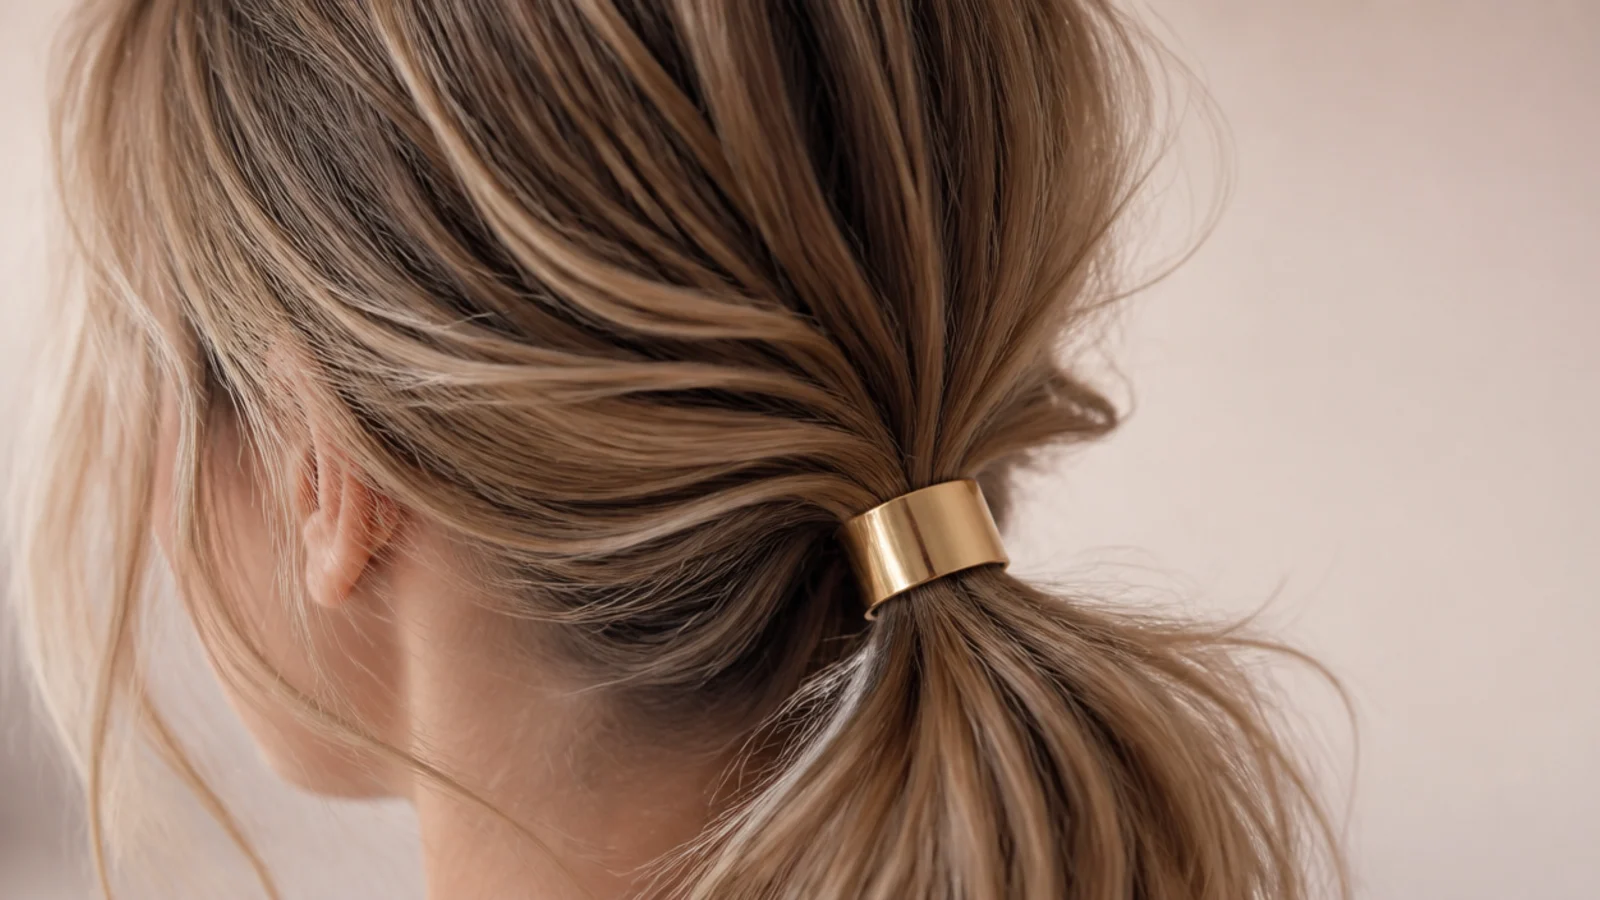
A gold cuff is a small metal band that clamps around the tail just below the elastic, and it does two jobs at once: it hides the tie and it adds a hard, polished detail that stops the whole look reading too casual. Most sit in the 12 to 25 dollar range. Slide it on after the pony is tied and loosened, positioned about an inch below the base so a little hair puffs above it. Matte gold looks more expensive than shiny.
Who it suits: Office days, and anyone whose jewelry is already gold.
Tip: If the cuff slides down, put a second clear elastic just under it as a stopper.
19. Half-Up Low Messy Ponytail
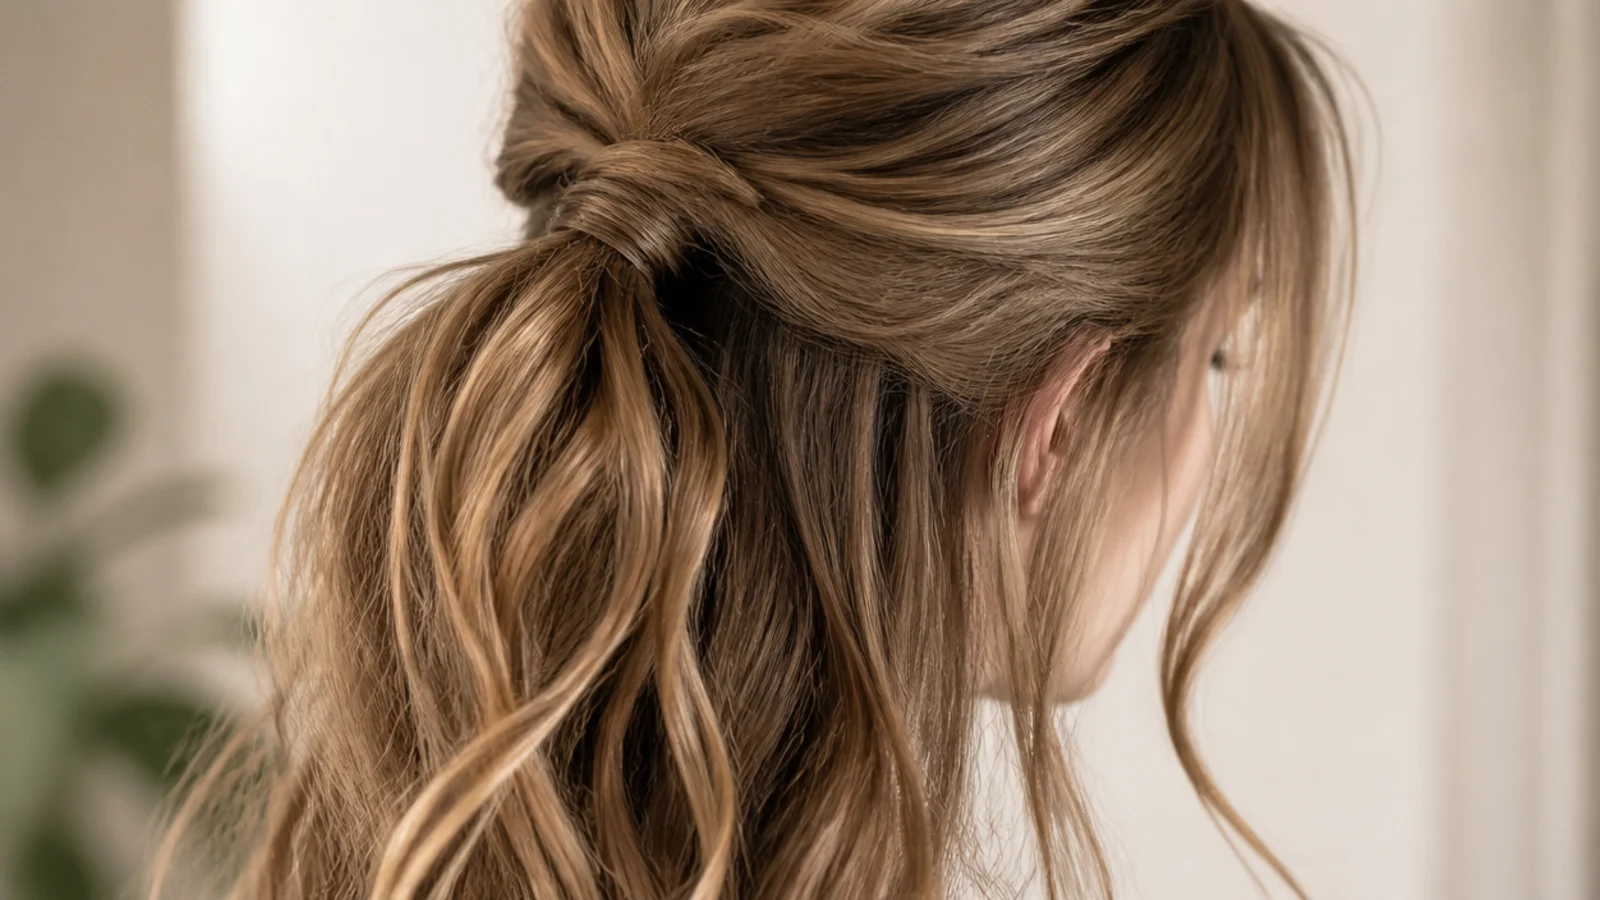
Take everything above the ear line, tie it low at the back of the head just above the occipital ridge, and leave the underneath length loose. It gives you the face-clearing benefit of a ponytail while keeping the visual weight of hair down, which flatters long and narrow faces. Tug the crown up afterward exactly as you would on a full pony. This is also the version that works when your hair is not quite long enough for a full low tail to look right.
Who it suits: Long and oval faces, mid-length hair, and anyone in between lengths.
Tip: Compare it against the full-length version in messy ponytail ideas.
20. Sleek-Root Low Messy Ponytail for the Office
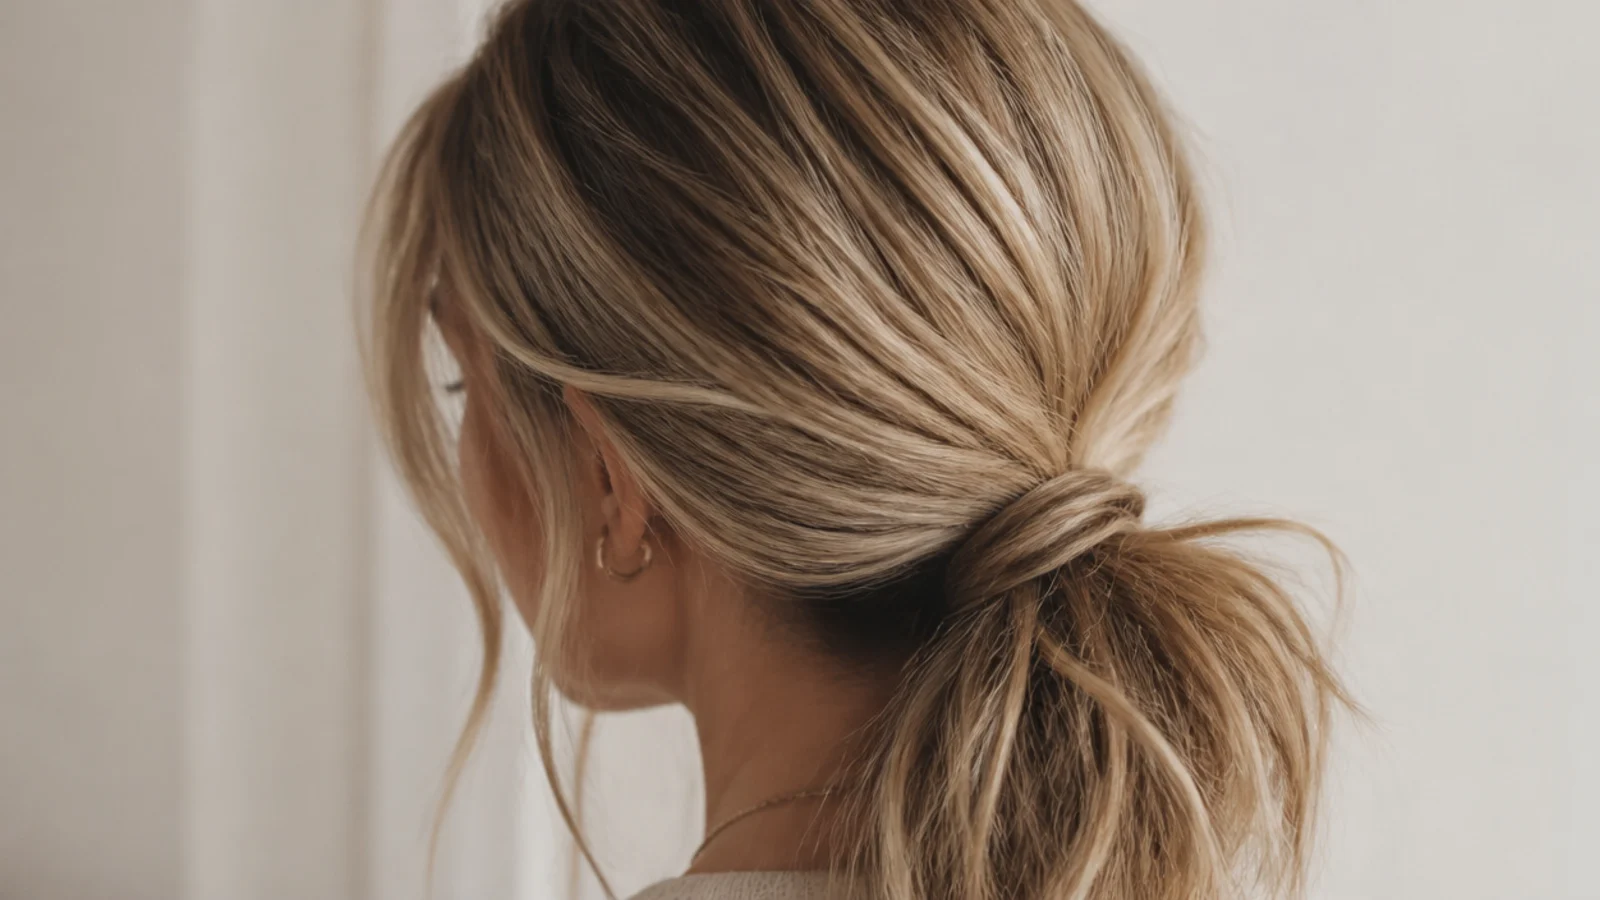
The hybrid: smooth from the part to the elastic, textured from the elastic down. Smooth the top with a boar-bristle brush and a pea of smoothing cream, tie low, then texture only the tail with a light salt or texture spray and rough it up with your fingers. Because the crown stays polished, it passes any dress code, but the undone tail keeps it from looking severe. Leave out just one thin piece at each temple instead of the usual two.
Who it suits: Offices, interviews and anyone who finds full mess too casual for work.
Tip: Smooth with a brush, not a flat iron. A flat iron makes the crown so slick the messy tail looks unrelated.
What Makes a Low Messy Ponytail Read Messy and Not Untidy
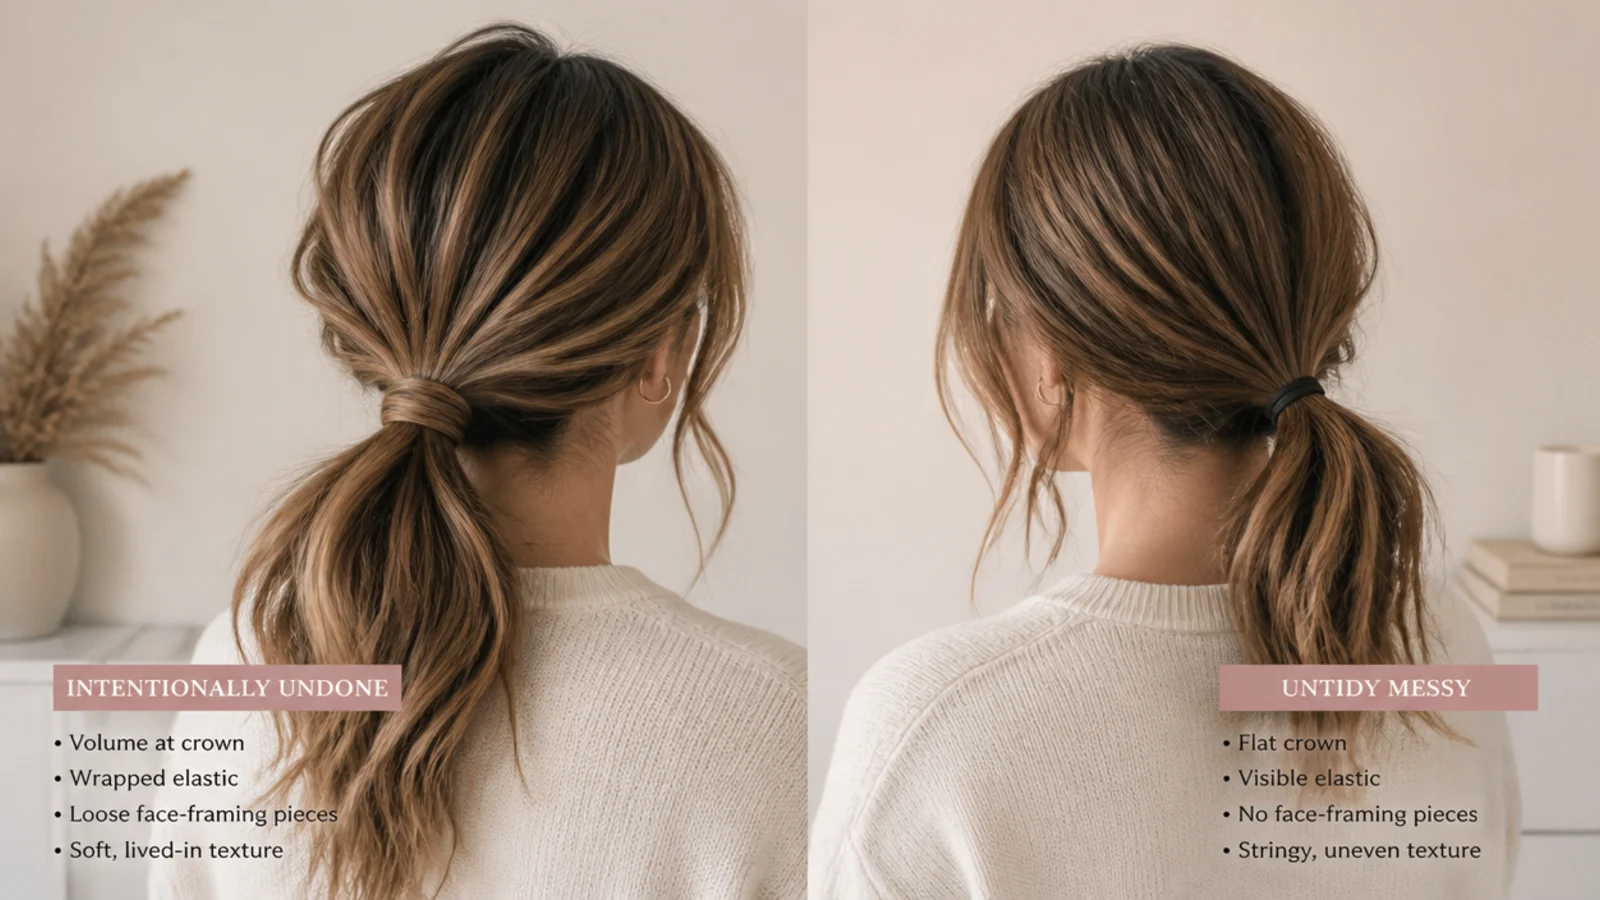
The difference is sequence, not effort. An untidy ponytail is one where the pieces fell out on their own; an intentional one is where you put them. So the order goes: texture the hair before you gather, finger-comb rather than brush so the surface keeps its grain, tie the elastic slightly tighter than you want the finished result, and only then start loosening. Tug small crown sections upward first, about half an inch each, working across the top of the head. Next, wrap a strand around the elastic to hide it. Last of all, ease out the temple pieces and the short hairs in front of the ears. Doing that release last is what reads as a choice, because those pieces sit exactly where you placed them instead of wherever gravity dragged them by noon. The second rule is symmetry of intent: whatever you pull out on one side, mirror on the other, or the whole thing looks like it collapsed on one flank. Everything else on this page is a variation on that base method.
Where to Tie a Low Messy Ponytail for Your Hair Length
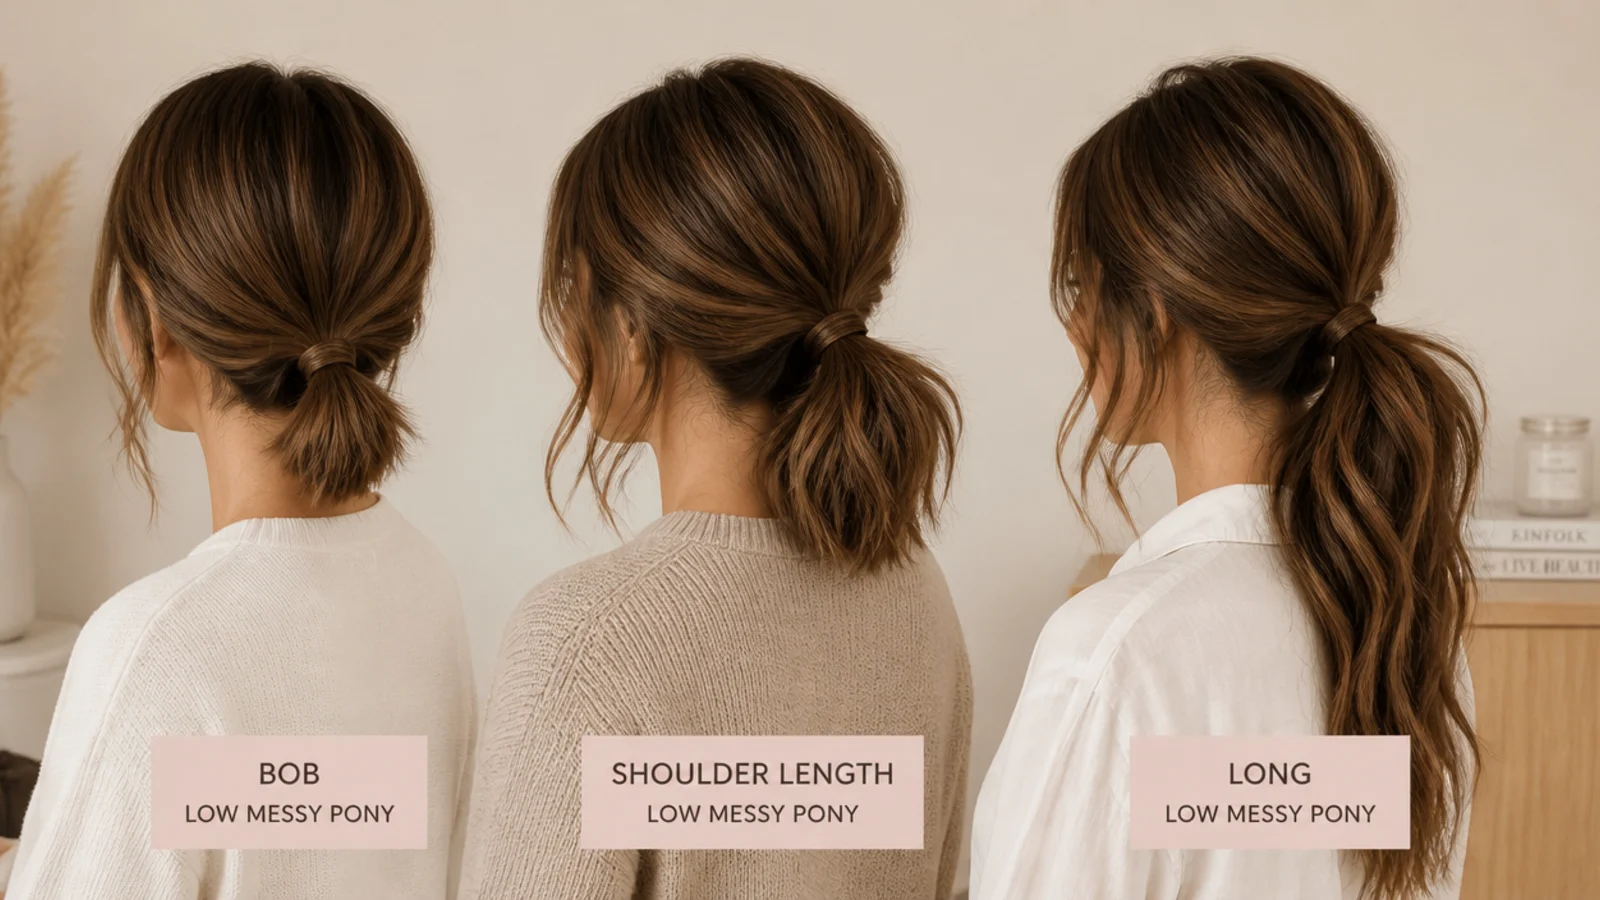
Tie height is the one setting that changes everything, and the right height depends on length. On hair that reaches the shoulder blades or longer, tie at true nape level, right at or just below the occipital bone, and let the weight of the tail do the draping. On shoulder-length and mid-length hair, go about an inch higher than that, because a true nape tie on a shorter tail makes the pony look stubby and like it is sliding off. On a chin-length bob, place the gather as low as the hair will physically allow and support it with two or three bobby pins pushed upward under the base, plus a bungee band instead of a stretchy elastic. Curly hair is the exception to all of this: allow for shrinkage and gather roughly half an inch lower than you want the finished pony to sit, since the curls will lift once they are released. If you are between lengths, the half-up version on this list solves the problem entirely. Length-specific detail lives in messy ponytail for long hair and messy ponytail for short hair.
How to Get Volume in a Low Messy Ponytail That Lasts All Day
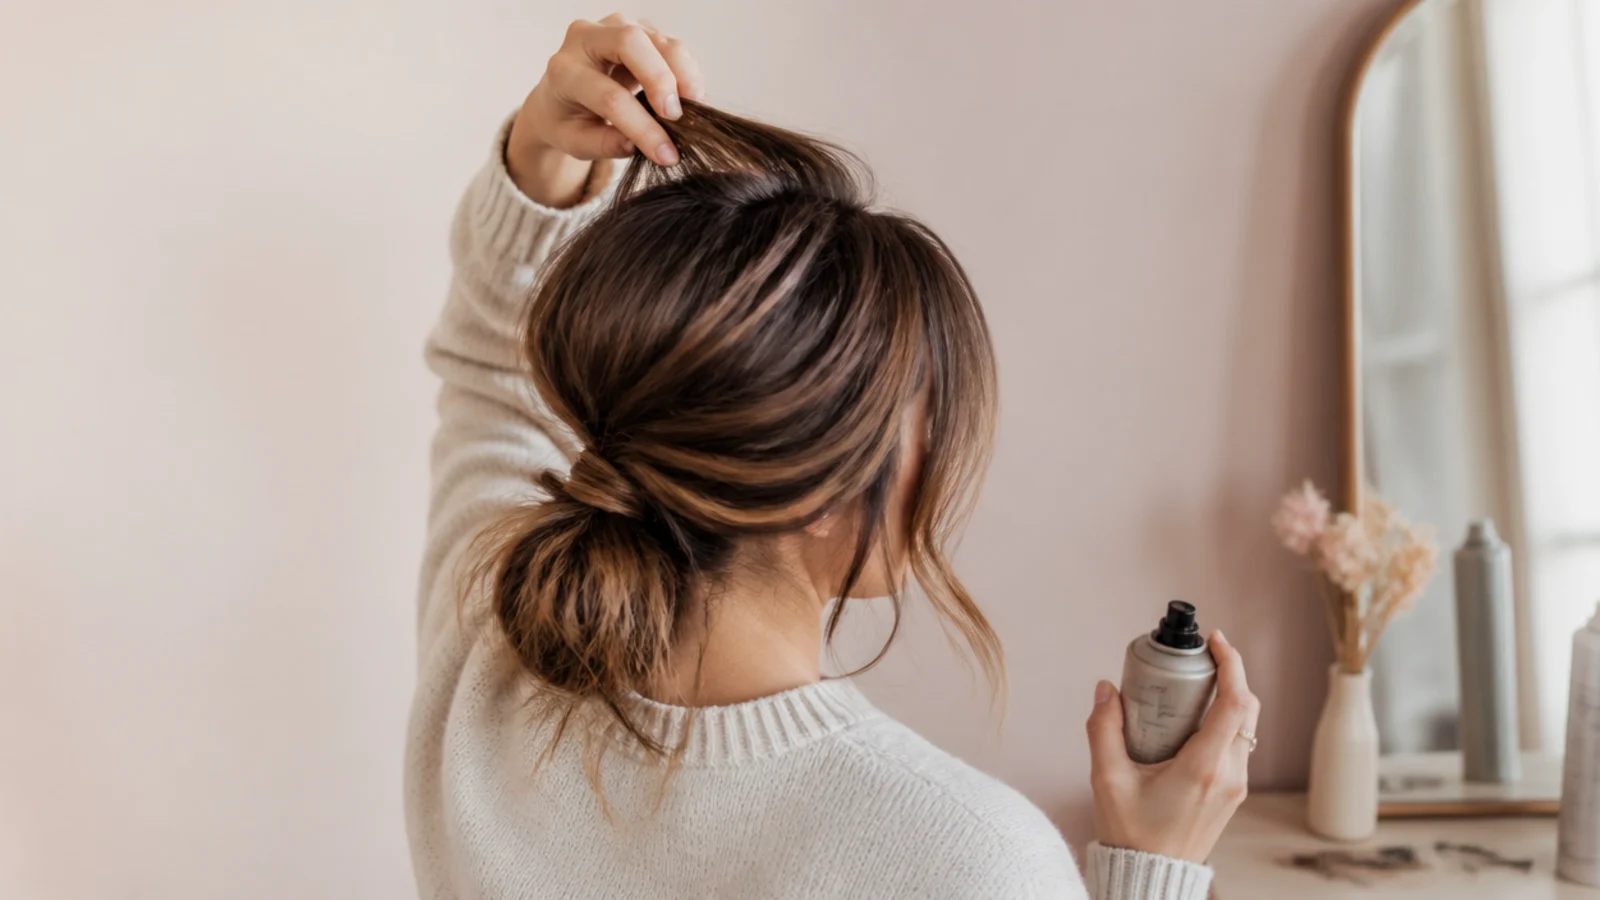
Volume in a low pony comes from the crown, not the tail, and it is added after the elastic goes on. Pinch small sections along the top of the head between finger and thumb and pull straight up half an inch, working from the hairline back in four or five moves. Do not pull sideways, which just widens the head, and do not do it before tying, because the elastic will flatten whatever you built. Grip is the other half of the equation. Day-two hair or a dry shampoo pass gives the strands enough friction to hold that lifted position; freshly washed hair slides straight back down within the hour. For genuine all-day hold, add a light back-comb at the underside of the crown before tying, use a doubled thin elastic rather than one thick band, and plan on one re-tug at lunchtime, which takes about ten seconds. Finish with a flexible-hold hairspray misted eight inches away rather than a firm-hold one, since firm hold freezes the texture into a helmet and kills the undone effect. Volume tactics for the crown-tie version are covered in high messy ponytail.
Low Messy Ponytail for Fine Hair vs Thick Hair
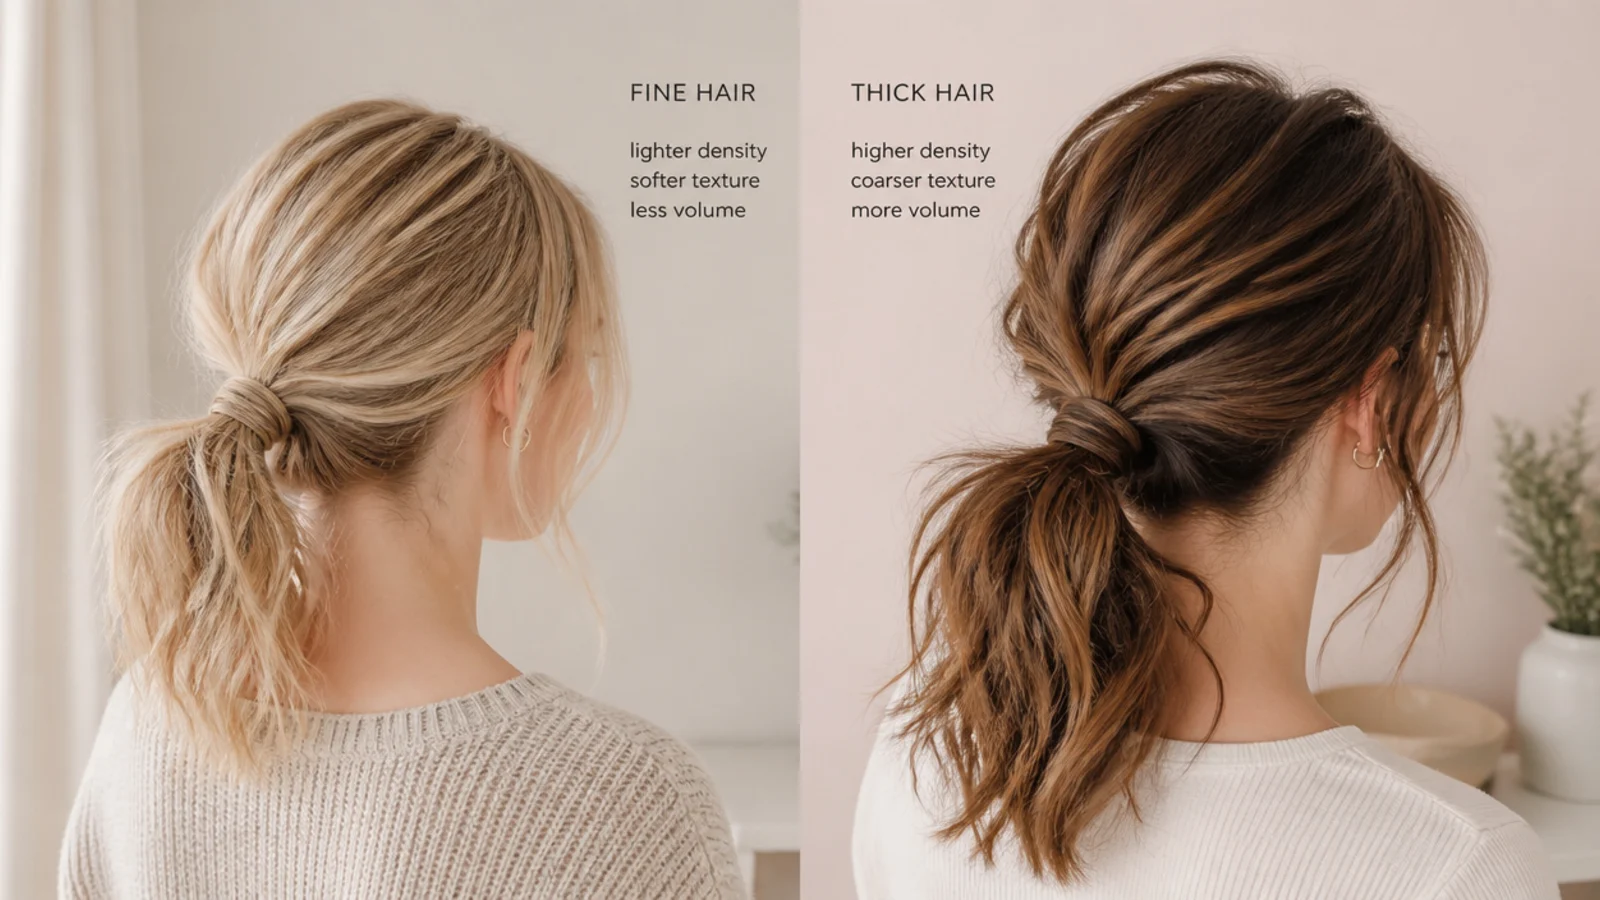
Fine and thick hair fail a low ponytail in opposite directions, so the fixes are opposites too. Fine hair slips out of the gather and produces a tail that looks thin at the ends, so it needs friction and fake density: volume powder at the roots, a light back-comb on the underside of the crown, two thin elastics stacked instead of one thick scrunchie, and a tie placed an inch above true nape level so it does not read as sliding. Thick and coarse hair has the opposite problem. There is too much weight, the elastic bulks into a knot after four wraps, and the sheer mass drags the whole pony downward through the afternoon. Use a bungee band with a hook at each end so you tighten in one pass, and split the tail horizontally, pinning the lower half up underneath so the top half falls over it and hides the support. If your hair is fine and frizzy rather than fine and silky, a smoothing serum on the mid-lengths before you gather stops the halo, and there is more on that in hairstyles for frizzy hair.
The Products That Actually Matter for a Low Messy Ponytail
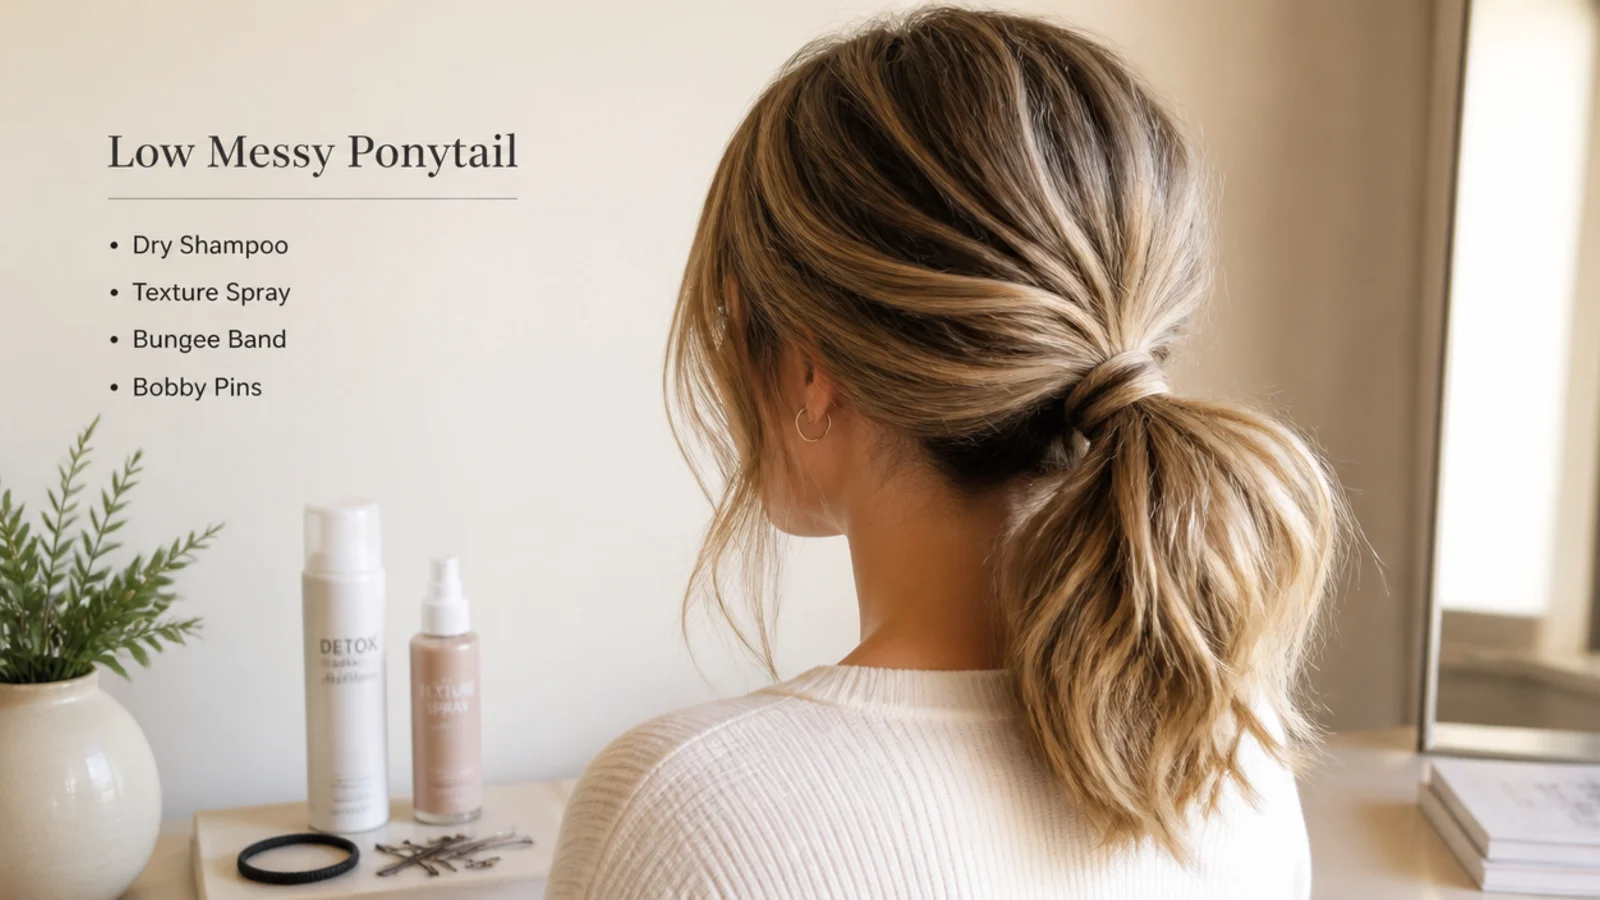
Five things, and only five. A dry shampoo or dry texture spray is the non-negotiable one, because grip is what a messy low pony runs on; texture spray is the better pick on dark hair since it skips the white cast. Second, thin elastics in your hair color, ideally two so you can stack them, plus a bungee band if your hair is thick or short. Third, bobby pins, which go under the base pushed upward toward the scalp rather than jabbed sideways, where they slide out. Fourth, a flexible-hold hairspray, held about eight inches back and misted rather than blasted, so the pieces stay movable. Fifth, one accessory that hides the elastic: a silk scarf, a velvet bow or a gold cuff, any of which does the same job as the wrapped strand when you are short on time. What you do not need is gel, a flat iron, or a firm-hold spray, all three of which fight the undone finish you are trying to build. For a soft wave through the tail beforehand, the technique in mid-length haircut styling transfers directly.
Low Messy Ponytail vs Sleek Low Ponytail: When to Wear Each
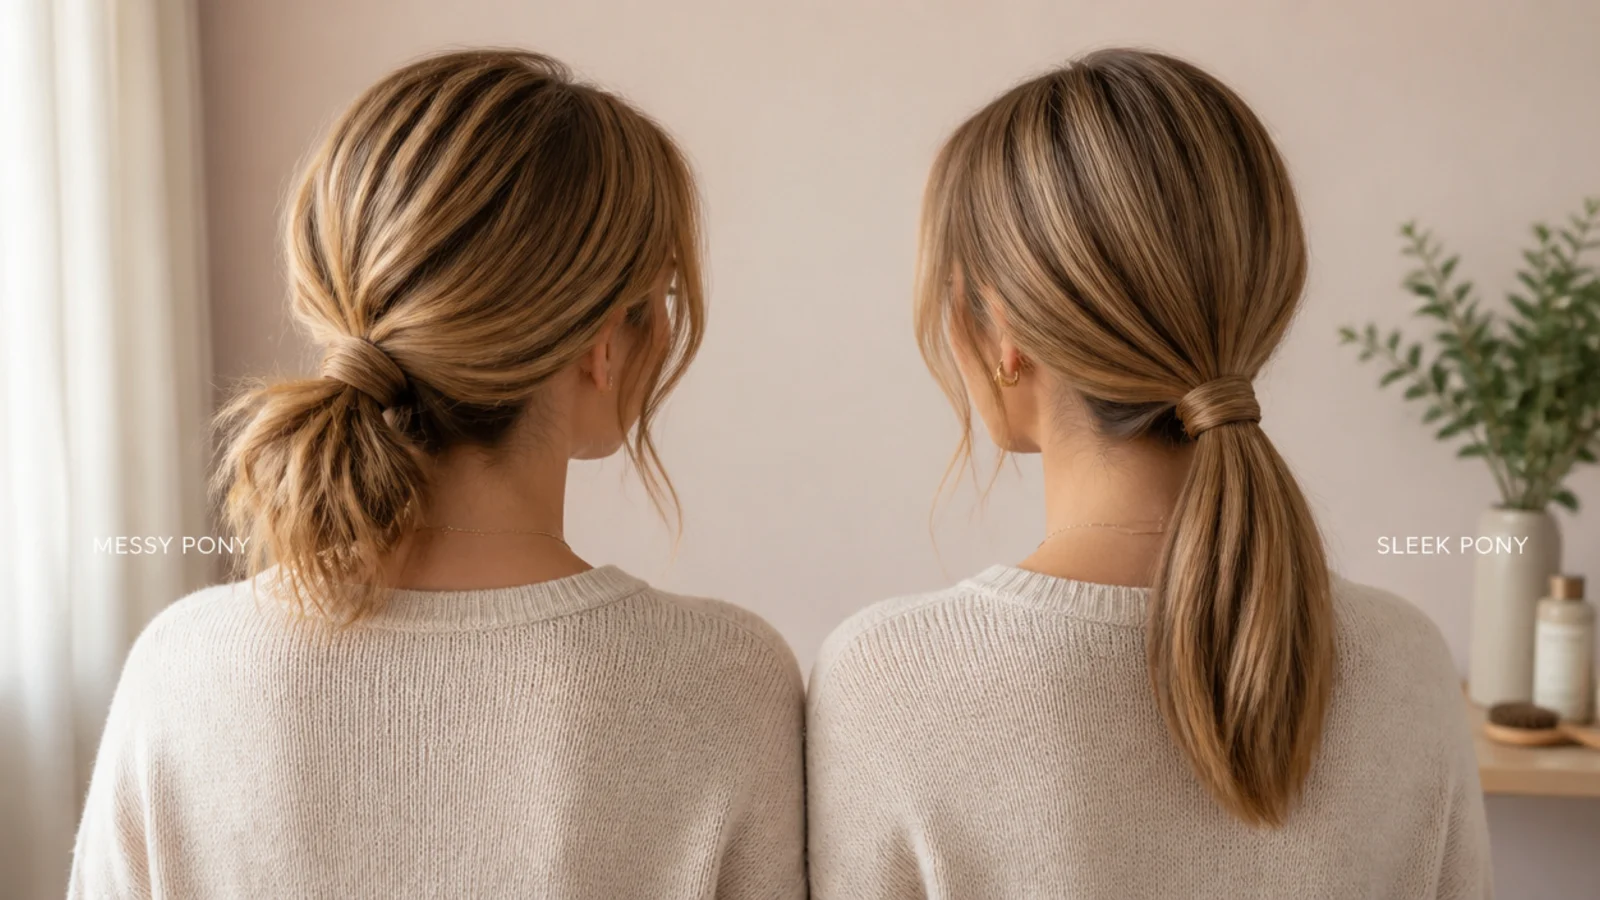
Both sit at the nape, and that is where the similarity ends. A sleek low ponytail is built with a brush, a smoothing cream and often a gel at the hairline; it reads formal and precise, it hides greasy roots better than almost anything, and it photographs sharp. The cost is tension: a properly slick pony pulls at the hairline, and worn daily that pull is the kind that stresses the fine hairs at the temples. A low messy ponytail is built with fingers and texture spray, sits looser, and is far kinder to wear five days a week, but it needs grip to hold and it will not survive real humidity without frizzing. Choose sleek for interviews, black tie and any day your hair is genuinely dirty. Choose messy for the office, weddings, dinners and anything where you want to look composed but not severe. The hybrid on this list, sleek at the root and textured through the tail, is the honest answer for most workdays. For polished-occasion styling in the same family, see sleek graduation hairstyles.
Frequently Asked Questions
How do you do a low messy ponytail in 5 minutes?
Mist dry shampoo or texture spray at the roots and mid-lengths, finger-comb everything back without a brush, gather at the nape and secure with a thin elastic pulled slightly tighter than you want. Then tug four or five small crown sections upward half an inch each, wrap a strand around the elastic, and pull out one piece in front of each ear last.
How do you hide the hair tie on a low ponytail?
Leave a half-inch strand out from the underside of the tail before you tie. Once the elastic is on, twist that strand loosely, wind it downward around the base twice so it lies flat, then tuck the end underneath and secure it with one bobby pin pushed toward your scalp. A silk scarf, a velvet bow or a gold hair cuff does the same job faster.
Should hair be clean or dirty for a low messy ponytail?
Day-two hair works far better than freshly washed hair. Clean hair is too slippery to hold a gather or keep a crown tug lifted, so it slides back flat within the hour. If you have just washed, build the grip back with dry shampoo or a dry texture spray at the roots, massaged in with your fingertips rather than brushed through.
Is a low ponytail more flattering than a high one?
It depends on your face shape rather than on which is objectively better. A low nape tie flatters round and square faces because it does not add height at the crown, and it suits anyone wanting a softer, more grown-up line. A high ponytail flatters long and oval faces, since the lift balances the proportions and pulls the eye upward.
Should you curl your hair first for a low messy ponytail?
Curl before you tie, never after. Waving 1.5-inch sections on a 1-inch iron and letting them cool gives the tail visible movement so it does not hang as one solid block. Curling a tail that is already secured leaves a crimp right at the elastic that you cannot hide, and it flattens the section the band is holding.
How do you keep a low messy ponytail from falling out during the day?
Three things fix it: grip, hardware and one mid-day reset. Use dry shampoo or texture spray so the strands hold friction, stack two thin elastics instead of one thick band, or use a bungee band if your hair is thick. Then plan on a ten-second re-tug of the crown at lunchtime, which restores the shape without rebuilding the pony.
Can you do a low messy ponytail with short hair?
Yes, from about chin length. The trick is not to rely on the elastic alone. Use a bungee band you can hook rather than stretch, then push two or three bobby pins upward into the gathered hair underneath the base to catch the short pieces that will not reach. Texture spray first is essential, and a few loose nape pieces are part of the look.
Is a messy ponytail appropriate for the office?
The sleek-root version is. Smooth the hair from the part to the elastic with a boar-bristle brush and a little smoothing cream, tie low, then add texture only to the tail below the band. The polished crown reads professional while the undone tail keeps it from looking severe, and leaving out one thin temple piece per side is enough softness for any dress code.
Do low ponytails damage your hair?
They are gentler than tight high ponytails because there is far less pull at the hairline, but the tie point still matters. Use a fabric-covered or satin band rather than a rubber elastic, do not tie in exactly the same spot every day, and never tie hair that is soaking wet. If you notice short broken pieces around the band, loosen the tension and switch to a bungee band.
Which messy ponytail look are you saving?
If you take one thing from these 20 low messy ponytail ideas, make it the order of operations. Texture goes in before you gather, the elastic goes on while the hair is still slightly too tight, and the loosening happens afterward: crown first, then the strand wrapped around the elastic, then the temple and ear pieces last of all. Do it in that order and even a 60-second version looks composed. Do it backwards and you get a pony that has simply fallen down. Start with the classic nape version, then work up to the twisted or bubble variations once the base feels automatic. Browse the rest of the messy ponytail hub, or go straight to the high messy ponytail if you want lift instead of softness.