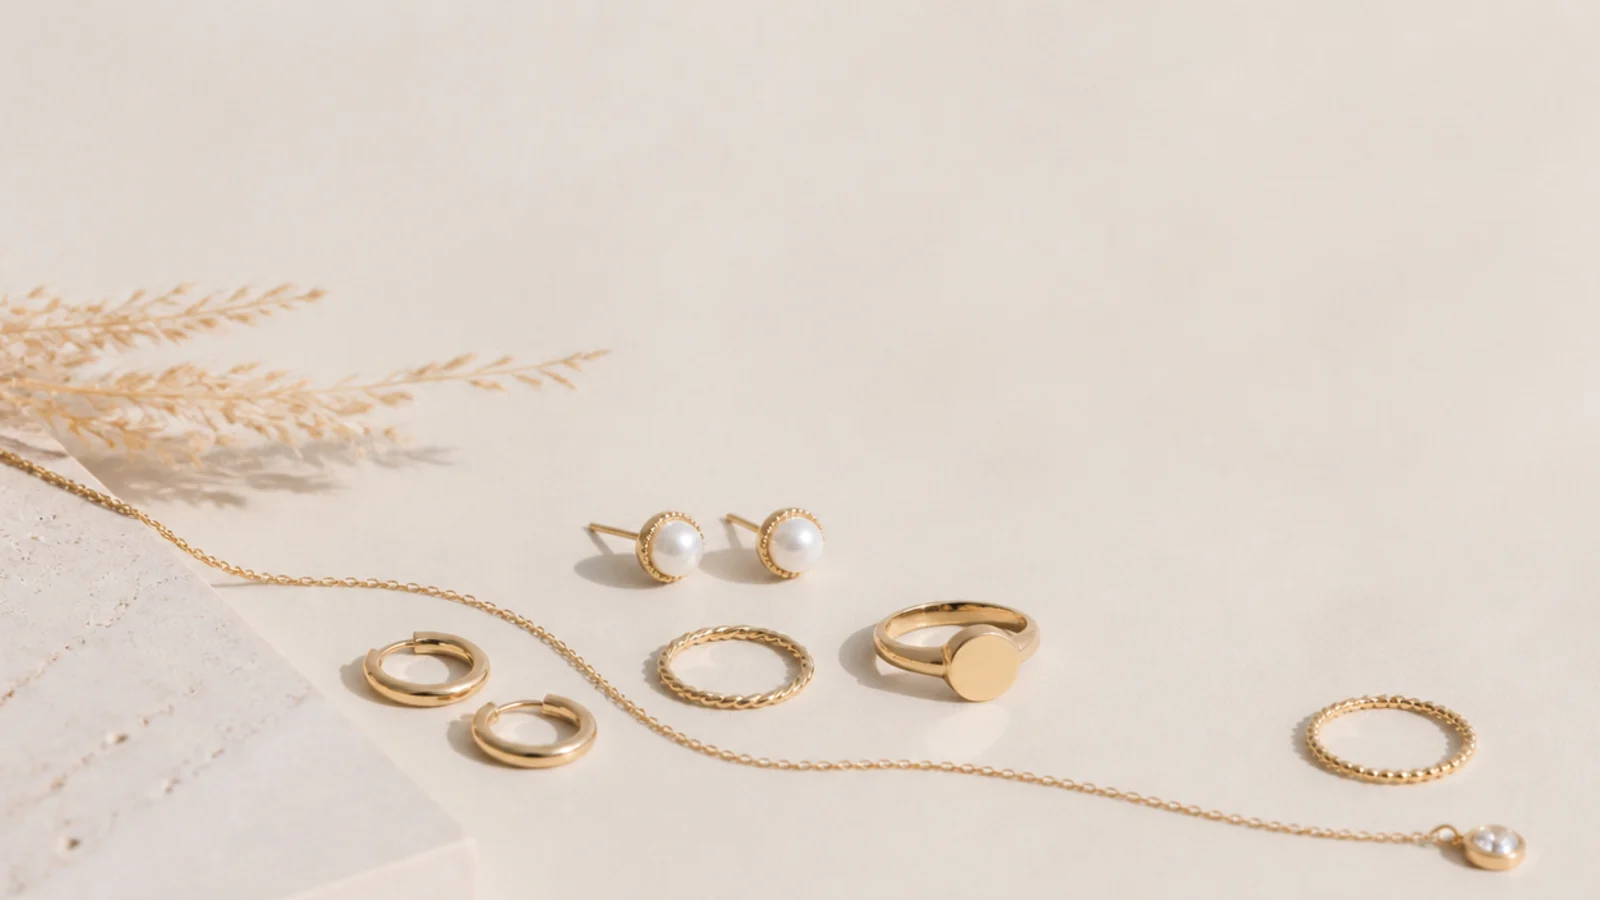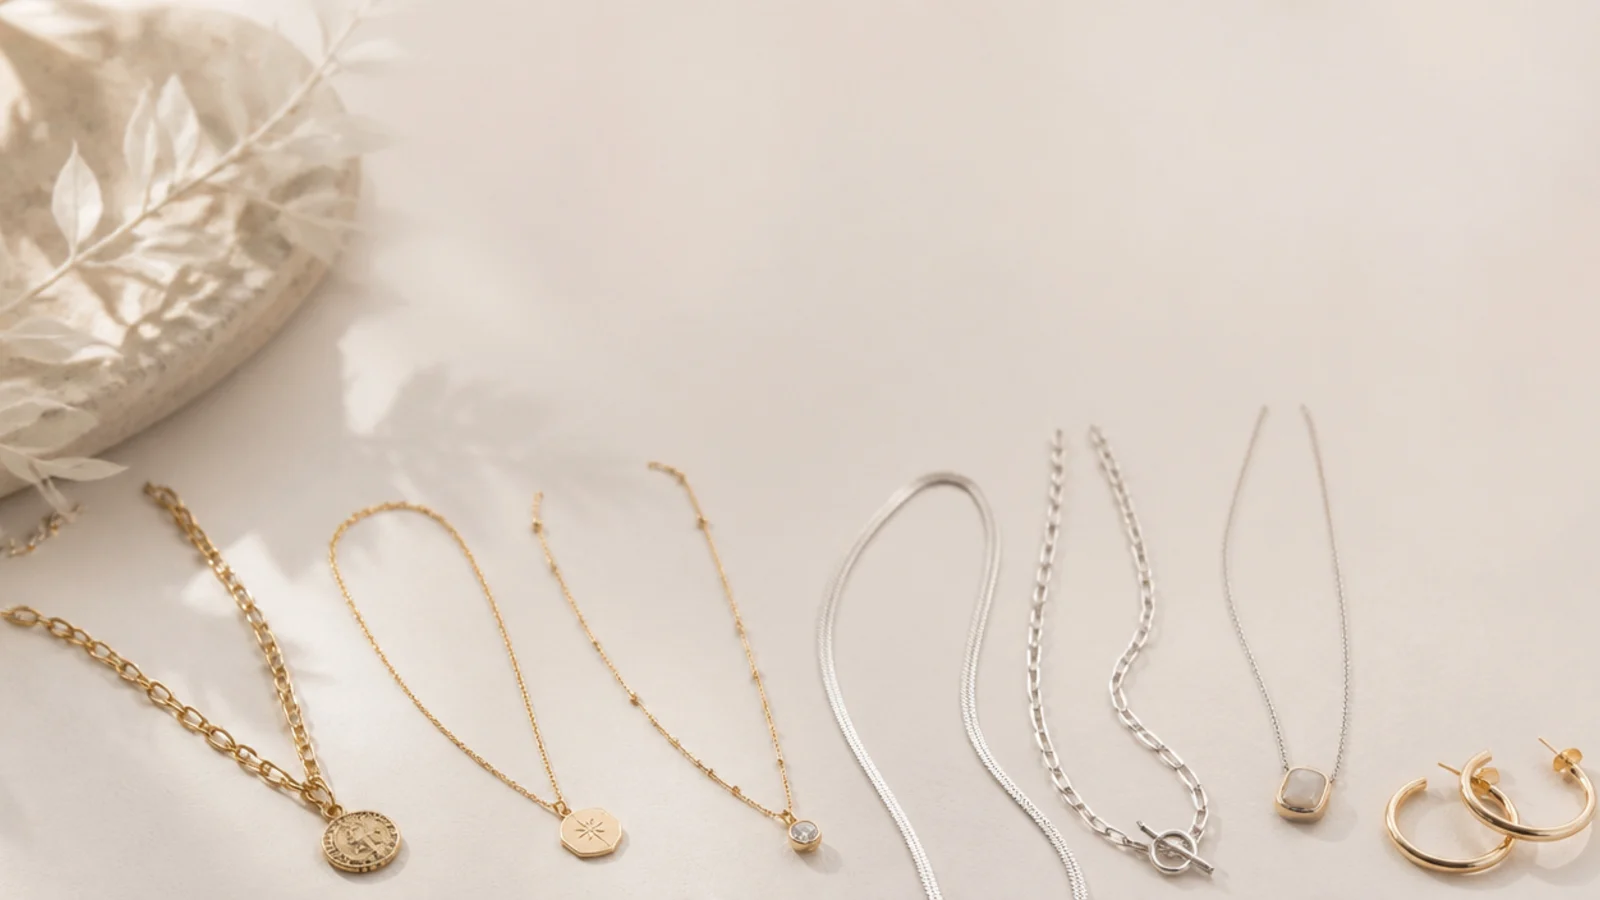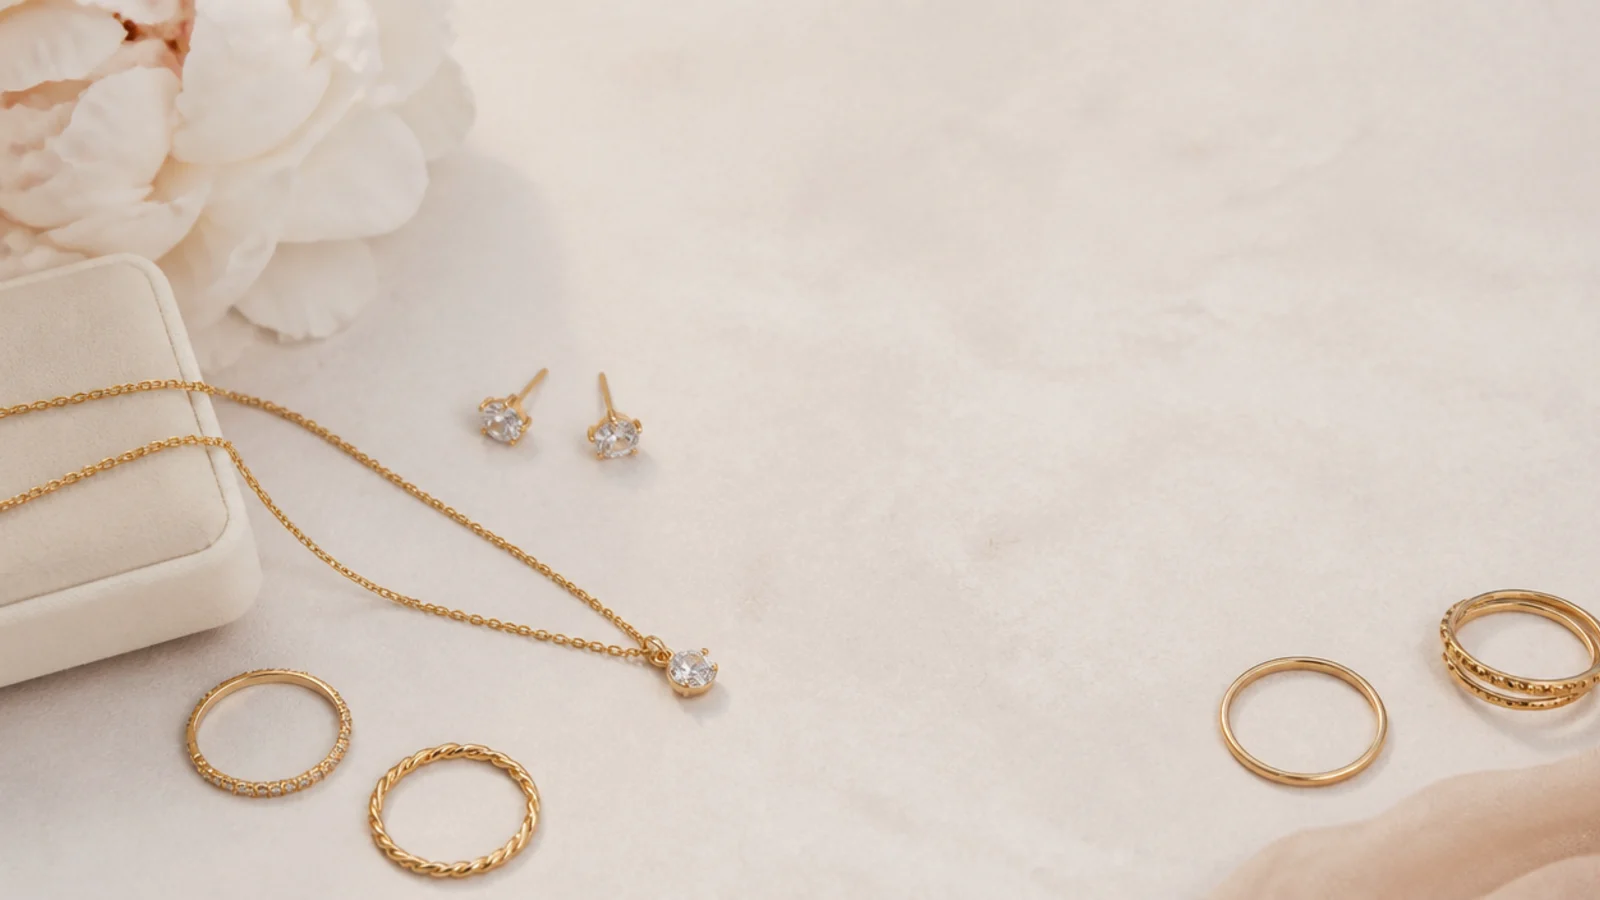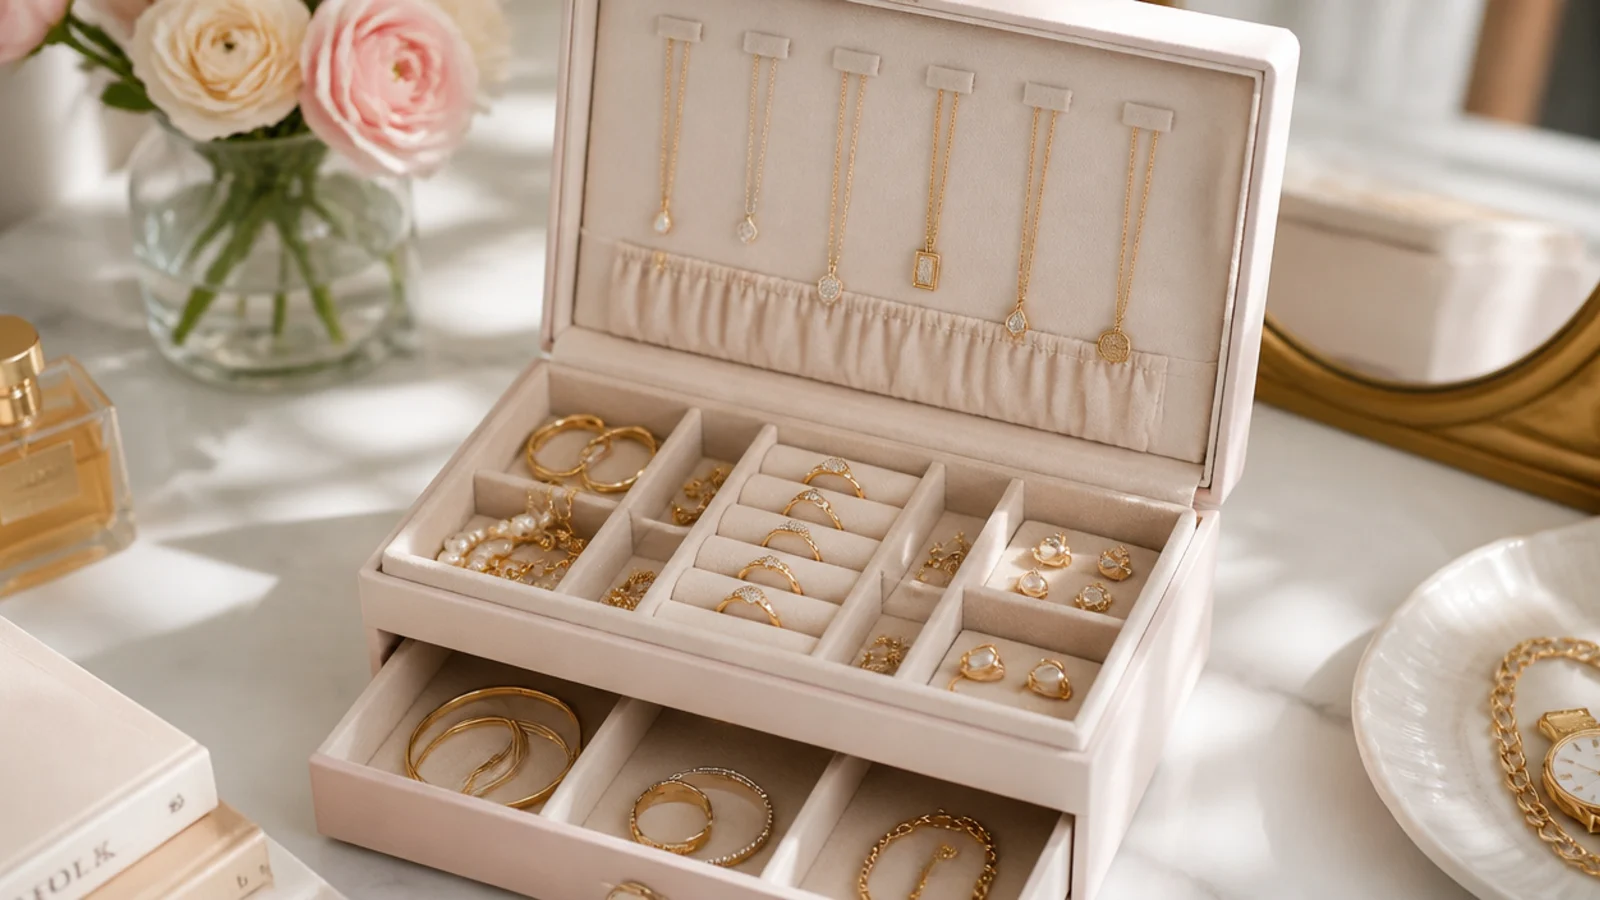
Quick Comparison
| Open Display Storage | Enclosed Protective Storage | |
|---|---|---|
| What it is | Trays, cake stands, wall hooks, earring boards and bust stands out in the open | Lidded boxes, drawer inserts, zip anti-tarnish bags and flannel pouches |
| Best for | Daily-rotation pieces you grab every morning | Occasion, fine and rarely worn pieces you want protected |
| Anti-tarnish | Weak: open air reaches the metal and speeds fading | Strong: seals in anti-tarnish strips and silica, keeps sulfur out |
| Anti-tangle | Strong for hung necklaces and earrings on hooks and boards | Strong when each piece gets its own bag, pouch or padded bar |
| Dust and oils | Collects dust and needs a weekly wipe | Stays clean and dust-free inside the lid |
| Space needed | Uses wall or surface space, best where you have a bare wall | Fits inside drawers and stacks vertically, best where surfaces are full |
| Grab-and-go speed | Fastest: everything visible and reachable | Slower: you open a lid or a drawer first |
| Travel-friendly | No, meant to stay put on a wall or vanity | Yes, pouches, bags and rolls pack straight into a bag |
| Use this if | You want your daily pieces visible and fast to reach | You want to stop tarnish and protect pieces you wear rarely |
1. Wall-Mounted Framed Earring Board
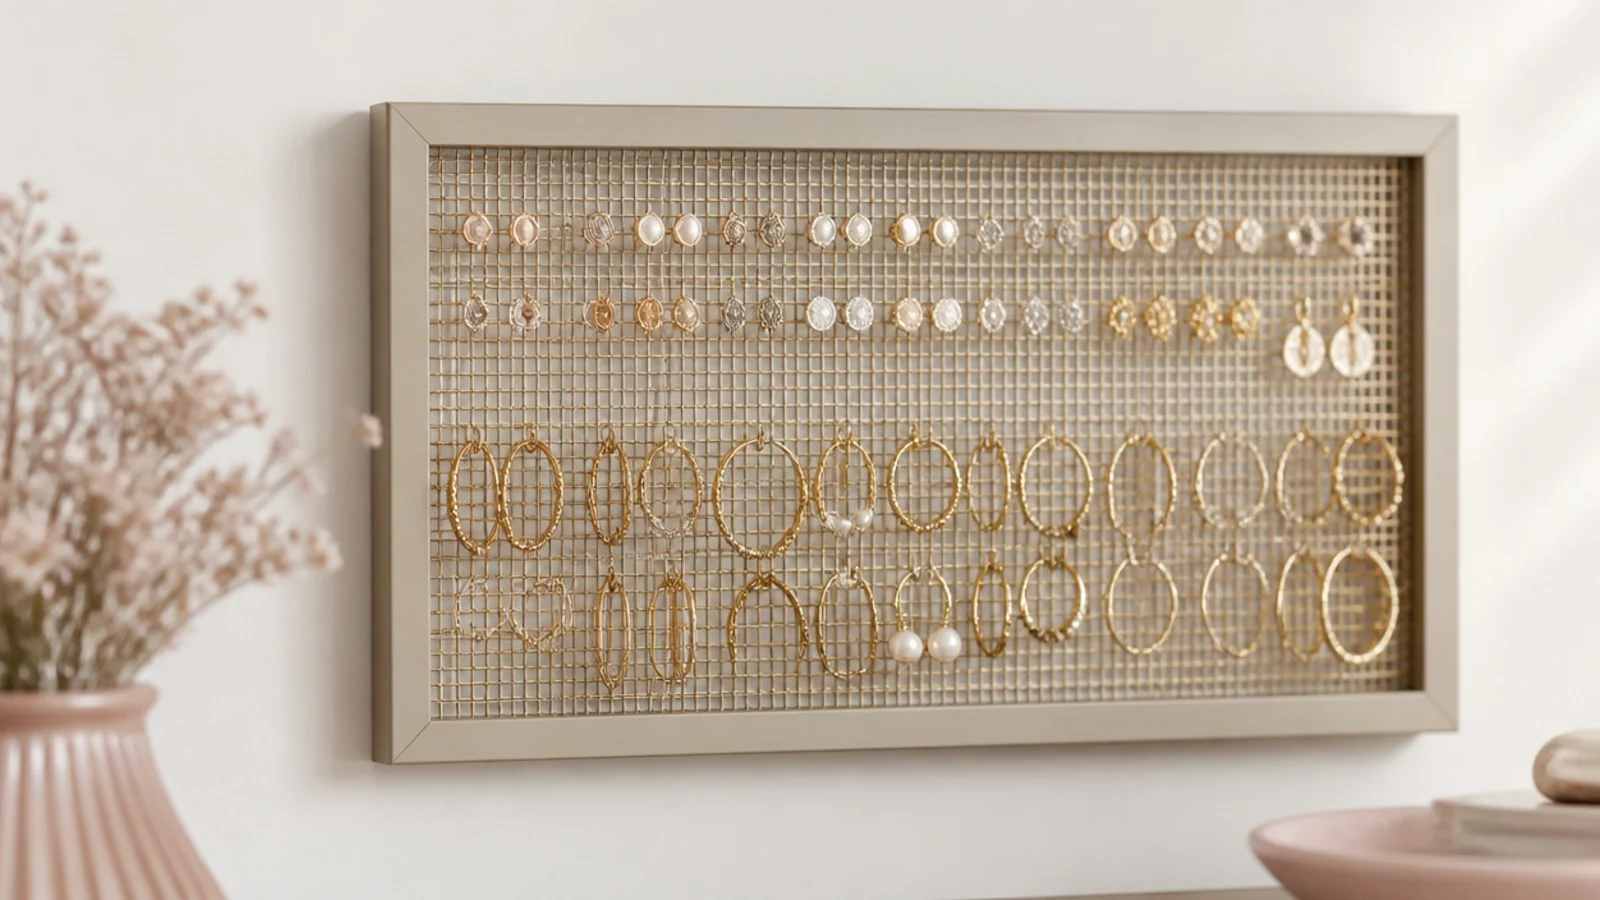
A framed metal-mesh or corkboard screen hung on the wall turns studs and hoops into visible art and clears your surface entirely. Push studs through the mesh and hang hooks and huggies over the wires, and a board roughly the size of a sheet of paper holds forty or more pairs in zero counter footprint. It is the single best small-space fix because it uses the one surface a tiny room always has spare: the wall.
Hang it beside a mirror at eye level so you can pick earrings while you get ready. A framed example doubles as decor and hides the mesh edges.
2. Stackable Acrylic Drawer Organizer
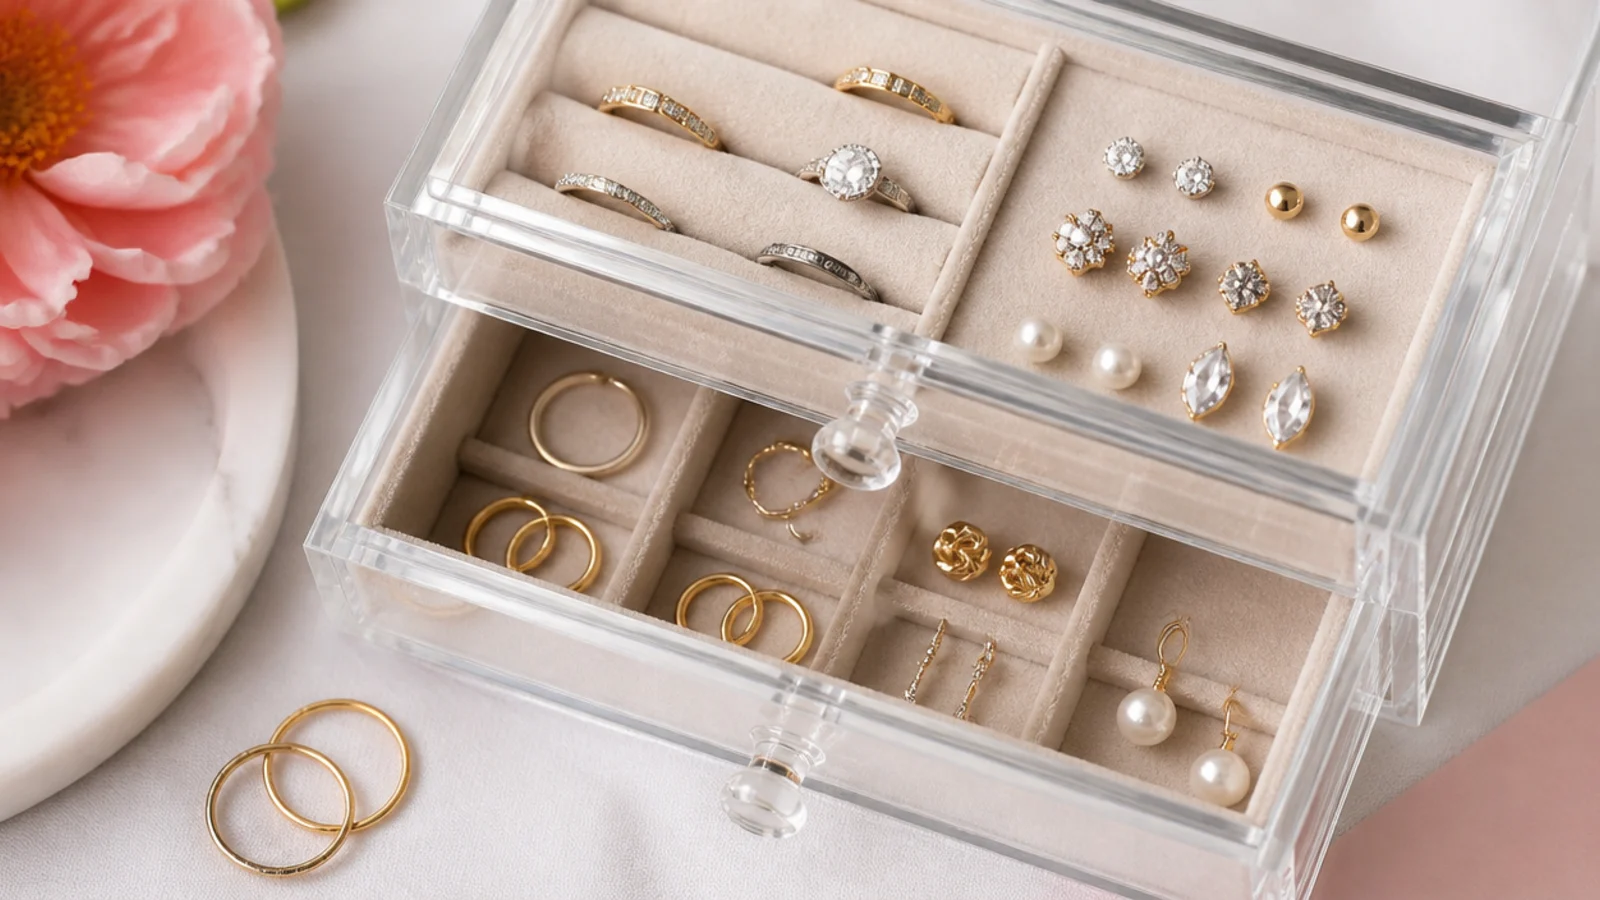
A two or three-tier clear acrylic drawer unit, the Muji-style kind with a footprint around six by nine inches, stacks a whole collection into one small tower you can see through. Line each drawer with a velvet insert and assign one to rings, one to studs and one to bracelets. The clear walls mean you never dig, and the vertical stack fits on the corner of a dresser where a spread-out box never would.
Keep the top drawer for daily pieces and lower drawers for occasion jewelry, so your everyday rotation is always the easiest to reach.
3. Over-the-Door Hanging Organizer
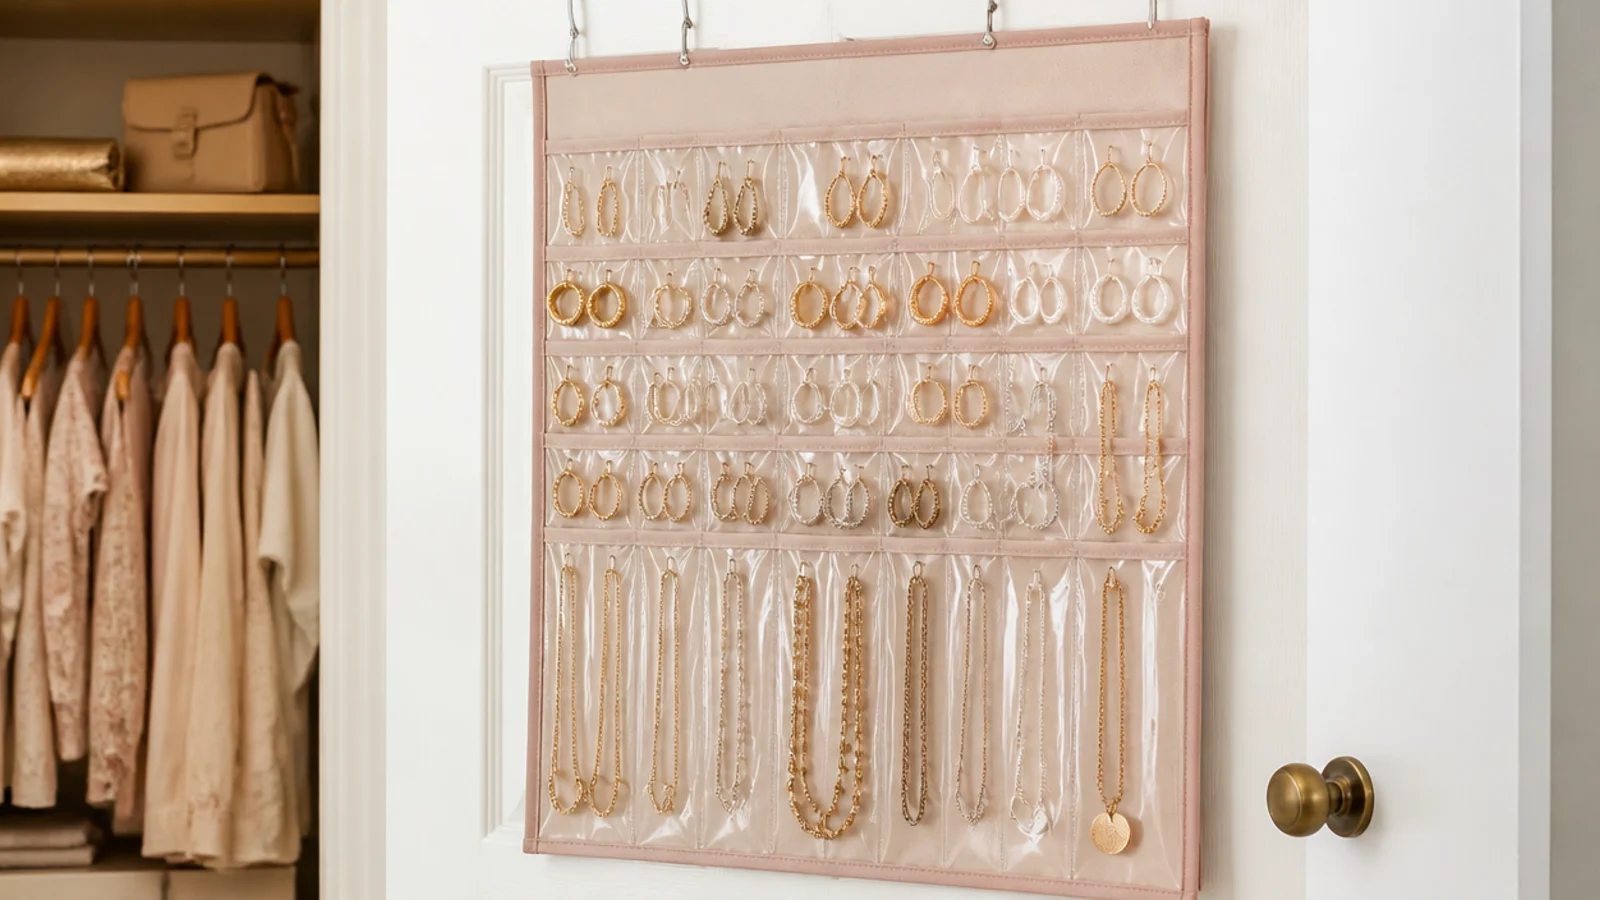
A clear-pocket panel that hooks over a closet or bathroom door holds eighty-plus small pockets and uses no floor, counter or drawer space at all. It is the best pick for a dorm or a shared bathroom where every surface is spoken for. Slot studs, rings and folded chains into the see-through pockets, and flip the panel to use both sides. Everything stays visible and the door closes over it out of sight.
Choose a panel with reinforced pockets so heavier pendants do not sag and stretch the vinyl over time.
4. Slim Velvet Drawer Insert Tray
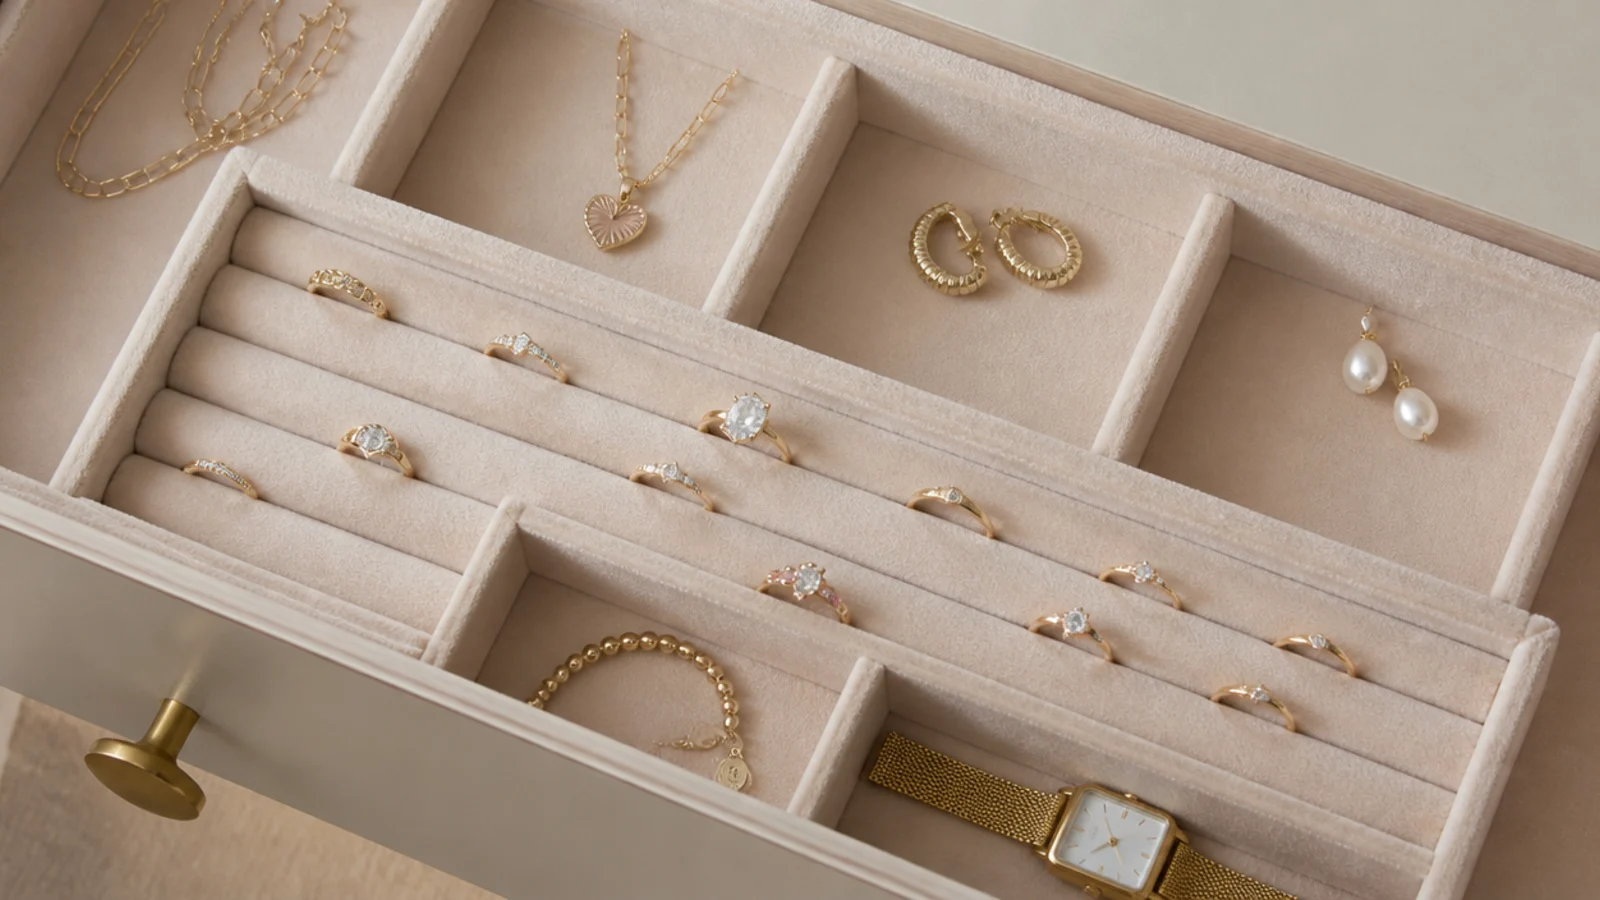
A felt or velvet-lined tray that drops into an existing dresser drawer turns dead drawer space into a hidden jewelry zone with no new furniture at all. Look for one with a ring roll, small square compartments for studs and a long channel for bracelets. Because it sits inside a drawer it is fully enclosed and dust-free, and it keeps the surface of a small room completely clear while still giving every piece its own slot. It is the neatest home for the work-ready pieces you reach for on weekday mornings.
Measure your drawer interior first and buy a tray that fills it edge to edge, so nothing slides when you open and close it.
5. Slotted Ring Roll or Ring Cone
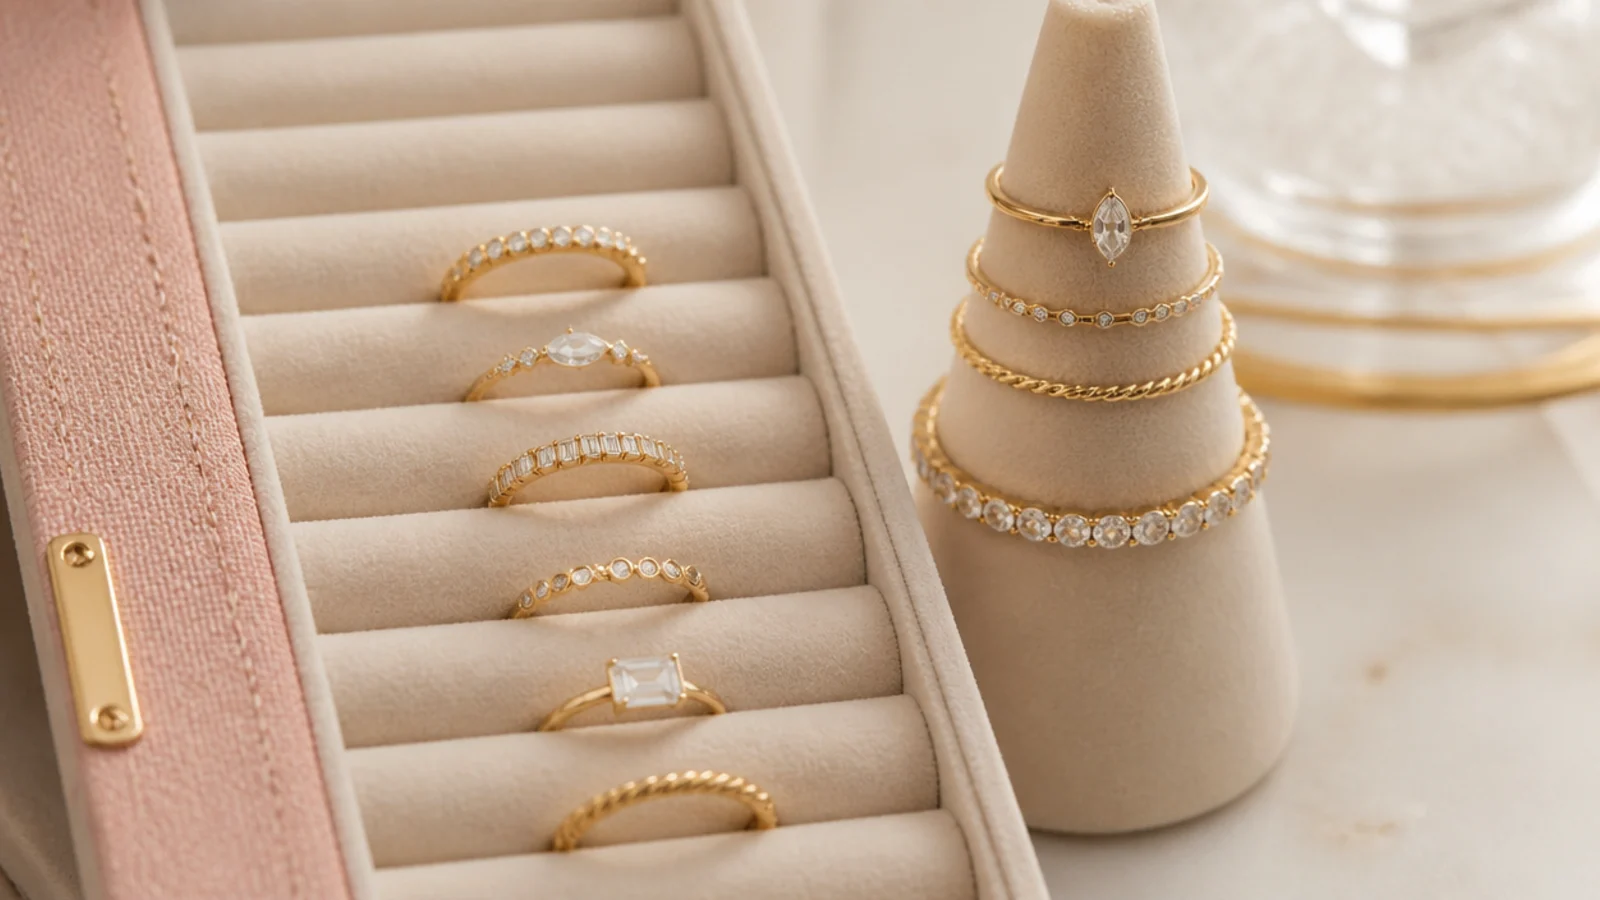
A velvet slotted ring roll or a standing ring cone keeps rings in a straight, visible line instead of a jumbled dish, and it takes up about a four-inch footprint. The slots hold ten to fifteen rings upright so you see every band at a glance and the metal never scratches against other pieces. A cone is the prettiest grab-and-go option for a vanity, while a roll tucks flat into a drawer or a travel case.
Store rings you wear daily on the cone and keep the rest rolled away, since daily rings hold the most skin oil and benefit from a quick wipe each night. A ring stack worth displaying often starts with our gold jewelry under $50 finds.
6. Anti-Tarnish Strip Lined Box
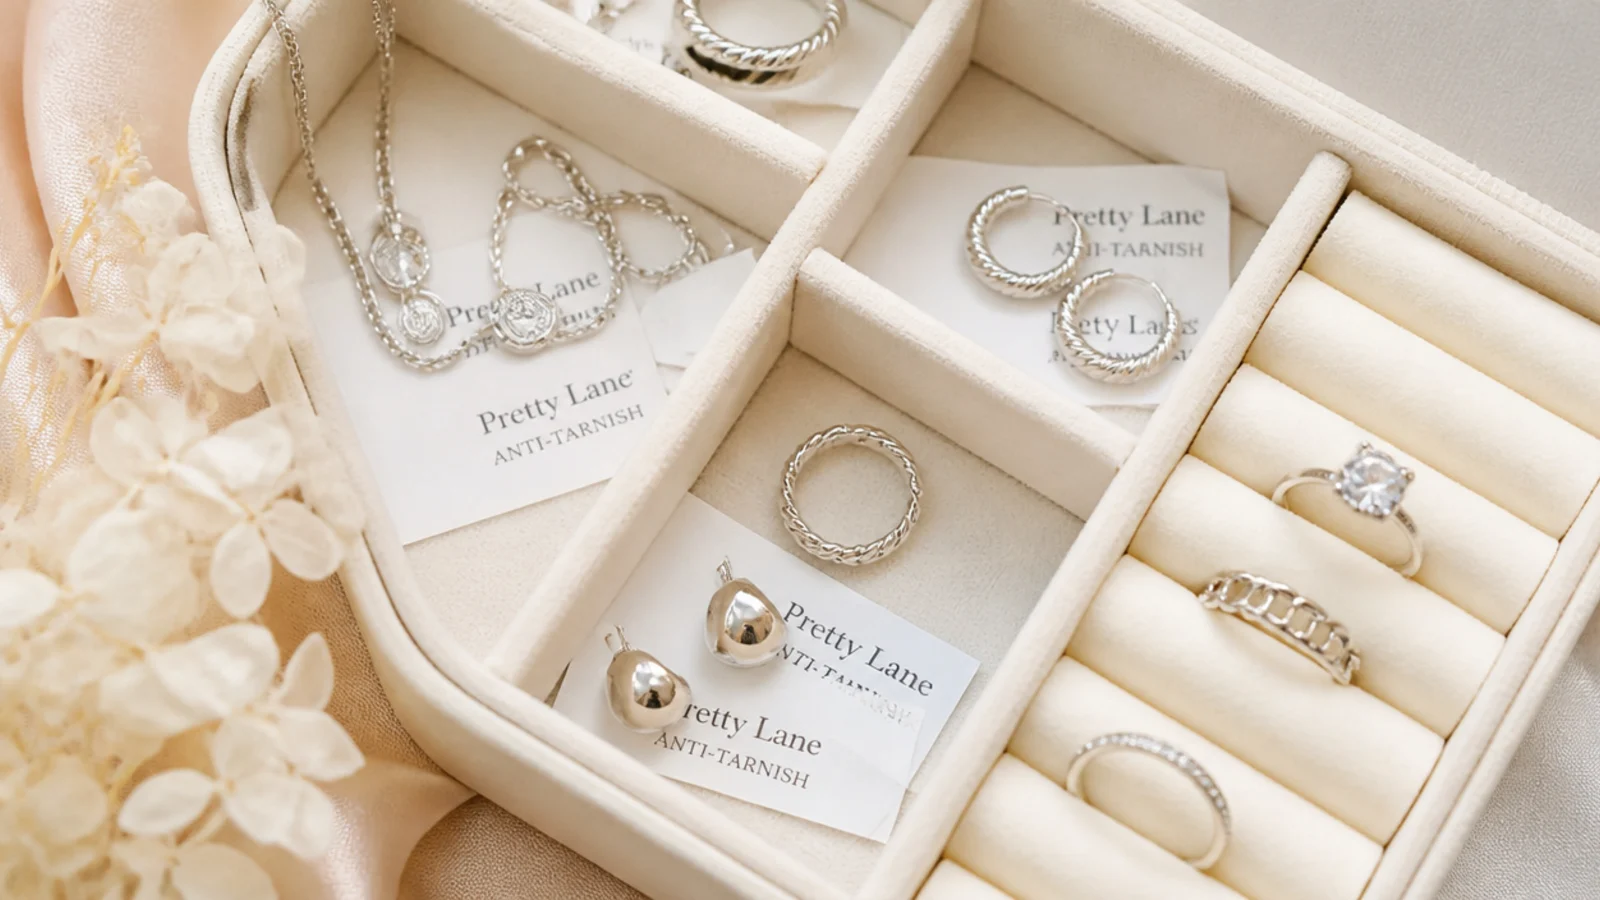
Tuck a 3M anti-tarnish strip into each compartment of a lidded box and it quietly absorbs the sulfur and moisture in the air that makes sterling silver and plated pieces go dark. The strips are the cheapest tarnish insurance there is and they work in any closed box. They fade from a pale color to darker as they exhaust, usually over about six months, which tells you exactly when to swap them. This is the storage half of the fight against fading described in how to keep gold jewelry from tarnishing.
Only a sealed box lets the strips do their job; in an open tray the treated air escapes and they barely help.
7. Individual Zip-Top Anti-Tarnish Bags
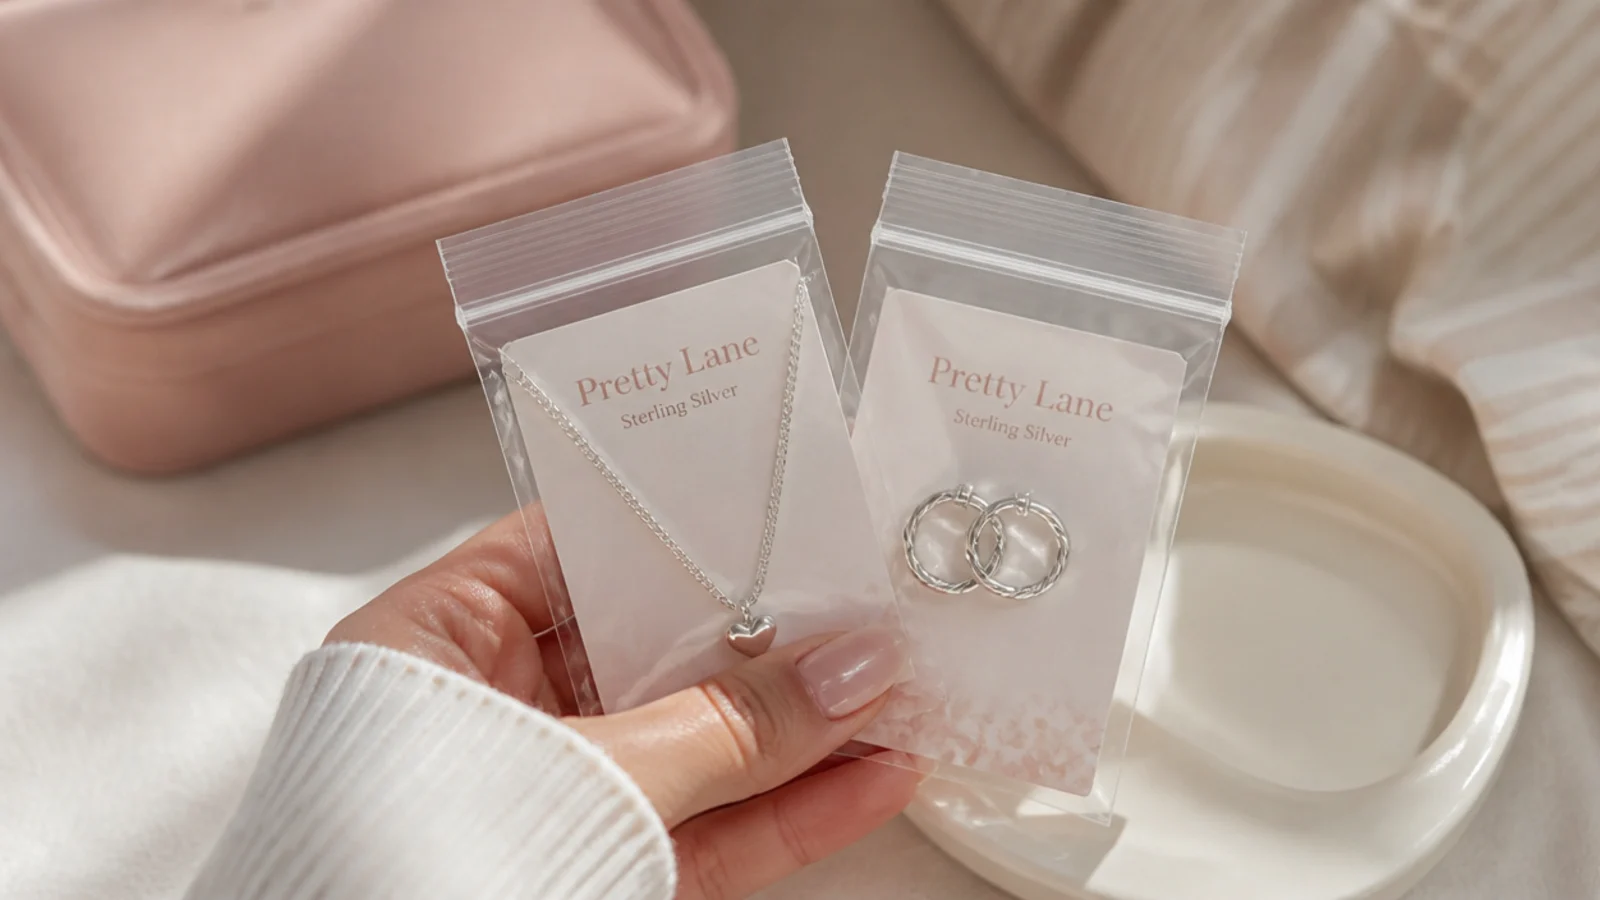
Small resealable anti-tarnish poly bags, the two-by-three-inch size, hold one piece each and squeeze the air out so tarnish has almost nothing to react with. They are the gold standard for sterling silver you wear rarely, like a fine chain or a pair of studs you save for events. Press the air out before you seal, label the bag if you like, and the piece will come out months later just as bright as it went in.
One piece per bag only; two pieces sharing a bag scratch each other and tangle, which defeats the point.
8. Silica Gel in a Sealed Box
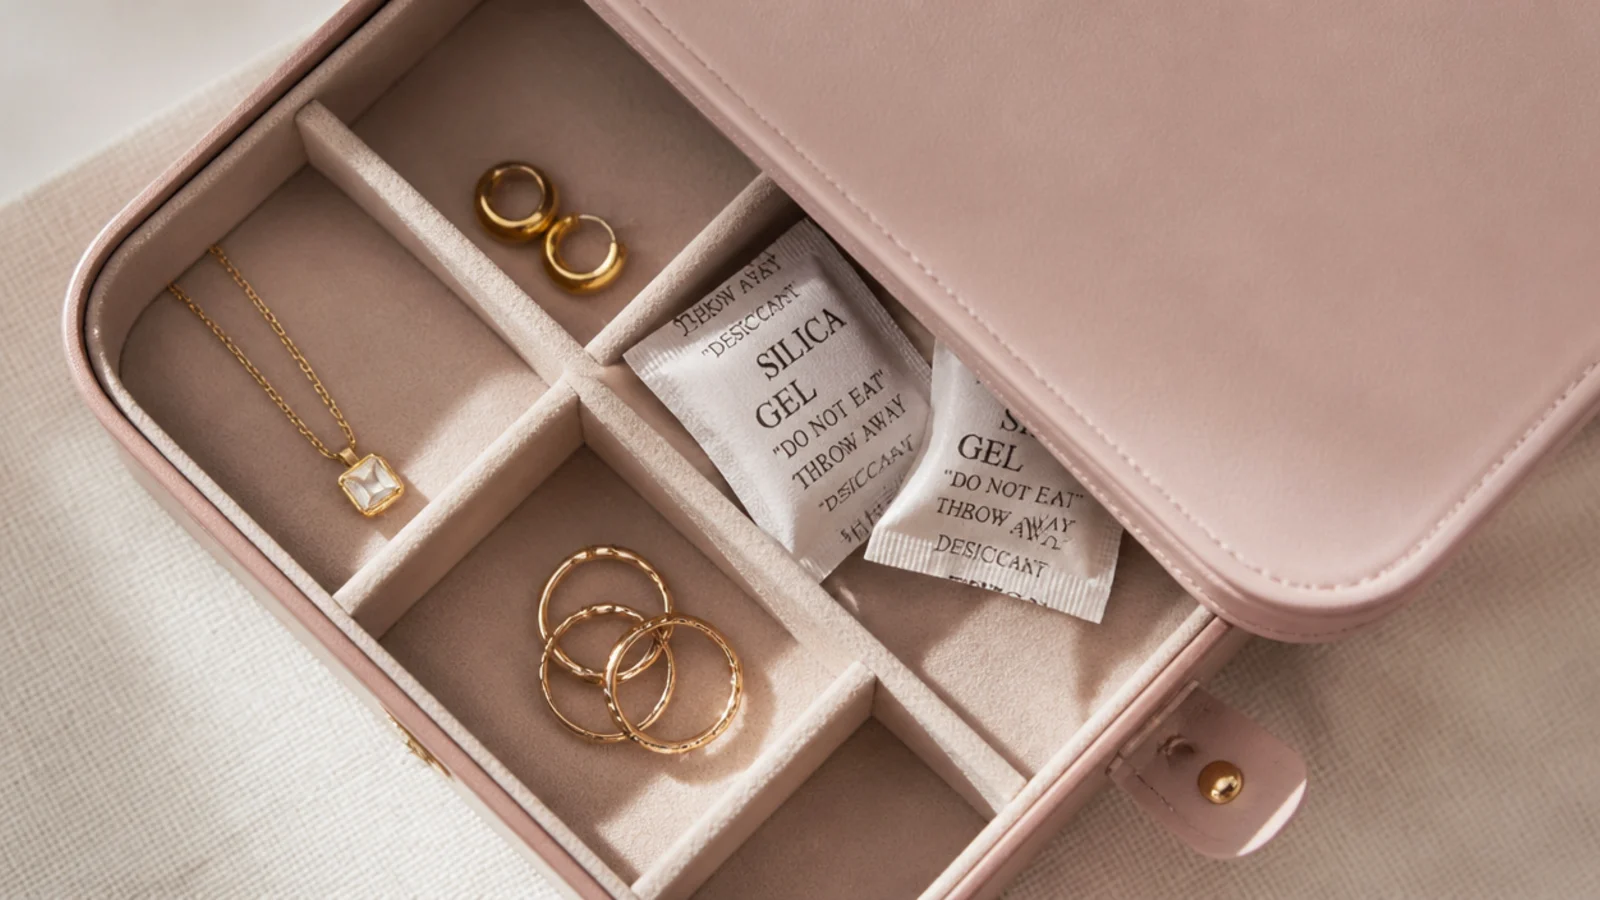
Drop two or three silica gel packets into a lidded box and they pull humidity out of the air, which matters most for gold-plated pieces whose thin layer lets moisture reach the base metal underneath. Humidity is the hidden driver of fading, so a dry box buys real time on plated and vermeil. It is why storage matters more the softer the plating, a point covered in gold vermeil vs gold filled vs plated.
Save the packets that come in shoe boxes and supplements, or recharge them in a low oven, so this idea costs nothing.
9. Soft Anti-Tarnish Flannel Pouches
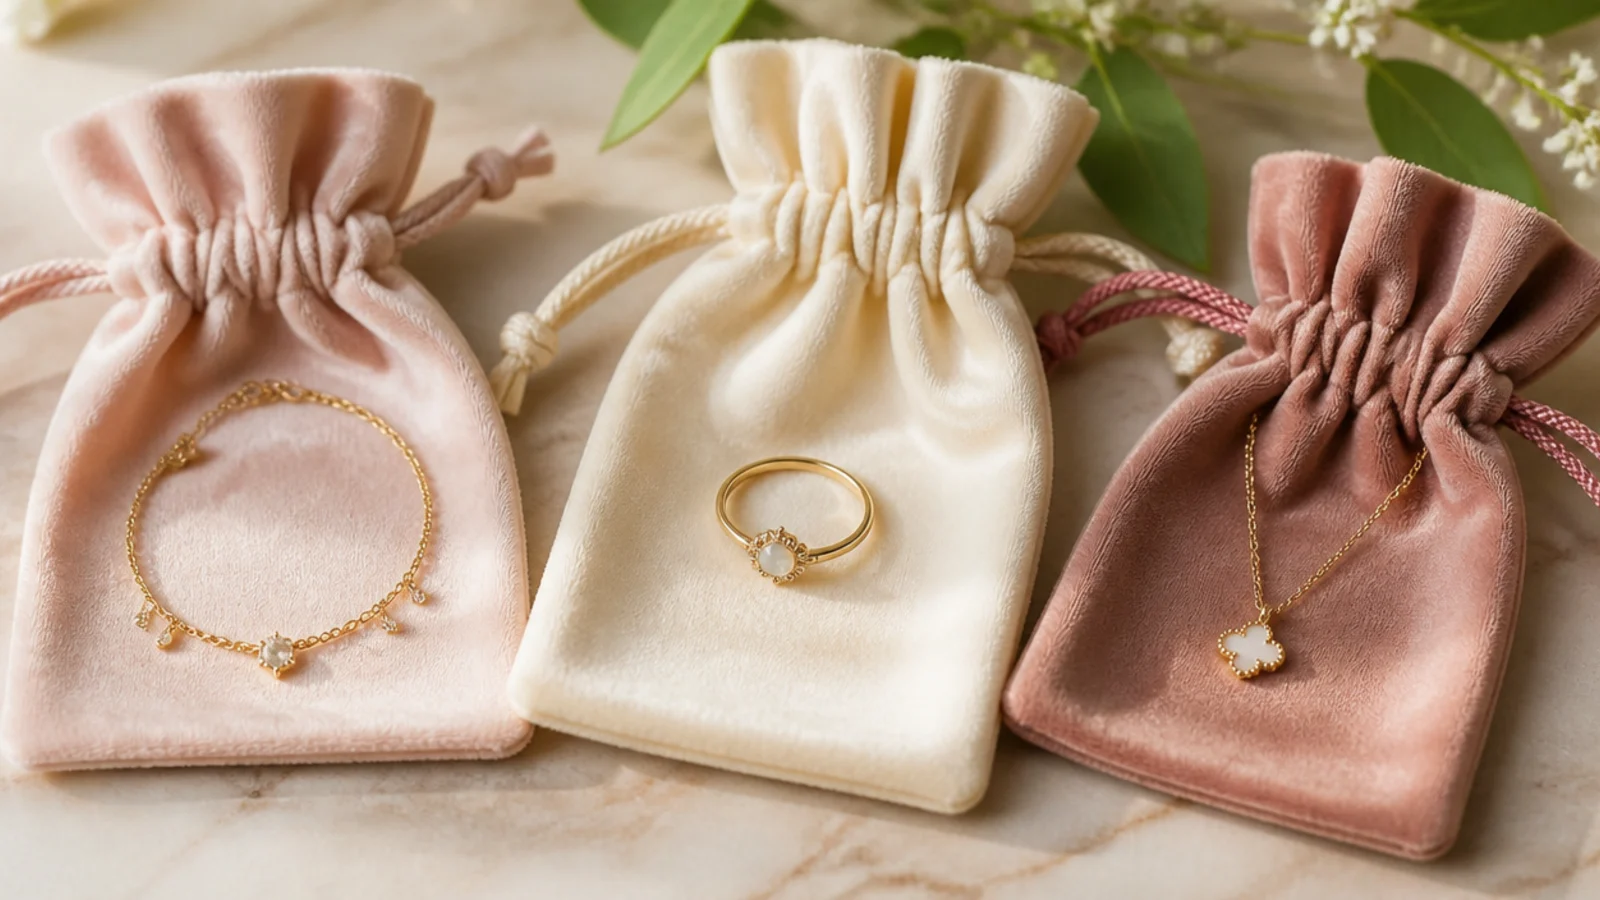
A drawstring flannel pouch for each piece does two jobs at once: the soft nap slows tarnish and the individual bag stops scratching and tangling. Anti-tarnish flannel is treated to neutralize the sulfur in the air, so a pendant or a bracelet tucked in one stays bright and unscratched. Pouches also nest neatly inside a drawer or a box, turning one big compartment into many protected little ones without buying dividers.
Use pouches for anything with a stone or a soft finish, since a matte or brushed surface scratches more easily than high shine.
10. Wall-Mounted Necklace Rail of Hooks
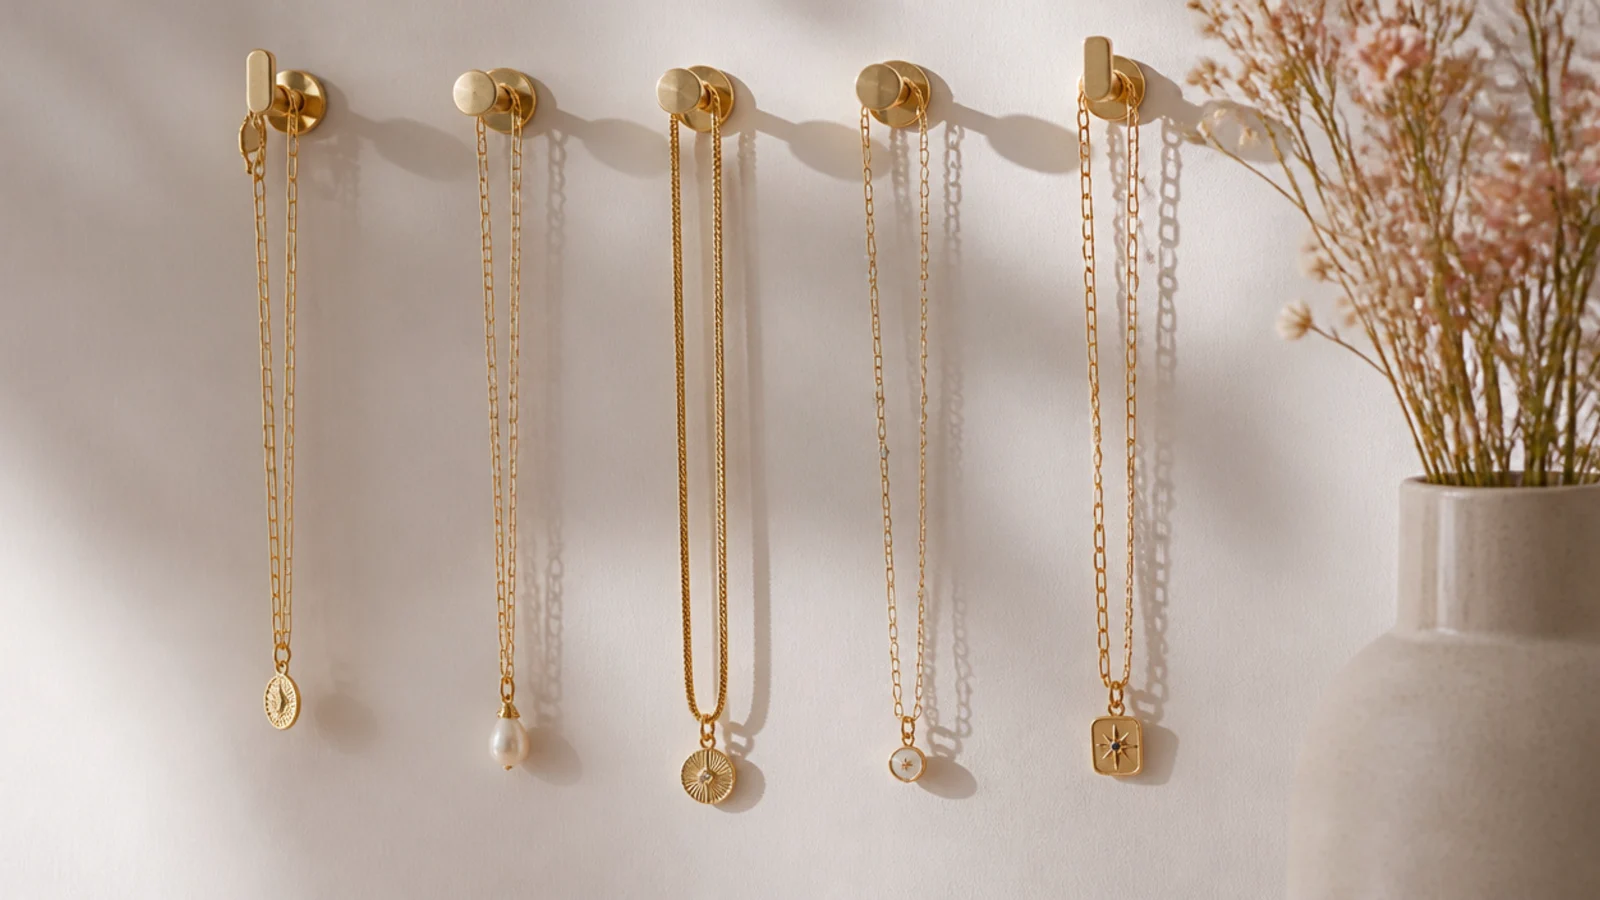
A row of small Command hooks or a knobbed rail on the wall is the definitive fix for tangling, because each necklace hangs on its own hook and never touches the next. Hanging also keeps chains straight instead of coiled, which is what knots them in the first place. Space the hooks about two inches apart, hang longest chains at the ends and shortest in the middle, and your whole necklace collection becomes a visible, grab-and-go display on any bare wall.
Use adhesive hooks rated for a little more weight than your heaviest pendant, so a statement piece never pulls one off the wall.
11. Necklace Board With Cushioned Bars
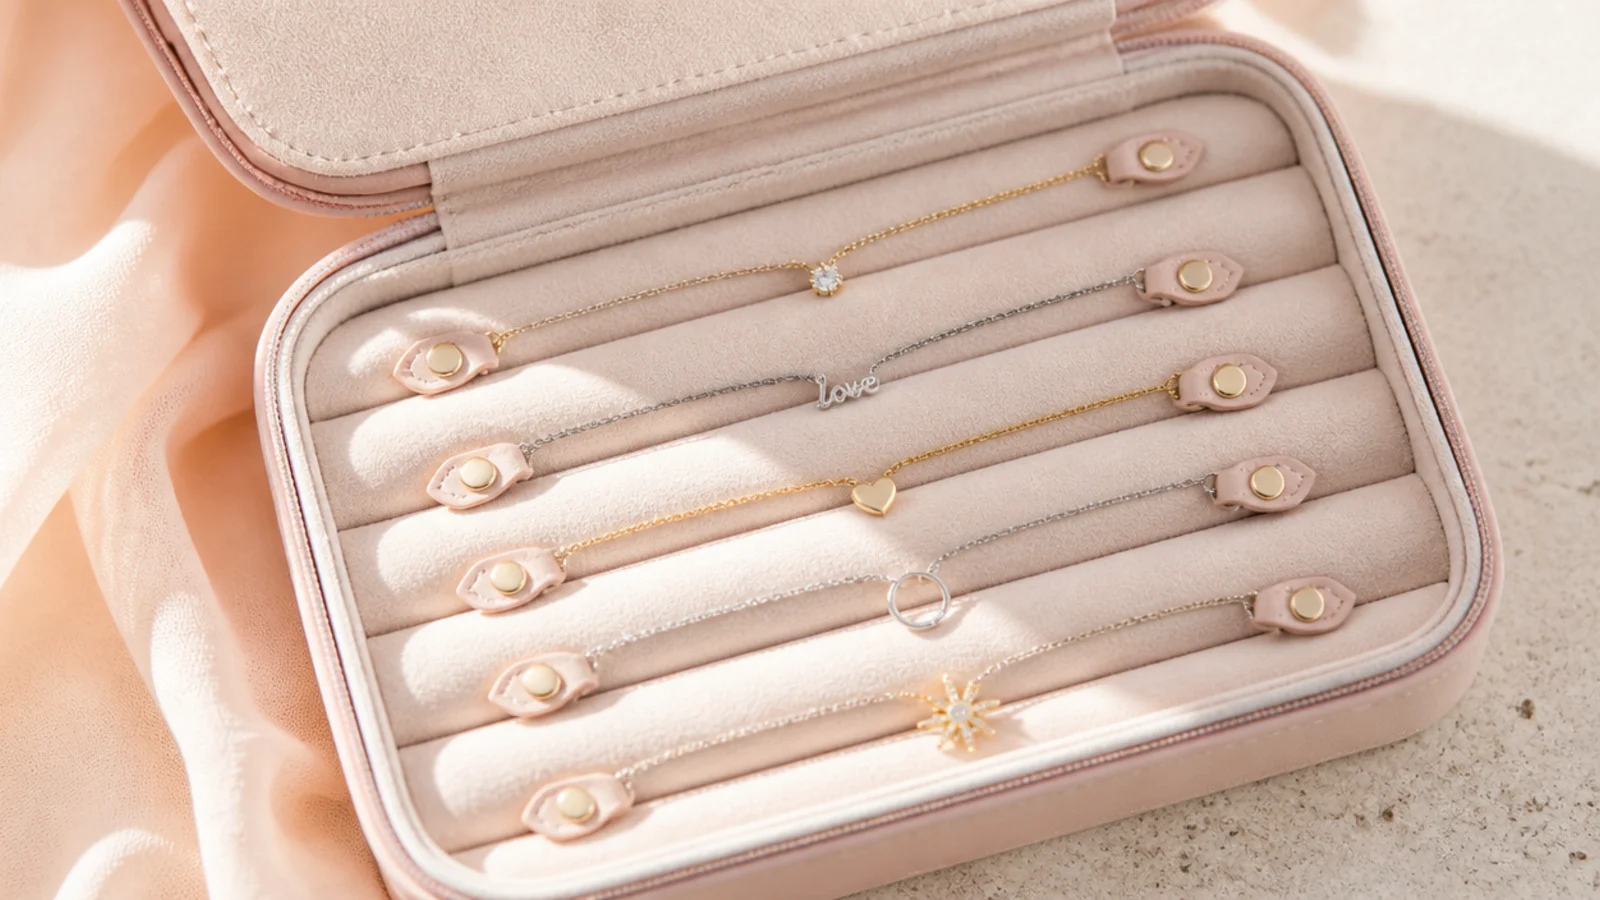
A lidded box with padded bars inside lets you clasp each necklace over its own bar so the chain lies flat and closed, which is the enclosed version of hanging. It is the best pick when you want necklaces protected and dust-free but still separated, ideal for delicate or higher-value chains. Clasping the necklace shut around the bar is the trick, because an open chain still slides and loops around its neighbors even when they are on separate bars.
Lay the pendant flat at the base of the bar so it does not swing and knock against the lid when you move the box.
12. Clear Hanging Necklace Panel
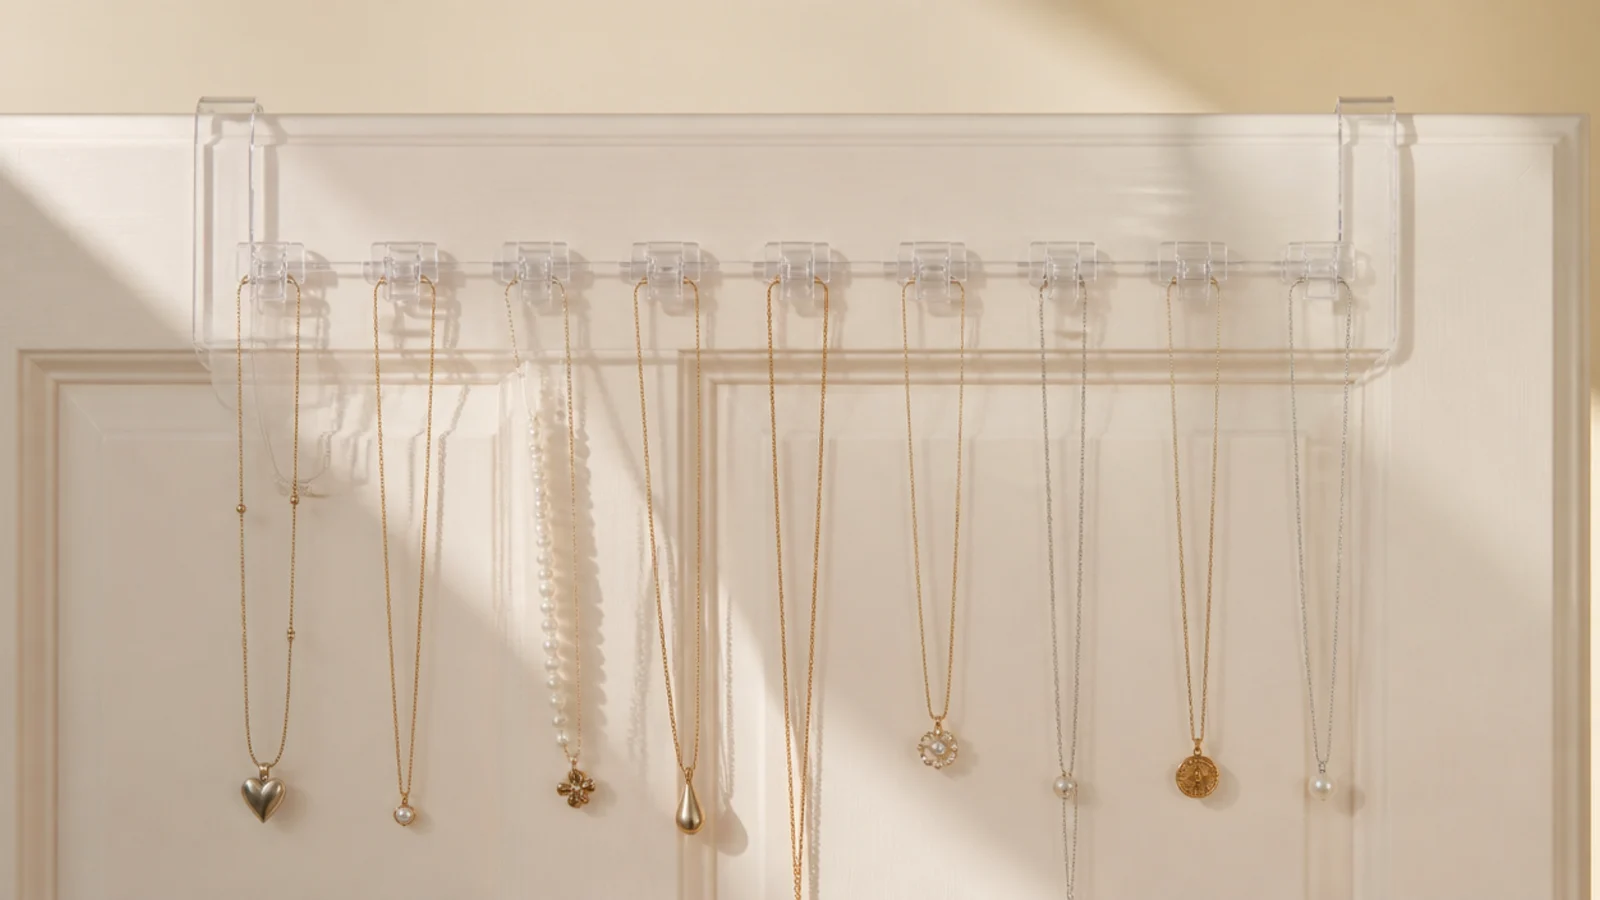
A clear over-door panel with individual clips or hooks hangs necklaces in a single visible row and takes up no surface at all, a small-space and anti-tangle fix in one. Each chain gets its own clip so nothing overlaps, and the see-through backing means you spot the piece you want instantly. It suits a renter or a dorm because it needs no drilling, just the door it hooks over, and it folds flat when you move.
Fasten the clasp of each necklace before you hang it, so a bump to the door does not send chains sliding off their clips.
13. The Drinking-Straw Chain Trick
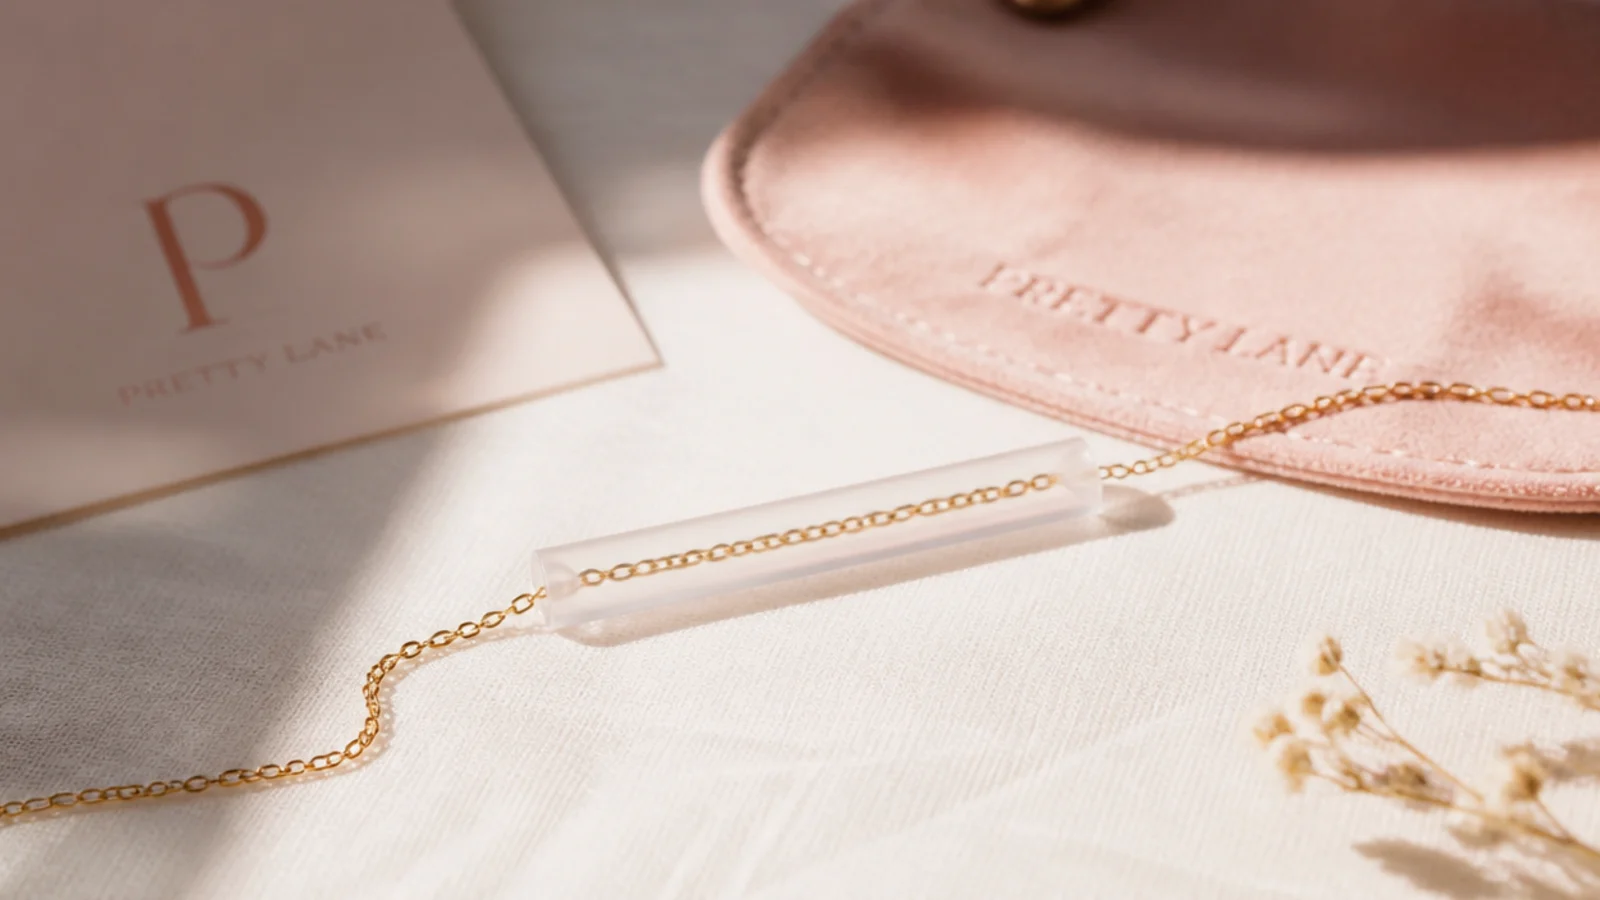
Thread a delicate chain through a cut drinking straw before you clasp it, and the stiff straw keeps the chain straight so it cannot loop or knot. It is a free trick that shines for travel and for the finest chains that tangle if you so much as look at them. Cut the straw a little shorter than the chain, feed one end through, then clasp the necklace closed around the straw. It arrives knot-free every time.
A paper straw works just as well and packs flatter; keep a couple in your travel roll for your thinnest chains.
14. Marble Catch-All Vanity Tray
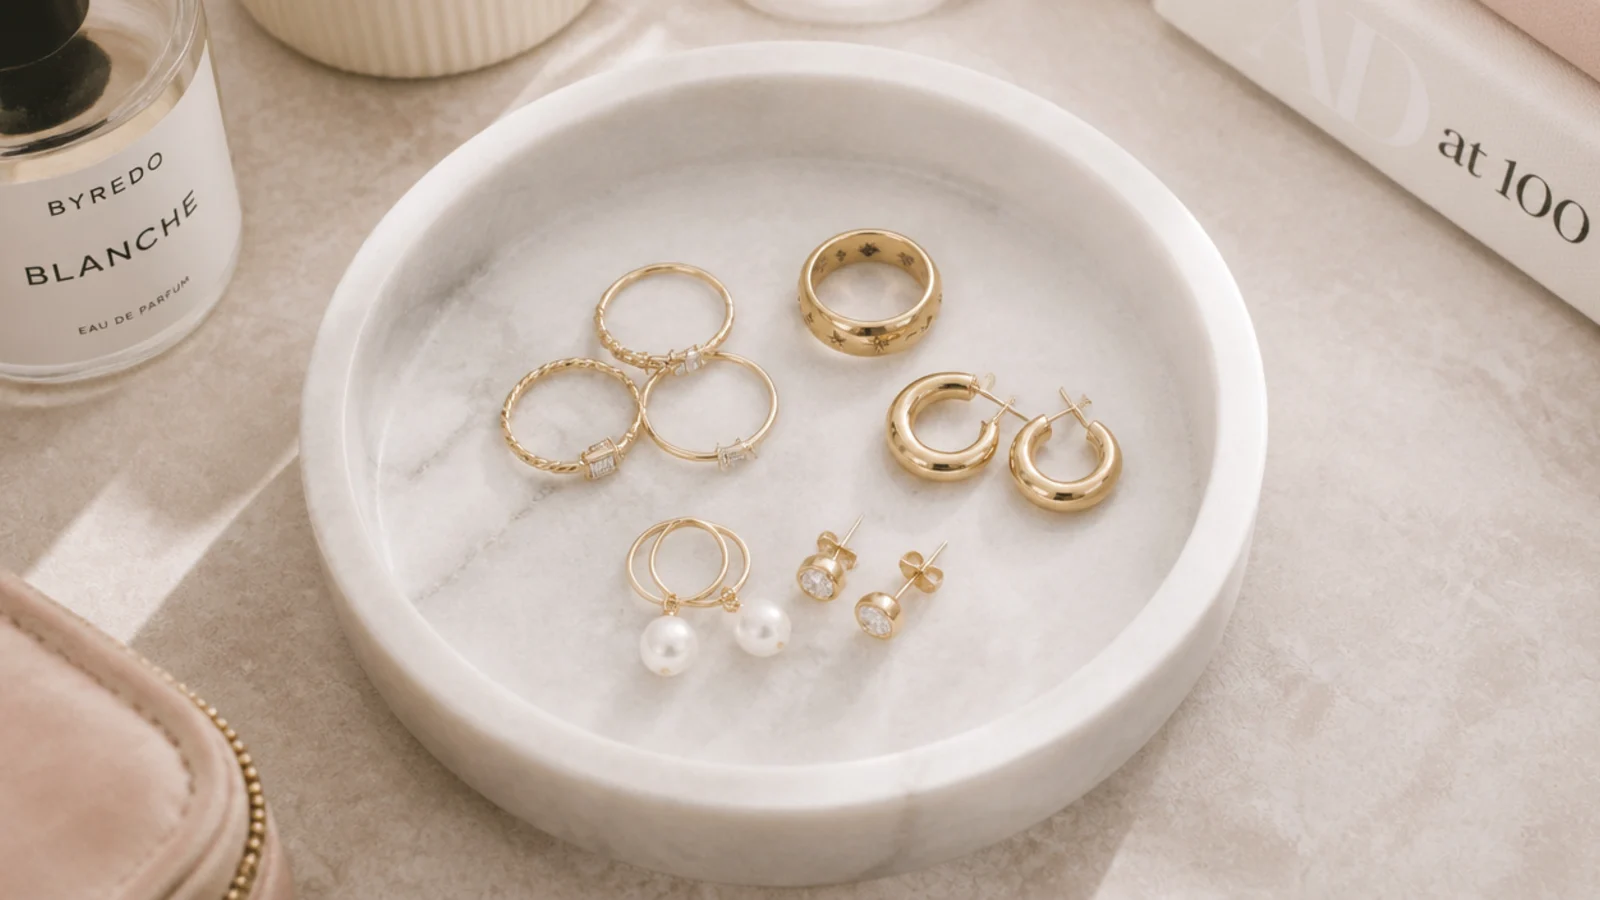
A shallow marble or ceramic tray on the vanity is the grab-and-go home for the handful of pieces you actually wear every day, so they never get buried in storage. Keep it deliberately small, just the daily earrings, one or two rings and the necklace you reach for most, and it stays a curated landing spot rather than a clutter magnet. Everything else lives protected and put away, while your rotation sits out ready. Build that rotation from everyday jewelry essentials.
Wipe the tray and the pieces on it once a week, since open display collects the most dust and skin oil that dulls a finish.
15. Tiered Cake Stand Display
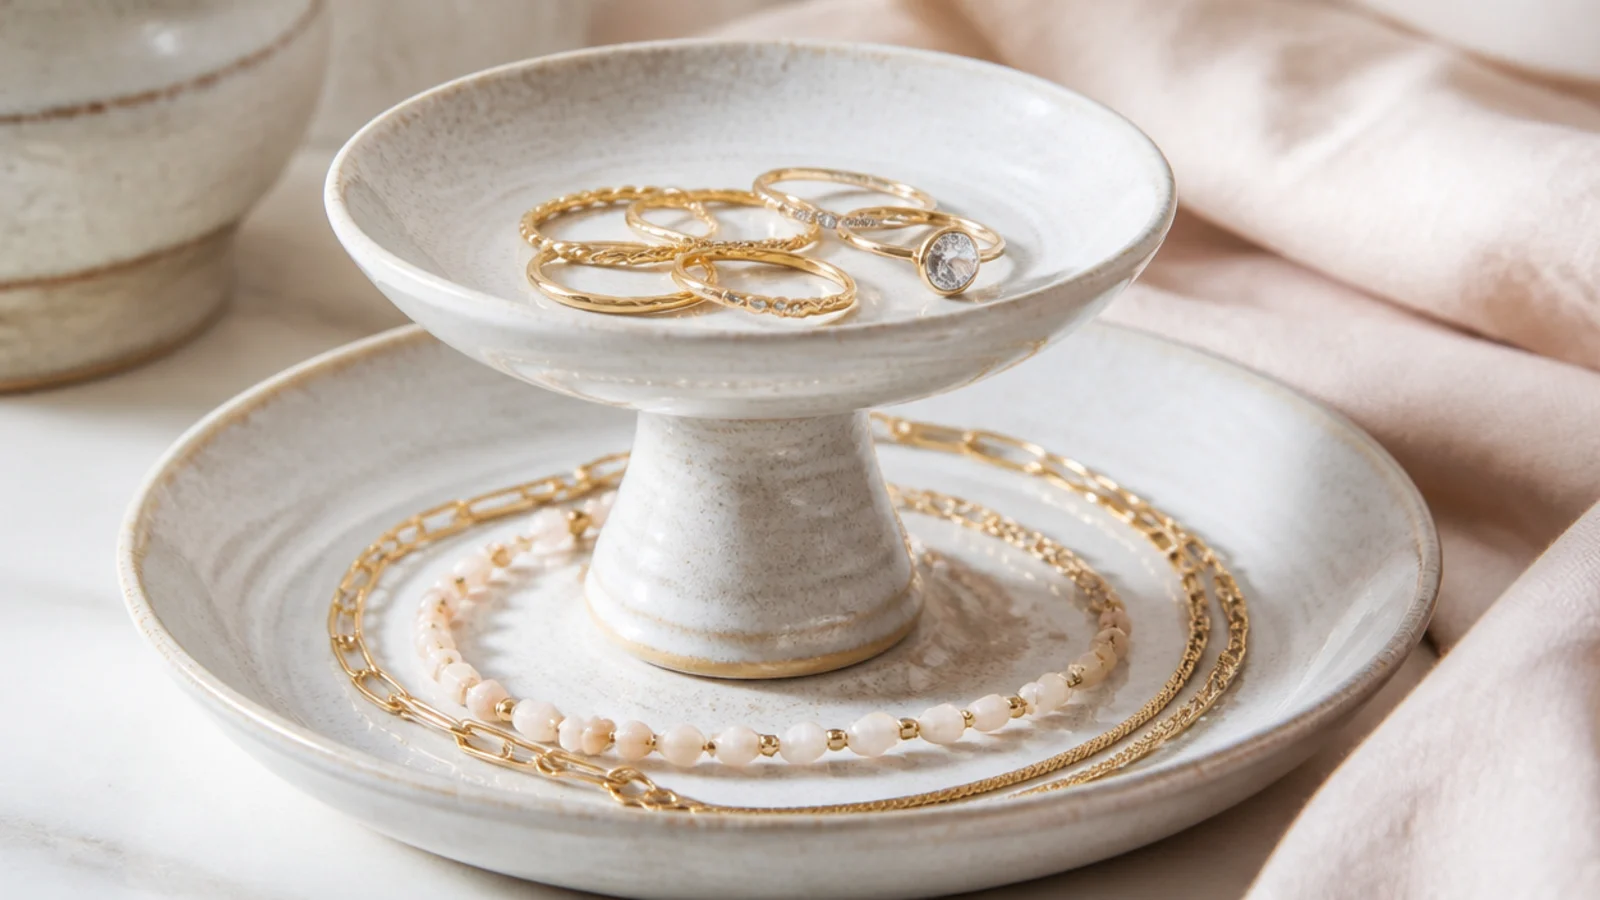
A two-tier ceramic cake stand borrows vertical space on a vanity to display jewelry on two levels in one small footprint. Put rings and studs on the small top tier and bracelets and larger pieces on the wider base, and the stand becomes pretty open storage that reads like decor. It is the charming, low-cost way to keep frequently worn pieces visible without a single drawer, and it spins if you pick one with a rotating base.
Rest a small dish or a folded felt square on each tier so studs and thin rings do not roll off the glazed edge.
16. Velvet Bust or Necklace Stand
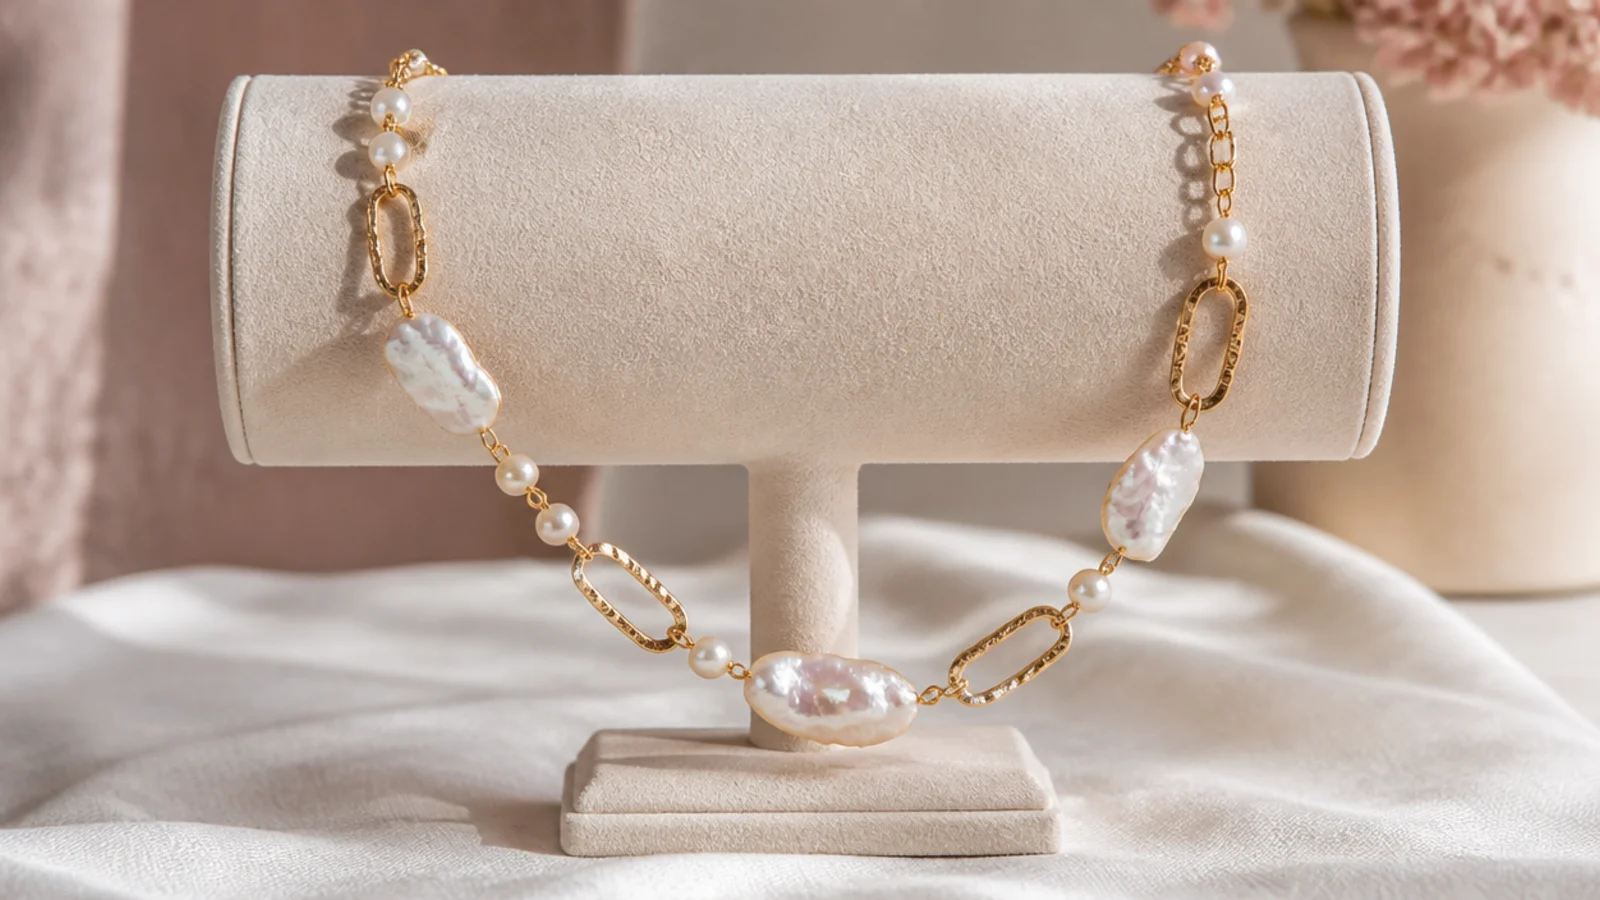
A velvet T-bar or bust stand holds statement necklaces open and flat so they stay untangled and on display, which is exactly what a big beaded or layered piece needs. Bulky statement necklaces are the ones that knot worst in a box and get crushed in a pouch, so giving each a stand keeps its shape and makes it easy to grab. A stand also shows the piece the way it will actually sit on your neckline, useful when you are choosing what to wear from your everyday jewelry essentials.
Keep the stand for one or two hero necklaces only; a row of them eats surface space that a wall rail would save.
17. Divided Tray for Studs and Small Rings
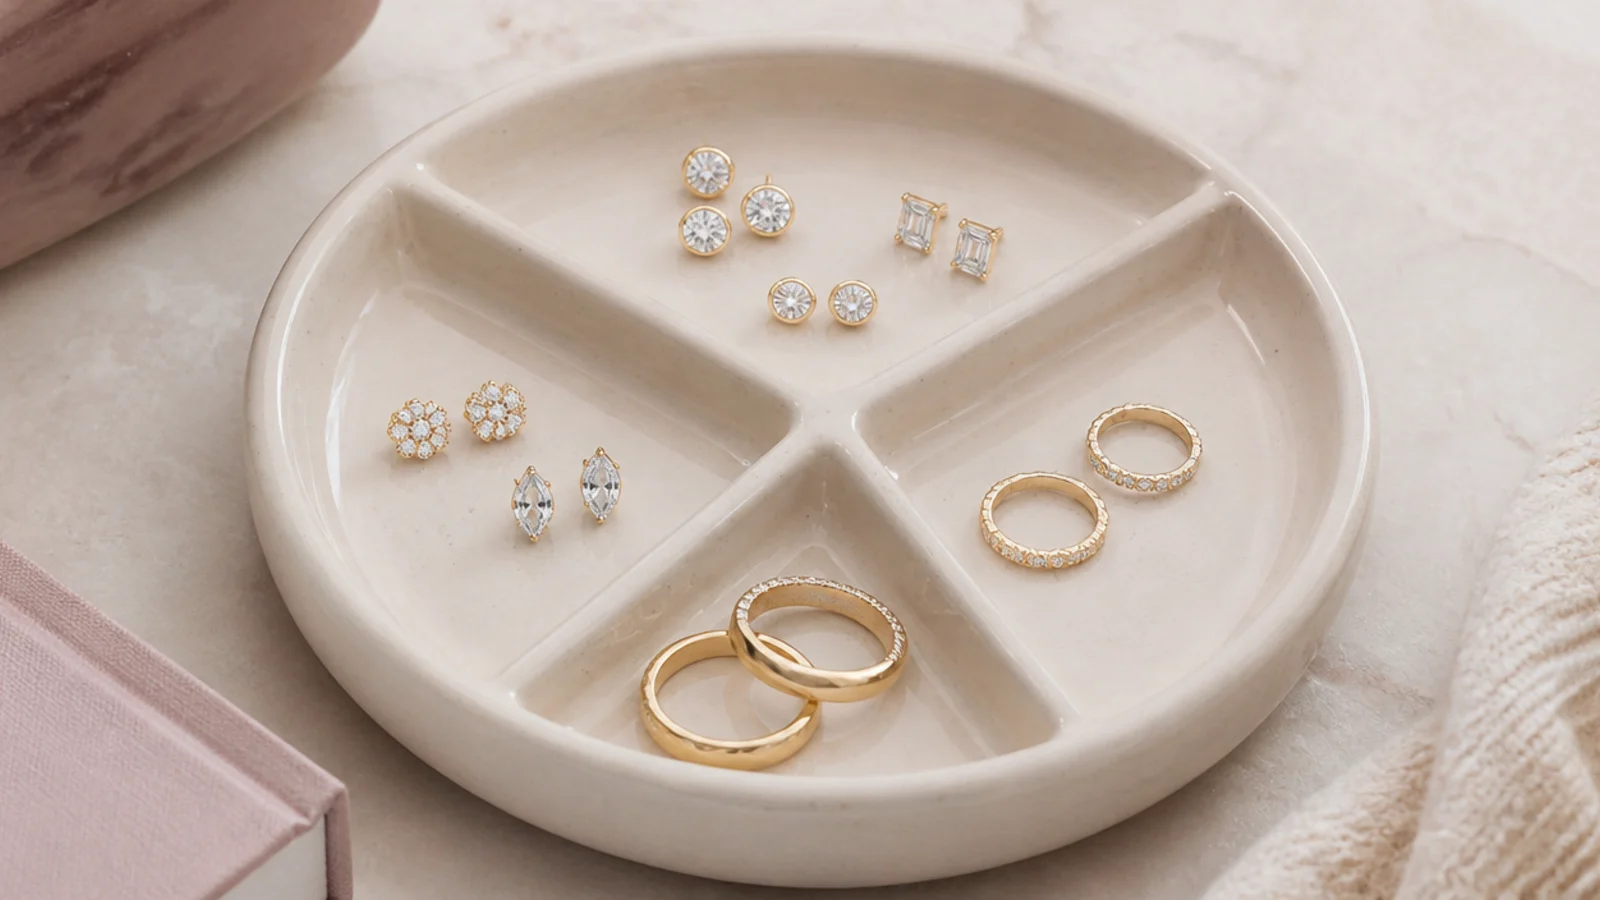
A ceramic divided dish or a muffin-tin-style tray gives every pair of studs and every small ring its own walled section, so pairs stay together and tiny pieces stop migrating. The small studs and thin bands are the ones that vanish in a shared compartment, so one section per pair is the whole solution. It slides into a drawer or sits on the vanity, and the compartments make a fast visual inventory of what you own.
Assign the front row to your daily studs and the back rows to occasion pairs, so muscle memory finds your everyday earrings without looking.
18. Zippered Travel Jewelry Roll
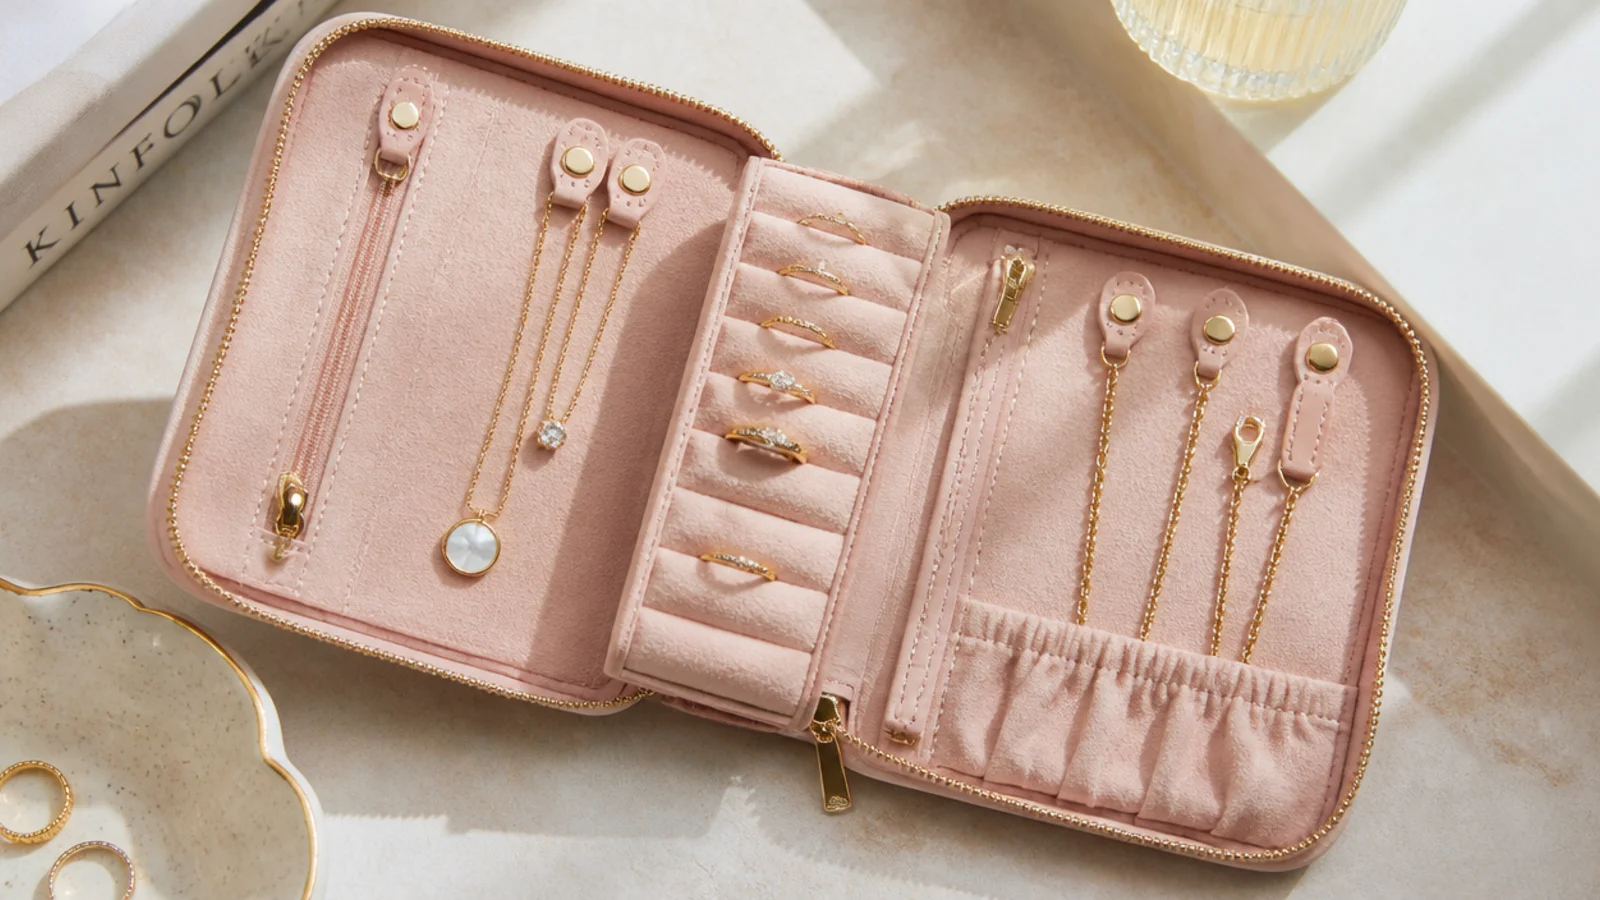
A fold-and-roll travel case with a ring bar, zip mesh pockets and necklace clasps keeps a full kit organized in a bag and rolls down to the size of a paperback. The ring bar holds rings in a line, the zip pockets seal in studs so they cannot escape, and the clasp tabs hold necklaces straight so they arrive tangle-free. It is the single best thing you can pack, and it doubles as a compact everyday box in a small home.
Choose a roll with a padded, structured shell rather than soft fabric alone, so rings and stones are protected if the bag gets crushed.
19. Button-Card Earring Travel Trick
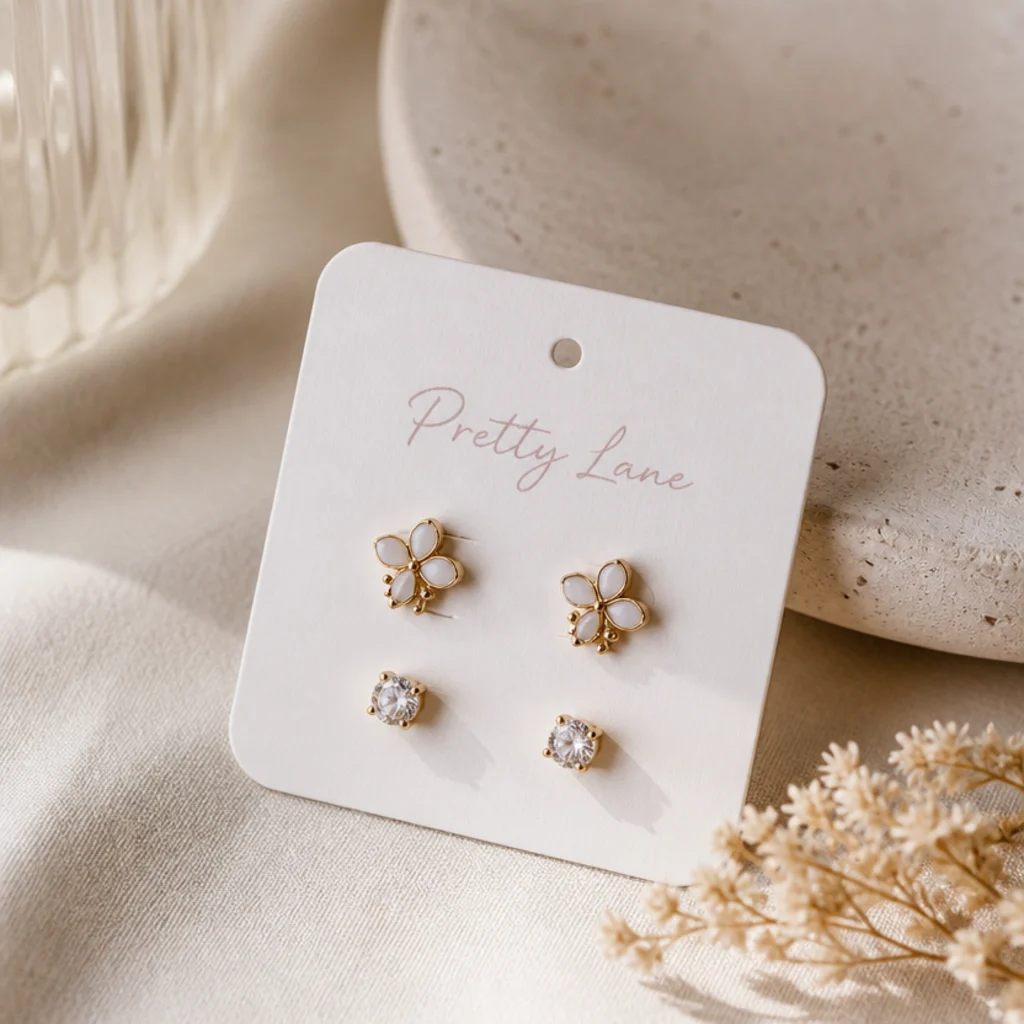
Push each pair of studs through a spare button card or a small felt square, then fasten the backs, and the pairs stay married through an entire trip. Loose studs are the classic travel casualty, one back rolls into the suitcase lining and the pair is dead, so anchoring both posts through card solves it for free. A single card holds a dozen pairs flat, slips into any pocket of your bag and weighs nothing.
A stiff piece of felt works even better than card, because the posts grip the fibers and the backs will not pop off in transit.
20. Weekly Pill Organizer for Studs
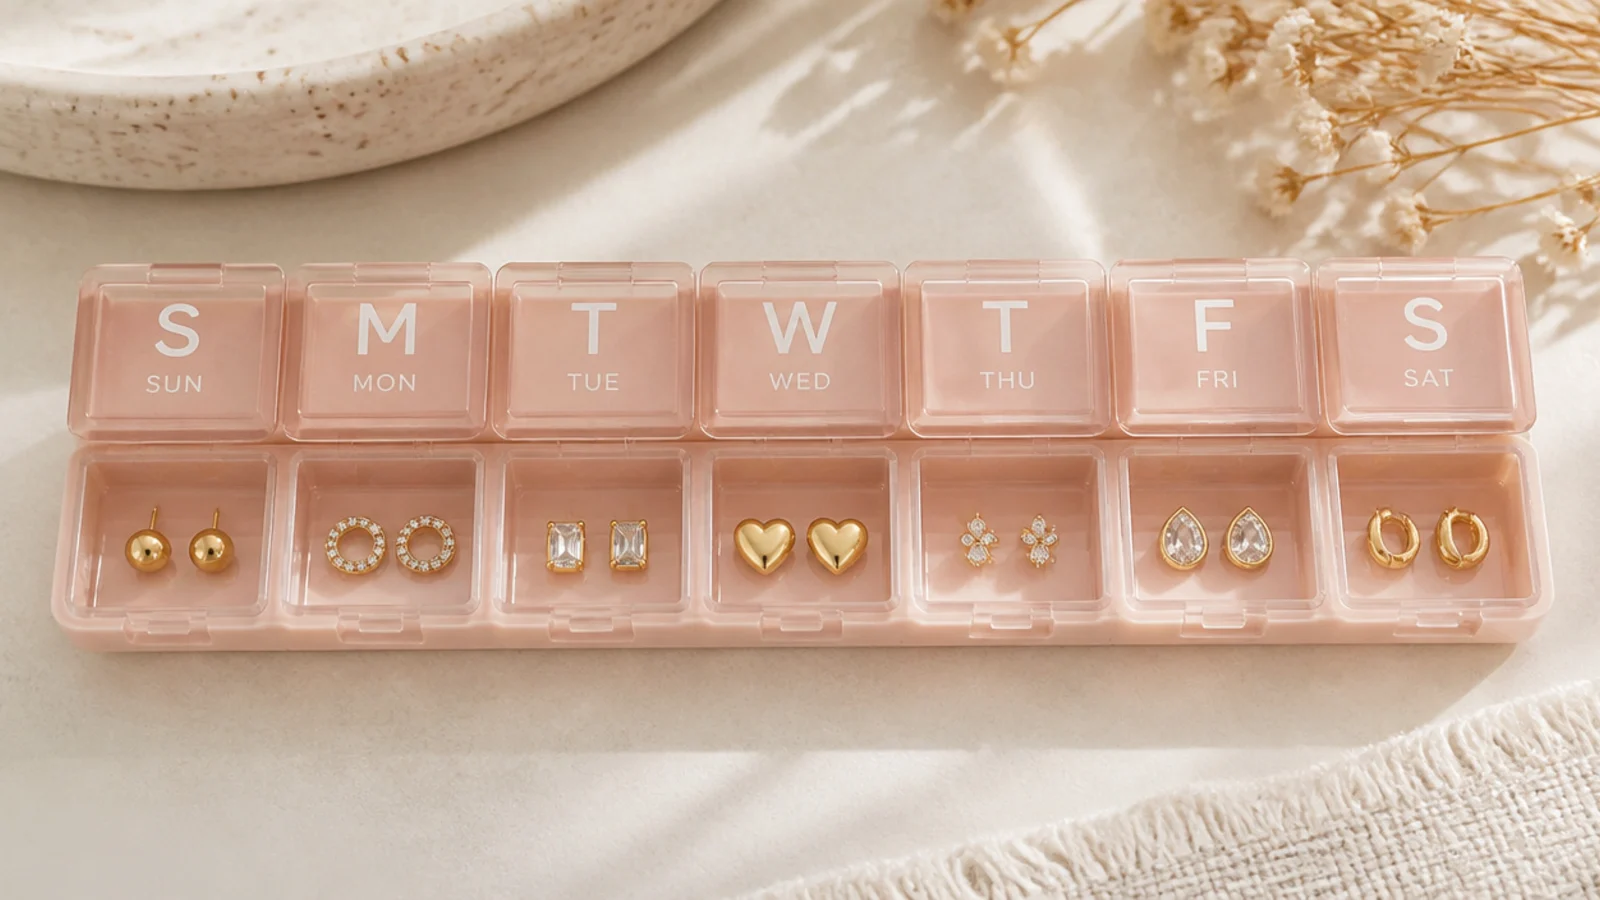
A seven-day pill organizer repurposed for jewelry gives you seven lidded, sealed compartments for studs and small rings, one pair per slot, for a couple of dollars. The snap lids mean nothing escapes even if the box tips in a bag, which makes it a brilliant cheap travel or gym solution for small pieces. Line up a week of earrings in advance, or just use it to keep pairs and singles from ever mixing at home.
Pick a hard-shell organizer with individual latching lids rather than one long flip-top, so a single knock cannot open every compartment at once.
1. Empty Everything Out and Sort Into Piles
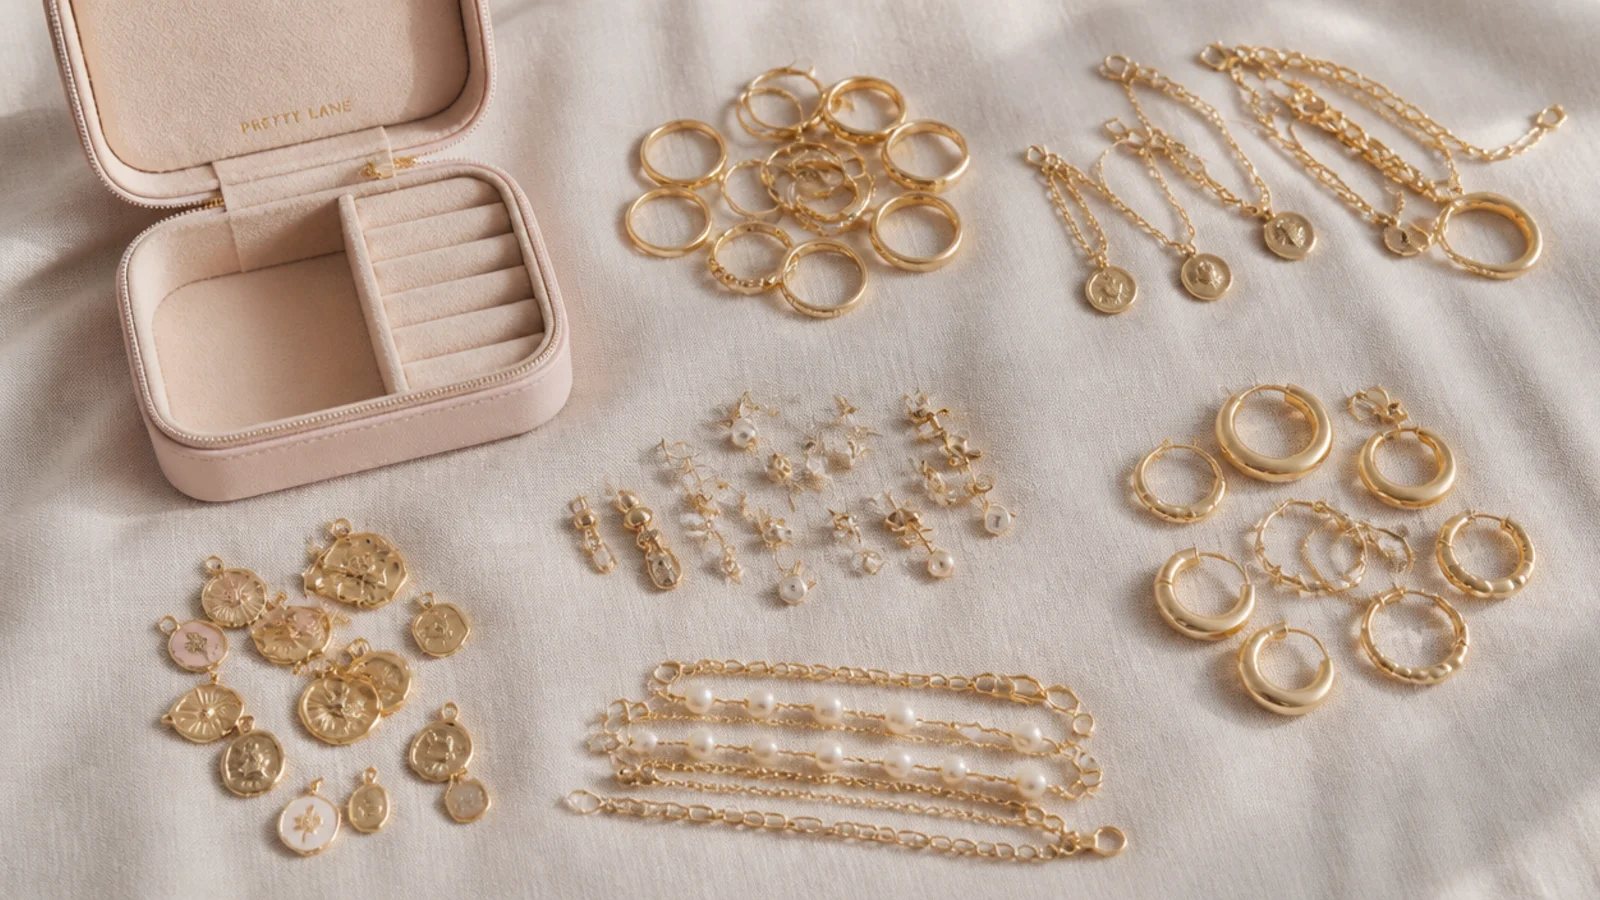
Tip your entire collection onto a soft cloth or towel so nothing rolls away, then sort it into piles by type: studs, hoops, statement earrings, necklaces, bracelets and rings. Seeing everything at once is the only way to know how much of each type you actually own and how much storage each needs. The towel stops small posts and backs from bouncing off the table and disappearing.
Common mistake: Sorting on a bare hard surface, where studs and ring backs roll off and vanish before you finish.
Pro tip: Work over a light-colored towel so tiny gold and silver pieces stand out instead of hiding in the pile.
2. Declutter the Broken, Tarnished and Never-Worn
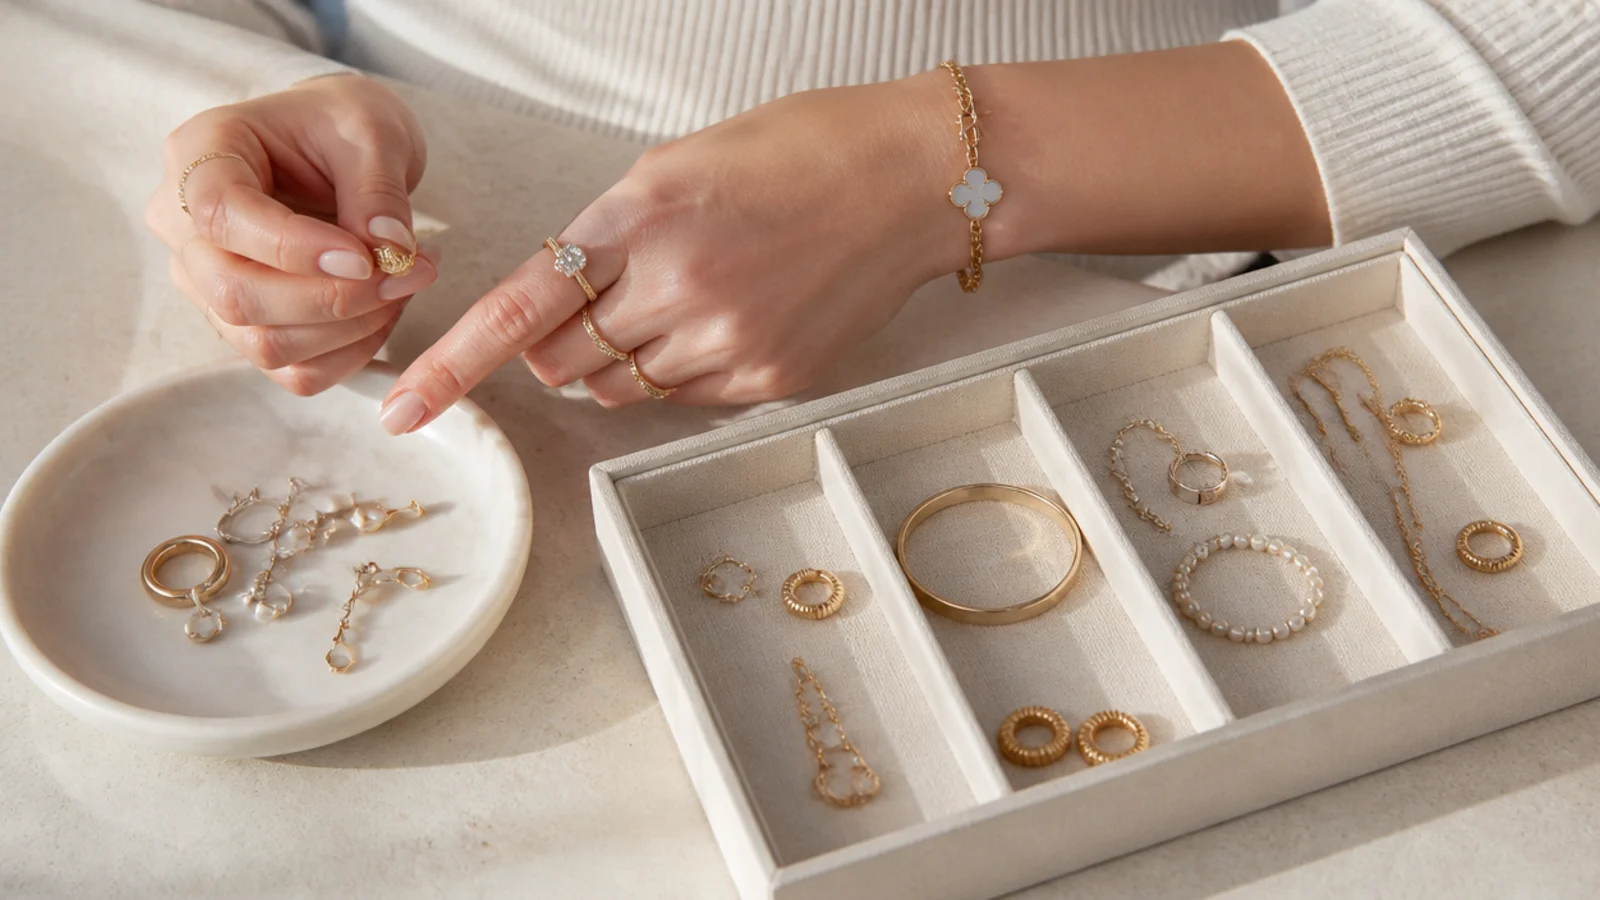
Go through each pile and pull out anything broken, missing its pair, permanently tarnished, or that you have not worn in a year. Be honest: orphaned single earrings and green-turning plated rings are taking up space you need. Set aside anything worth repairing or replating, and let the rest go so you are only organizing pieces you will actually wear. When you replace a retired piece, our tips for buying jewelry online help you avoid another dud.
Common mistake: Keeping single earrings hoping the pair turns up; it rarely does, and they clutter the system for years.
Pro tip: Bag anything sentimental but broken separately, so the decision to repair or retire it does not stall the whole cleanout.
3. Clean Every Piece Before It Goes Away
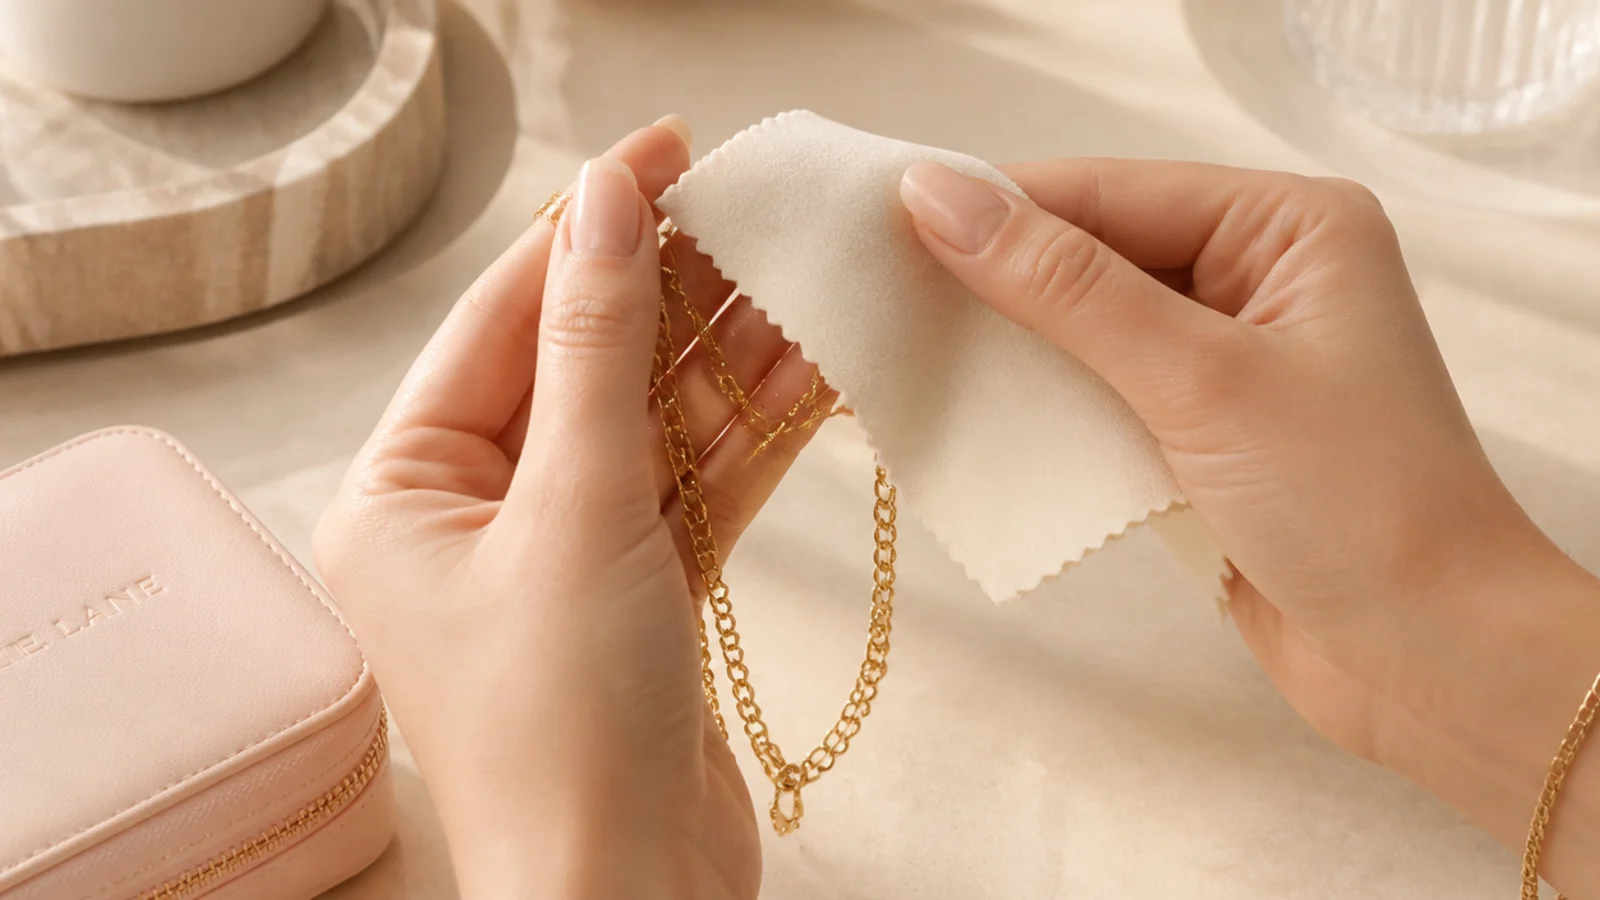
Wipe each keeper with a soft, dry cloth to lift off skin oil, lotion and sweat before it goes into storage, since those residues are exactly what start tarnish. For pieces that need more, use a gentle soft-cloth clean and make sure everything is bone dry before it is put away. Storing a piece dirty or damp guarantees it comes out duller than it went in.
Common mistake: Putting jewelry away still damp from cleaning, which traps moisture and speeds the tarnish you just cleaned off.
Pro tip: Let cleaned pieces air-dry fully on the towel for a few minutes before storing, especially anything with a chain or a setting that holds water.
4. Assign a Zone to Each Type
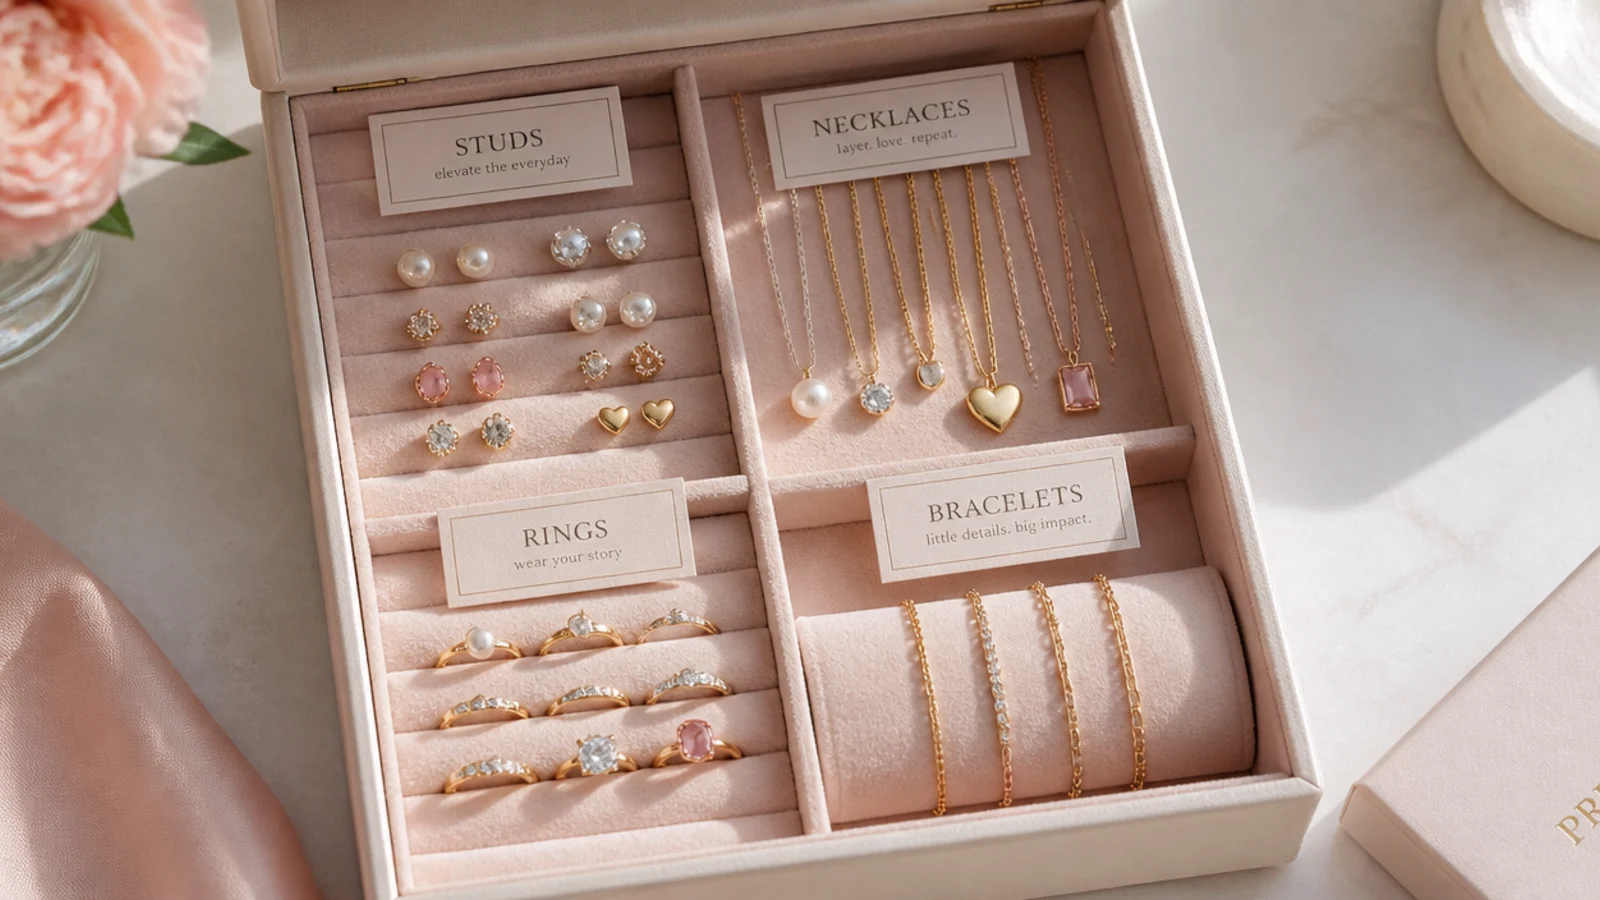
Match each pile to the storage that suits it: studs to a divided tray or pill box, necklaces to a wall rail or padded-bar box, hoops and drops to an earring board, rings to a roll or cone, bracelets to a channel tray. Decide the zone before you put anything back, so every piece has one obvious home and you never create a miscellaneous pile.
Common mistake: Creating a catch-all compartment for odds and ends, which quietly becomes the tangled mess you started with.
Pro tip: Give the type you own most of the largest zone, so your biggest category never overflows into the others.
5. Separate Daily Pieces From Occasion Pieces
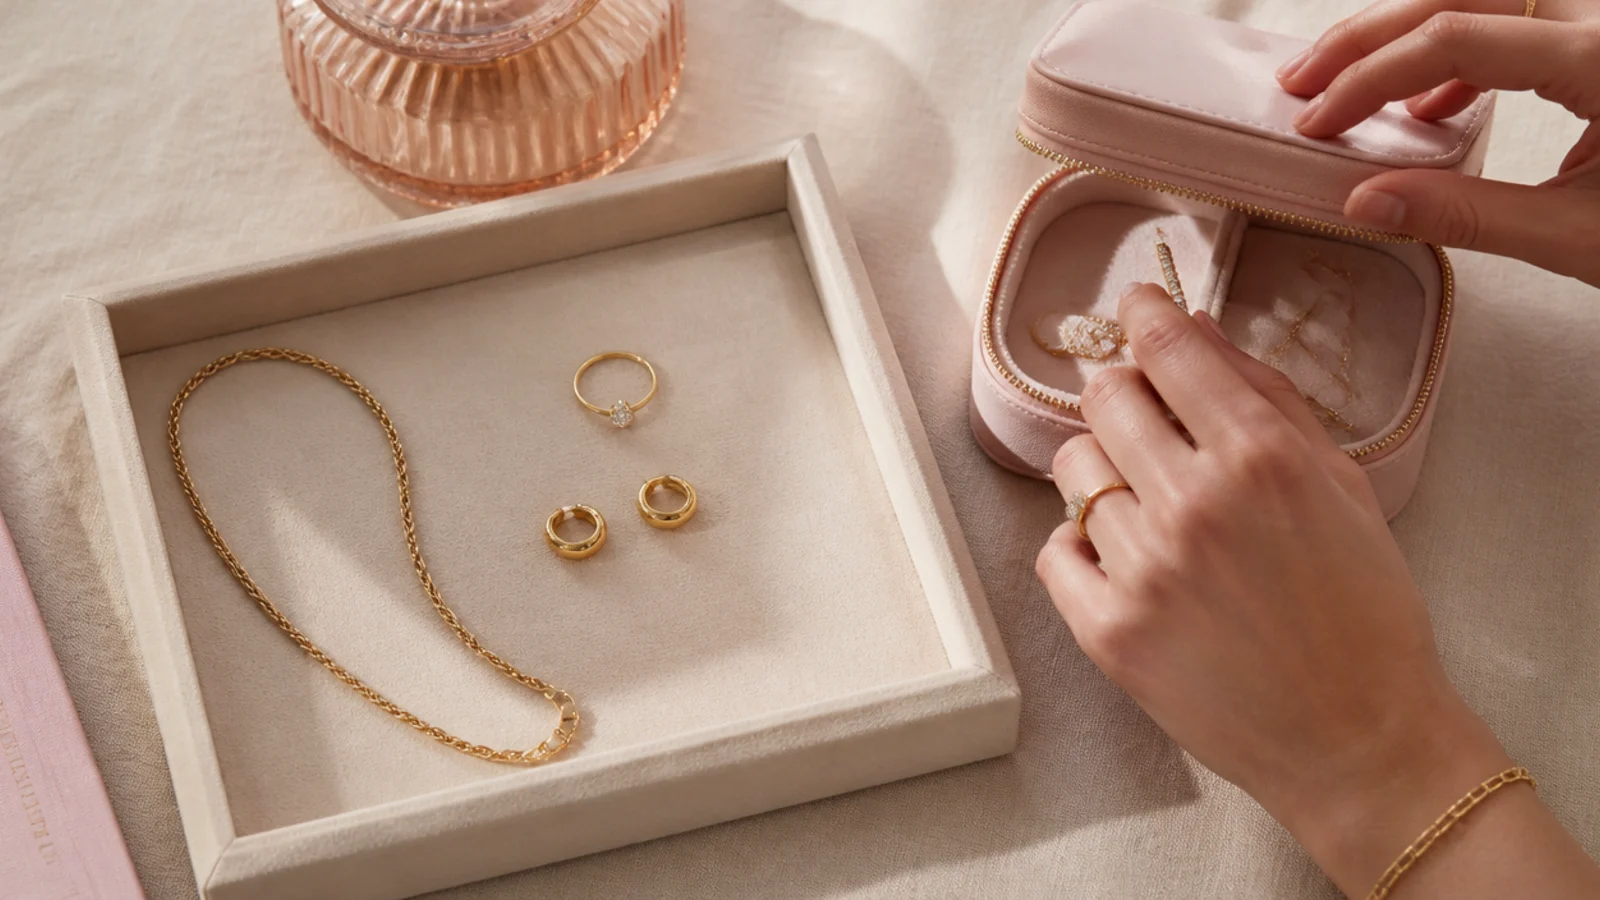
Split each zone by frequency: pull the handful of pieces you wear almost daily onto an open tray or the nearest hooks, and move occasion and fine pieces into enclosed, protected storage. This frequency-first split is what makes the system fast every morning, because your rotation is always the easiest thing to reach and everything else stays clean until you want it.
Common mistake: Storing everything with equal access, so you dig past event jewelry every day to find your daily studs.
Pro tip: Keep the daily tray deliberately small, five or six pieces, so it stays a curated rotation and not a new clutter pile.
6. Add Anti-Tarnish and Anti-Tangle Protection
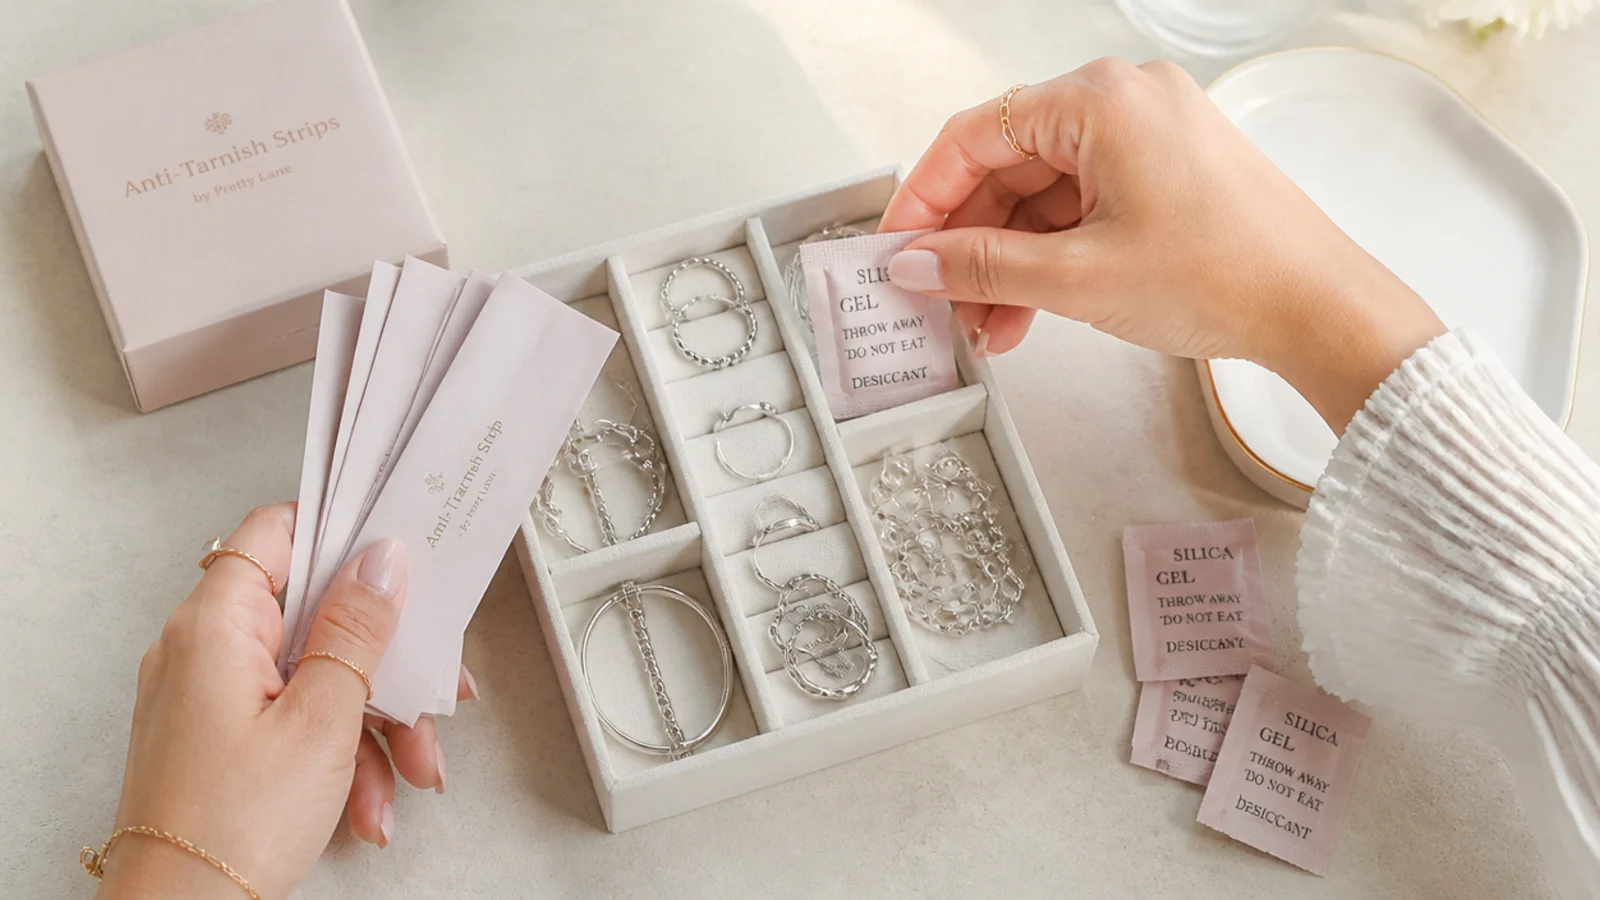
Tuck 3M anti-tarnish strips and a silica gel packet into any closed box, seal rarely worn silver into individual zip anti-tarnish bags, and clasp every necklace shut on its hook or bar. This is the protection layer that keeps the system working for months instead of days, stopping both the fading and the tangling before they start.
Common mistake: Skipping the strips in an open tray and expecting them to work; they only treat the air inside a sealed container.
Pro tip: Write the date on each anti-tarnish strip so you know when its roughly six-month life is up and it needs swapping.
7. Set a Two-Minute Nightly Reset
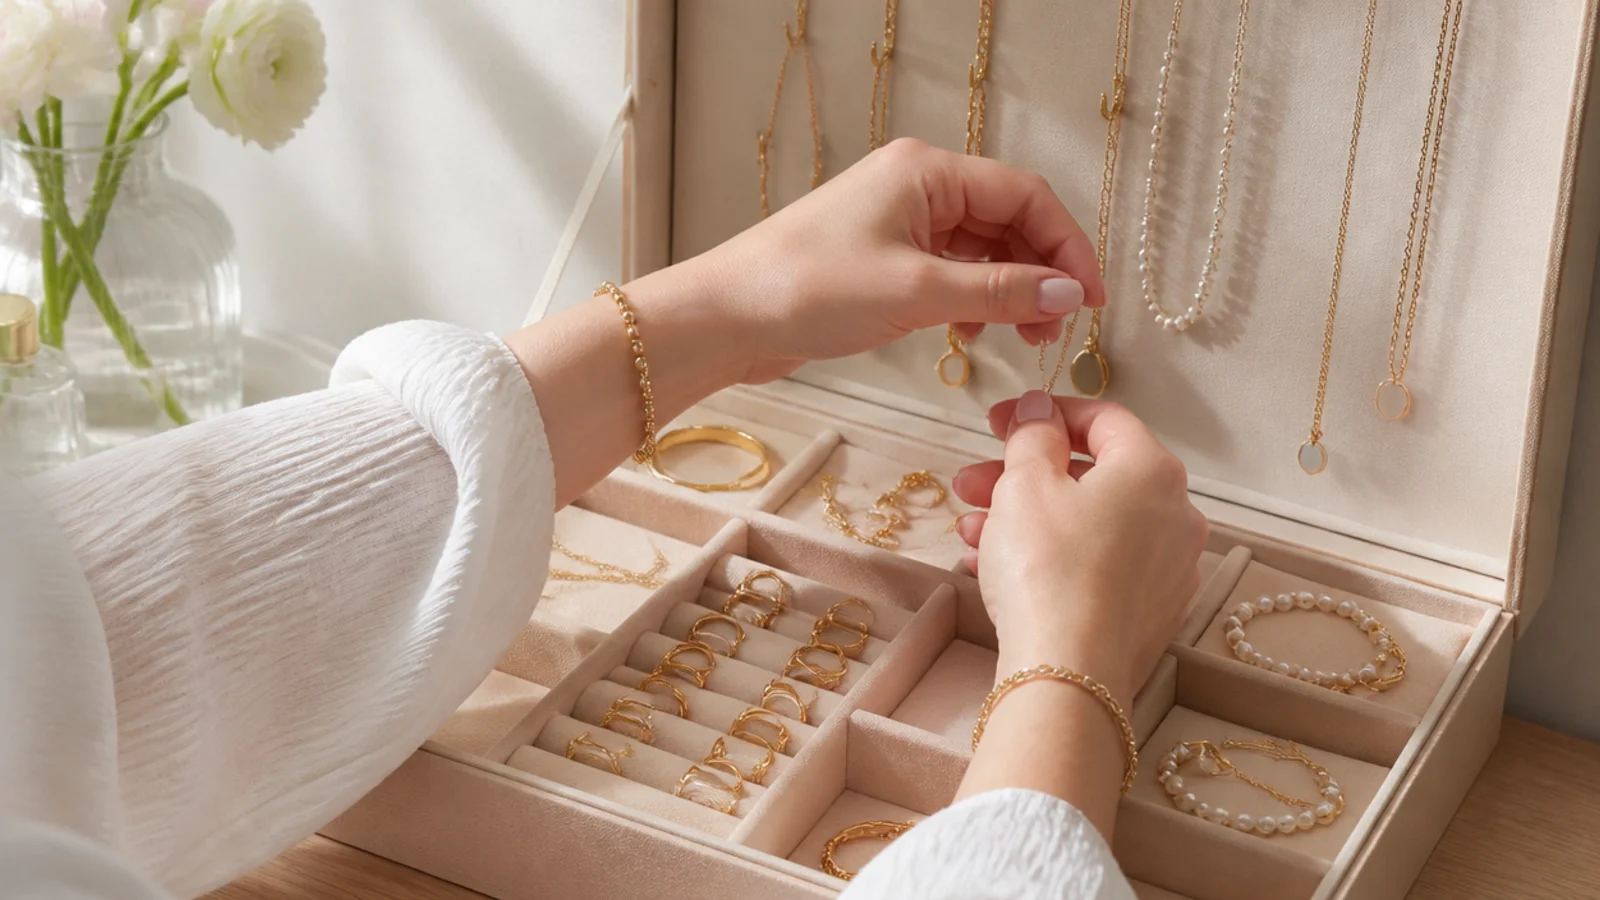
Each night, put the day's pieces back in their assigned zones and give rings and chains a quick wipe as you go. A two-minute reset is what keeps the whole system from sliding back into a pile, because the fastest way to re-tangle a collection is to drop everything loose on the vanity at the end of the day. Return each piece to its home and the box stays organized indefinitely.
Common mistake: Dropping the day's jewelry in a heap to deal with later, which undoes the sorting within a week.
Pro tip: Keep a small catch dish by the door or sink for the pieces you take off there, then move them to their real zones at night.
How Do You Organize Jewelry in a Small Space?
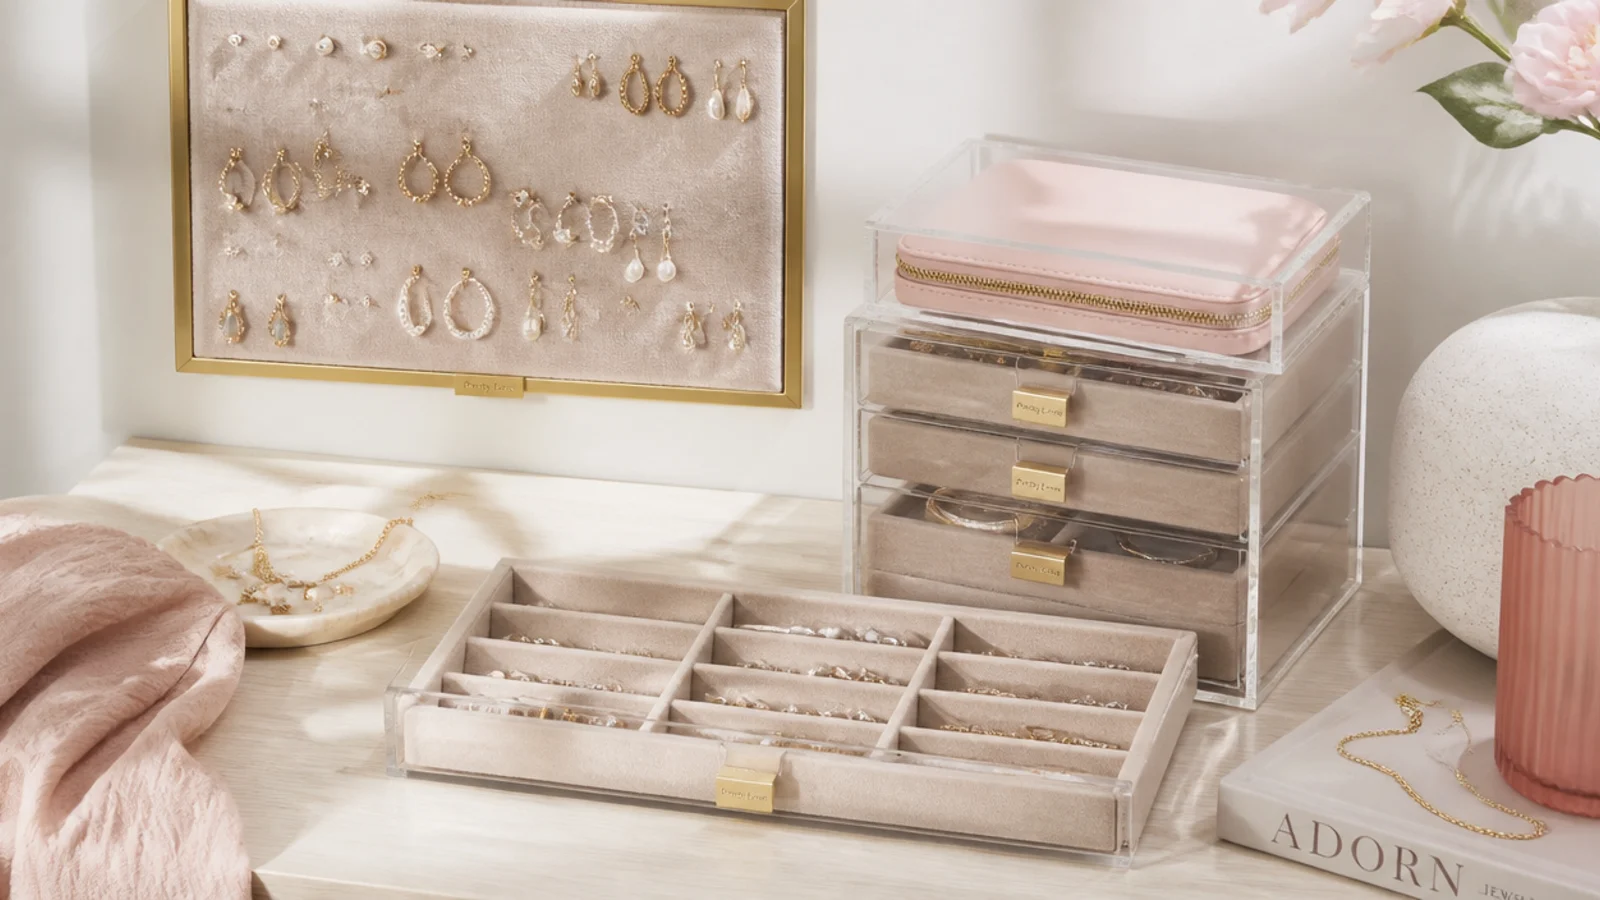
Organizing jewelry in a small space comes down to one rule: go vertical and use the surfaces you are not already using. A tiny room has no spare counter, but it always has a bare wall and a drawer with dead space, so move storage onto them. Hang a wall-mounted earring board and a rail of Command hooks for necklaces, and you clear your entire surface in one afternoon while stopping tangles at the same time. Inside furniture, a slim velvet drawer insert turns an existing drawer into a hidden jewelry zone with no new box to find room for. When you do want a box, choose a stackable one that builds up rather than spreads out, like a two or three-tier acrylic drawer with a footprint no bigger than a paperback. The through-line is that vertical storage buys you the most capacity per square inch, and clear or open storage means you never dig. Keep only your daily rotation on the open surface and everything else enclosed, so a small space never reads as cluttered. Once it is sorted, put the pieces to work with our jewelry styling ideas for any outfit.
How Do You Stop Necklaces From Tangling?
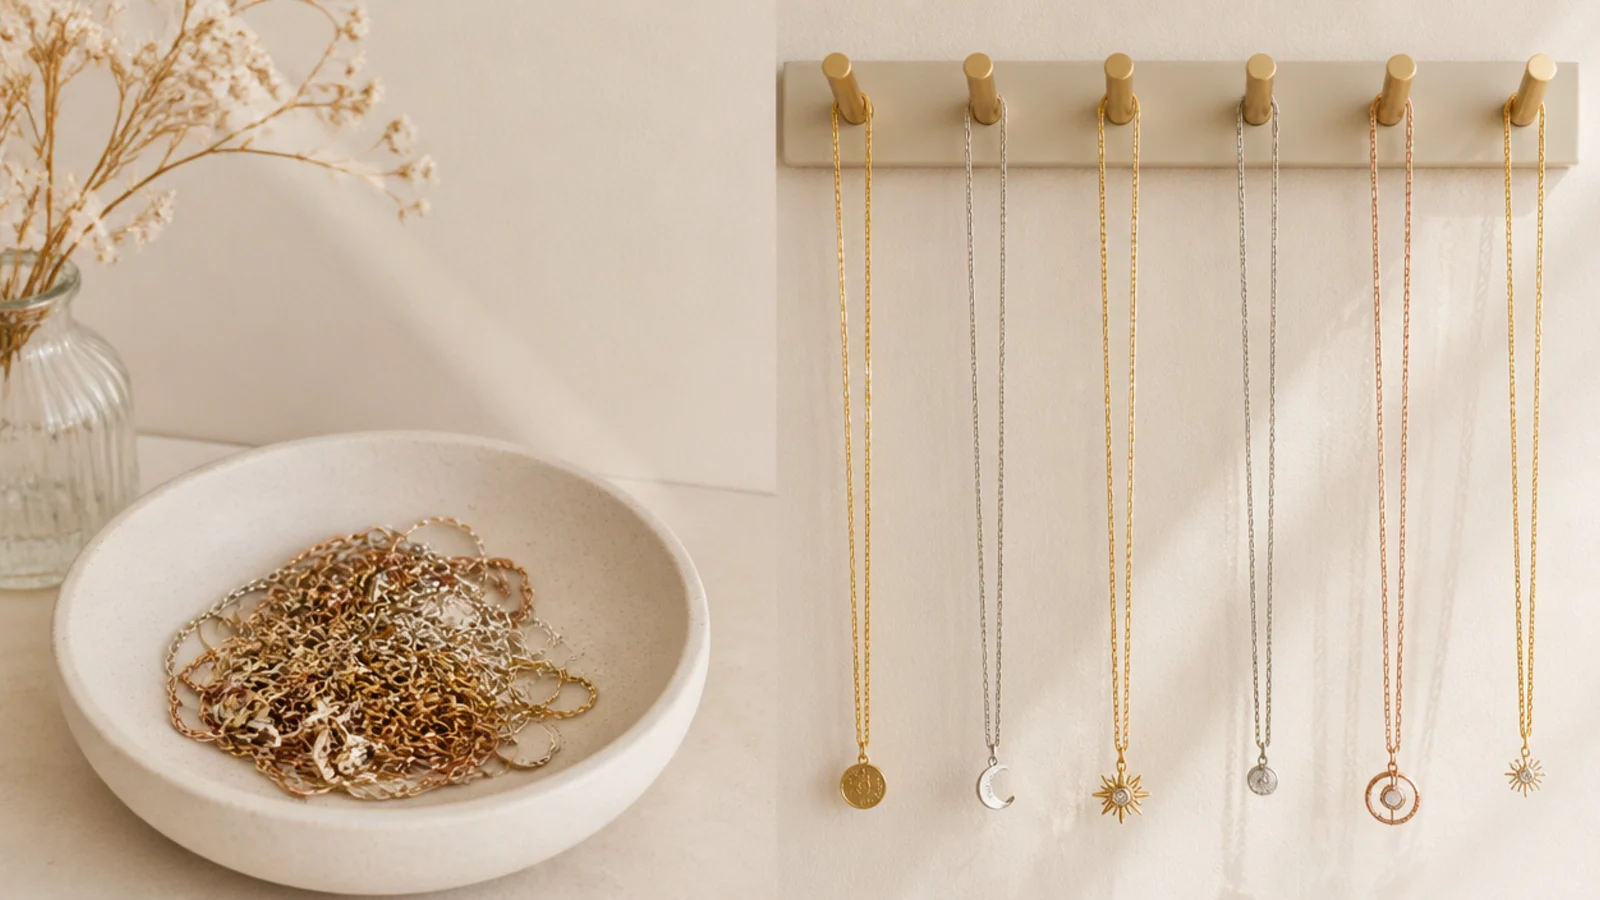
Necklaces tangle for one reason: several chains share the same space while their clasps are open, so they slide, loop and knot every time the box moves. Fix the cause and the problem disappears. The most reliable method is to give each necklace its own separate home so no two ever touch, on a wall hook, a clip on a hanging panel, or a padded bar inside a lidded box. The second half is to clasp every necklace shut before you store it, because a closed loop cannot thread itself through another chain the way an open one can. Hanging also keeps chains straight rather than coiled, and a coiled chain is a knot waiting to happen. For the finest chains, or for travel, thread the chain through a cut drinking straw and clasp it closed around the straw, which stiffens it so it physically cannot loop. Whatever you choose, never pile multiple necklaces loose into one compartment, since that single habit causes almost every tangle.
How Do You Store Jewelry So It Doesn't Tarnish?
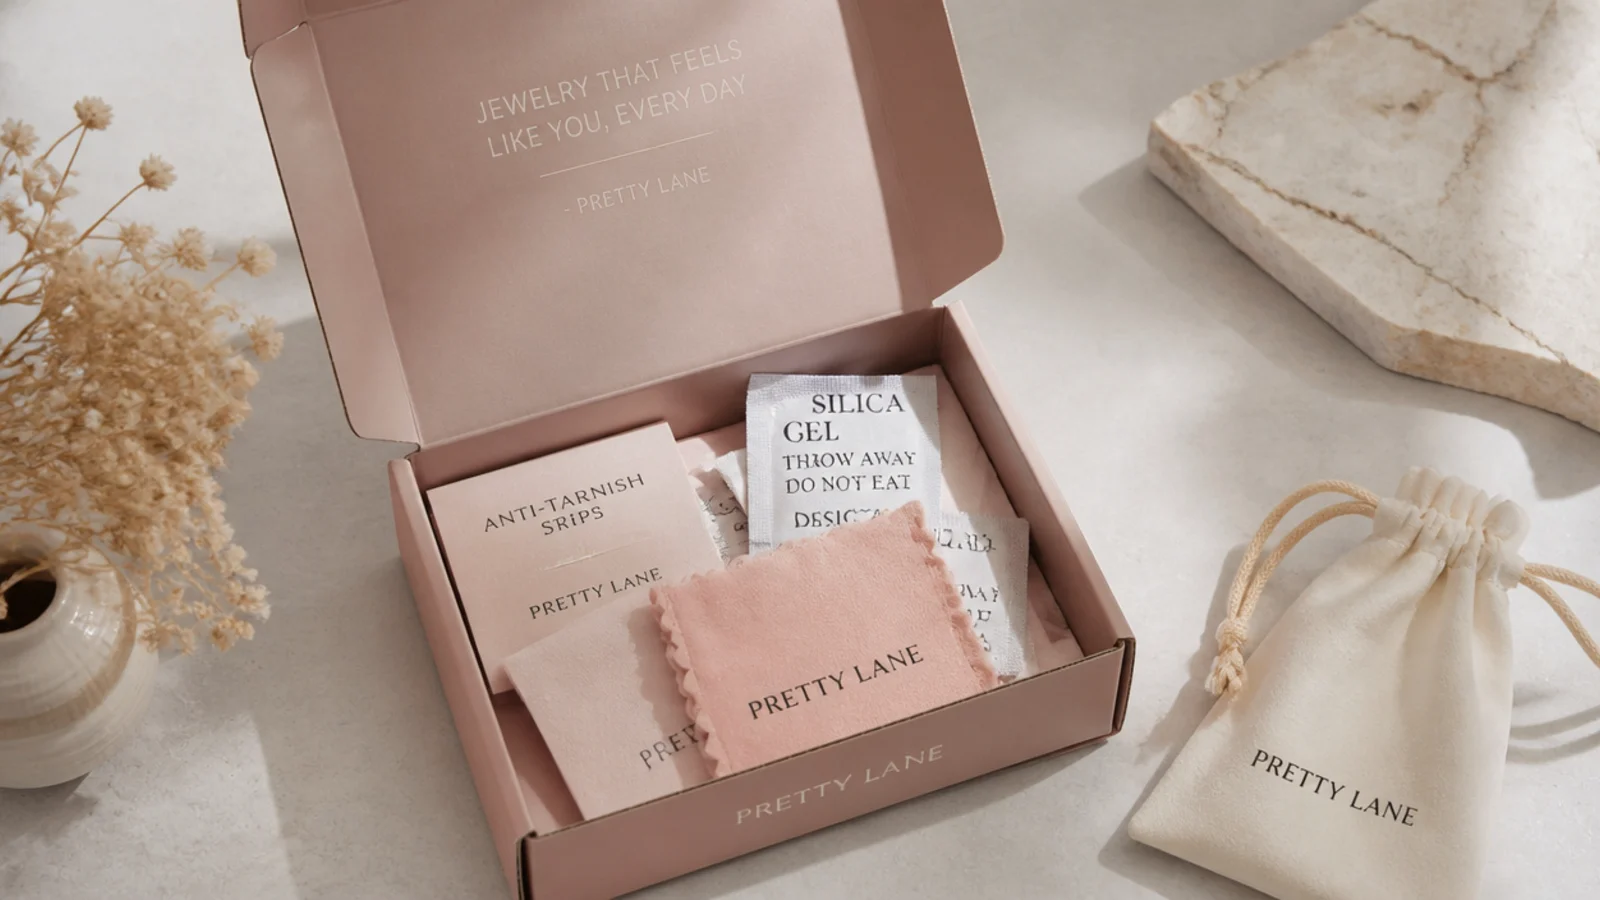
You store jewelry so it does not tarnish by controlling three things: air, moisture and contact. Tarnish is a reaction between metal and the sulfur and humidity in the air, so a sealed box does more than an open tray, and a piece sealed in its own zip-top anti-tarnish bag with the air pressed out barely tarnishes at all. Add a couple of 3M anti-tarnish strips and a silica gel packet to a lidded box and they mop up the sulfur and moisture that cause fading, buying real time on sterling silver and gold-plated pieces alike. The single biggest mistake is keeping jewelry in the bathroom, where shower steam is the most tarnish-accelerating environment in the house; move it to a dry bedroom drawer instead. Always put pieces away completely dry, since trapped sweat, water or lotion is what starts the reaction. Store metals separately in soft pouches so they do not scratch, and remember that plated pieces fade fastest, which is the care logic laid out in how to keep gold jewelry from tarnishing.
How Should You Organize Earrings?
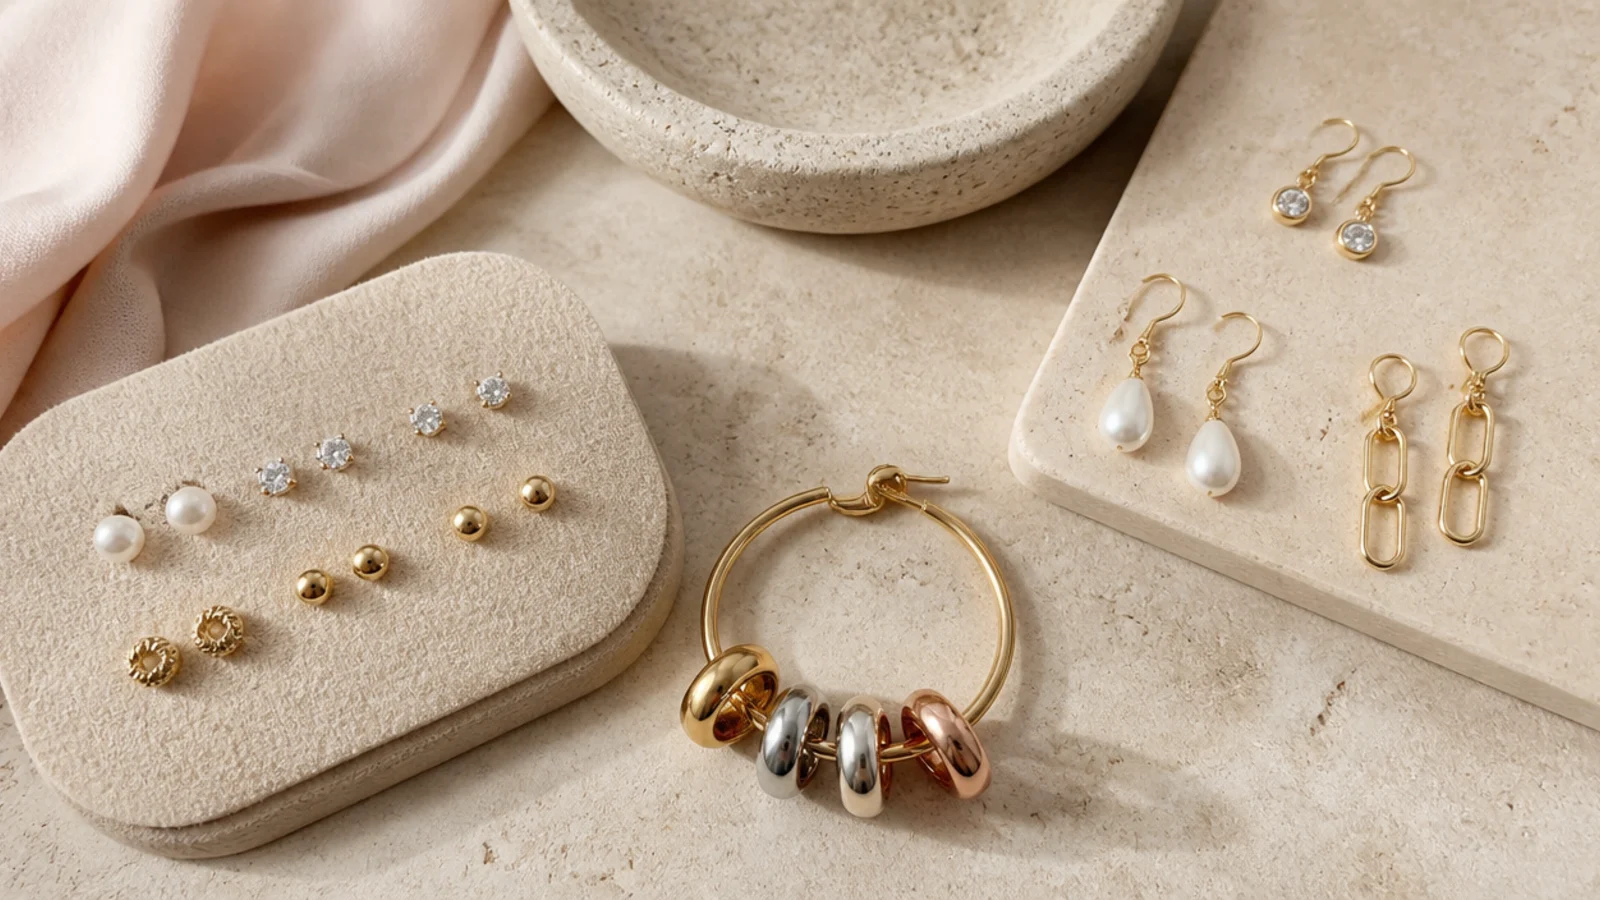
Organize earrings by type, because studs, hoops and statement drops each need a different home and lumping them together is why pairs go missing. Studs are the pieces that vanish, so give every pair a walled section in a divided tray, a slot in a repurposed pill organizer, or a spot pushed through a felt card that keeps both posts together. Hoops and huggies store best hung, on the wires of a wall-mounted earring board or looped over a small hook, so they keep their round shape and you see the full pair. Statement and dangly drops also want to hang, clipped or hooked on a board where they cannot tangle with each other or get crushed flat in a drawer. The organizing principle is that small and light means enclosed and compartmented, while long and hanging means displayed on a board or hook. Keep your everyday studs in the most reachable spot, front row of the tray or eye level on the board, so the pairs you wear most are the fastest to grab. For office-appropriate studs and hoops to keep in that front row, see how to style jewelry for work.
What Are the Best Travel Jewelry Storage Ideas?
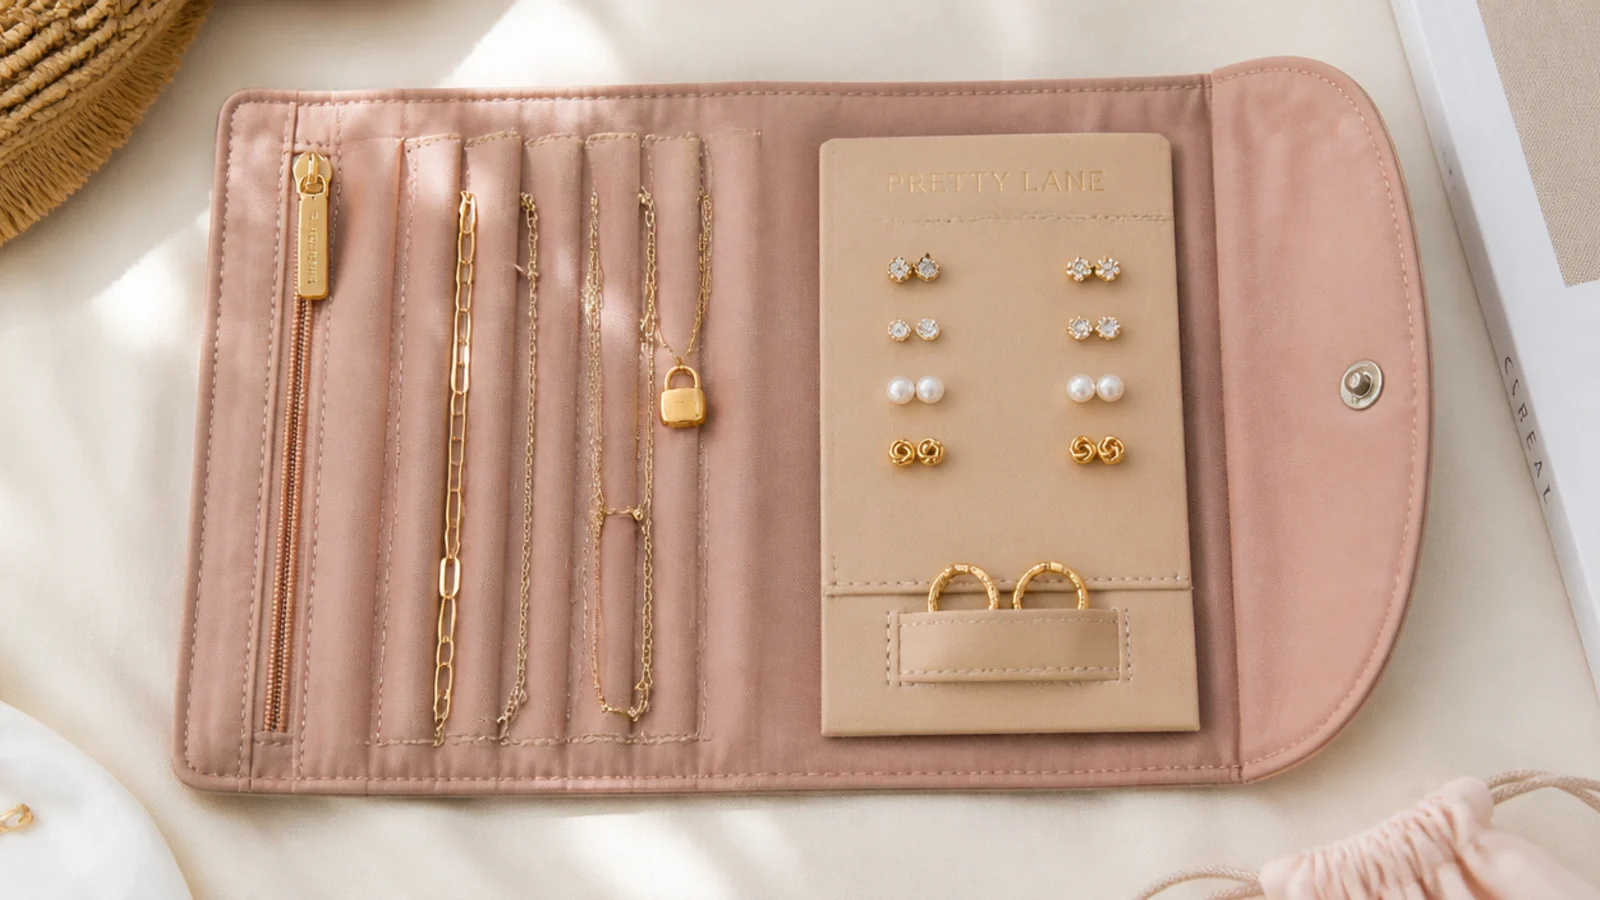
The best travel jewelry storage keeps pairs together, chains straight and everything padded against a crushed bag. Start with a zippered fold-and-roll case, which is purpose-built for the job: a ring bar holds rings in a line, sealed zip pockets trap studs so a rolling back cannot escape, and clasp tabs hold necklaces straight so they arrive knot-free. For chains, add the straw trick, threading each delicate necklace through a cut drinking straw and clasping it closed so it physically cannot loop in transit. For studs, press each pair through a button card or a stiff felt square and fasten the backs, which marries the pair for the whole trip; a weekly pill organizer with latching lids does the same for a mix of studs and small rings. Pack only what you will actually wear, keep the roll in your carry-on rather than checked luggage, and choose a case with a structured shell so stones and rings survive being sat on. These are also the same tricks that keep a small home box tidy day to day.
Should You Organize by Type, Metal, or How Often You Wear It?
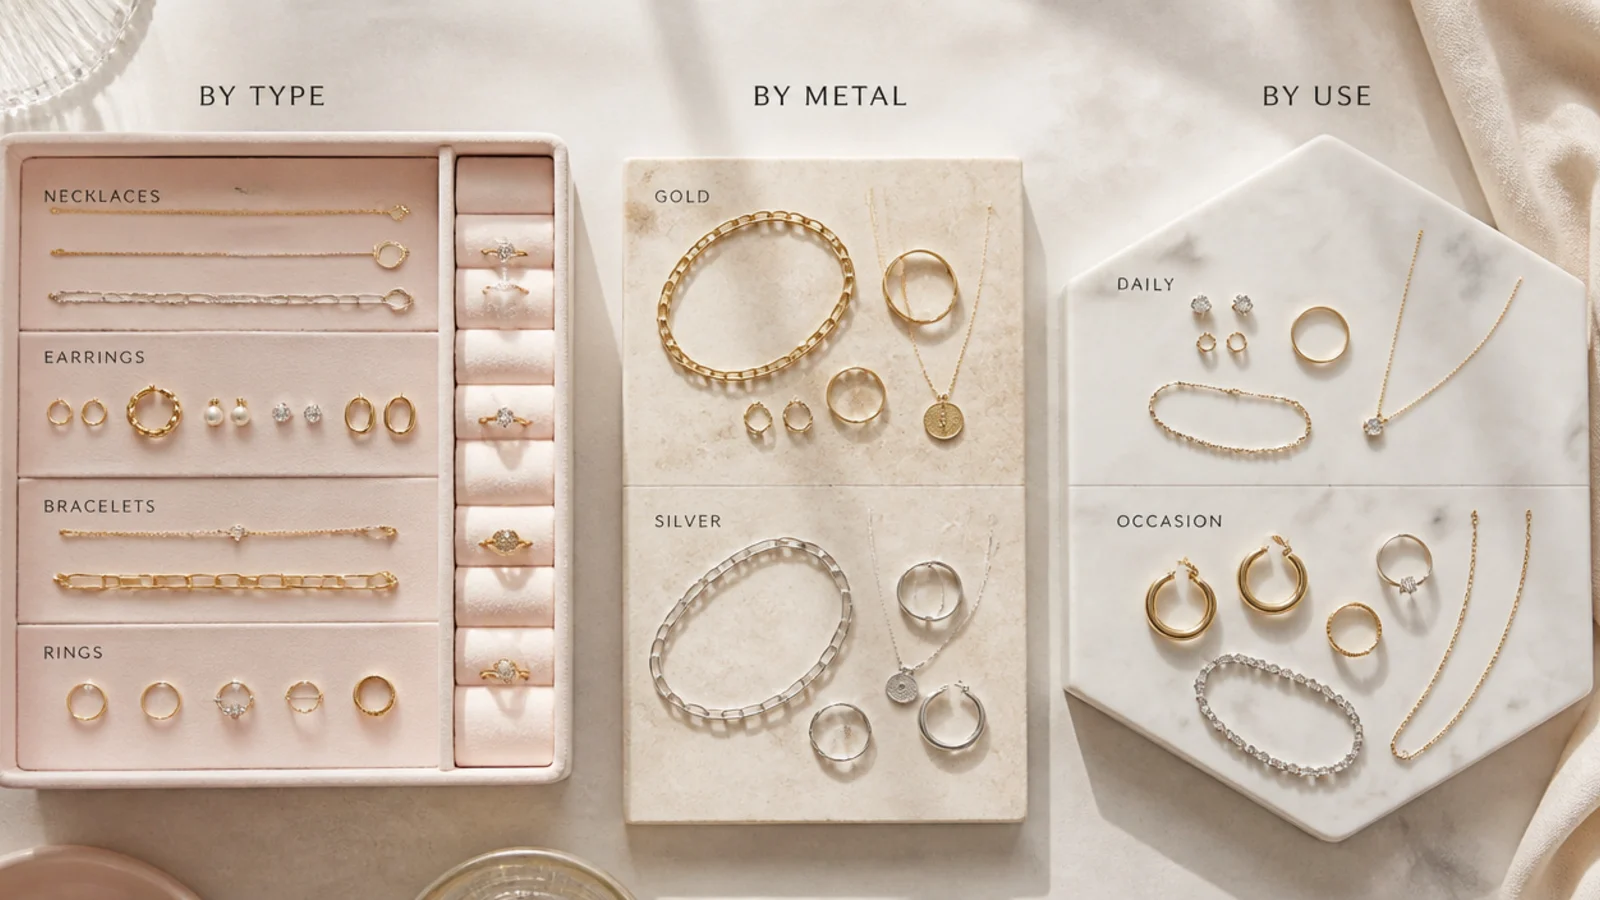
The most useful way to organize is by how often you wear a piece, layered with type and metal as secondary sorts. Frequency comes first because it decides where a piece lives: daily favorites belong on an open tray or hook within arm's reach, while occasion and fine pieces belong enclosed and protected where they stay clean and untarnished. Within those two zones, sort by type so like finds like, all studs in one divided tray, all necklaces on one rail, all rings on one roll, which is what makes a piece findable in seconds. Metal is the third sort and it matters most for protection: keep silver away from the air with anti-tarnish strips and store softer plated pieces driest, since they fade first. There is no single right system, but frequency-first is the one that actually saves you time every morning, because the pieces you reach for most are always the easiest to grab. If you are still deciding which pieces earn a daily spot, our guide to jewelry that looks expensive helps you prioritize.
Frequently Asked Questions
How do I stop my necklaces from tangling?
Give each necklace its own separate spot and clasp it shut before storing. Hang chains on individual wall hooks or clips, or clasp each over a padded bar in a lidded box, so no two ever touch. Hanging keeps chains straight instead of coiled, and a closed clasp cannot thread through another chain. For the finest chains and for travel, thread the chain through a cut drinking straw and clasp it closed so it physically cannot loop. Never pile several loose necklaces into one compartment.
How do I organize jewelry in a small space?
Go vertical and use surfaces you are not already using. Mount an earring board and a rail of Command hooks on a bare wall to clear your counter and stop tangles at once. Turn a dead dresser drawer into a hidden zone with a slim velvet insert, and if you want a box, pick a stackable acrylic one that builds up rather than spreads out. Keep only your daily rotation on the open surface and everything else enclosed, so the space never reads cluttered.
How do I store jewelry so it doesn't tarnish?
Control air, moisture and contact. Keep pieces in a sealed box with 3M anti-tarnish strips and a silica gel packet, or seal rarely worn silver into individual zip anti-tarnish bags with the air pressed out. Always put jewelry away completely dry and store it in a dry bedroom drawer, never the bathroom, since shower steam accelerates tarnish more than anywhere in the house. Keep metals separated in soft pouches so they do not scratch, and remember plated pieces fade fastest.
How should I organize earrings?
Organize earrings by type. Give each pair of studs a walled section in a divided tray, a slot in a pill organizer, or a spot pushed through a felt card that holds both posts together, since studs are the pieces that go missing. Hang hoops and huggies on an earring board or a hook so they keep their shape, and clip statement drops on a board so they cannot tangle or get crushed. Keep your everyday studs in the most reachable spot.
What is the best travel jewelry storage?
A zippered fold-and-roll case is the best all-in-one: a ring bar lines up rings, sealed zip pockets trap studs, and clasp tabs hold necklaces straight so they arrive knot-free. Add the straw trick for delicate chains, thread each through a cut straw and clasp it closed. Press stud pairs through a button card or felt square so pairs stay married, or use a latching weekly pill organizer for small pieces. Keep the roll in your carry-on and choose a structured shell so stones survive a crushed bag.
Should I organize jewelry by type, metal, or how often I wear it?
Lead with how often you wear it, then sort by type and metal underneath. Frequency decides where a piece lives: daily favorites go on an open tray or hook within reach, while occasion and fine pieces go enclosed and protected. Within each zone, group by type so like finds like and every piece is findable in seconds. Use metal as the protection sort, keeping silver sealed with anti-tarnish strips and storing softer plated pieces driest. Frequency-first is the system that saves the most time each morning.
Do anti-tarnish strips really work?
Yes, but only inside a sealed container. Strips like 3M's absorb the sulfur and moisture in the air that make silver and plated pieces darken, so they meaningfully slow tarnish in a closed box or drawer. In an open tray the treated air escapes and they do almost nothing. Tuck two or three into each closed compartment, and swap them when they fade from their original color to darker, usually around every six months. Pair them with a silica gel packet to handle humidity too.
Can I store all my jewelry in one box?
You can, but only if the box has separate zones inside. One open compartment holding everything is what causes tangling, scratching and lost studs. Choose a box with a ring roll, walled sections for studs, a channel for bracelets and padded bars for necklaces so each type stays put and closed. Add anti-tarnish strips inside the lid, keep it in a dry room, and reserve a small open tray on top for the few pieces you wear daily so you are not opening the box every morning.
How do I keep gold-plated jewelry from turning my skin green?
The green mark is the base metal under worn-through plating reacting with sweat and moisture, so the fix is keeping that layer intact and dry. Store plated pieces in the driest spot you have with a silica packet, put them on last after lotion and perfume, and take them off before washing hands or showering. A clear barrier coat brushed on the inside of a ring or the back of a pendant blocks skin contact. For pieces worn daily against friction, like rings, a sturdier material lasts far longer than plating, as explained in how to keep gold jewelry from tarnishing.
Which jewelry organization idea are you setting up first?
If you set up one thing today, make it a vertical zone: a wall-mounted earring board and a rail of Command hooks clear your whole surface and stop necklaces tangling in one move, then a sealed box with anti-tarnish strips handles the fading. Sort by how often you wear a piece, keep daily favorites on an open tray and everything else protected and put away dry. Once your storage is sorted, put the pieces to work in real outfits with our jewelry styling ideas for any outfit, see which pieces are worth owning in the first place in everyday jewelry essentials, or browse the whole jewelry edit for more.