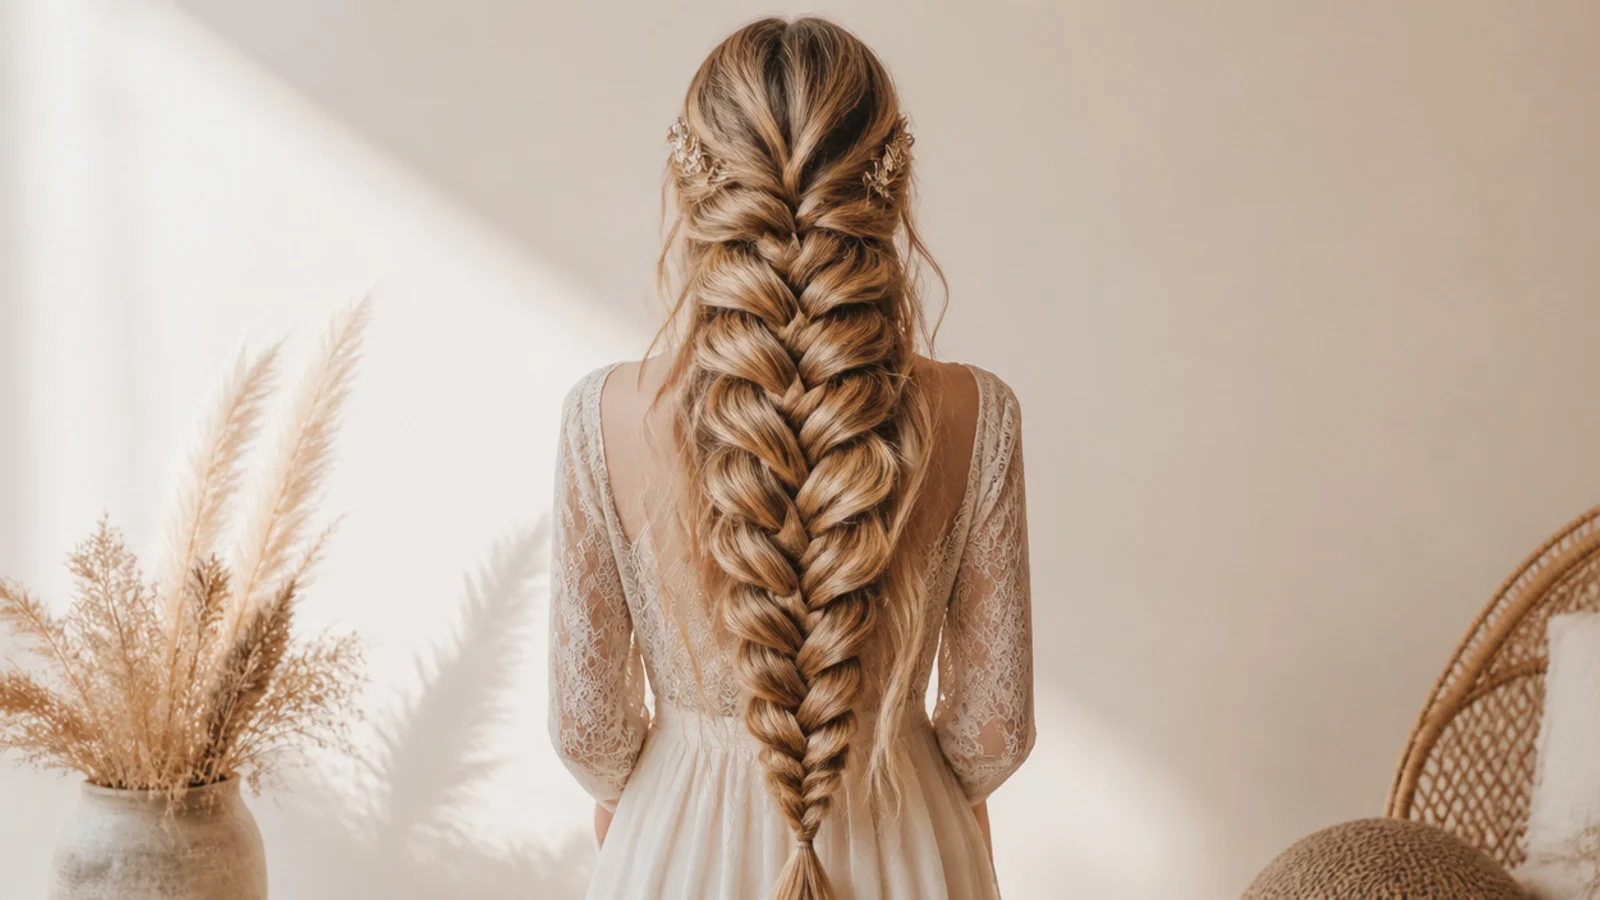
Quick Comparison
| Freshly Washed Hair | Day-Two or Texture-Sprayed Hair | |
|---|---|---|
| Braids I tried on it | 5 of 15, including both failures | 10 of 15, including every version I would repeat |
| Held past four hours | 1 of 5, and only the ribbon one, because the ribbon held it | 10 of 10, with one re-pancake around hour three |
| How the pancaking behaved | Edges kept traveling and swallowed the next section | Edges stopped where I put them and stayed fanned |
| Widest fan I achieved | About two inches before it collapsed | Three to four inches, held all day |
| Product I needed | Hairspray on every section, and it still slipped | Two pumps of texture spray, sometimes nothing at all |
| Average braiding time | Nine minutes plus five minutes of re-doing it | Eleven to nineteen minutes, done once |
| How it looked at hour eight | Gappy, scalp showing through the crossovers | Softer and slightly undone, which read as intentional |
| Next-day potential | None; I took it down | Coiled into a nape bun, or slept in for waves |
| Would I do it again | Only with ribbon woven through for structure | Every time, and this is now my default |
1. Classic Mermaid Braid Down the Back, 11 Minutes and 2 Elastics
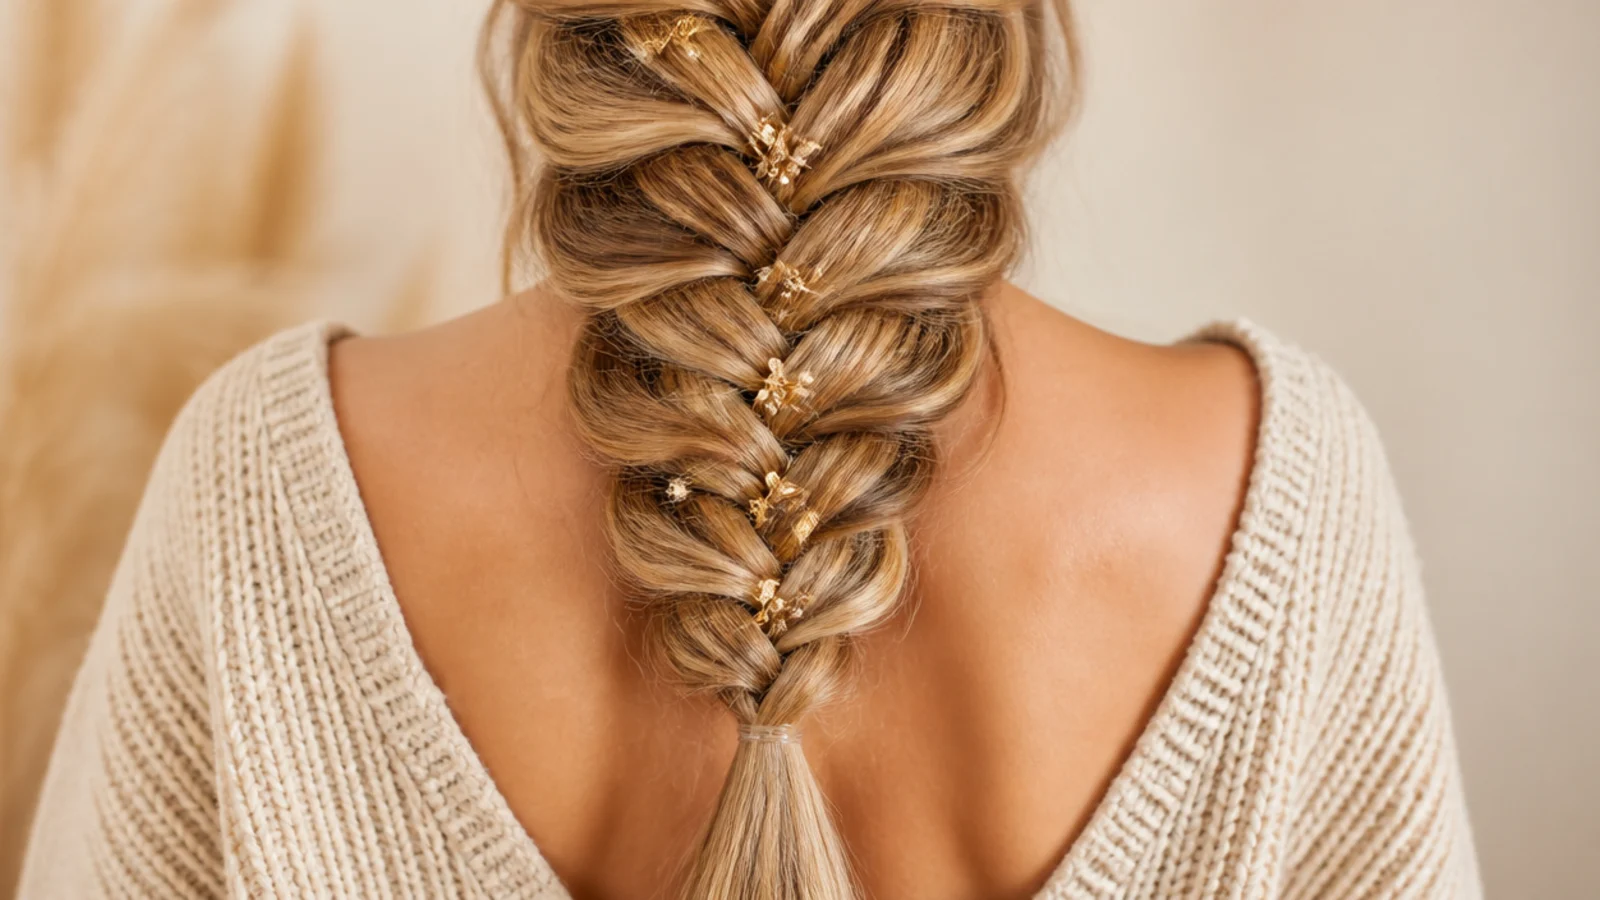
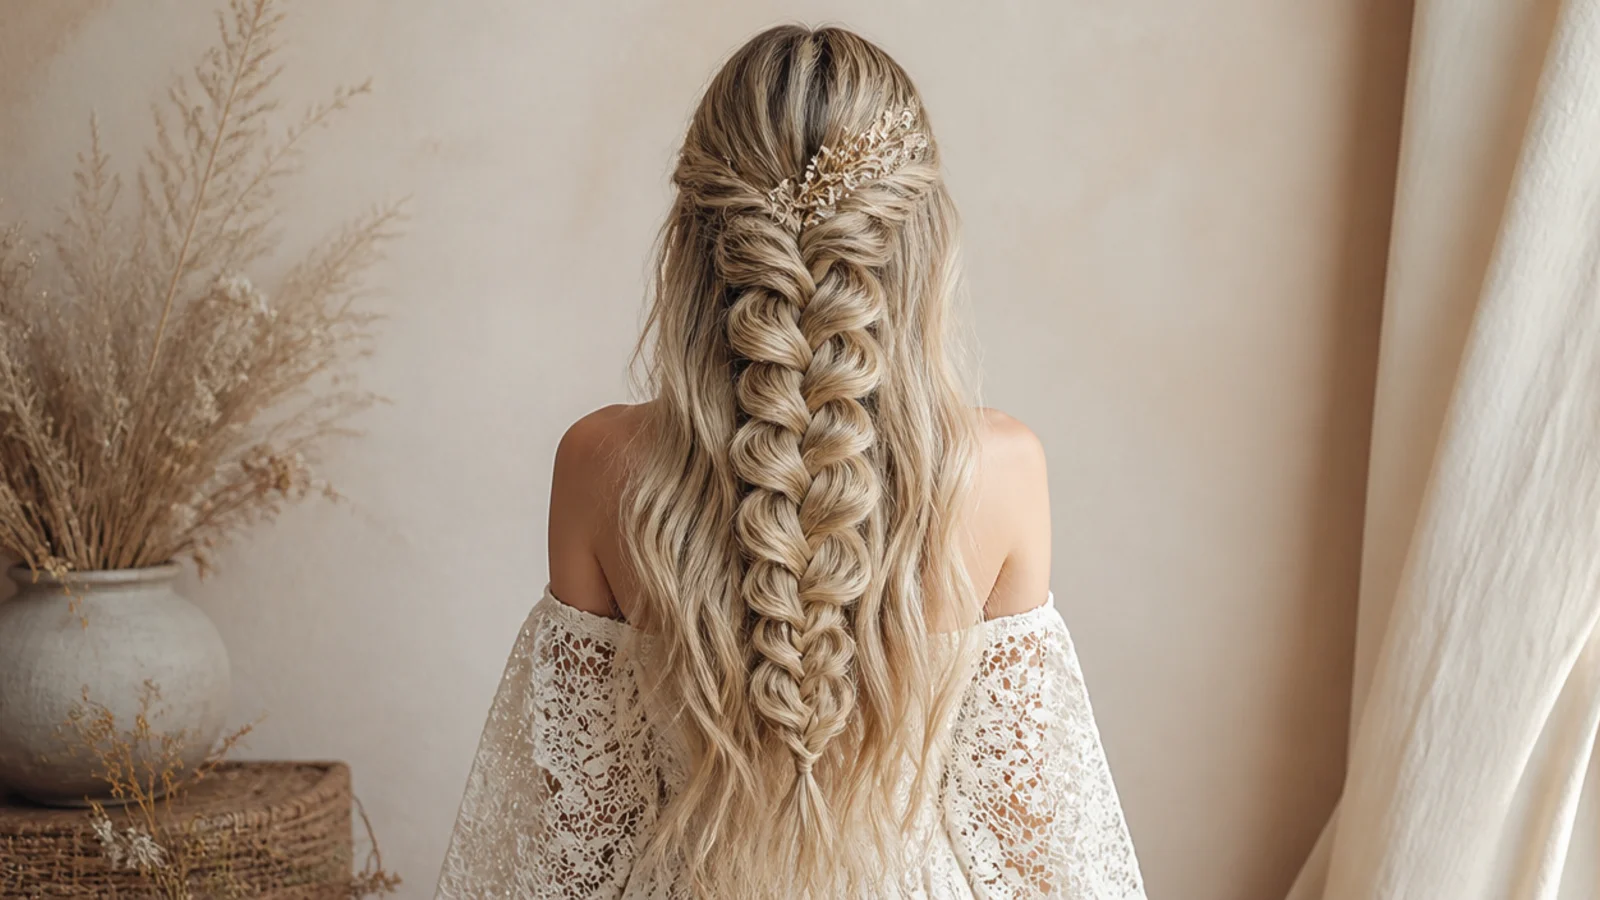
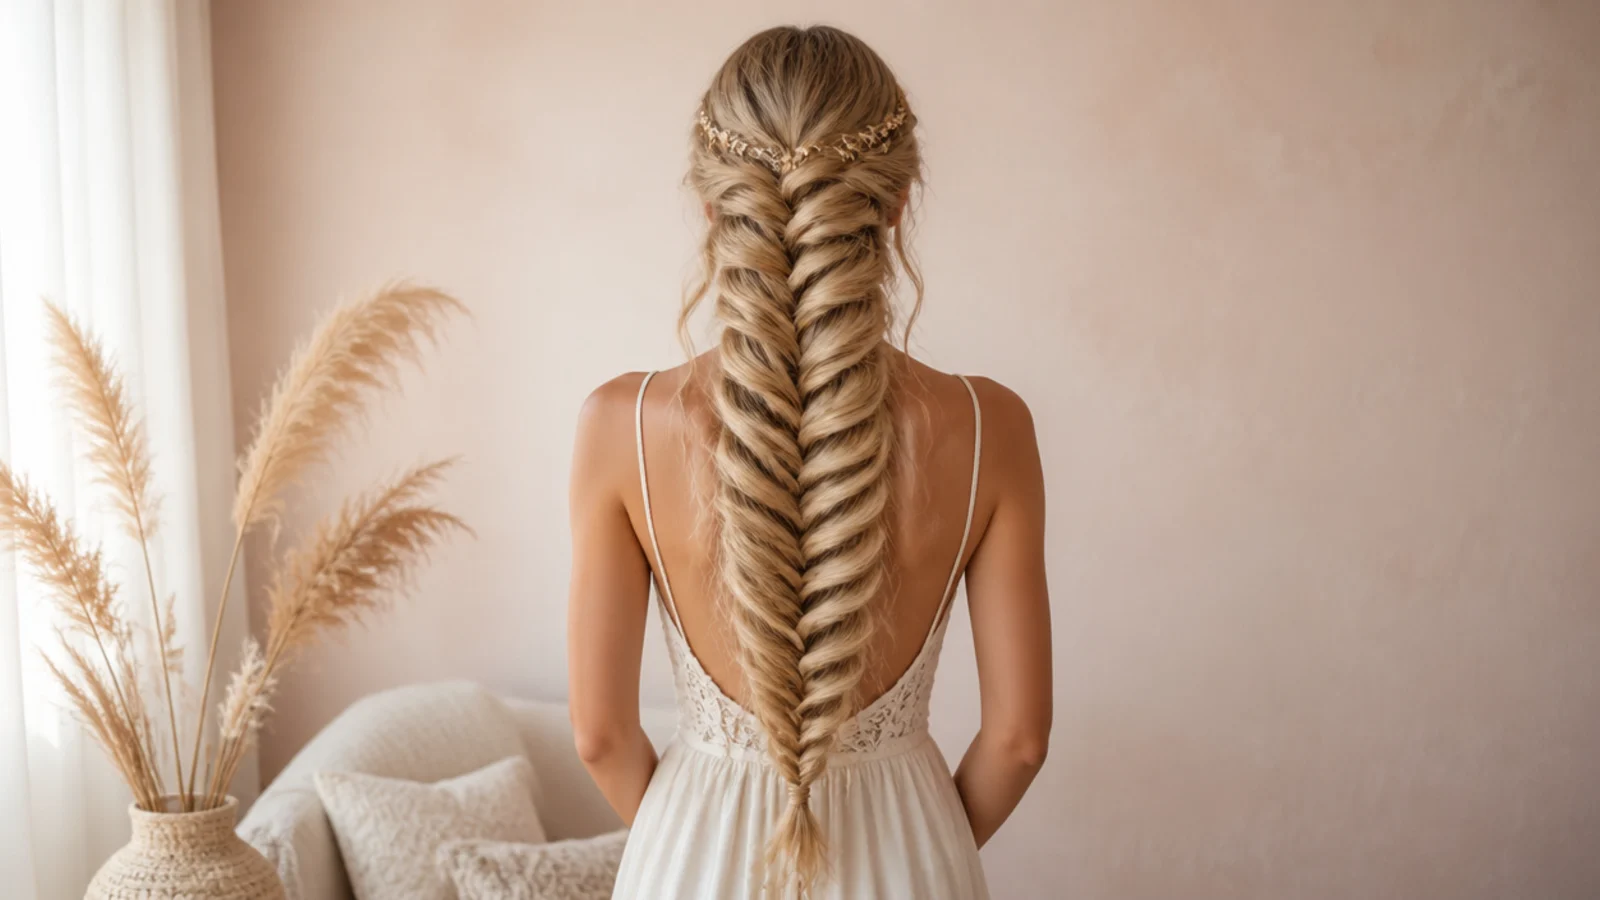
This is the one I kept coming back to. Day-two hair, split into two halves at the nape, then a standard fishtail crossing half-inch pieces from the outside of each section over to the other. Eleven minutes to the ends, one clear elastic to hold, then six or seven minutes of pancaking from the bottom up. Braided width went from about an inch and a half to just over three inches, which is the whole effect. It held from 8am to a 10pm dinner with one re-pancake. Start here before anything fancier, and see the full gallery in mermaid braids.
Who it suits: Mid-back length and longer, straight to 2B, anyone braiding alone for the first time.
Tip: Take smaller crossover pieces than feels natural. Half-inch pieces fan wide; inch pieces look like rope.
2. Mermaid Braid on Freshly Washed Hair, My Fastest Failure
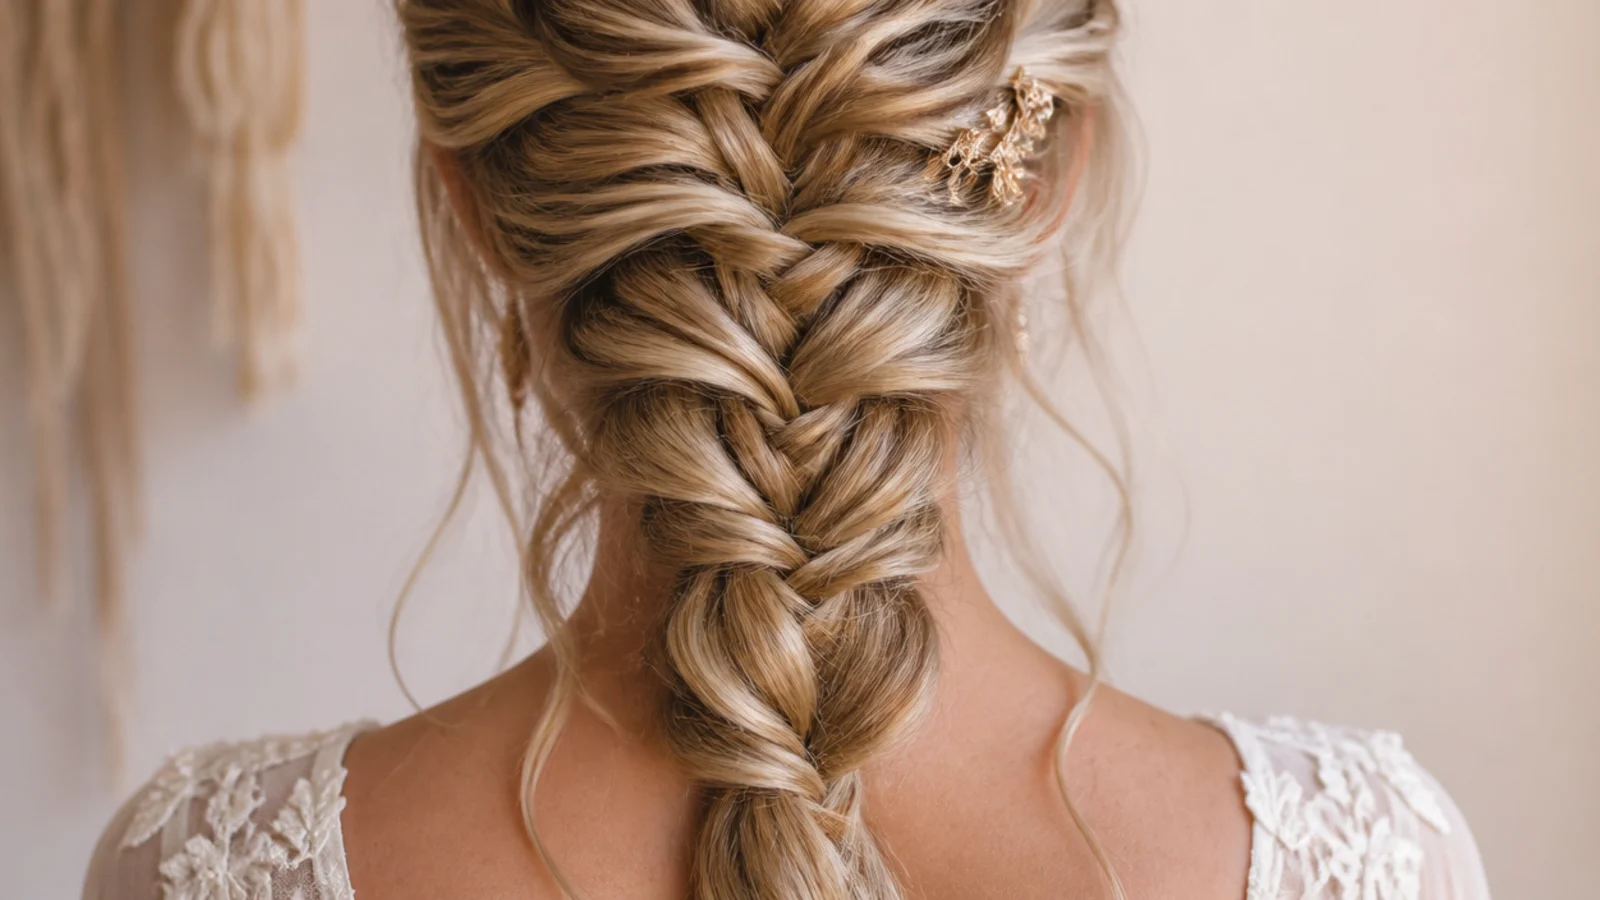
I did this one twice because I refused to believe it. Clean, blow-dried, no product, and the braid started sliding apart before I reached my shoulder blades. Every pancaked edge I pulled just kept traveling and swallowed the section next to it, so instead of a wide fan I got a loose, gappy mess with the scalp showing through. Nine minutes wasted, twice. Clean hair has no grip, and a fishtail is held together by friction alone since there is no third strand locking it. If you have just washed, either wait a day or fix it with texture spray.
Who it suits: Nobody on wash day. This is the single most common reason a mermaid braid fails.
Tip: Two pumps of texture spray through the mid-lengths and ends, scrunched in, buys you the grip of day-two hair.
3. Fully Pancaked Mermaid Braid on Day-Two Hair
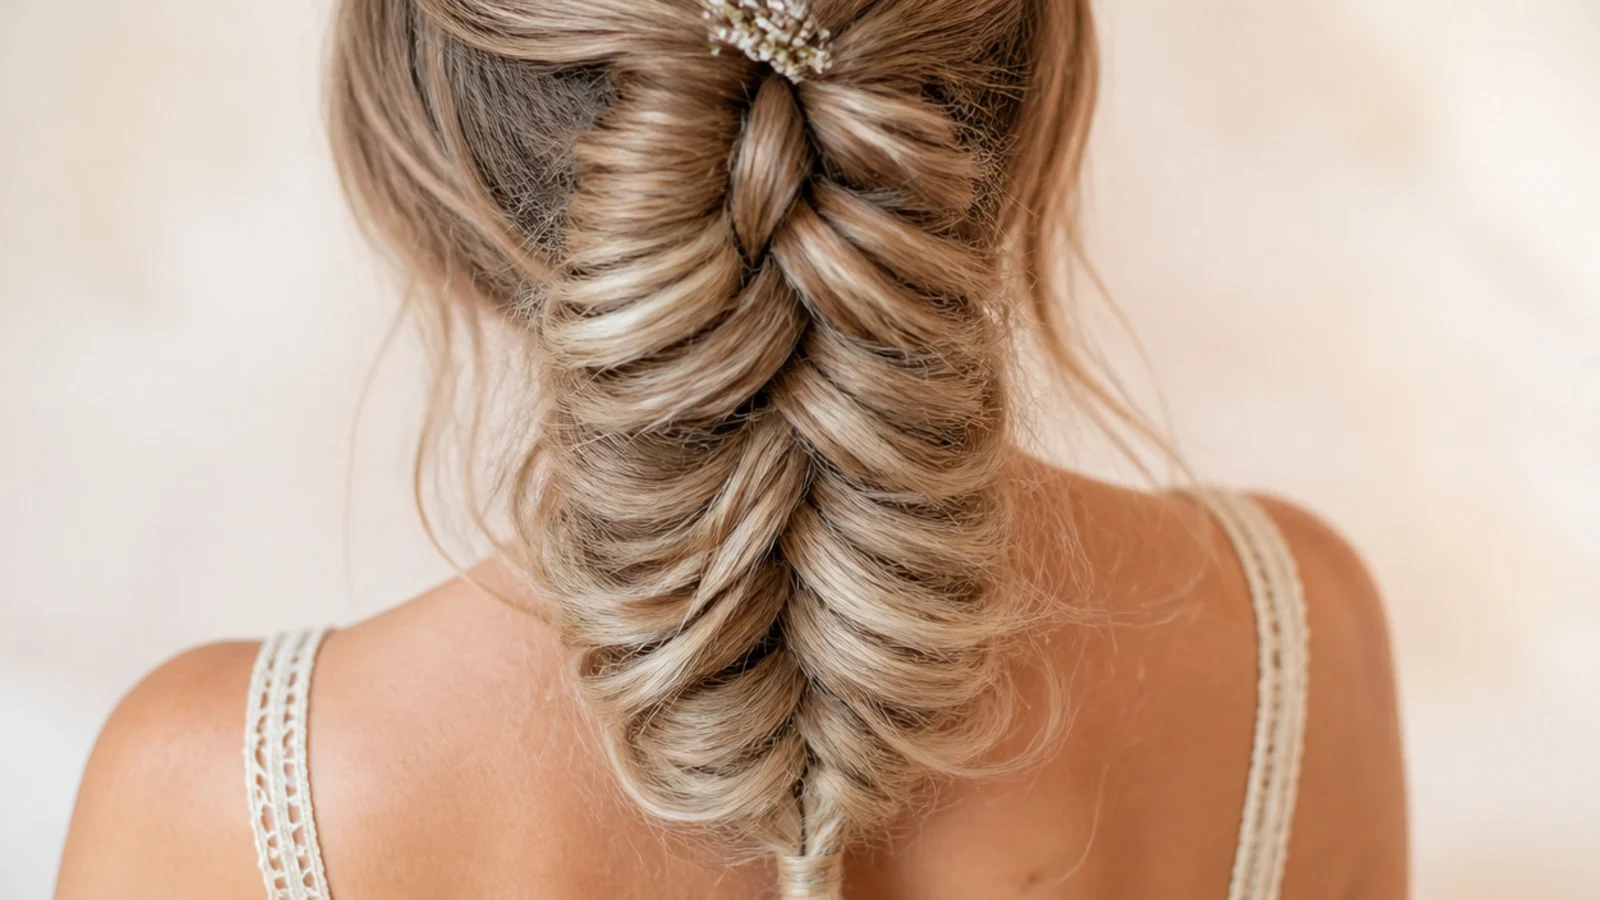
The same braid as my classic, but I gave the pancaking a proper twelve minutes instead of rushing it, and the difference was dramatic. I worked bottom to top, pinched the outer edge of each crossover between thumb and finger, and tugged it two or three millimeters at a time, doing three passes up the whole braid rather than one greedy one. It finished about three and a half inches wide with visible V shapes stacked down the middle. This is the version that photographs like the pins. Rushing it is what makes a braid collapse.
Who it suits: Anyone with medium density who wants the braid to read thick without extensions.
Tip: Three light passes beat one hard pass. If a section suddenly loosens, you pulled too much and need to stop.
4. Deep Side Mermaid Braid Over My Right Shoulder
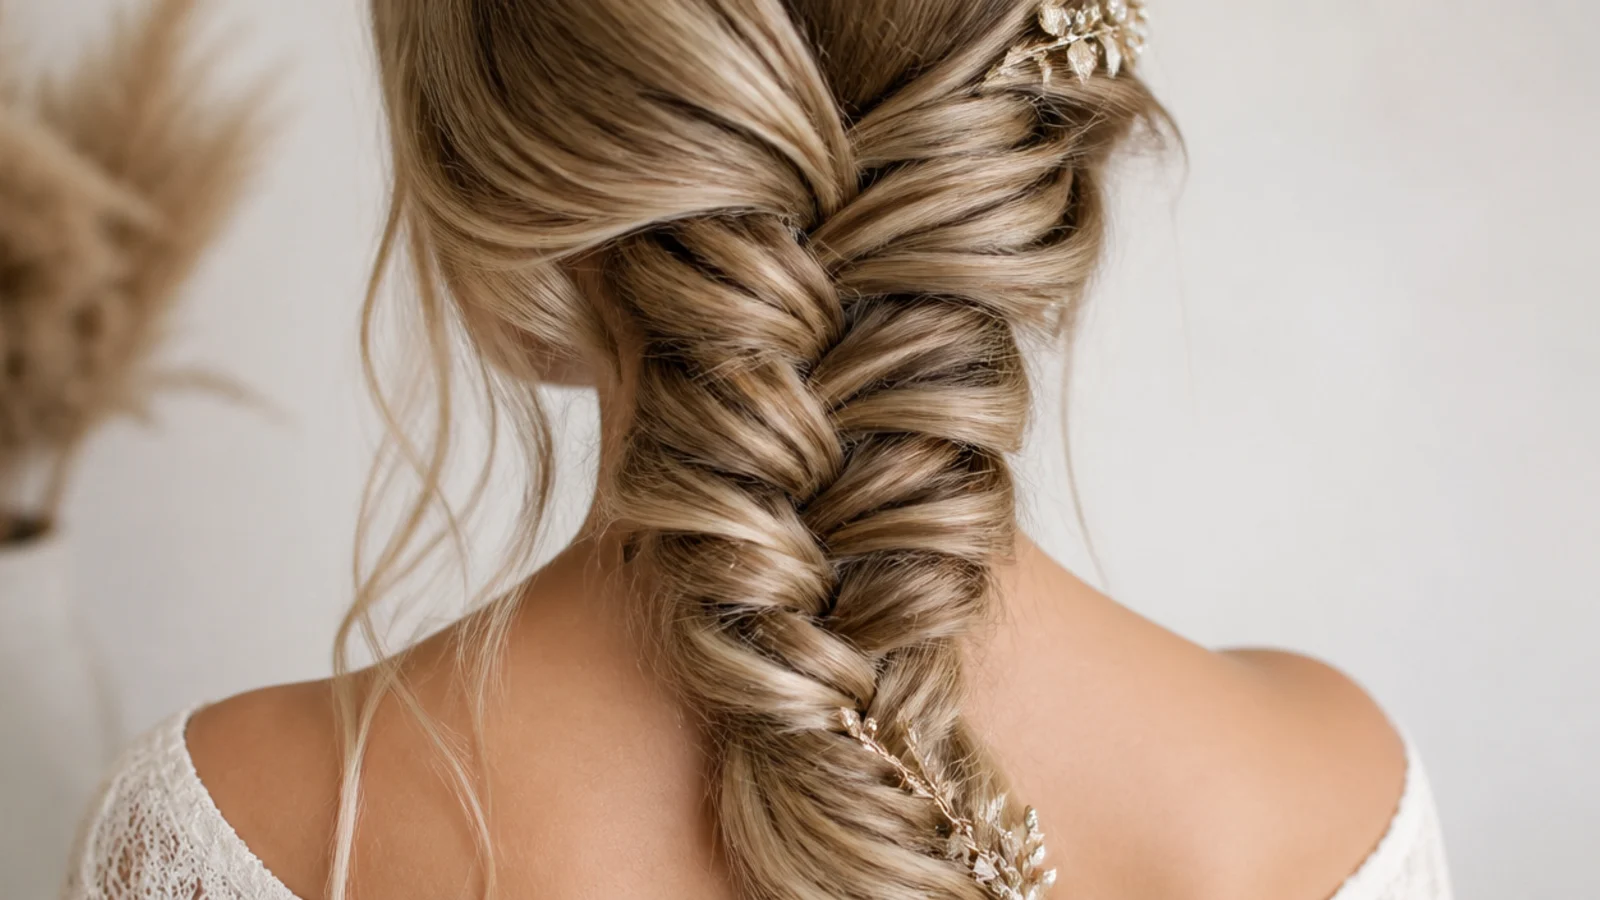
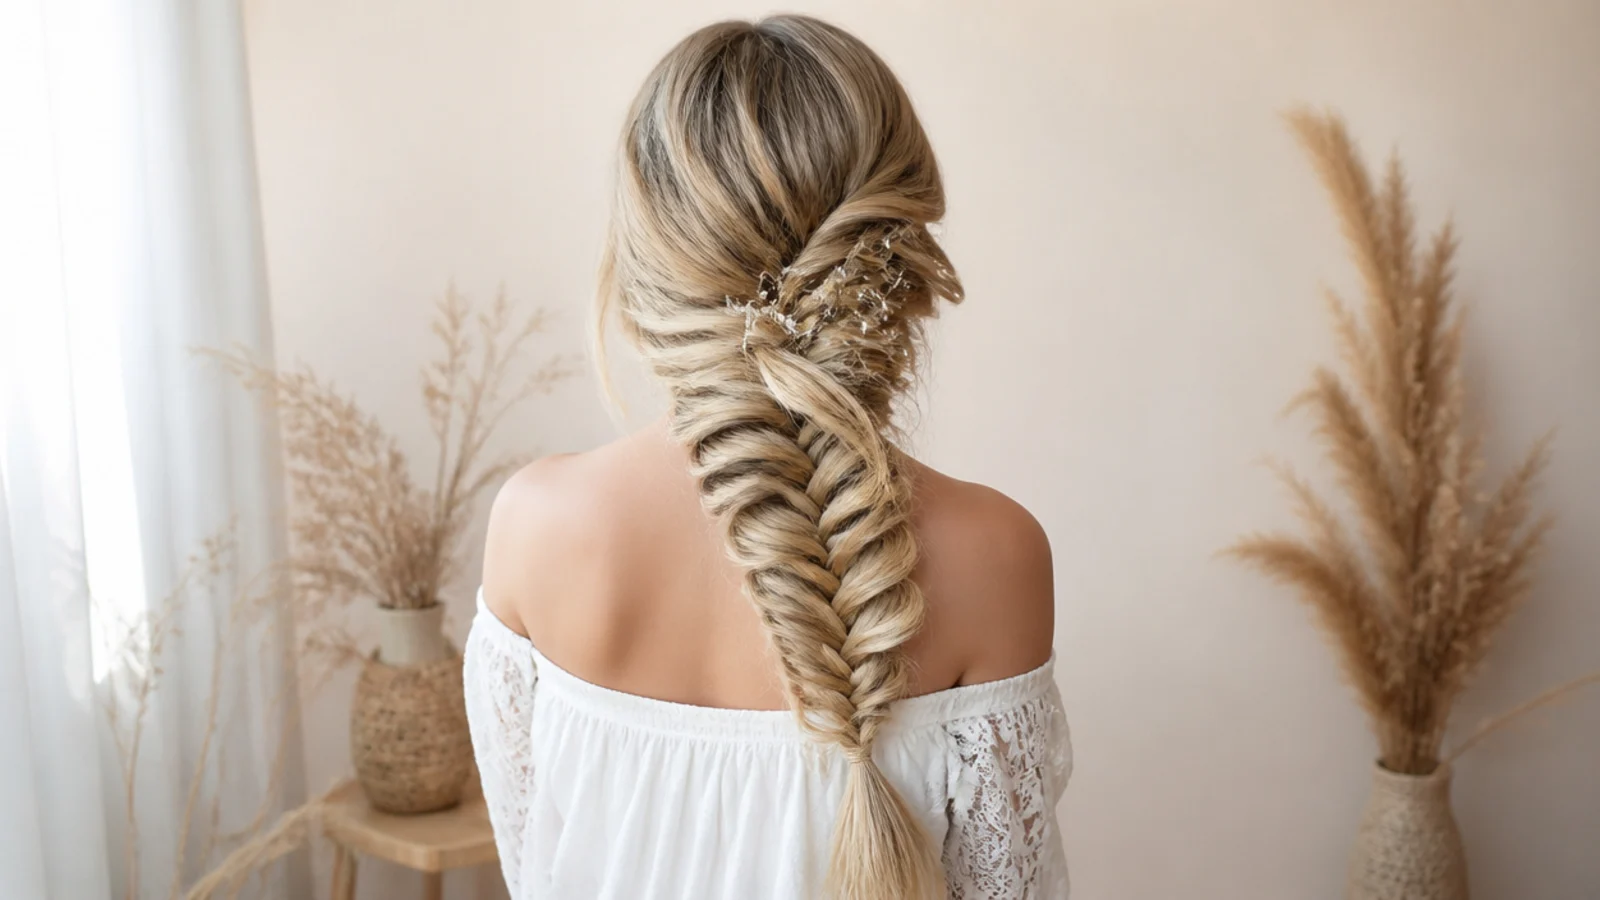
Deep part at the arch of my left brow, everything swept over the right shoulder, then fishtailed in front of me where I could actually see what my hands were doing. This is by far the easiest mermaid braid to do on yourself and it cut my time to about nine minutes because I was not braiding blind behind my head. It also softens a square jaw, which I did not expect. The only issue is that it pulls slightly when you turn your head to the left. More versions in side mermaid braids.
Who it suits: Beginners, square and round face shapes, anyone with a shoulder-forward neckline.
Tip: Pancake only the outer-facing edge and leave the shoulder side tighter, or it flattens against your top.
5. Half-Up Mermaid Braid Secured at the Occipital Bone
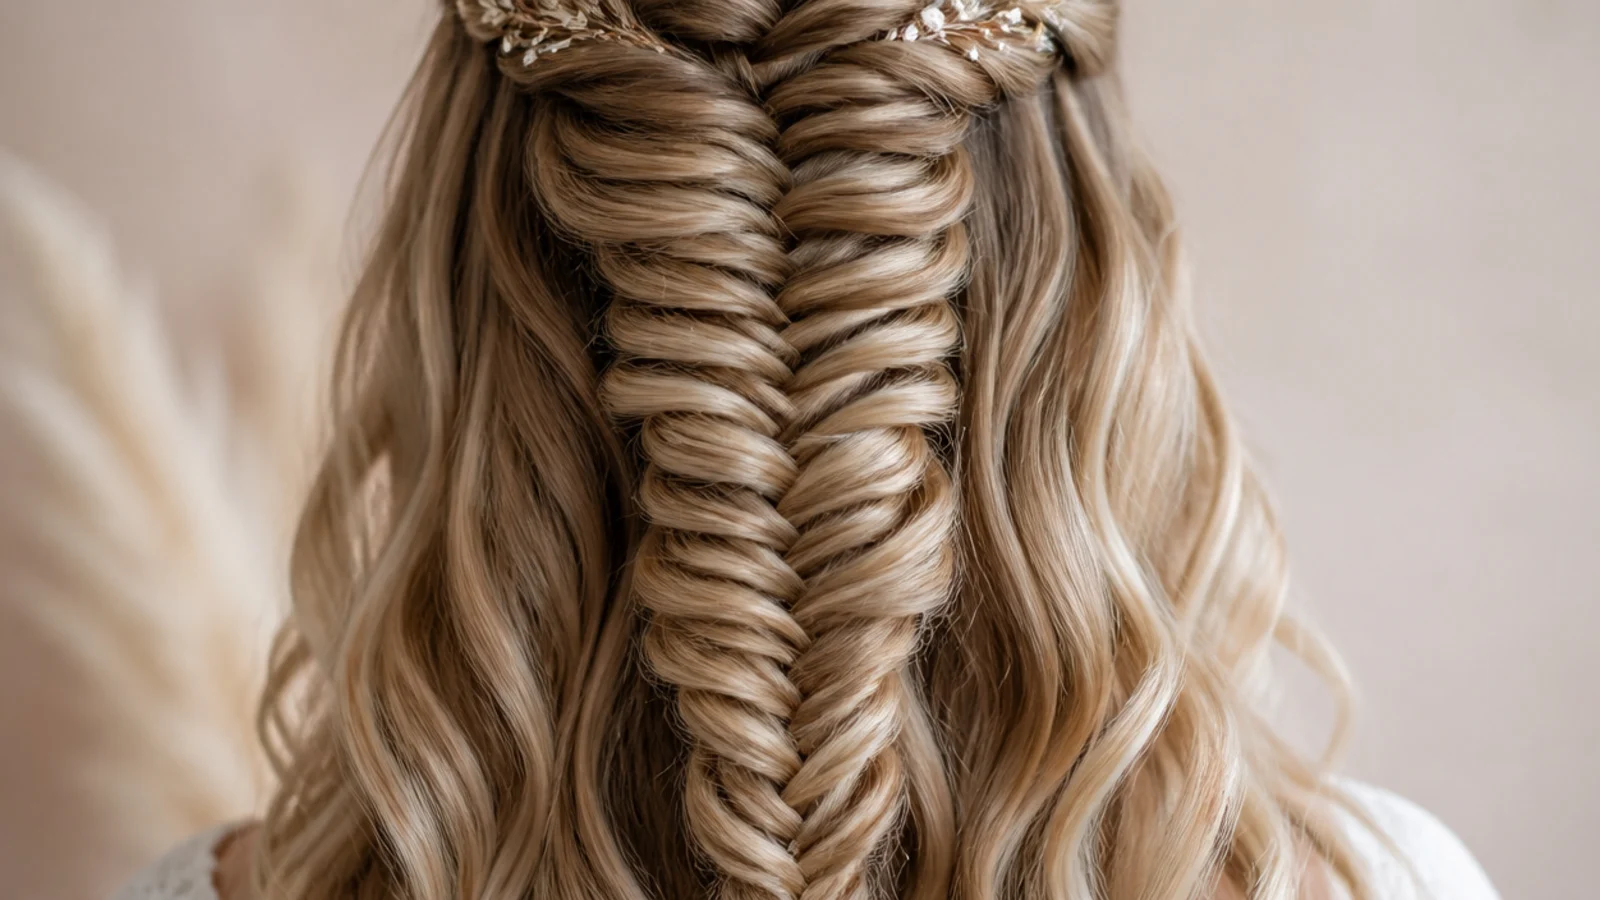
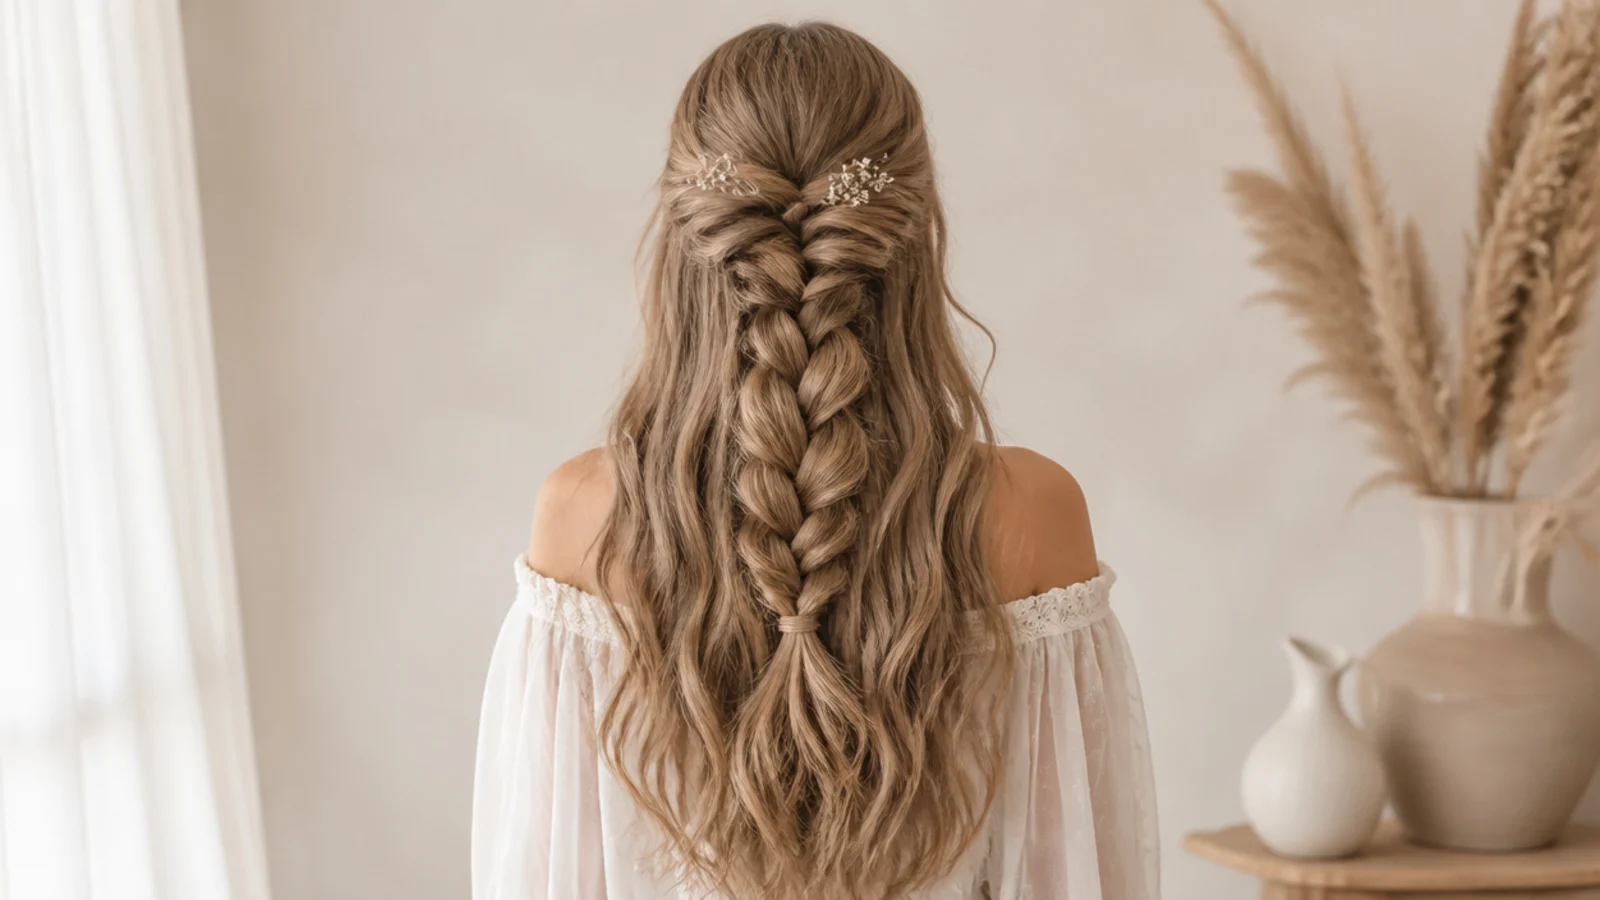
I took the top section from temple to temple, secured it low at the occipital bone with a clear elastic, then fishtailed just that section and let the rest fall in loose waves underneath. Fourteen minutes including curling the bottom half. This was the best-looking of everything I tried on camera because you get the braid detail and the length at once. It held through a five-hour evening, though I did have to re-pancake once around hour three. Full gallery in half up mermaid braids.
Who it suits: Anyone with layers, and anyone who wants the braid visible in photos without losing length.
Tip: Secure at the occipital bone rather than the crown. High placement made mine sag under its own weight.
6. Dutch Mermaid Braid That Sits Proud of the Scalp
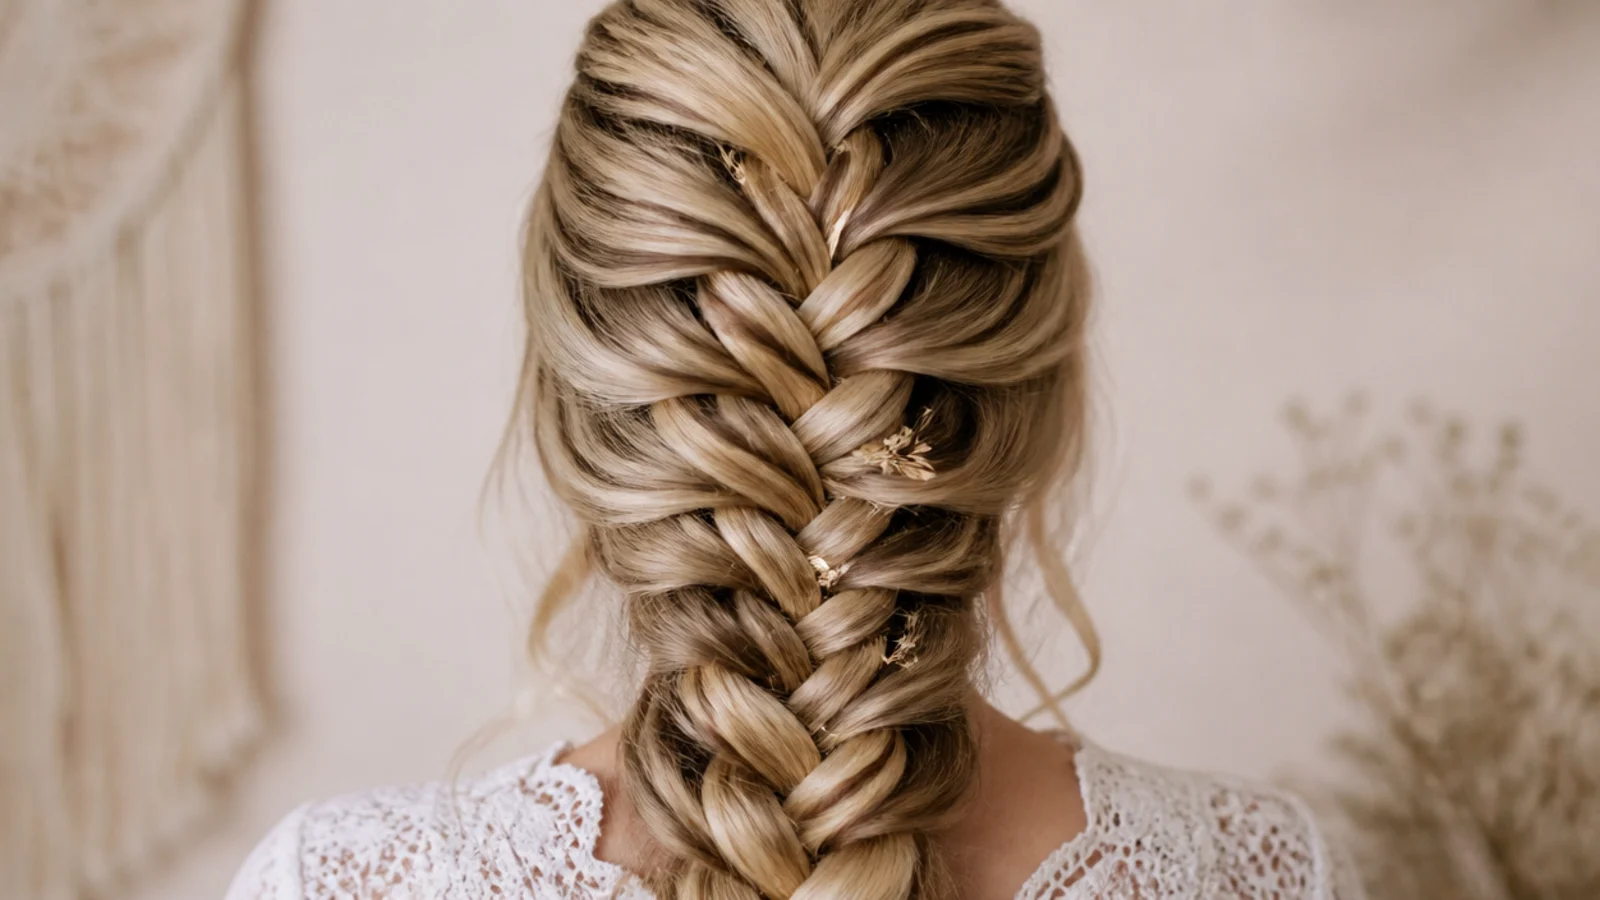
Started at my front hairline and worked the fishtail crossovers under rather than over, adding a small piece from each side as I went, so the braid sits raised instead of sinking in. Nineteen minutes and my arms ached. The payoff is that a raised braid pancakes far wider because there is somewhere for the edges to go, and mine hit close to four inches at the nape. It is the hardest version on this list to do alone and I needed a hand mirror for the top three inches.
Who it suits: Medium to thick density, anyone who finds flat French-style braids disappear into their head.
Tip: Keep the first four crossovers tight to the scalp. Slack at the start ruins the whole line.
7. Waterfall Mermaid Braid, 26 Minutes and a Friend
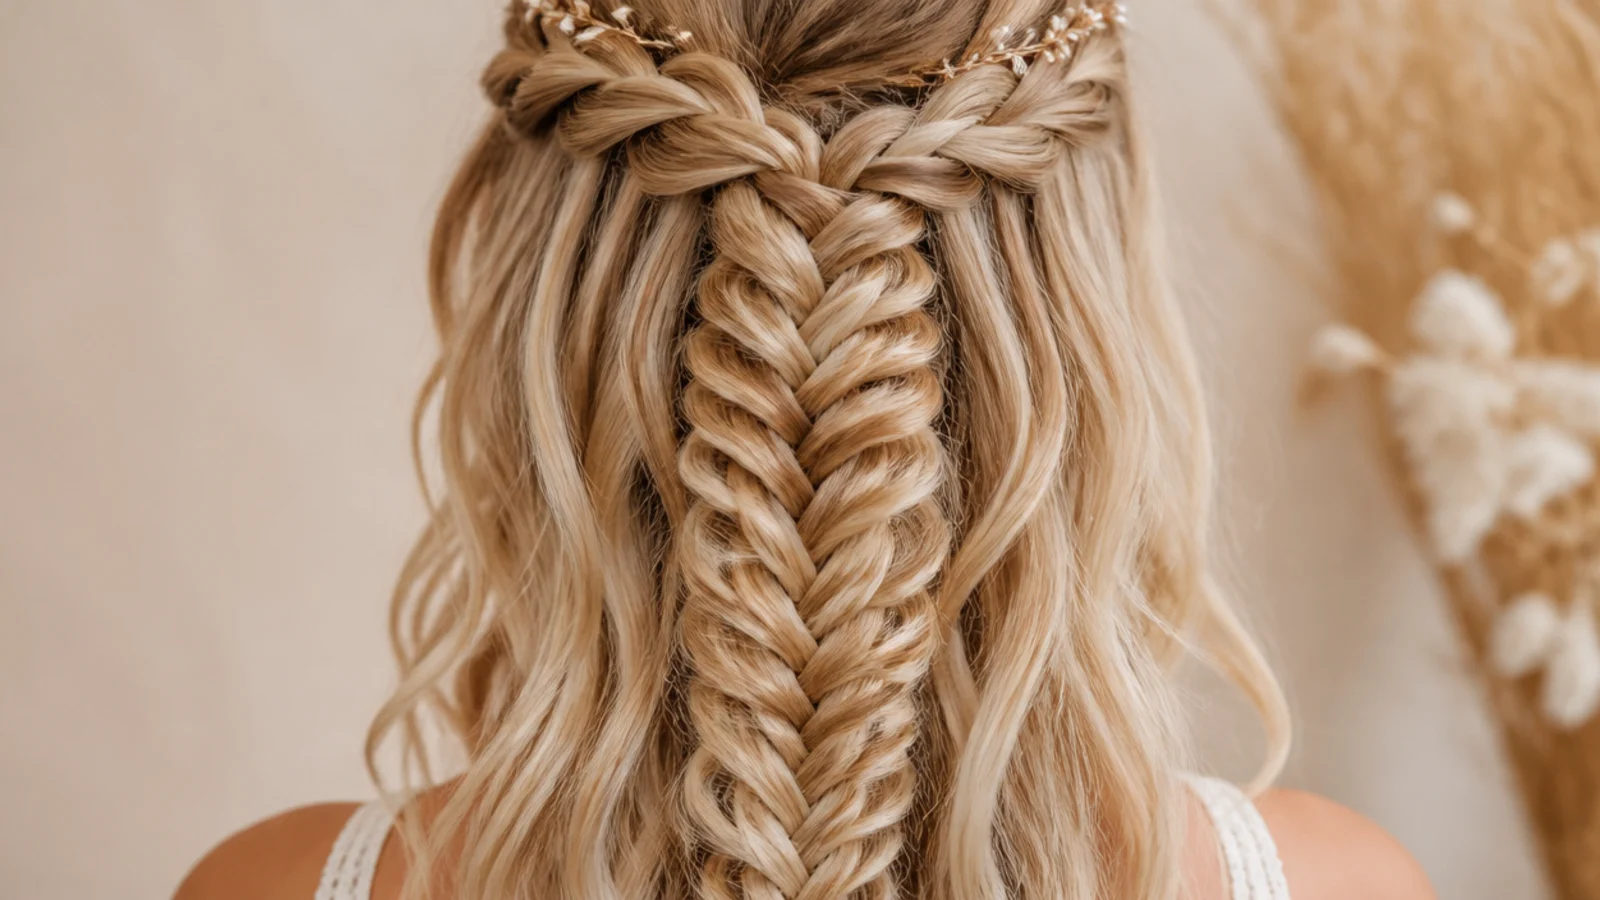
The most complicated thing I attempted and the only one I gave up on solo. A waterfall braid runs around the crown and drops a strand at each pass, then all those dropped pieces get collected into a mermaid braid at the back. My sister did it in twenty-six minutes. Two attempts on myself both collapsed at the transition point, where the dropped strands need pinning before they get gathered. Worth it for an event, not for a Tuesday. Step versions live in waterfall mermaid braids.
Who it suits: Long, smooth hair and someone willing to braid it for you.
Tip: Drop small strands. Big ones look like gaps and there is not enough hair left to build the mermaid braid.
8. Boho Mermaid Braid With Two Face-Framing Pieces Left Out
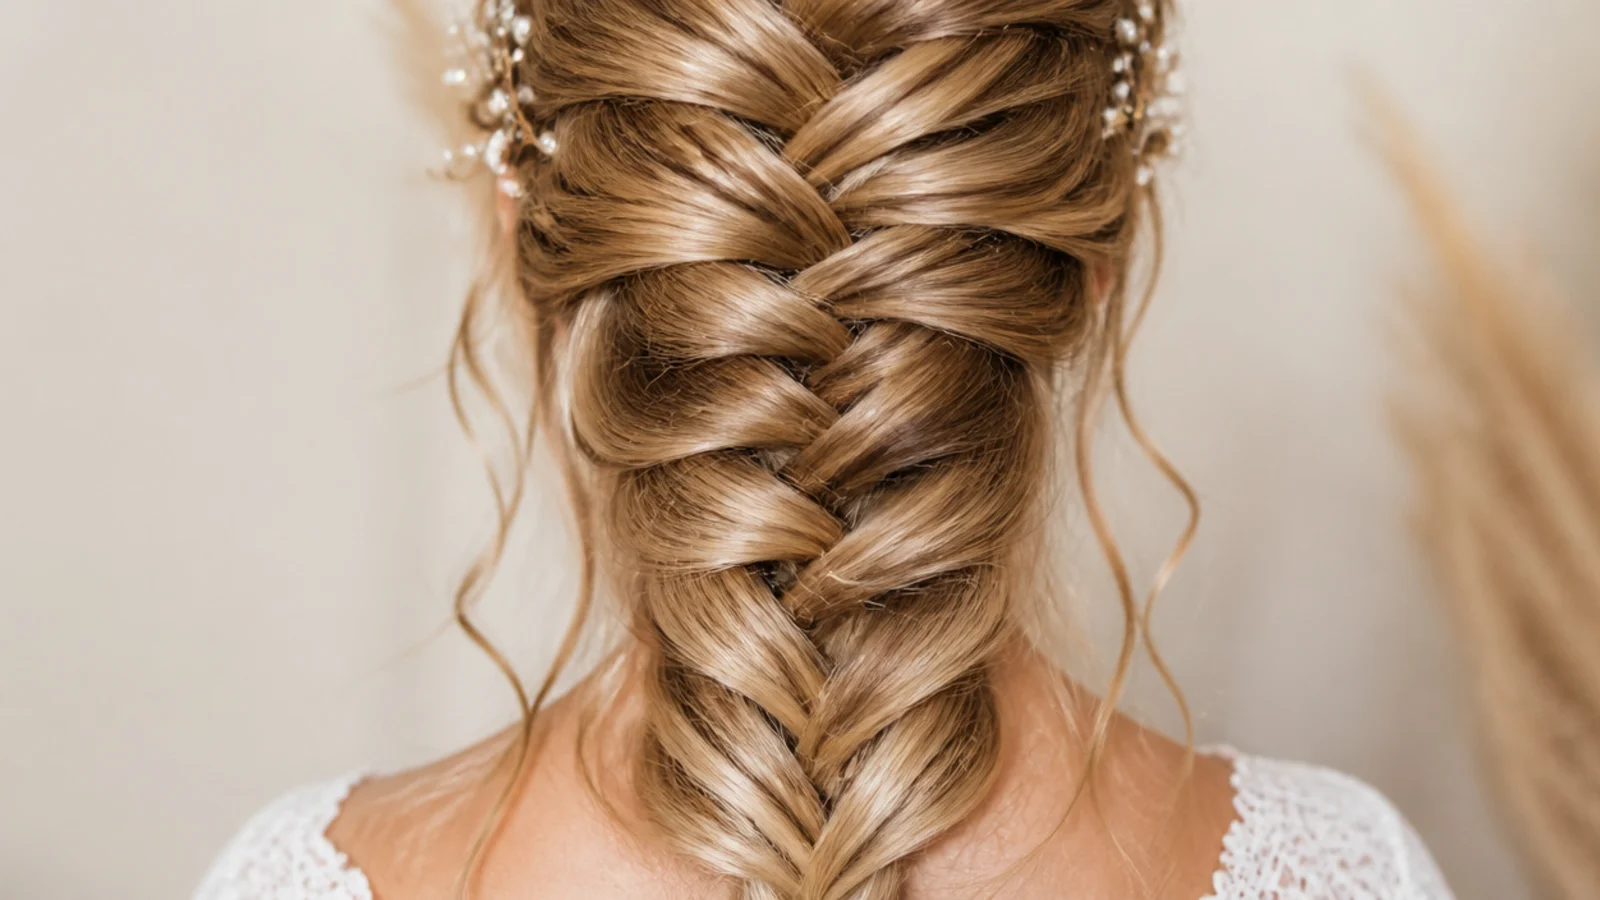
The laziest upgrade I found. Same classic braid, but I pulled two half-inch pieces out at my temples before starting, curled them on a one-inch iron afterward, and deliberately left the pancaking uneven so the braid looked slept in. Thirteen minutes. It reads soft and undone in a way the neat version does not, and it hides the fact that my braiding tension is inconsistent past my shoulder blades. This became my default for weekends. More in boho mermaid braids.
Who it suits: Anyone whose braiding is imperfect, which after fifteen tries includes me.
Tip: Pull the face pieces before you braid. Yanking them out afterward loosens the top of the braid.
9. Mermaid Braid on 24-Inch Hair, Where the Weight Shows Up
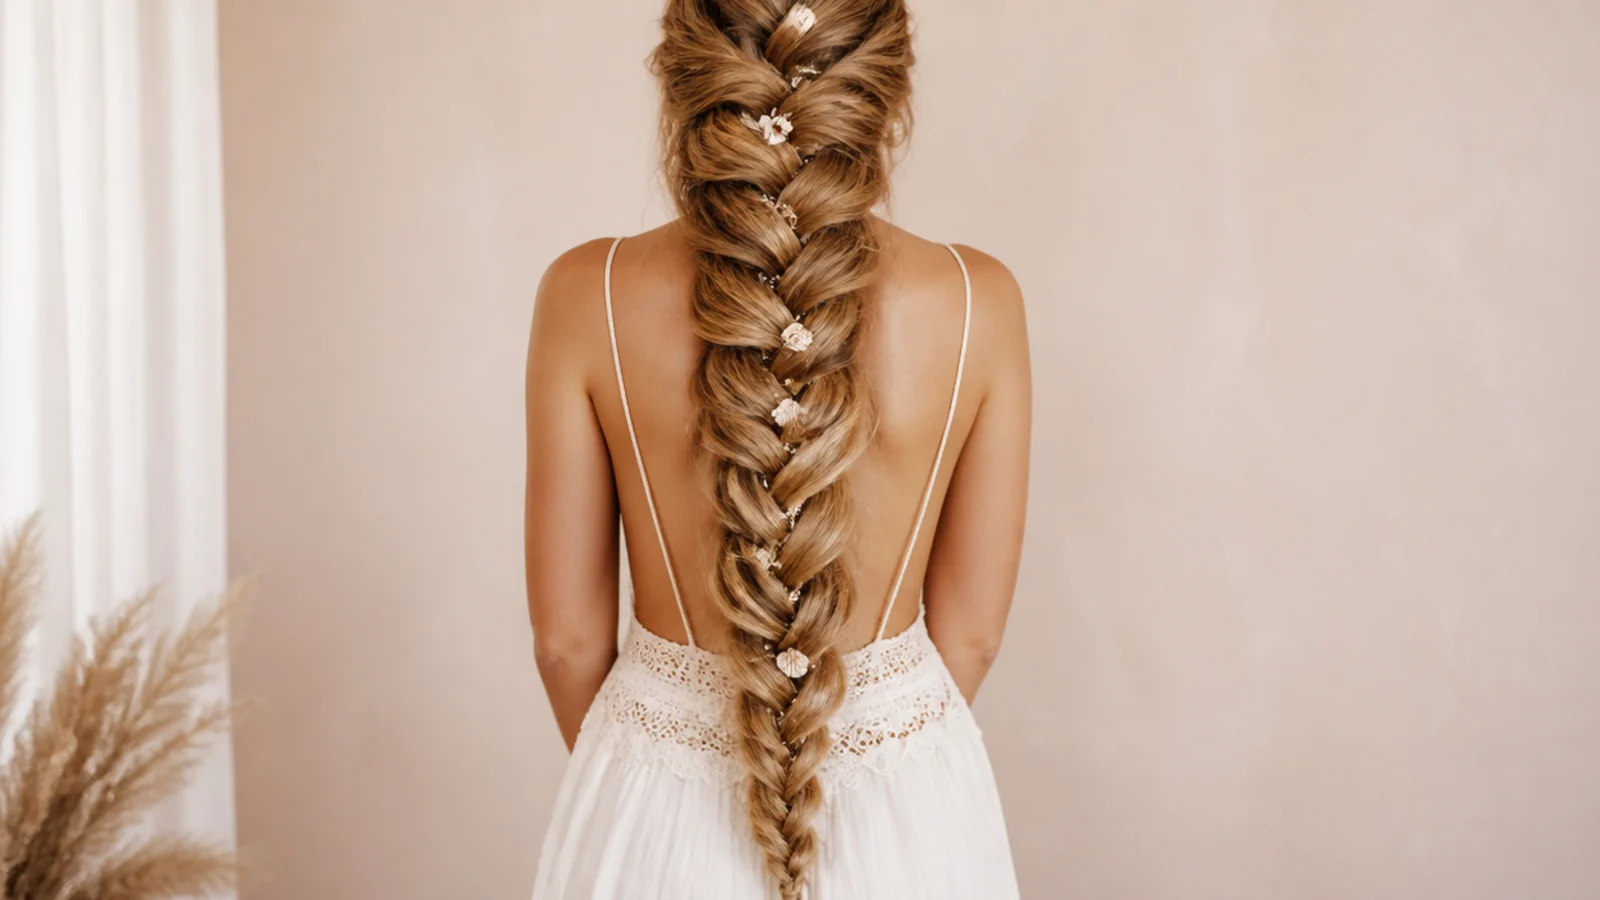
I tried this on a friend with hair to her hip bones, about 24 inches. The braid was spectacular and took twenty-one minutes, but two things surprised me. First, the last six inches will not pancake convincingly because there is not enough hair left, so it tapers to a rope no matter what. Second, the weight drags on the scalp and she had a tender spot at her nape by evening. Braid slightly looser at the top than you think. Length-specific notes in long mermaid braids.
Who it suits: Waist length and past, especially thick hair that reads too heavy worn down.
Tip: Stop the fishtail about four inches from the ends and let it fan into loose waves instead of tapering.
10. Mermaid Braid on a Collarbone Lob, Ran Out of Hair
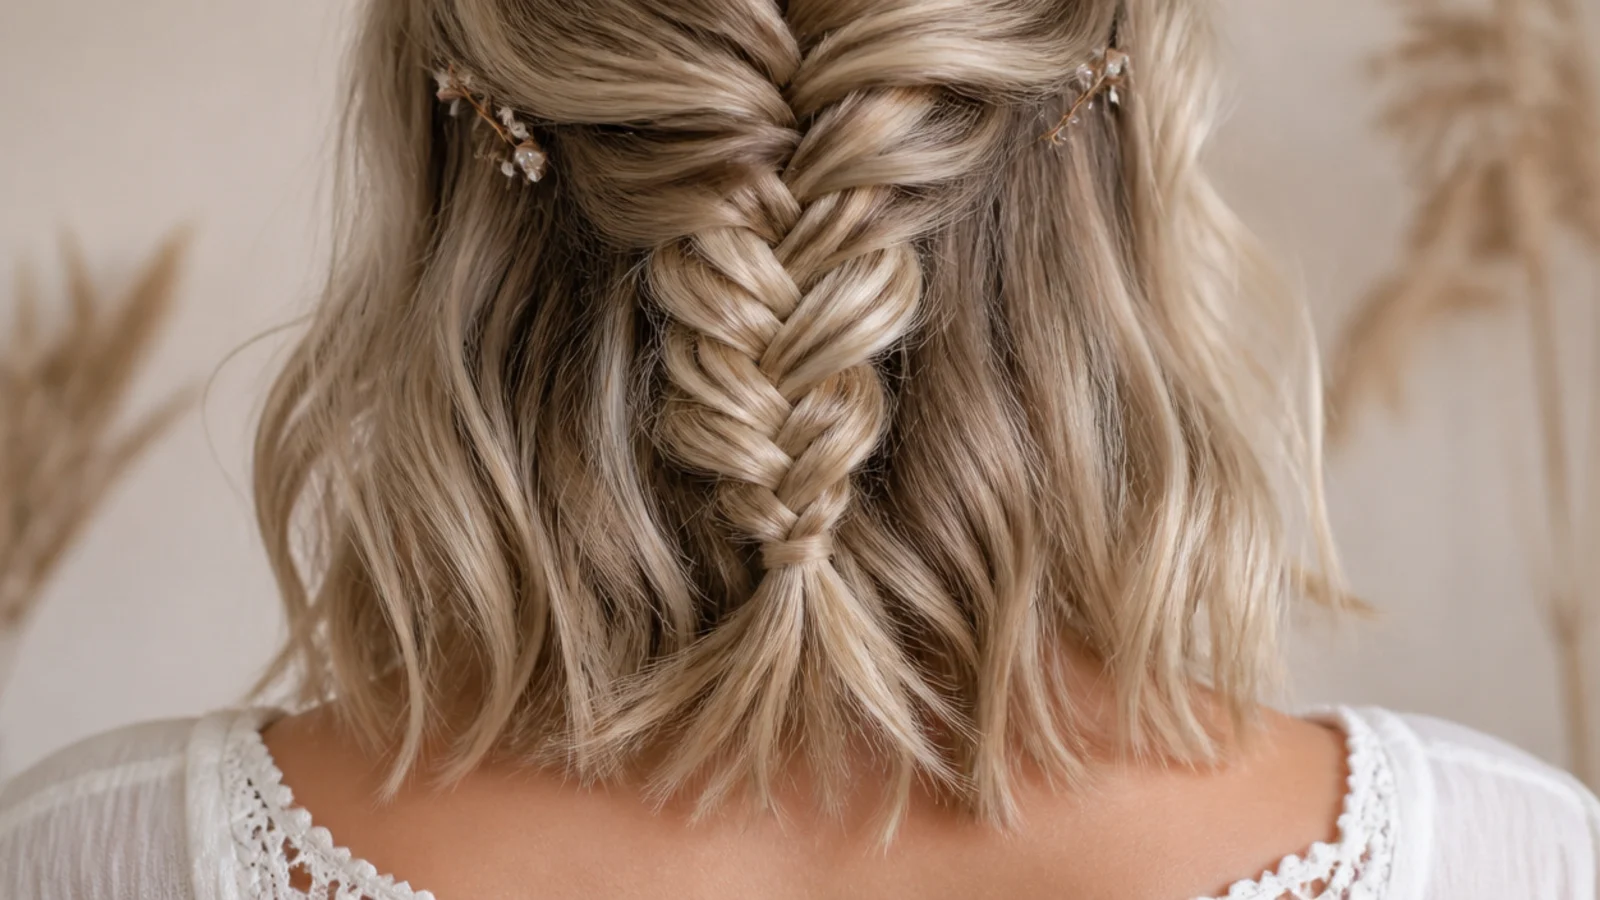
I tried this on my sister's collarbone-length lob and it half worked. The fishtail itself was fine for about four inches, then her layers started escaping and there was nothing left to pancake, so it finished as a stubby braid with fluff around it. Total time seven minutes and a lot of hairspray. The honest answer is that a mermaid braid needs roughly shoulder-blade length before the fan reads as a fan. A half-up version on shorter hair is a much better use of the technique, or see how to style short fine hair.
Who it suits: Not collarbone length worn full. Do the half-up version instead.
Tip: If your hair is under shoulder-blade length, braid only the top half and let the rest hang.
11. Ribbon-Woven Mermaid Braid With 3 Dollars of Satin Ribbon
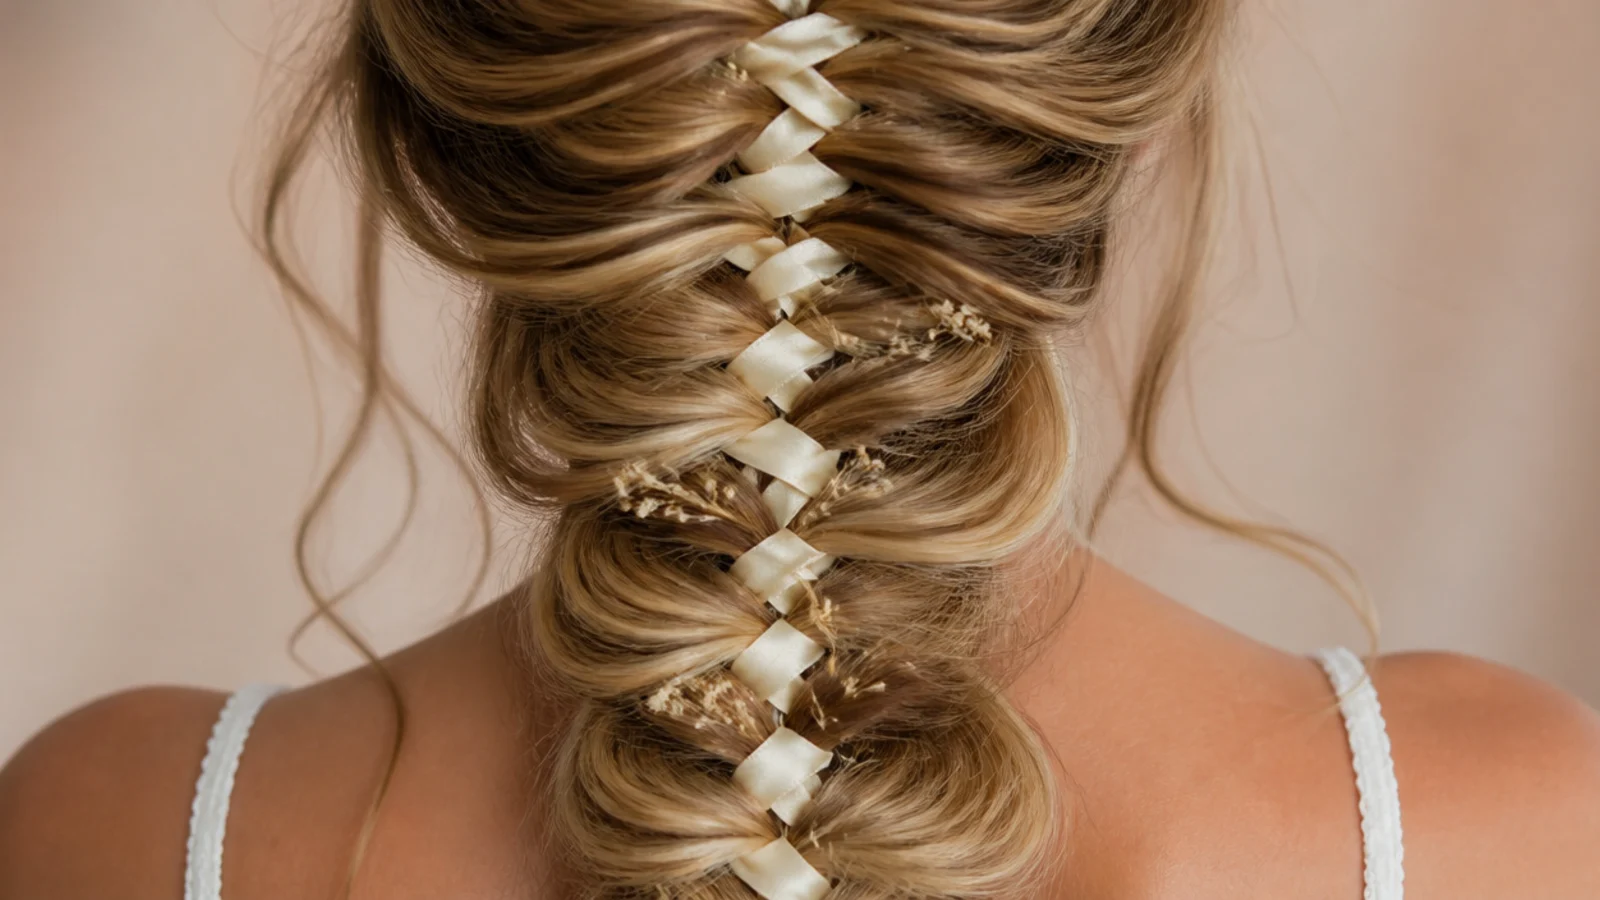
I bought two meters of cream satin ribbon for about three dollars, tied it to the elastic at the top, and carried it along with one of my two sections so it crossed over with every pass. Sixteen minutes. It is the single cheapest way to make a mermaid braid look expensive, and it doubles as structure, because the ribbon holds the pancaking open on fine hair that would otherwise close up. Grosgrain was too stiff and left dents. Satin under half an inch wide was the right call.
Who it suits: Weddings, festivals, and fine hair that needs help staying fanned out.
Tip: Keep the ribbon on one section only. Alternating it between both sections tangles by the halfway point.
12. Mermaid Crown Braid Around the Head, Painful by Hour Two
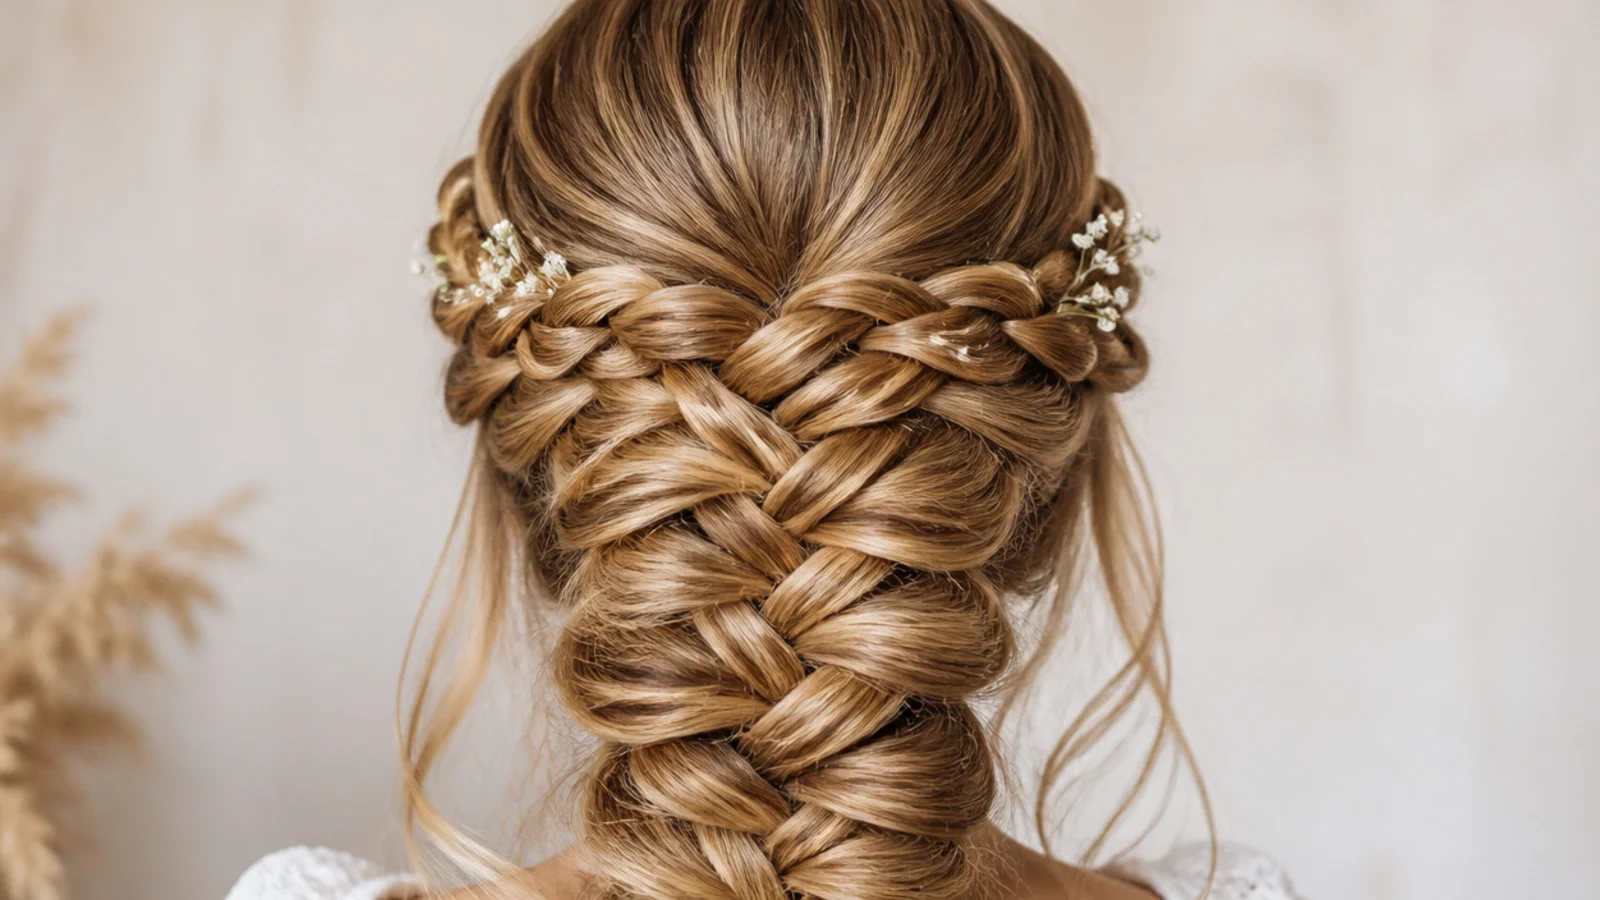
Thirty-one minutes, twelve bobby pins, and I took it out before dinner. To wrap a pancaked fishtail all the way around your head it has to be tight enough not to sag, and tight enough not to sag is tight enough to ache at the temples. It also flattened where it crossed the top, which defeats the point of pancaking in the first place. I have seen this look beautiful on other people and I believe them, but on my density it was thirty-one minutes of work for two hours of discomfort.
Who it suits: Thick hair and a high pain tolerance, or a stylist doing it for an event.
Tip: Pin with U-pins rather than bobby pins, and anchor at four points so no single spot carries the tension.
13. Low Mermaid Braid Coiled Into a Bun at the Nape
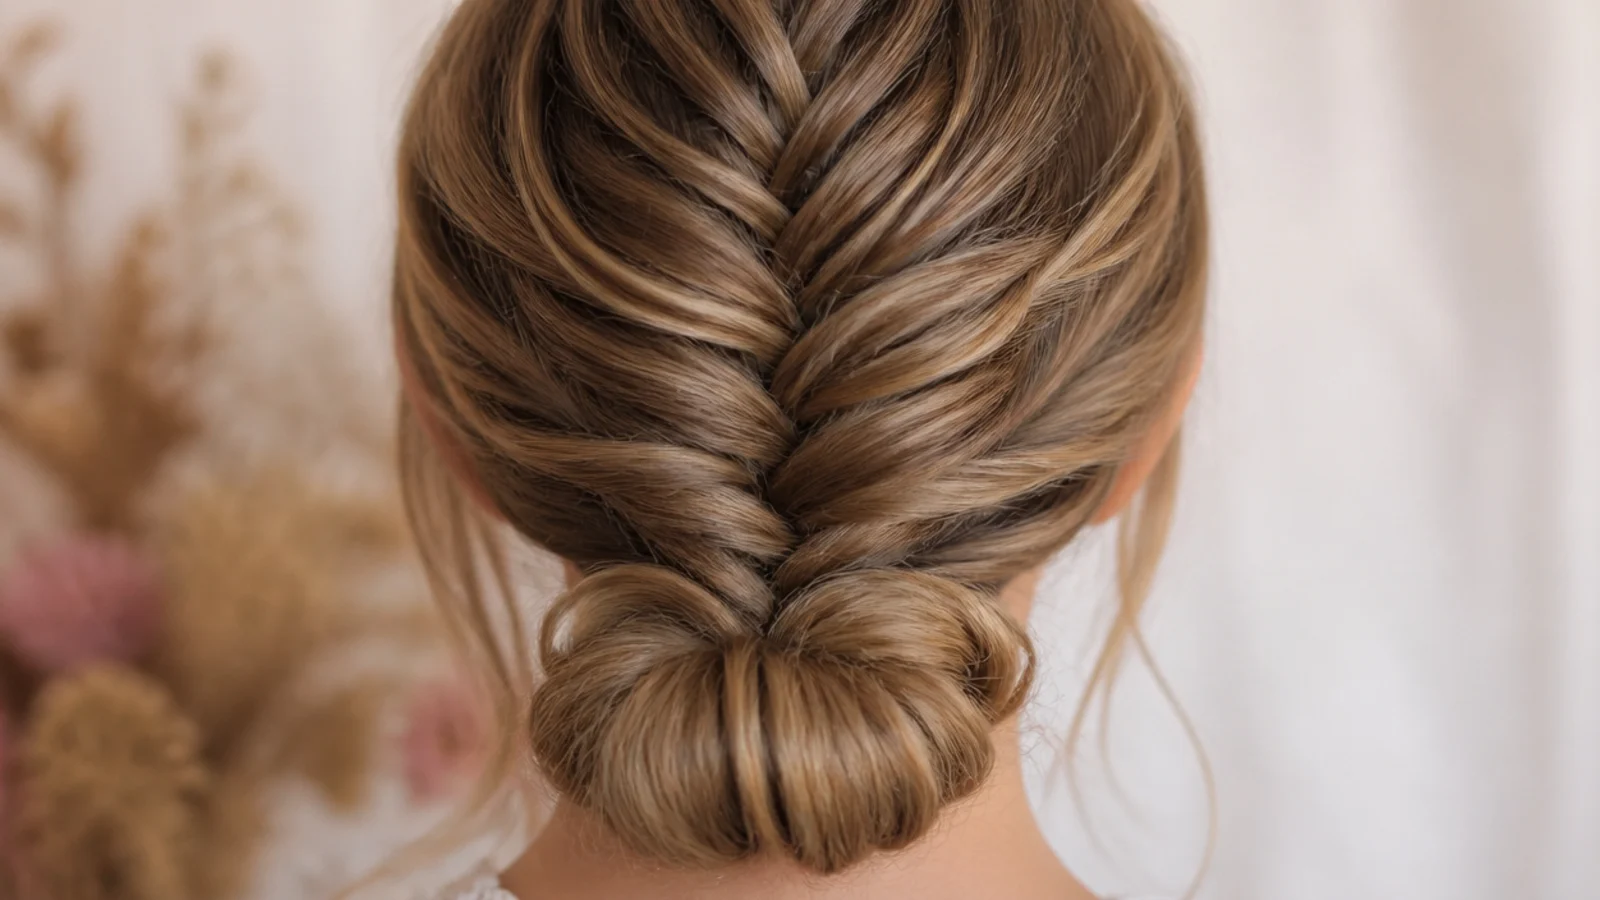
When my braid started looking tired around hour six, I coiled it at the nape and pinned it with six U-pins, and it became the best updo I have ever built by accident. Because the braid was already pancaked, the coil reads wide and textured instead of like a tight cinnamon roll. Two minutes to convert. This became my standard rescue move, and it means a mermaid braid is really two hairstyles in one day. More coiled shapes in long hair updos that last.
Who it suits: Anyone going from day to evening without restyling from scratch.
Tip: Pin into the braid itself, not around the outside of the coil, or the whole thing slides down your neck.
14. Beachy Mermaid Braid With Loose Curls Set First
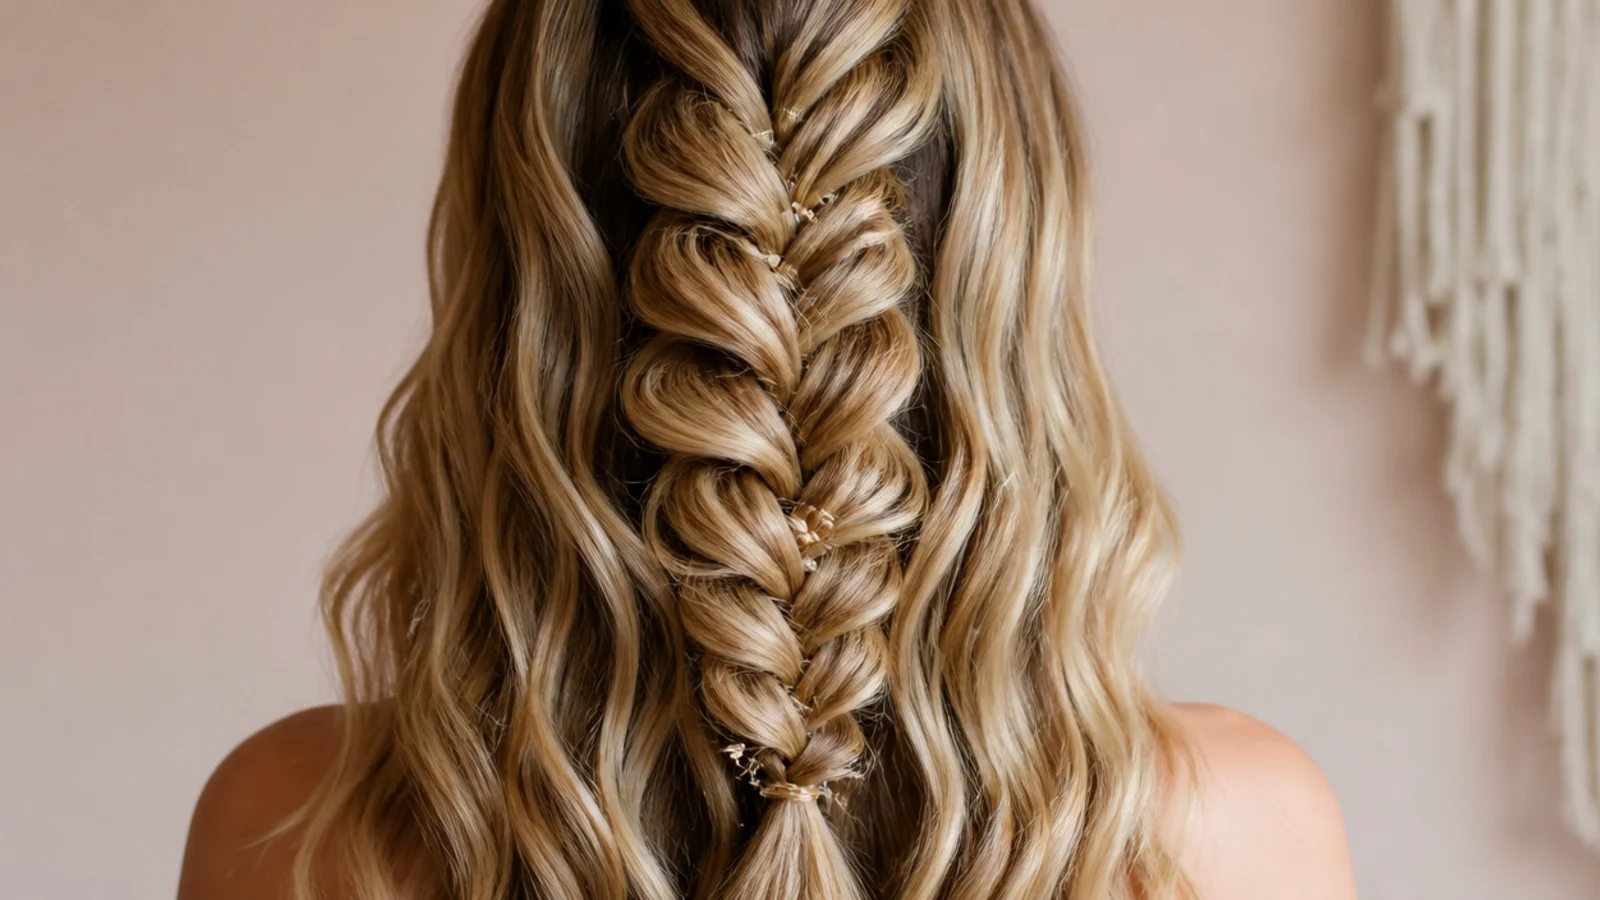
I curled the whole length on a one-and-a-quarter inch iron, let it cool completely, broke the curls up with my fingers, then braided. Twenty-four minutes total including curling. The braid came out noticeably wider than the same braid on straight hair because every crossover has more body to fan, and the texture stopped anything slipping. This is the version I would do for a beach day or an outdoor event. Related ideas in beach hairstyles and heatless curl tools compared.
Who it suits: Fine or medium hair that reads thin in a plain braid.
Tip: Let the curls cool fully before braiding, or the shape drops out inside the braid within an hour.
15. Slept-In Mermaid Braid for Next-Day Waves
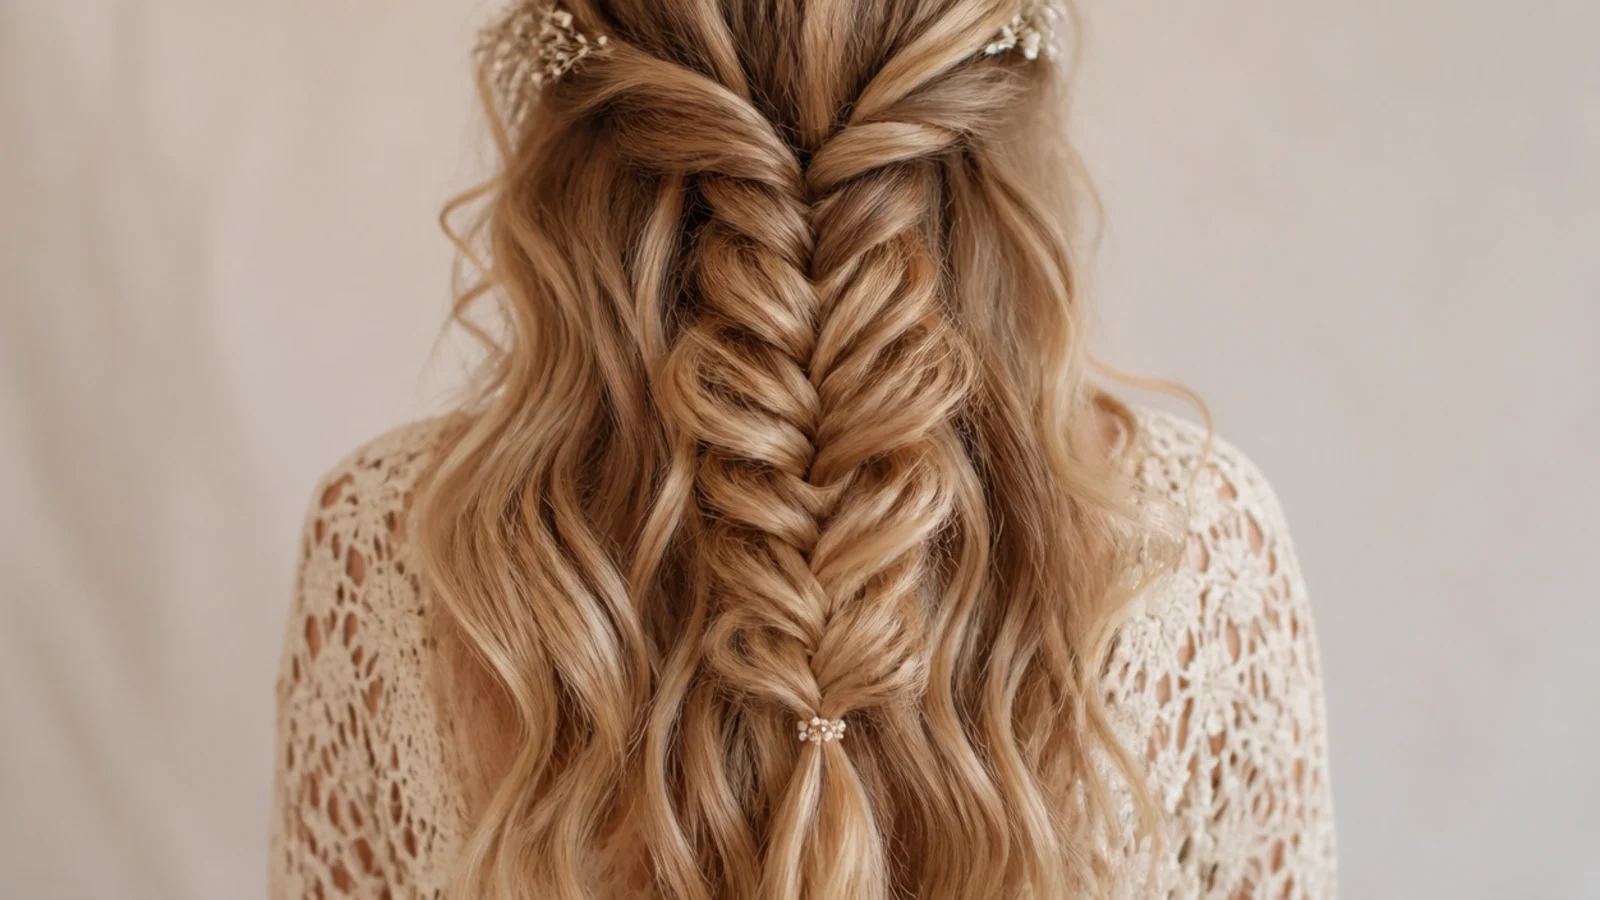
My favorite discovery of the whole six weeks. I rebraided loosely at bedtime, no pancaking, secured with a soft scrunchie rather than an elastic, and slept on a satin pillowcase. In the morning I had soft S-bends from ear level down that lasted all day with zero heat. The braid must be loose or you wake with a crimp rather than a wave, and it needs to be dry, because damp hair sets a much sharper kink. Free, and better than my curling iron results. More like this in hair trends I tried.
Who it suits: Anyone avoiding heat, and anyone who wants day-two texture ready to braid again.
Tip: Braid loosely and start it at ear level so the roots stay flat and the waves begin where you want them.
What a Mermaid Braid Actually Is, and What It Is Not
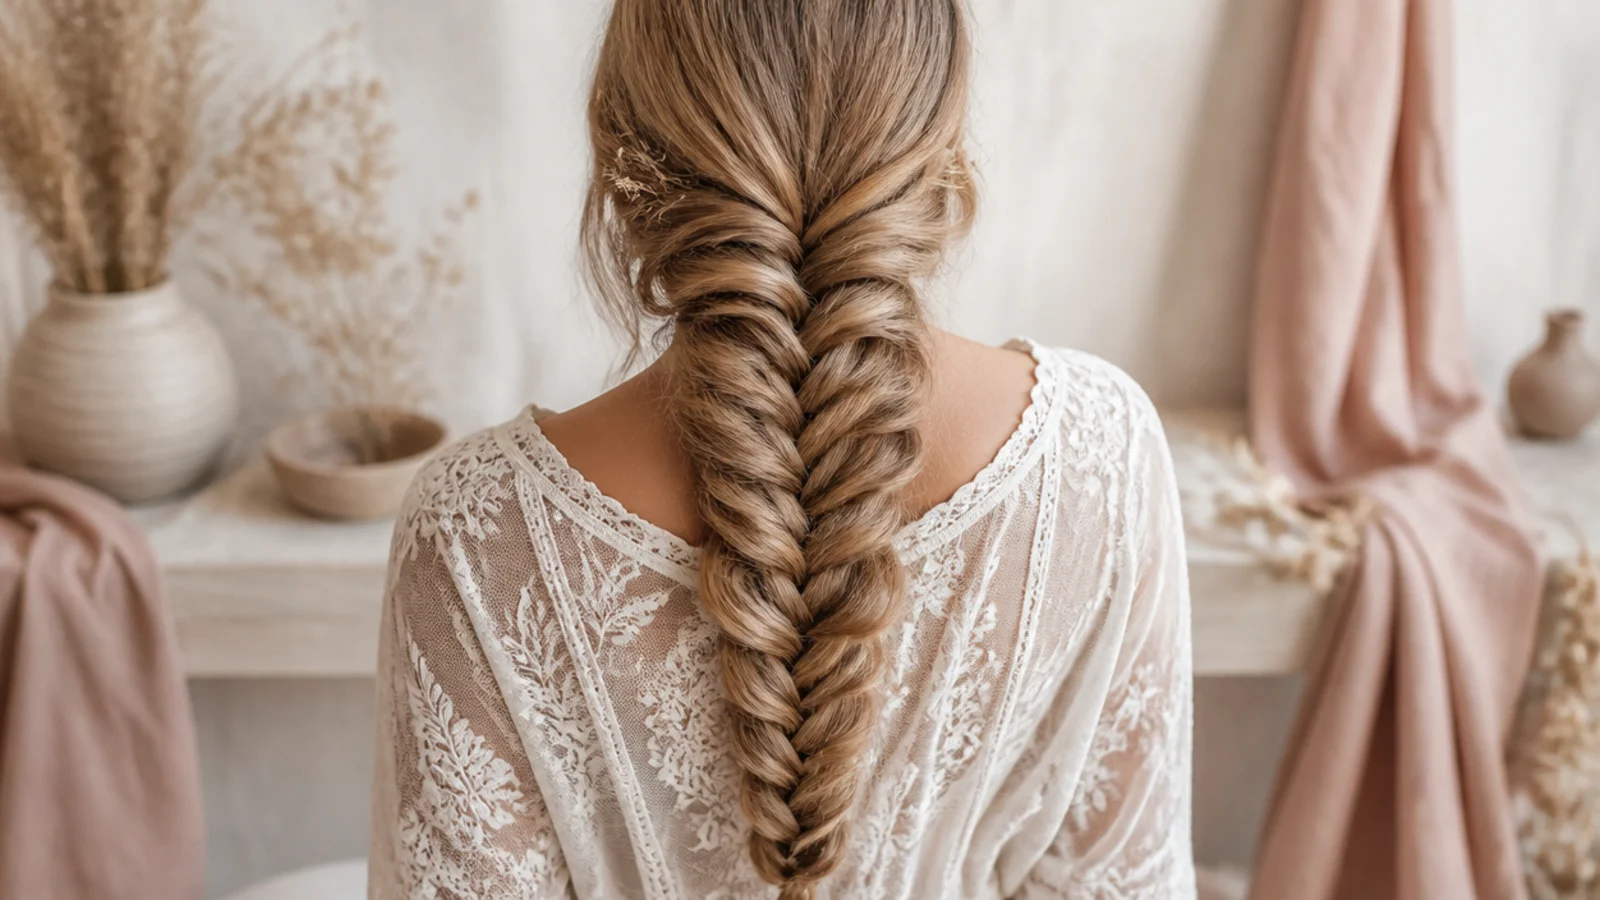
Before I started I had the definition wrong, and I think most people do. A mermaid braid is not a separate braid you learn from scratch. It is a fishtail braid, two sections with small pieces crossed from the outside of one over to the other, pancaked out sideways until it fans wide like a tail. The stacked V shapes running down the middle are the fishtail. The width is the mermaid part. If you can fishtail at all, you can already do ninety percent of this. There is a second, completely different thing also called mermaid braids: a salon protective style installed with extensions and loose wave curls left unbraided, commonly quoted at four to six hours in the chair and 150 to 400 dollars, worn for six to eight weeks. Everything in this article is the DIY version on my own hair, which costs almost nothing and lasts one to three days. Worth knowing which one you are searching for before you save anything. The full spread of variations is in mermaid braids.
How I Pancake a Mermaid Braid Without It Collapsing
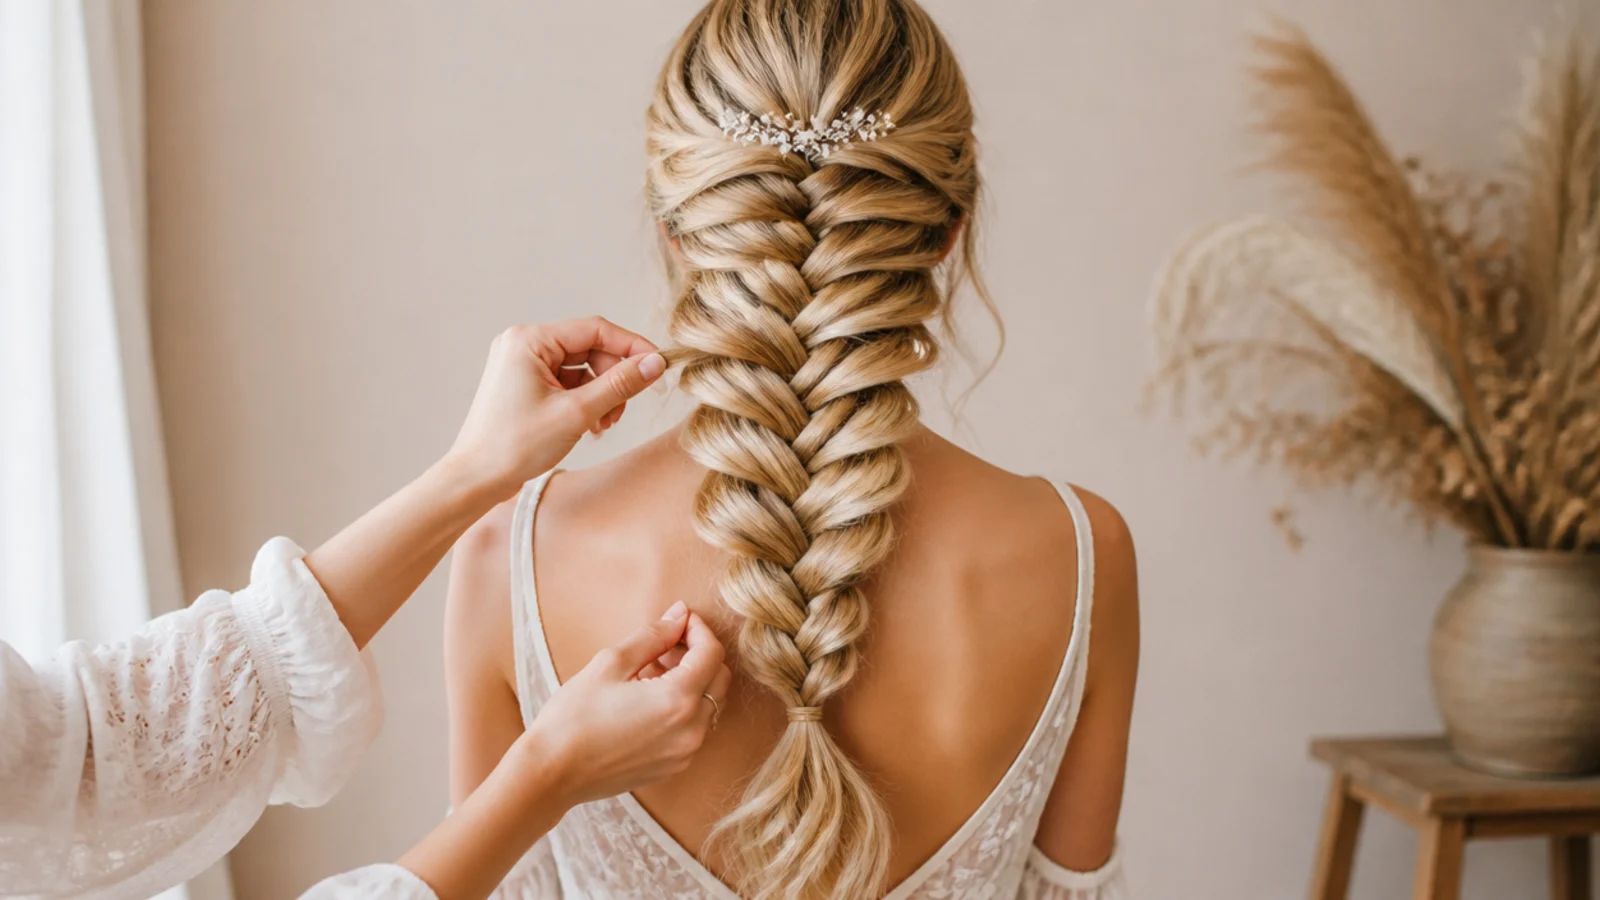
This is the part that took me about six attempts to get right, and it is the only technique that matters. Finish the braid, secure it, then start at the very bottom, not the top. Pinch the outer edge of one crossover between your thumb and forefinger and tug it two or three millimeters sideways. Not a handful. Millimeters. Move up one crossover and repeat, all the way to the top, then go back down and do it again. Three light passes gave me a braid close to three and a half inches wide with the shape still intact. One greedy pass gave me a collapsed braid and a lot of swearing. Two things I learned the hard way: hold the braid just below the section you are pulling so the tension does not travel down the length, and if a section suddenly goes soft, stop, because that is the braid telling you it is about to let go. Fine hair needs a lighter hand and more passes. More braid mechanics in easy braided hairstyles for everyday.
Mermaid Braids by Length and Thickness: 24 Inches vs a Lob
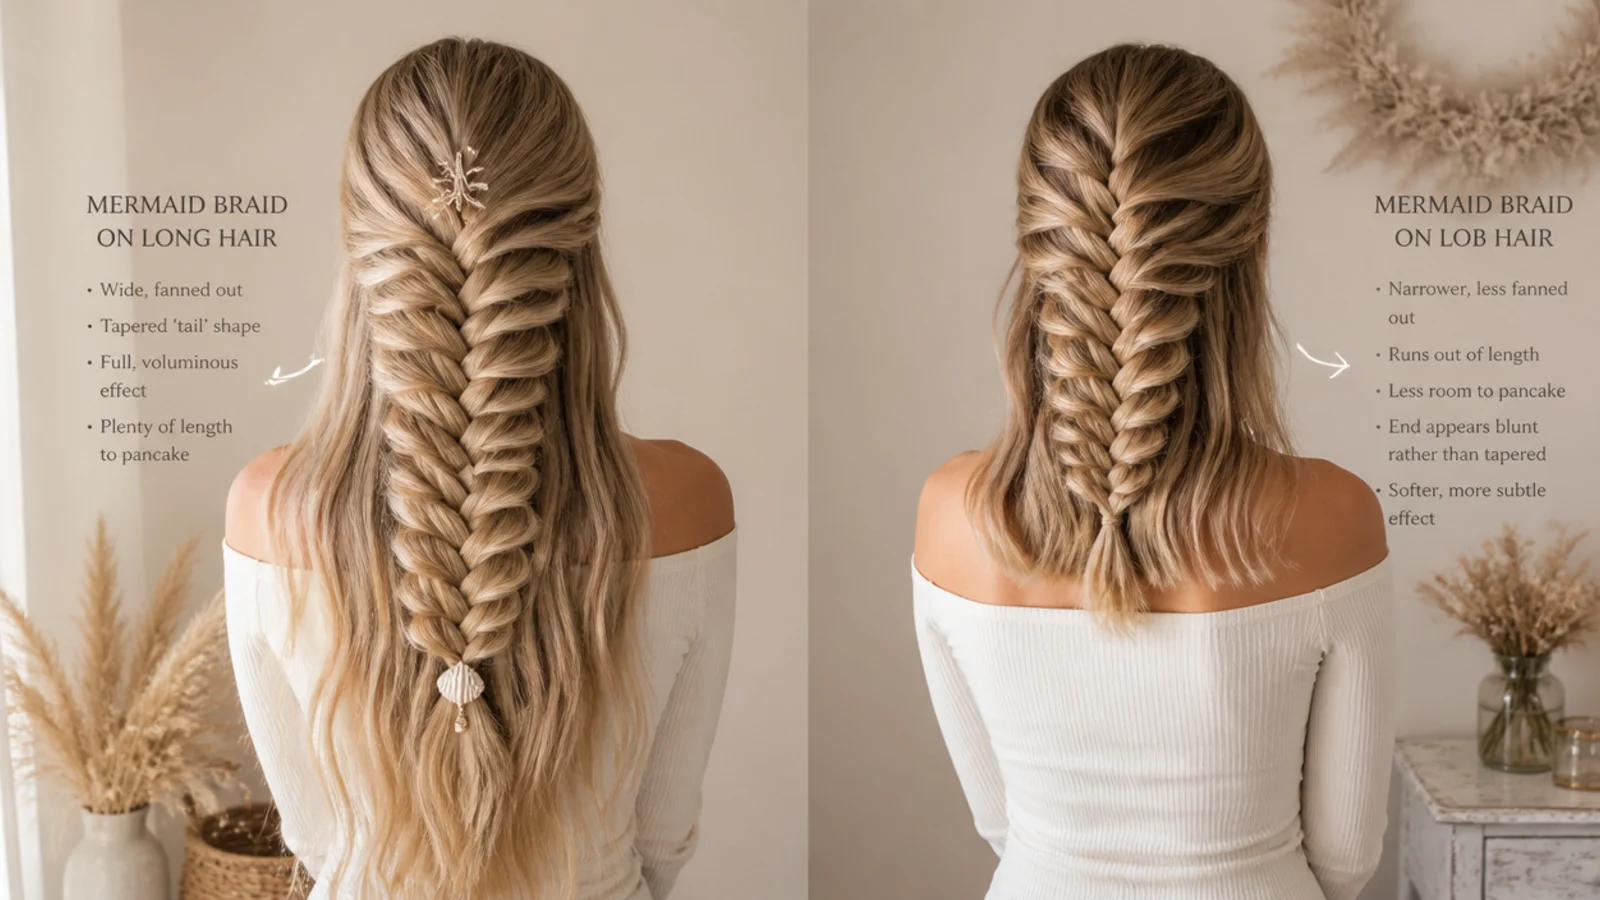
Length changed my results more than technique did. On my own mid-back hair, roughly 18 inches, the braid ran to a good length and pancaked evenly for most of its run. On my friend's 24 inch hair the braid was dramatic but the last six inches refused to fan, because a fishtail runs out of material near the ends and always tapers to a rope. Her scalp was also tender by evening from the weight, so I braided the top third looser on the second attempt and that fixed it. On a collarbone lob it simply did not work worn full: four inches of braid, then layers escaping. The practical floor is around shoulder-blade length for a full mermaid braid, and anything shorter should go half-up instead. Thickness matters separately. Thick hair fans wide with almost no effort, while fine hair needs pre-curling, texture spray, or a ribbon woven through to hold the fan open. Length-specific detail lives in long mermaid braids and half up mermaid braids.
Fine, Slippery Hair: The Fix That Finally Worked for Me
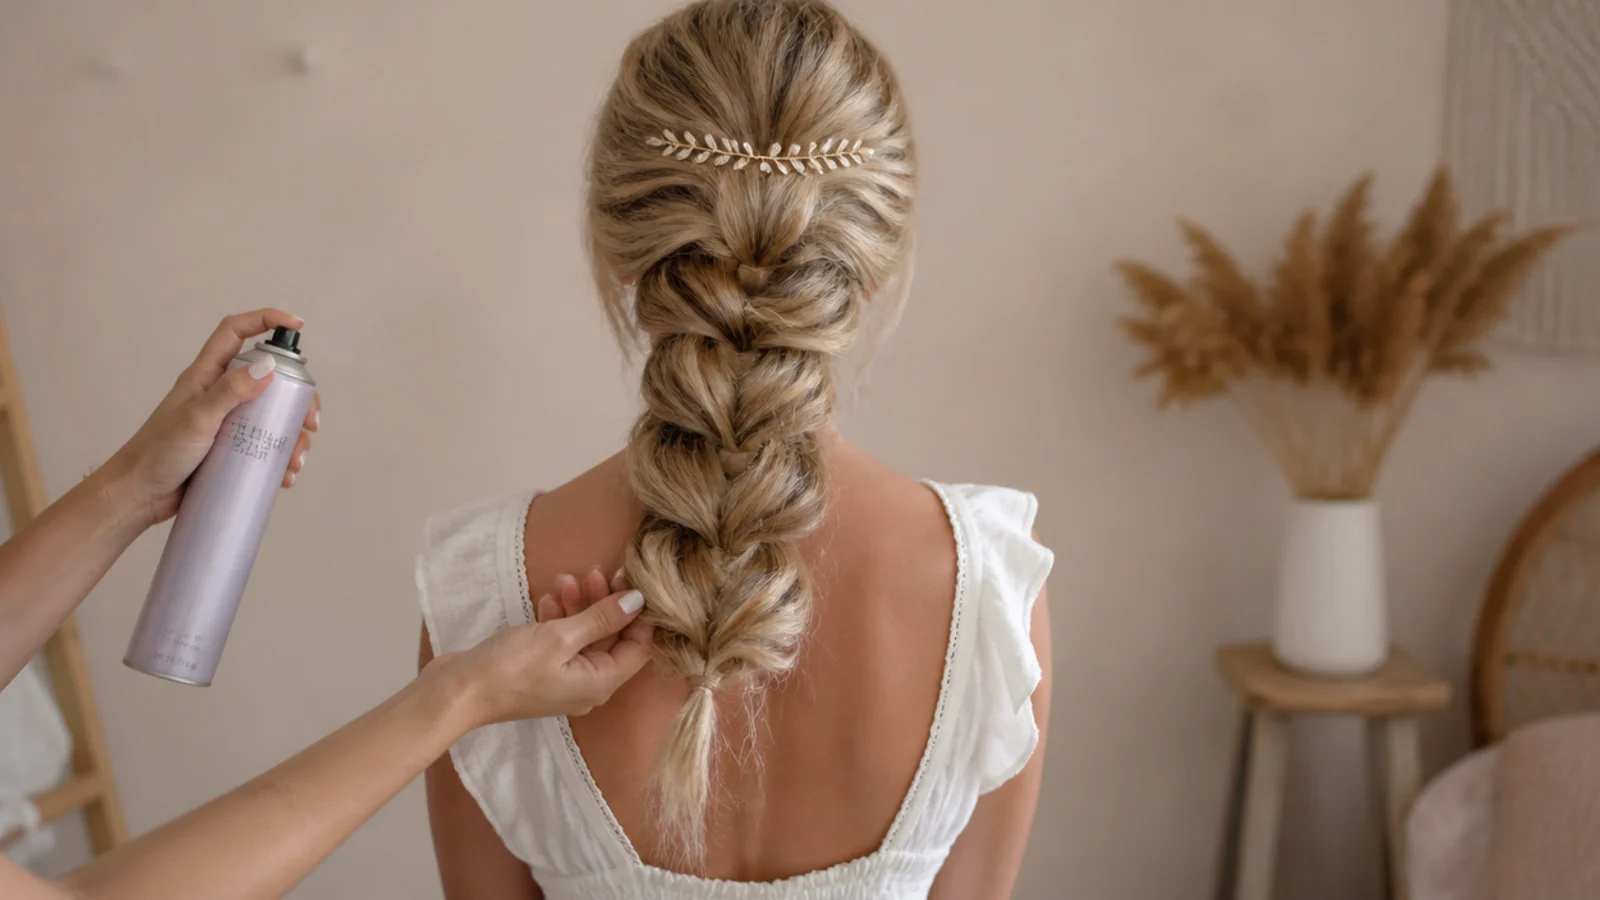
My hair is fine and dead straight, and for the first two weeks I assumed I was braiding badly. I was not. Clean hair has no friction, and a fishtail has nothing locking it together the way a three-strand braid does, so the pieces slide out from the inside. Three things fixed it, in order of how much they helped. First, day-two hair, which held every single time with no product at all. Second, two pumps of texture spray scrunched through the mid-lengths and ends on clean hair, which gets you most of the way there. Third, pre-curling on a one and a quarter inch iron and letting the curls cool completely before braiding, which added visible width as a bonus. What did not help was hairspray, which stiffens the outside while the inside keeps sliding, and a 12 dollar hold spray I bought in desperation and never used again. If your hair is fine, also start the braid lower, around the nape, because a high start carries more weight than fine hair can grip. See hairstyle for your hair type.
Waves, Accessories and the Boho Finish
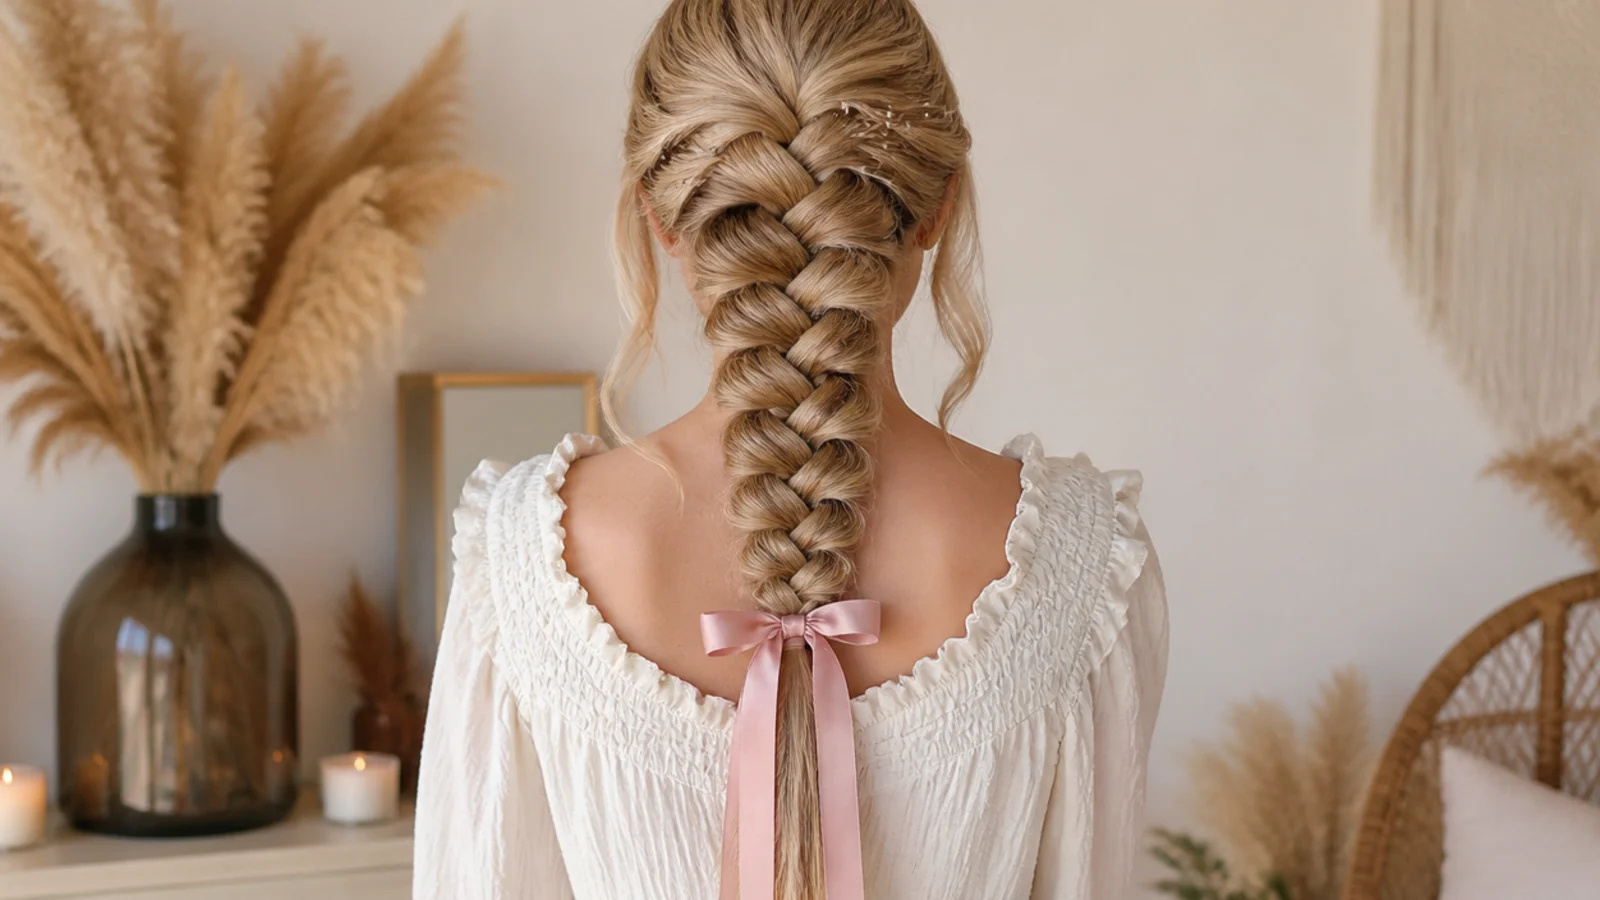
Three cheap things did more for these braids than any technique. A clear elastic, first, because it genuinely disappears in photos where a black one reads as a hard black bar across the ends. I bought a pack for about three dollars and used them in eleven of the fifteen trials. Second, loose curls set before braiding, which create the volume that makes a braid read thick and stopped everything slipping at the same time. Third, satin ribbon at roughly three dollars for two meters, carried along with one section so it crosses over on every pass. On fine hair the ribbon does real structural work, holding the pancaked edges open. For the boho finish, pull out two face-framing pieces before you start, curl them after, and keep the pancaking deliberately uneven so it looks slept in. Perfectly even pancaking looks stiff on this braid, which is the opposite of every other braid I have done. Compare finishes in boho mermaid braids and beach hairstyles.
Making It Last: Day One to Day Three, and Sleeping In It
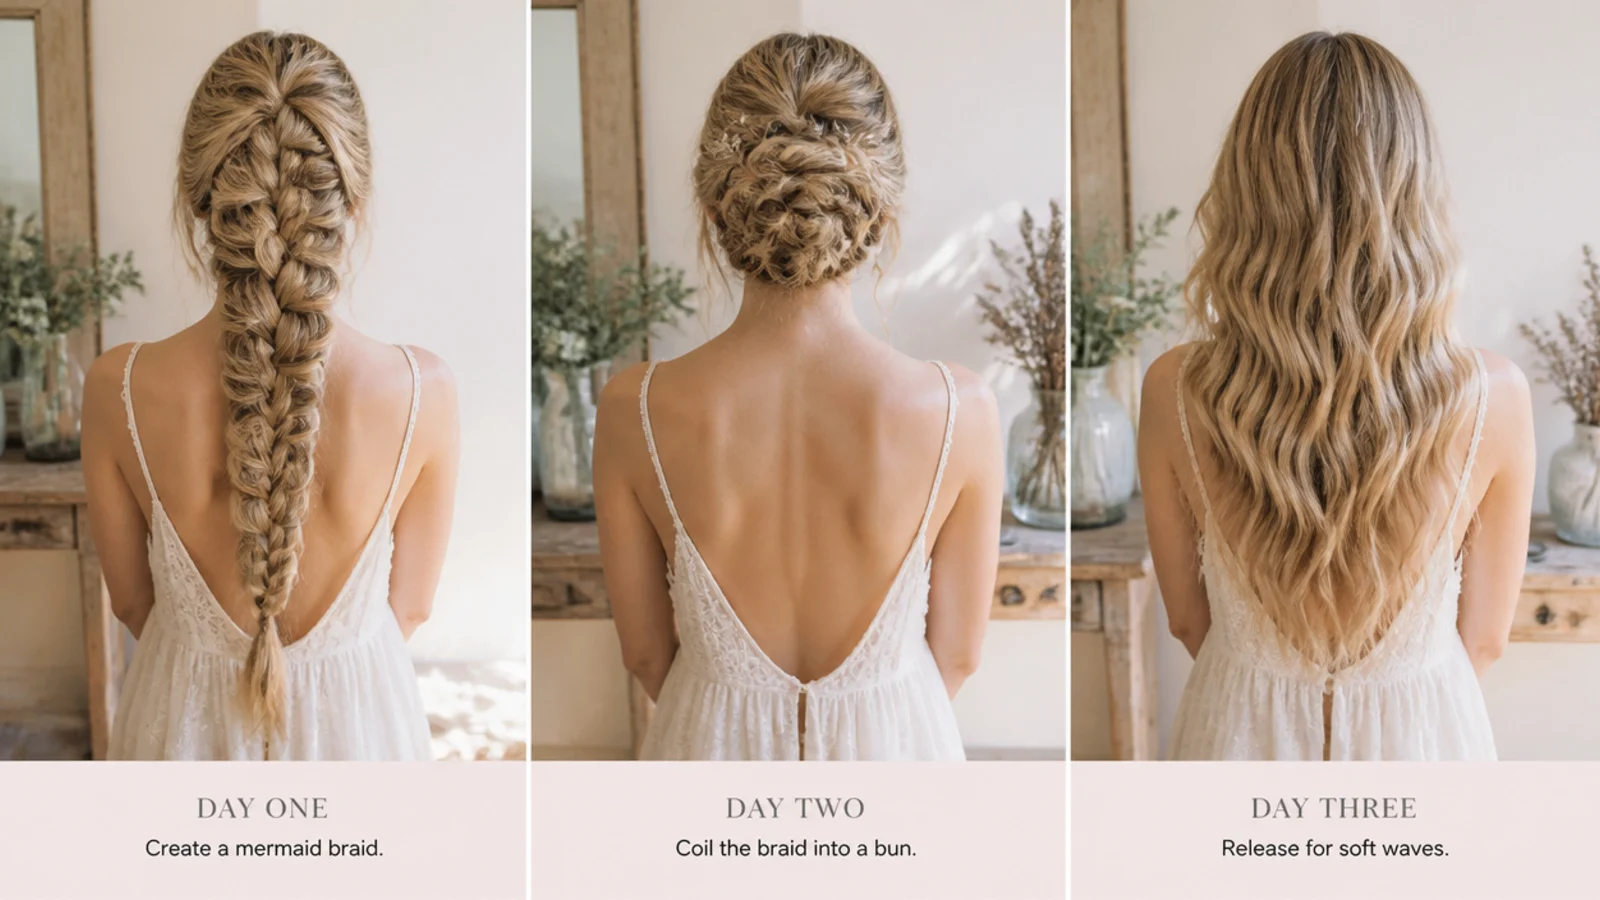
My best braids ran three days across three different shapes. Day one is the pancaked braid itself, needing one re-pancake around hour three and nothing else. By evening, when it starts looking tired, coil it at the nape with six U-pins and it becomes a wide textured bun, which is a fresh hairstyle from the same work. Overnight, rebraid loosely without pancaking, use a soft scrunchie rather than a tight elastic, and sleep on satin. Day two you wake with soft S-bends from wherever you started the braid, and that texture is the ideal base for braiding again, which is how the cycle keeps going. Two rules I broke and paid for: never sleep in a tightly pancaked braid, because the edges crease into hard ridges you cannot brush out, and never braid damp hair overnight, which sets a sharp kink instead of a wave. My whole spend across fifteen tries was about 31 dollars: clear elastics, texture spray, ribbon, U-pins and one wasted hold spray. More overnight ideas in cute hairstyles that last all day.
Frequently Asked Questions
What are mermaid braids?
A mermaid braid is a fishtail braid that has been pancaked out sideways until it fans wide like a mermaid's tail. You cross small pieces from the outside of one section over to the other, secure the ends, then tug the outer edges of each crossover to widen it. There is also a separate salon version installed with extensions and loose wave curls left unbraided, which is a different service entirely.
How do you do a mermaid braid step by step?
Work on day-two hair. Split it into two equal sections at the nape. Take a half-inch piece from the outer edge of the left section, cross it over to join the right section, then repeat from the right side over to the left. Keep alternating to the ends, secure with a clear elastic, then pancake from the bottom up, tugging each crossover a few millimeters at a time. Mine took eleven minutes.
How long do mermaid braids last?
On my own hair, a DIY mermaid braid looked its best for about six hours, then softened into an undone version that still looked good until bedtime. With one re-pancake it comfortably covered a full day. Coiled into a nape bun it carried into the evening, and slept in loosely it gave me waves the next morning. The extension version is a different thing and is usually worn six to eight weeks.
Are mermaid braids the same as boho braids?
No. The core difference is that mermaid braids are not braided all the way to the ends and keep loose flowing pieces, which is what gives the tail effect, while boho braids are braided down and finished with accessories like beads and feathers. In the DIY world the distinction is looser: I got a boho look simply by leaving face-framing pieces out and pancaking unevenly.
How much do mermaid braids cost?
My entire six weeks of testing cost about 31 dollars, and most of that was optional: clear elastics at three dollars, texture spray at nine, satin ribbon at three, U-pins at four, plus a twelve dollar hold spray I regret. The salon extension version is a completely different budget, commonly quoted at 150 to 400 dollars with four to six hours in the chair.
How do you sleep with mermaid braids?
Rebraid loosely before bed, skip the pancaking entirely, and swap the elastic for a soft scrunchie so nothing digs in. Sleep on a satin pillowcase or wrap it in a scarf. In the morning you get soft waves from wherever the braid started. Do not sleep in a fully pancaked braid, because the widened edges crease into ridges, and do not braid damp hair, which sets a sharp kink.
What hair length do you need for a mermaid braid?
Roughly shoulder-blade length is the floor for a full mermaid braid. I tried it on a collarbone lob and got about four inches of braid before the layers escaped and there was nothing left to pancake. Below shoulder-blade length, do a half-up mermaid braid instead: braid the top section, secure it low, and leave the rest loose.
Why does my mermaid braid keep falling apart?
Almost always because your hair is too clean. A fishtail is held by friction between two sections and has no third strand locking it, so freshly washed hair slides straight out, which happened to me twice before I accepted it. Use day-two hair, or scrunch two pumps of texture spray through the mid-lengths and ends. The second cause is pancaking too aggressively in one pass.
Can you do a mermaid braid on yourself?
Yes, and I did eleven of my fifteen alone. The easiest way to start is a deep side part with everything swept over one shoulder so you can braid in front of you and actually watch your hands, which cut my time to nine minutes. Dutch and waterfall versions are the ones I would ask for help with, since both need work at the crown you cannot see with one mirror.
Which mermaid braids look are you saving?
If you take one thing from fifteen tries, take the texture rule: freshly washed hair is the reason your mermaid braid keeps sliding apart, not your braiding. Day-two hair, or clean hair with a couple of pumps of texture spray worked through the mid-lengths, changed my results more than any technique tweak did. After that it is patience with the pancaking, a few millimeters at a time from the bottom up, and a clear elastic that disappears in photos. My winner was the low mermaid braid on day-two hair at eleven minutes and two elastics, my biggest surprise was how good the slept-in version looked the next morning, and my most pointless purchase was a 12 dollar hold spray I never needed. Start with the mermaid braids hub and pick the length that matches yours.