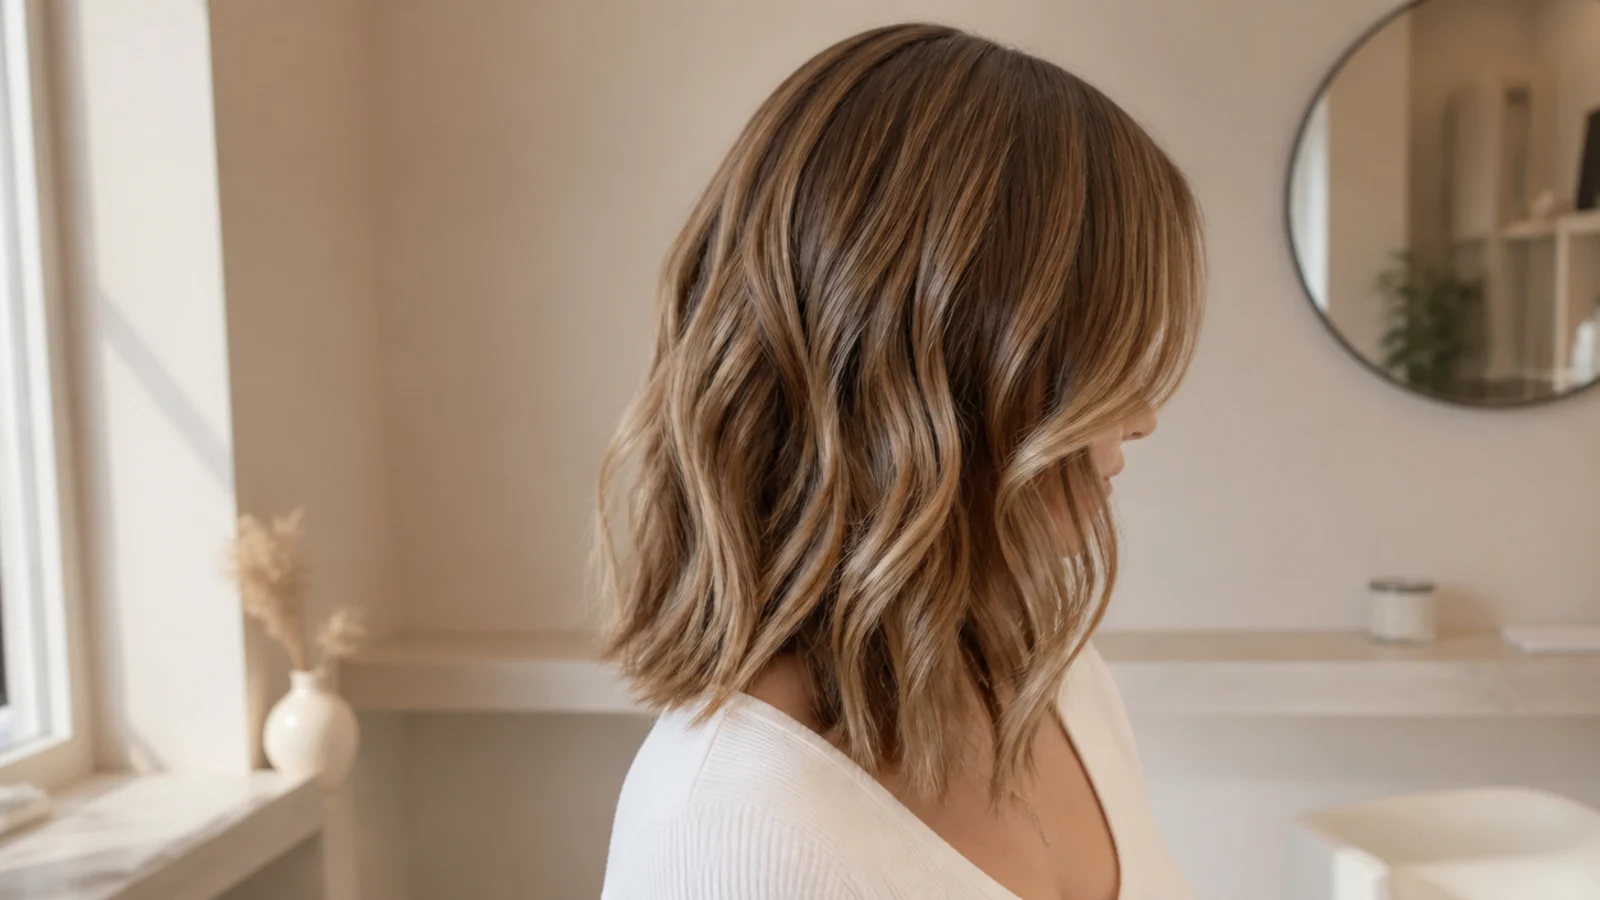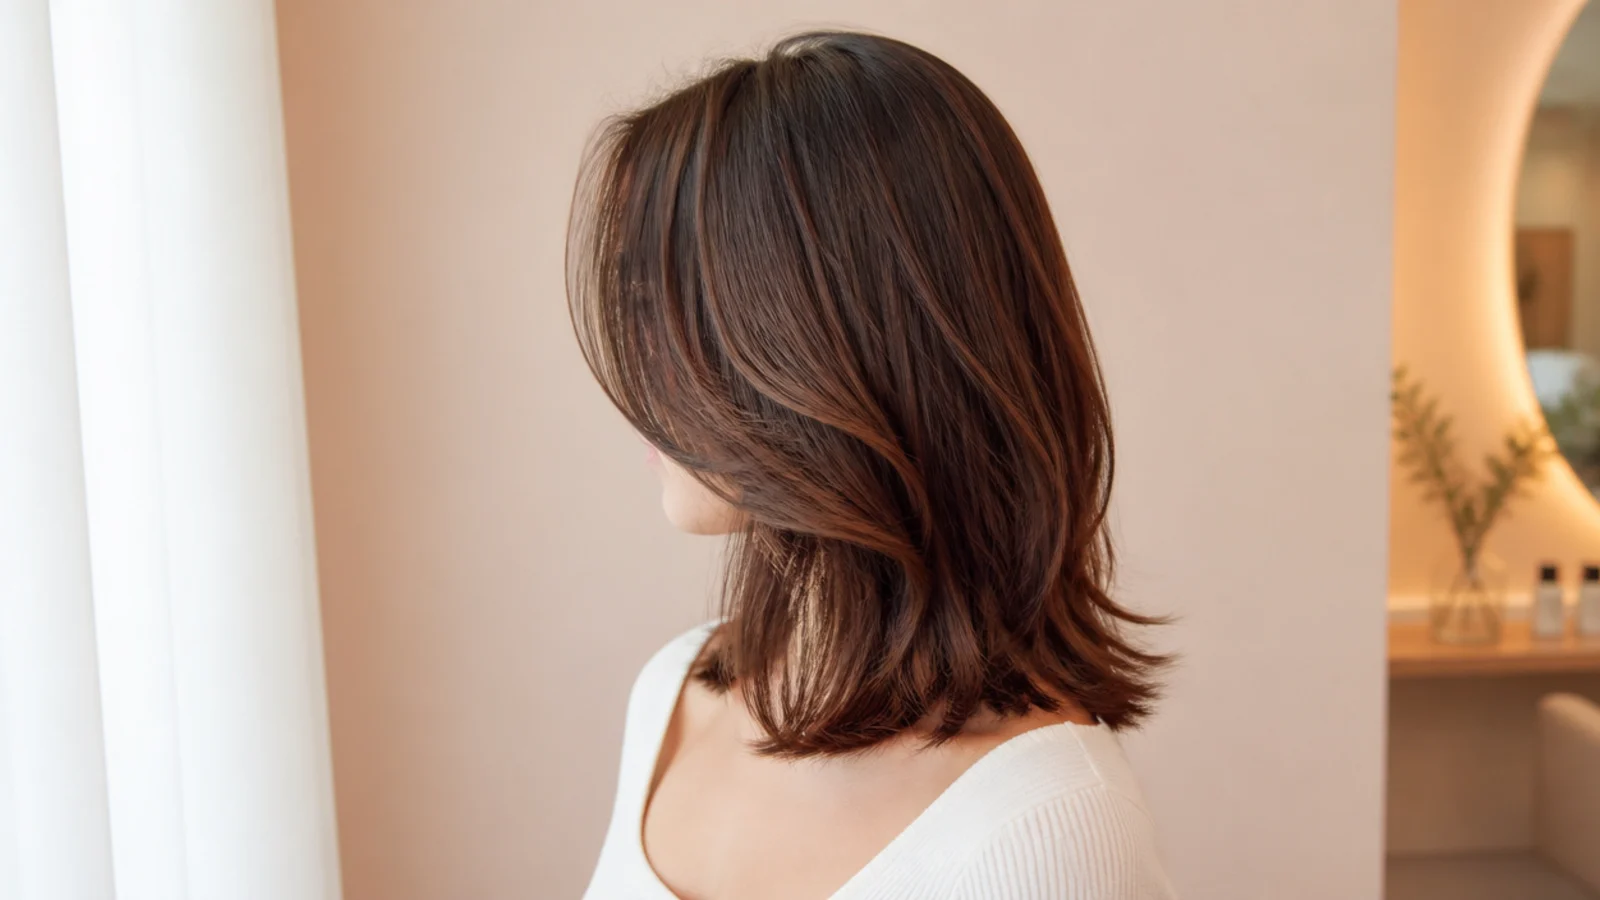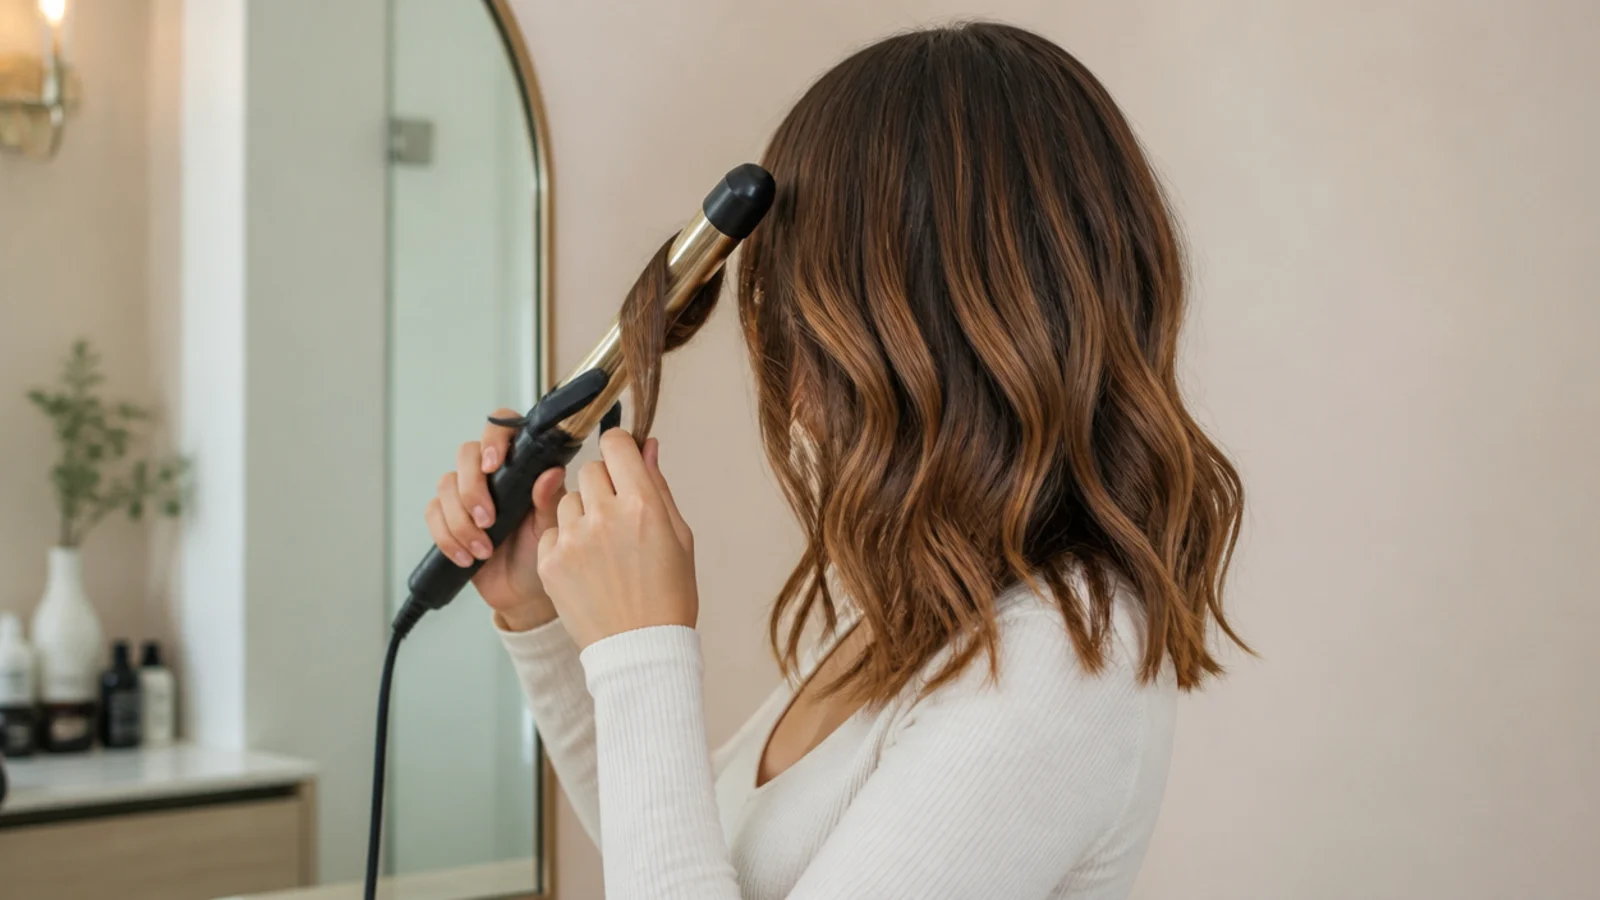
Quick Comparison
| Heat Styling Mid Length Hair | Heatless Styling Mid Length Hair | |
|---|---|---|
| Time to style | 10 to 25 minutes in the morning | 5 to 8 minutes at night, 2 minutes to unwrap |
| Tools and cost | 1.25 inch iron and 2 inch round brush, about 40 to 120 dollars | Satin rod, robe tie or foam rollers, about 10 to 25 dollars |
| Hold on fine hair | 6 to 10 hours with texturizing spray | 8 to 12 hours; the set is looser but drops more slowly |
| Hold on thick hair | All day, often into day two | Inconsistent; thick hair often does not dry fully overnight |
| Damage risk | Real; needs heat protectant every single time | None, which is why it suits bleached or color-treated hair |
| Humidity resistance | Poor without a sealing spray; curls swell and drop | Moderate; the wave is set into the hair rather than onto it |
| Learning curve | Two to three attempts to get consistent curl direction | One attempt, though wrapping damp-not-wet hair takes practice |
| Day-two performance | Refresh the four front sections in 5 minutes | Rewrap the whole head or switch to a claw clip half-up |
| Best styles from this list | Beach waves, round brush blowout, Hollywood waves, curtain bang bounce | Air-dried waves, overnight robe-tie waves, claw clip half-up, faux bob |
1. Style on Day-Two Hair, Not Freshly Washed Hair
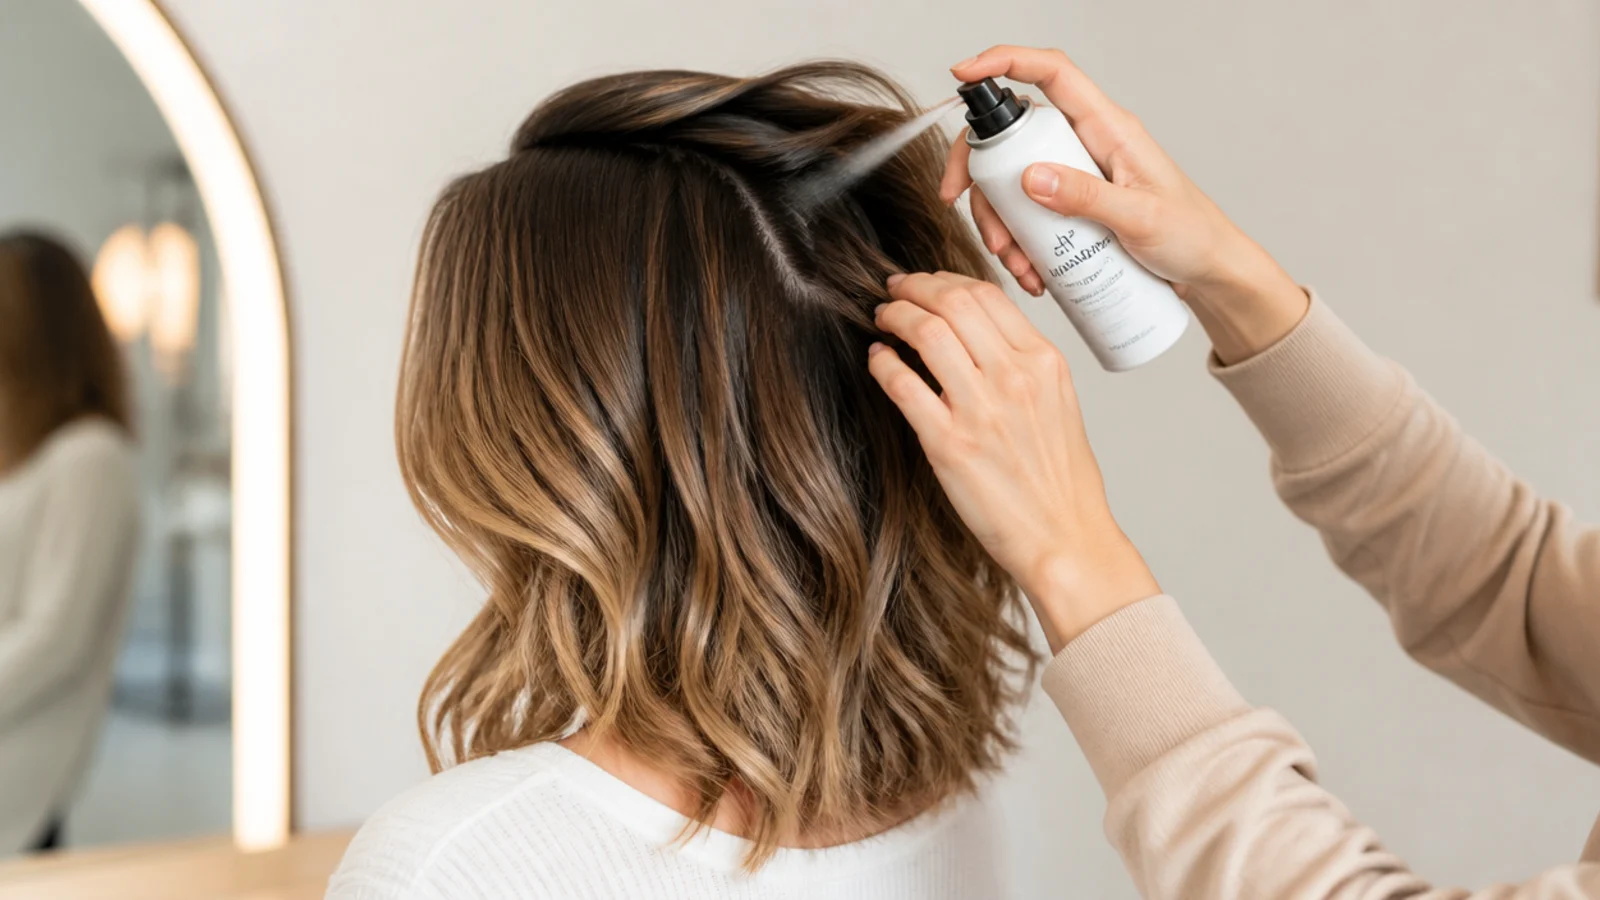
Almost every mid length style holds better 24 to 36 hours after a wash, when a little natural oil has given the strands grip. If you must style on wash day, dust dry shampoo through the roots and mid-lengths of dry hair before you start, purely for texture rather than oil absorption. On collarbone length hair this single change is worth roughly two extra hours of hold on a curl set. Fine hair benefits most, since freshly washed fine hair slides out of every pin and elastic you put in it.
Common mistake: Washing and conditioning right before an event, then wondering why curls drop by lunch.
Pro tip: Skip conditioner at the roots entirely and keep it to the bottom three inches only.
2. Prep Damp Hair With Heat Protectant and a Volume Base
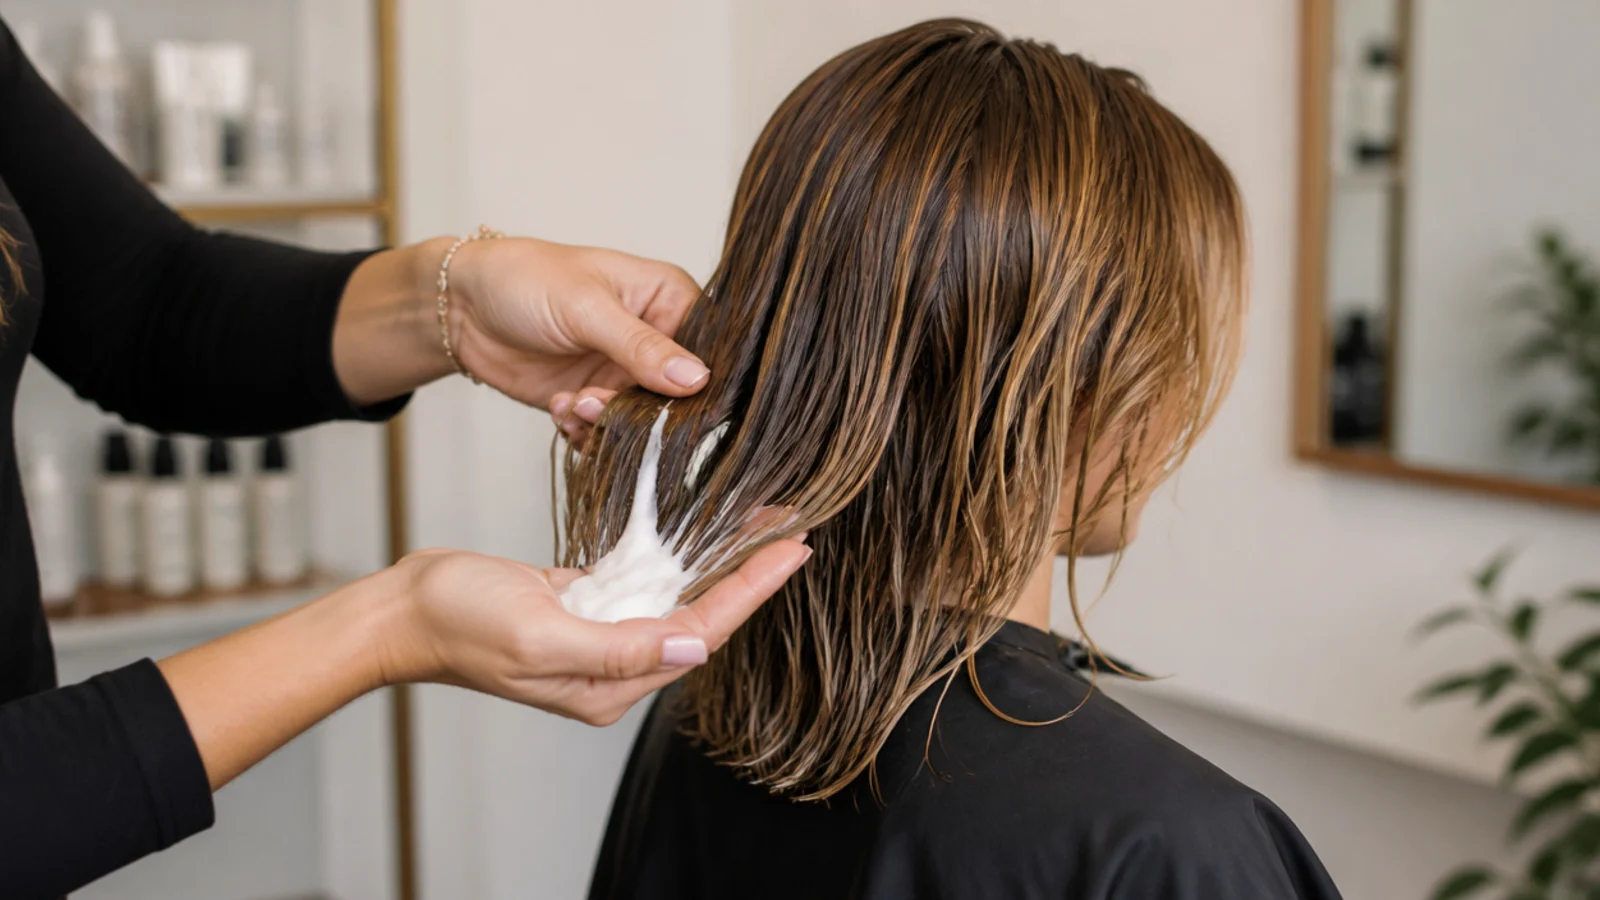
Towel-dry to damp, not dripping, then apply heat protectant from the ears down and a golf-ball of mousse or a root-lift spray at the crown only. Mid length hair carries less weight than long hair, so product applied at the roots flattens the top before it does anything useful for the ends. Keep it to two products maximum. On thick or coarse hair swap the mousse for a leave-in cream, and on curly hair use a gel or curl cream and rake it through in sections while the hair is still soaking.
Common mistake: Loading serum through the whole head, which weighs collarbone length hair completely flat.
Pro tip: Use a microfiber towel; terry cloth roughs up the cuticle and adds frizz to every style after.
3. Rough-Dry to 80 Percent Before Any Brush Touches It
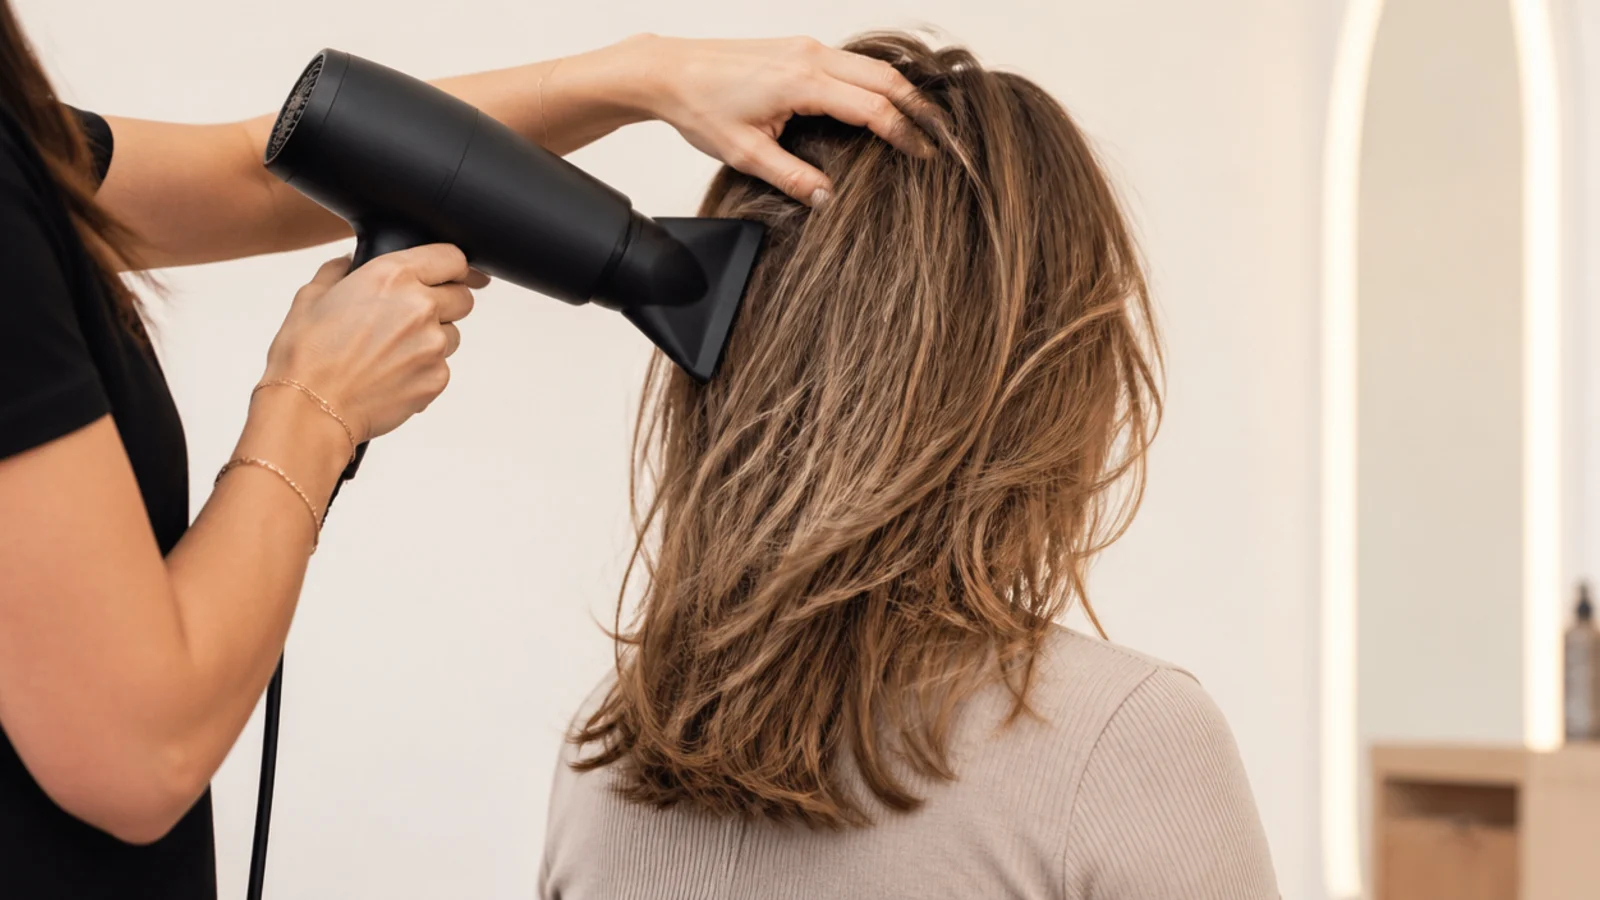
Point the dryer at the roots and move your fingers through the hair with no brush at all until it is about 80 percent dry, roughly four to six minutes on mid length hair. The hair should feel cool and barely damp at the ends. Only then bring in a round brush or an iron. Brushing hair that is still soaking wet stretches the strand, kills volume at the root and doubles your drying time, and it is the single most common mistake in medium length hair styling.
Common mistake: Starting a round brush blowout on wet hair, which flattens the crown before it ever sets.
Pro tip: Flip your head upside down for the first two minutes of rough-drying to bank root lift.
4. Set Your Part While the Hair Is Still Slightly Damp
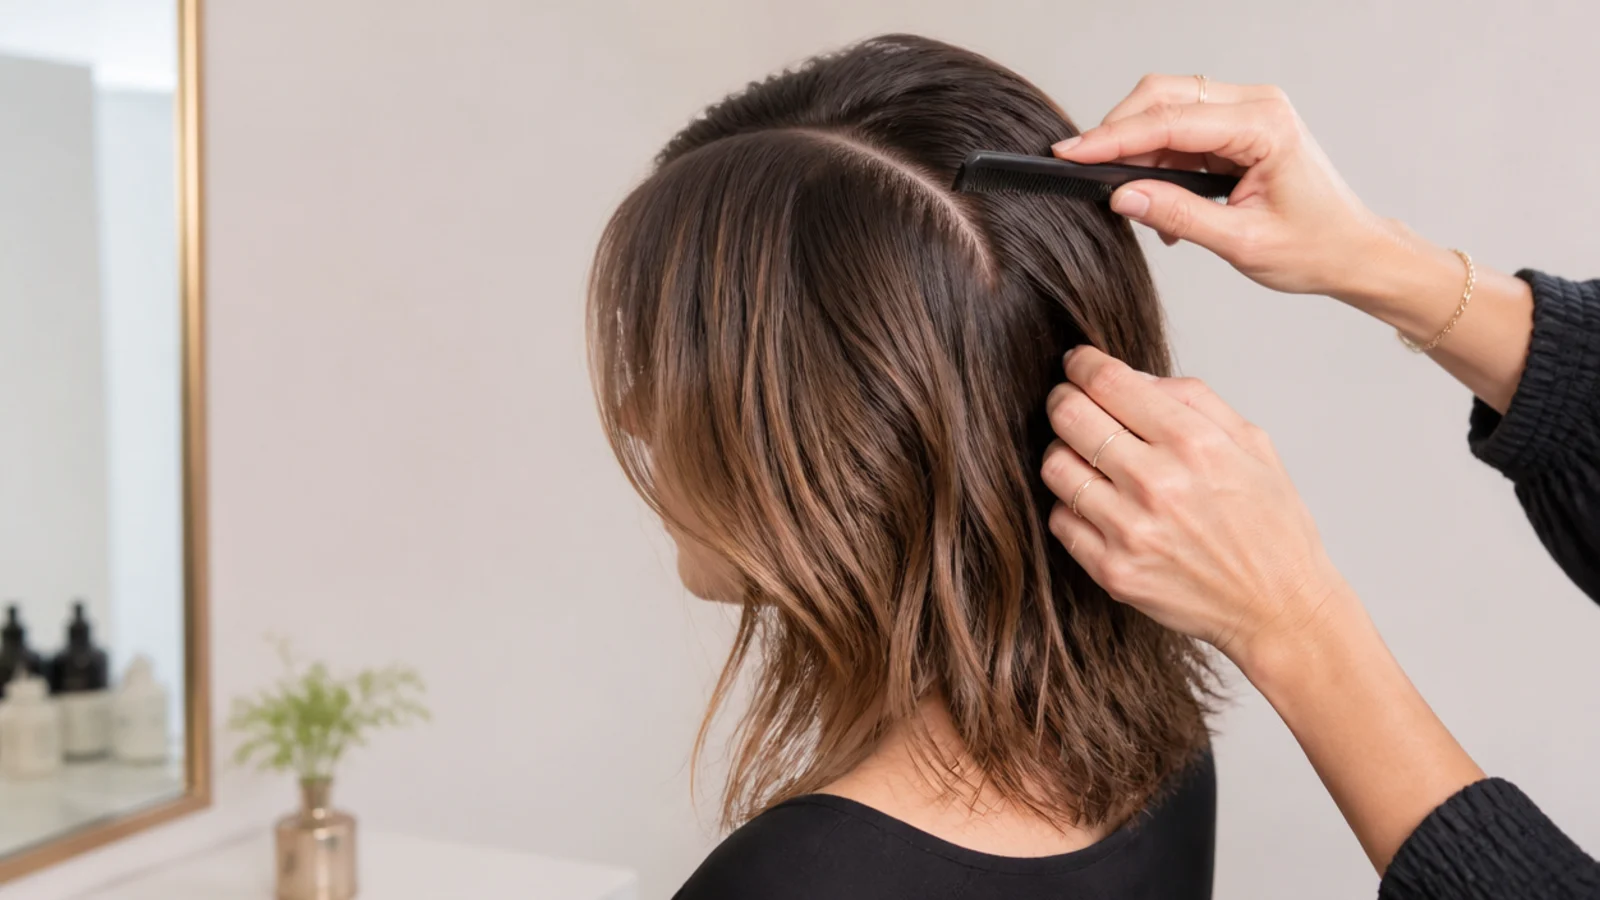
Comb the part you want and let the hair dry the last 20 percent in that position. A middle part reads modern and balances a round or heart face, while a deep side part starting above the outer edge of one eyebrow adds visible height and suits a fine or flat crown. Once the hair is bone dry the part is set for the day, so switching later leaves a stubborn ridge. On curtain bangs this step matters even more, because the fringe splits along whatever line dries into it.
Common mistake: Deciding on the part after the hair is dry, then fighting a flat, separated crown all day.
Pro tip: Zigzag the part line with a tail comb rather than cutting it straight for instant fullness.
5. Section Only the Two Layers That Actually Show
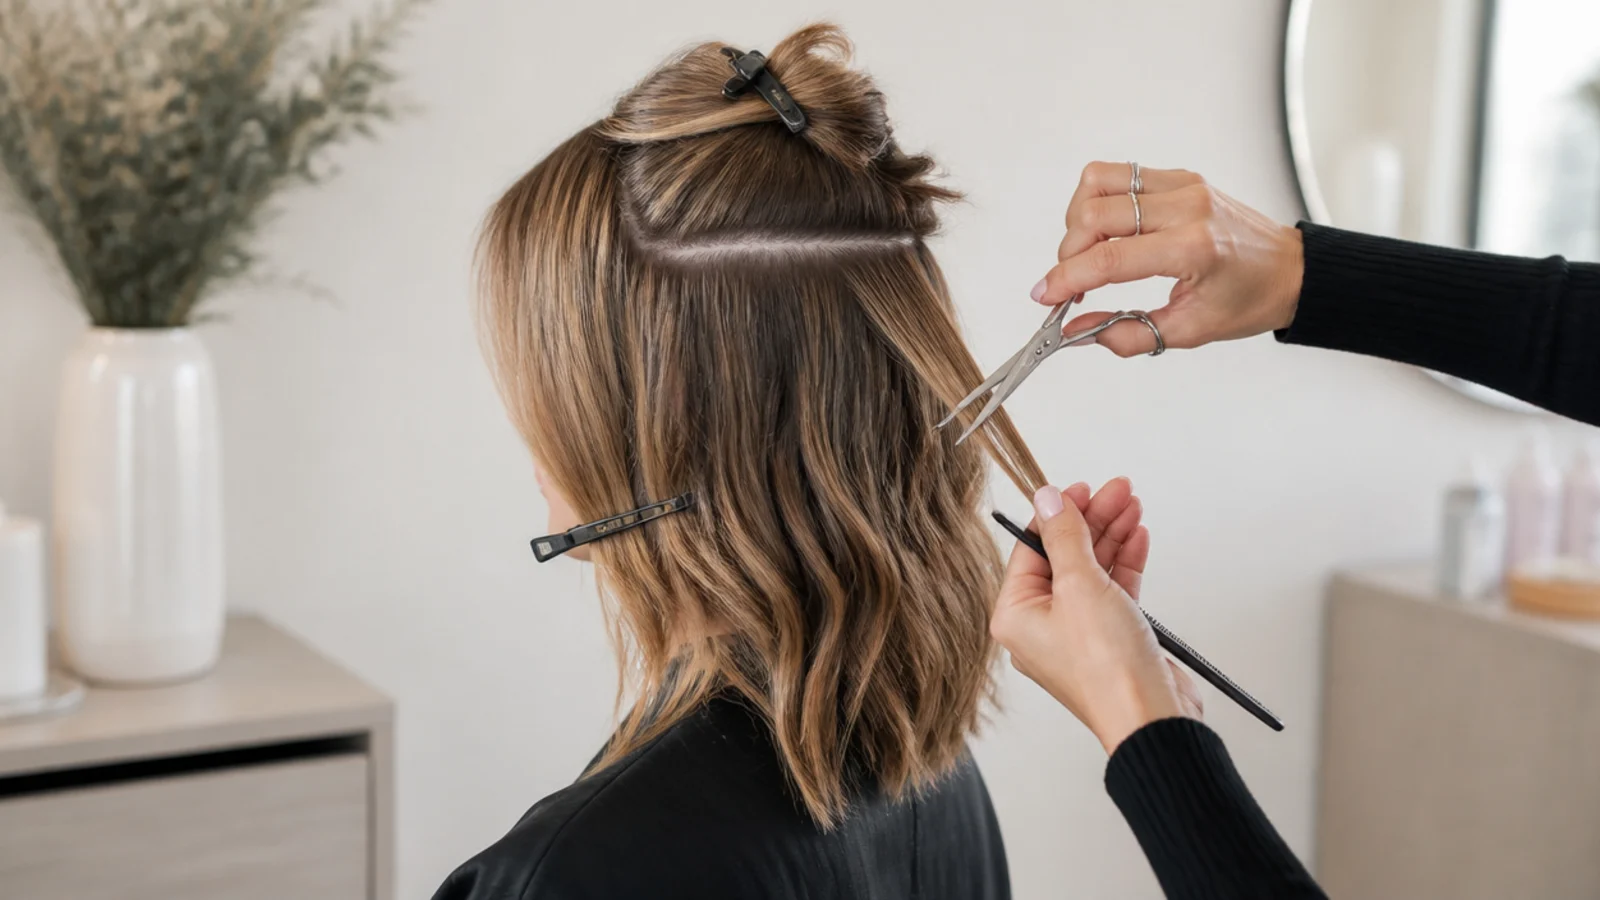
Clip the hair into a bottom section and a top section, splitting at roughly ear level, and stop there. Long hair needs four sections; mid length hair genuinely does not. Two sections keeps your total styling time under 12 minutes and stops you overworking the underneath layer that nobody sees. Take one to one-and-a-half inch pieces from the bottom section, finish them, drop the top down and repeat. On thick hair go to three sections but keep the pieces at one inch so the heat reaches the core.
Common mistake: Grabbing three-inch chunks, which curls the outside of the section and leaves the inside straight.
Pro tip: Use 2 inch metal snap clips rather than claws; they hold flat and leave no dent.
6. Curl Away From the Face and Alternate Directions
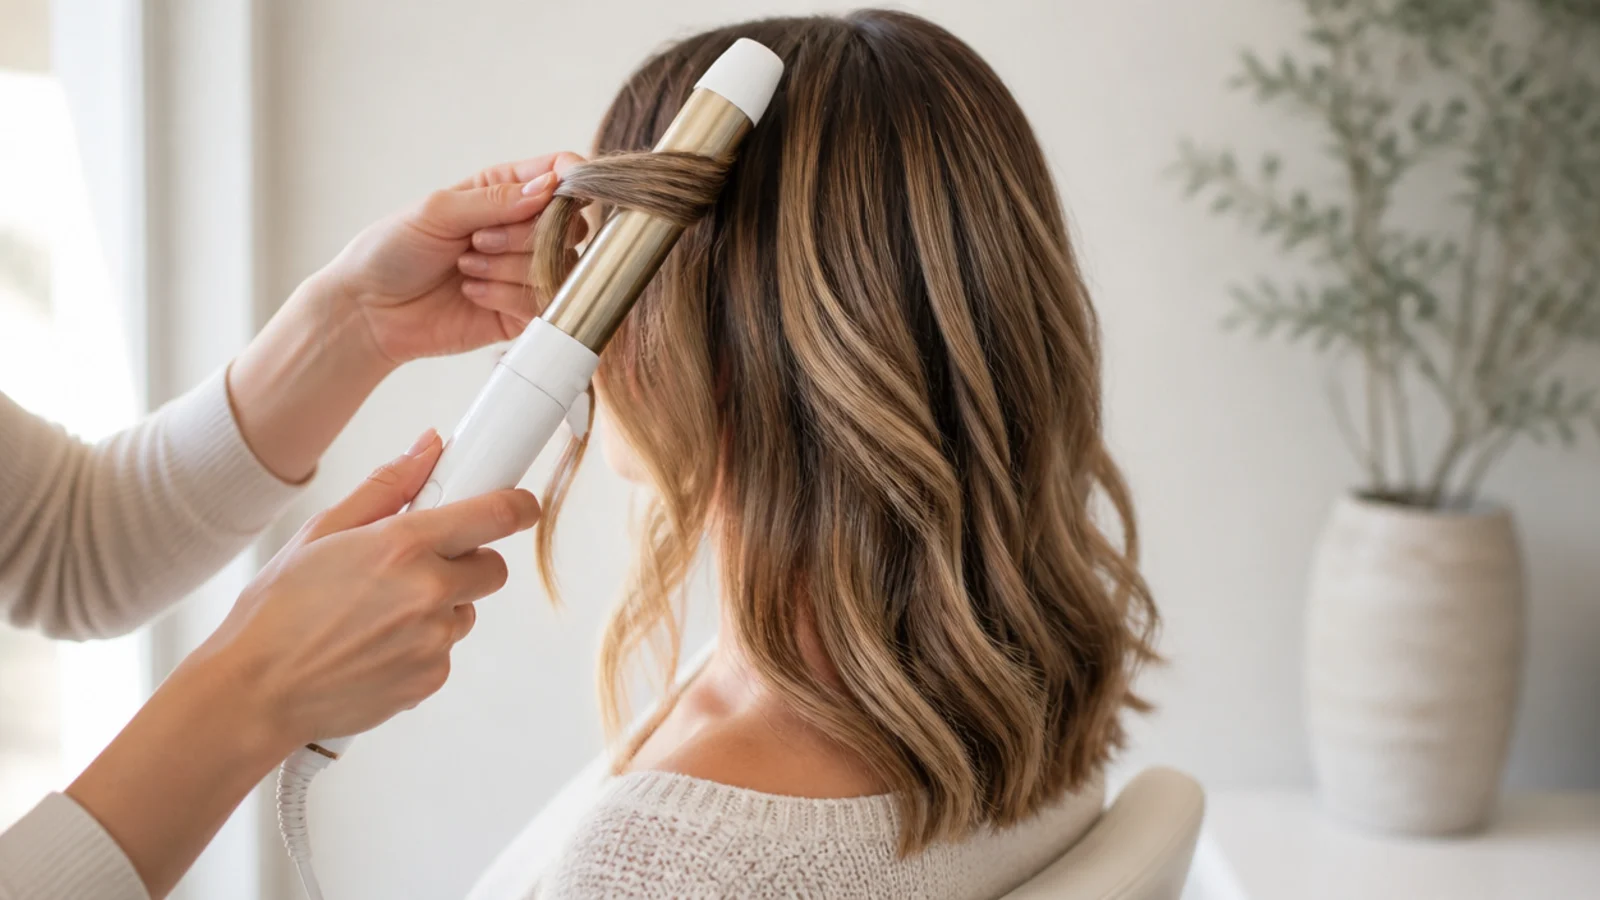
Take a 1.25 inch iron at 300 to 350 degrees on fine hair and 350 to 400 on thick hair, and wrap the first two sections at each temple away from the face so they open up the cheekbones. After that, alternate the direction on every piece. Uniform one-direction curls on collarbone length hair produce ringlets that read costume rather than lived-in. Leave the last inch of every section straight out of the iron so the ends stay modern instead of hooked. Hold each wrap for 7 to 10 seconds.
Common mistake: Curling every section the same way, which merges the whole head into one solid barrel shape.
Pro tip: Clamp-free wands give a softer bend, but a clamp iron is faster and easier to control at this length.
7. Let It Cool Completely, Then Break the Set With Your Fingers
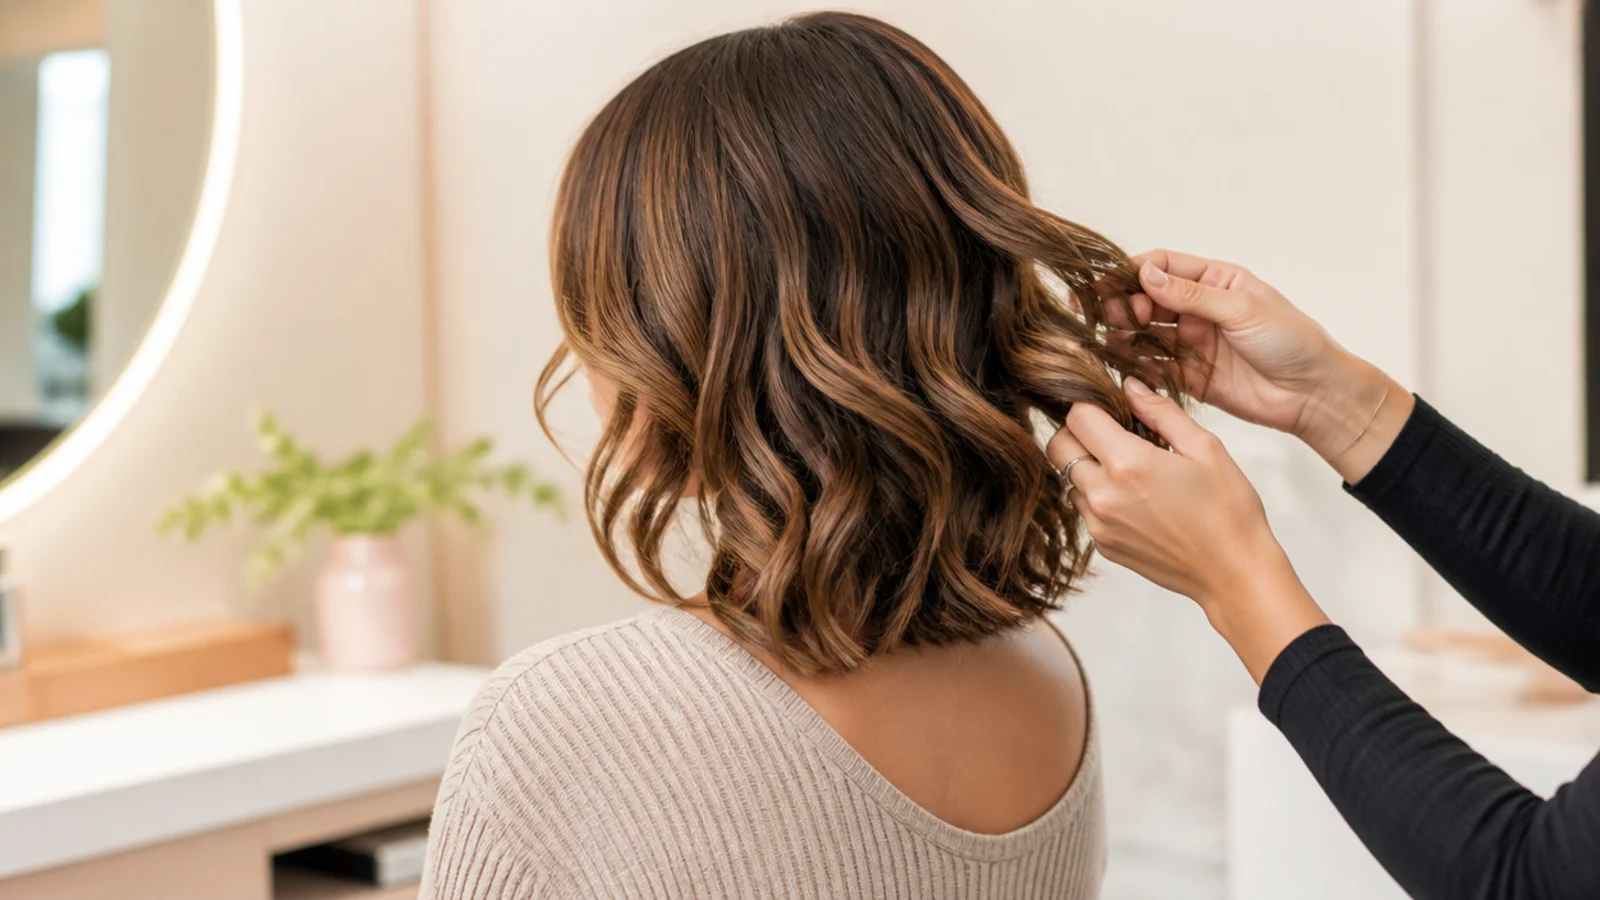
Pin each curl to the head with a flat clip or simply do not touch anything for a full five minutes. Hair sets its shape as it cools, and brushing a warm curl is what turns a wave into limp fluff by mid-afternoon. Once cool, rake your fingers from the roots through the ends, then shake at the crown. Use a wide-tooth comb only if you want a smooth 1940s wave. Two minutes of patience here is worth more than any product you can add afterward.
Common mistake: Brushing out curls while they are still warm, which drops the entire set within an hour.
Pro tip: A cold shot on the dryer for 20 seconds sets a blowout the same way cooling sets a curl.
8. Lock It With Texture, Not Stiff Hold, and Plan the Refresh
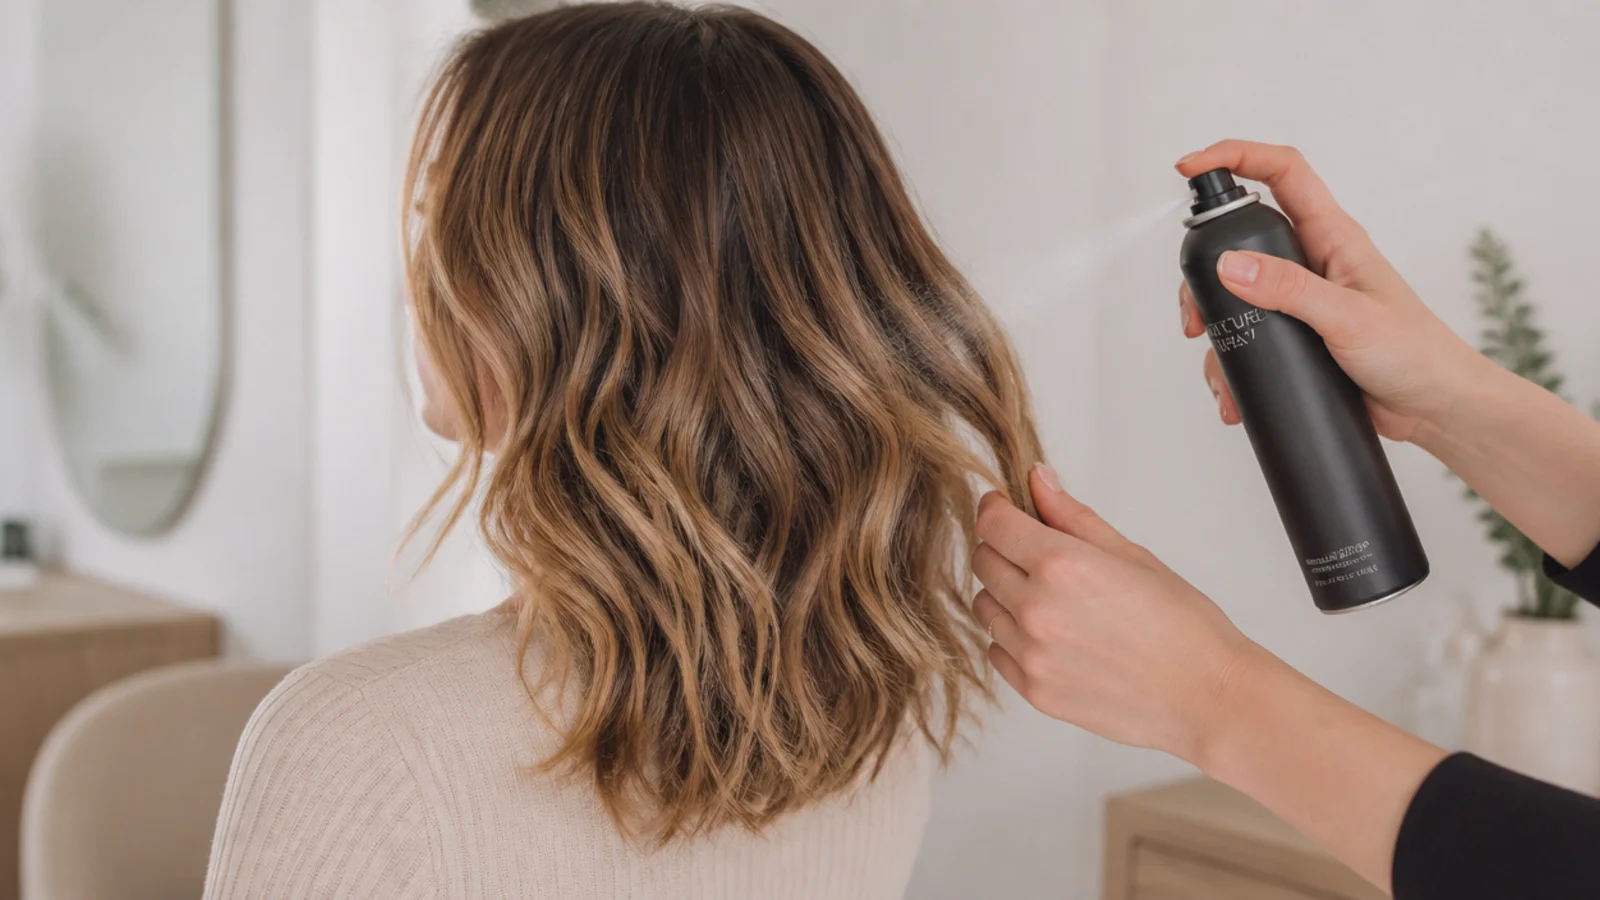
Mist texturizing spray at the mid-lengths and ends from about 10 inches away, then scrunch once. Skip crunchy hairspray on mid length hair; it makes the ends stiff and the movement is the whole point of the cut. For a second day, dry shampoo the roots, re-bend only the four front sections with the iron and leave the back alone. That five-minute refresh is the routine that keeps this length looking styled all week. More quick options in 5 minute everyday hairstyles.
Common mistake: Restyling the whole head on day two when only the front pieces have actually lost their shape.
Pro tip: Sleep in a loose low bun on top of the head to keep waves intact overnight without heat.
What Counts as Mid Length Hair Before You Style It
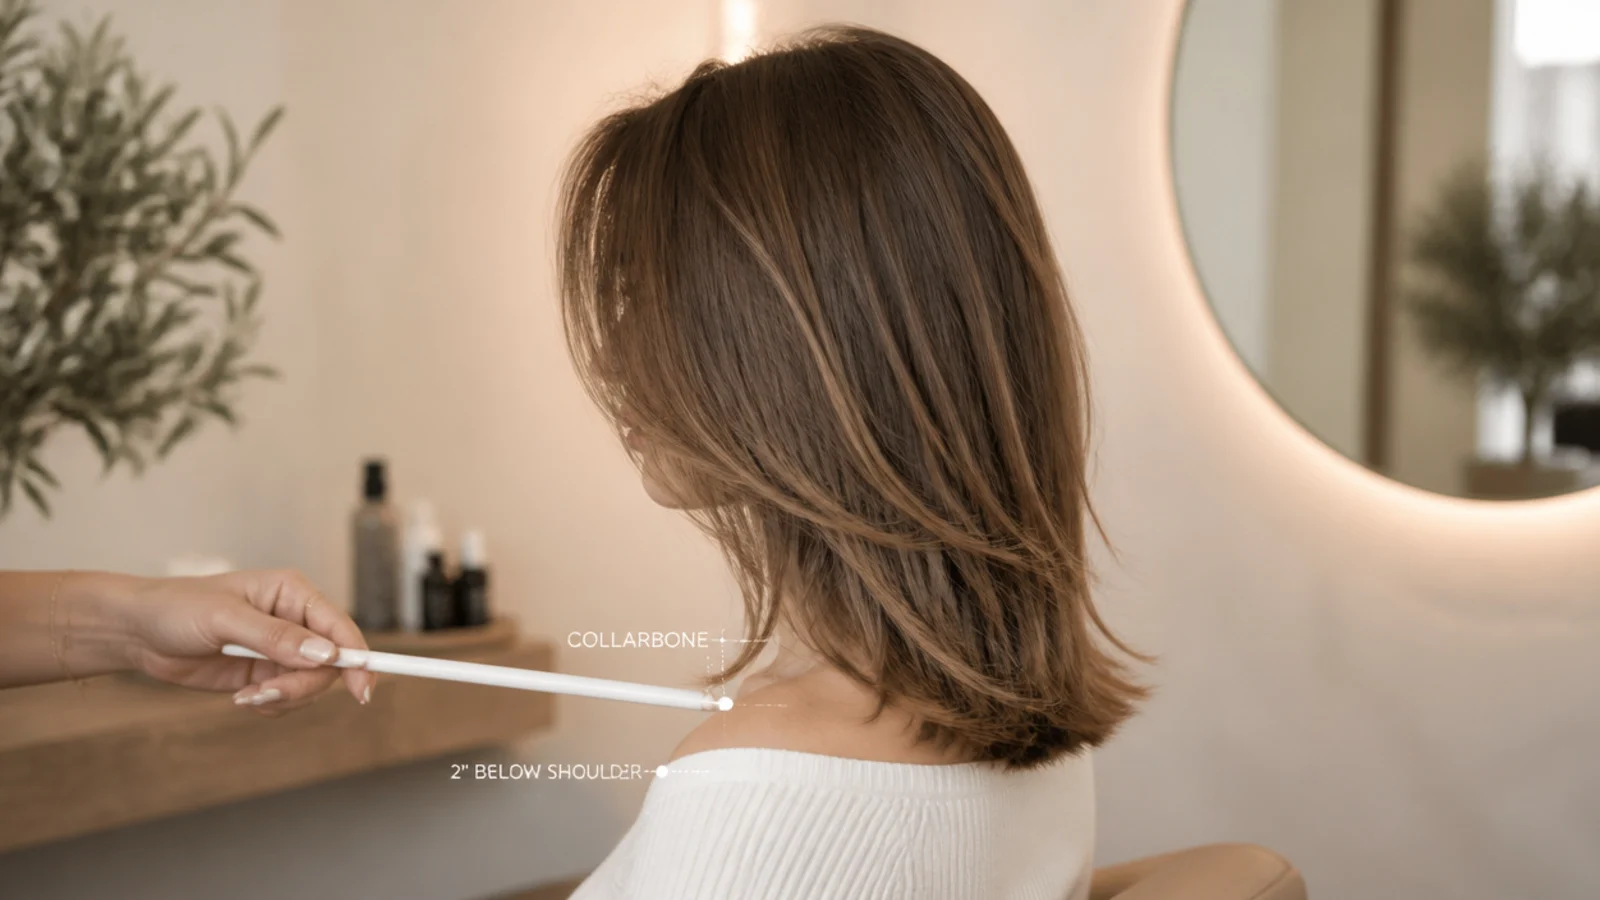
Mid length hair starts at the collarbone and ends roughly two inches below the shoulder. Name the landmark rather than saying medium, because on a 5 foot 2 frame the collarbone sits higher relative to the shoulder line and the same 14 inches of hair reads longer than it does on someone at 5 foot 9. Test it in front of a mirror: gather the hair at the back and see where the ends land against your collarbone. Anything above the collarbone is a lob or a bob and behaves differently, since the perimeter starts supporting itself and holding shape without product. Anything past the armpit is long hair, where weight begins pulling wave patterns straight and every curling iron section takes twice as long. Styling advice written for long hair fails at this length for one reason: there is not enough weight to hold a shape by itself. Everything below assumes you are working with roughly 12 to 16 inches of hair that needs grip, texture and a smaller barrel than a long-hair tutorial would tell you to use.
The Mid Length Problem: Too Short for a Bun, Too Long to Leave Down
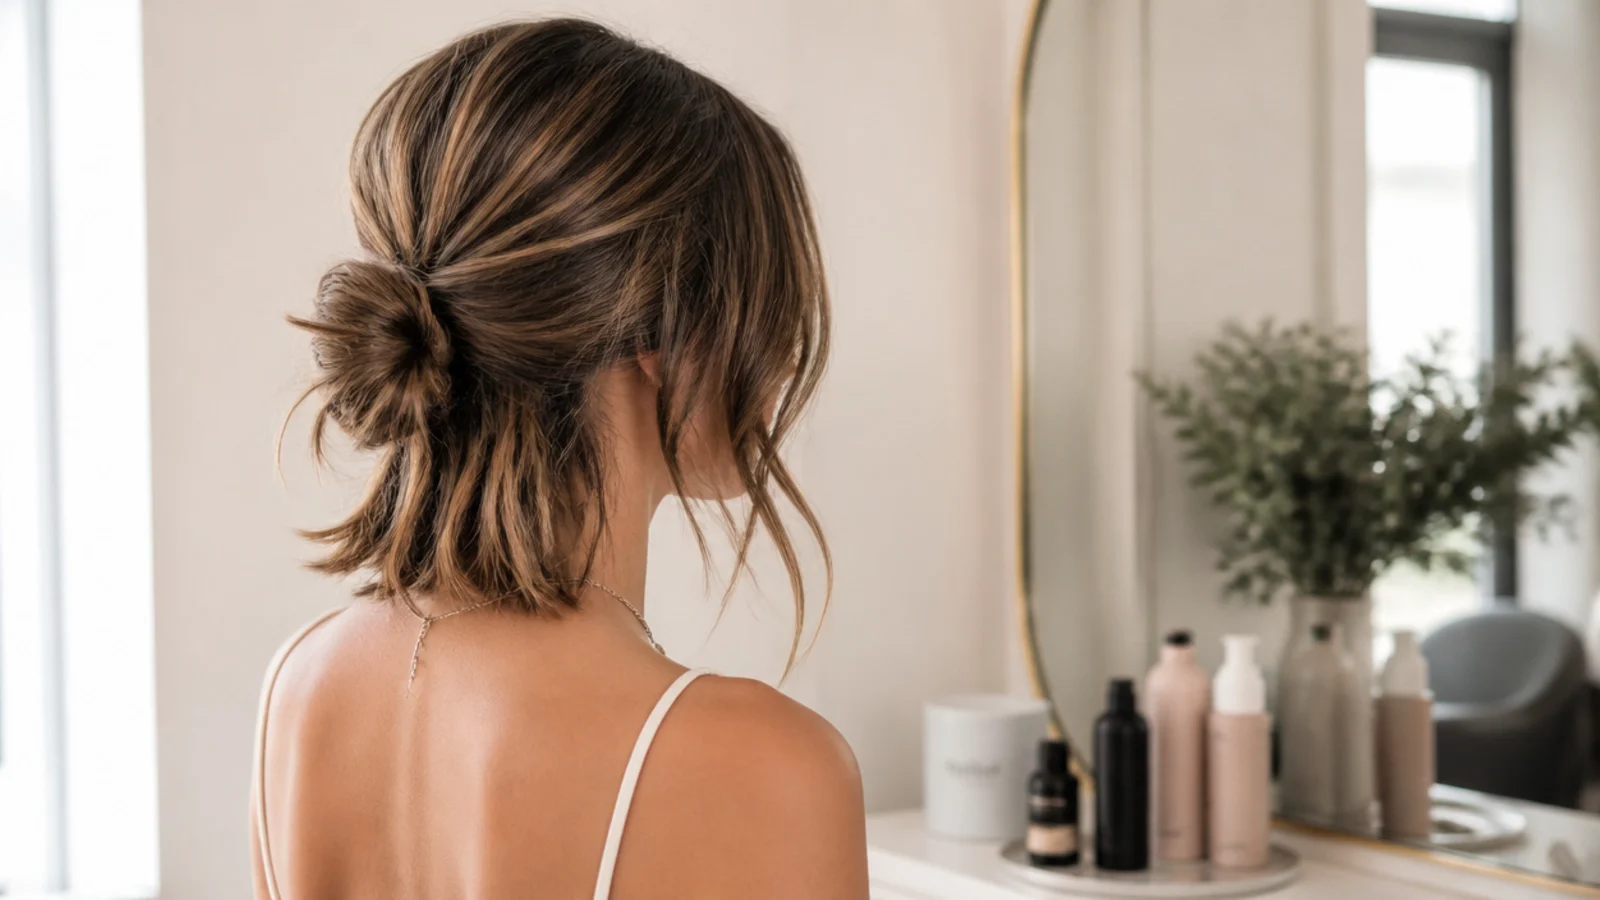
This is the real reason people search mid length haircut styling. At collarbone length the hair coils into a bun about the size of a walnut, the ends escape, and by mid-afternoon the whole thing has slid down the back of the head. Three things fix it. First, grip: texturizing spray or dry shampoo through dry mid-lengths gives the strands something to hold onto, and clean, slippery hair is the single biggest cause of collapse. Second, structure: cross two bobby pins through the base of the bun in an X so they catch the scalp hair underneath rather than just the bun itself. Third, the fold-and-pin method, where you fold the ponytail in half and pin the loop instead of coiling it, which produces a fuller bun from less hair. If none of that appeals, stop fighting it. The half-up claw clip and the tucked-under faux bob exist precisely because they use mid length hair as it is rather than forcing it into a shape it does not have the length for. If you want more secured options, the techniques in long hair updos that last scale down with an extra pin.
Styling a Mid Length Haircut by Face Shape
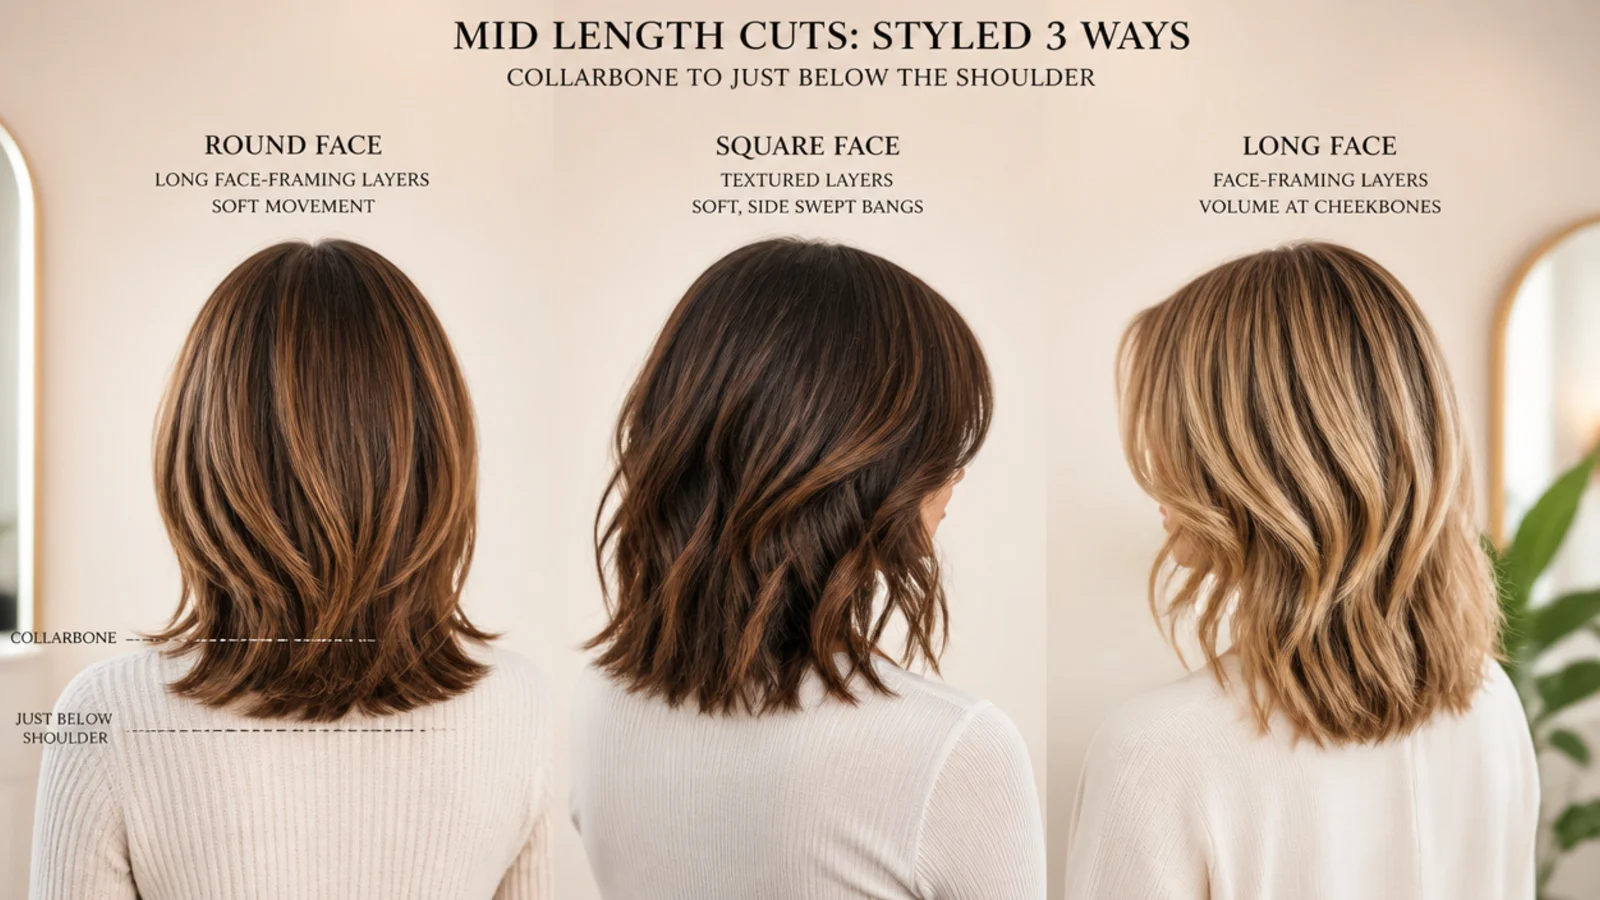
Face shape changes how you style far more than it changes the cut. On a round face, keep volume at the crown and the length falling straight past the jaw rather than curling inward at the cheeks, and choose a middle part or a deep side part over a shallow one. On a square or strong-jawed face, soften with waves that begin at the jawline and face-framing pieces that fall over the corners of the jaw, and avoid a blunt sleek finish that traces the jaw exactly. On a long or oblong face, build width at the sides with an outward bend at the ends and wear curtain bangs, since horizontal volume at the cheekbone shortens the face visually. On a heart-shaped face, keep the top smooth and let the weight sit at the collarbone where it balances a narrow chin. Oval faces genuinely do suit everything here. The one universal rule: curl the first two sections at each temple away from the face, on every shape, because it opens the eyes and cheekbones instead of closing them in.
Fine vs Thick vs Curly: How Mid Length Styling Changes by Hair Type
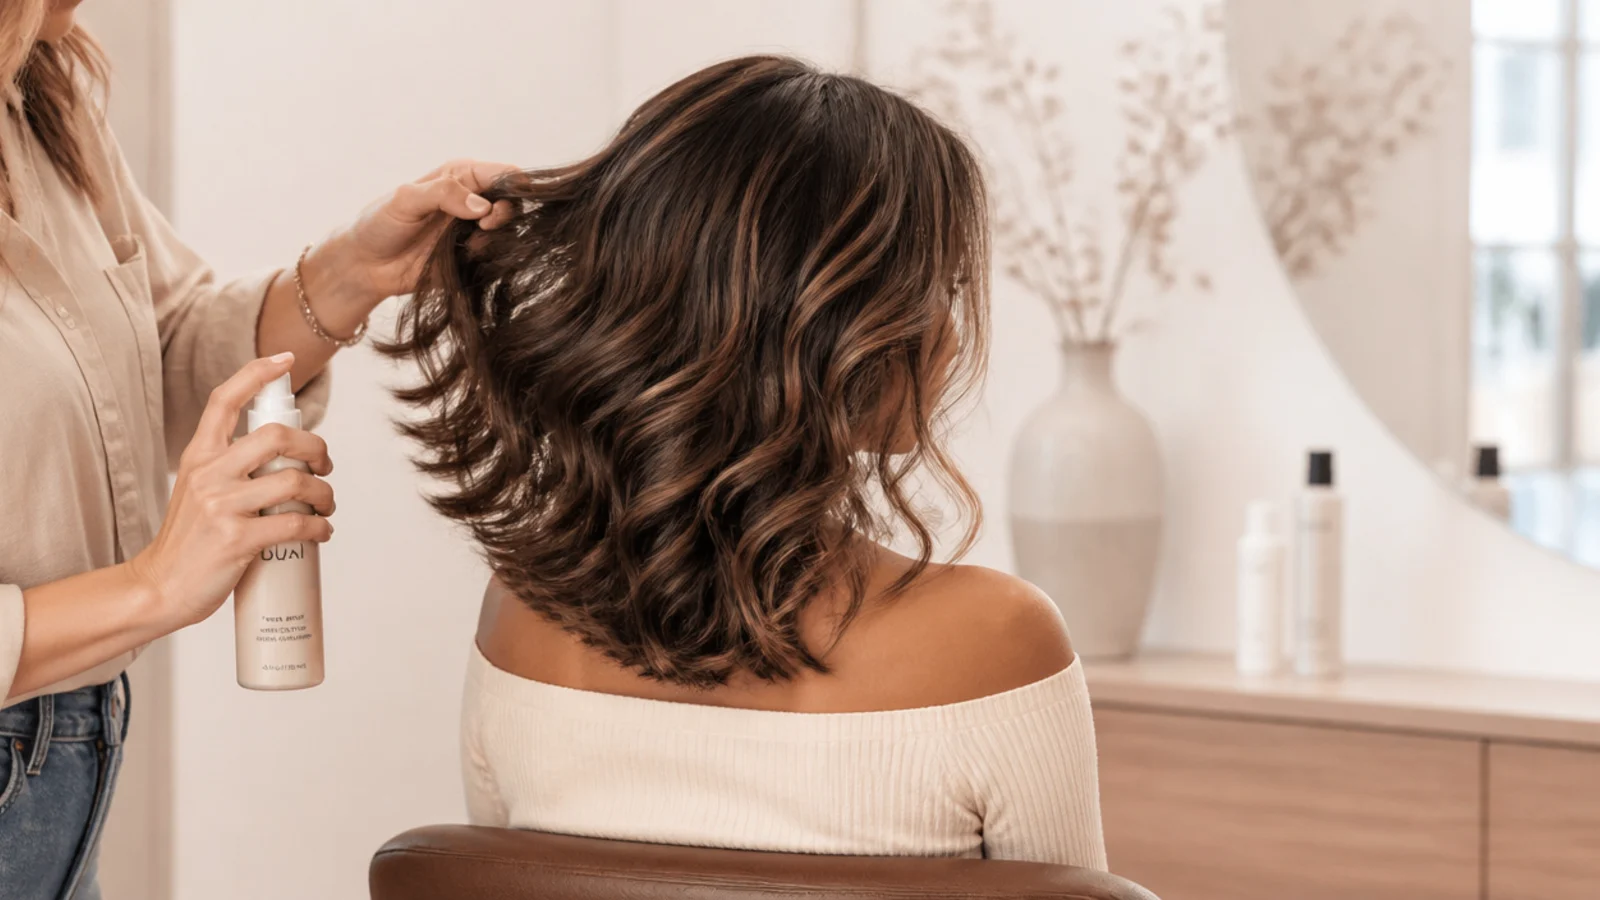
Fine hair needs volume products at the root only and a lower iron temperature, around 300 to 325 degrees, because it overheats and goes limp fast. Many of the grip tricks in how to style short fine hair transfer directly. Fewer, longer layers hold better than many short ones, since over-layering leaves fine ends sparse and stringy, which is a cutting decision that limits your styling for months. Thick hair needs the opposite: three sections instead of two, one-inch pieces so the heat reaches the core, a 350 to 400 degree iron, and weight removed internally so the shape does not swell out into a triangle at the shoulders. Curly hair should be cut dry or curl by curl so the length lands right once it springs, and styled soaking wet with gel or curl cream, then either diffused on low speed and high heat or left completely alone until dry. Coarse and coily textures do best with the overnight and pinned styles here rather than the iron-based ones. Match the tool to the texture and almost every style on this list works. For type-specific routines see hairstyles for your hair type.
Day-to-Day Styling on a 5, 10 or 20 Minute Budget
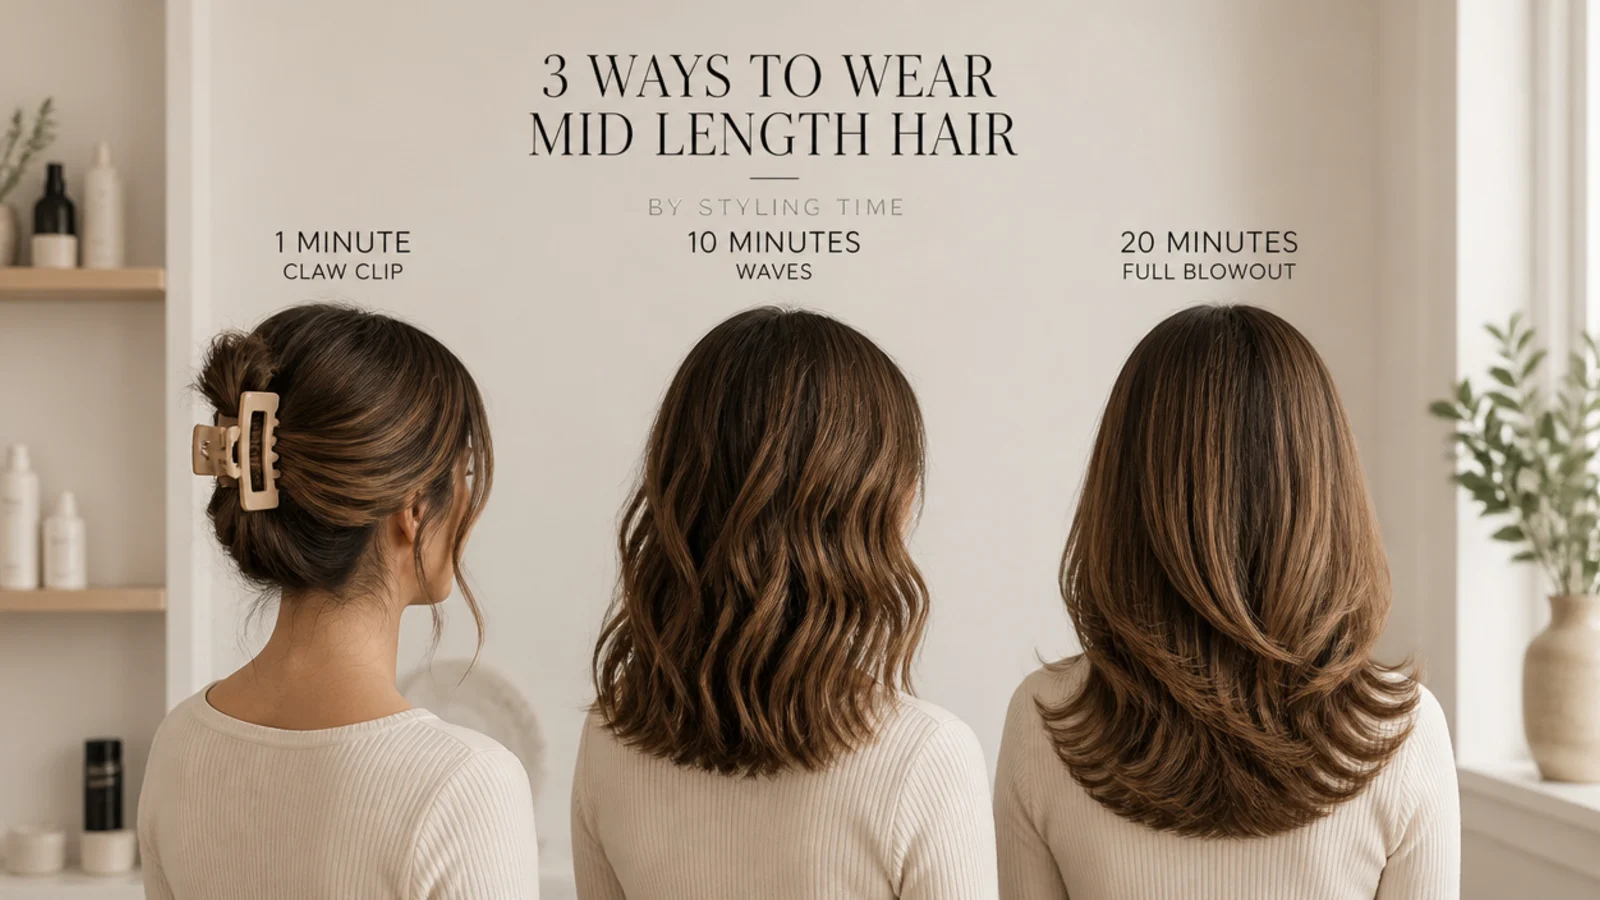
Build a realistic week rather than one perfect look. On a five-minute morning, dry shampoo the roots, take a half-up claw clip or a slicked low ponytail, and pull two face-framing pieces loose. That reads intentional and costs nothing. On a ten-minute morning, refresh only the four front sections with a 1.25 inch iron and leave the back exactly as it is, since the back of mid length hair holds shape from the day before better than the front does. Reserve the twenty-minute round brush blowout for wash day, once or twice a week, and let it carry you for the following two days with a night-time bun and a morning dry shampoo. The heatless overnight set is the highest-value habit here, because it moves the work to a point in the day when you are not rushed. Rotating these four options covers a full week with maybe 45 minutes of total styling time. More of this thinking in cute hairstyles that last all day.
Styling Through Grow-Out and Keeping the Cut Sharp
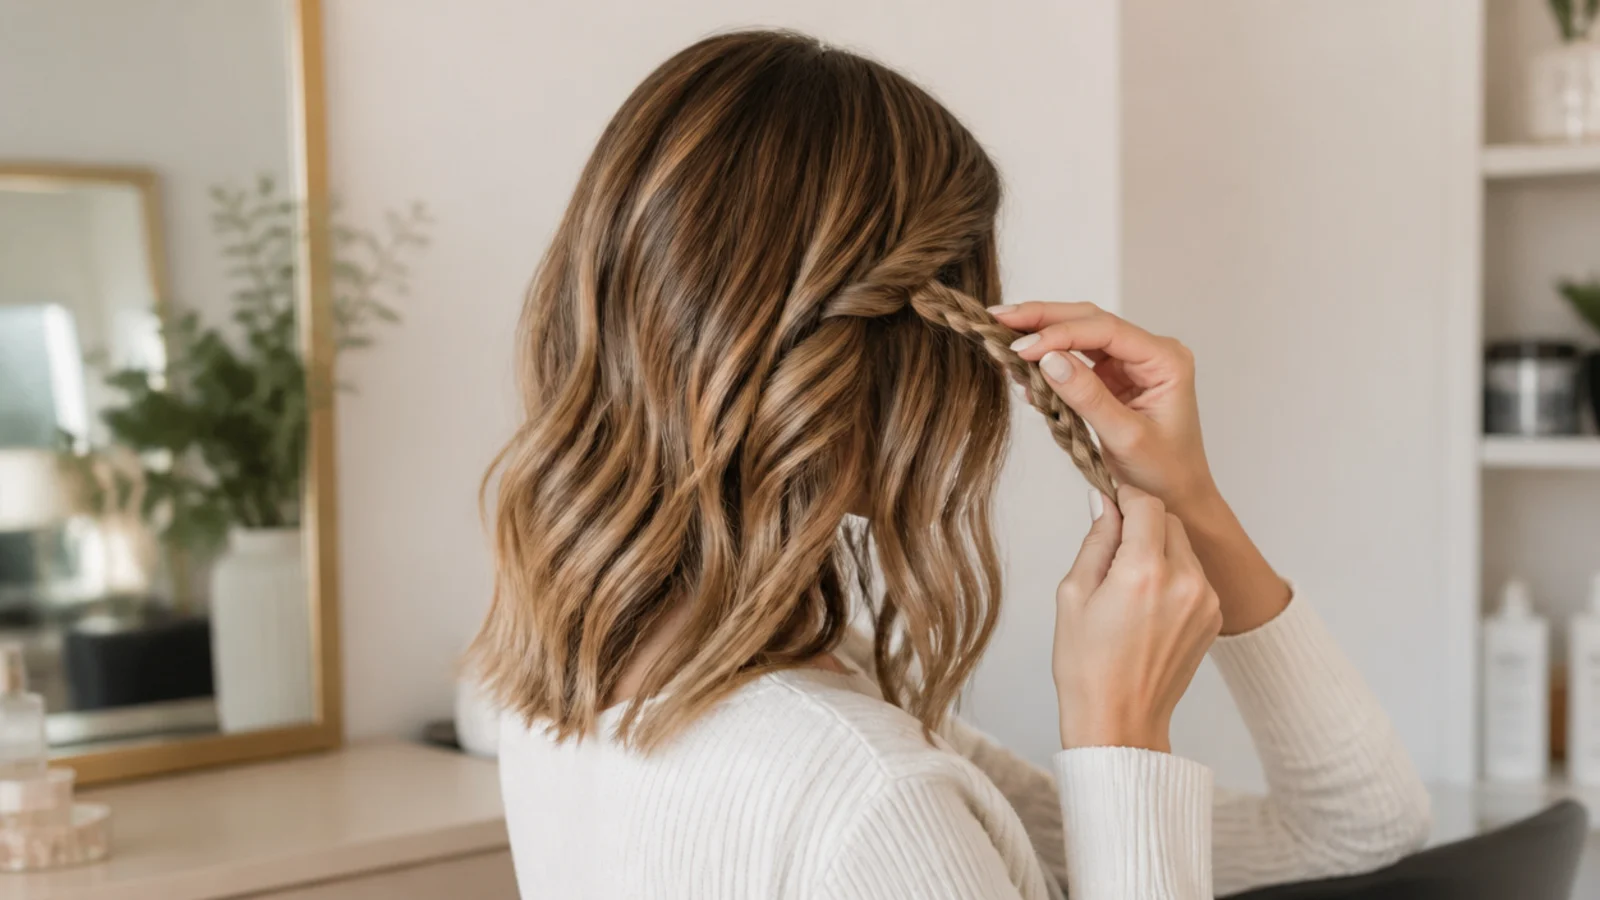
Hair grows around half an inch a month, so a collarbone cut reaches the mid-back in roughly 12 to 18 months. The awkward stretch is weeks six to twelve, when the face-framing layers have dropped past the cheekbone but have not yet blended into the length. Style through it with the front dutch braid, the twisted half-up knot, or a deeper side part, all of which put the uneven pieces somewhere deliberate. Trim every 8 to 12 weeks even while growing, taking only a dusting off the ends, because split ends travel up the strand and cost you more length than the trim does. If you are growing out toward a longer cut, ask for the layers to be left alone and only the perimeter dusted. If you are cutting shorter, the faux bob is a free preview. When you do book, the wording to use is: collarbone length, long invisible layers, face-framing starting at the jaw. Bring a photo, since the same sentence produces different results in different hands. Start with the mid length haircut hub for the shapes worth asking for.
Frequently Asked Questions
How do I style medium length hair quickly in the morning?
Work on day-two hair and refresh only the front. Dry shampoo the roots, bend the four sections around your face with a 1.25 inch iron, and leave the back untouched. That takes about five minutes. If you have even less time, a half-up claw clip with two face-framing pieces pulled loose takes two minutes and reads intentional on any hair type.
What is the best hairstyle for medium length hair that is low maintenance?
Air-dried waves with sea salt spray and a curl cream, or heatless overnight waves set on a satin rod. Both take under eight minutes of hands-on time, involve no heat damage, and hold eight to twelve hours. For pinned-up options, the half-up claw clip and the slicked low ponytail need no heat and work better on unwashed hair than on freshly washed hair.
Why does my mid length hair not hold a curl?
Three usual causes. The hair is too clean and has no grip, so style on day-two hair or add texturizing spray first. The curl was brushed out while still warm, so let each section cool for five full minutes before you touch it. Or the sections are too thick; take one to one-and-a-half inch pieces so the heat actually reaches the middle of each one.
Can you put shoulder length hair in a bun?
Yes, but not a classic coiled bun without help. Add texturizing spray for grip, cross two bobby pins through the base in an X so they catch the scalp hair, and either accept the escaping ends as part of the look or fold the ponytail in half and pin the loop for a fuller shape. Below the collarbone, a standard bun works with a single elastic.
What size curling iron is best for medium length hair?
A 1.25 inch barrel is the right default for collarbone to shoulder length. A 1 inch barrel gives tighter, more defined curls and suits thick hair or anyone whose curls drop fast. A 1.5 inch barrel produces a very loose bend that often falls out within hours at this length. For blow-drying, a 2 inch round brush is the matching size.
How often should I trim mid length hair?
Every 8 to 12 weeks. Layered and face-framing cuts sit at the shorter end of that range because the shape loses definition faster, while blunt one-length cuts can stretch to 12 weeks. Even while growing your hair out, keep the schedule and ask for a dusting only, since split ends travel up the strand and eventually cost more length than the trims do.
How do I add volume to mid length hair without layers?
Rough-dry upside down for the first two minutes, apply root-lift spray or mousse at the crown only, and set a deep side part or a zigzag part while the hair is still slightly damp. A round brush rolled up at the root with a 20 second cold shot locks the lift in. For ponytails, the hidden second elastic technique doubles the apparent thickness without any cutting.
Should I style my hair on wash day or day two?
Day two, almost always. Freshly washed hair is slippery, holds curls poorly and slides out of pins and elastics, which is why professional sets are done on unwashed hair. If you must style on wash day, dust dry shampoo through dry mid-lengths purely as a texturizer before you start, and keep conditioner to the bottom three inches only.
What styles work best while growing out face-framing layers?
A front dutch braid along one side, a twisted half-up knot where both front sections are pinned back, or a deeper side part that redistributes where the short pieces fall. All three place the awkward pieces deliberately instead of leaving them hanging at an odd length. The awkward window is roughly weeks six to twelve after the cut.
Which mid length haircut look are you saving?
If you take one thing from these 15 mid length haircut styling ideas, make it the prep order: rough-dry to 80 percent, set the part while damp, then style only the two layers that actually show. That sequence adds hours of hold to every look here, on fine hair especially. Keep a 1.25 inch iron, a 2 inch round brush, a medium claw clip and a can of texturizing spray within reach and you can cover a whole week without repeating yourself. Book a trim every 8 to 12 weeks so the ends keep landing where the style expects them to. For more shapes to work with, see mid length haircut layers or browse the full mid length haircut hub.