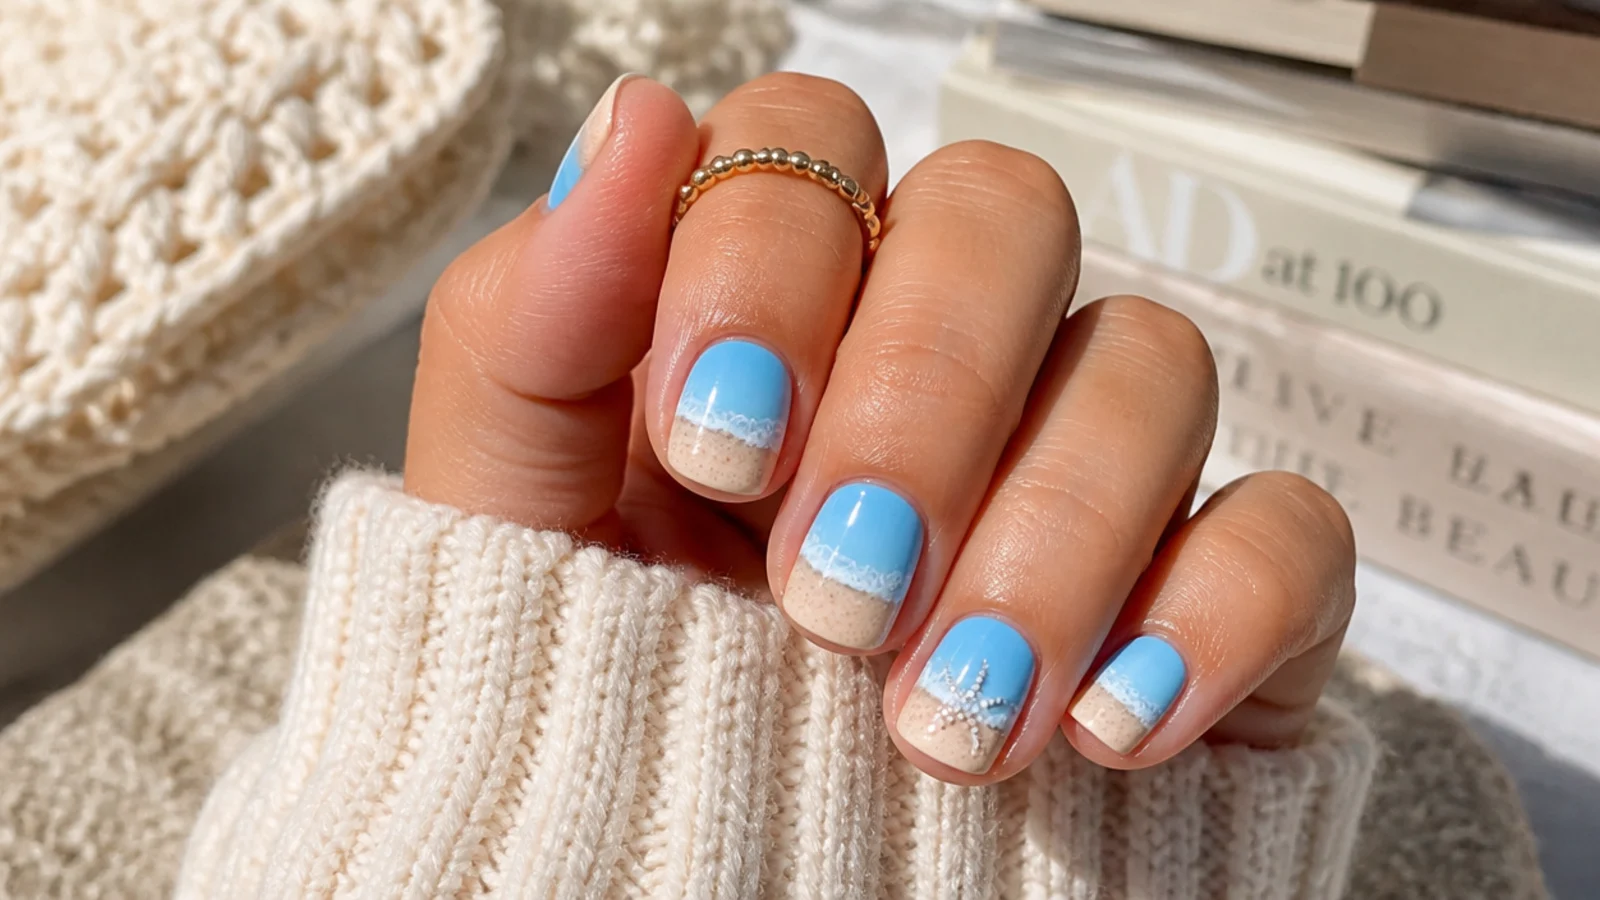
Quick Comparison
| Regular Polish Beach Nails at Home | At-Home Gel Beach Nails | |
|---|---|---|
| Tools needed | Base, colors, top coat, dotting tool, striper, sponge | Same plus a UV or LED lamp and gel top coat |
| Total time | 40 to 60 minutes including air dry | 45 to 70 minutes including cure time |
| Dry or cure between steps | 2 to 5 minutes air dry per layer | 30 to 60 seconds under the lamp per gel layer |
| Touch-safe after finishing | About 10 minutes, fully hard in hours | Instantly hard once the top coat cures |
| How long the art lasts | 5 to 7 days, 2 to 4 days of heavy swimming | 1 to 2 weeks, holds up in salt and pool water better |
| Beginner friendliness | Easier to start, mistakes wipe off with remover | Less forgiving; cured mistakes must be filed off |
| Sunscreen yellowing | White and pastels yellow within a few days | Gel resists yellowing longer but is not immune |
| Cost to start | About 25 dollars in polish and tools | Add 30 to 60 dollars for a lamp and gel top coat |
| Best for | A quick look for a weekend or a photo day | A full vacation where the art must survive the water |
1. Prep, Degrease and Shape to a Beach-Ready Squoval
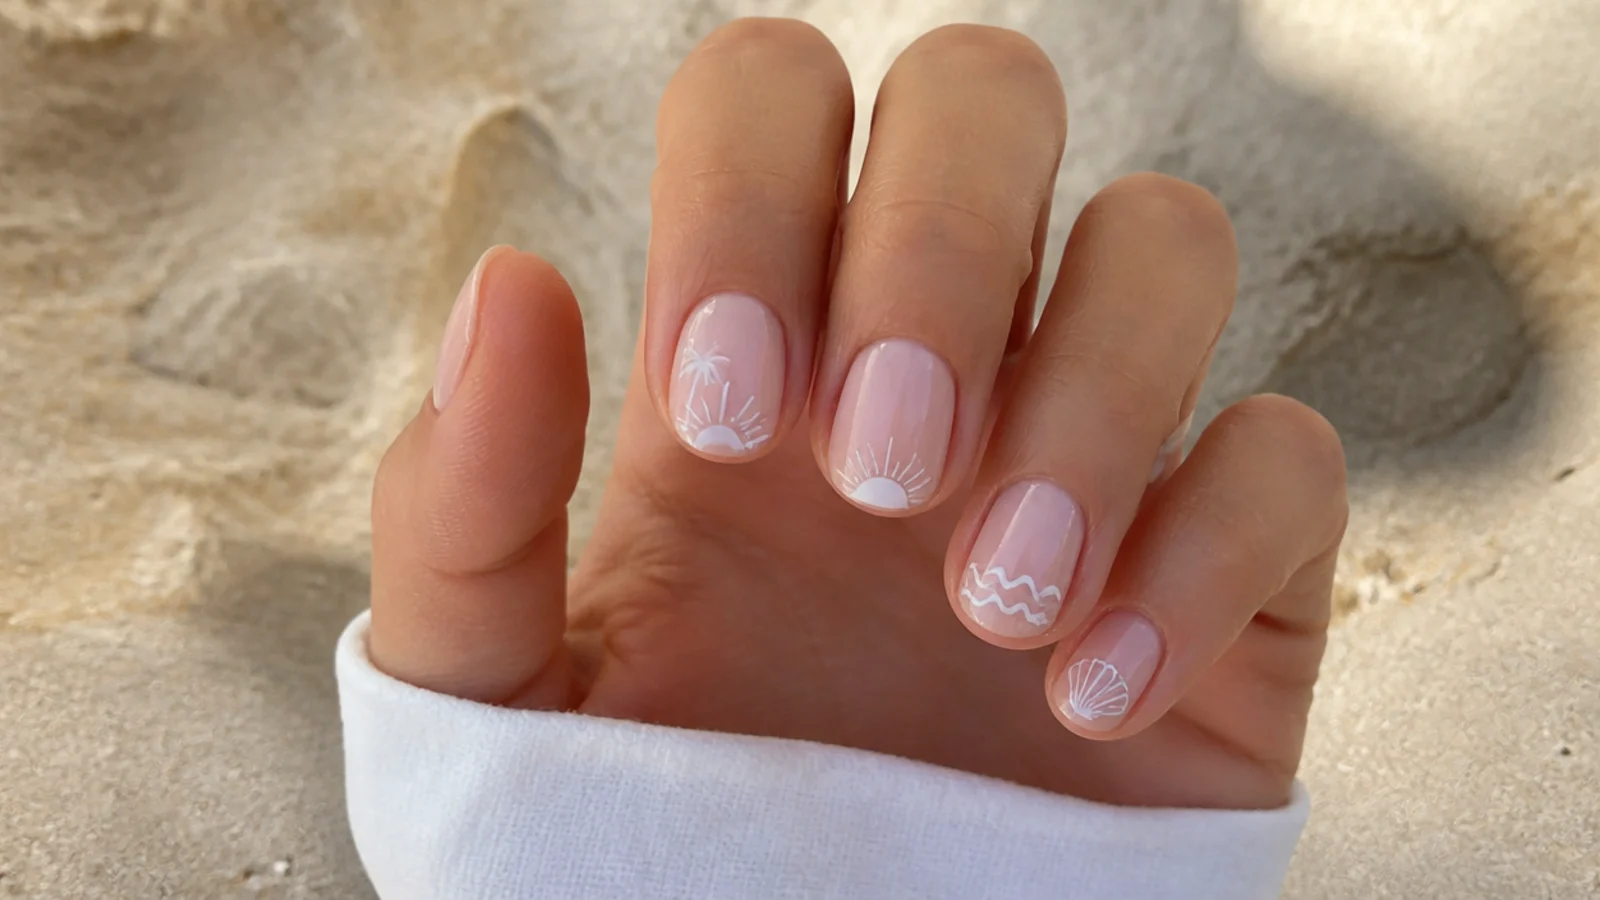
Remove old polish, wash and dry your hands, and push the cuticles back with a wood stick. File to a soft squoval or almond, the two shapes that best carry a horizon-line gradient without looking cramped. Buff the shine off the nail plate lightly, then wipe every nail with a lint-free pad soaked in isopropyl alcohol or plain acetone to degrease. Skipping this degrease is the top reason polish peels at the free edge within a day. If your nails are short, a low horizon and one accent nail read cleaner than art crammed across all ten, the same logic as simple summer nails at home.
Common mistake: Painting over natural oils makes the whole manicure lift as one sheet within 24 hours.
Pro tip: File dry, not after a shower, because wet nails tear and give a fuzzy free edge.
2. Lay a Milky Nude or Sky-Blue Base in Two Thin Coats
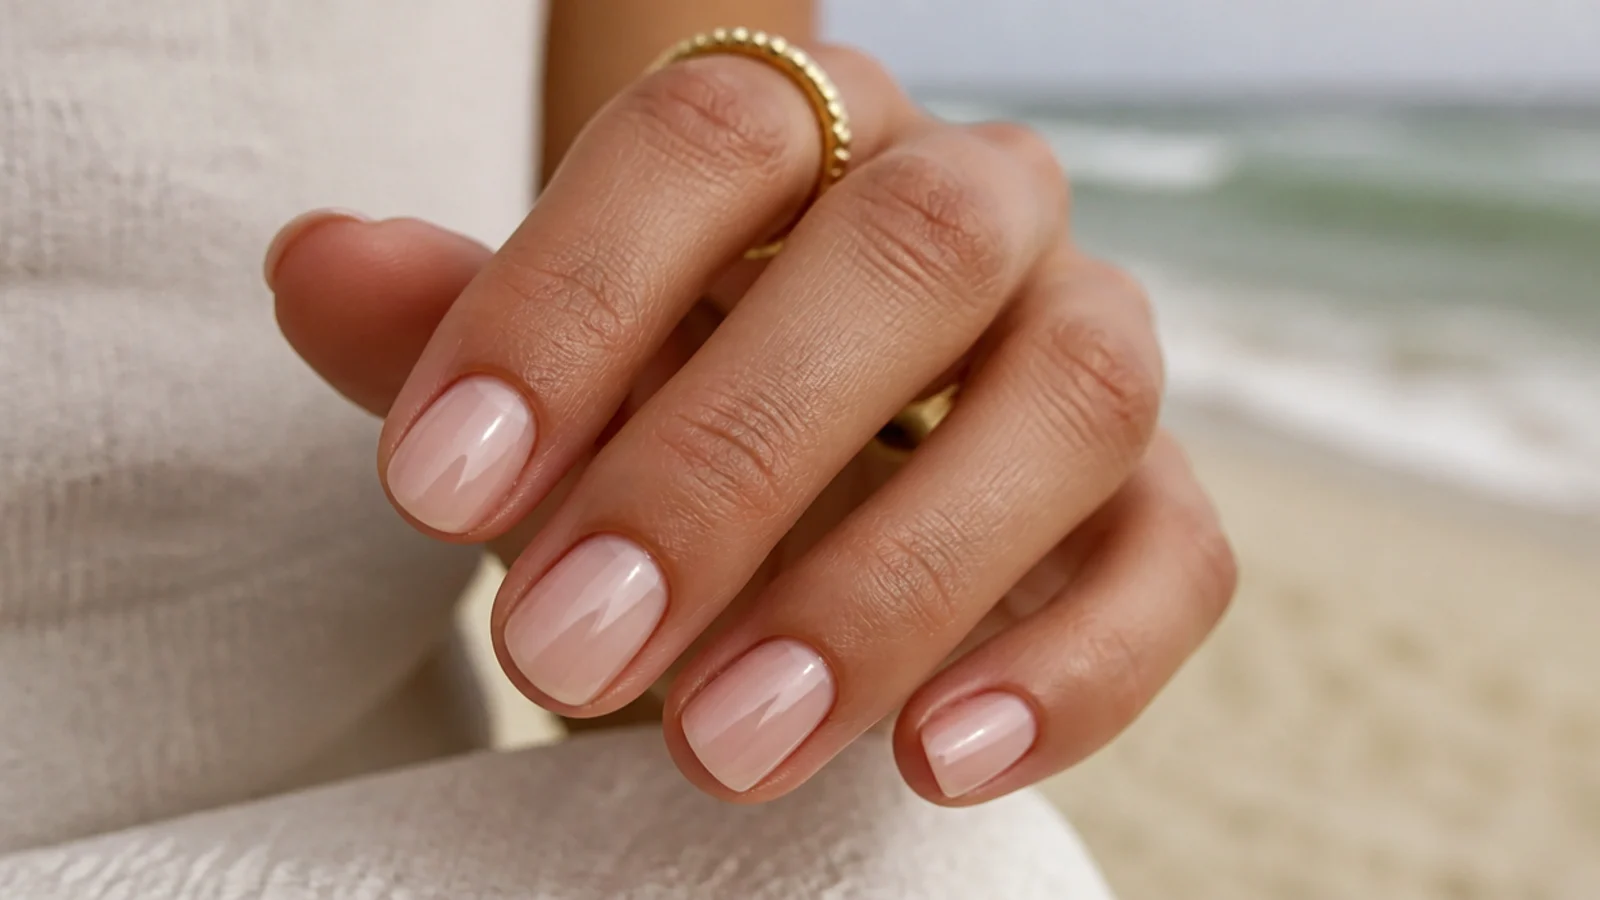
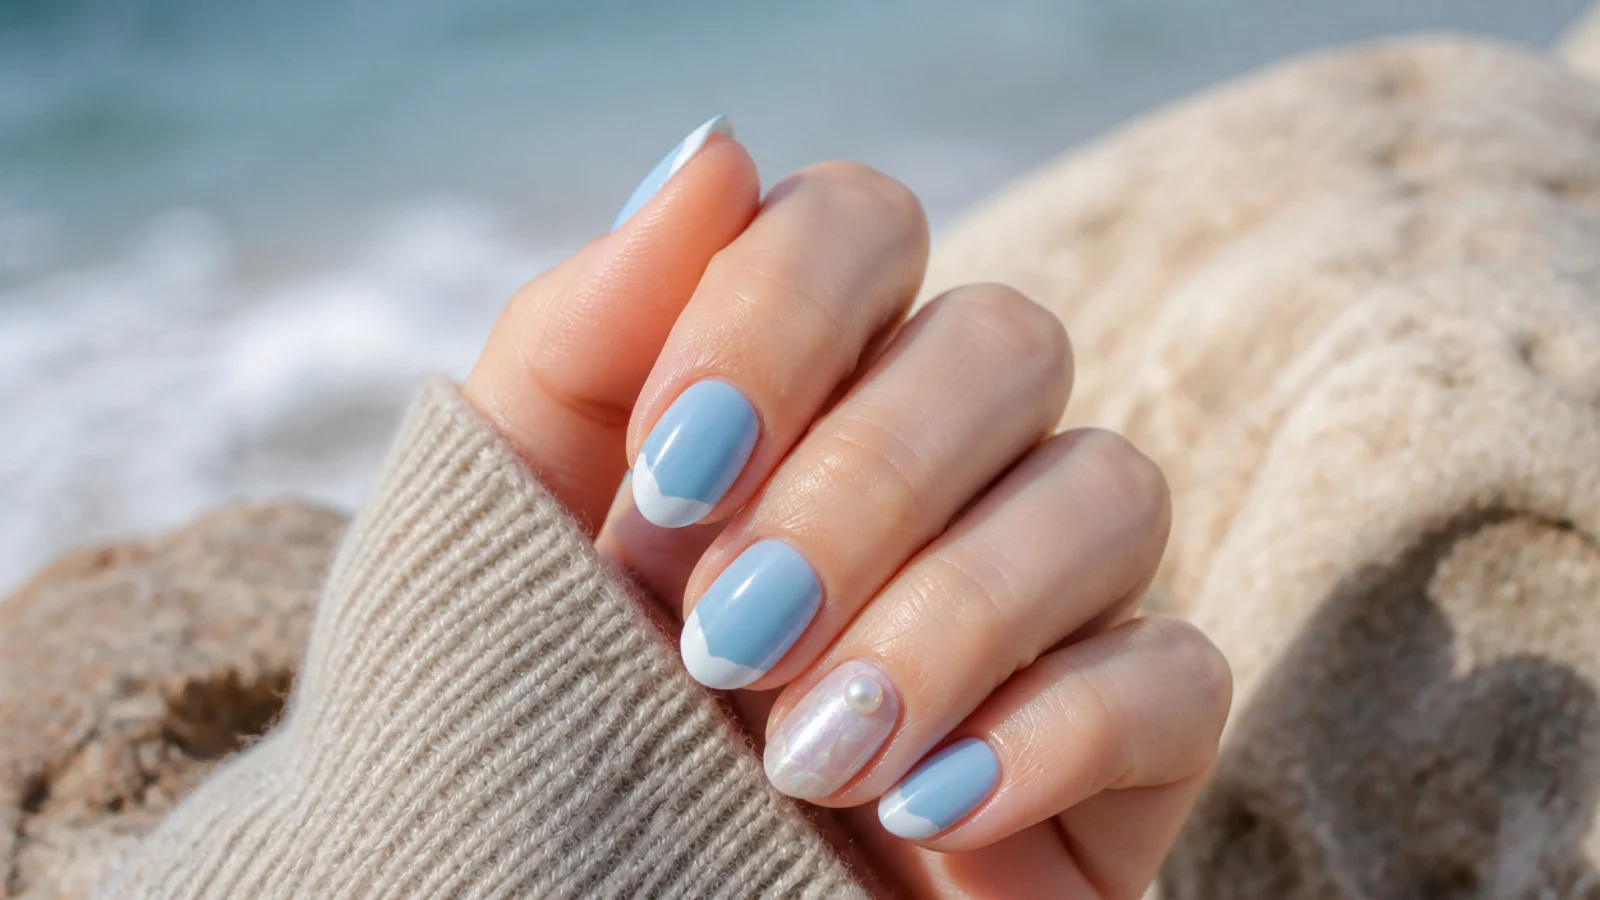
Brush on a base coat and let it set for two minutes. Then paint two thin coats of a milky nude, a soft cream, or a pale sky blue as your background, waiting two minutes between them. Two thin coats dry faster and stay truer to color than one thick coat, which stays gummy underneath and dents. A milky base like the one behind milky white chrome nails flatters a tan and keeps the ocean colors that follow looking bright rather than muddy. This is your canvas, so let it dry fully before you touch a sponge to it.
Common mistake: One thick coat traps solvent, so the finished art dents with a fingerprint hours later.
Pro tip: A milky base makes white waves and pale shells pop far more than a stark white base does.
3. Sponge the Ocean-to-Sand Gradient
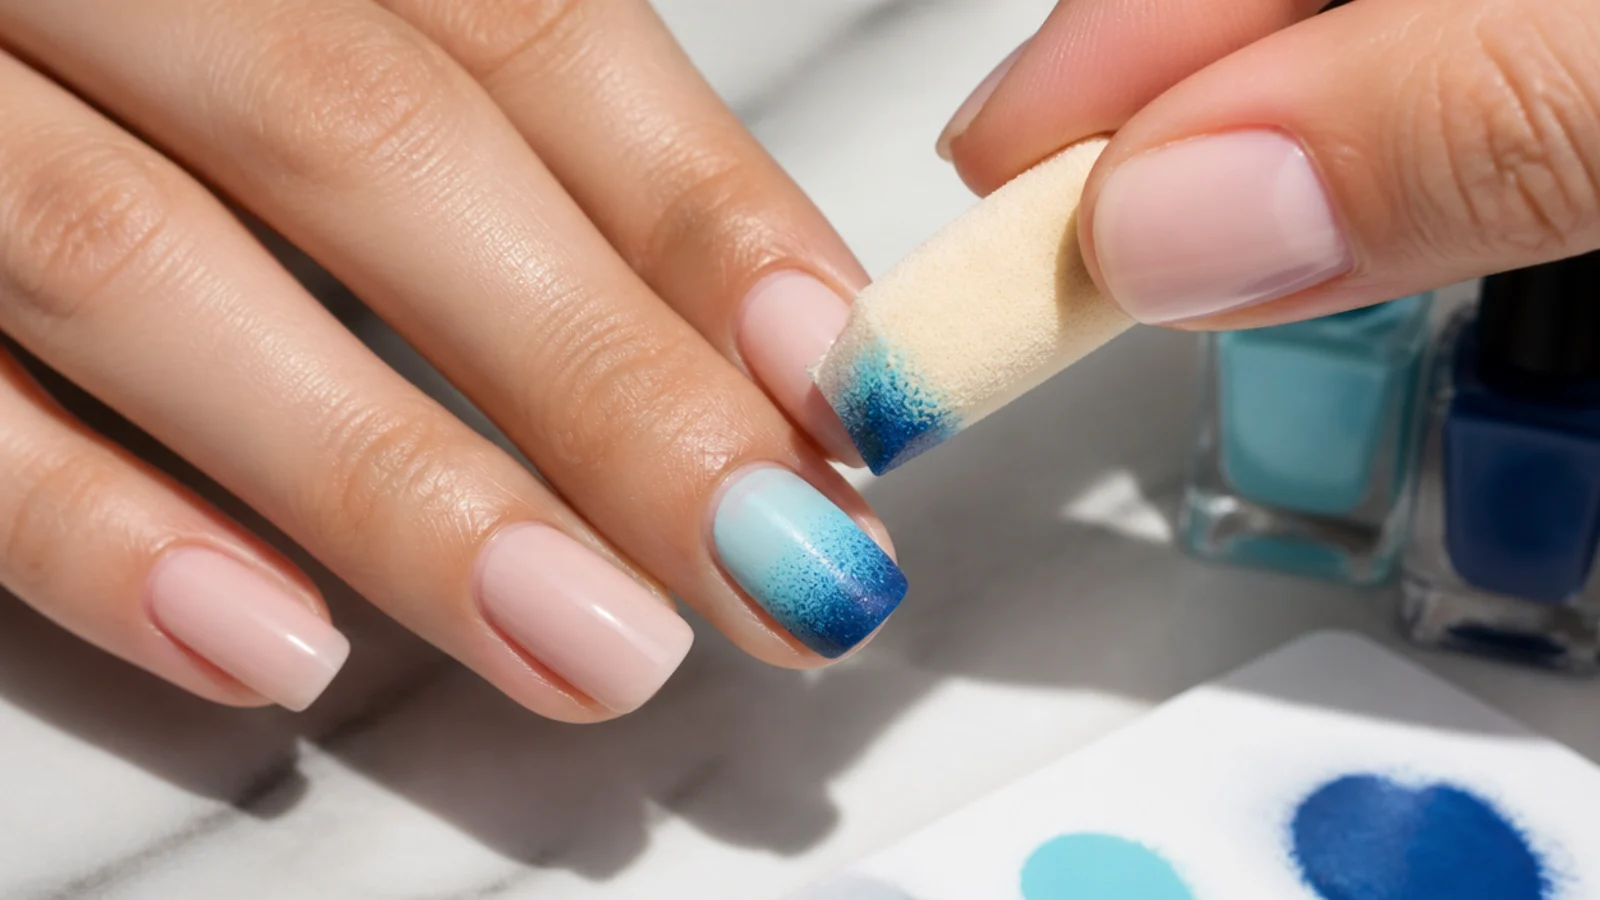
Paint stripes of two blues, a turquoise and a navy, plus a sandy beige onto a flat makeup sponge, overlapping them slightly so they meet. Press the sponge straight down onto the lower two thirds of the nail, then lift and dab two or three times, reloading polish every couple of nails. Keep the sand tone low near the free edge and the deeper blue up top for a horizon effect. This is the same dabbing motion behind how to do aura nails at home and an ombre blend. Let it dry three minutes; sponged layers hold more polish than they look.
Common mistake: Wiping the sponge sideways smears the blues into one flat gray instead of a soft gradient.
Pro tip: Dab a little extra polish onto the sponge, not the nail, so the blend stays sheer and layered.
4. Dot Shells and Starfish on One Accent Nail
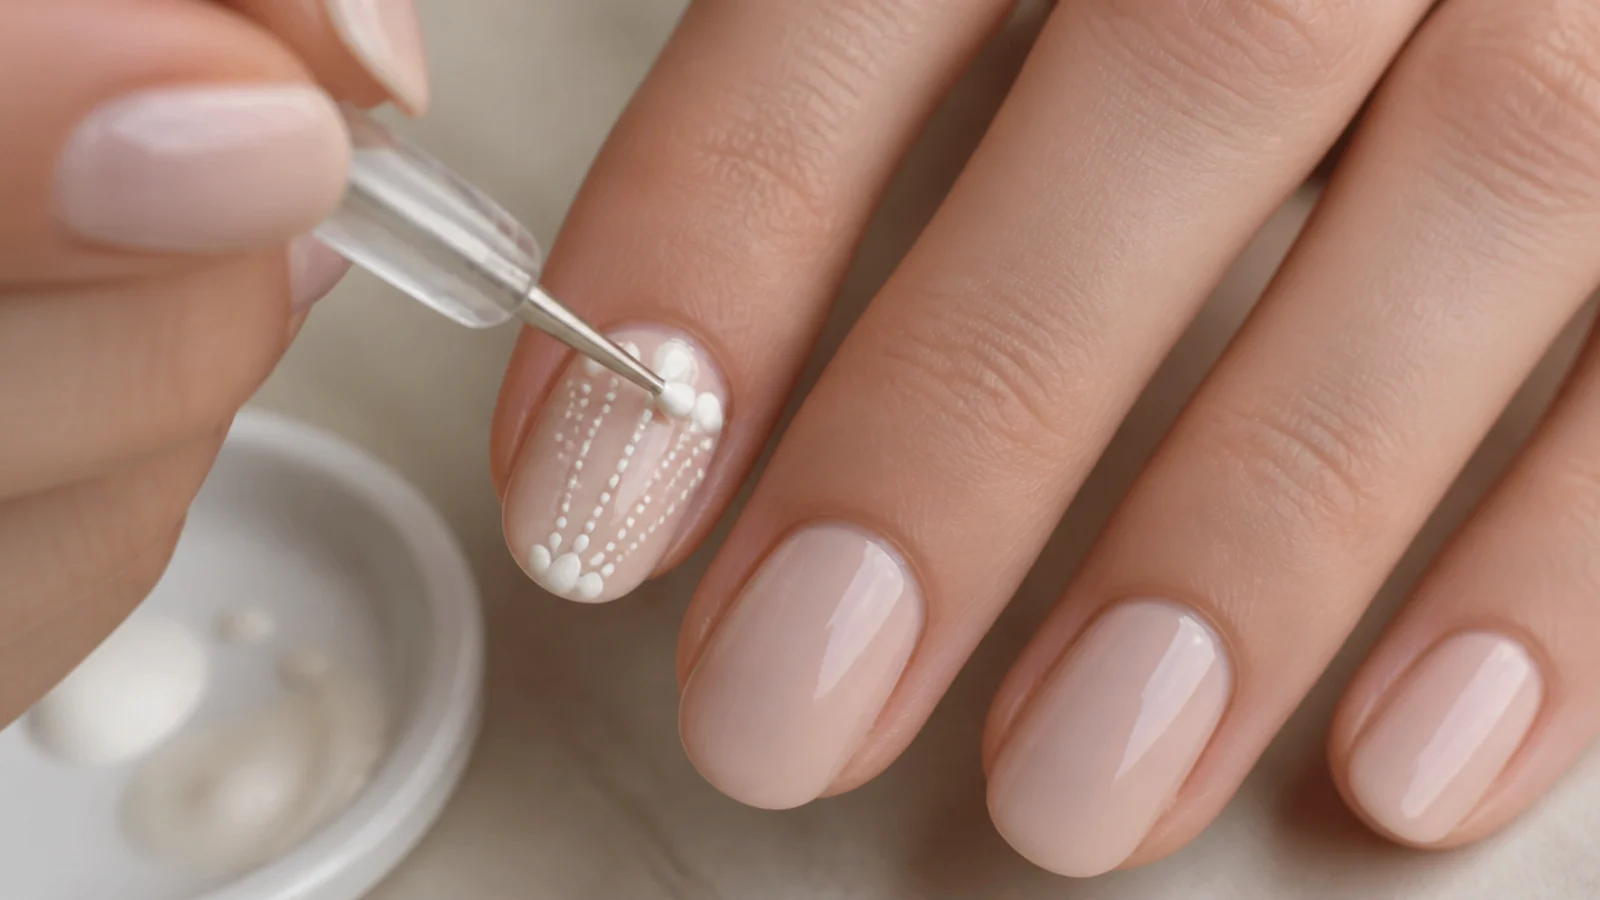
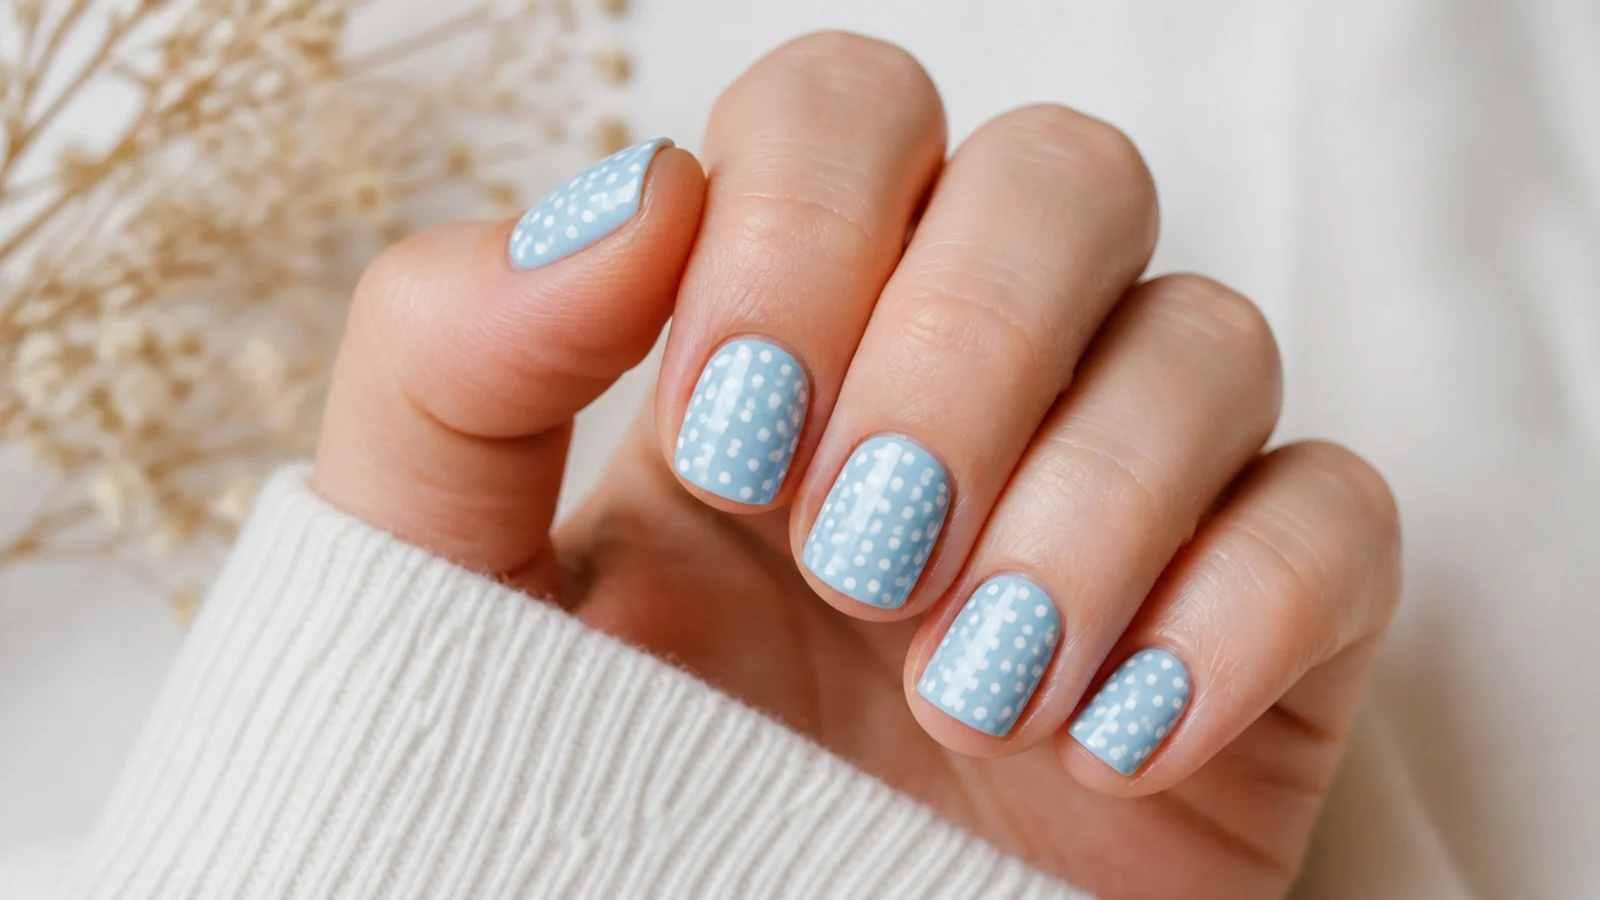
Choose one accent nail, usually the ring finger. Load a small dotting tool with cream or pale pink polish and place a row of dots, then a shorter row above it, tapering to one dot at the top to build a scallop shell. For a starfish, place one center dot and drag five short lines out with the tool tip. Add tiny sand-colored dots around them for texture. A dotting tool gives more control here than a brush, which is why beginners get cleaner shells this way. Save the busiest art for this one nail, the approach that makes beach and summer nail ideas look intentional rather than crowded.
Common mistake: Overloading the dotting tool floods the dots together into a shapeless blob, not a shell.
Pro tip: Wipe the tool on a paper towel between dots so each one stays crisp and the same size.
5. Paint the Wave Foam Line With a Striping Brush
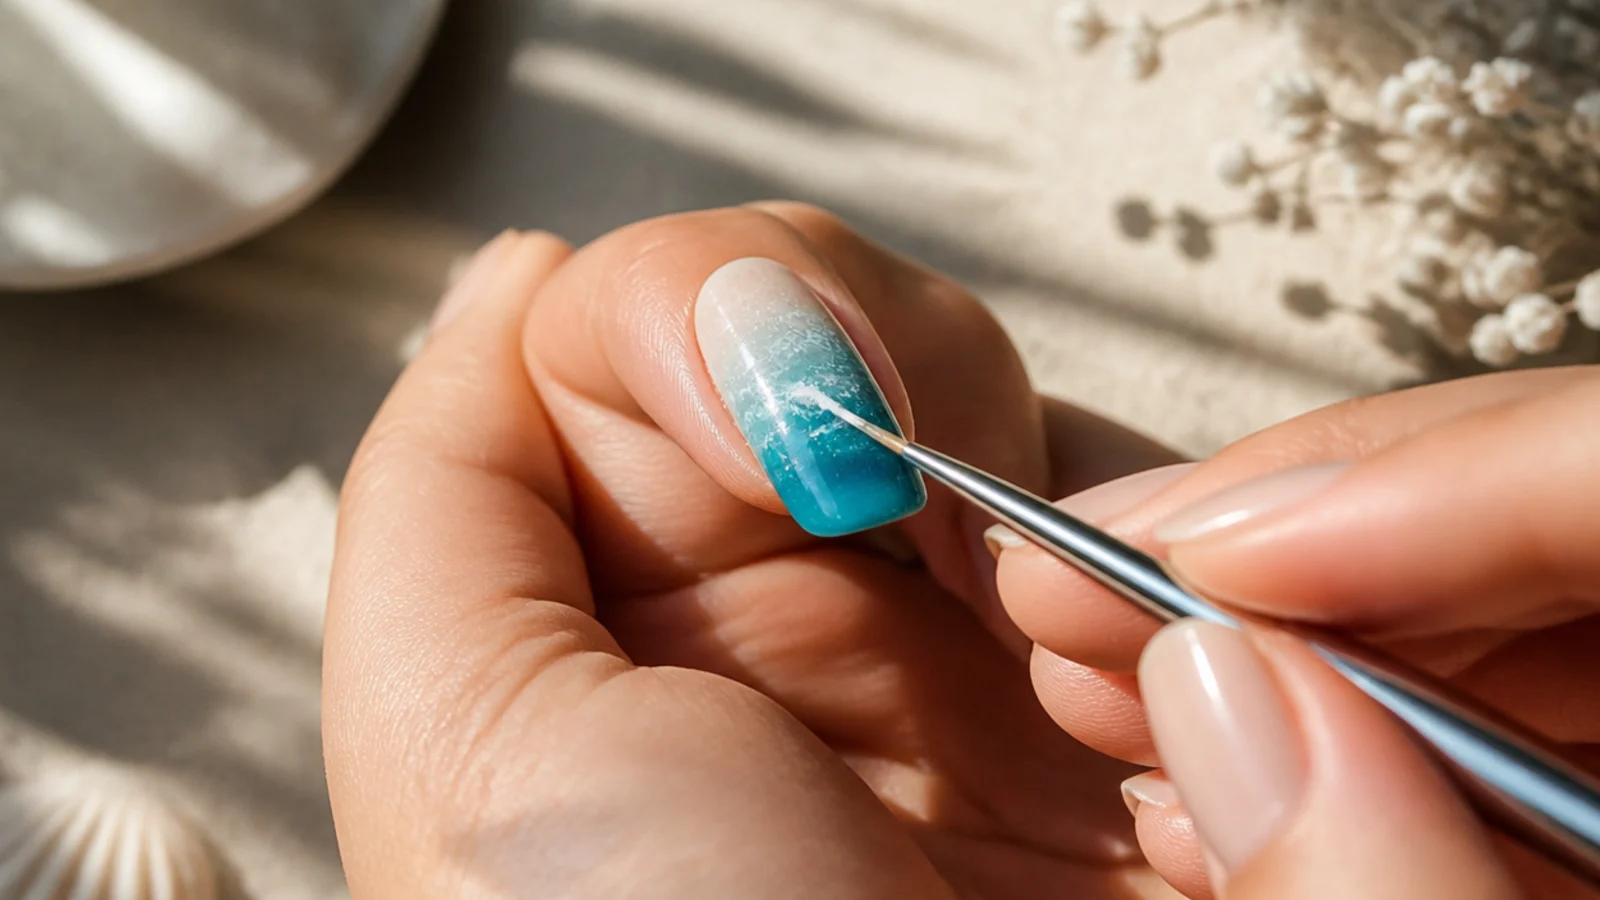
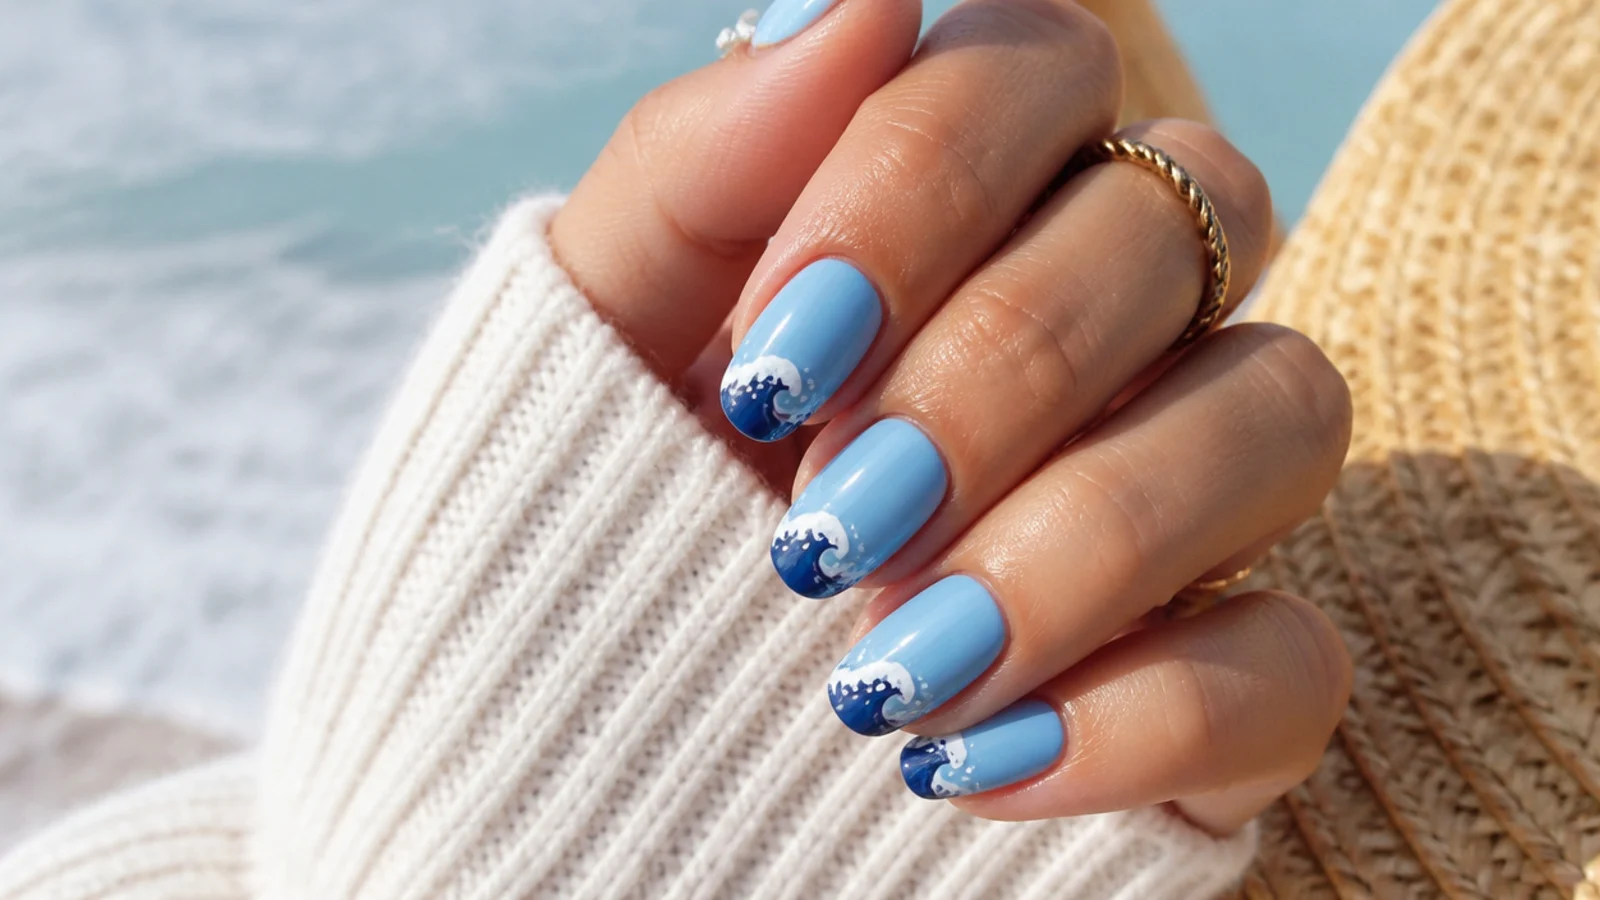
Thin a white polish slightly by leaving the cap off for a minute, then load a striping brush and drag one wavy line across the gradient where the water would meet the sky. Add a second shorter foam line below it and tap a few tiny white dots along the crest for sea spray. Keep the brush moving in one smooth pull rather than short choppy strokes, which is what makes the foam read as a wave. This one-line control is the same skill behind how to do french tip nails at home and the wave work in blue summer nails with ocean wave designs.
Common mistake: A brush overloaded with thick white polish drags a fat, ropey line instead of a thin foam edge.
Pro tip: Rest your painting hand on a book or table edge to steady the pull across the nail.
6. Encapsulate Pearls and Seal With a Beach-Proof Top Coat
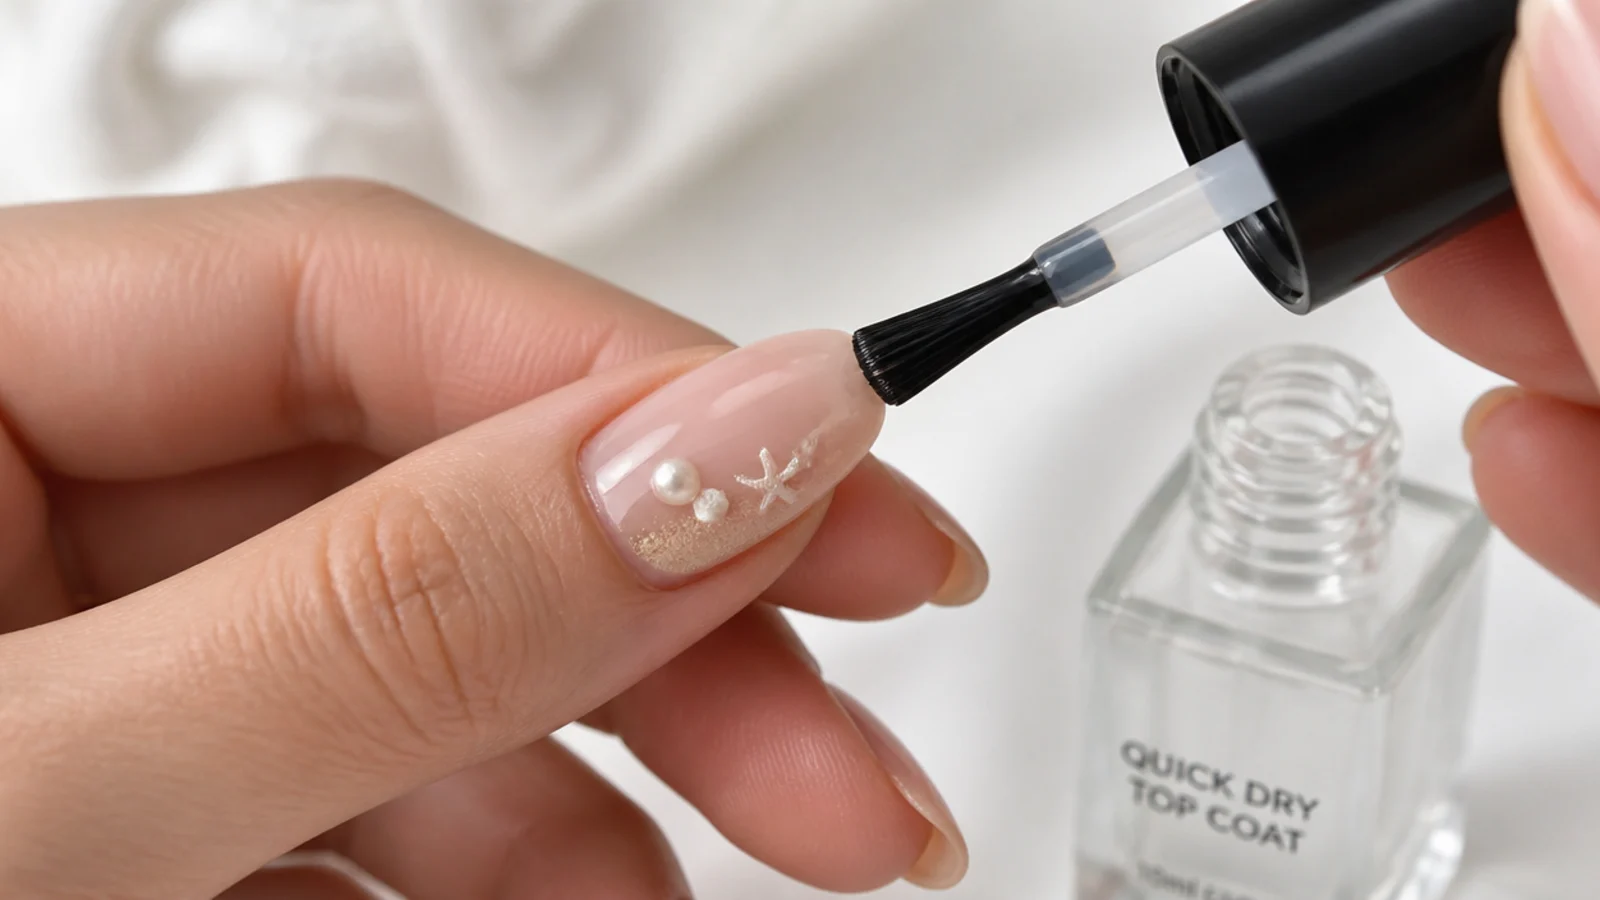
Let all the art dry three to five minutes so it will not smear. Place one or two flat-back pearls or a micro shell charm near the cuticle of the accent nail with a dot of top coat as glue. Then float a quick-dry top coat over the whole nail using two or three long strokes and almost no pressure, so the brush glides above the art rather than dragging it. Cap the free edge with the top coat to seal against chipping. For lasting wear, an at-home gel top coat cured under a lamp holds far longer, the same finish used in how to do blooming gel nails.
Common mistake: Pressing hard or over-brushing the top coat smears the wet white wave into a blue haze.
Pro tip: Float, do not scrub. Two long passes beat ten short ones for keeping art crisp.
Tools, Polishes and What Each One Costs
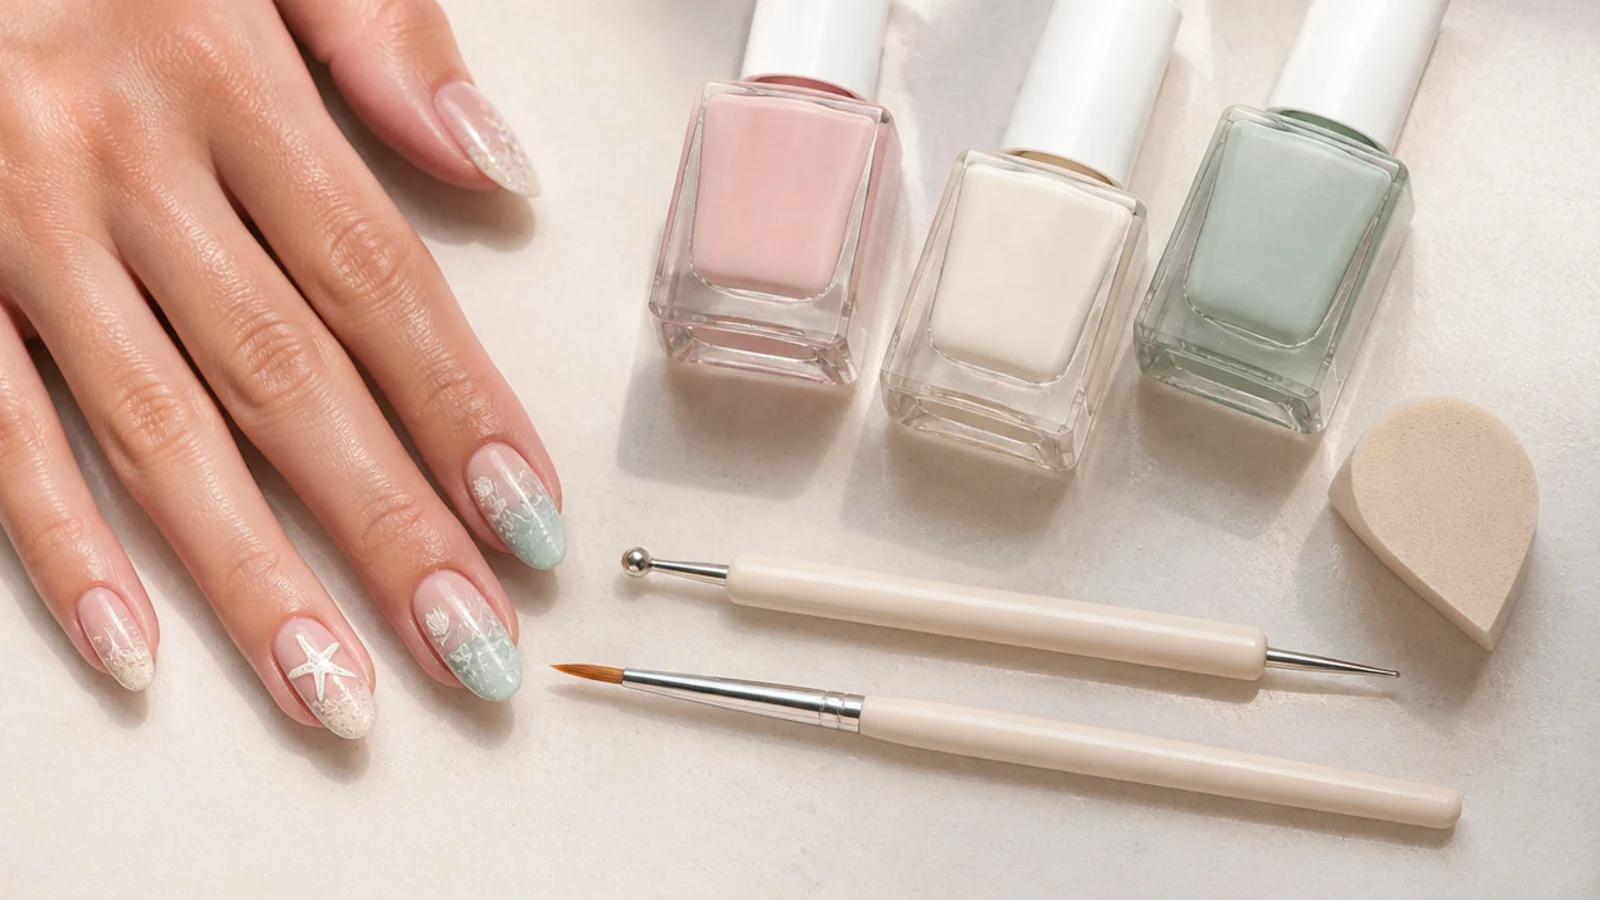
You can build this whole look for around 25 dollars if you are starting from nothing, and far less if you own polish already. The must-haves: a base coat and a quick-dry top coat (5 to 12 dollars each), a milky nude or sky-blue background, a turquoise and a navy blue, a white for the foam, and a cream or pale pink for shells. A double-ended dotting tool runs 3 to 6 dollars, a striping brush 2 to 5, and a wedge makeup sponge is pennies. Flat-back pearls and micro shell charms are optional and cost a few dollars a pack. You do not need an airbrush or a UV lamp for regular polish, though a lamp and gel top coat add durability if you own them, as covered in how to do blooming gel nails. Print this list before a supply run so you buy the two blues, not five. If you want a softer sea-glass finish instead of high shine, a matte top coat swaps in, the same idea as how to do matte nails.
Exact Dry Times Between Each Step
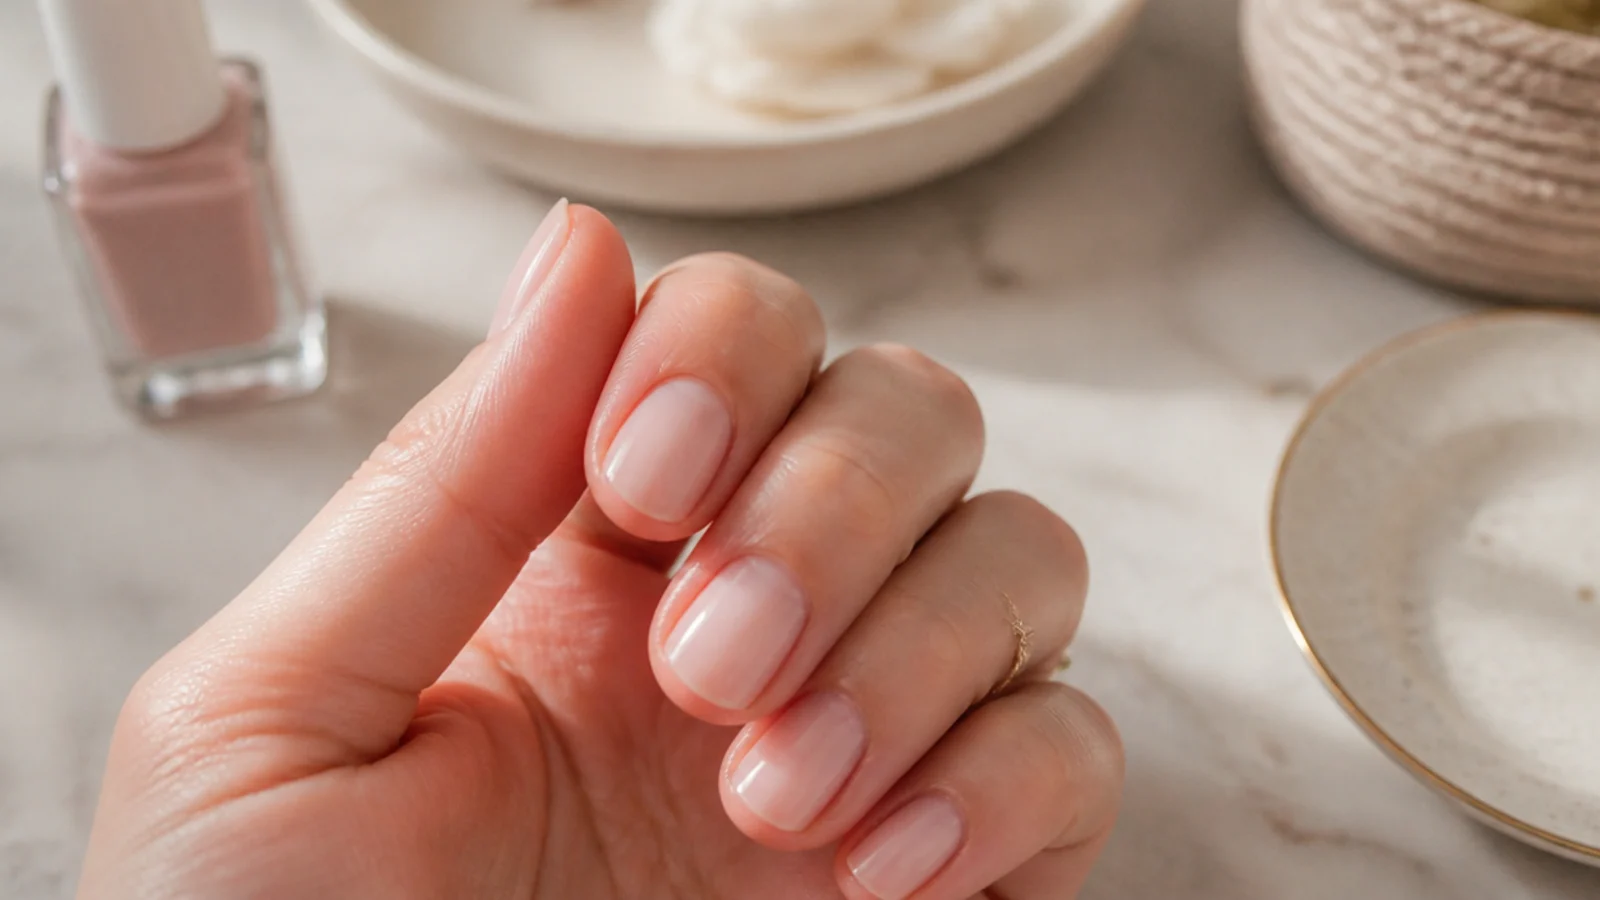
Rushing dry time is the single biggest reason at-home beach nails smear, so treat these waits as part of the technique. Base coat: two minutes. Each color coat of the milky background: two minutes, so about four minutes for two coats. The sponged gradient: three minutes, because sponging deposits more polish than a brush and it stays wet longer than it looks. Dotted shells and the striped wave line: three to five minutes before you top coat, and this is the wait people skip and regret. Top coat: two minutes to gel over, and about ten to be touch-safe, or 60 seconds under an LED lamp for gel. Regular polish is not fully cured for several hours, so avoid tight shoes, showers and keyboards for at least one hour. Doing all ten nails takes 40 to 60 minutes with these pauses built in, and a quick-dry top coat shaves the most time off the back end. Beginners can start smaller, the way simple summer nails at home does.
Troubleshooting Thick Wave Lines, Bleeding Dots and Dragging Top Coat
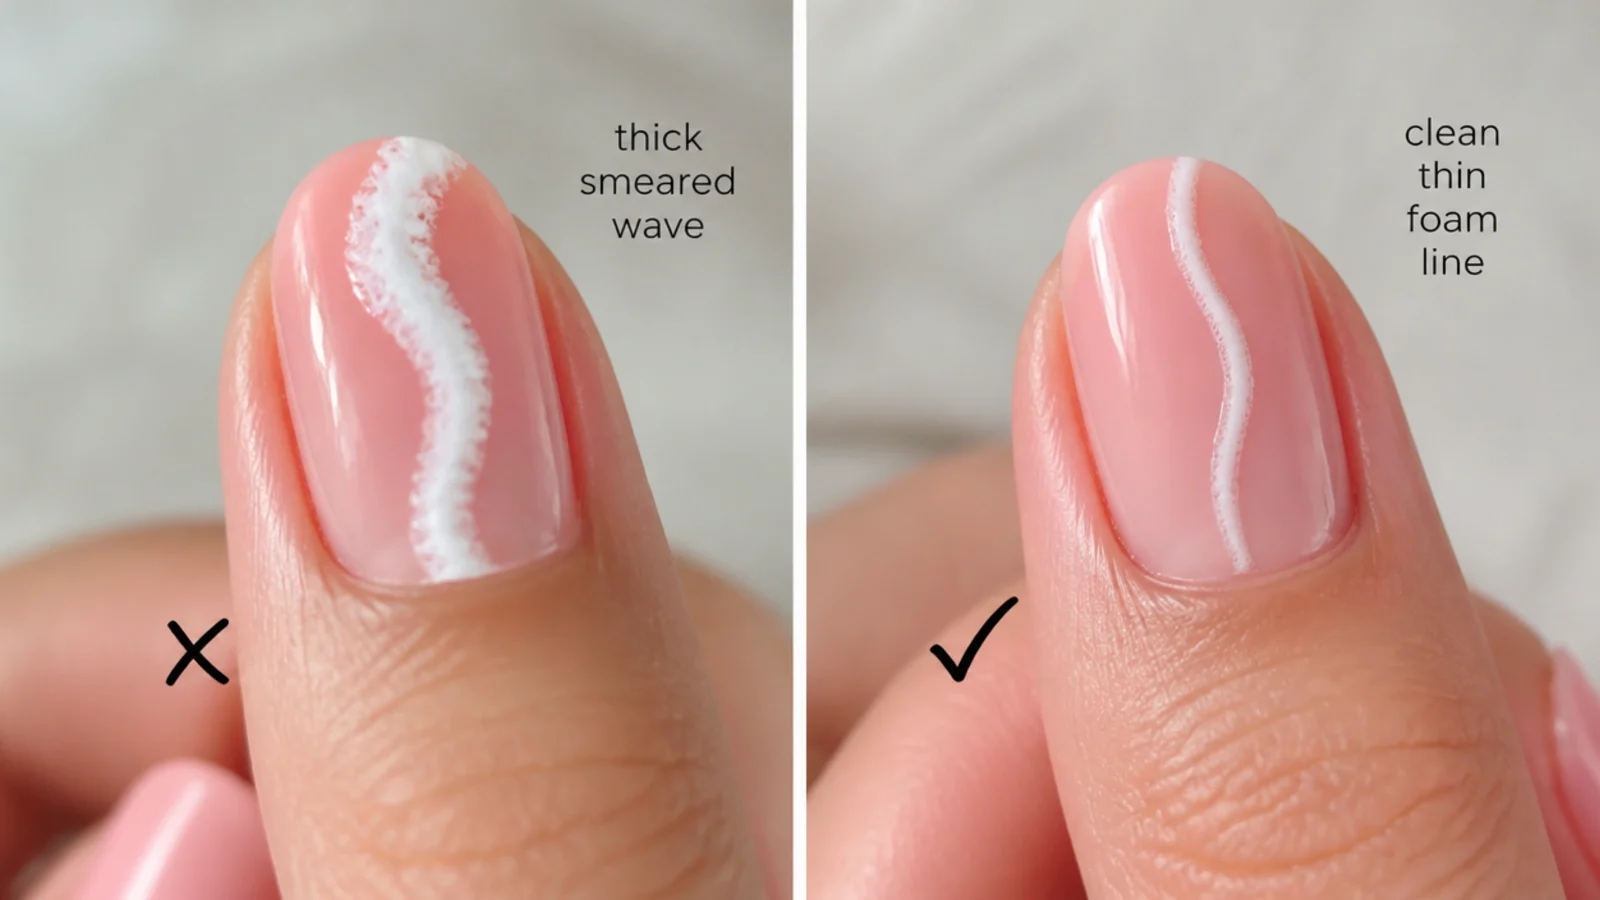
Four failures cover almost every beach manicure. Thick, ropey wave lines: your white is too gooey or the brush is overloaded, so leave the cap off a minute to thin it and wipe the striper on a towel before each pull. Dots that bleed into blobs: the layer under them was still wet, or the tool held too much polish, so let the gradient dry three minutes and reload lightly. Top coat dragging the white into a blue haze: you brushed too soon or pressed too hard, so wait the full three to five minutes and float two long strokes instead of scrubbing. A muddy gray gradient: you wiped the sponge sideways or used blues too close in tone, so dab straight down and pick a turquoise and a navy that clearly differ. If art still lifts at the edge within a day, you skipped the degrease in step one. When a nail is beyond saving, wipe it and restart just that one rather than reworking the whole hand, the same salvage habit behind simple summer nails at home.
Which Beach Design to Start With by Skill Level
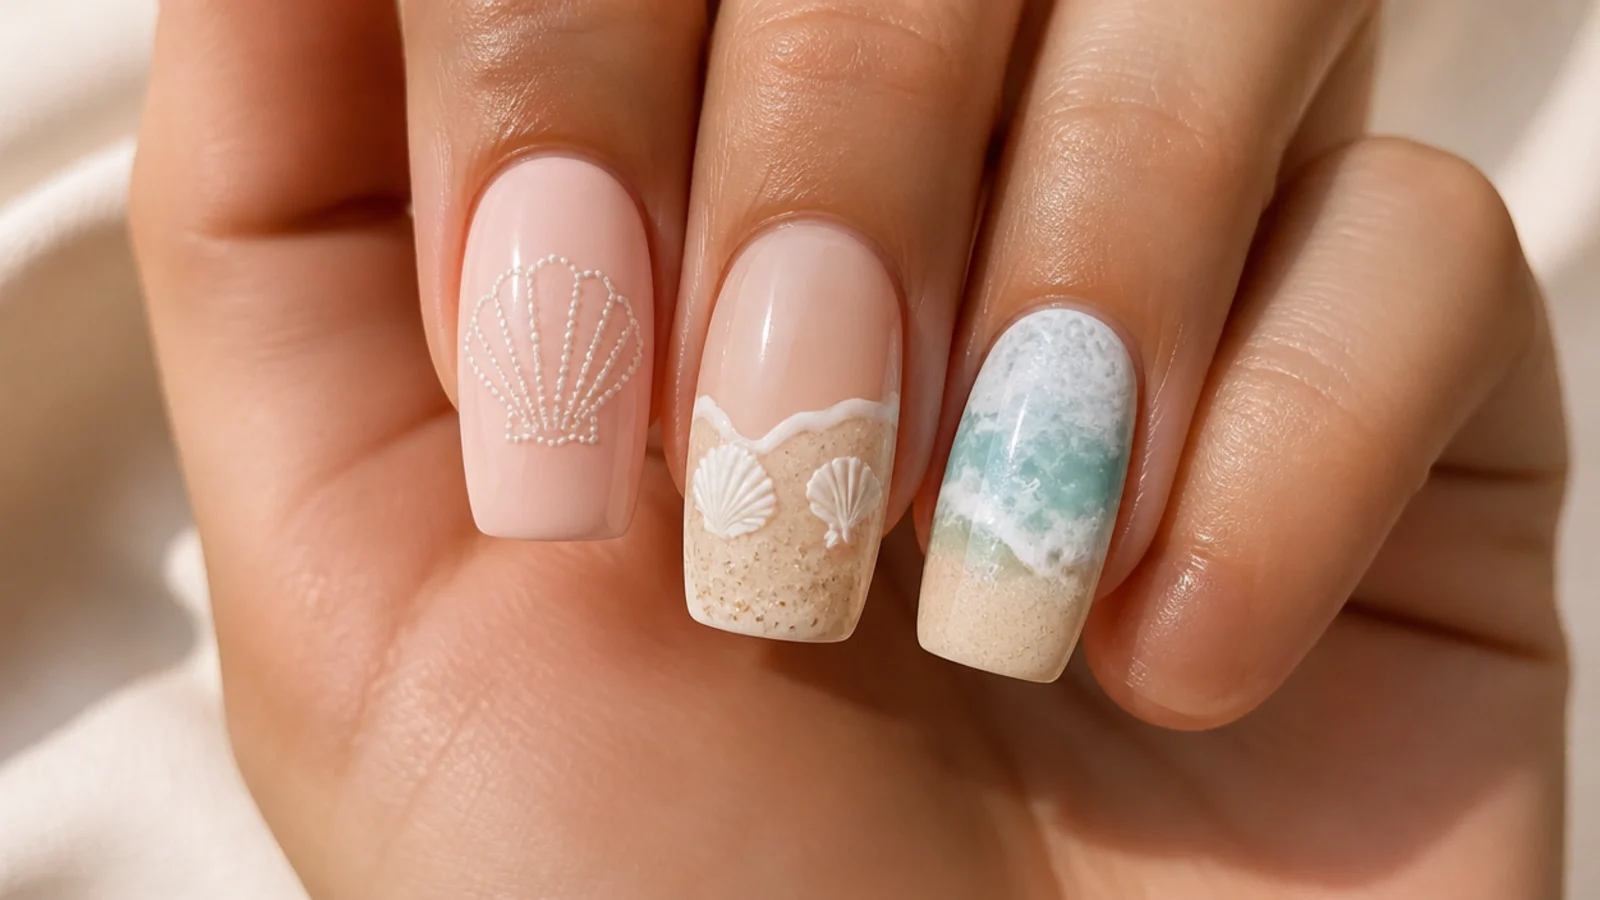
Match the design to your comfort so your first attempt actually finishes. Absolute beginner: skip the gradient and do a milky base with a single dotting-tool shell on one nail and tiny gold sand dots, which needs only a base, one polish and a dotting tool. Confident beginner: add the sponged ocean gradient on a few nails and keep the shells simple, the level most of this tutorial targets. Advanced beginner: layer the gradient, the striped foam wave and encapsulated pearls together, which is the full look in the steps above. Comfortable with color work: try a sunset gradient instead of ocean, warming from coral to peach to lilac, or add mermaid chrome using a pearl powder like pearl white chrome nails. If shells feel fiddly, borrow the softer, blurred look of soap nails instead. Short nails do best with a low horizon and one accent nail, matching the picks in summer nail colors for short nails.
Making the Look Last Through an Actual Beach Day
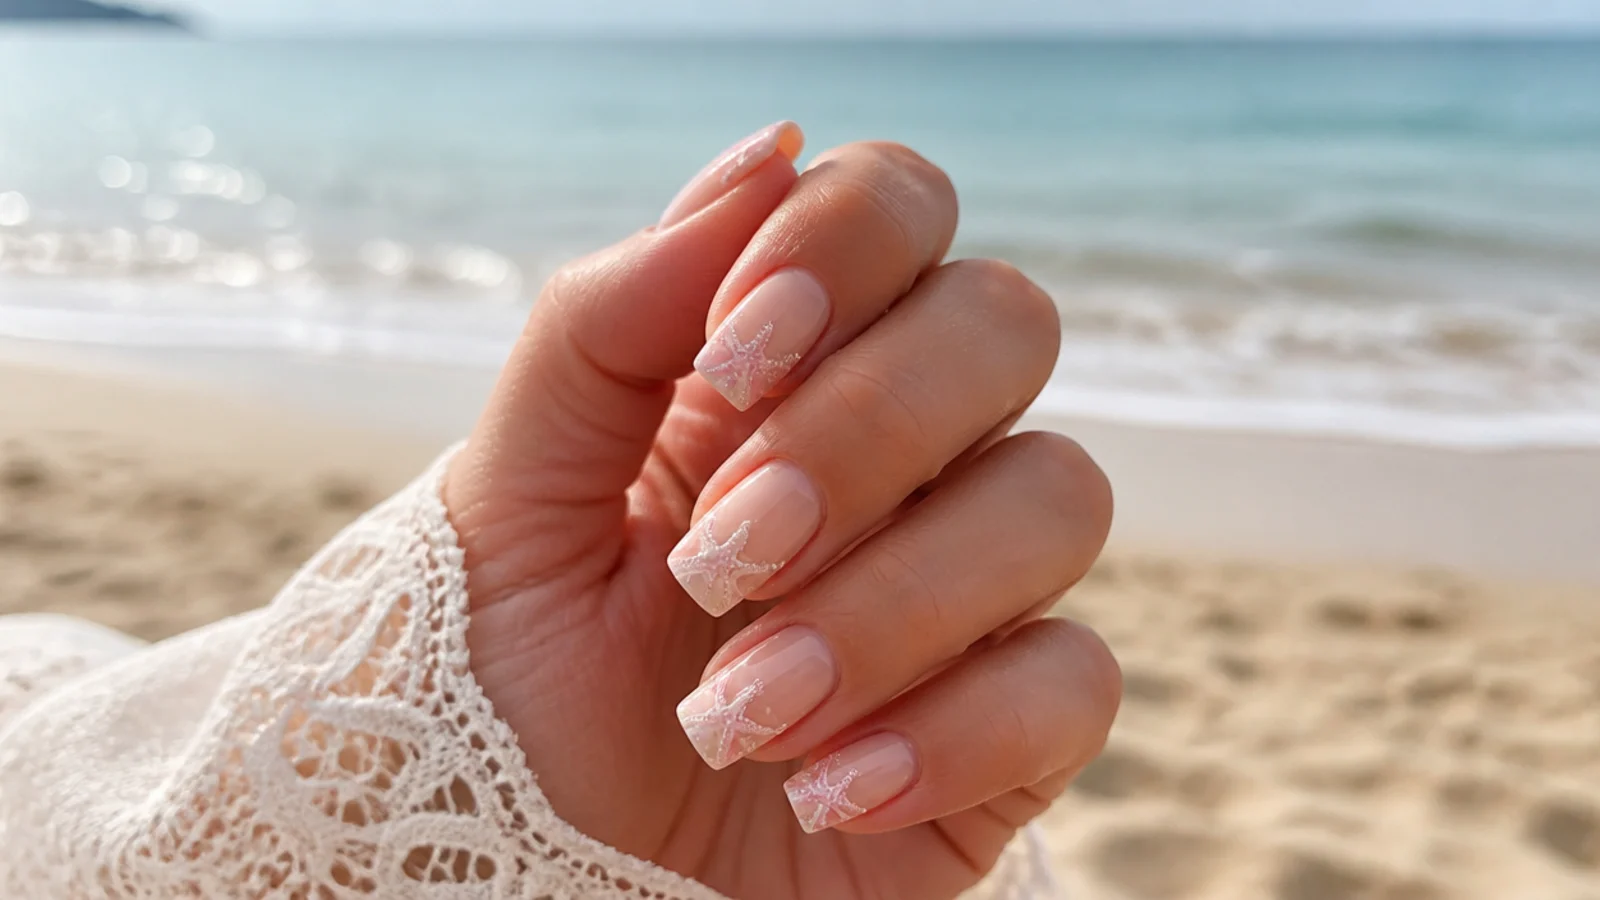
Painting the art is half the job; surviving the beach is the other half nobody tells you about. Saltwater and sand act like a mild abrasive, chlorine dulls and lifts chrome and pearl finishes, and the SPF in sunscreen chemically yellows white and pale polish over a few days. Regular polish with a quick-dry top coat looks great for photos but realistically lasts two to four days of swimming; an at-home gel set holds one to two weeks. Cap the free edge on every coat, reapply a fresh layer of top coat mid-trip, and wear gloves for any dishwashing. For bright beach shades that photograph well in direct sun, see bright summer nail ideas, and for the full care routine, read how to make summer nails last through saltwater, chlorine and sunscreen. A boho, earthier take on the season lives at summer boho nails.
Frequently Asked Questions
How do you do beach nails at home step by step?
Prep and degrease the nails, then paint a base coat and two thin coats of a milky nude or sky blue. Sponge a turquoise-to-navy ocean gradient, dot cream shells on one accent nail with a dotting tool, and drag a thin white foam wave with a striping brush. Let the art dry three to five minutes, add pearls, then float a quick-dry top coat over the top.
How do you paint waves on nails?
Thin a white polish by leaving the cap off for a minute, then load a striping brush and pull one smooth wavy line where water meets sky. Add a shorter foam line below and a few tiny dots along the crest for sea spray. Keep the brush moving in one continuous pull rather than short choppy strokes, and rest your hand on a table to steady it.
What do you need to make shell nail art?
A small dotting tool and one cream or pale pink polish. Build a scallop shell by placing a row of dots, then a shorter row above, tapering to a single dot at the top. For a starfish, set one center dot and drag five short lines out with the tool tip. Wipe the tool between dots so each one stays crisp and the same size.
How do you make a sunset ombre on nails?
Paint stripes of coral, peach and soft lilac onto a flat makeup sponge so they overlap slightly, then press the sponge straight down onto the nail and dab two or three times. Reload every couple of nails and keep the warmest color low. It is the same sponging motion as an ocean gradient, just warmed up. Let it dry three minutes before top coat.
What colors do you need for beach nails?
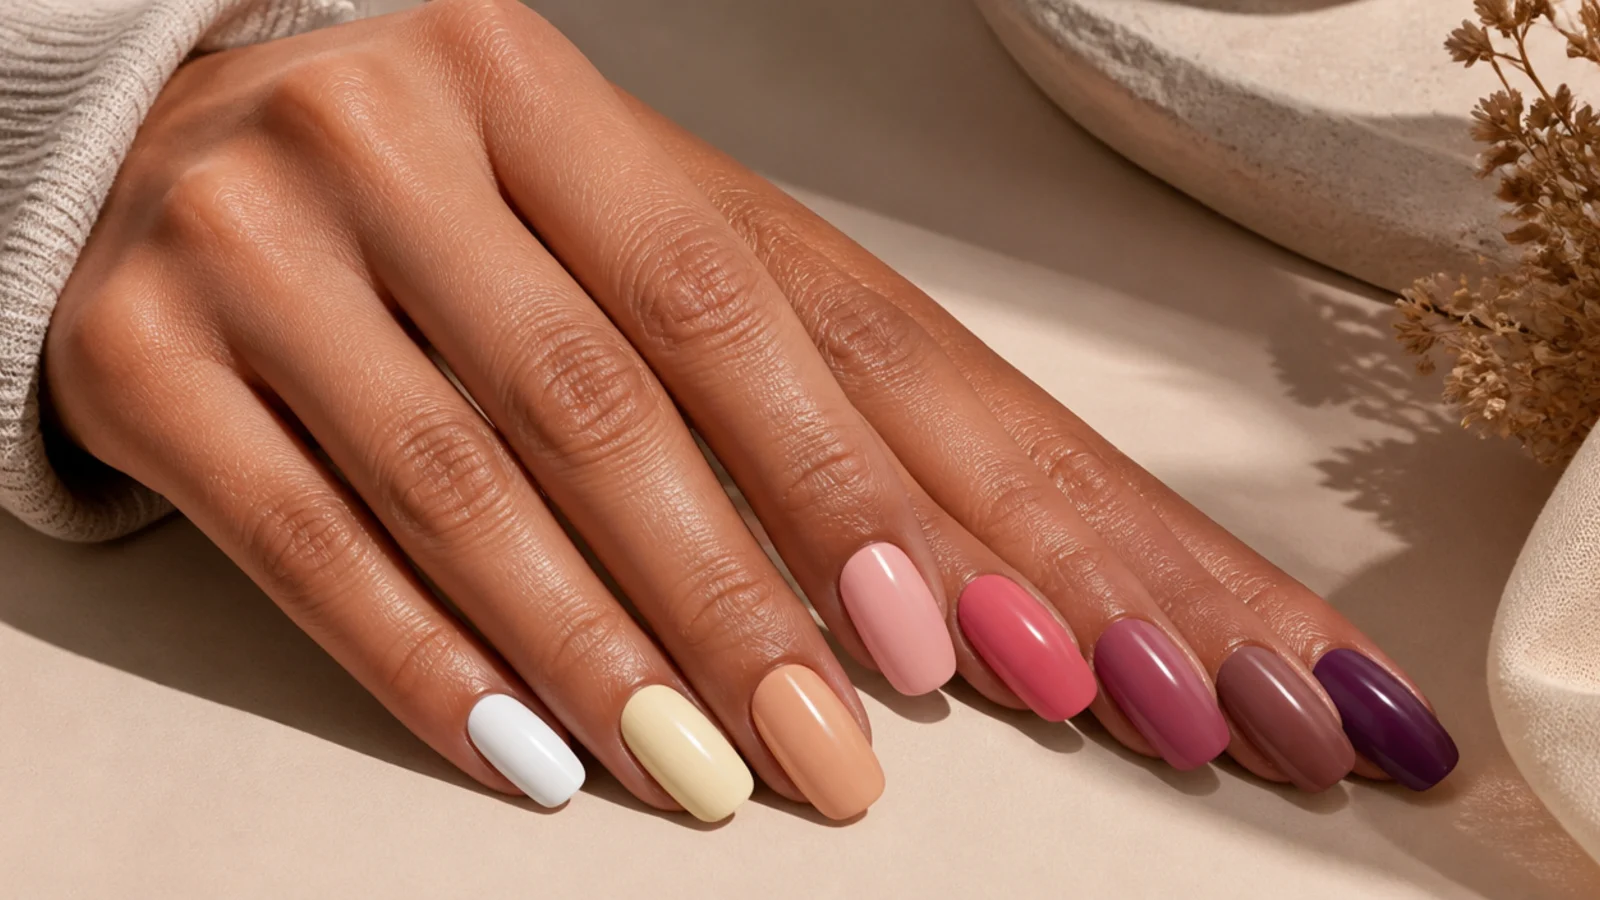
A milky nude or sky-blue base, a turquoise and a navy for the ocean gradient, a white for the foam wave, and a cream or pale pink for shells. That five-polish kit covers the classic ocean look. For a sunset version, swap the blues for coral, peach and lilac. A pearl or chrome powder adds a mermaid finish if you want one.
How long does at-home beach nail art take?
About 40 to 60 minutes for all ten nails, including the dry time between layers. The painting itself is quick; the waiting is what protects the art from smearing. You can cut it shorter by doing a simpler design on one accent nail and a plain base on the rest, or by using a quick-dry top coat and a fan.
Can beginners do beach nail art?
Yes. Start with a milky base and a single dotted shell on one accent nail, which needs only a base, one polish and a dotting tool. Add the sponged gradient once you are comfortable, then the striped wave last. Mistakes wipe off with remover before you top coat, so beach art is a forgiving place to learn dots and stripes.
How do you keep beach nail art from smudging?
Wait between layers. Give the gradient three minutes and the shells and wave line three to five before you top coat, because a smear is almost always a rushed layer. When you seal it, float the top coat in two long strokes with almost no pressure instead of scrubbing, so the brush glides above the art rather than dragging the wet white into it.
Do beach nails hold up in saltwater and sunscreen?
Regular polish realistically lasts two to four days of swimming before it chips, and the SPF in sunscreen yellows white and pastel shades within a few days. At-home gel holds one to two weeks and resists salt and chlorine far better. Cap the free edge and reapply top coat mid-trip. See how to make summer nails last for the full care routine.
Work in a ventilated room, keep polish and acetone away from broken skin, and cure gel only under a proper UV or LED lamp. If you notice lifting, pain or irritation, stop and see a licensed nail technician.
Which beach & summer nails look are you saving?
The one habit that saves every beach manicure is waiting: give the base coat two full minutes, the gradient three, and the shell and wave art three to five before you top coat, because a dragged wave line is almost always a rushed one. Keep your blues to two shades and your white to a thin striper, work one accent nail instead of ten, and clean up the cuticle line with an angled brush dipped in remover at the end. Once the look is dry, protect it: the salt, sunscreen and chlorine of an actual beach day will lift art fast, so read how to make summer nails last before you travel. Then browse the full beach and summer nails hub for your next design.