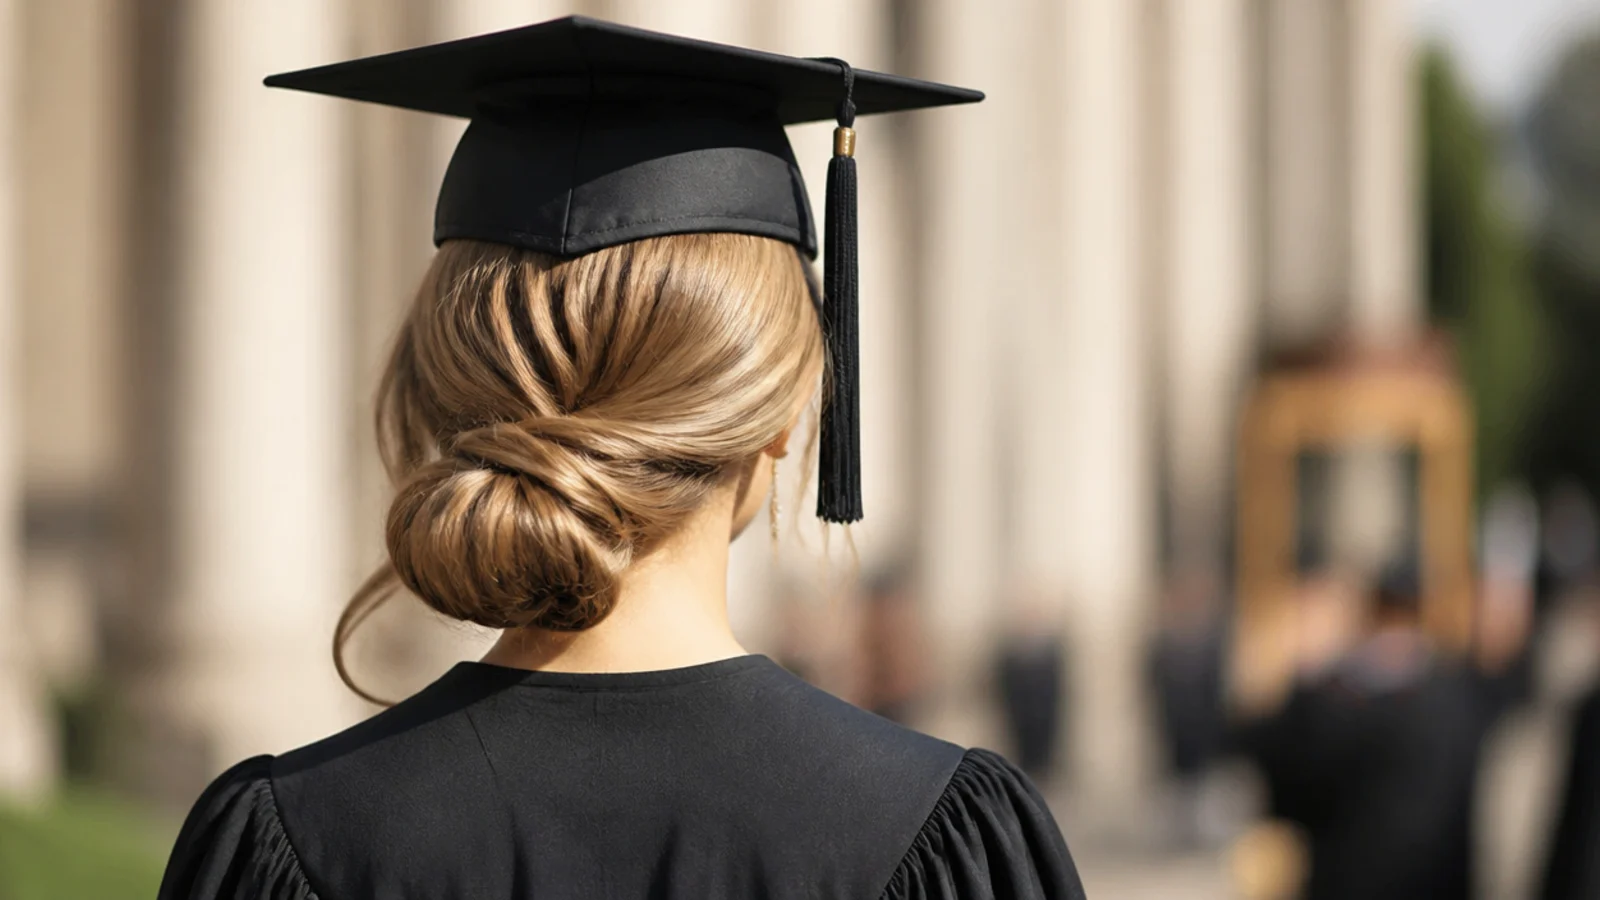
Quick Comparison
| Quick styles (under 5 minutes) | Longer easy styles (10-20 minutes) | |
|---|---|---|
| Examples | Claw-clip twist, low twisted bun, rope-twist half-up | Dutch crown braid, two low braids, side-swept waves, slicked low bun |
| Tools needed | One clip or elastic, 2-4 bobby pins | Curling iron or gel, 8-20 pins, brush, spray |
| Skill floor | None; doable on the first attempt with no practice run | Basic braiding or curling; do one practice run the week before |
| Cap-on hold, 4 hours | Good; low profile but can loosen if hair is freshly washed | Excellent; braided versions look unchanged at the end |
| Cap-off photo payoff | Neat but plain; add a pinned section or clip for interest | Strong; visible texture and shape that reads intentional |
| Dent risk at the crown | Low, because there is nothing built up to crush | Low if kept below the cap line, high if the braid runs across the front hairline |
| Humidity tolerance | High; nothing to frizz out of place | Braids high, curls and gel low at outdoor spring ceremonies |
| Best start time | 20 to 30 minutes before you leave | 60 to 120 minutes before, or the night before for braids only |
| Best for | Running late, fine or short hair, first-time self-styling | Photo-heavy days, thick or long hair, outdoor ceremonies |
1. Two-Minute Low Twisted Bun at the Nape
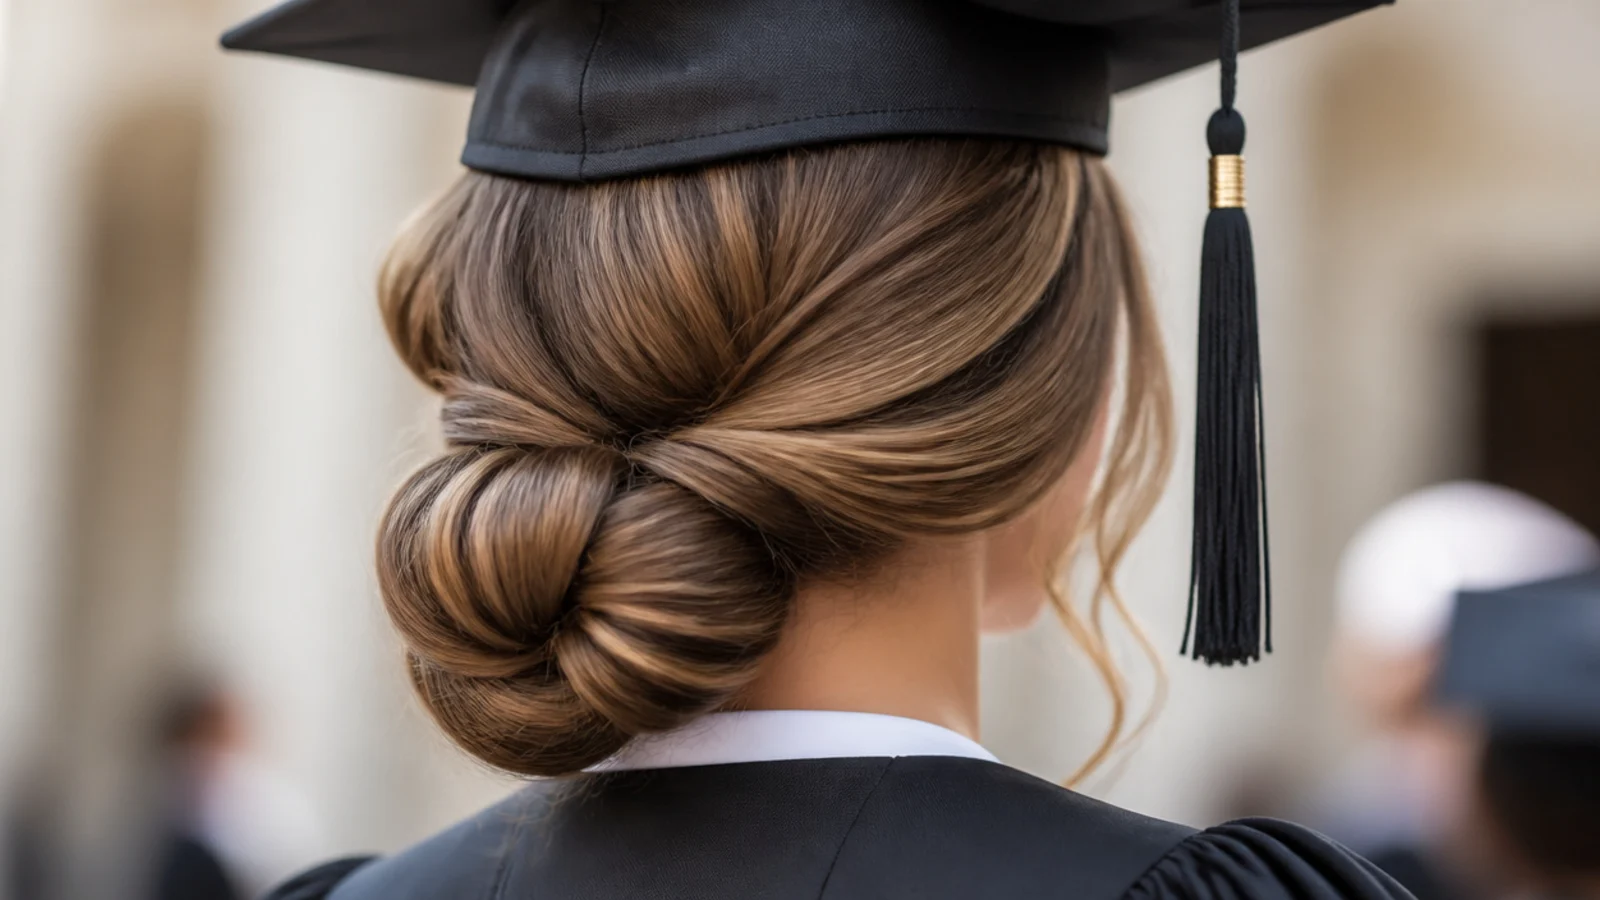
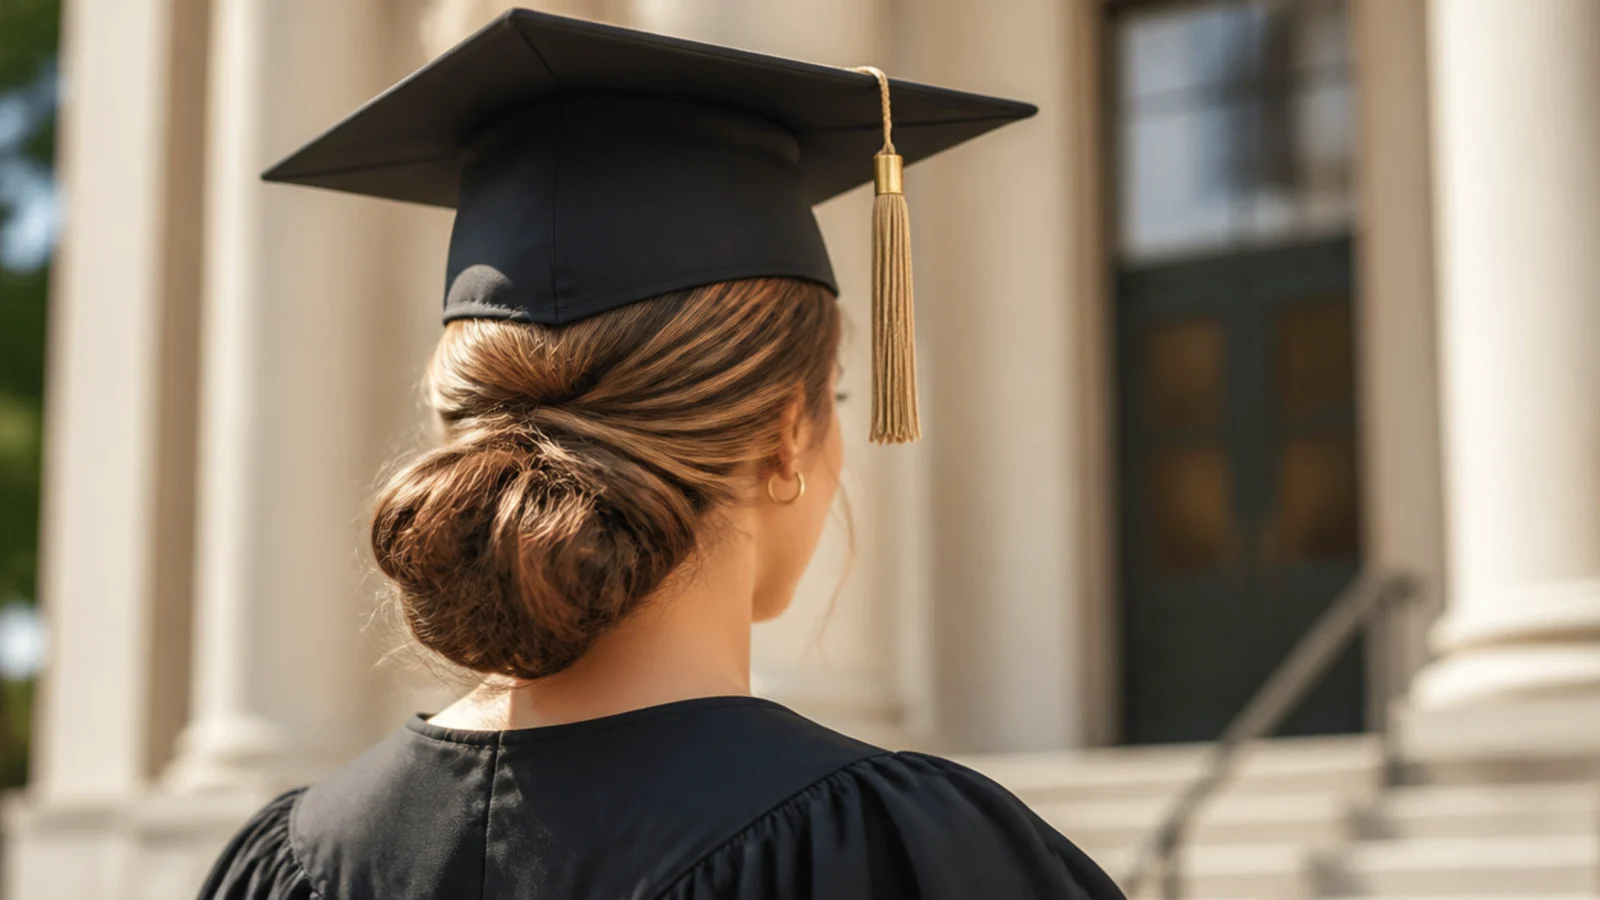
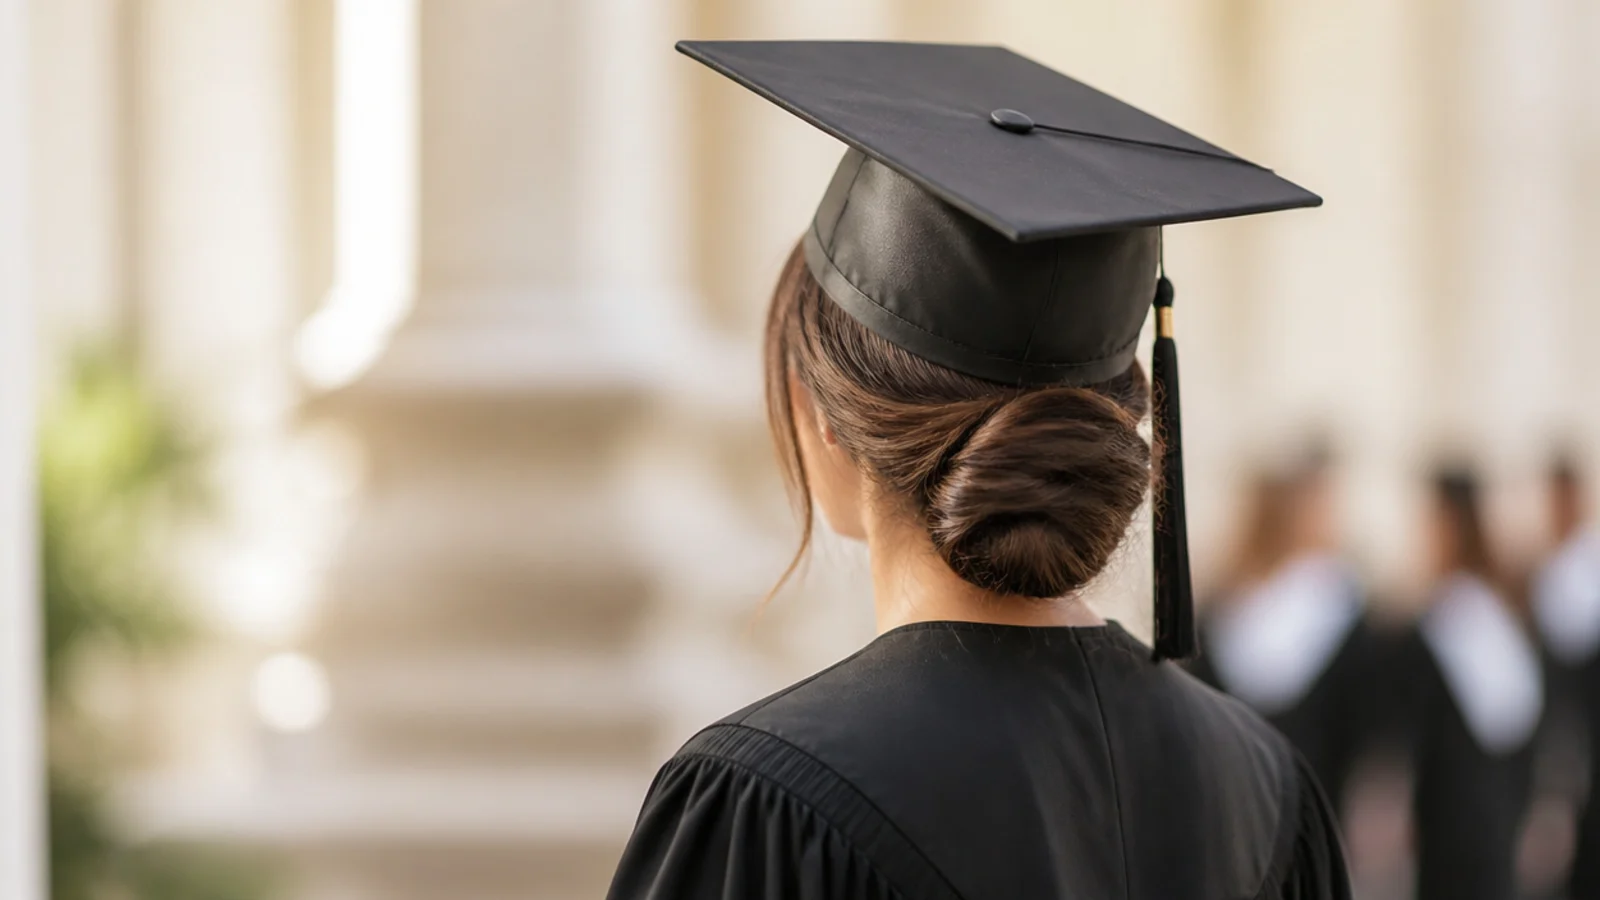
Gather everything into a low ponytail at the nape, twist the length into a rope until it starts to coil on itself, wrap the coil around the base and pin. It is the fastest cap-proof style there is, and it sits a full 4 to 5 inches below where the mortarboard front edge lands, so there is nothing for the cap to fight. Four bobby pins, pushed in against the direction of the twist, hold it on hair from shoulder length down. Leave the twist a little loose at the sides so the silhouette is not flat in photos.
Who it suits: Shoulder-length to waist-length hair, any texture, anyone running late.
Tip: Pin into the twist itself, not the scalp, or the bun swings loose halfway through the ceremony.
2. Five-Minute Sleek Low Ponytail With a Wrapped Elastic
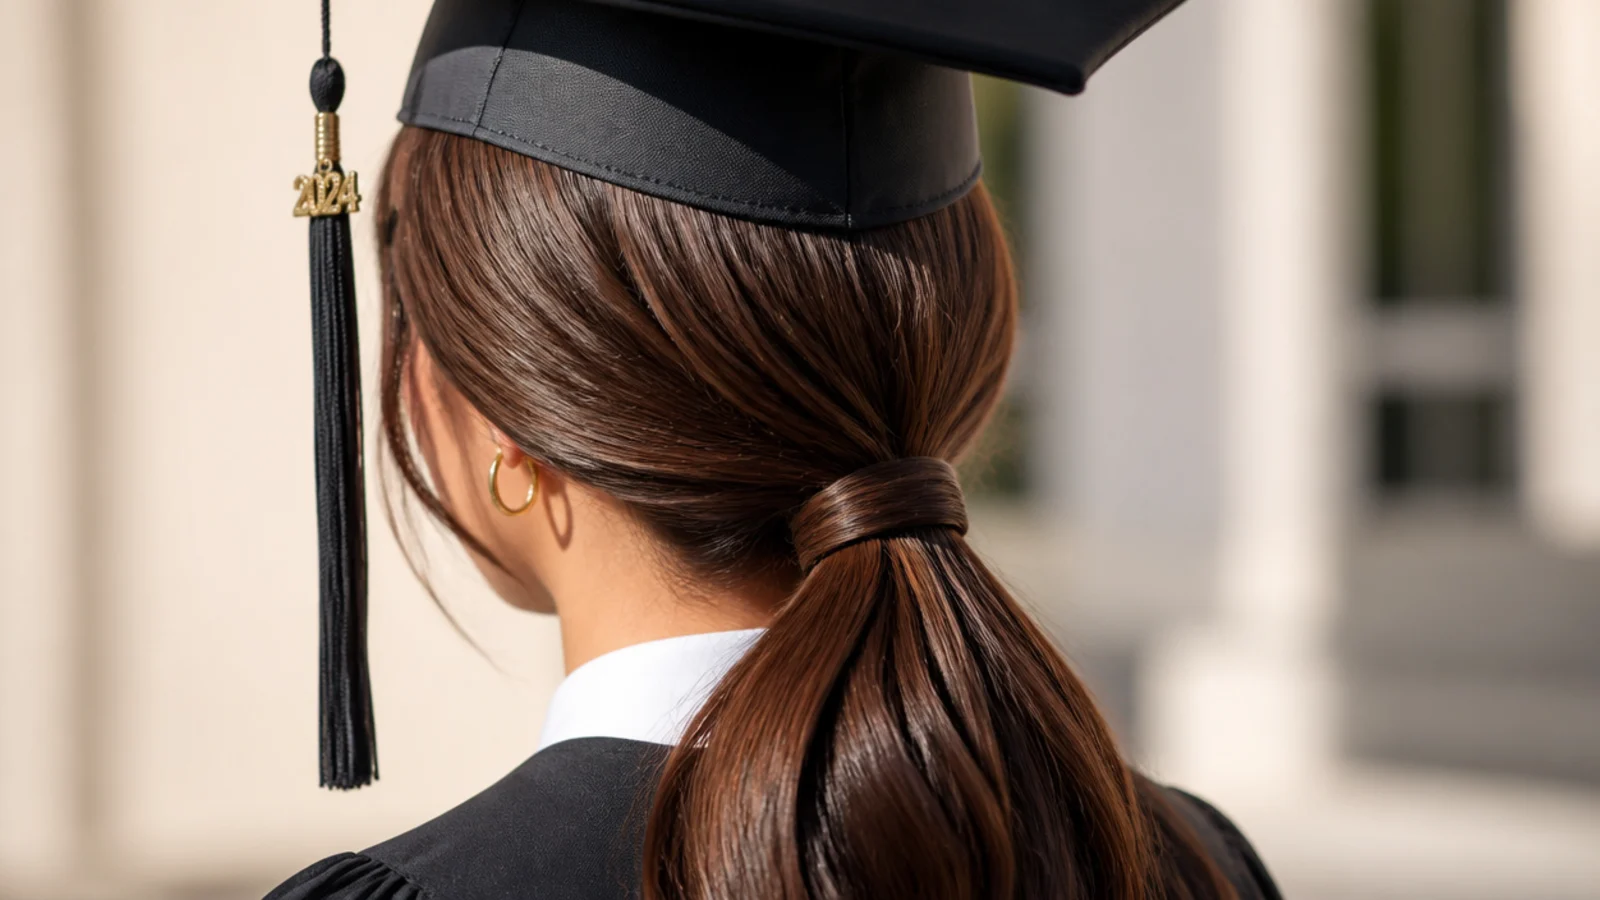
Brush a pea-sized amount of smoothing cream through dry hair, tie a ponytail at the base of the skull, then take a half-inch section from underneath, wrap it around the elastic twice and pin the end up into the tie. The wrap is what turns a gym ponytail into an occasion one, and it costs about 40 seconds. Because the elastic sits below the occipital bone, the cap band clears it entirely. On fine hair, backcomb the crown lightly first so the top does not read flat once the mortarboard presses down. More ponytail variations live in ponytail styles.
Who it suits: Fine to medium hair, chin length and longer, minimalist gowns.
Tip: Tie it slightly off-center toward one shoulder so the tassel does not land on the same line.
3. Overnight Side-Bun Heatless Waves (8 Hours, Zero Heat)
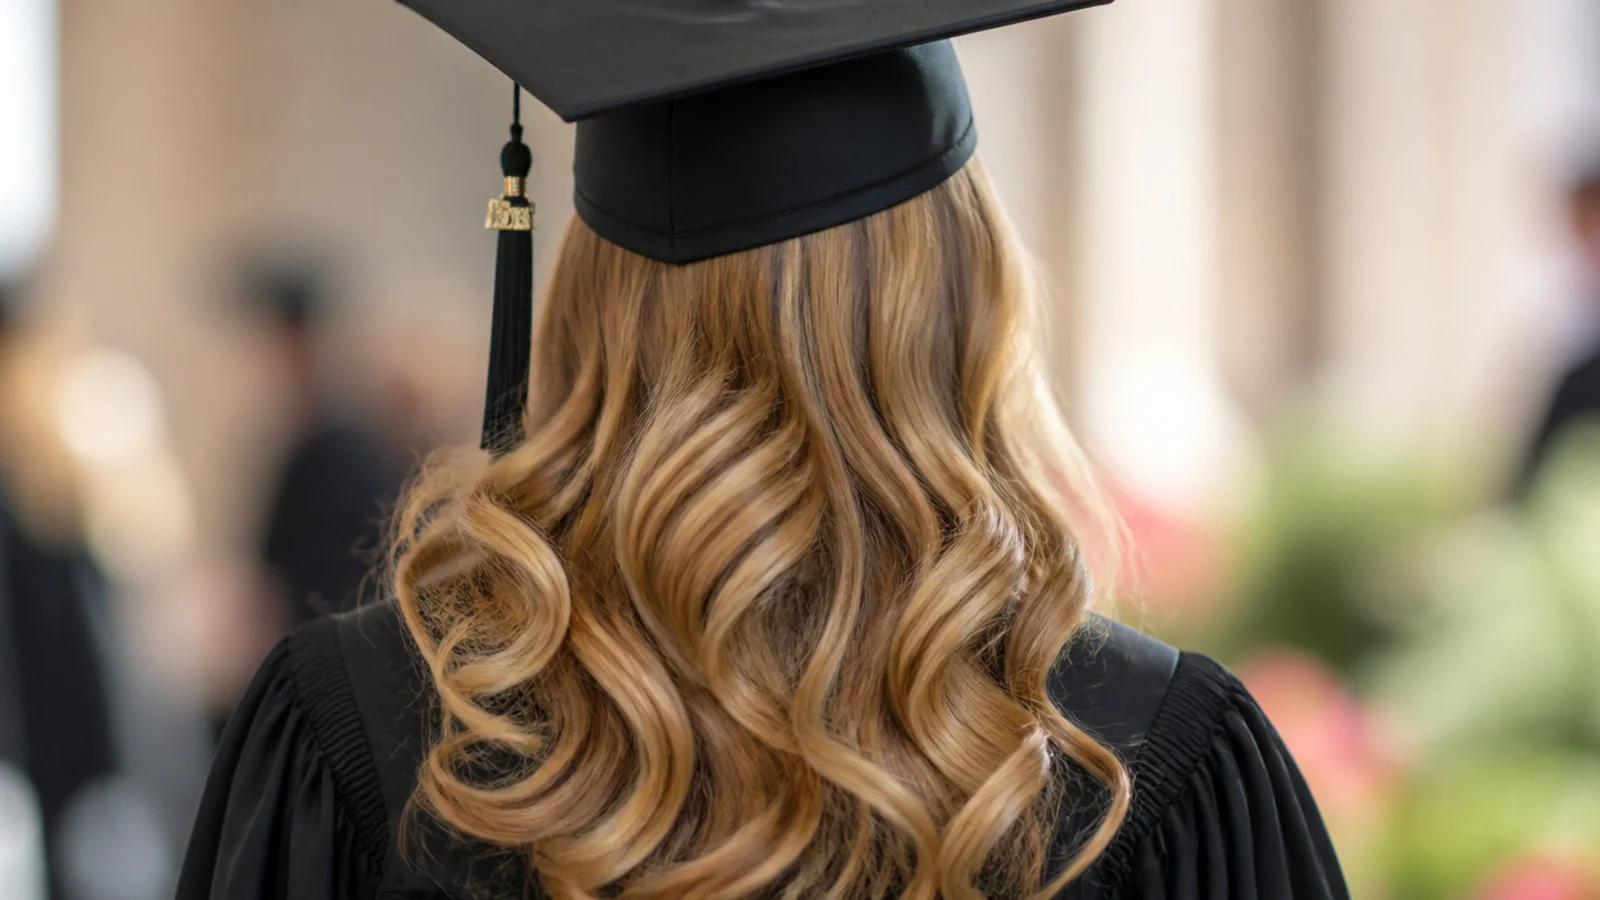
On damp, not wet, hair, split into two sections, twist each one down and coil it into a low bun just behind the ear, then secure with a soft scrunchie. Sleep on it and unravel in the morning for a soft S-bend wave with no curling iron. This is the only style here that starts the night before, and it works because the set is a braid-adjacent twist rather than a finished style. Shake the waves out with fingers, never a brush. The full method is in heatless curls overnight, and the tool options are compared in heatless curl tools compared.
Who it suits: Straight or lightly wavy hair that will not hold a curling iron.
Tip: Damp means towel-dried for 20 minutes. Soaking hair will still be wet at 8am and drops flat.
4. Half-Up Bubble Ponytail With Three Elastics (6 Minutes)
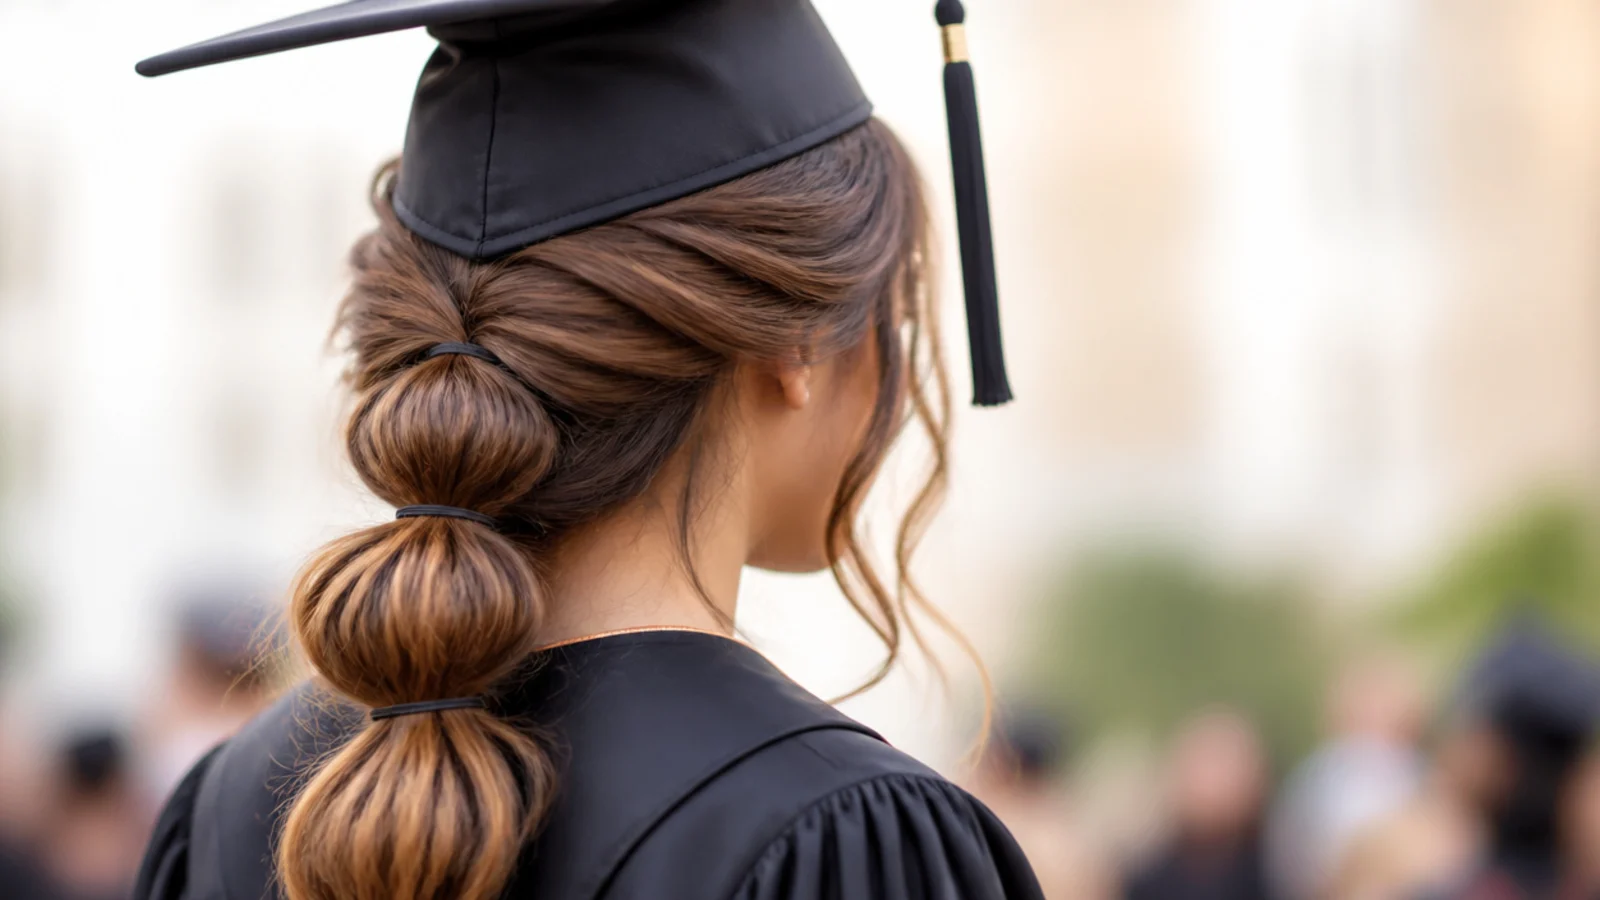
Take the top half from temple to temple, tie it low at the crown edge, then add clear elastics every 3 inches down the tail and tug each segment outward into a round bubble. It reads far more complicated than it is, and it needs no braiding skill at all. Keep the first elastic just below where the cap band will sit so the bubbles start under the mortarboard rather than lifting it. The bottom half stays loose, which gives you length in cap-off photos. Six minutes including the tugging, which is the part worth not rushing.
Who it suits: Long hair, 16 inches or more, and anyone who cannot braid.
Tip: Use clear elastics rather than black; they disappear against every hair color in photos.
5. Side-Swept Waves Pinned Behind One Ear (10 Minutes)
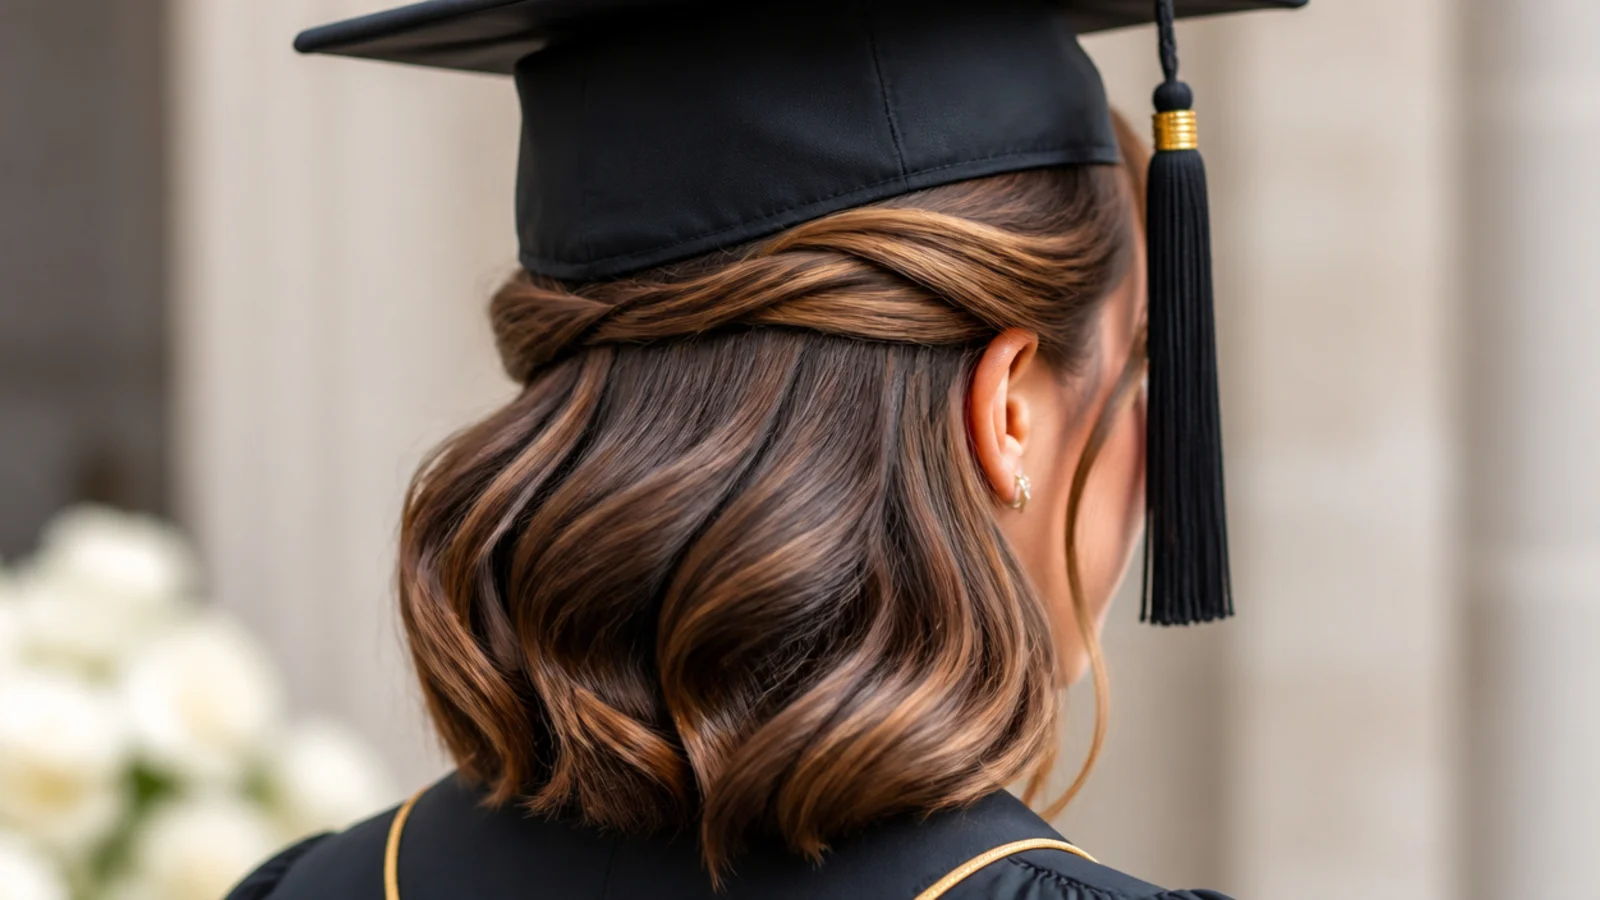
Deep-part the hair about an inch off center, curl the lengths away from the face with a 1.25-inch iron, then sweep everything over one shoulder and pin the smaller side behind the ear with two crossed pins. It is the most photogenic down style that still survives a cap, because the volume sits at the sides and back rather than on the crown. Let the curls cool fully before the cap goes on, or they compress into a flat sheet. Related shaping ideas are in Hollywood waves.
Who it suits: Collarbone-length and longer, especially with a strapless or off-shoulder gown neckline.
Tip: Pin behind the ear on the side your tassel will hang, so it does not tangle in the curls.
6. Three-Strand Braid Tucked Under Into a Faux Bob (7 Minutes)
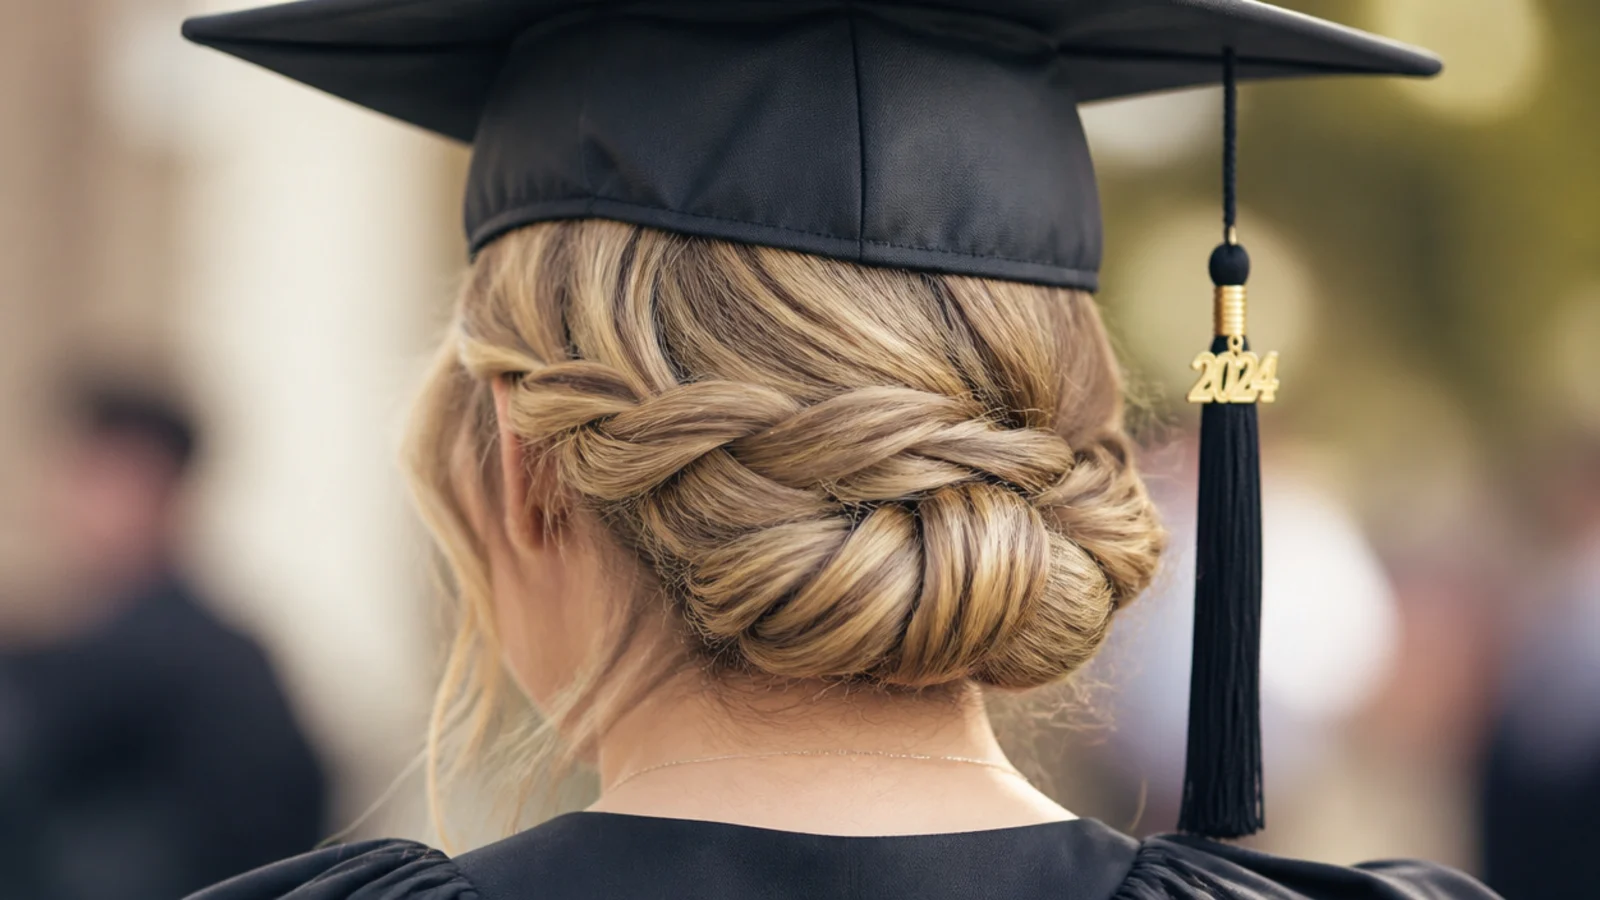
Braid a plain three-strand braid at the nape, roll the braid up underneath itself until the fold sits at jaw height, and pin the roll flat with six bobby pins across the back. Very long or very thick hair drags a mortarboard backward off the head, and this is the fix: it removes 12 inches of weight without an updo you cannot do yourself. The braid keeps the roll from unspooling, so you are only pinning a solid object instead of loose hair. See more in easy braided hairstyles.
Who it suits: Hair below the shoulder blades, thick or heavy, and high-neck gown collars.
Tip: Pin horizontally into the roll from below, so the pins never show over the top edge.
7. Loose Dutch Crown Braid Below the Cap Line (15 Minutes)
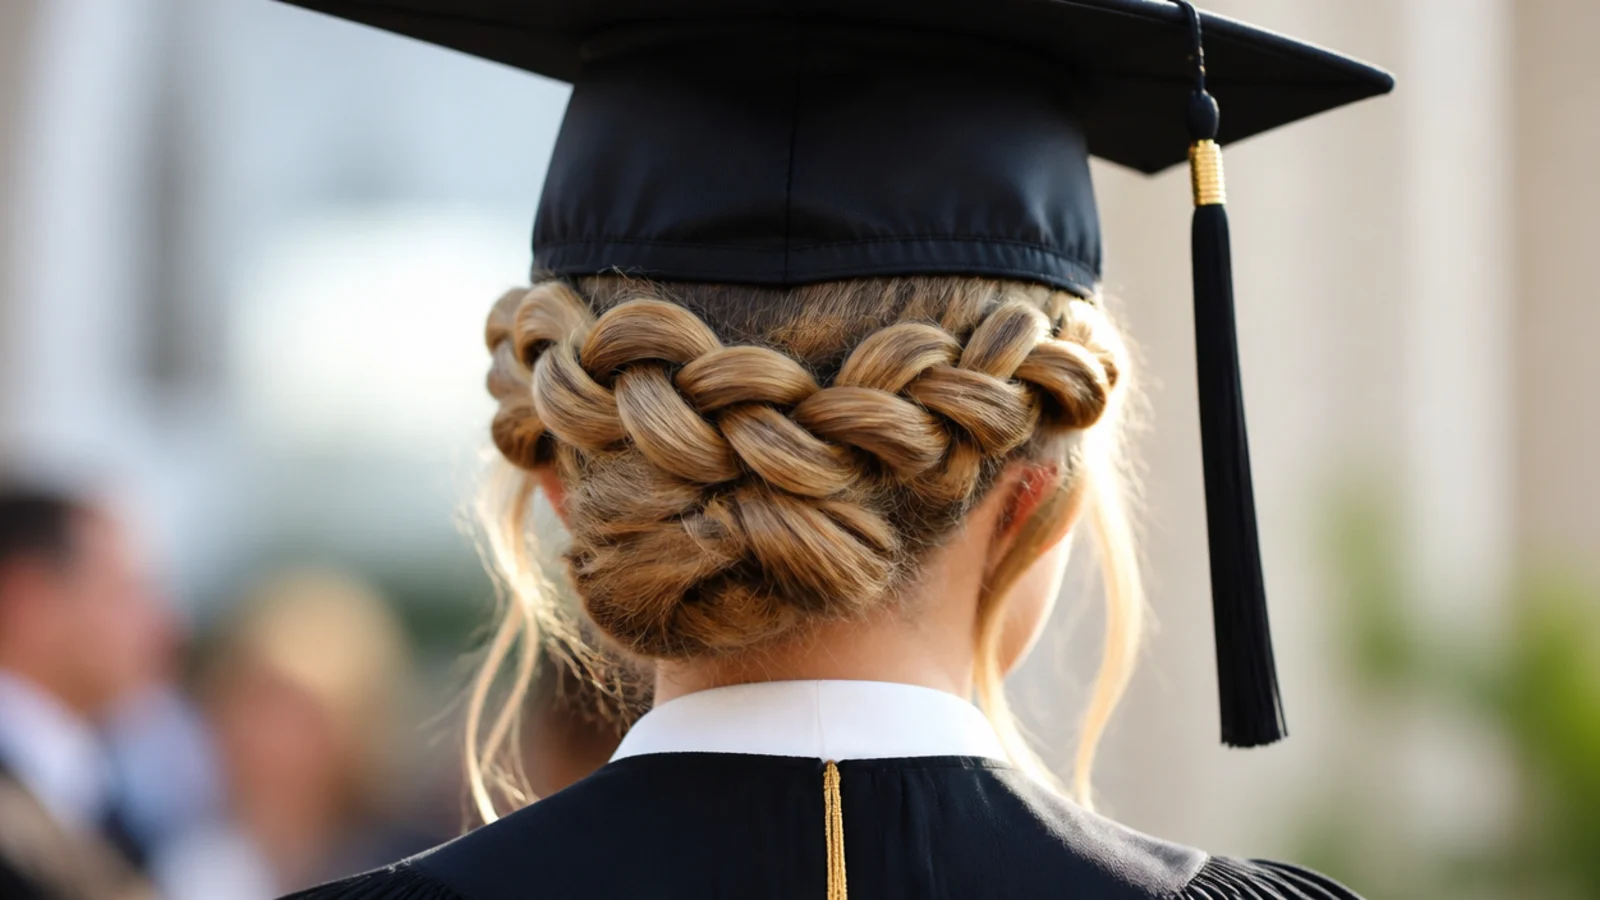
Start a Dutch braid just above one ear, work it around the back of the head following the hairline, and pin the tail under the opposite side. The critical adjustment for graduation is height: a standard crown braid sits exactly where the mortarboard front edge lands, so drop the whole braid an inch lower than a normal crown braid and it clears. It is the longest style on this list at 15 minutes, but it is the one that looks completely intact after four hours under a cap because nothing about it can flatten.
Who it suits: Anyone who can already Dutch braid, medium to long hair, outdoor ceremonies.
Tip: Pancake the braid outward only on the back half. Widening the front pushes into the cap band.
8. Twisted Half-Up With Two Rope Twists (4 Minutes)
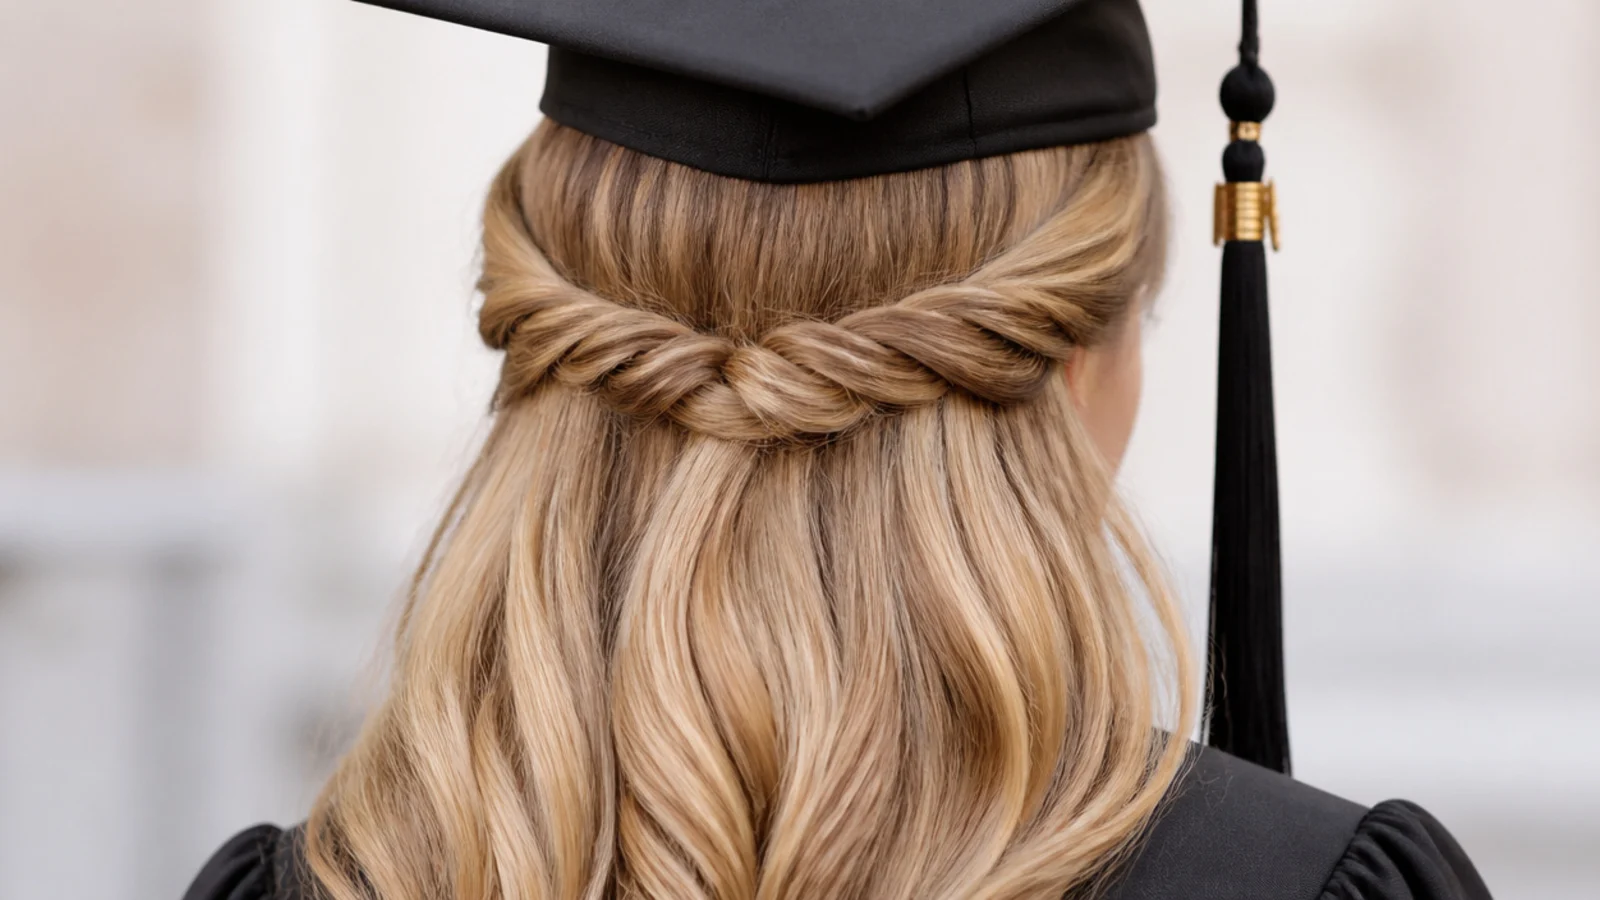
Take a 1-inch section above each ear, twist each one back toward the center rope-style, and tie both together with a small elastic under the top layer so the join disappears. Four minutes, no braiding, and it keeps the hair off your face for the walk without piling anything on the crown. This is the half-up that handles a cap best, because the join sits at the low occipital curve rather than at the crown where the mortarboard needs to rest flat. It also looks deliberate cap-off, which most half-ups do not.
Who it suits: All lengths past the chin, all textures, first-time self-stylers.
Tip: Twist each rope away from the face, not toward it, or the twists unwind against the hairline.
9. Low Chignon Rolled Over a Spin Pin (5 Minutes)
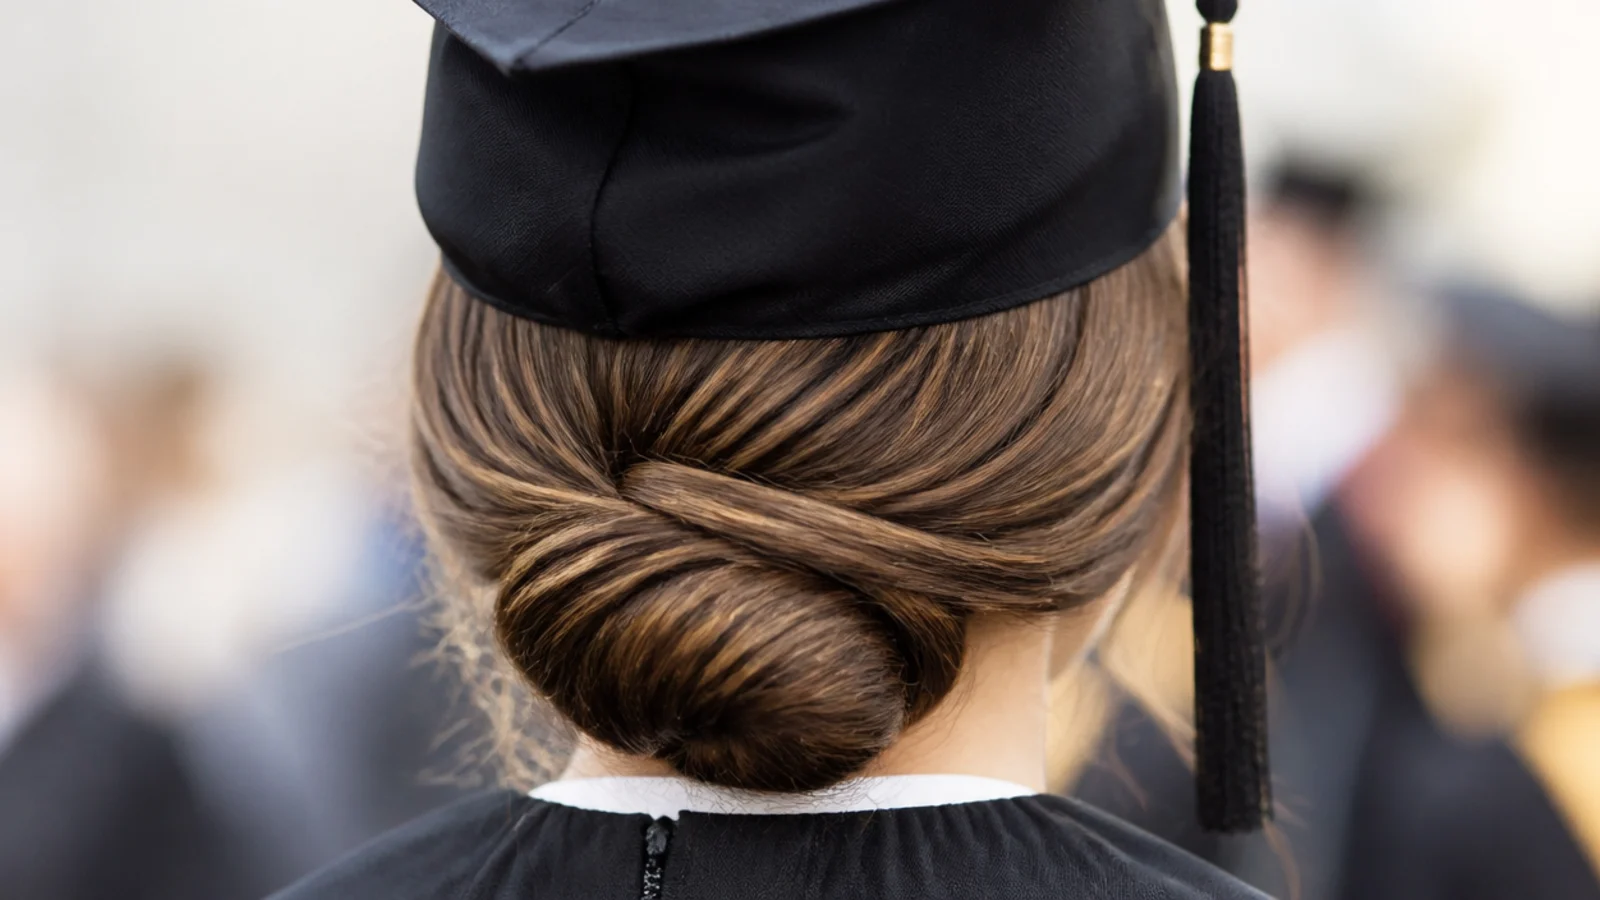
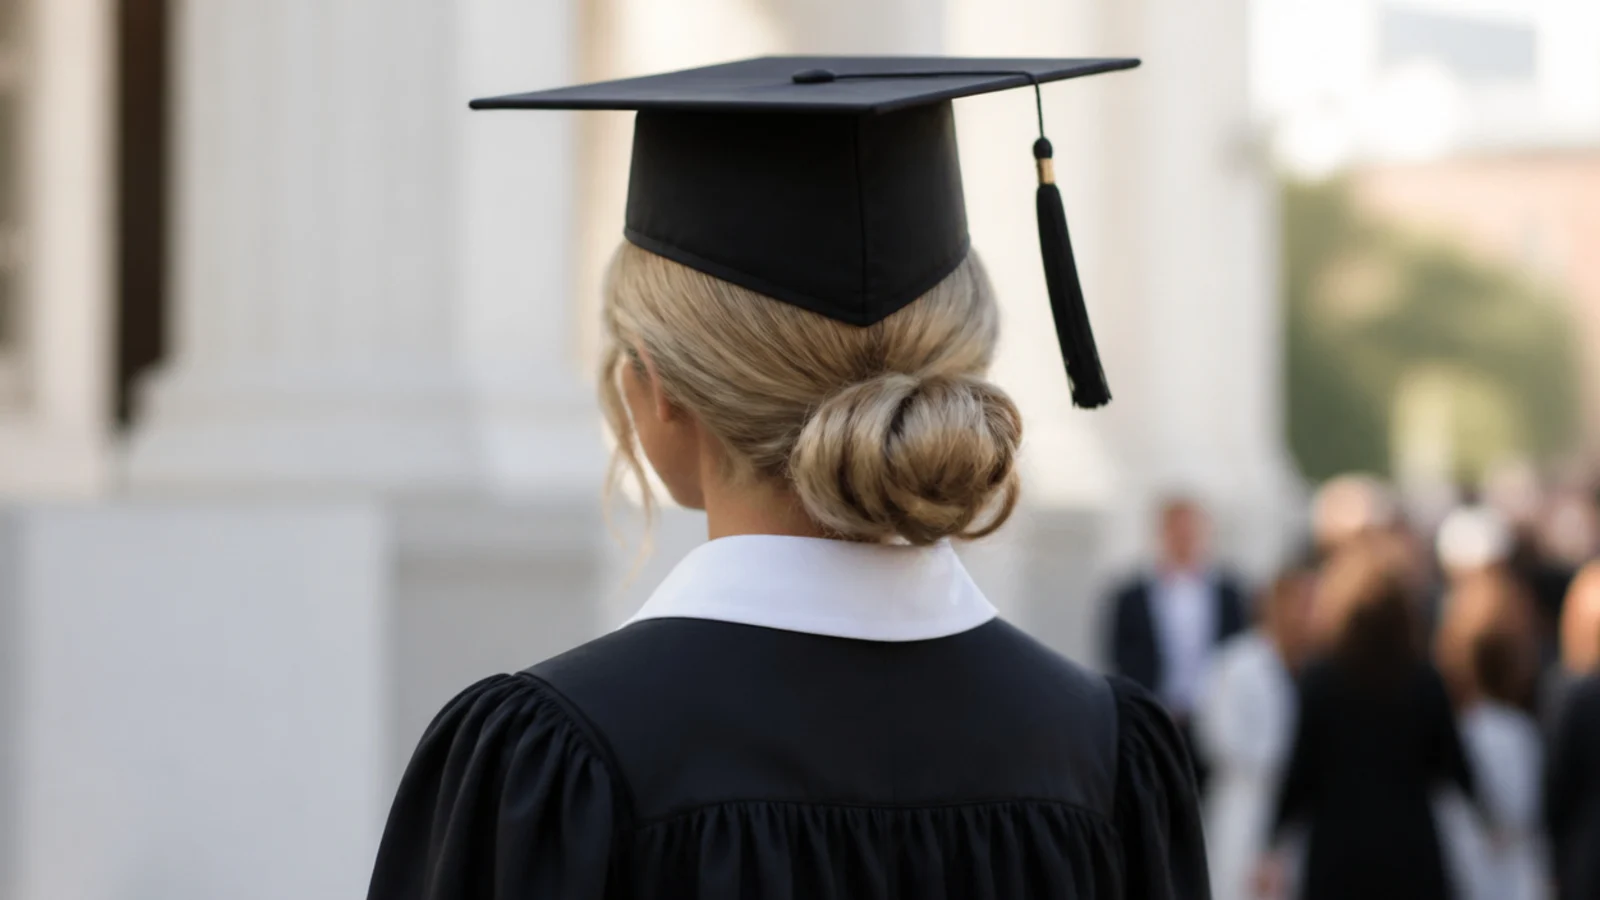
Ponytail at the nape, split the tail in two, wrap each half in opposite directions around the base into a flat disc, then screw one spin pin in from each side. Two spin pins replace roughly ten bobby pins and hold four times longer, which matters over a long ceremony. The chignon sits flush against the head, so the mortarboard has no lump to slide off. It is the cleanest formal option here at five minutes flat. For heavier or longer hair, the weight-management approach in long hair updos that last applies directly.
Who it suits: Medium to thick hair, formal gowns, indoor ceremonies with lots of photos.
Tip: Screw spin pins in like a corkscrew, not straight in, or they back out when you move.
10. Day-Two Textured Low Ponytail With Curled Ends (8 Minutes)
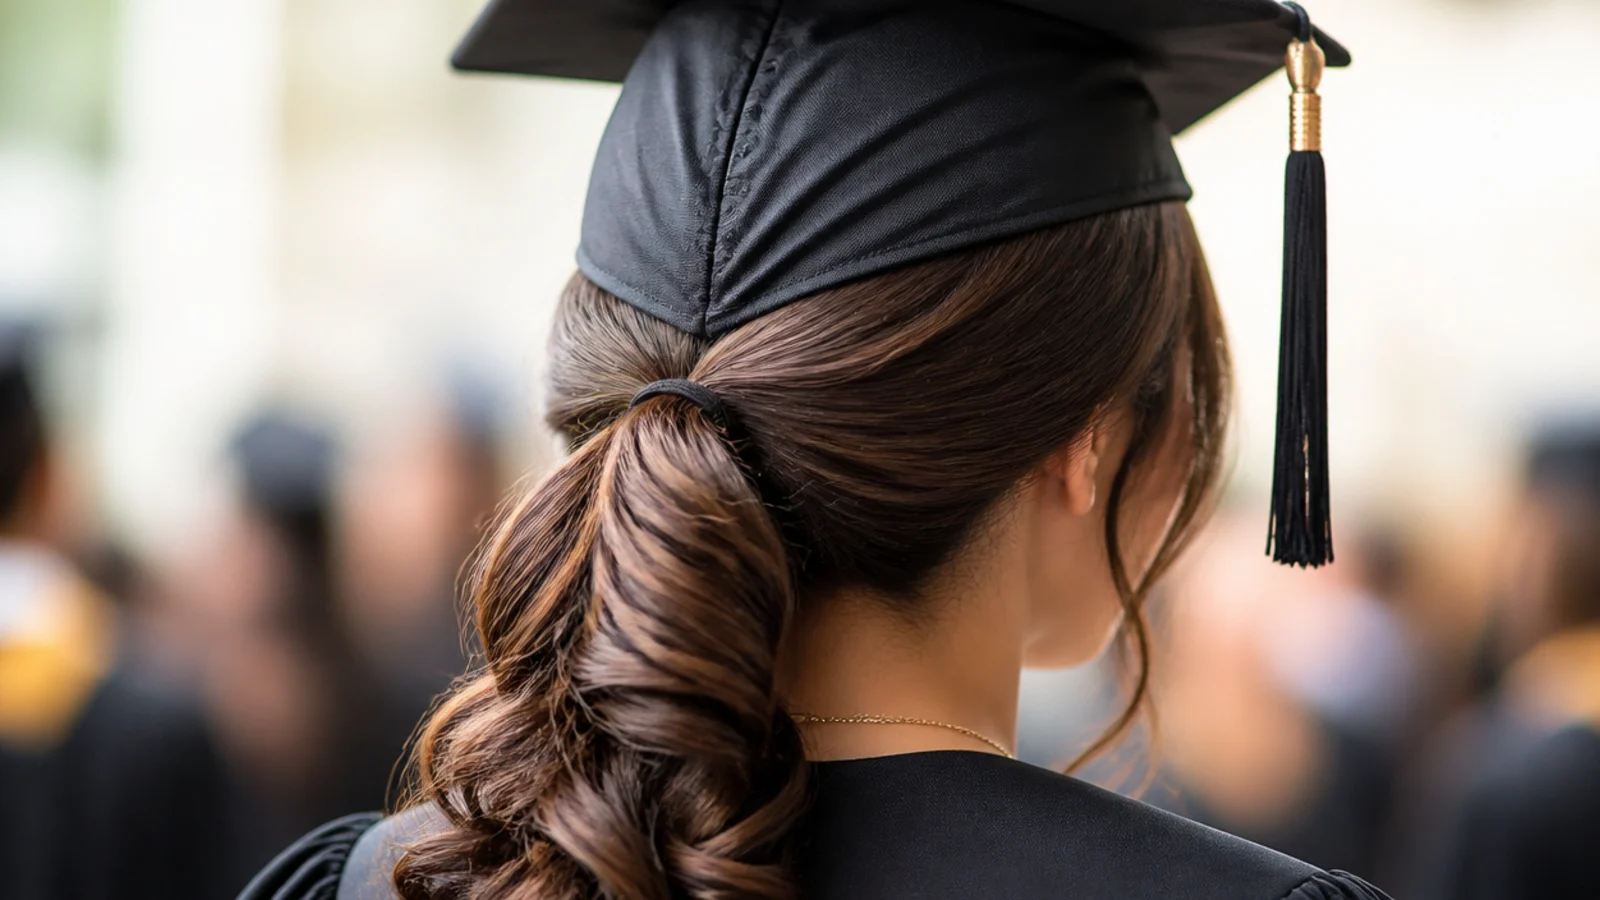
On day-two hair, mist dry shampoo at the roots for grip, tie a low ponytail, then curl only the section below the elastic in 1-inch pieces. Two textures in one style: smooth above, movement below. The reason to do this on unwashed hair is not laziness. Freshly washed hair is slippery, and slippery hair is the single biggest reason a cap slides backward mid-ceremony. Day-two texture gives the bobby pins under the cap band something to actually grip. See cute hairstyles that last all day for more hold logic.
Who it suits: Anyone with fine or slippery hair, and anyone washing the night before.
Tip: Do not wash the morning of. If you must, skip conditioner from the mid-lengths up.
11. Claw-Clip Low Twist for Short and Fine Hair (90 Seconds)
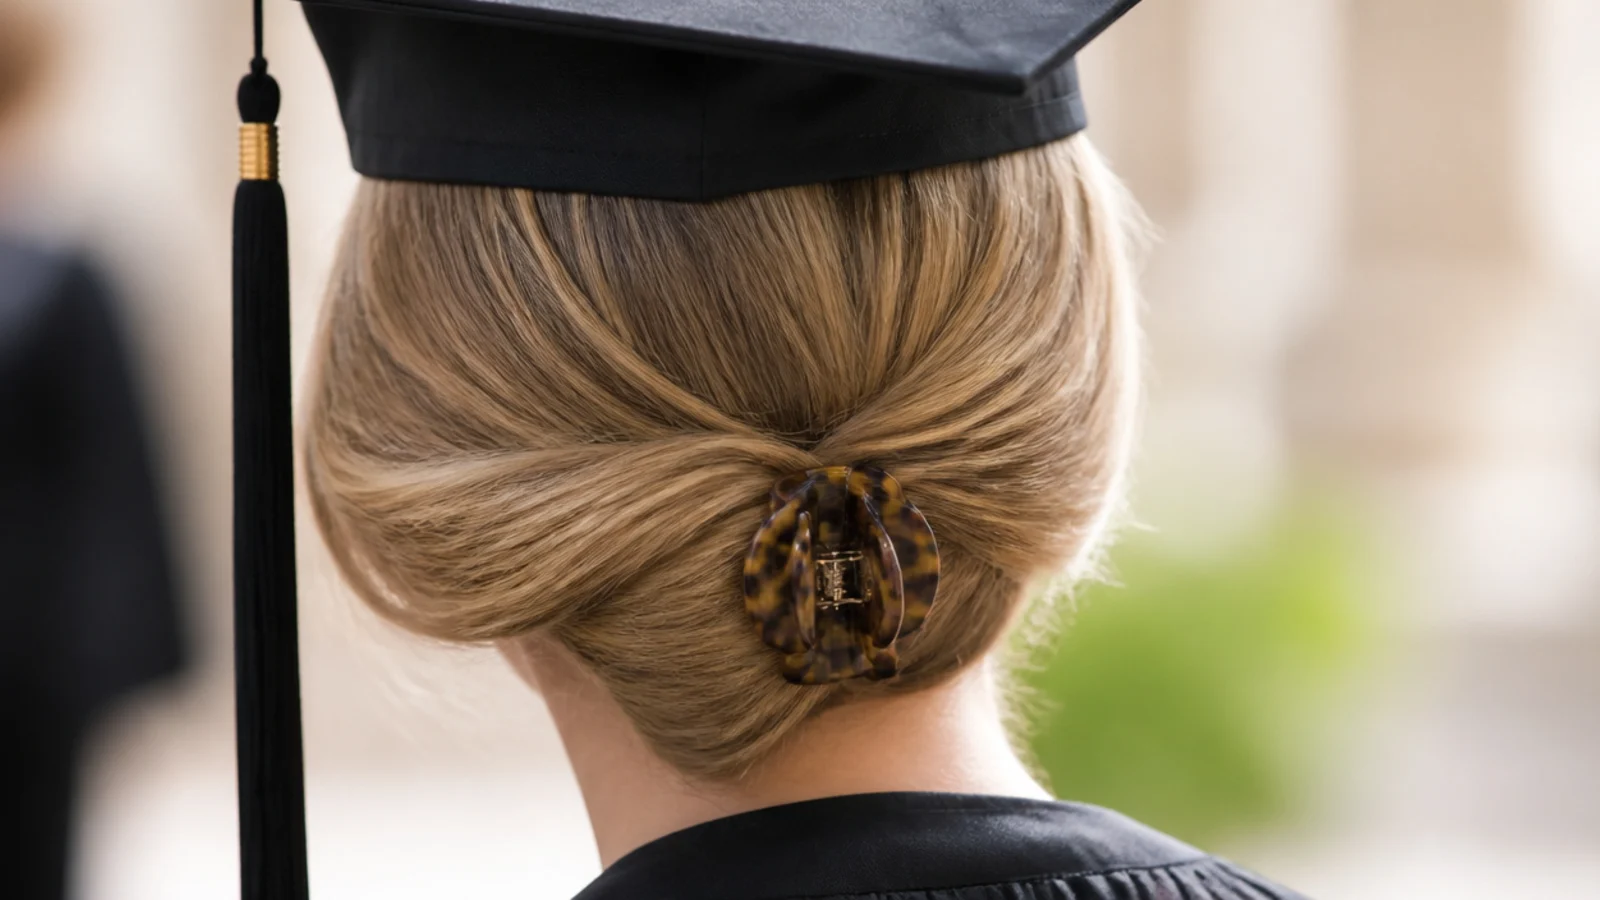
Gather the hair at the nape, twist upward a half turn only, and close a 3-inch matte claw clip over the fold. Ninety seconds, one tool, no pins. It is the shortest-hair-friendly option here because a claw clip only needs about 6 inches of hair to bite, where a bun needs 10. Choose a matte clip over a glossy one so it does not flare in flash photography, and pick one narrower than the cap band so nothing collides. For fine hair specifically, how to style short fine hair covers the volume side.
Who it suits: Bobs, lobs and fine hair from 6 inches; anyone with limited arm mobility.
Tip: Sweep the clip a half inch to one side of center so it does not sit under the tassel anchor.
12. Flat-Twisted Sides Into a Low Puff for Natural Hair (20 Minutes)
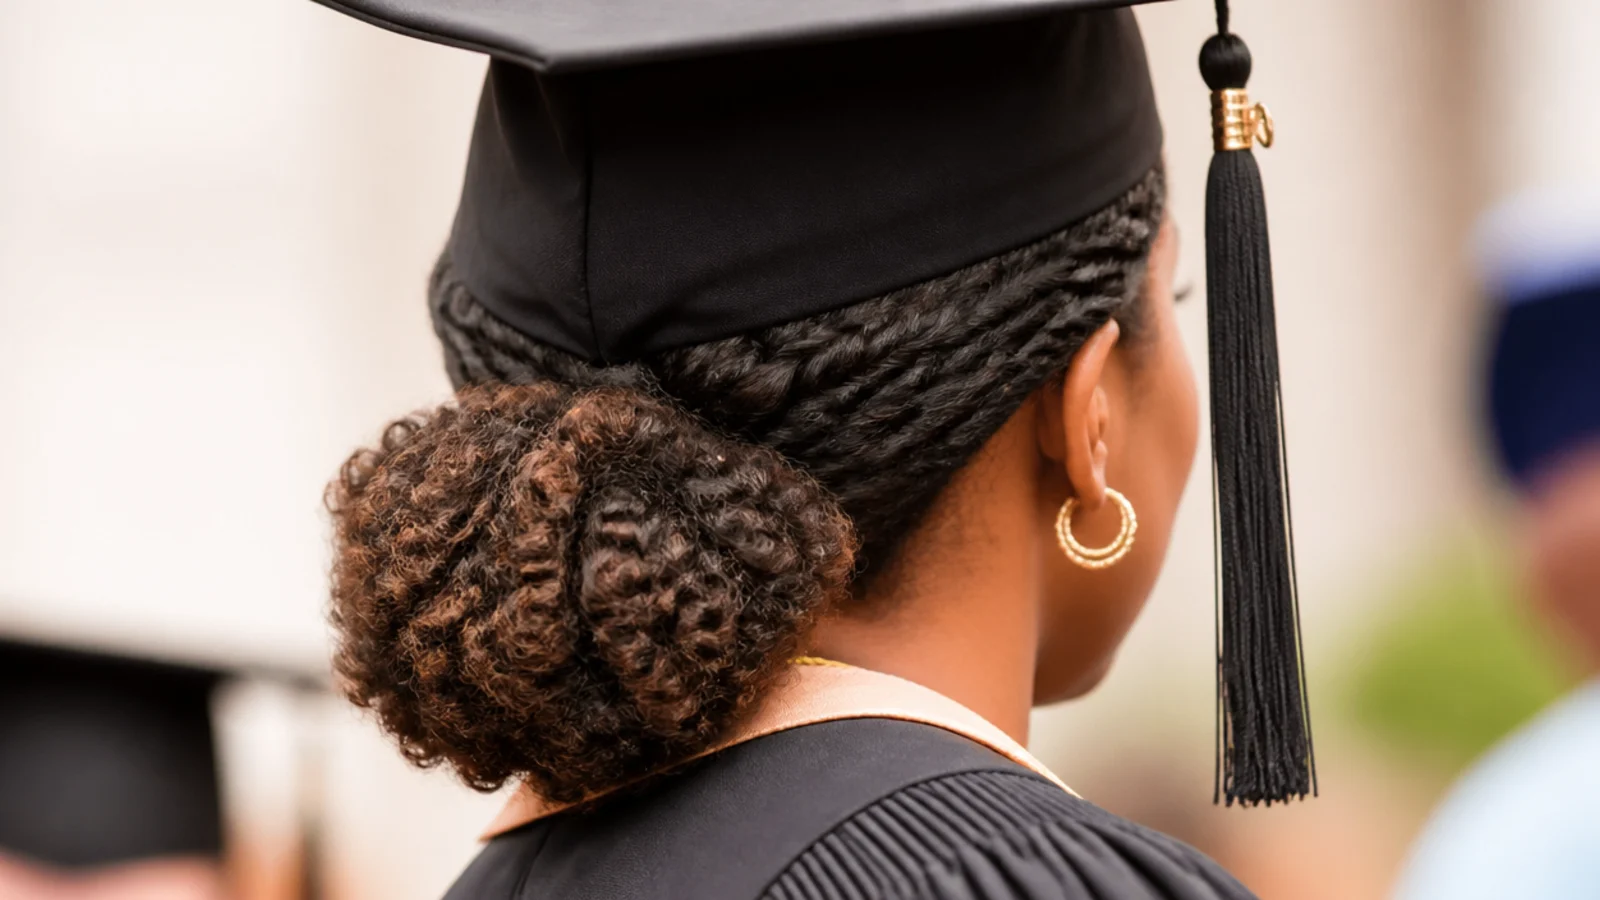
Two or three flat twists along each side, taken back to the nape, with the remaining length gathered into a low puff on a wide elastic band. The flat sections give the cap a smooth crown to sit on while the puff holds the volume safely below the cap line. This solves the type 3 and 4 problem no roundup addresses: an out afro pushes a mortarboard up and off, but shrinking it under a tight bun kills the definition you want cap-off. Related technique in protective styles for fine 4c hair.
Who it suits: Type 3B through 4C, natural hair worn without extensions.
Tip: Carry a pick in your clutch and lift the puff from underneath right after the cap comes off.
13. Two Low Dutch Braids Pinned Up at the Nape (12 Minutes)
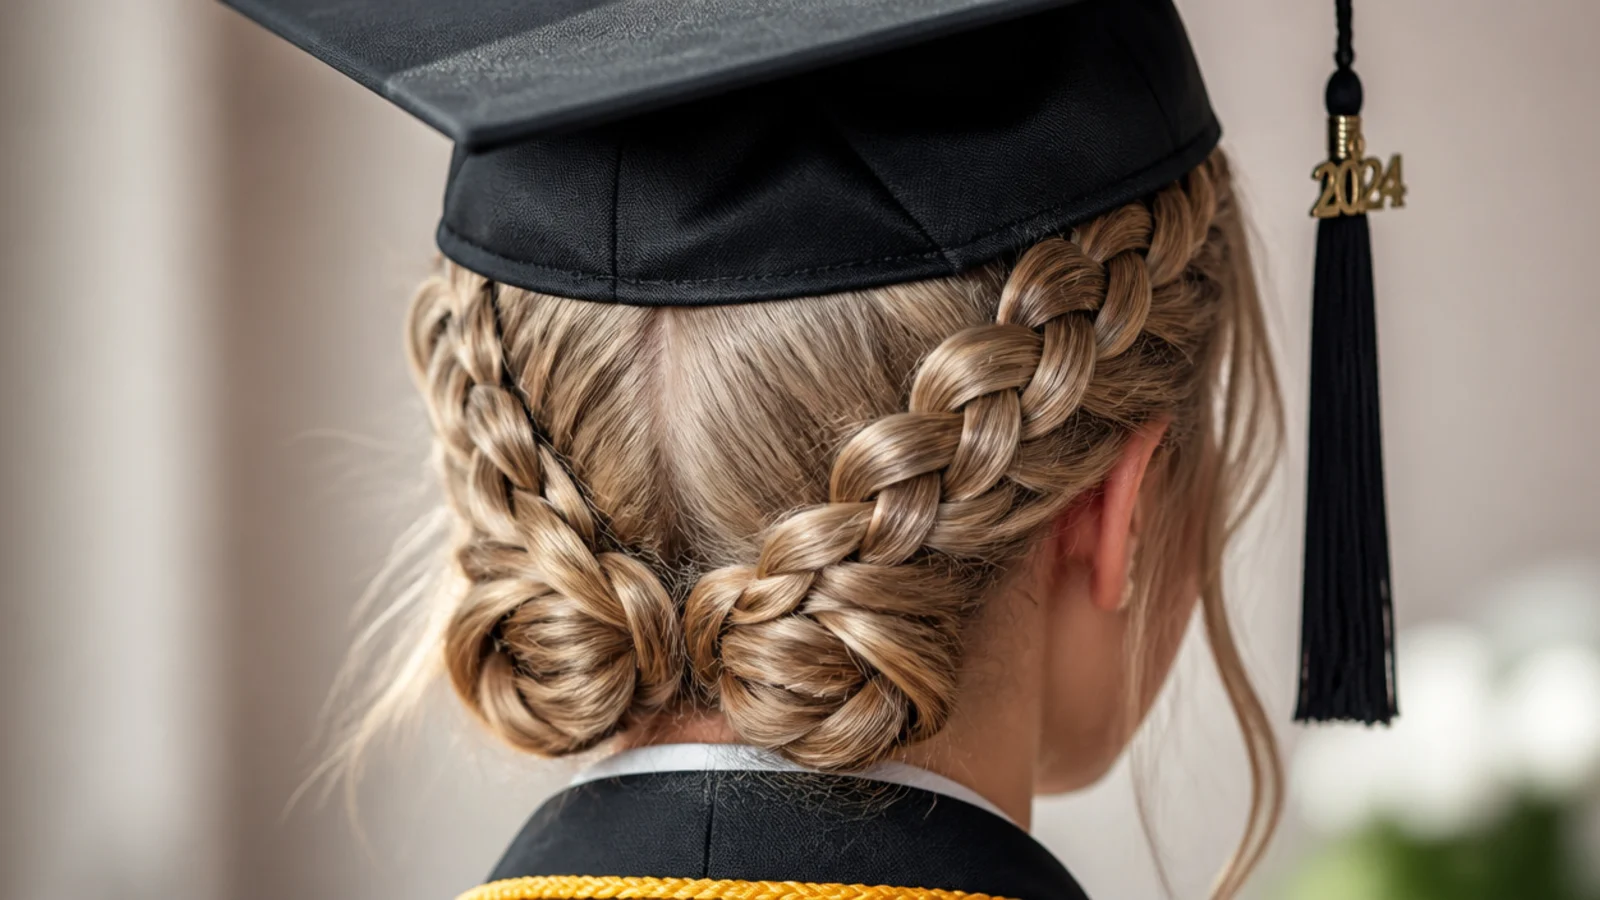
Part down the middle, Dutch braid each side starting low behind the ear rather than at the front hairline, then fold the two tails up and pin them against each other at the nape. Starting the braids low is the whole trick, because braids that start at the front hairline sit right under the cap band and create pressure points that ache by hour three. Braided styles are also the only ones you can genuinely do the night before and still wear the next day without a full redo.
Who it suits: Medium to thick hair, outdoor and humid ceremonies, all-day wear.
Tip: Sleep in a satin scarf if you braid the night before, or the crown frizzes by morning.
14. Deep Side Part With One Hollywood Wave (12 Minutes)
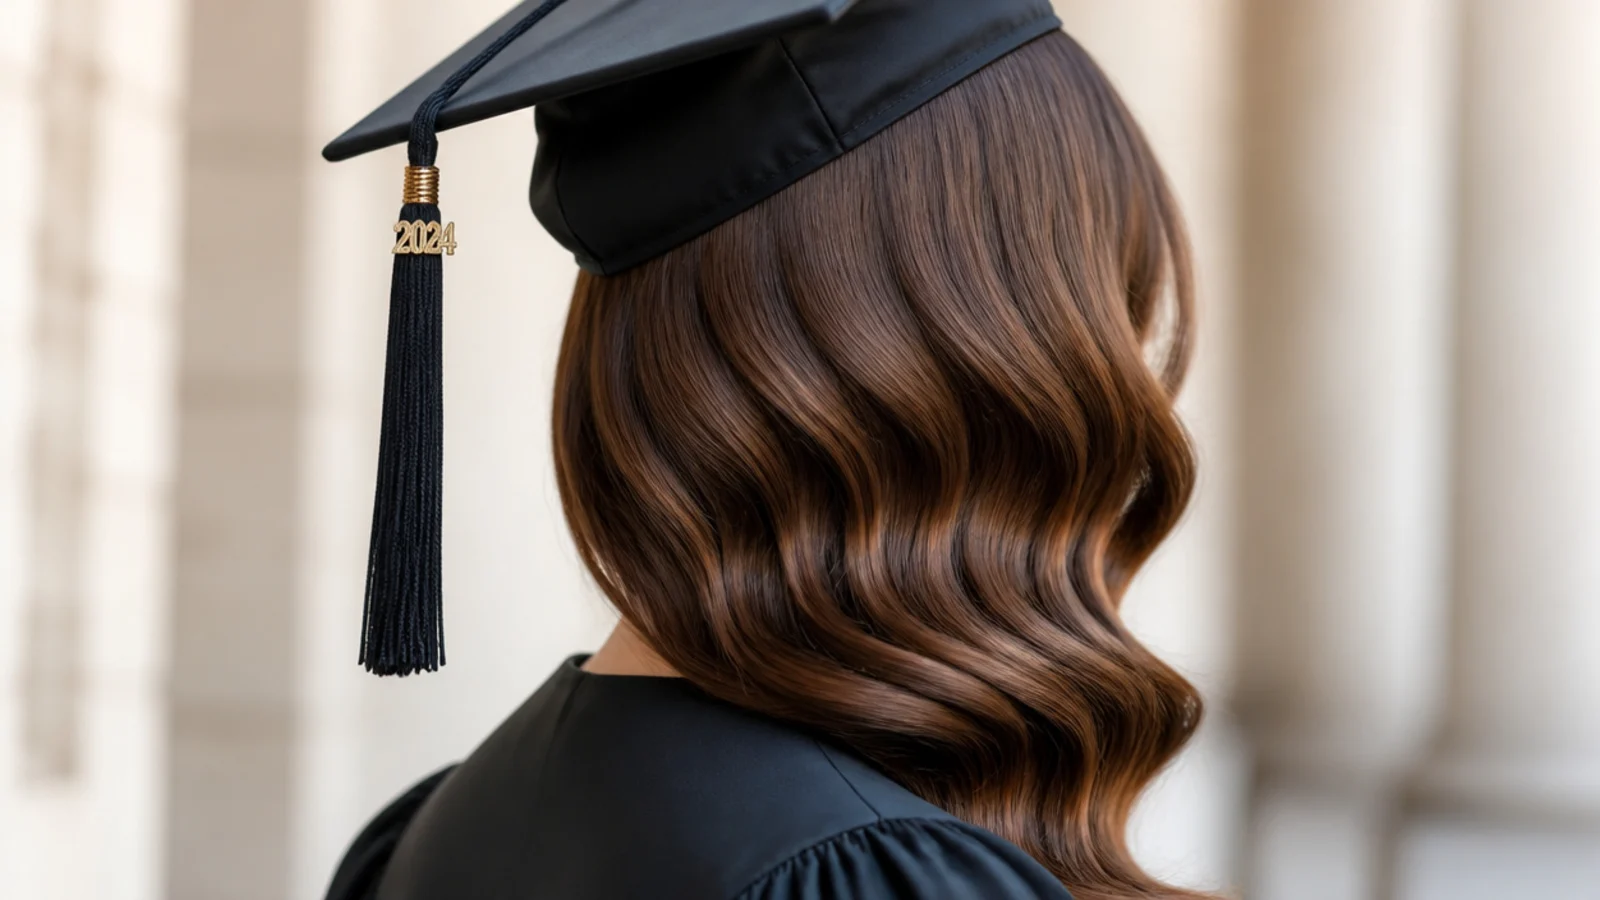
Part deeply about 2 inches off center, curl everything in the same direction with a 1-inch iron, brush the curls out into one continuous S-wave with a paddle brush, and pin the shallow side flat behind the ear. Only one side needs sculpting, which halves the work of a full Hollywood set. The deep part adds visible height at the front without adding crown volume, so the cap still lies flat. Set with flexible-hold spray so the wave springs back after the cap lifts rather than staying creased.
Who it suits: Shoulder length and longer, straight to wavy, formal gown necklines.
Tip: Brush the wave out over your palm, not against the head, so you do not flatten the S-bend.
15. Slicked-Back Low Bun With Edge Control (10 Minutes)
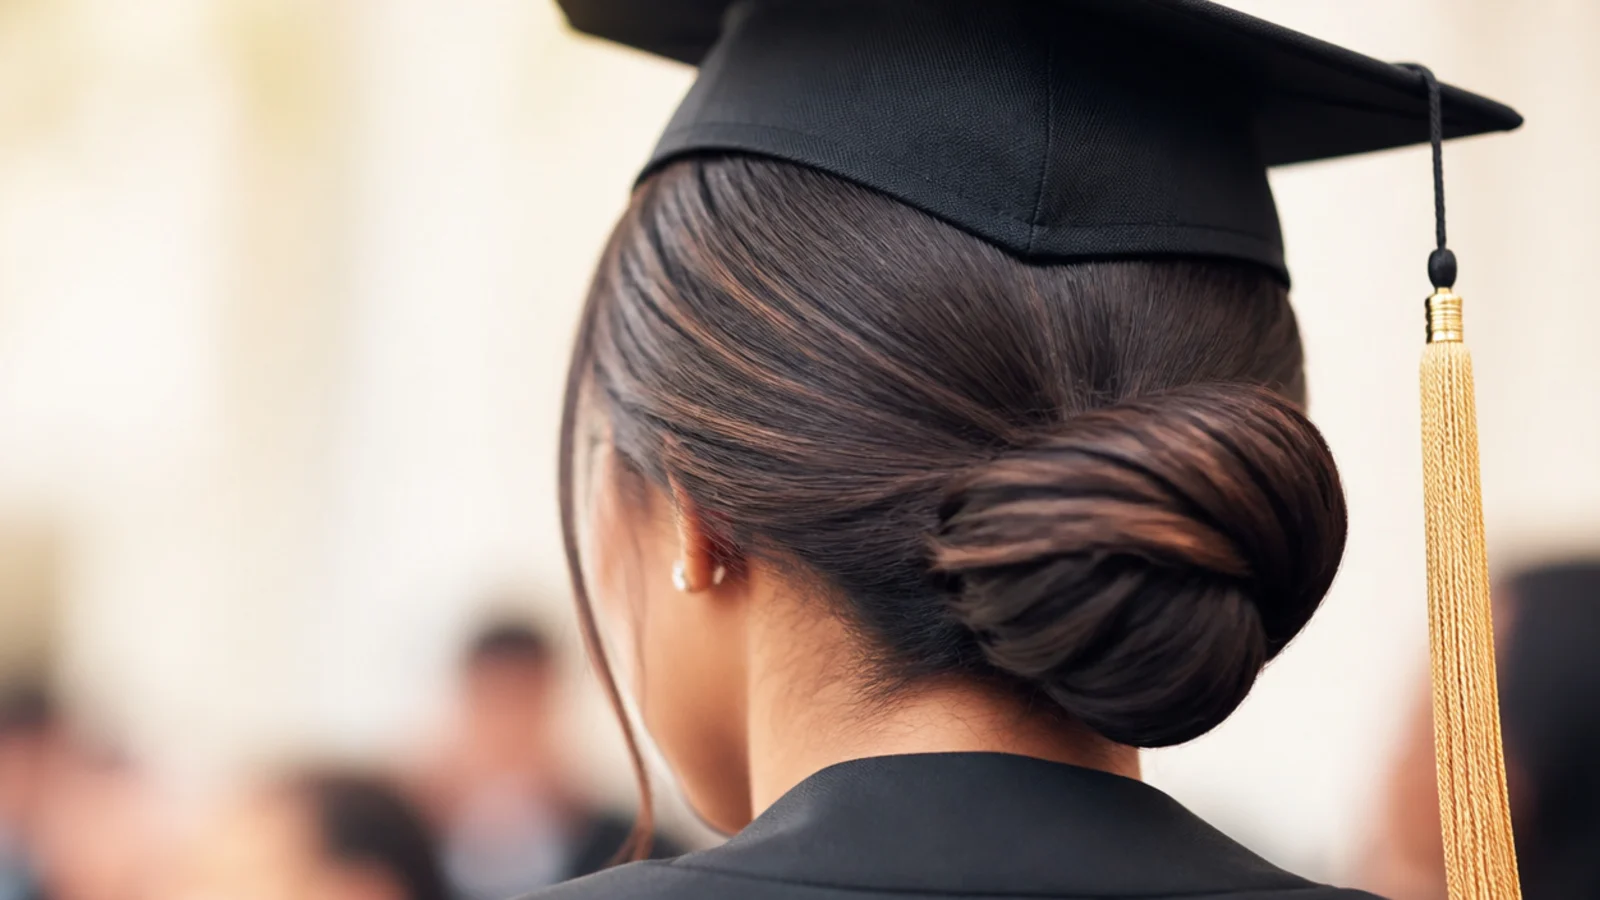
Alcohol-free gel through damp hair with a boar-bristle brush, pull everything into a low bun at the nape, and smooth the baby hairs with a small amount of edge control and a toothbrush. It gives the flattest crown of any style here, which is exactly what a mortarboard wants. The tradeoff is humidity: gel reverts and flakes at outdoor May and June ceremonies, so use it only if you are indoors or the forecast is dry. Start with a dime of gel and build, never a palmful.
Who it suits: All textures, indoor ceremonies, minimal gowns, anyone wanting a polished finish.
Tip: Run a drop of hair oil over the lengths so the slicked roots do not out-shine dry ends.
Where the Graduation Cap Actually Sits, and What That Rules Out
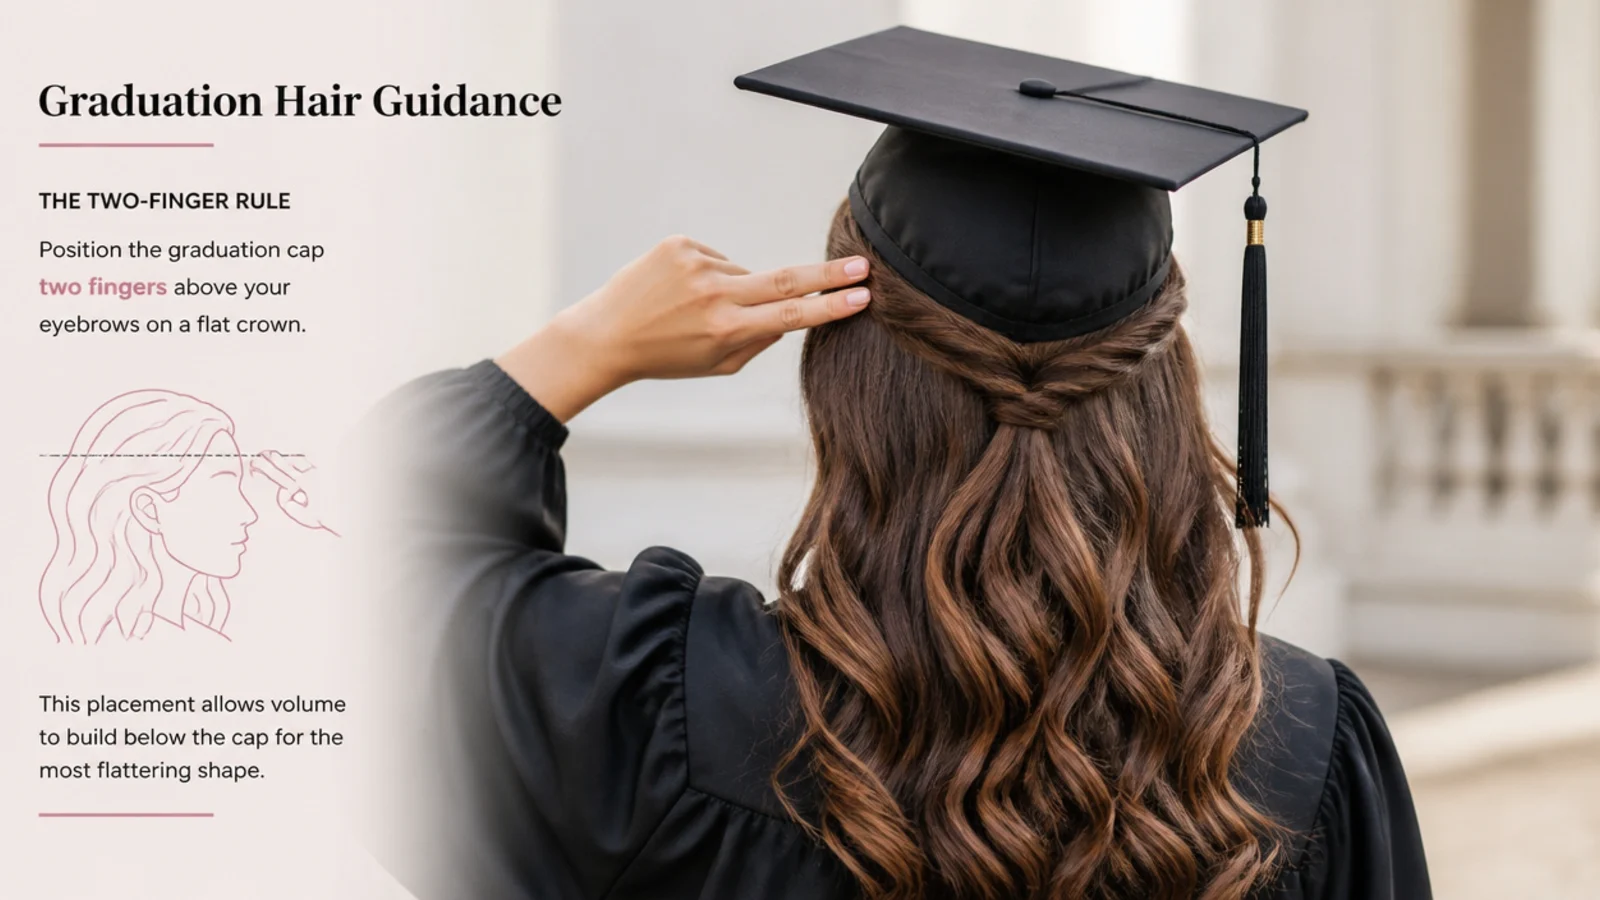
A mortarboard is not worn perched on the back of the head. It sits flat on the crown with the front edge about two fingers above the eyebrows, and the flat board on top means the crown of your head has to be genuinely flat too. Draw that line with your fingers before you style anything. Everything above it is cap territory. Everything below it is yours. This single measurement rules out high ponytails, top knots, crown-height buns and any braid that runs across the front hairline, because all of them push the board up and forward until it slides off during the processional. It also explains why low buns, low chignons, half-up twists and side-swept waves appear on every credible list: they put the mass at or below the occipital bone where the board never touches. If you want the pinning mechanics in detail, graduation hairstyles with cap covers where the pins go and how many you need.
Easy Graduation Hairstyles by Hair Length, Pixie to Waist
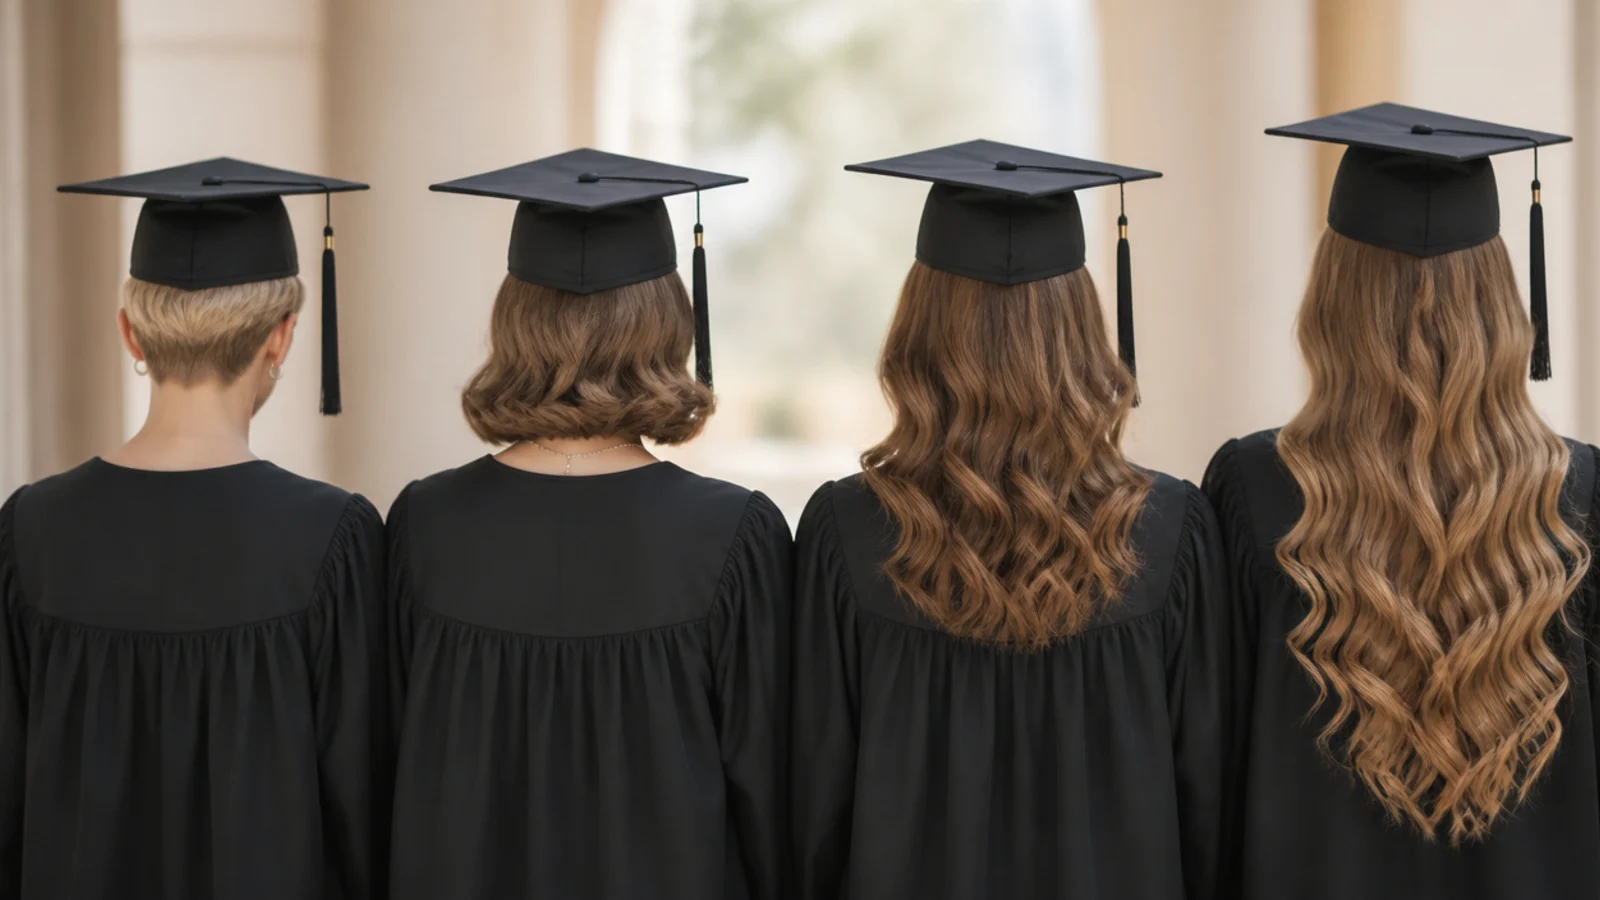
Under 6 inches, a pixie has no length to hide a dent and nothing for cap pins to grip, so the fix is texture rather than shape: a matte paste worked through the crown before the cap goes on, then lifted with fingers after. At 6 to 10 inches, bobs and lobs get the claw-clip twist, a pinned half-up, or a deep side part with one sculpted wave. From 10 to 18 inches you unlock everything on this list, and the low chignon over spin pins is the highest payoff for the time. Past 18 inches the problem inverts: weight becomes the enemy, because a heavy ponytail or a long fishtail drags the mortarboard backward until it is hanging off the crown. Fold the length into a tucked faux bob or a rolled chignon so the weight sits against the head instead of pulling away from it. Length-specific lists live at graduation hairstyles for long hair and graduation hairstyles for short hair.
Timing the Morning Of: When to Start Each Style
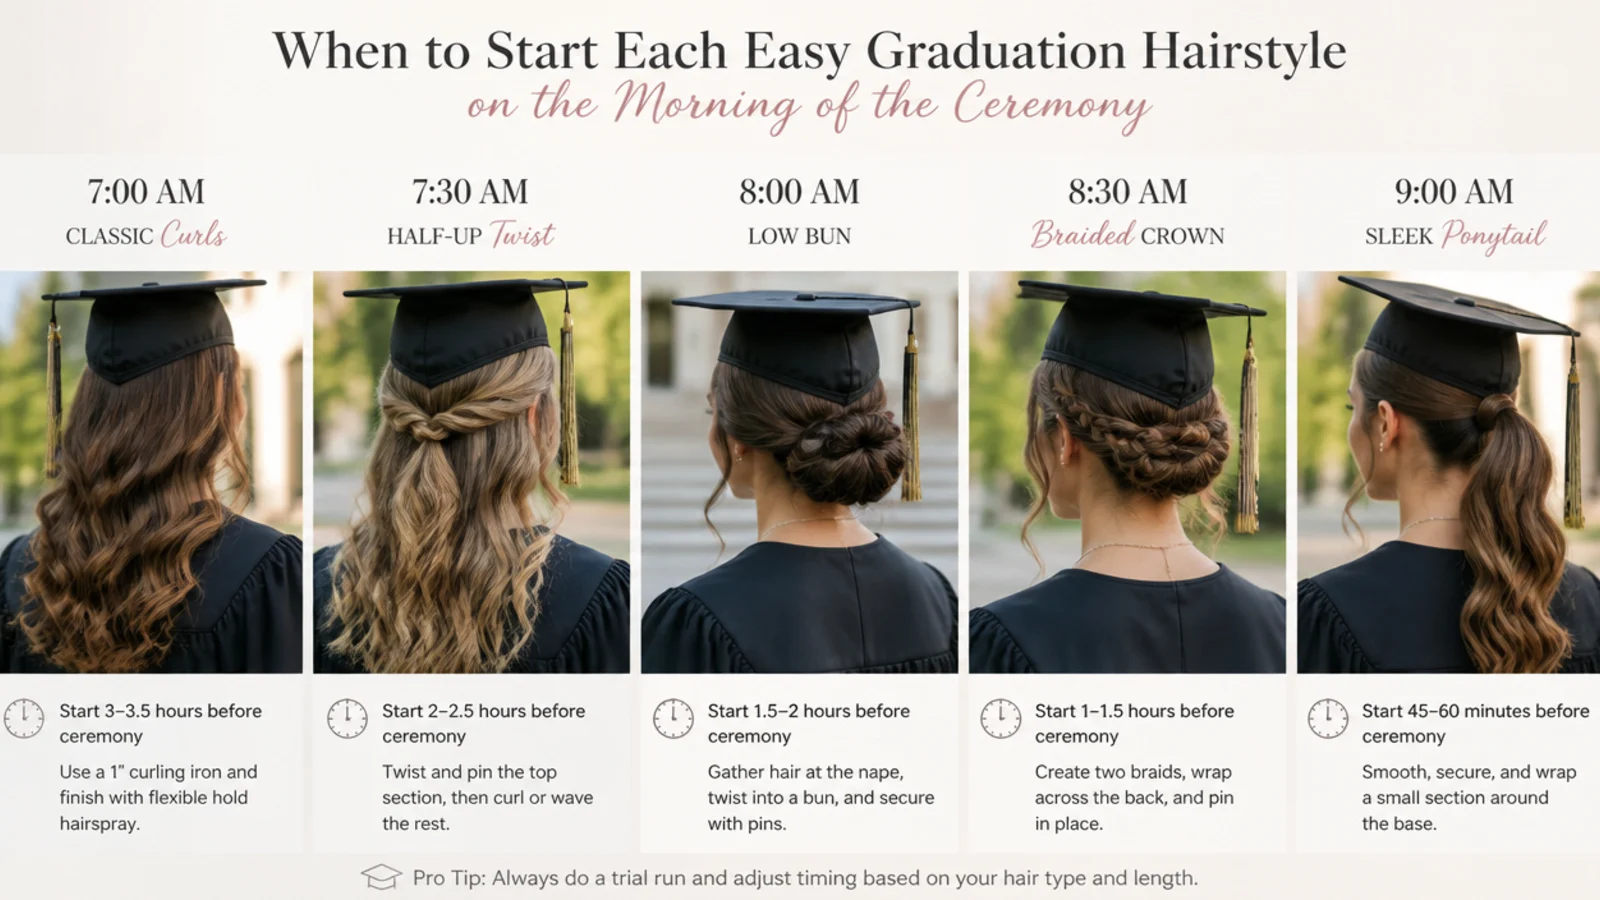
The right window is 1 to 2 hours before you leave, and there is a reason for both ends of it. Style too early and the hair has hours to droop before the cap even goes on. Style in the last 15 minutes and curls go under the cap warm, which flattens them permanently. The only style worth doing the night before is a braided one, because braids hold their structure through sleep. Everything else, including the overnight heatless waves, is a set rather than a finished style and still needs 10 minutes of morning work. Build in buffer: a style listed at 10 minutes takes 15 to 20 on your own head, from behind, with no second mirror. Plan for a five-minute reset in case the first attempt fails, and put on the actual cap once before you leave the house. A practice run with the real mortarboard the week before is the single most useful thing on this page.
Making an Easy Style Hold Through a Four-Hour Ceremony
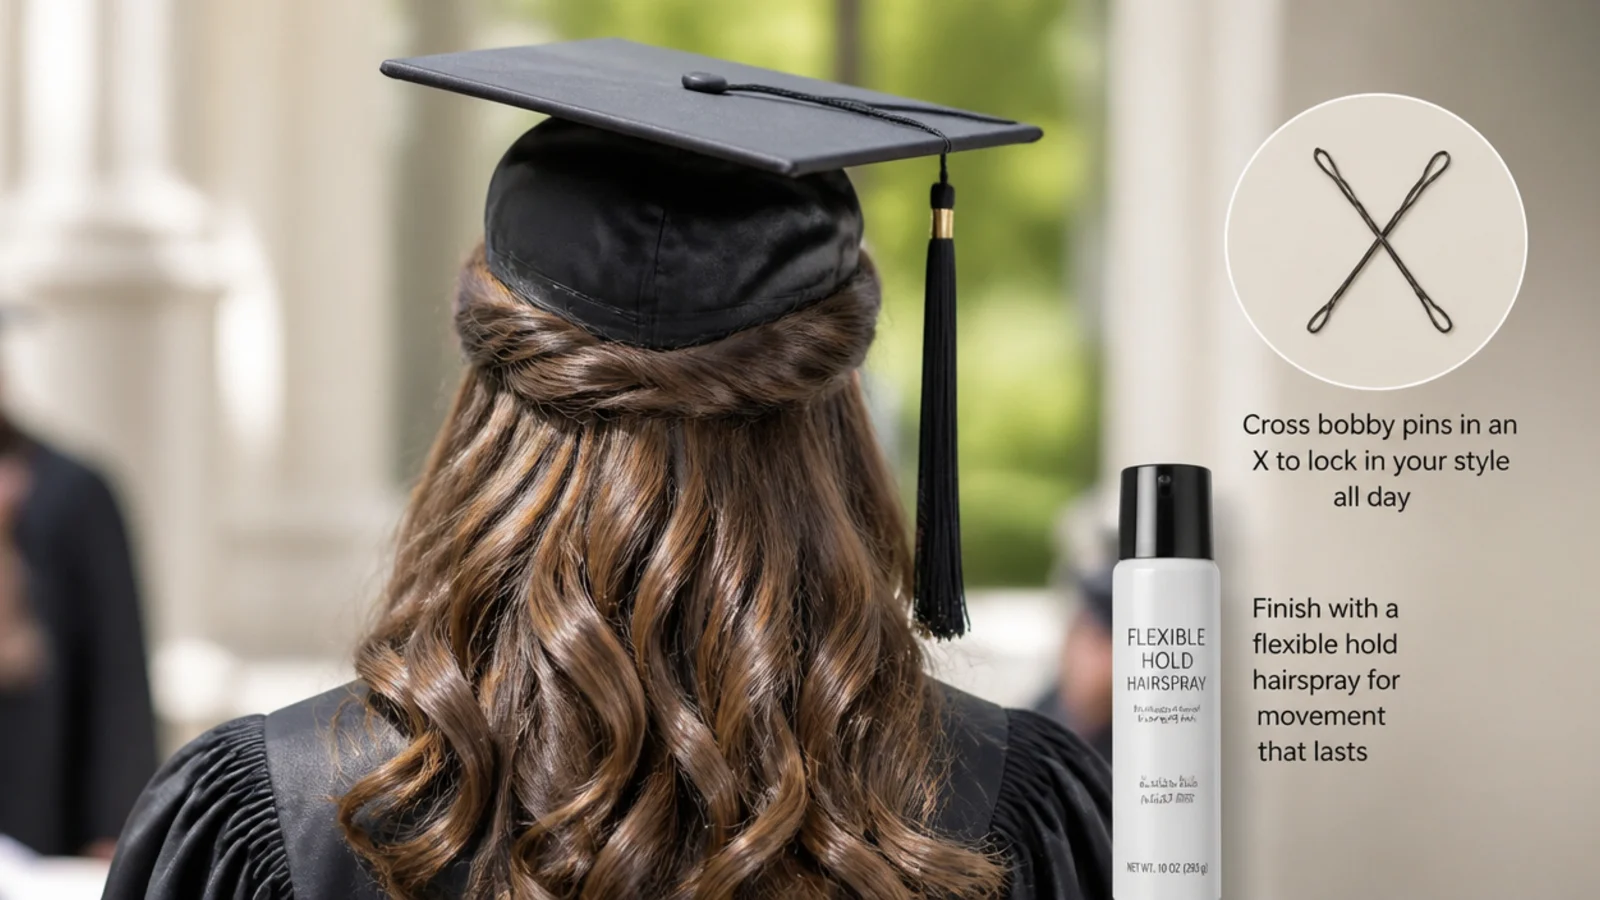
Three things fail during a long ceremony: the cap slides, the style loosens, and the crown flattens. Fix the first by crossing two bobby pins in an X under the cap band and pinning them into the hair at the crown, which stops the board sliding backward when you look up or hug someone. Fix the second by styling on day-two hair, or by misting dry shampoo at the roots for grip if you had to wash. Slippery clean hair is the most common reason a graduation style collapses. Fix the third by choosing flexible hold, not stiff hold: a stiff spray locks a crushed shape in place, while a flexible one lets the hair spring back once the cap lifts. Spray from 10 inches away in one light pass, not three heavy ones. Carry ten spare bobby pins, a travel spray and a small water mister, and you can repair almost anything in two minutes.
Cap-On to Cap-Off: Fixing the Dent Before Photos
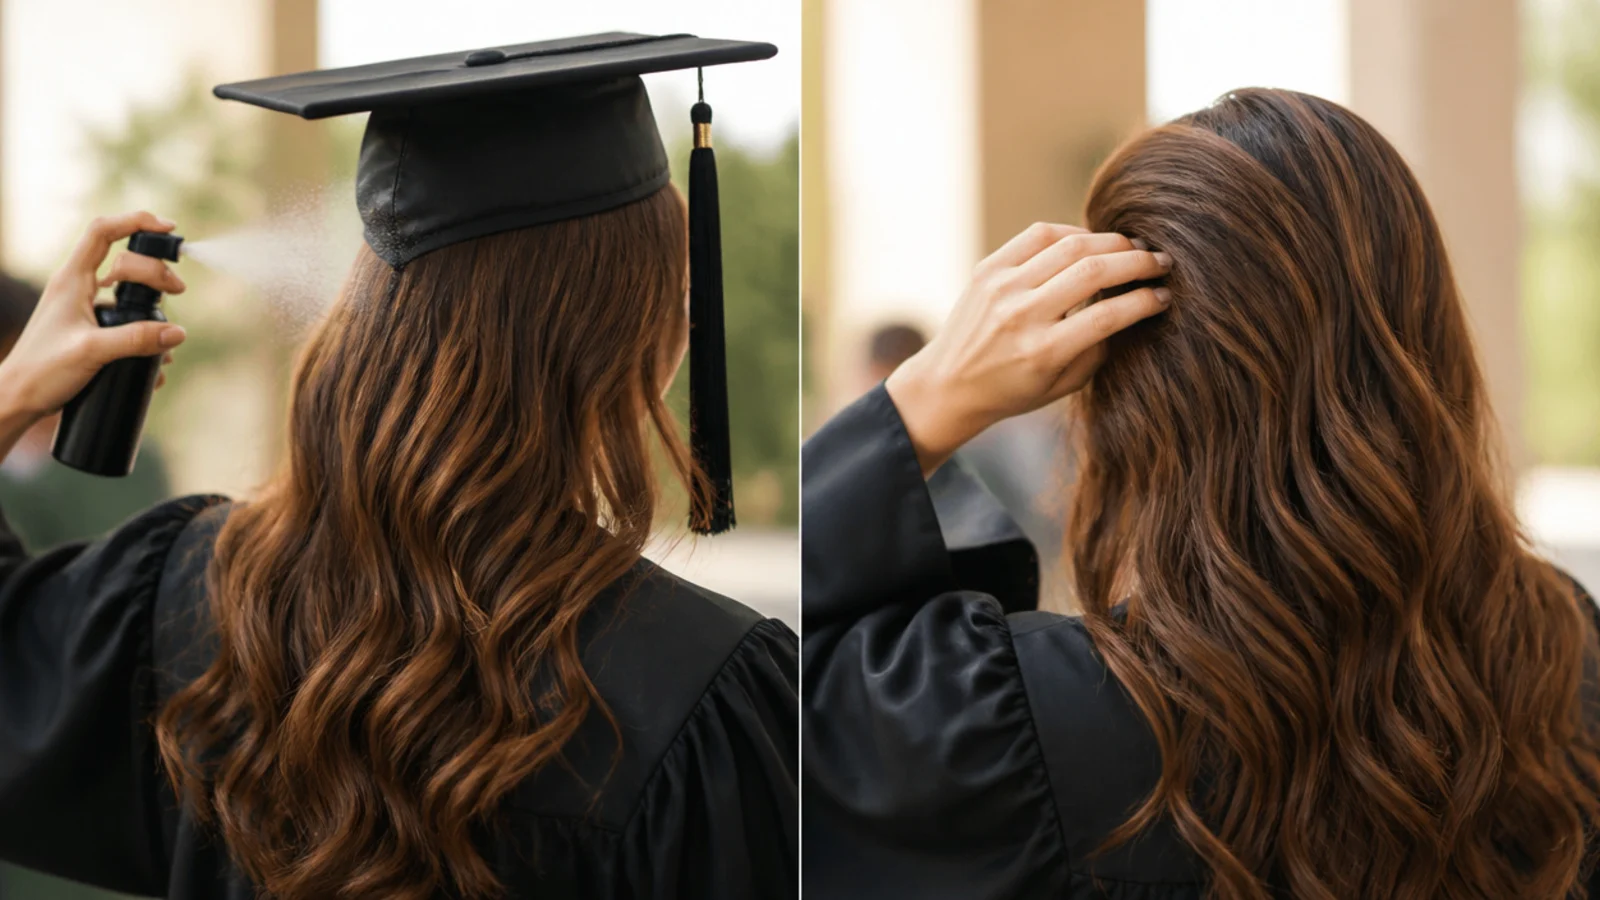
Almost everyone takes the cap off within minutes of the ceremony ending, and every photo after that shows the crown. The dent forms along the front edge of the board, so that is where to work. Mist plain water on the dented section only, finger-comb against the direction of the crease, and let it air dry for two minutes while you take the group shots that keep the cap on. On curly and coily hair, lift from underneath with a pick rather than combing through, which would break up the definition. On fine hair, a quick blast of dry shampoo at the roots and a flip of the head restores lift faster than water does. Styles with structure below the cap line, like braids and pinned twists, come out looking essentially unchanged, which is a strong argument for choosing one if you know there is a long photo session after. The tradeoffs are laid out fully in graduation updo.
What Easy Actually Means When You Are Styling Yourself at 6am
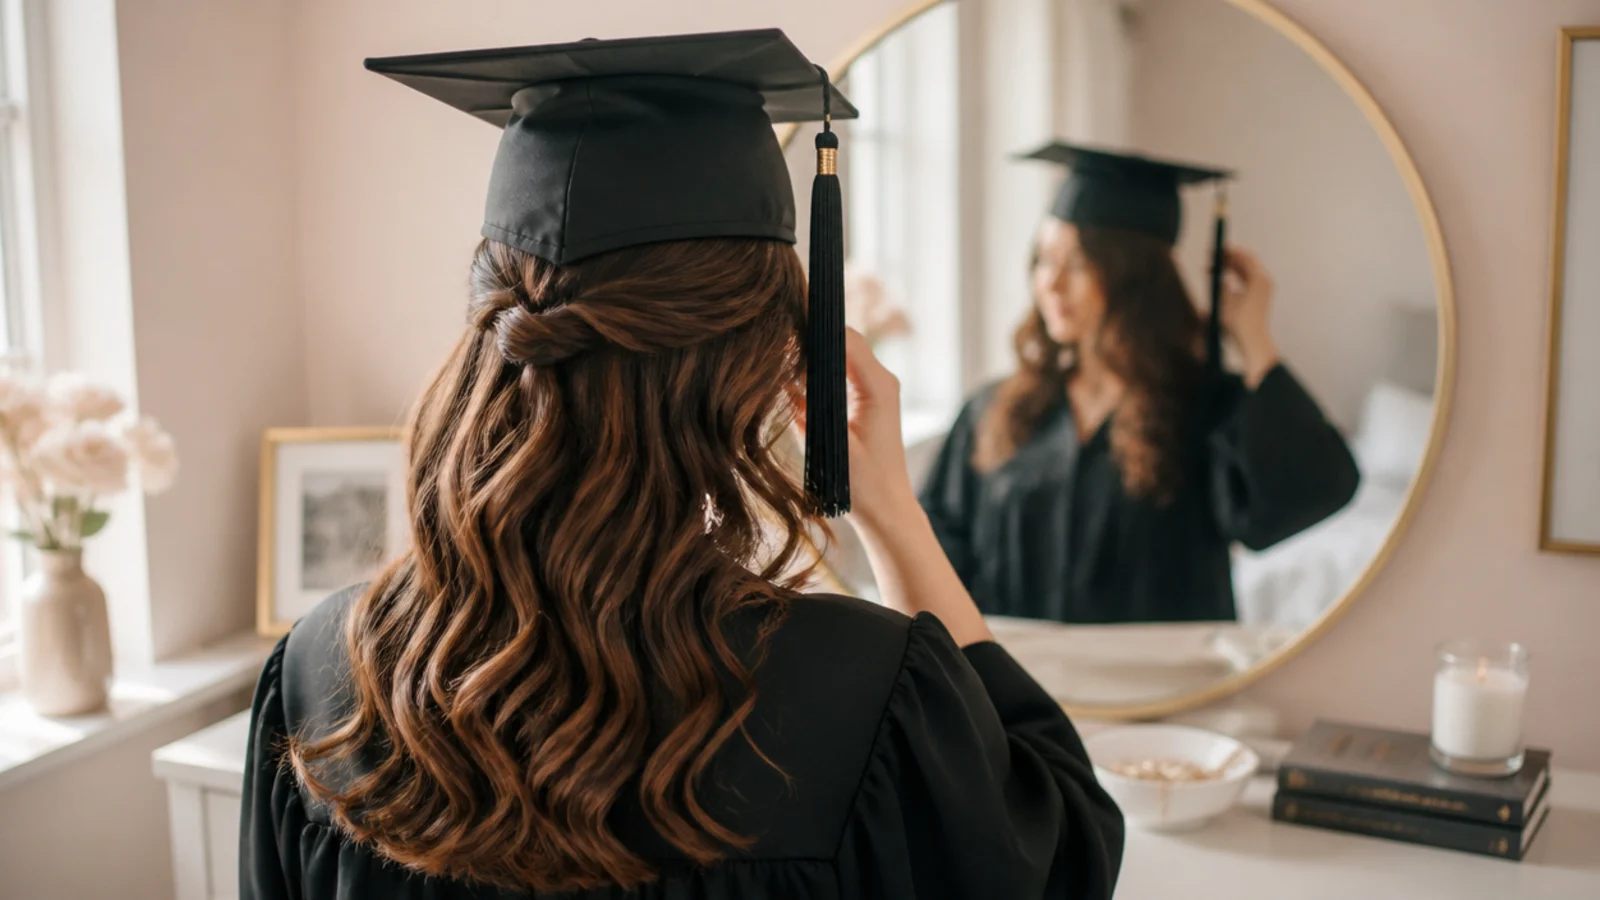
Most tutorials quietly assume two hands working from the front and a second mirror showing the back. You will have neither. A genuinely easy style has three properties: you can complete it by feel behind your own head, it forgives an uneven part or a lumpy first pass, and it has a recovery point where you can stop and start over without washing. Twists and low buns pass all three. Fishtails and French rolls do not, no matter how many roundups call them beginner-friendly. Set your phone on a stand recording in selfie mode as a live back mirror, which is far easier than juggling a hand mirror. Work on dry hair, keep pins in your mouth or clipped to your collar within reach, and do the hard part first while your hands are steady. For a broader set of quick options, see 5-minute everyday hairstyles.
Frequently Asked Questions
What is the easiest hairstyle to do for graduation?
The low twisted bun at the nape, at roughly two minutes and four bobby pins. Pull everything into a low ponytail, twist the length into a rope until it coils on itself, wrap it around the base and pin. It needs no braiding, no heat and no second mirror, and it sits well below where the cap lands. For hair shorter than 10 inches, the 90-second claw-clip twist is easier still.
What hairstyle looks best under a graduation cap?
Anything that keeps the crown flat and the volume below it. Low buns, low chignons, half-up twists and side-swept waves all photograph well with the cap on and stay put through a long ceremony. High topknots and crown-height buns push the board forward until it slides. If you want visible texture in cap-on photos, put the volume at the sides and back rather than on top.
How do you wear a graduation cap without messing up your hair?
Place the cap rather than pressing it down, let any curls cool completely before it goes on, and anchor it with two bobby pins crossed in an X under the front band instead of clamping it tight. Use a flexible-hold hairspray so the hair recovers when the cap lifts. Styles with structure below the cap line, like braids and pinned twists, come out virtually unchanged.
Should I do my graduation hair the night before?
Only if it is braided. Braids hold their structure through sleep, especially with a satin scarf or pillowcase. Everything else drops, creases or frizzes overnight. Overnight heatless waves are the exception that proves the rule: they are a set, not a finished style, and still need about 10 minutes of shaking out and spraying in the morning.
How do you keep a graduation cap from slipping off?
Cross two bobby pins in an X under the cap band and pin them into the hair at the crown, then add one at each side if the cap is loose. Give the pins something to grip by styling on day-two hair or misting dry shampoo at the roots. Freshly washed, conditioner-slick hair is the number one reason caps slide backward during a ceremony.
Should I wear my hair up or down for graduation?
Up holds better through a long ceremony and reads cleaner in cap-on photos, while down looks better in the photos taken after the cap comes off. A half-up style with volume at the sides is the honest compromise and is why it appears on almost every graduation list. If your ceremony is outdoors, or longer than two hours, lean up.
How do I fix cap dent in my hair before photos?
Mist plain water on the dented section only, finger-comb against the direction of the crease, and let it air dry for a couple of minutes. On curly or coily hair, lift from underneath with a pick instead of combing. On fine hair, dry shampoo at the roots plus a quick flip of the head restores lift faster. Keep a travel mister and a pick in your bag.
What can I do with short hair under a graduation cap?
Below about 10 inches, work with texture rather than shape. Use a matte paste or texture spray through the crown before the cap goes on, then lift with fingers after. A 3-inch matte claw clip holds a low twist from roughly 6 inches of length, and a pinned half-up or a deep side part with one sculpted wave both work on a bob without adding any crown height.
Will my curls survive four hours under a graduation cap?
Partly. Curls will compress at the crown no matter what, so plan the recovery instead of fighting it. Let them cool fully before the cap goes on, pin the front sections back so the cap edge is not resting on defined curls, and carry a pick to lift from the roots afterward. Type 3 and 4 hair does better with flat-twisted sides and a low puff than with an out style.
Which graduation hairstyles look are you saving?
If you only take one thing from these 15 easy graduation hairstyles, make it the placement rule: put on the cap first, mark where the front edge lands with a finger, and build everything below it. That single check is the difference between a style that photographs well for four hours and one you are fixing in a bathroom before the processional. Pick a style whose minute count is half your available time, because everything takes longer on your own head. Keep a flexible-hold spray, ten spare bobby pins and a small water mister in your bag for the cap-off photos. Then browse the rest of the graduation hairstyles board or go straight to graduation hairstyles with cap for the pinning detail.