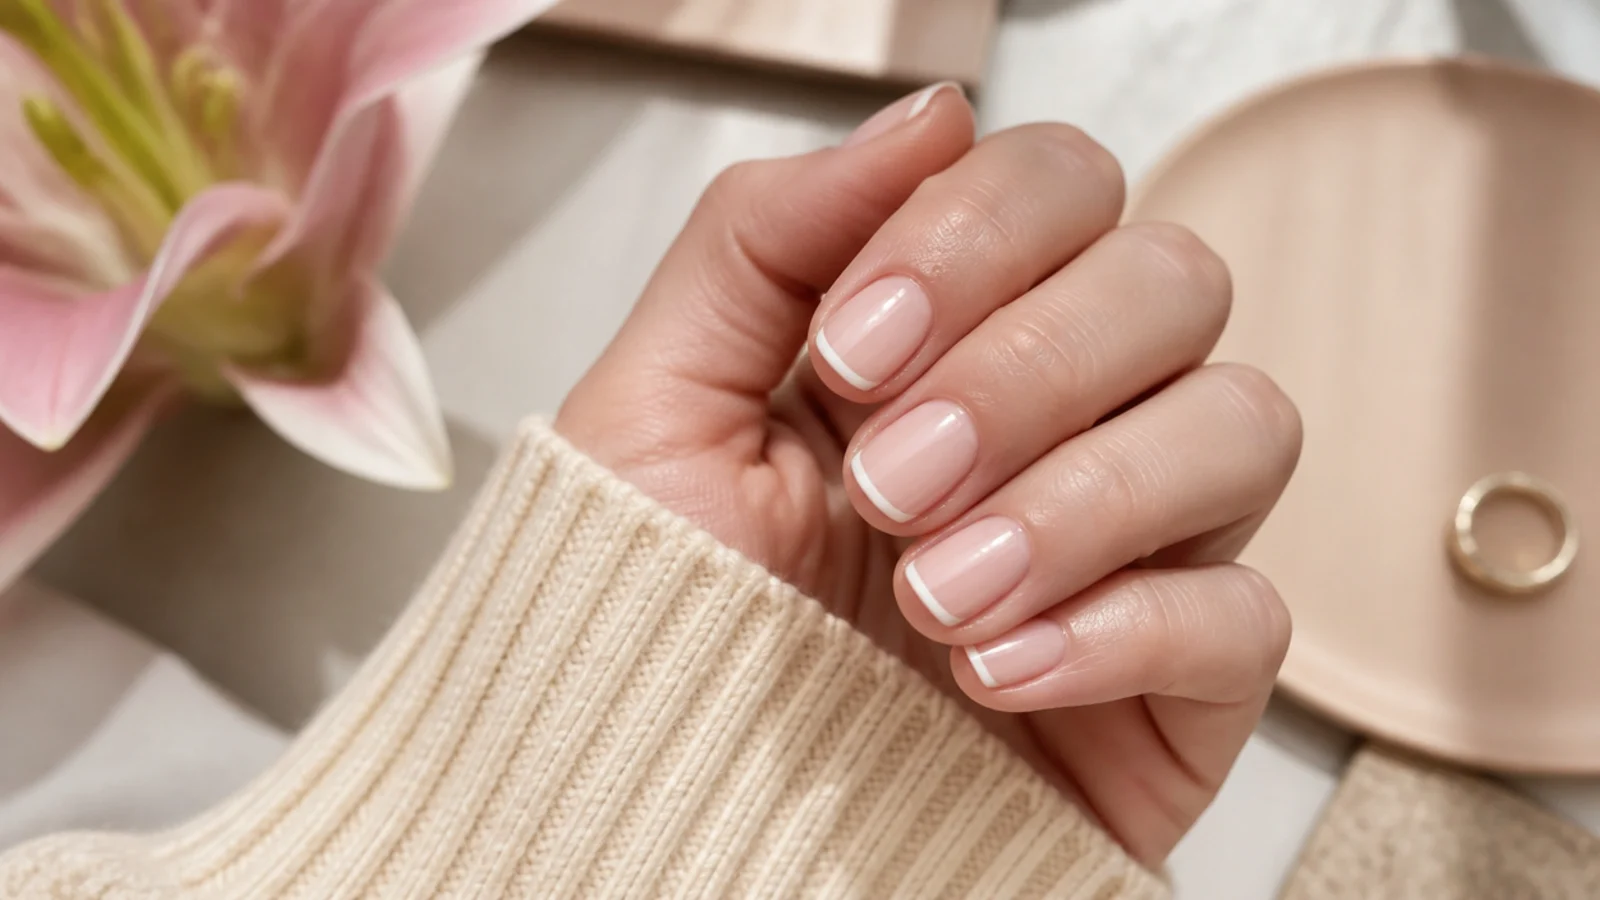
Quick Comparison
| Regular Polish Routine at Home | At-Home Gel Routine With a Lamp | |
|---|---|---|
| Startup cost | About 25 dollars for files, base, color and top | 60 to 100 dollars including an LED lamp |
| Time for a full set | 45-60 minutes, mostly waiting between coats | 40-50 minutes, almost no waiting |
| Dry or cure time | 2 minutes per coat, 1 hour before dishes | 30-60 seconds per layer, hard when you unclamp |
| How long it wears | 5-7 days, up to 10 with top coat refreshes | 2-3 weeks before regrowth shows at the cuticle |
| Ease of nail art | Forgiving; you can wipe a mistake with acetone | Unforgiving once cured, but no smudging risk |
| Removal | One acetone pad, 20 seconds per nail | File the top coat, then foil-wrap 10-15 minutes |
| Damage risk | Low; damage comes from picking, not wearing | Low if soaked off, high if peeled off |
| Fixing a single chip | Repaint that nail in 5 minutes | Usually means redoing the whole nail |
| Best for | Changing color often and learning the routine | One set that survives a vacation or a work month |
1. Prep the Nail: Remove, Wash, Push Cuticles Back
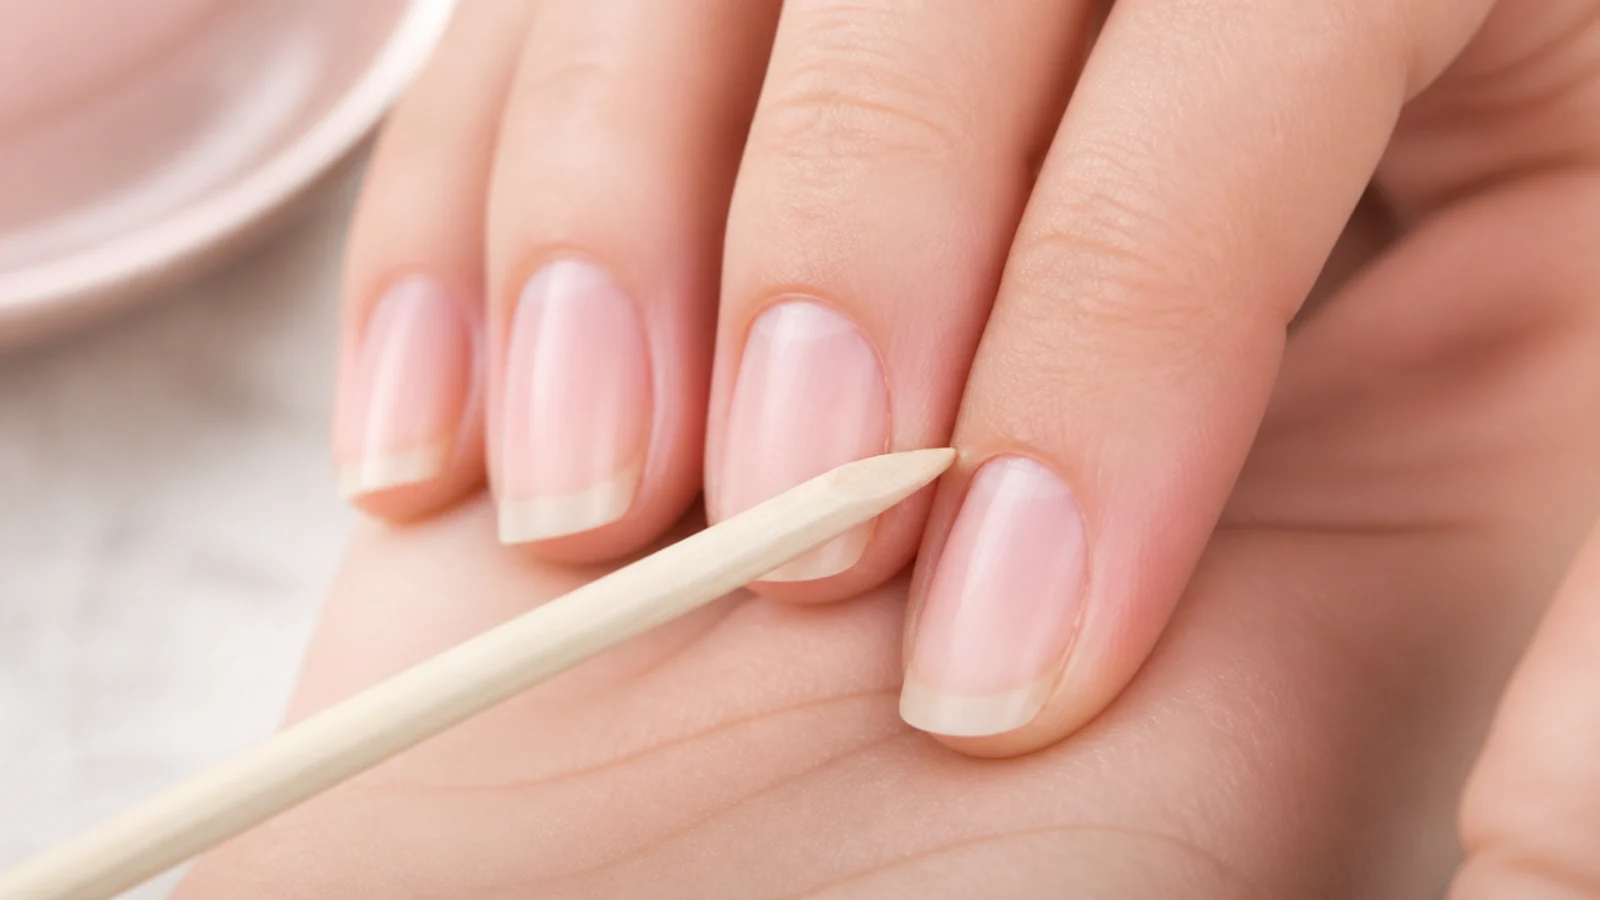
Take off every trace of old polish with an acetone-soaked cotton pad, including the thin ring left at the cuticle line. Wash your hands with soap and dry them fully. Now push the eponychium back with the flat end of a wood stick using light pressure at a low angle, then run the edge of the stick across the nail plate to lift the thin translucent film of dead tissue that grows onto it. That film is why polish lifts at the base within days. Never cut the living cuticle - pushing is the whole job, and it takes about 90 seconds per hand.
Common mistake: Oiling your cuticles right before painting, which leaves a slick film nothing will stick to.
Pro tip: Do cuticle oil the night before instead, so the tissue is soft but the plate is dry by morning.
2. Shape and Lightly Deshine the Free Edge
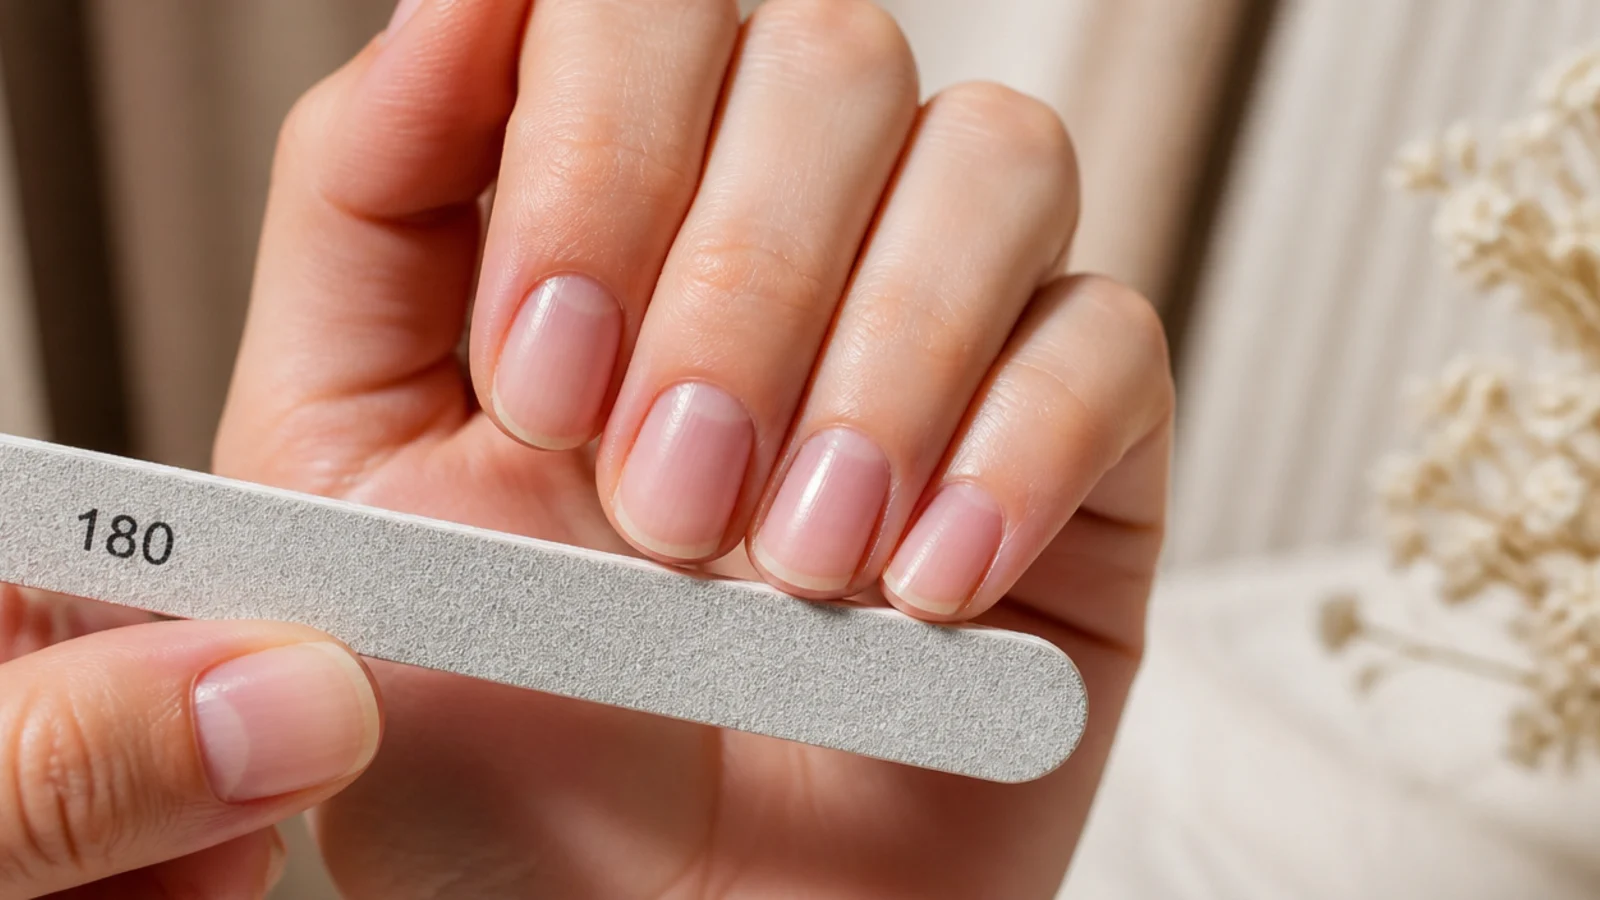
File dry, never after a soak, using 180 grit in one direction only and lifting the file on the return. Pick one shape and file all ten to match: squoval and short round are the most forgiving and the least likely to snap, while almond and coffin need about 3mm of free edge before the taper reads at all, as covered in how to shape coffin nails and how to shape almond and oval nails. Refine with 240 grit, then give the surface three light passes with a fine buffer. You want the shine knocked back, not the nail thinned - if you see white dust piling up, you have gone too far.
Common mistake: Sawing back and forth, which shreds the keratin layers and starts the peeling that splits the tip.
Pro tip: Compare each nail to its twin on the other hand, not to the finger beside it.
3. Dehydrate, Then Lay Down a Base Coat
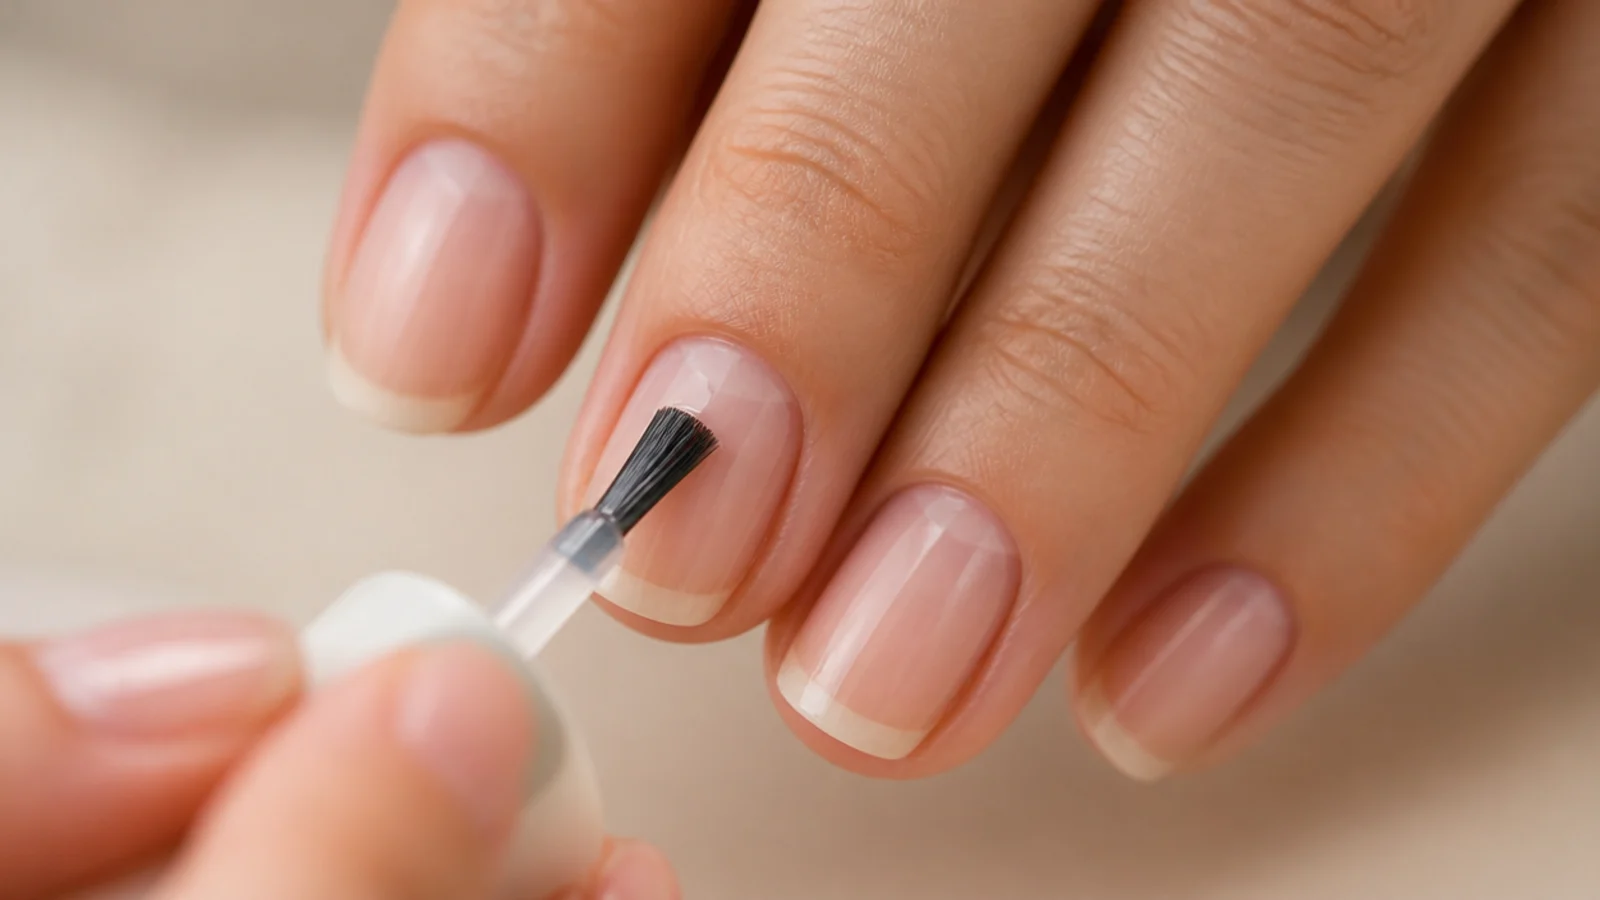
Wipe each nail with 70 percent isopropyl alcohol or a lint-free dehydrating wipe and let it flash off for 30 seconds. This pulls the natural oil that base coat cannot grip through. Then paint one thin coat of base - a ridge-filling formula if your nails are uneven, a rubber base if they peel, a strengthening base if they are thin. Cap the free edge by drawing the loaded brush sideways across the tip. Let regular base coat set for 2 minutes; cure gel base for 30 to 60 seconds under an LED lamp. Skipping base coat is also how red and neon polish stains the plate yellow.
Common mistake: Touching the nail with your fingertip to test dryness and leaving an oil print under the color.
Pro tip: One bottle of base coat outlasts three colors, so buy the good one at 9 to 14 dollars.
4. Build Color in Two or Three Thin Coats
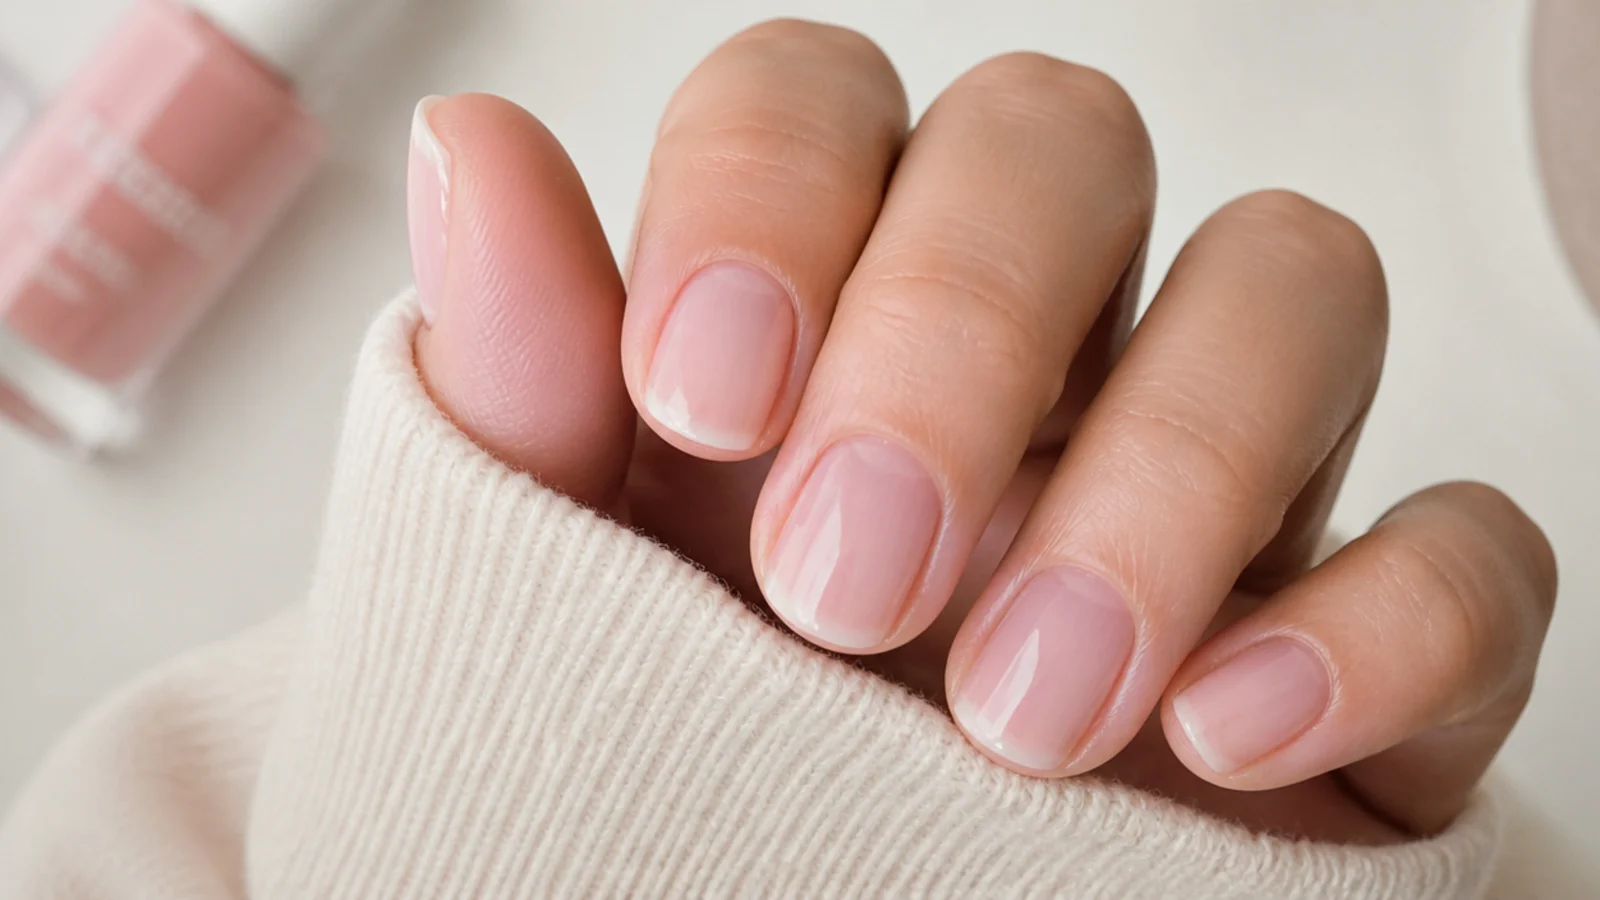
Wipe the brush on the bottle neck until it holds a flat fan of polish, place it about 2mm from the cuticle, push gently back toward the cuticle line, then pull one stroke down the center and one down each side. Cap the tip. The first coat should look patchy and slightly see-through - that is correct. Wait 2 minutes and repeat. Most creams are opaque at two coats, sheer milky pinks and neons need three, and glitters need two plus top coat. Three thin coats dry faster and harder than two thick ones because solvent can actually escape.
Common mistake: Flooding the cuticle, which gives that thick shelf that peels off in one sheet by day three.
Pro tip: Neons and pastels read true over a white first coat, the same trick used for white chrome nails.
5. Add the Art With a Toothpick or Flat Brush
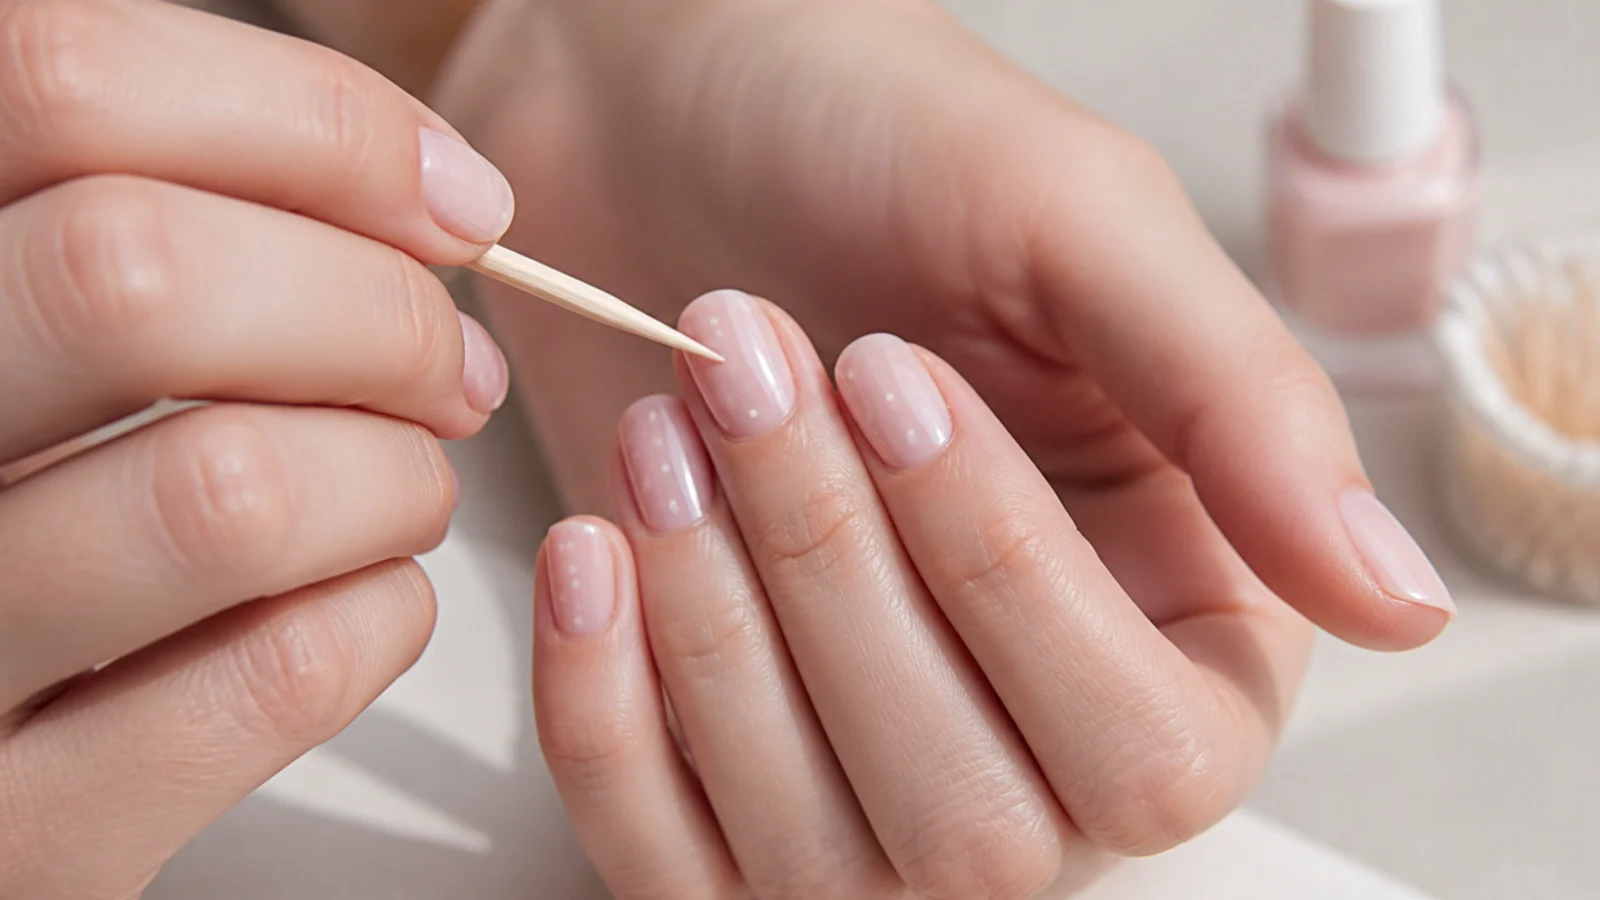
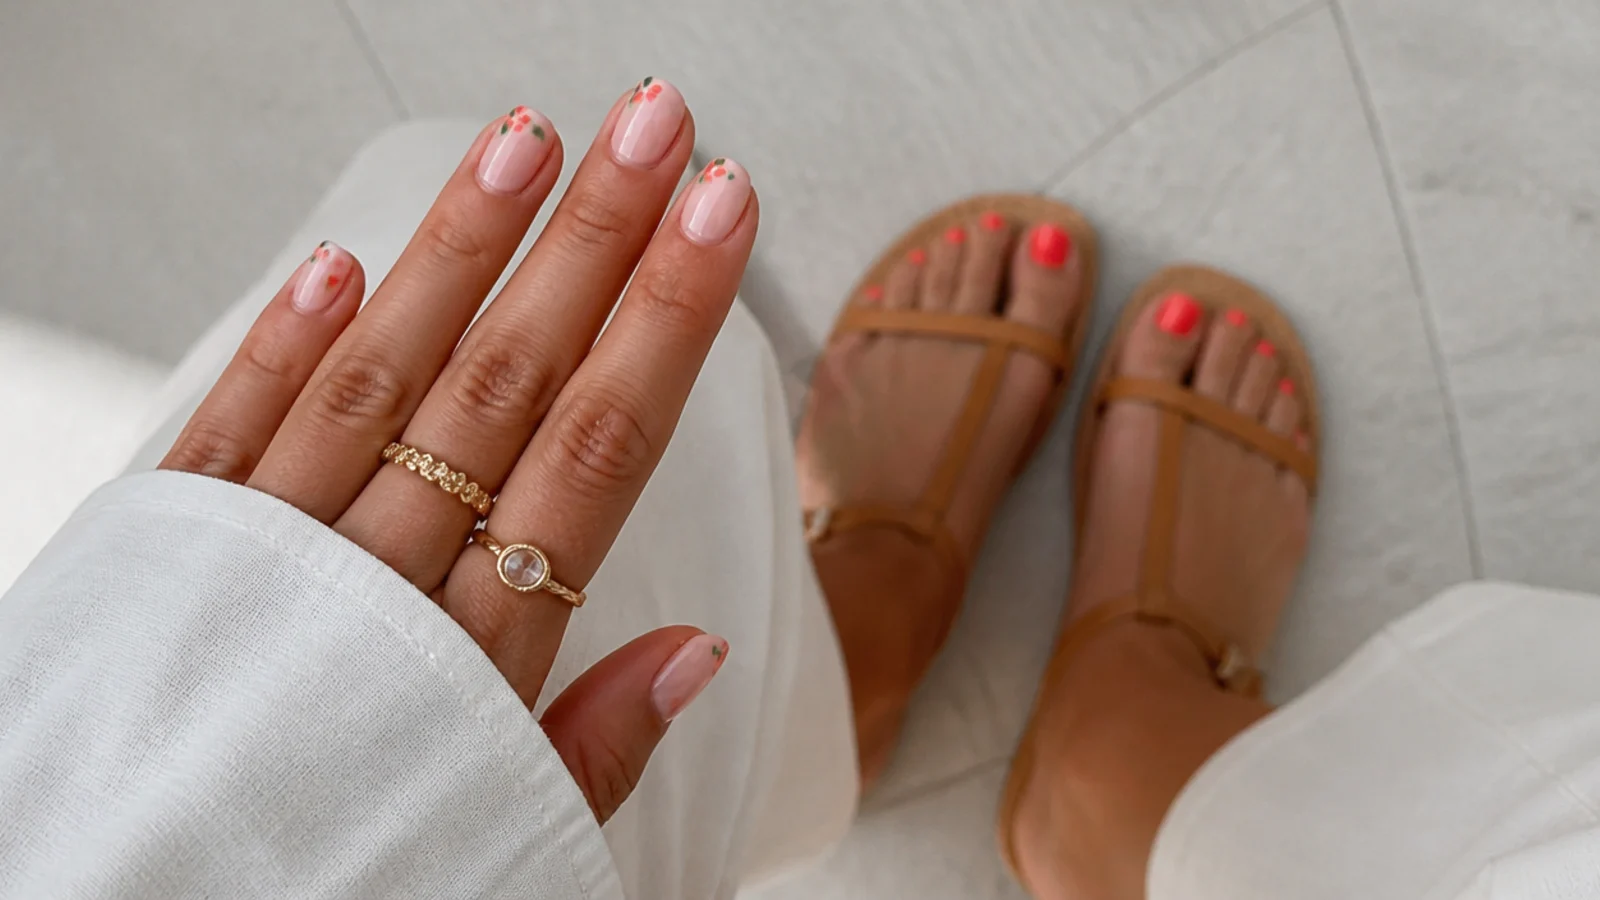
Let the color set 10 full minutes before any art or it drags and smears. Start with one element, not a full nail. A toothpick dipped in a bead of polish on foil makes micro dots and daisy petals; a flat angled brush pulls a clean French smile line; a strip of tape pressed onto fully dry polish gives crisp chevrons and color blocks. Do your dominant hand first, while your steady hand is fresh and unpainted. Keep art to two accent nails on your first attempt - a mismatched pair reads deliberate, ten shaky nails do not. Seasonal motifs from cute nail ideas for every season work well as accents.
Common mistake: Working over tacky color, which drags the base up into the design and muddies both colors.
Pro tip: Load fresh polish from a foil puddle instead of the bottle brush - the bead thickens and dots get rounder.
6. Seal It: Top Coat and Cap the Free Edge Again
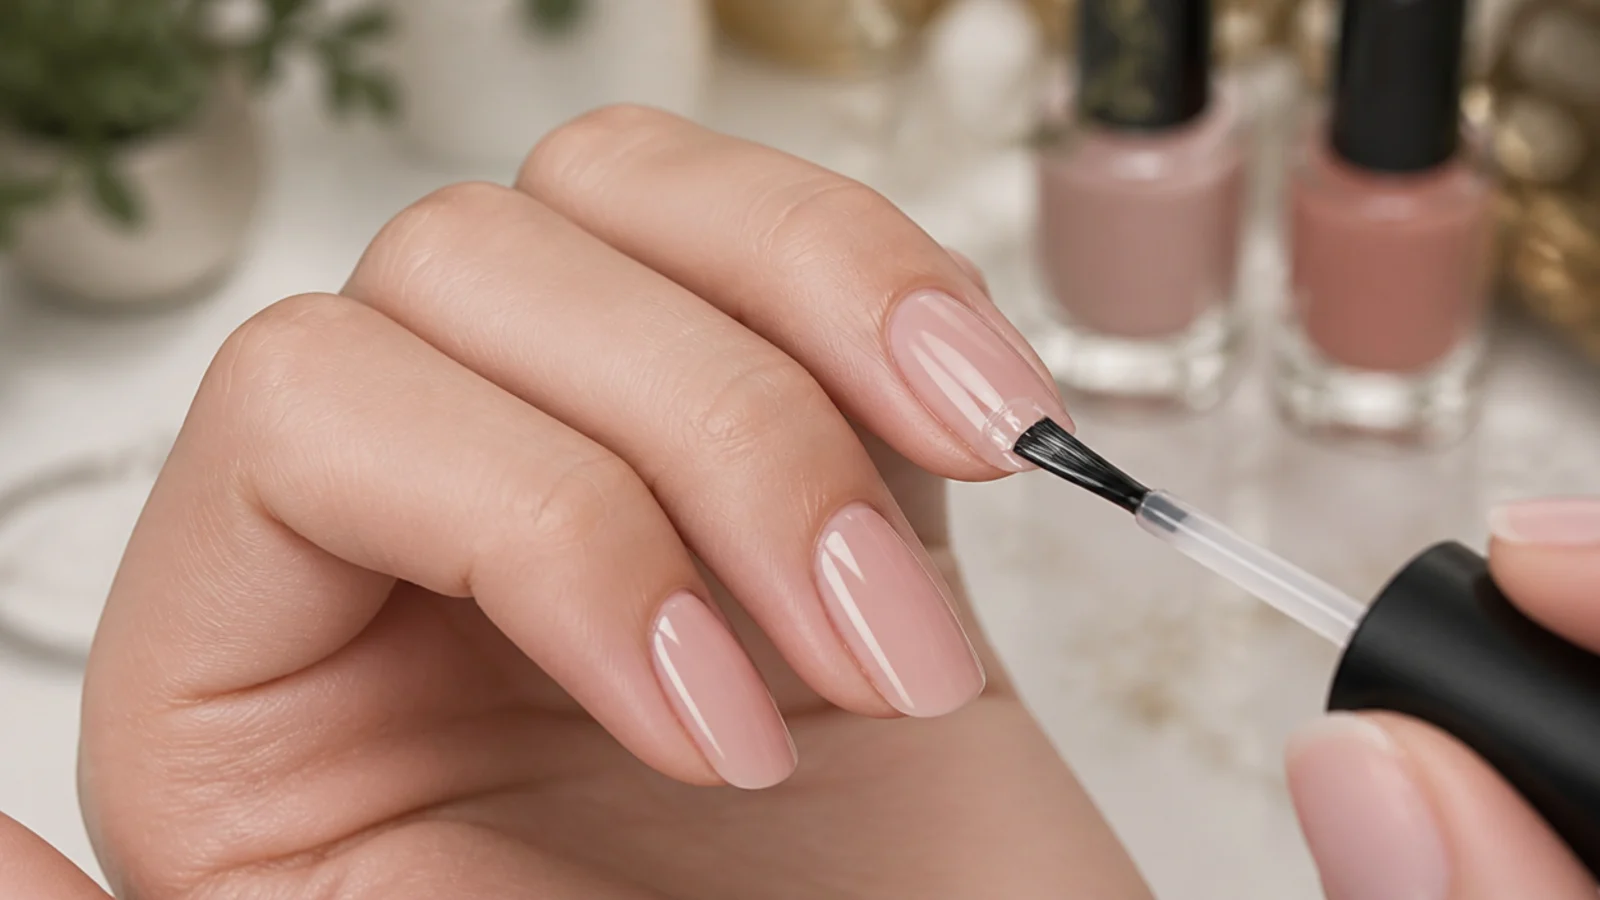
Wait 10 minutes after the last art element, then float one generous coat of top coat over the whole nail without pressing the brush into the design. Cap the free edge again, wrapping the polish over the tip so the layers fuse into one shell. This one move is the largest single factor in chip resistance and almost no tutorial mentions it. A fast-dry top coat is touch-dry in 2 minutes and fully hard in about an hour; gel top cures in 30 to 60 seconds and needs the sticky inhibition layer wiped off with alcohol. Reapply top coat on day three to buy two or three more days.
Common mistake: Dragging the brush through art that only looks dry, which smears a stripe straight through it.
Pro tip: Matte top coat hides brushstrokes better than gloss, which is why matte nails forgive a shaky hand.
7. Clean Up the Edges and Rehydrate
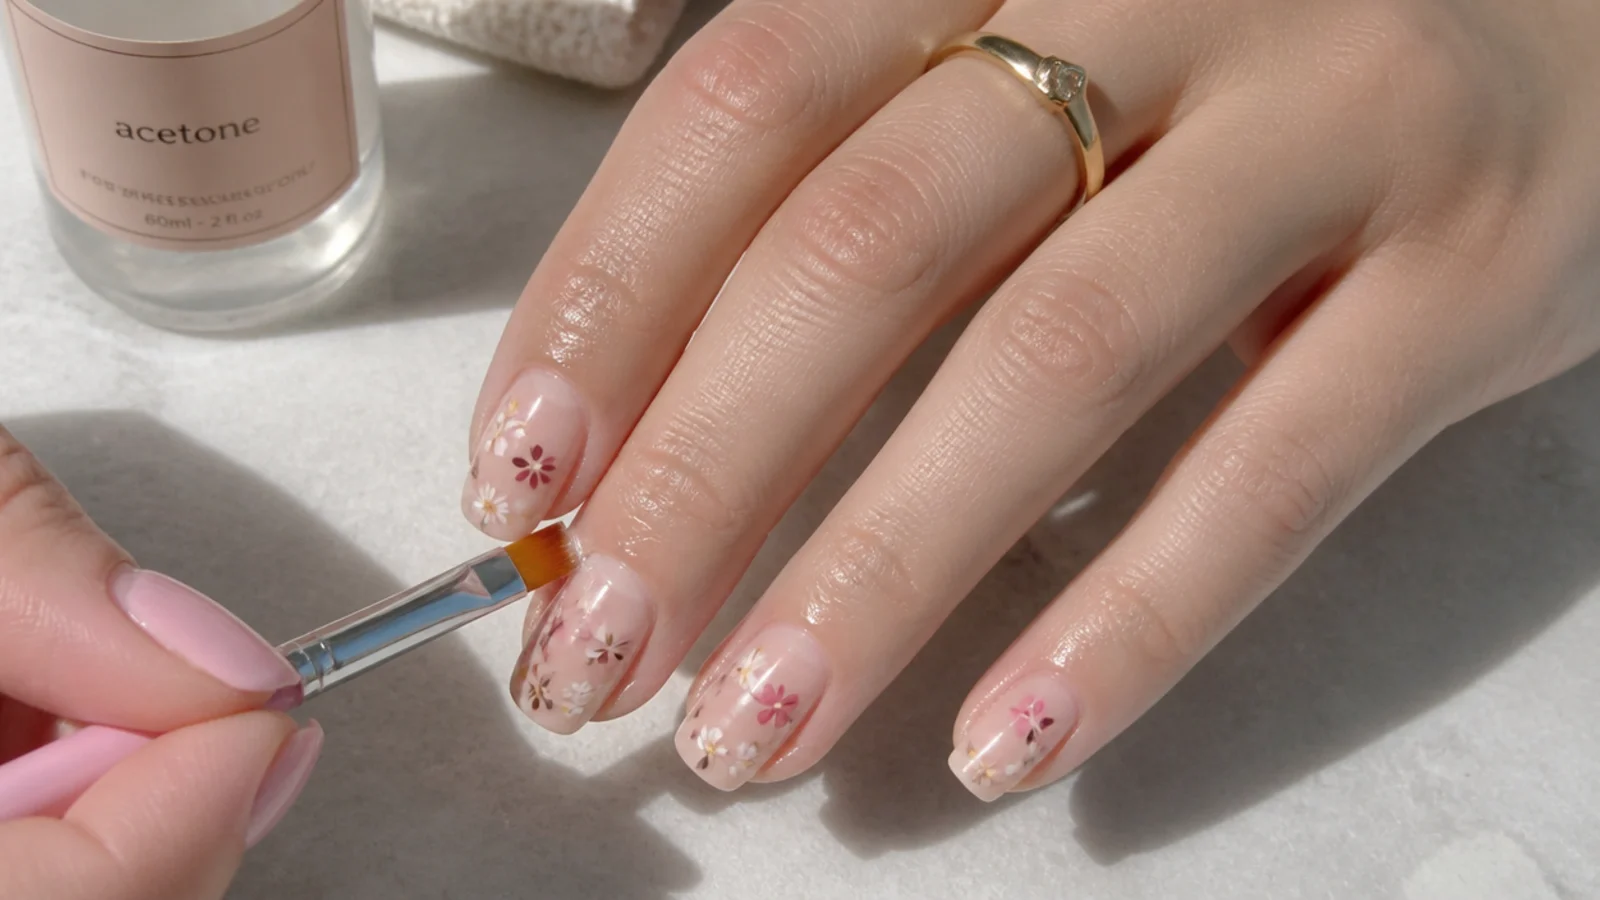
This is the step that makes a home set look salon-done. Dip a flat angled brush in acetone, blot it almost dry on a paper towel, and trace the cuticle line and both sidewalls to lift the polish off your skin. Work in short strokes and reload often. Do this while the top coat is still soft, within about 5 minutes, so the edge melts clean instead of chipping away. Wait a full hour before showering, washing dishes or anything hot, then massage cuticle oil into the folds and jojoba or hand cream over the top.
Common mistake: Hot water within the first hour, which swells the plate and lifts polish at the sidewalls.
Pro tip: Keep the cleanup brush in a lidded jar of acetone so it is always loaded and shaped.
Nail Art Tools You Actually Need at Home
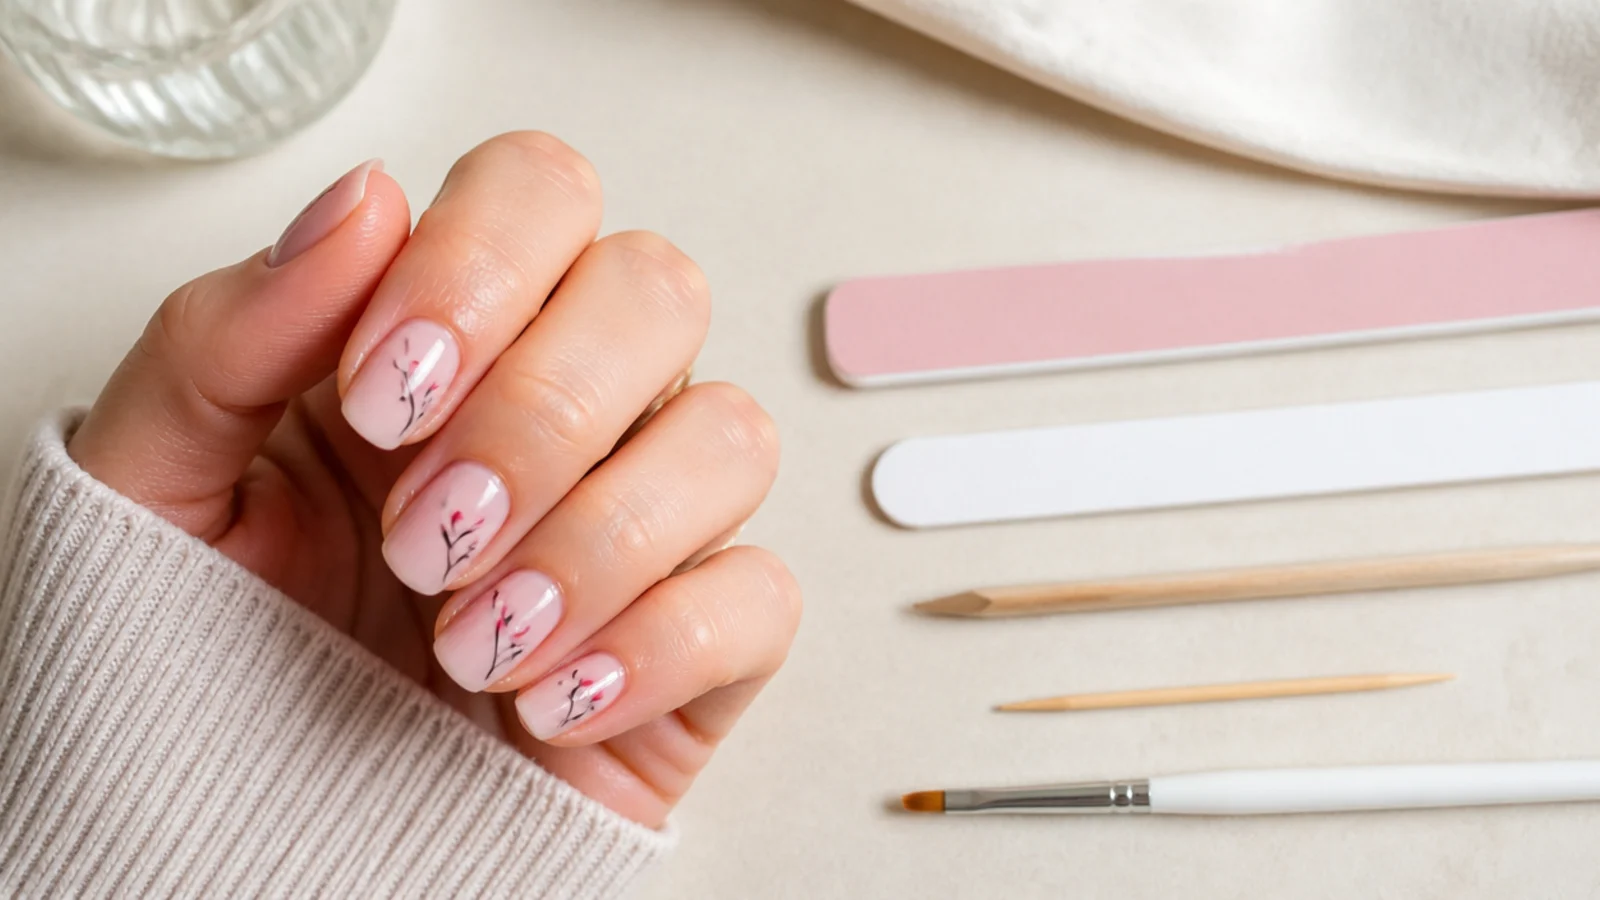
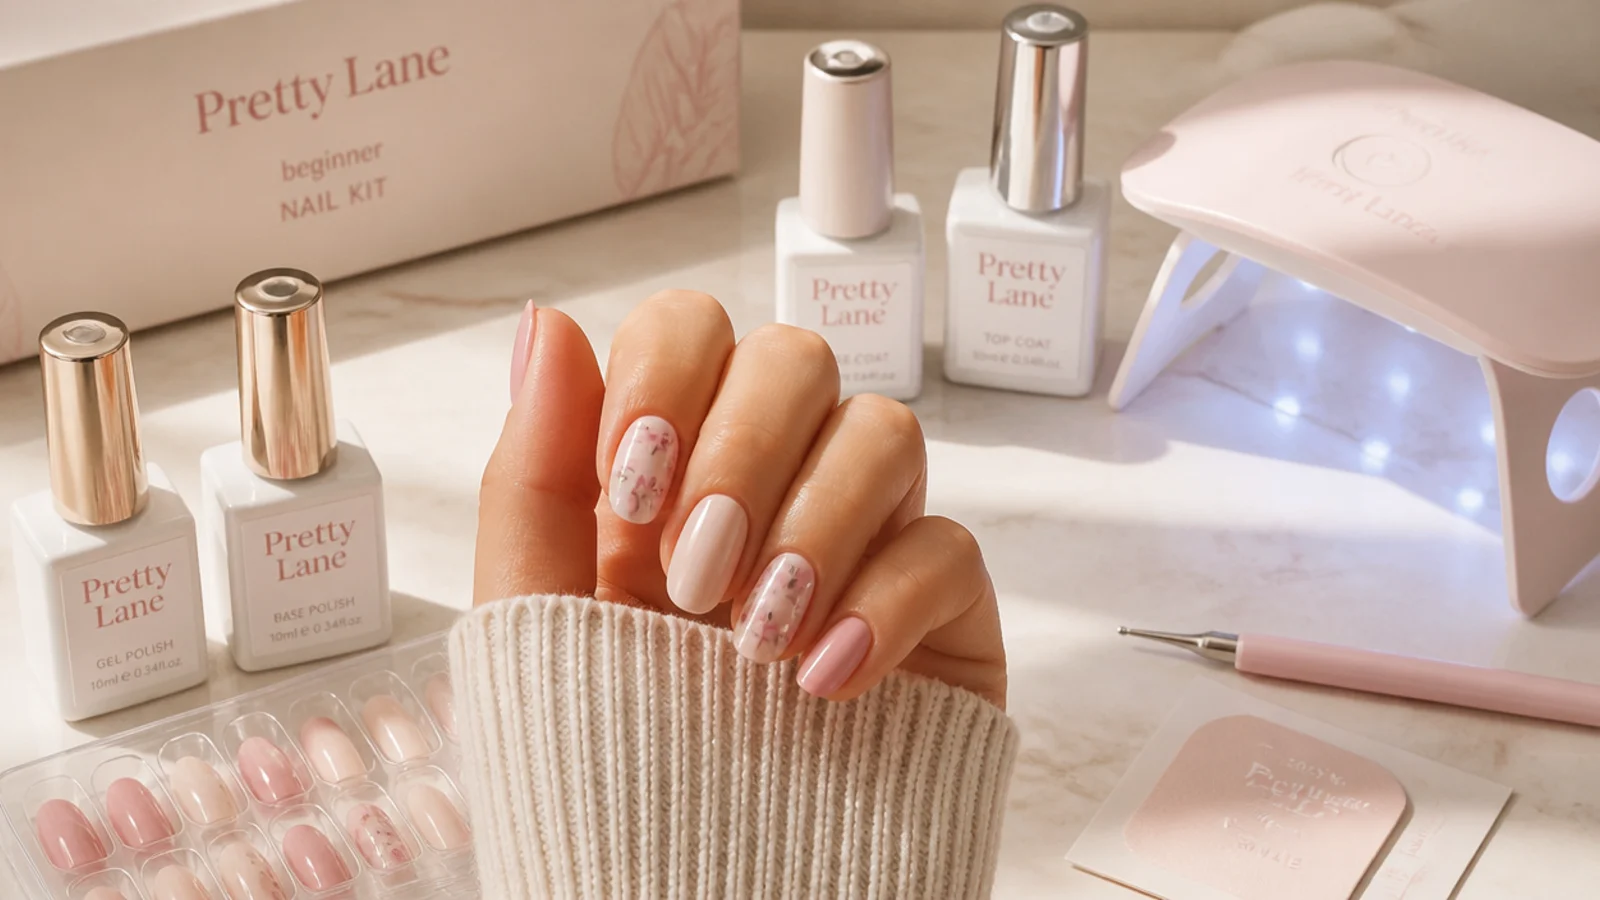
The honest starter kit is short. A 180 grit file, a 240 grit file, a fine buffer, a wood cuticle pusher, a bottle of acetone, a base coat, a top coat and one color will get you a clean set for about 25 dollars. For art, a wooden toothpick handles dots, tiny flowers and confetti, and a flat angled brush from a craft store handles French smile lines, stripes and cleanup. A strip of regular office tape gives you chevrons and color blocks. Metal-bead dotting tools at 6 dollars are nicer than a toothpick but not required. Skip 3-in-1 drugstore kits with bundled color - the polish is the cheapest part and the files are usually 100 grit, which is meant for acrylic and will tear a natural nail. If you want to go gel later, compare full sets in cute nail kits for beginners rather than buying a lamp alone, and read how to do blooming gel nails before you buy specialty gels.
How to Cap the Free Edge and Why It Matters
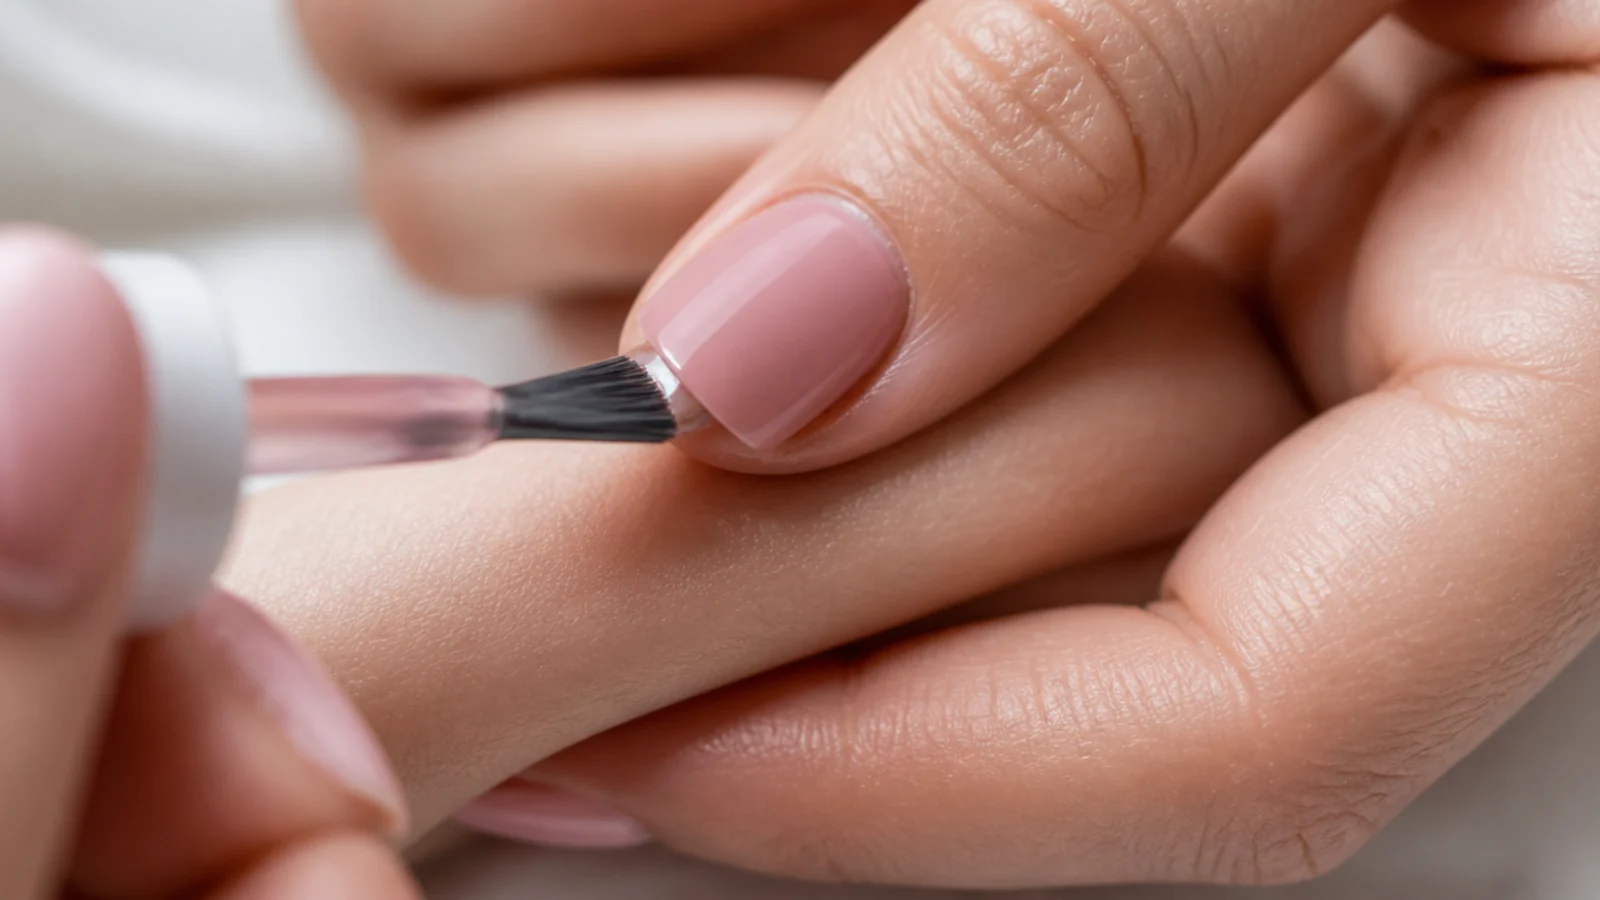
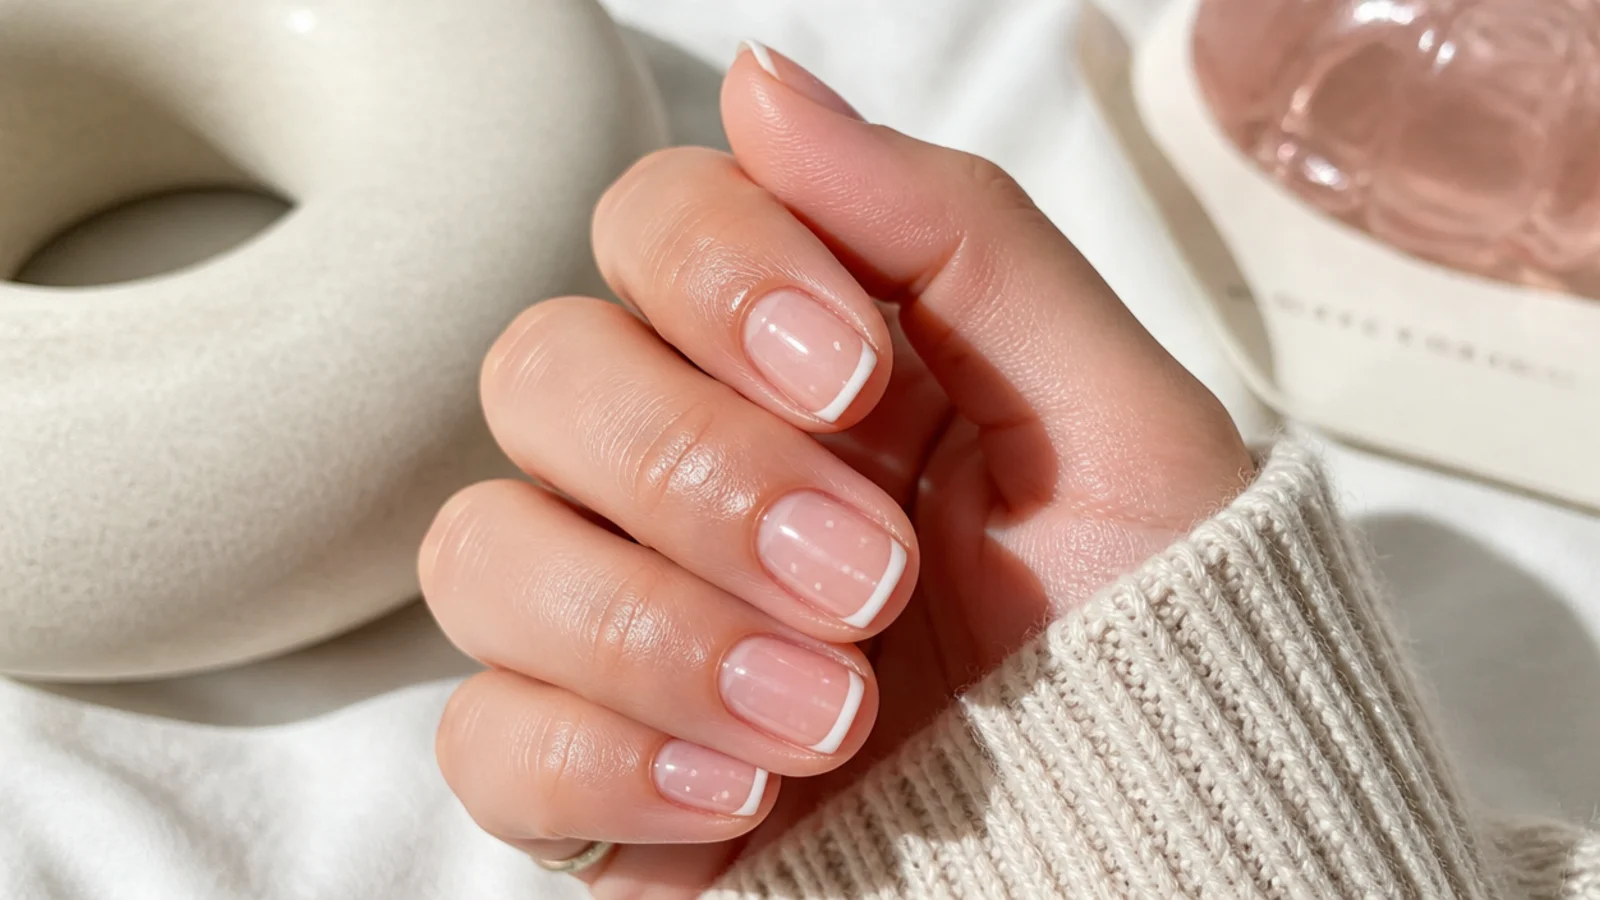
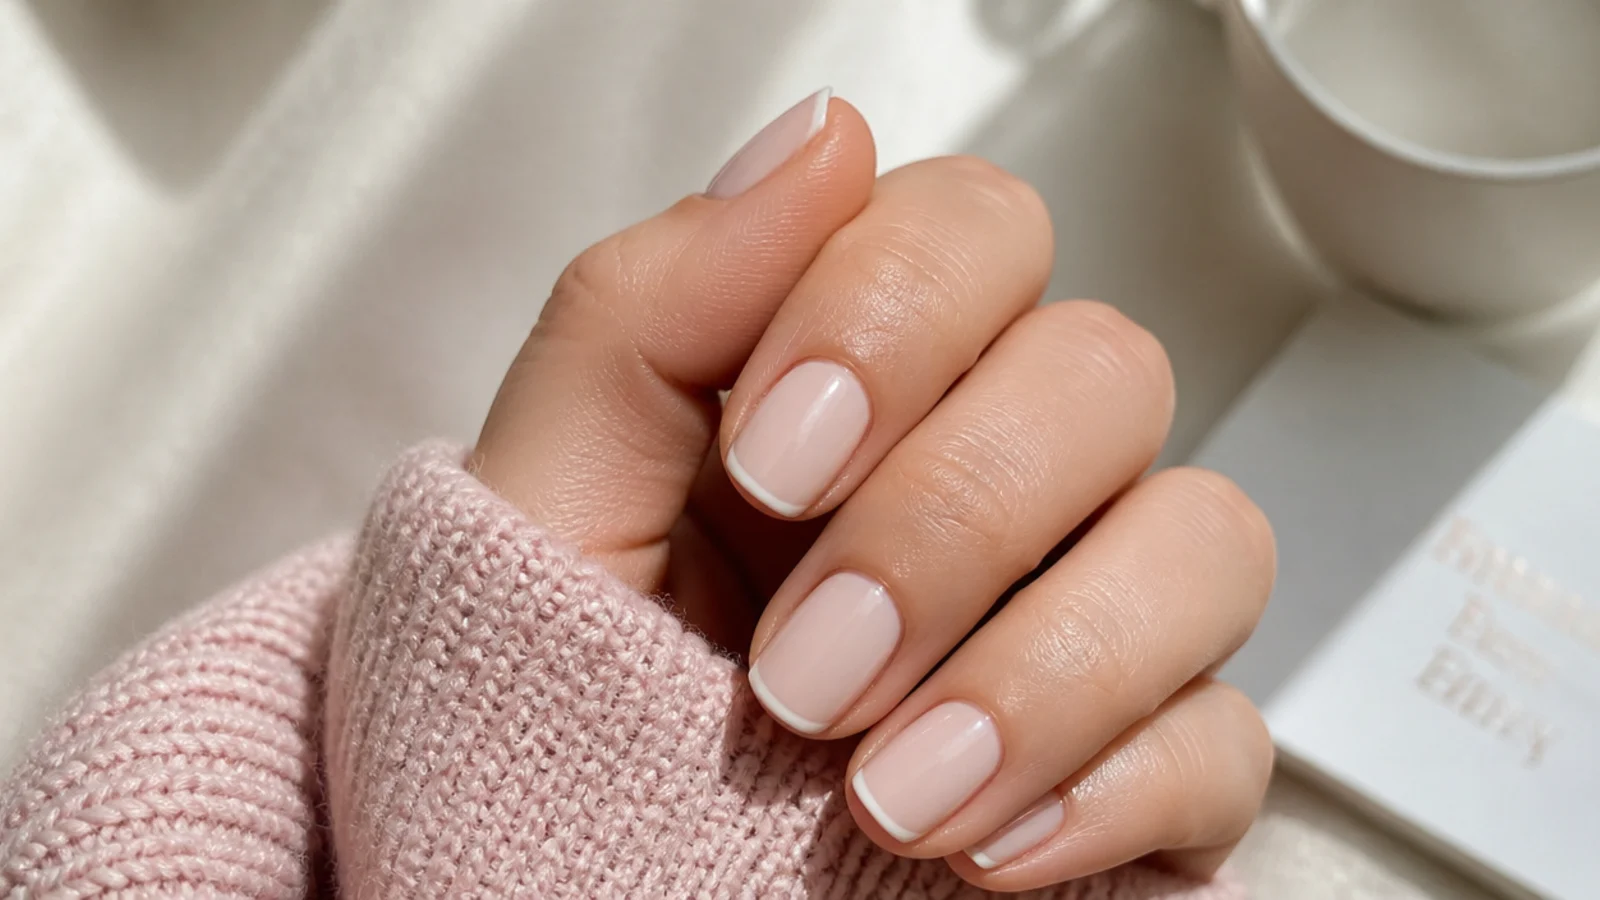
Capping means running the loaded brush horizontally across the very tip of the nail, sealing the cut edge of every layer you just painted. Do it on the base coat, on each color coat, and on the top coat. Uncapped, each layer ends in an exposed seam at the tip, and every time you type, wash up or peel a sticker, water and friction attack that seam until the polish lifts and takes a crescent off the tip. That crescent chip on the first day or two is not bad polish, it is an uncapped edge. Capped, the layers fuse into a continuous shell that wraps the edge, and typical wear roughly doubles. Use a thin bead of polish, not a loaded brush, or you will build a bulge that catches on fabric. The technique matters most on short nails where the free edge is constantly in contact with things, which is exactly the length most of these cute simple designs and the sets in cute short nails that look expensive are painted on.
Real Dry Times: Between Coats, Before Art, Before Bed
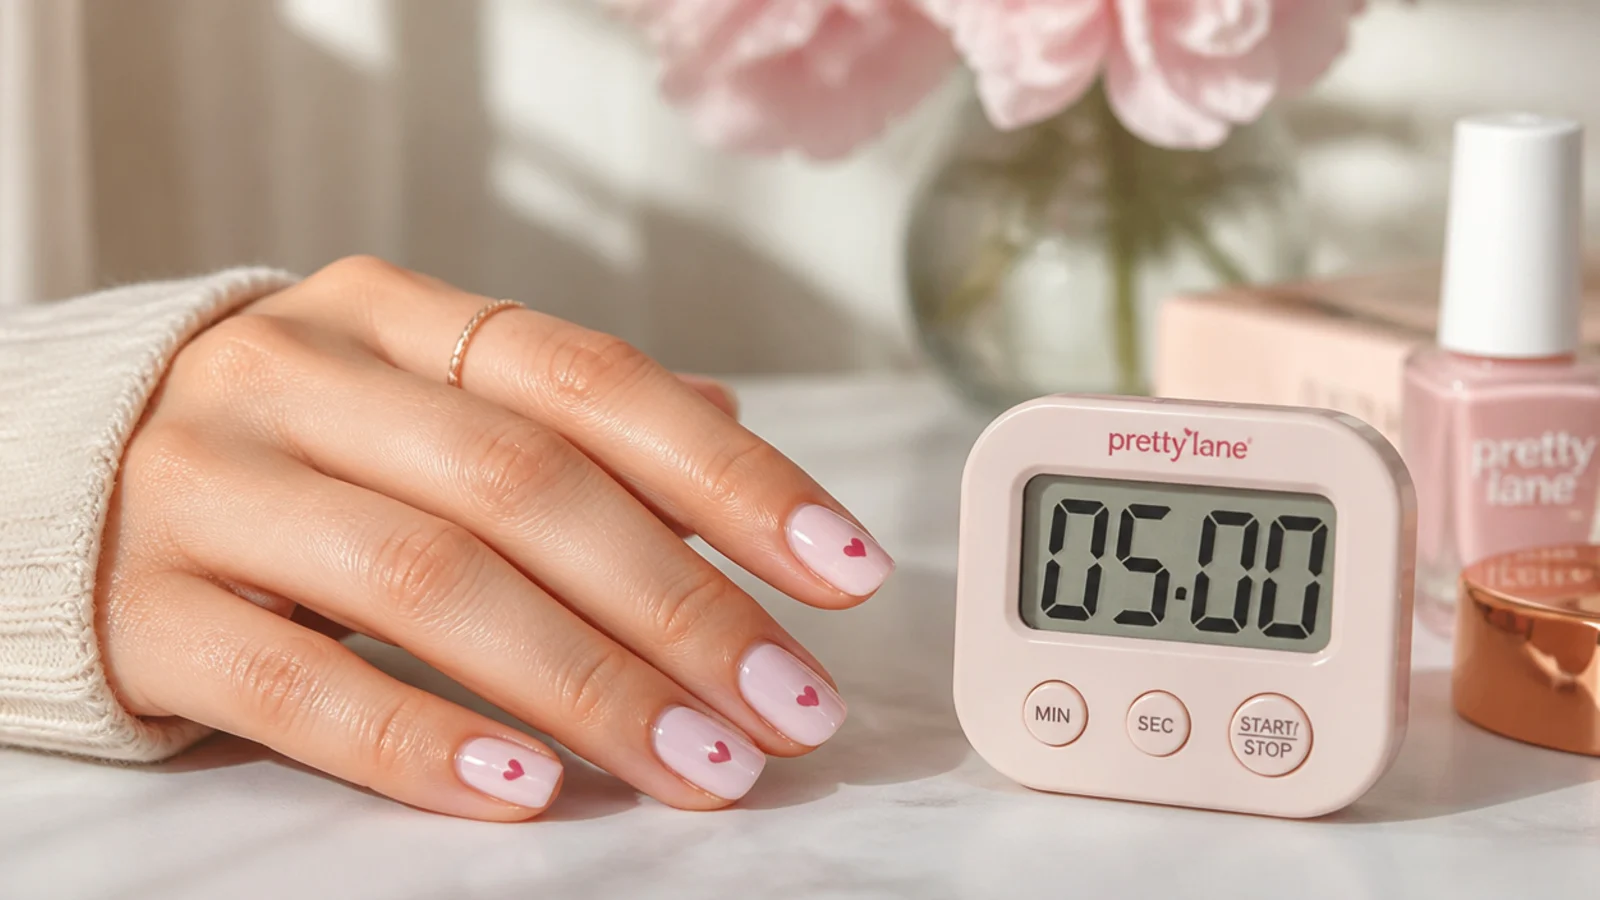
Polish does not dry, it cures as solvent evaporates, and rushing it is the most common home failure. Regular polish needs about 2 minutes between coats, 10 minutes after the last color coat before you attempt art, 2 minutes to touch-dry after a fast-dry top coat, roughly 1 hour before hot water or dishes, and a full 12 hours to reach maximum hardness. Sheet marks at bedtime mean you painted less than about 4 hours before sleeping. Gel is different: each layer cures in 30 to 60 seconds under an LED lamp and is fully hard the moment you leave the lamp, which is the entire appeal. A matte finish sets faster to the touch than a high-gloss one, as matte vs glossy nails explains. Quick-dry drops of jojoba oil pull the surface hard in about 60 seconds but do not set the layers underneath, so they help with smudges and not with the hour-before-dishes rule. Thin coats shorten every one of these numbers.
Troubleshooting: Bubbles, Streaks, Chips and Smudges
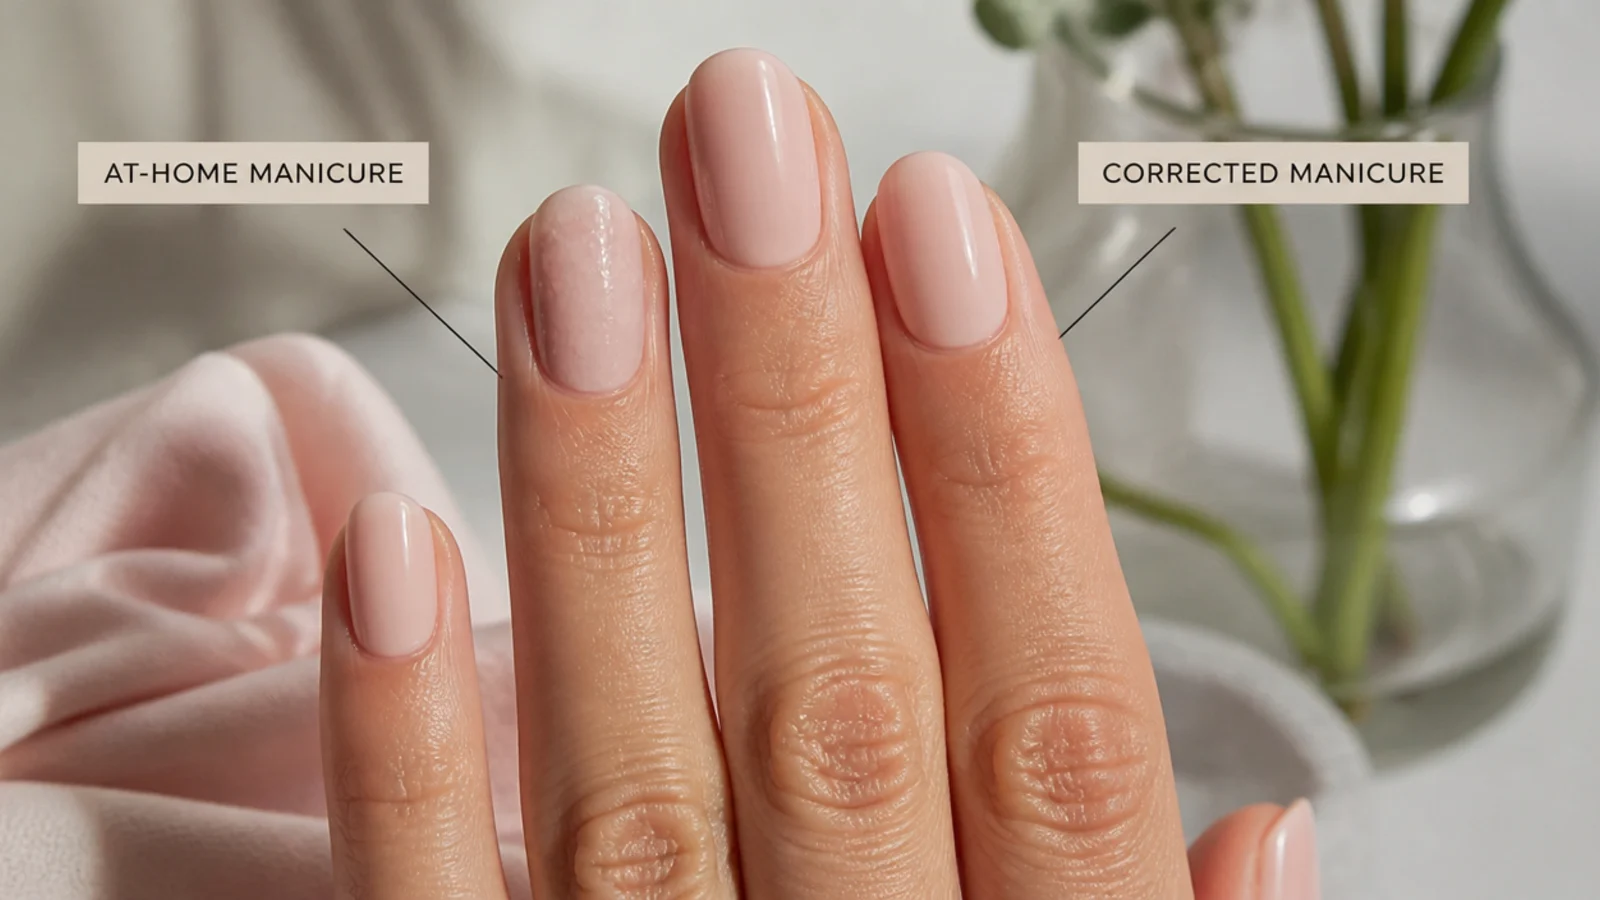
Five failures cover nearly everything. Bubbles: you shook the bottle, which whips air into the polish - roll it between your palms instead, and paint thinner. Streaks: the coat was too thin for that pigment or you went back over a setting coat, so add one more full thin layer rather than fixing a patch. Chipping at the tip on day one or two: an uncapped free edge, every time. Peeling off in one whole sheet: oil or lotion under the base coat, so dehydrate with alcohol first. Dents and sheet marks: not enough time before bed, and the fix is a light float of top coat over the dented nail rather than a repaint. Lifting at the cuticle within three days usually means polish sitting on that translucent film left at the base, which is the same prep failure behind the issues covered in white chrome nail mistakes. And color creeping into the sidewalls is a cleanup problem, not a painting one.
Making At-Home Nails Last Longer Than Five Days
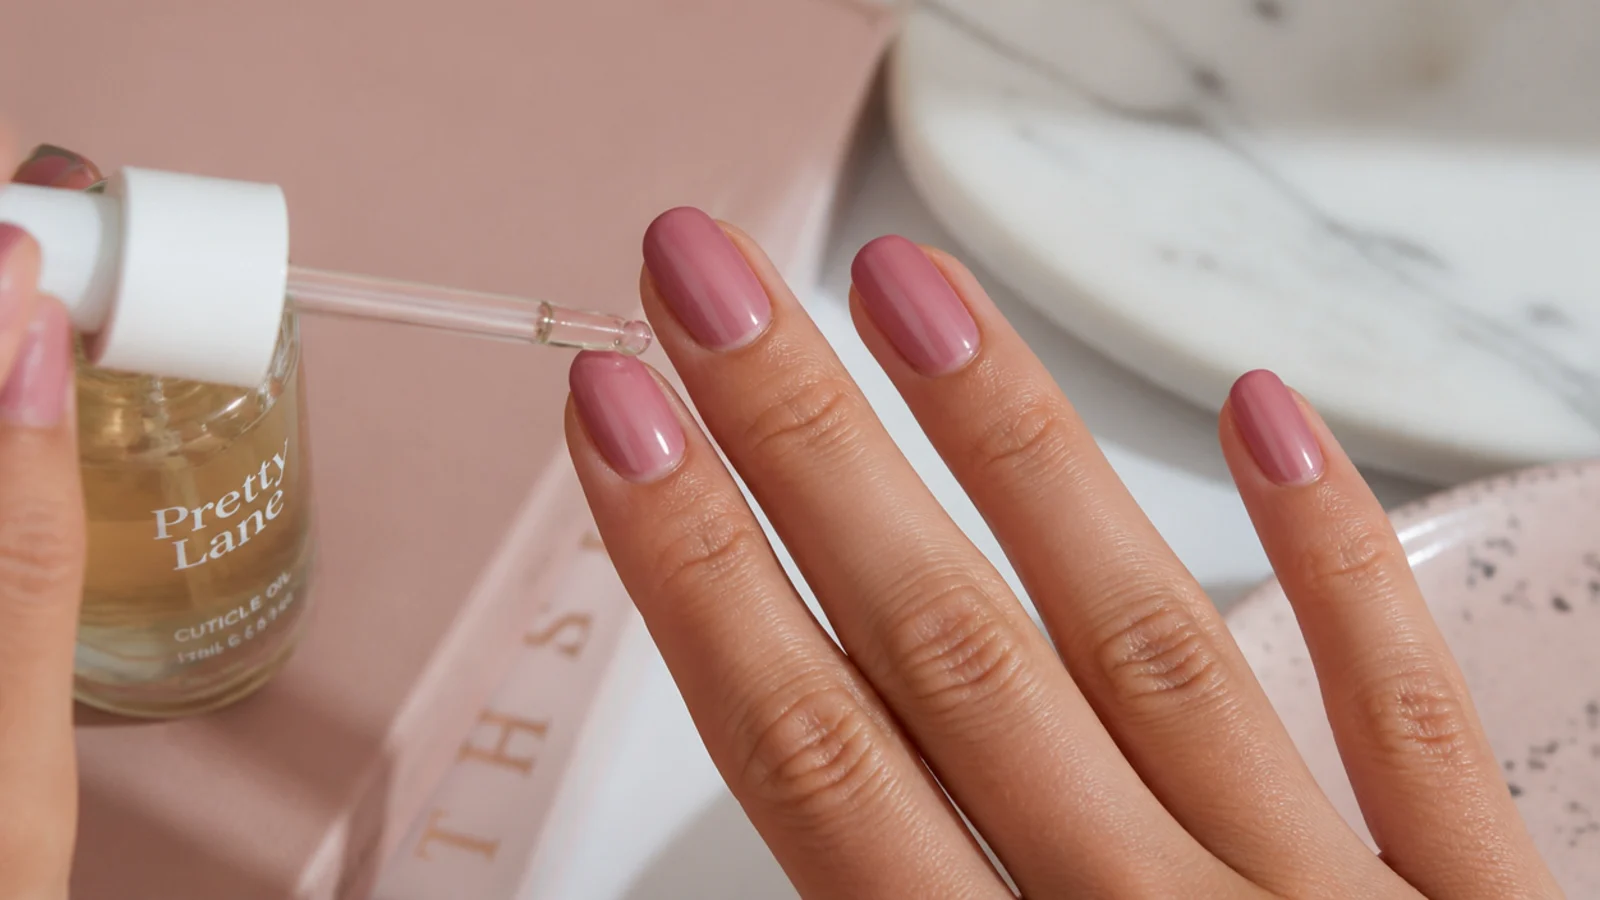
Regular polish realistically runs 5 to 7 days, gel 2 to 3 weeks, and press-ons 1 to 2 weeks with good glue technique. To reach the top of your range, do four things. Reapply top coat on day three and again on day five, capping the edge each time - this alone often adds three days. Wear gloves for dishes and for any cleaner containing bleach or acetone. Oil your cuticles twice a day, because a flexible plate absorbs impact and a dry one cracks. Keep the length modest, since a long free edge levers against everything you touch, which is why short nails hold a manicure better than long ones. When it does go, remove it properly with an acetone-soaked pad held for 20 seconds per nail rather than picking, since picking takes plate layers with it and the next set peels faster. Sheer finishes hide regrowth longest, which is why a soap nails look still reads clean at day eight. Toes are a different case entirely: a pedicure outlasts a manicure easily, which sandal-season toe nails explains.
Frequently Asked Questions
How do you do cute nails at home step by step?
Run seven stages in order: remove polish and push cuticles back, file and lightly deshine, wipe with alcohol and apply base coat, build color in two or three thin coats, add art with a toothpick or flat brush, seal with top coat while capping the free edge, then clean the edges with an acetone brush and oil. Budget 45 to 60 minutes.
What tools do I need for nail art at home?
A 180 grit file, a 240 grit file, a fine buffer, a wood cuticle pusher, acetone, base coat, top coat and one color, which runs about 25 dollars. For art, a wooden toothpick covers dots and tiny flowers, a flat angled brush covers French lines and cleanup, and office tape covers chevrons. Dotting tools are nicer but optional.
How do you do nail art without a dotting tool?
Dip a wooden toothpick into a bead of polish poured onto foil, then press the tip straight down onto the nail without dragging. The blunt end makes larger dots, the sharp end makes micro dots. A bobby pin closed end and the head of a straight pin work the same way, and reloading from a foil puddle gives rounder dots than the bottle brush.
How do you make at-home nails last longer?
Dehydrate the plate with alcohol before base coat, cap the free edge on every single layer, keep coats thin, and reapply top coat on day three and day five. Wear gloves for dishes, oil your cuticles twice daily so the nail flexes instead of cracking, and keep length modest. Those habits take regular polish from about four days to seven or more.
What does capping the free edge mean?
It means swiping the loaded brush horizontally across the very tip of the nail after each coat, so the polish wraps the cut edge instead of stopping at it. That seals the layers into one shell and stops water lifting them from the seam. It is the single biggest factor in chip resistance and roughly doubles typical wear time.
Should you push back cuticles before painting your nails?
Yes, push but never cut. Use the flat end of a wood stick at a low angle to move the eponychium back, then scrape the thin translucent film off the nail plate near the base. That film is what polish lifts away from within days. Cutting the living cuticle risks infection and encourages thicker regrowth, so leave it to a tech if needed.
How long should you wait between coats of nail polish?
About 2 minutes between thin coats of regular polish, and 10 minutes after the final color coat before you attempt any art. Fast-dry top coat is touch-dry in about 2 minutes, safe from hot water after roughly an hour, and fully hard at 12 hours. Gel is different: 30 to 60 seconds per layer under an LED lamp.
Why does my at-home manicure chip after two days?
Almost always an uncapped free edge, oil left on the plate, or coats that were too thick to cure through. Wipe with 70 percent alcohol before base coat, paint three thin coats instead of two thick ones, and wrap the brush over the tip on every layer including base and top. Add a refresher top coat on day three.
Do I need a UV lamp for cute nails at home?
No. Everything in this routine works with regular polish and air drying, and regular polish is the better place to learn art because you can wipe a mistake with acetone. A lamp only becomes worth it if you want two to three weeks of wear from one set, which is a kit decision rather than a technique one.
Acetone, cuticle removers, nail glue and UV or LED lamps should be used carefully and as directed. Never cut the living cuticle. Stop if you notice pain, lifting, redness or irritation around the nail fold, and see a licensed nail technician if a design has to be filed or force-removed.
Which cute nails look are you saving?
If you change one thing tonight, cap the free edge. Swiping the loaded brush across the tip of the nail on the base coat, every color coat and the top coat seals the layers into a shell instead of leaving a raw edge for water to lift, and it is the difference between two days and seven. Then keep your coats thin enough that you can see a little nail through the first one, and stop touching your hair for ten minutes after the top coat. Once the routine is automatic, the art gets easy. Pick a design from 20 cute simple nails you can do at home or the cute nails hub.