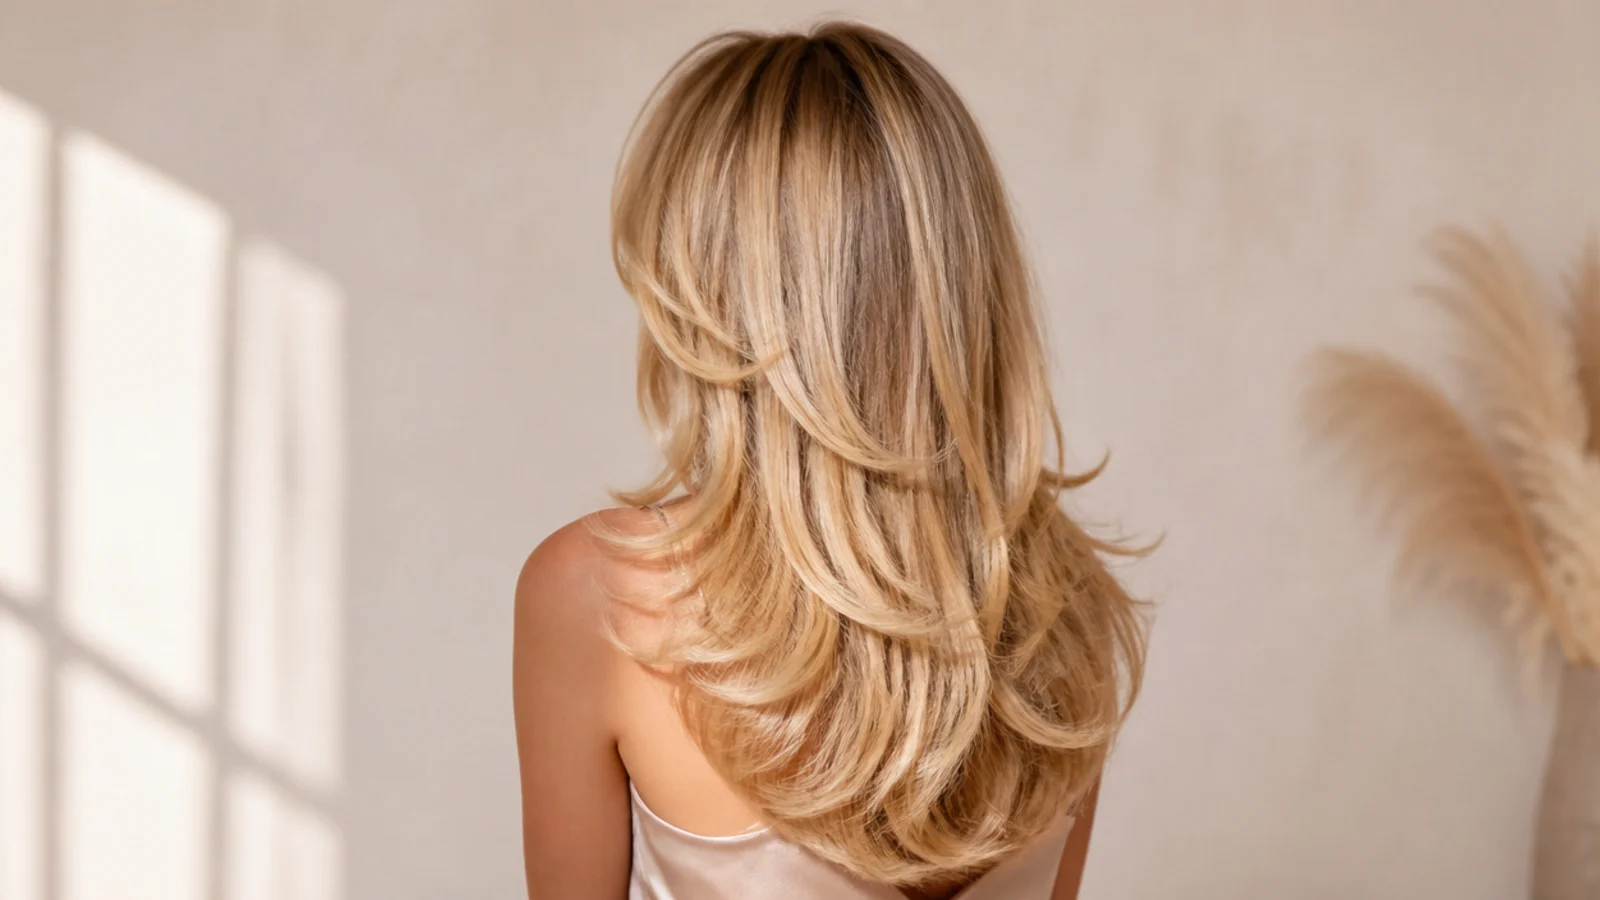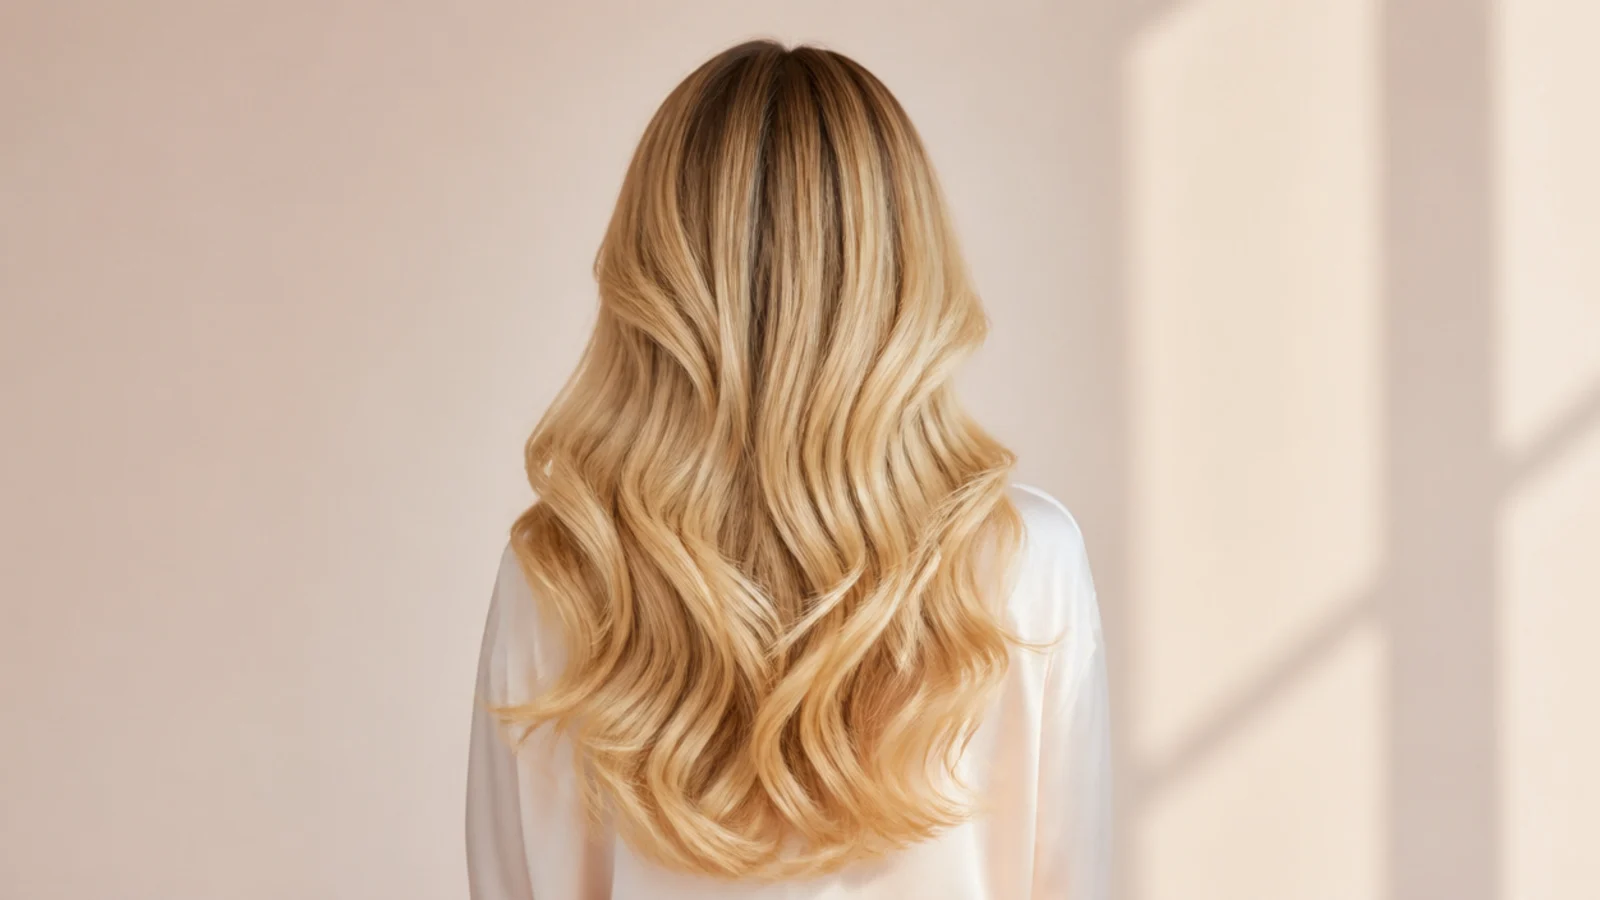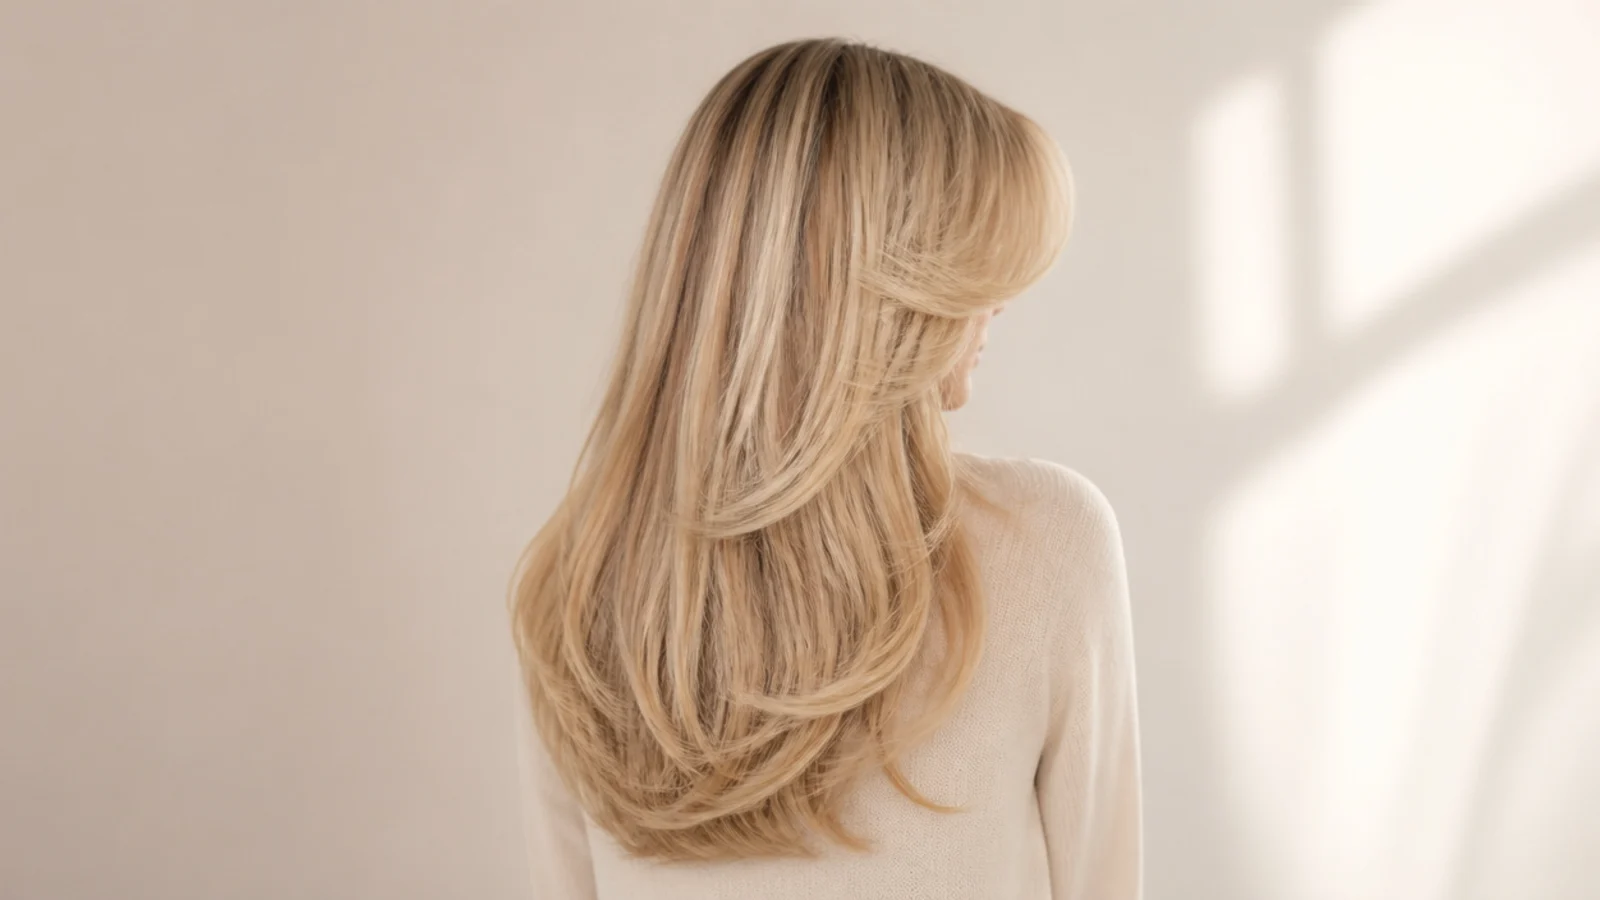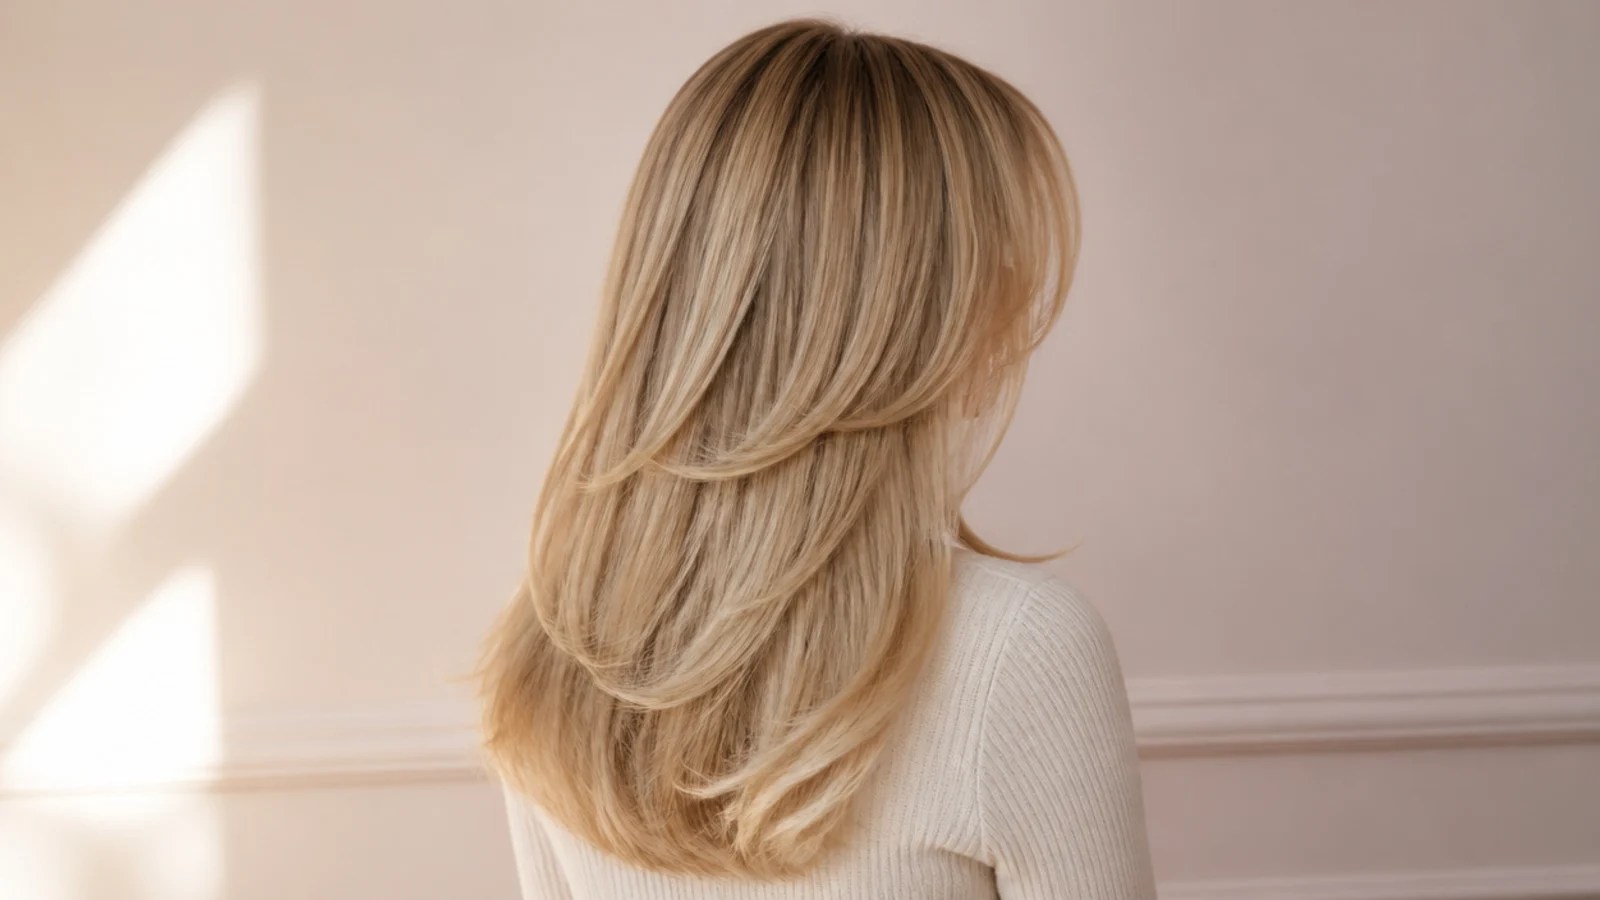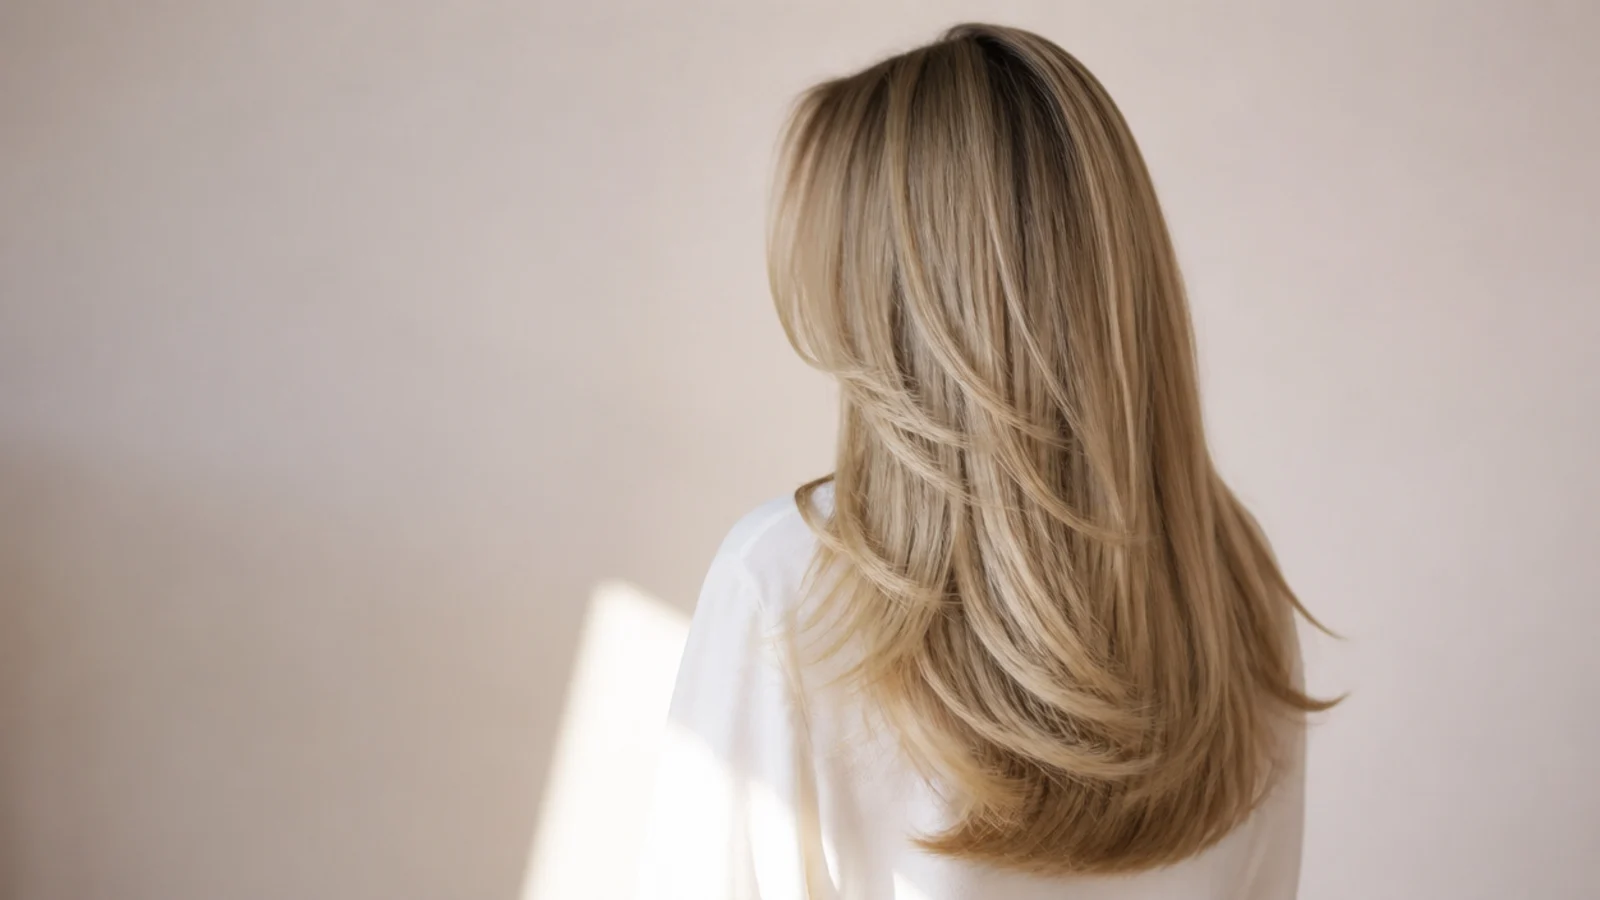
Quick Comparison
| Long Layers with a Curtain Fringe | Butterfly Layers | |
|---|---|---|
| Shortest layer position | Jaw, about 6 to 8 inches, face-framing only | Chin to jaw as a short internal layer over long lengths |
| Where the volume sits | Through the mid-lengths and around the face | High at the crown and the front |
| Best hair density | Fine to medium | Medium to thick |
| Styling time | 20 to 30 minutes with a 2 inch round brush | 15 to 20 minutes; the crown lifts on its own |
| Air-dry friendly | Passable on wavy hair, flat on straight hair | Better; the short layer keeps some lift |
| Trim interval | Reshape every 10 to 12 weeks | Reshape every 8 to 10 weeks before the wing drops |
| Grow-out behavior | Blends softly; the face framing drops to the collarbone | Can separate into a visible shelf around week 10 |
| Risk if it goes wrong | Ends look thin if too much is taken off the perimeter | A hard step where the short layer meets the long hair |
| Best for | Keeping length and getting movement around the face | Faking the volume of a shorter cut without losing length |
1. Long Layers with a Curtain Fringe
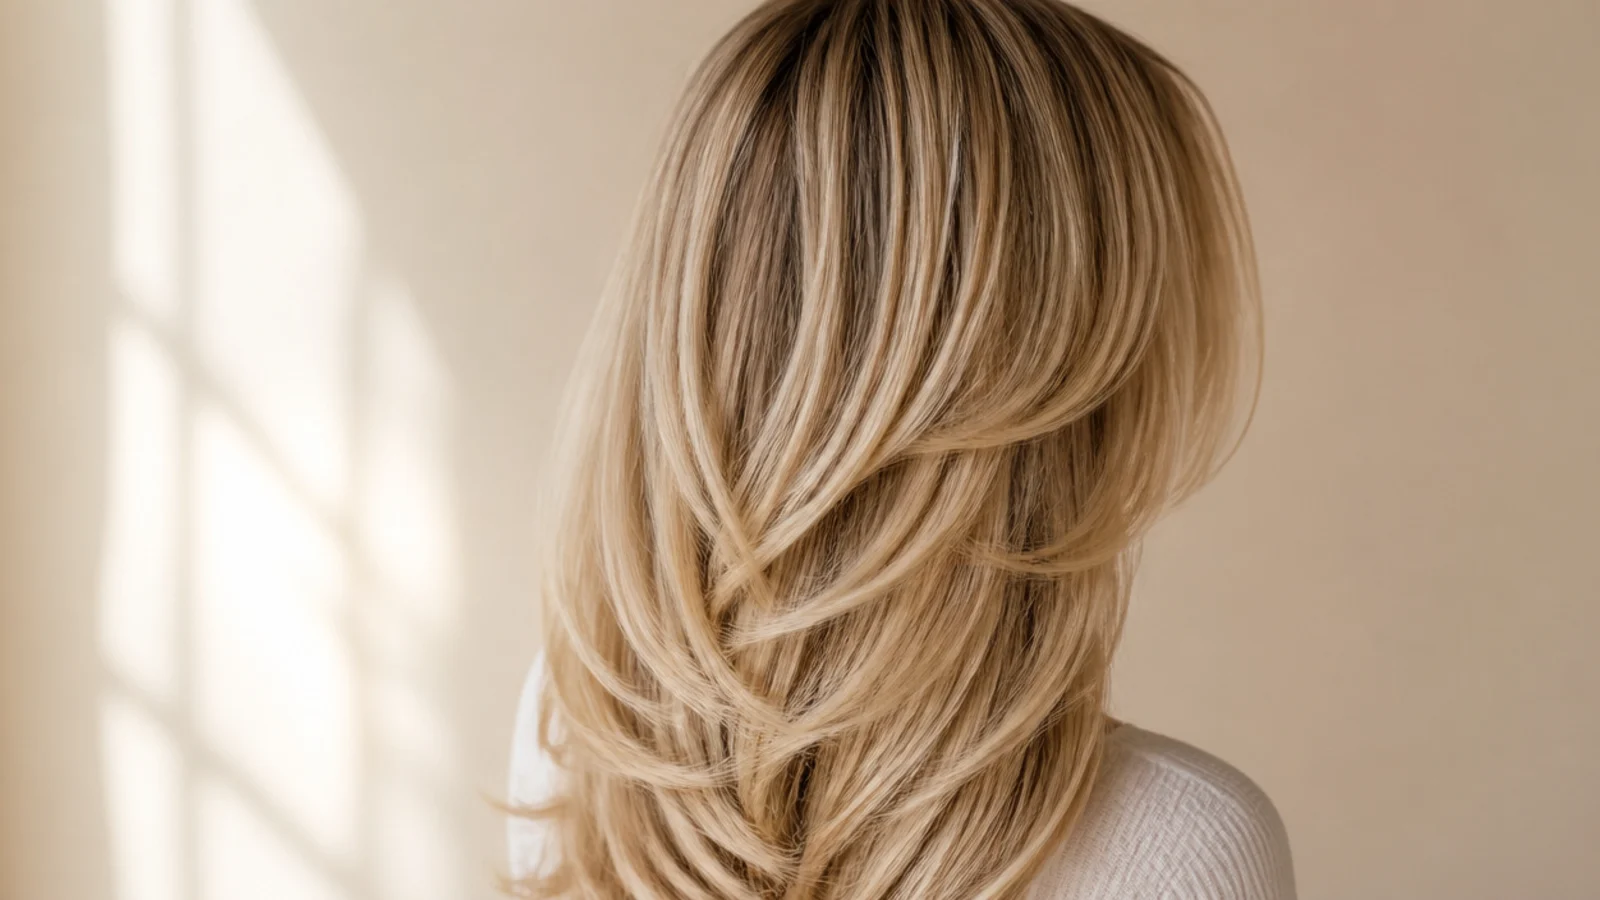
This is the signature. Length stays at mid-back, around 22 to 24 inches, with the first face-framing piece cut at the jaw and each layer below it dropping about 2 inches until the layers disappear into the length. The fringe parts down the middle, skims the lashes at its shortest point, and sweeps out to meet the jaw-length pieces so the two blend into one continuous frame. Nothing is over-thinned, which is why the ends still look dense in photos.
Who it suits: Fine to medium density hair at collarbone length or longer.
Tip: Ask for the layers cut with the head upright, not tipped forward, so they fall at the jaw rather than higher.
2. Butterfly Layers on Long Blonde Hair
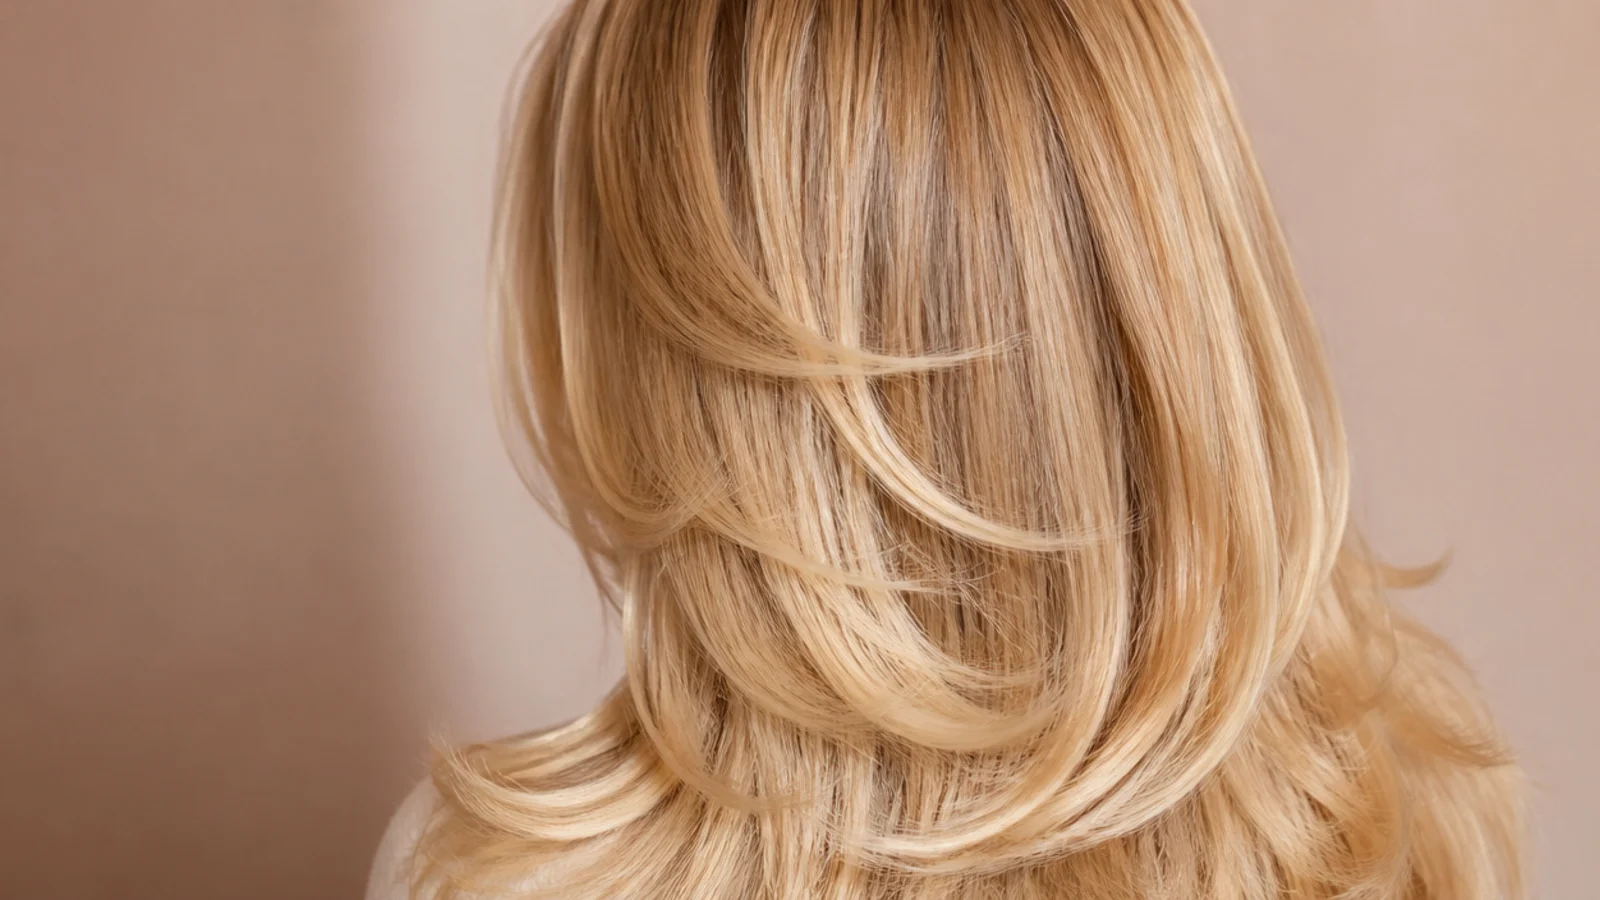
The butterfly cut fakes the volume of a shorter haircut without losing length. A short internal layer is cut at chin to jaw level, roughly 6 to 8 inches, then the rest of the hair is left long underneath so the short layer sits on top like a wing. When it is blown out, the crown section lifts and the long layer underneath keeps the outline heavy. It gives more visible bounce than classic long layers and is the fastest route to the look if your hair is currently one length.
Who it suits: Medium to thick hair that goes flat at the crown.
Tip: Ask for the short layer to start no higher than the chin or it will separate instead of blending.
3. Soft 70s Feathered Layers
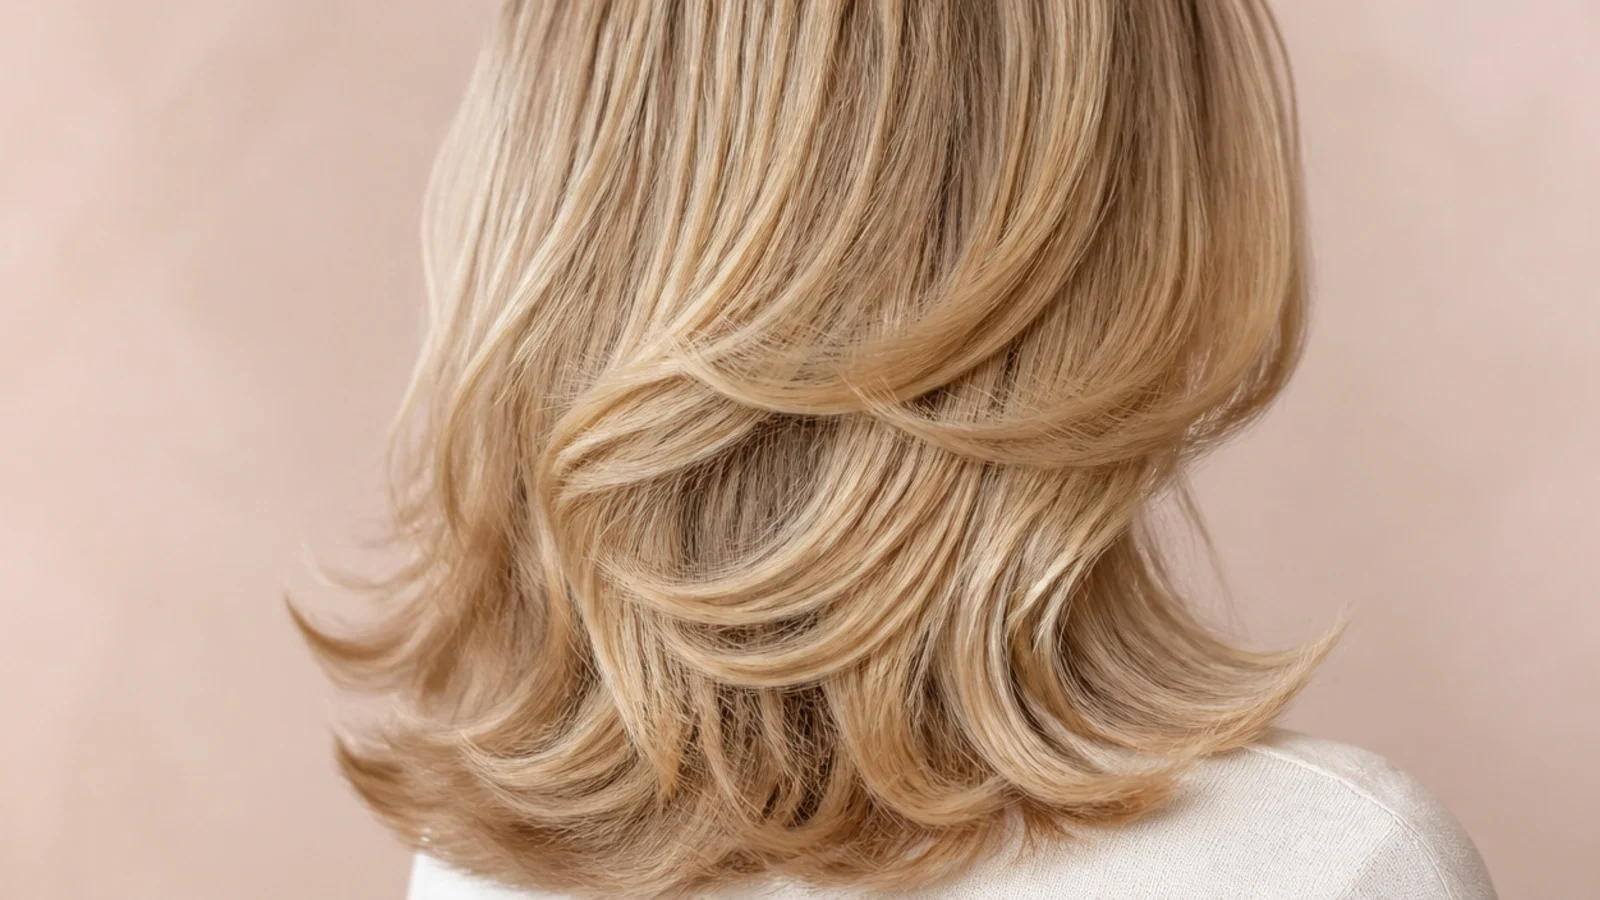
Feathering is the retro version: the layers are cut at a steeper angle so the ends flick away from the face rather than falling straight down. The shortest piece sits at the cheekbone, then the graduation runs long and continuous to the collarbone. Blow it out with the brush rolling away from the face on every section and the whole shape opens outward. It is the closest thing to the wing-out silhouette that shows up in the older long blonde photos, and it costs nothing extra to ask for.
Who it suits: Straight to loosely wavy hair that holds a directional bend, as covered in short curtain bangs styling.
Tip: Point-cut, never razored, if your hair is fine, or the feathered ends will look wispy.
4. Collarbone-Length Layered Cut
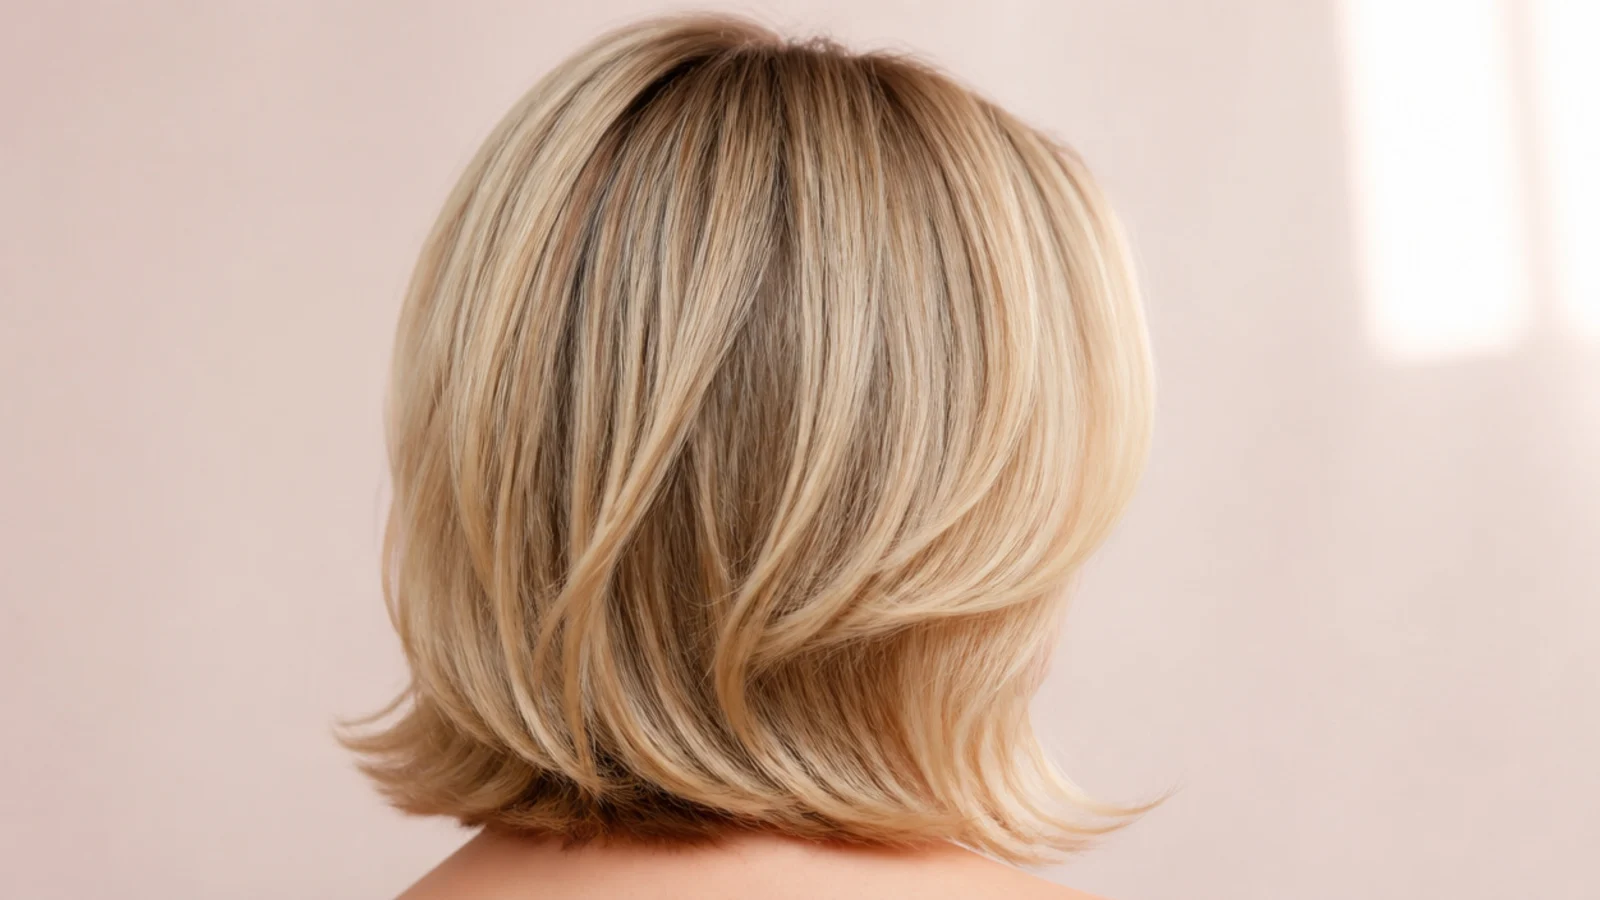
Cutting the whole thing to the collarbone, around 14 to 16 inches, is the version most people can actually maintain. The layers still start at the jaw for the face-framing pieces, but there is only about 6 inches of length below them, so the shape reads fuller and the ends stay thick. Blow-dry time drops to roughly 15 minutes. This is the sweet spot if your hair is fine and long lengths have started to look stringy at the bottom. Details on this length live in our mid-length haircut layers guide.
Who it suits: Fine hair that thins out past the collarbone.
Tip: Keep the perimeter blunt and put all the movement in the top 6 inches.
5. Face-Framing Layers Starting at the Jaw
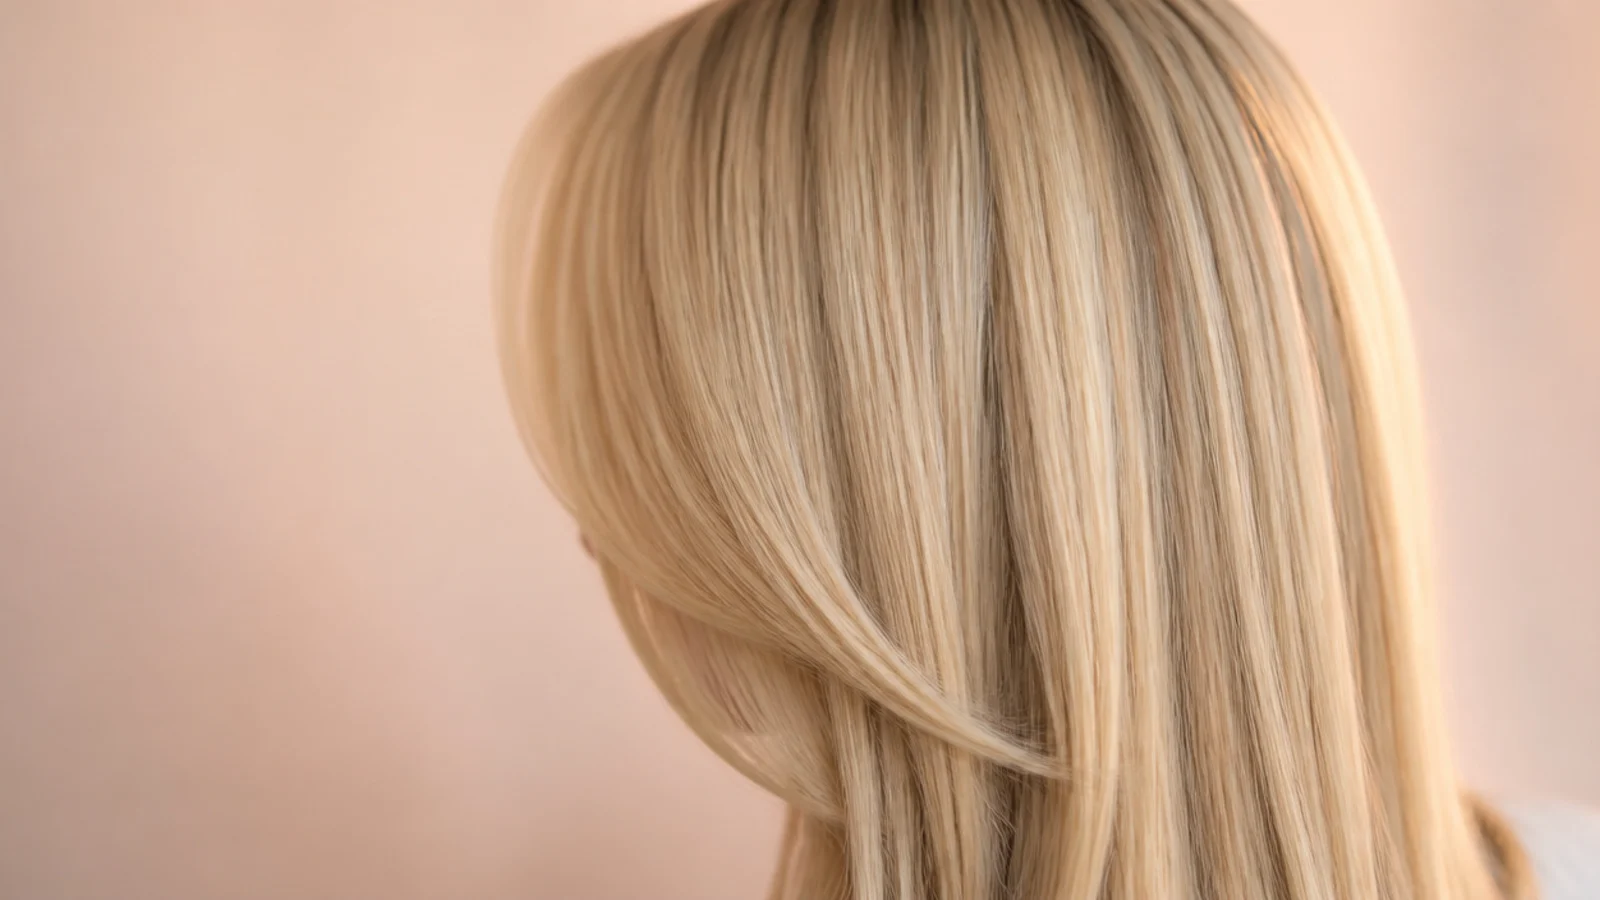
If you only get one thing cut, get this. Two pieces on each side, the shortest at the jaw and the next about 2 inches longer, cut on a soft diagonal so they curve in toward the cheek. It takes about 10 minutes in the chair, adds no maintenance beyond a trim every 8 weeks, and completely changes how a one-length cut photographs. On a round or square face, drop the shortest piece to just below the jaw so the line keeps traveling downward. See more in face-framing mid length haircut.
Who it suits: Anyone not ready to layer the whole head.
Tip: Have it cut on dry hair so you see exactly where it lands before more is taken off.
6. Invisible Layers for Fine Hair
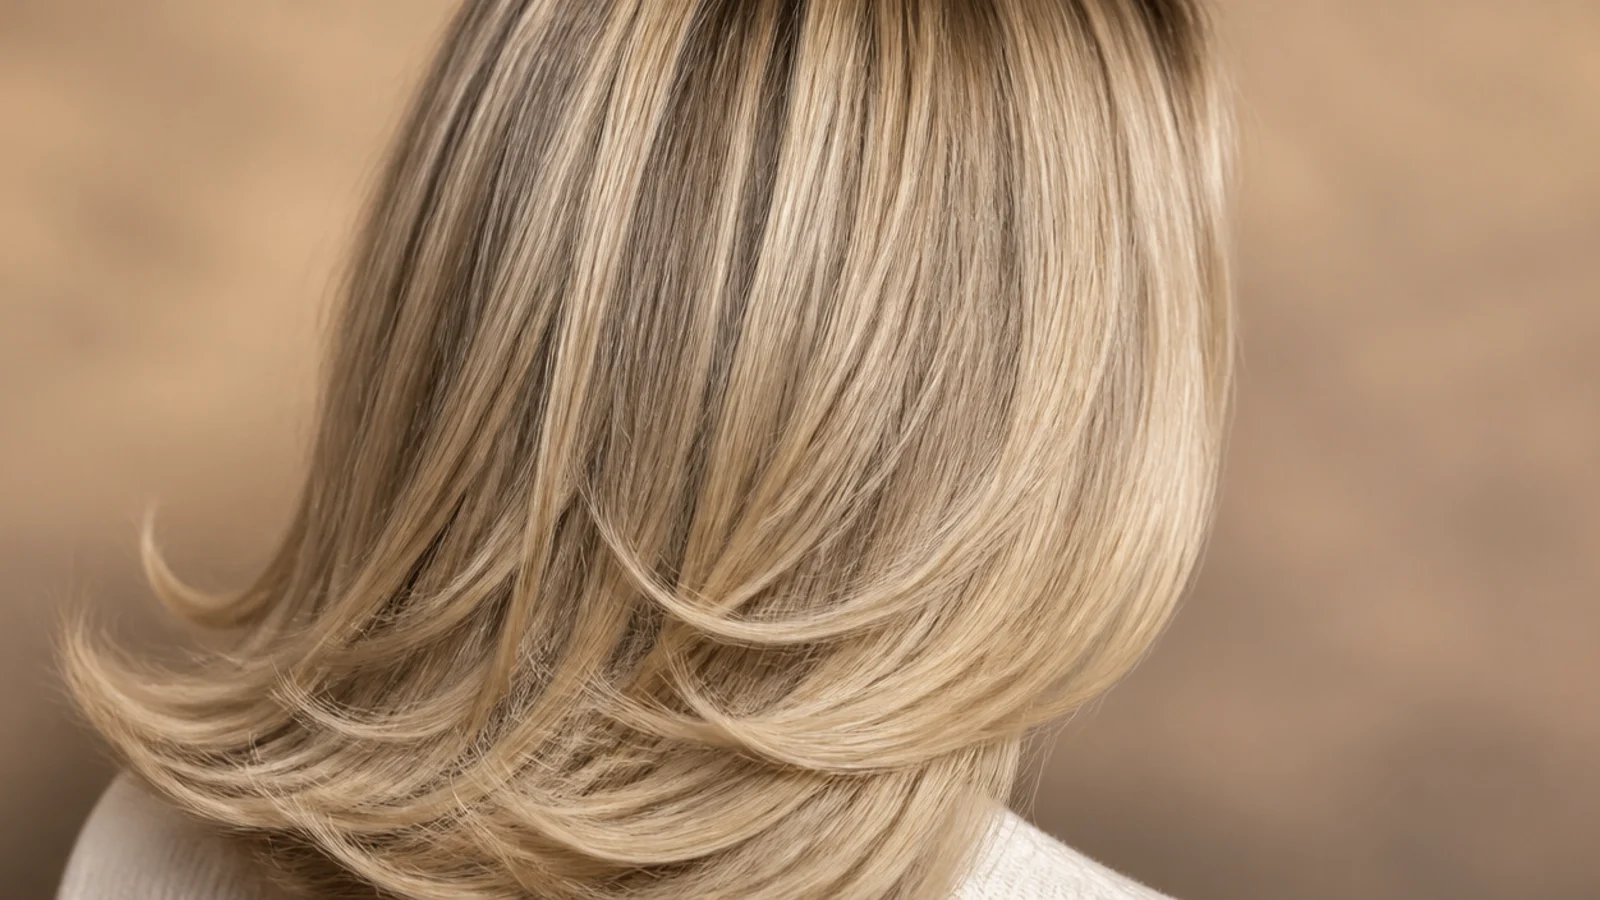
Invisible layering hides the layers inside the hair instead of on the surface. The stylist takes internal sections, elevates them and cuts about 1 to 2 inches off, leaving the outer layer and the perimeter untouched. The result is movement without any visible step, which matters on fine hair because a visible layer line advertises how much hair is missing below it. Expect three or four long layers total, not ten. Pair it with the fringe and you get the shape without the see-through ends.
Who it suits: Fine and low-density hair that looks thinner when layered normally.
Tip: Say the words no visible layer line and keep my baseline blunt.
7. U-Shaped Layers on Long Hair
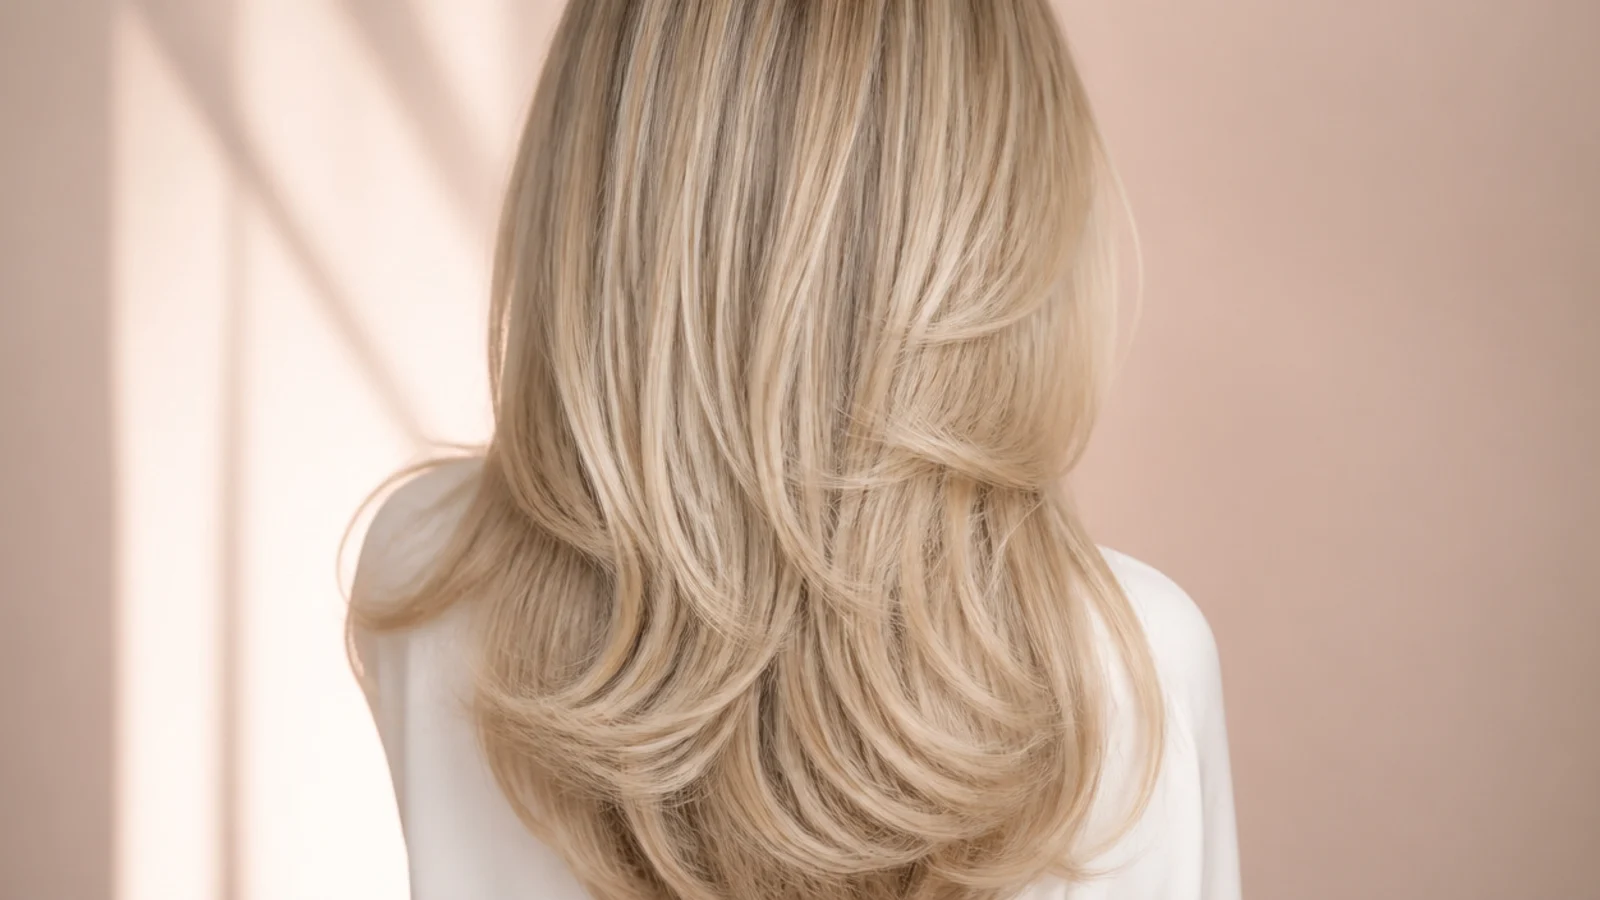
The perimeter itself is cut into a shallow U so the sides land about 2 inches shorter than the center back. It is the reason long layered hair photographs with a soft curve at the bottom instead of a flat line. Combine it with jaw-length face framing and the whole outline funnels toward the face. A deep U reads romantic and boho; a shallow U, roughly 1 to 2 inches of difference, is closer to the polished red-carpet version and keeps the ends looking dense.
Who it suits: Long hair from 18 inches down that reads heavy at the perimeter.
Tip: Ask for a shallow U, not a V, unless you want obvious tapering at the ends.
8. Blowout Cut with Rounded Layers

A blowout cut is layered specifically to bend. The layers are rounded rather than sliced, cut in a curved line that follows the shape of the head, so a round brush has something to grab and each section curls under or flicks out on its own. This is the cut behind the bouncy 90s finish. It looks slightly plain air-dried, which is the honest trade-off: it is designed to be styled, and it takes 20 to 30 minutes with a 2 inch round brush to pay off.
Who it suits: People who blow dry at least twice a week.
Tip: Ask for rounded, not choppy, layers and no point-cutting into the ends.
9. Medium-Length Shag with Curtain Bangs
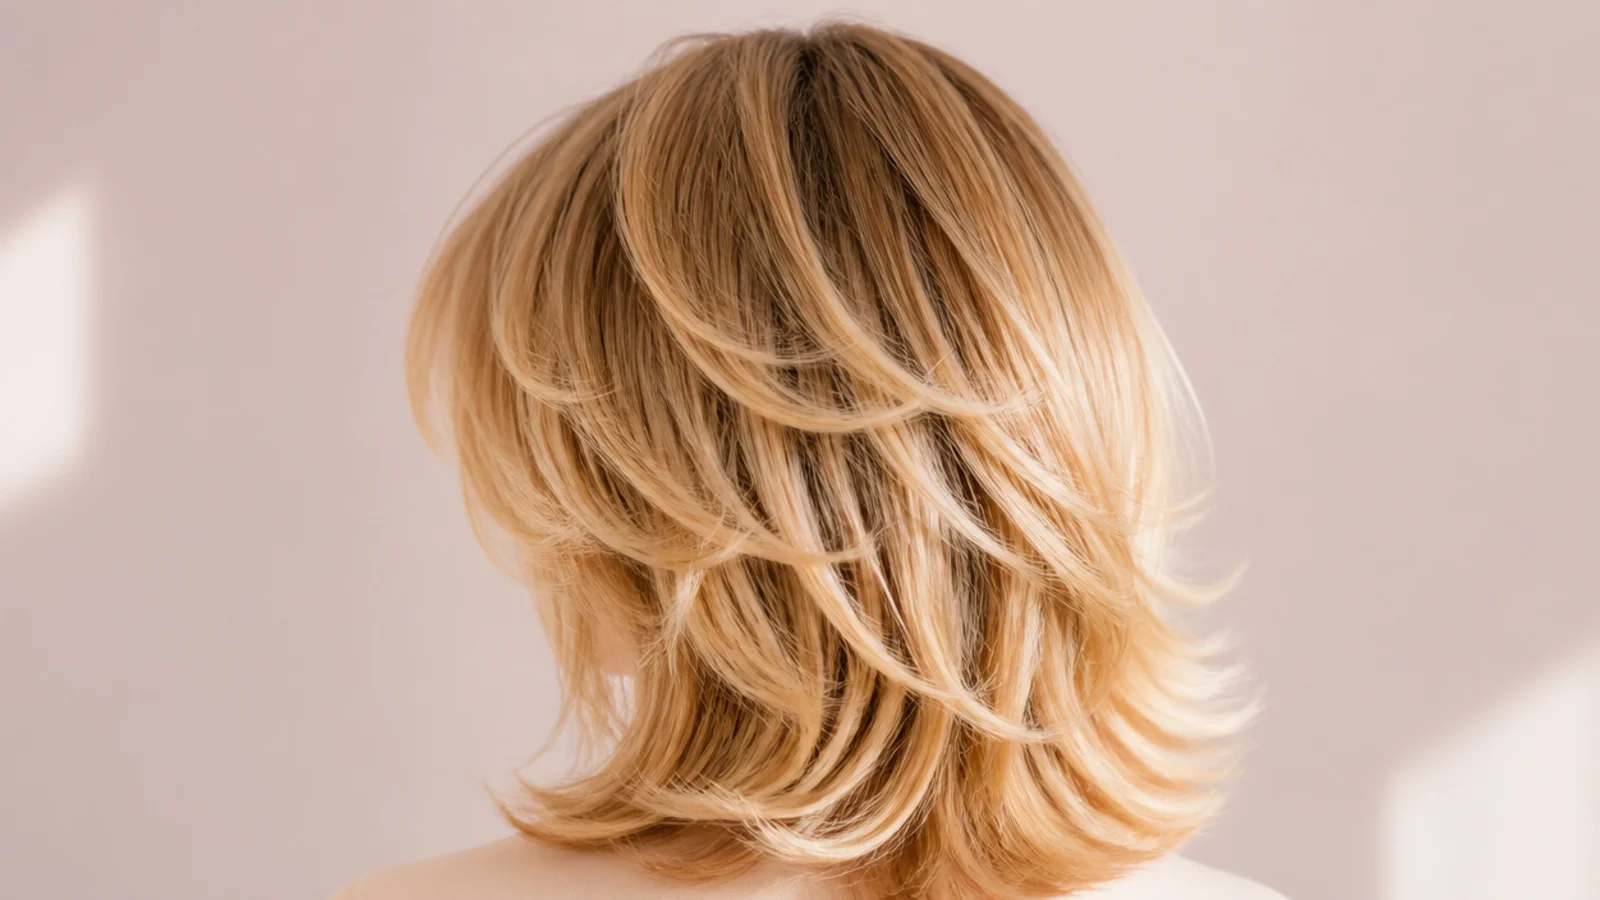
The shag stacks shorter layers through the crown and around the fringe, then leaves the rest to fall to the shoulders, roughly 12 to 14 inches. It is the low-effort cousin of the blowout cut, because the shape is built into the hair rather than into the styling. Air-dry it with a mousse and it still reads deliberate. Pairing it with a full curtain fringe keeps the front soft so the crown layers do not tip the look into rock-and-roll territory. More fringe pairings sit in mid length haircut with curtain bangs.
Who it suits: Wavy 2a to 2c hair that dislikes heat styling.
Tip: Ask for the shortest crown layer at 4 inches so the top does not stick up.
10. Lob with Layers and Bottleneck Bangs
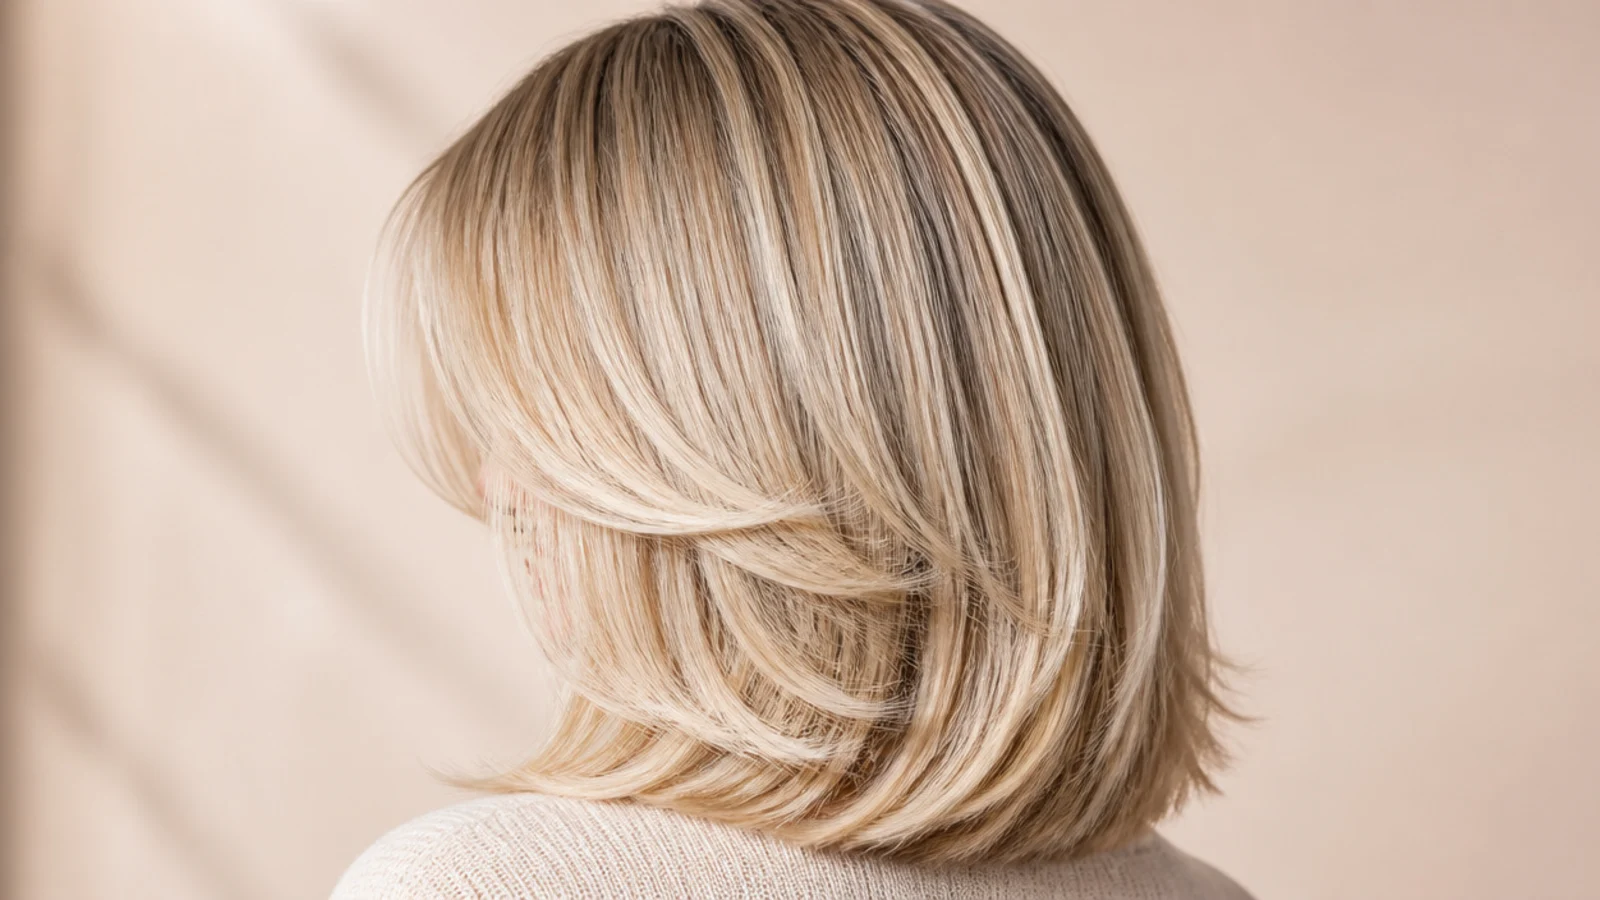
A lob cut just past the shoulder, about 12 inches, with two or three soft layers and a bottleneck fringe. Bottleneck bangs are narrower and more closed at the temples than a full curtain, then flare out at the cheekbone, which is why they suit a wider forehead. At lob length the fringe has to be recut shorter, closer to the brow, or it disappears into the front length. It is the most office-friendly version of the whole look and grows out cleanly into a one-length lob.
Who it suits: Wide or high foreheads and medium density hair.
Tip: Book the fringe trim at 4 weeks; at lob length it outgrows the shape fastest.
11. Long Layers with Tapered Ends
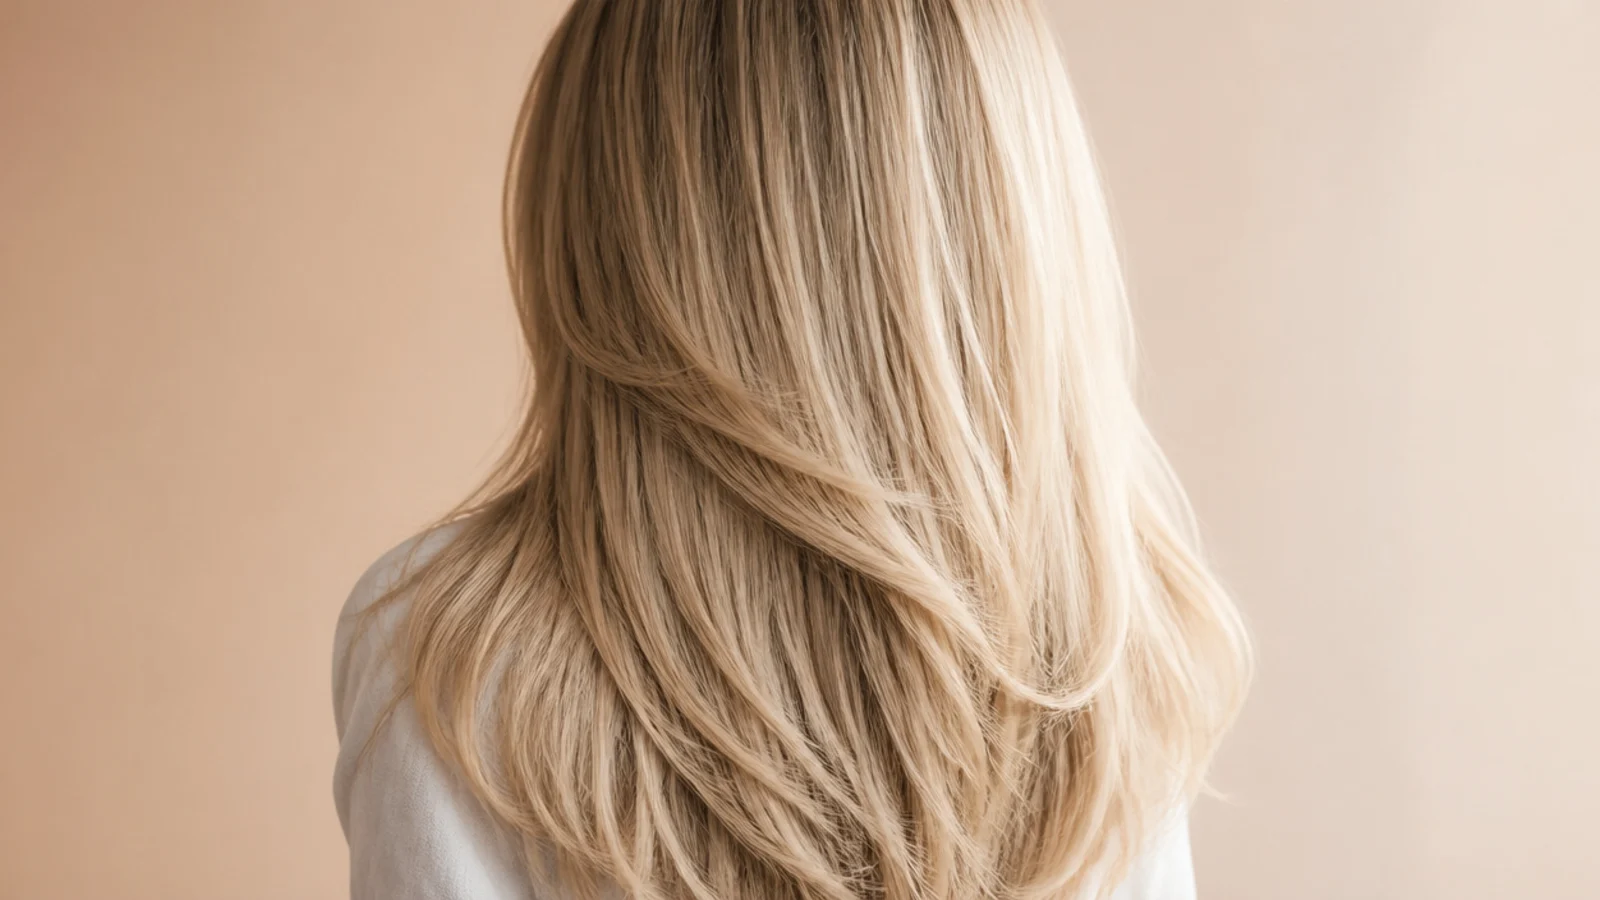
For hair past 24 inches, the risk is a heavy triangular outline. Tapering removes weight from the last 3 to 4 inches only, using point-cutting into the perimeter rather than more layers up top. The ends look softer without losing the density where it counts. Done on thick hair it is the difference between the length hanging like a curtain and moving when you turn your head. Done on fine hair it is a mistake, because there is nothing to remove.
Who it suits: Thick, dense hair below 24 inches.
Tip: Cap it at 3 inches of taper; deeper than that and the ends read wispy.
12. Choppy Layers for Thick Hair
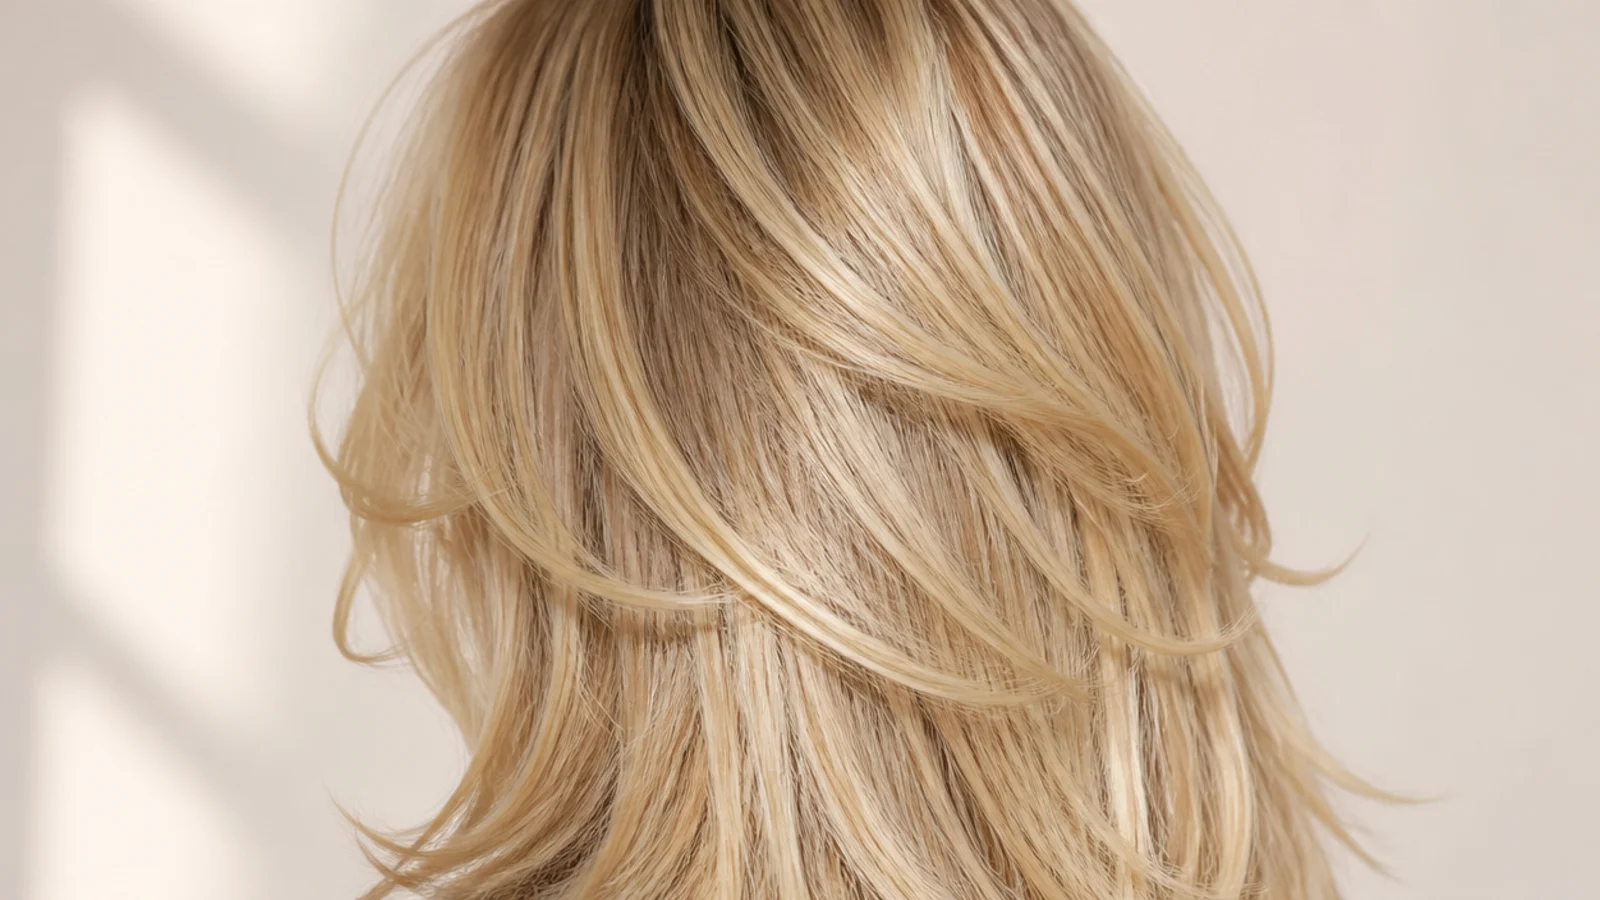
Thick hair needs the weight taken out of the middle, not the surface. Slightly choppy layers cut with a deeper elevation break up that solid interior block so the hair can bend instead of sitting in one mass. The shortest internal piece can sit as high as the ear on very dense hair, as long as the perimeter stays blunt so the outline still reads polished. Expect a reshape every 10 weeks before the weight builds back up, and see choppy mid length haircut for the shorter version.
Who it suits: Dense, coarse hair that swells rather than swings.
Tip: Ask for internal weight removal and no thinning shears near the hairline.
13. Crown Layers for Root Volume on Flat Hair
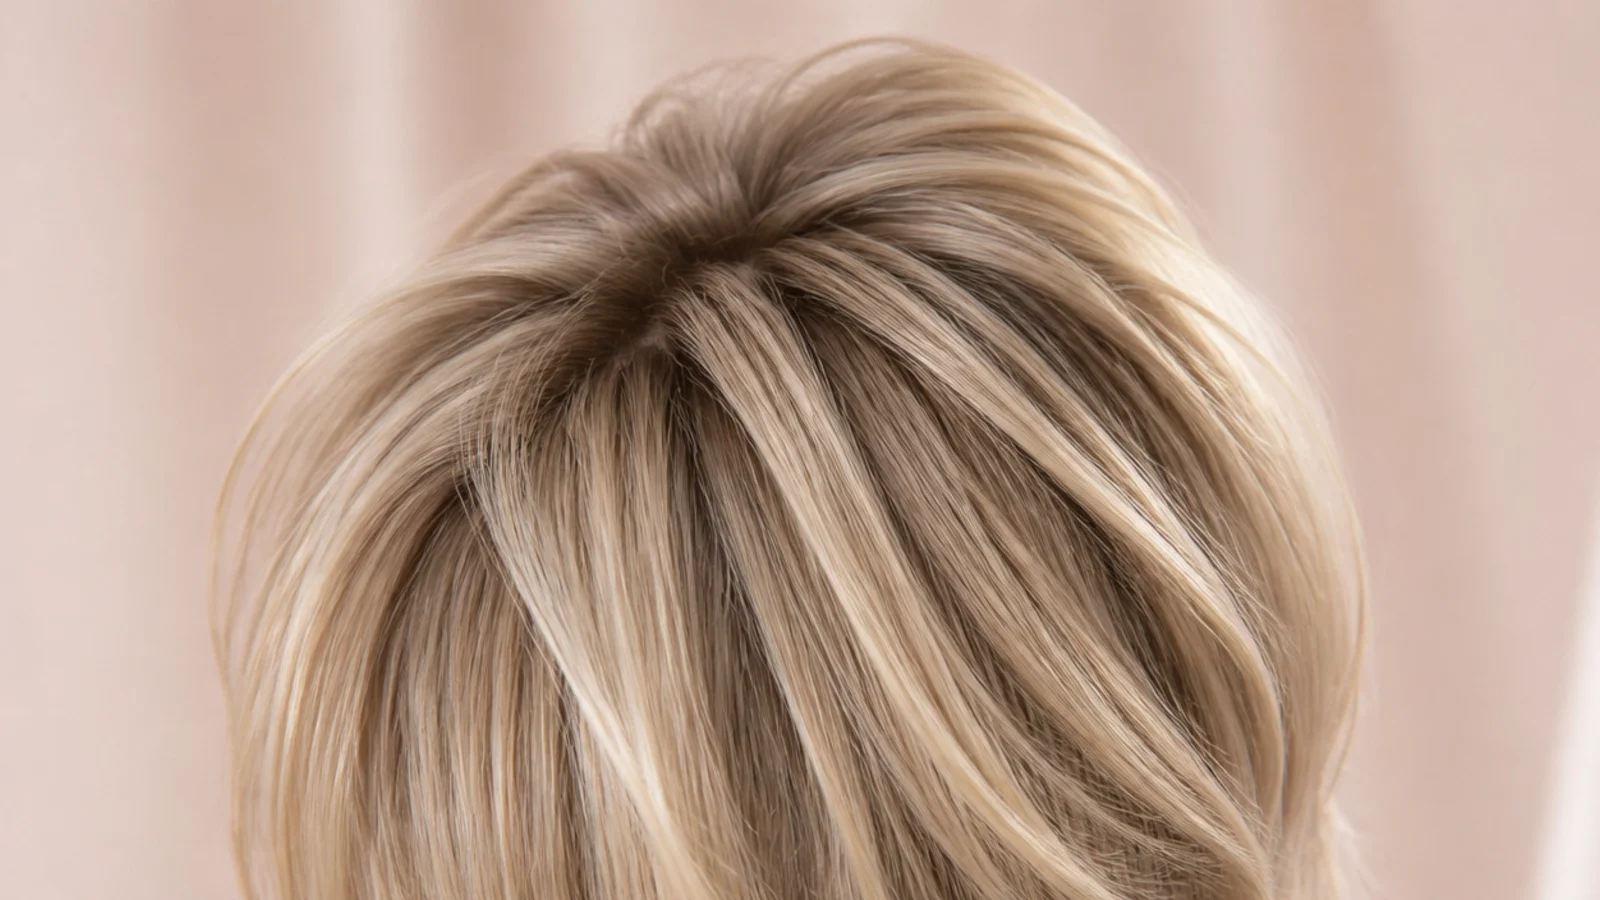
If your hair goes flat within an hour of drying, the fix is a short layer at the crown rather than more product. A 4 to 5 inch section cut at the top of the head props the surrounding hair up and gives the round brush something to lift. It is invisible when the hair is down and it is the single cheapest way to get that domed silhouette at the back. Combine it with a root-lift spray applied to damp roots and dried in with the head flipped forward.
Who it suits: Fine, straight hair with a flat crown.
Tip: Have the crown layer cut dry so the stylist can see exactly how high it springs.
14. Sleek Straight Layers with a Center Part
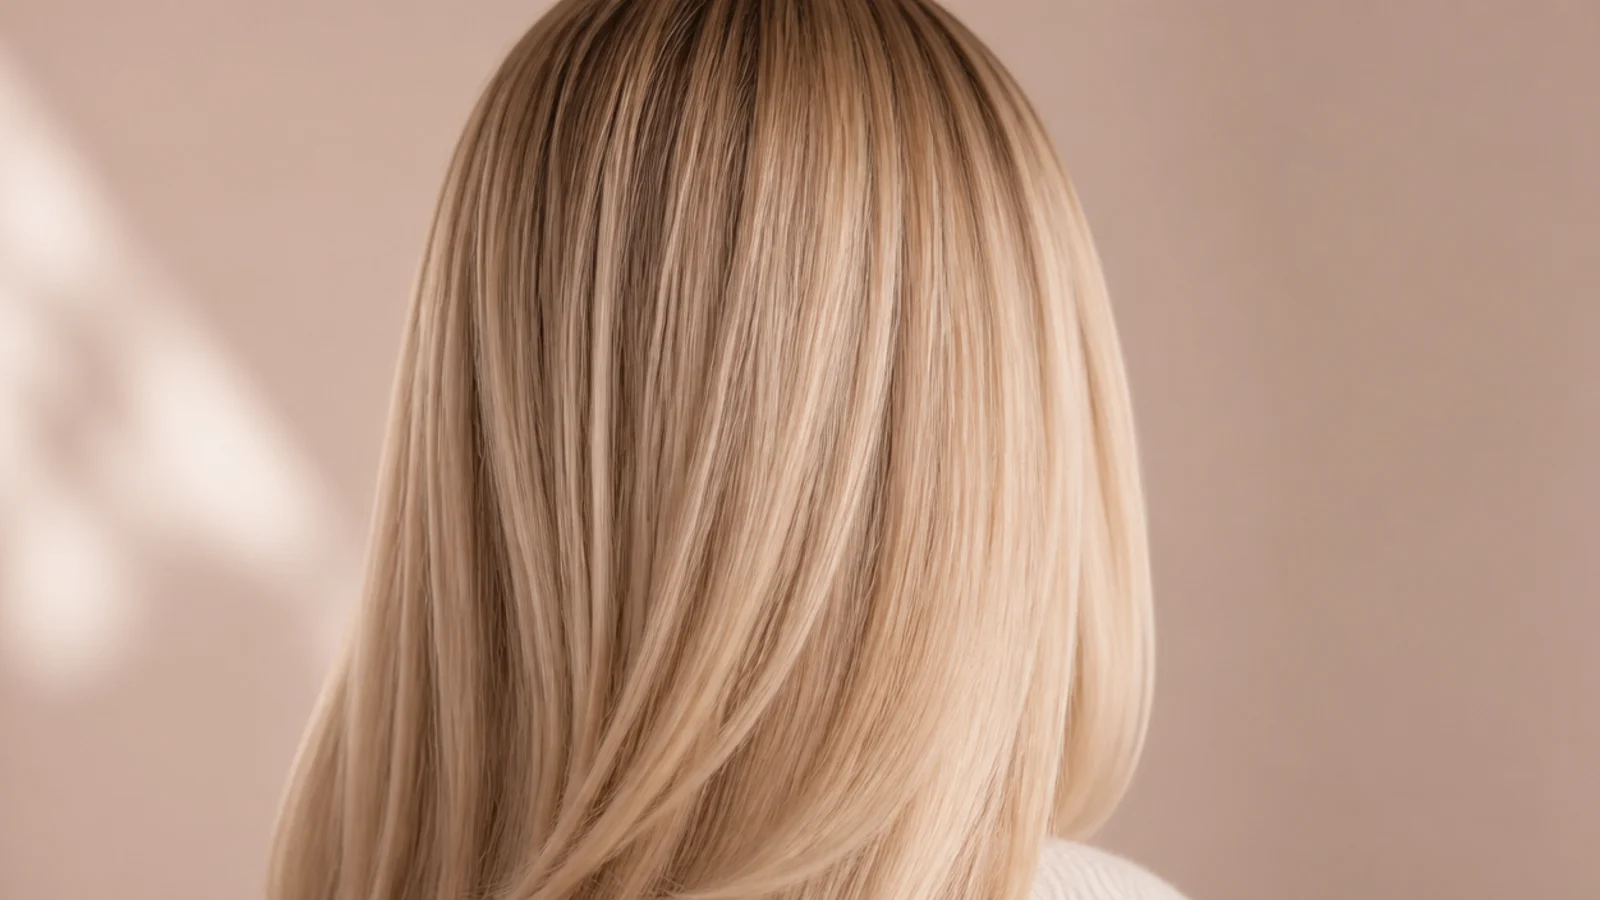
The same layered cut worn pin-straight reads completely different: sharper, cooler, more editorial. Straightening exposes every layer line, so this version needs the layers long and few, otherwise you see steps. Work in 1 inch sections at around 350 degrees on healthy hair, lower if the hair is lightened, and finish with a shine spray rather than an oil so the ends do not separate. Keep the fringe rounded with a brush before you flat iron the rest or it goes flat against the forehead.
Who it suits: Straight to 2a hair with minimal damage at the ends.
Tip: Flat iron the fringe last, in one pass, with the iron held vertically.
15. Textured Layers on Natural Waves
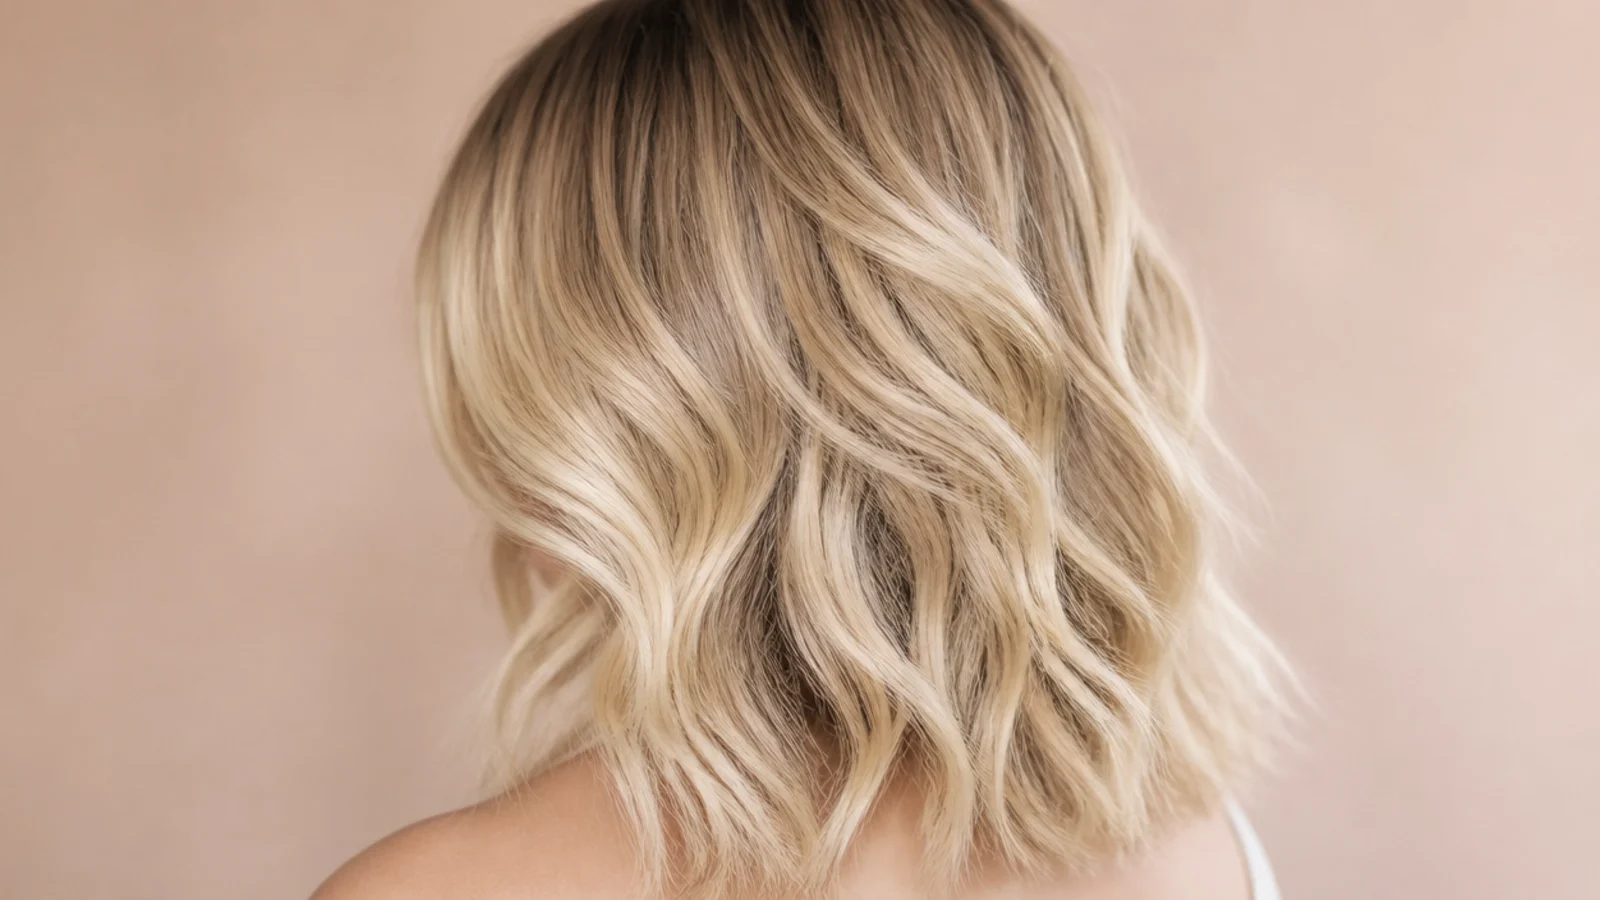
Wavy hair does most of the work if the layers are cut to respect the wave pattern. Cut damp with minimal tension, layers kept long, and no thinning shears, which fracture the wave and cause frizz. Air-dry with a light mousse, scrunch once at 80 percent dry, then leave it alone. The result is the soft undone version rather than the polished blowout, and it holds for two days. If frizz is the issue, our frizzy wavy hair guide covers the drying method.
Who it suits: 2a to 2c waves that fall apart when layered short.
Tip: Ask for a dry cut finish so the stylist can see where each wave actually sits.
16. Long Layers on Curly Hair
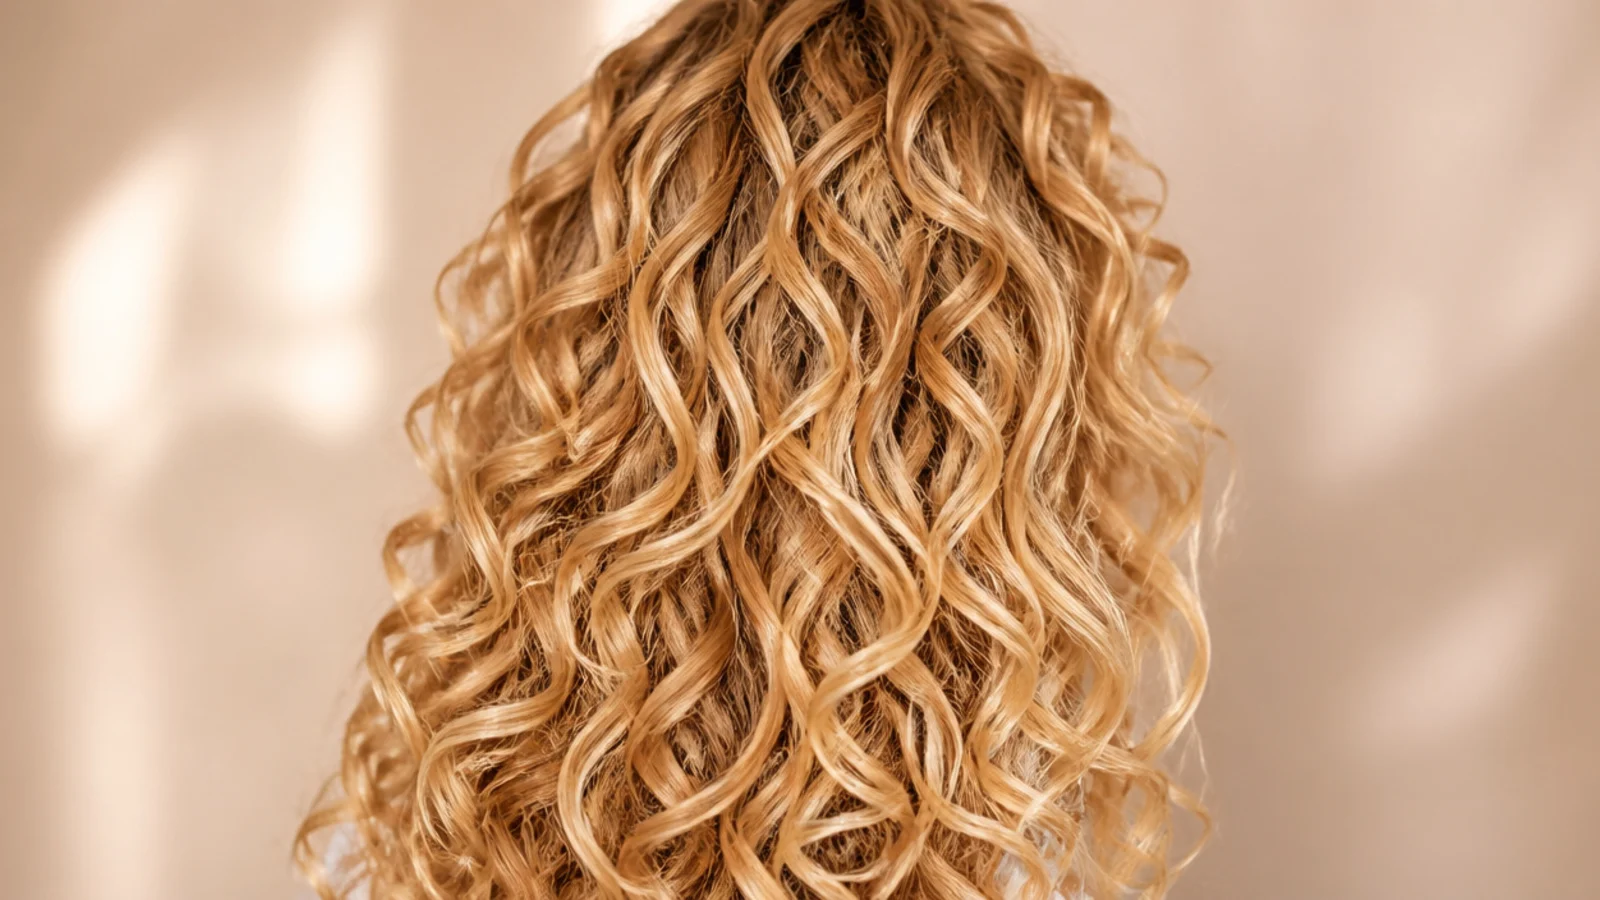
On 2c to 3b hair the same silhouette is built with curl-specific layering: cut curl by curl on dry hair, each layer shaped so the curl springs into place rather than stacking into a triangle. Expect about 2 inches of shrinkage per layer, so a jaw-length face-framing piece needs to be cut nearer the collarbone when wet. Diffuse on low speed and high heat, then break the cast with your fingers. The full curl breakdown is in Sabrina Carpenter curly hair.
Who it suits: 2c to 3b curls that widen at the sides.
Tip: Book a curl specialist and go with hair clean, dry and in its natural state.
17. Grown-Out Layers Between Cuts
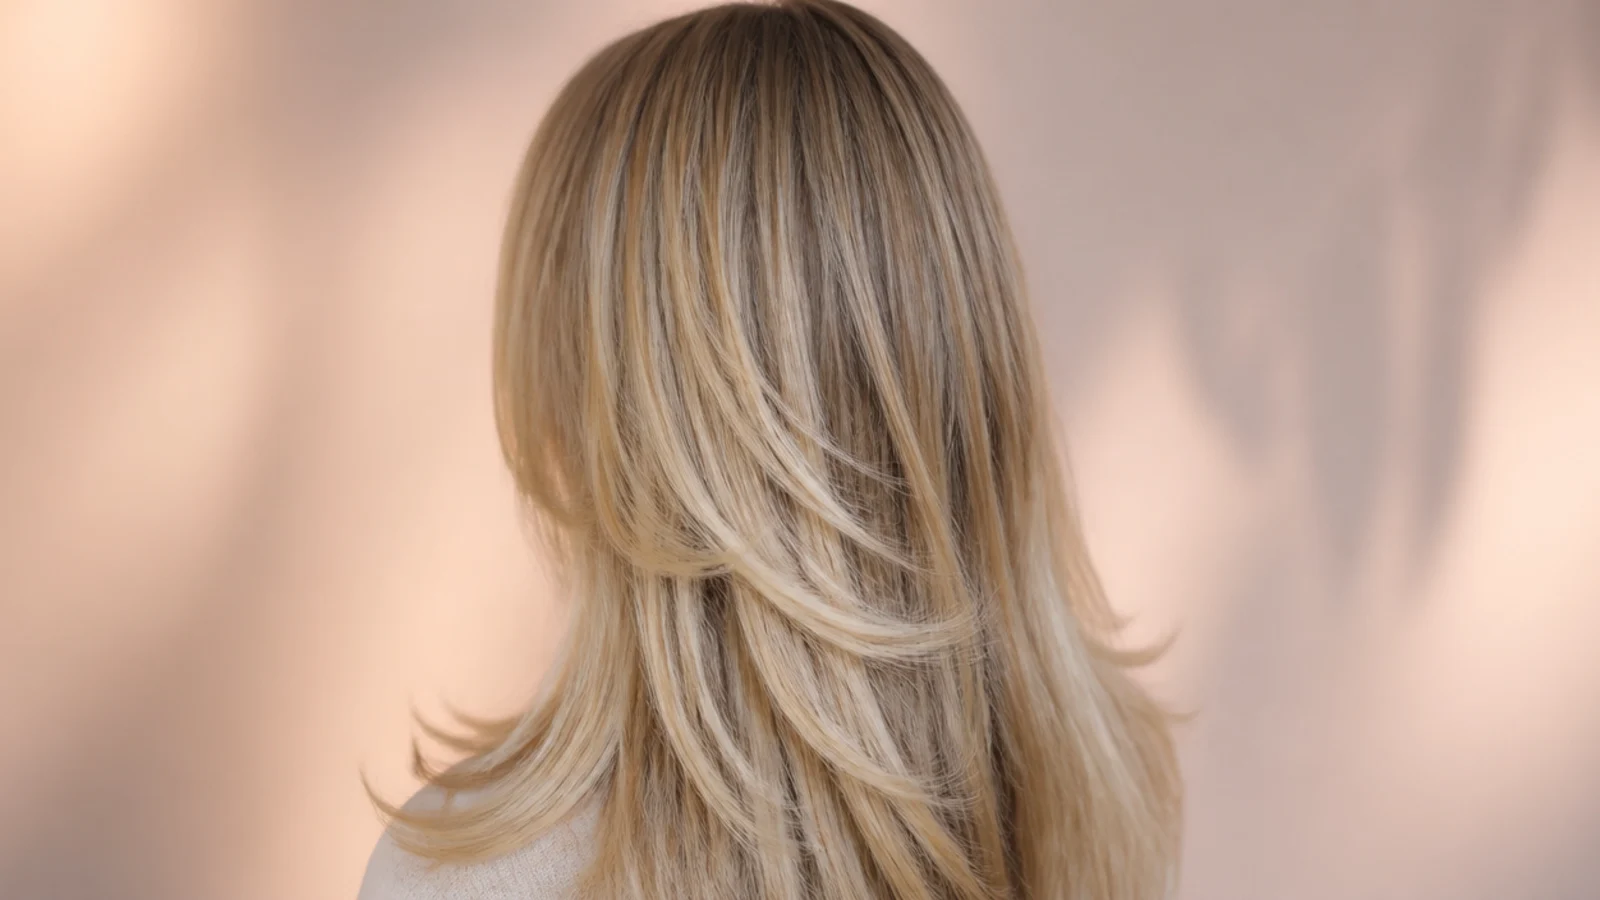
Layers at week 14 look softer than layers at week two, and that lived-in stage is worth using on purpose. Hair grows about half an inch a month, so a jaw-length face-framing piece sits nearer the collarbone after four months and the whole shape reads gentler. Keep it wearable by trimming only the fringe and the perimeter and leaving the internal layers to travel down. When the shortest piece passes the collarbone, that is your signal to reshape rather than trim.
Who it suits: Anyone stretching to a 12 week salon cycle.
Tip: Trim 0.25 inch off the perimeter at week 8 to keep the outline clean.
18. Money-Piece Highlights on Face-Framing Layers
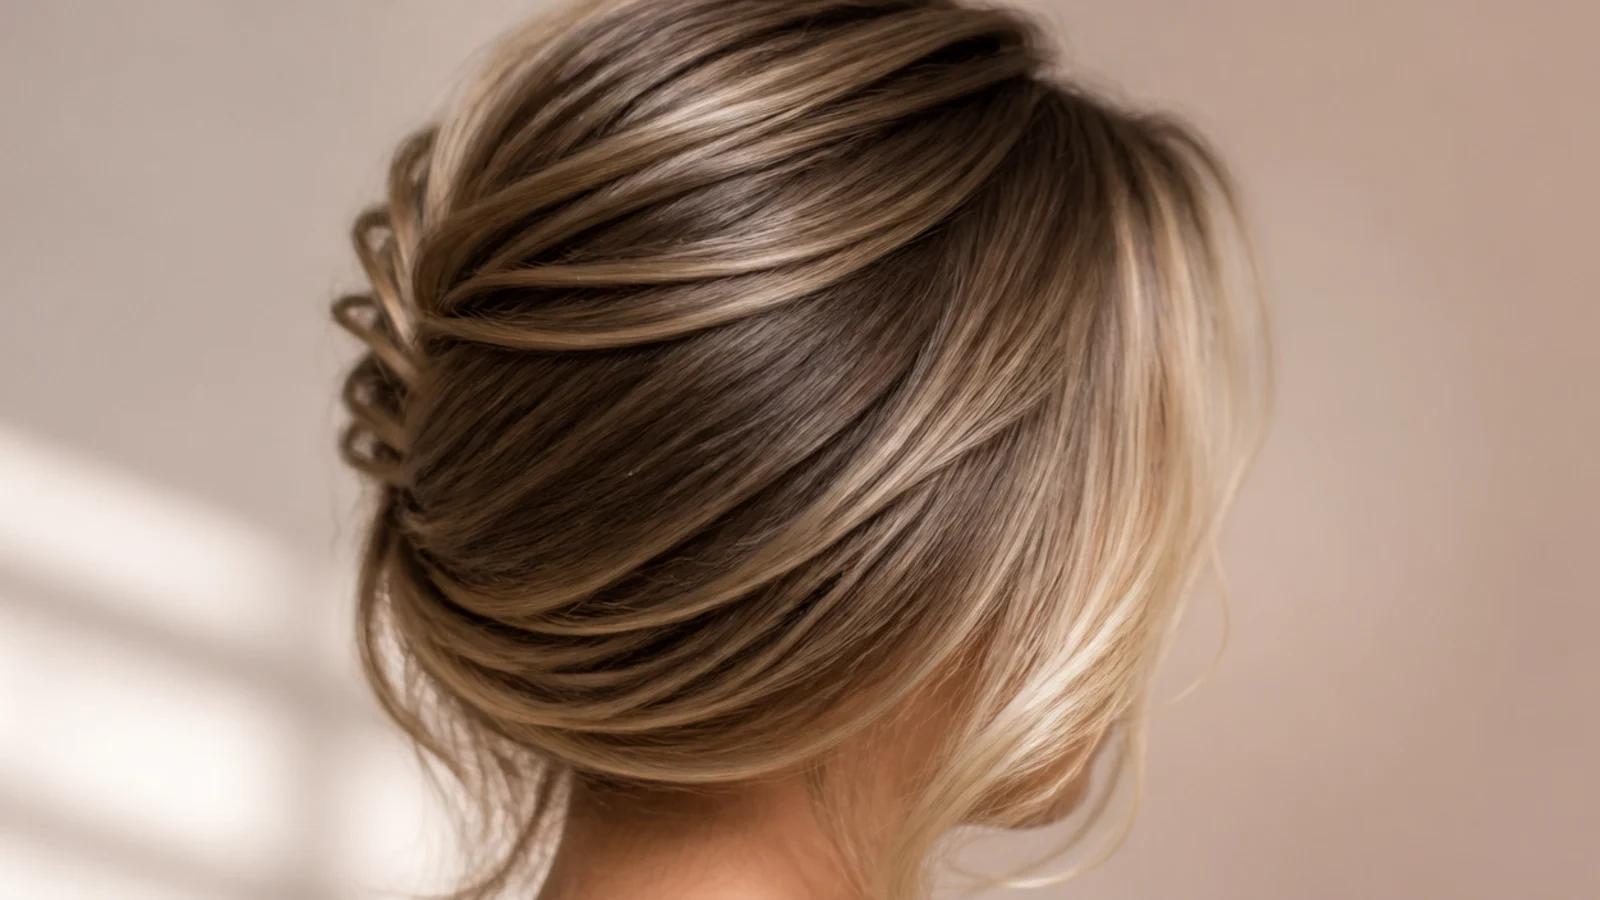
Color is doing half the work in most saved photos. A brighter cool beige money piece painted onto the two shortest face-framing pieces makes the layers read as deliberate shape rather than random ends. Keep the rest a warmer buttery blonde with a soft shadow root and the contrast stays subtle in daylight and obvious on camera. Ask for the brightening to start below the fringe line so regrowth does not create a stripe across the parting.
Who it suits: Blondes and bronde bases wanting definition without a full head of foils.
Tip: Say cool beige face framing, warm buttery blonde through the mid-lengths.
19. Layered Bob with a Shorter Curtain Fringe
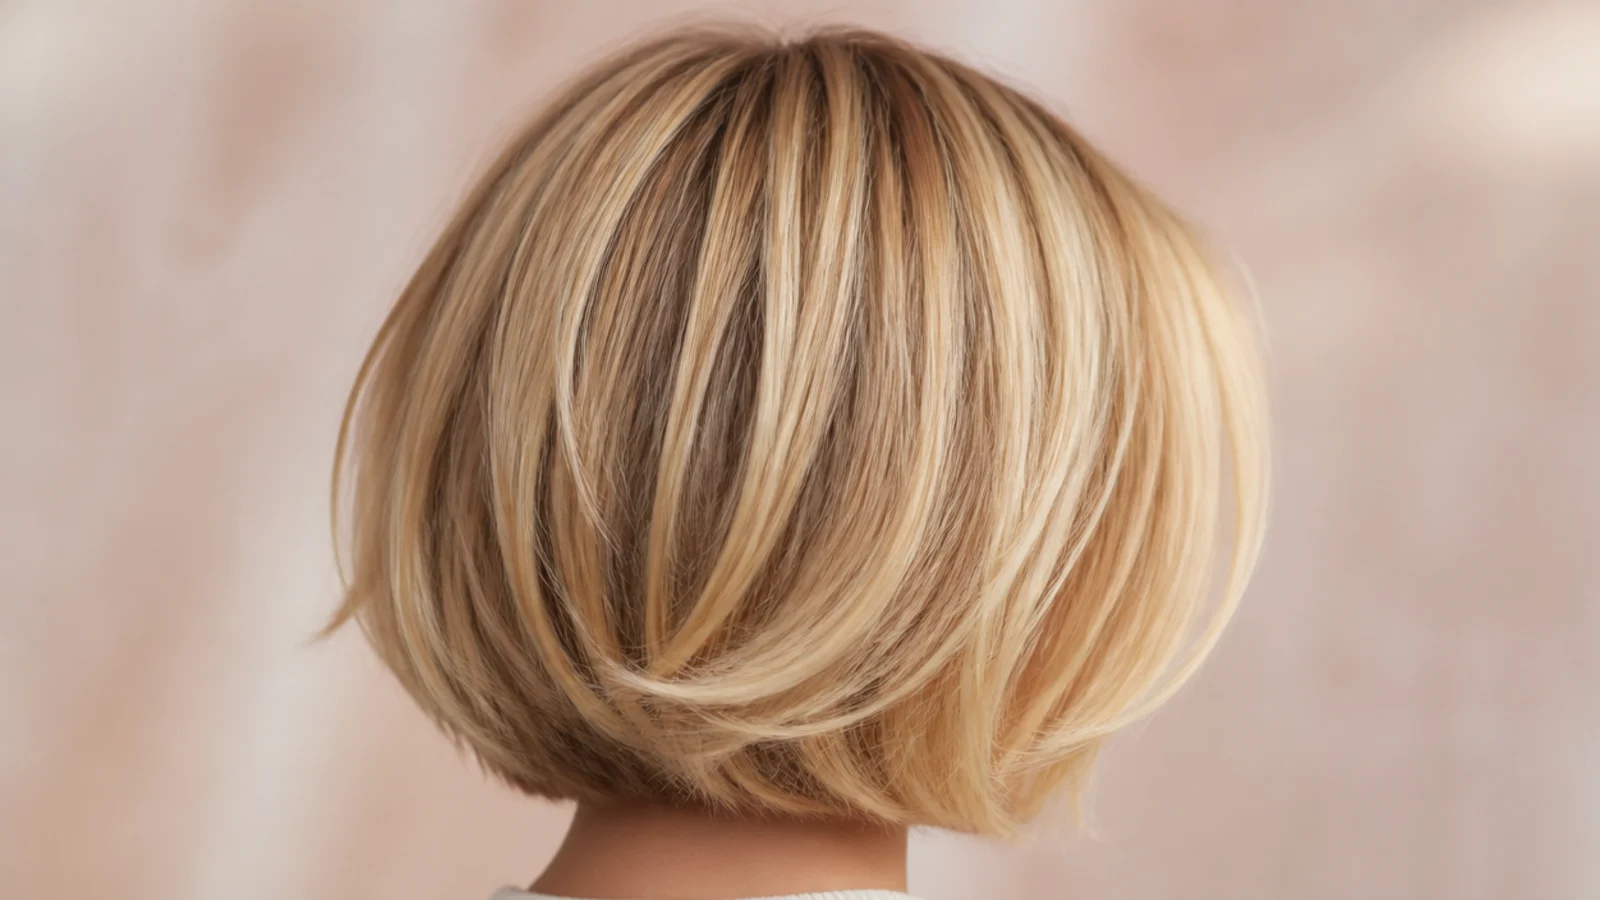
At chin to jaw length, roughly 8 to 10 inches, the layering rules invert. Two or three soft internal layers keep the bob from looking helmet-like, but the perimeter has to stay blunt or the whole thing collapses. The fringe must be recut shorter, sitting closer to the brow, because a lash-skimming curtain has nowhere to graduate into at this length. It is the strongest option for fine hair, since every inch removed makes the ends look denser. See short curtain bangs on a bob.
Who it suits: Fine to medium hair, oval and heart-shaped faces.
Tip: Ask for the fringe to be recut at the same appointment, not left long.
20. Layered Pixie with Soft Feathering
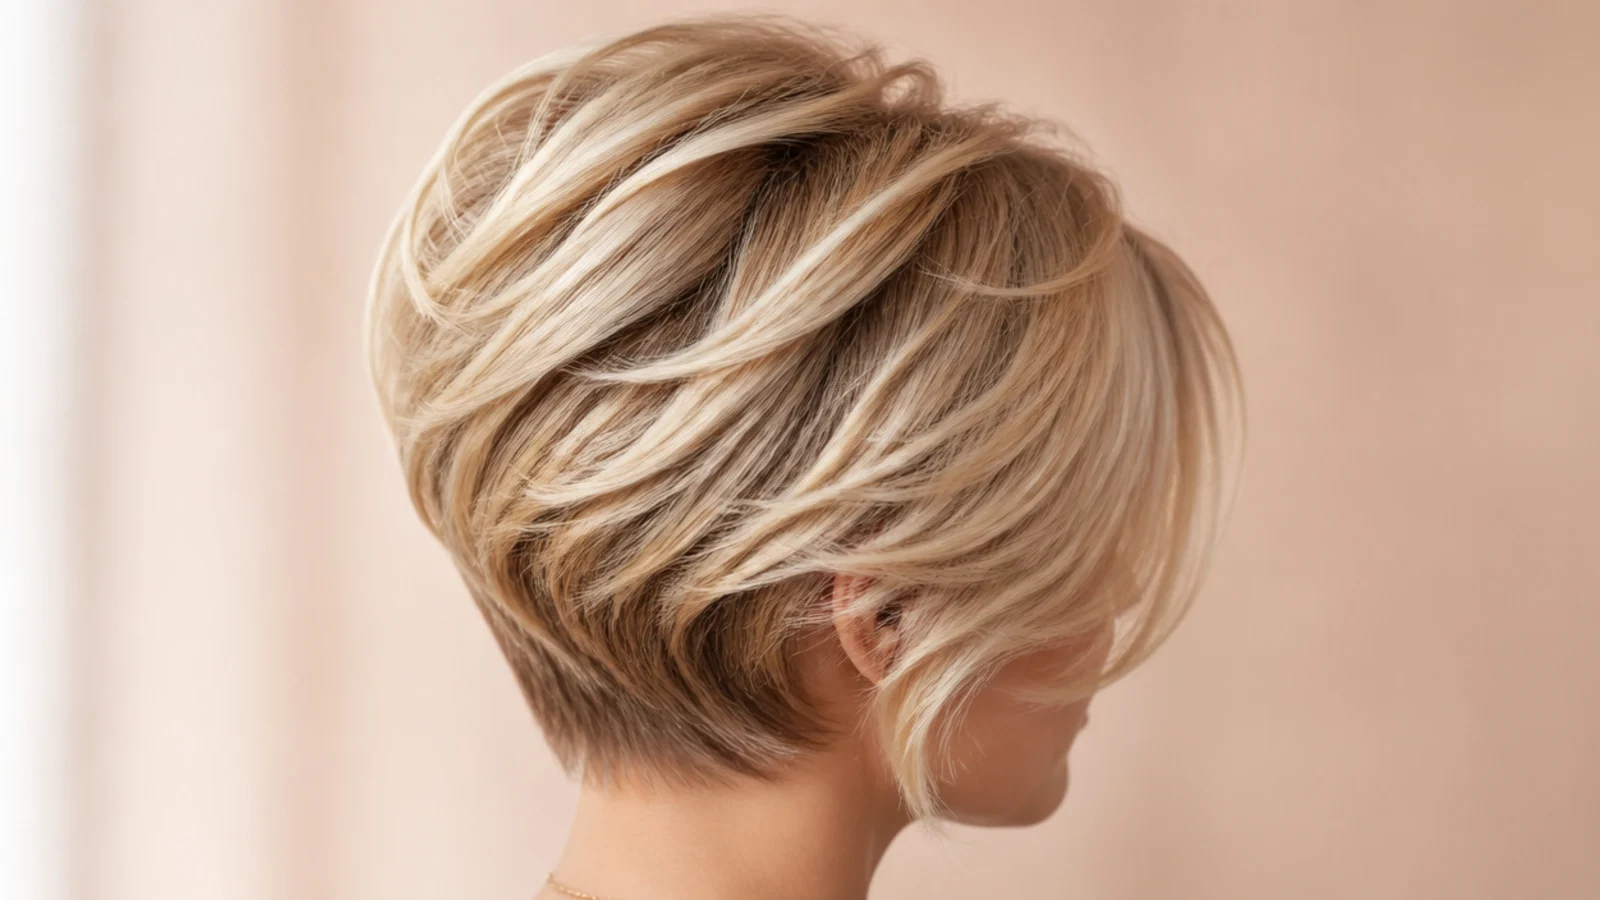
The shortest end of the range. A pixie keeps the same logic: soft feathered layers through the crown for lift, a longer side-swept fringe left at about 4 inches so there is still something framing the face, and slightly longer pieces at the nape rather than a hard graduation. It needs a trim every 5 to 6 weeks and about 5 minutes of styling with a texture cream. Growing it out is the slow part, roughly a year back to a bob at half an inch a month.
Who it suits: Strong jawlines, oval faces, and anyone tired of blow-drying.
Tip: Keep the fringe long enough to sweep; a short blunt fringe changes the look entirely.
The Signature Sabrina Carpenter Layered Cut, Broken Down
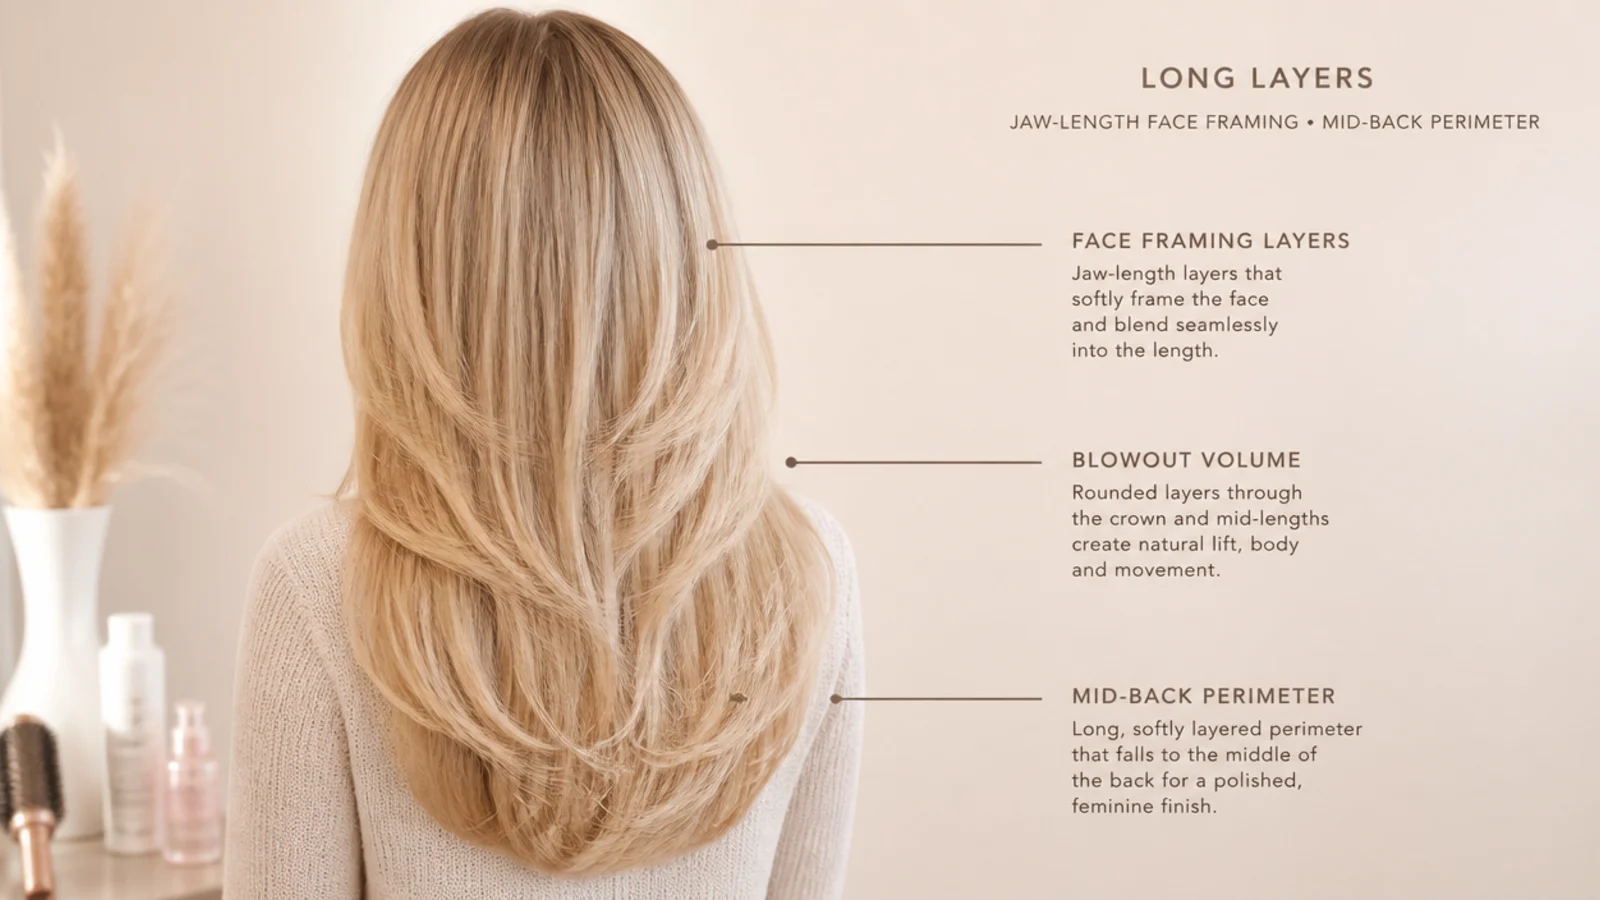
Strip the styling away and the cut has four parts. First, a long perimeter, usually mid-back at roughly 22 to 24 inches, kept blunt so the outline stays heavy. Second, internal long layers that begin no higher than the collarbone and drop in soft steps, which is what lets the hair bend instead of hanging. Third, face-framing layers whose shortest piece lands at the jaw, cut on a diagonal so they curve in toward the cheek. Fourth, a curtain fringe parted in the middle, skimming the lashes at its shortest point and graduating outward until it meets those jaw-length pieces. Miss any one of the four and the copy fails in a predictable way: no perimeter weight and the ends look thin, no face framing and the fringe looks stuck on. The whole shape is designed to funnel toward the face and to hold a round-brush bend, which is why it photographs as movement rather than as a haircut. Start with the Sabrina Carpenter hair hub for the wider look.
Her Hair Colors and How to Ask a Colorist for Them
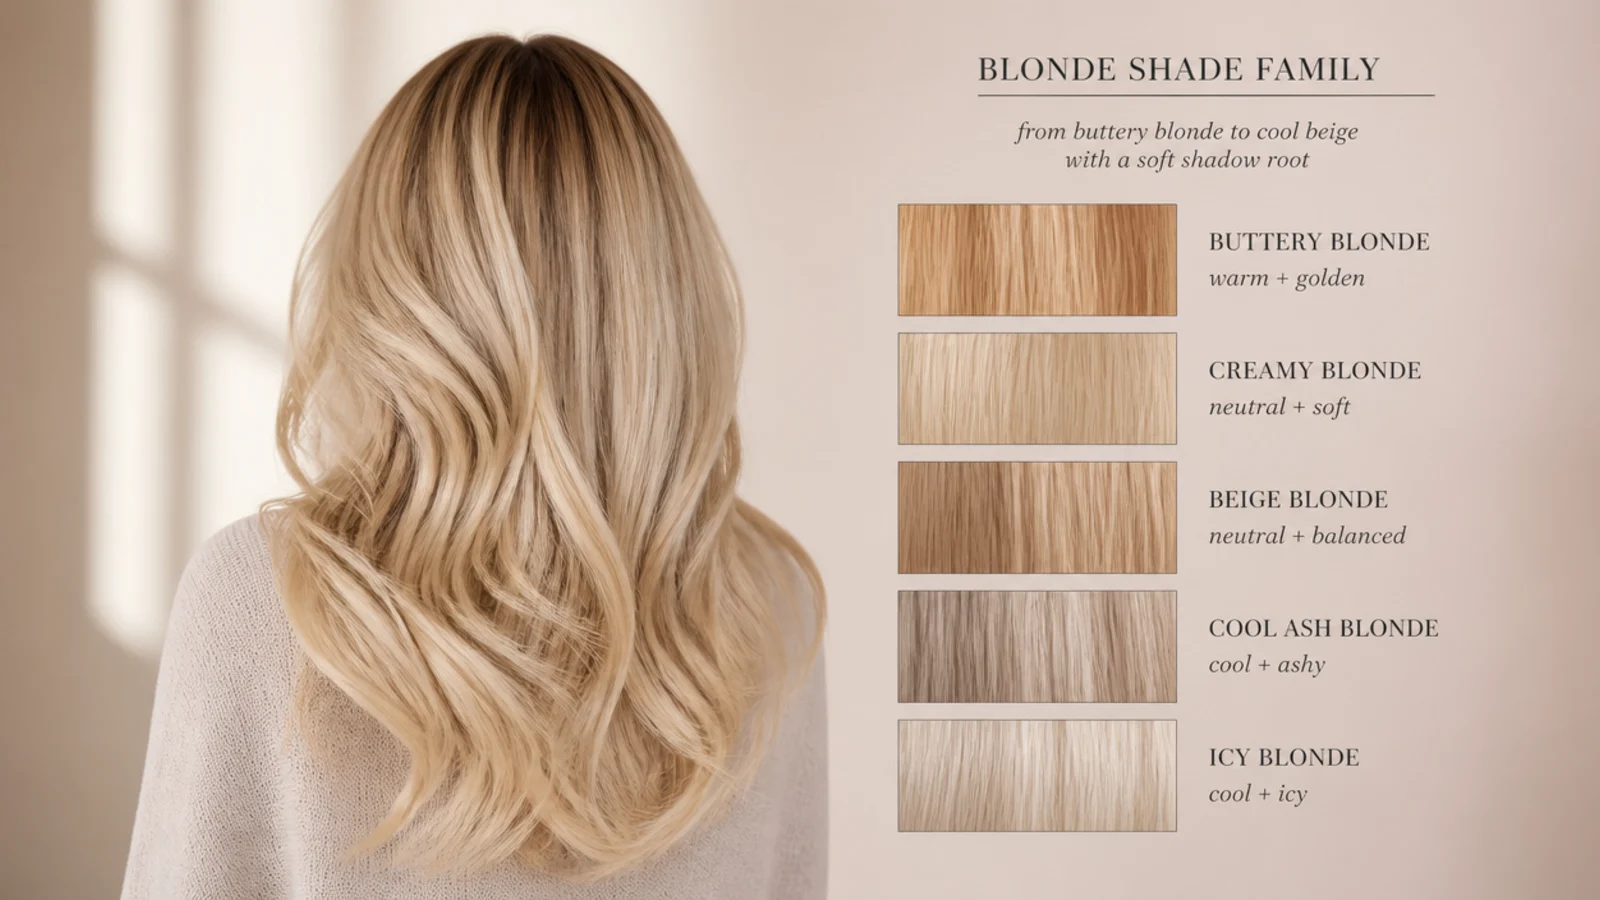
Describe the color in families, not brand names, and any colorist can build it. The base is a warm buttery blonde rather than an icy platinum, which is what keeps it looking soft in daylight. Over that sits a soft shadow root, a deliberately deeper blend at the first inch or two, so regrowth arrives as a gradient instead of a line and you can stretch appointments to eight or ten weeks. Around the face, the two shortest layers are lifted a shade brighter and pulled slightly cooler, a beige rather than gold, which is the contrast that makes the layers read on camera. The publicly visible dark looks, including the jet-black blunt-bang shoot and the earlier brunette, were wigs rather than dye, so do not walk in asking to go dark and back again on the strength of them. Ask for: buttery blonde base, soft shadow root, cool beige face framing, gloss every six to eight weeks.
How to Blow Dry Layered Hair at Home for That Bounce
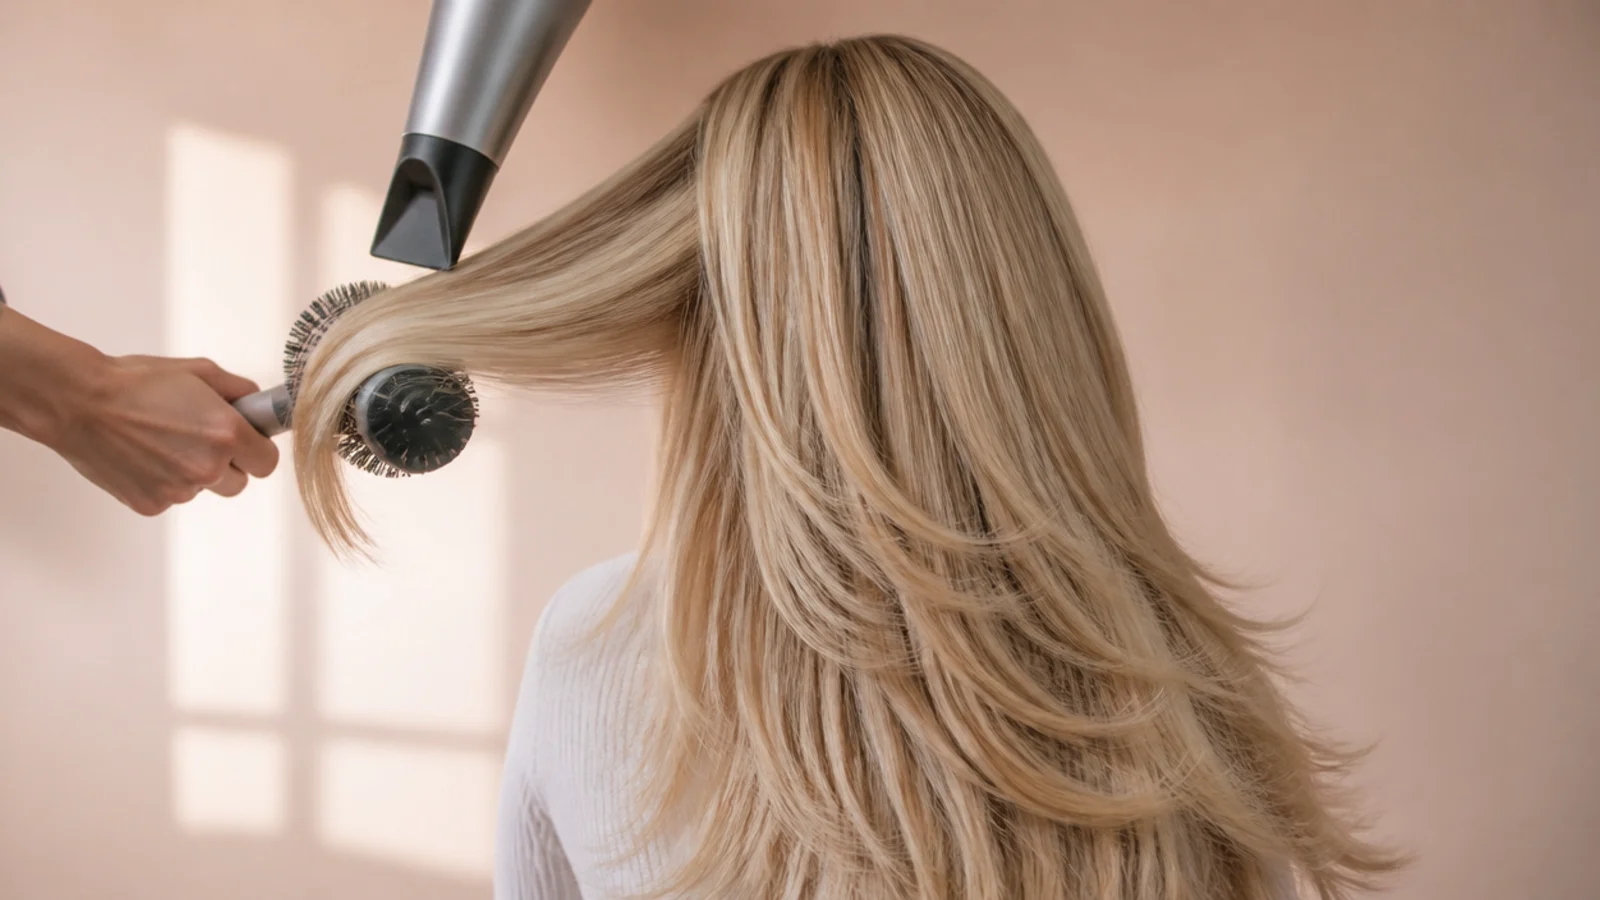
The cut supplies the shape and the blowout supplies the bounce. Start at about 80 percent dry, never soaking, with a heat protectant and a root-lift spray worked into damp roots only. Use a large round brush, 2 to 2.5 inches in barrel, and take sections no wider than the brush itself, roughly 2 inches across and no thicker than an inch. Anything wider and the heat never reaches the middle, which is the single most common reason a home blowout drops within the hour. Over-direct each section up and away from the head to build root lift, roll the brush down through the mid-lengths, then pause at the ends and hit them with the cool shot for three to five seconds before you release. That cool blast is what sets the bend; skipping it undoes everything. Do the fringe first, while the hair is still damp enough to be moved, brushing it from side to side rather than straight down. Total time runs 20 to 30 minutes on mid-back length. Finish with a texture spray at the roots, not the ends. For a fringe-only refresh between washes see how to style short curtain bangs, and for the length itself, mid length haircut styling.
Which Layered Look Suits Your Hair Type and Face Shape
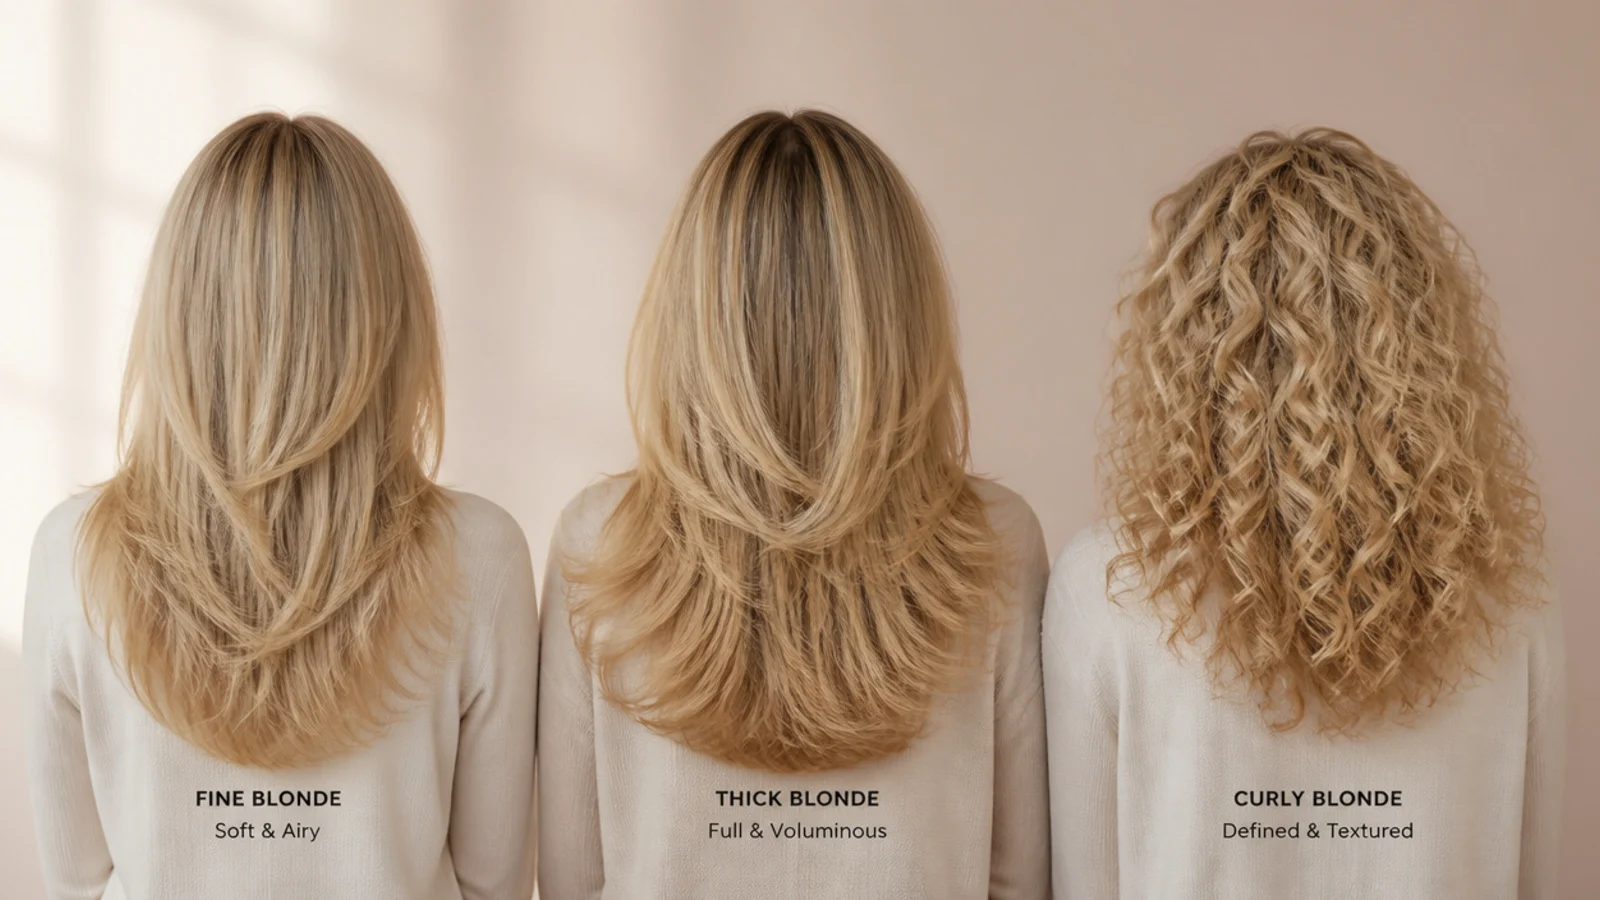
Density decides the layering, and face shape decides the face framing. Fine hair should take few, long, invisible layers with a blunt perimeter, because every visible layer line advertises how little hair sits below it; the collarbone-length version and the layered bob are the safest choices. Thick hair needs the opposite, internal weight removal so the middle can move, with the outline left sharp. Wavy hair wants long layers cut with low tension and no thinning shears. Curly hair needs a dry, curl by curl cut with about 2 inches of shrinkage built into the plan. On face shape, round and square faces should keep the shortest face-framing piece at or just below the jaw so the line keeps traveling downward, while oval and heart shapes can take it at the cheekbone. A long face is better served by a fuller fringe that shortens the visible forehead. Fine hair specifics are covered in mid length haircut for fine hair and short curtain bangs for fine hair.
Copying the Layers on Shorter or Curlier Hair
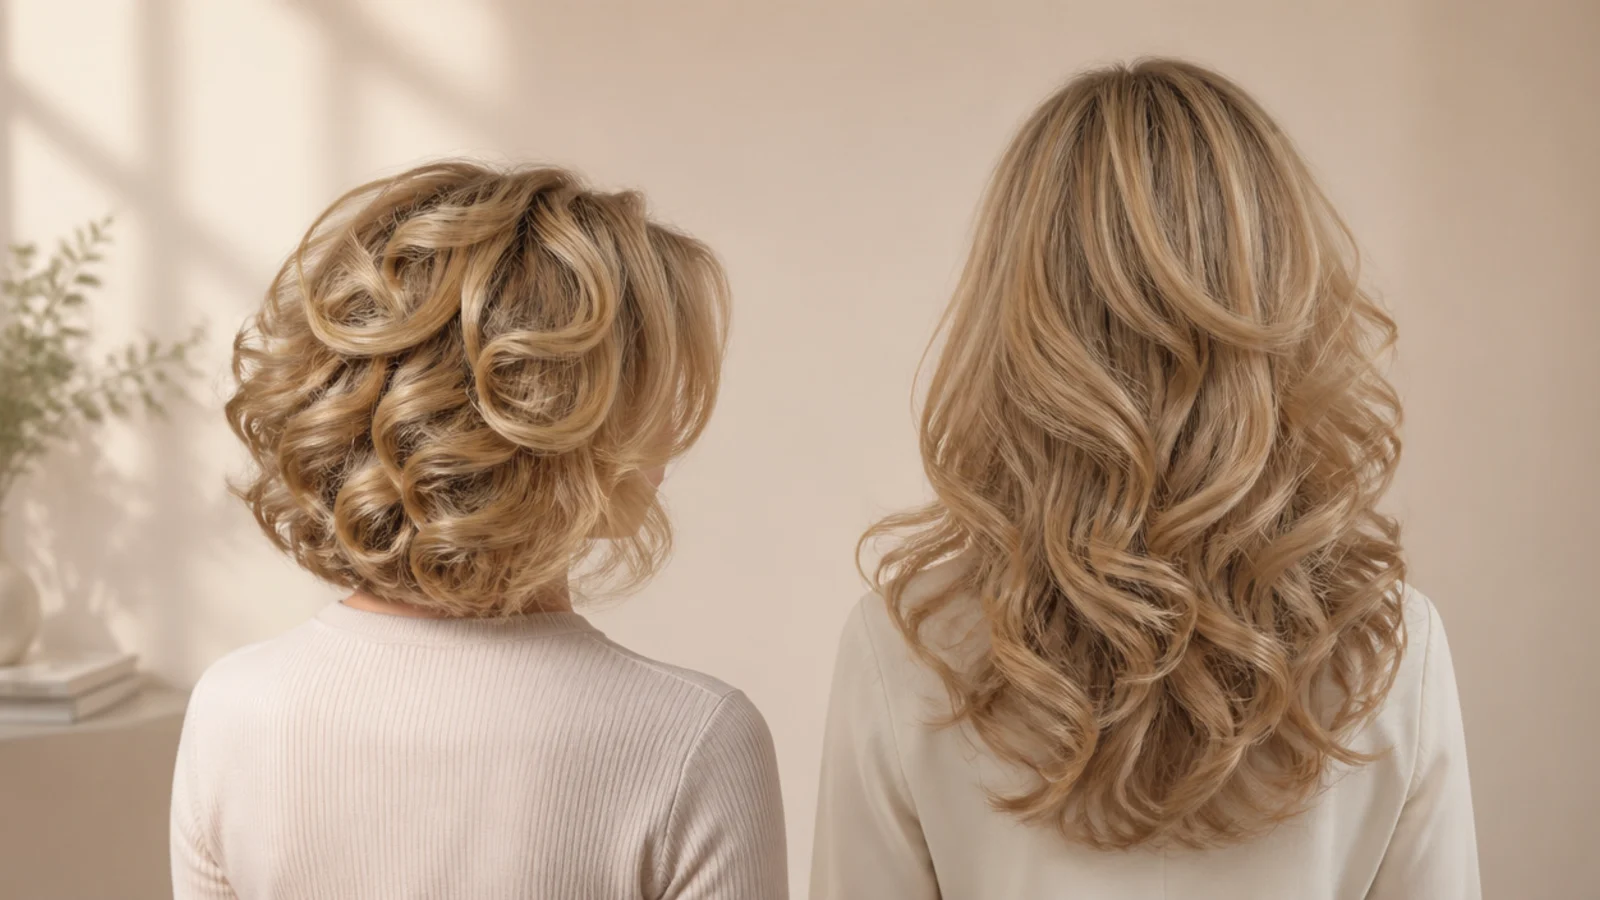
Two adjustments carry the whole look downward in length. The first is the fringe: at bob or pixie length, a lash-skimming curtain has nothing to graduate into, so it has to be recut shorter, sitting nearer the brow, and swept rather than left to fall. The second is the perimeter: the shorter you go, the blunter the baseline has to stay, because at 10 inches there is no length left to hide a thin outline. On curly hair, the rule is shrinkage. Anything cut to the jaw when wet lands at the cheekbone when dry on a 3a curl, which is how curly fringes end up too short. Ask for the cut to be done dry, in the hair's natural state, and for the face-framing pieces to be measured against your curl rather than against a photo. Diffuse rather than round-brush and the same funnel-toward-the-face silhouette appears in curl form. More on short fringes at curly short curtain bangs.
What to Say in the Chair: The Ask-Your-Stylist Script
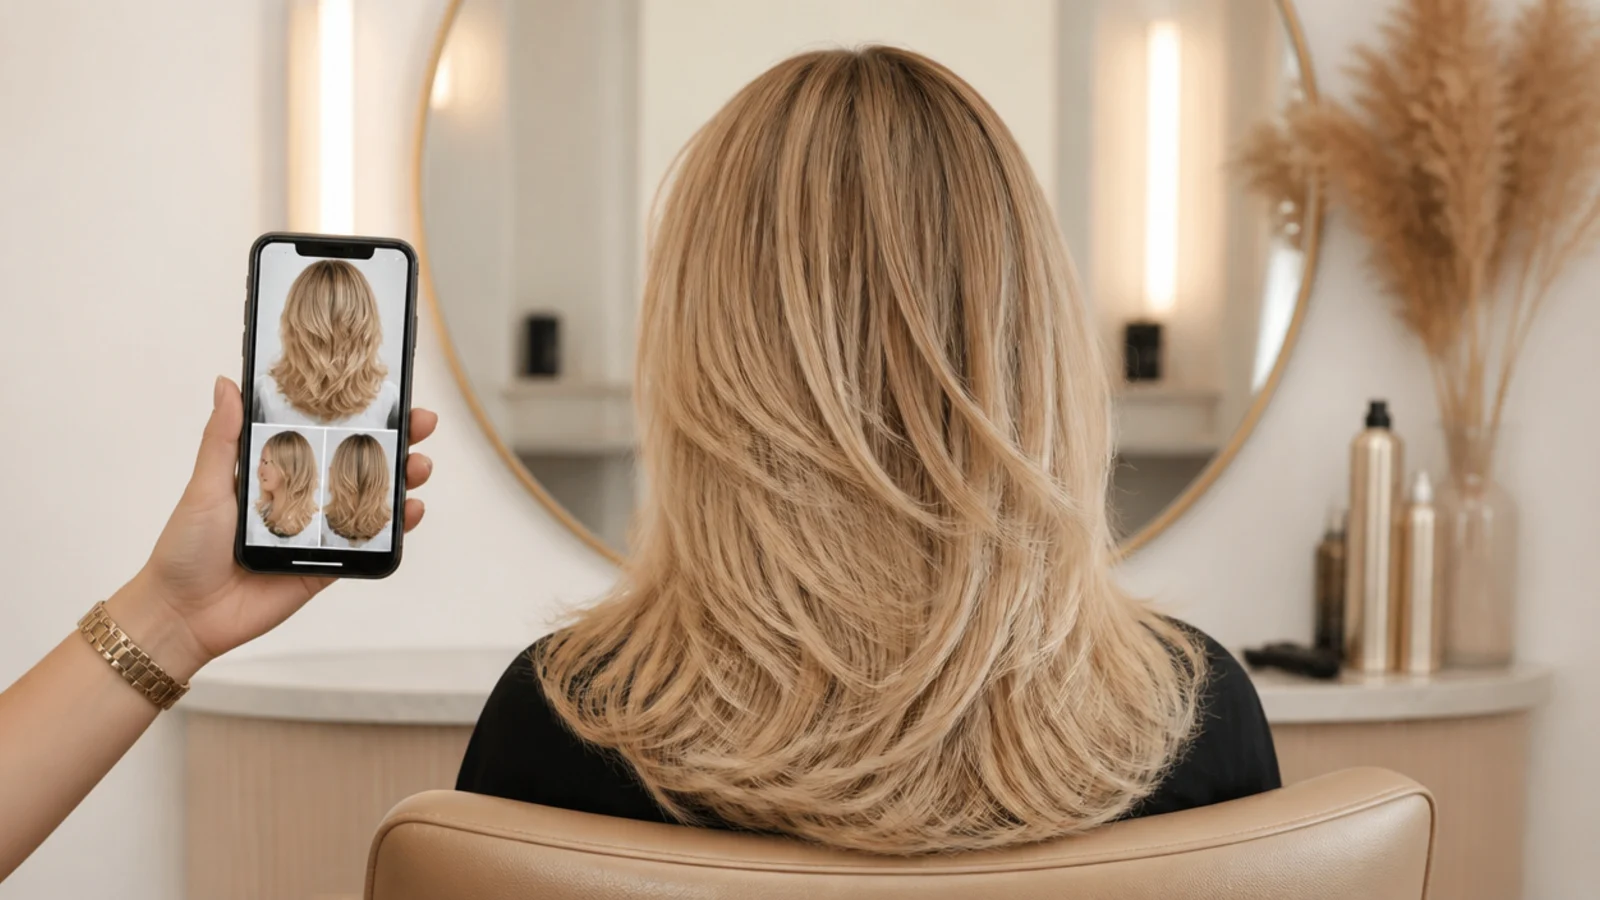
Bring two photos, one from the front and one from the back, then say the six things a stylist actually needs. One: the length you want to keep, in inches, measured from the crown. Two: keep my perimeter blunt, or soften it into a shallow U. Three: long internal layers starting no higher than the collarbone. Four: face-framing layers with the shortest piece at the jaw, cut on a diagonal toward the cheek. Five: a middle-parted curtain fringe skimming the lashes, graduating out to meet the face framing. Six: no thinning shears near the hairline, and point-cut rather than razored if my hair is fine. Then ask two questions before the first cut: where will the shortest layer sit in eight weeks, and how much of this shape depends on blow-drying. The answers tell you whether the cut fits your actual routine. Book the fringe trim for four to six weeks out before you leave.
Frequently Asked Questions
What is Sabrina Carpenter's haircut called?
There is no single name for it, which is why copying it is tricky. It is long layers plus a middle-parted curtain fringe. Some stylists will call the fuller-volume version a butterfly cut or a blowout cut, but the safest way to book it is to describe the parts: long layers, blunt perimeter, face-framing pieces at the jaw, and a lash-skimming curtain fringe.
Does Sabrina Carpenter wear a wig?
Her publicly documented dark looks, including the jet-black blunt-bang magazine shoot and an earlier brunette moment, were reported as wigs rather than dye. Wigs are also a normal part of styling for shoots and performances. For anyone copying the look, that is good news: you can test a dramatically different shade or length without touching your own color.
Is Sabrina Carpenter naturally blonde?
Her natural color has been described as a medium blond, lifted brighter with golden highlights and brightened pieces around the face. That is why the blonde reads soft and buttery rather than icy platinum. If your own base is a mid blonde, you are working with a similar starting point and will need far less lift than someone going blonde from brown.
Will long layers suit fine hair?
Yes, if they are cut sparingly. Ask for three or four long, invisible internal layers and keep the perimeter blunt, because a visible layer line makes fine hair look thinner below it. Avoid thinning shears, razored ends and anything shorter than the collarbone internally. Collarbone length with jaw-length face framing is usually the most flattering version.
How often do you need to trim layers?
Reshape the layers every 10 to 12 weeks and trim the curtain fringe every 4 to 6 weeks. Hair grows about half an inch a month, so a jaw-length face-framing piece sits near the collarbone after roughly four months. The fringe is what dates the cut fastest, and most salons will trim it free between full appointments if you ask.
Can you get these layers with curly hair?
Yes, with a curl-specific cut. Have it cut dry, curl by curl, so the stylist sees where each spiral actually lands, and build in about 2 inches of shrinkage per layer. A face-framing piece meant to sit at the jaw needs to be cut closer to the collarbone when wet. Diffuse on low speed and high heat rather than blow-drying with a brush.
How do you get the blowout without a Dyson Airwrap?
A standard hair dryer with a nozzle, a 2 to 2.5 inch ceramic round brush and a cool shot button do the same job for a fraction of the price. Take sections no wider than the brush, over-direct each one up and away from the head, then hold the cool shot on the ends for three to five seconds. Velcro rollers left in for ten minutes at the crown add extra lift.
What length should my hair be for this cut?
Anything from the collarbone down works with the full version, and roughly 22 to 24 inches gives the classic long silhouette. Below the collarbone, switch to the layered bob version, where the fringe has to be recut shorter and only two or three soft internal layers are used. Under 10 inches, the pixie version keeps the feathering but loses the long face framing.
Do face-framing layers work on a round face?
They do, with one adjustment: keep the shortest piece at or just below the jaw rather than at the cheekbone, so the line keeps traveling downward and lengthens the face instead of widening it. A middle part helps for the same reason. Avoid short, rounded layers that stop at the widest point of the cheeks.
Which sabrina carpenter hair look are you saving?
If you save only one thing from these 20 layered ideas, make it the placement rule: shortest face-framing piece at the jaw, internal layers no higher than the collarbone, ends left thick rather than feathered away. That single instruction is what separates a cut that swings and bounces from one that reads thin at the bottom. Bring two photos, name the length in inches, say whether you want the layers face-framing or internal, and book the fringe trim before you leave. From there the blowout does the rest with a 2 inch round brush and a cool shot on every section. Browse the rest of the Sabrina Carpenter hair board, or go straight to the curtain fringe ideas if the bangs are the part you actually want.